
A simple kitchen counter top
My friend Margie wanted to redo her kitchen counter, and has a small budget for the project. The main goals of the project were to get rid of the stock Lowes counter top and the tiny double sink she currently has. A custom Formica counter top could cost upwards of $1000, so I opted to buy the materials and just make it myself. A Sheet of particle board cost $21.00. A roll of Formica cost $150.00, and a can of contact cement cost $12. These three items and a bit of scrap material is all that is needed to create a custom counter top for less than $200. That left money in the budget to buy a bigger sink and some larger cabinets.
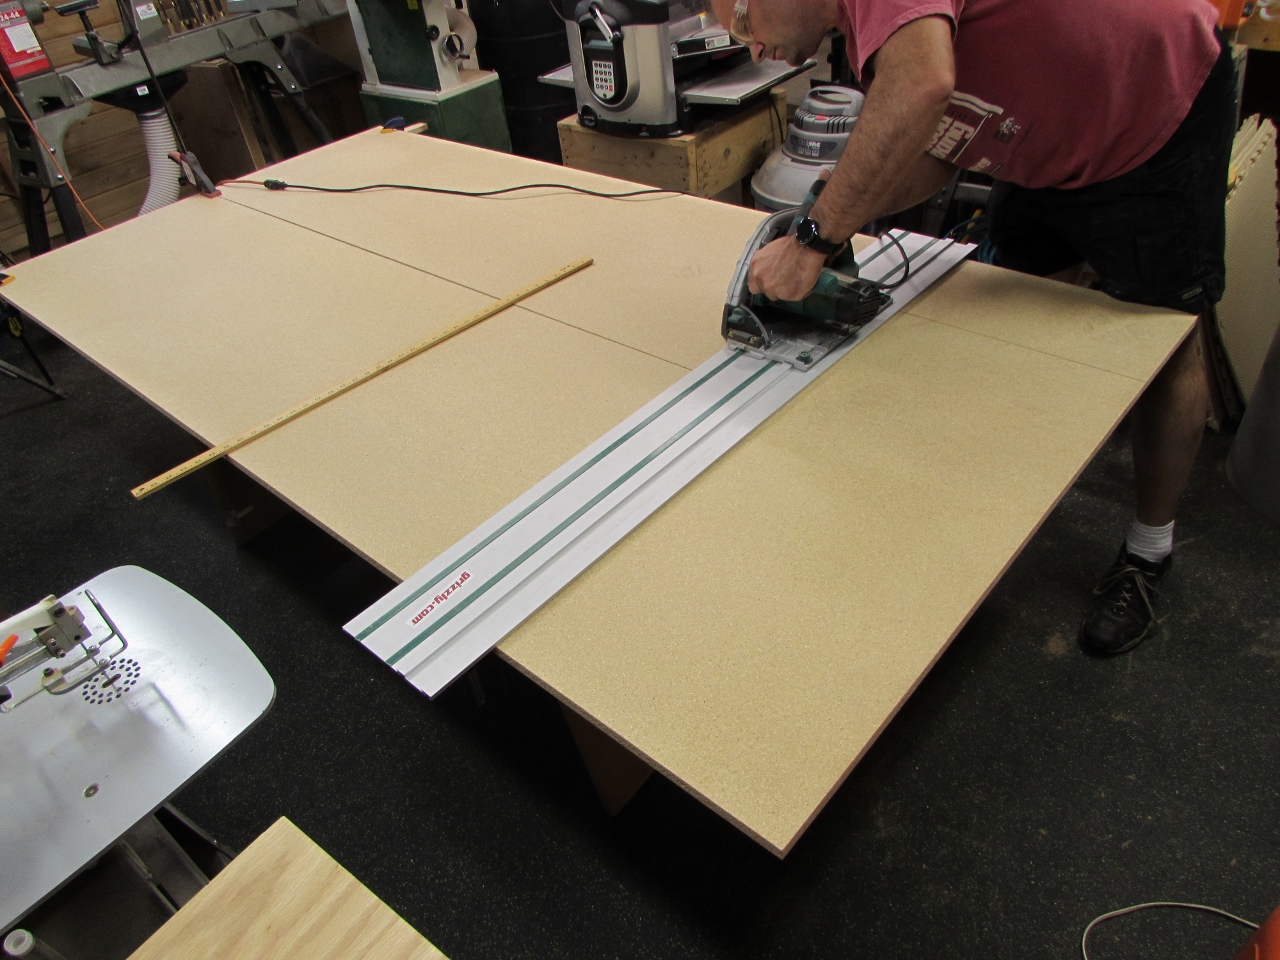
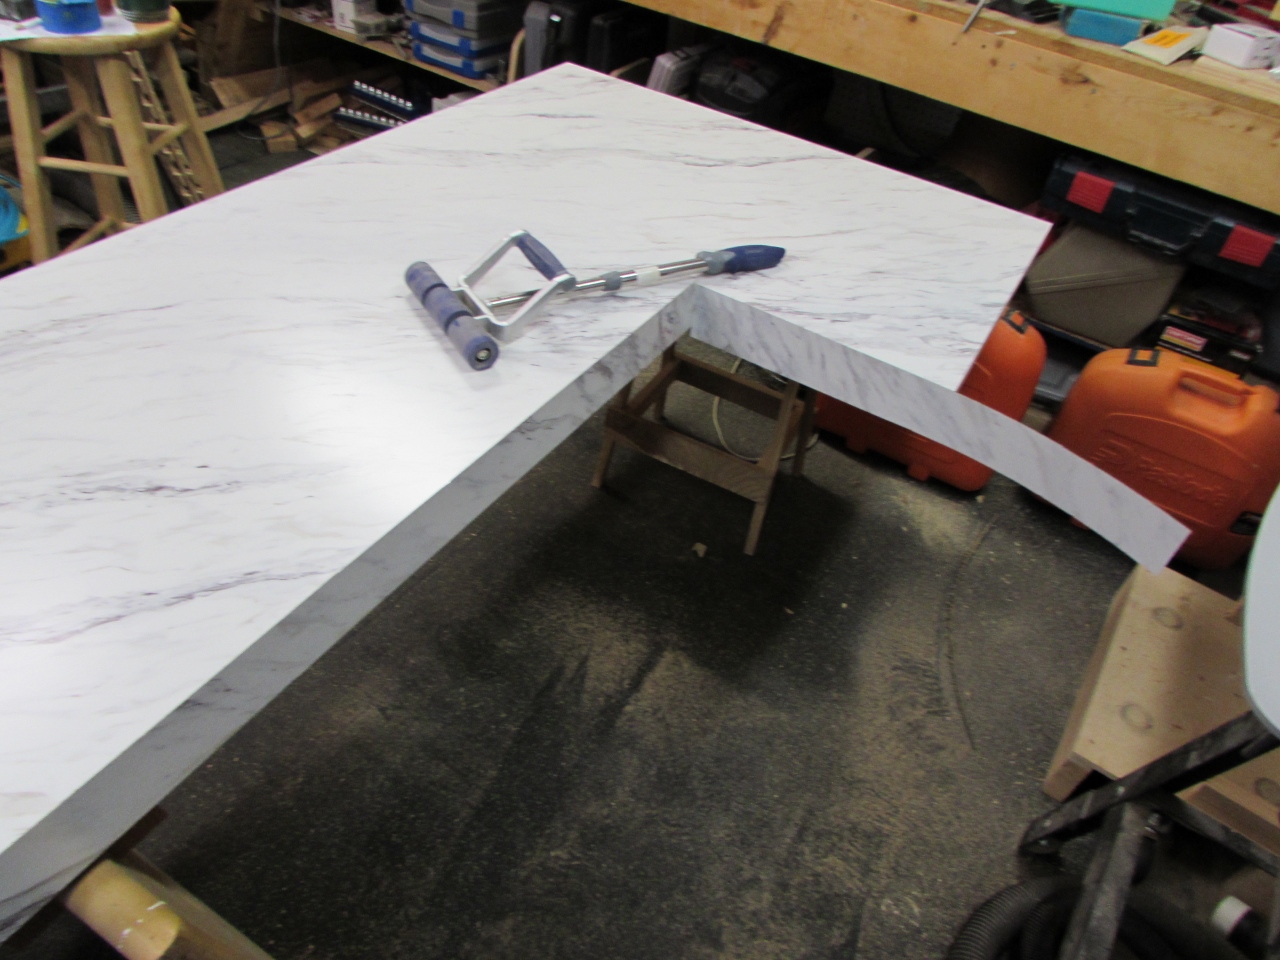
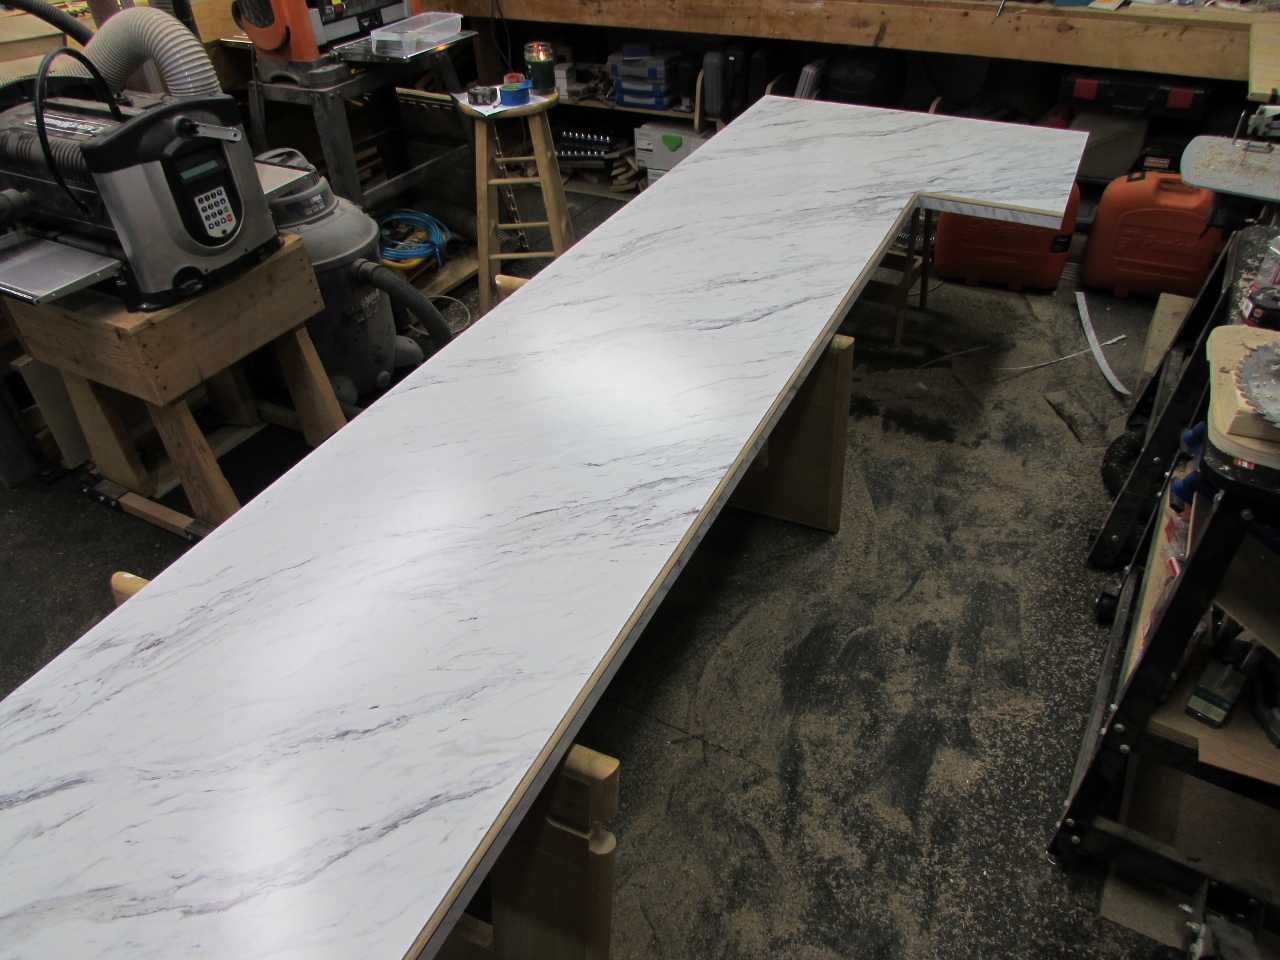
This counter top will be 114-1/2″ long with a 39″ “L” at one end. Since the sheet of particle board is only 96″ long. I have to carefully cut it down the center with a straight cut, leaving a piece that can be attached to the end. I used my Grizzly track saw for the straight cut, but a standard circular saw, run next to any straight edge will do as well.

I stopped my first cut about 24″ from the end, then made the perpendicular cut to create the “L”.
I used a hand saw to cut away the inside corner, instead of over-cutting with the circular saw. That would have weakened the corner, allowing it to possibly crack in the future. The hand saw left a nice, clean corner.

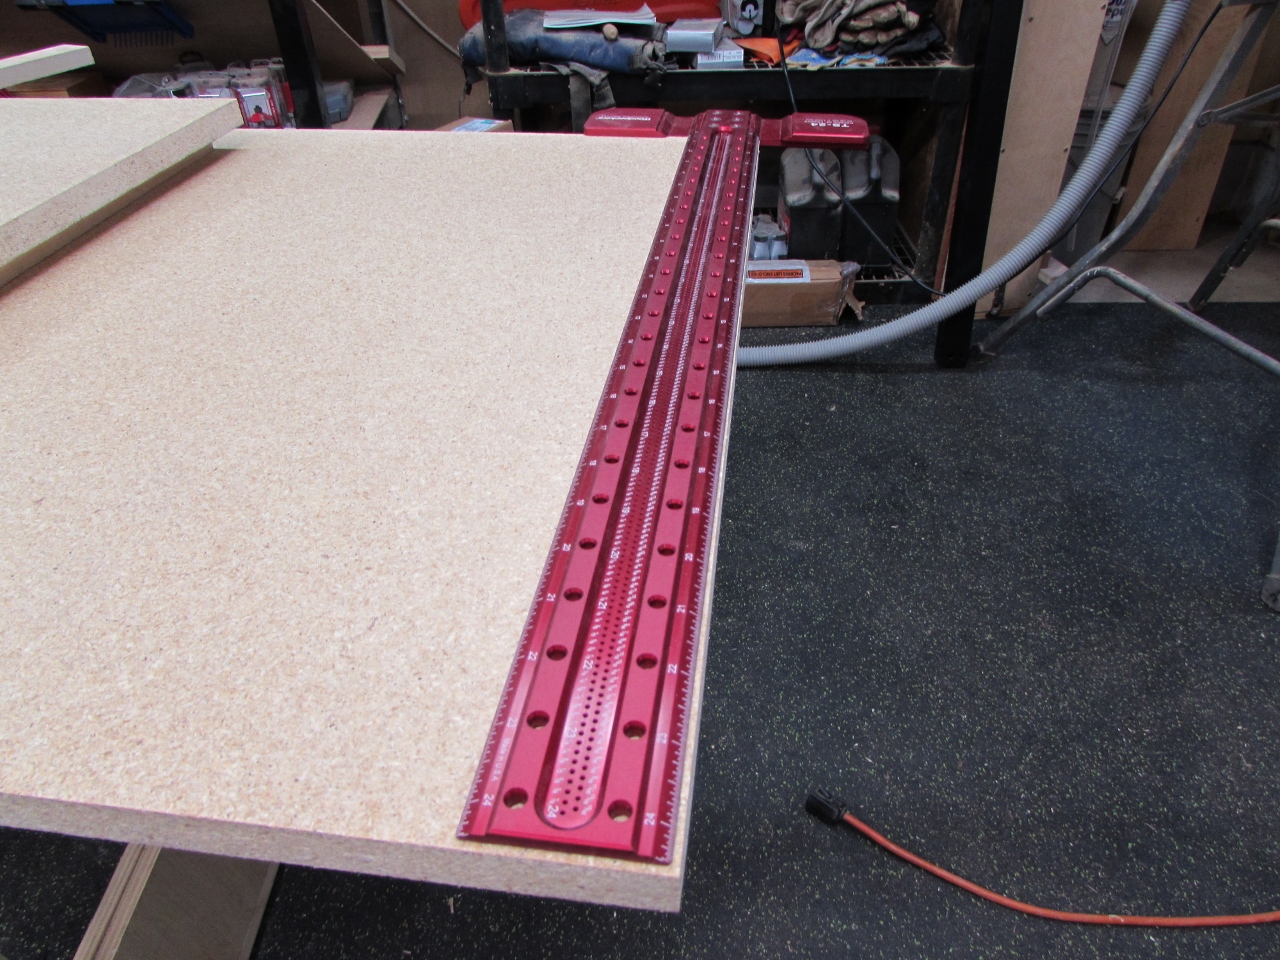
Before cutting and adding the extension piece, I always check to see if the factory edges of the board were square. Of course they weren’t, and I had to correctly cut one of them as well.
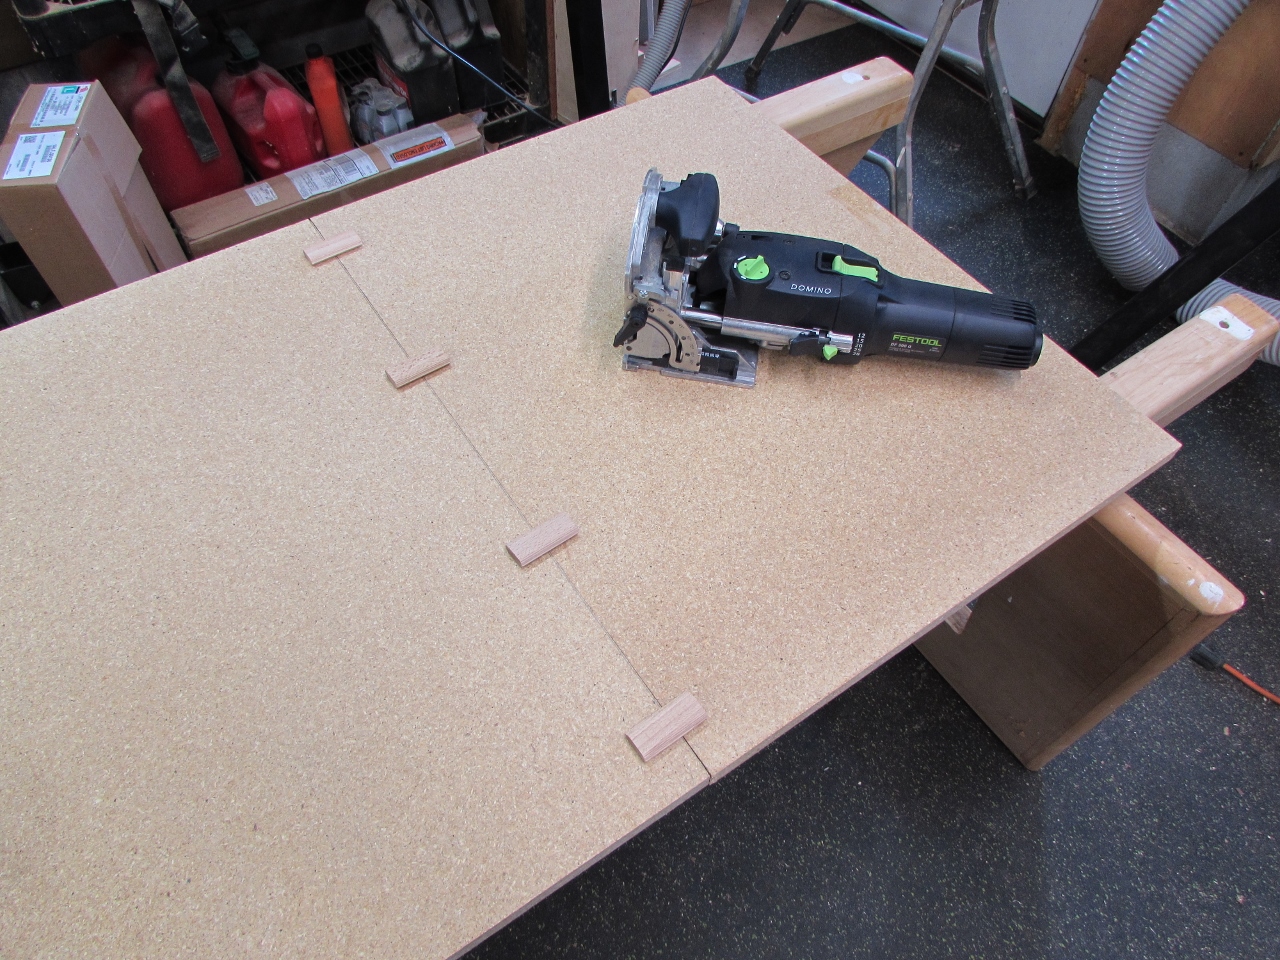
I intend to glue a piece of 1/2″ plywood across the bottom of the joint, for the extension, but I thought I would add a few Dominos as well for strength and alignment.
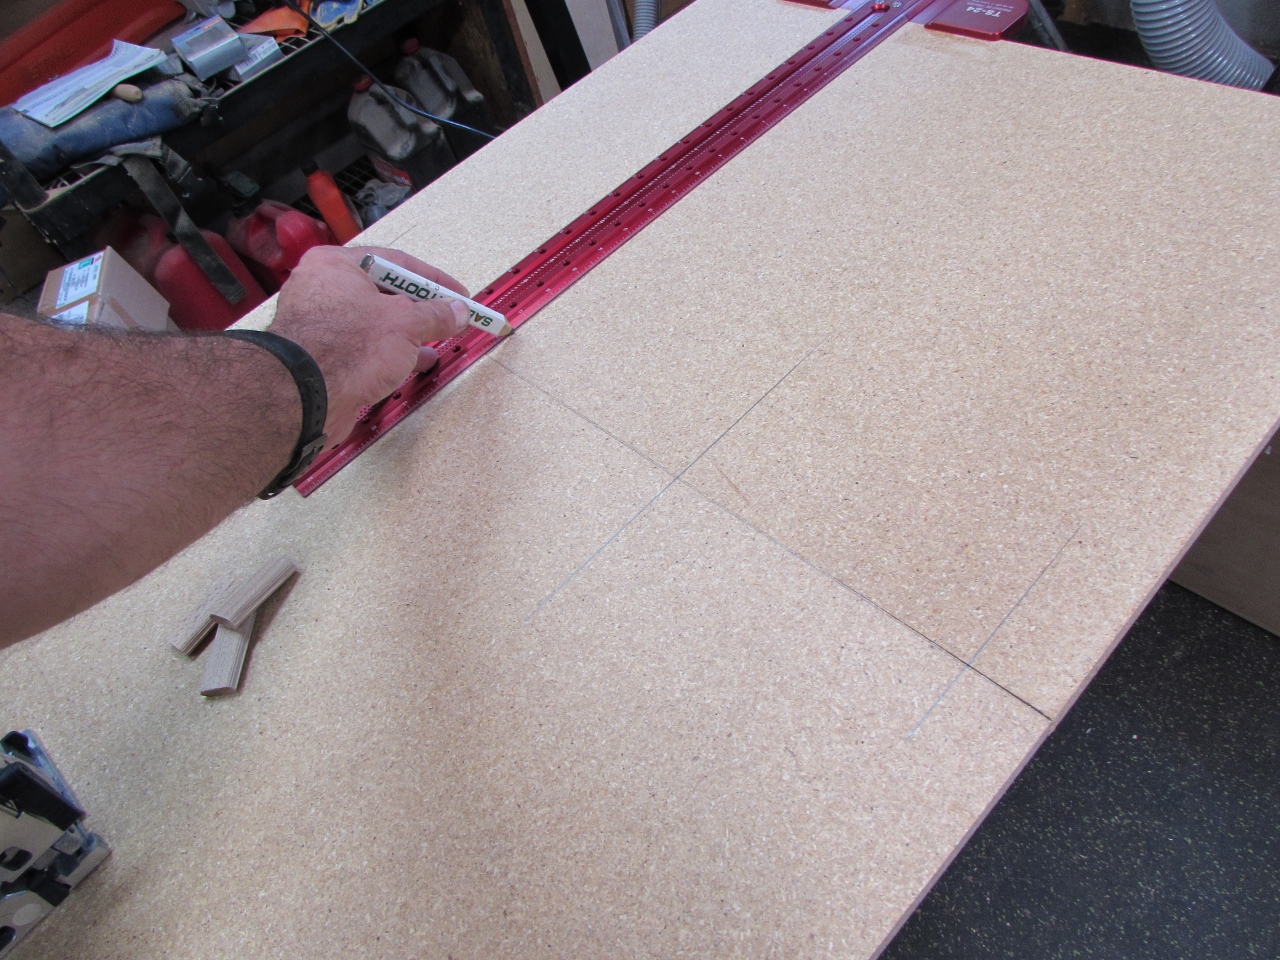
I marked their locations and cut the mortises.
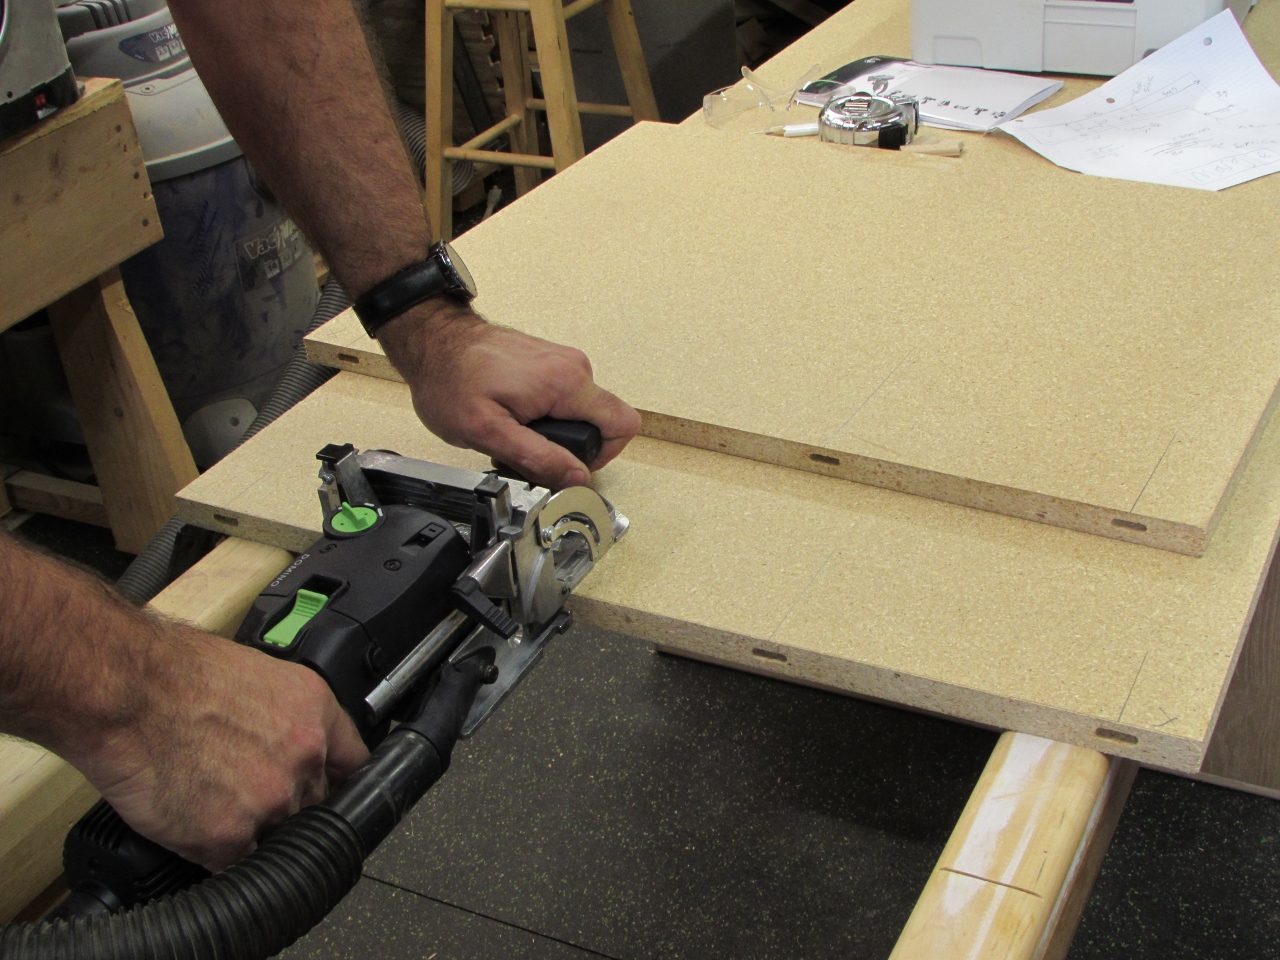

Then, after a test fit, I applied glue and inserted the tenons.

I used clamps to hold down the top and some blocks, then tapped wedges in at the end to hold the two pieces tightly together until the glue had set.

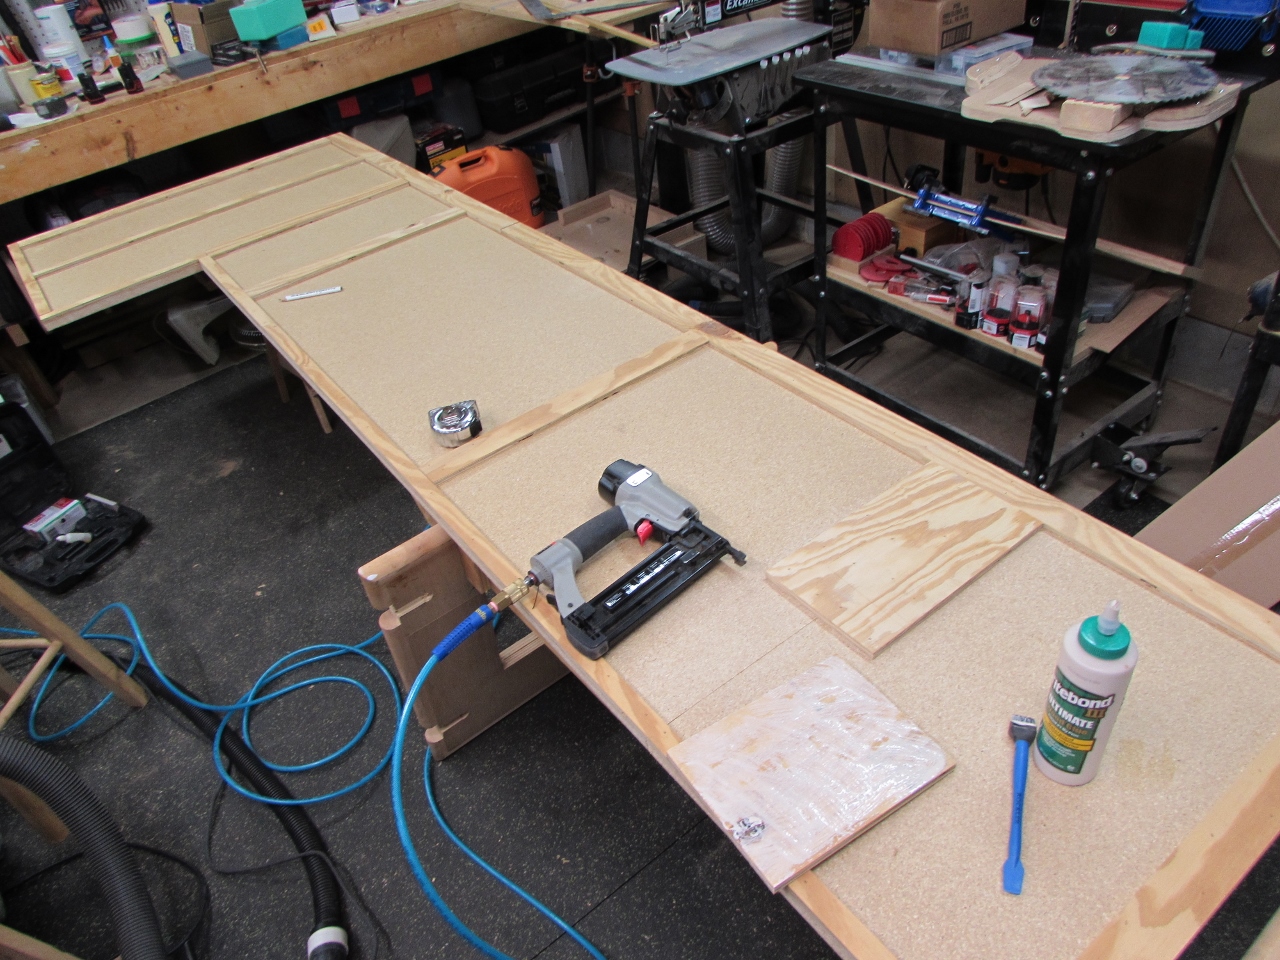
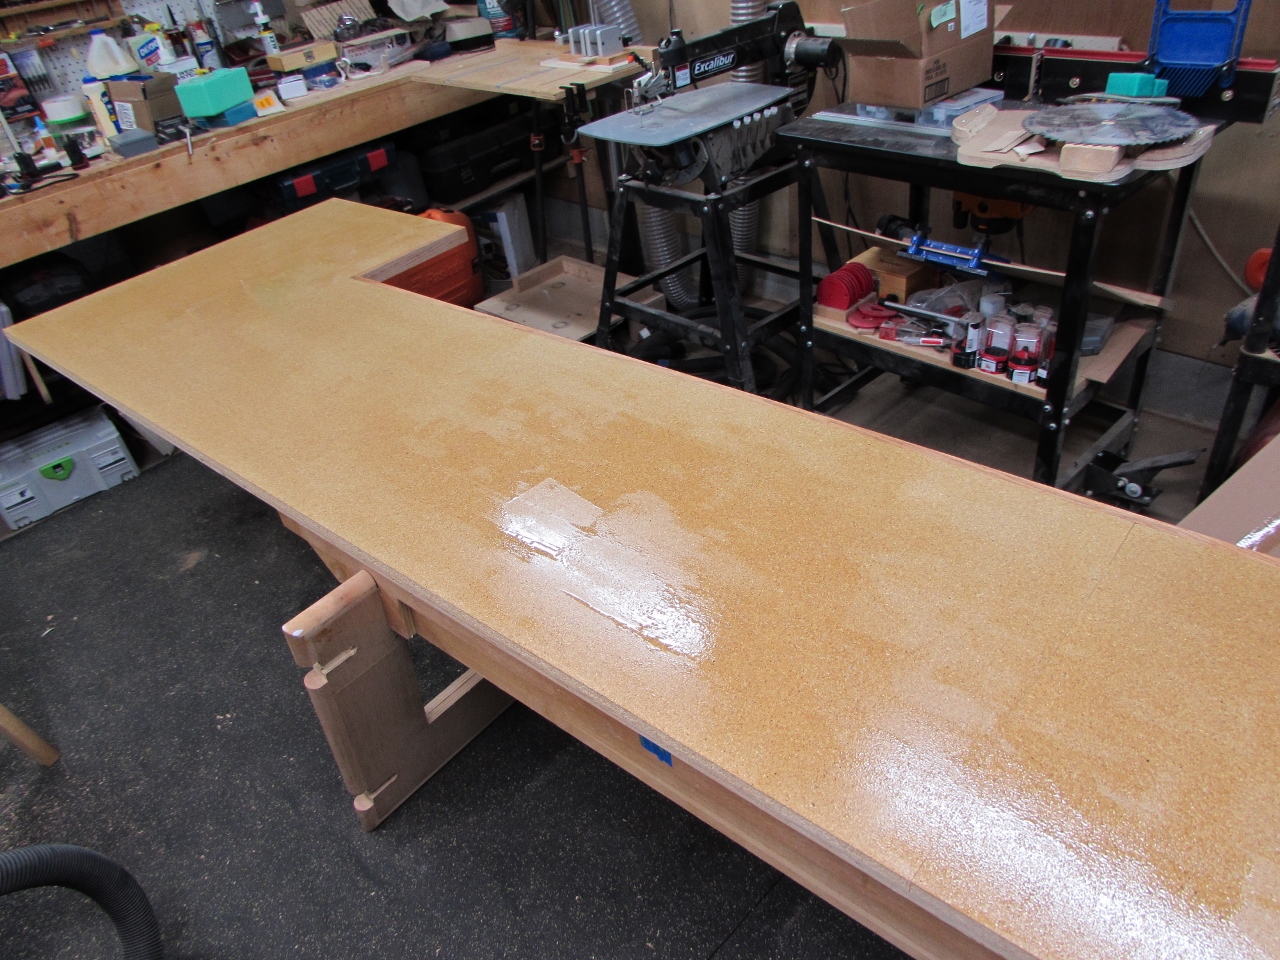
Once it was set, I flipped the counter top over and started attaching some strips of 1/2″ plywood around the perimeter and where the cabinets set below. I also put an 8″ wide piece across the joint I just glued up. All the plywood was attached with waterproof wood glue and 3/4″ brad nails.
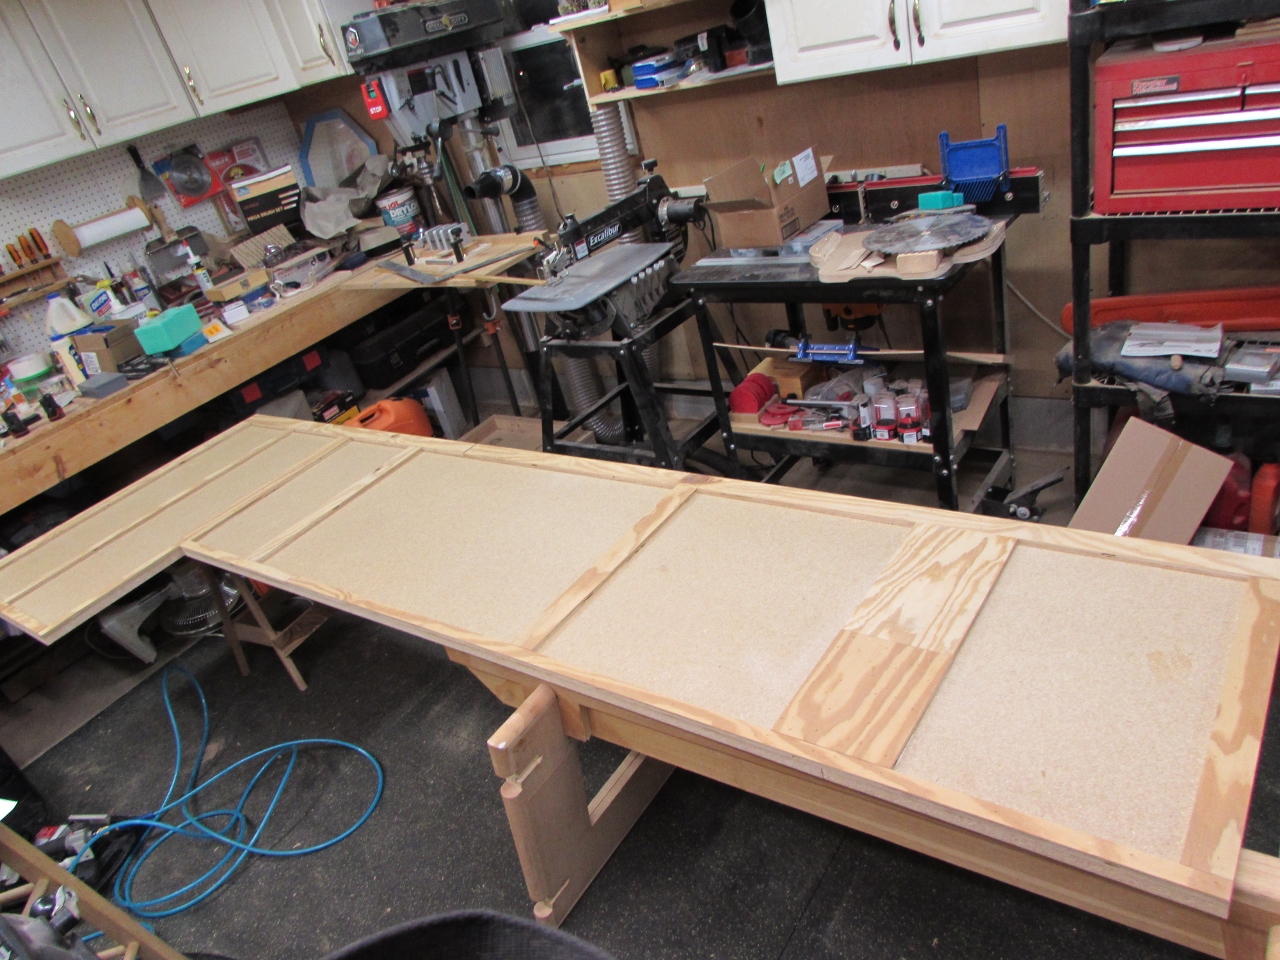
Once attached, I flopped it back over and sanded the joint smooth.

I cut a 1″ x 1-1/2″ strip of red oak to attach to the front edge of the counter.

This piece was glued and nailed in place.

We bought a roll of Formica that was 120″ long and 48″ wide. I only need a 39″ wide piece at the widest point, so I decided to cut down the material to make it easier to work with. I wasn’t sure if it would work, bout I taped the roll pretty well and tried back-rolling it against the saw blade on my table saw. It worked surprisingly well with no chipping.


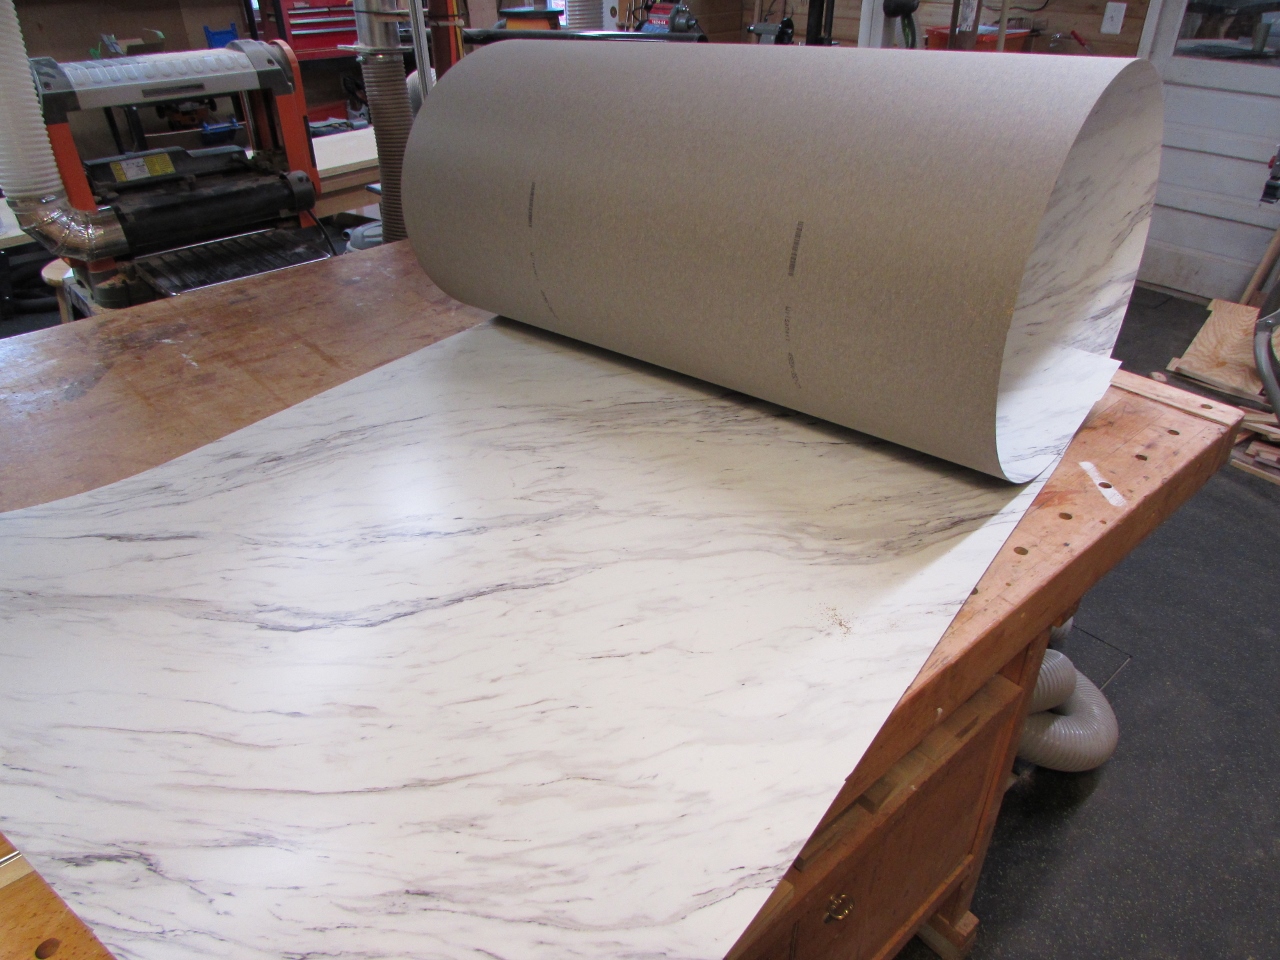
I unrolled the Formica, face down and cleaned the back of any dust. I placed newspaper under the edges and started rolling out contact cement.

I applied a coat to the areas that will be sticking to the counter top and left the rest unglued in case I need the scrap later.

Then I moved over to the particle board and rolled out a coat of cement on that as well. I let it all dry for about 15 minutes.
I called in one of my son’s for an extra set of hands to help me attach the Formica. I started at the wide end then gradually stuck it down a little at a time using long dowels to keep the unattached Formica up off the top.

When it was down. I used a roller to apply pressure to all of the contacted surfaces.

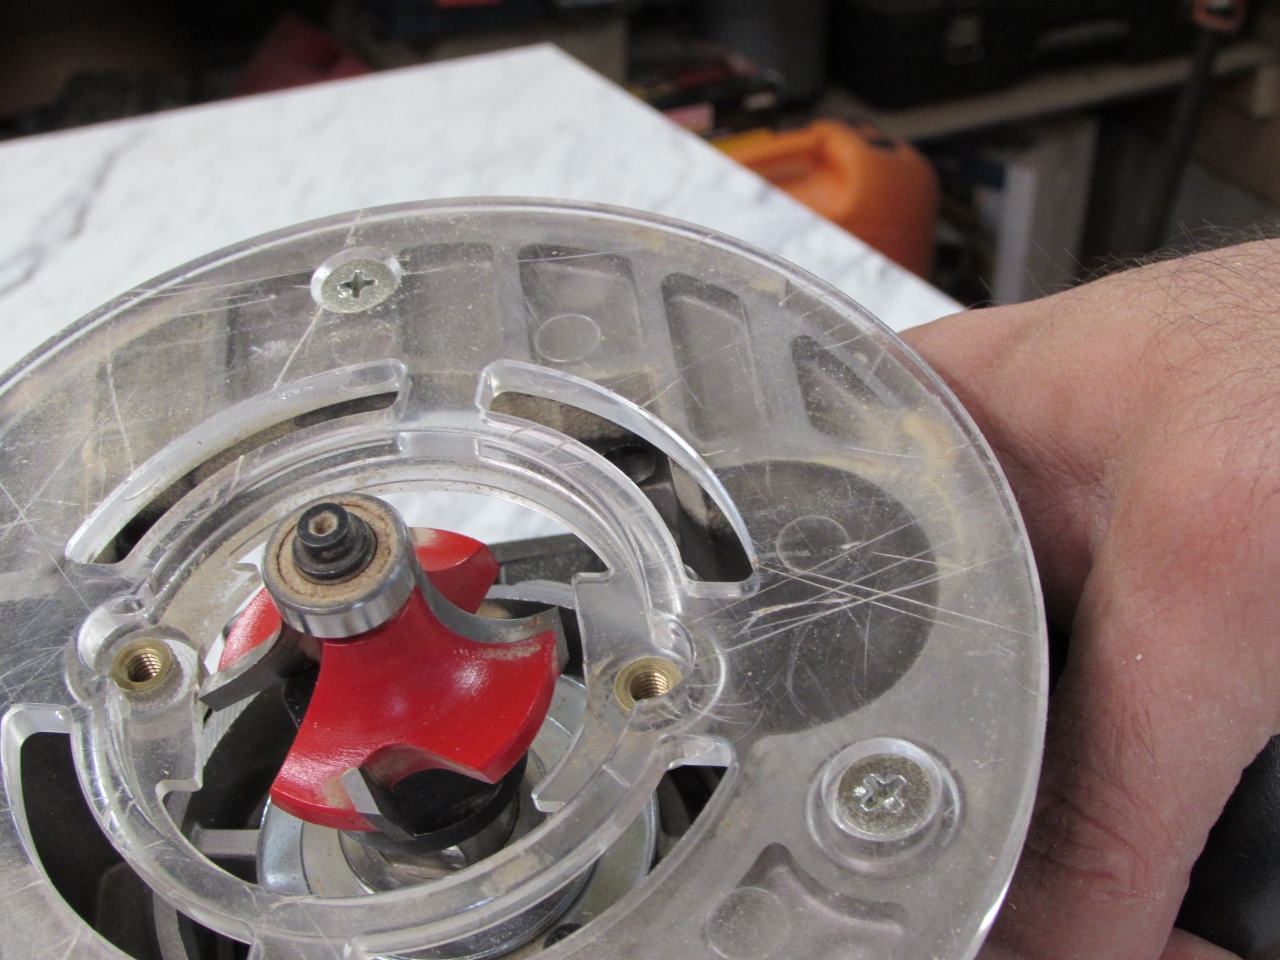
Time to cut away the excess. I let the Formica overhang at least 1″ all the way around, and a bit more on the end and inside the “L”. To trim it, I am using my small trim router and a flush trim bearing bit.

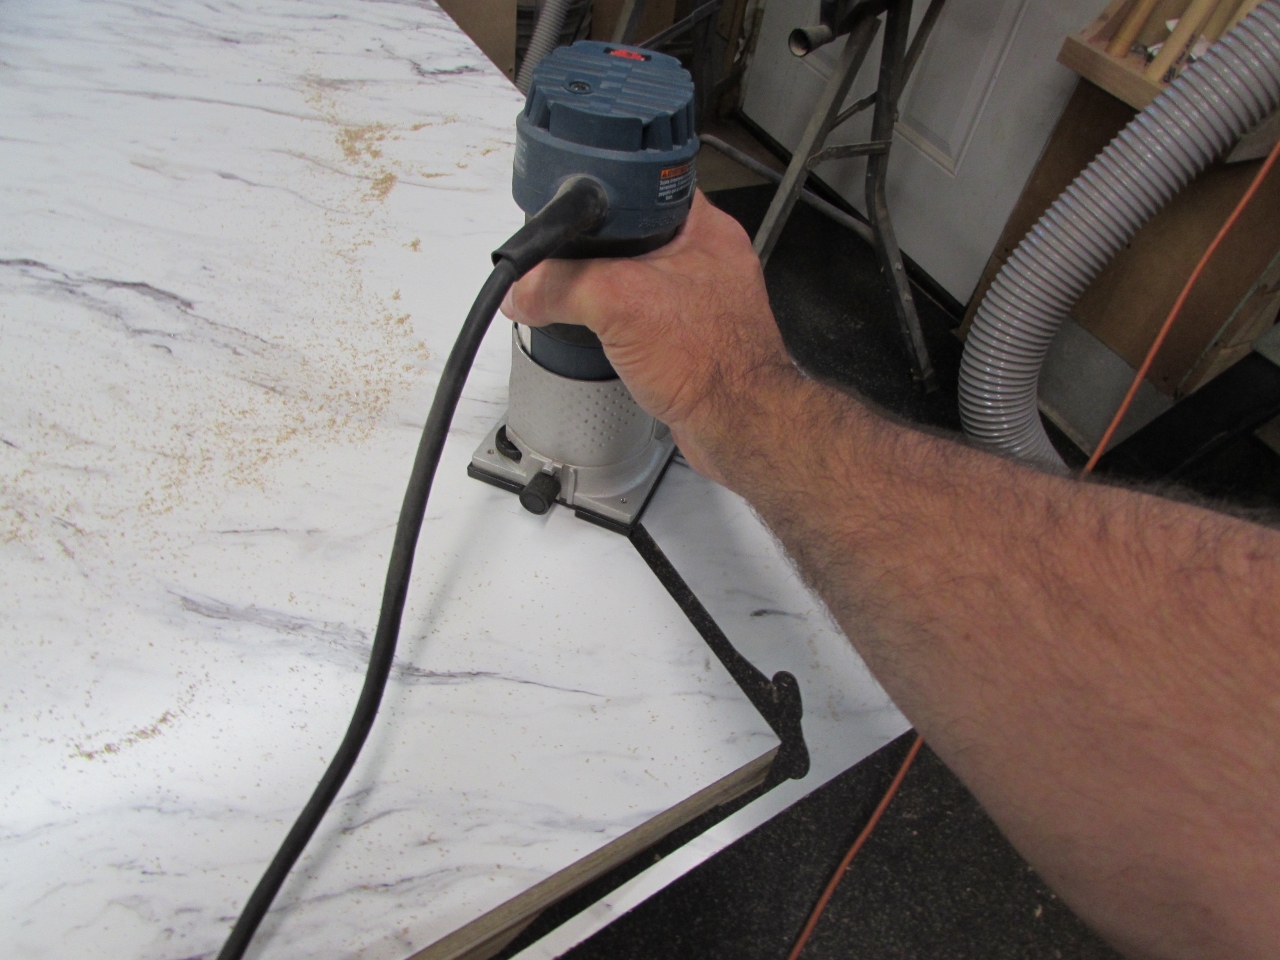
I merely have to run it all the way around the edge of the top and the excess is cut away.

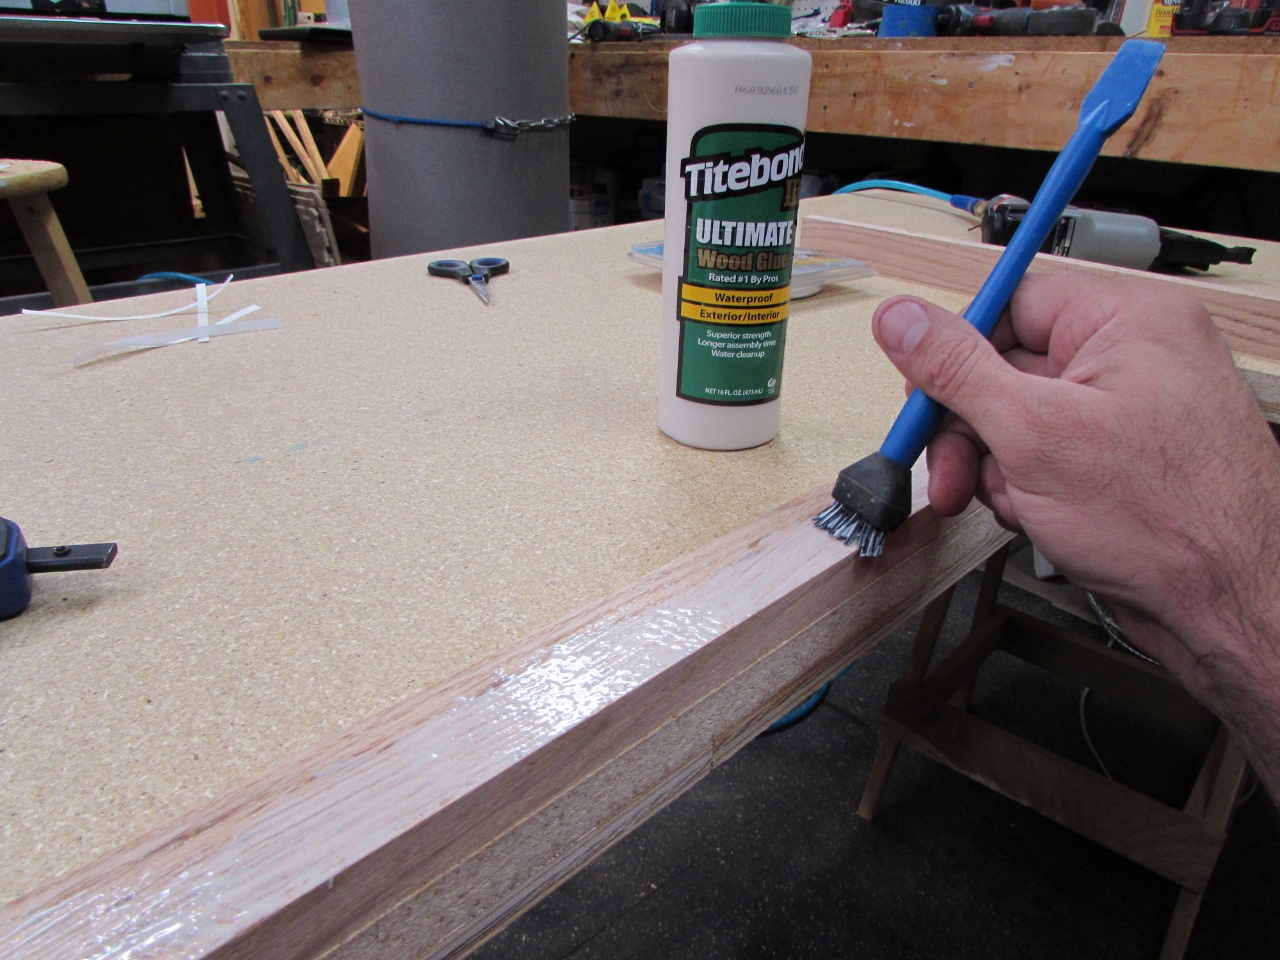
I cut a couple of 3″ wide strips from the excess piece and applied glue to them and the sides of the red oak I put on the face edges.

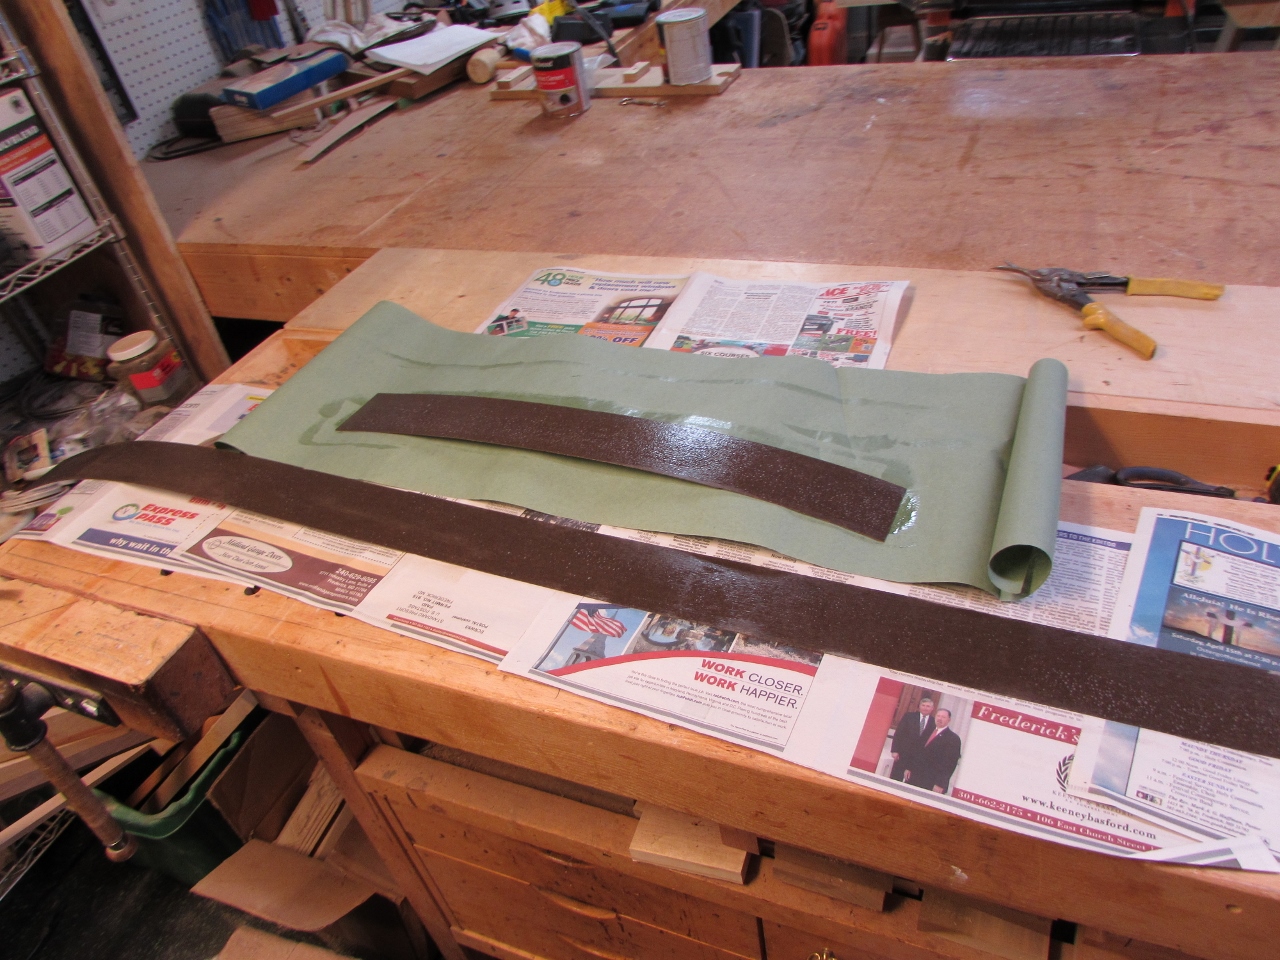
I attached them in a similar manner, then trimmed them with the router as well.

The router cannot get into the corner, so I had to clean that up by hand.

I broke away most of the excess and used a block plane and a chisel to smooth the edges.

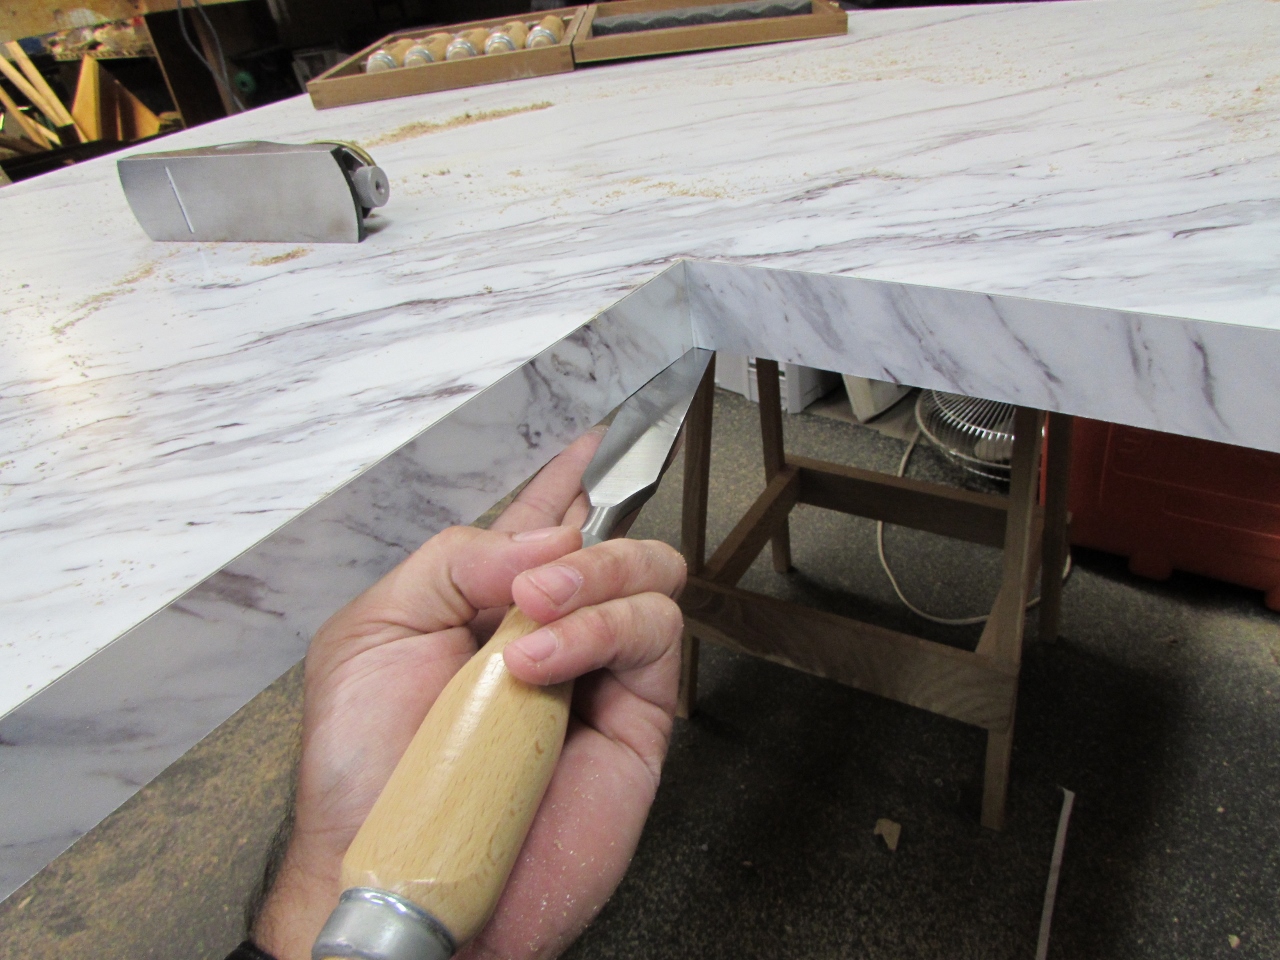

I found that my card scraper was really good at taking the sharp edges down, then I softened them with a bit of sanding.
The reason I attached red oak to the front edge, then covered it with Formica was so that I could cut a profile onto the top edge and expose an oak bead. Usually this is done with an Ogee profile, but I find that profile tends to collect crud on the edges. To make this easy to clean, I am doing a simple 1/2″ round over, flush to both faces. It isn’t as fancy, but it still looks nice.
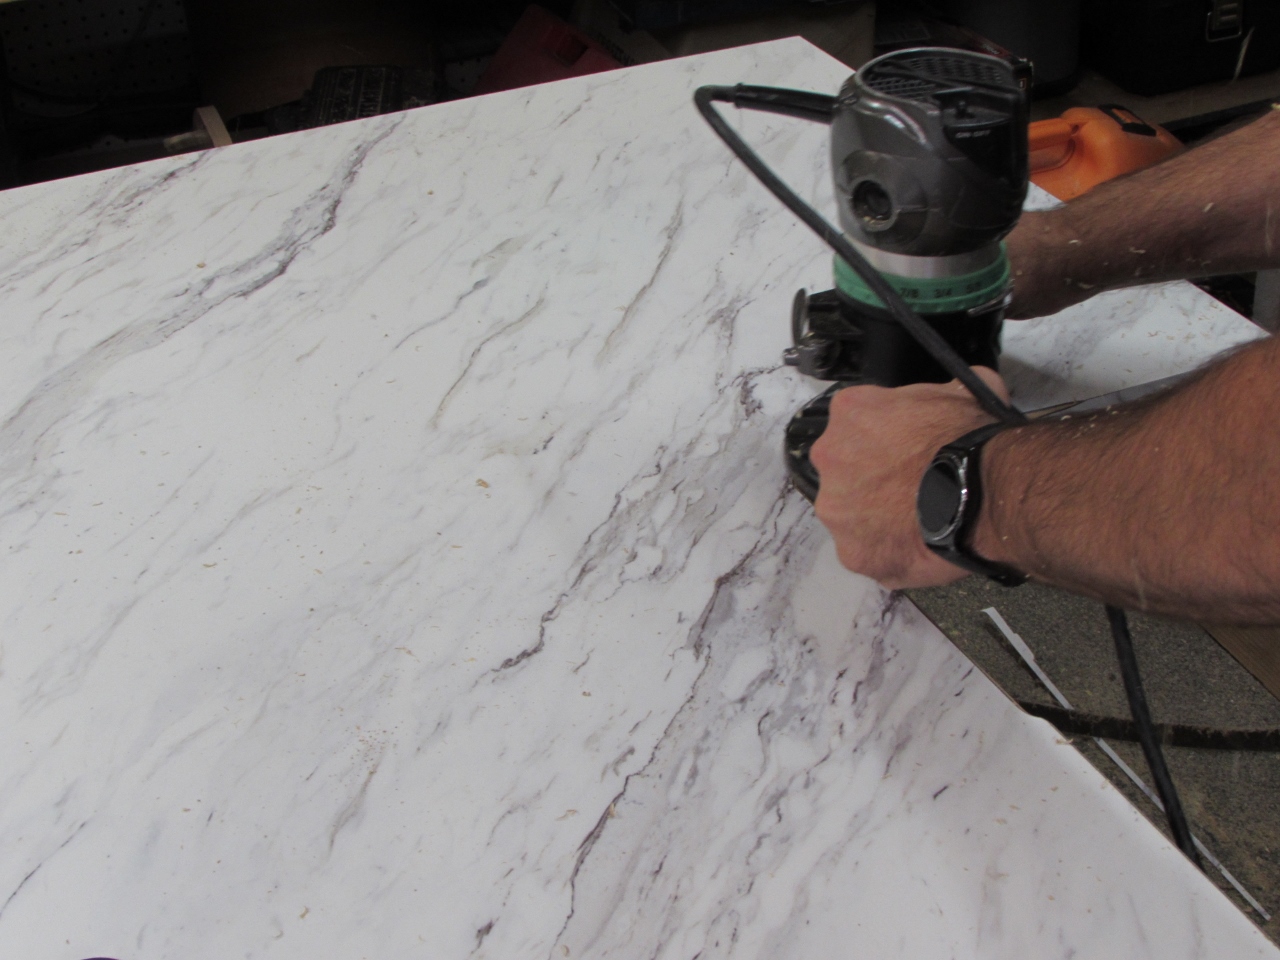
I loaded my four-bladed router bit hoping for less tear-out and chipping than you get with a standard two-blade bit.

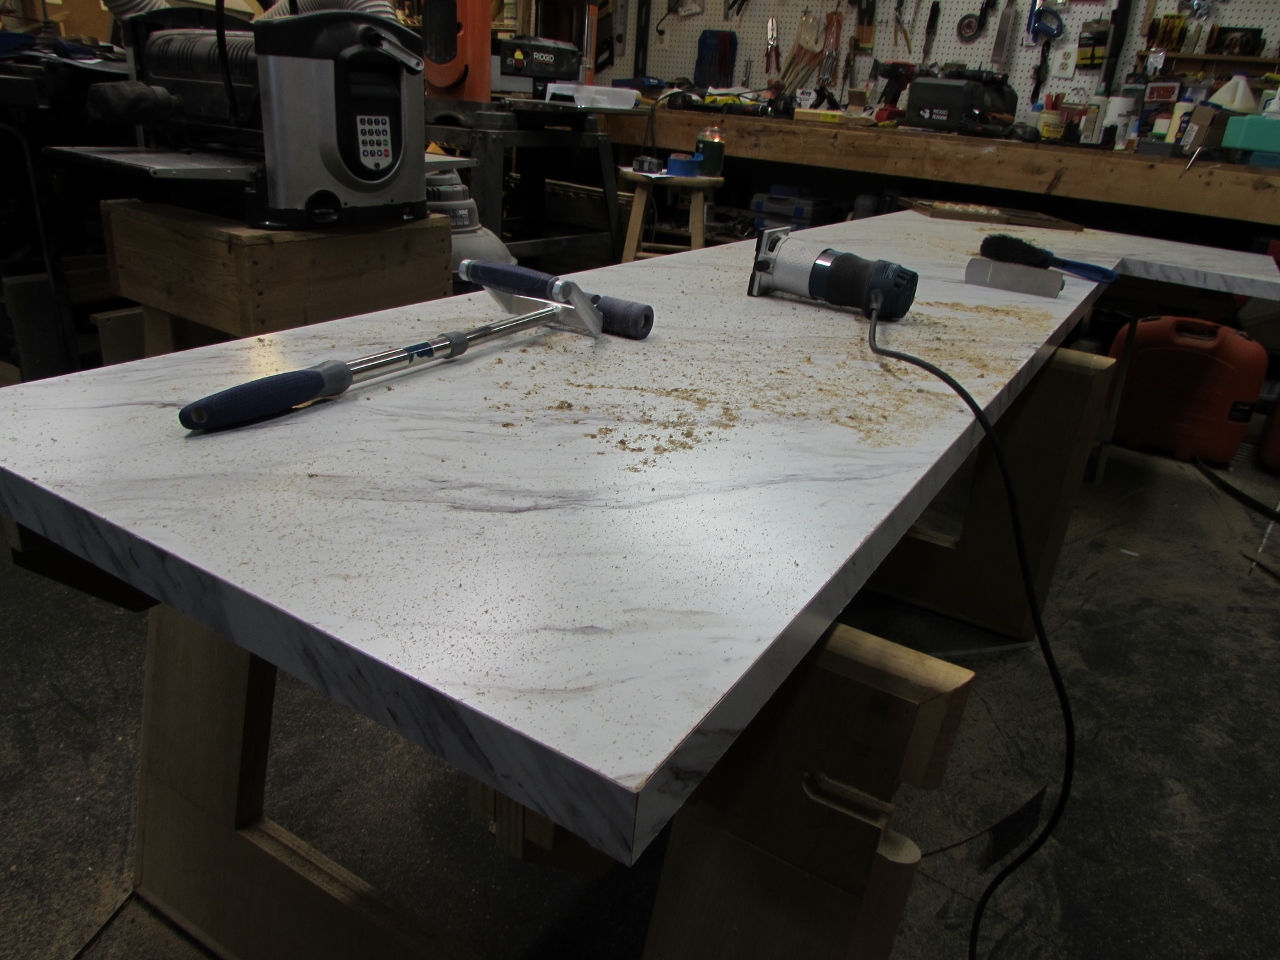
After running the router down the two edges with oak banding, I was pleased with the results.

A little sanding to soften the edges and I am ready for finish.
I have tried masking with tape and brushing on polyurethane in the past, but I have been unhappy with the results. When I peel away the tape, there is always that rough edge of finish and occasionally some peeling where it stuck better to the tape. To avoid that, you peel away the tape while it is still wet, but you can smudge the finish or still have drips.
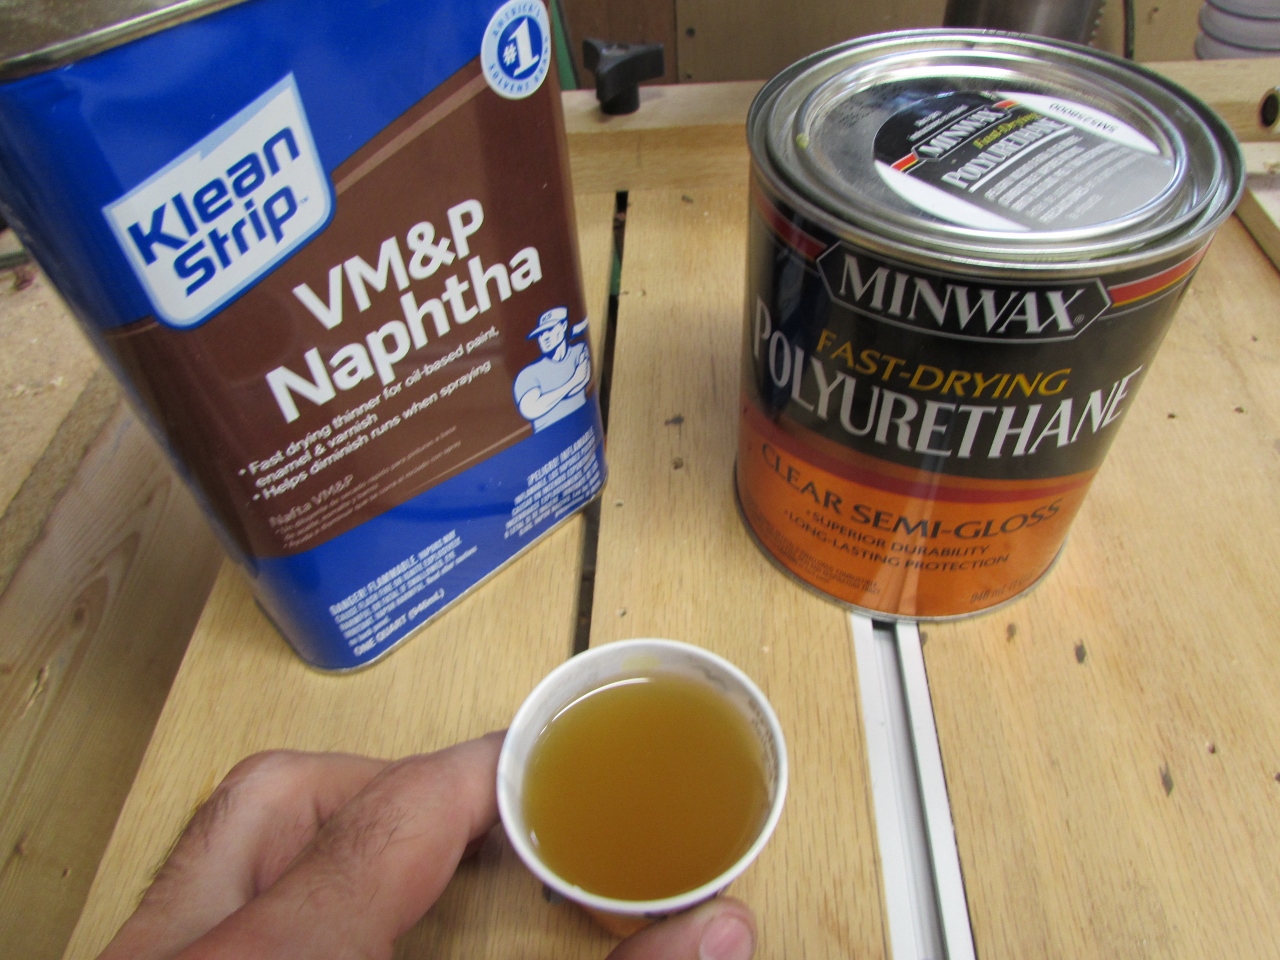
To avoid this, I am just mixing up a wiping poly 50/50 Naphtha and poly. I just dip in the cloth and carefully coat the bead. Several light coats and it is good to go.

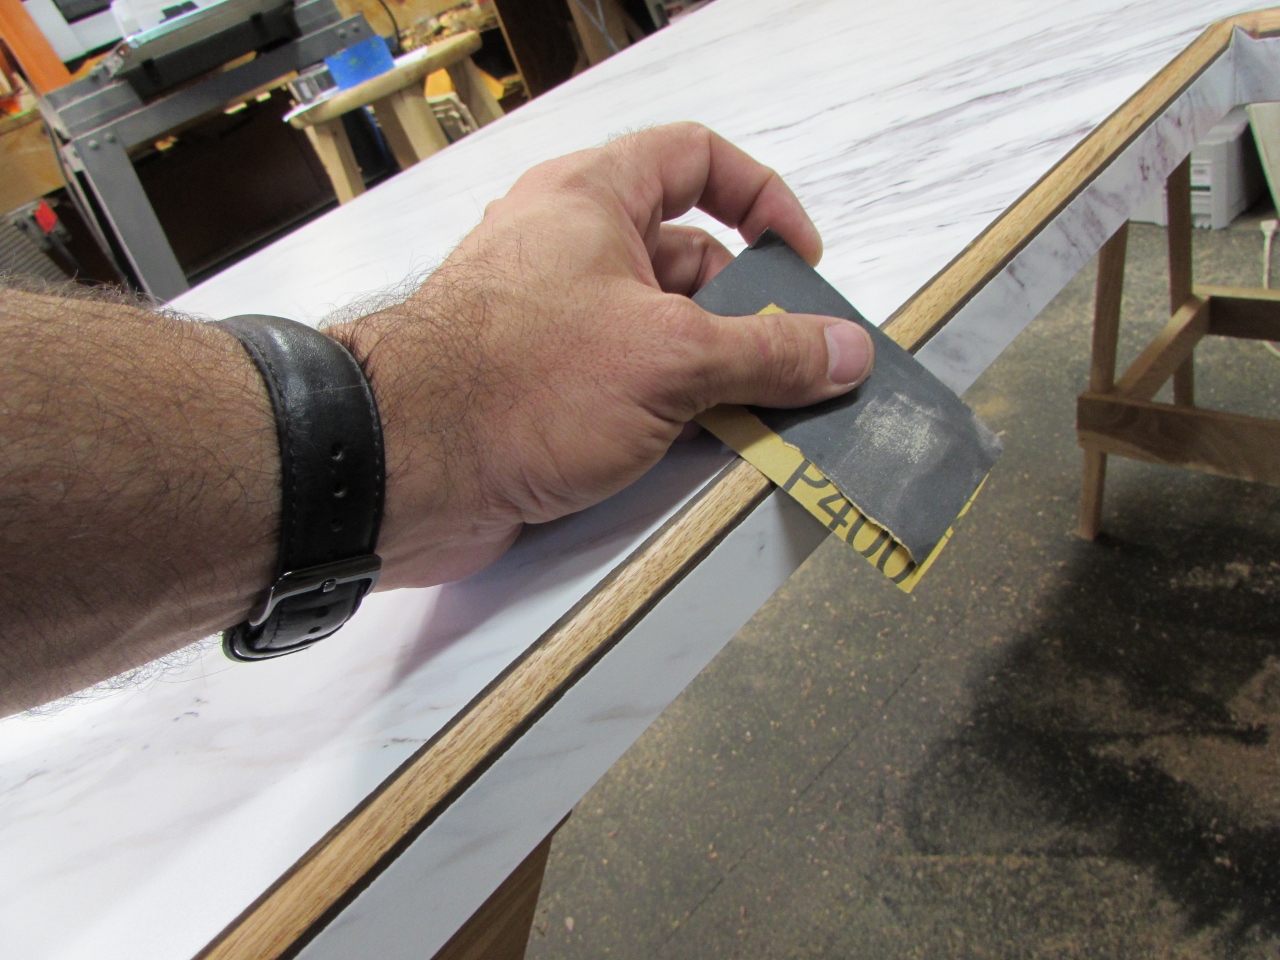
I also applied several coats to the side that goes up against the wall, just in case water ever gets back there.


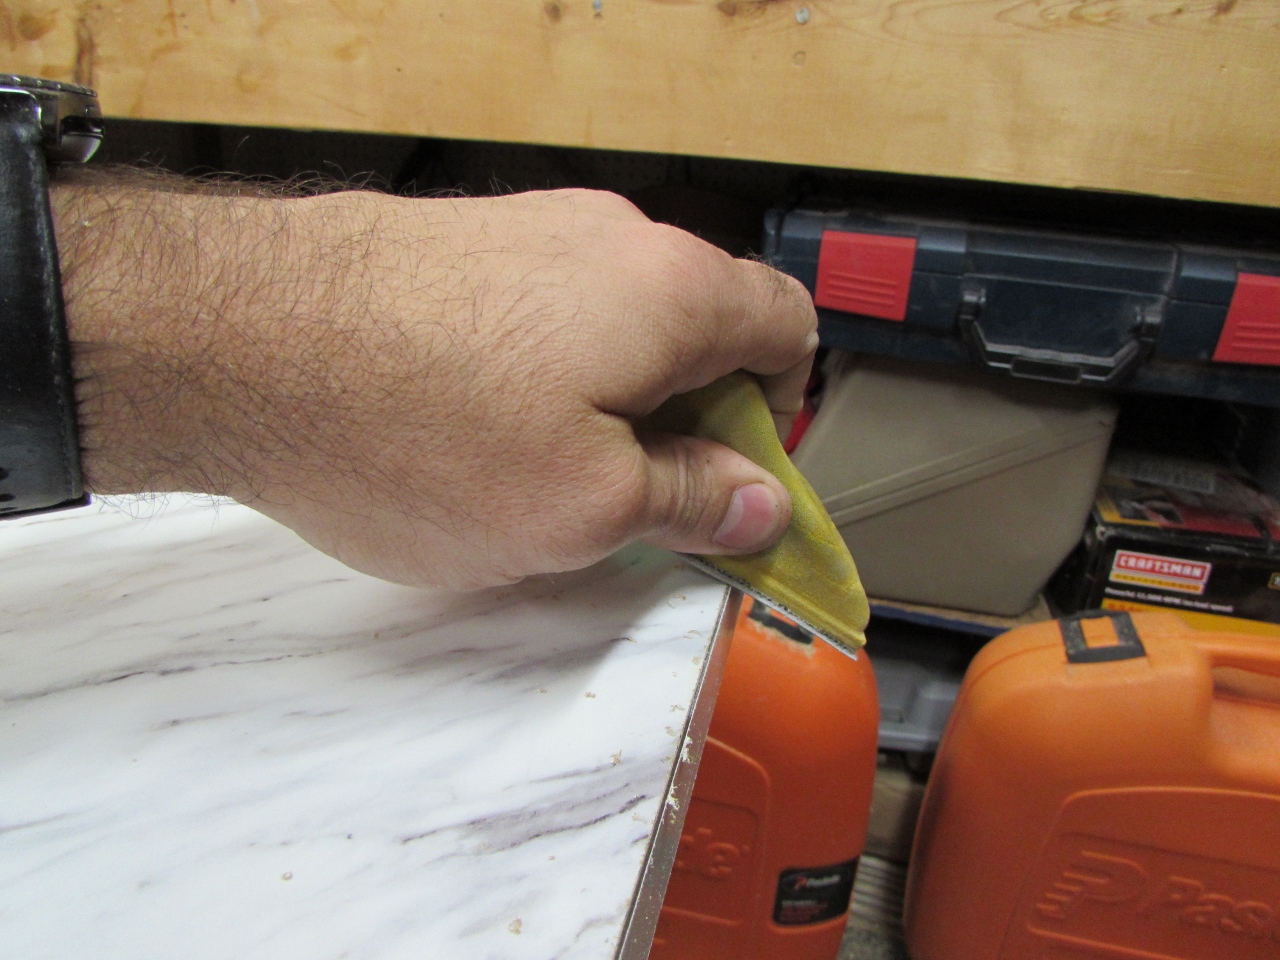
Between each coat, I rough the surface with 400 grit paper, just to keep the dust nibs down.
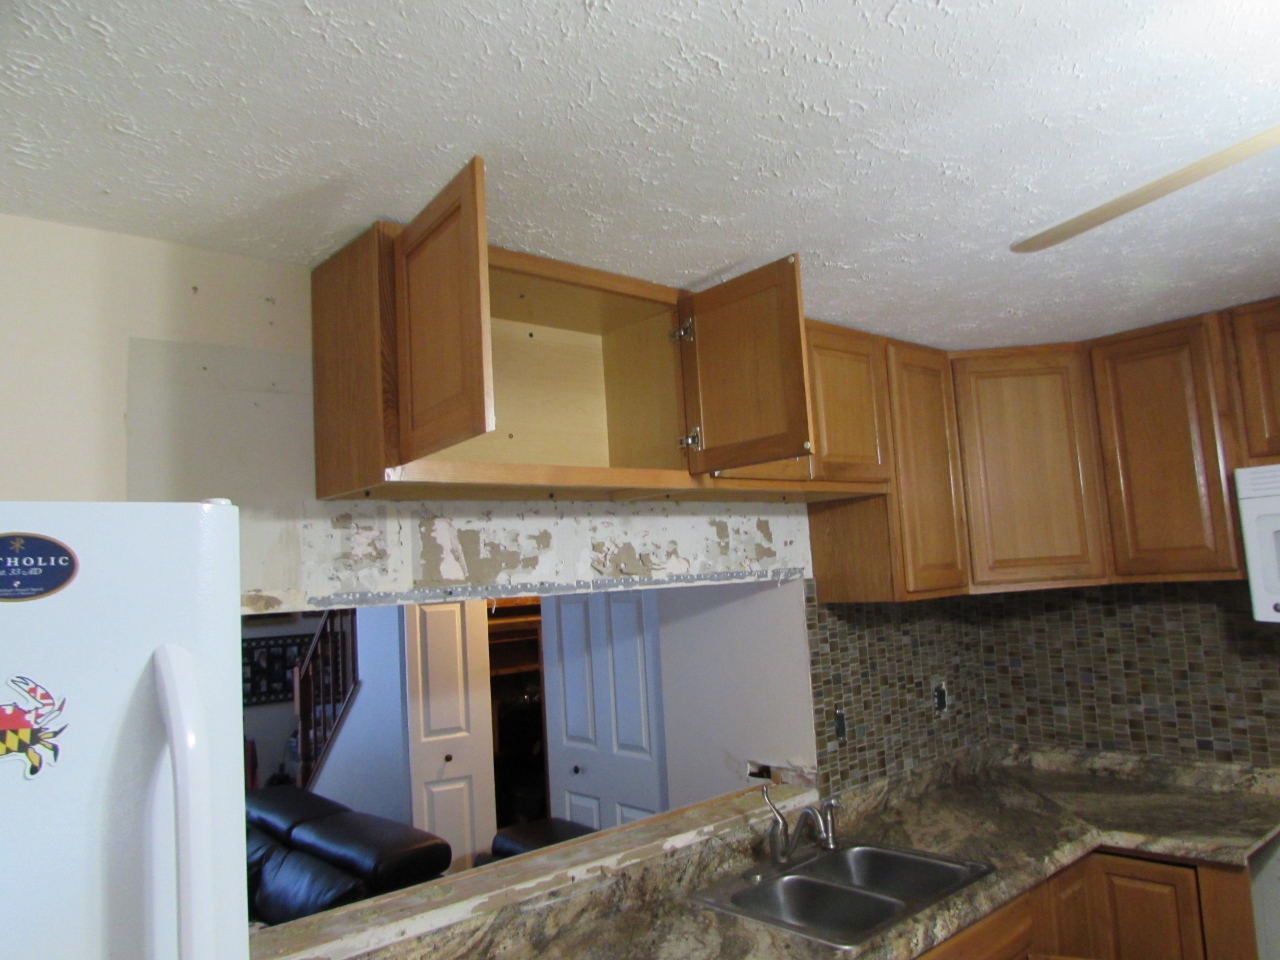
With the counter top done, as far as I can take it, I need to get into the kitchen and locate the sink.

To do that, I need to pull out this old counter top and swap out the sink base with a bigger one.
I forgot to take pictures, but it was fairly simple to cut out the hole for the sink. Each sink comes with a paper template. I located the base cabinet by tracing a line inside the cabinet on the bottom of the counter. I flipped the top over and attached the template, centered on the base cabinet location. Then I just cut out the opening with my jigsaw.
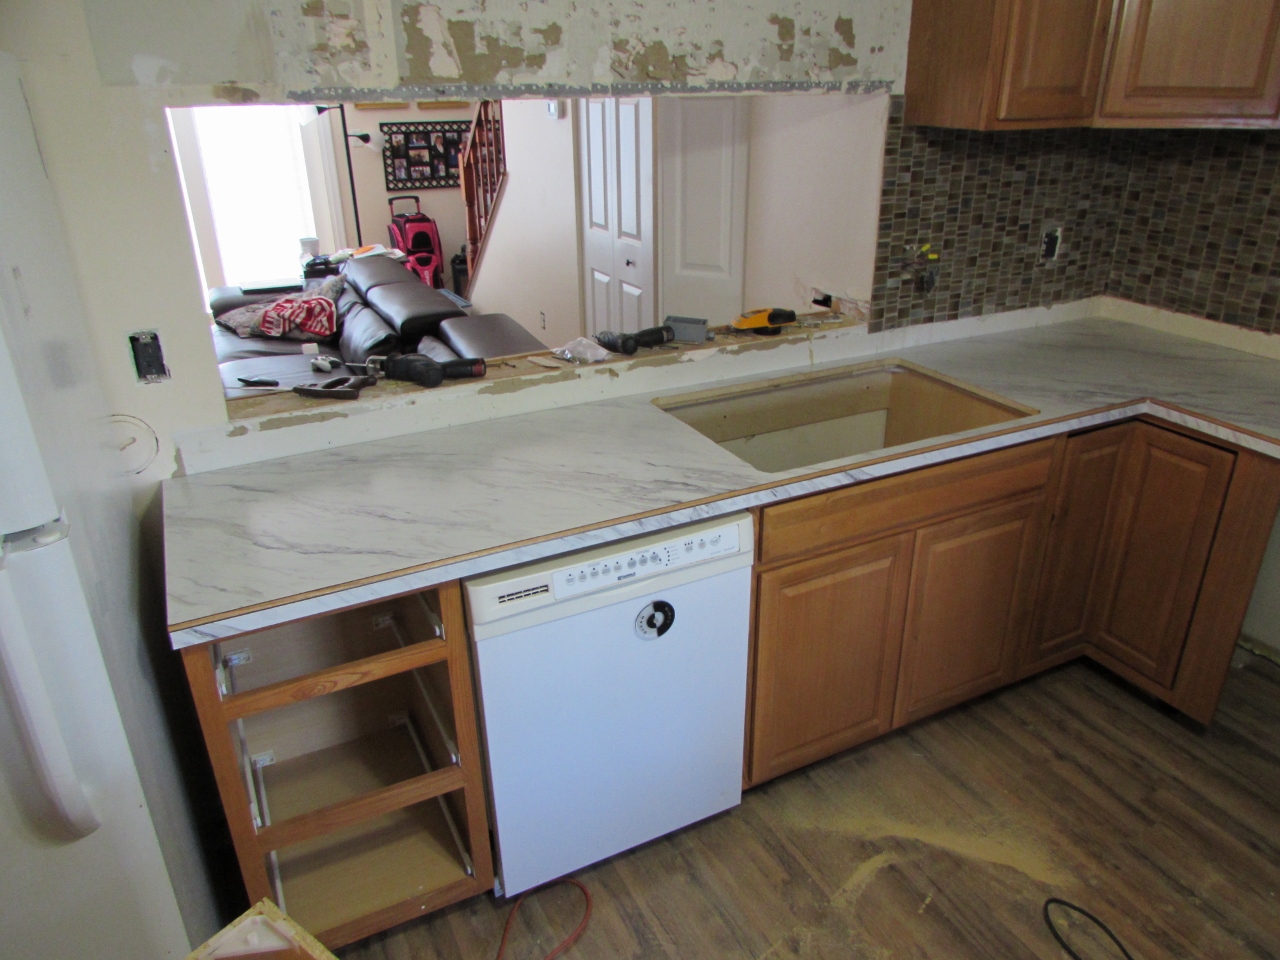
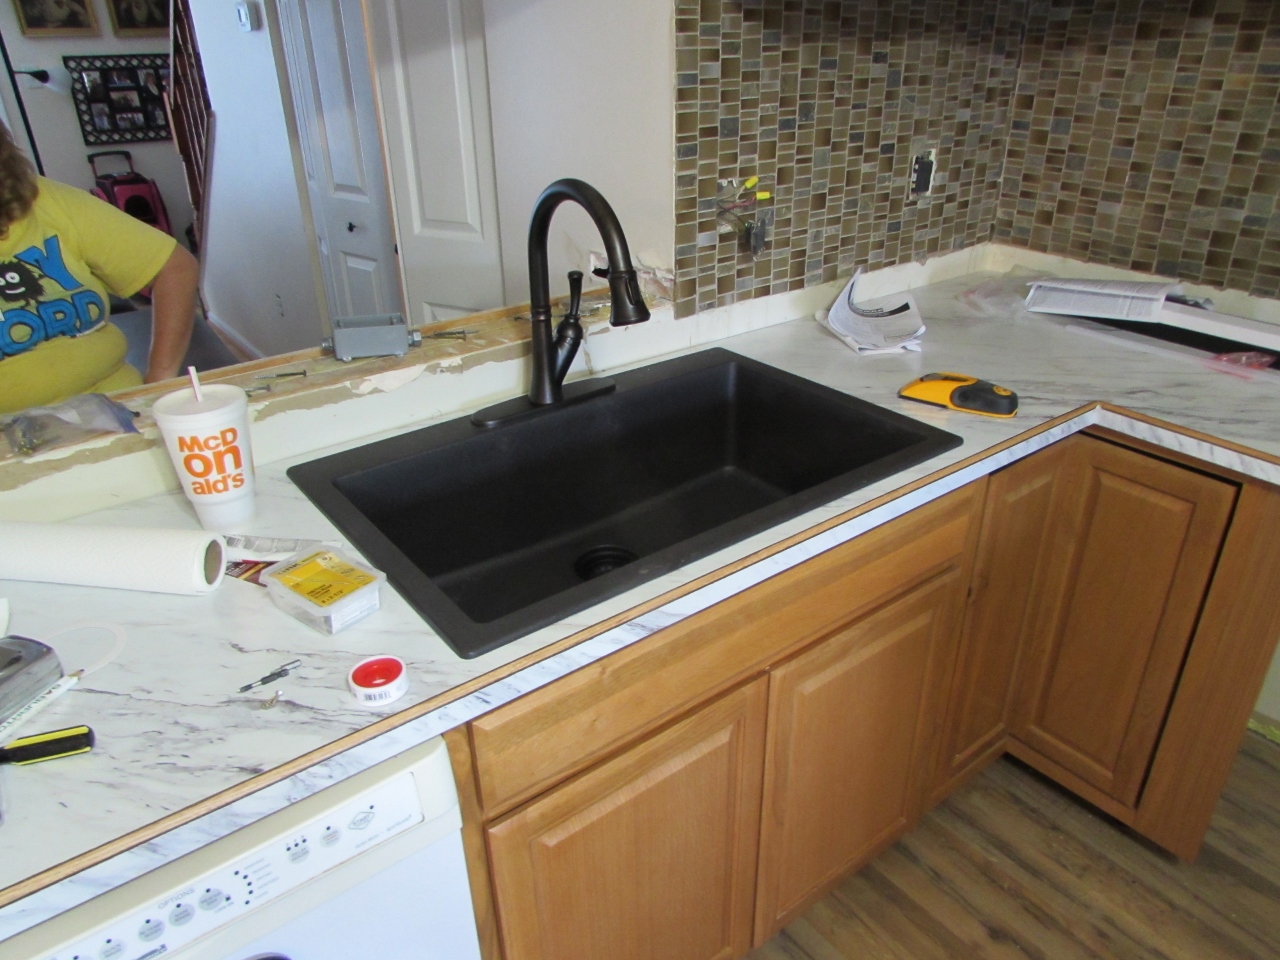
Once the hole was in, I dropped in the sink for a test fit.

Margie now has a huge sink.
We removed and installed some new cabinets, and installed some under-cabinet lighting. We still need to case the pass-through opening with oak and add a back splash, but the kitchen is functional and a lot brighter now, and under budget.


Very nice.Your craftsmanship is inspiring.
Beautiful work and thank you very much my kitchen looks beautiful again and is functional. Great craftsmanship