
Building a Cajon
My oldest son Eric, sent me an online article a few months back, showing how to build a cajon. Since he likes to play drums, he asked if it was something that we could build in the shop, then he would have a portable one that he could take back to school with him. A cajon is basically a box shaped percussion instrument that you can sit on. There were several examples online, so we drew a few ideas from each article and combined them into our version.

I have a lot of scrap plywood lying around, some of it cabinet grade, and some not. I decided to use all cabinet grade plywood for this build, since I could mainly use stuff I already had. The sides and top will be made from 1/2″ birch plywood. The rear will be a piece of 1/4″ white oak plywood, and the only piece of wood we had to buy was an 1/8″ thick piece of Baltic birch for the front. Our version will be approximately 12″ x 12″ x 18″ tall. The size can vary, but this will fit into a backpack style carrying case that Eric found on Amazon.com.

The top and side panels will get a 1/4″ rabbet cut on three of the sides. The only side that won’t get the rabbet will be the front.
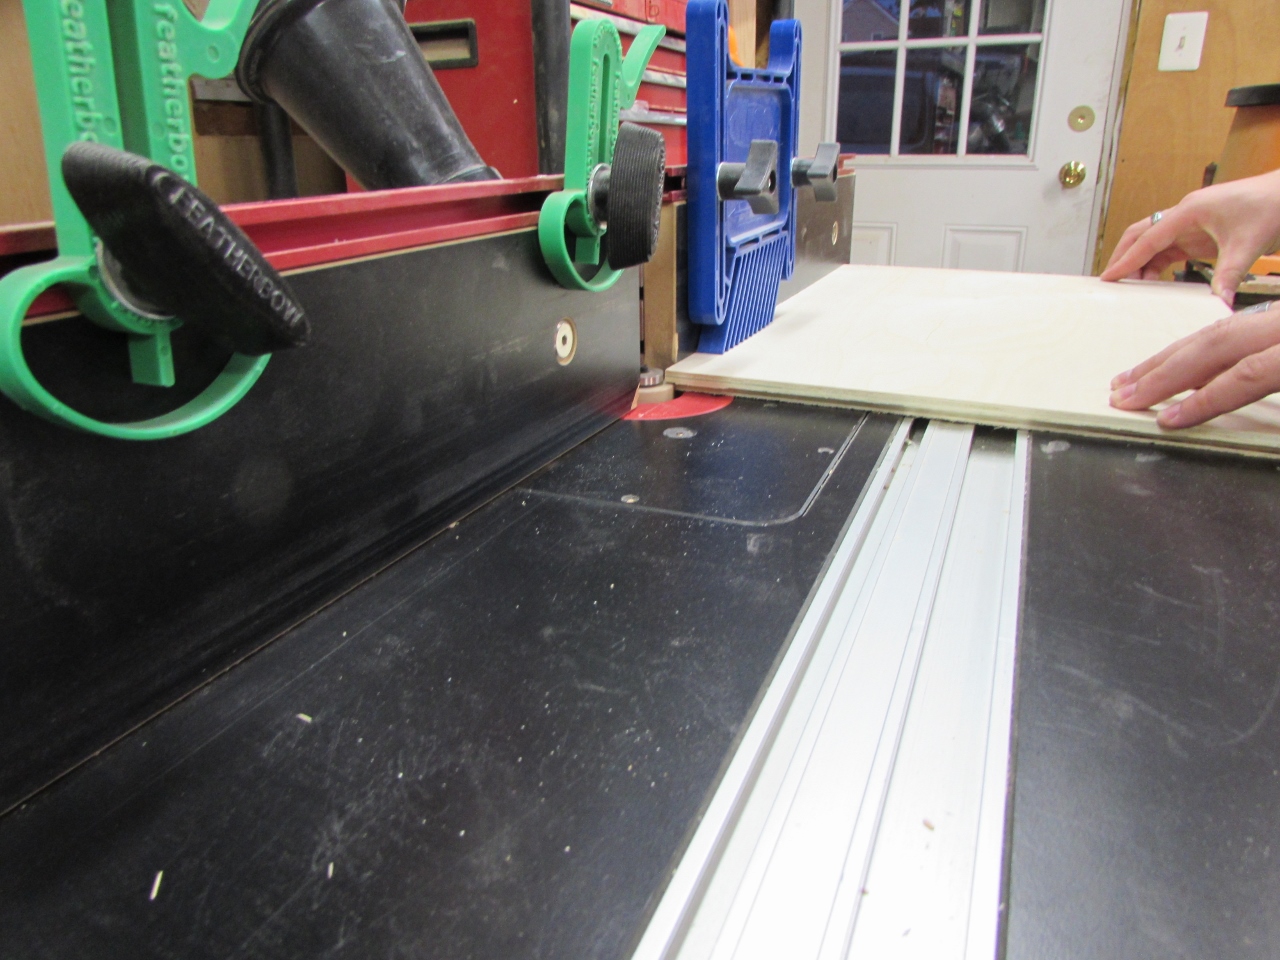
After cutting the rabbets on the router table, we applied glue to them and assembled the top and the sides.
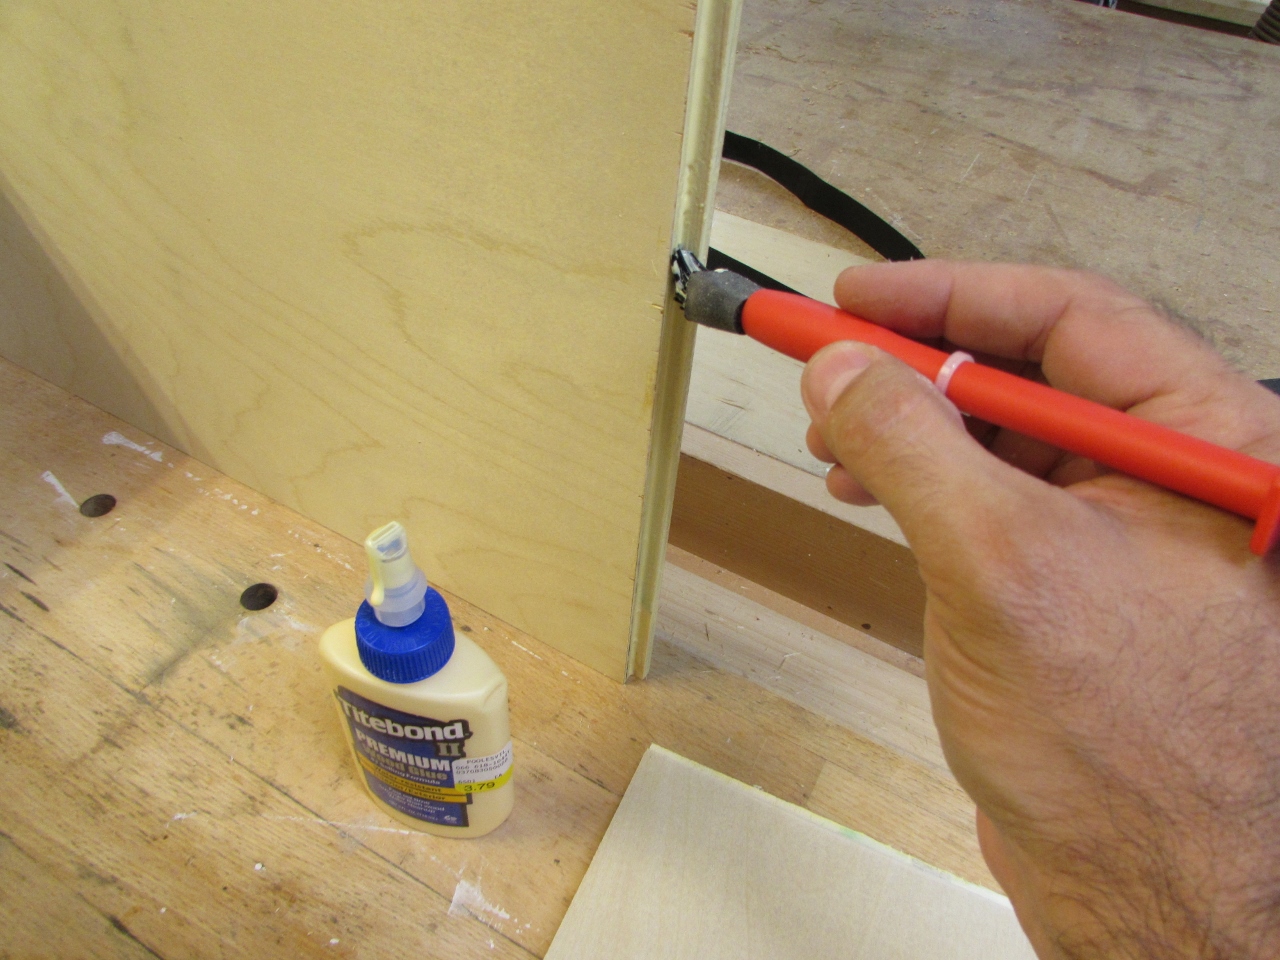

After we clamped it up and made sure it was square, we applied glue to the back rabbet.

We pressed the back panel into place, and I used the pin nailer to hold it.

Before attaching the front panel, we cut a few square blocks to glue into the corners, to act as gussets. This will add a little extra glue surface to the corners, hopefully adding to the strength. We want the cajon to be light, but it needs to be strong enough to hold a person as well.
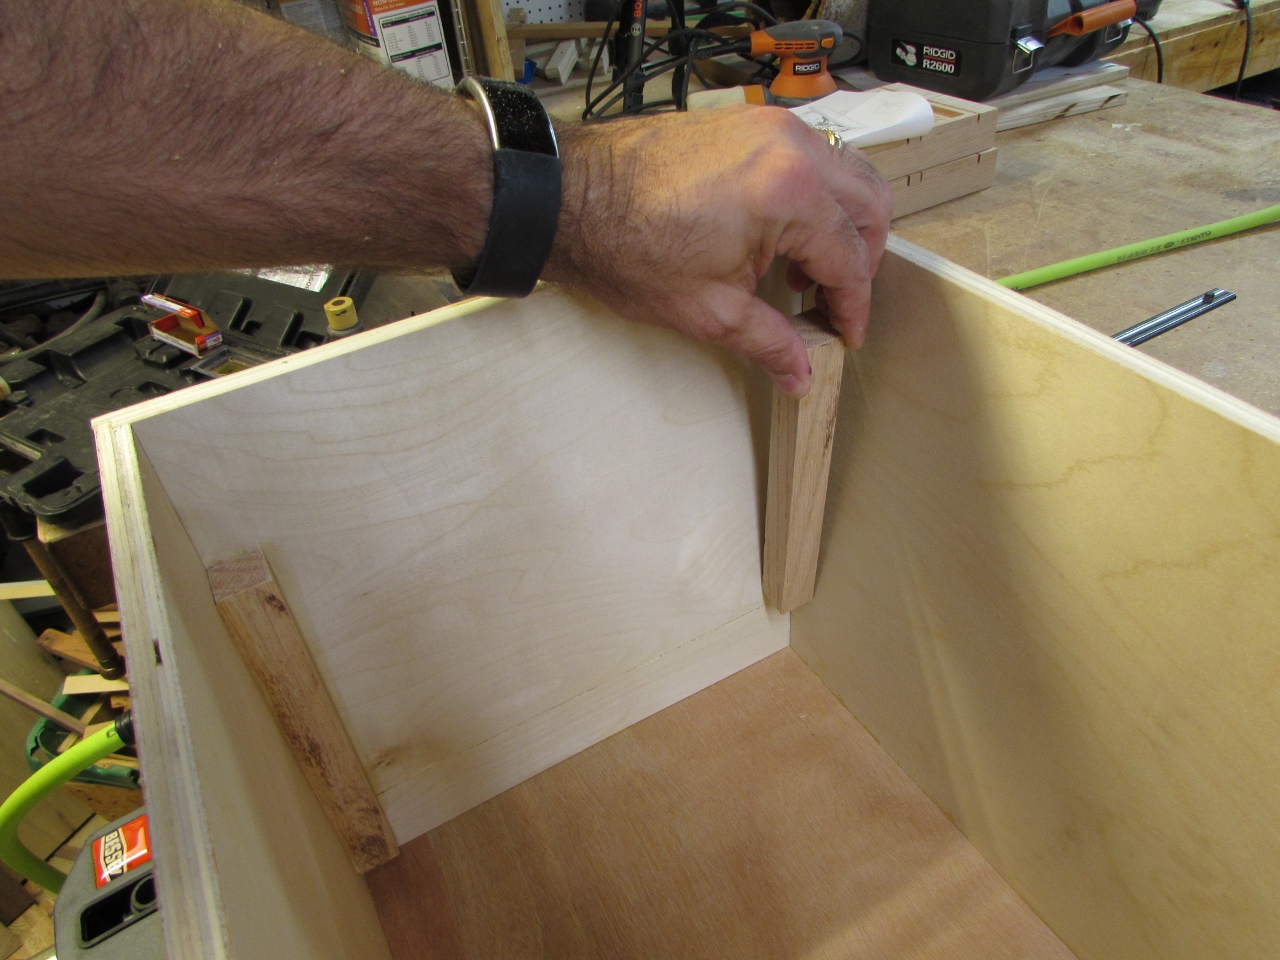
I pinned the gussets into place as well, then let everything dry.


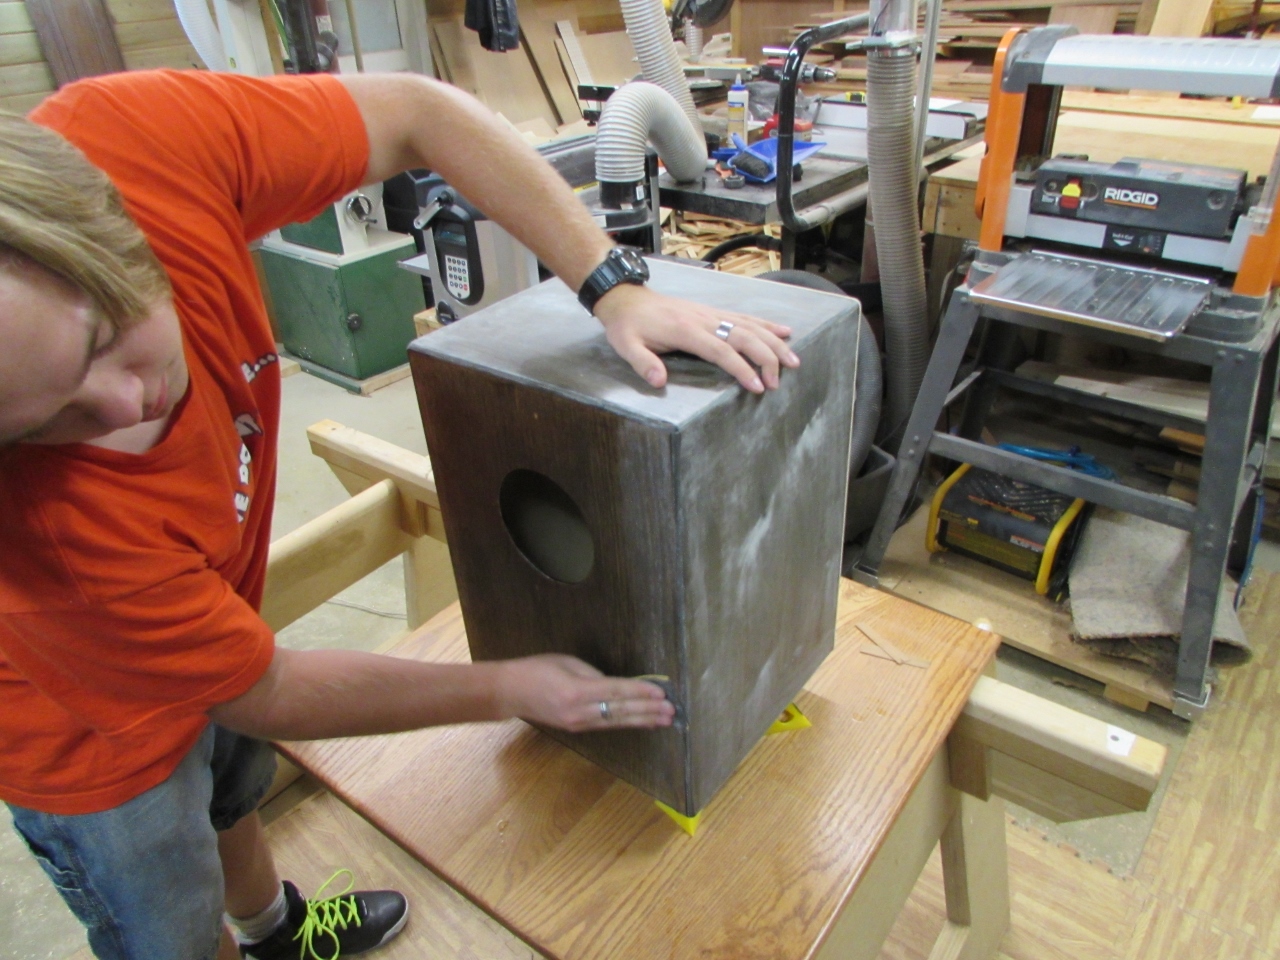
While that was drying we cut a 4.5″ sound hole about 1/3rd of the way down, from the top, on the back side. I used a small drum sander, attached to my drill, to clean it up.

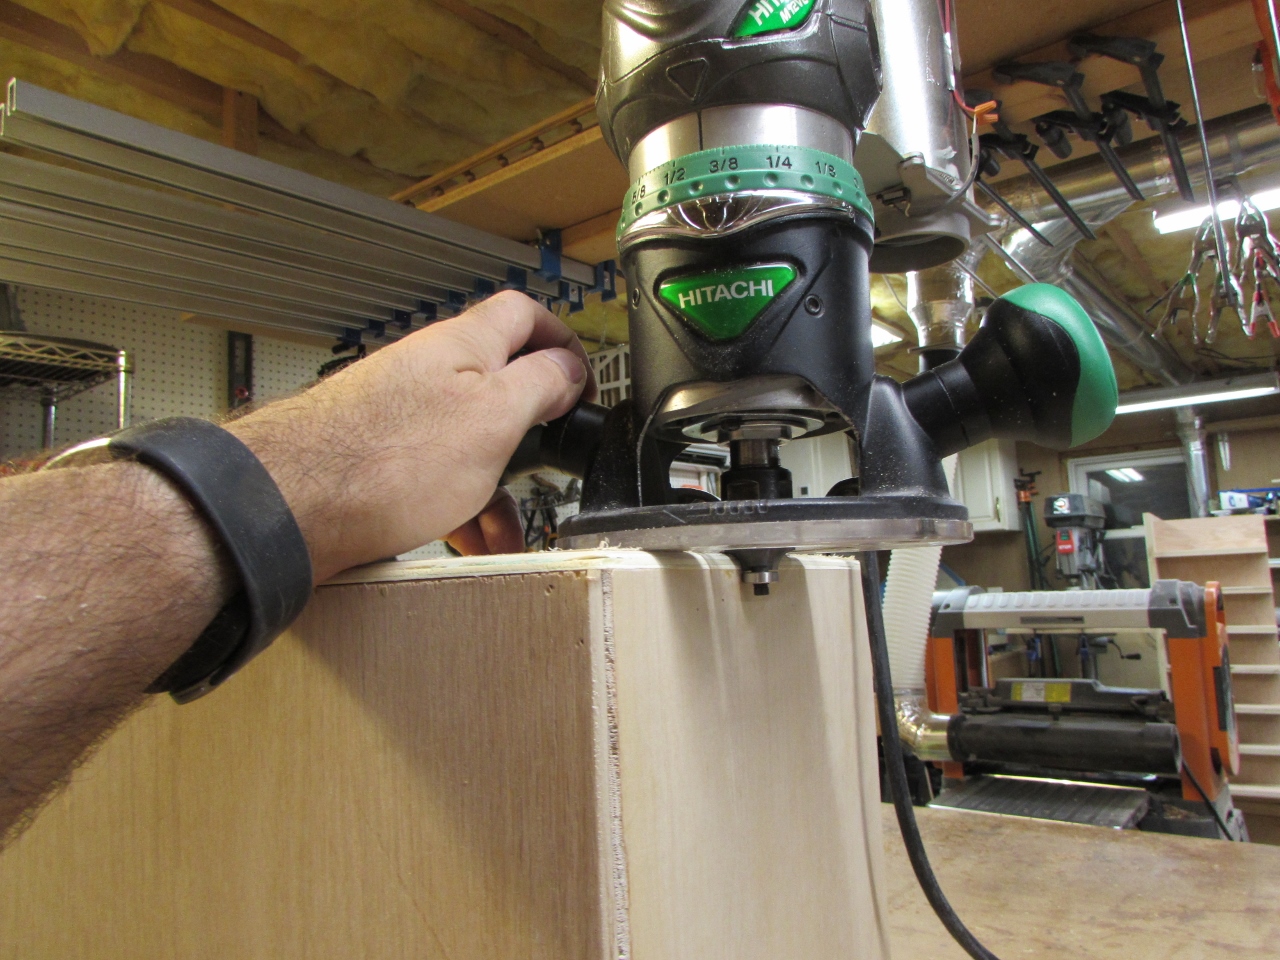
Eric used my router to add a 1/4″ round-over to all the corners (except the front). I deliberately did not pin nail these panels together because I did not want to hit the nails with the router. After a little sanding, the main part of the box was ready for finish.

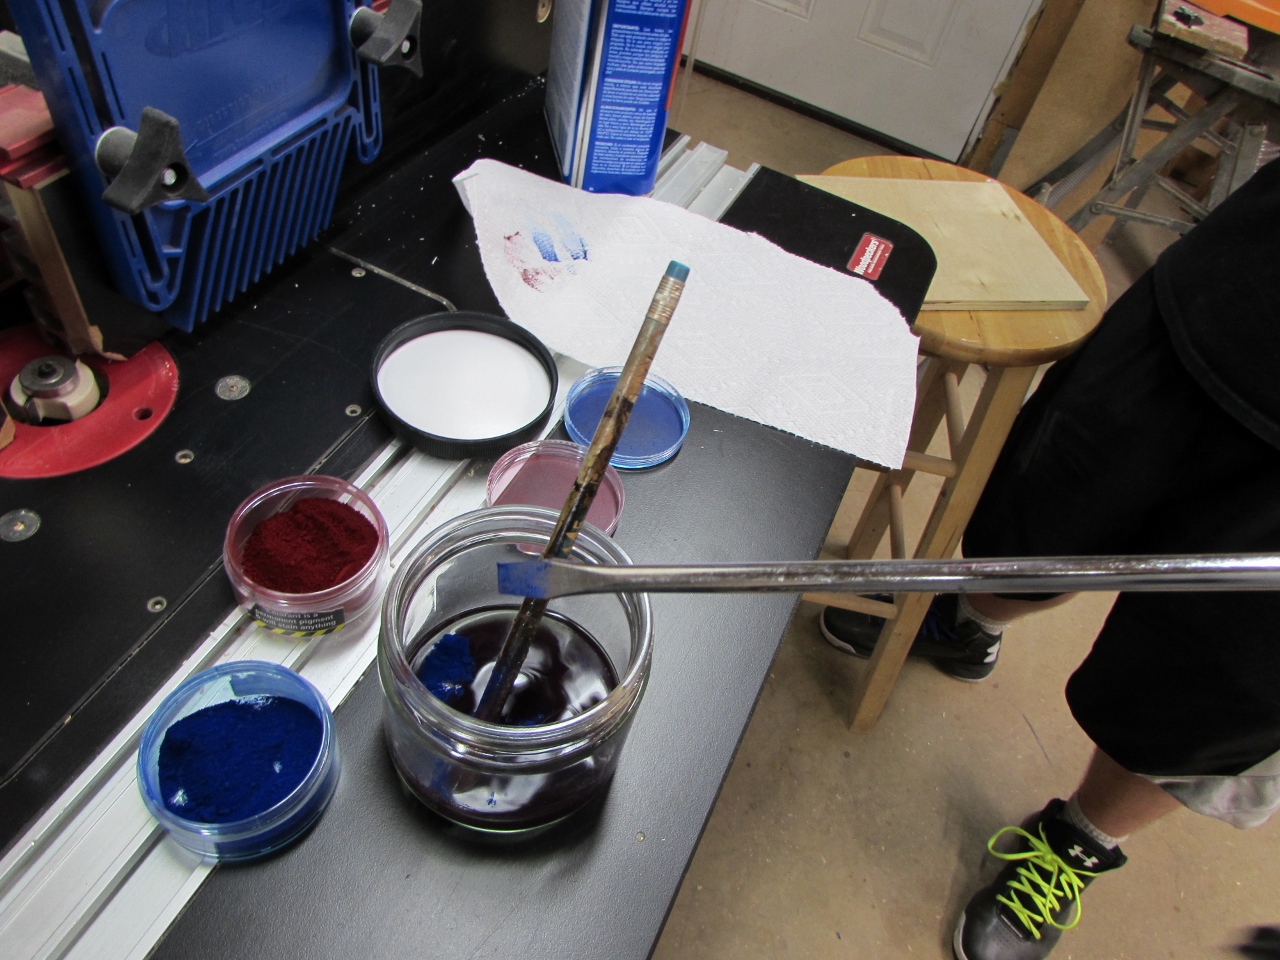
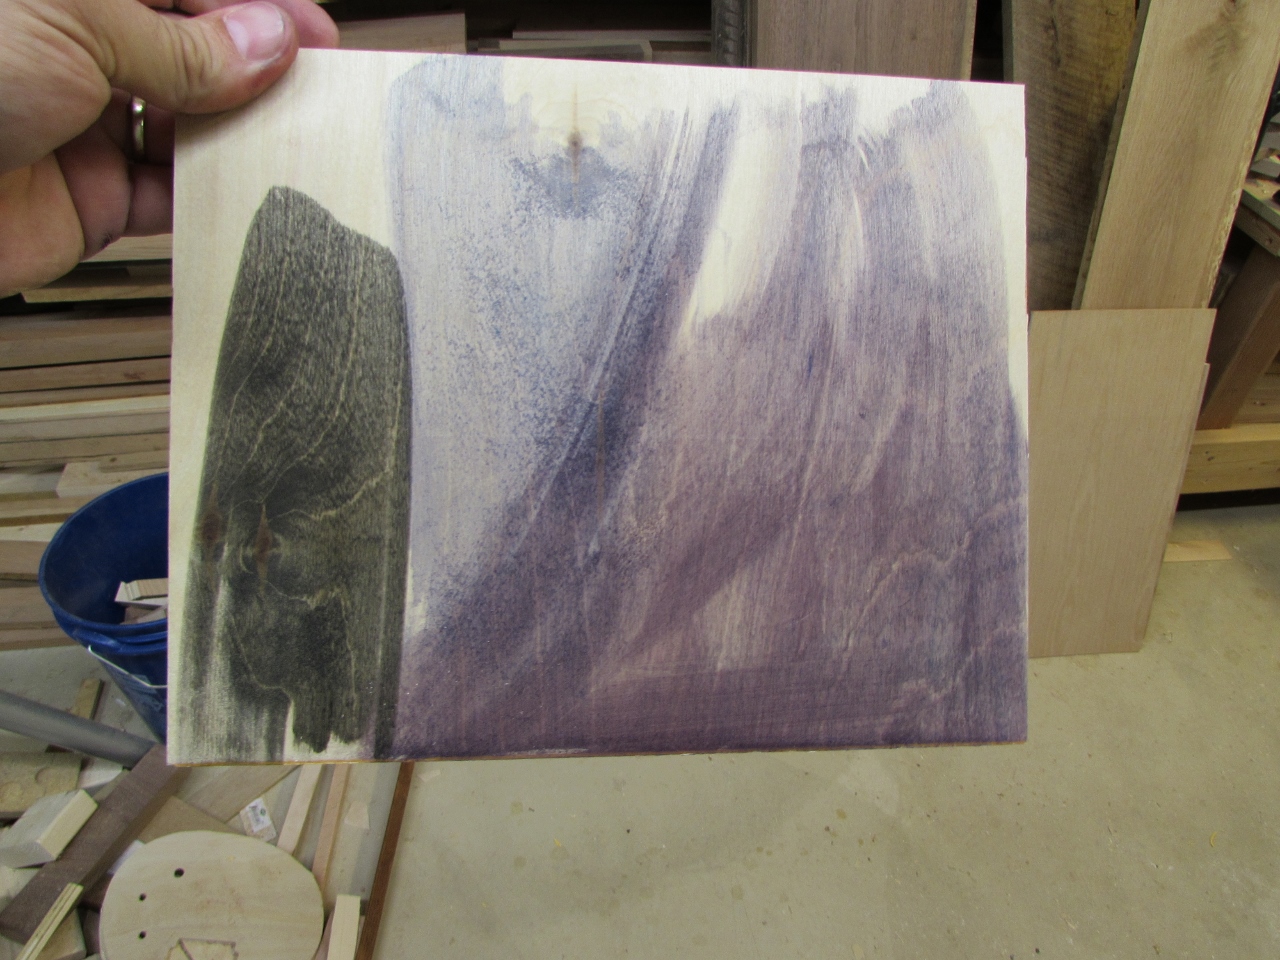
Eric wanted something other than brown stain on the wood, so we attempted to make a purple dye by mixing blue and red pigments, that I had, into denatured alcohol.

The attempt went badly, as you can see. Since those were the only pigments I had to play with, we abandoned the idea and went with an Ebony stain that I found, in the back of my finish cabinet.
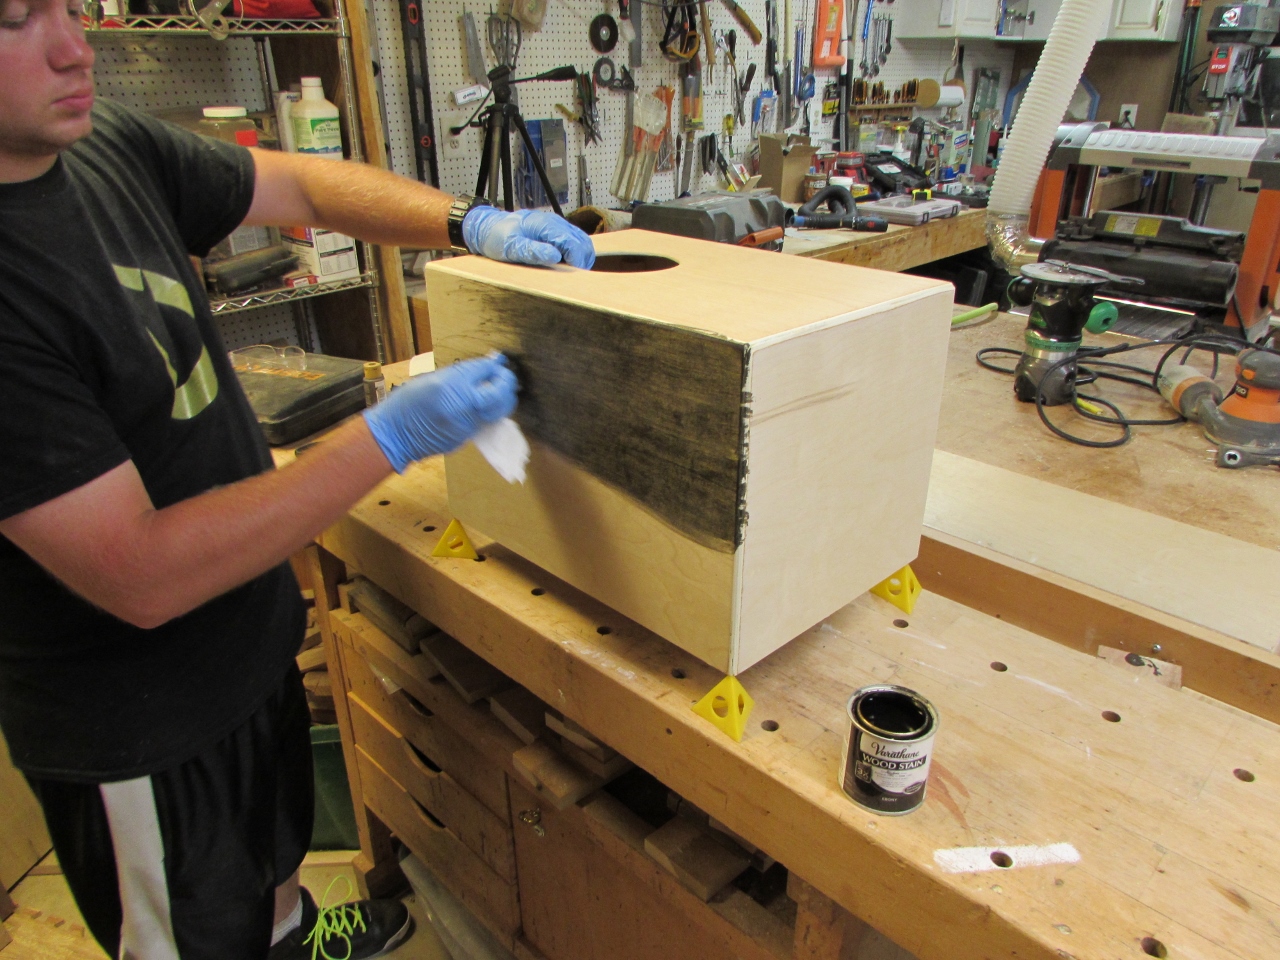
Eric rubbed it on with a scrap of an old Tee-shirt, then we let it sit to cure for a day.

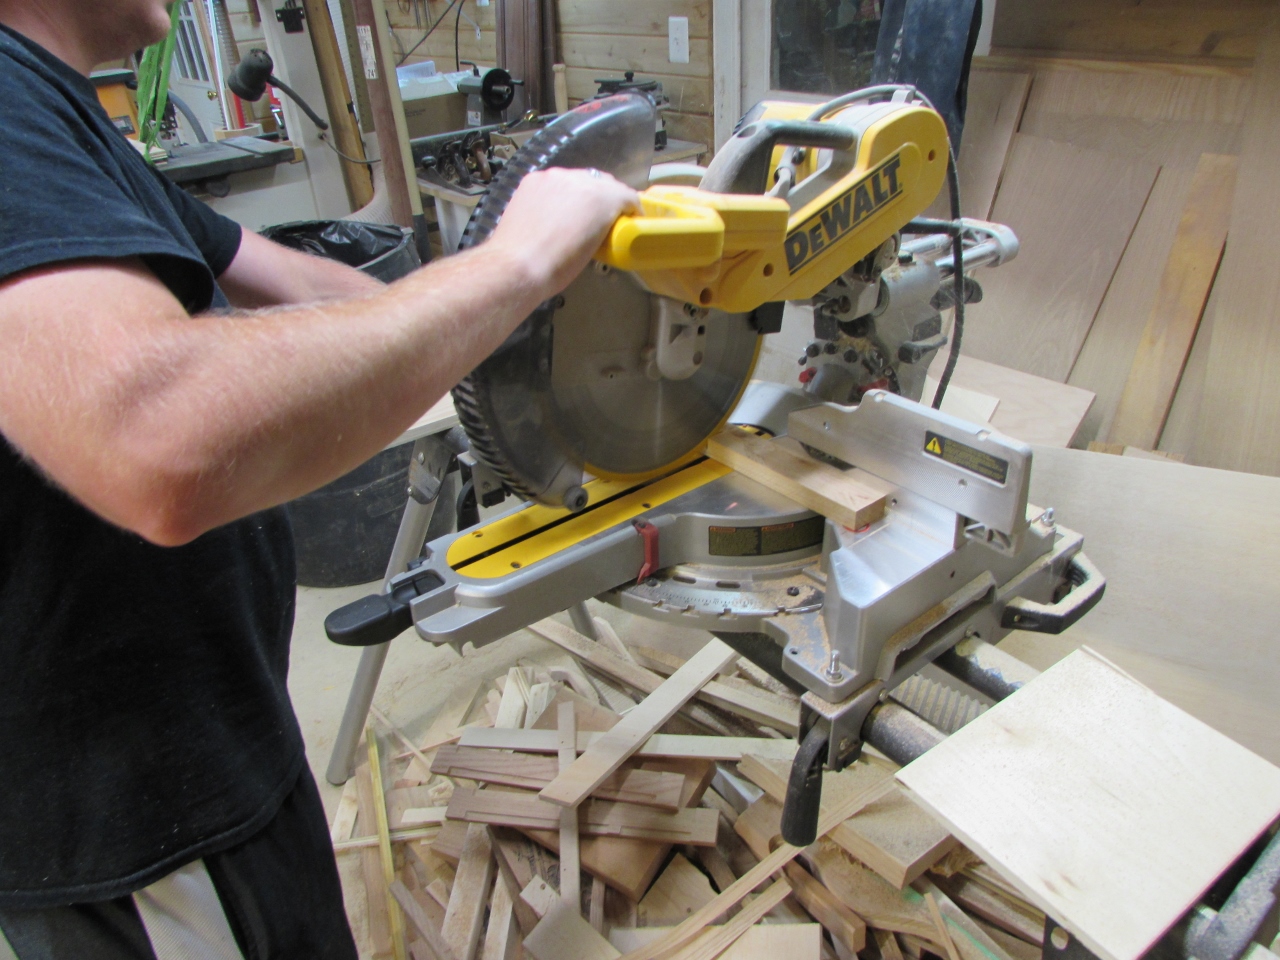
The main box was now done, so it was time to turn our attention to the front panel. Eric saw that you can add a snare to the front to give a different sound when you slap it down toward the middle. It required buying the snare for a snare drum, and cutting it in half.


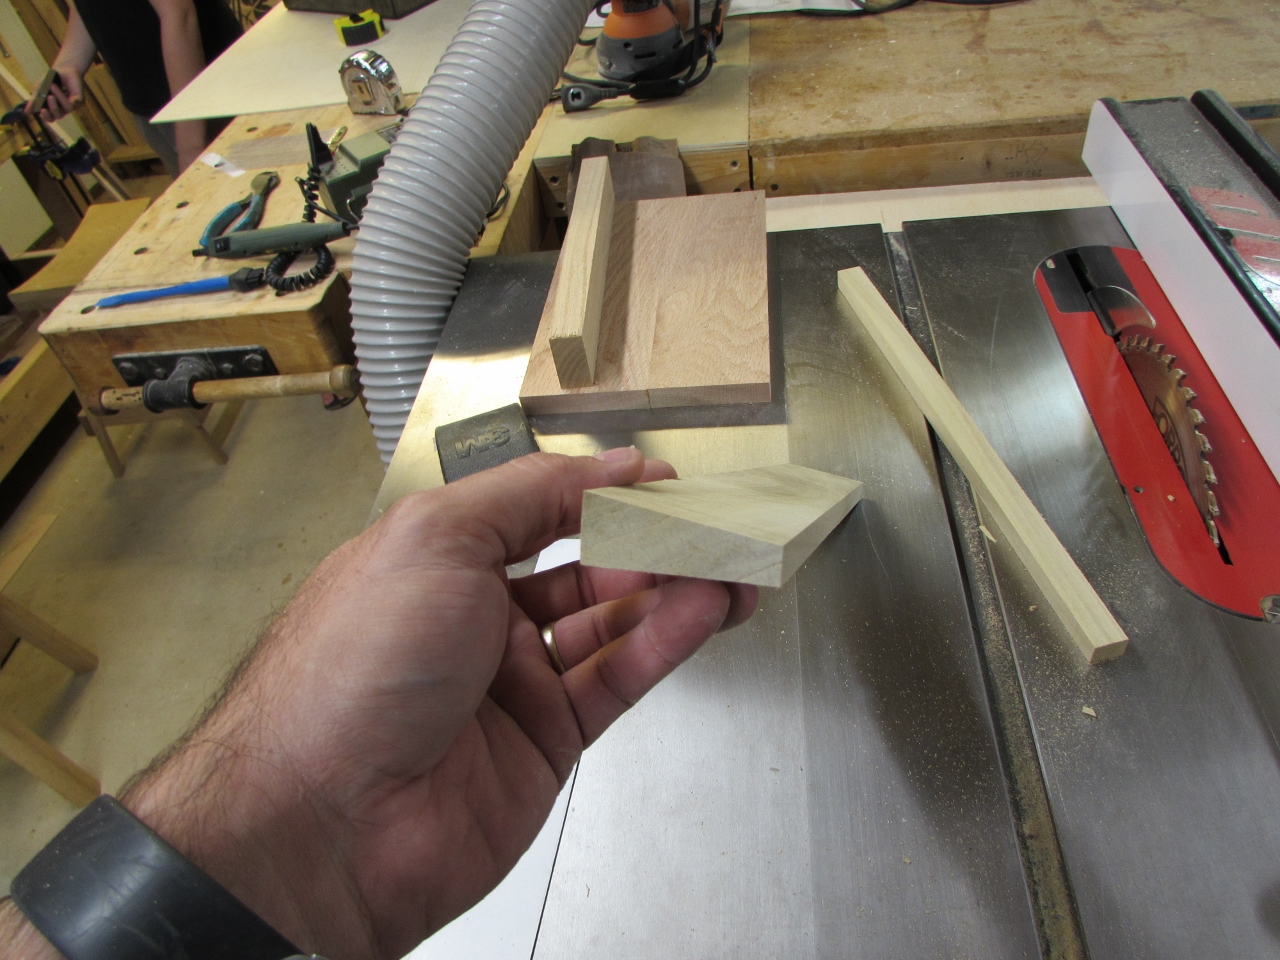
I wanted a softer piece of wood to attach the snare to, so I cut an angle onto a piece of poplar, then cut it to the width of the inside of the box.

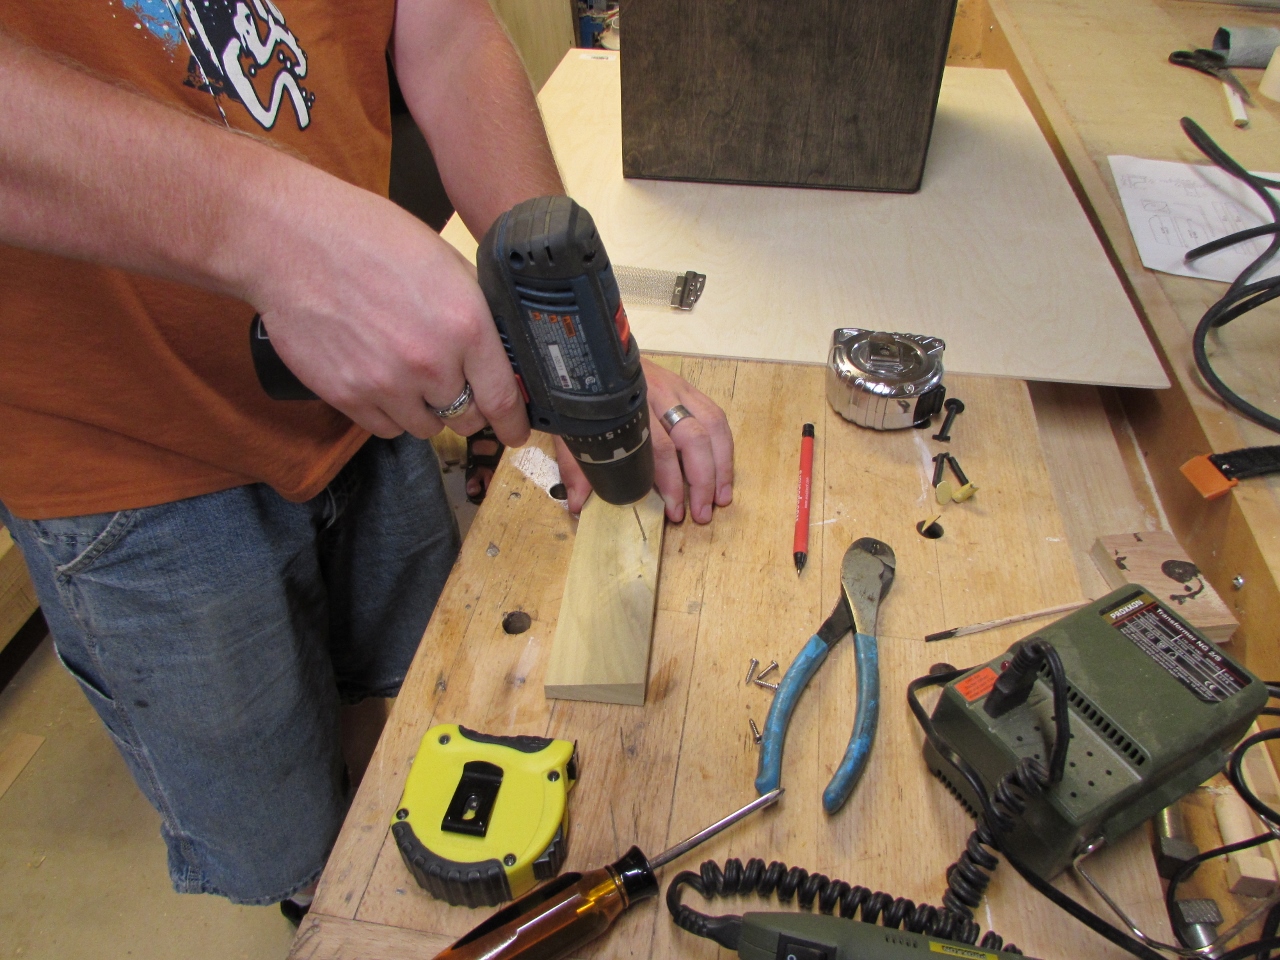
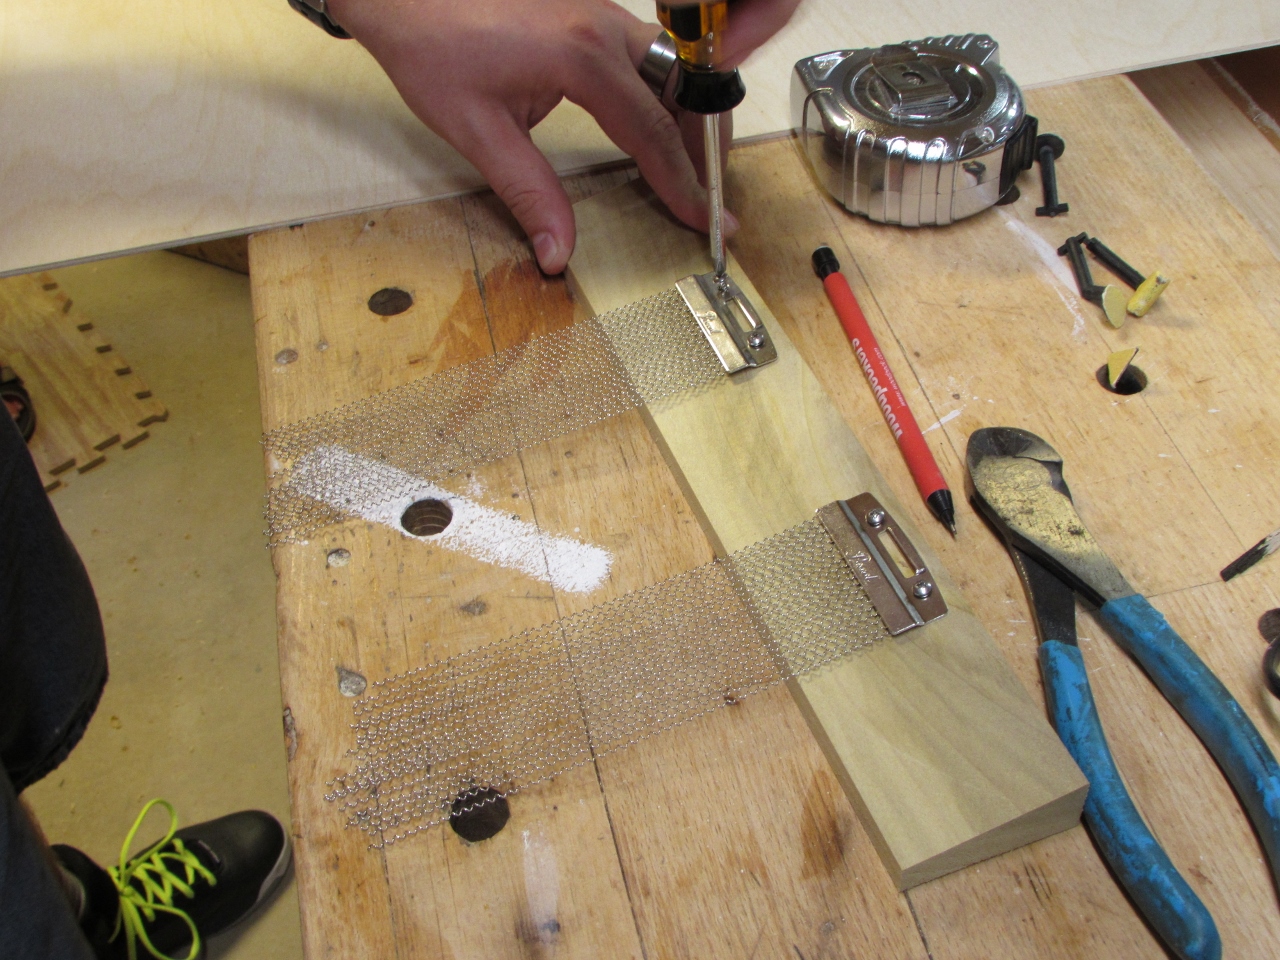
Eric marked, drilled, and screwed the snare ends to the piece of wood.
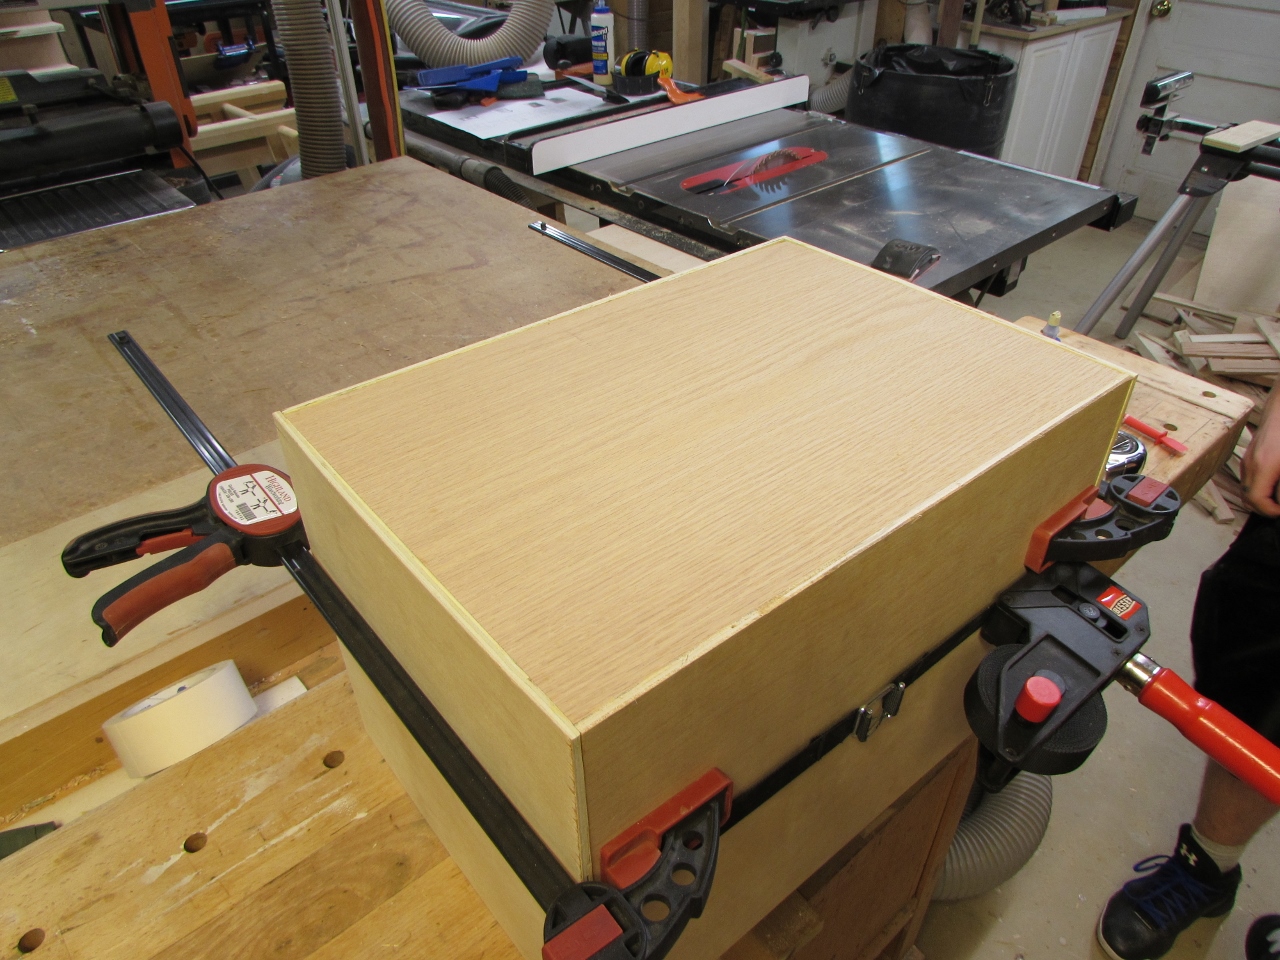
Then I reversed the end on one of my clamps to make it push apart the sides of the cajon. I did this so I could set the cross-bar in place without smearing the glue all over the sides.

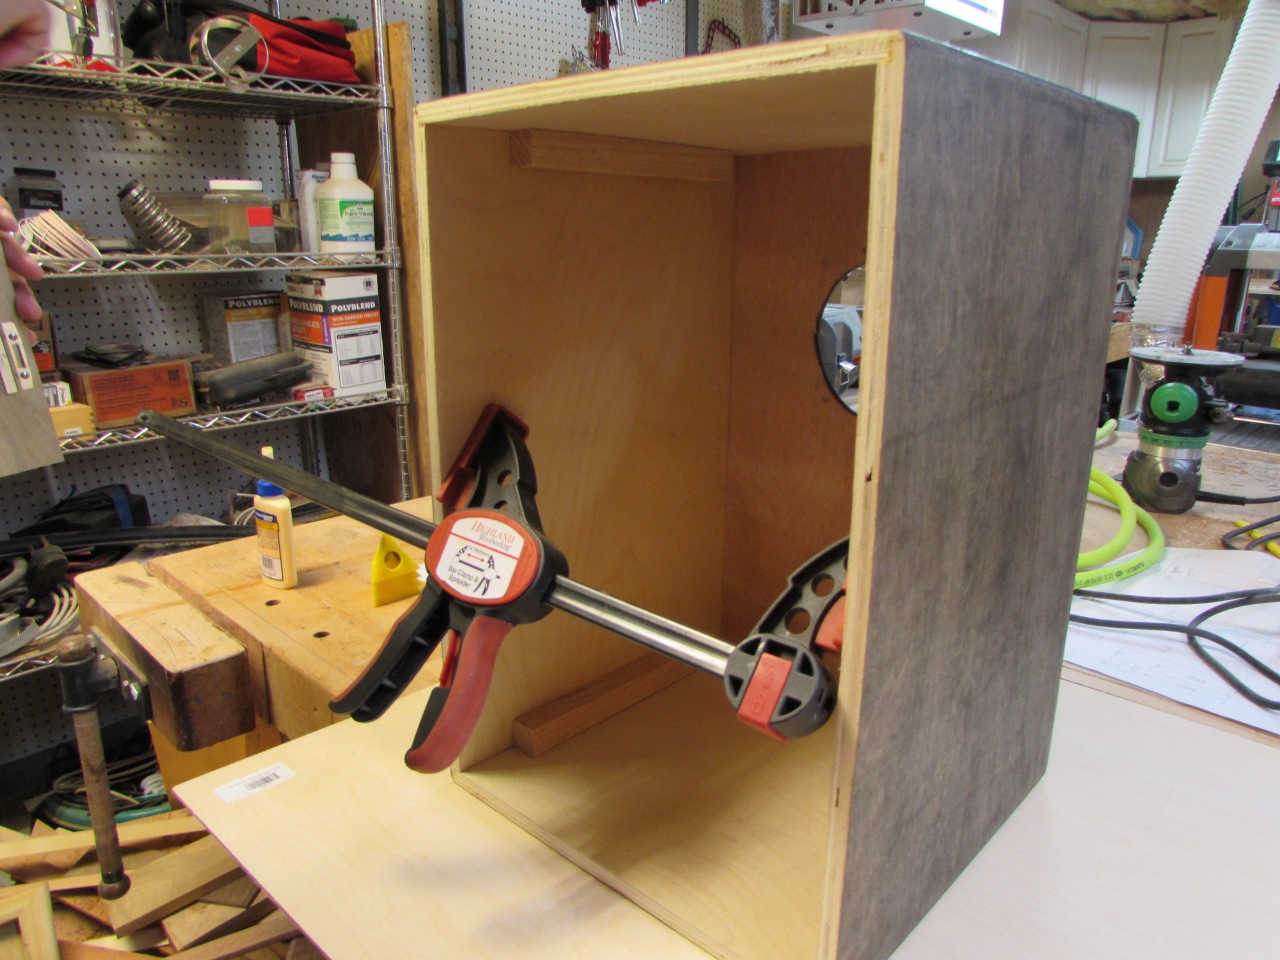
Once I located the cross-bar, I released the clamp and the bar held snugly in place.
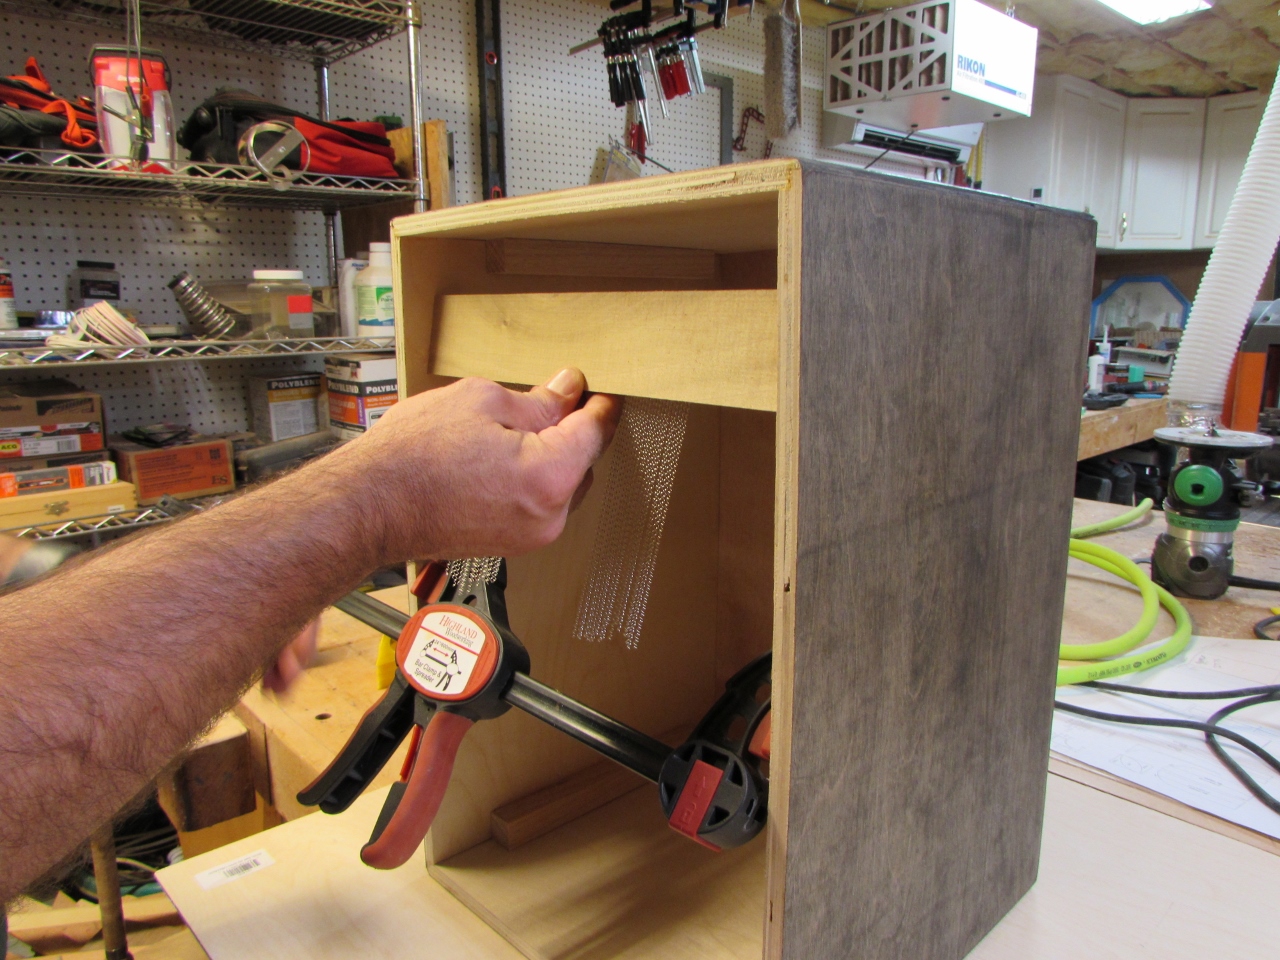

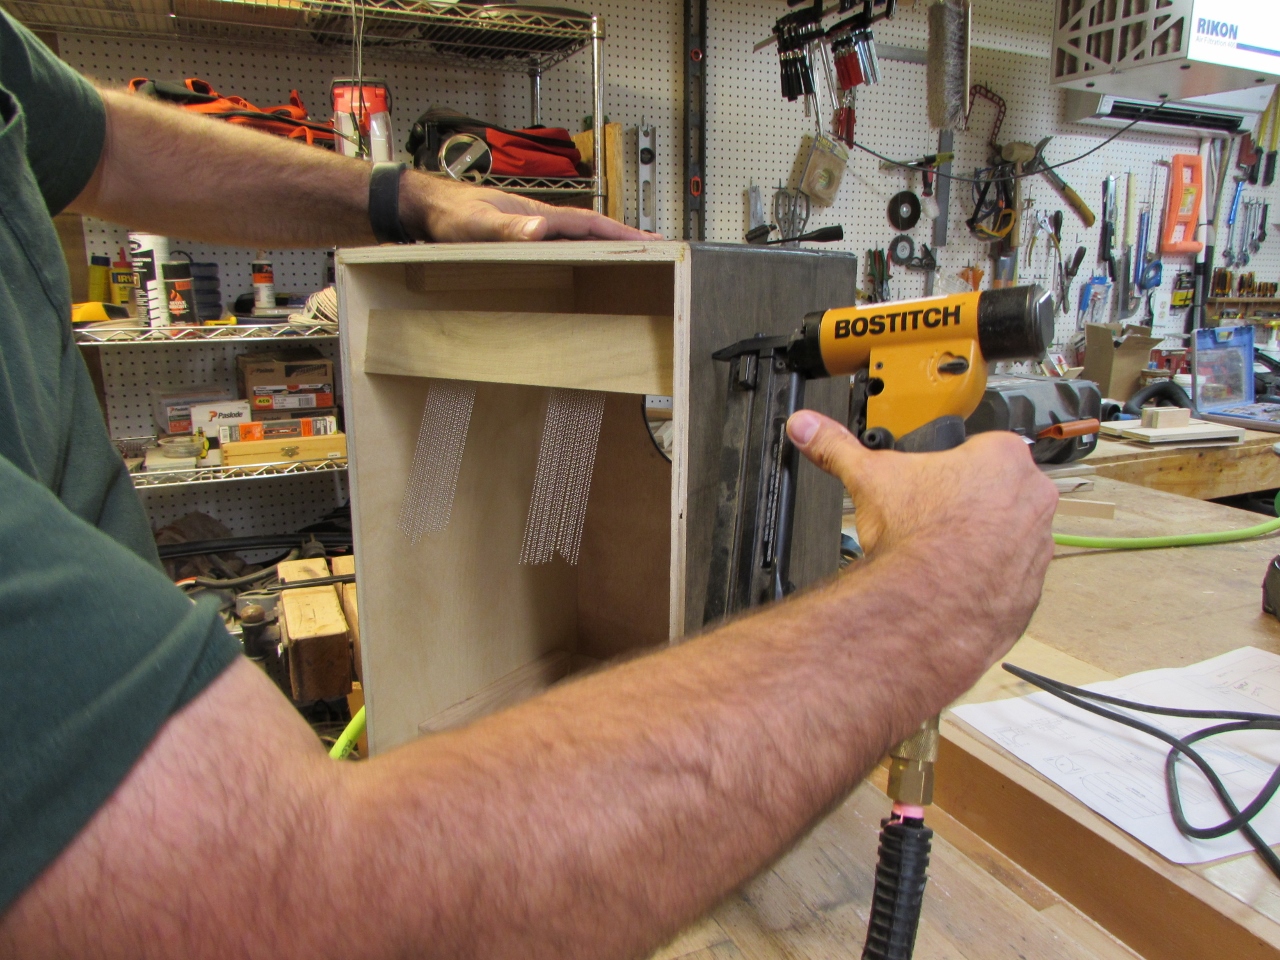
We verified that the snare wires were sticking past the front an then pinned the ends into place.

The front panel is 1/8″ thick Baltic birch. Neat stuff, very bendy, but strong. We cut it to match the front of the box, then I sanded the corners round to match the corners.


Eric did some finish sanding along the edges, then he held it in place while I pre-drilled and counter-sunk the screw holes to mount the top.

I let Eric do the rest of the screws, once we marked the layout. The most important thing was to not screw in the top corners. we left 3″ in across the top, and 5″ down the sides, without screws, then put screws every 2″ or 3″ around the rest of the front panel. These corners stay loose to create a slapping sound when played. I read that it is sometimes helpful to wedge these corners open for a few days so that they don’t sit tightly to the body.

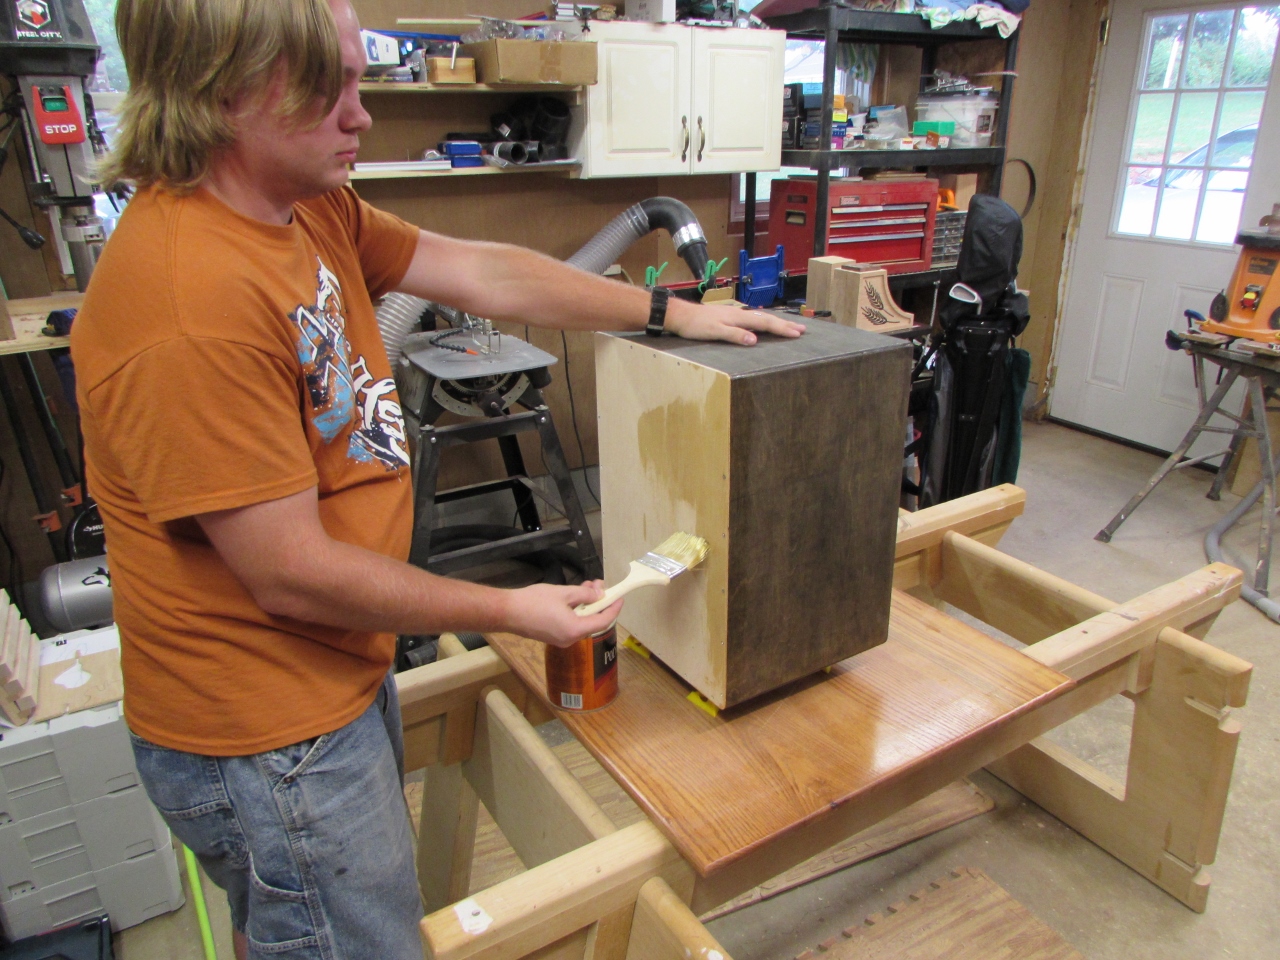
With the cover attached, Eric applied the first coat of polyurethane.

I installed wedges under those top, front corners, while the poly was still wet to keep the poly from glueing the corners closed. I was also hoping that if the poly dried with the corners spread, it would help to hold them slightly open.

After letting the poly dry for a day, Eric sanded the body down with 400 grit paper and applied the second coat.


Once dry, the final step was to buff all the sides down with a wadded up piece of brown paper. This rubs off any dust nibs, leaving a smooth surface behind.

This was a neat project, that mainly used up a bit of scrap. The 1/8″ plywood and the snare cost less that $20. The box was built in a single afternoon, but the finishing made it take a few more days.
When it was dry, I asked Eric to bang on it a bit to see what kind of sound it made.
