
Expanding my dust collection
This really isn’t a woodworking project, but it should make a big difference in my shop. I recently upgraded my dust collector to a 2hp Laguna. It has enough suction to handle several tools running at the same time. Until this weekend, I have been working with three jury rigged flex hoses. None of them long enough to reach very far. the dust collector is larger and less mobile than my old one, and it is 220V limiting my ability to dust collect elsewhere in my shop. I spent some time researching dust collection systems before buying the Laguna, but didn’t give a lot of thought to ducting up the shop. There are some really nice ducting systems out there, but they can cost you thousands of dollars. I decided to try the economy ductwork offered by Penn State Industries. I started by laying out my shop Duct Layout.PDF, then I pulled together a list and placed an order.
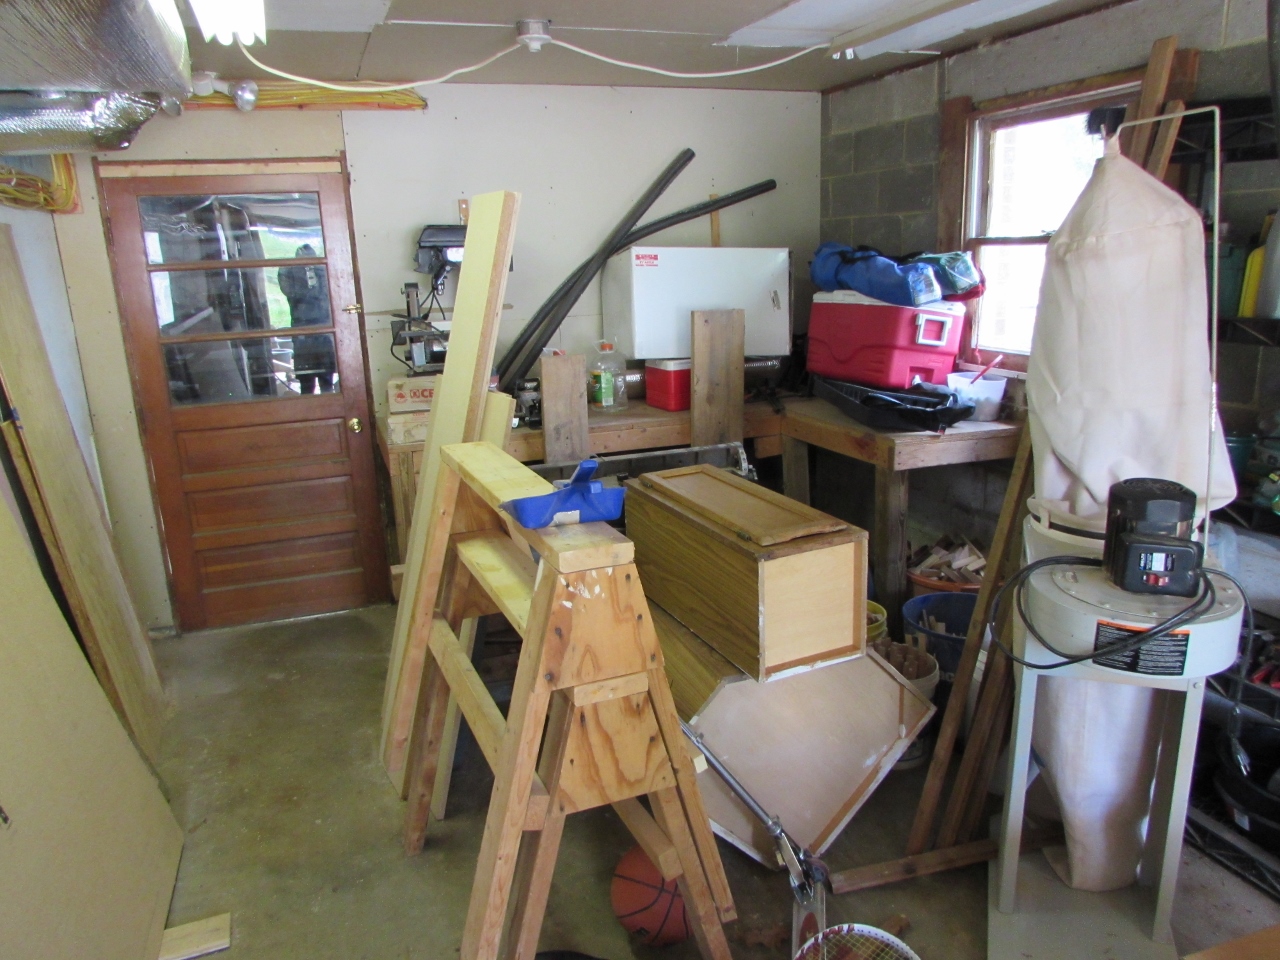
Future home of the dust collector
I have been feeling cramped, in the shop since upgrading the dust collector. It is nearly twice the size of the old one. The first step was to make a bit of room in the garage. I shifted everything until I could once again see my old work bench. After a very brief moment of nostalgia, I tore it out to make way for the beast.
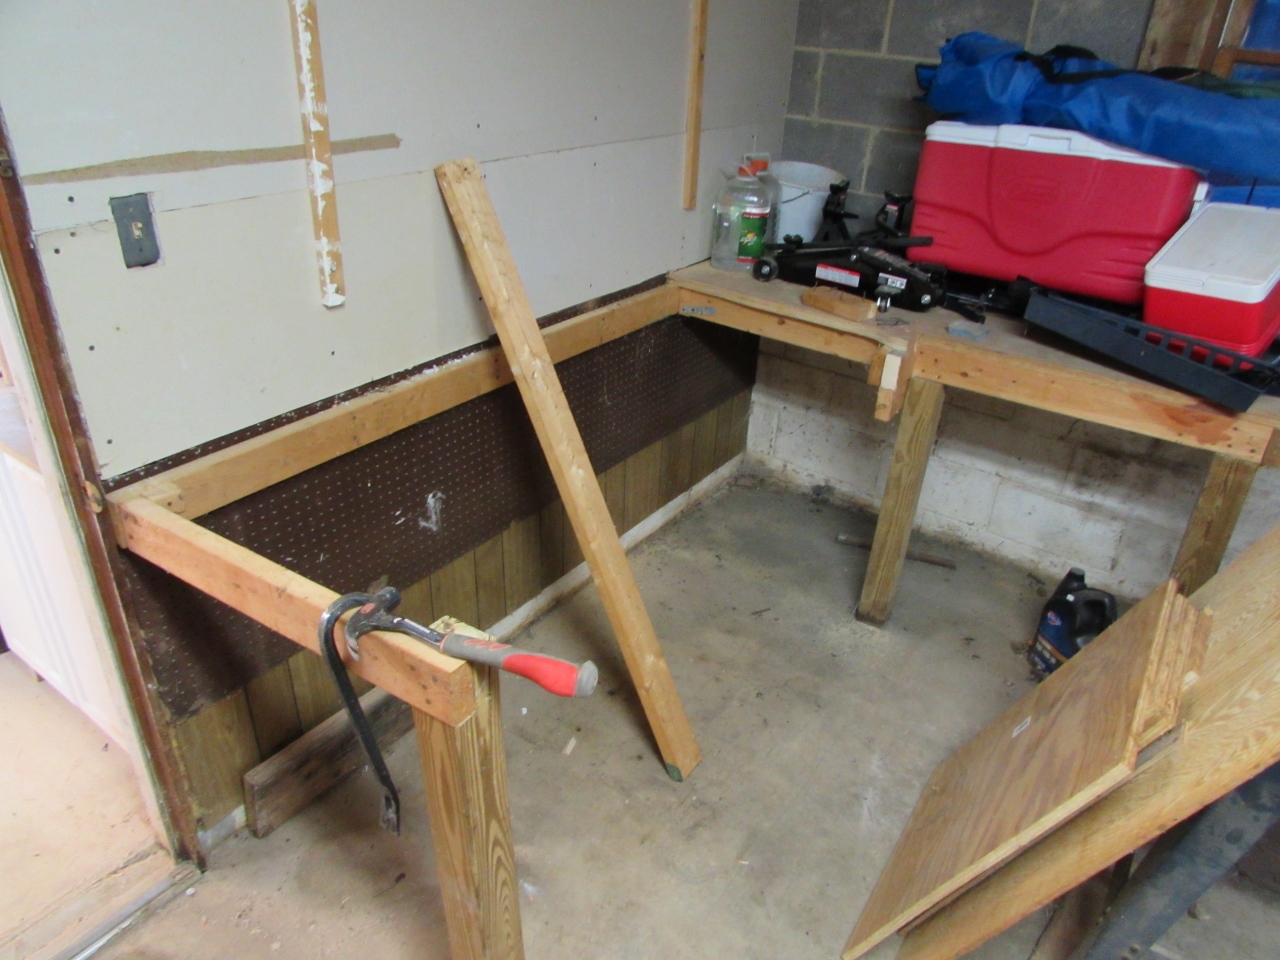
Ripping out my old bench to make room

Pile of ducting components
I emptied the contents of fourteen boxes from Penn State all over the garage floor. Doesn’t look like much…

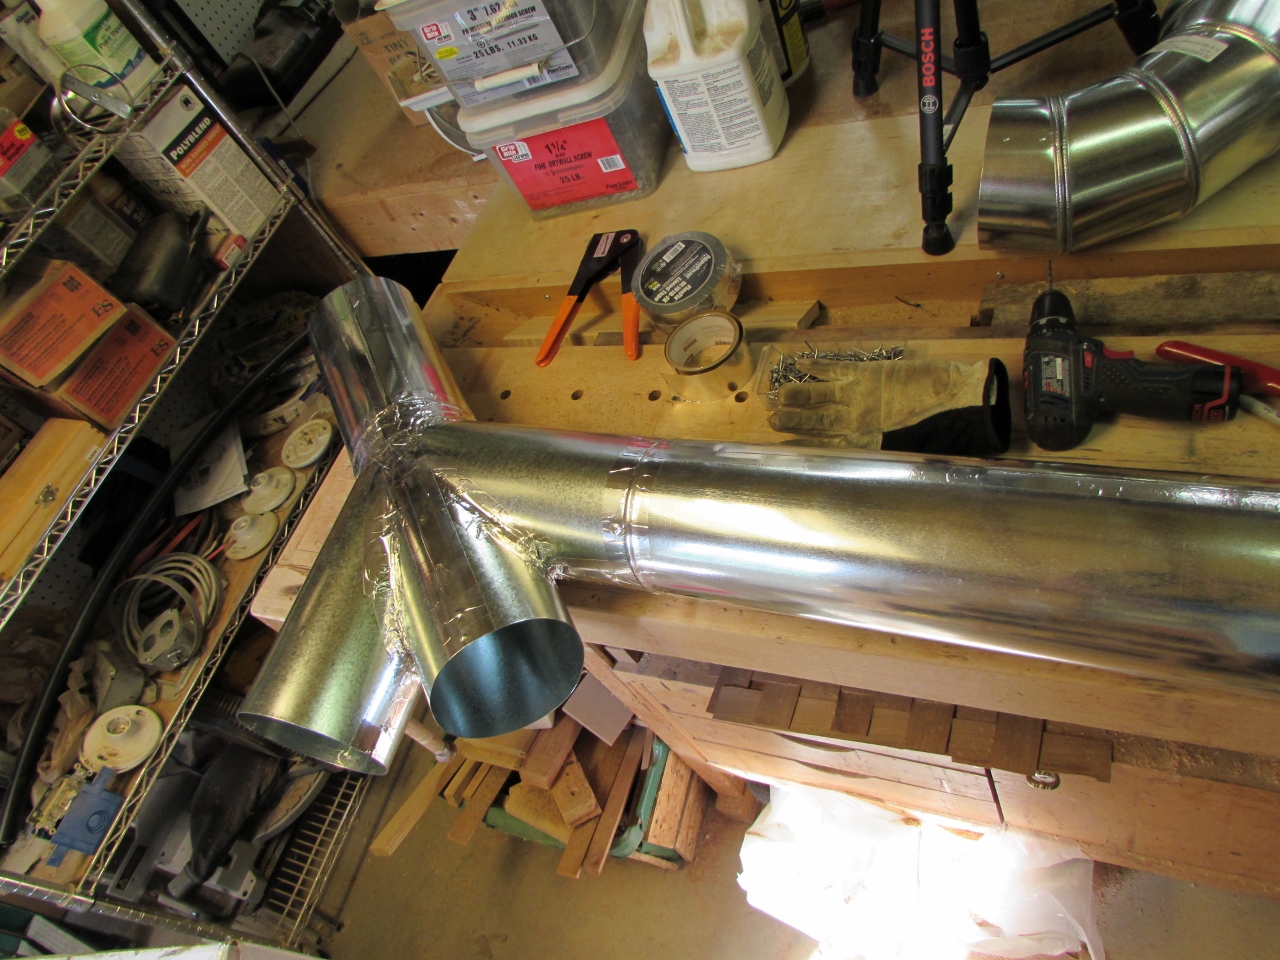
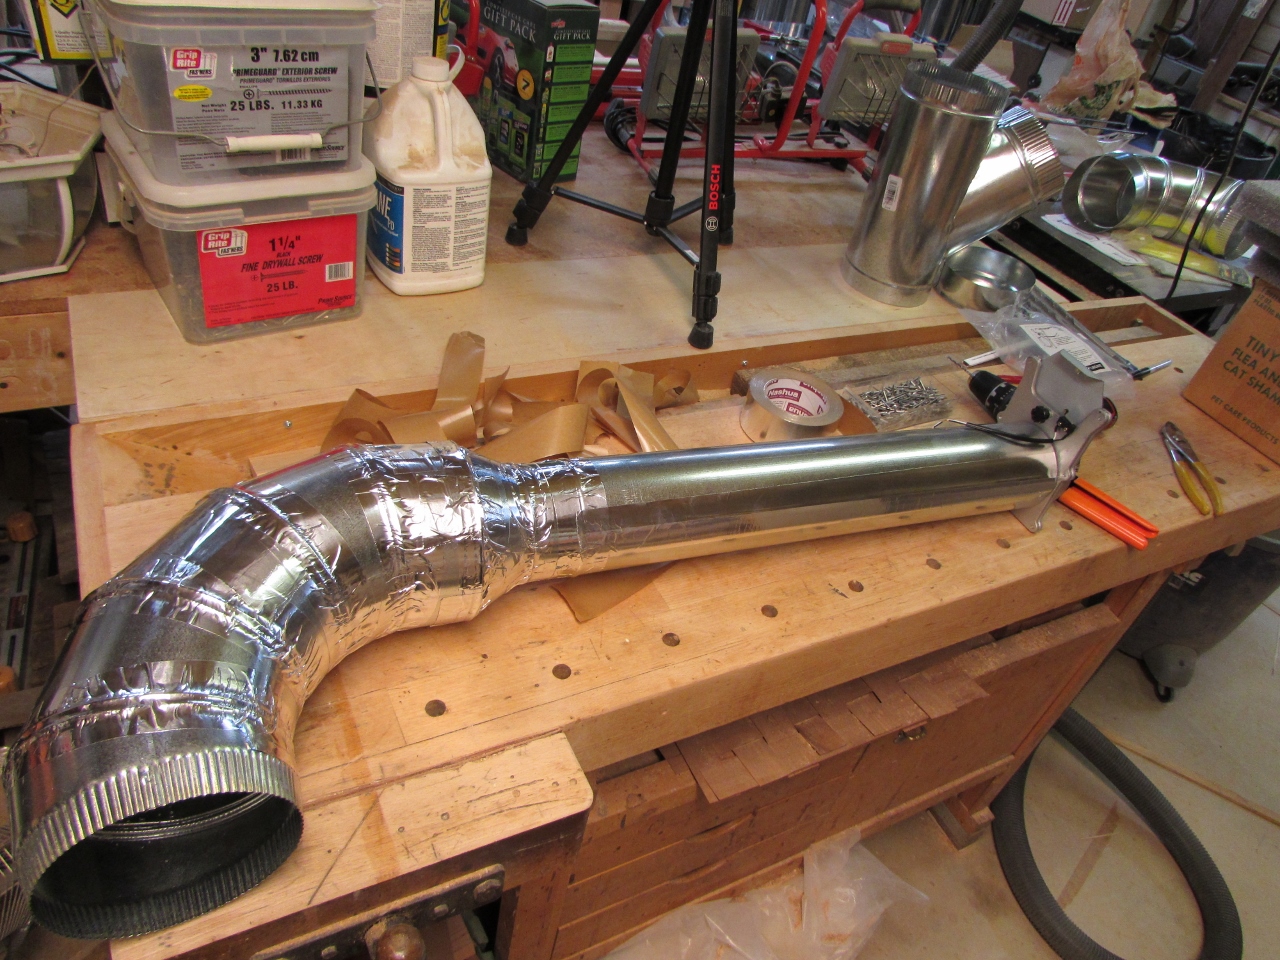
Sealing every joint and connection
First thing I noticed, about the ductwork, was that it was almost identical to the ductwork you run in your house, but way heavier to prevent imploding under a strong vacuum. Regular ducting may have worked at half the price, but I didn’t want to go through all the effort installing it to have to tear it back out to upgrade if it didn’t. All the joints of the ducting were going to need sealing. Penn State suggests caulk or hot glue. Both of those seemed messy and unreliable to me. I opted for aluminum duct tape. It seals really well and it is strong. The elbows are adjustable and a couple of them pulled apart under the slightest stress. The tape held them firmly together. Strong enough to hang the flex ducts from anyway.

Cutting the through hole on the shop side
I started with the penetration from the shop to the garage. I drilled a center hole through the wall first, then cut out the shop side with a jig saw and the garage side with a drywall saw.
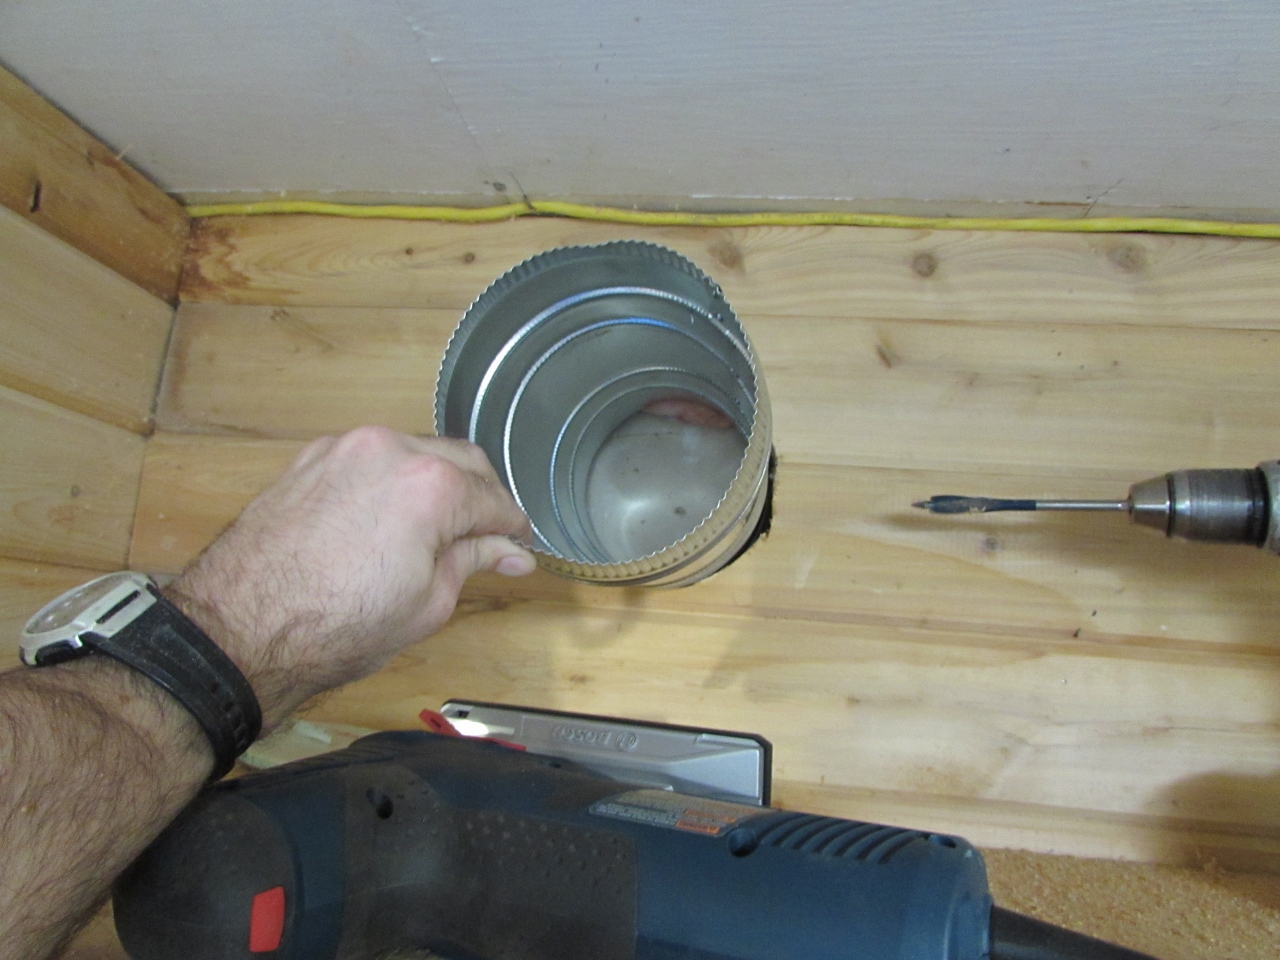
Testing the size

Cutting the drywall on the garage side
All of my joints were held together with at least three pop rivets each. Just a warning to anyone considering this option, riveting and taping triples the time it takes to install the system. It is about a third of the cost of some of the nicer ducting systems, but it makes up for it in time consumption.

Three rivets at every connection
Snapping the straight duct runs together was anything but a snap. Penn State recommended two people for the job. The pipe was so stiff that I required two or three clamps to do it. One to hold the start of the connection, at the end. One to pull the duct together, and one to squeeze down so I could work my way down the pipe snapping it in place.
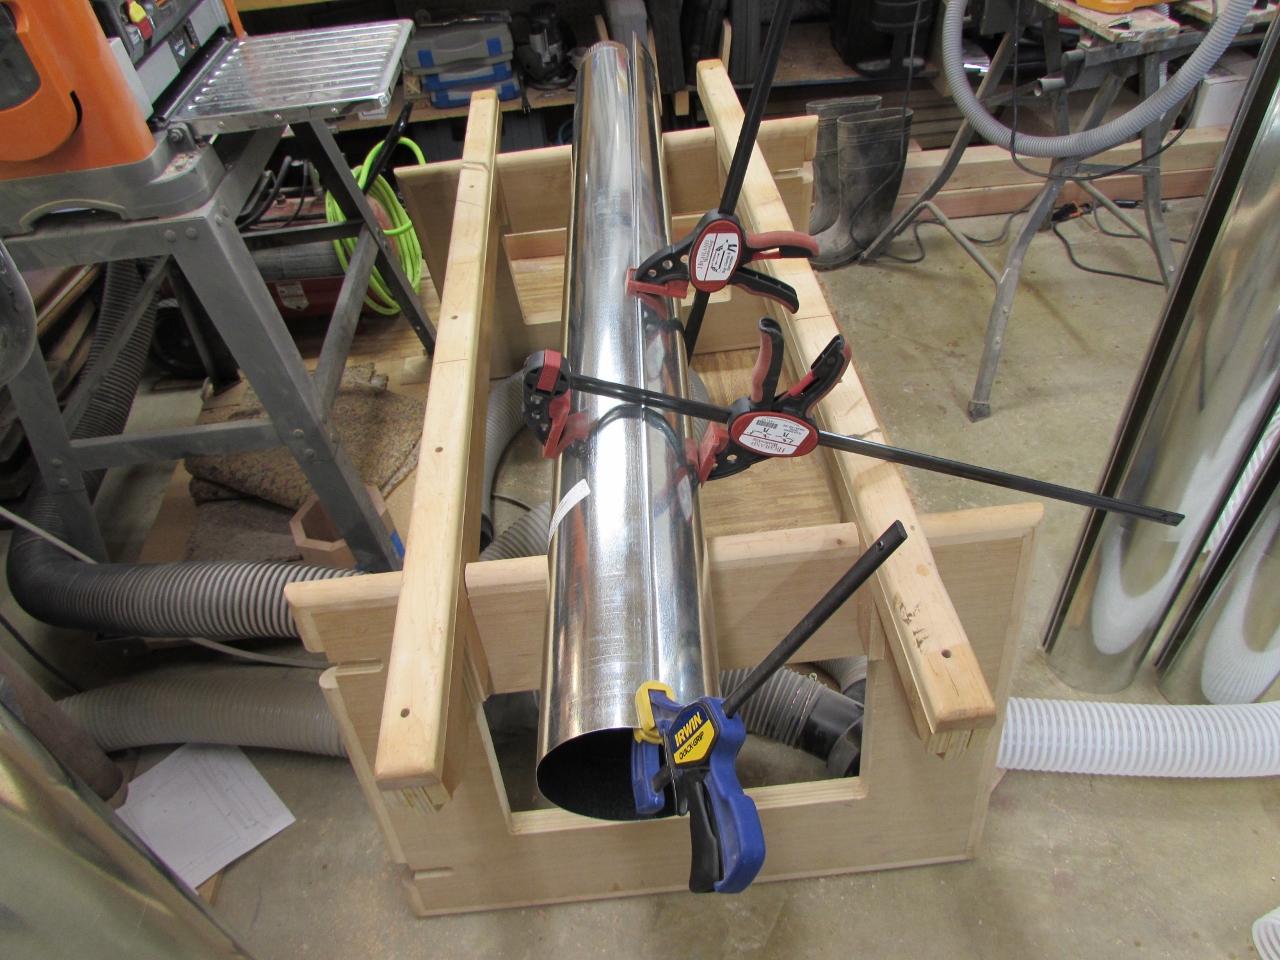
Snapping together the ducts
After about an hour, I had all thirteen tubes assembled.
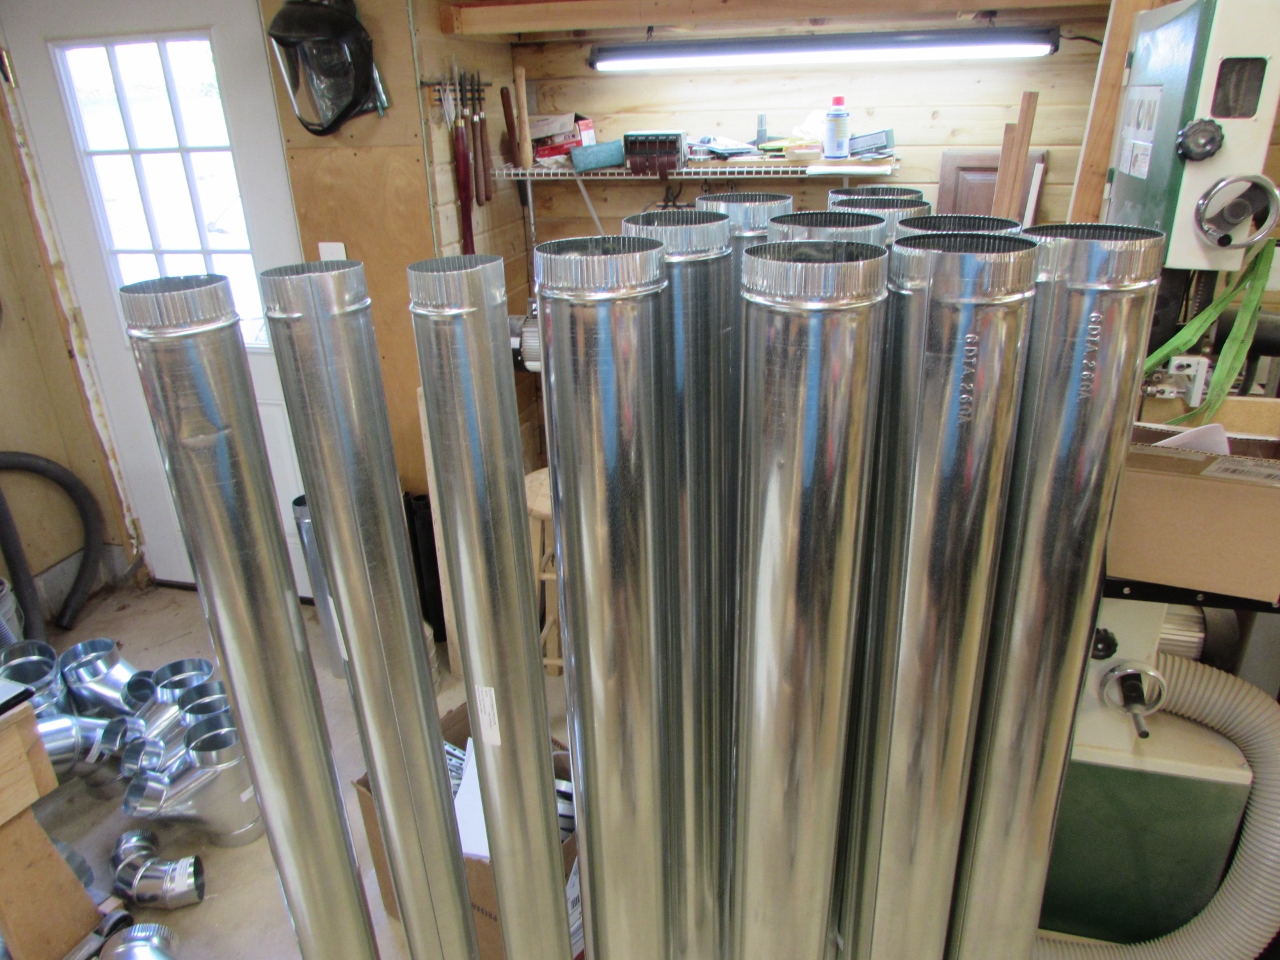
Ducts assembled
Recommendations for cutting the pipe included wrapping a piece of tape around it to create a guide line for your reciprocating saw. This worked, but I found the foot of the saw tore up the tape making it difficult to remove. I eventually resorted to a magic marker to create a line to follow. I used my 12V Bosch reciprocating saw with a fine toothed blade and it worked fairly well. It definitely helped to have someone holding the other end of the pipe though…

Isn’t it the cutest little saw?
Main trunk line
I started by assembling the main trunk line that came through the garage wall.
Slight adjustment
When I required a slight change to the trajectory, I cut a slight angle to the end of the pipe. Larger bends were accommodated with adjustable elbows.
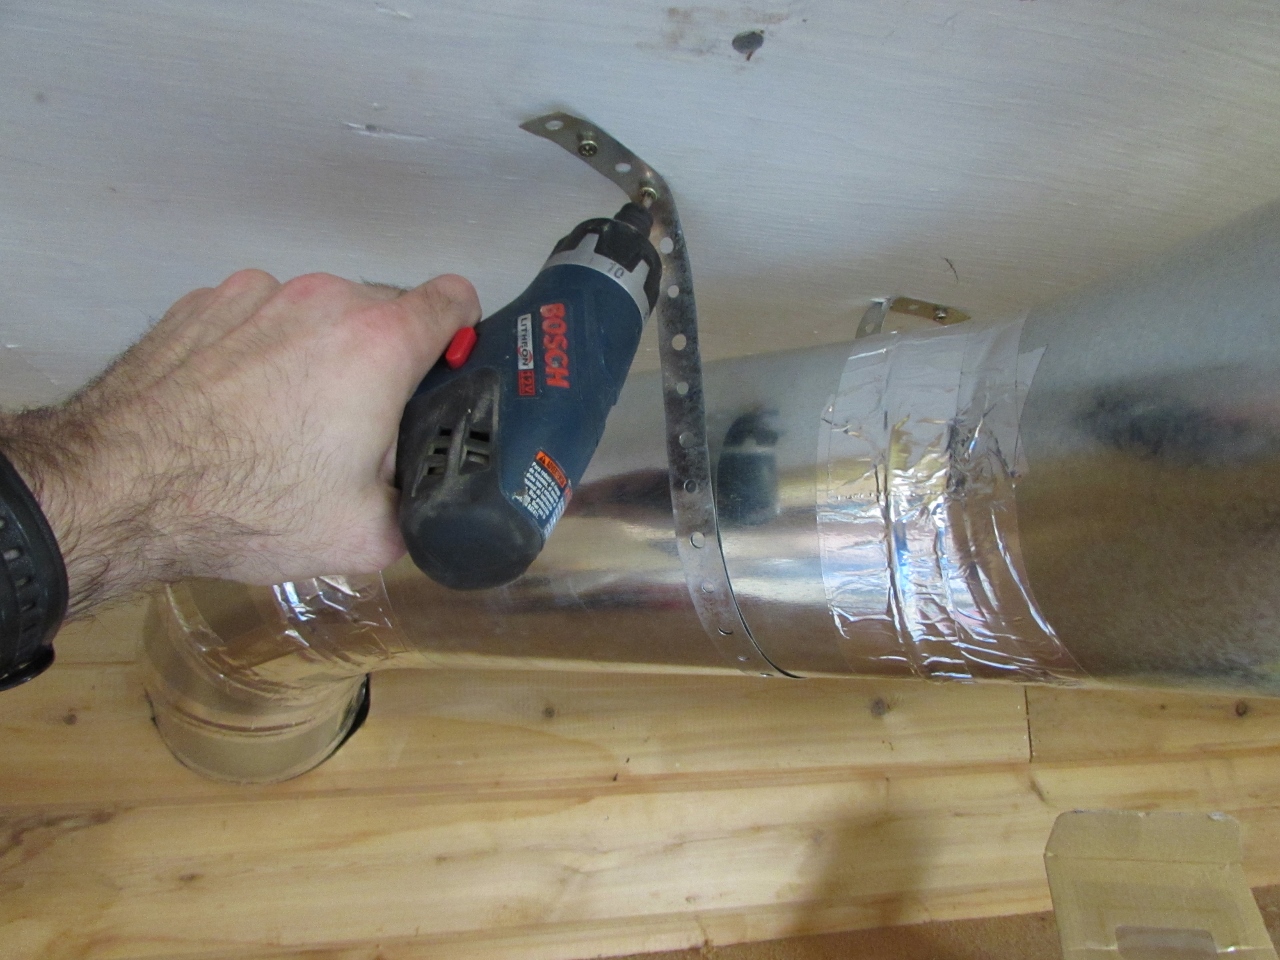
Hanging the main line
I used hanger straps, with two screws on each side, when attaching to a solid ceiling area, and some loop hangers when attaching to the exposed joists. My first miscalculation was running a duct right through the location of an electrical outlet. Since the duct wasn’t moving, the outlet had to…
First step complete

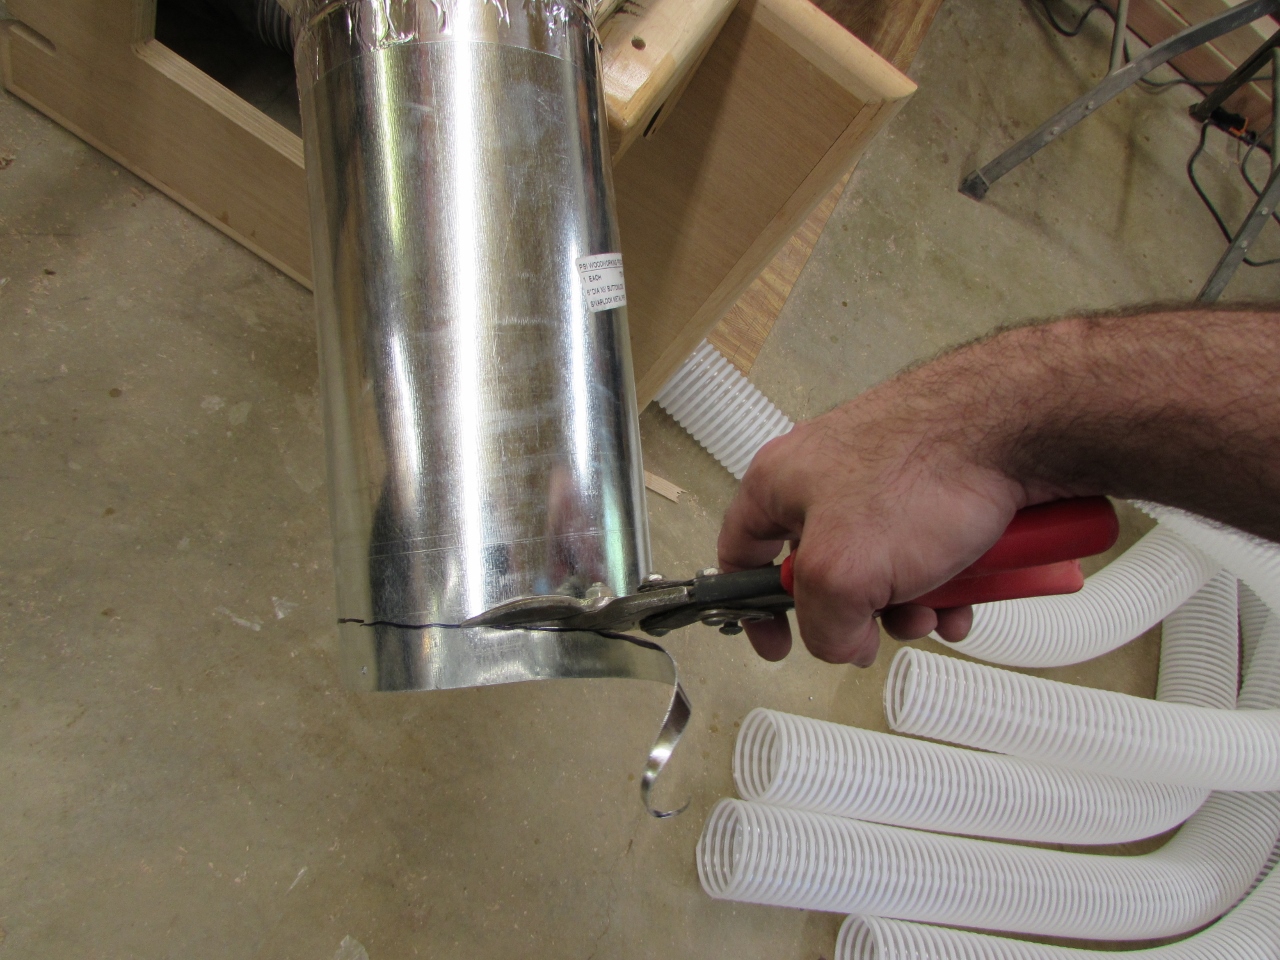
Crimping the cut-offs
Since I had to cut down most of the ducts, I used a crimping tool to make new connections instead of buying the draw band connectors that Penn State offered.
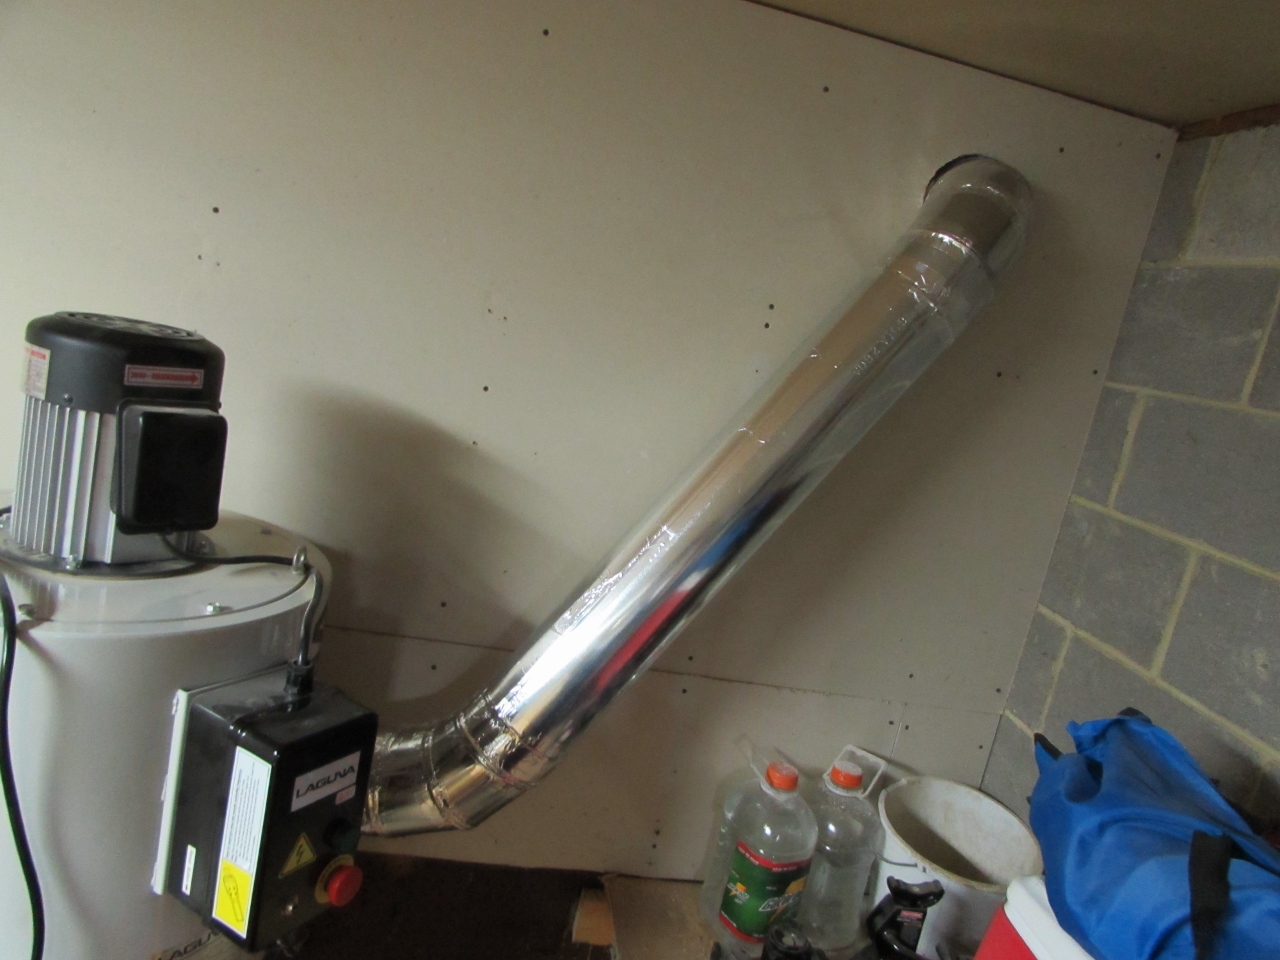
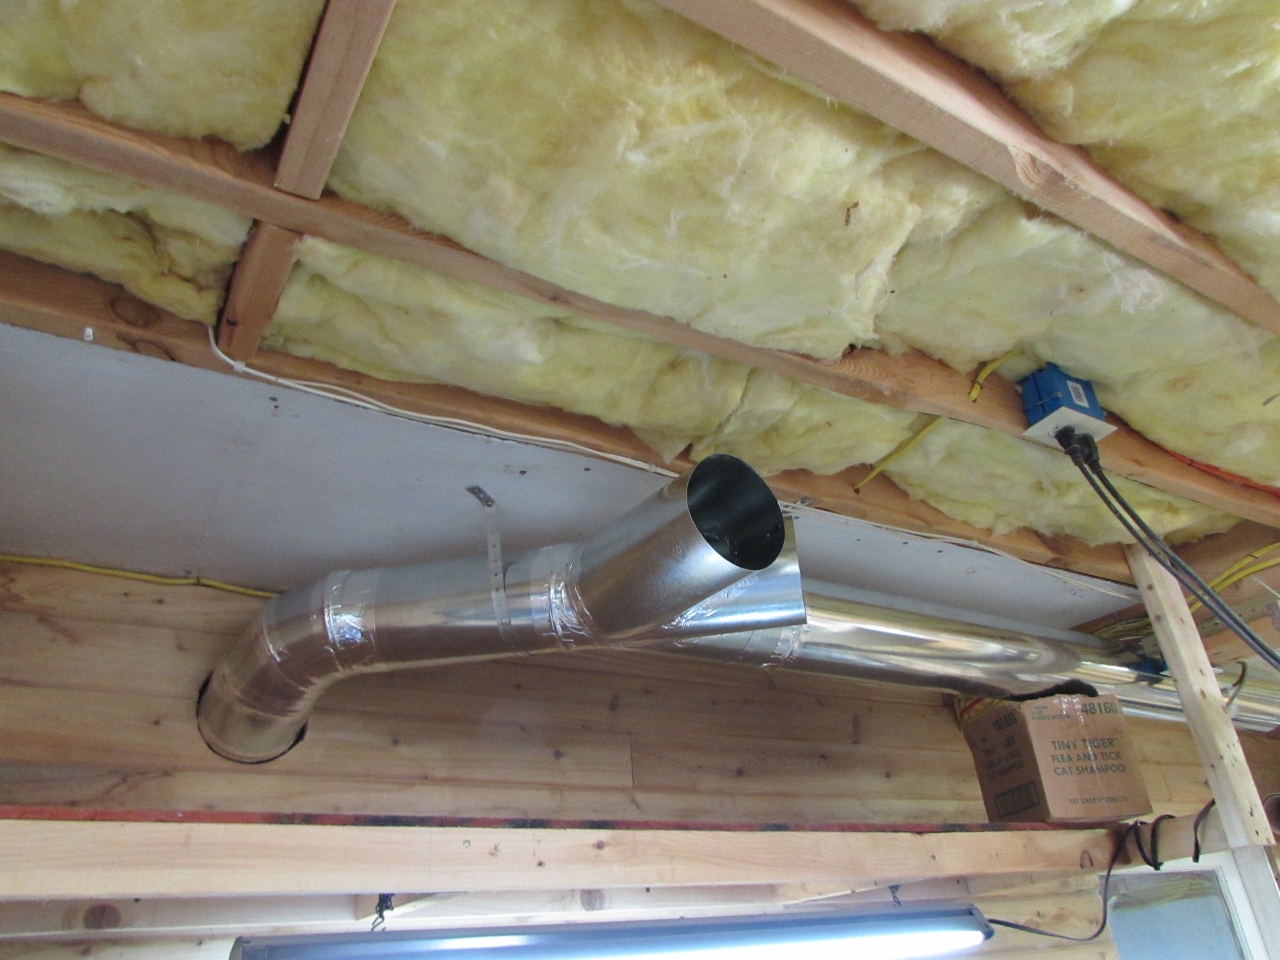
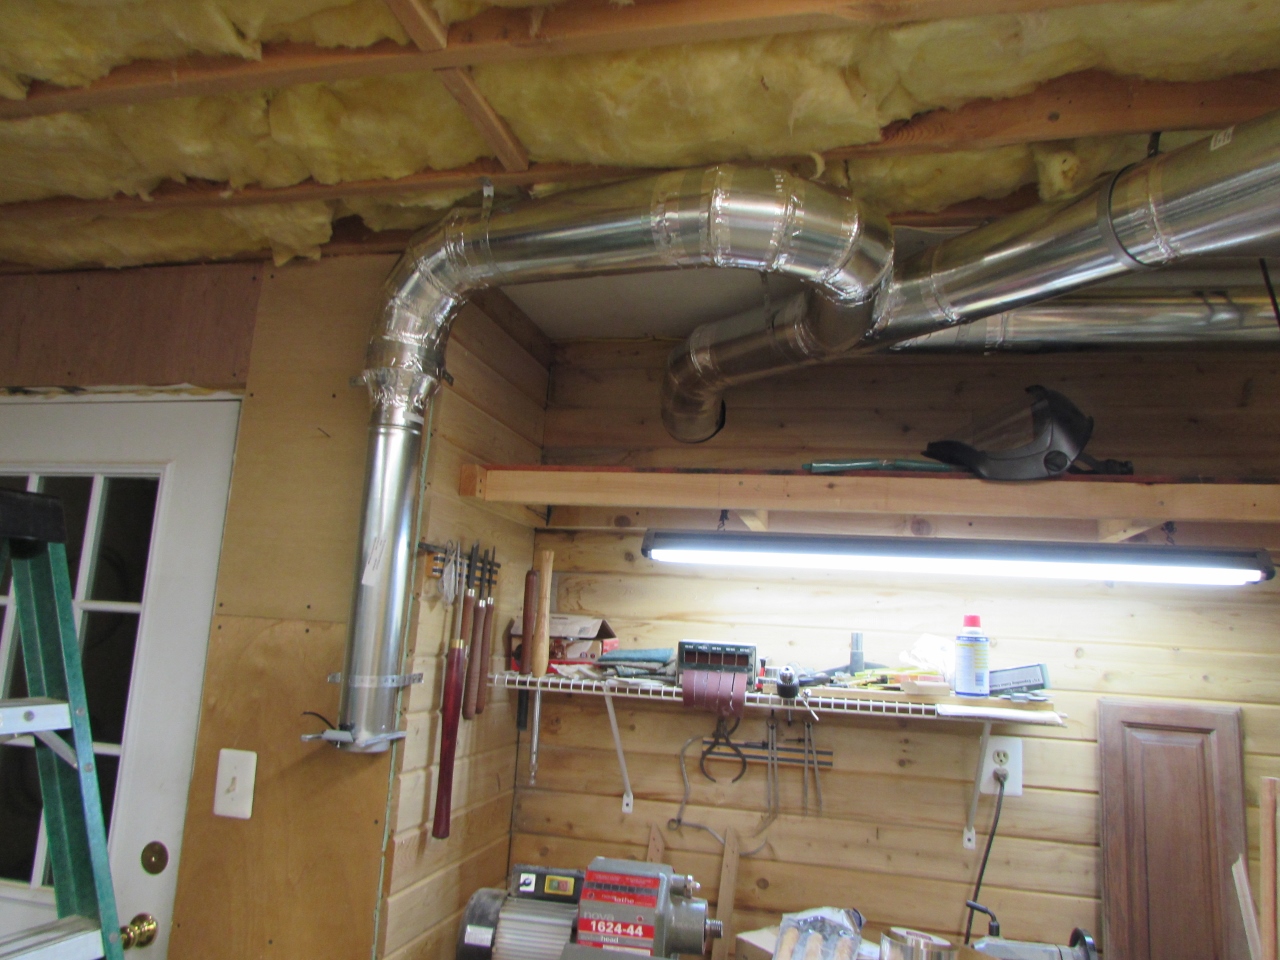
Through wall connection
Now that the main trunk was installed, I connected the other side of the wall up to the dust collector. Later, I will come back and mount a bracket to the wall that I can strap it to, to hold the pipe the required distance from the wall. This will prevent damage to the ductwork if the collector has to be moved.
Assembling the first end drop
With the main trunk installed, I connected up my first two runs and assembled the drops at the ends.
First two drops installed
The drops include either a Wye connection in the middle of a pipe or a 90 degree elbow at the end of a run, coupled with a reducer, a short vertical run, and a blast gate for the flexible hose to connect to. The blast gates have a small switch attached that will eventually run back to a controller to turn on and off the system when the gates are opened and closed.
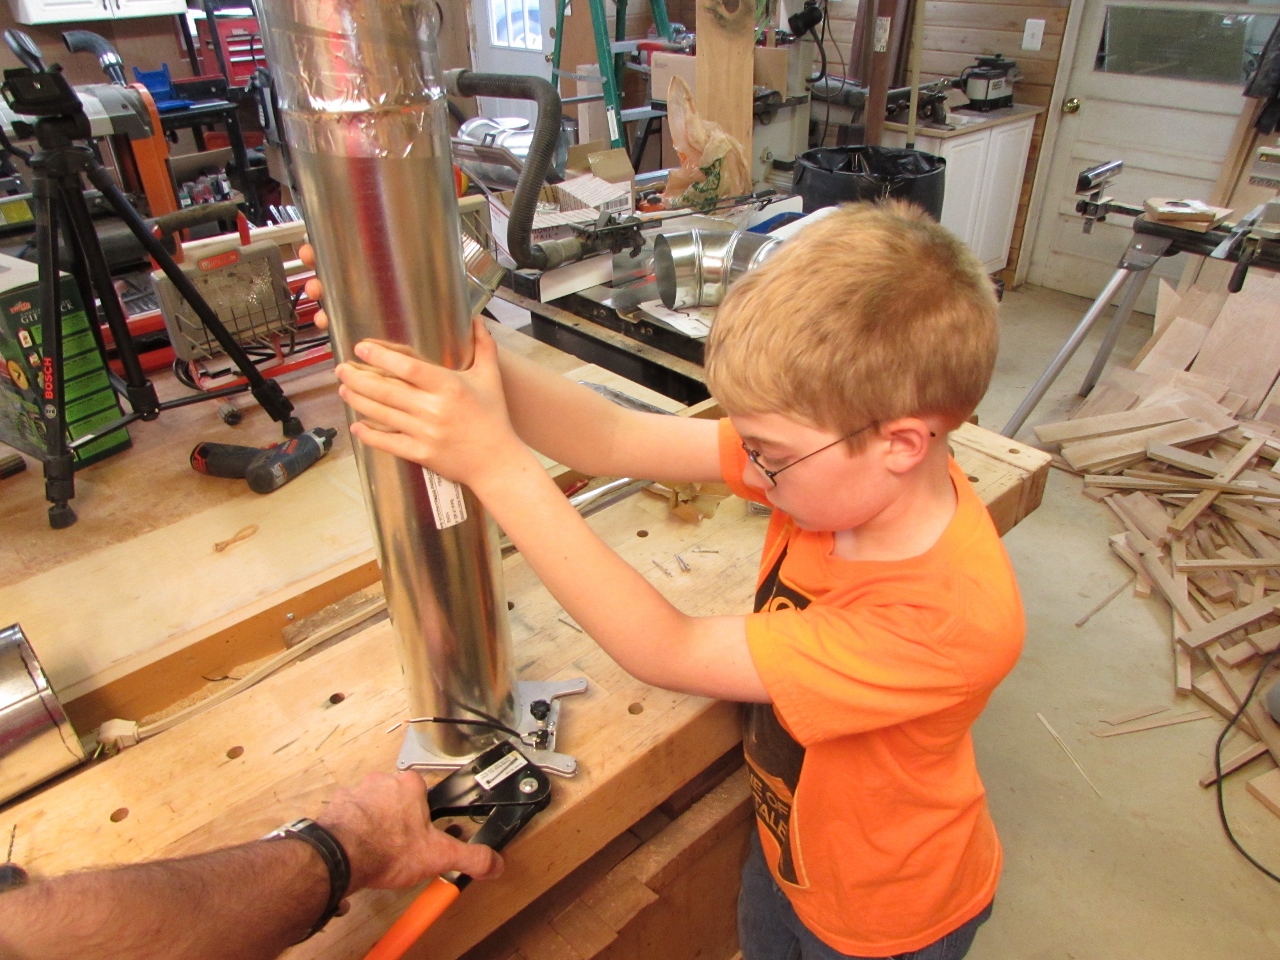
I got a volunteer to help speed things up
Adam started helping me at this point, making life a lot easier.
Starting the second run
With Adam there to be an extra hand, things started moving faster. He held pipes in place, handed me pieces of tape, and reloaded the riveter while I worked.

Planer, table saw, and CNC ports installed
Router table/drill press port installed
To install the blast gates, I ran a bead of caulk around the inside of the pipe end and pressed the gate into place.
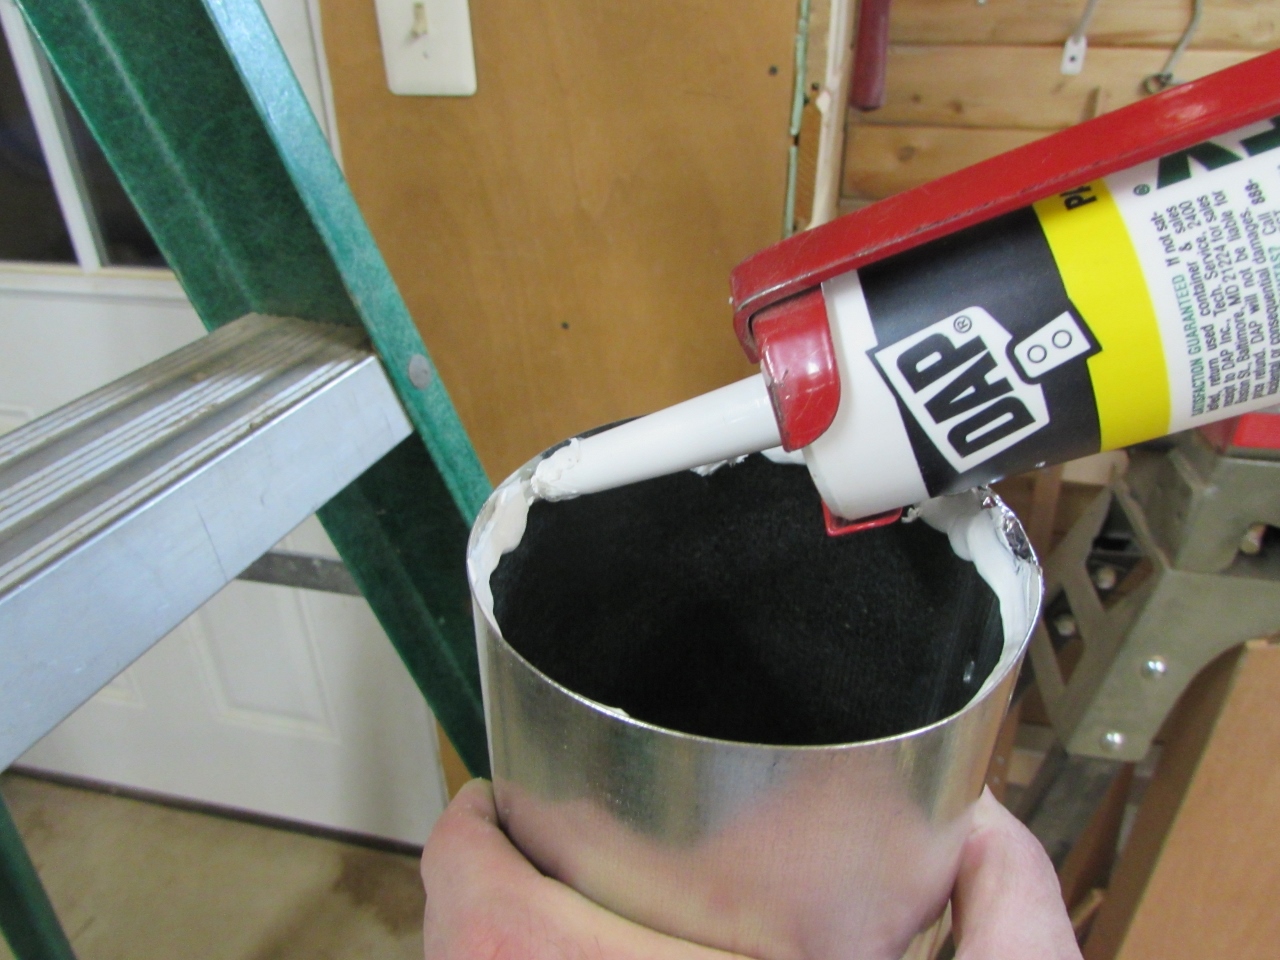
Sealing the connection for the blast gates
I used three rivets each on the gates as well.

Attaching a blast gate
The last drop wound up being a bit of a funky backwards loop. It is hard to estimate exactly where things are going to fall, when laying out the system. Be prepared to be a bit flexible in your design. I wound up making a few changes from my original design, but I think it works out better in the end.
funky bend for the lathe port
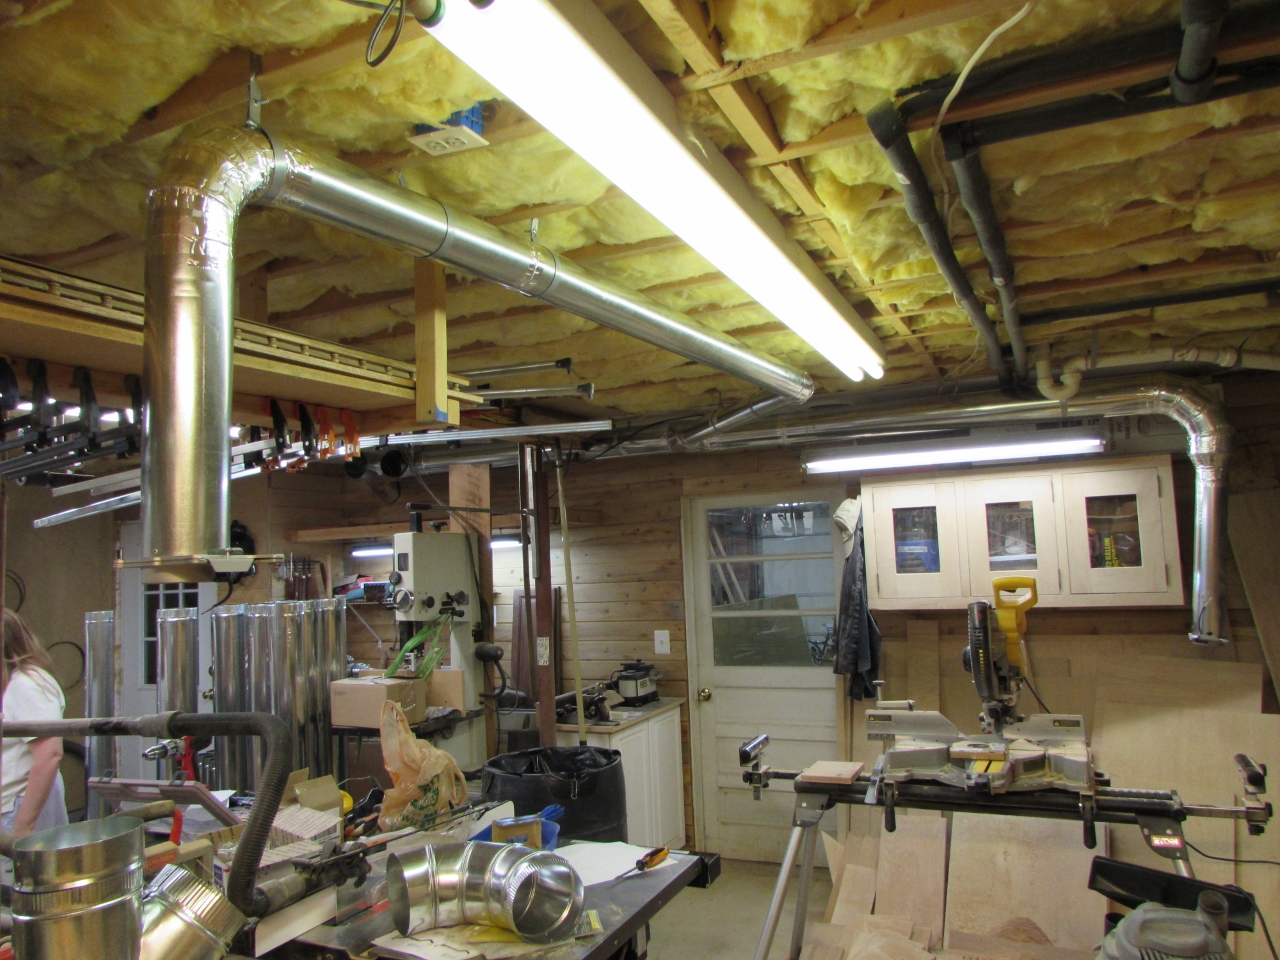
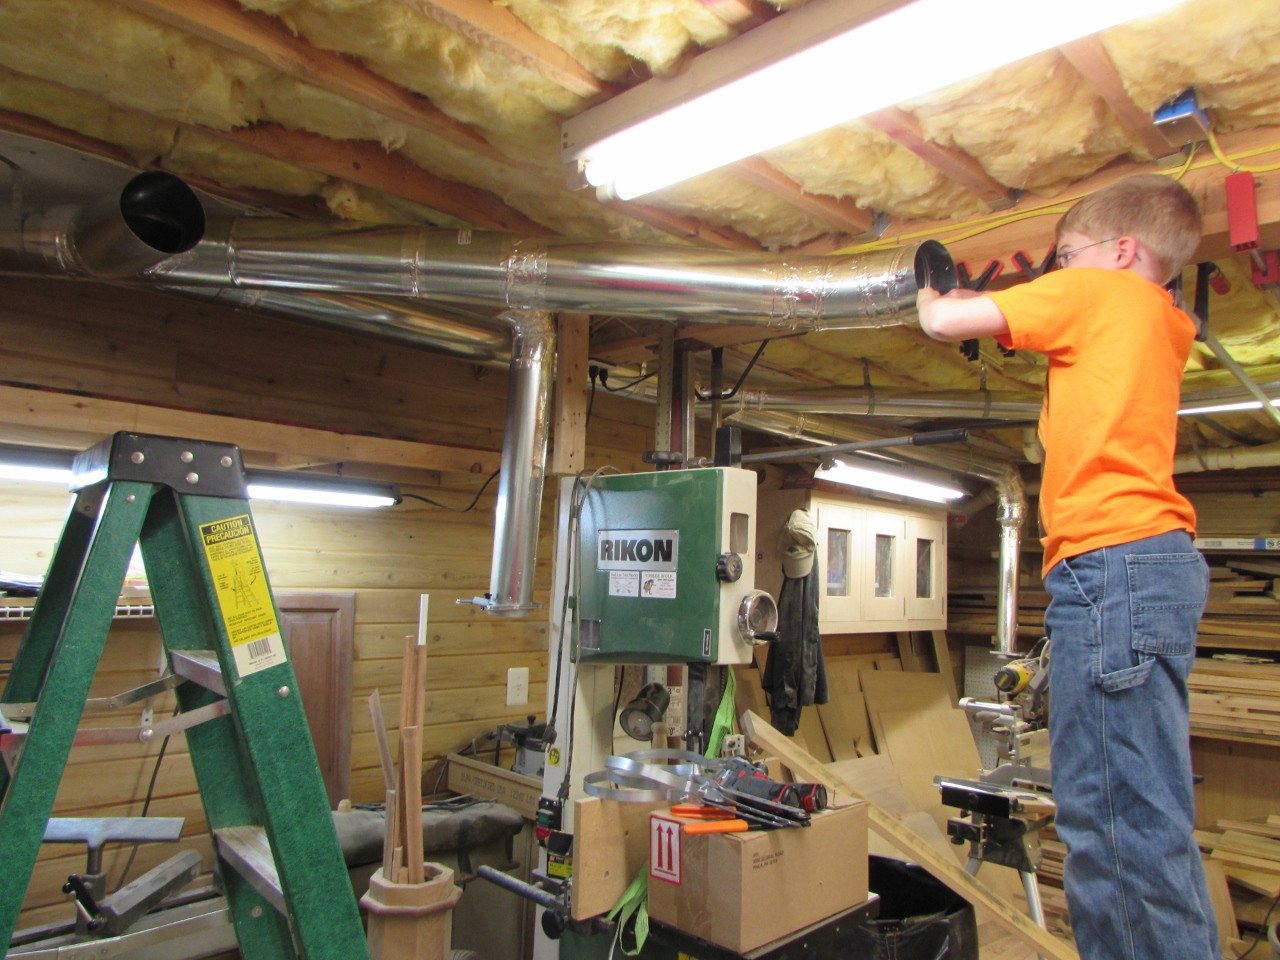
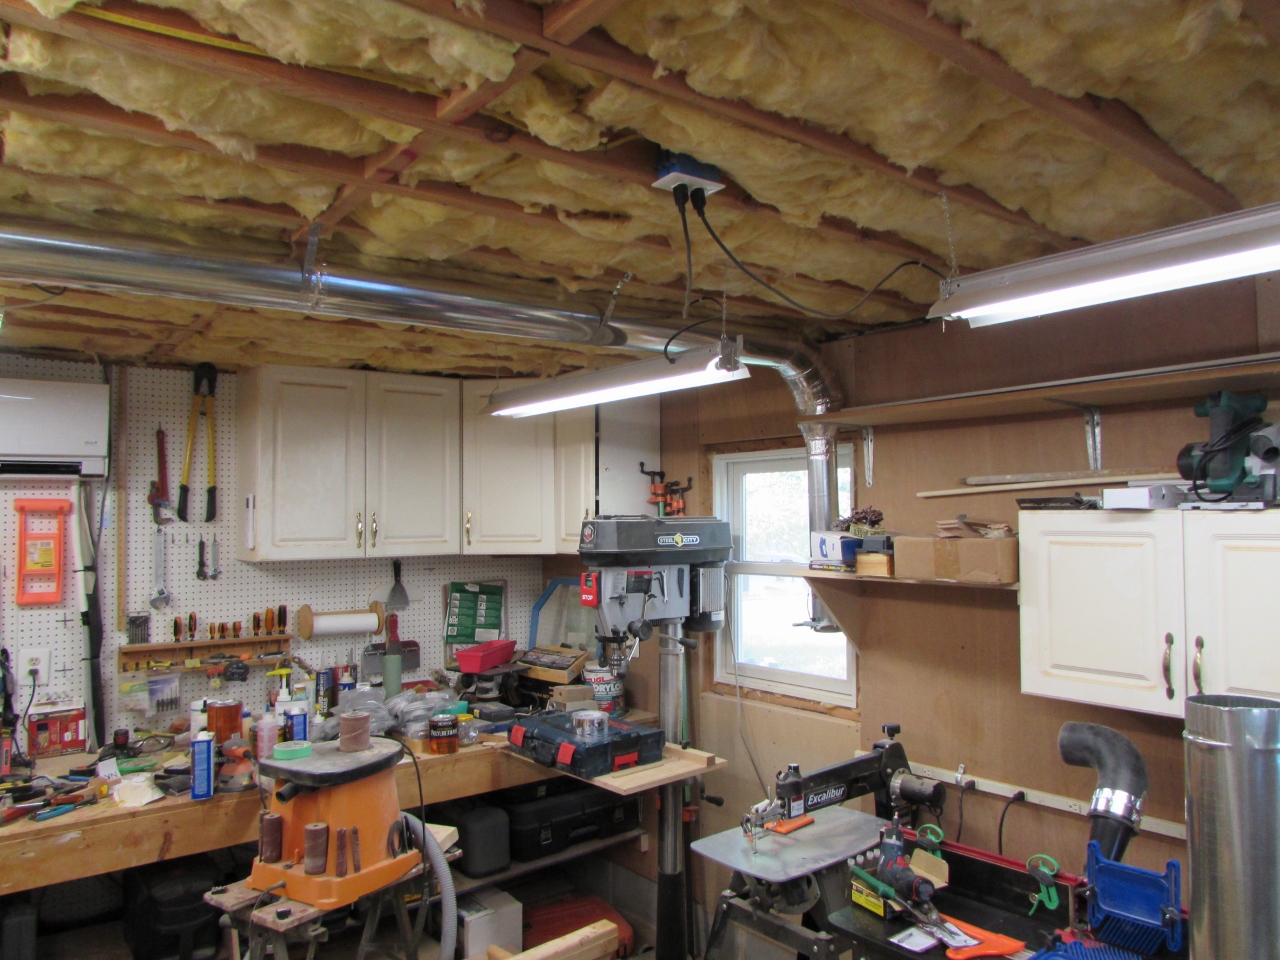
After three days of working on and off we got all the ducts run.
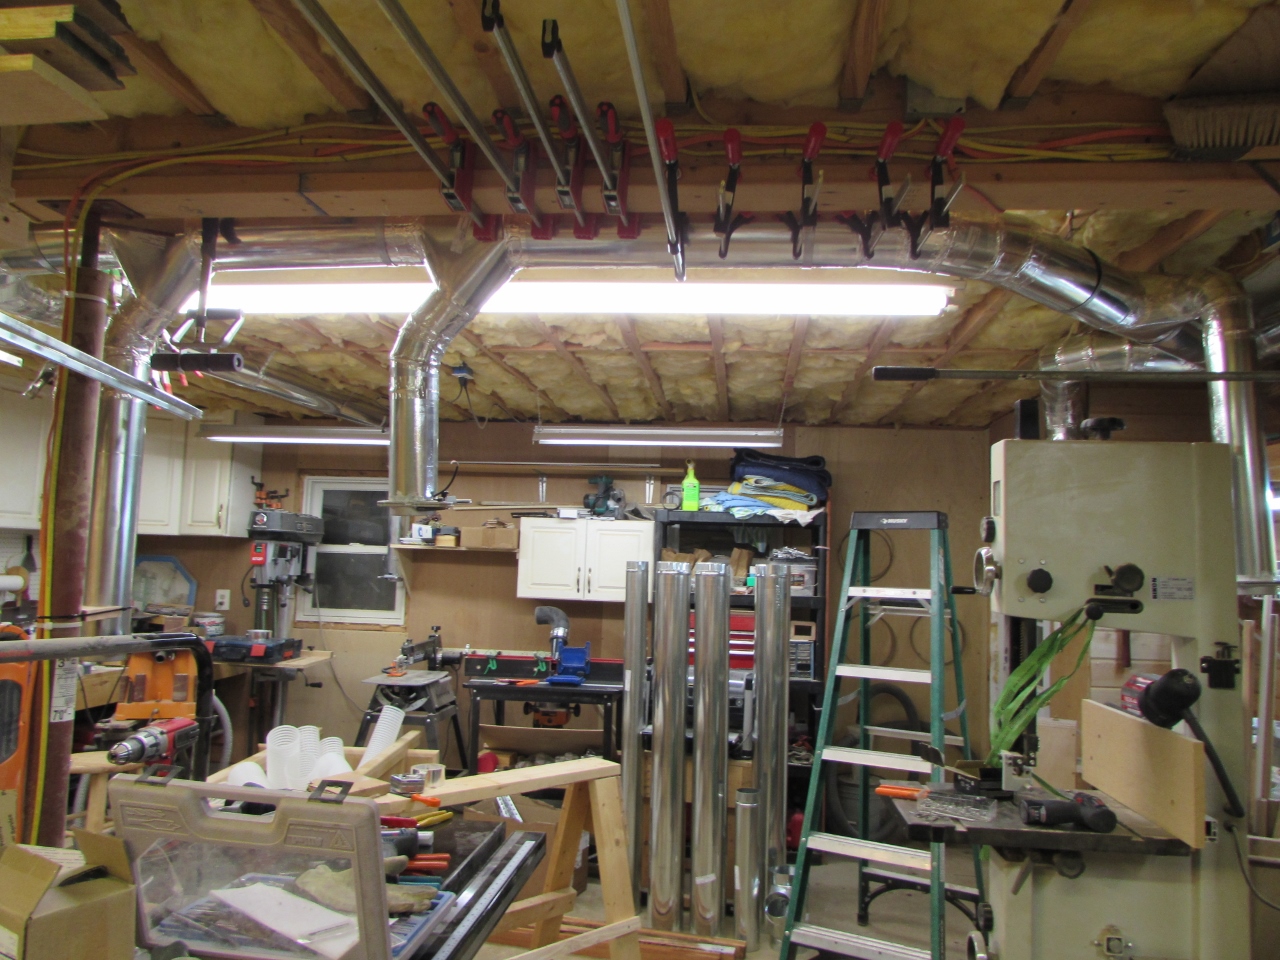
All ducts installed
The final thing to do was to pull the circuit back into the garage from the shop. I fired up the system and it worked perfectly. There is a bit of whistling when all the gates are closed, indicating some leakage at the gates themselves, but once one or more is opened, the noise drops dramatically.

Power re-routed
The next step will be to hook up all of the flex lines to my equipment, then run all the wires back from the switches, on the blast gates, back to the controller at the collector. More on that in the next post.

Why wouldn’t someone use 4″ PVC to create such a system?
I looked into using PVC, but finding all of the required fittings in 6″, at my local stores, proved rather difficult. It would have been cheaper to use the thinner sewer pipes, but they were even harder to locate. Also, the different types had different inside and outside diameters than the connection ports on my equipment. If you live near a good wholesale plumbing supplier, you may be able to find what you need. I wanted to run the 6″ as far as I could to maintain the highest level of efficiency. Longer runs of 4″ would increase the static pressure and cut down on suction at the ends of the runs.
I always run with one gate open. The most I ever have open is two. Mine in 3 HP grizz cyclone. You are going to love you DC. Best move I ever made Nice job with duct work. Having an extra hand is great. Son helping dad is a lifetime experience.