
Rob’s sofa table – day 8 – complete
Rob wanted to take this table home this week, so I put the second coat of polyurethane on Wednesday night. That way it had a day and a half to cure before he came to pick it up Friday.
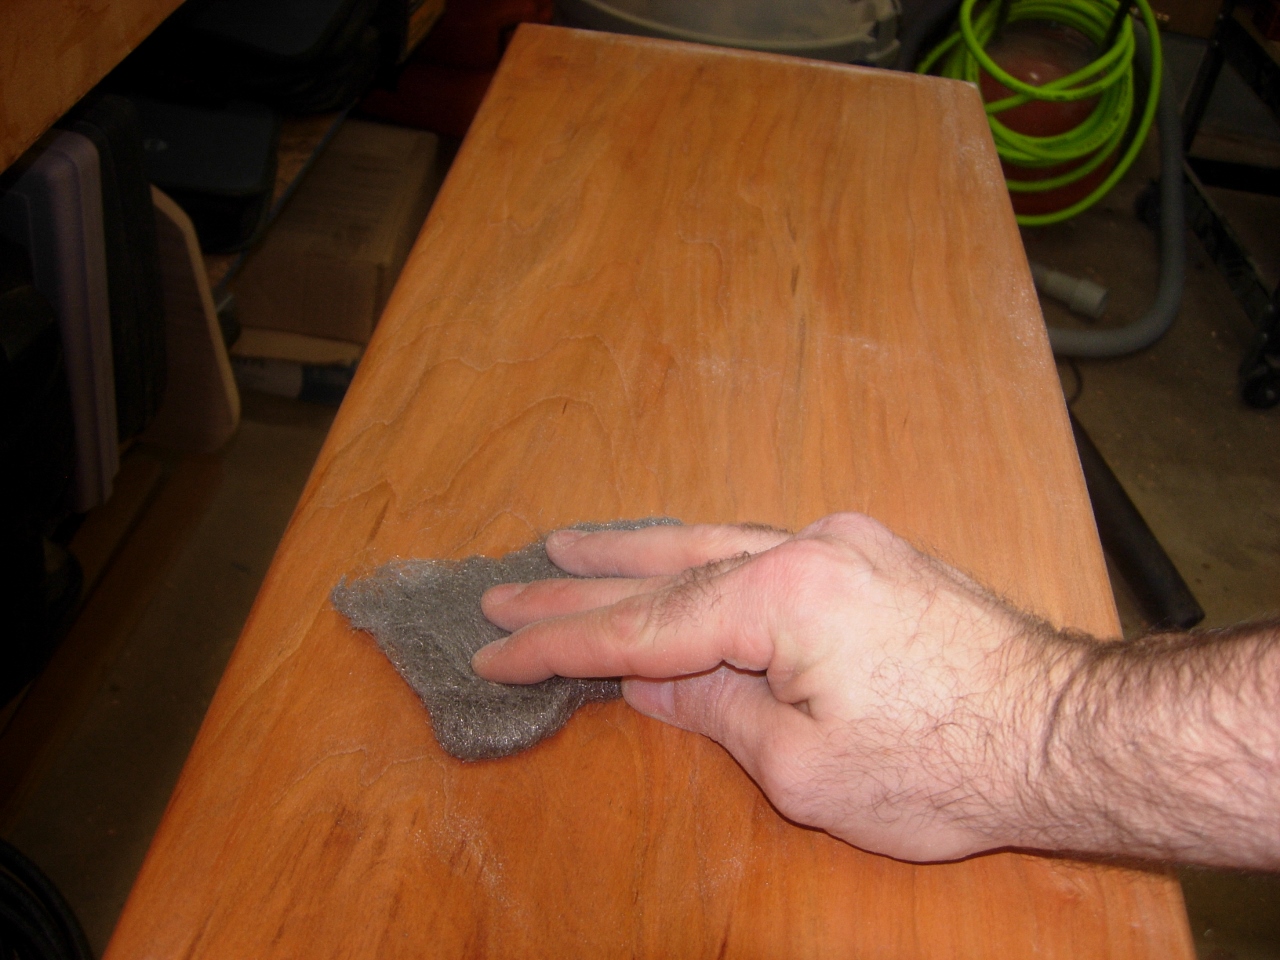
Rubbing everything down with #0 steel wool
I prepped for the second coat by sanding down everything with #0 steel wool. It removes the dust nibs and roughs up the surface a bit. This leaves the surface better able to accept the second coat. It also makes it easier to see where you haven’t coated it yet.

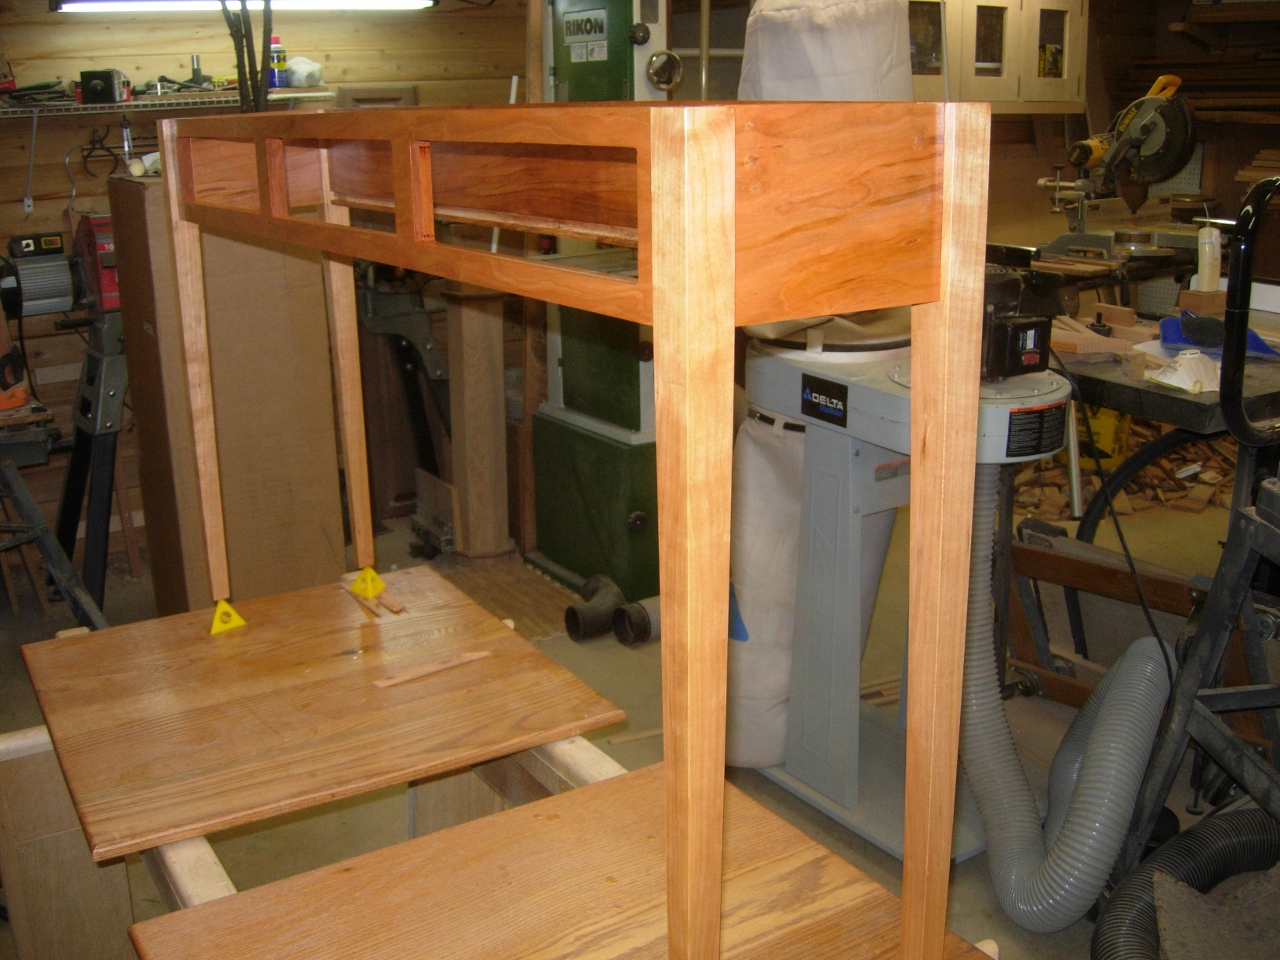
Applying the second coat

Top and cross-bars
Everything got a second coat and I let it set till Rob came up on Friday.
Second coat on carcass
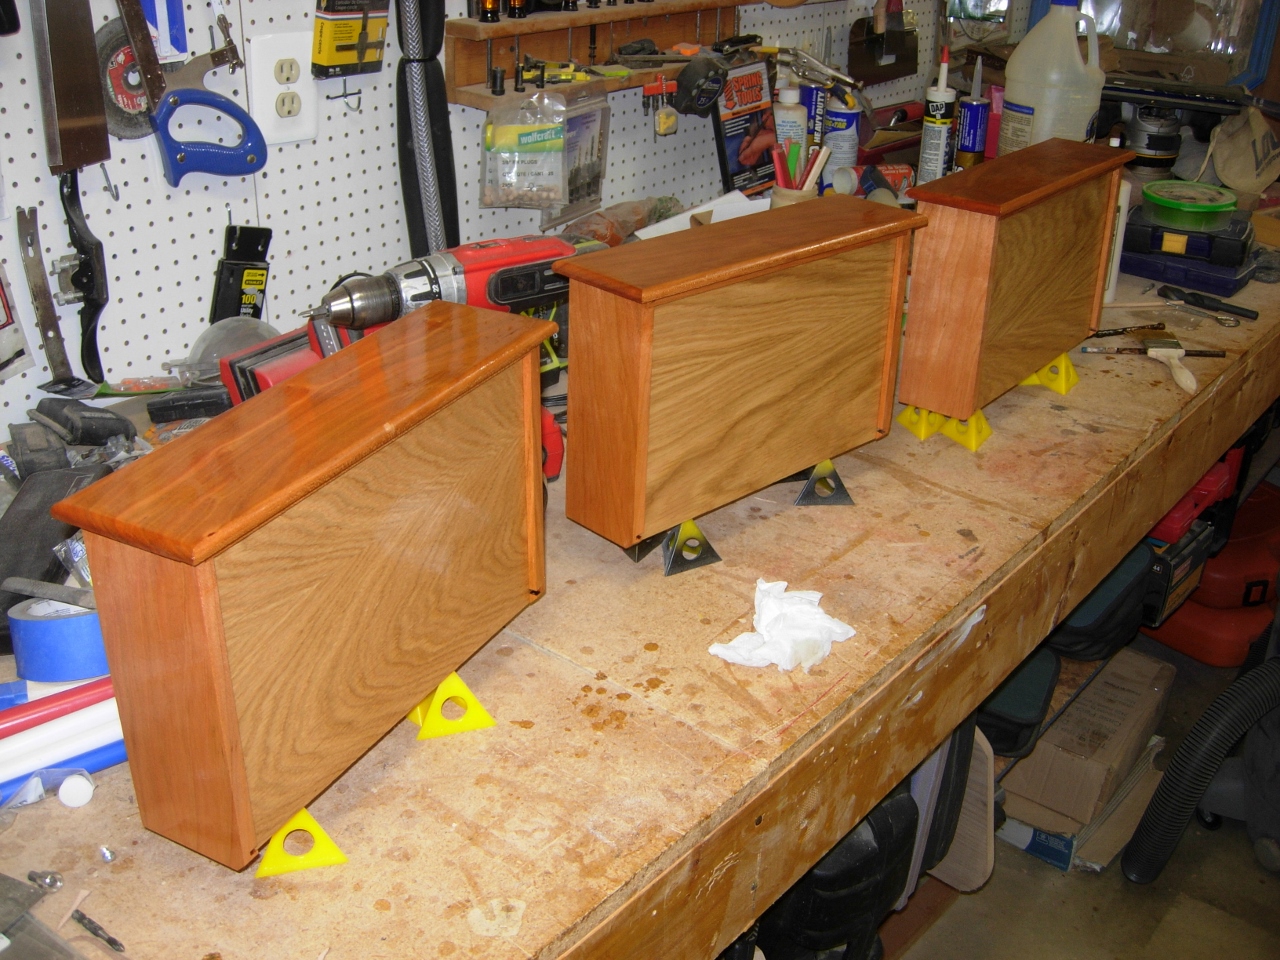
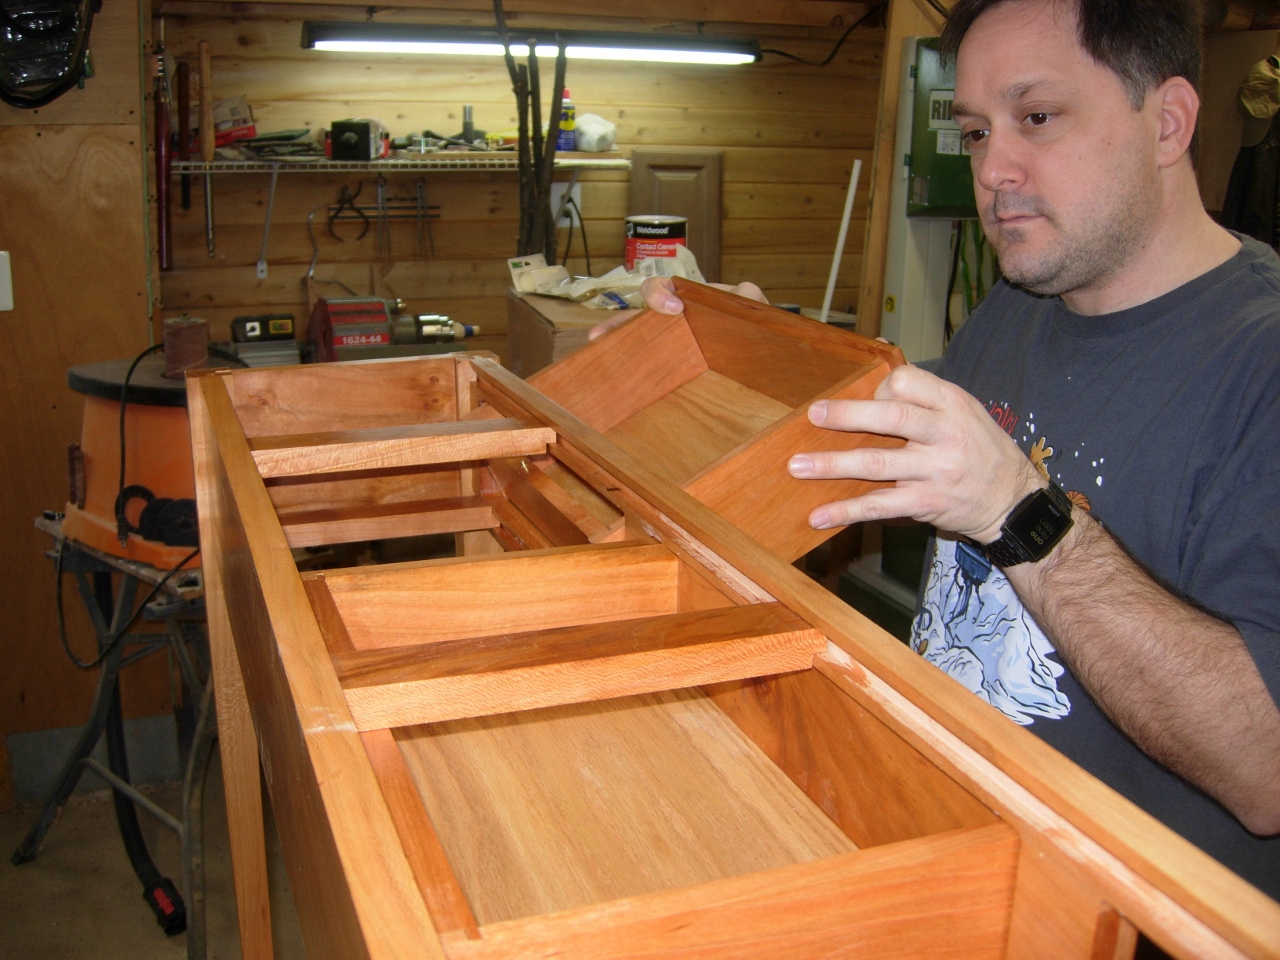
Drawers complete
When the finish was dry, I applied a coat of paste wax to the inside side of the cross-bars. I wanted them to be a bit more slick for the drawers to ride on. Also, when the poly isn’t fully cured, it can sometimes be sticky. I wanted to ensure the drawers worked smoothly.
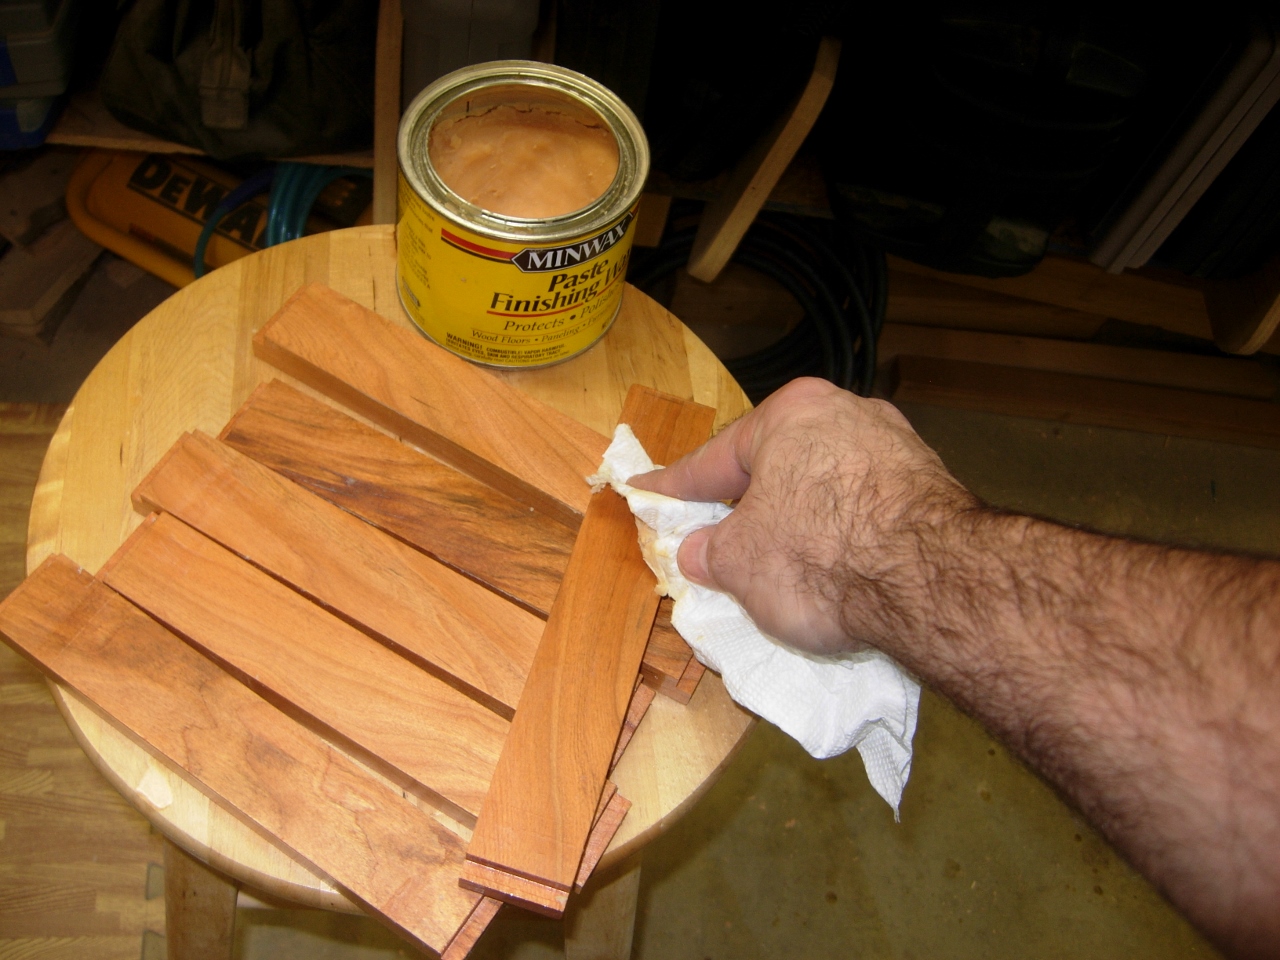
A coat of paste wax
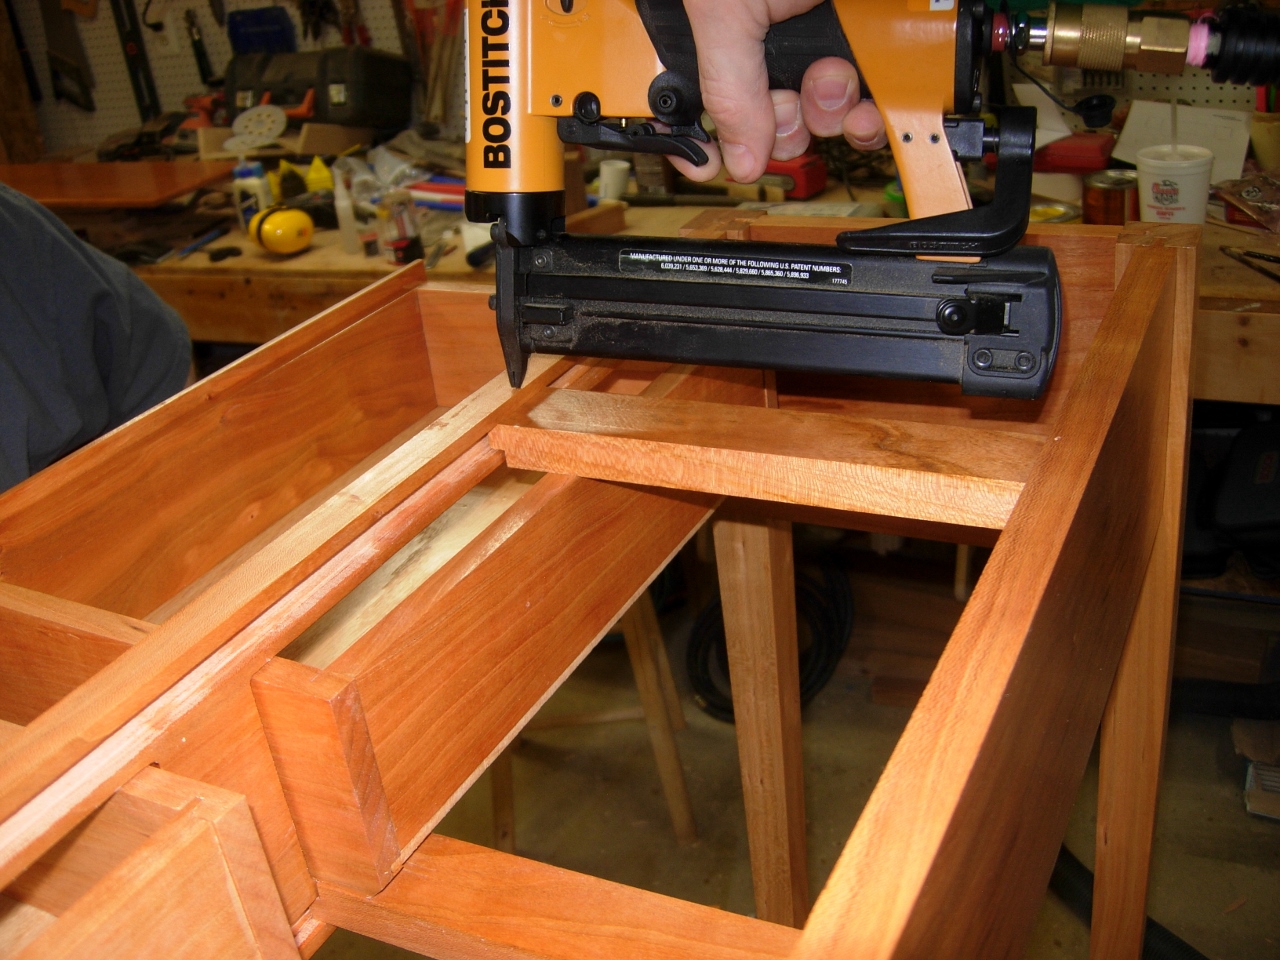
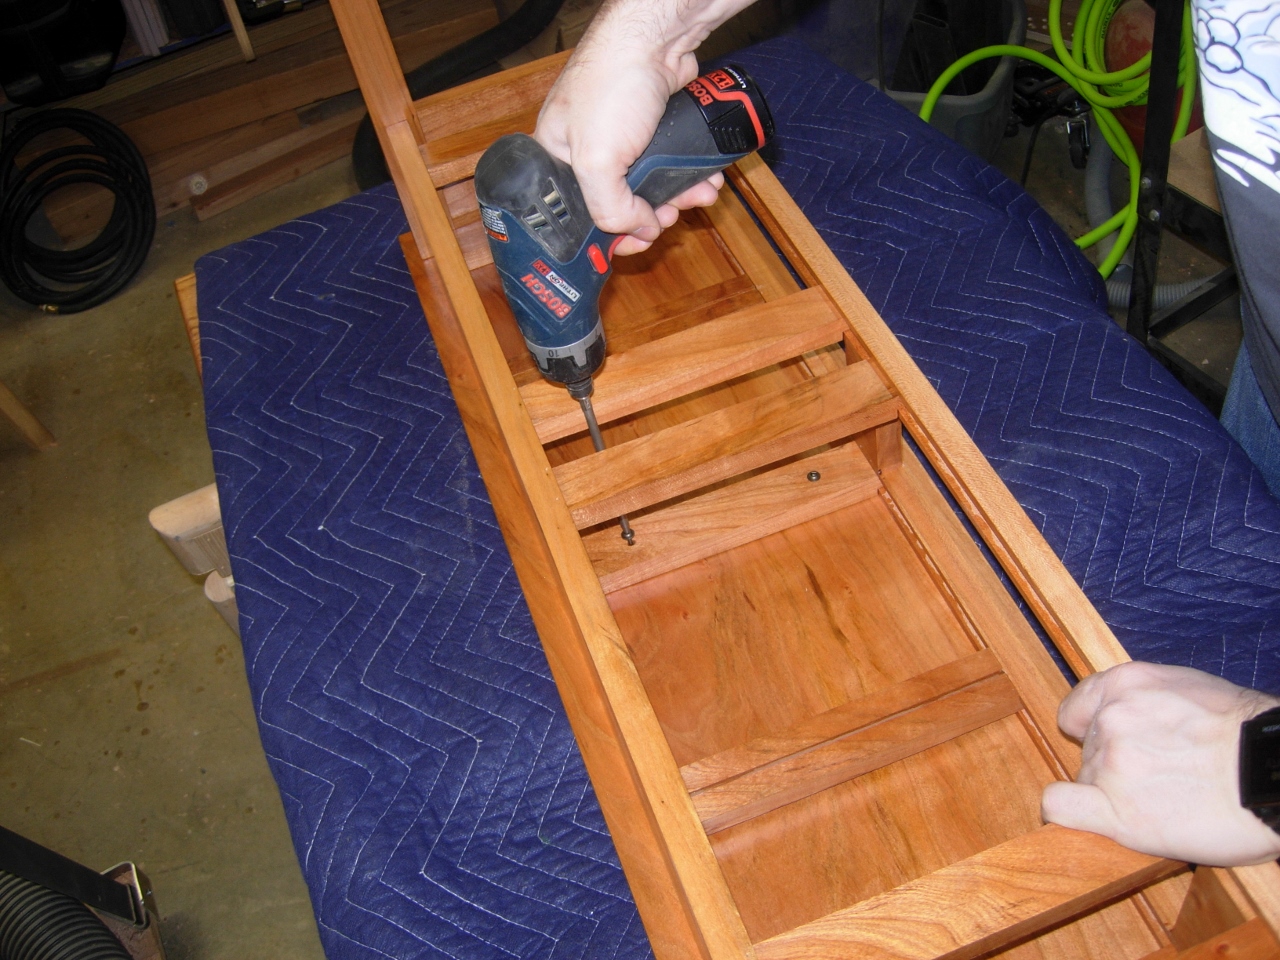
For the final assembly, we started by installing the drawer glide rails. Rob secured them with my pin nailer, using 23 gauge pins. Pinning instead of glueing allows for a bit more expansion and contraction of the wood. The pins will bend a bit if the wood shifts.
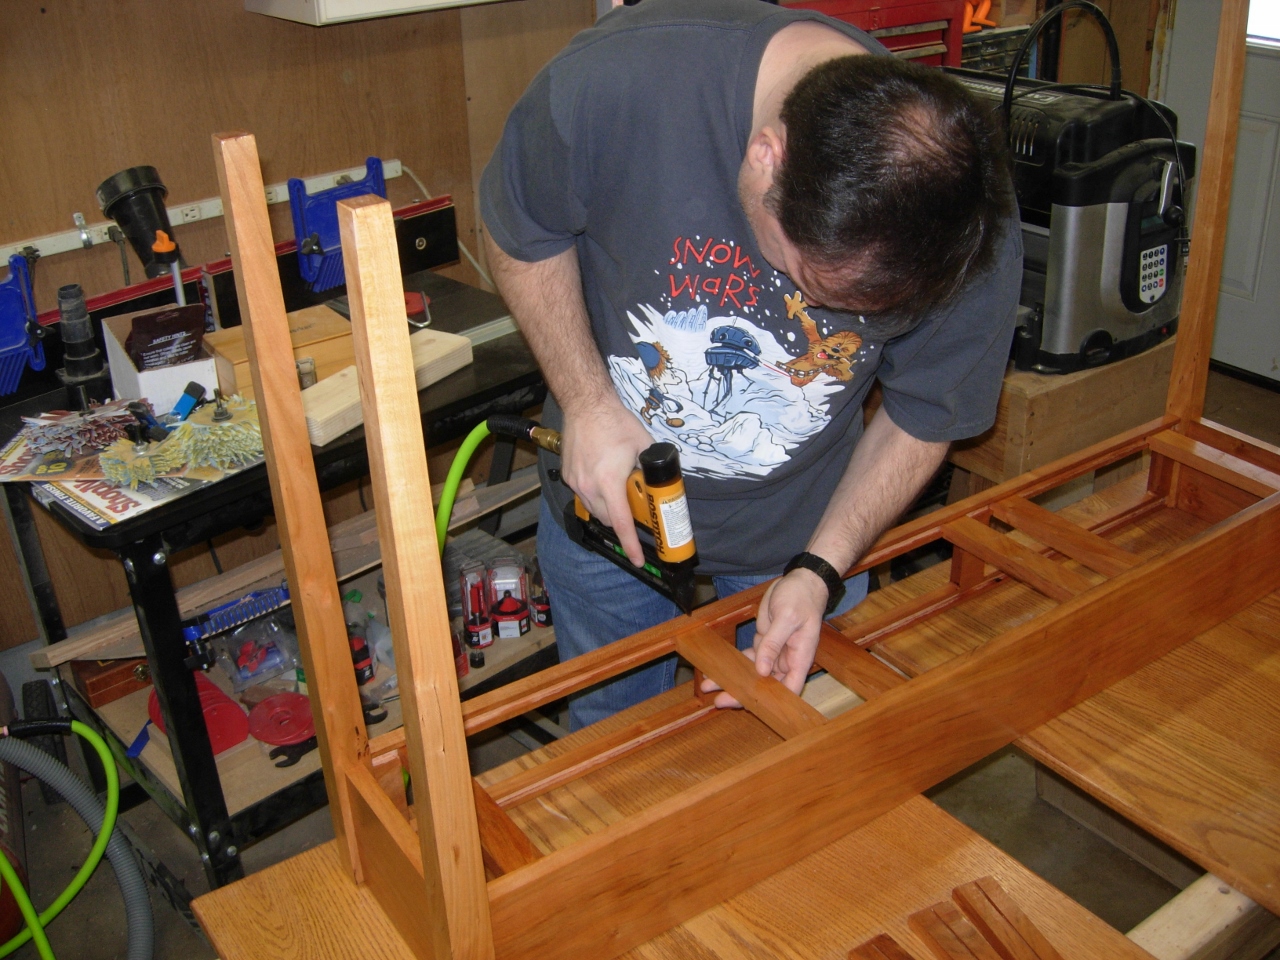
Attaching the cross-bars
the next step was to install the guide pin in the drawers. The pin will be a brass screw with the head removed.
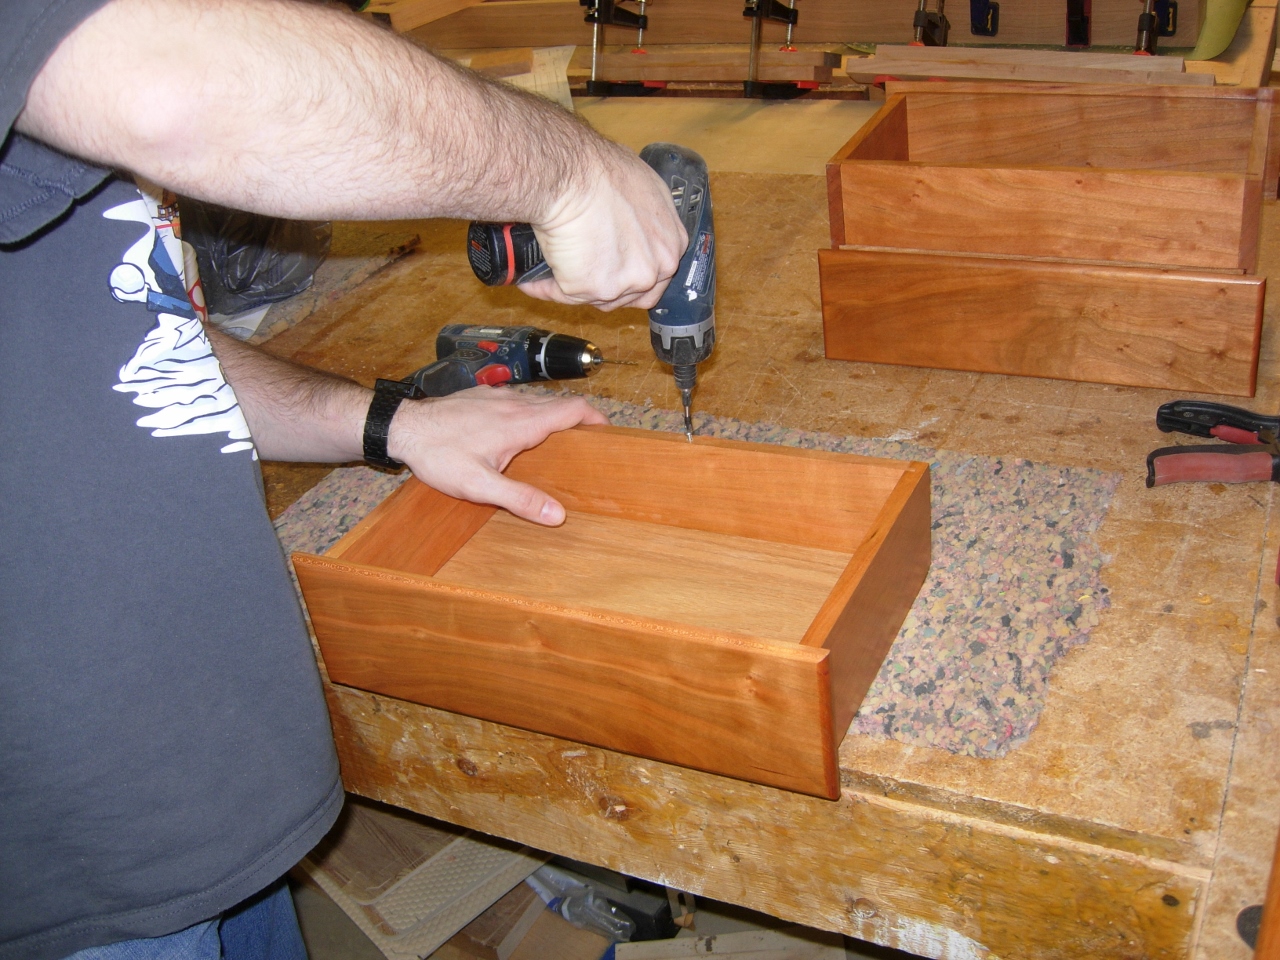
Pre-tapping the hole
since brass screws are soft, we pre-drill and pre-tap the hole by running a steel screw in first, then running the brass screw in by hand.
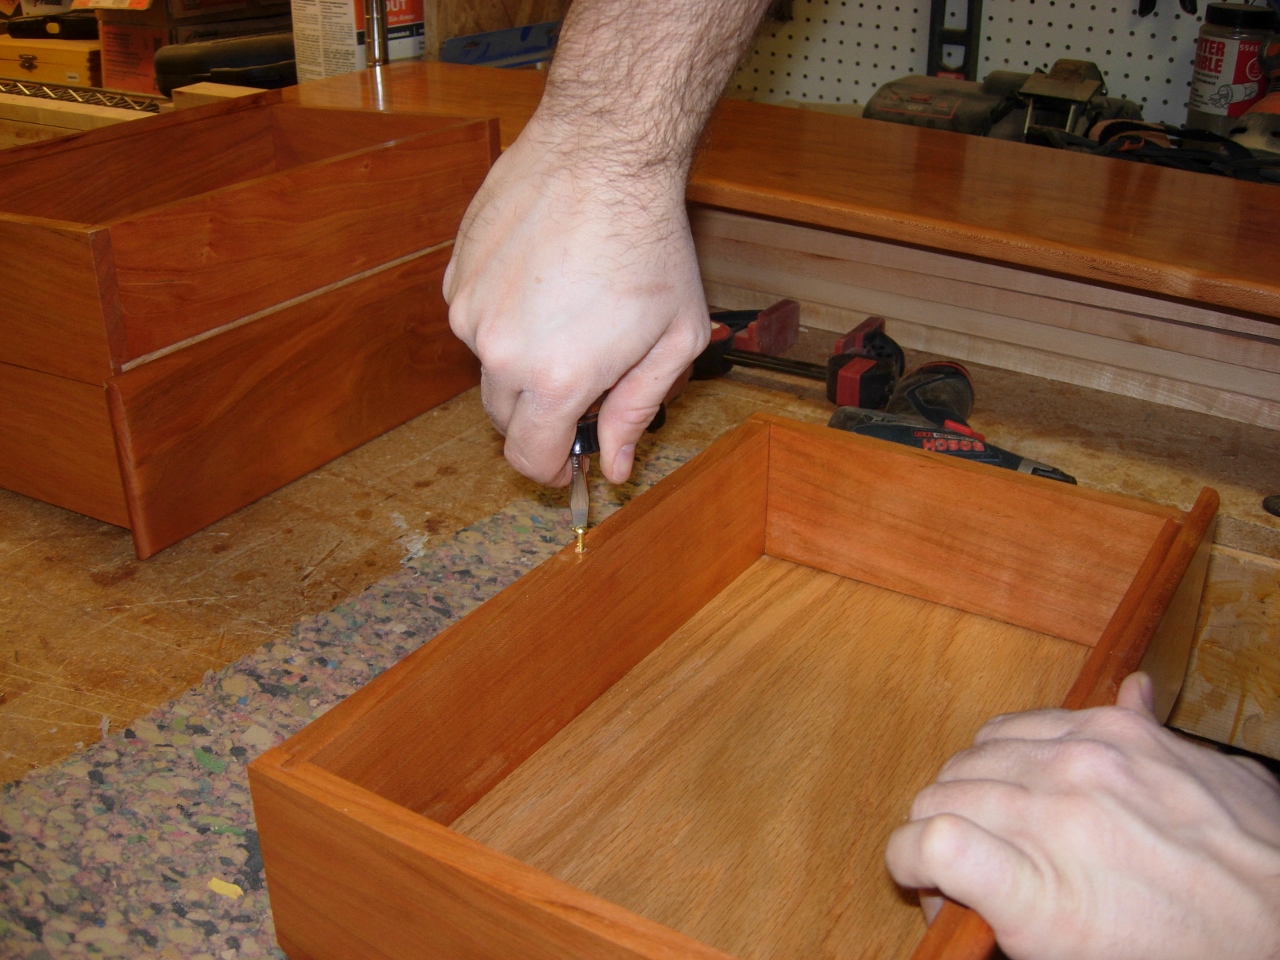
Adding the brass screw
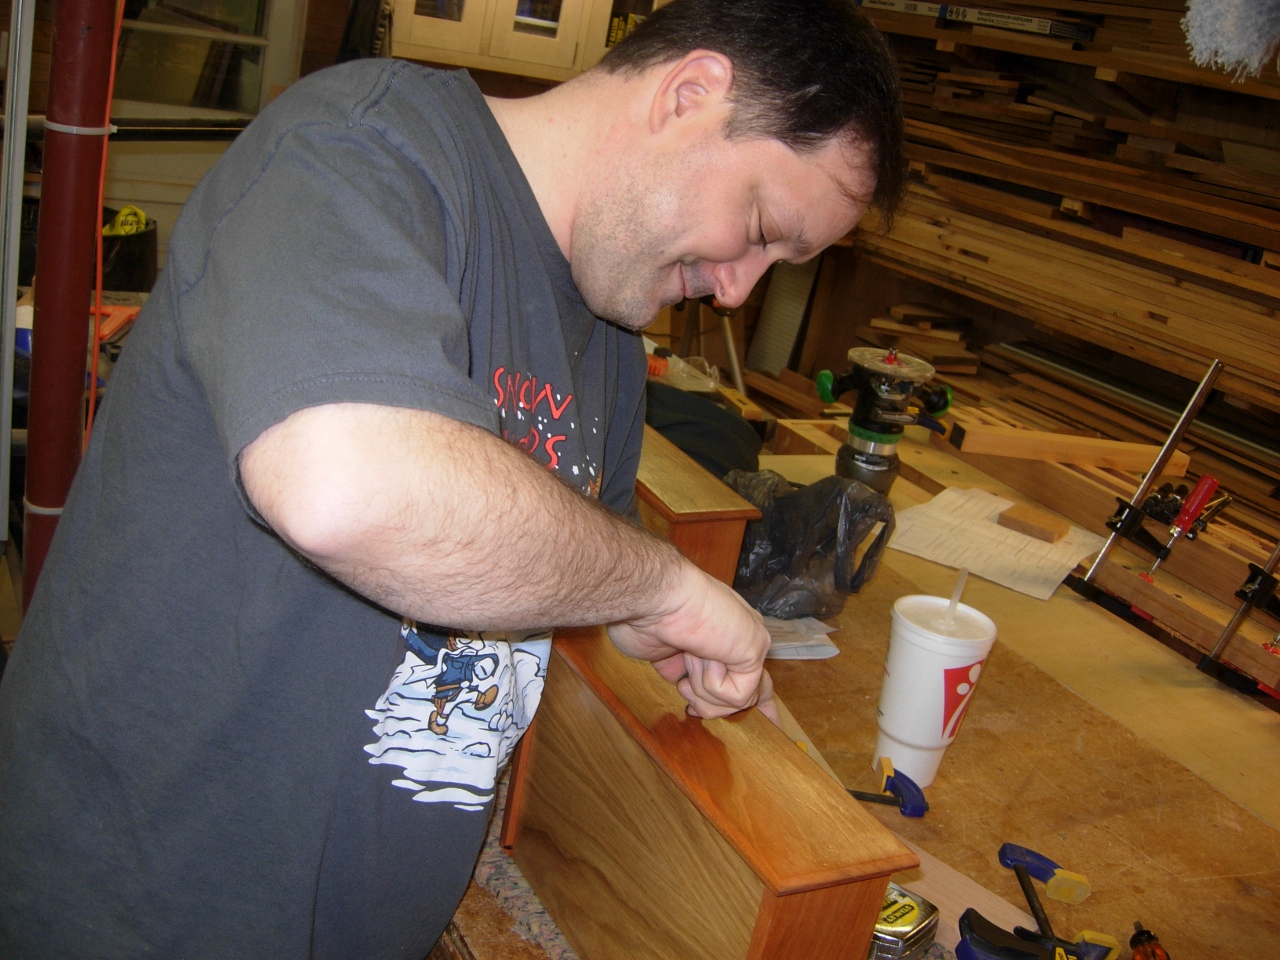
Leaving about 3/16″ of the screw shank sticking up, Rob cut the head off the screw with a hack saw. I placed a piece of wood in front of his hand (not shown in the picture) to prevent the blade from hitting his knuckles when the saw broke through.
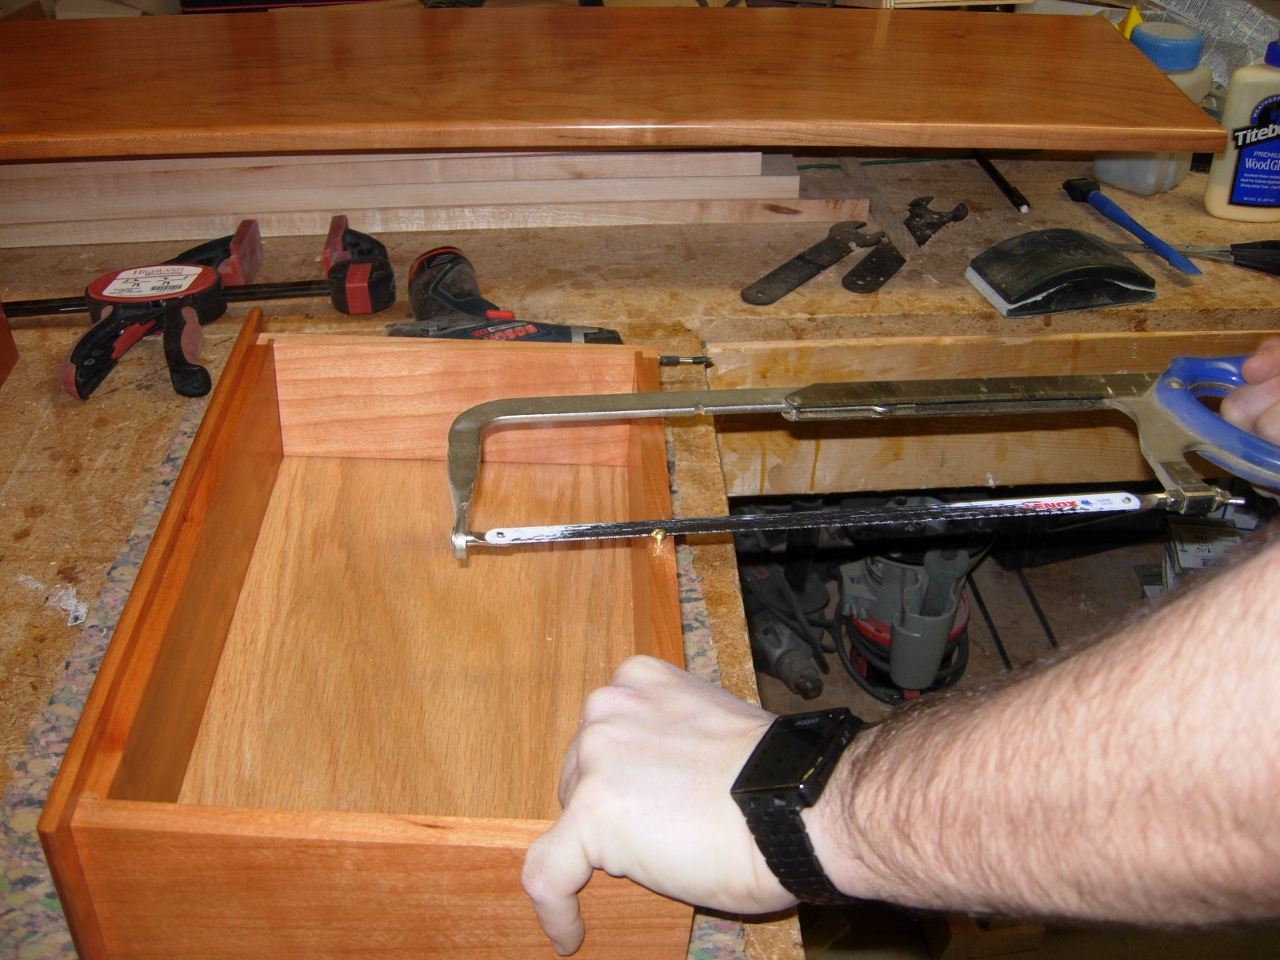
Cutting off the head

Filing it round
Rob filed the end of the screw smooth and rounded the top a bit, then inserted the drawers in the carcass.
Inserting the drawers
We lined the pin up with the guide rail, with the drawer fully inserted, and pinned the back of the rail. Then we opened the drawer nearly all the way to locate the front end of the rail, then pinned it as well.
Locating the guide rails
With the drawer guides installed, we added the third set of cross-bars that are intended to hold the top on place.
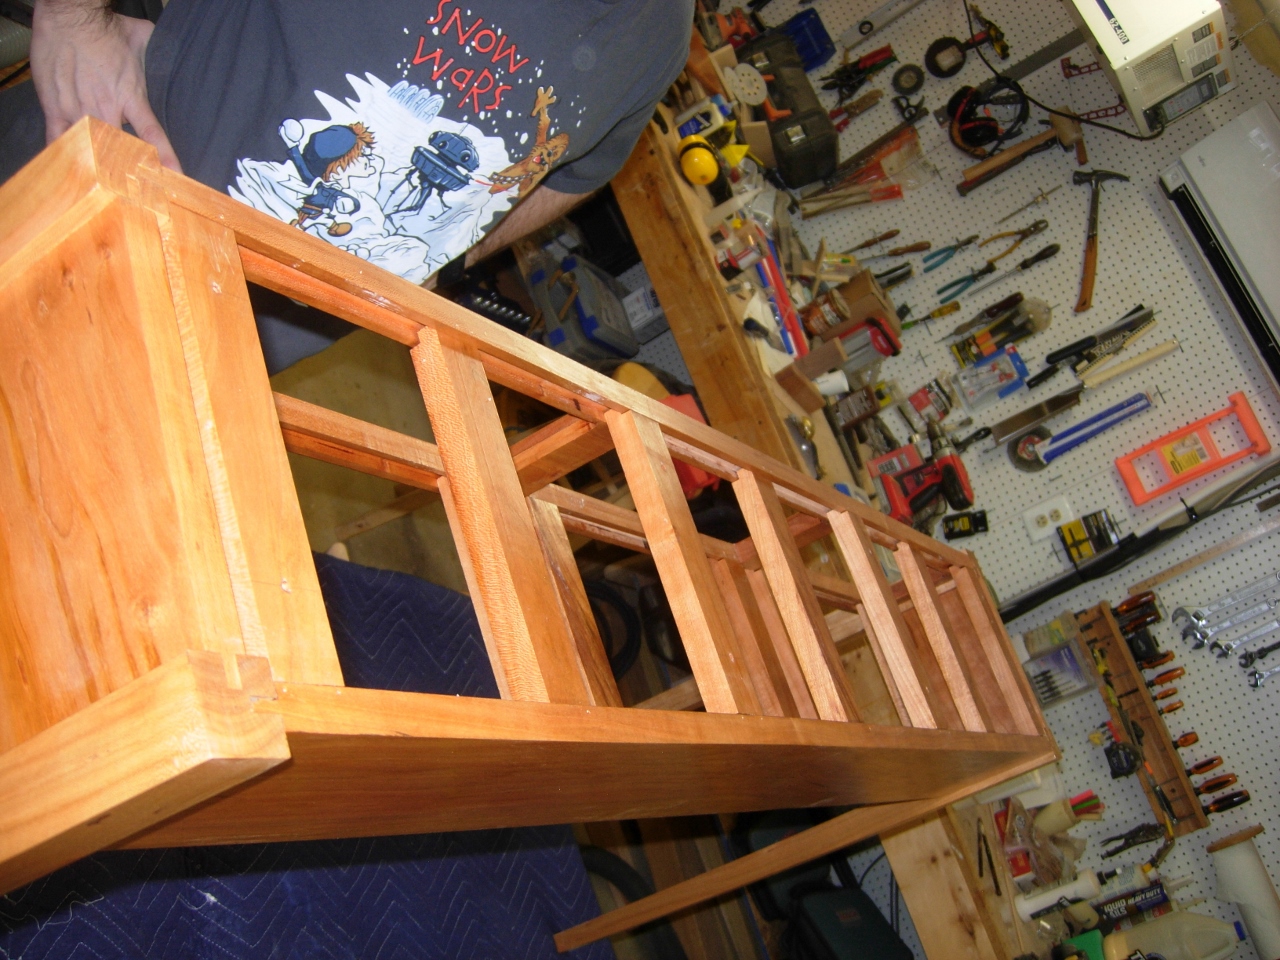
Cross-bars installed
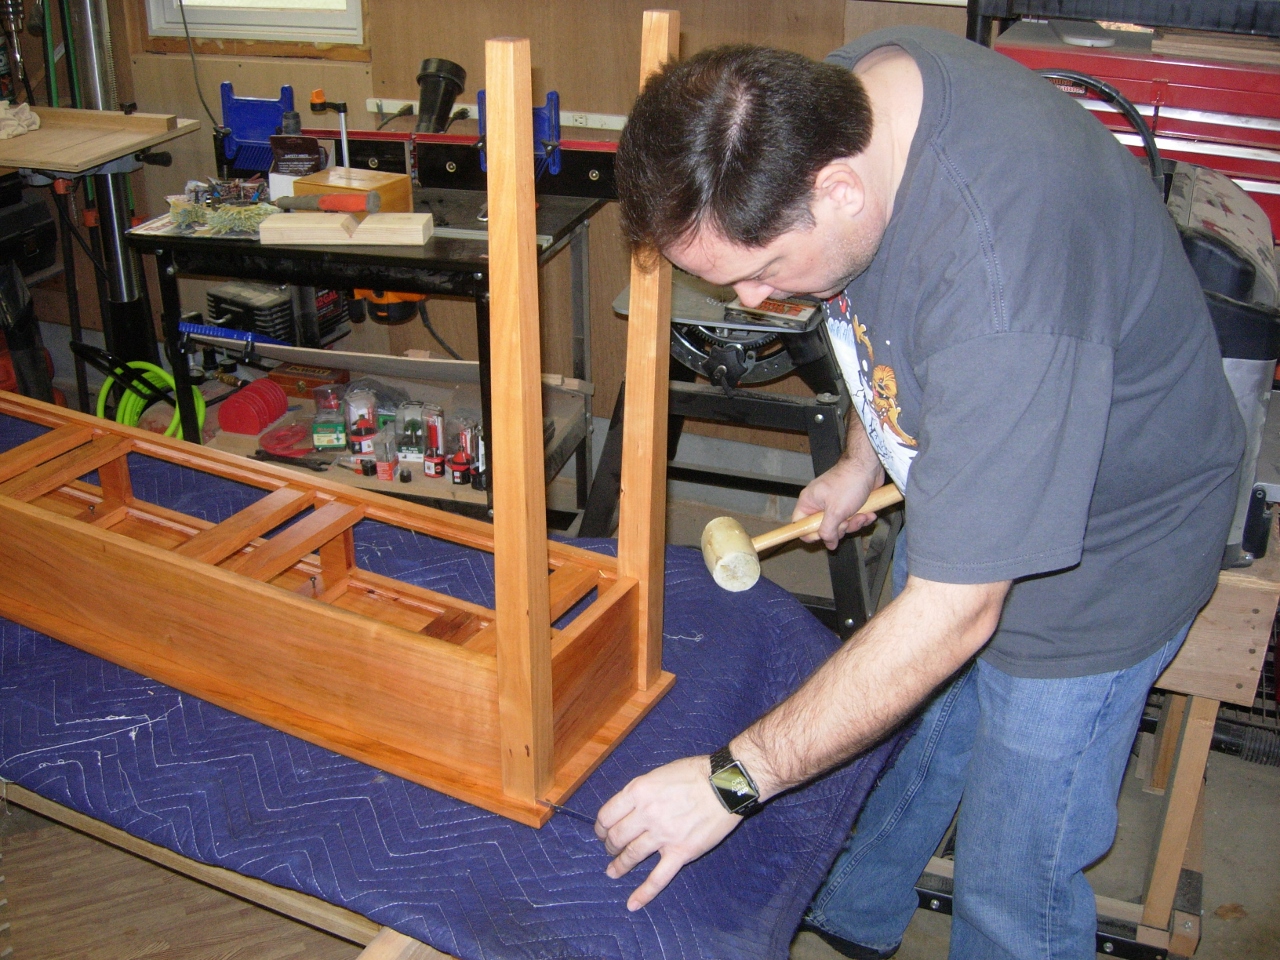
Centering the top
Rob centered the carcass on the top, then screwed it in place.
Attaching the top
The last thing to be installed was the drawer knobs.

Locating the drawer centers
Rob located the center of each drawer, then drilled a hole for the screw. We clamped a backer board to the inside of the drawer front, to prevent any tear-out, when the drill broke through the back side.

Drilling out the knob hole
See Rob smile as he screwed the last knob on. Assembly is complete.
Installing the knobs
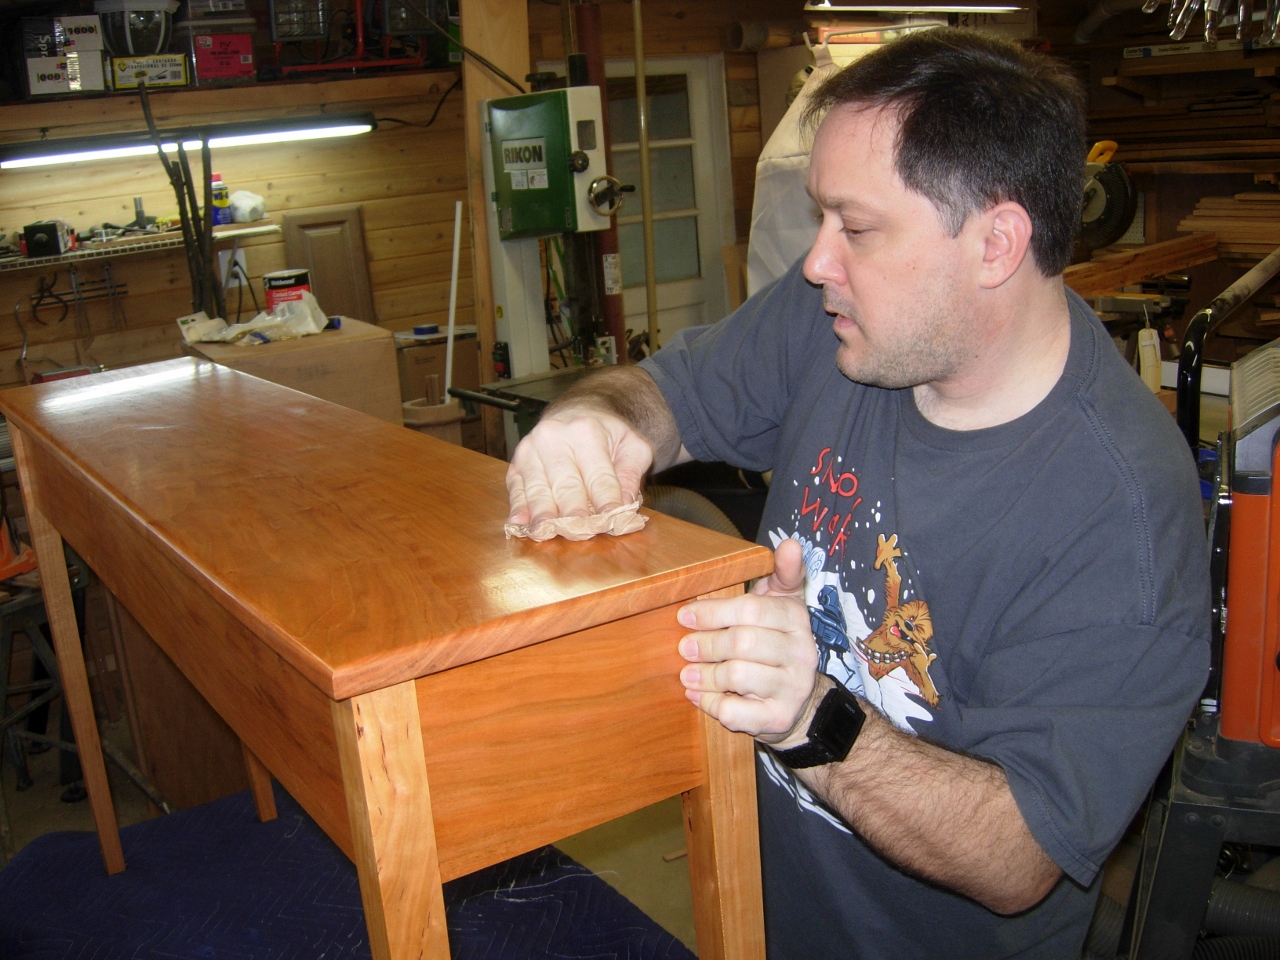
Rubbing down the finish
The final thing to do was rub down the entire thing with a crumpled up piece of a brown paper bag. It takes down the dust nibs from the final coat of poly and seems to polish up the surface a bit. If you can’t find brown paper bags anymore, go to Chipotle and get some take-out. Their bags work perfectly.
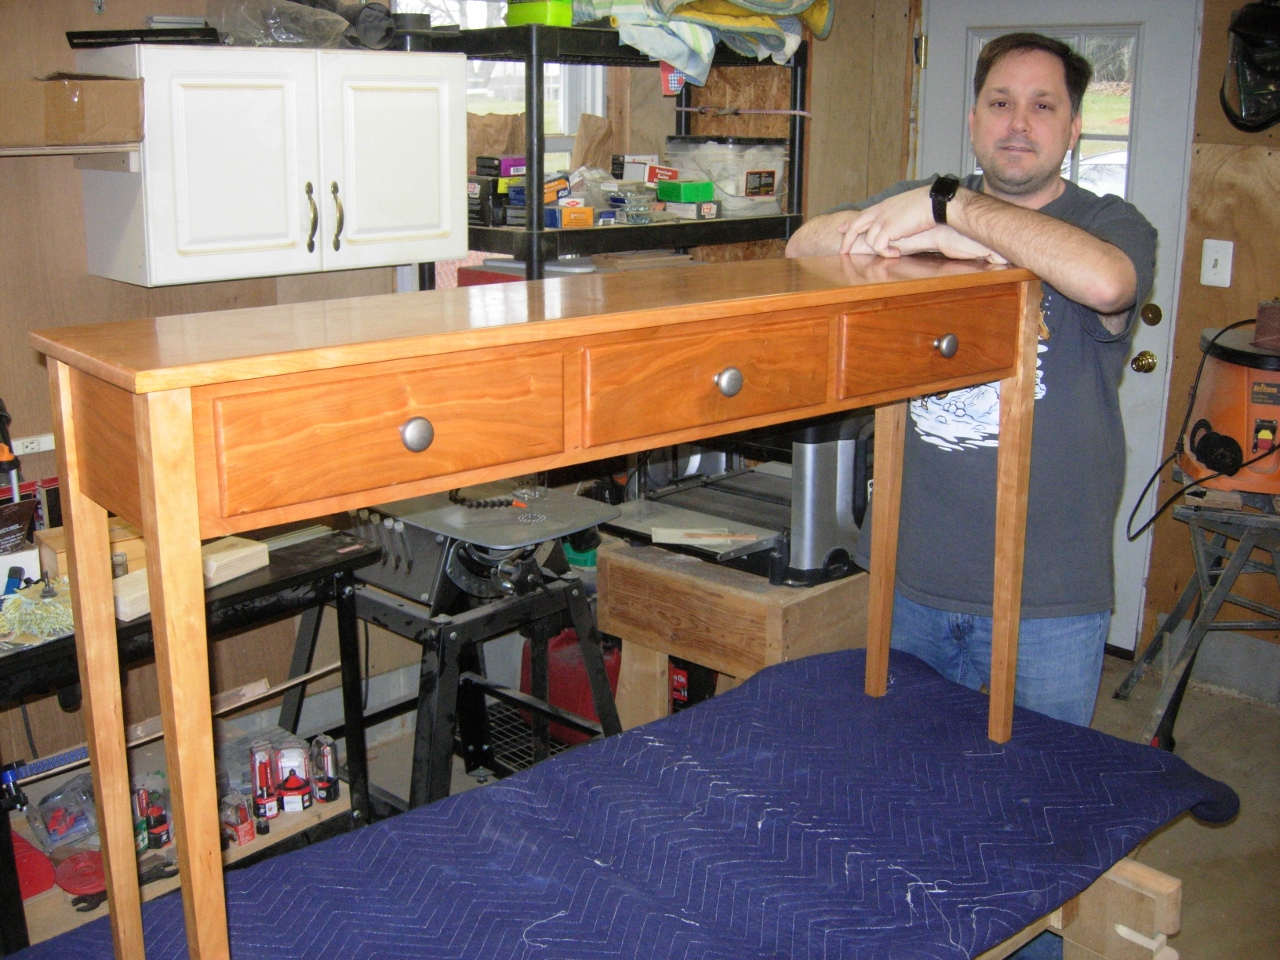
Sofa table complete
Rob sent me a picture of the new home of the sofa table. It will eventually find its way behind a sofa, but for now it is just the right size for holding up the new TV in his bedroom.
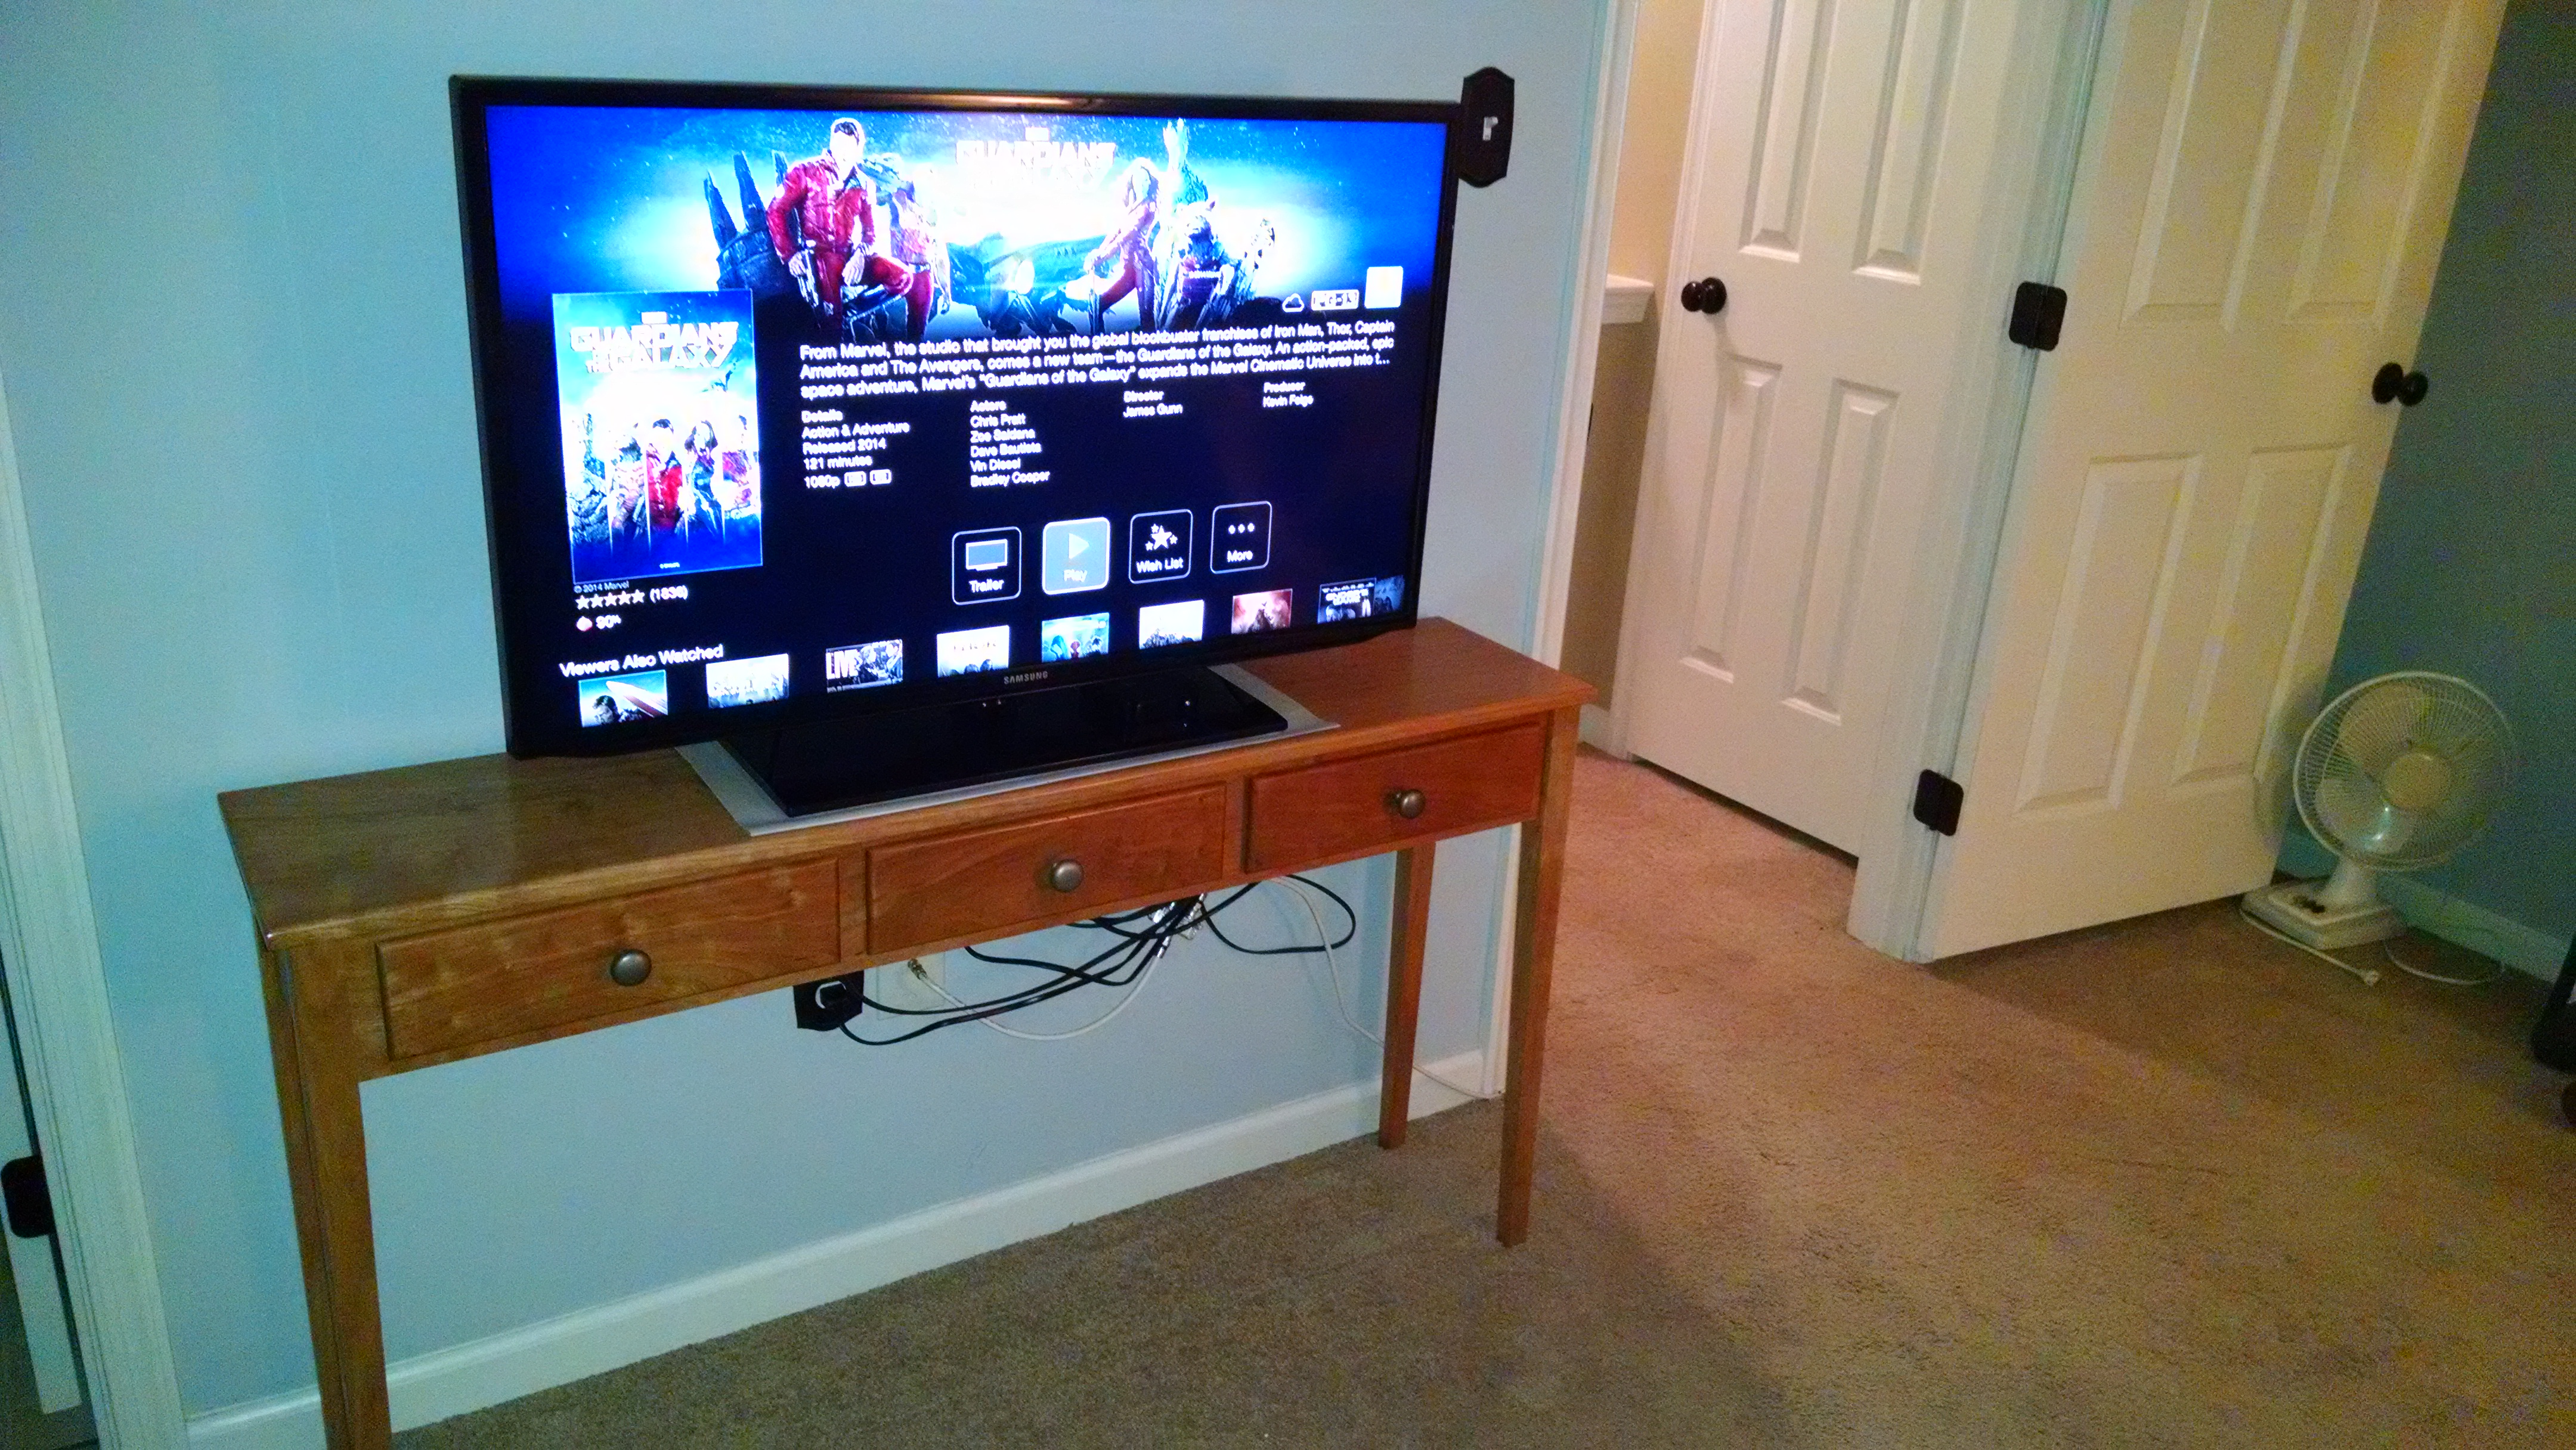
Installed in its new home
