
Rob’s humidor project – day 3
Since the hinges did not yet arrive, for the humidor, we decided to get everything cut and finished, so the prototype could be quickly assembled when the hinges do arrive. We started the evening by trimming the cedar liner down to size. Although, in this picture, Rob appears to be perfecting his Kung-Fu wood ninja stance, he is actually cutting the bottom panel down to size, while sitting on a stool…

Cutting down the cedar bottom panel
Rob measured and ripped the side pieces on the table saw. No ninja moves when using the table saw. Safety first…
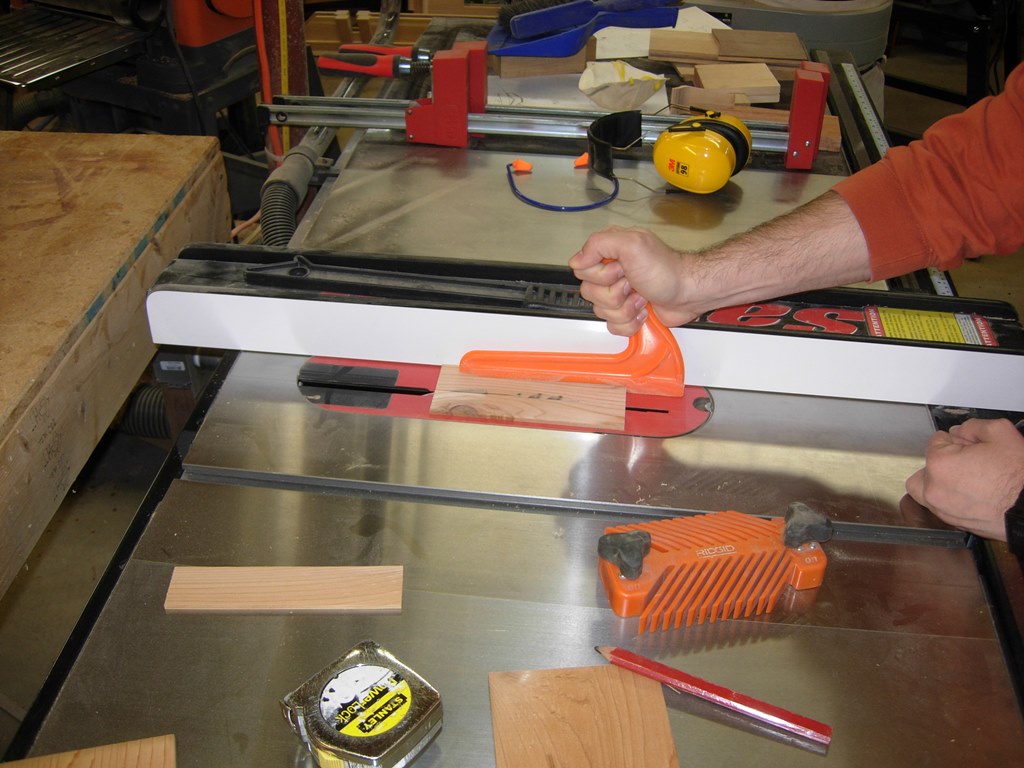
Ripping the cedar sides
The goal is to have the cedar fit as tightly as possible. Rob cut the pieces about 1/16″ over-sized, then we trimmed them down a couple of thousandths at a time with a block plane. My bench hook worked well as a make-shift shooting board for trimming the cedar.

Fine tuning the length of the sides
We also started applying the finish to the walnut box. We decided to use shellac because of the quick drying time. We covered the cedar, lining the top, with painter’s tape before spraying. Since you can apply successive coats after only 15-20 minutes of drying, we did manage to get about four coats applied.
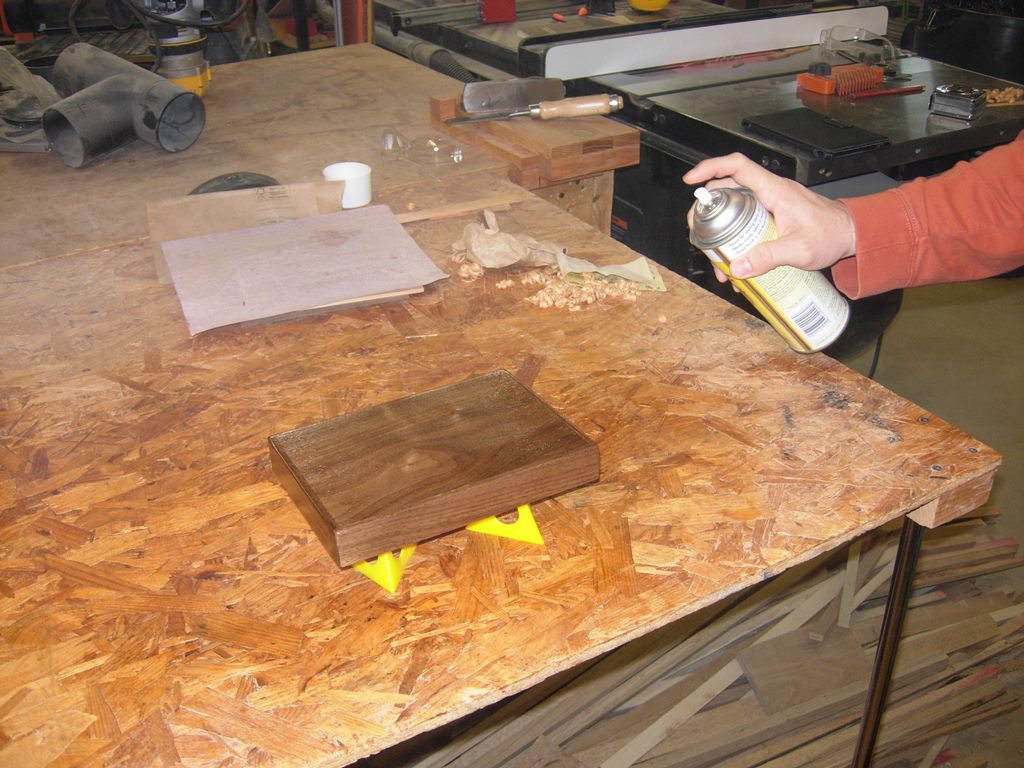
Spray shellac
When the box was dry enough to test fit the cedar, we installed it. The sides were a bit too tall, so they were cut down until the lid set tightly closed.
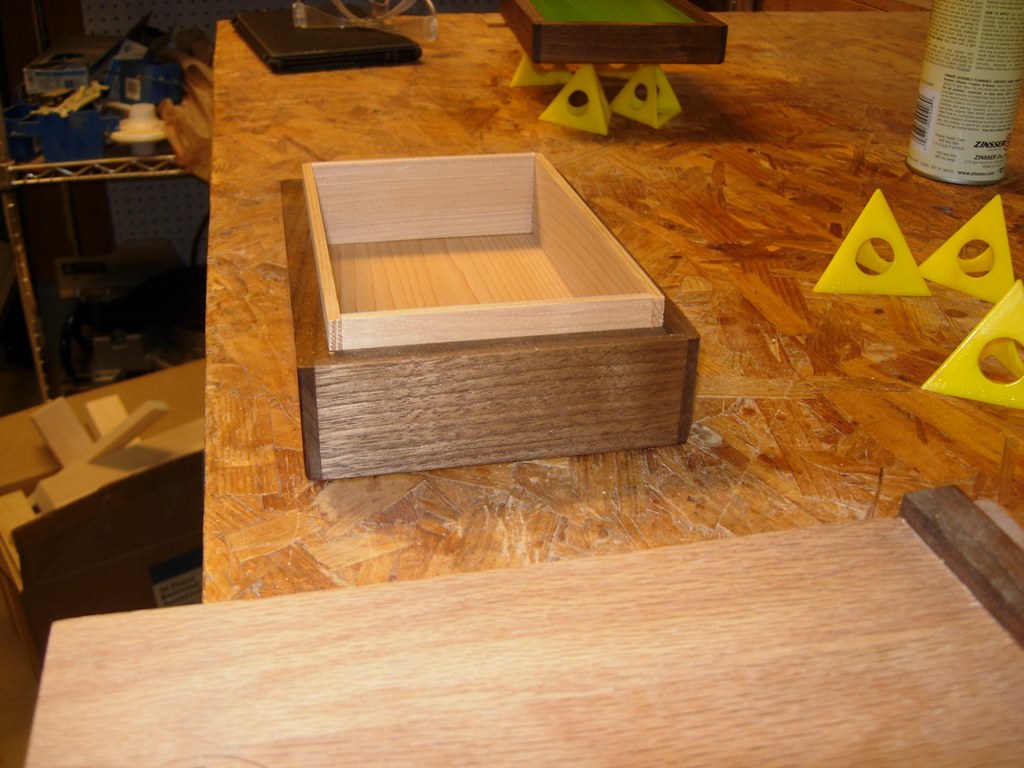
Dry-fit of the cedar

Adding a beveled edge to the cedar sides
Since the lid will be hinged, we planed a bevel on the outer edge of the cedar. This will allow the top to engage easily when closing.
Cut and assembled
I cut a small strip of scrap cedar to hold the sides firmly in place until we are ready to glue the sides on. The held everything tight enough to make the final adjustments to the lip of the cedar.

Tight fit
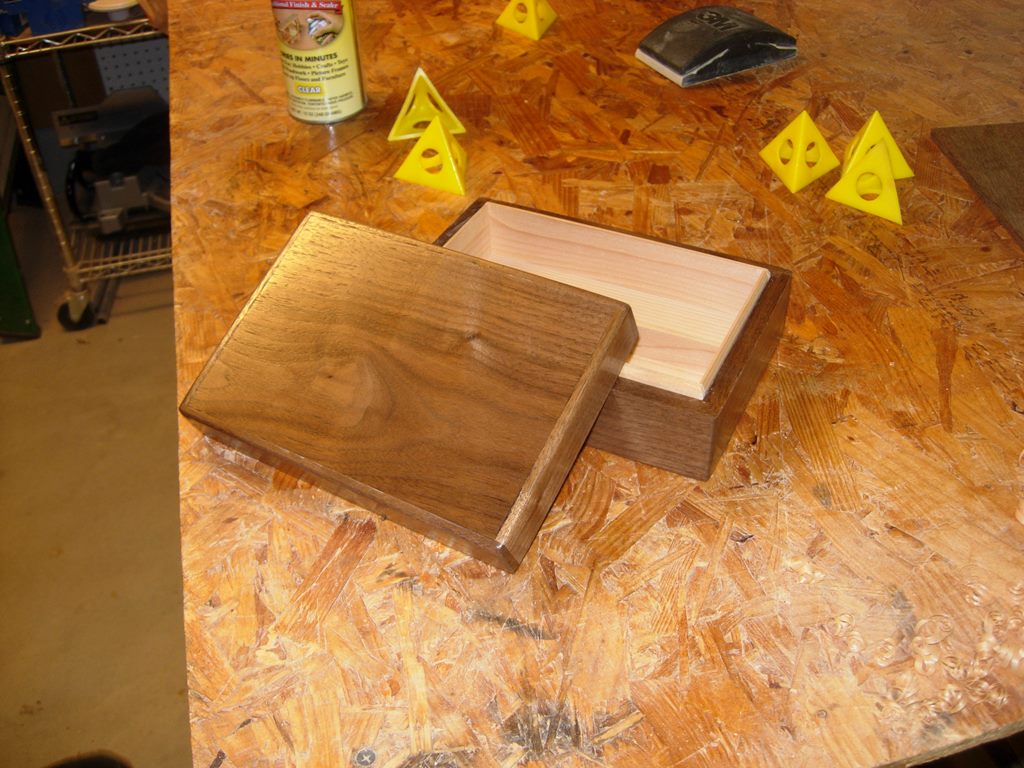
Besides a bit of tear-out in the rabbets, the prototype box came together beautifully. We may experiment with a different joint, or a different method for making the same joint, on the next box, but Rob is very satisfied with the outcome of the prototype.

All done except the hardware
