
Drop-down Ironing board
My mother doesn’t like change. She prefer’s to have things repaired repeatedly over buying something new. So when the legs on her trusty old ironing board broke, she asked me to re-use the board and build her a new set of legs. “Oh, and could it be mounted to the wall and be able to fold up out of the way?” So I sat down at the computer and laid out pivot points and clearances. This is what I came up with:
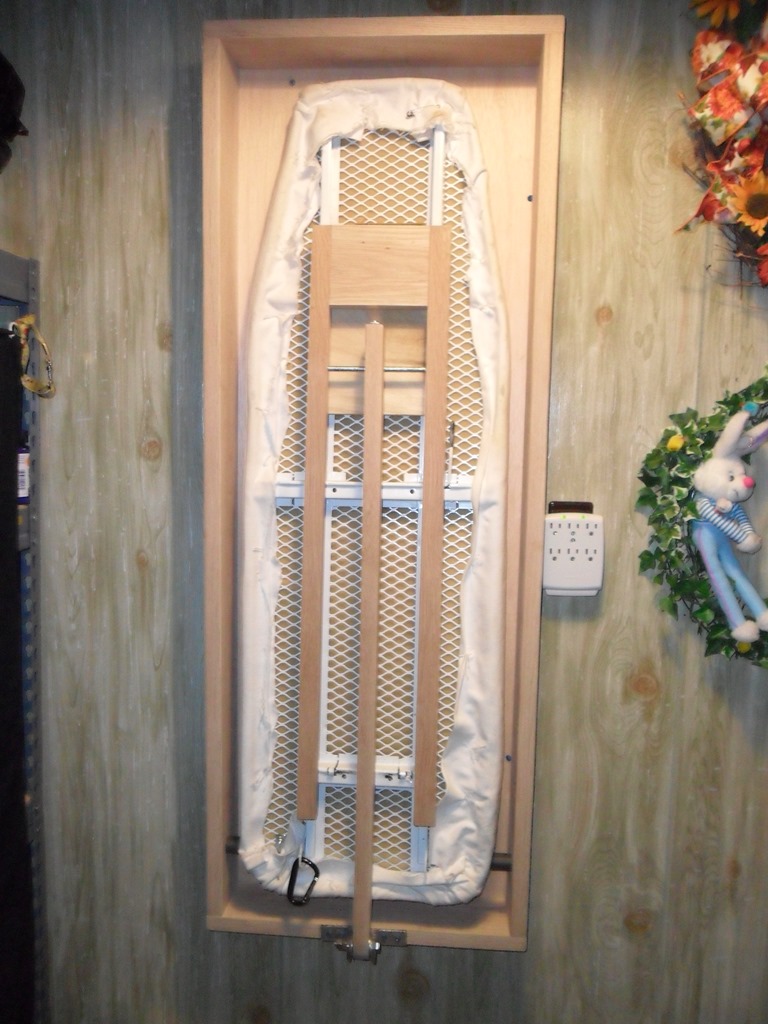
Ironing board retracted
The frame is 3/4″ oak, 4″ deep mounted to a piece of 1/2″ plywood. There is a 1″ diameter hole drilled 1/2″ deep on each side, near the bottom of the cabinet. I inserted a 1″ diameter aluminum rod within the pockets as the frame was assembled. Since the board is a mesh covered with foam and cloth, I used two 1-1/4″ U-bolts to fasten the rod to the ironing board through the mesh. I used a couple of fender washers that were larger than the holes in the mesh. Since my mother cannot see very well, I wanted the board to stay up without having to strap it up, or lock it in place. Hopefully avoiding pinched fingers.

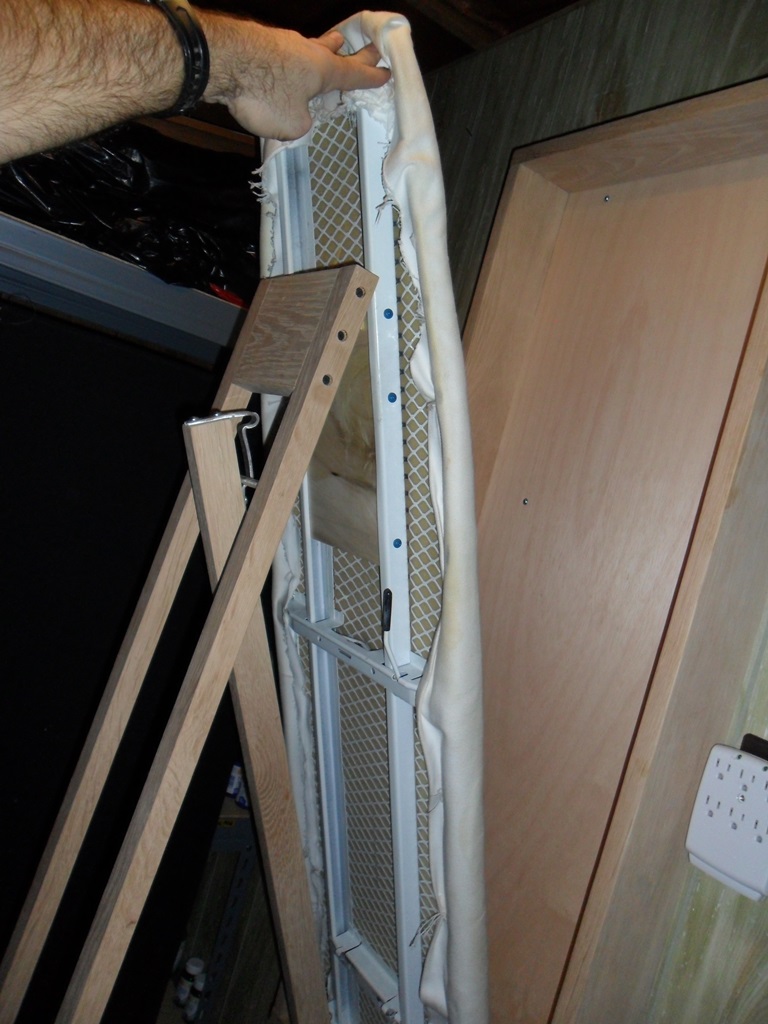
Self-closing hinge
I decided to try a self-closing door hinge. I bought a heavy-duty one with an adjustable spring. Next I added a piece of poplar between the metal support rails under the board. I made the legs from 3/4″ x 1-1/2″ oak, and placed a board at the hinge side that was about 5″ deep. I wanted to spread the stresses down the legs a few inches past the hinges to avoid torqueing the wood.

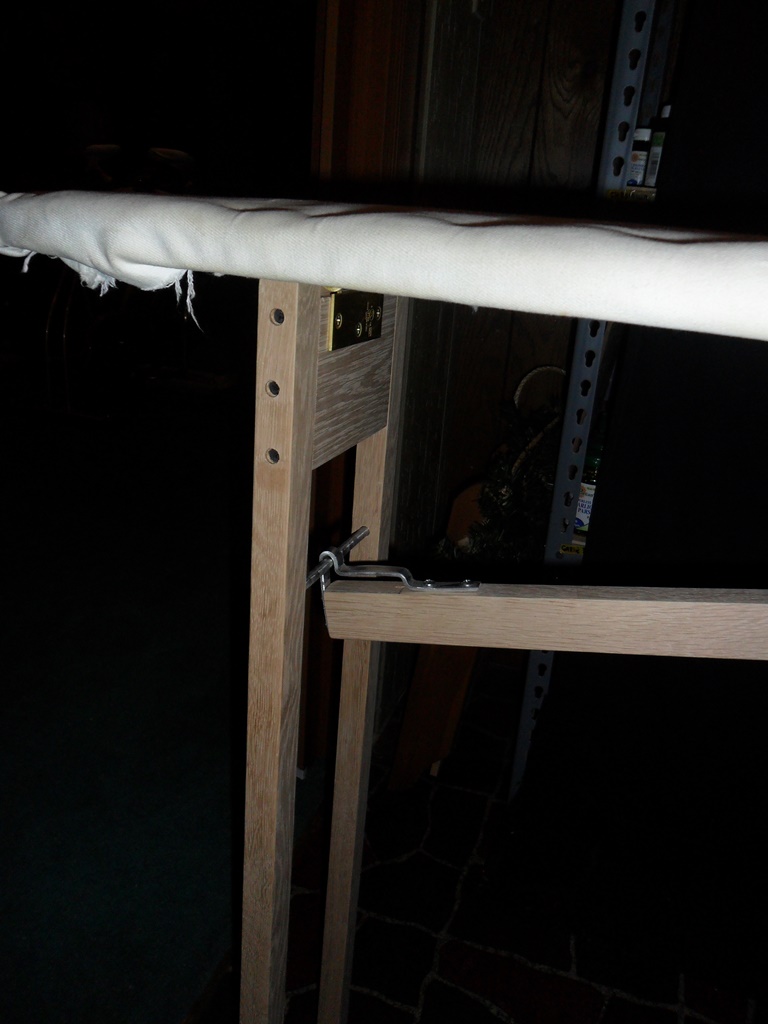
Leg locking bracket
I placed a 1/4″ diameter rod between the legs a few inches further down to attach my locking bar to. It took some trial and error to get the bracket on the locking bar exactly right, but I used 1/8″ aluminum so it bent easily enough. The way the bar works is simple. As you pull down the board, the legs are forced open by the bracket. When the board is all the way down, you push the legs out and the bump on the end of the bracket drops down and locks onto the rod, effectively locking the legs at full extension.
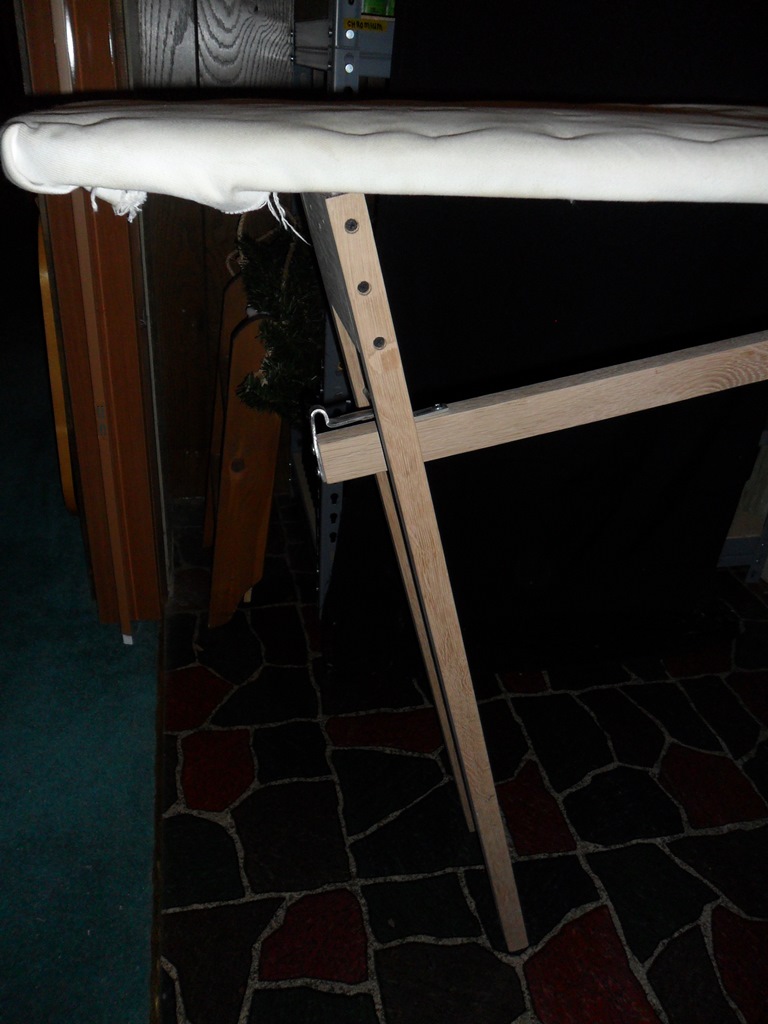
Leg locked open
At the other end of the locking bar, I created a simple pivot point using a couple pieces of 1-1/2″ x 1-1/2″ aluminum angle with a shoulder bolt and some fender washers. I rounded the end of the oak locking bar so that it wouldn’t hit the frame as it rotated.

Pivot point
After the self-closing hinge was properly adjusted, a simple bump with the hand or the knee will release the locking bar and the legs start to fold back. Since the bracket limits the travel of the rod, the board is still supported and won’t drop more than a quarter inch or so, even with a weight on it.
Bump the bar and the leg is released
After you raise the board just past the half-way point, the spring load in the hinge takes over and continues folding the board up for you. With the spring pulling the board up, it stays there on its own, so no straps required. I had also purchased a power strip to mount to the side so she wouldn’t have to feed the cord over or through the board to plug it in, but there was already an outlet where she decided to have it mounted. I would have put a finish on it and created doors as well, but she insisted that it looked fine to her. Since she is legally blind, I am not sure if that it was a compliment.
Returns on its own after half-way point

ONE WORD…..
“AWESOME”
Thanks.
Lucky mom.
So, I’ve been fretting about our typical wobbly and cheesy ironing board that takes up too much space in the laundry area which also serves as a mud room and entry into the house. THIS is what I had envisioned as the solution and I applaud your smart design and especially like the use of the self-closing door hinge. Brilliant.
Now I only wish I had time, a wood shop, and skill to copy your design. Perhaps I can talk a buddy into … 🙂
And thank you for sharing.
Pingback: Woodworking Near Me | woodworkinginternational
I am researching the same idea for a Steam generator iron mesh ironing board to swing down from a sliding door wardrobe. I like your idea a lot especially as it does not need a workshop or welding skills.
My problem with your design is that you did not photograph your main hinge in the cupboard frame and I cannot see how the photographed self closing hinge at the far end of the board keeps the whole board up in the frame when not in use. – did you use 2 self closing hinges?
Is the one inch aluminium bar sitting across the top of the ironing board at the wall end?
The 1″ aluminum bar, at the wall is held to the ironing board with two simple U-bolts. It is just a pivot point. The hinge at the far end is an adjustable, spring loaded hinge. What holds it up is the downward pressure on the single wood bar that runs up the center. It doesn’t require a lot of force to hold the assembly up, in the closed position, so the force on the center brace is enough to keep it up but allow you to easily overcome the spring load when pulling it down. Sorry, I am not sure how to better explain it.