
Cherry Columns
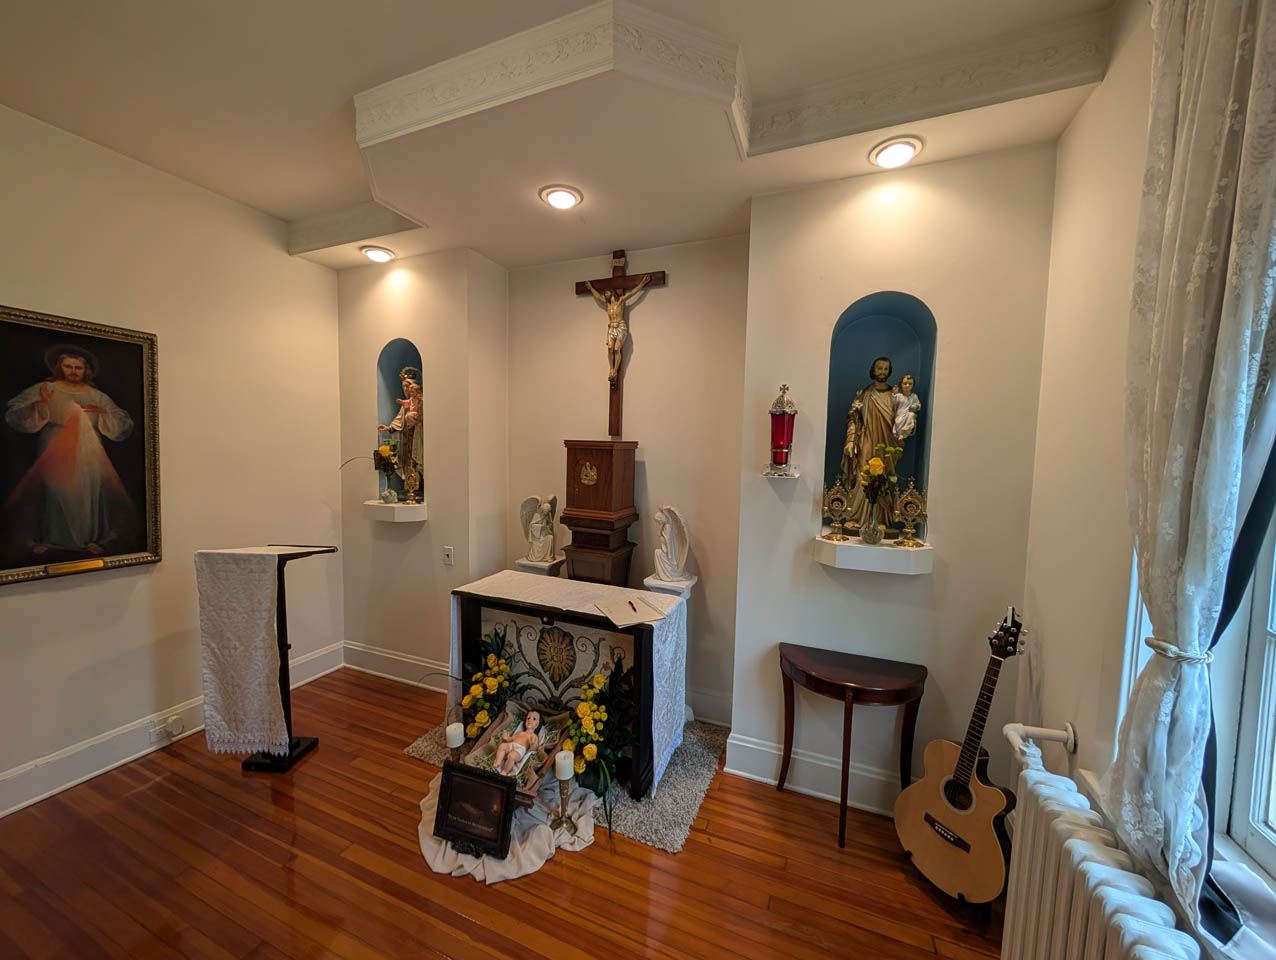
Continuing my project for The Sisters Poor of Jesus Christ – Baltimore Mission. I am making square columns that match the other chapel furniture. This is the design: Column.PDF
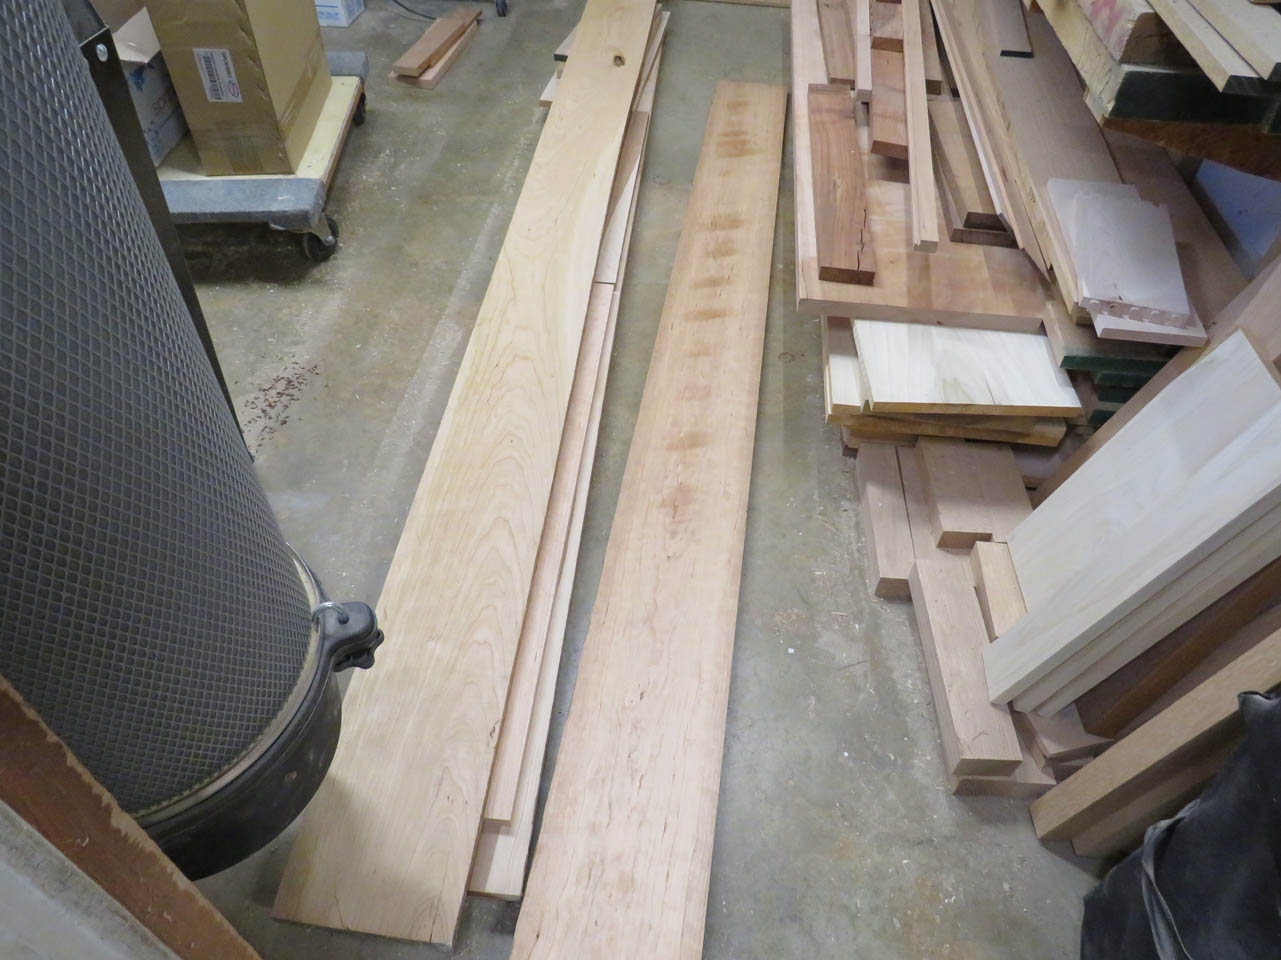
I have just enough cherry left in stock to make these two columns so I pulled four wide boards and cut them down to make them more manageable.

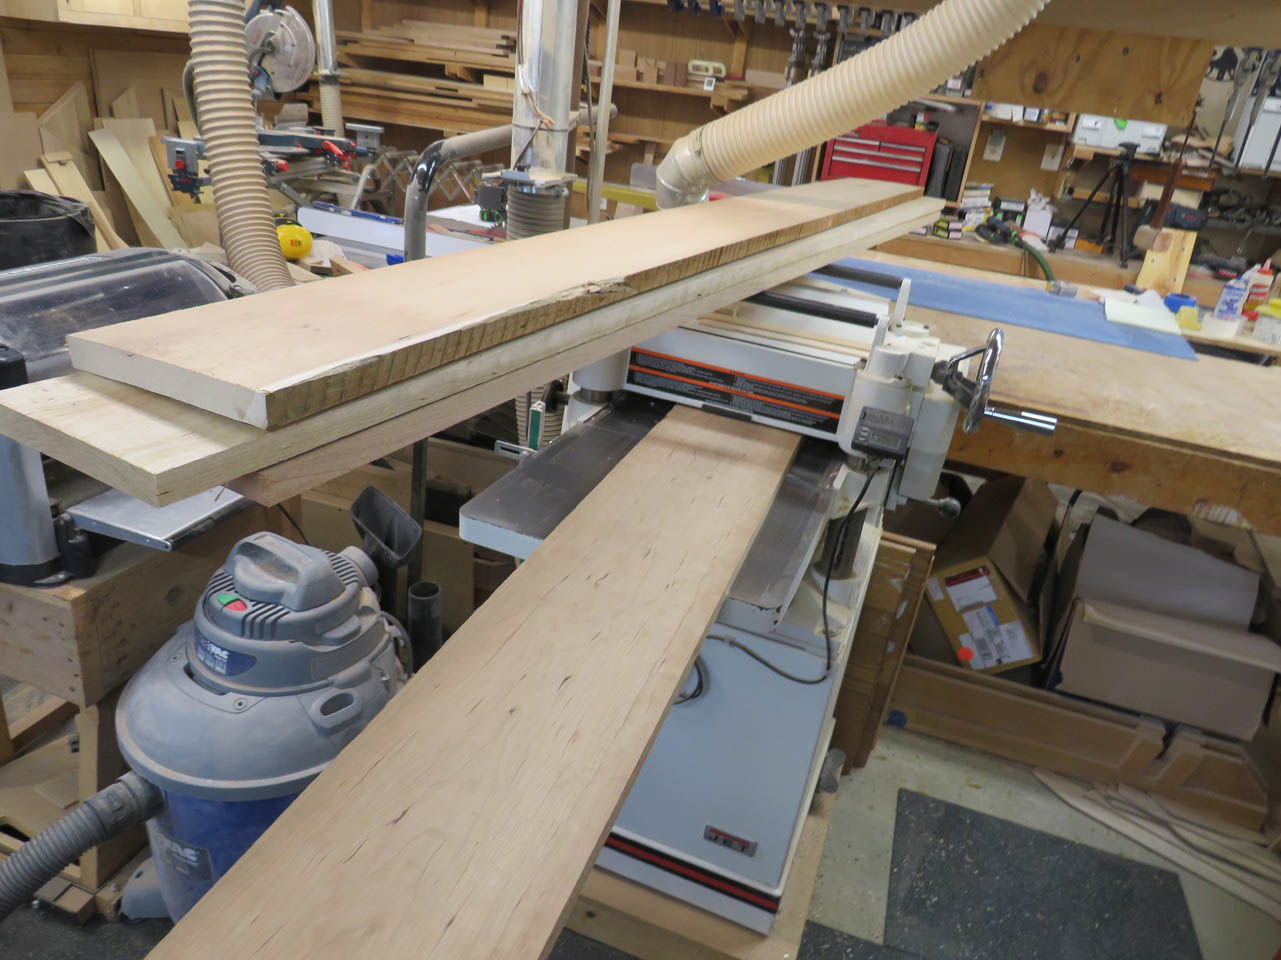
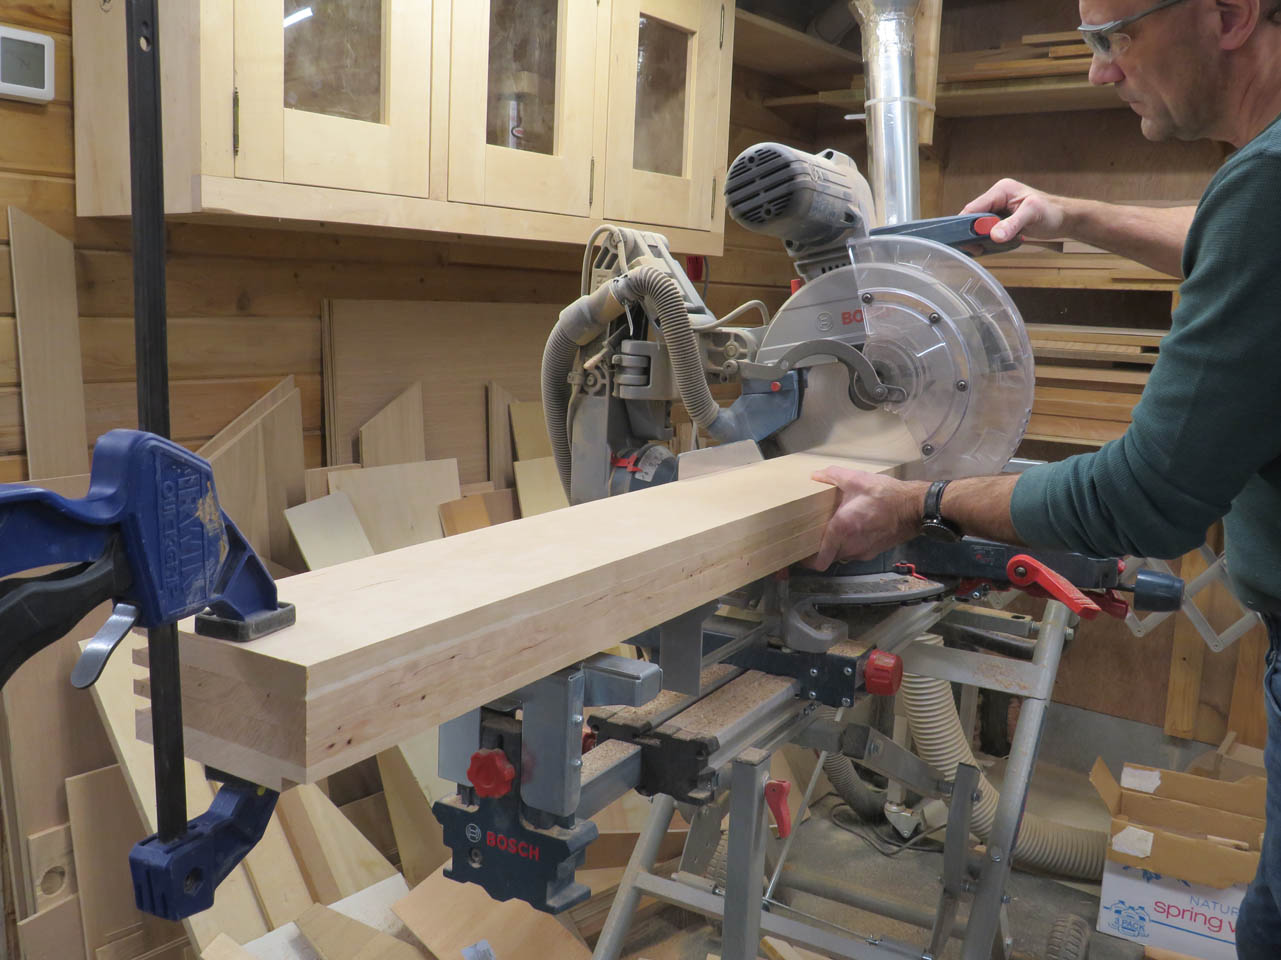
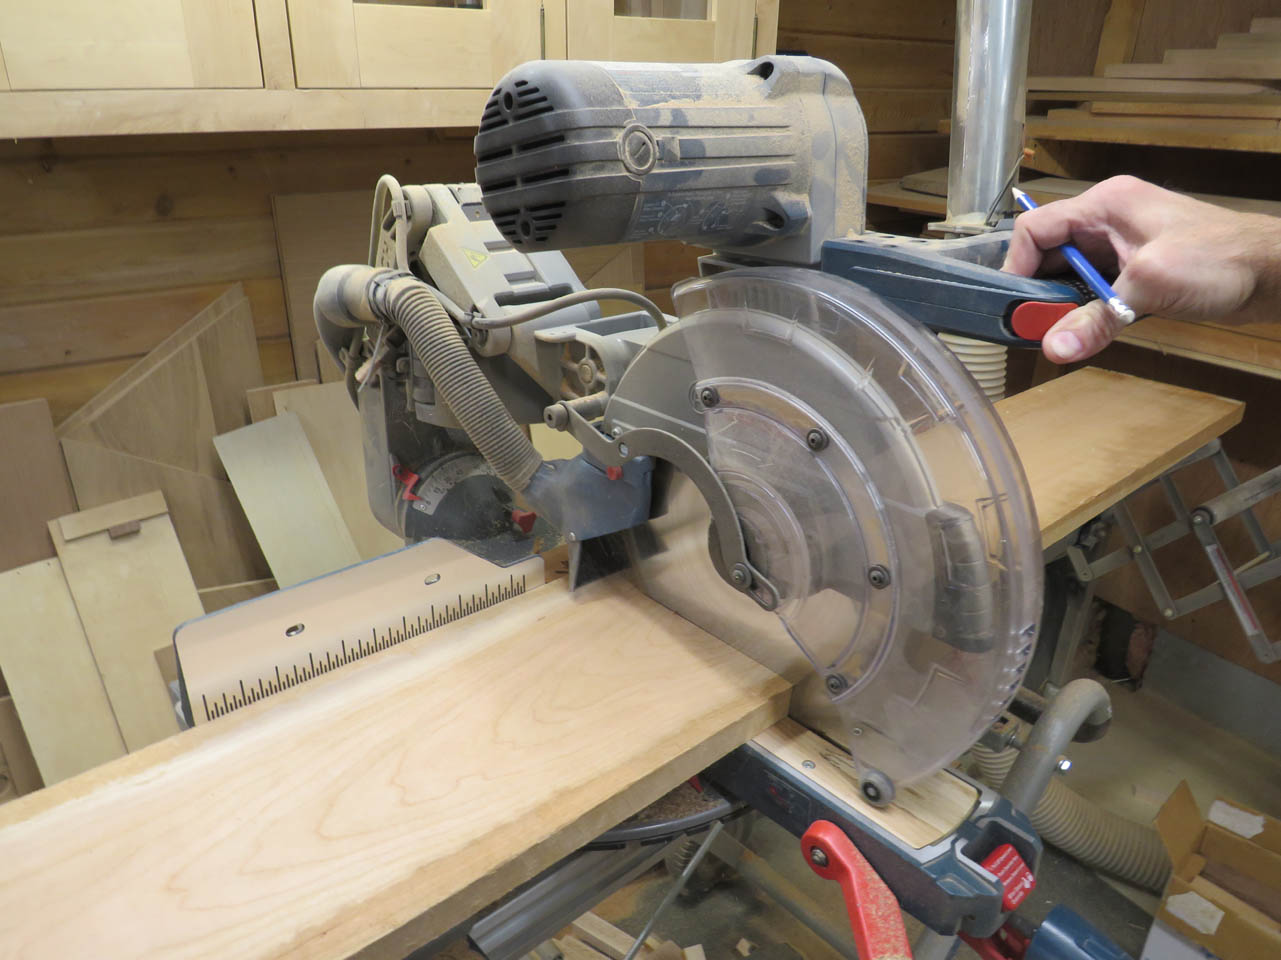
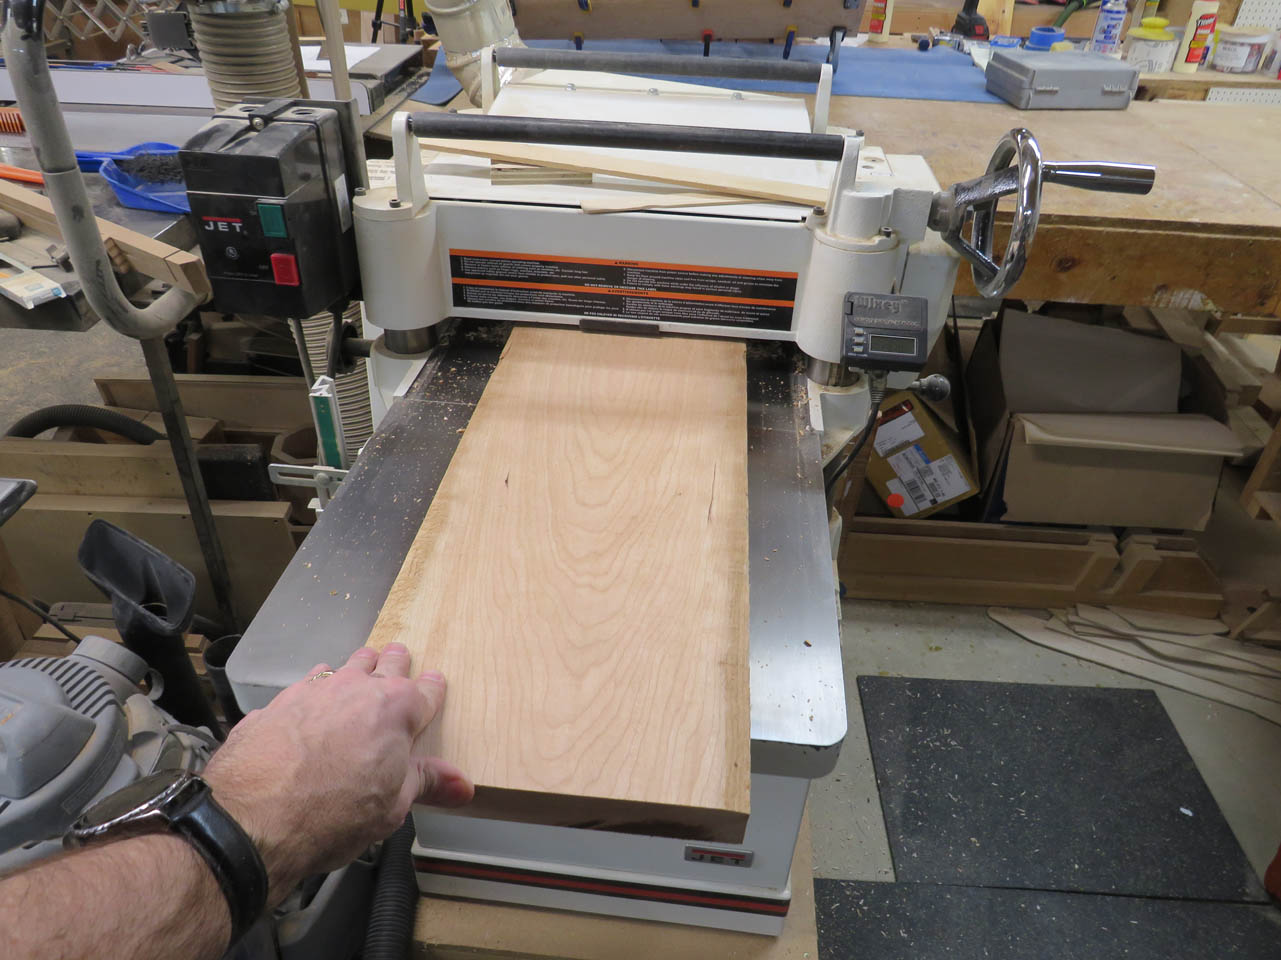
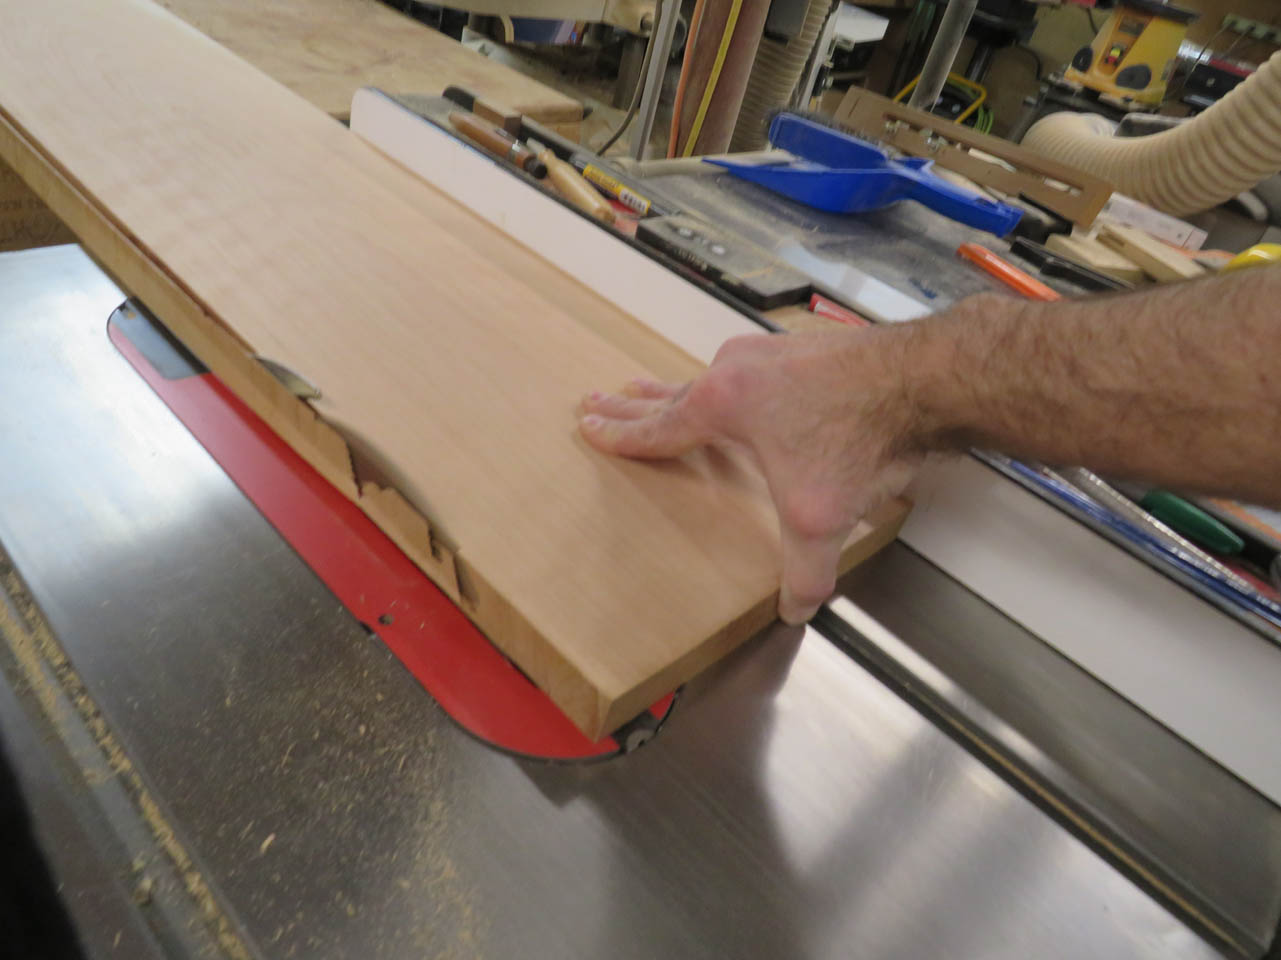
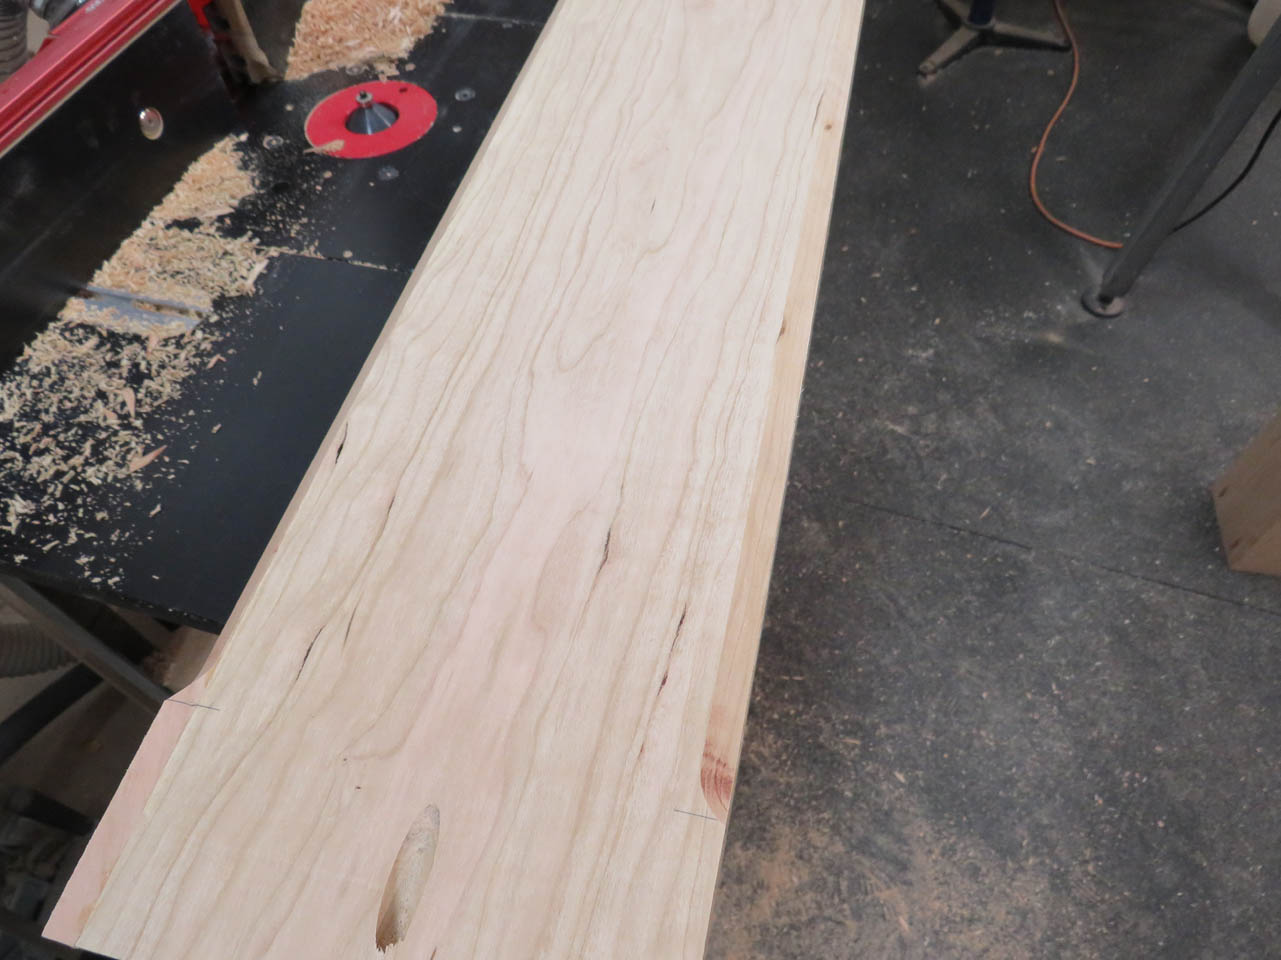
After planing the longer boards down to 3/4″ thick, I cut them roughly down to the 41″ length that I need for the sides of the columns.

I ran each through the jointer a couple of times to clean up and square one side of each board.

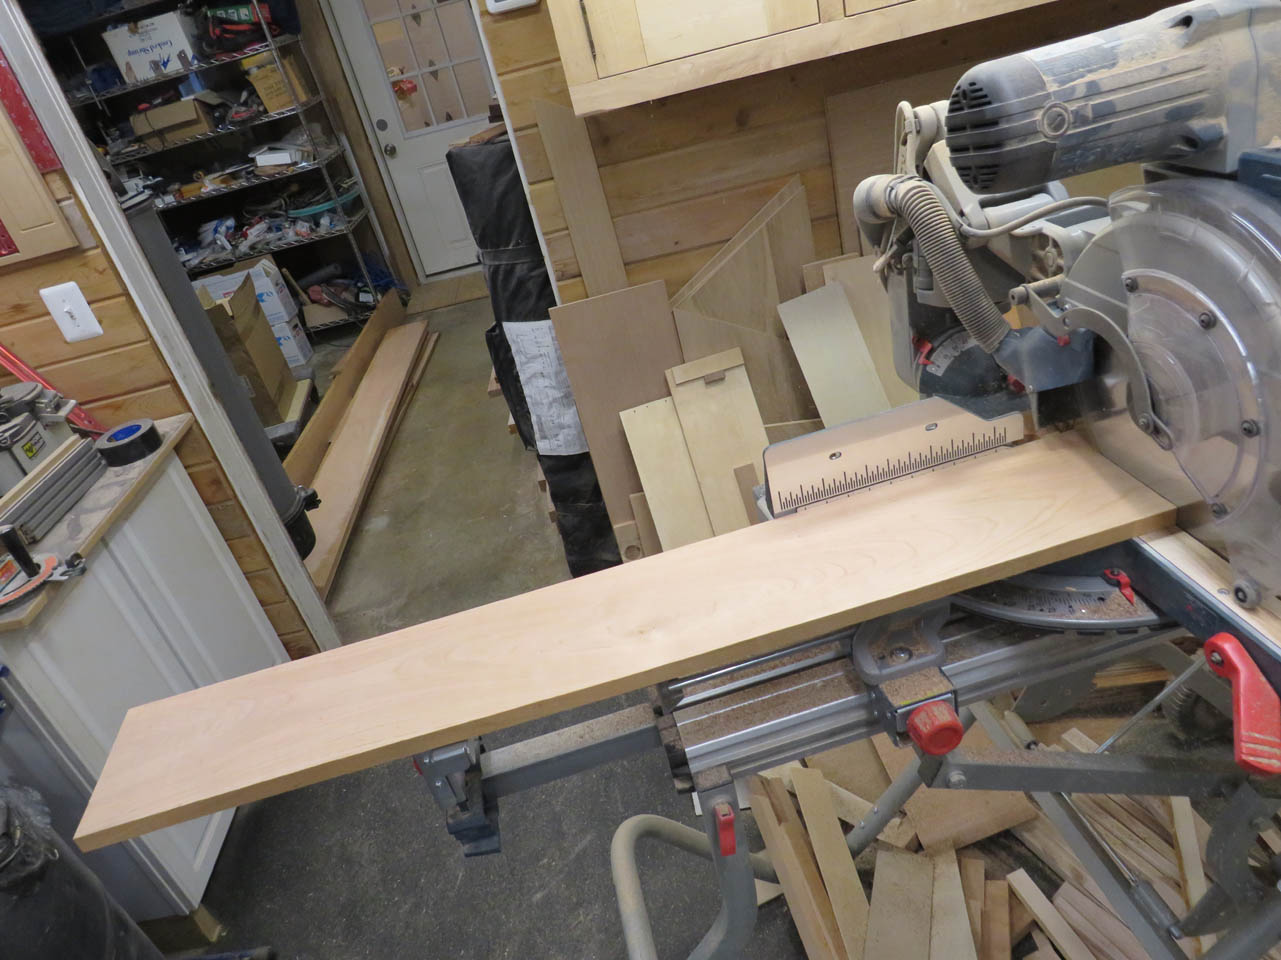
Then I cut each to the proper width on the table saw.
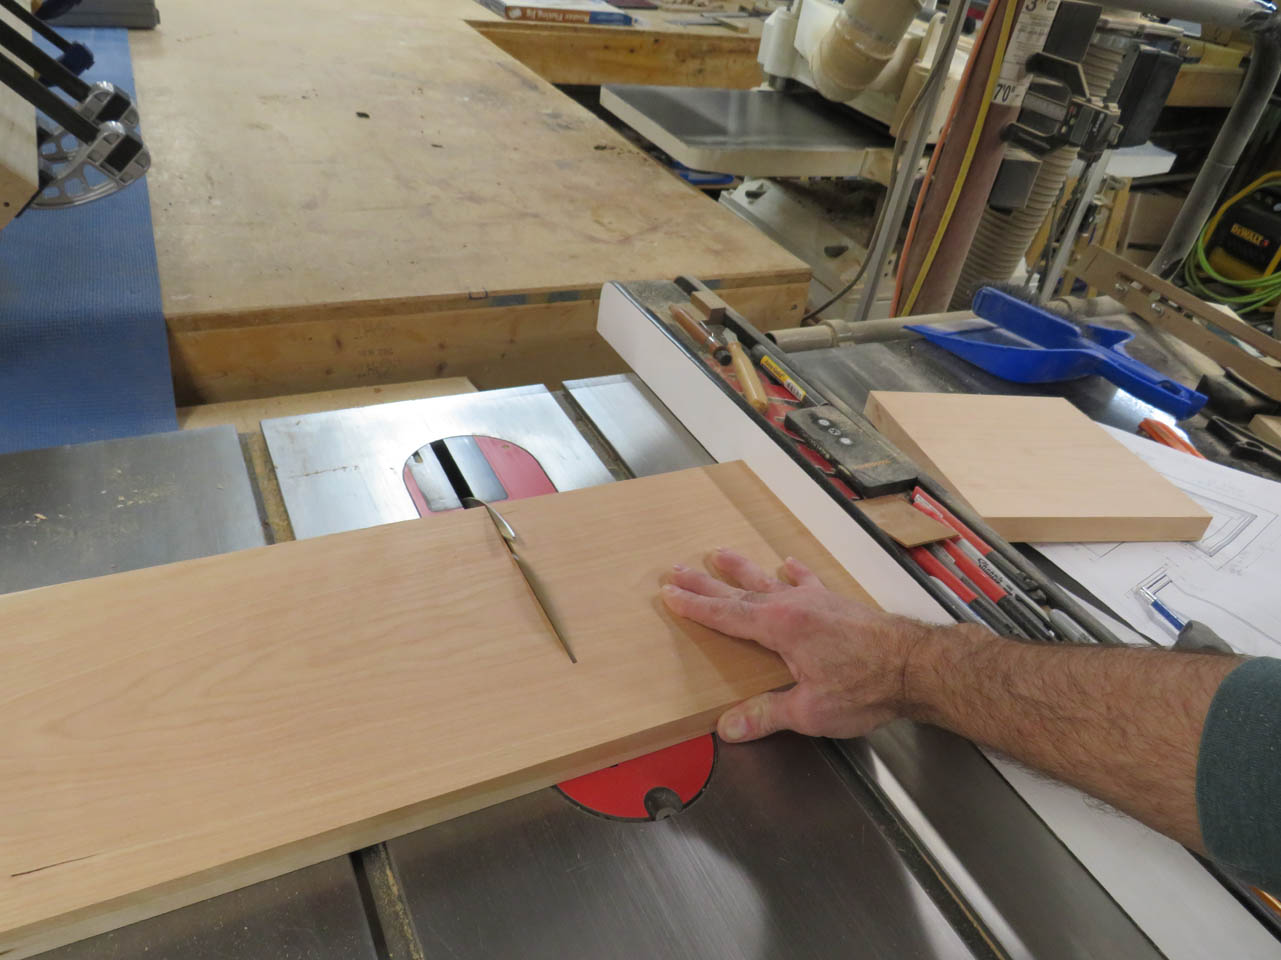
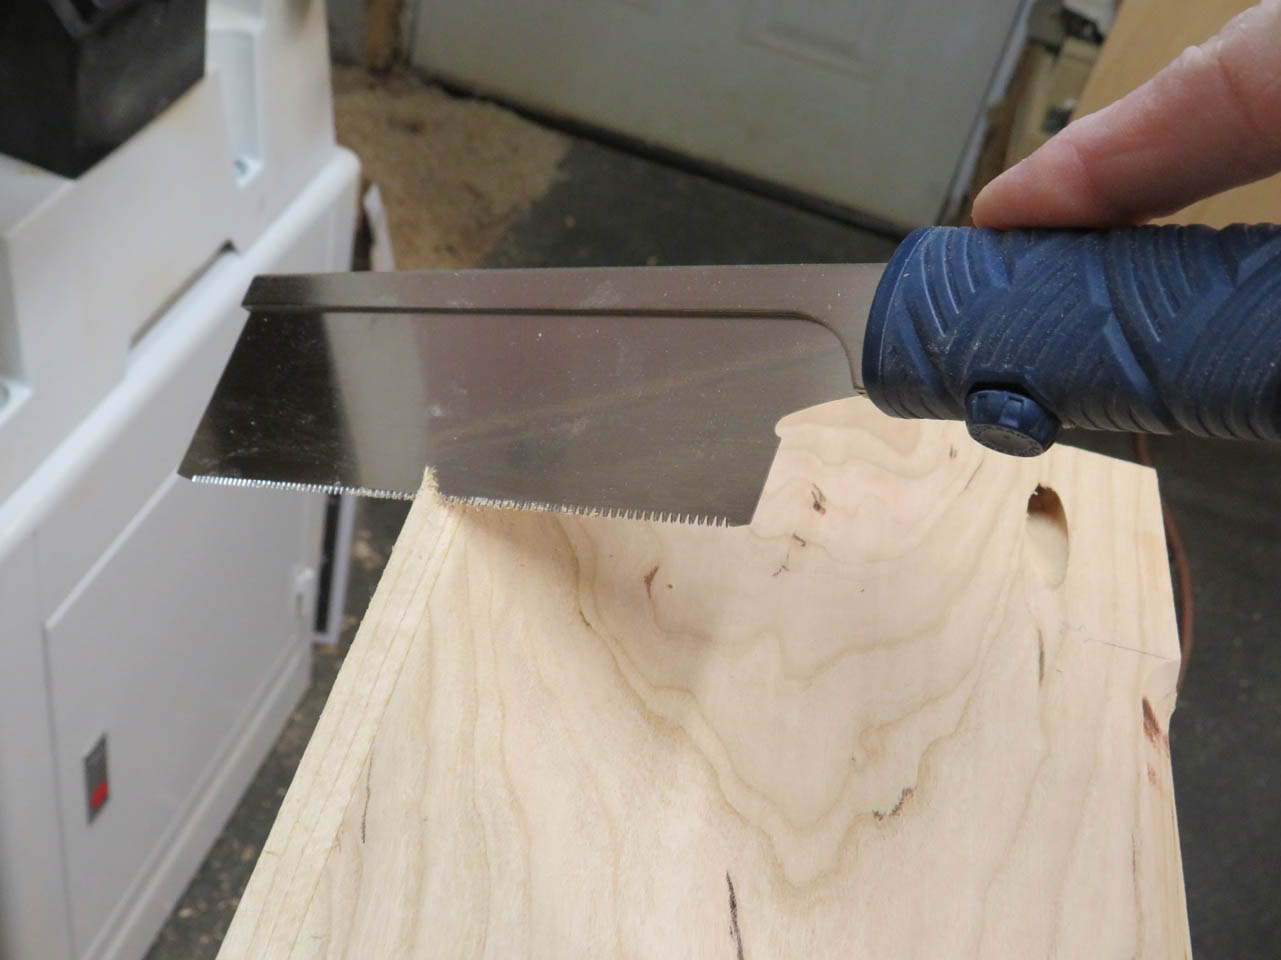
Normally, you would miter the corners and glue them up but I will be putting a bevel on each corner and I did not want a joint line or even a gap running through the center of the bevel.
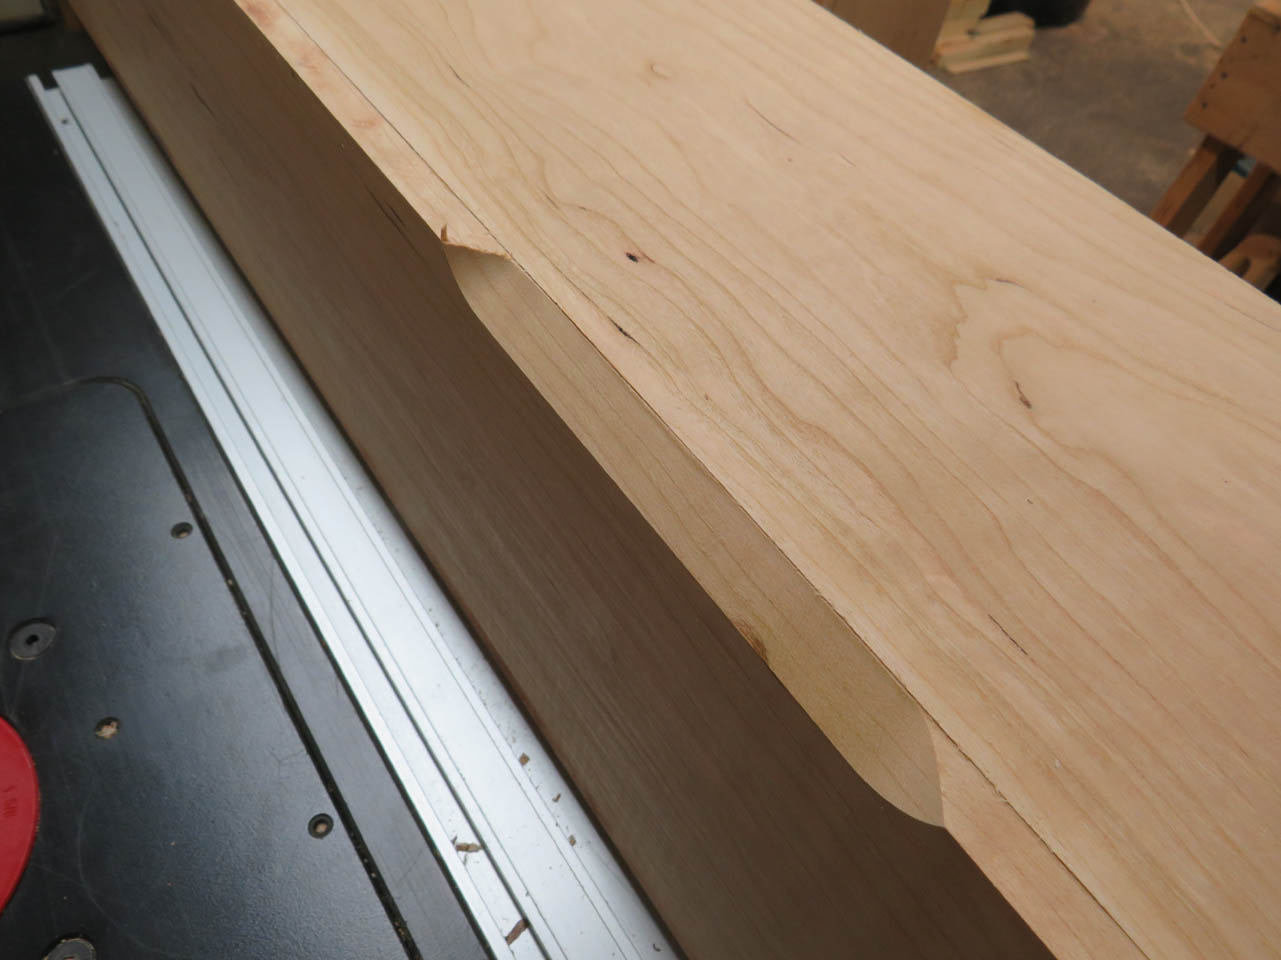
I decided to create a rabbet on one side of each of the boards leaving a 3/8″ thick edge behind and I will add a 3/8″ bevel to that edge later. This should effectively hide the joint at the very edge of the bevel.
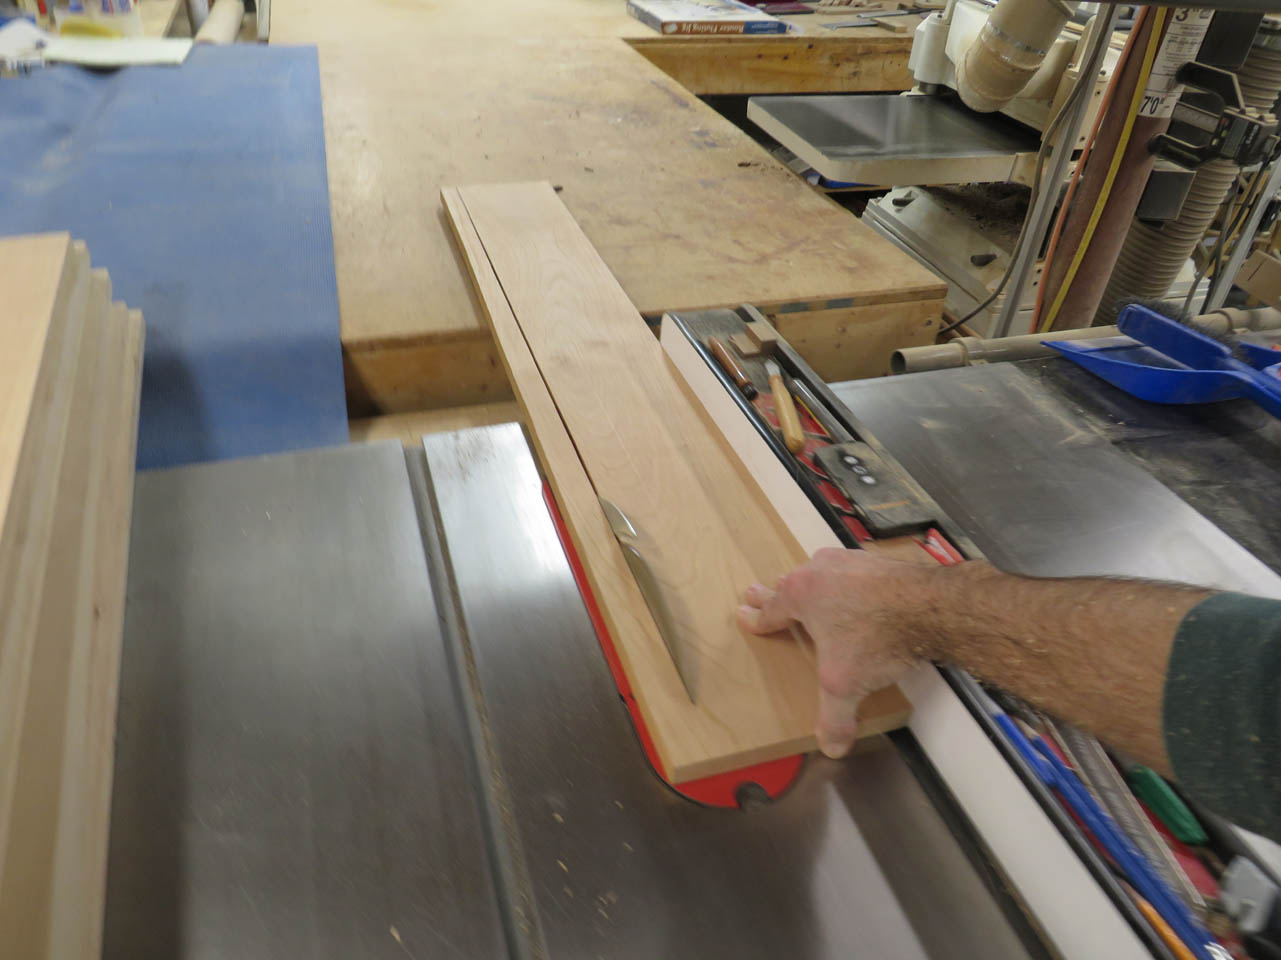
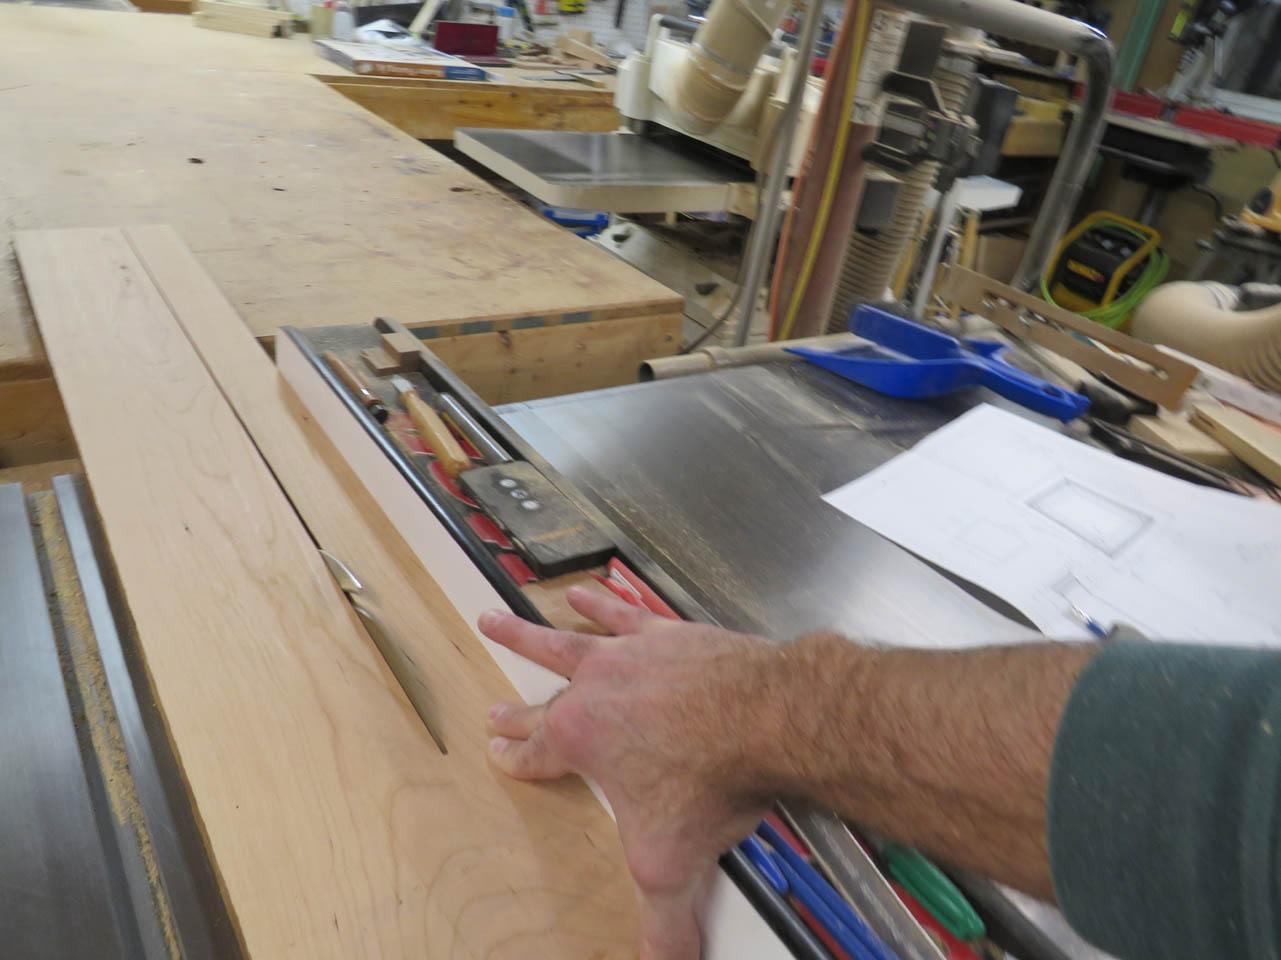
I made two passes on the table saw to cut the 3/8″x3/4″ rabbet.
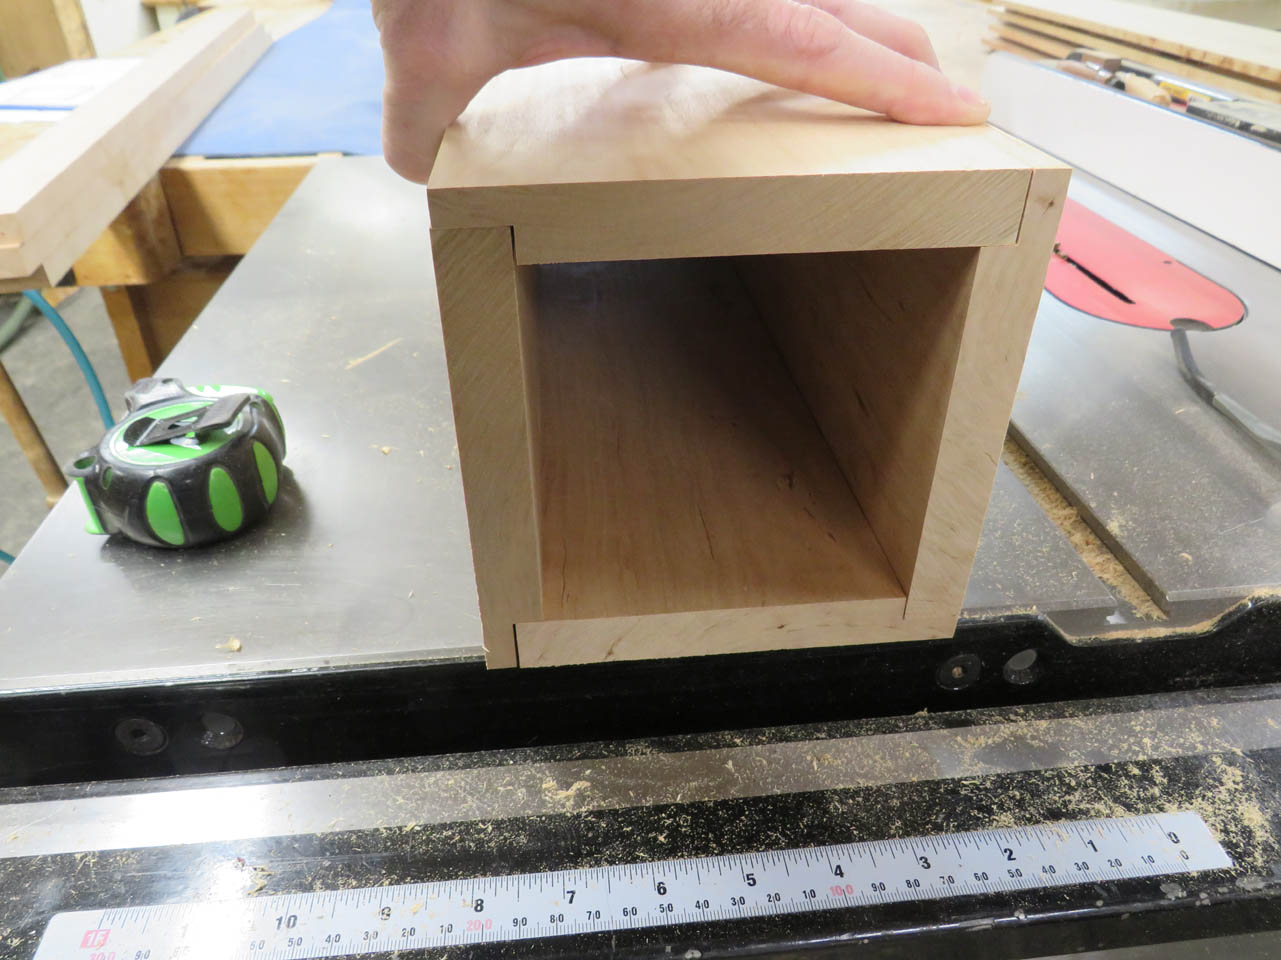
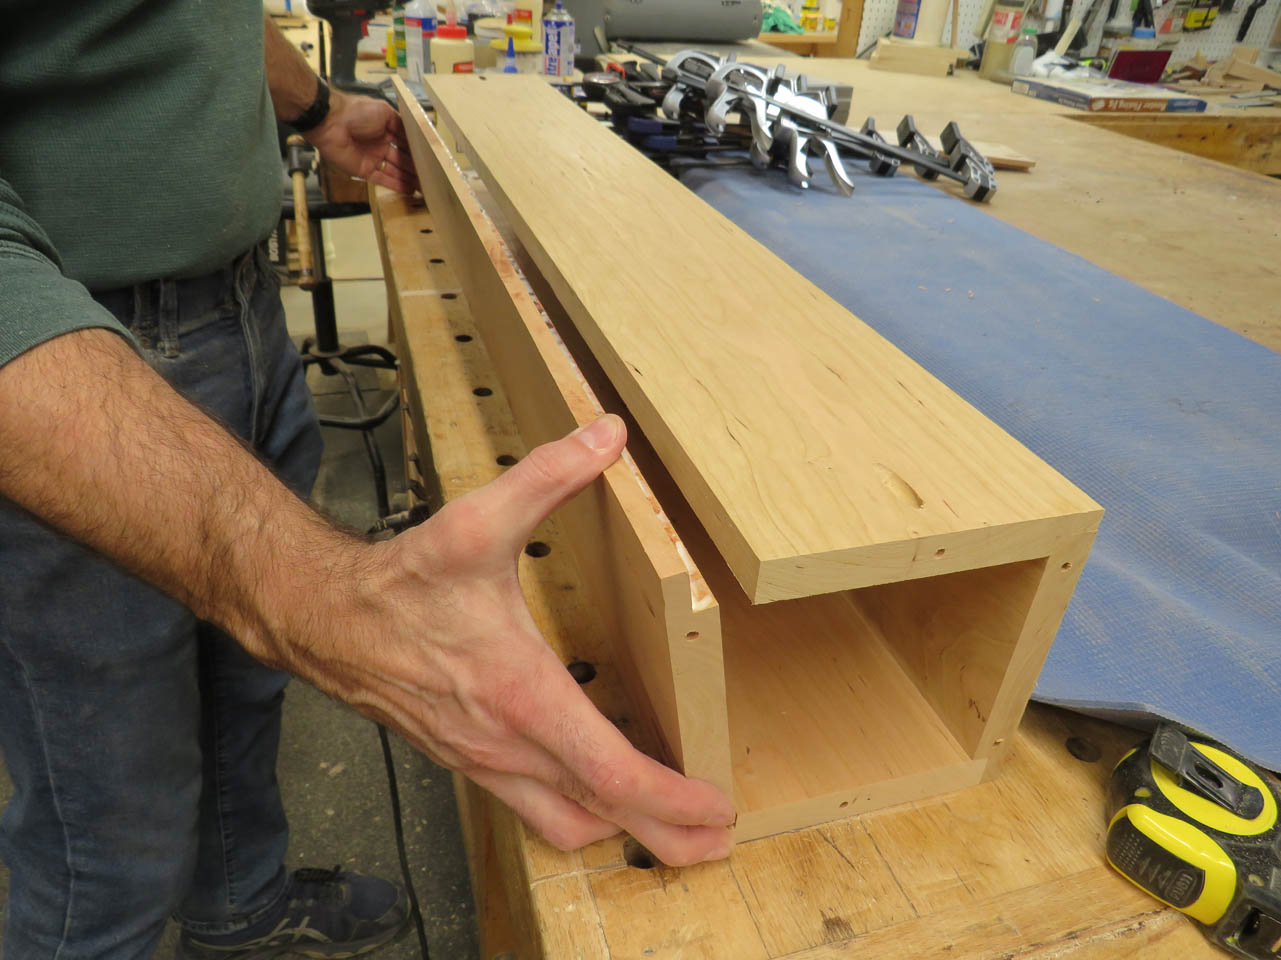
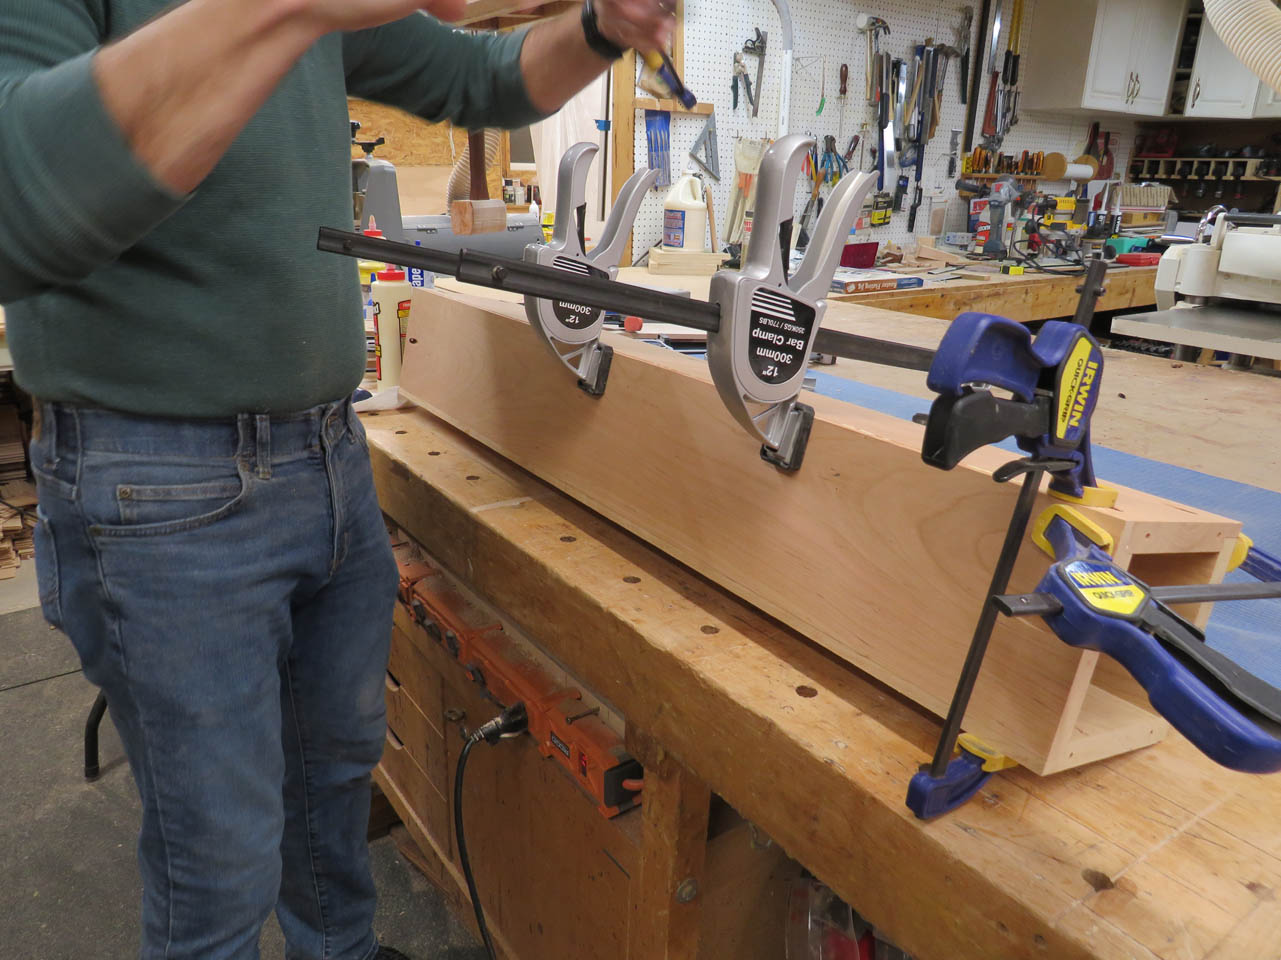
You can see in the picture below how the column will be assembled. This will also allow me to clamp each side at a comfortable 90° instead of doing a special setup or complicated joint to glue up a miter.
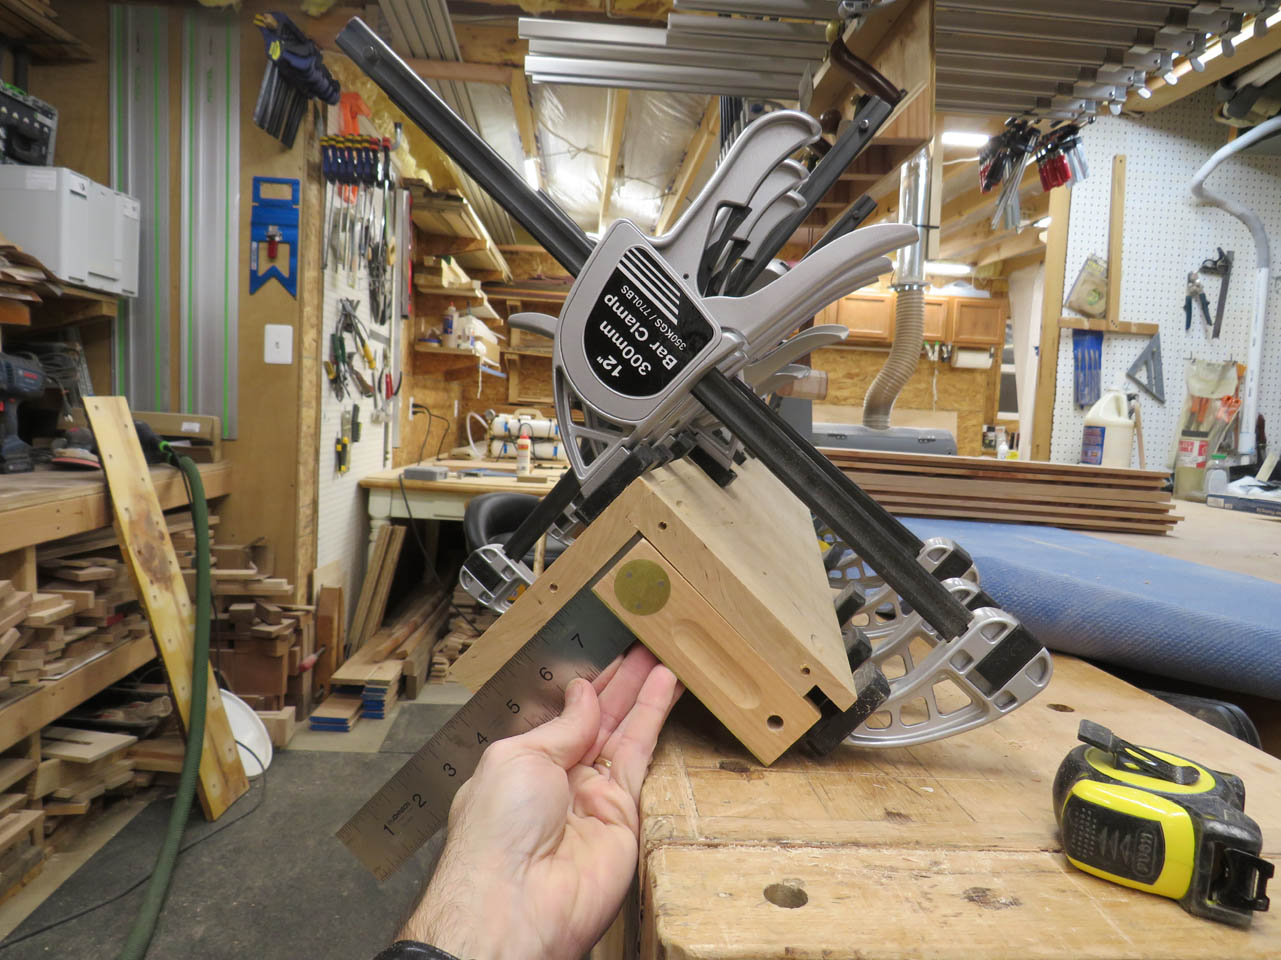
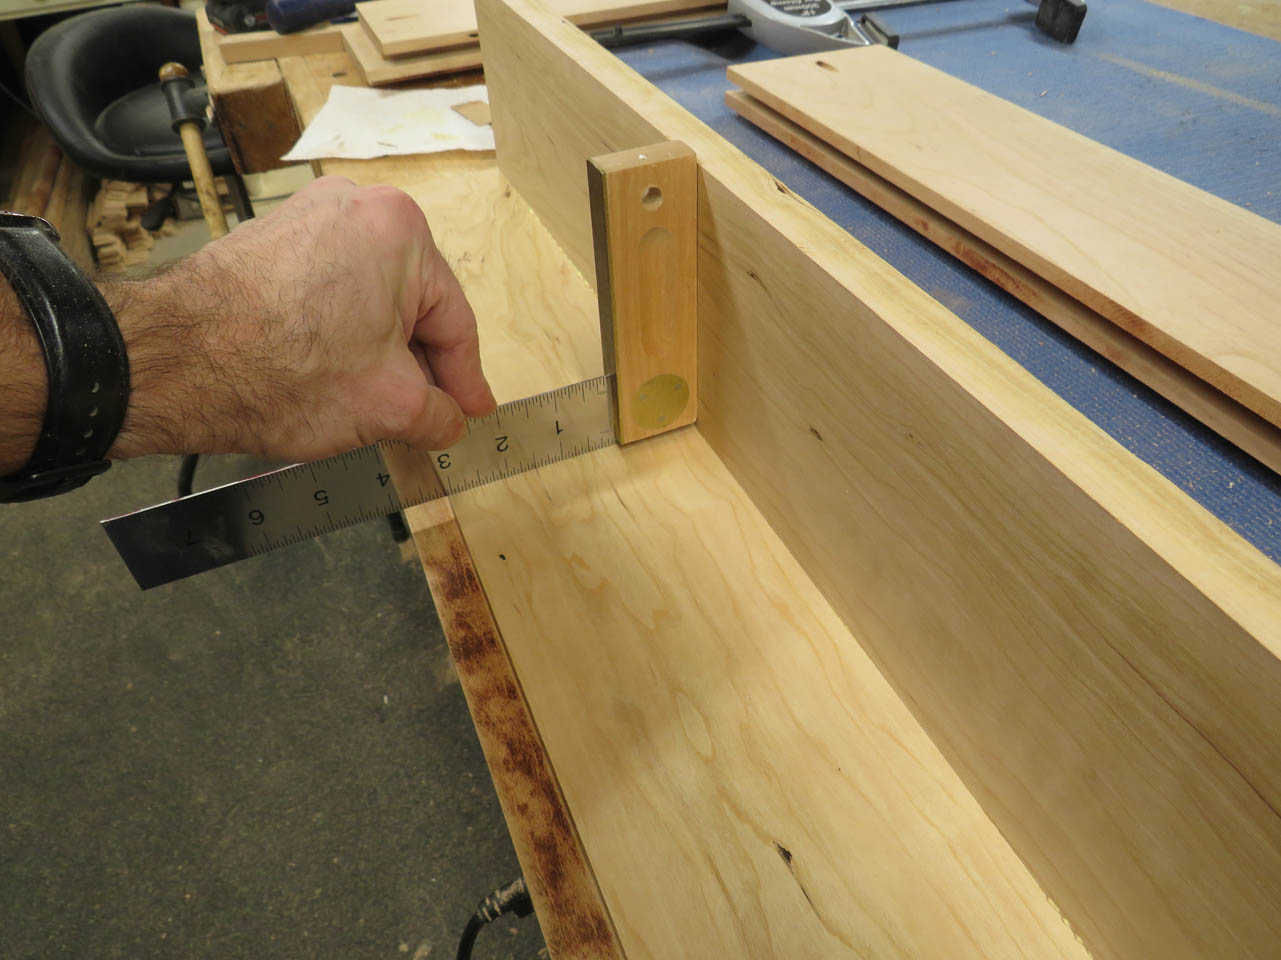
For each column, I clamped all four boards together to insure that they were all cut to the exact same length.
Planning ahead, I drilled pocket holes into the ends to attach the end caps later.
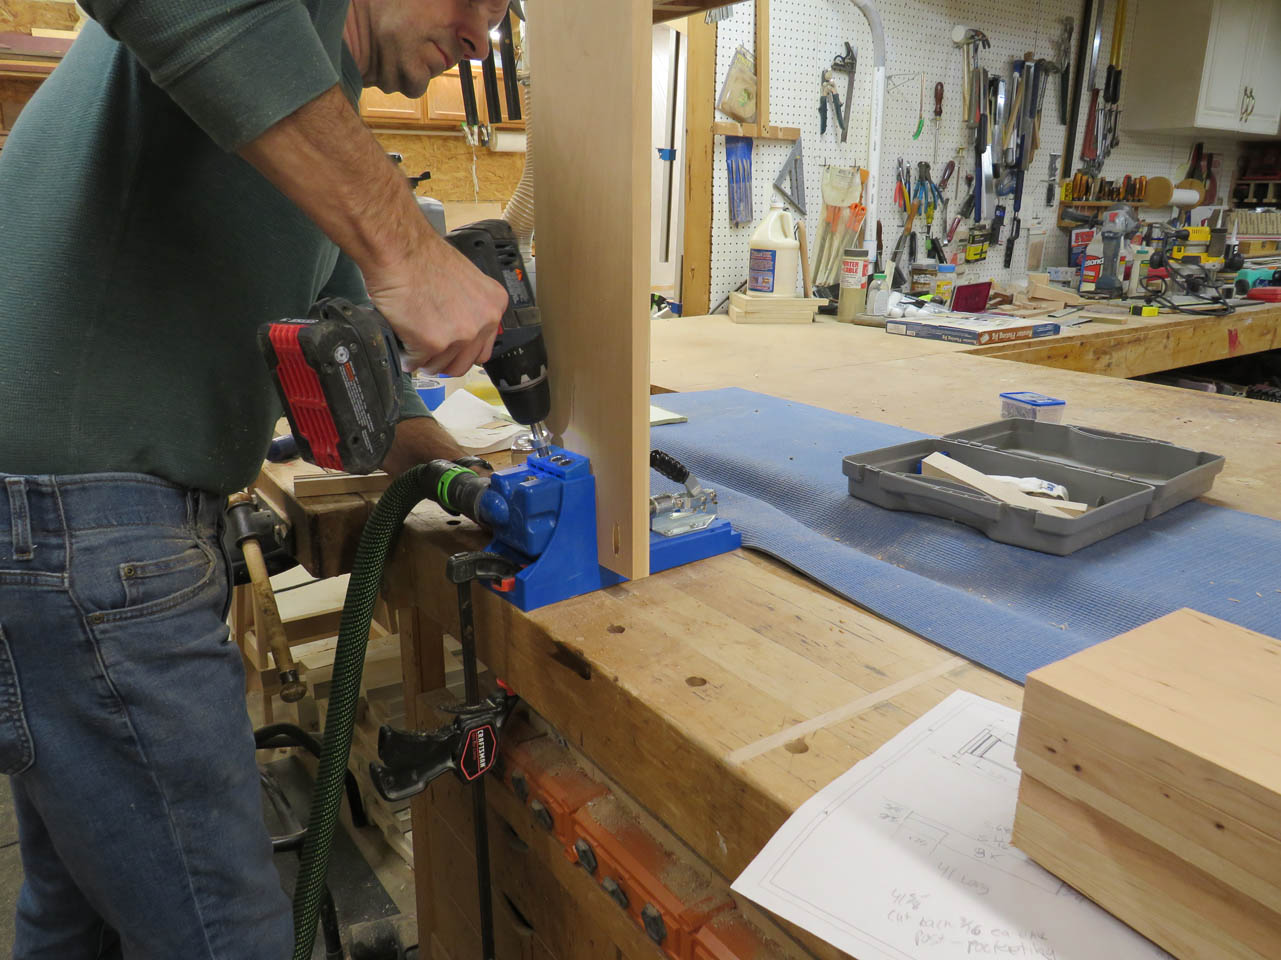
I also made sure that the pocket holes would eventually be covered by the trim. I had to make sure the holes were slightly closer to the edge than normal so that I could use the same size trim that I used on the rest of the furniture pieces.
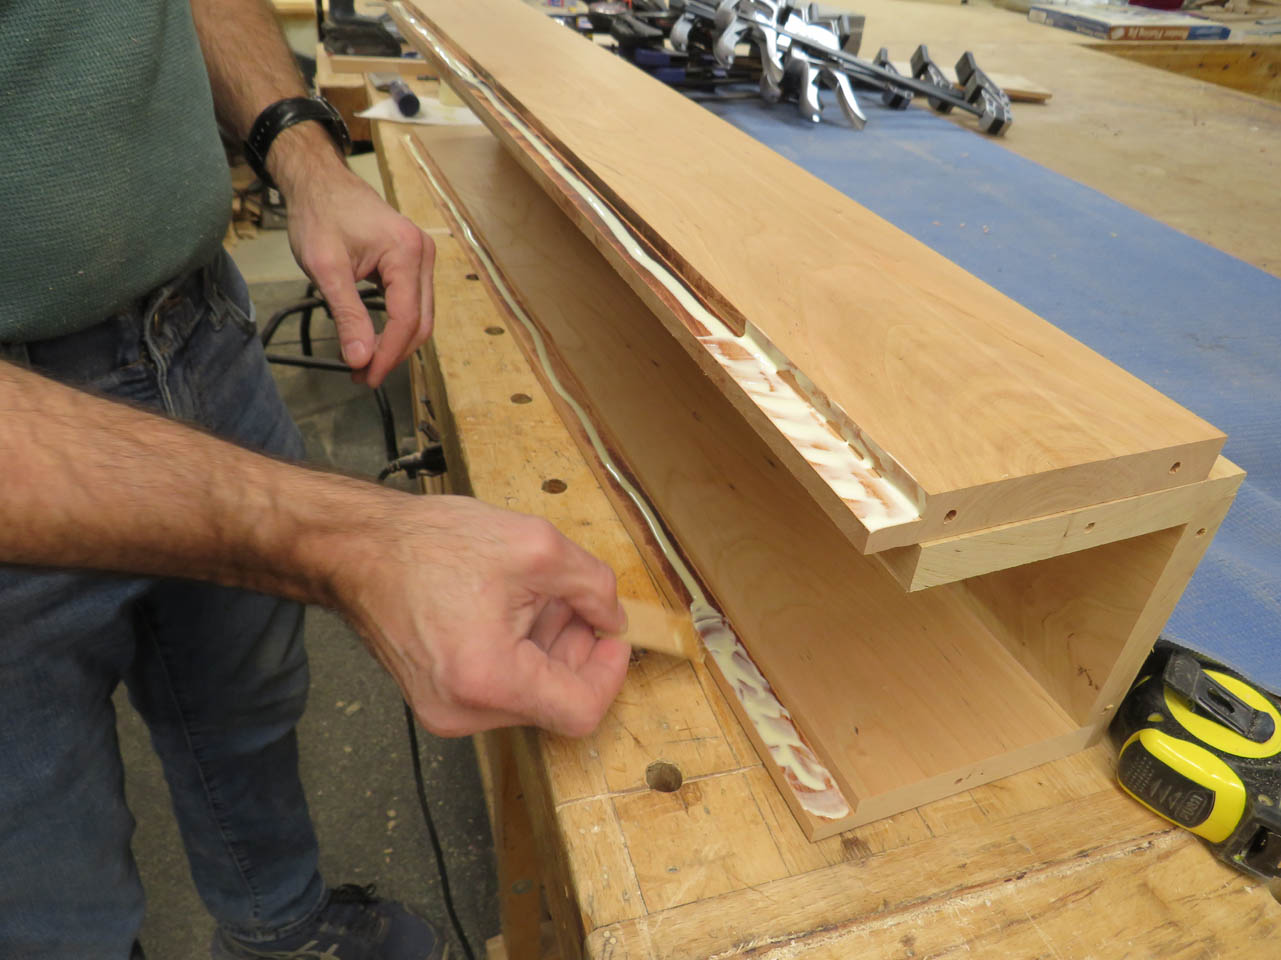
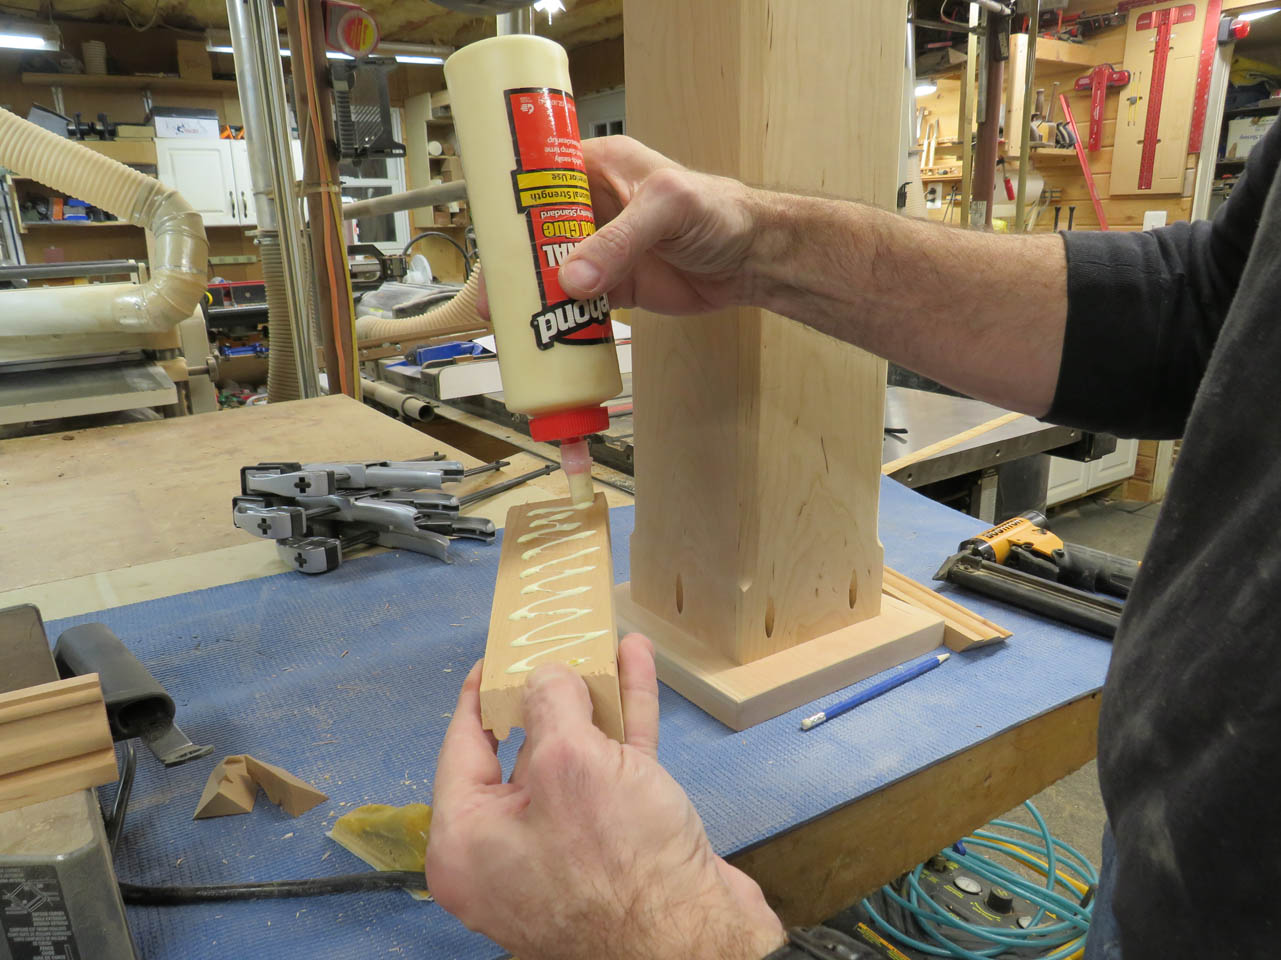
Then it was time to start gluing.
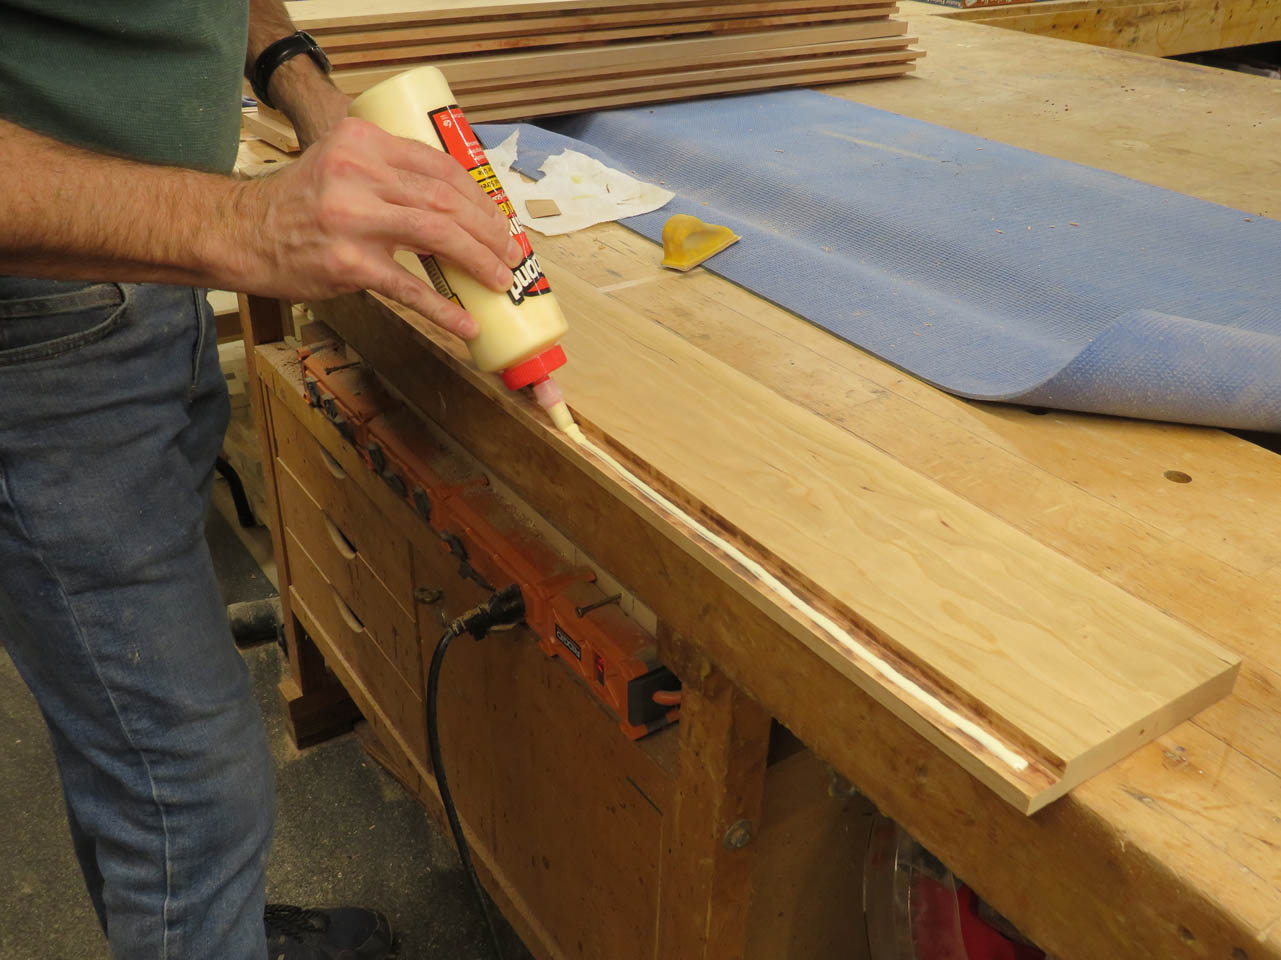
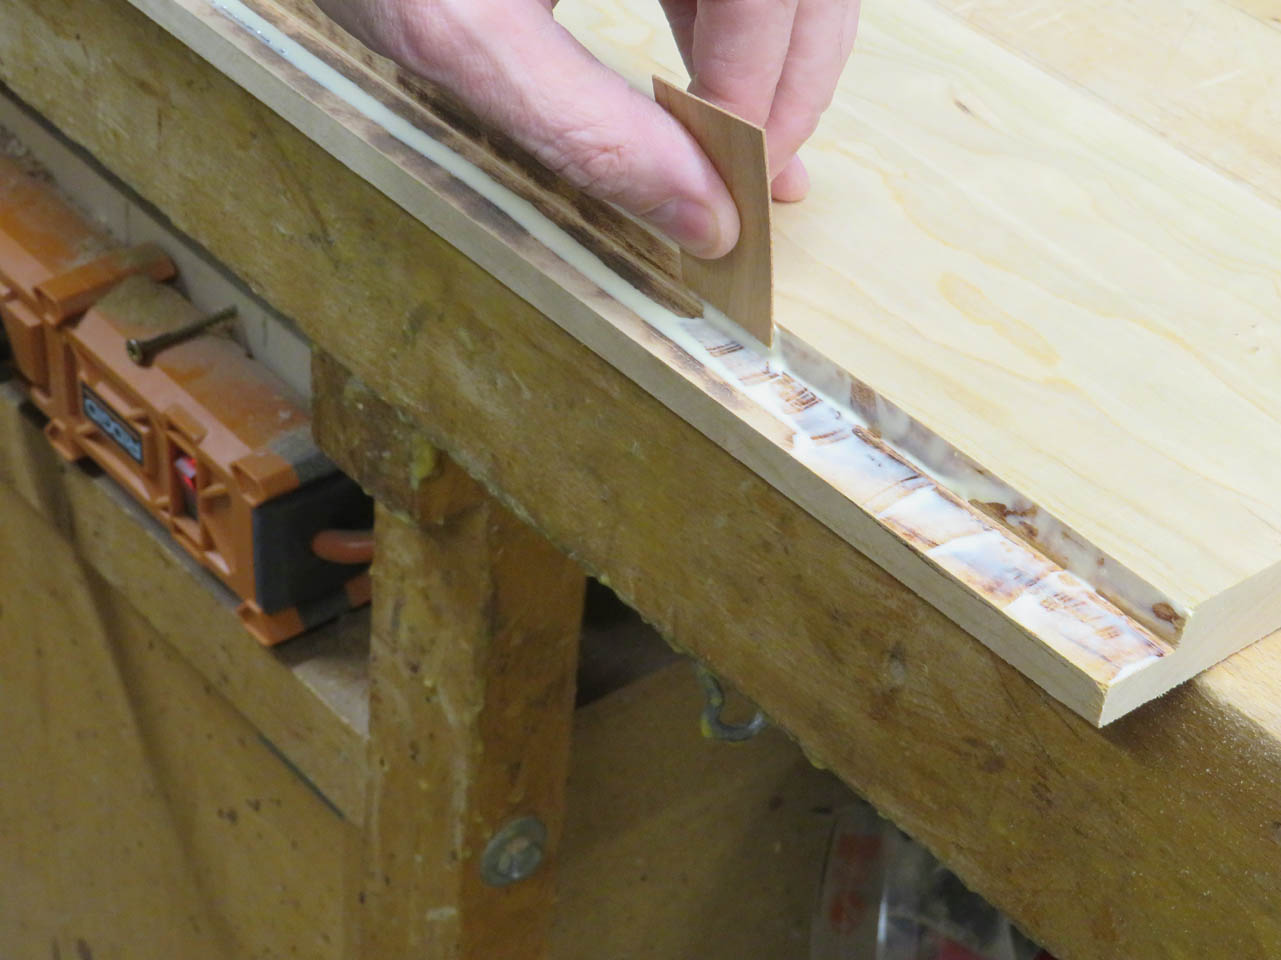
I used an off-cut piece of veneer to spread the glue evenly so that I would not get a lot of squeeze-out. I also made sure that the boards were staying square as they were clamped together.
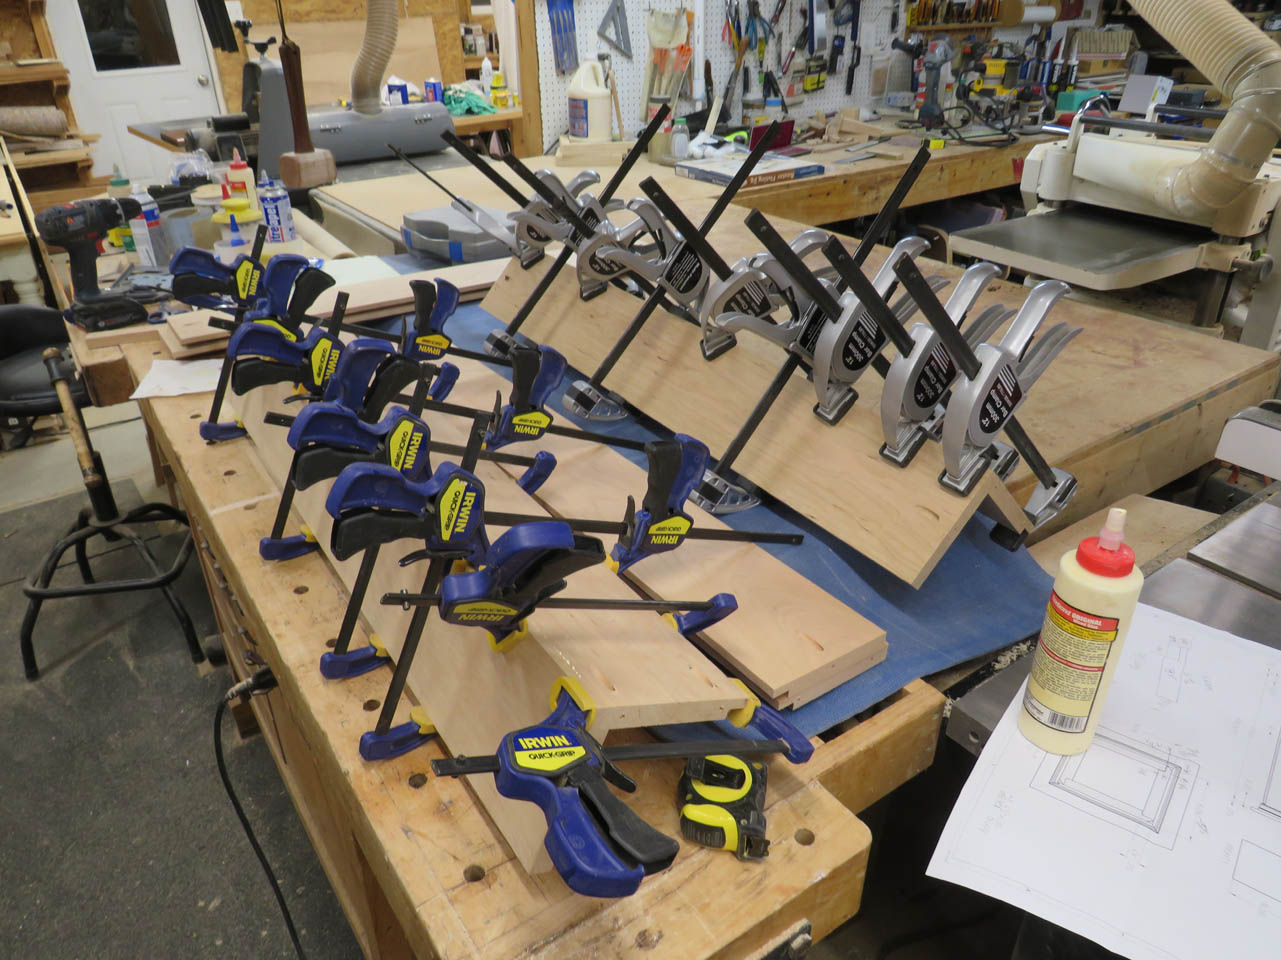
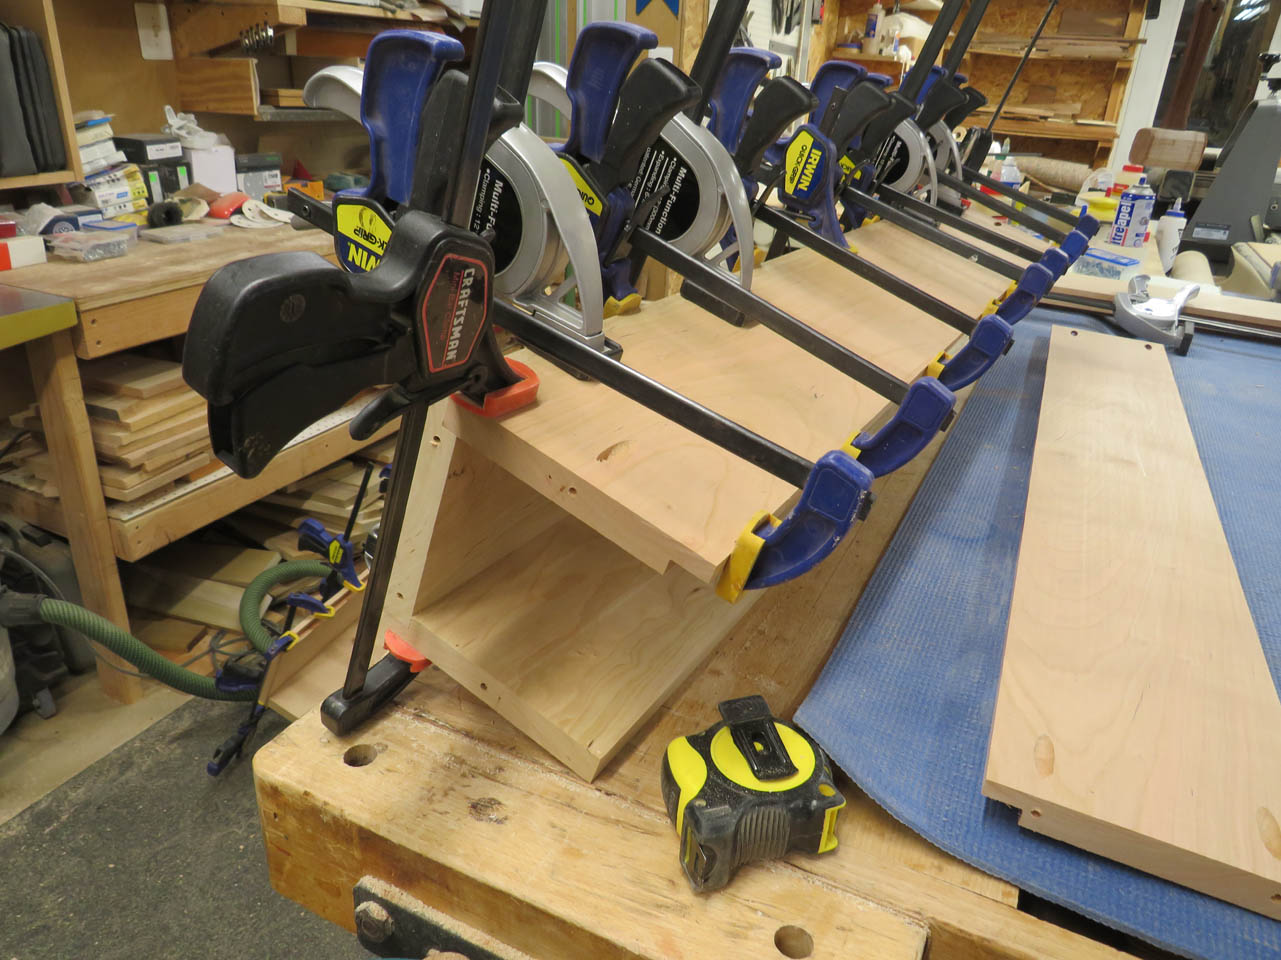
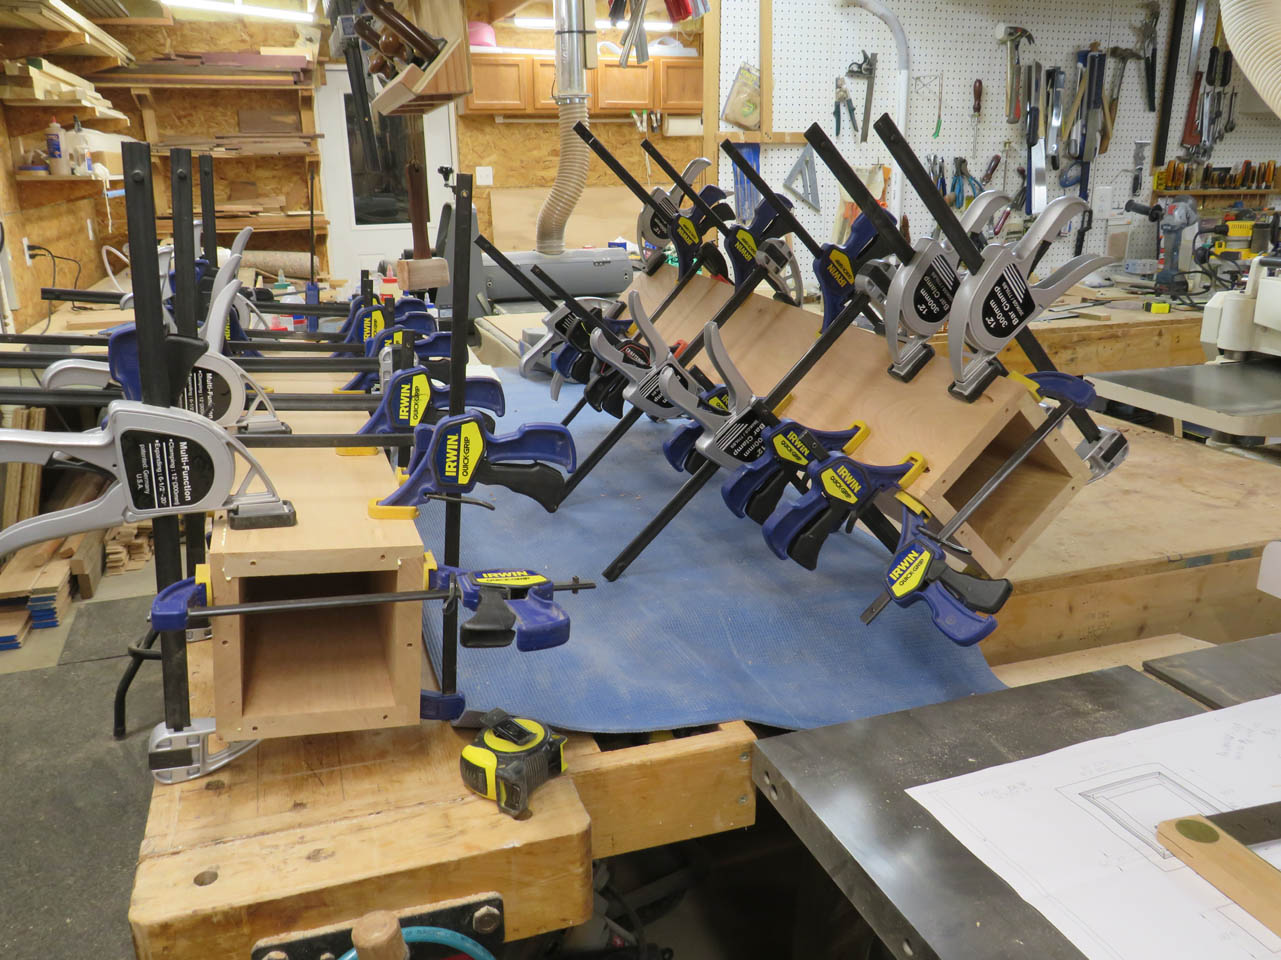
I glued up the first two sides of each column first and let them dry.
When I pulled the clamps, I checked again for square before proceeding.
Then it was time to glue on the third side and wait for it to dry again.
The final side was a little trickier because I had to glue two rabbets and squeeze it all together.
But everything was staying square so it went fairly smoothly.
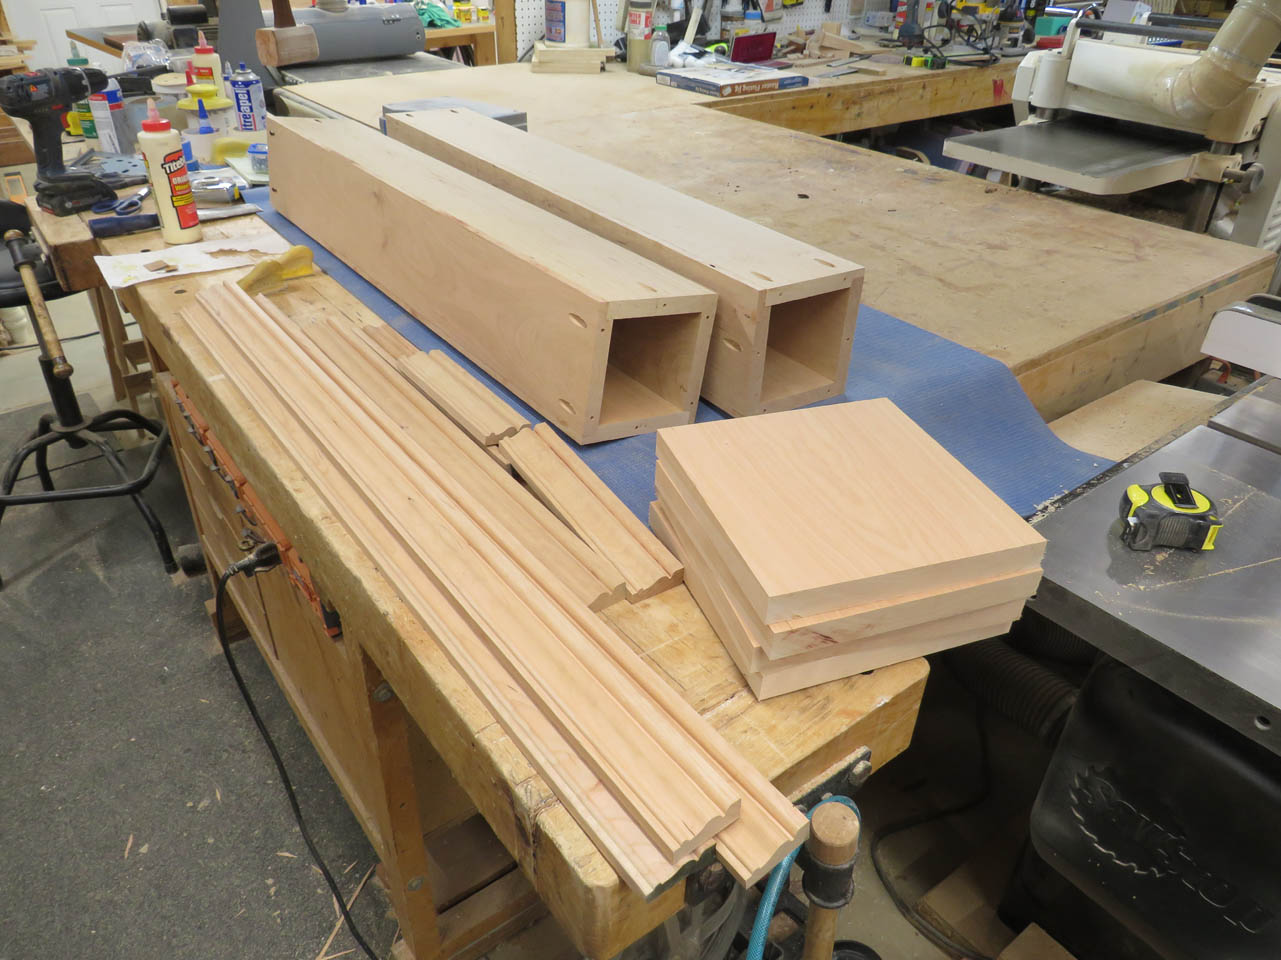
While they were drying, I got started on the end caps.
These were planed down to 1″ thick to match the altar top thickness.
Then cut and jointed down to 9″ square.
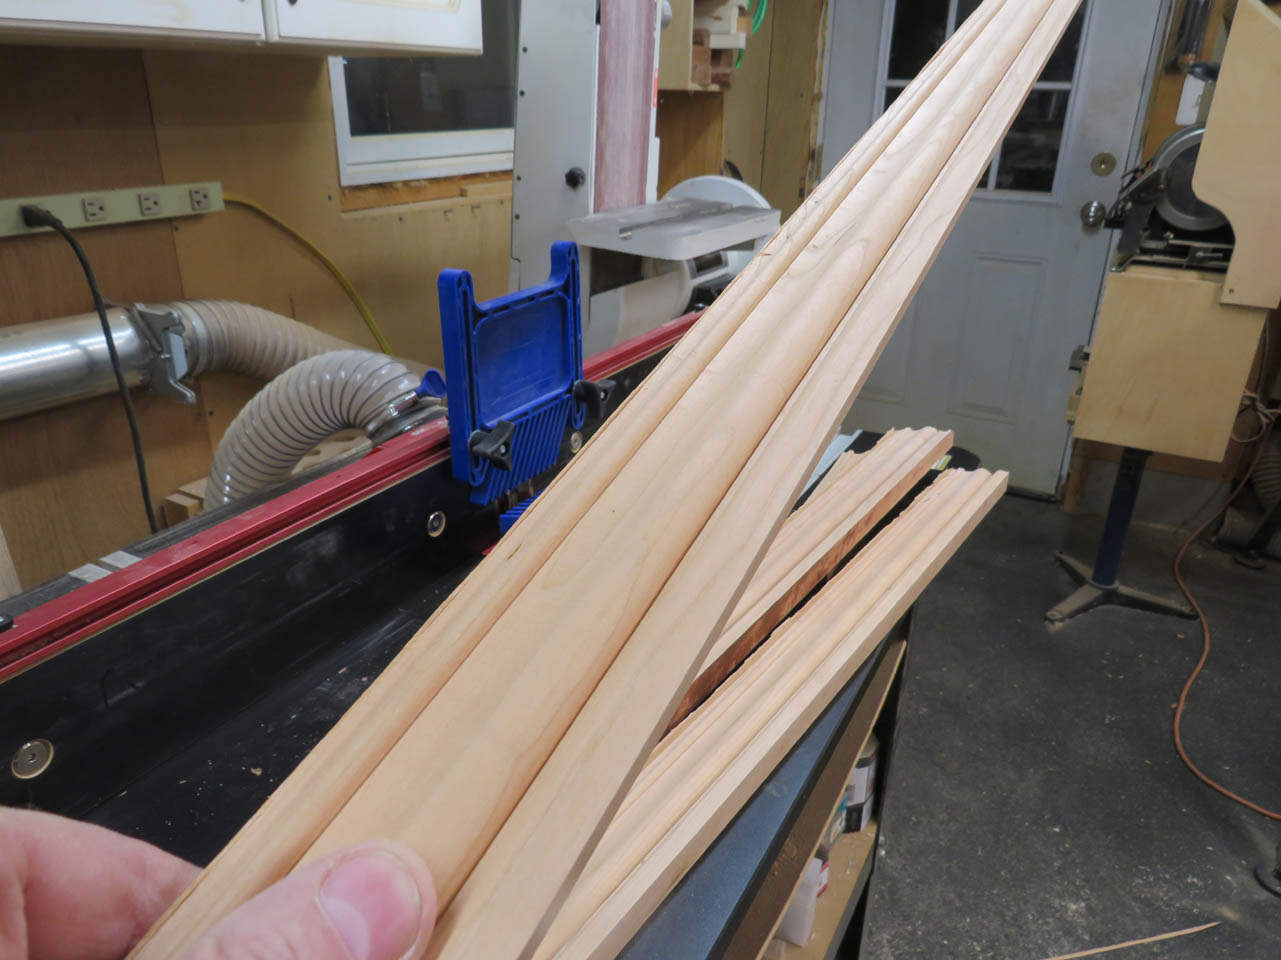
I also cut some 2″ wide strips of 3/4″ thick cherry to make the trim.
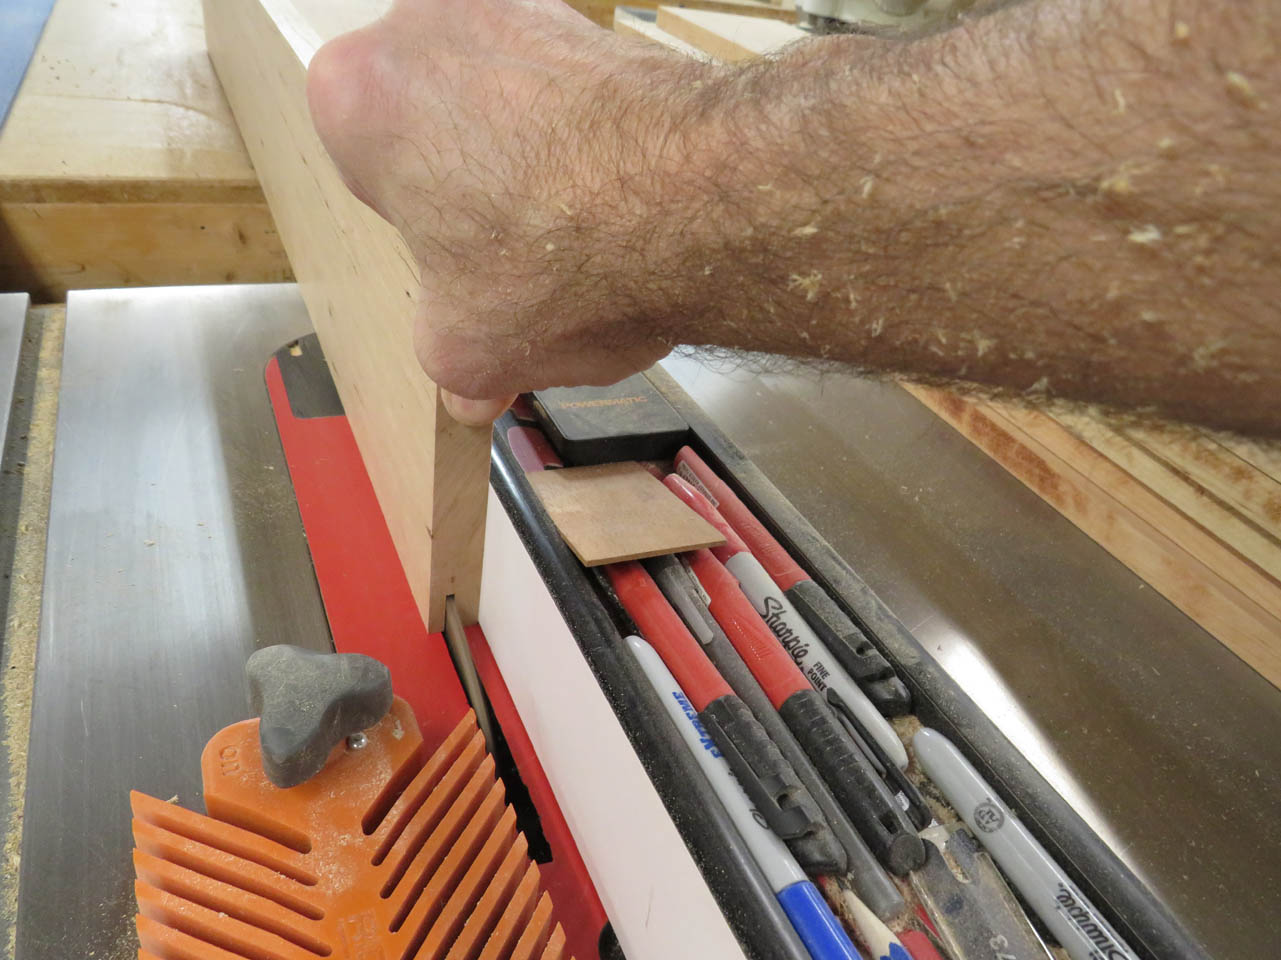
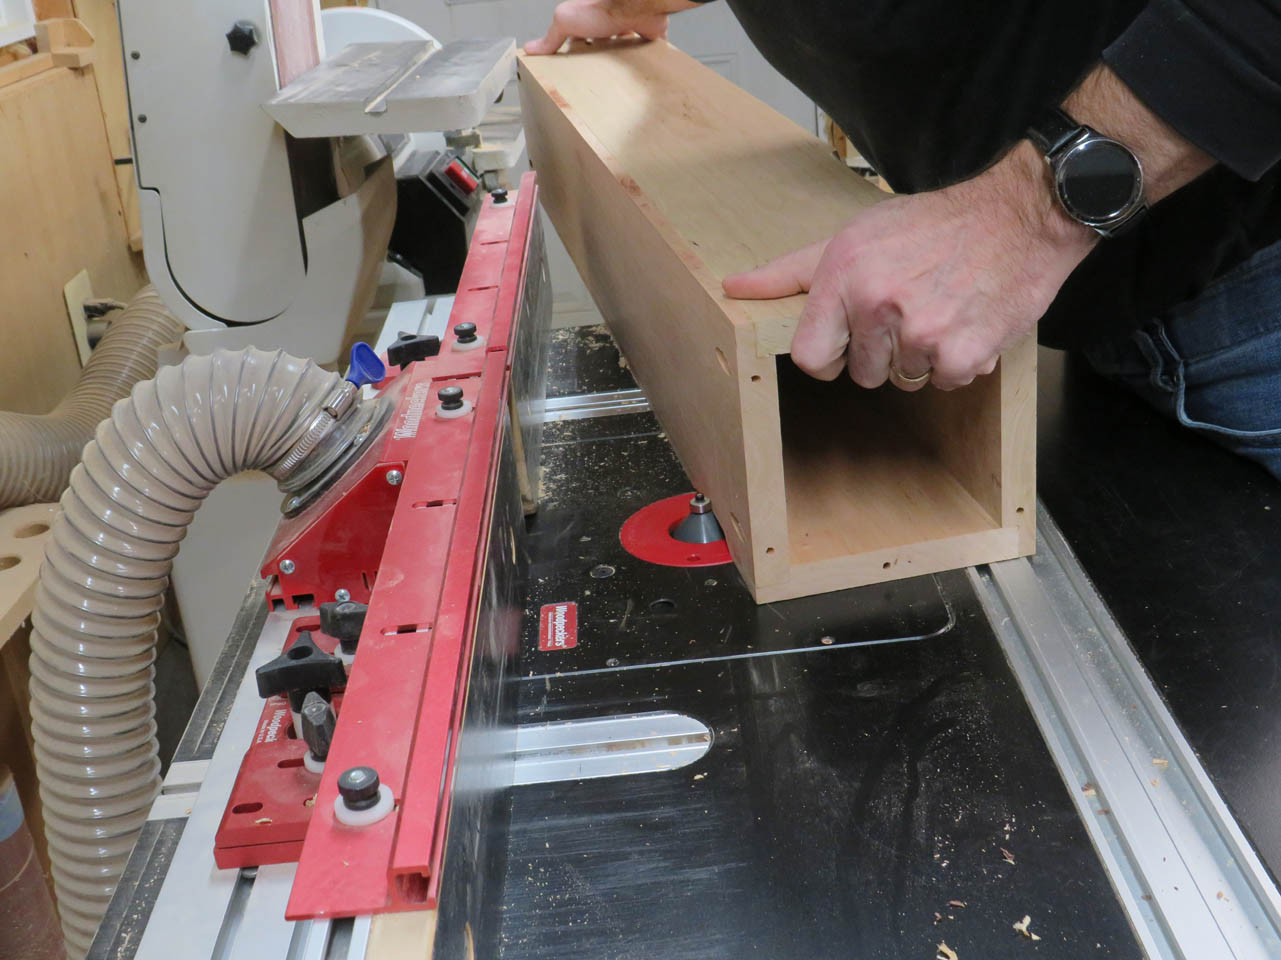
I installed my moulding bit into my router table and I also attached a couple of feather boards to hold the wood tightly as it cuts.
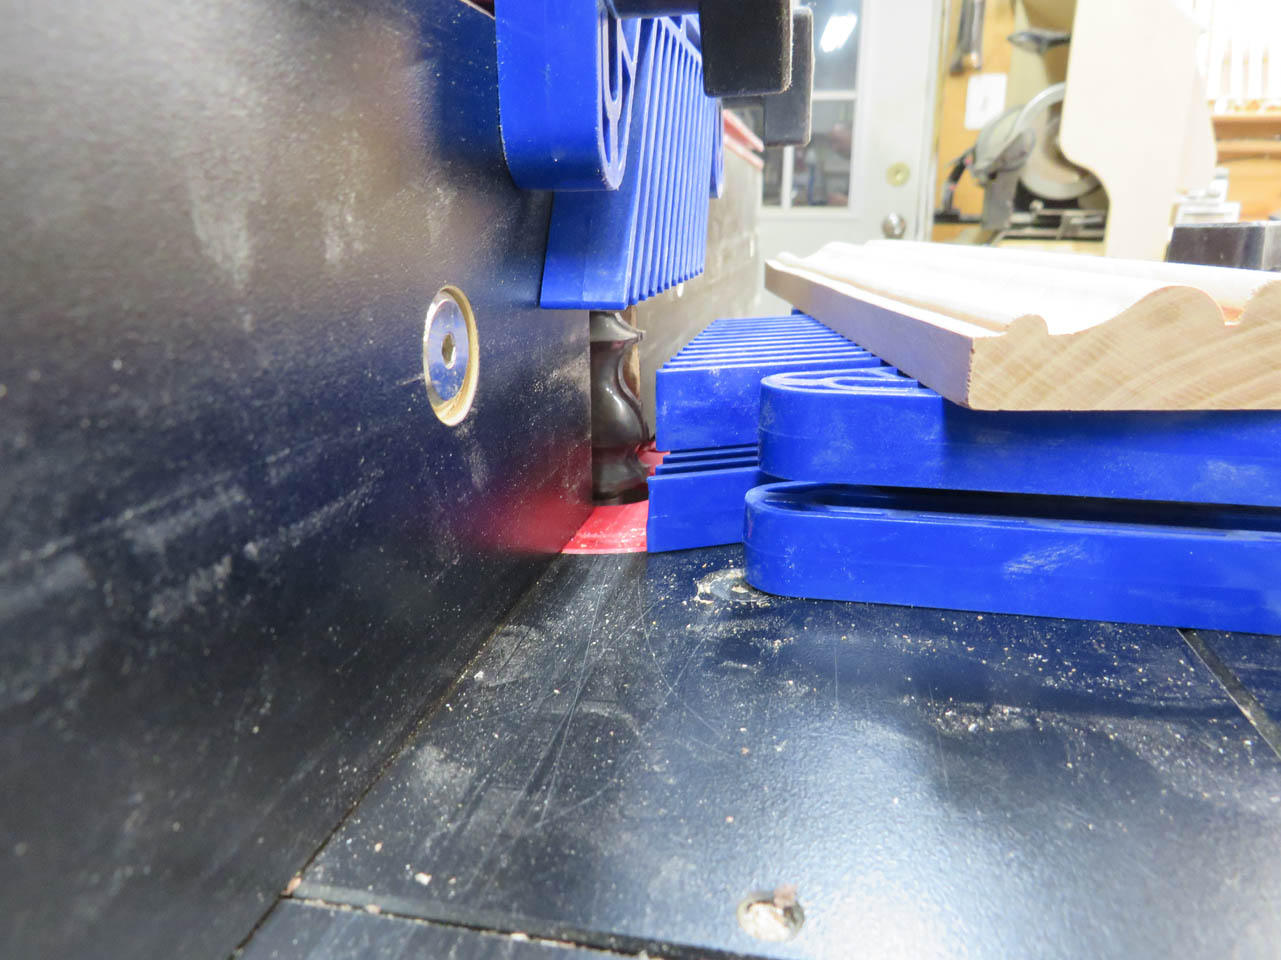
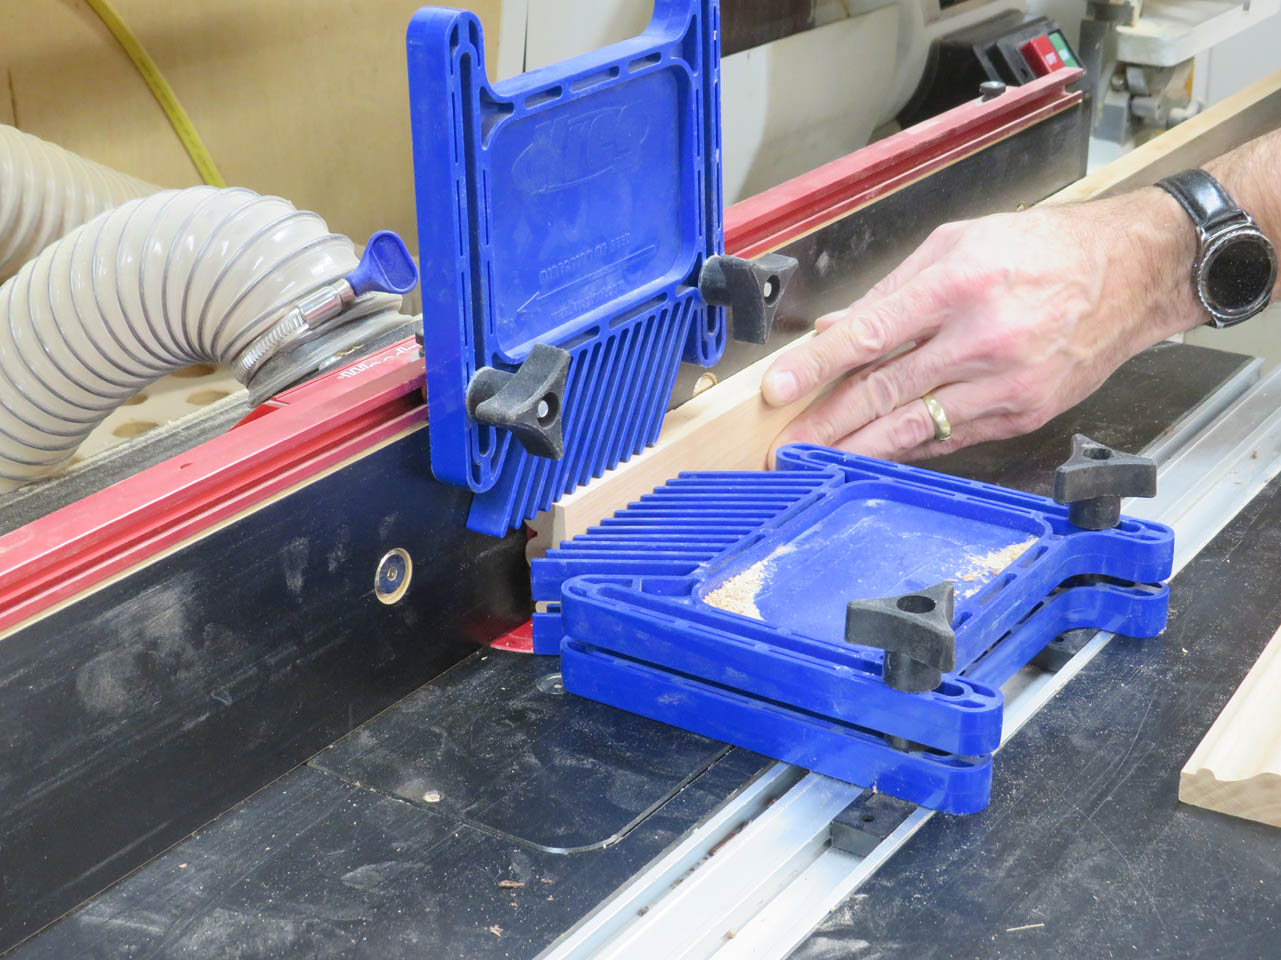
The feather boards cut down on vibration so I get a smooth cut.
Now that the glue has dried and all my trim is cut, I only need to cut the bevel on the corners and then I can assemble.
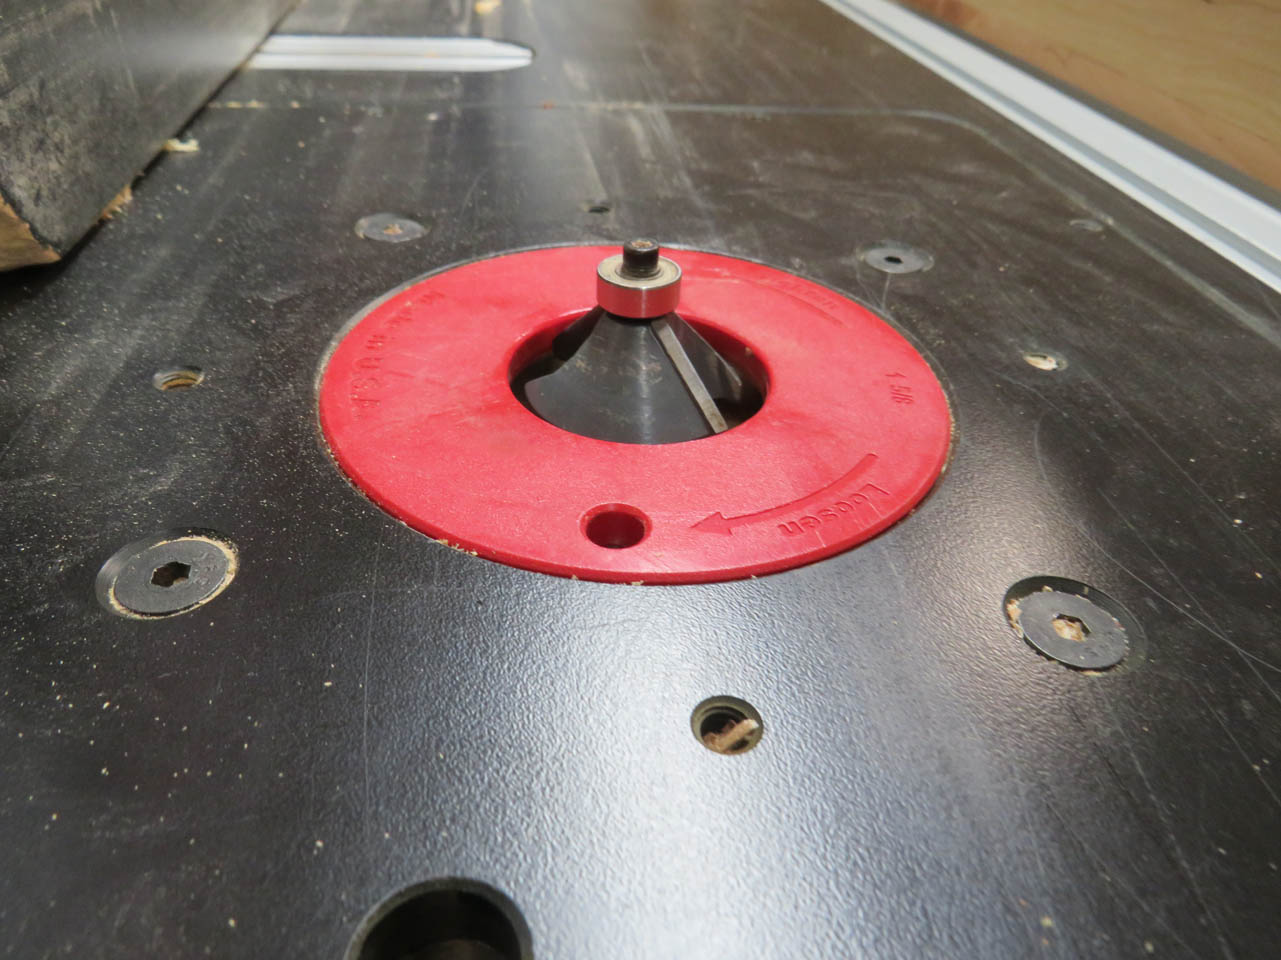
I set up the 45° chamfer bit into the router table and set it for 3/8″ tall. A test cut showed me that the seam fell perfectly on the edge of the bevel as I wanted.
So I marked the trim location and added 1/4″ past it to start my bevel.
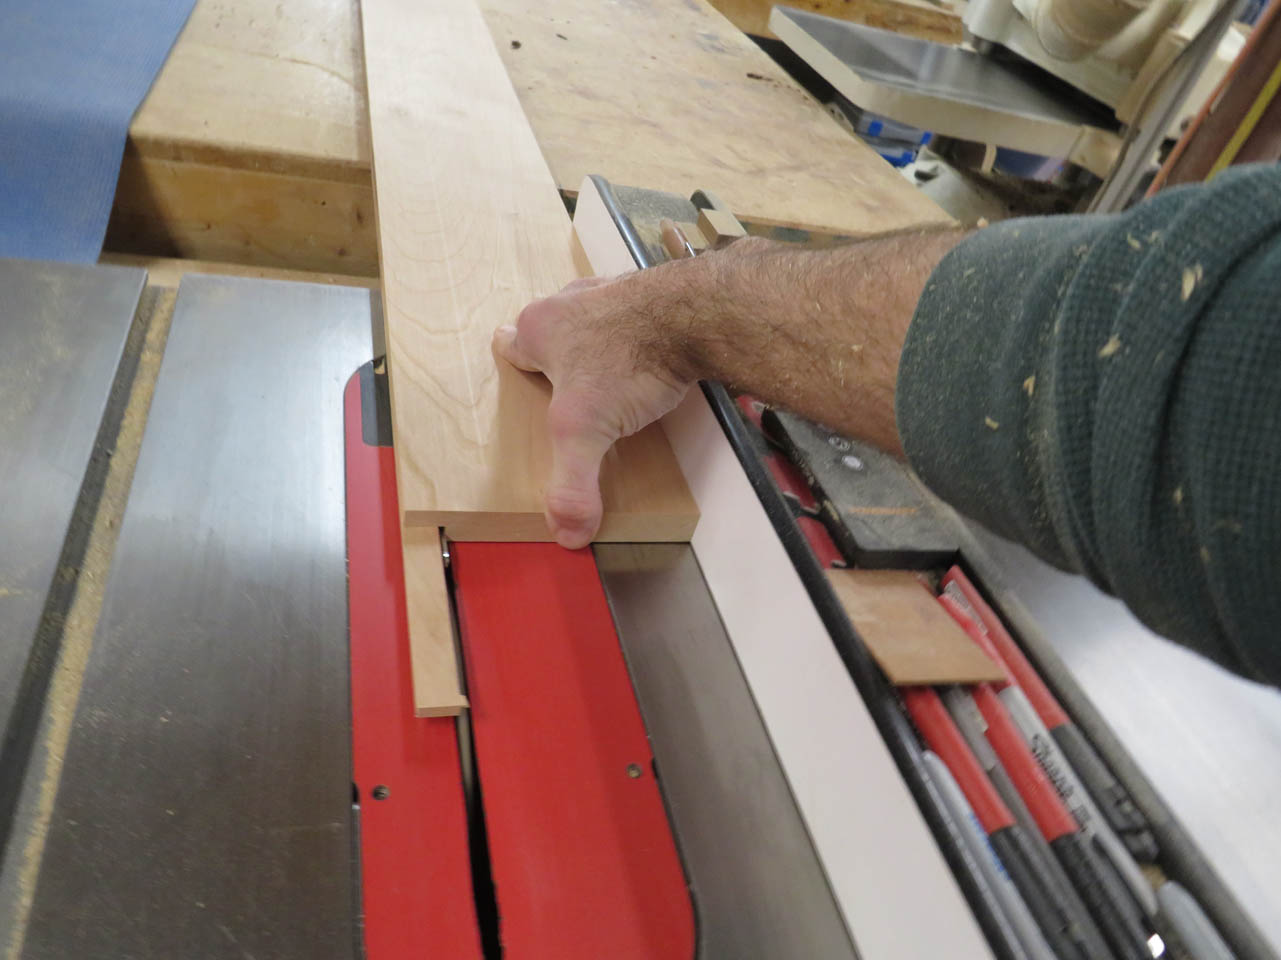
Starting at my mark, I cut the chamfer down to the mark at the opposite end.
To prevent tear-out, I precut the end of the cut at an angle.
That worked well and I only need to sand everything before assembly.
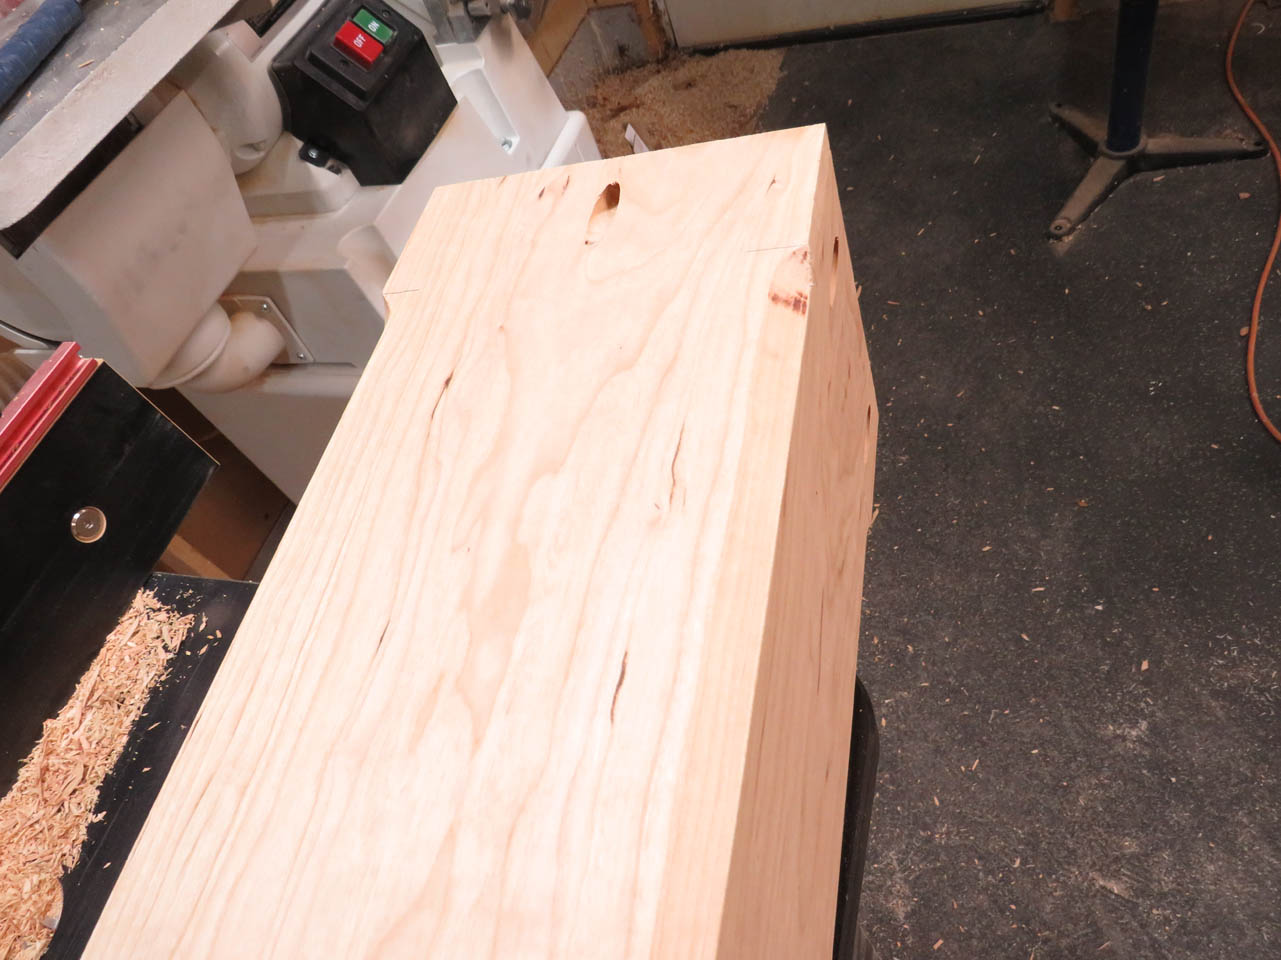
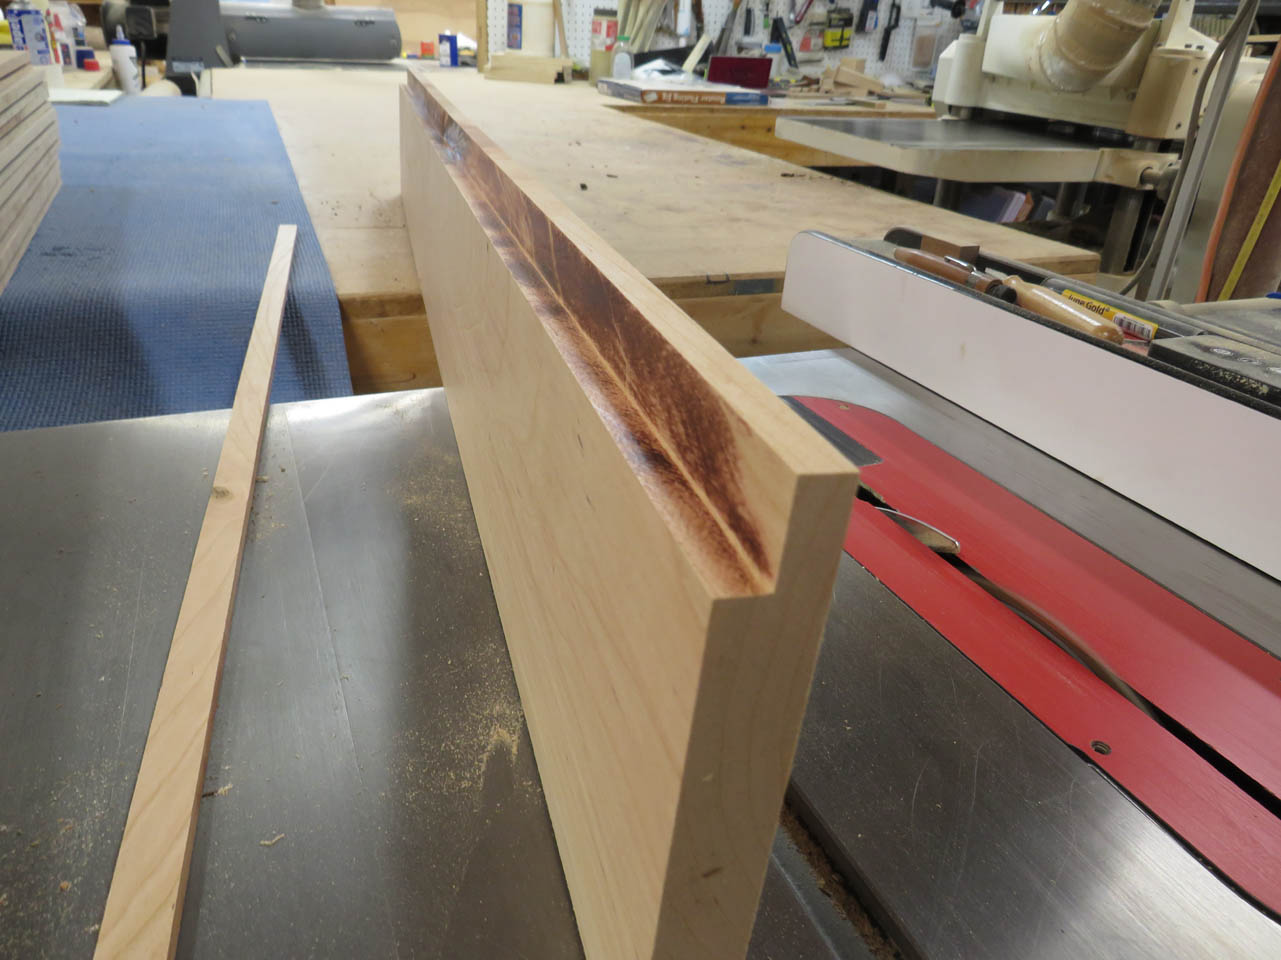
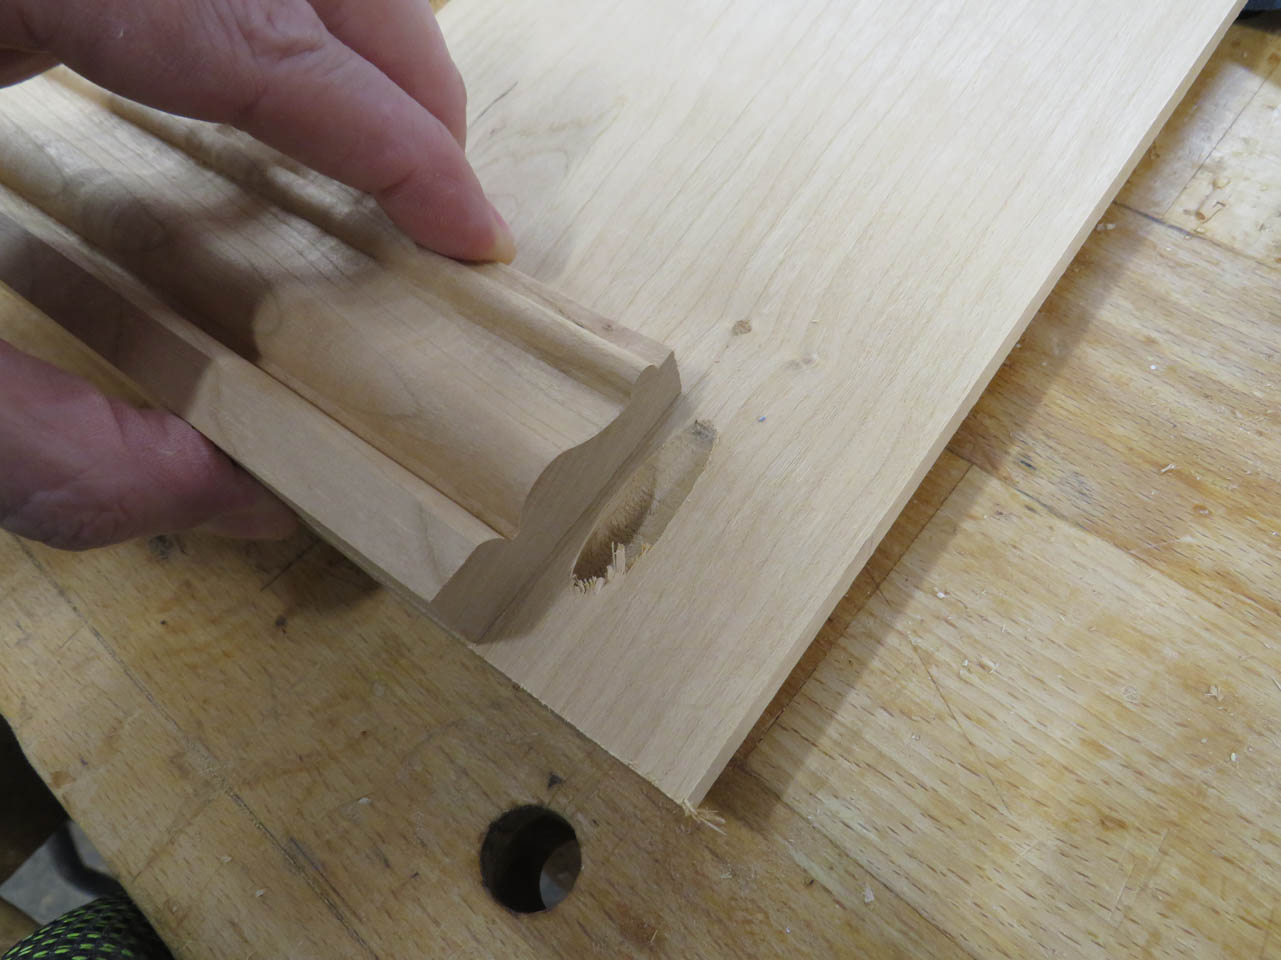
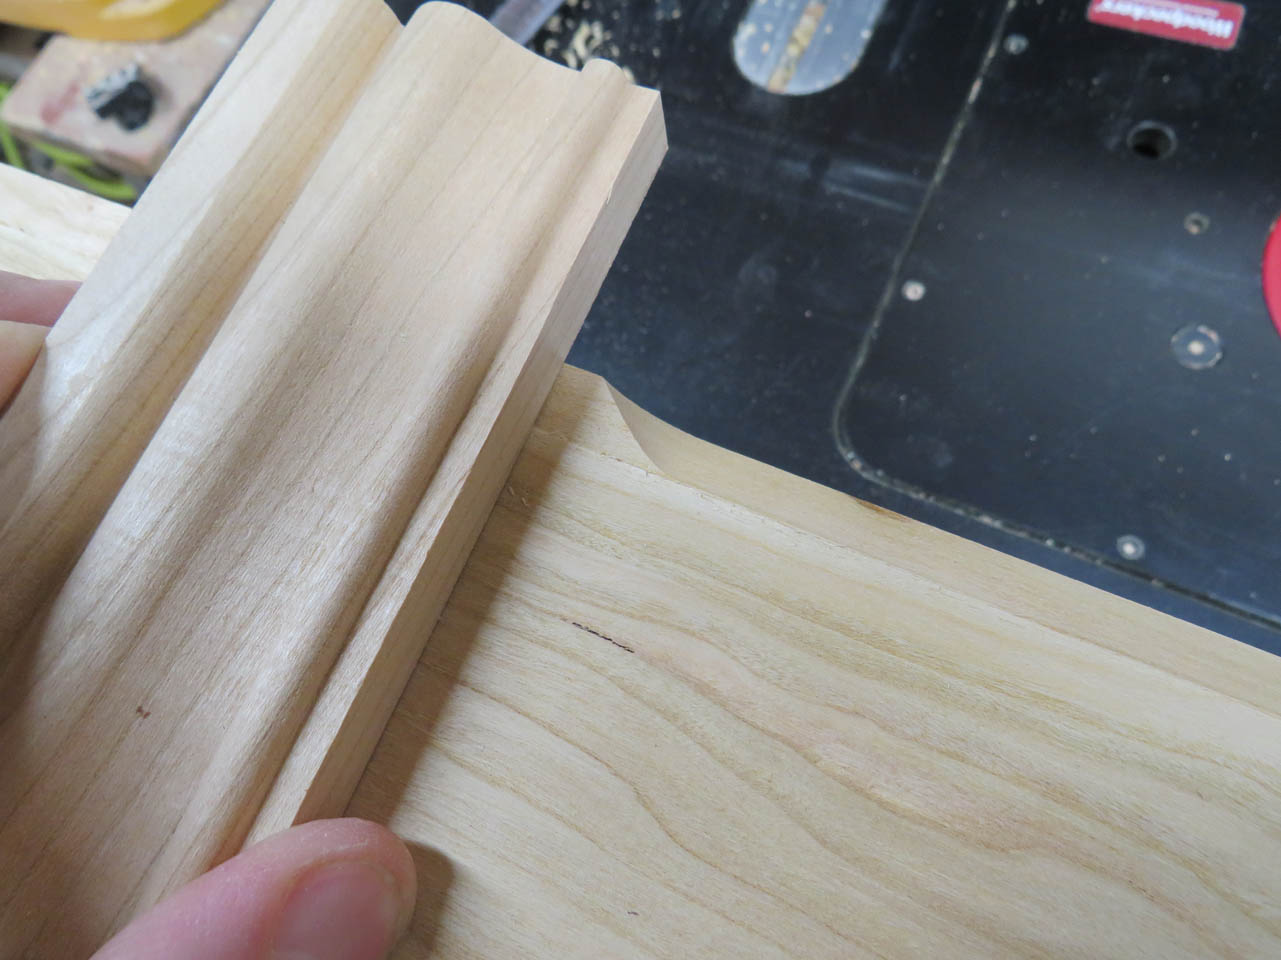
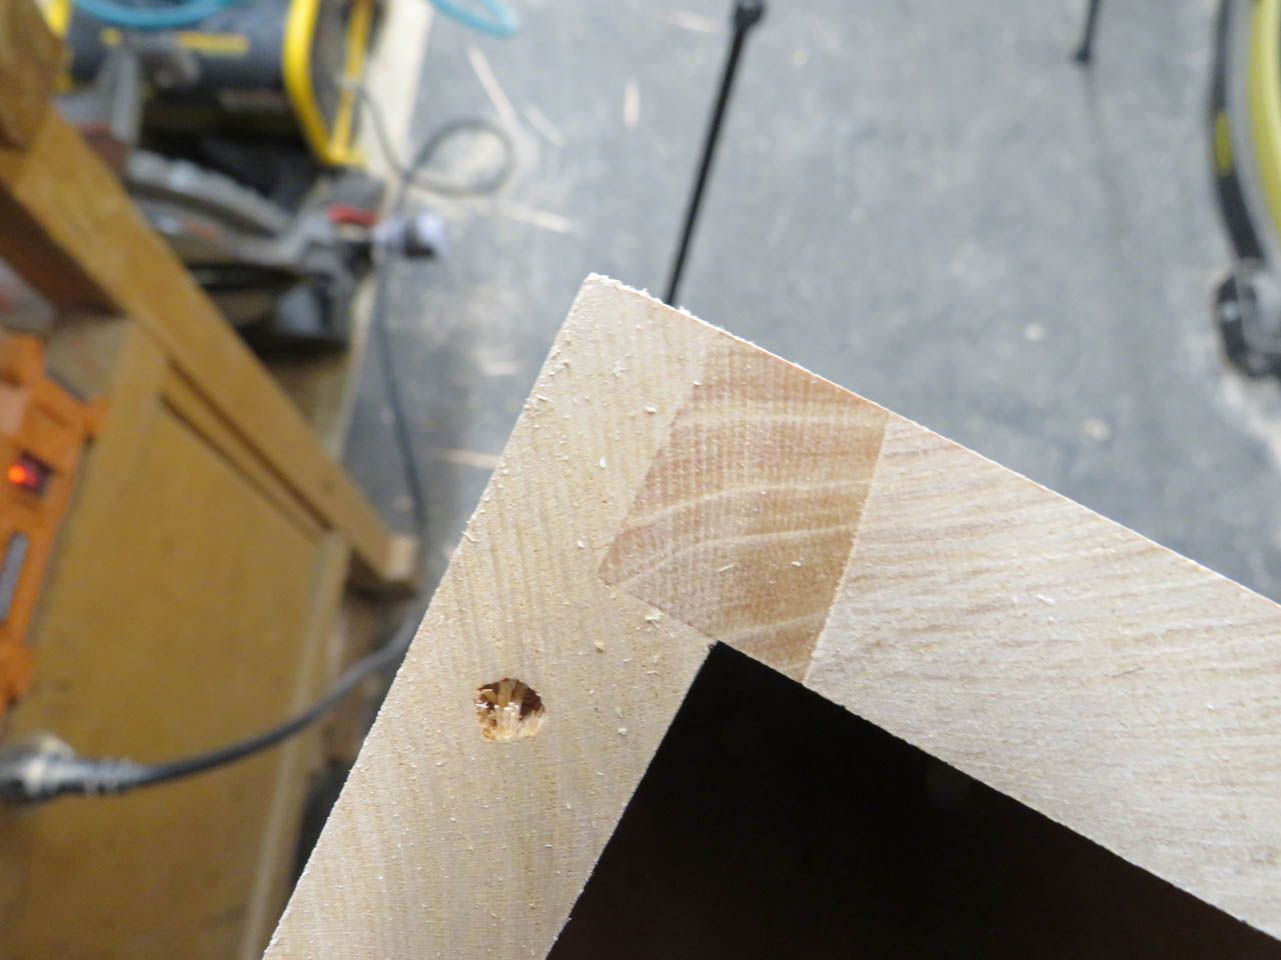
The image below shows the tight corner glue joint.
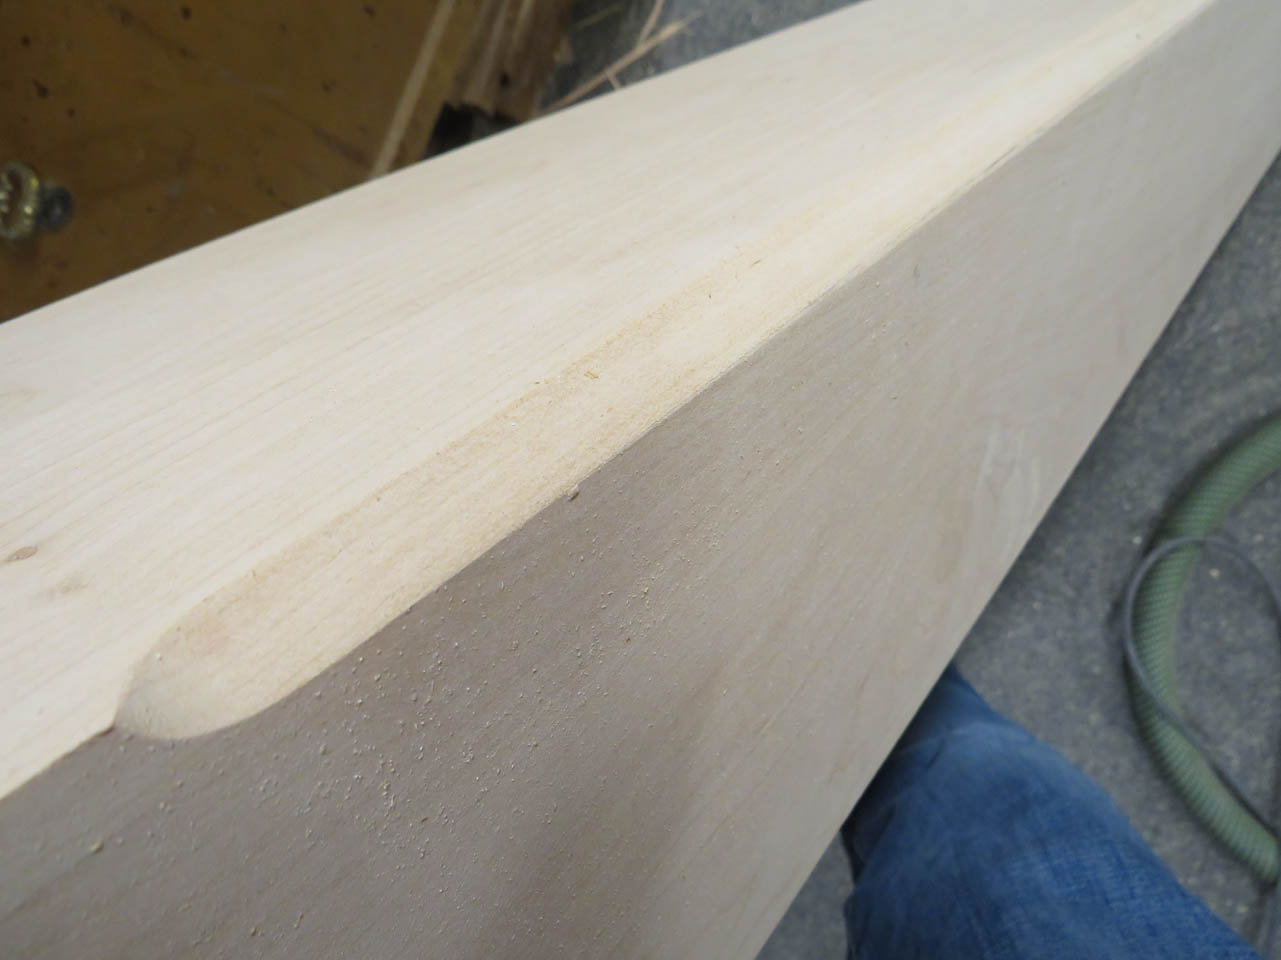
The next picture shows how the joint is hidden at the edge of the bevel.

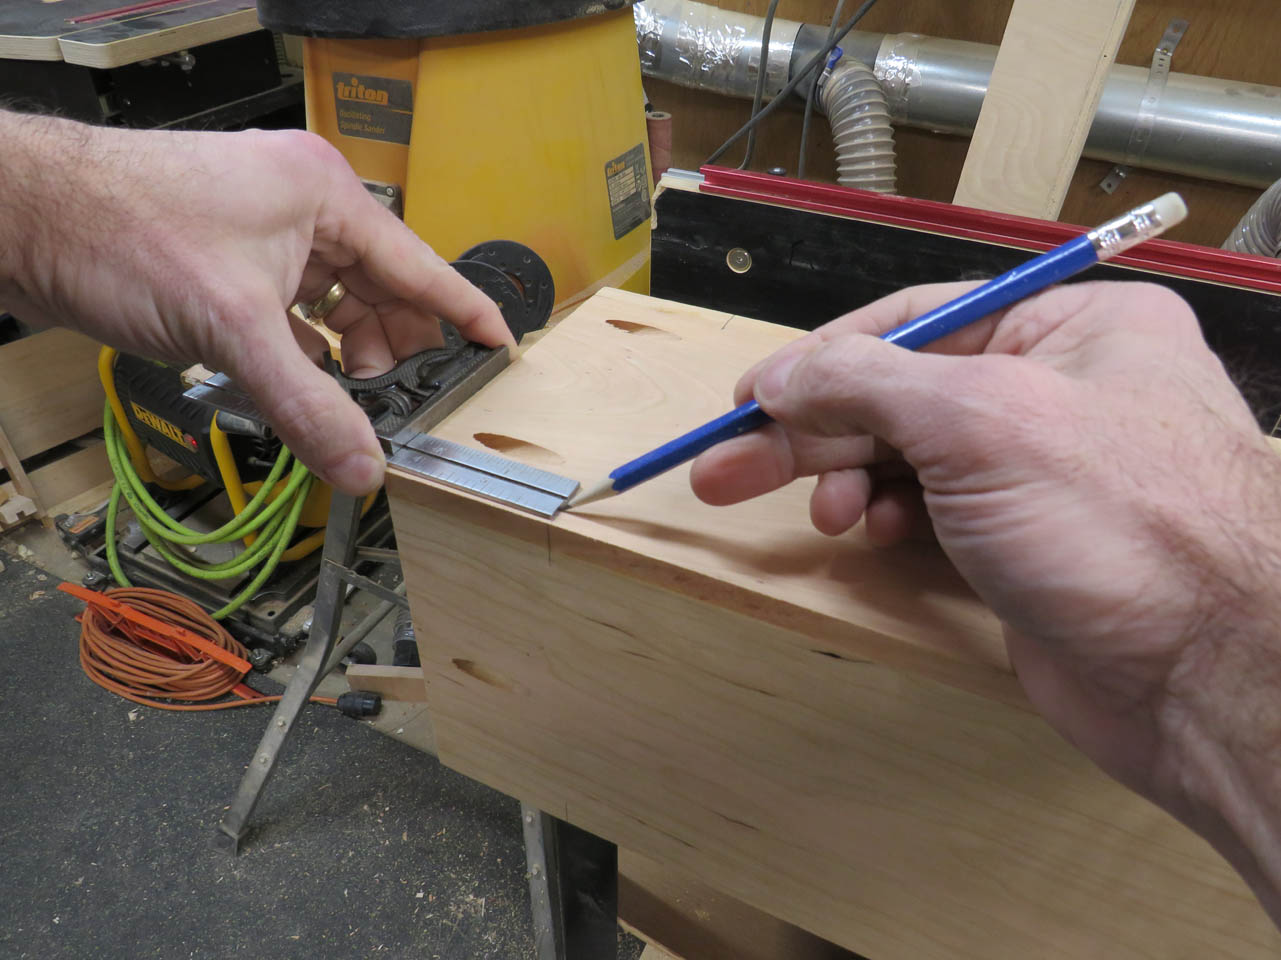
I stood the column up on the end cap and centered it.
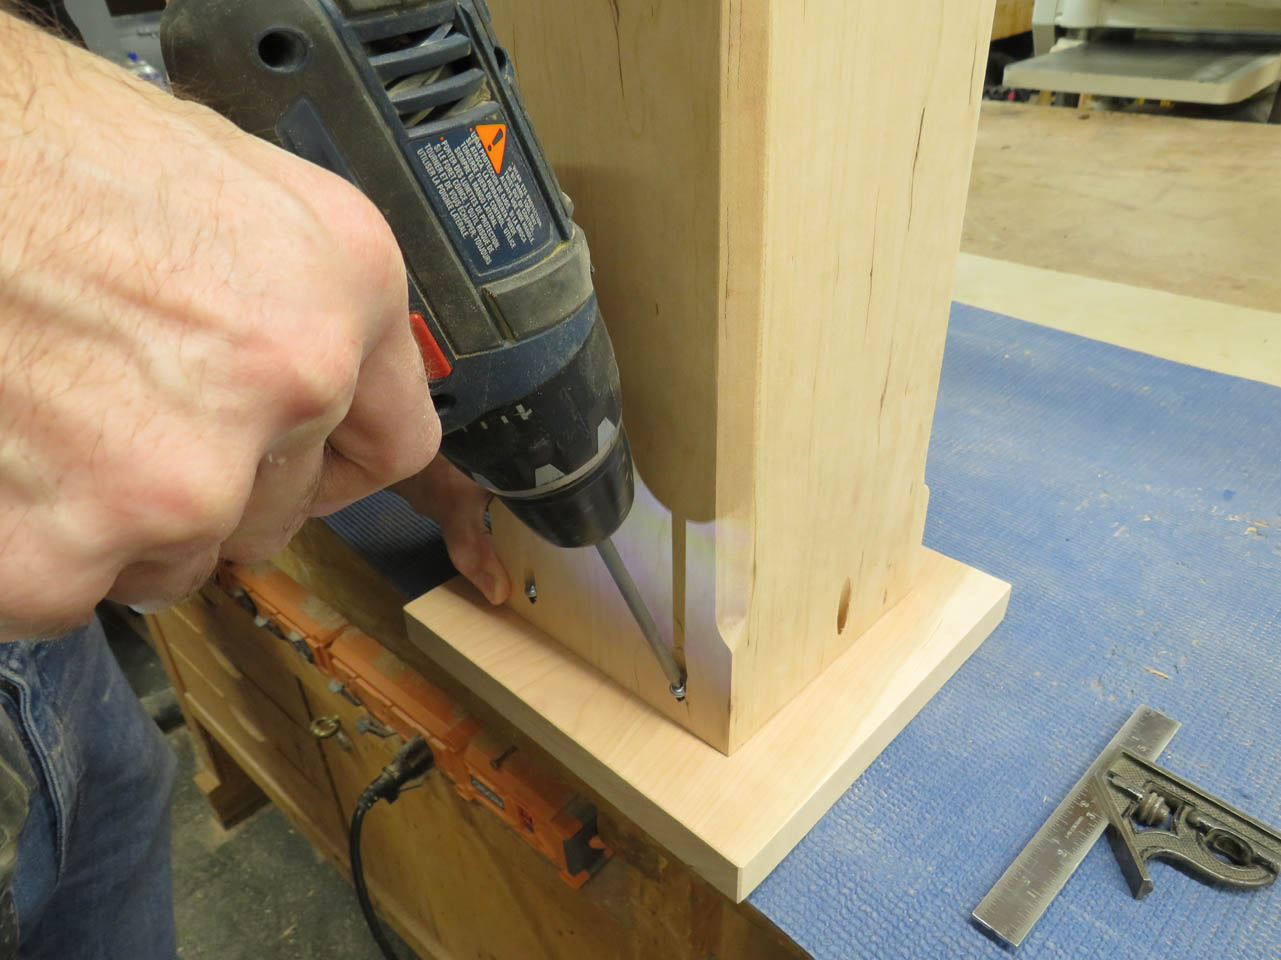
Once centered, I can attach with glue and pocket hole screws.
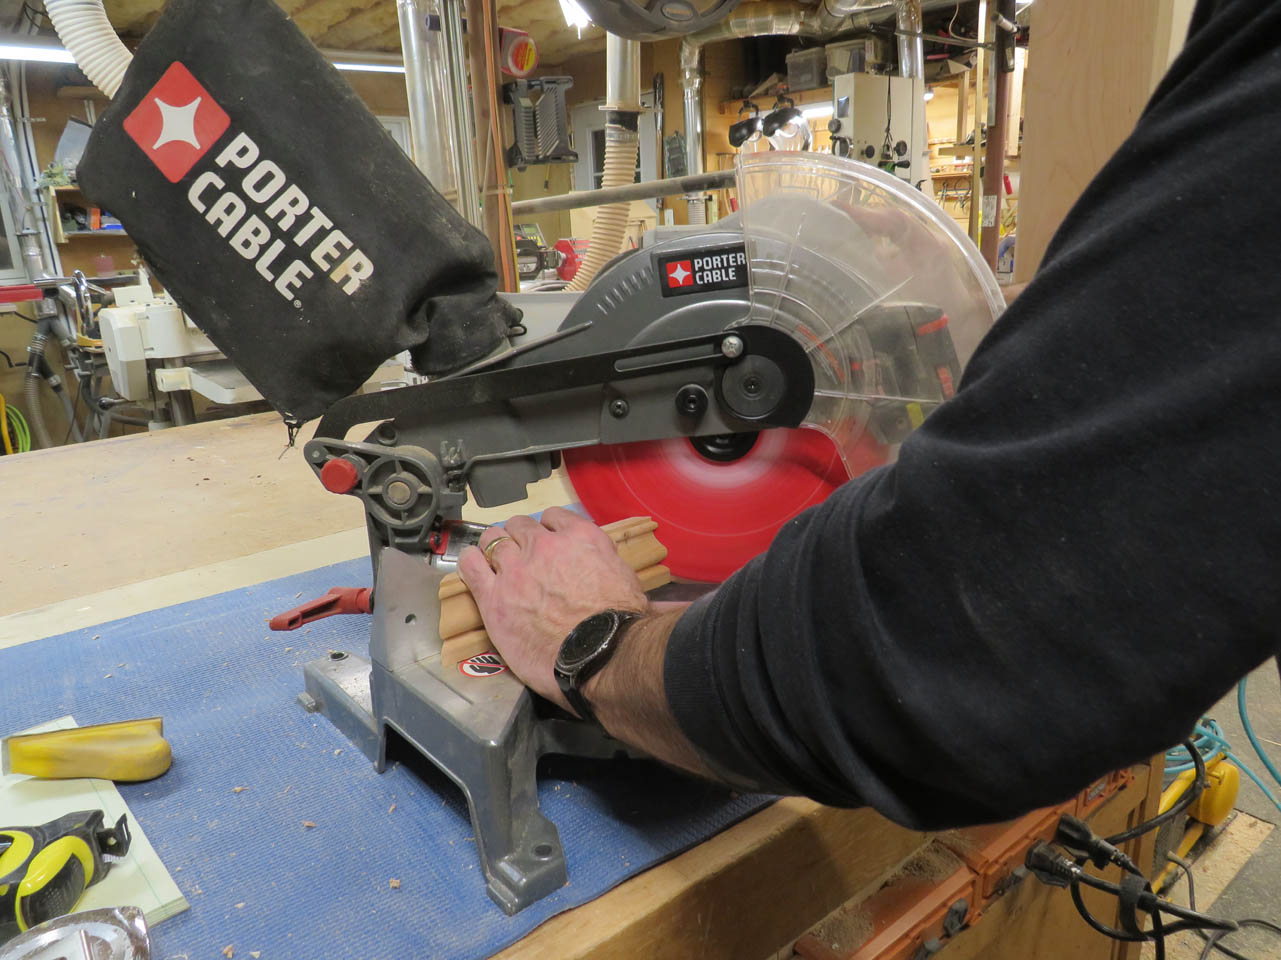
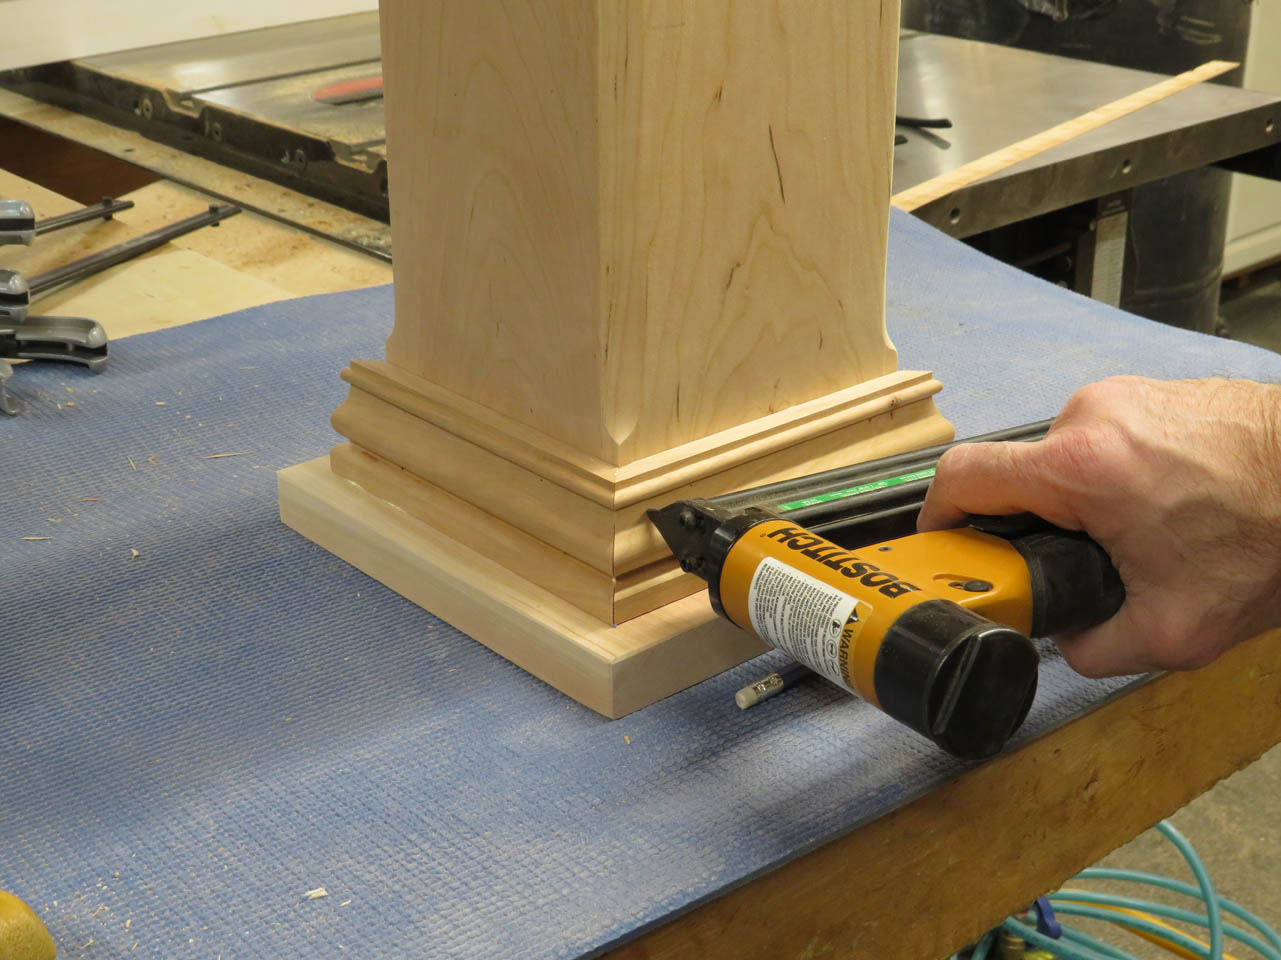
The last step in the assembly was to carefully miter the trim and join four pieces all the way around.
They were attached with glue and a couple of pin nails to hold it all in place until the glue dries.
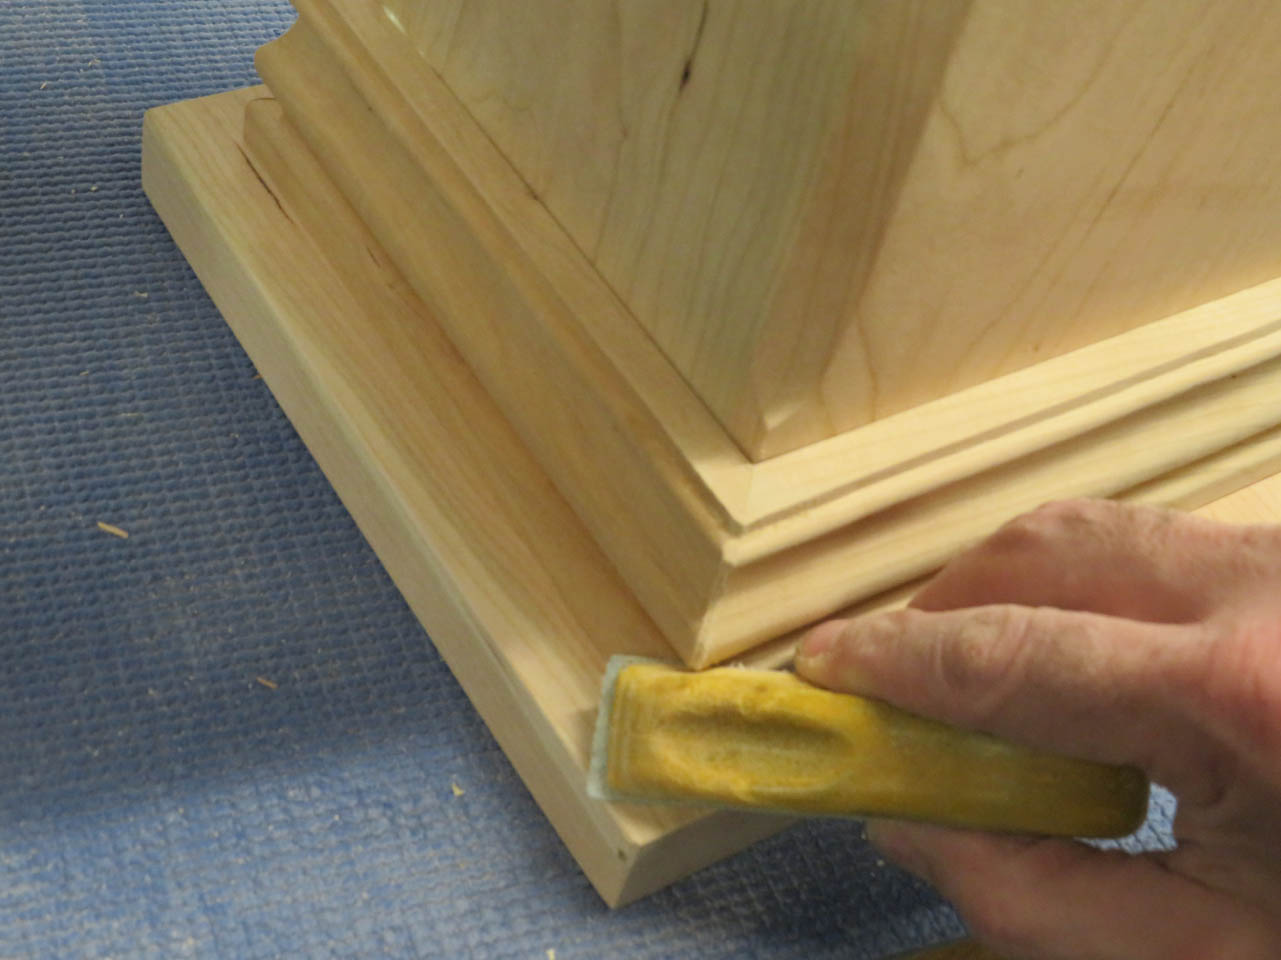
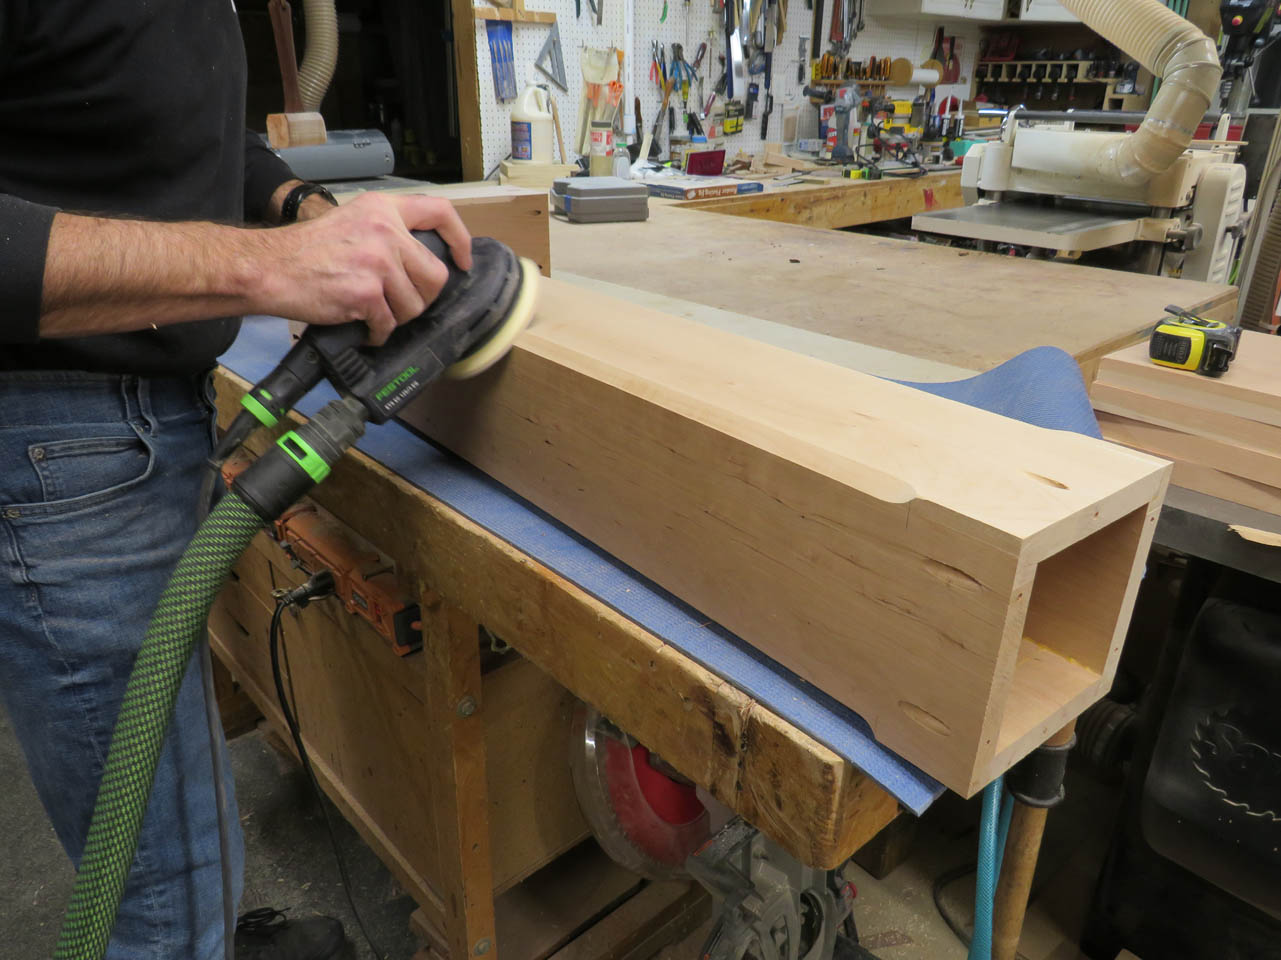
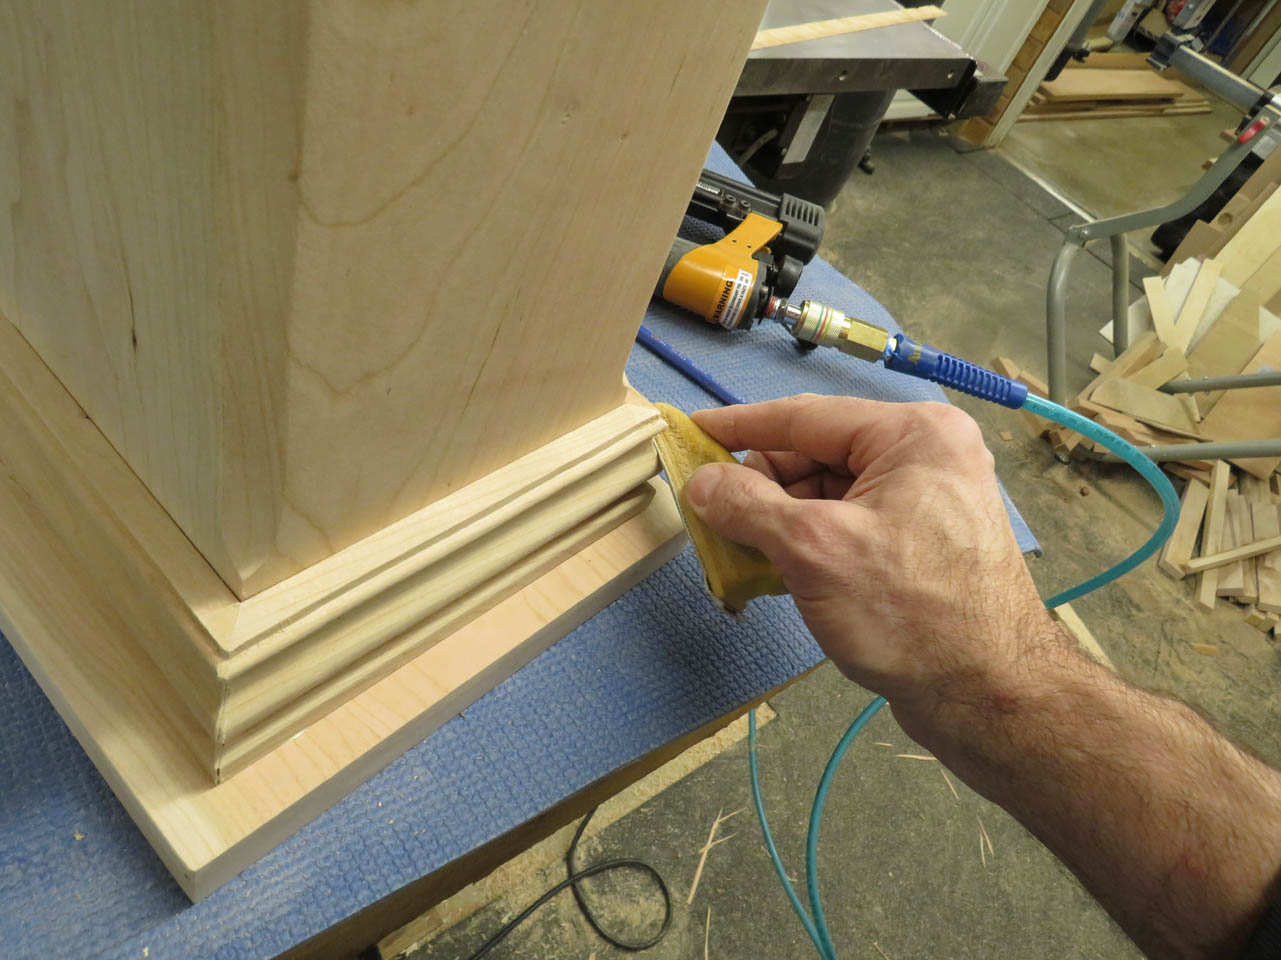
A little hand sanding to ease all of the sharp edges and it is ready for finish.

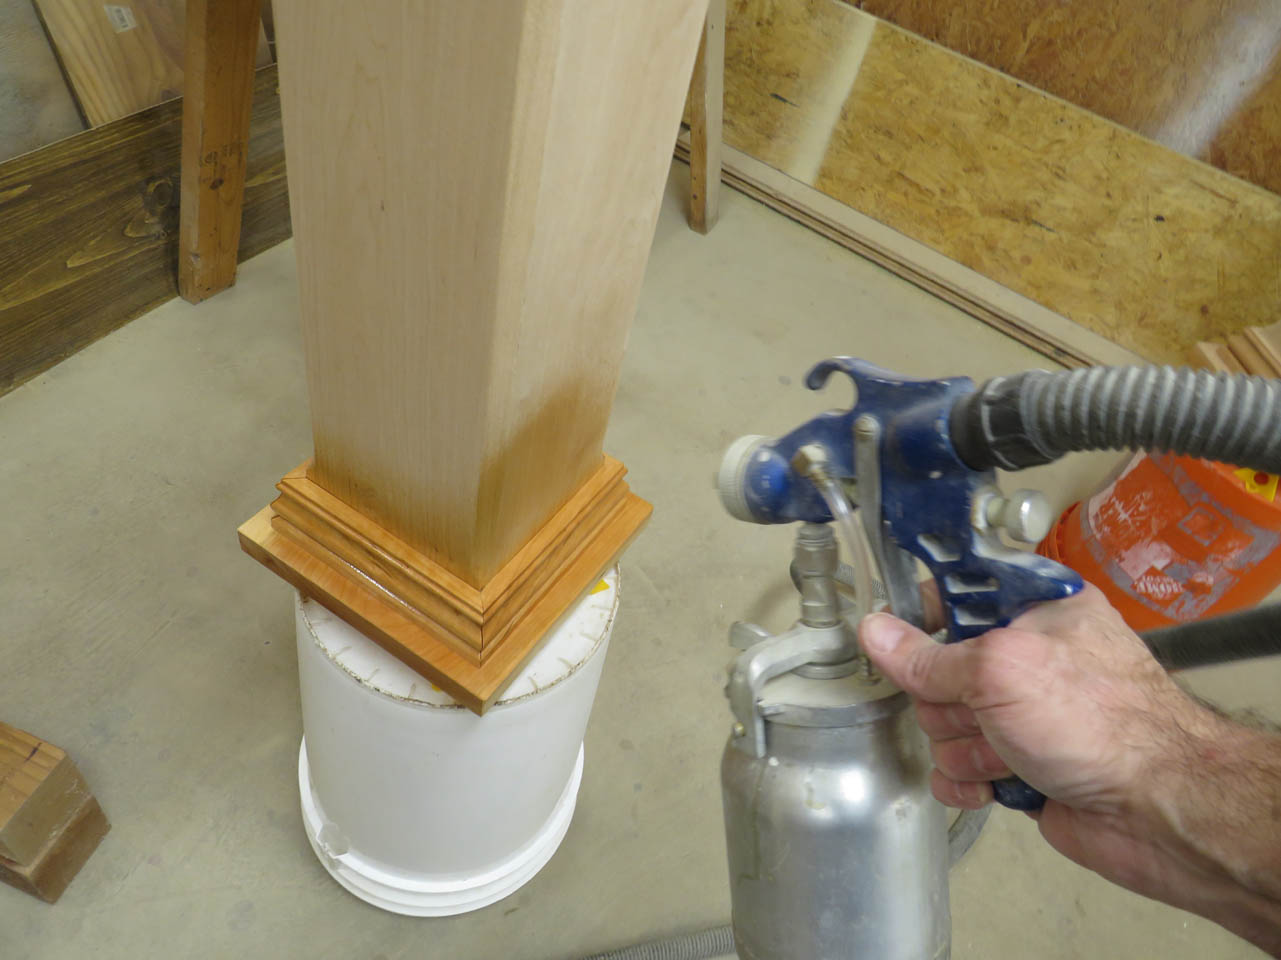
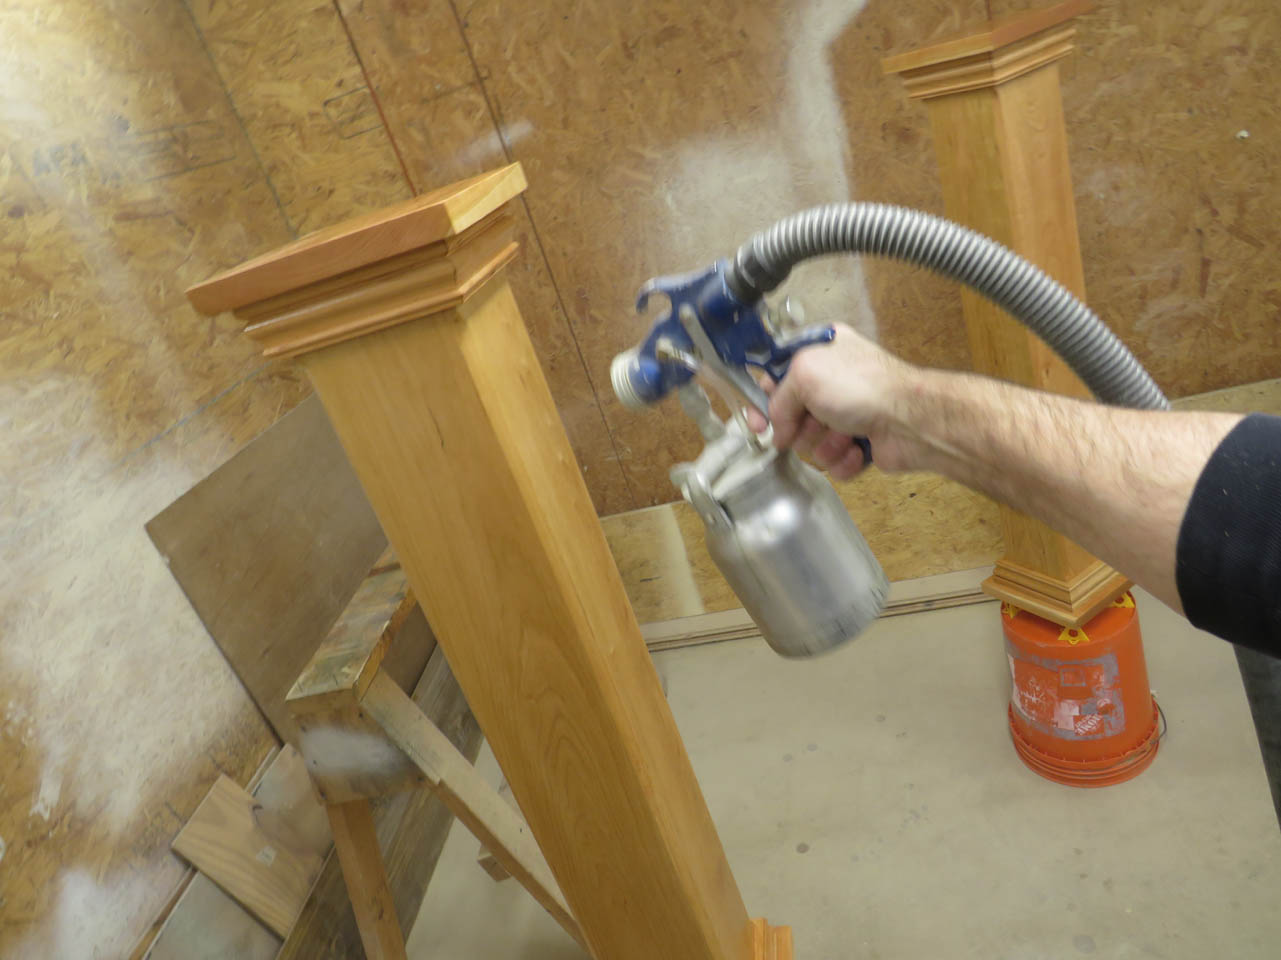
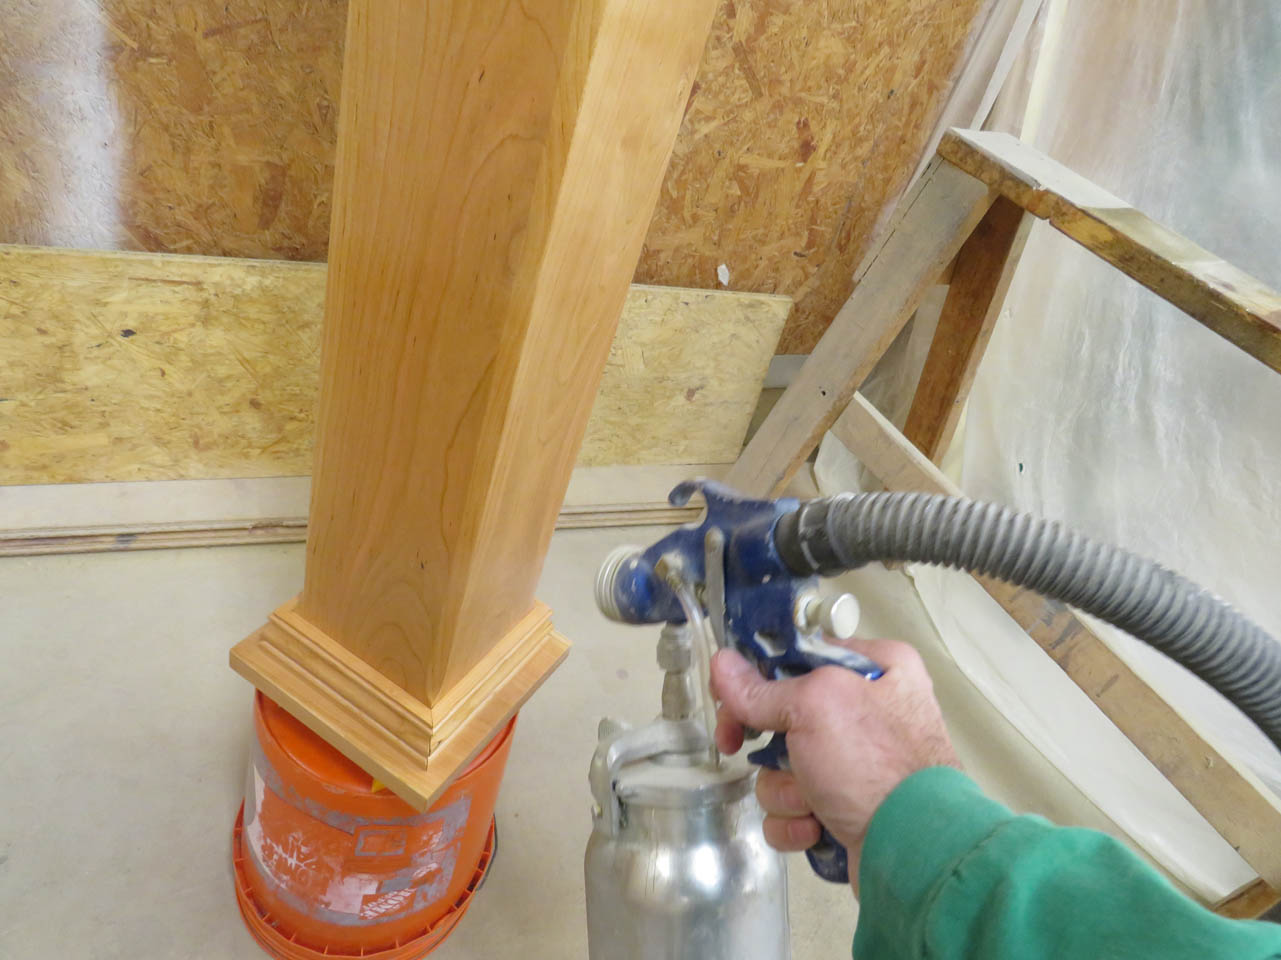
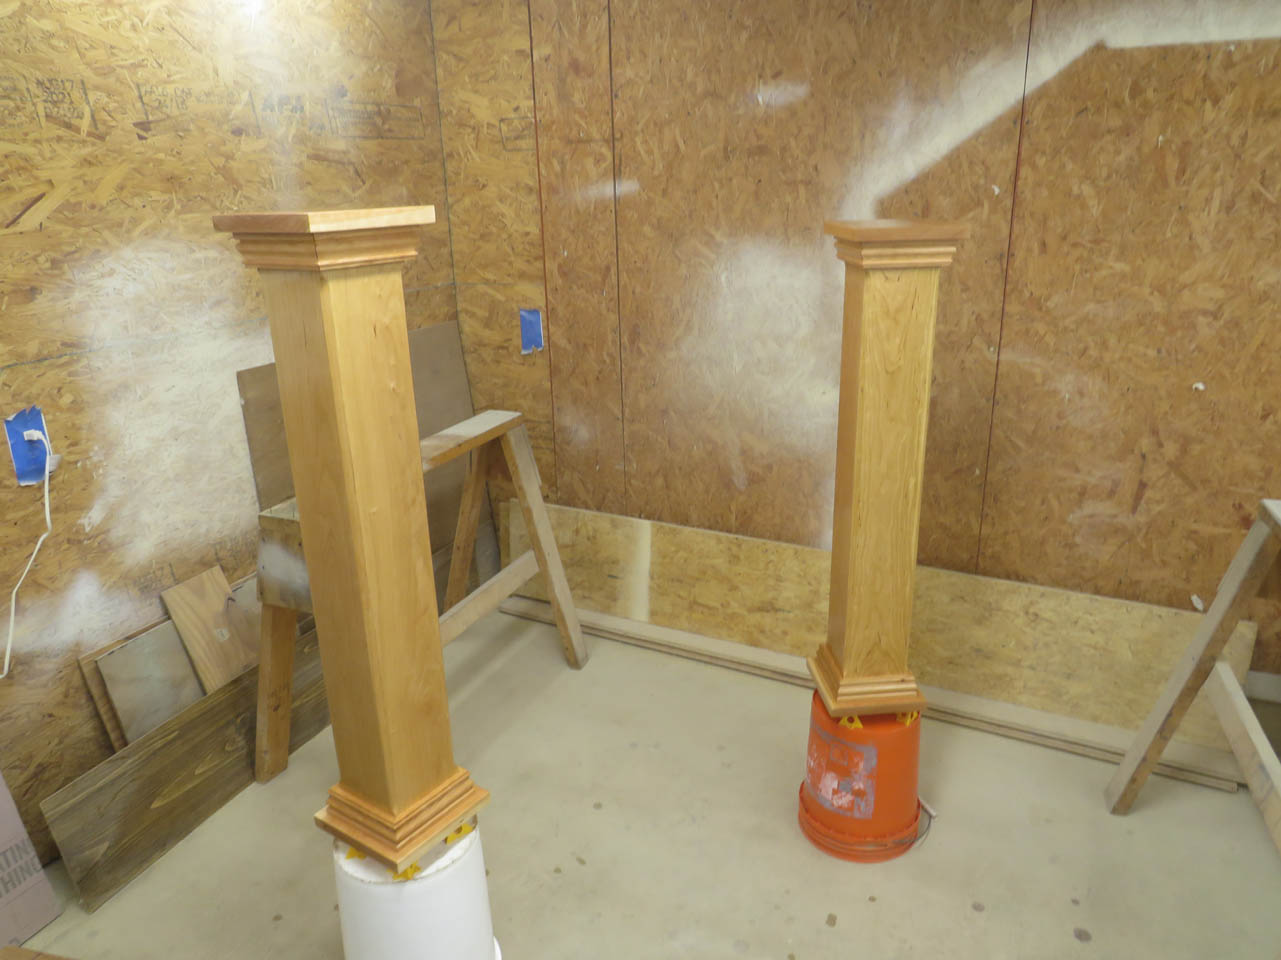
I set painter’s pyramids on the bottom of a 5-gallon bucket to set the column on and started applying the first coat of polyurethane.
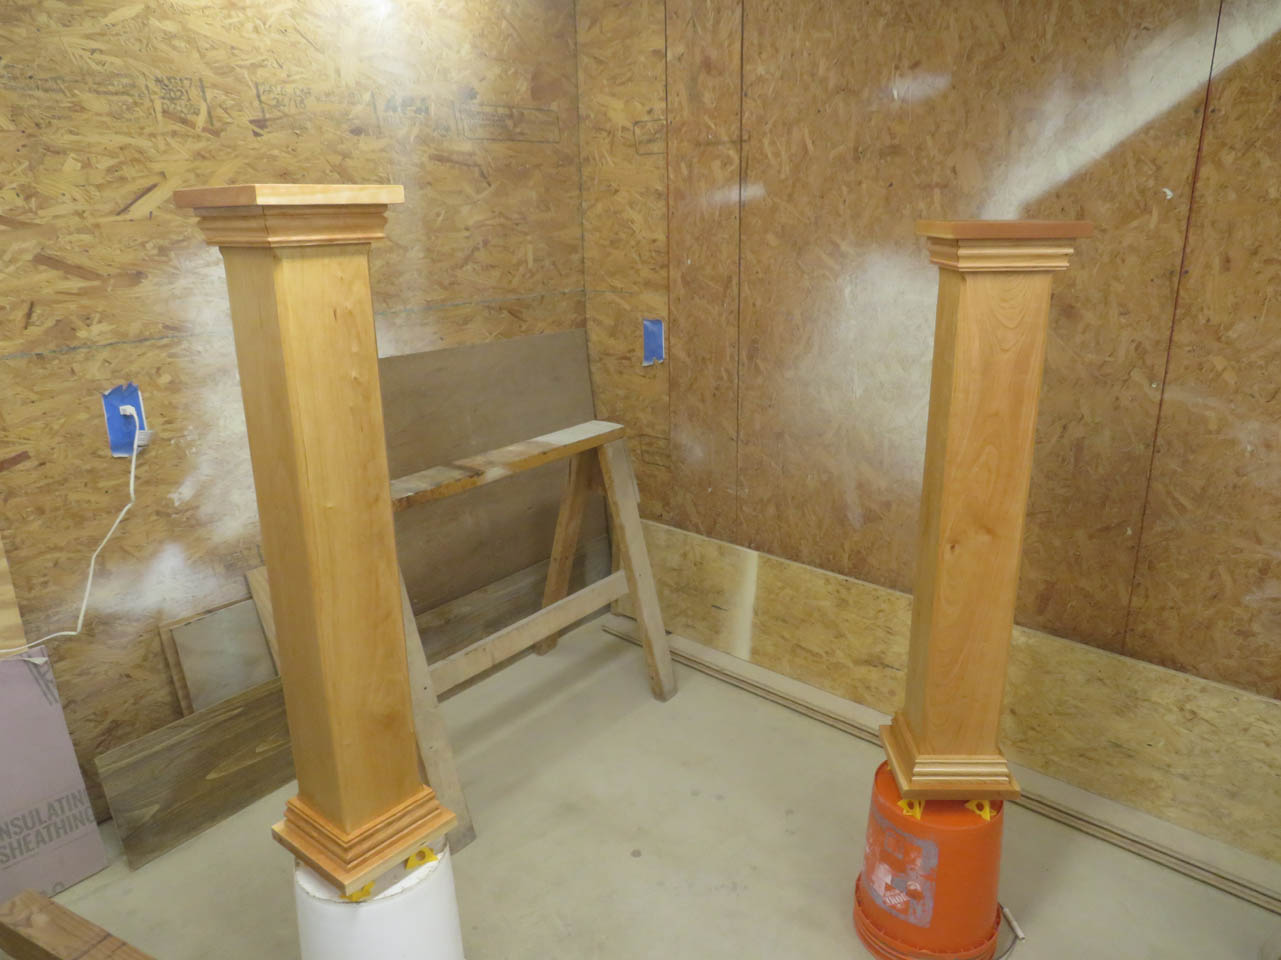
The first coat was left to dry overnight.
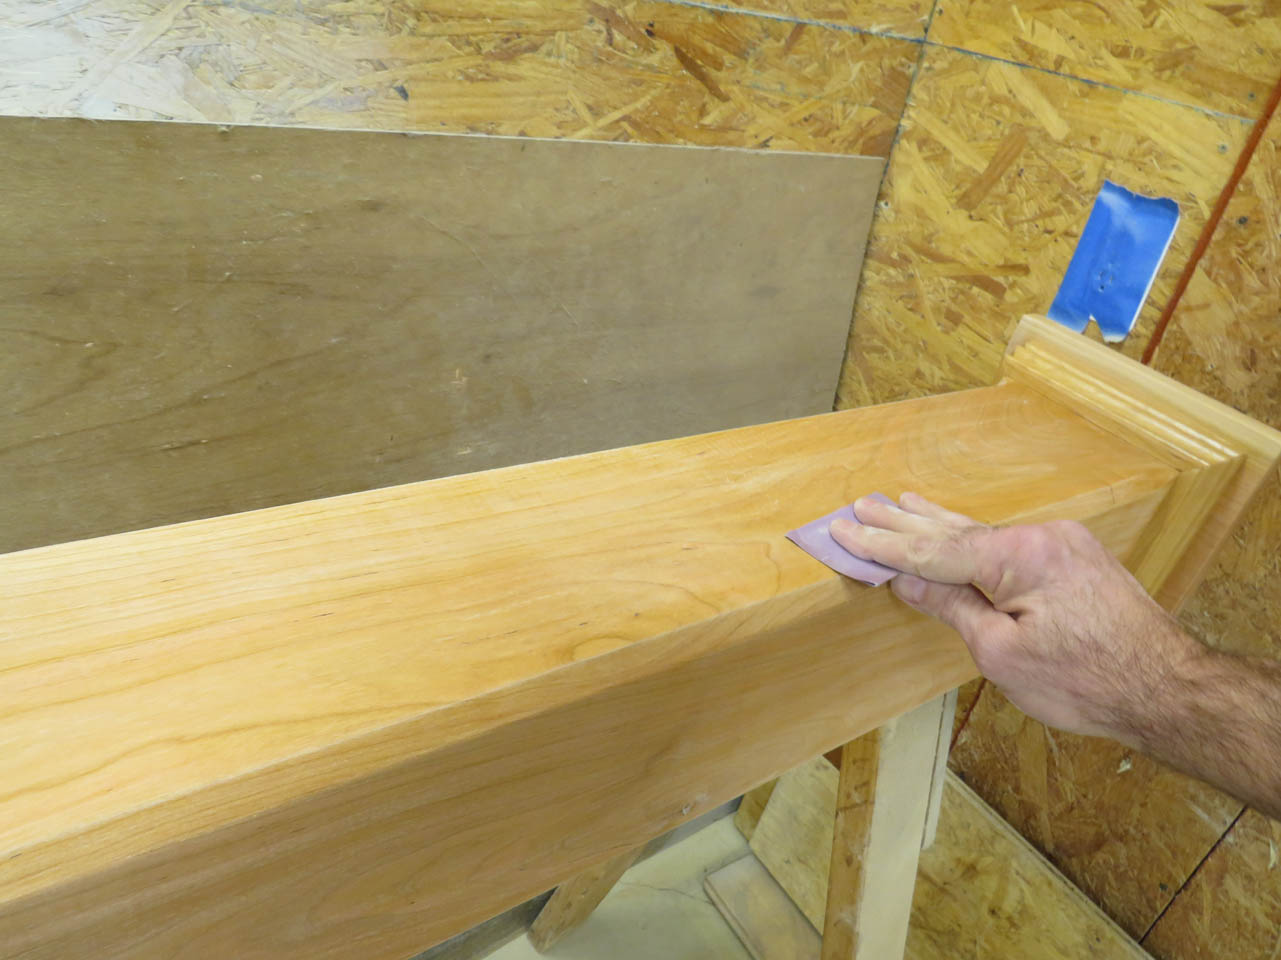
Then I sanded all the faces with 400 grit paper to remove any dust nibs and prep the surface for the next coat.
This process was repeated one more time to give a little extra protection on the end caps.
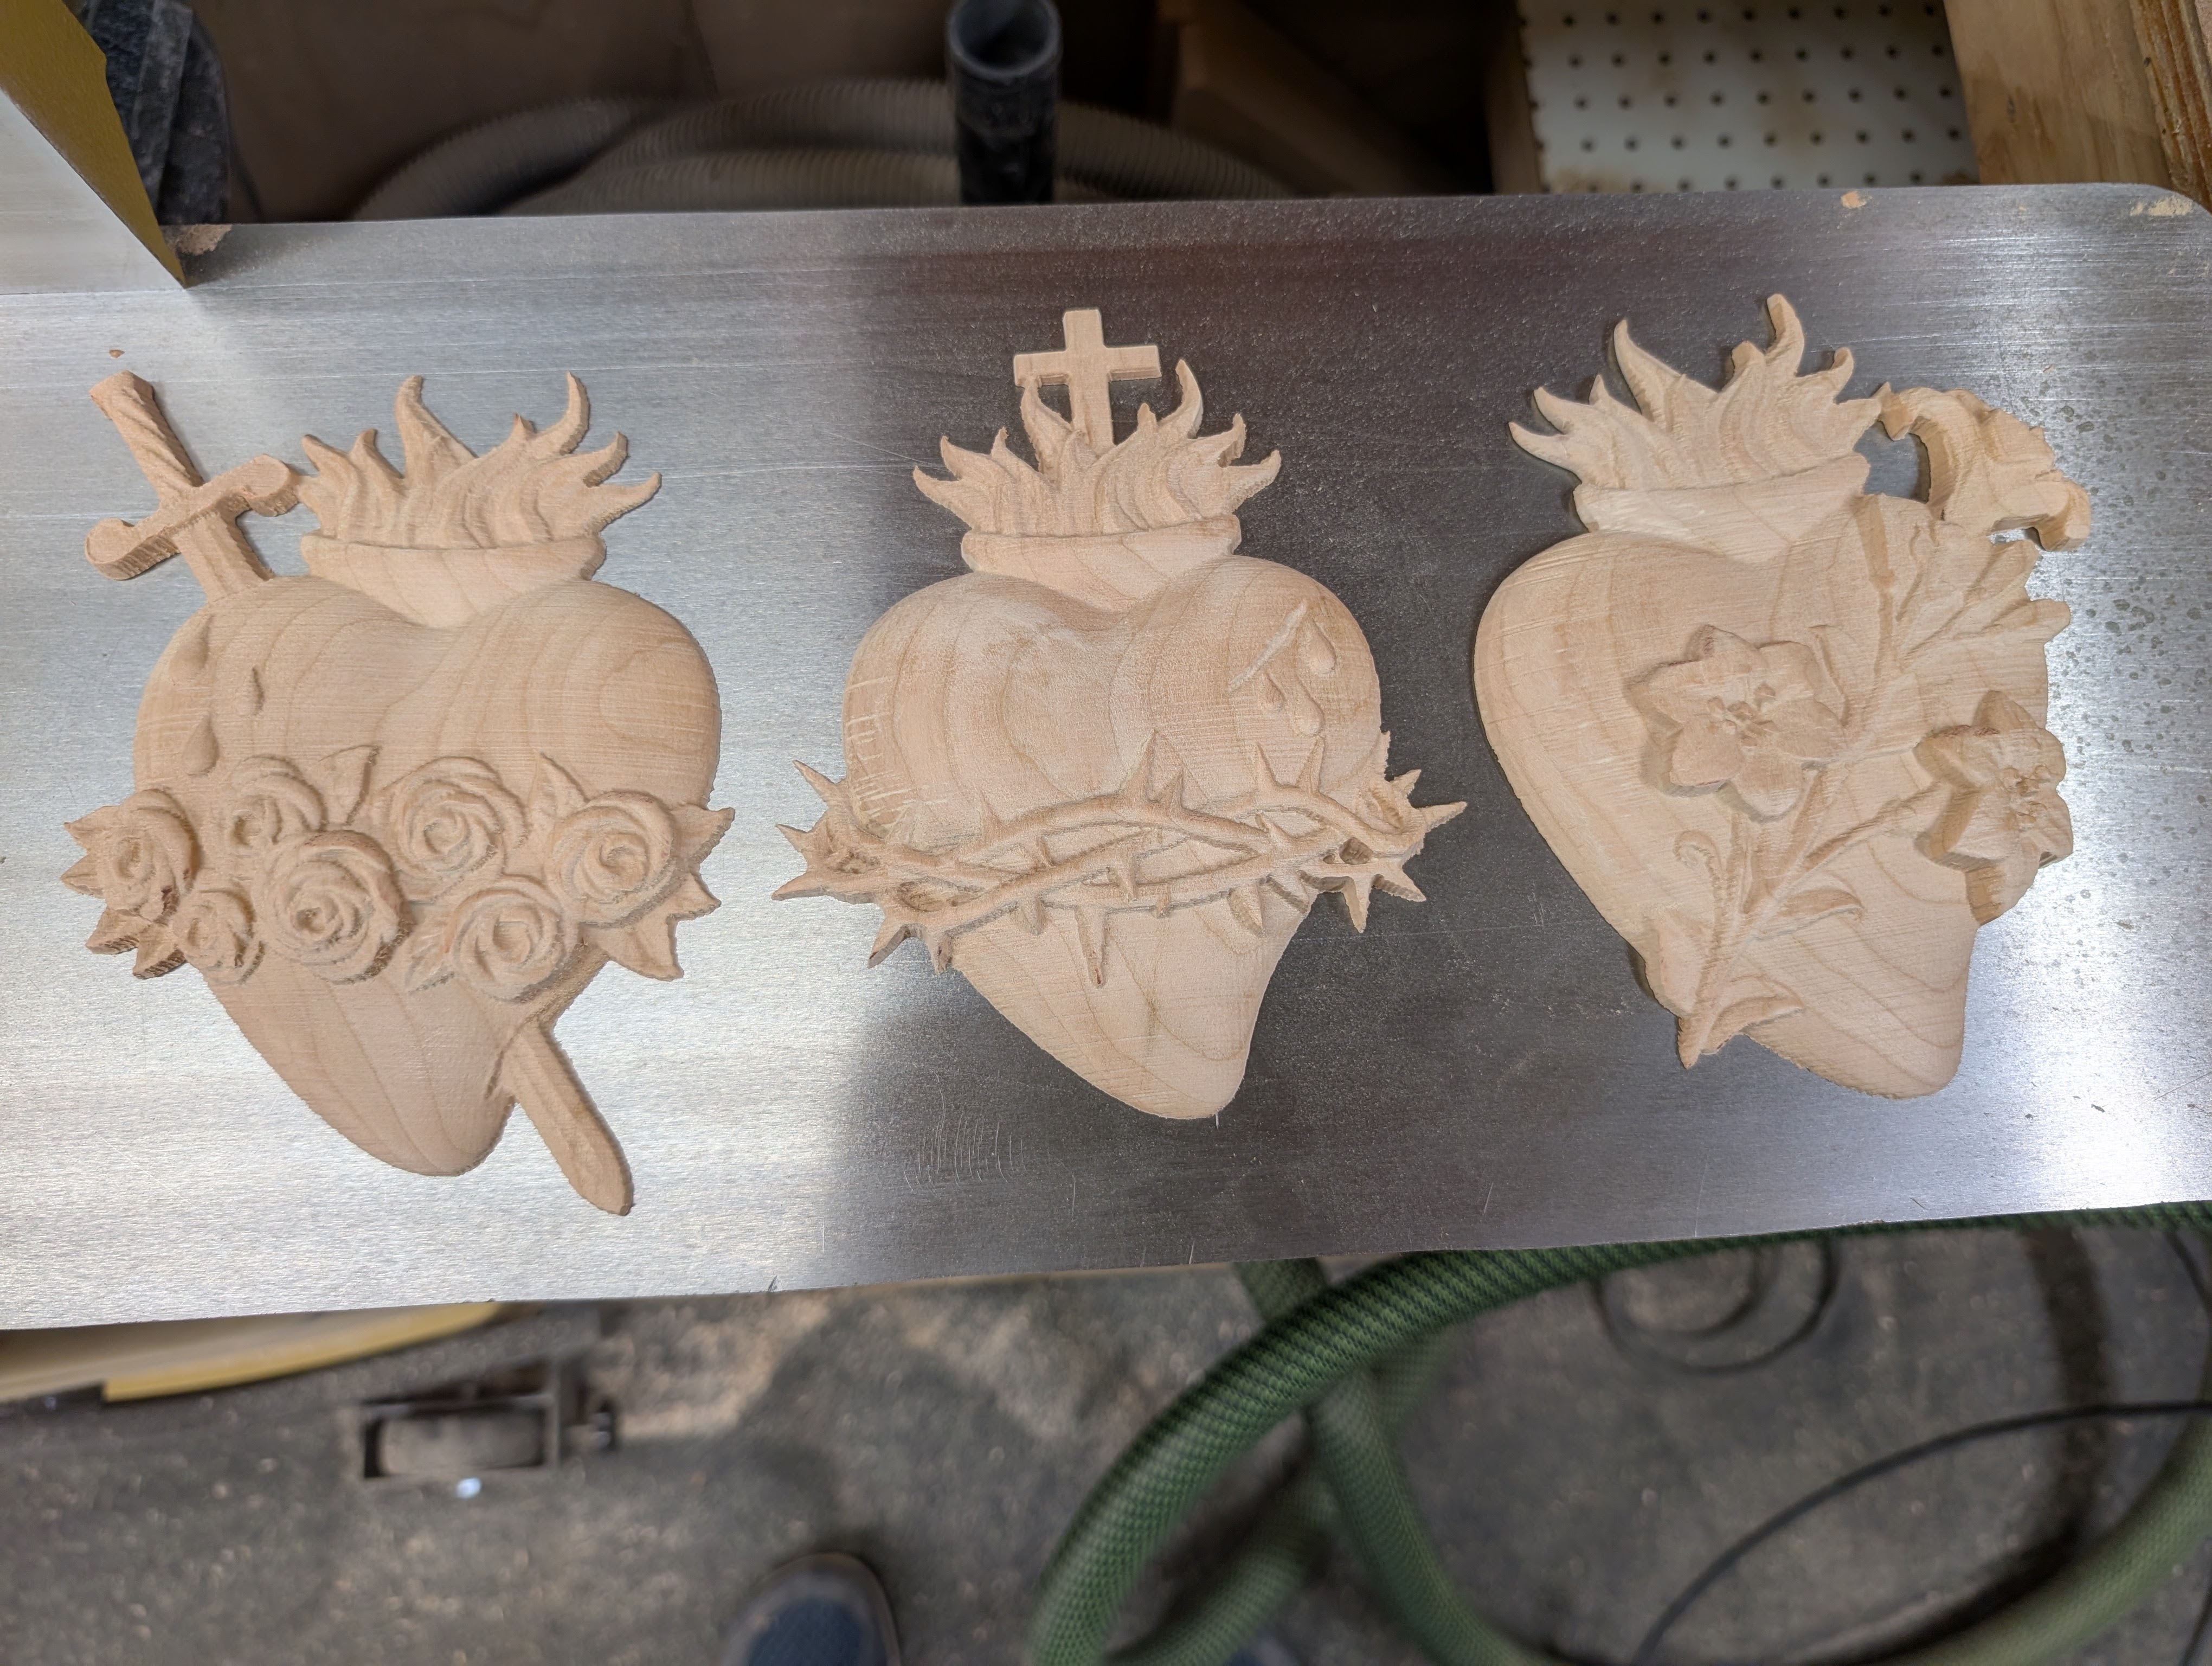
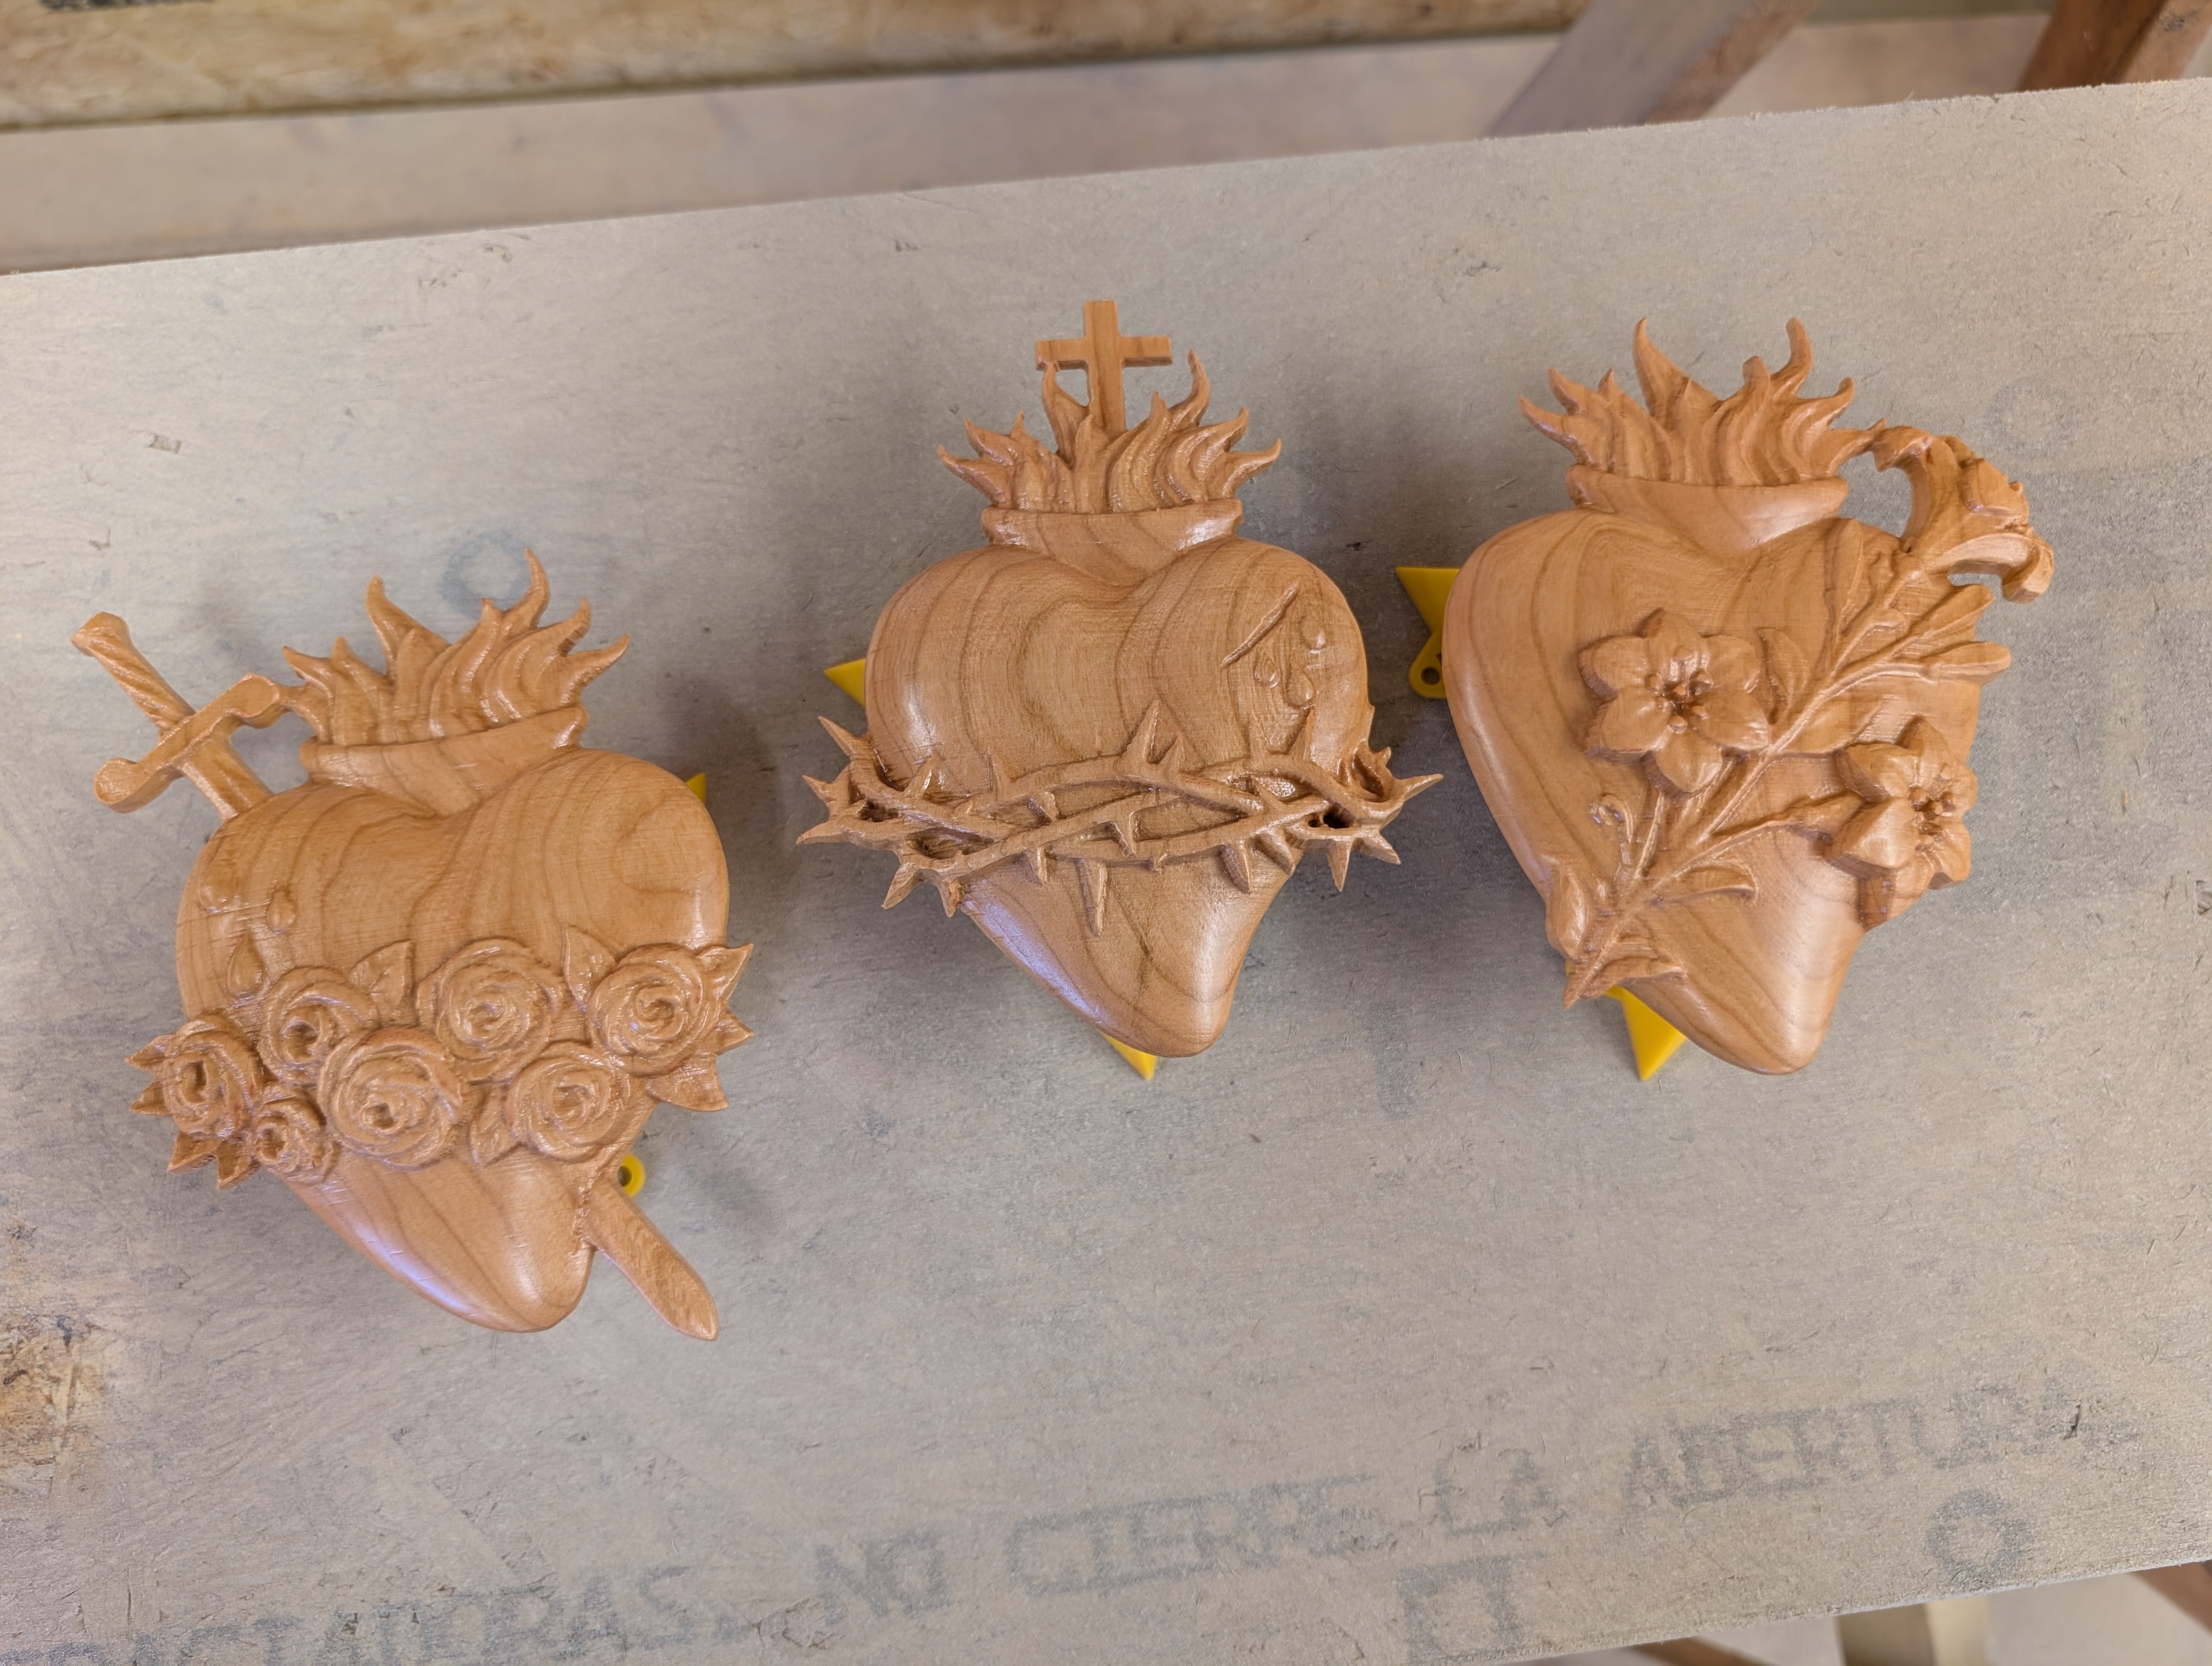
While I was working on the columns, I had my CNC carving three sacred hearts that the sisters want installed on the front of the altar. They turned out nice but they needed a lot of detail sanding…
The columns and hearts were delivered and installed.
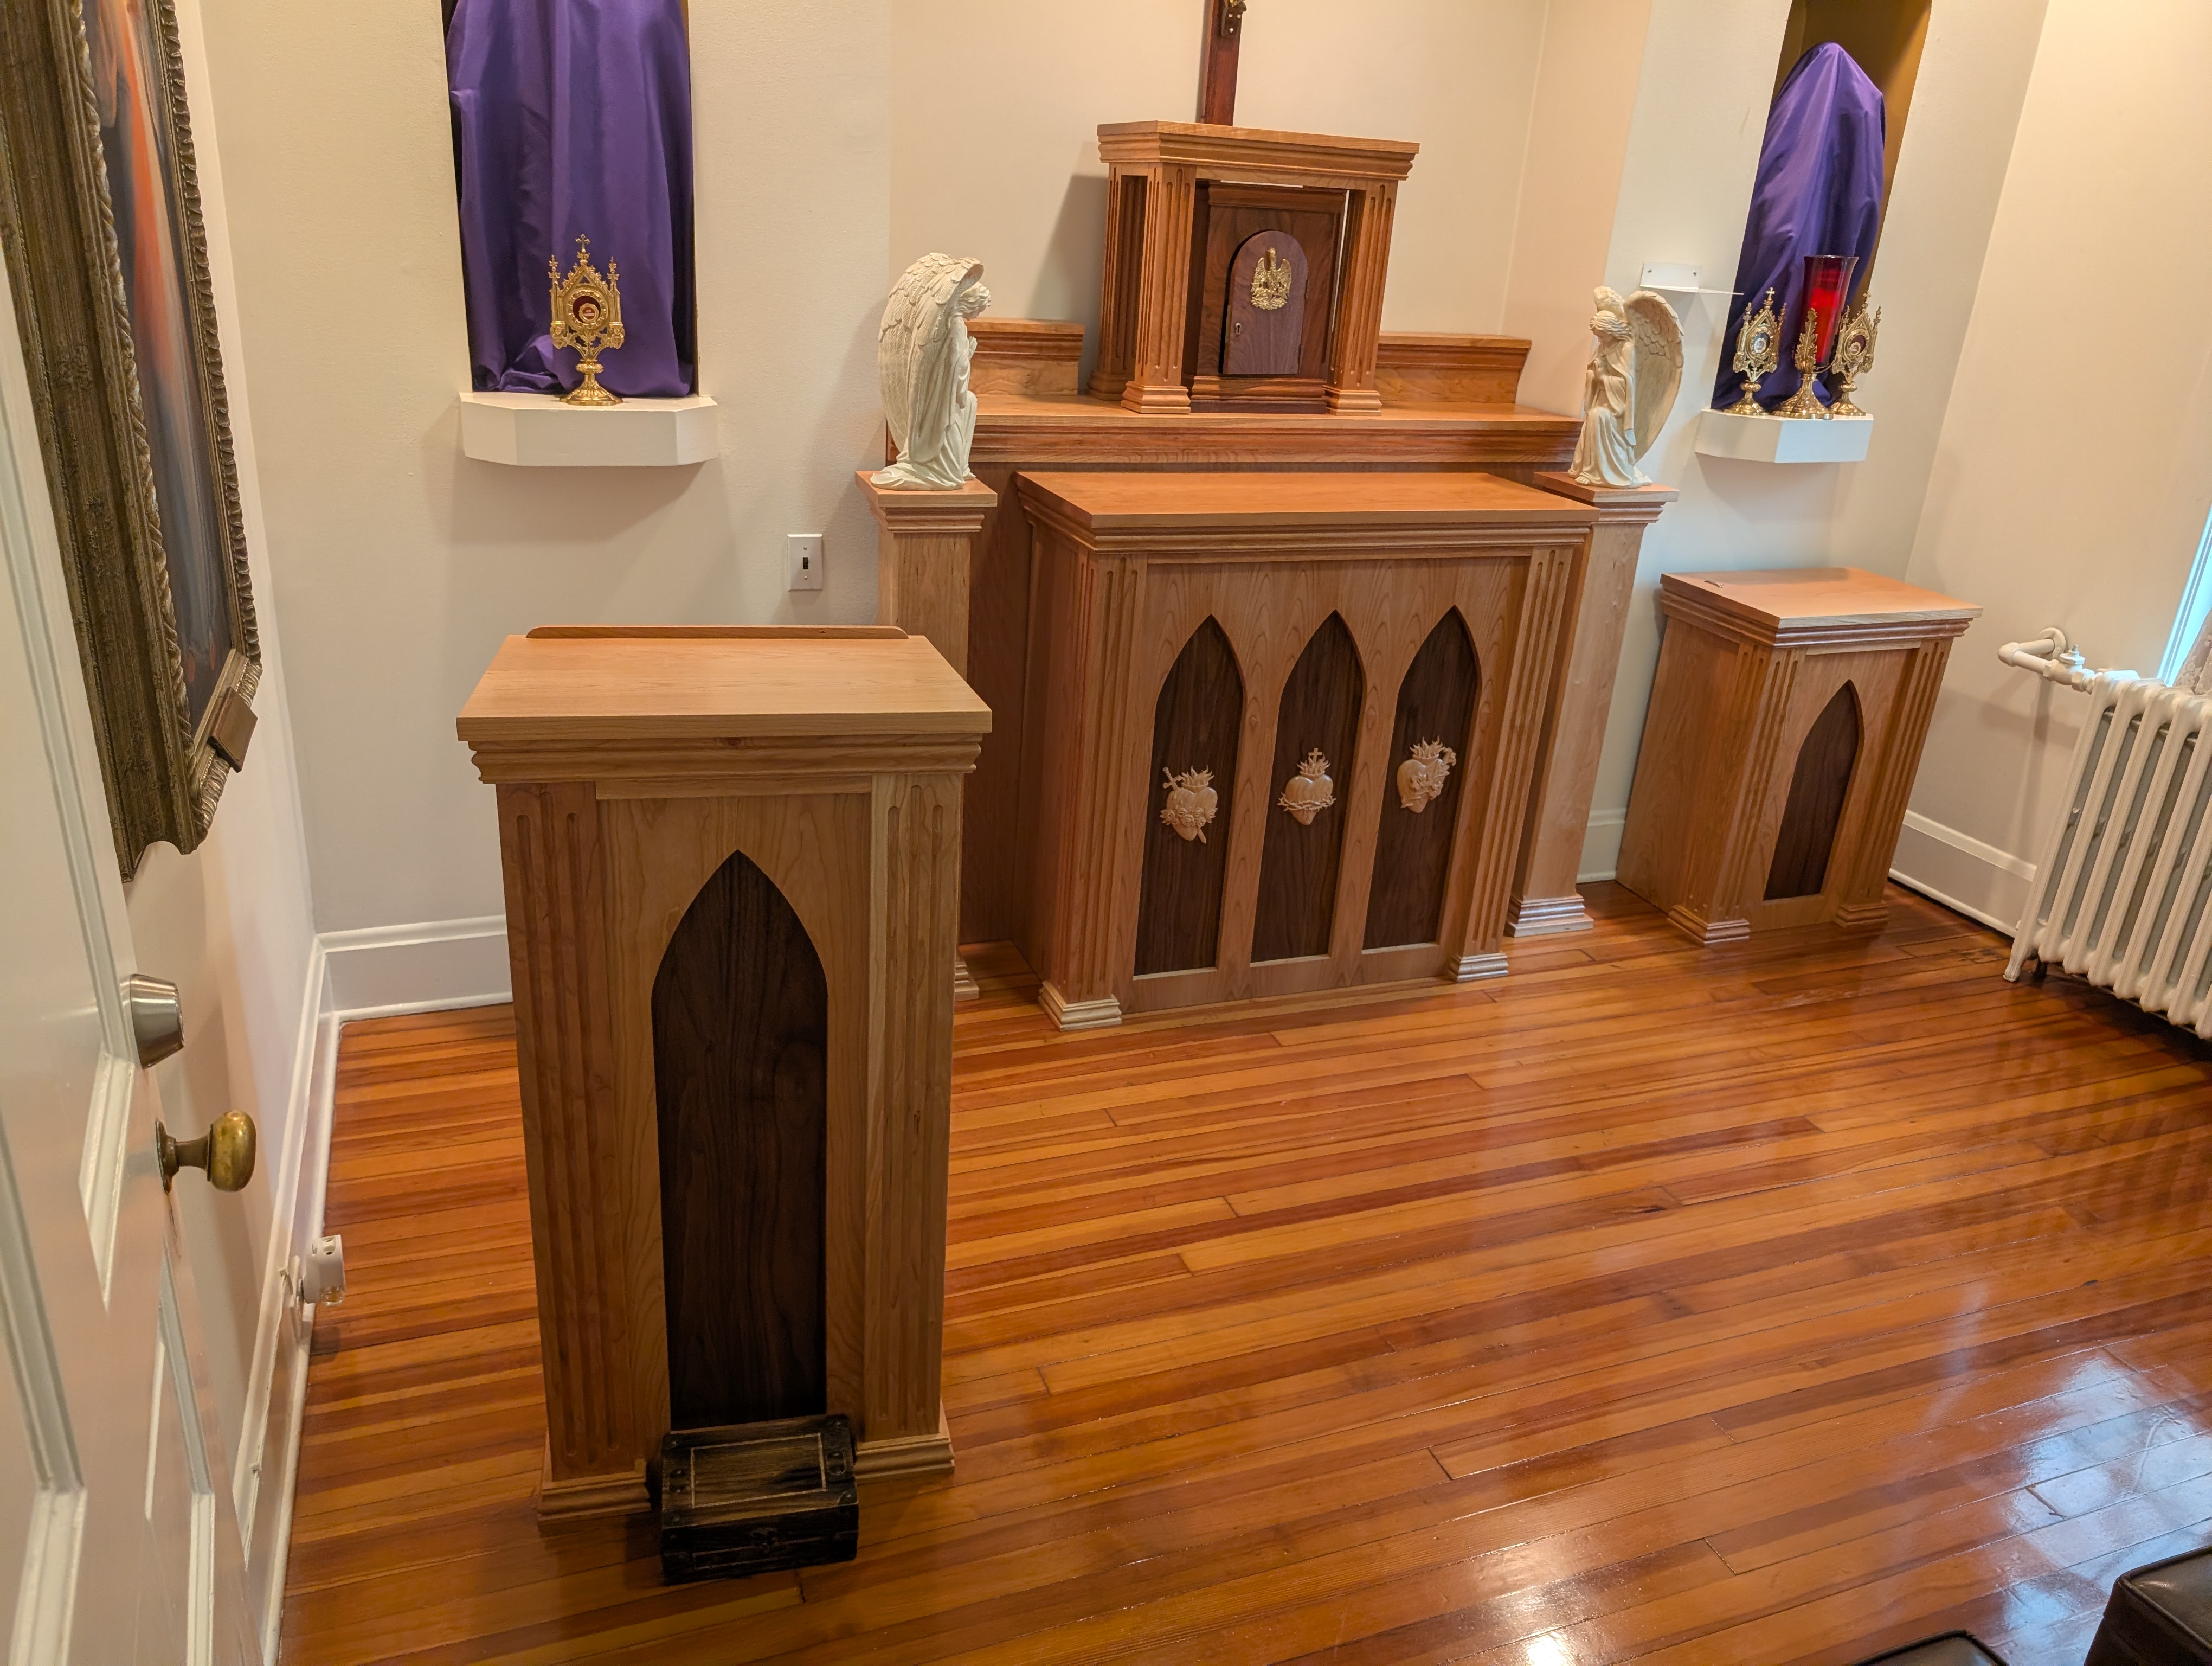
Now I just need to design a presider’s chair and a door to match…
