
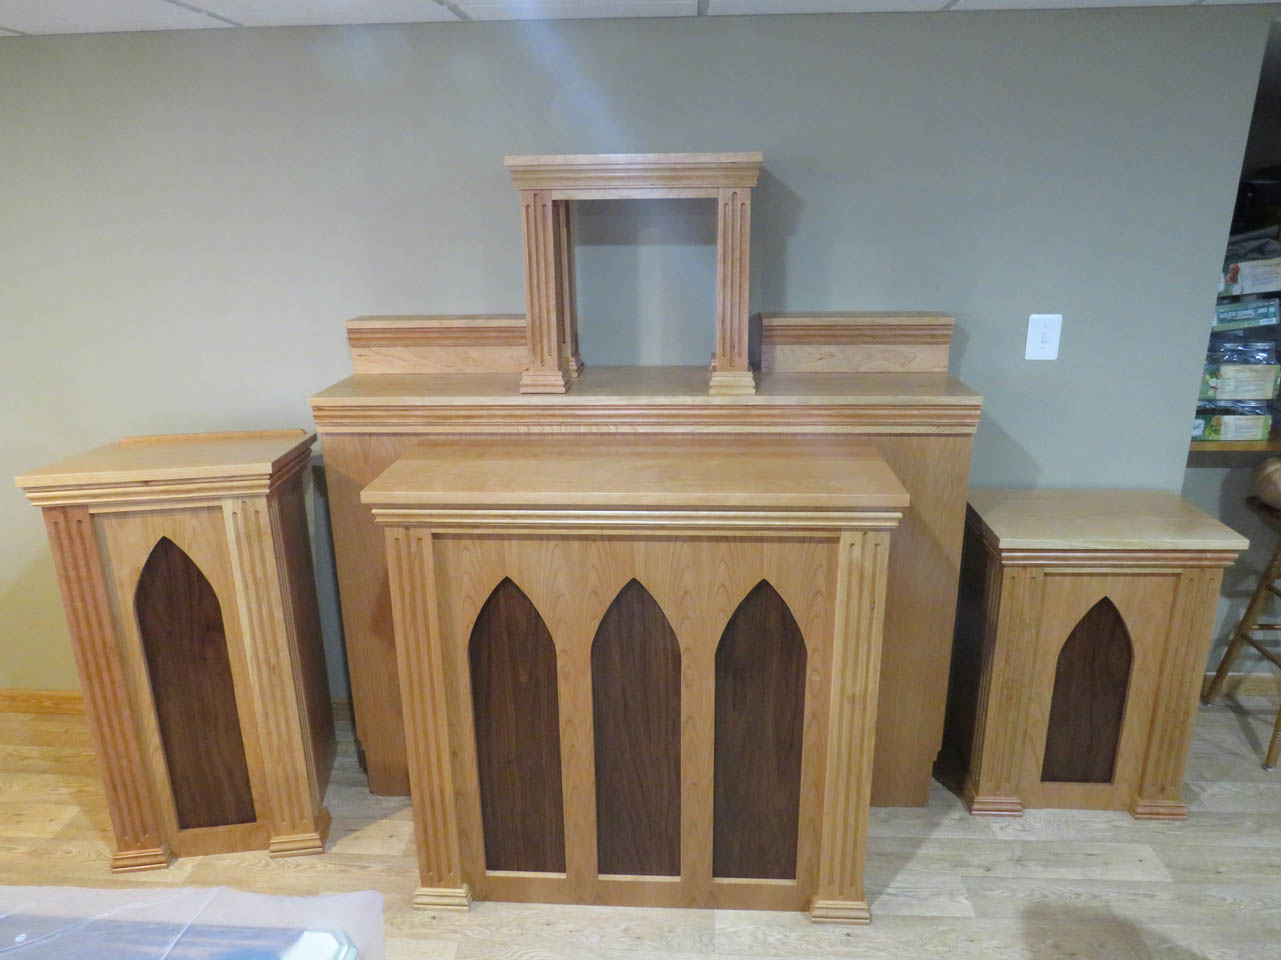
Cherry high altar
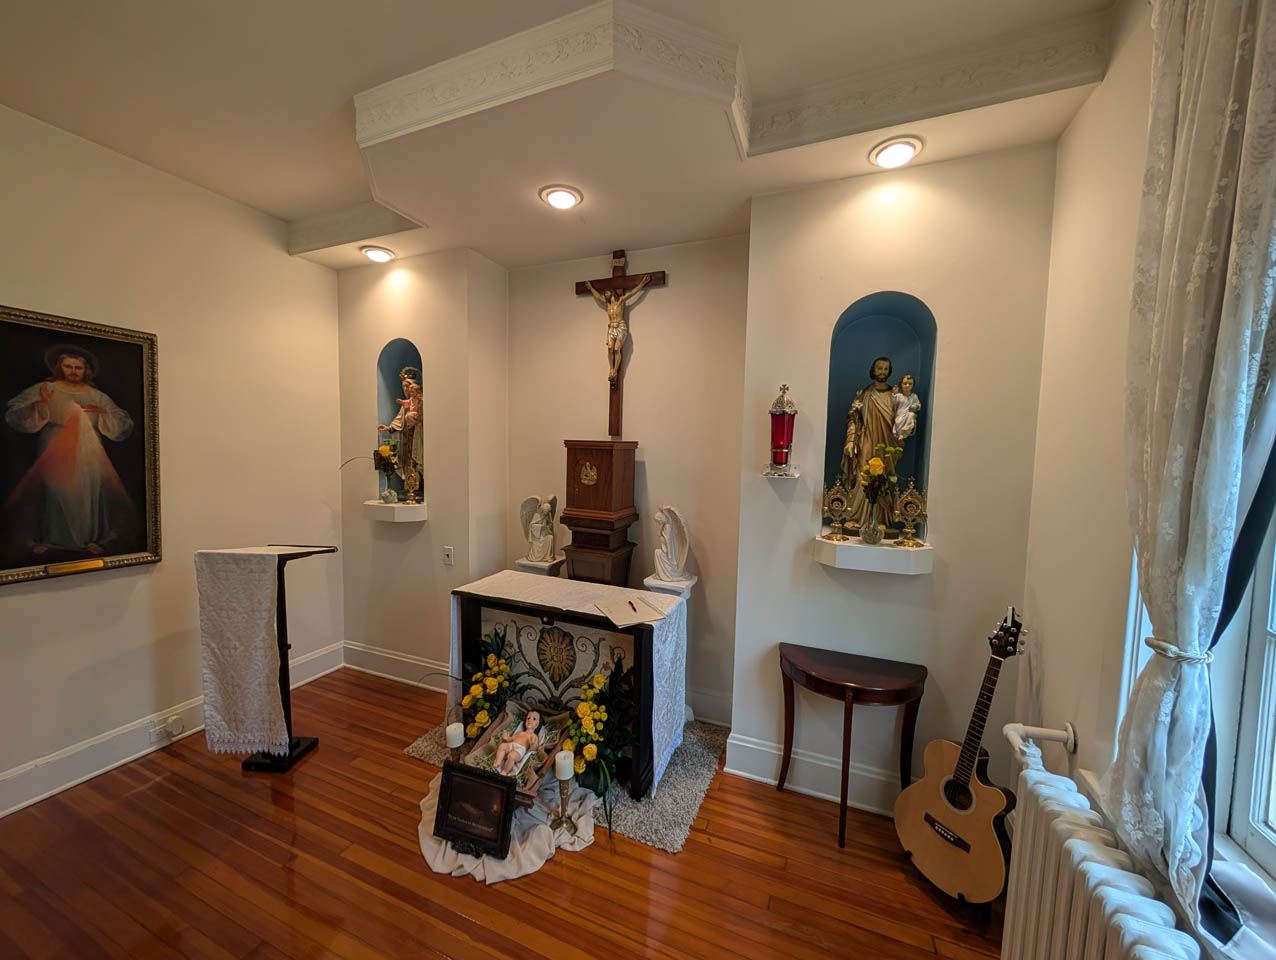
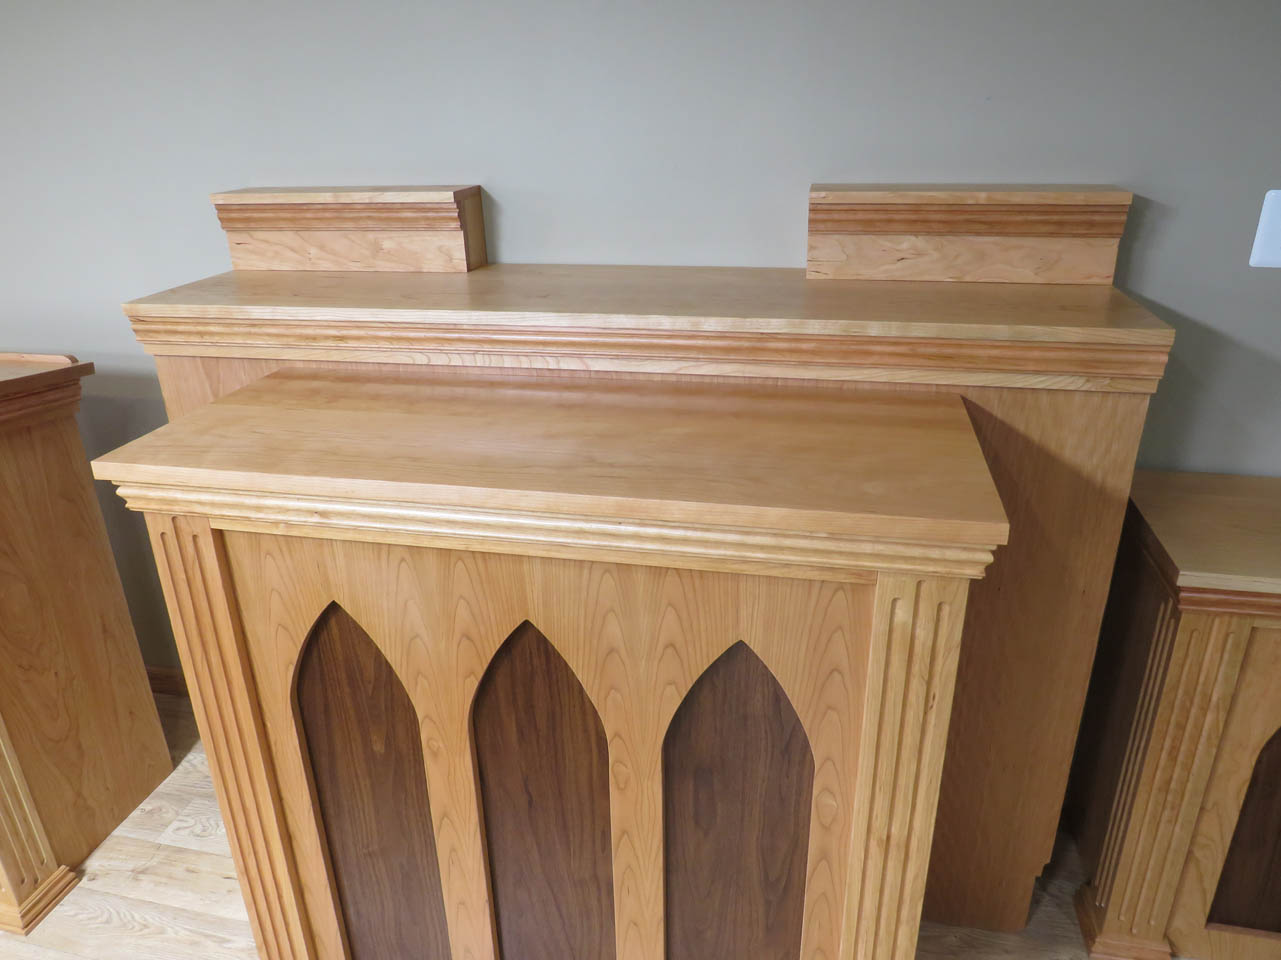
The high altar is the next piece in my chapel project for The Sisters Poor of Jesus Christ – Baltimore Mission, This piece will sit behind the main altar and it will provide space for the tabernacle, relics, and candles. It will tuck tightly into the little nook in the back of the chapel. The plans for this and a few pieces that sit on top are here: high altar.PDF
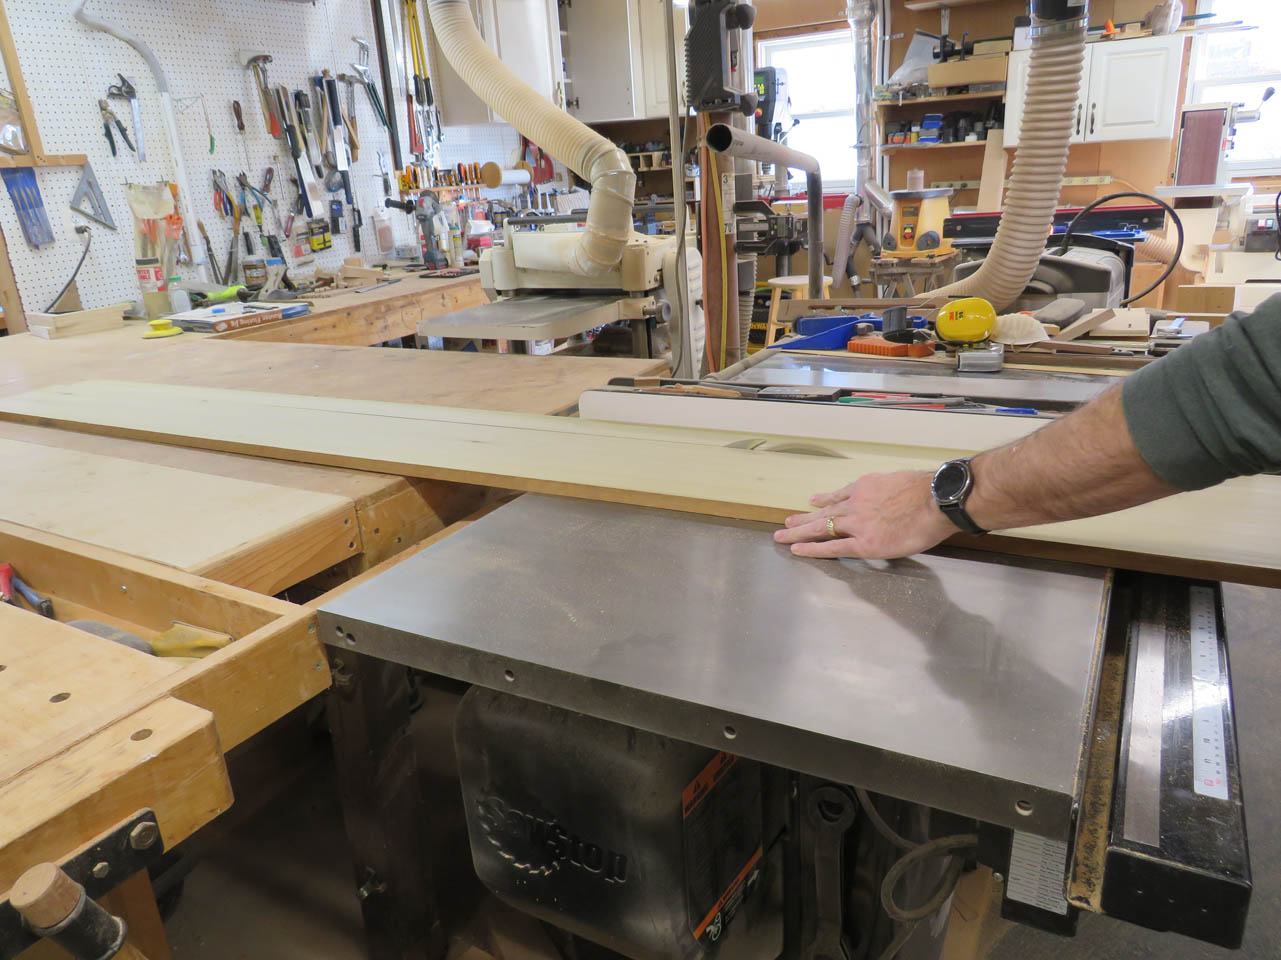
This piece will only be visible from the front and the top so the structure to hold it up does not have to be cherry. For this, I am using poplar. It is a little lighter in weight making it a little easier to move from my shop to the chapel.
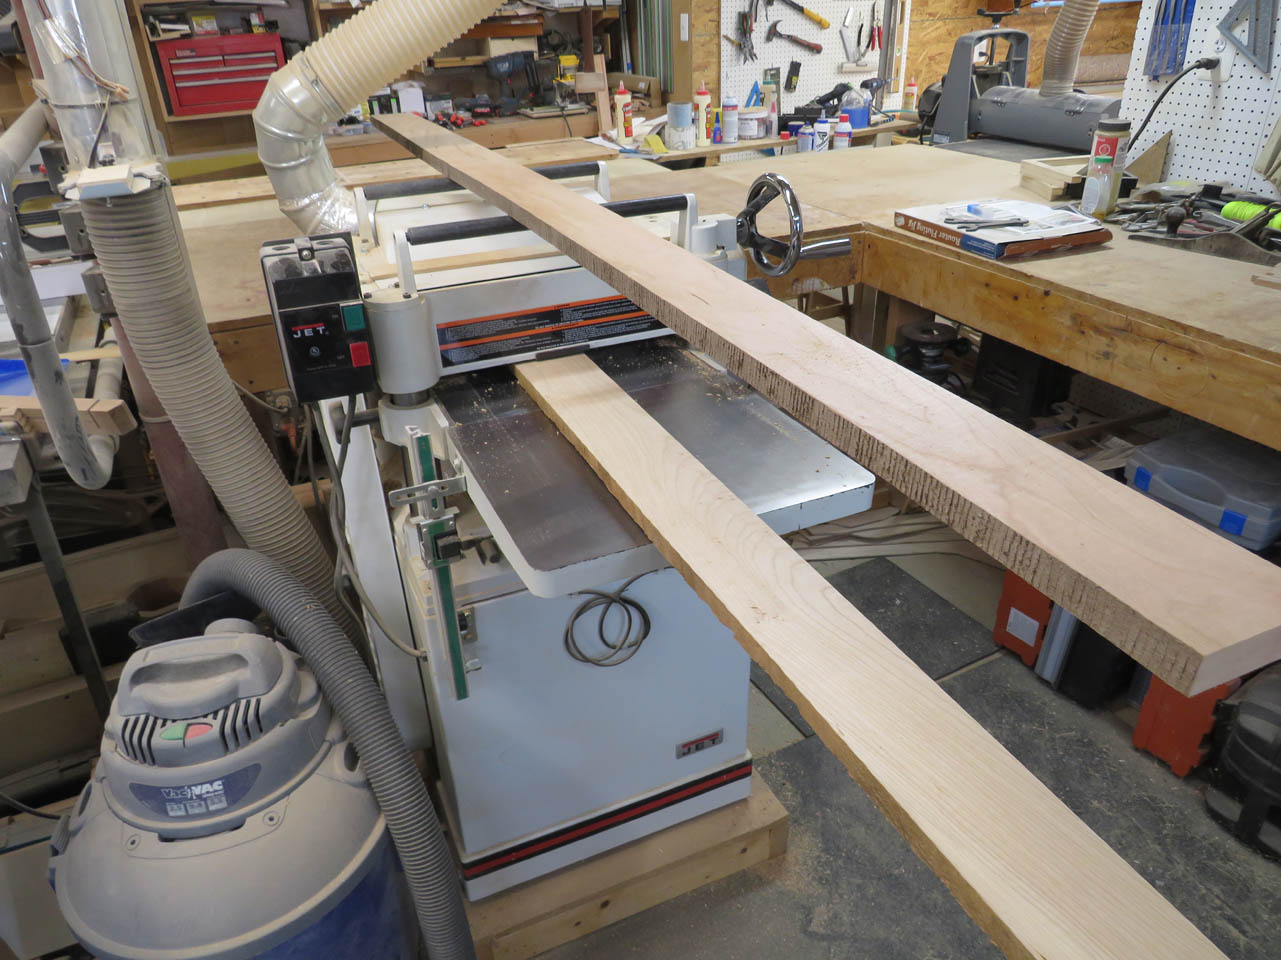
Most of the framework is made from 3/4″x3″ pieces so I milled that all down first.
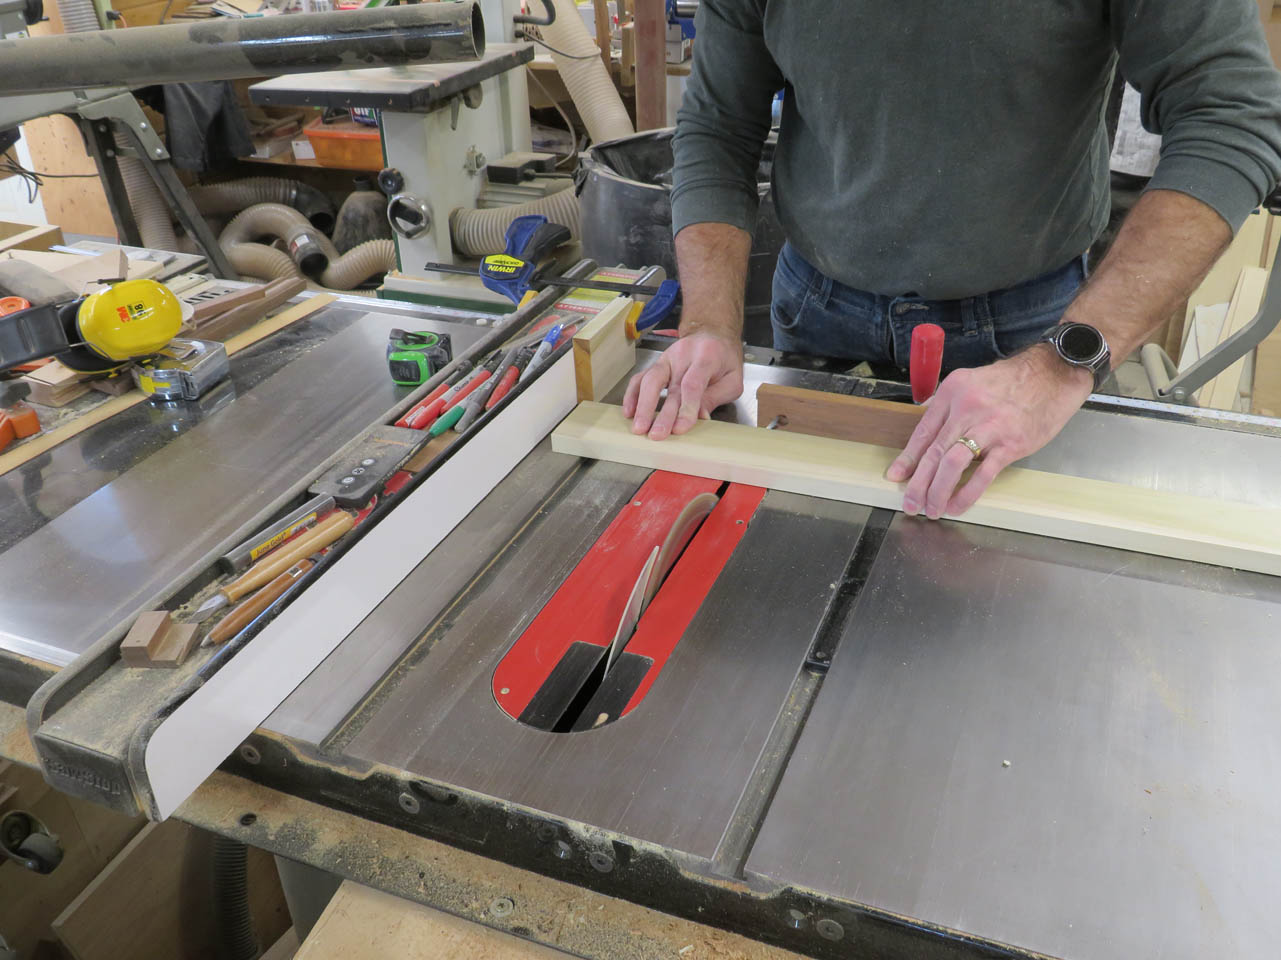
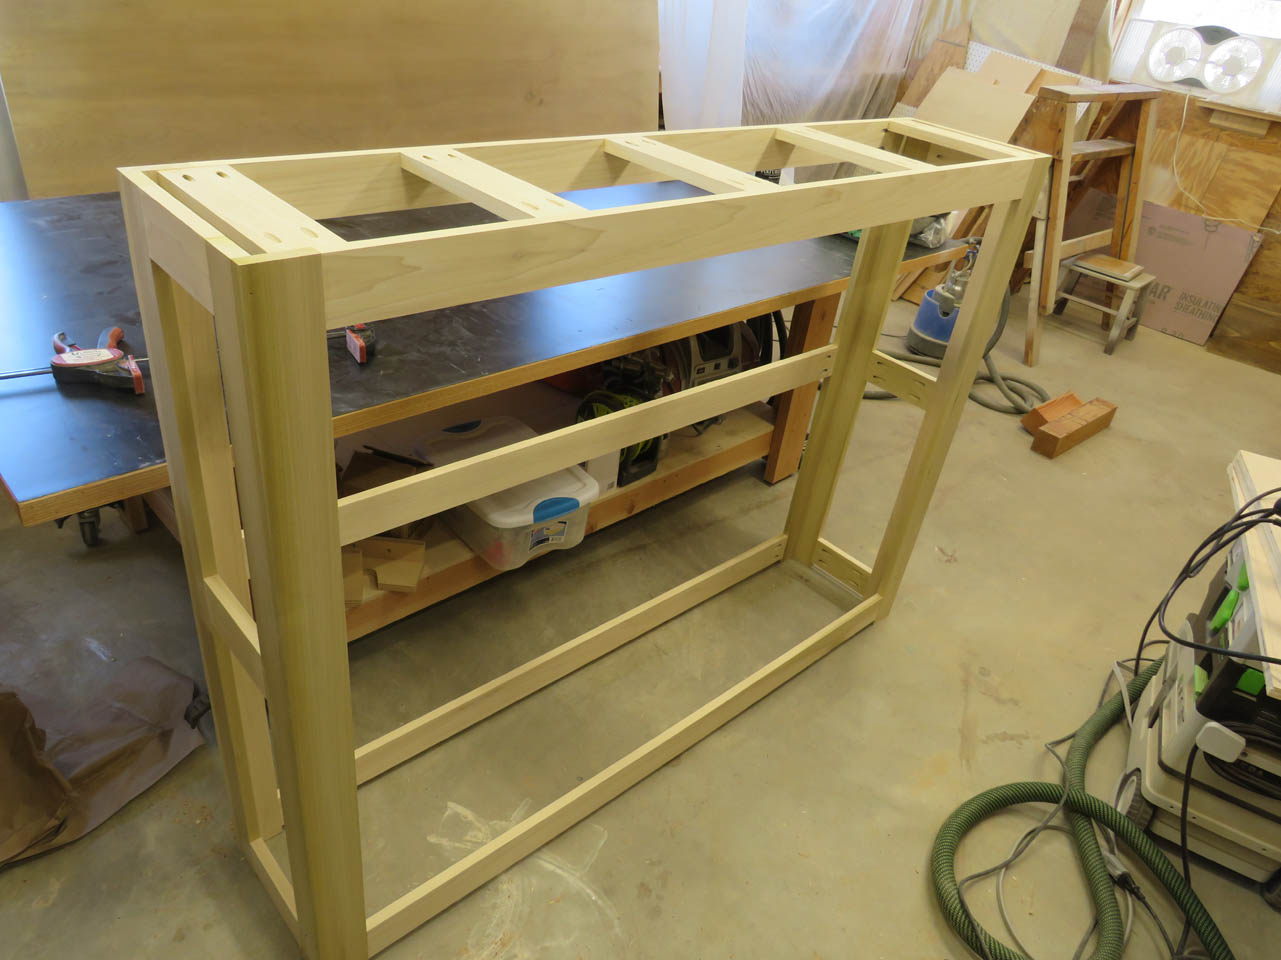
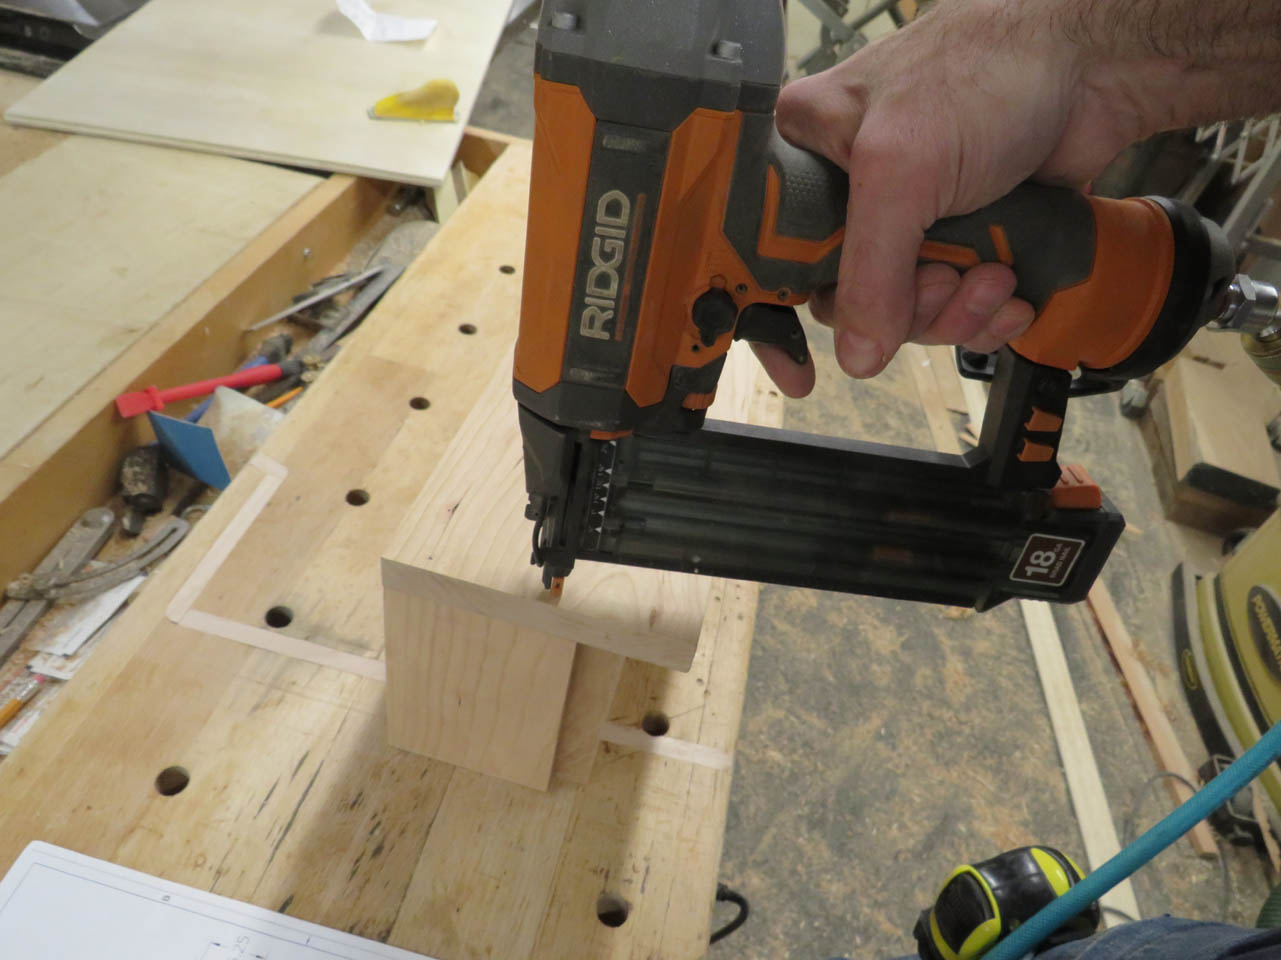
Each of the four corners are two pieces glued and brad nailed together.

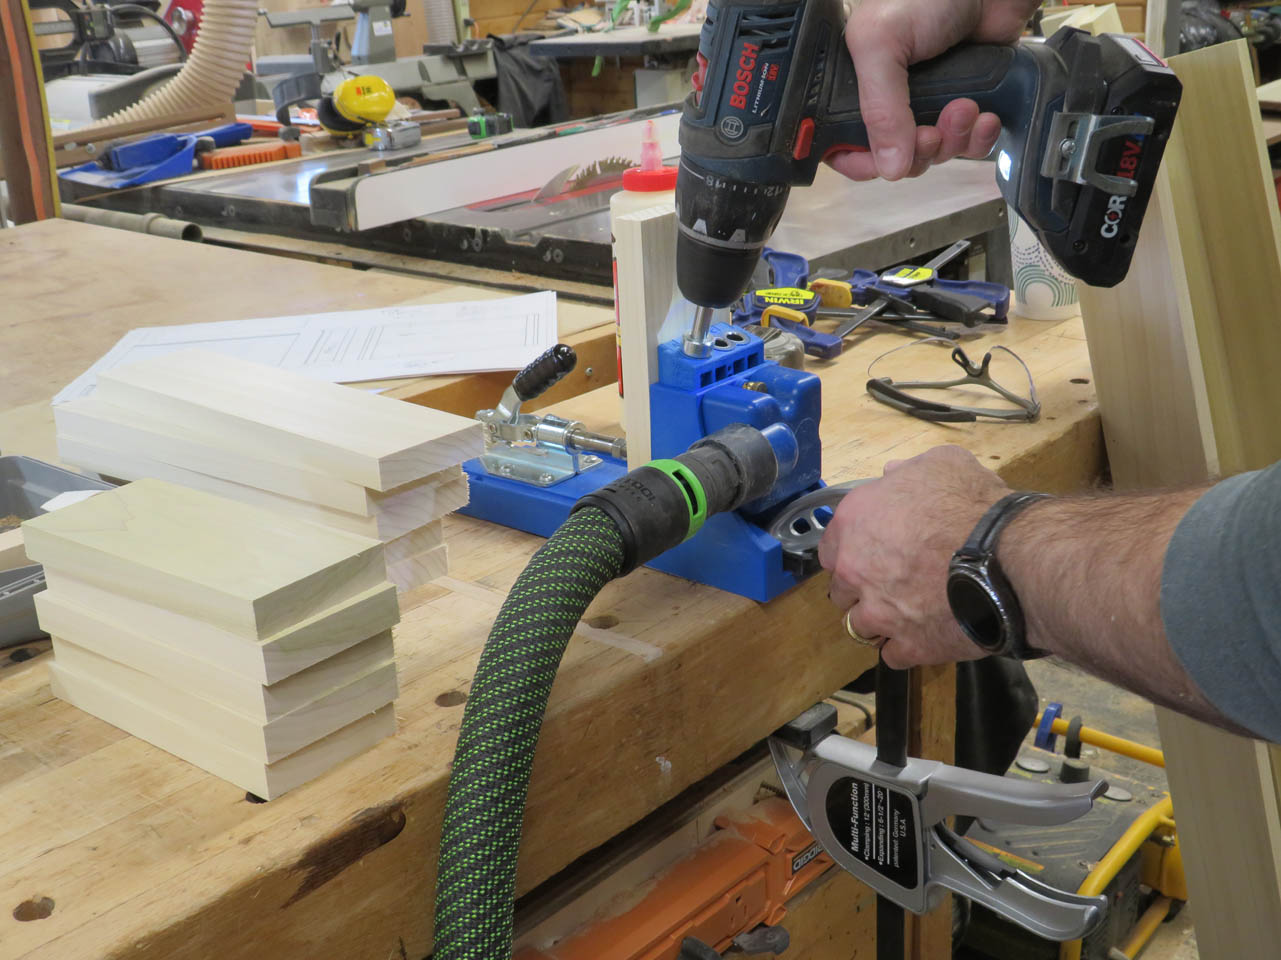
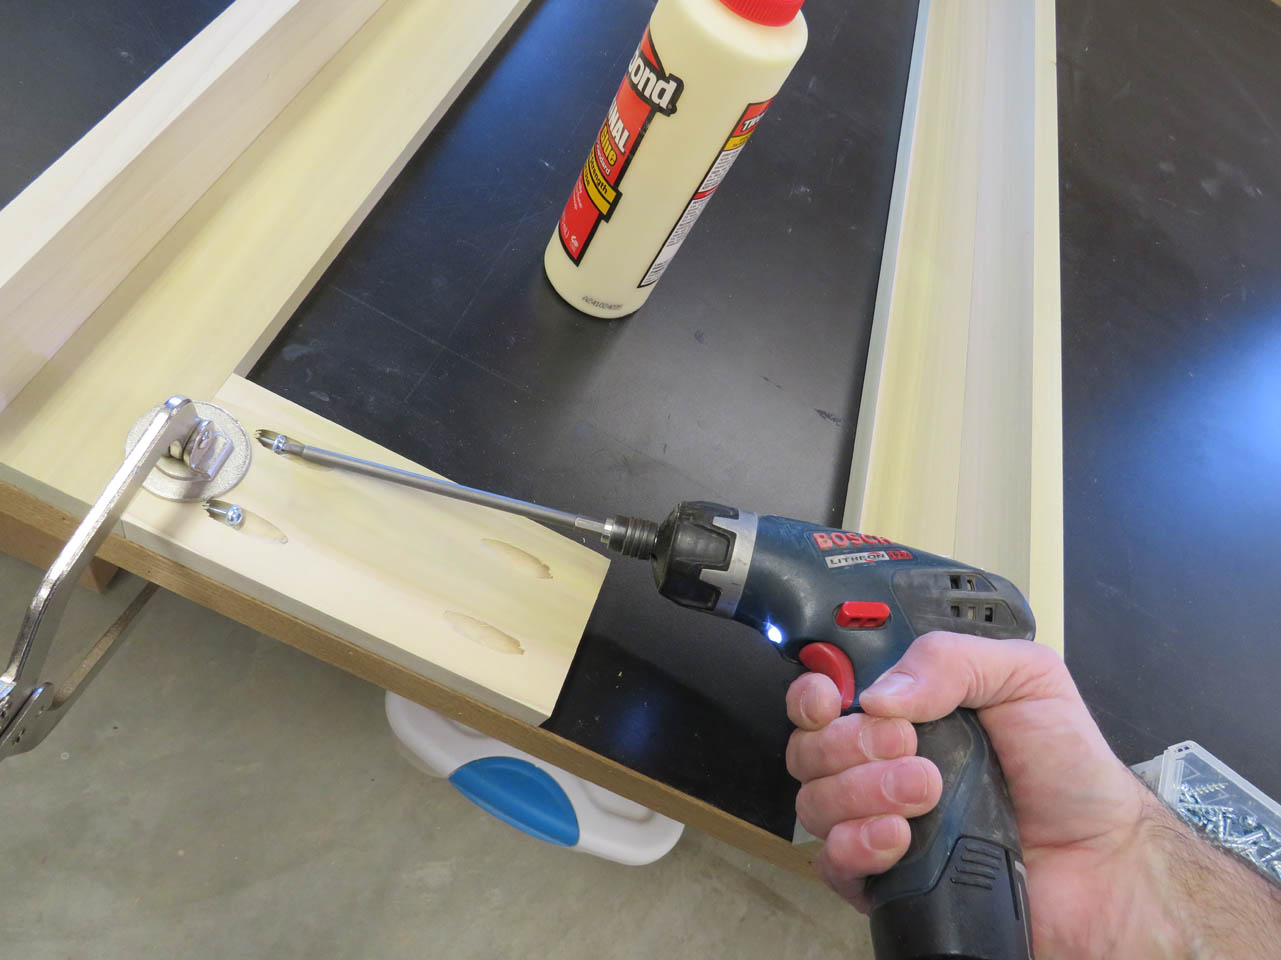
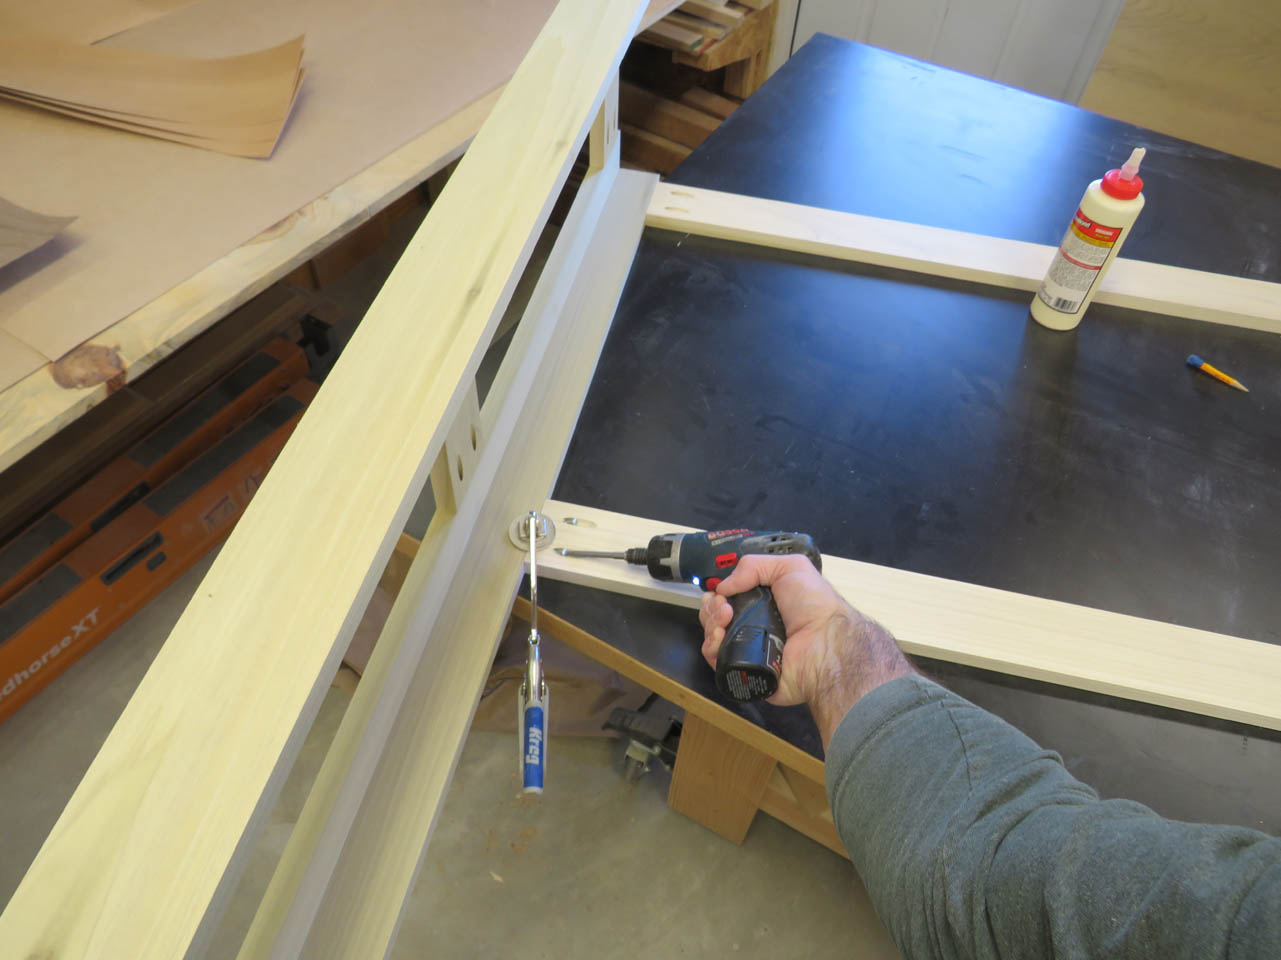
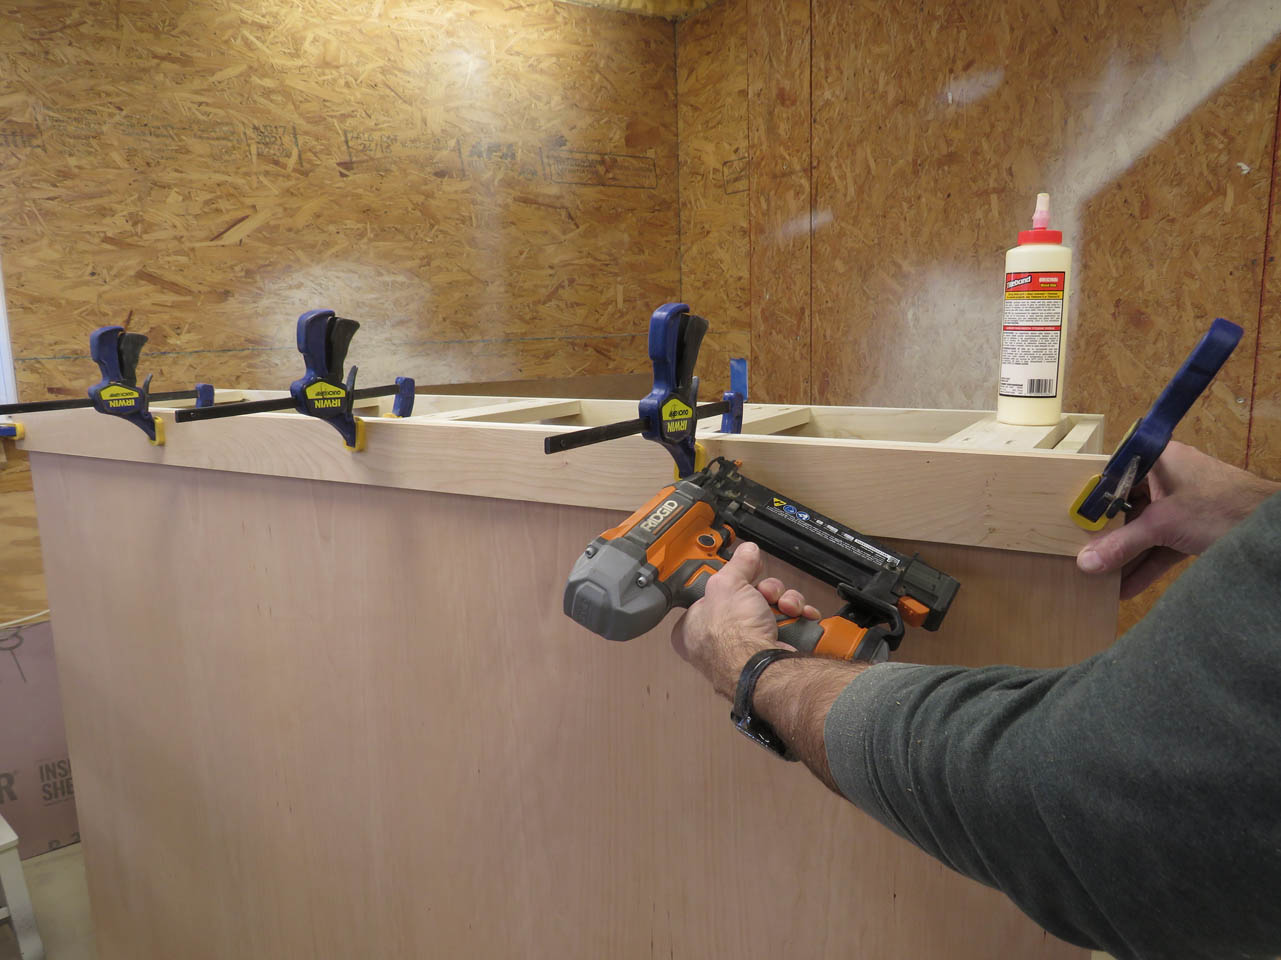
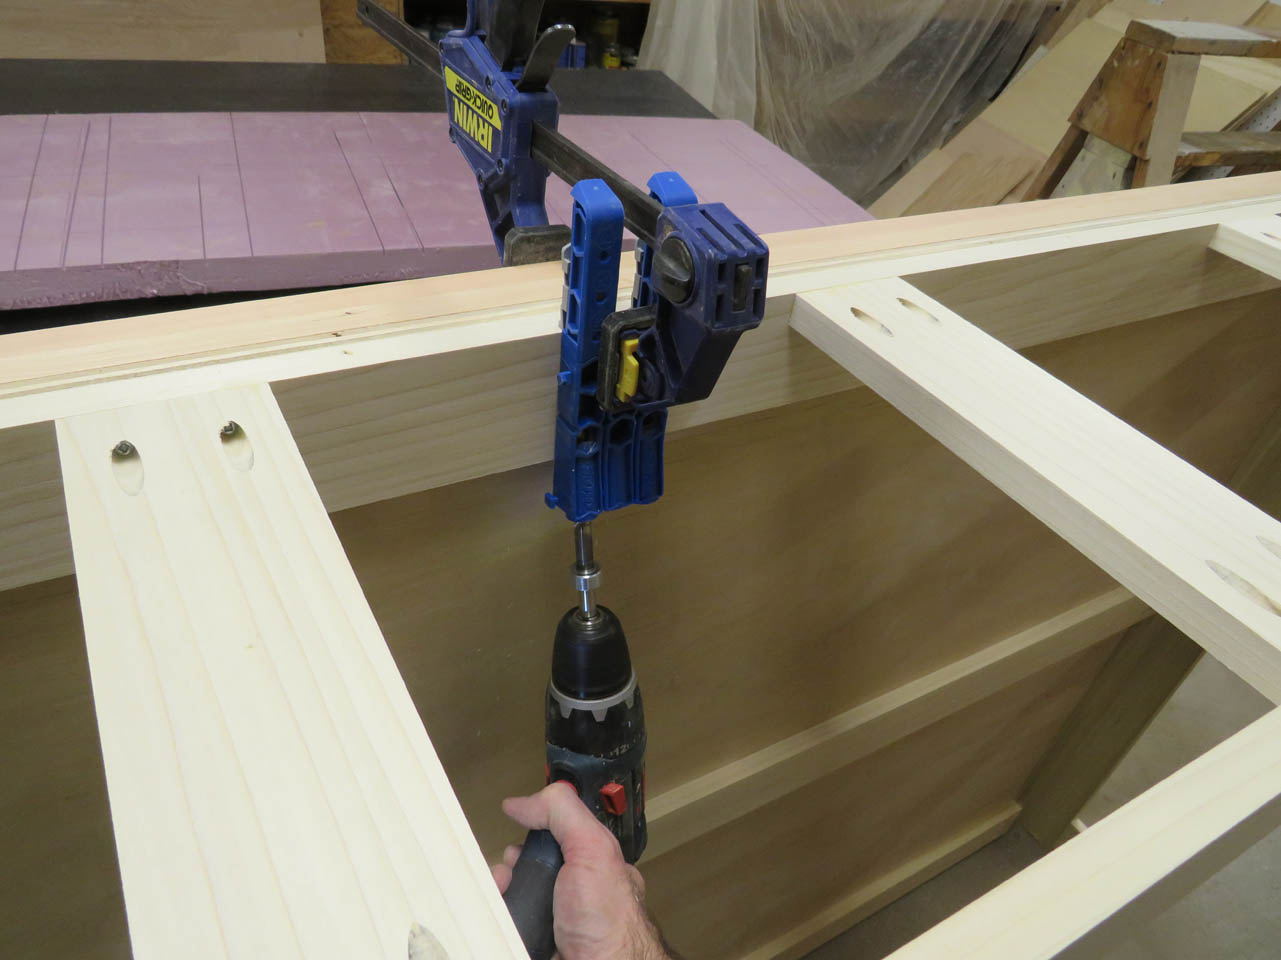
The rest of the connecting pieces will be attached with pocket screws so I cut those pieces to length and pre-drilled the pocket holes.
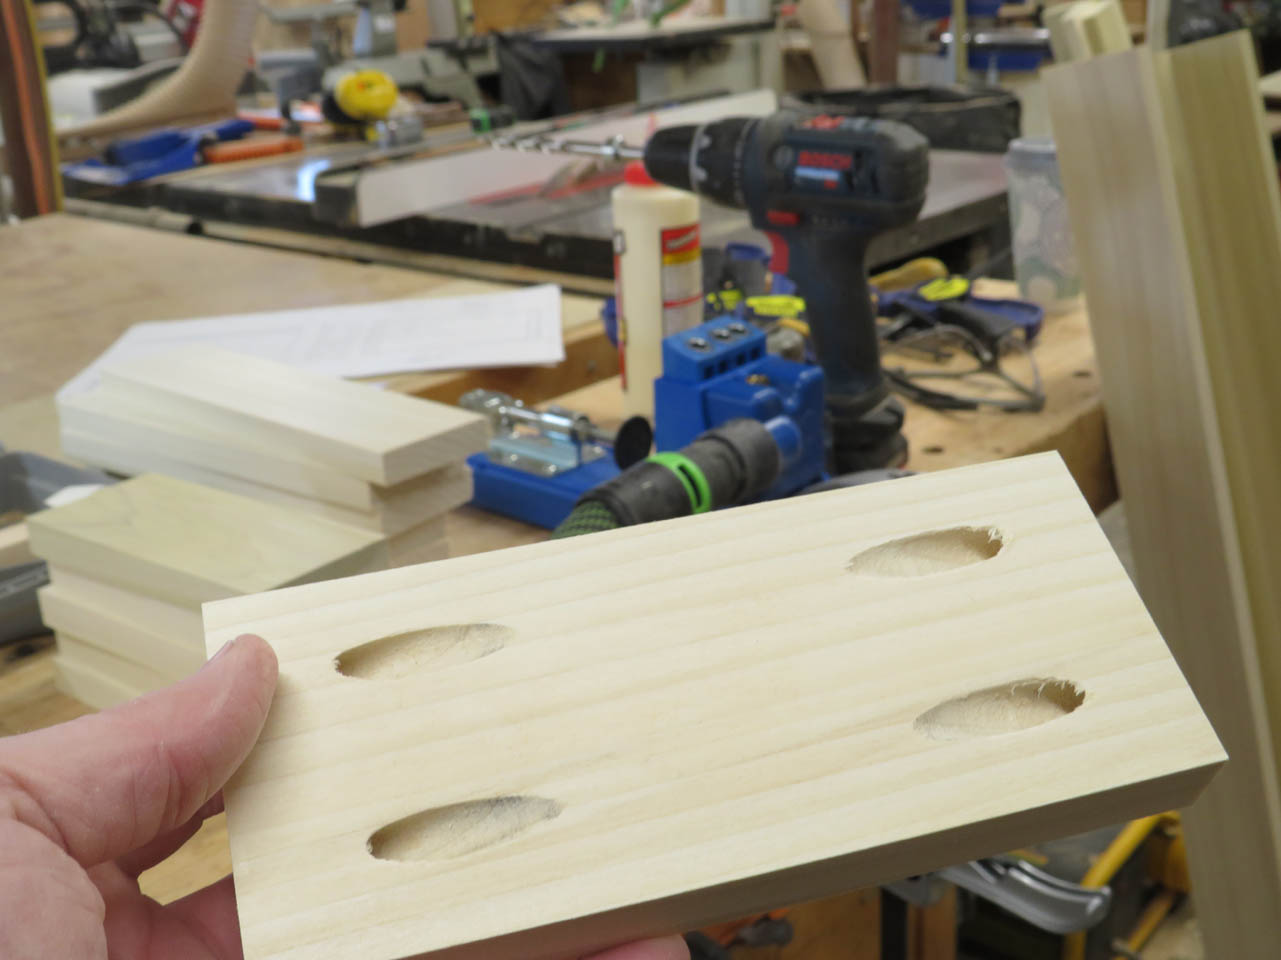
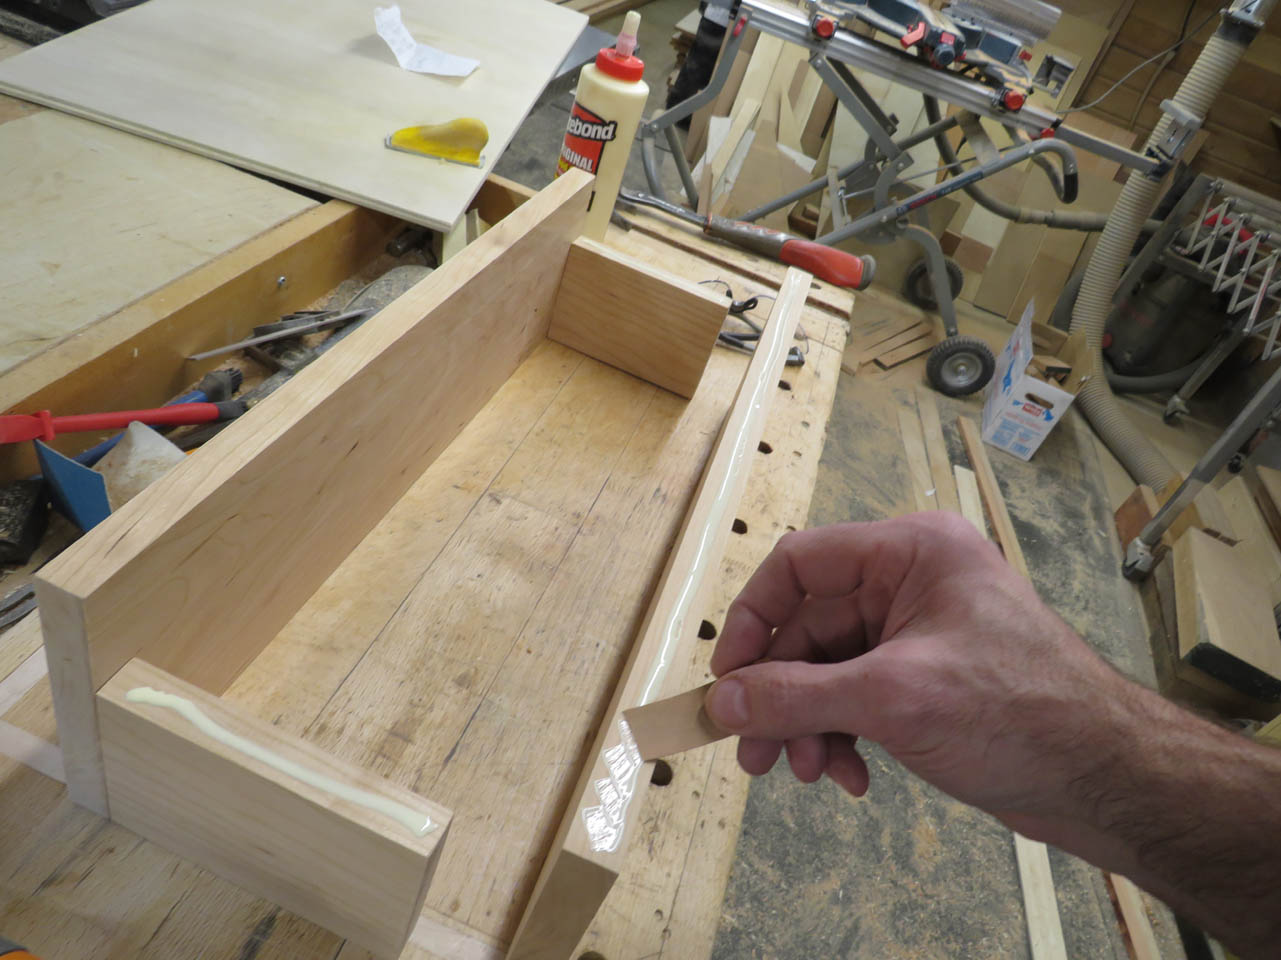
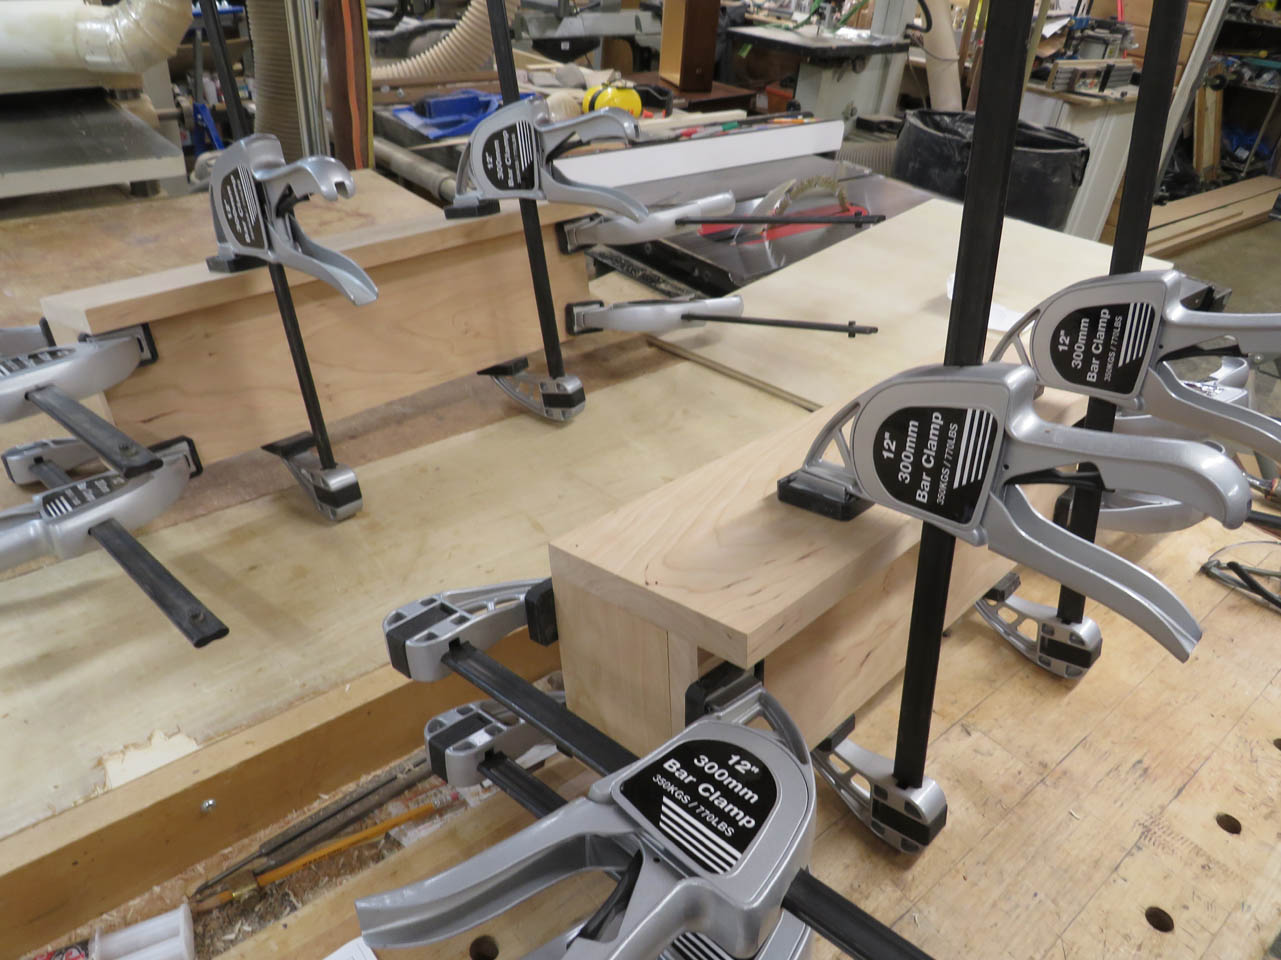
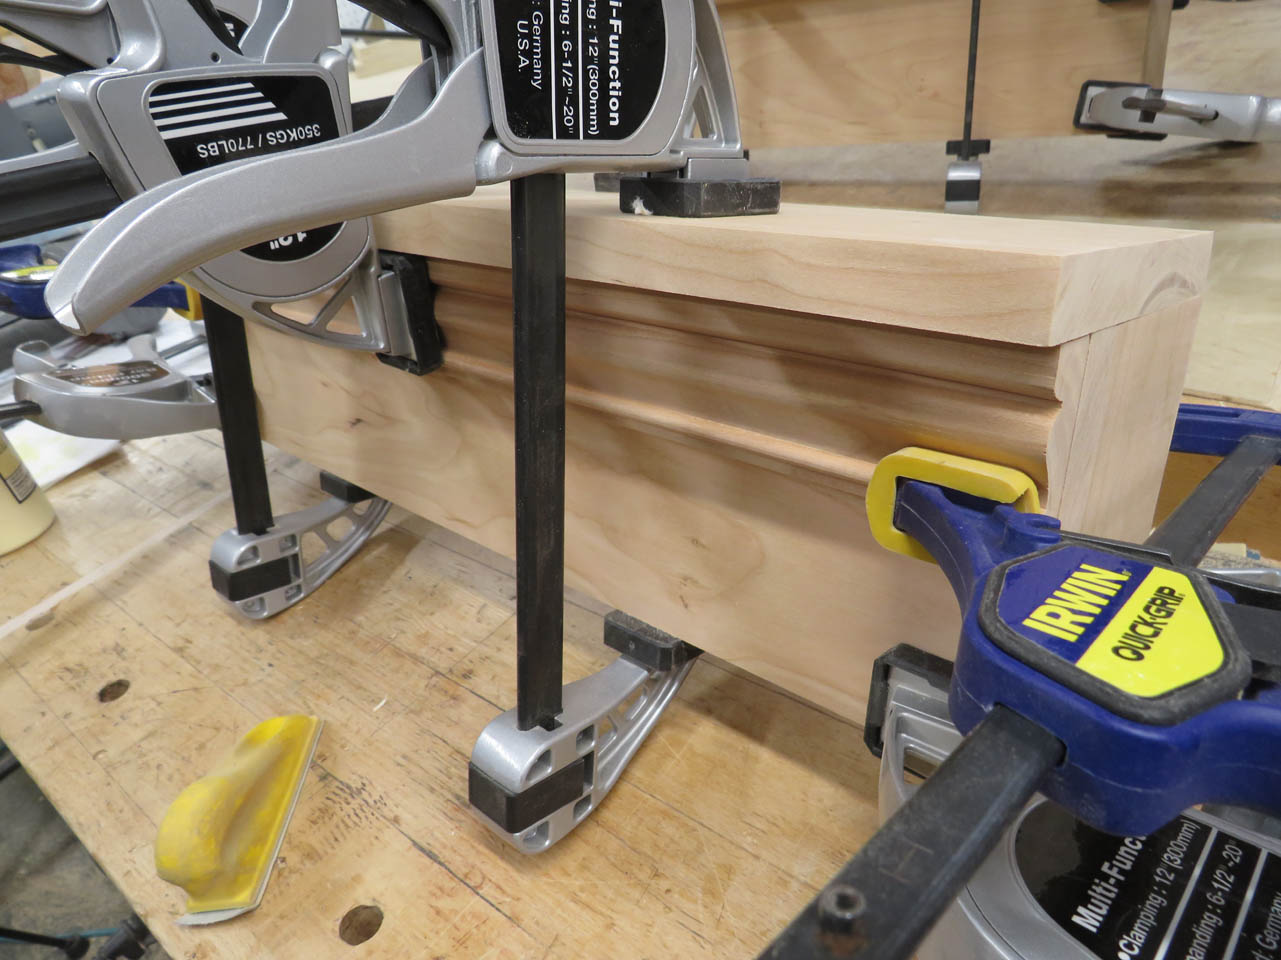
These were each clamped into place, then glued and screwed.
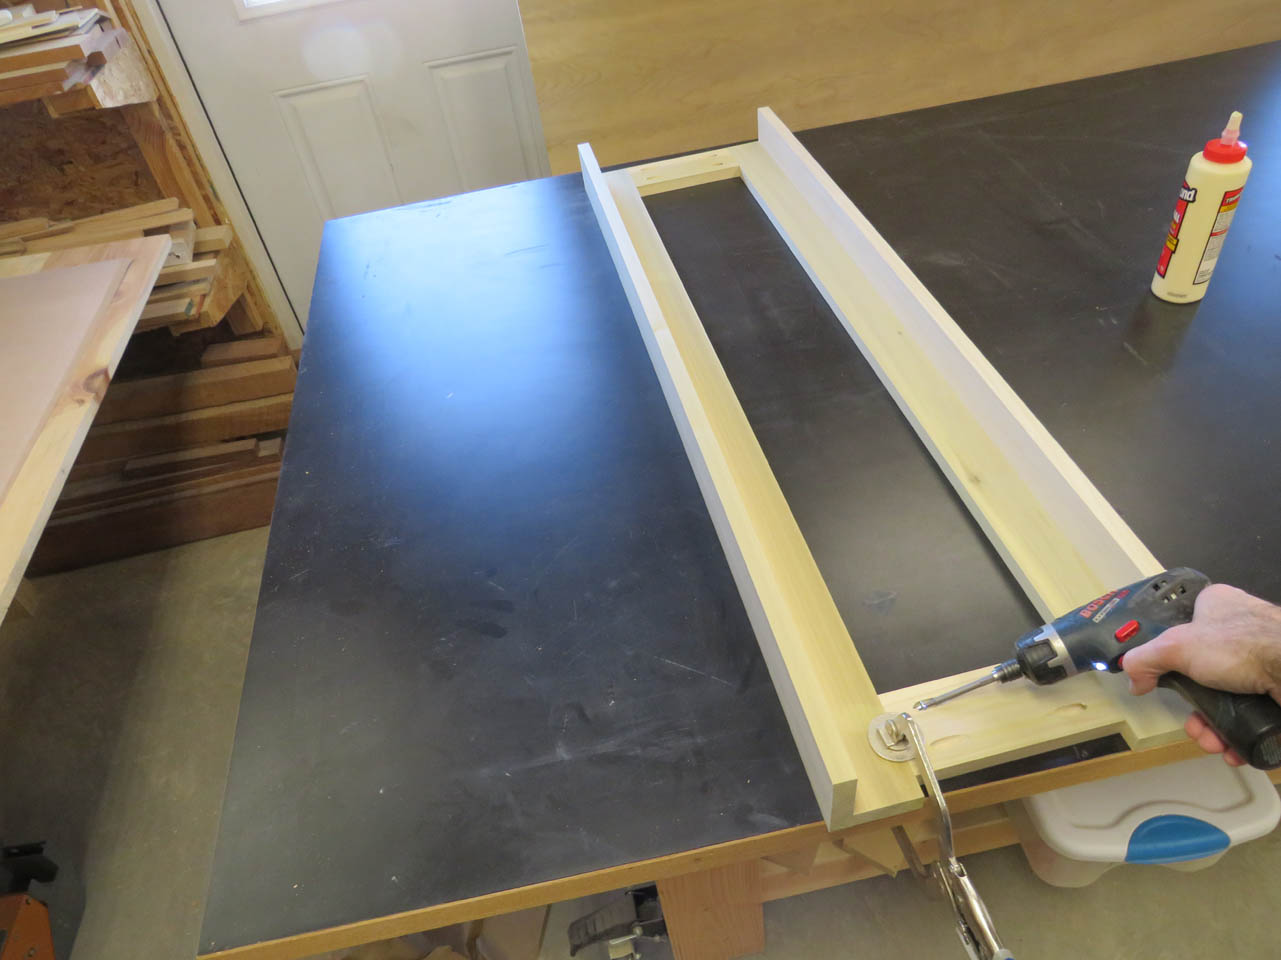
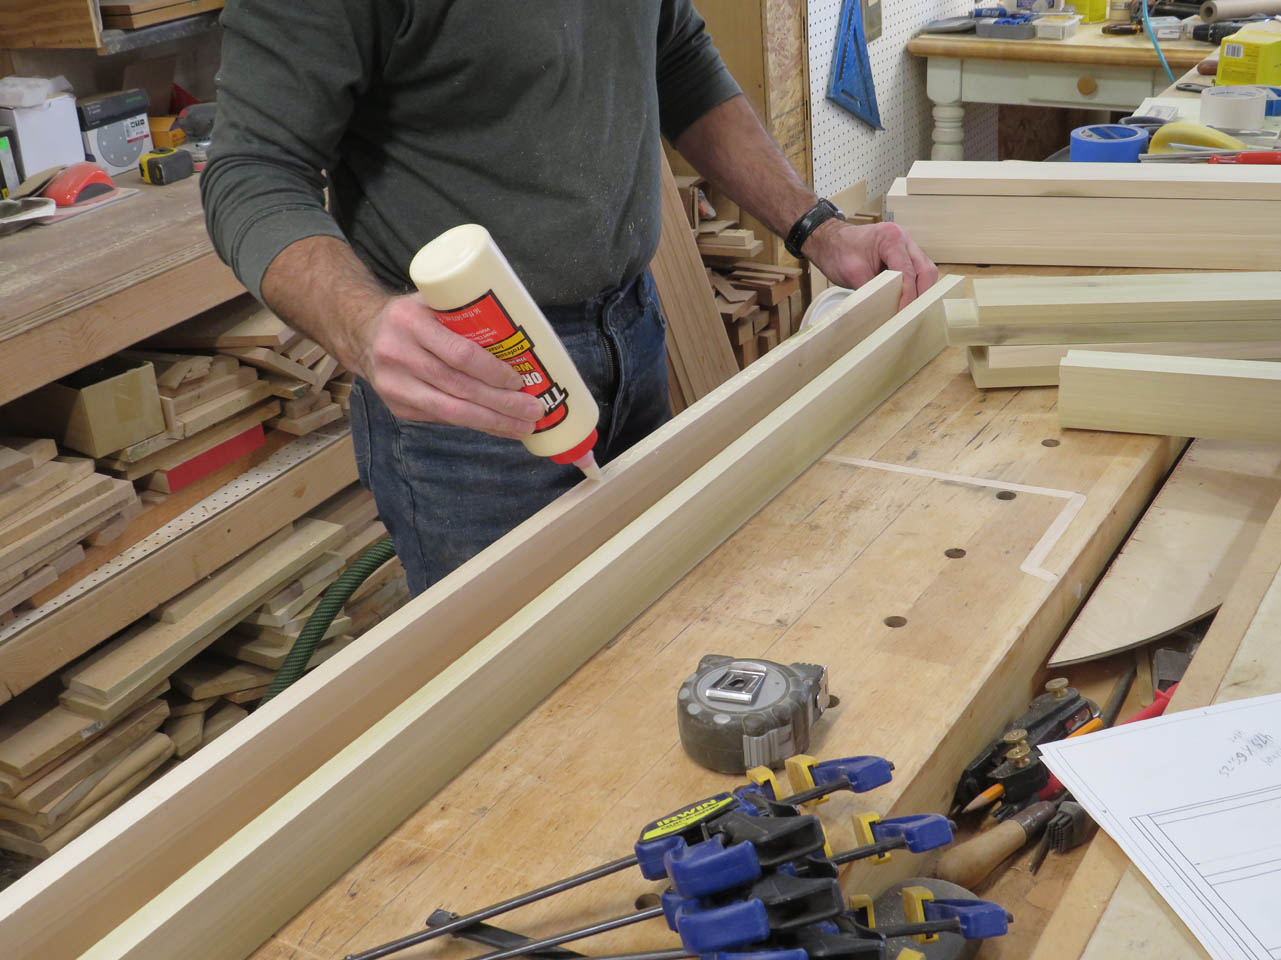
I made each of the sides first.
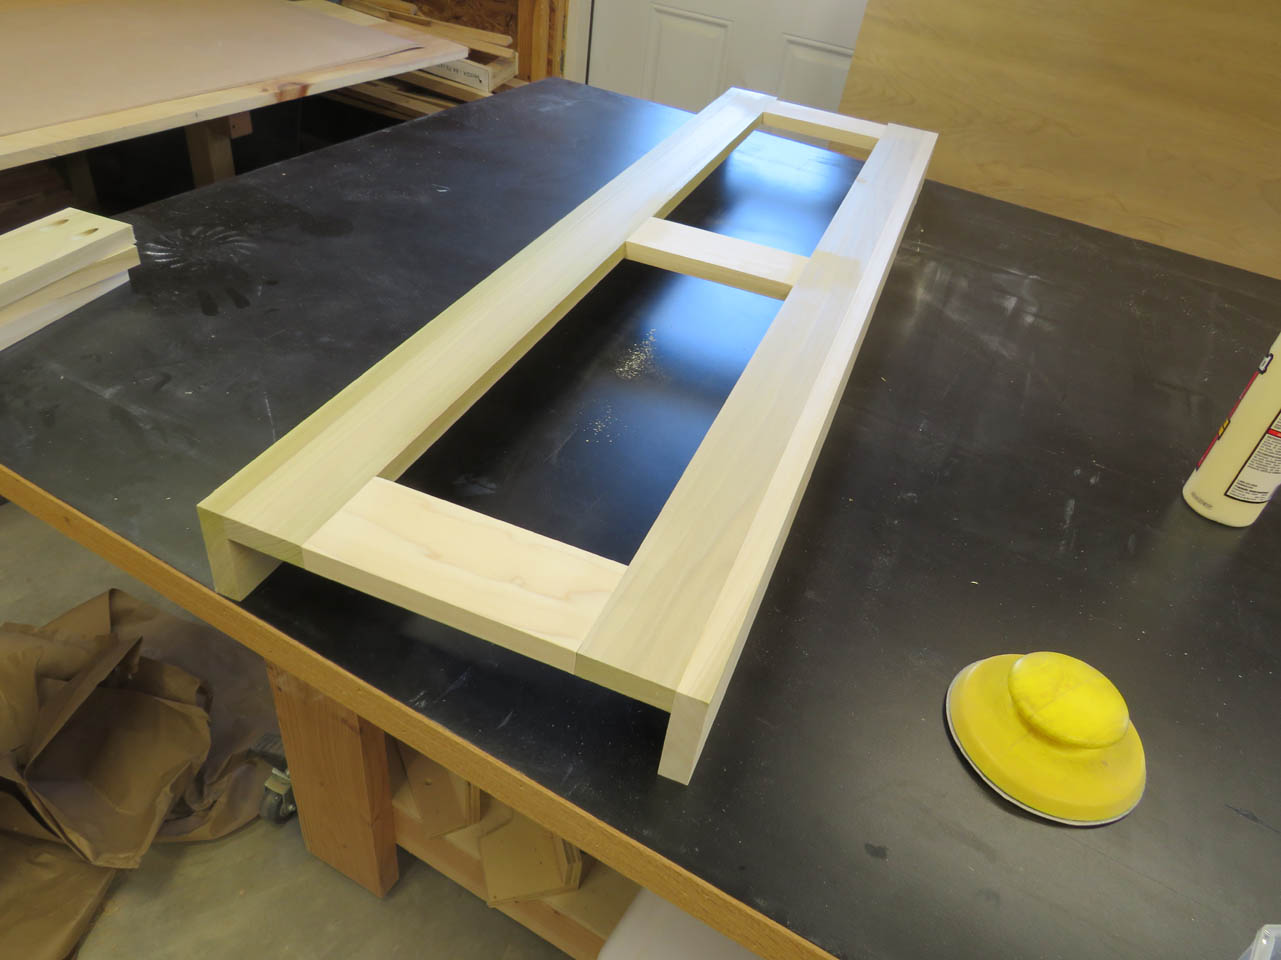
Then assembled the front and rear cross pieces.
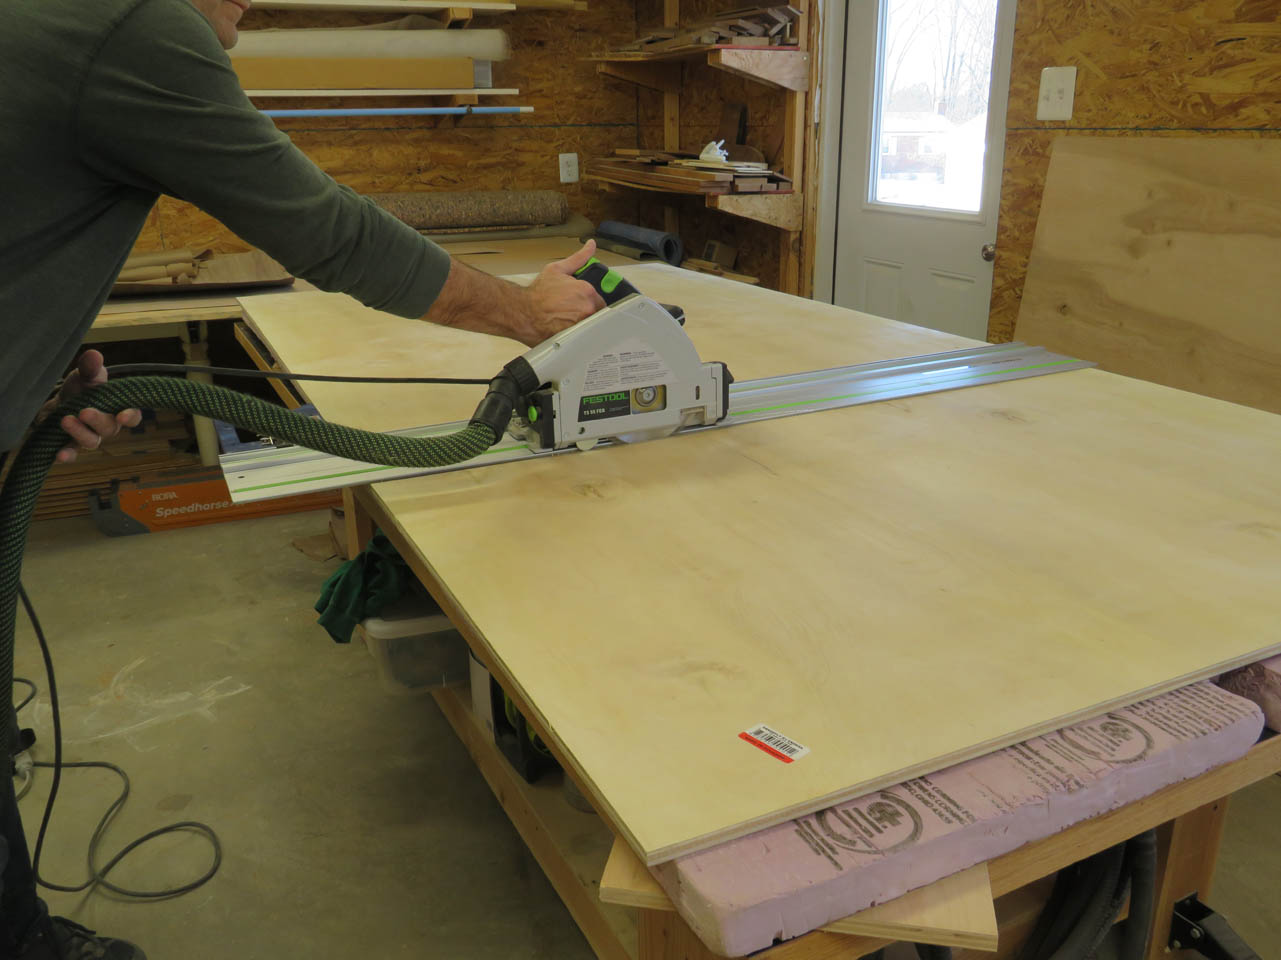
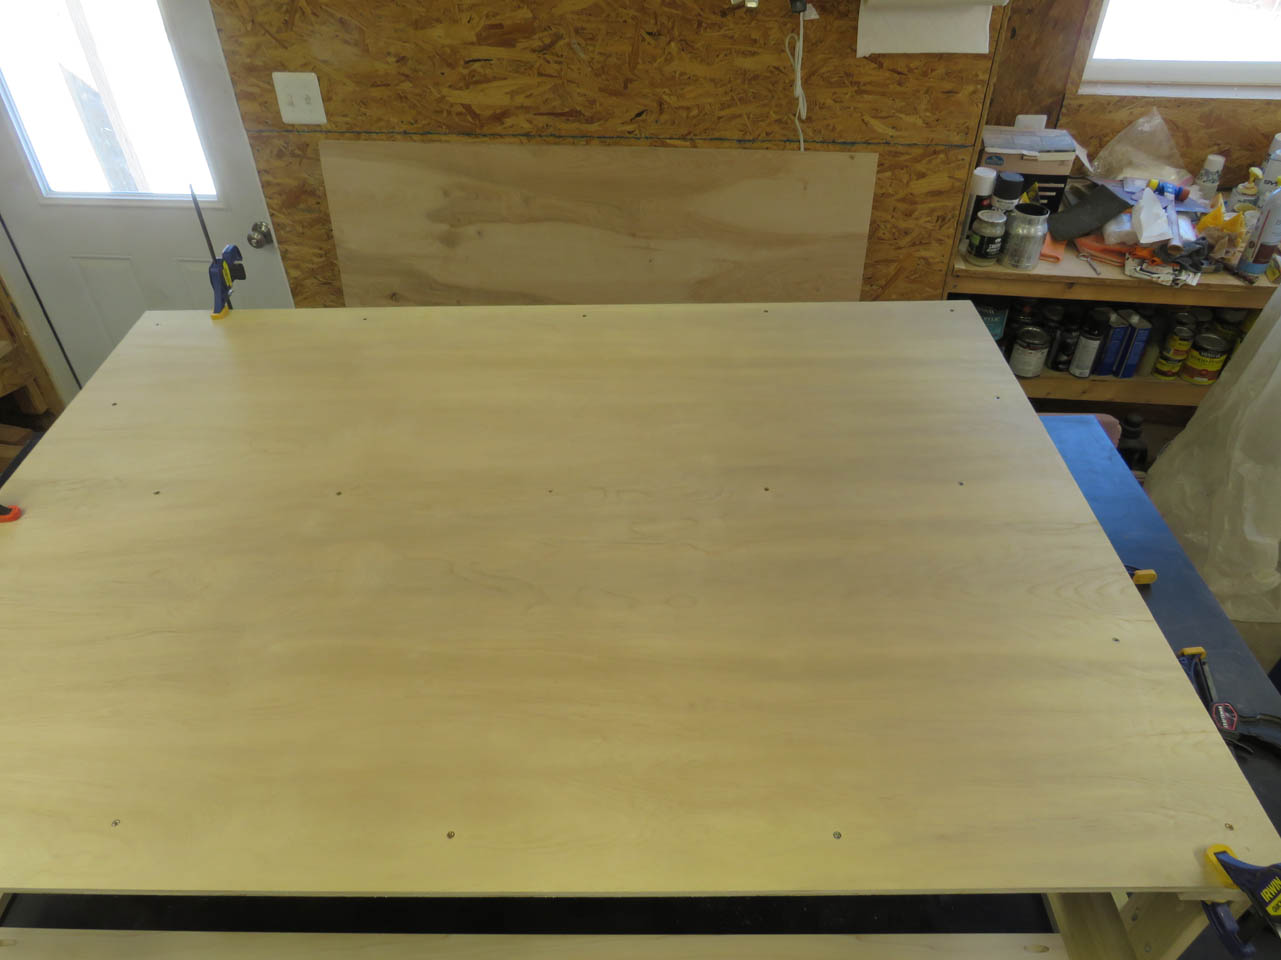
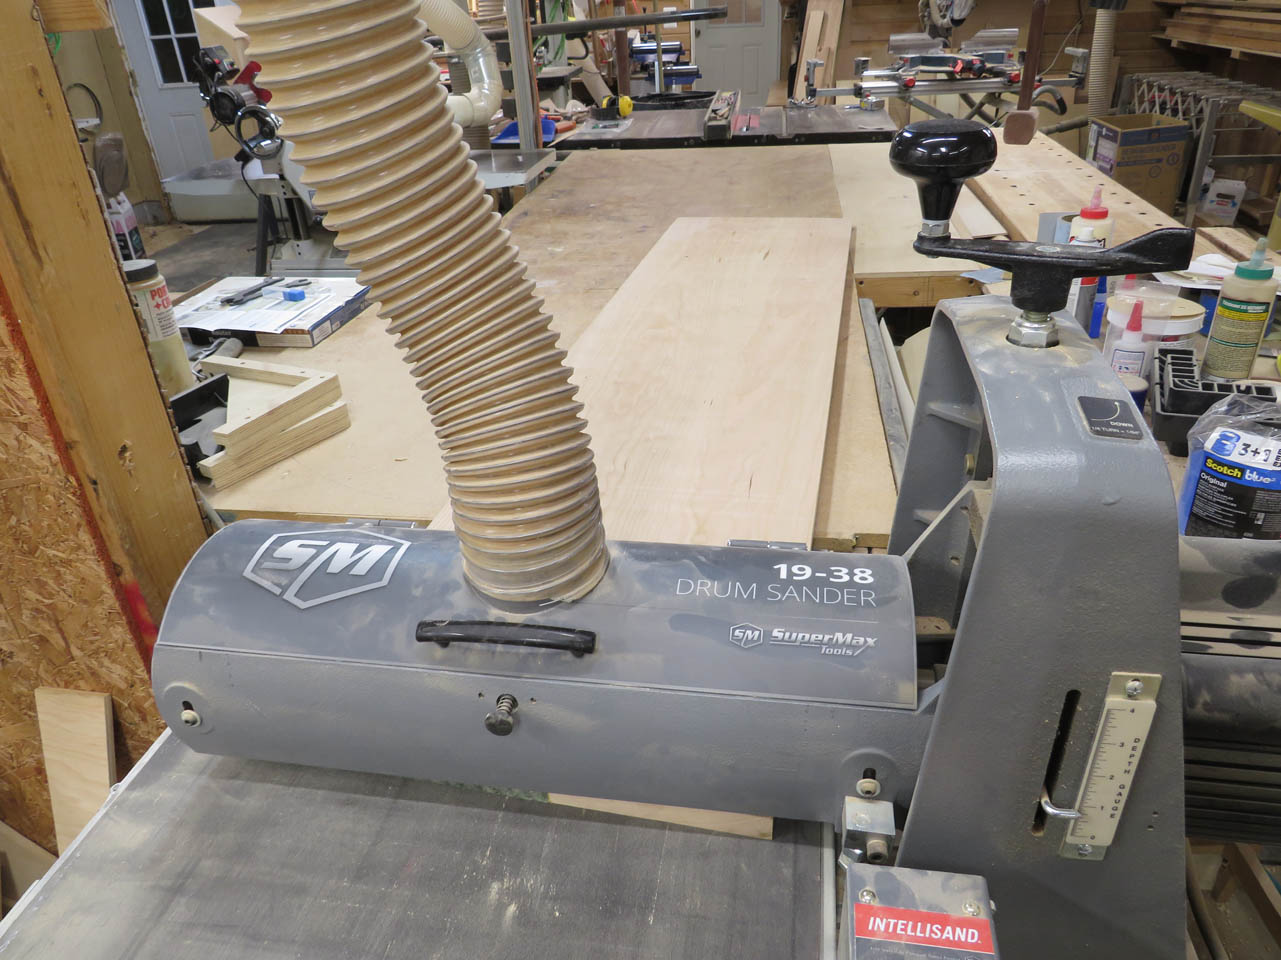
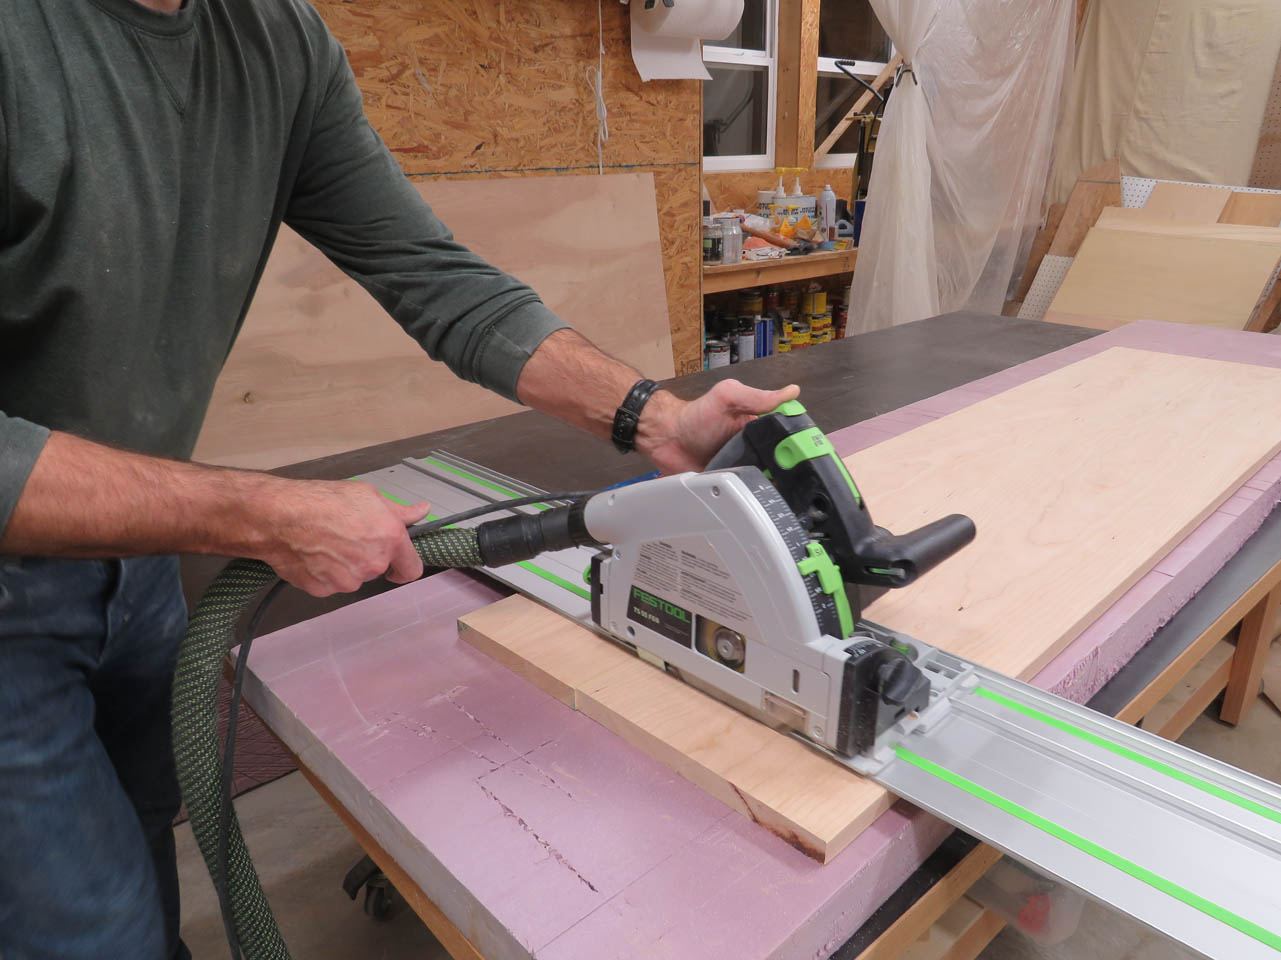
With the frame complete, I can cut the 1/2″ plywood down to size.
This is glued and screwed to the framework from the face.
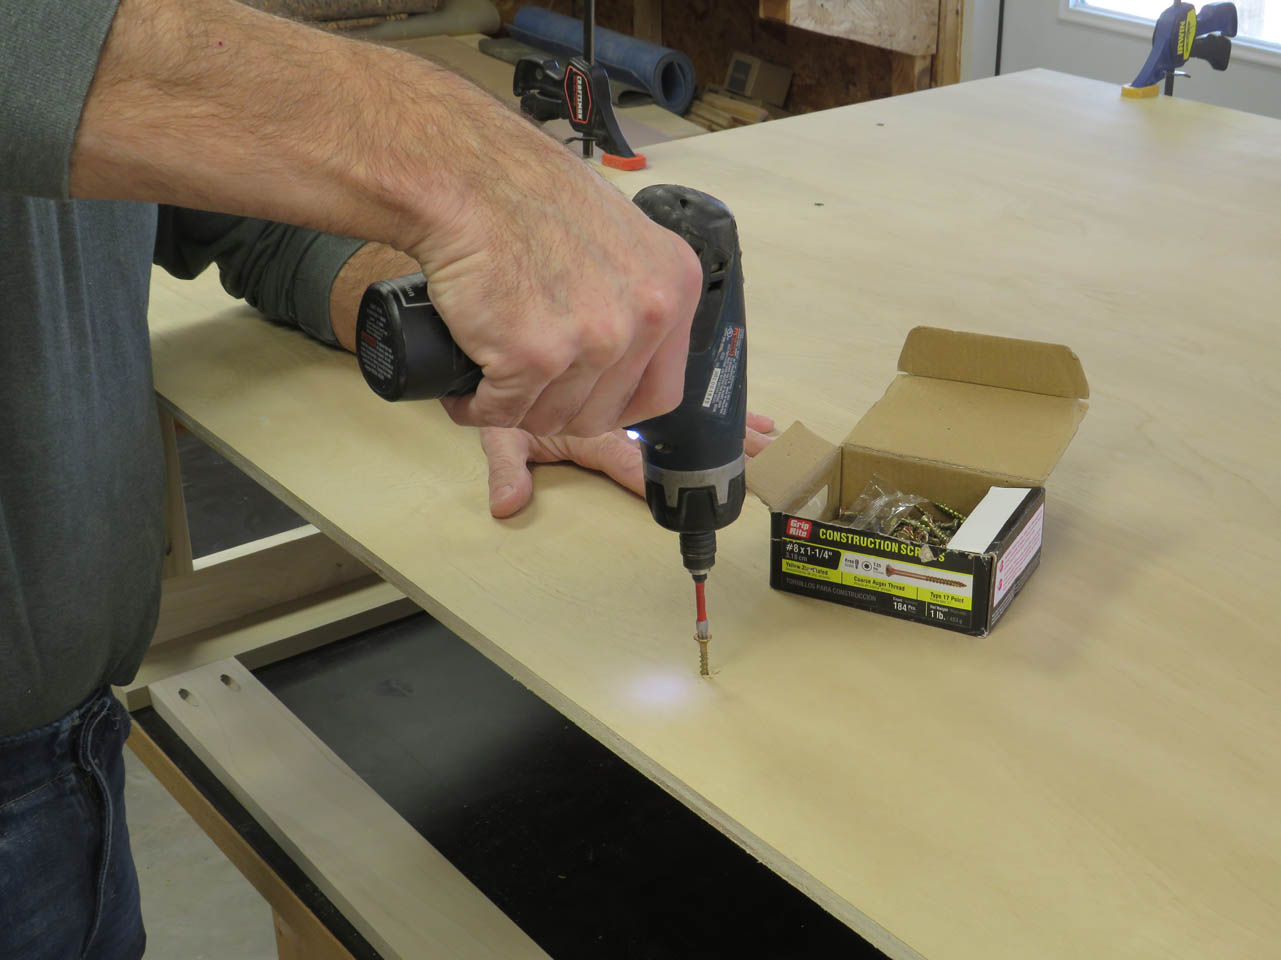
This will be veneered with cherry veneer so the screw heads will be covered.
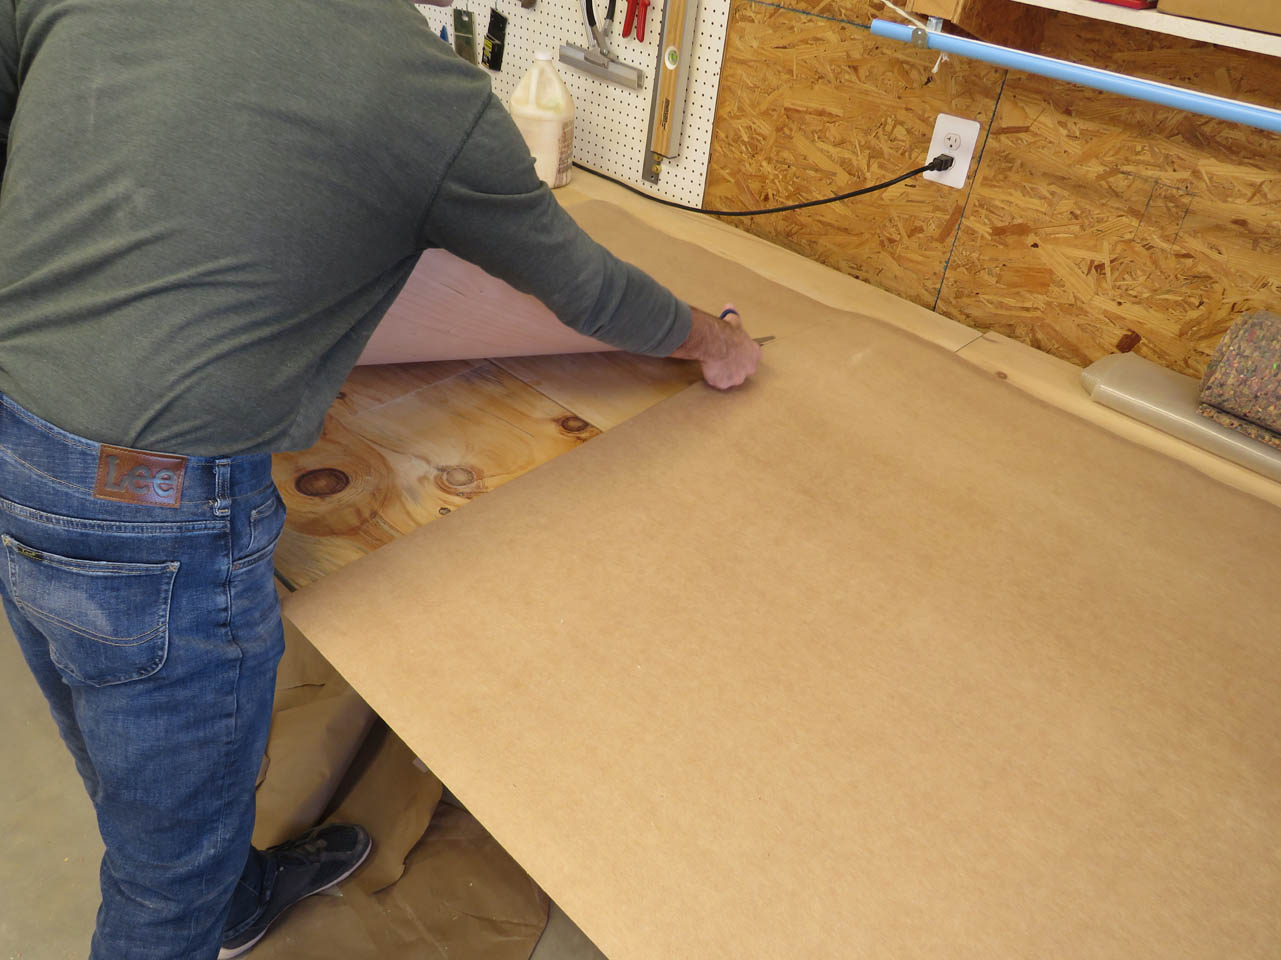
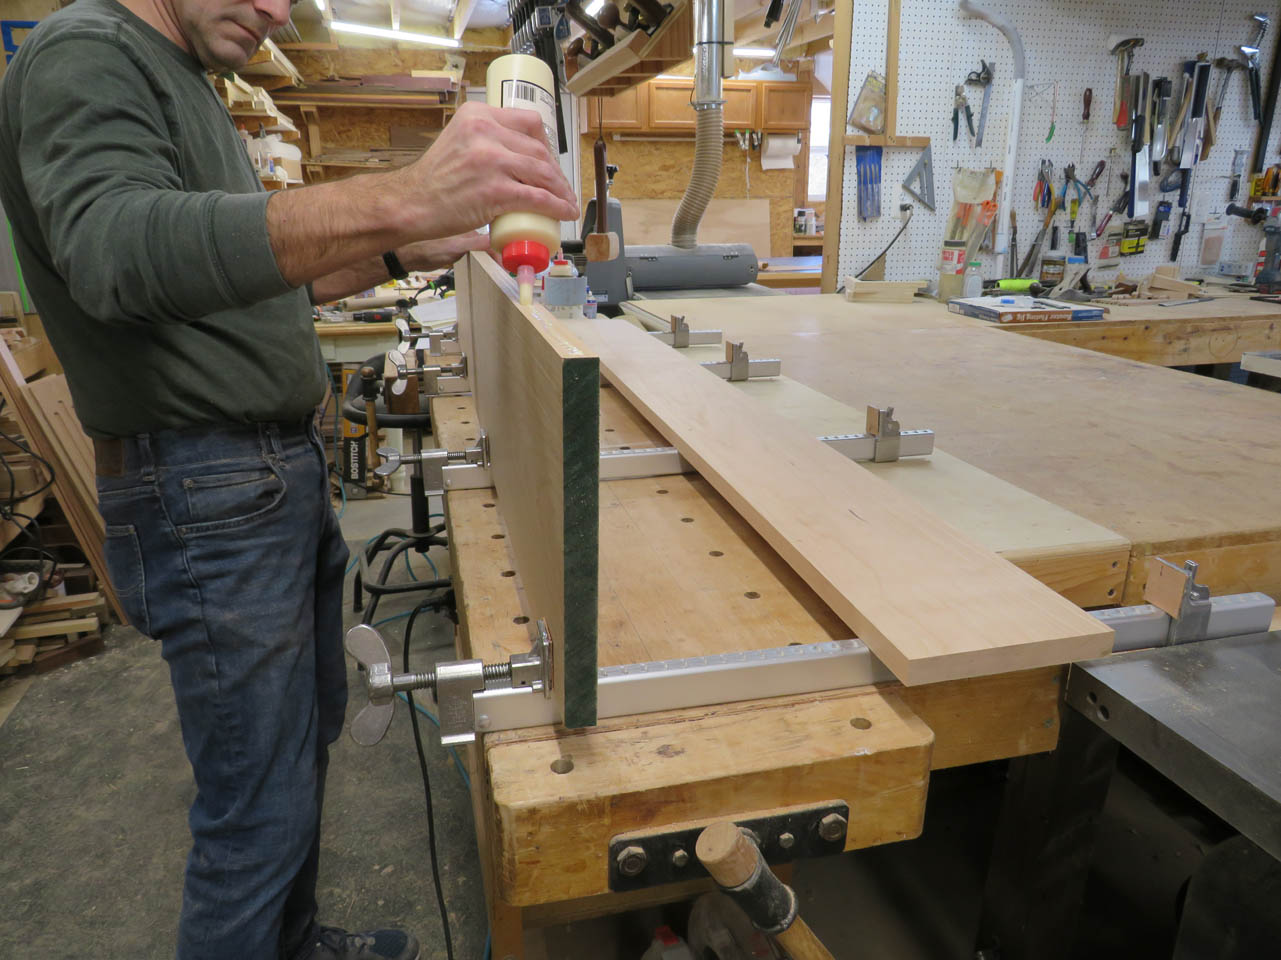
Since this piece is wider than 48″, I bought veneer sheets that ran the grain in the short direction so when attached it would match the rest of the furniture pieces.
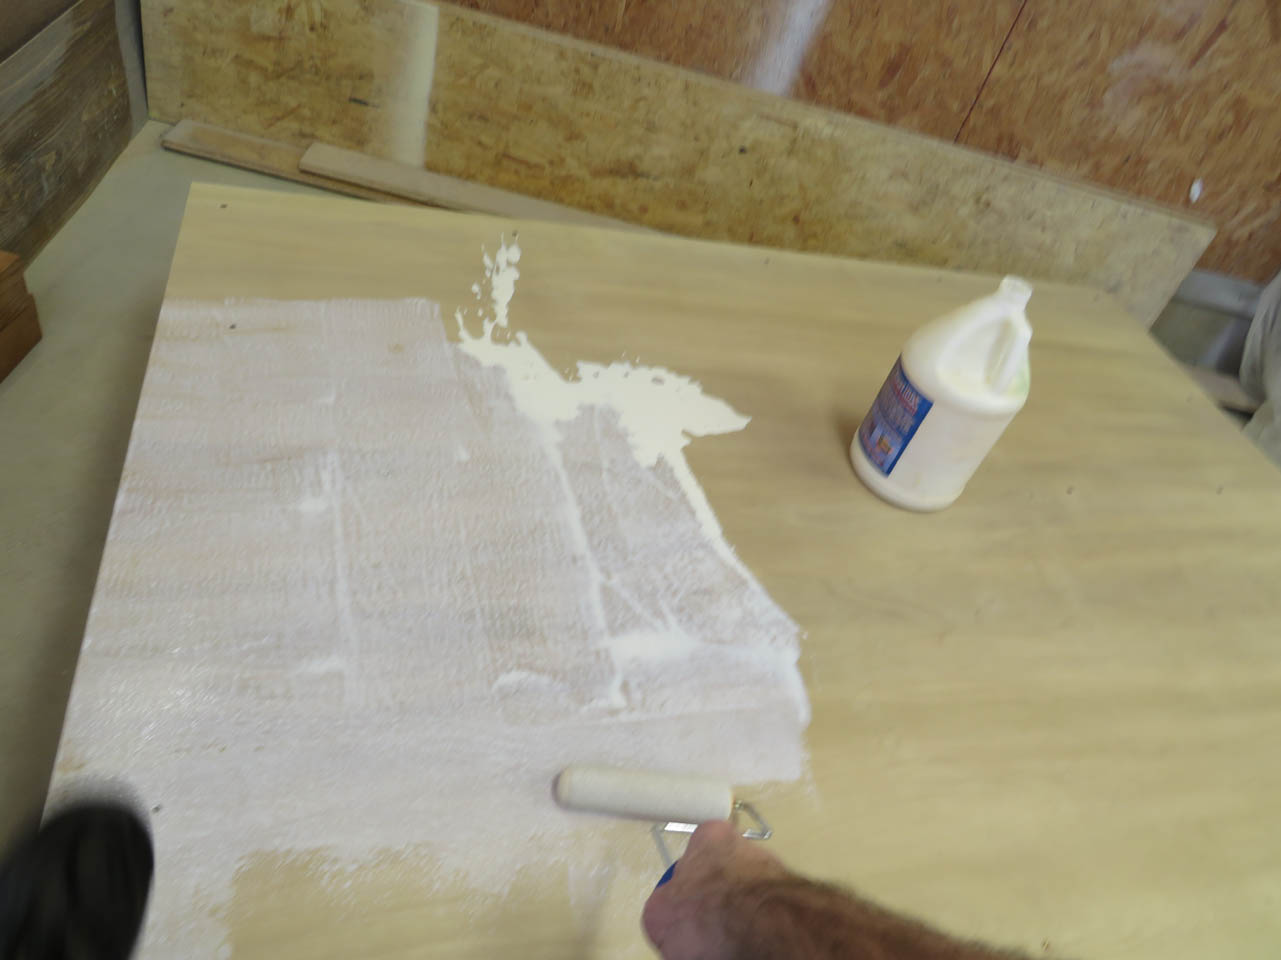
I cut the veneer slightly oversized then applied the contact adhesive.
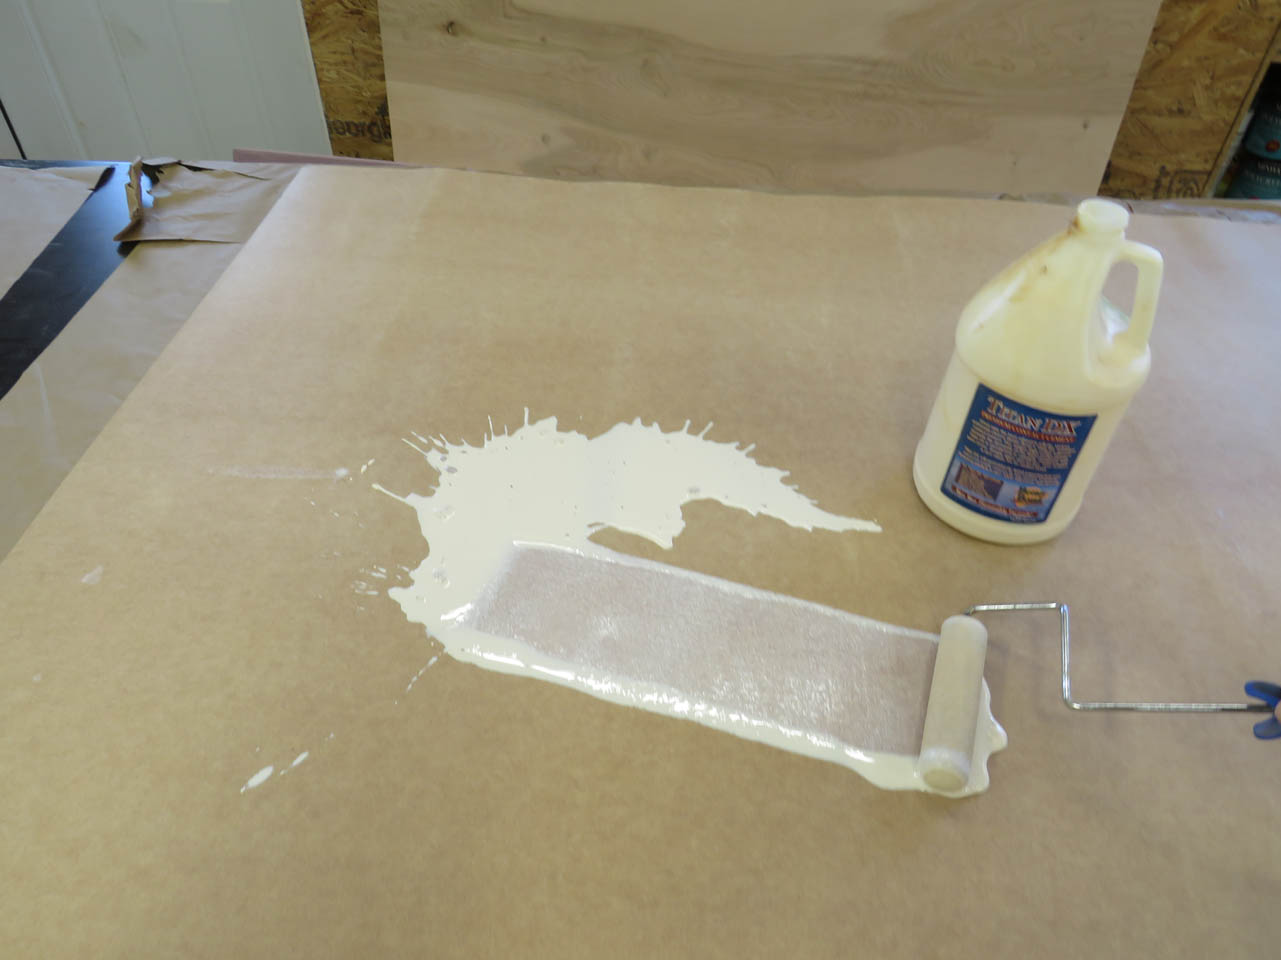
This was rolled on evenly and allowed to dry.
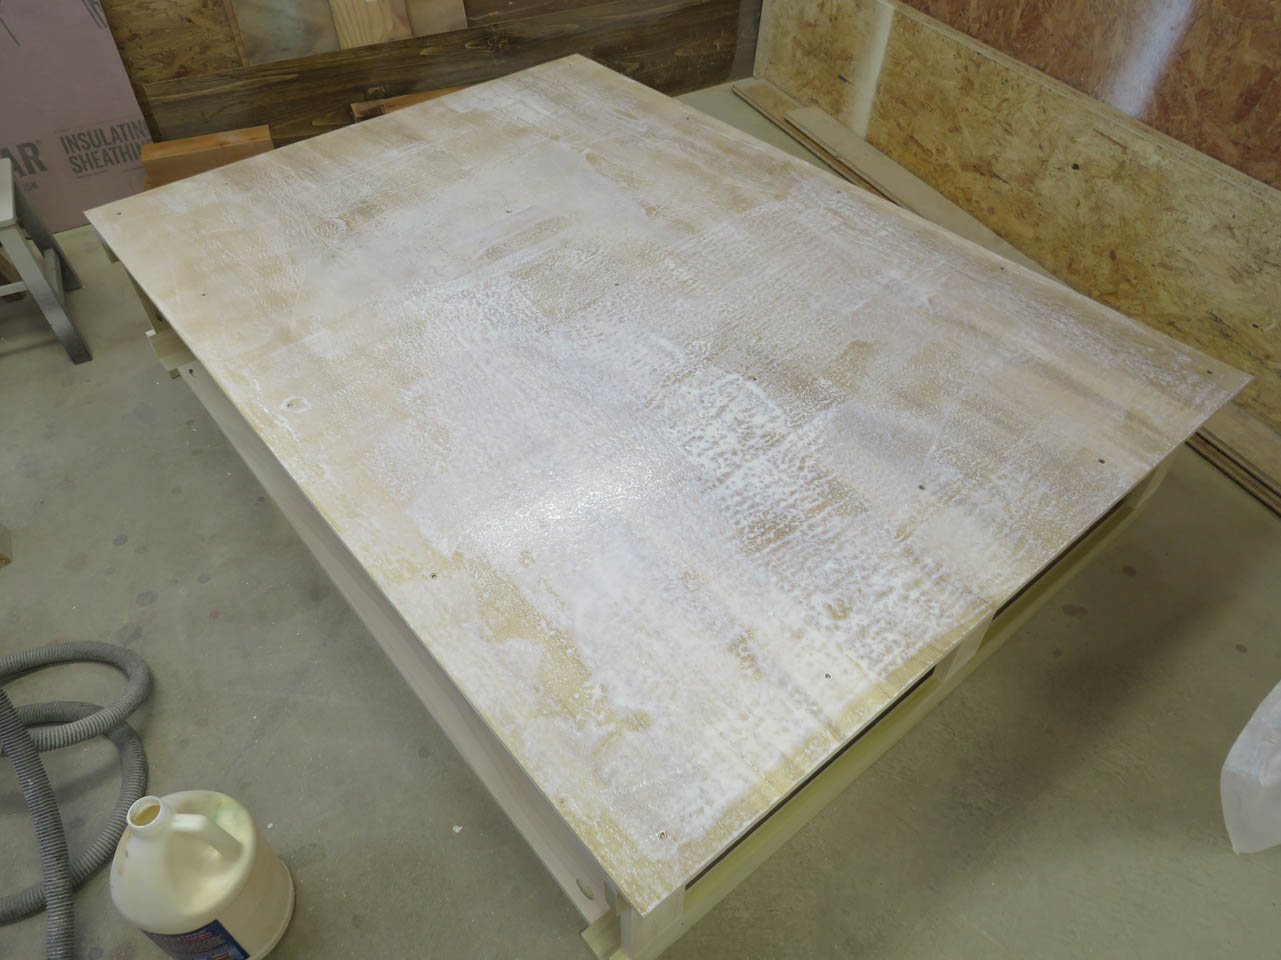
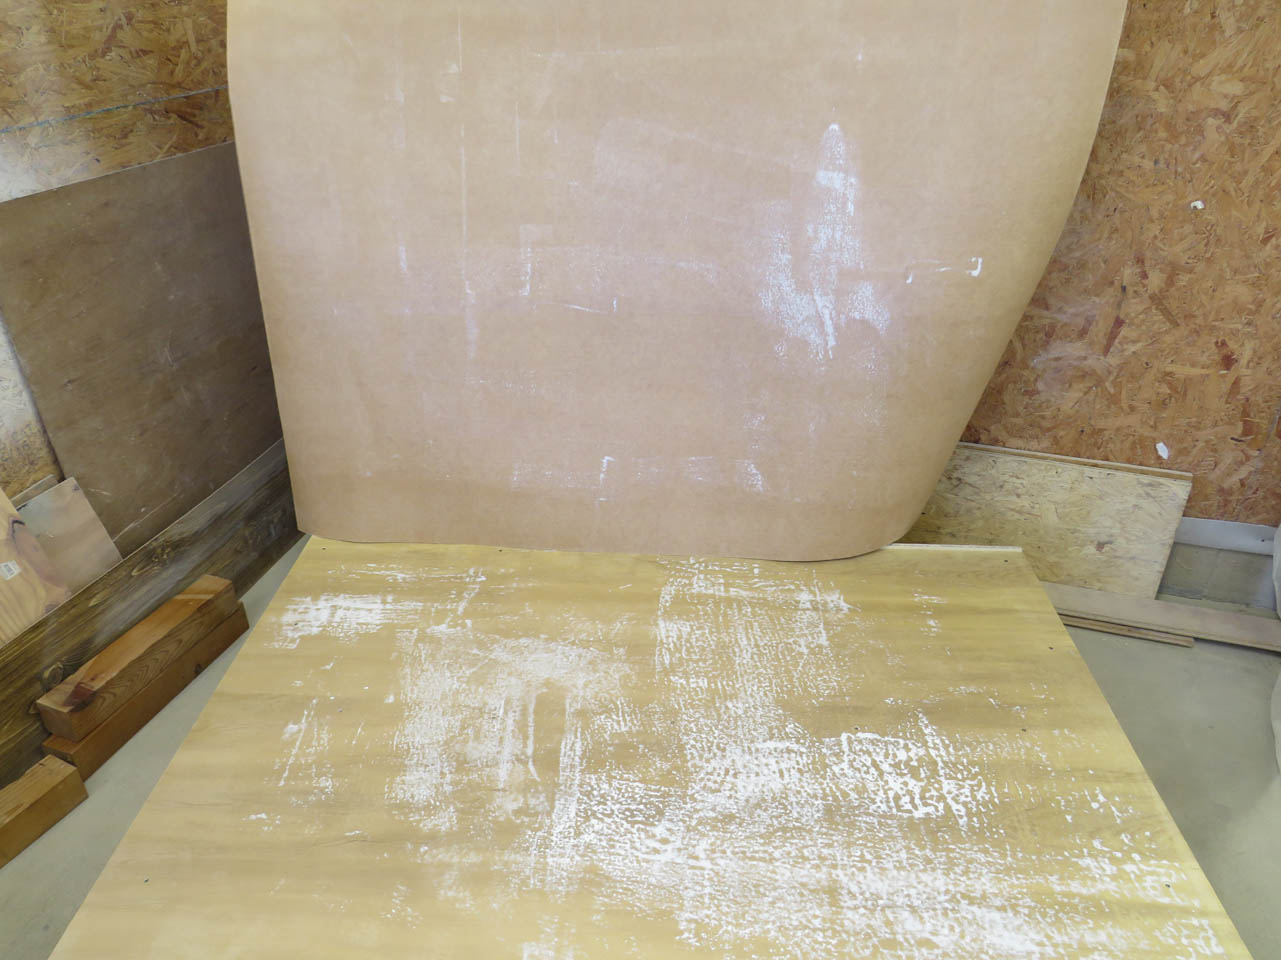
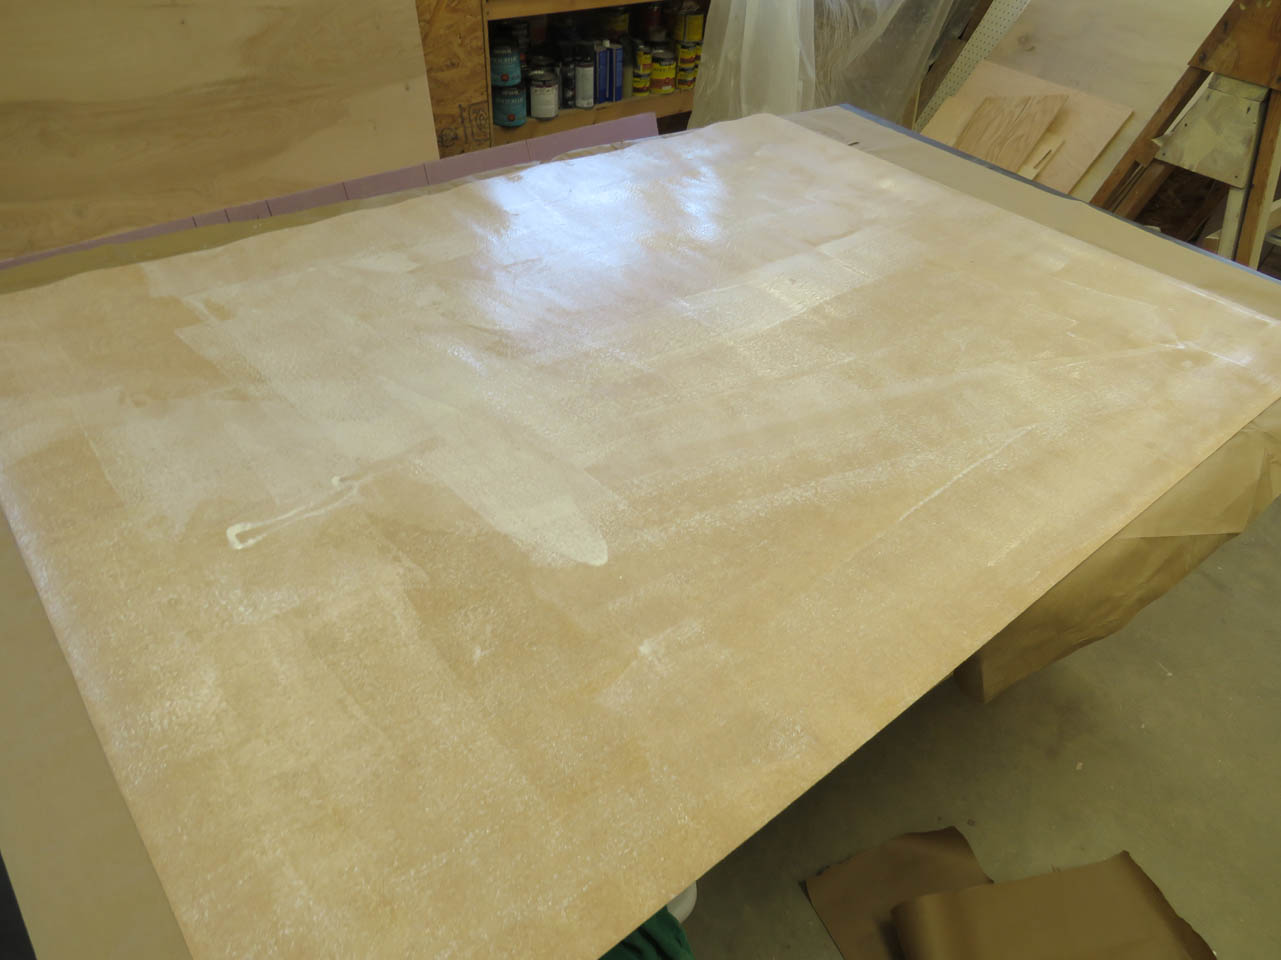
Then I carefully laid the veneer in place. I recommend getting help from a second person. Once this sticks, it won’t be easily removed so you have to get it right the first try.
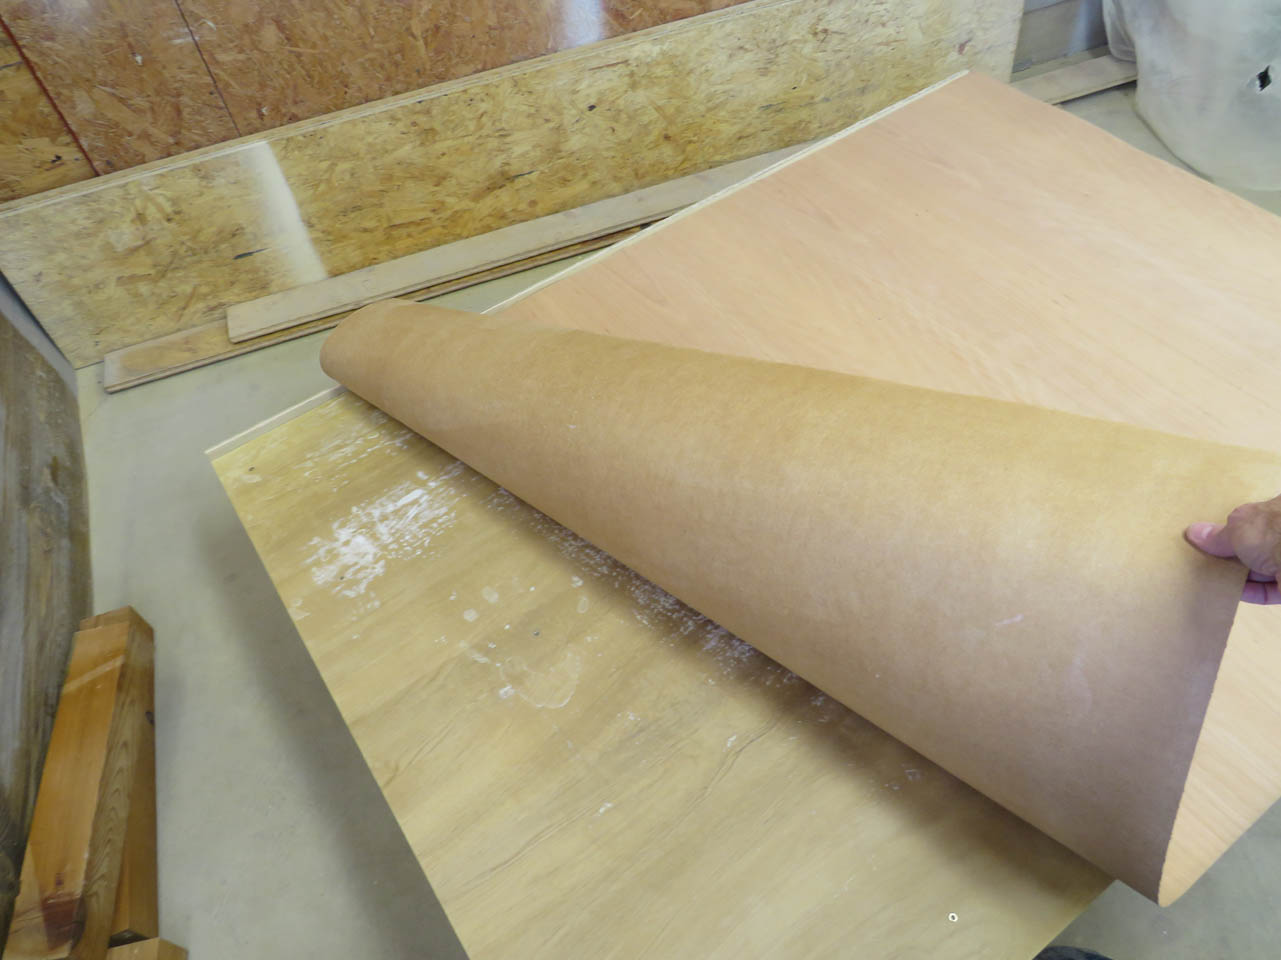
Once laid in place, the entire surface gets flattened with a plastic scraper. This can remove some bubbles, but it mainly helps set the glue bond with pressure.
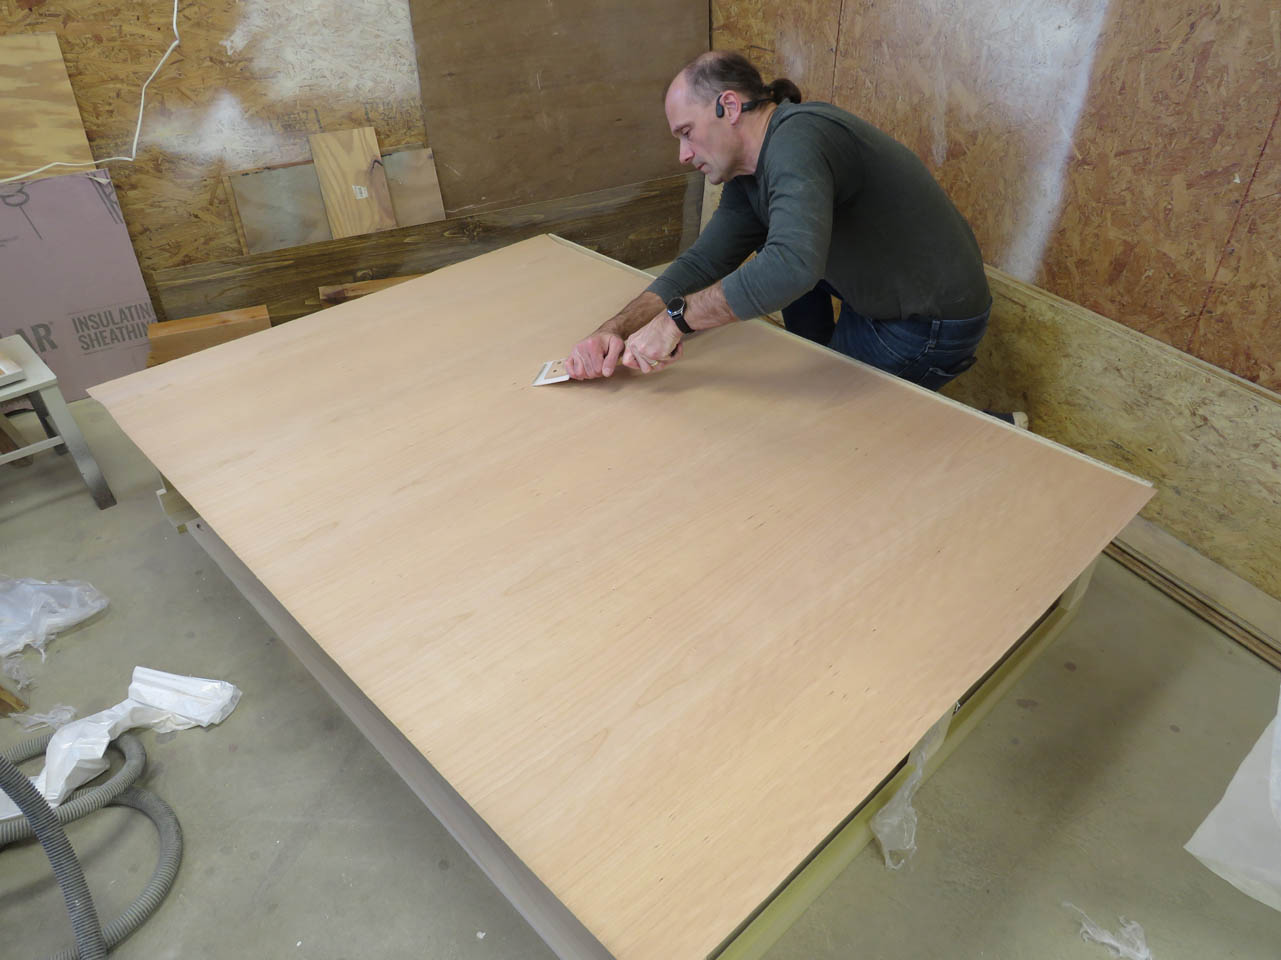
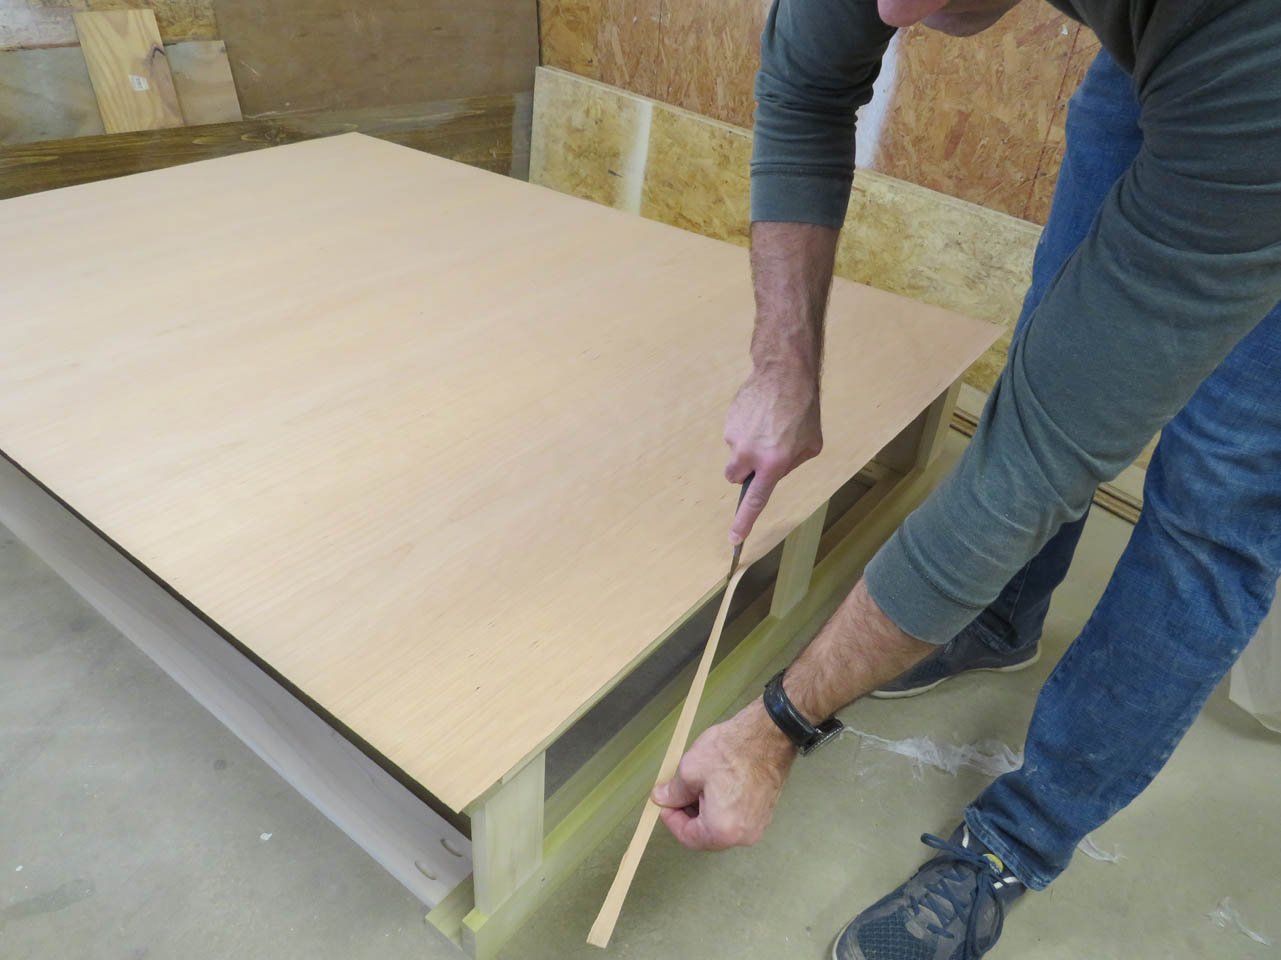
Then I used a knife to trim the overhanging veneer.


Next up is the top panel.
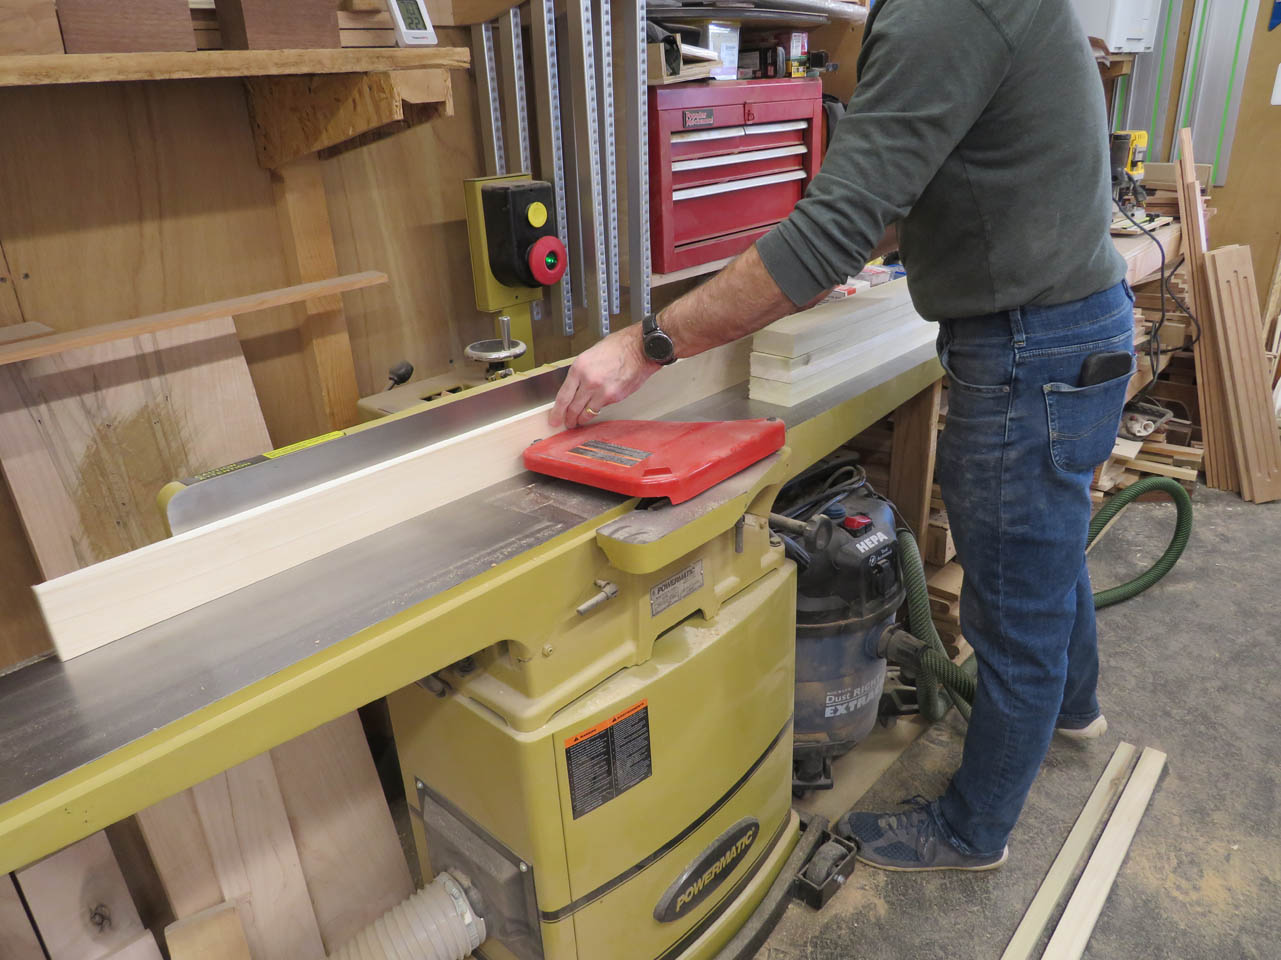
I milled and planed a couple of boards to glue together to make the top panel.
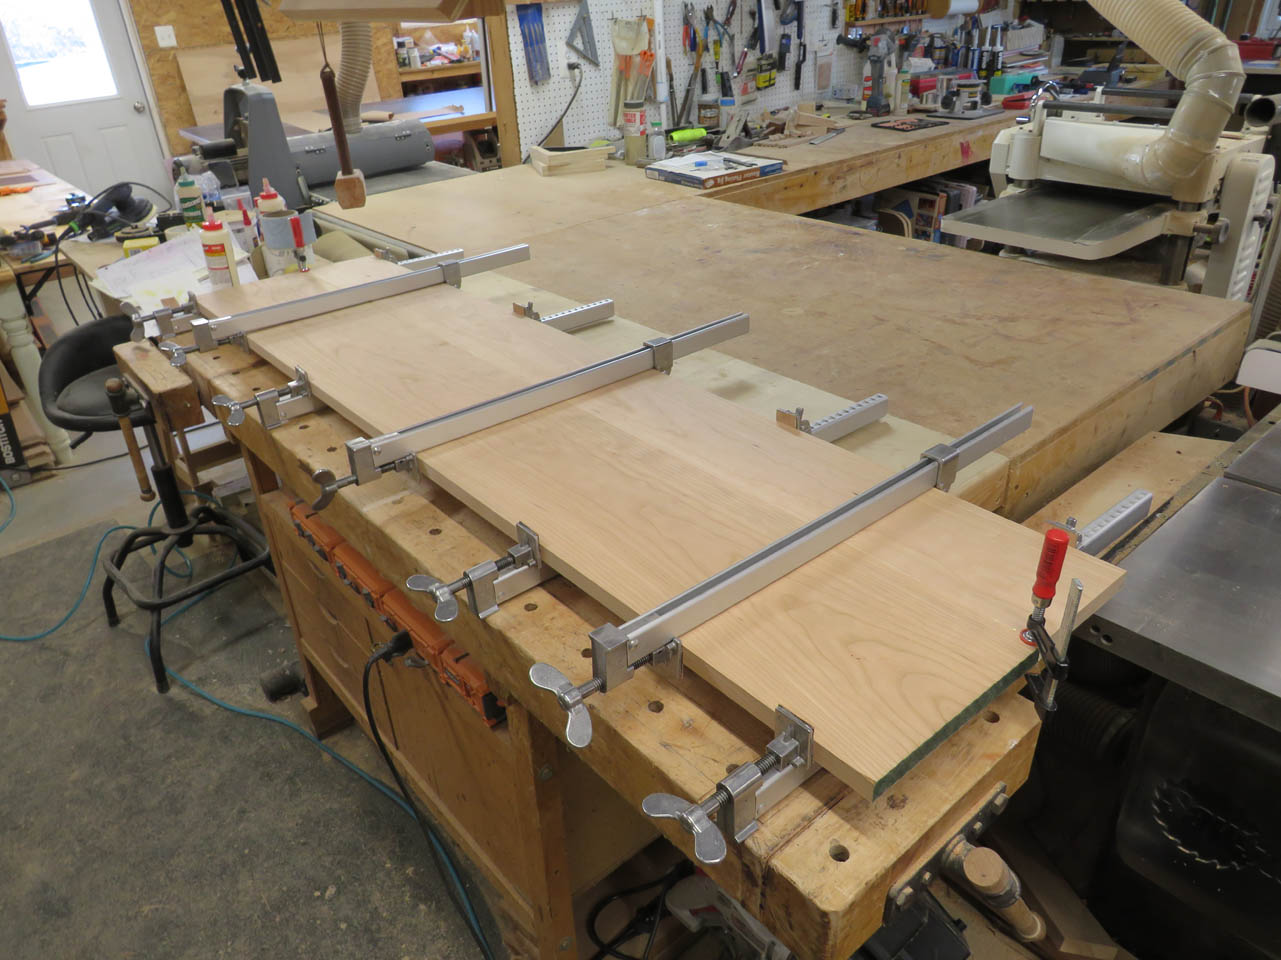
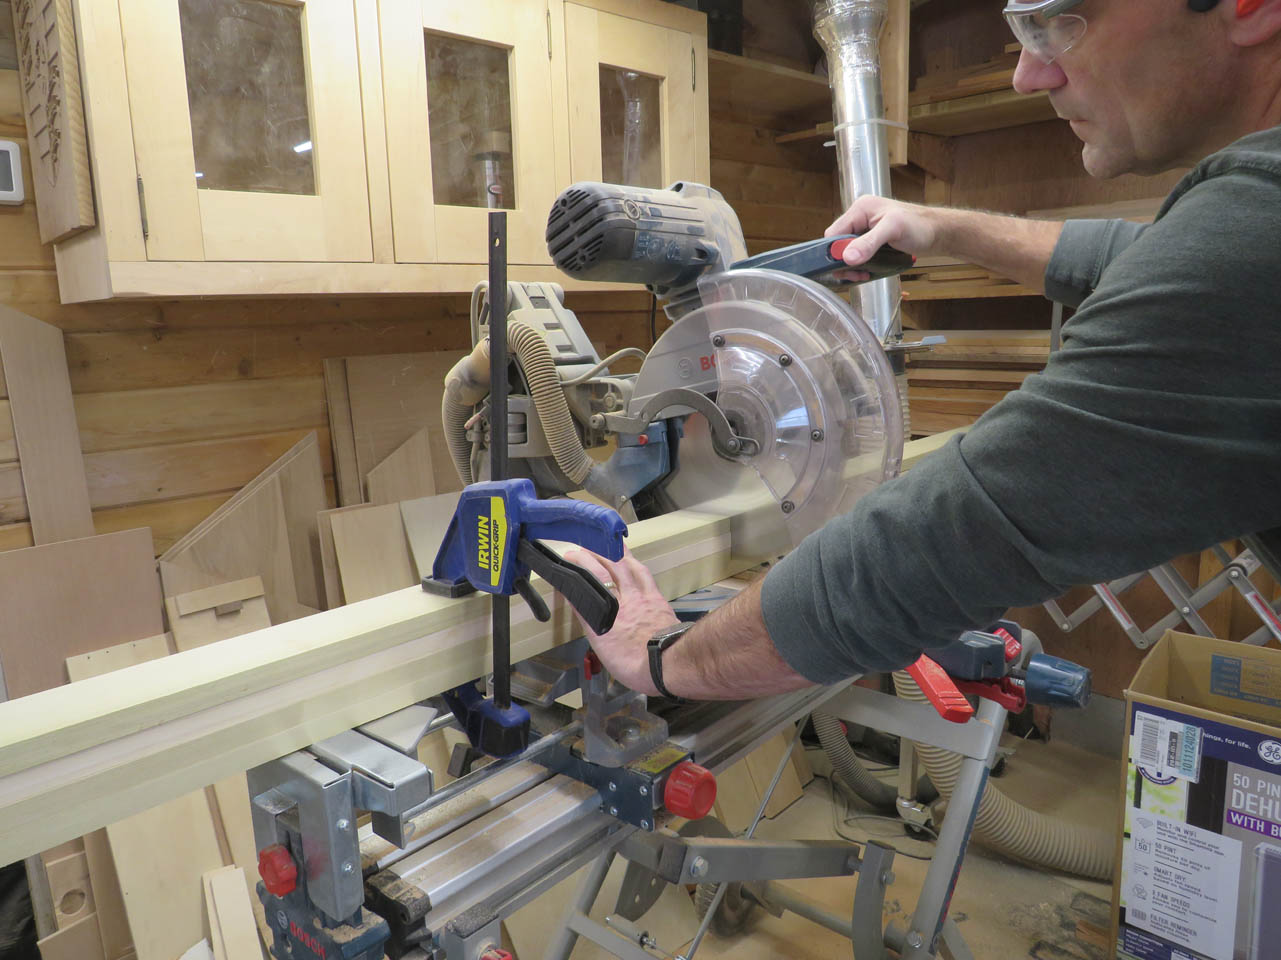
While that was drying, I planed up the boards for the trim.
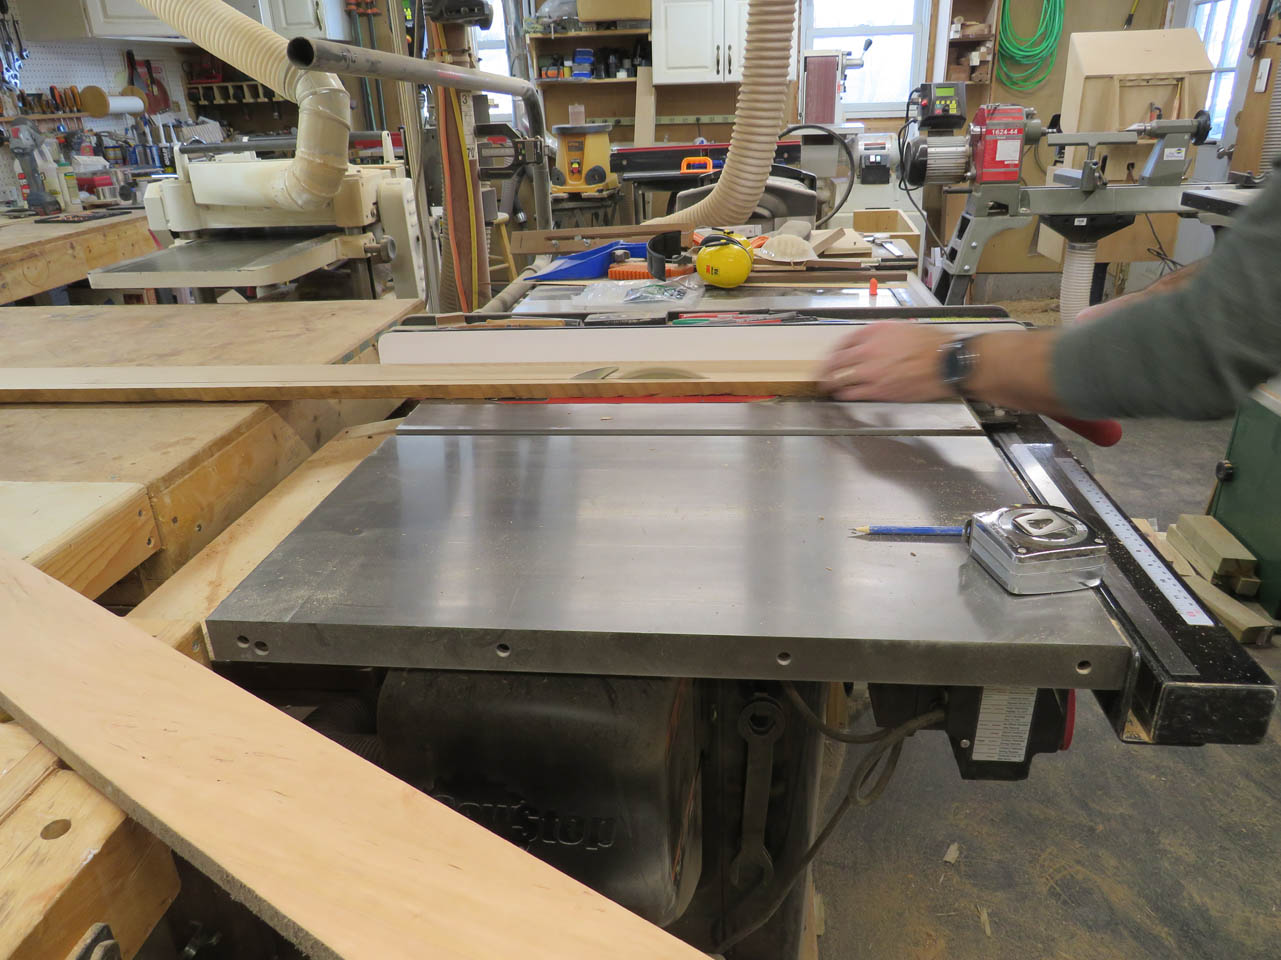
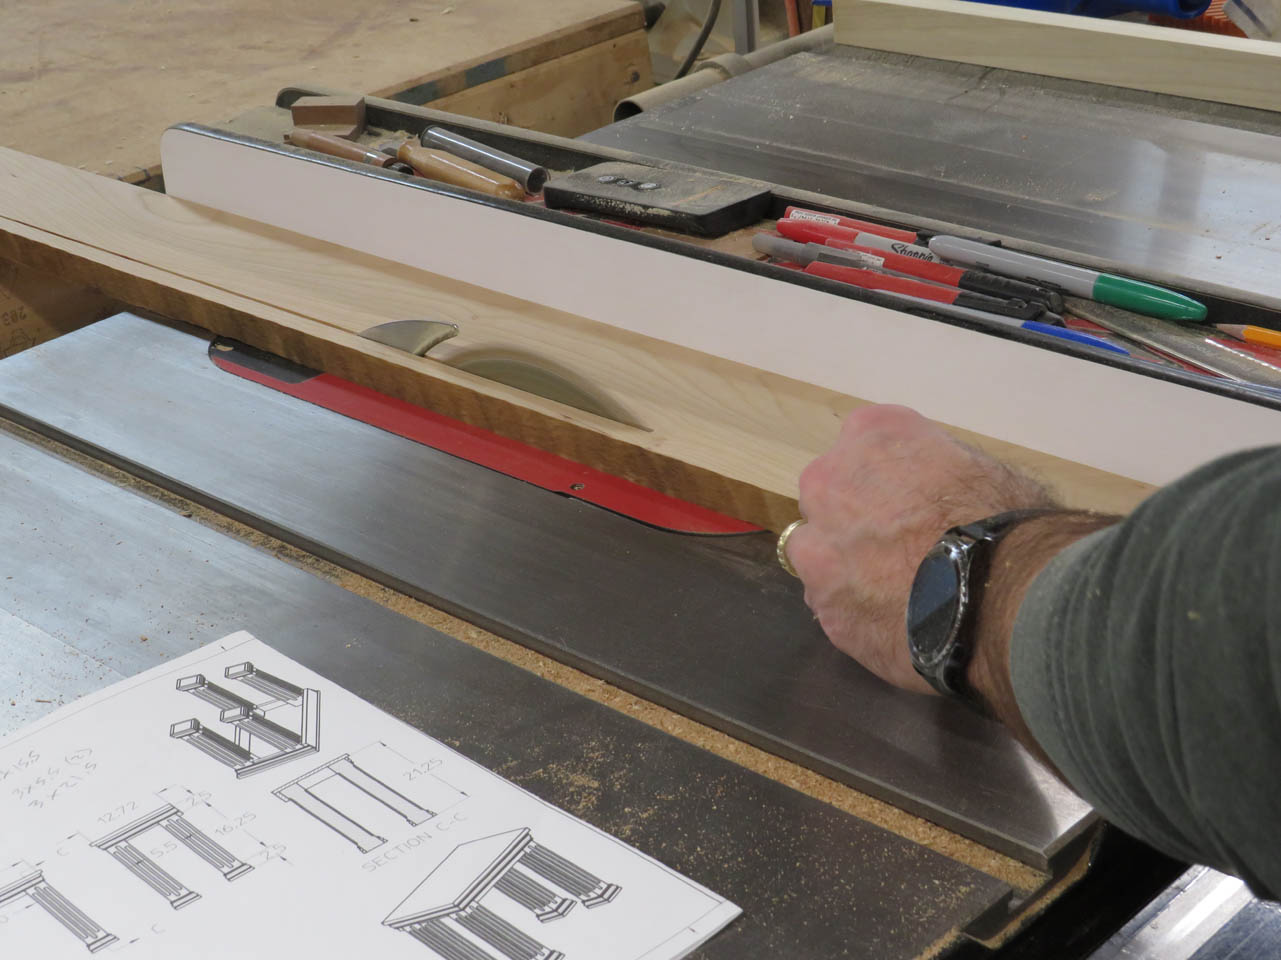
The back trim is a simple 3″ piece, but the front piece is the same piece of molding that trims all the other pieces. For this longer run I had to add a top feather board so I would get constant pressure holding the board down.

This really helped me to get a long smooth cut without any vibration messing up the face.
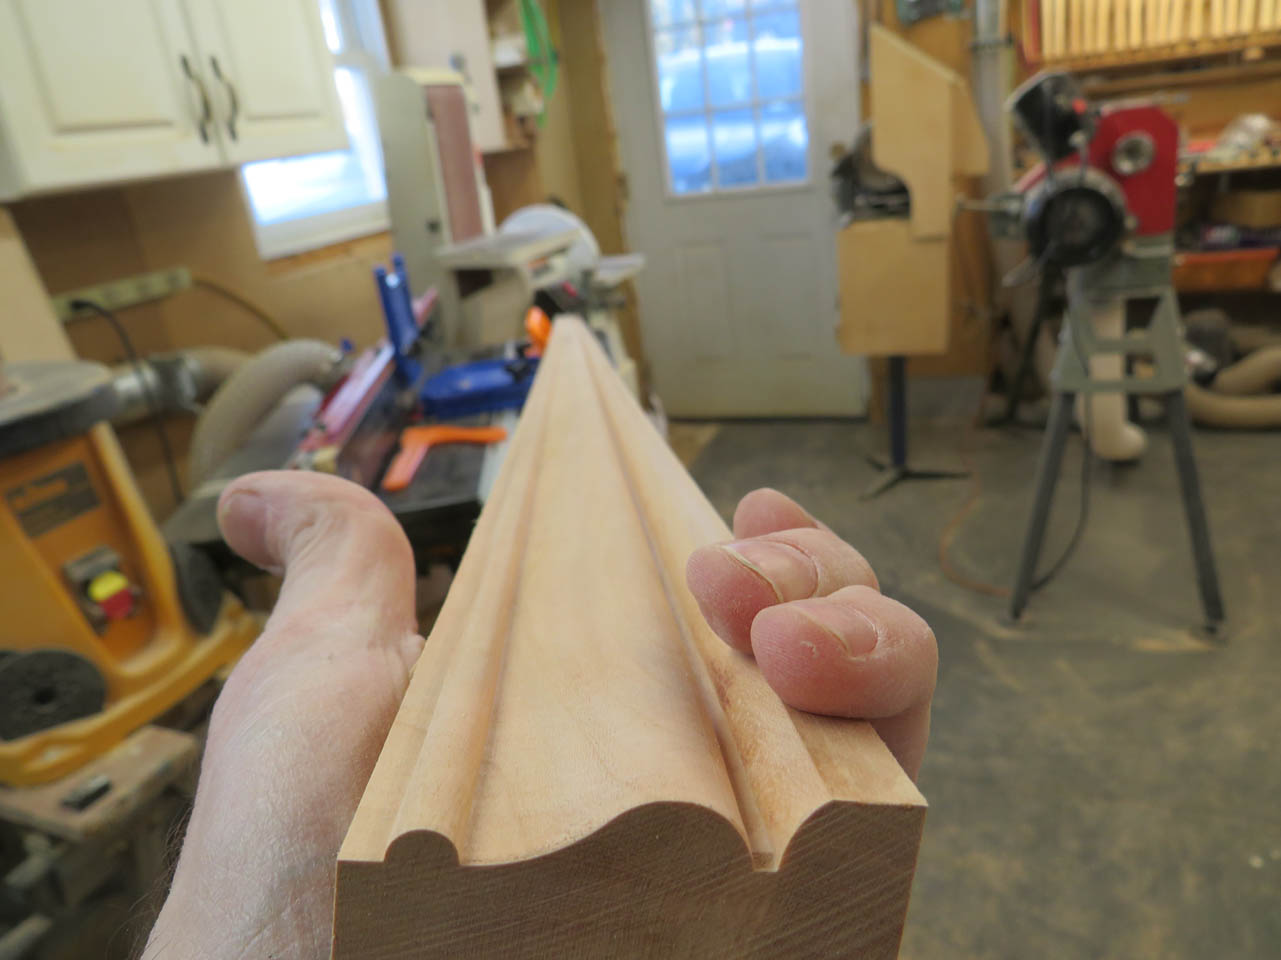
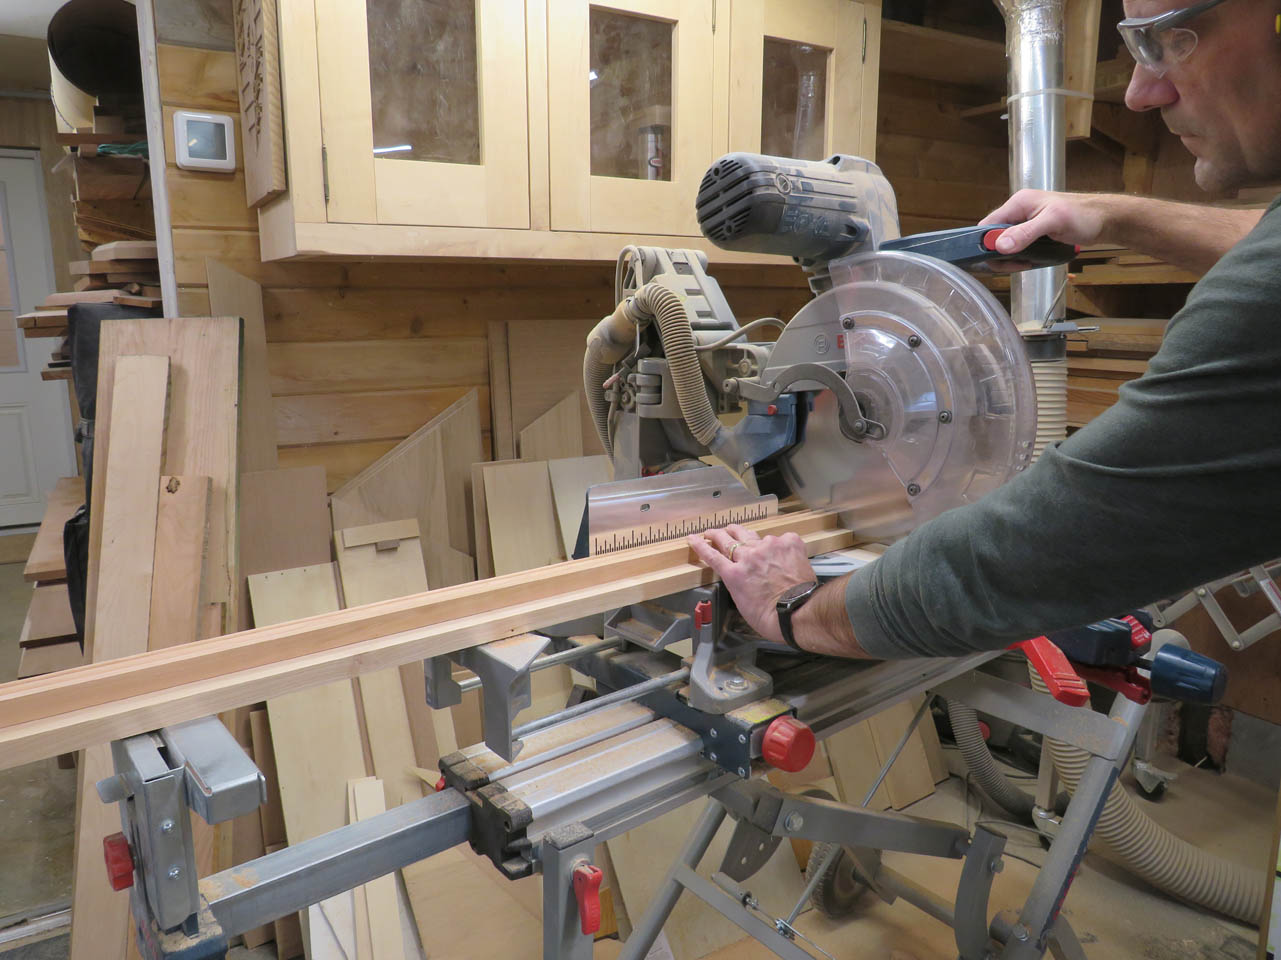
These were both cut to length and sanded.
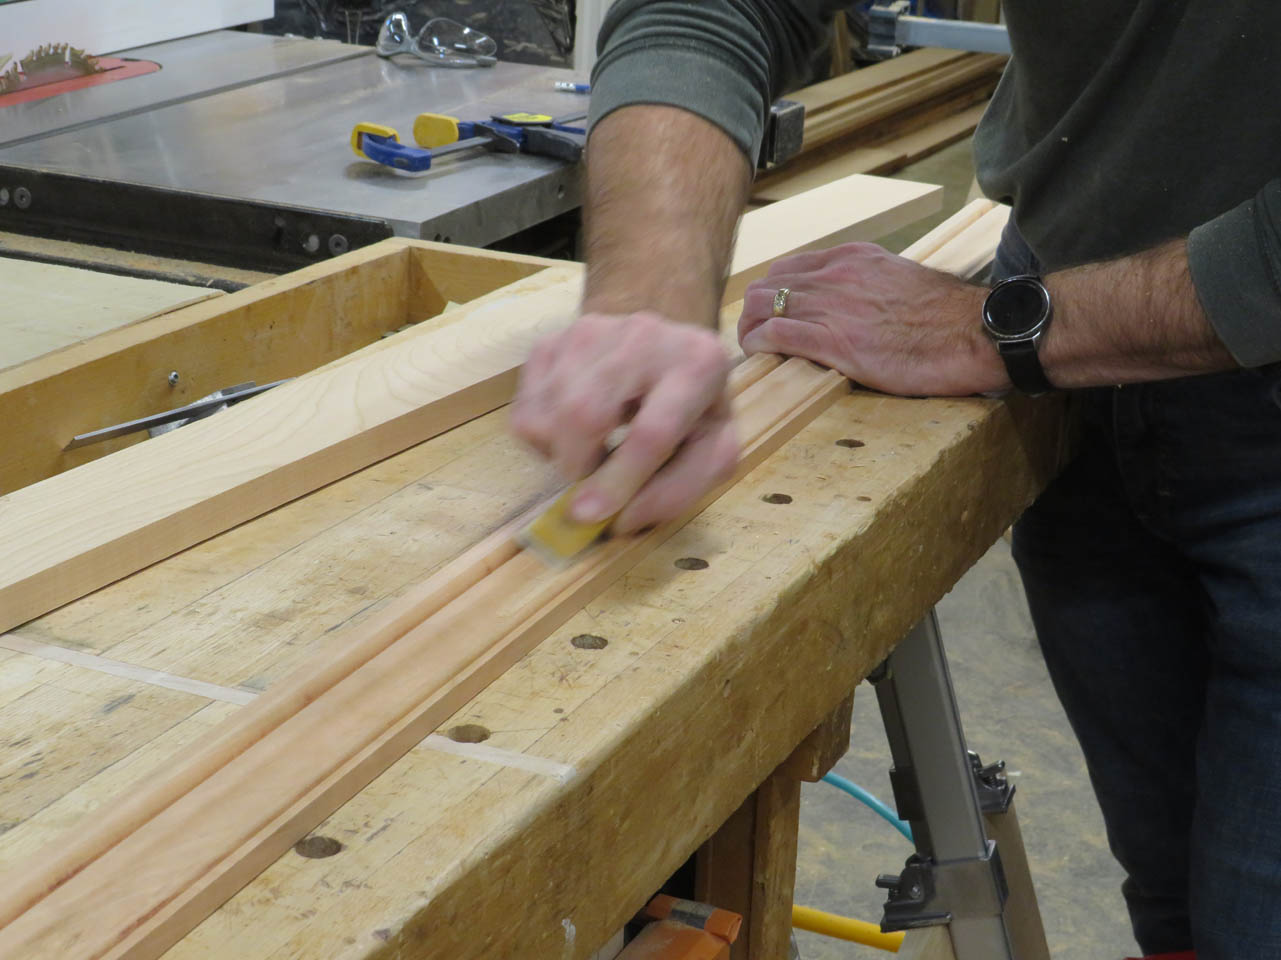
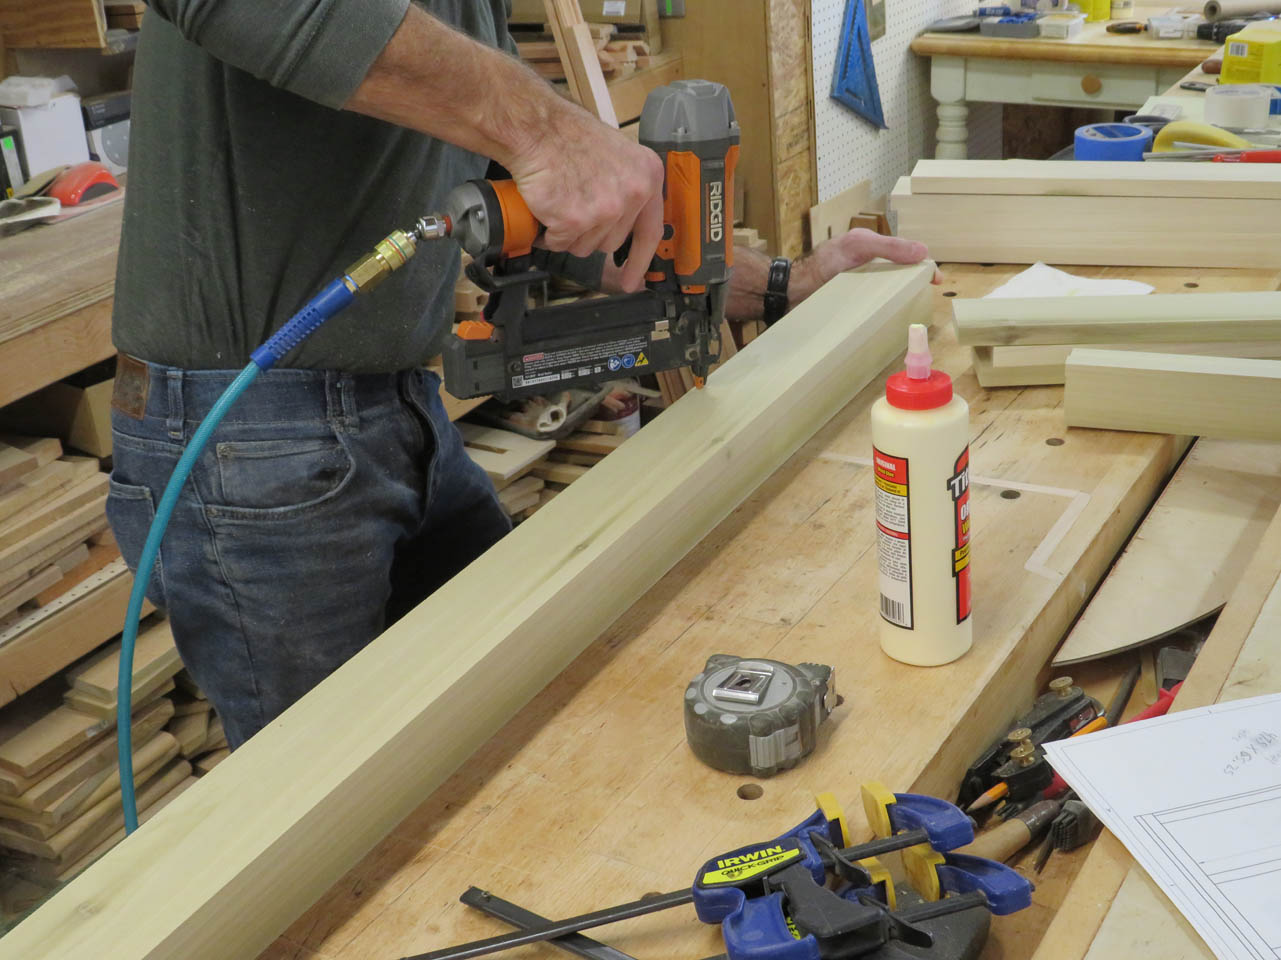
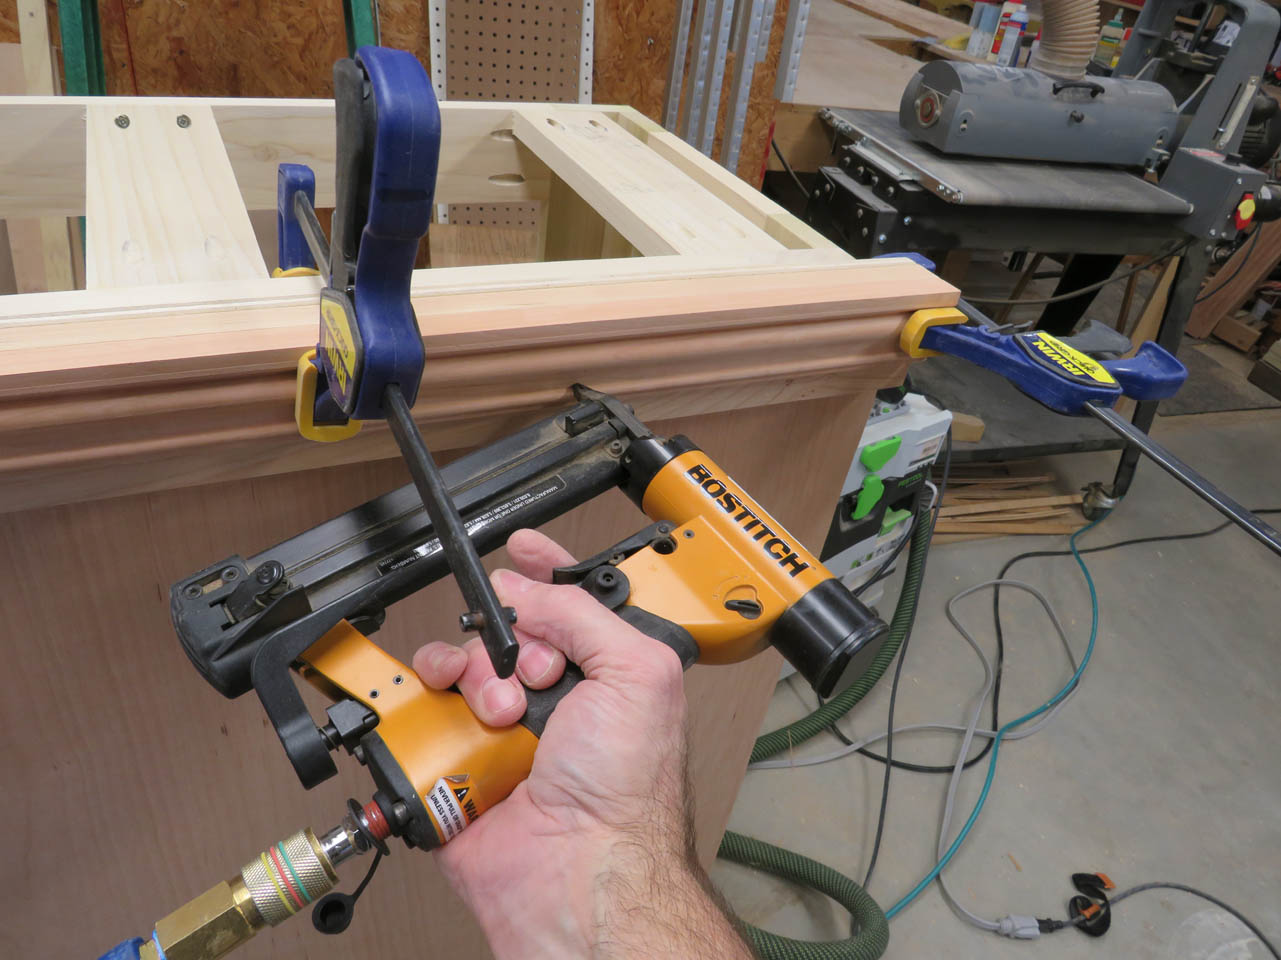
While waiting for the top panel to dry, I went ahead and attached both pieces of trim with glue and pin nails.
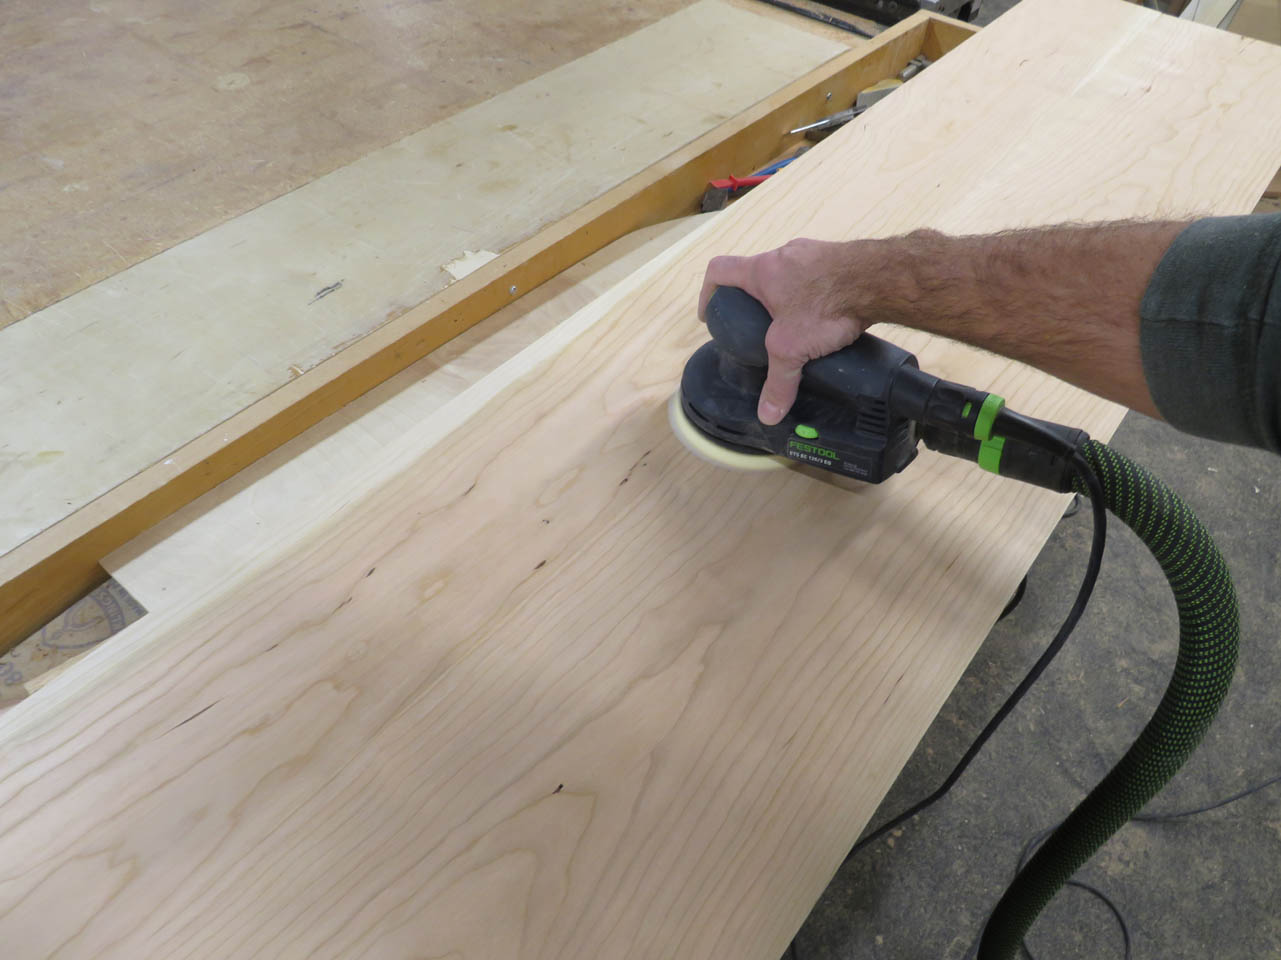
The top panel was finally dry enough to finish so I pulled the clamps and sanded the faces smooth.
Then I cut the ends square and to the final length.
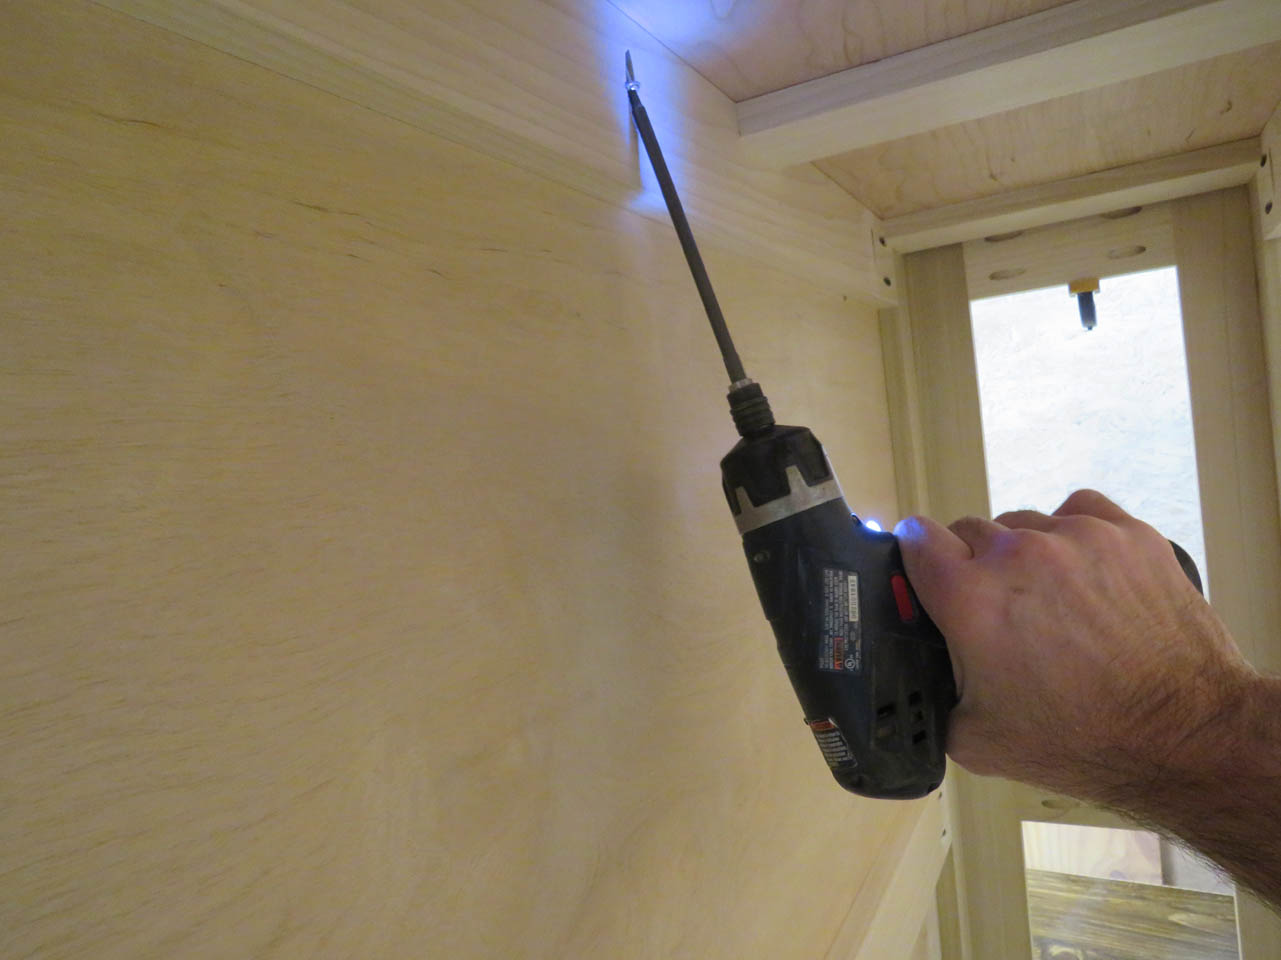
To attach it, I drilled pocket holes around the inside.
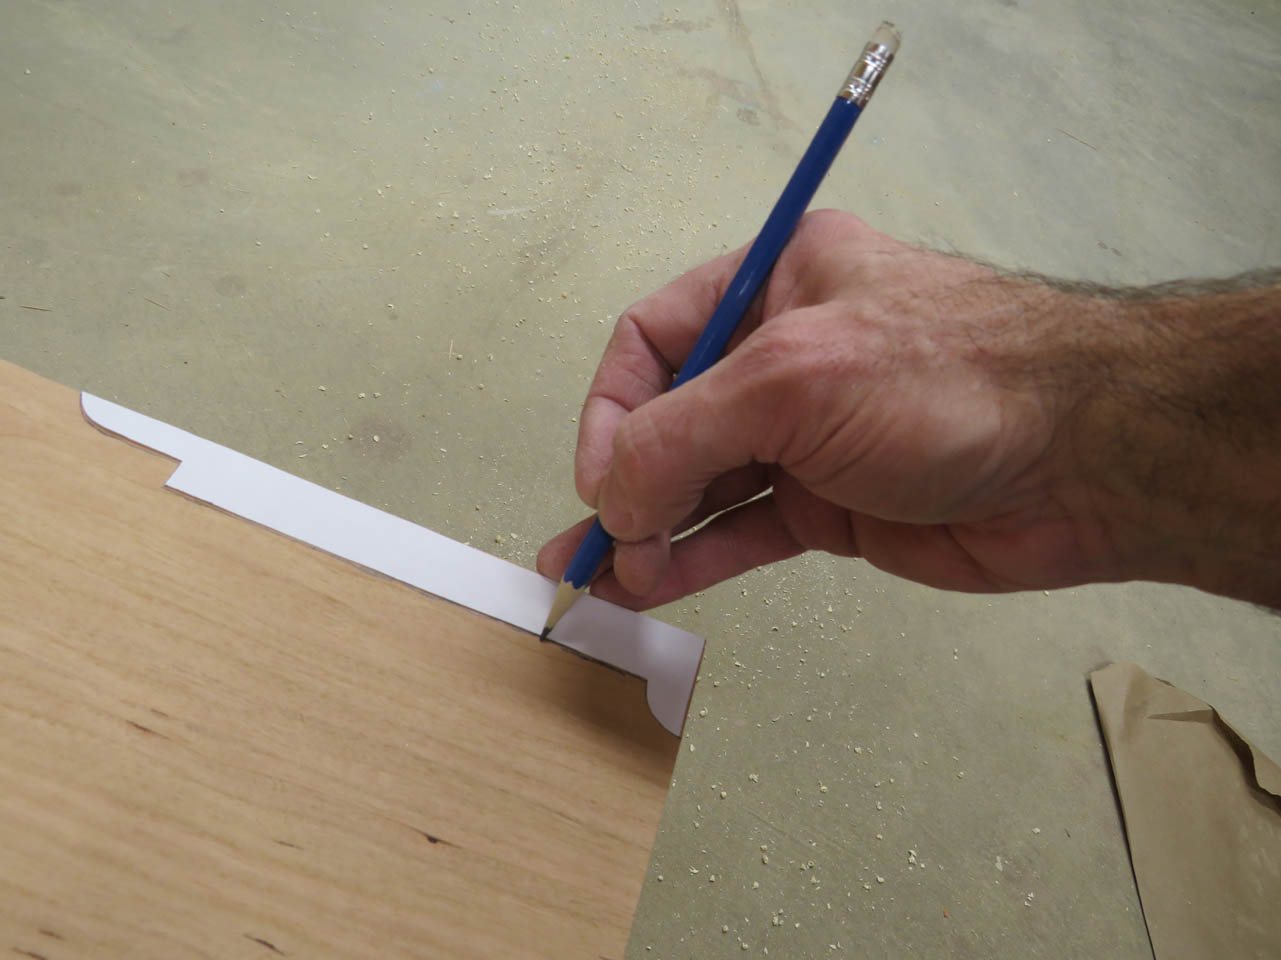
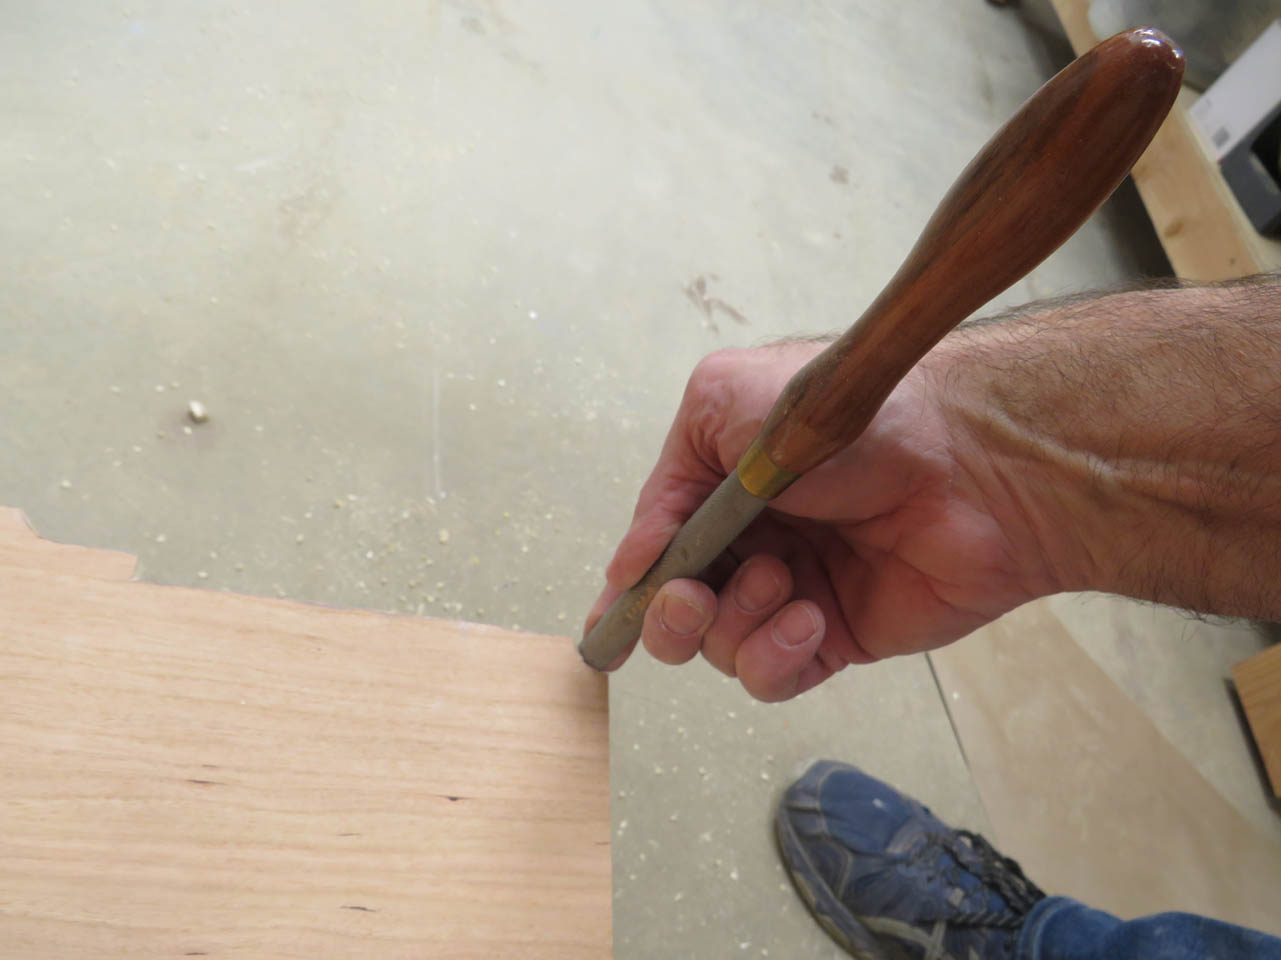
Before attaching the top, I want to cut out a relief to the shape of the baseboard trim. This should fit neatly over the trim so I don’t have to cut the baseboard at installation.
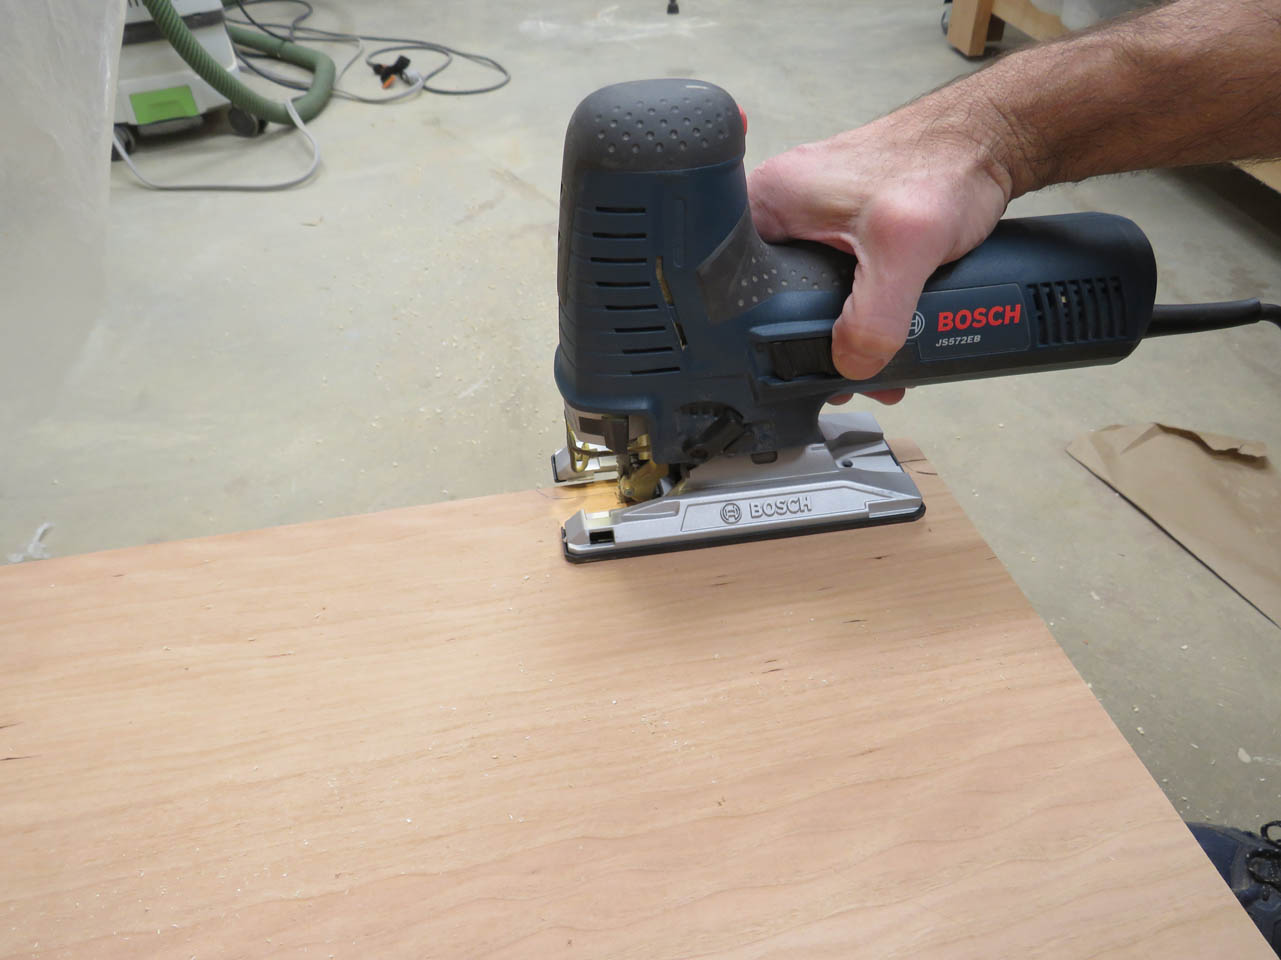
This was cut with my jigsaw, then filed and sanded.
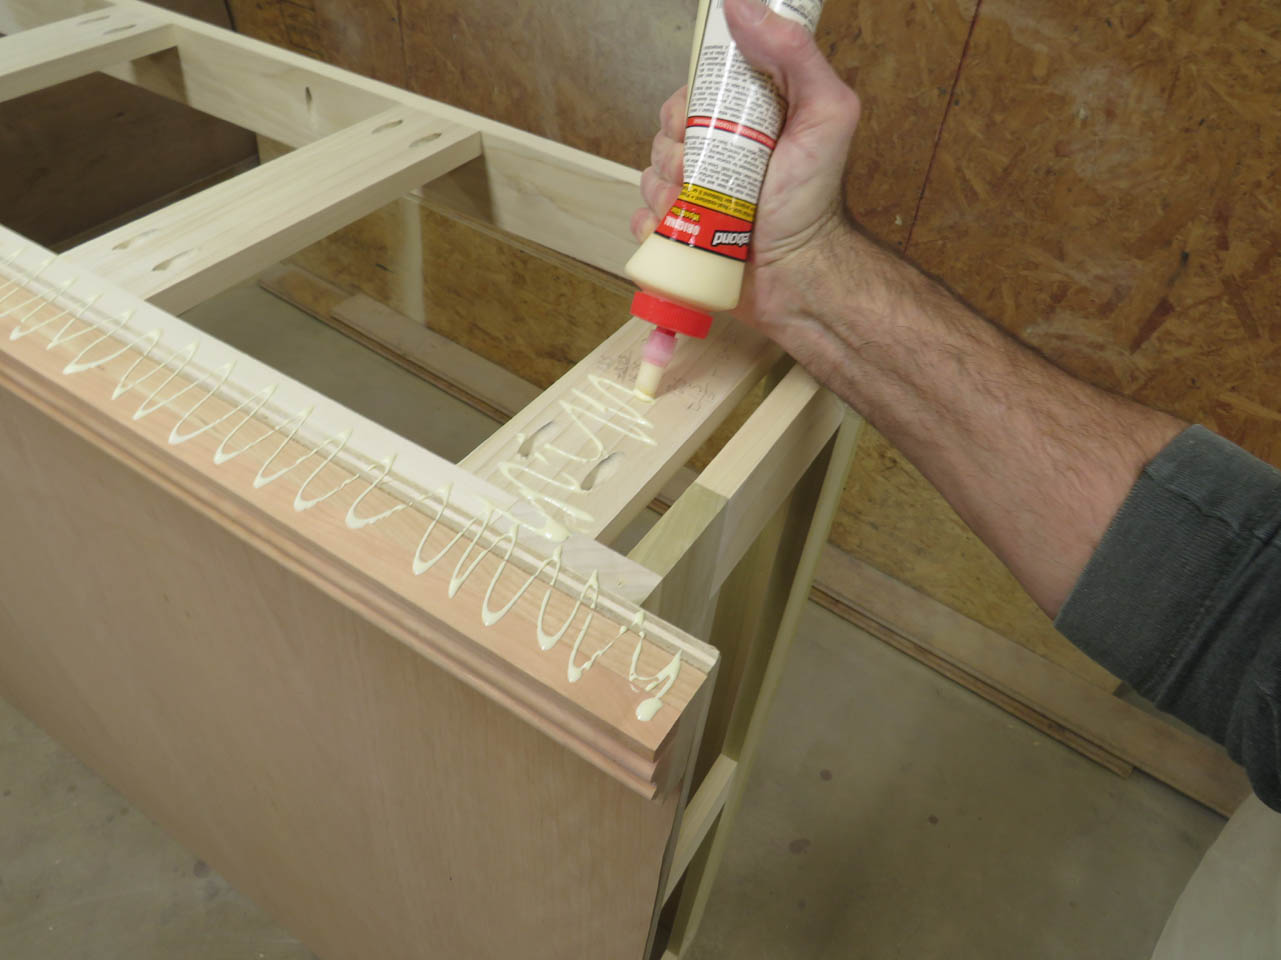
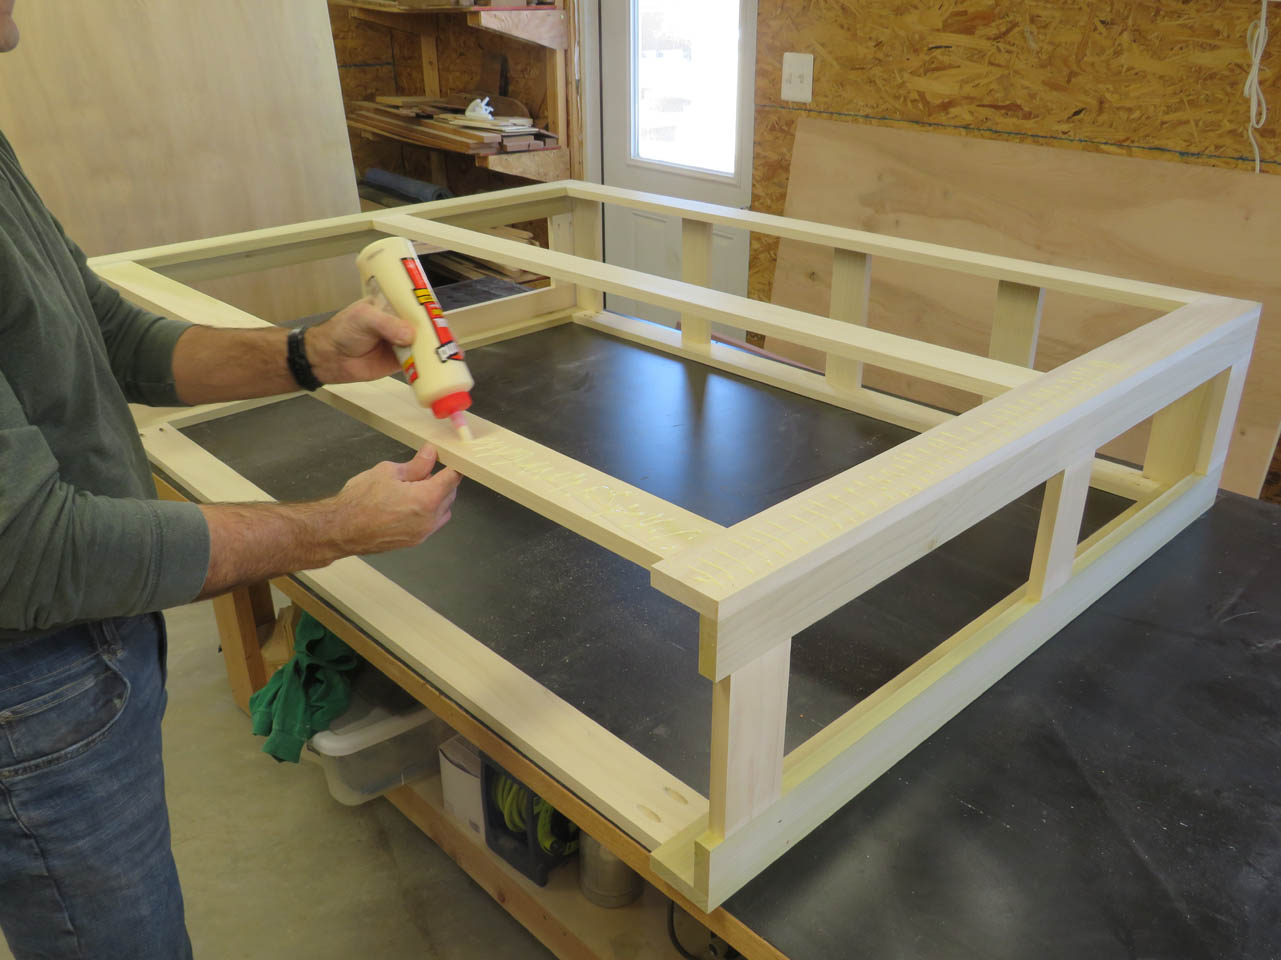
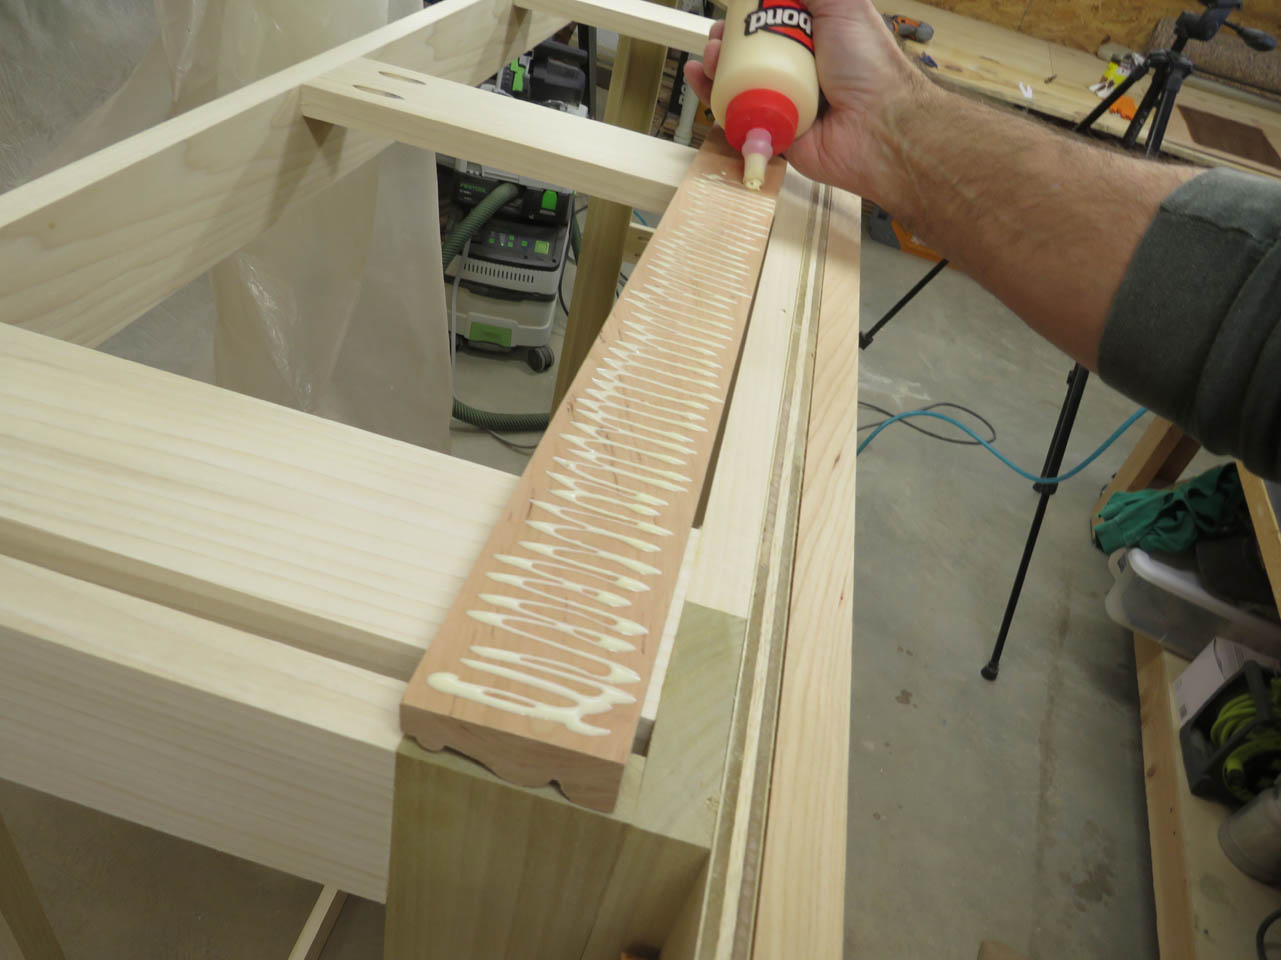
Back to the top, I applied a lot of glue, then clamped it in place.
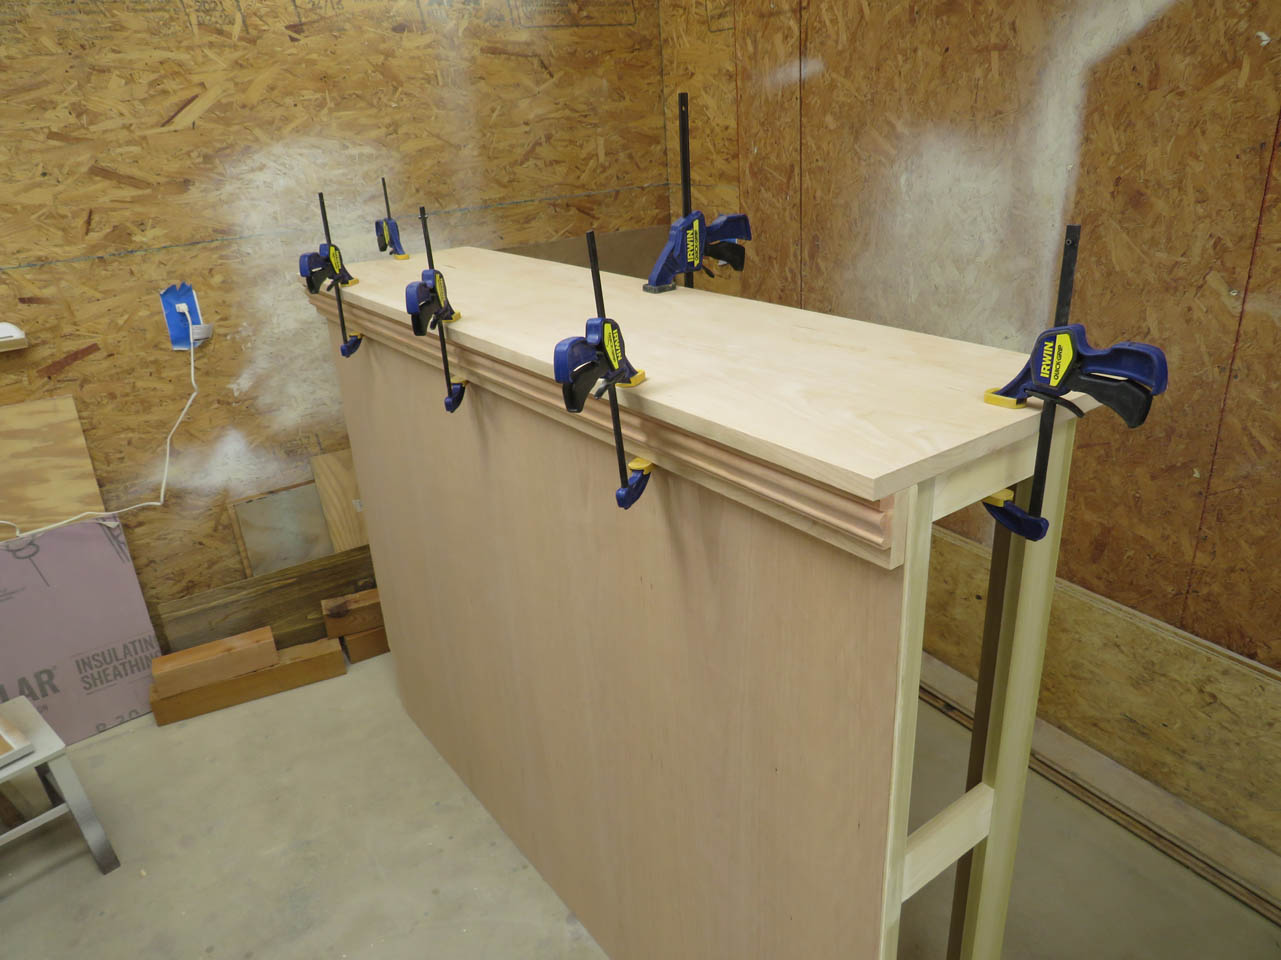
The pocket screws were attached from the inside of the framework.
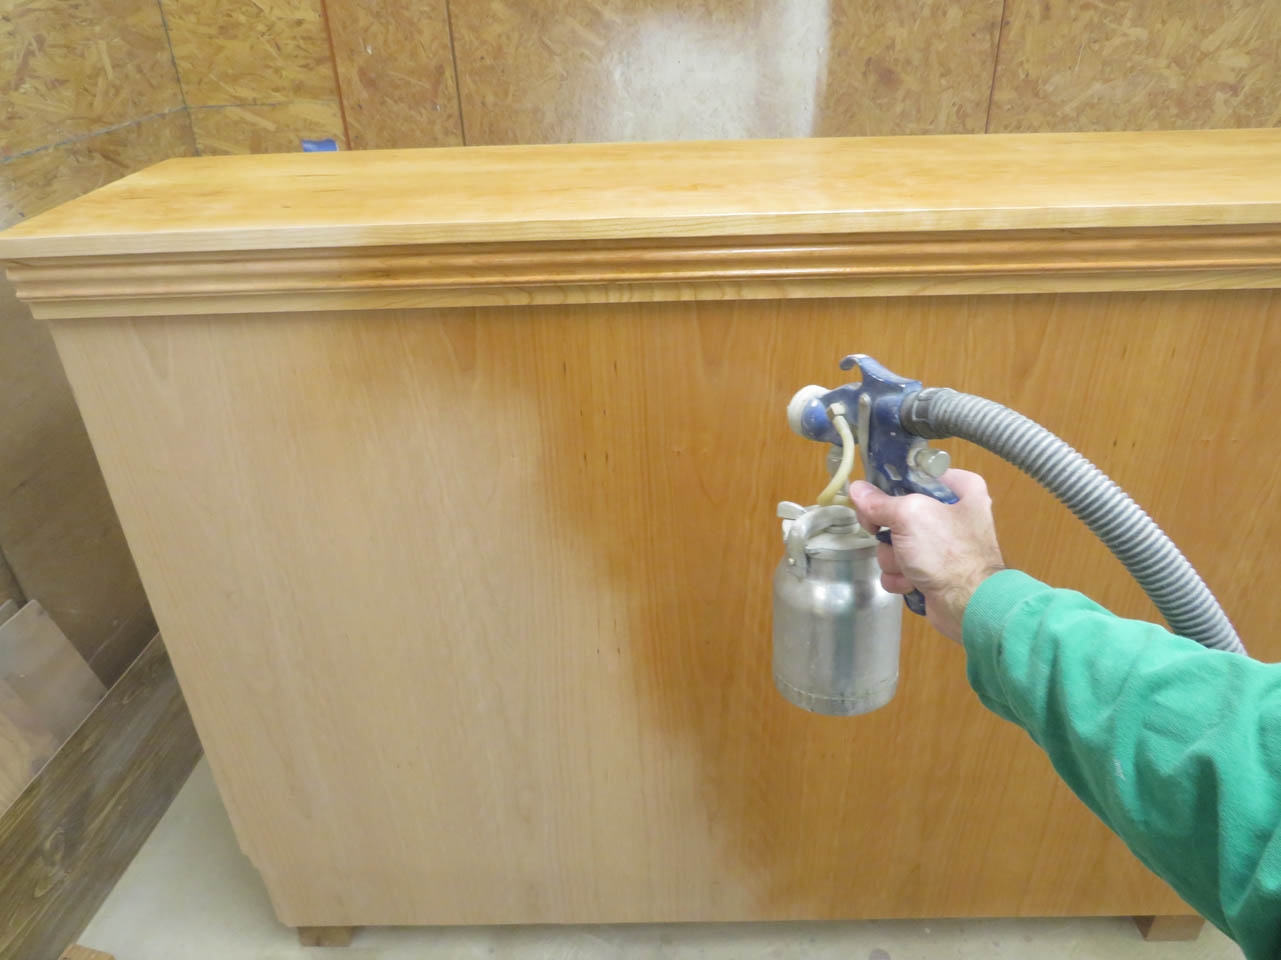
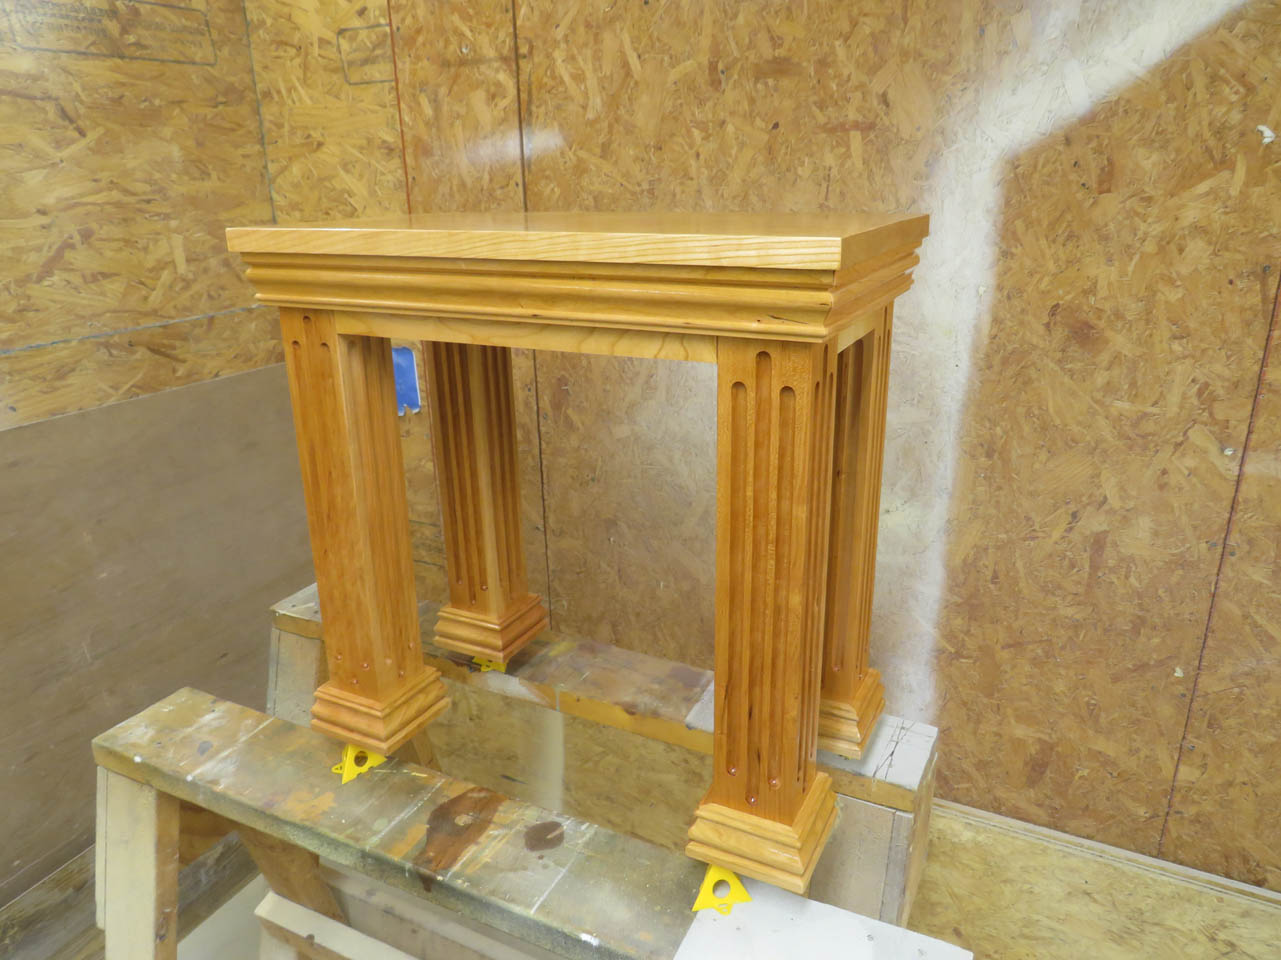
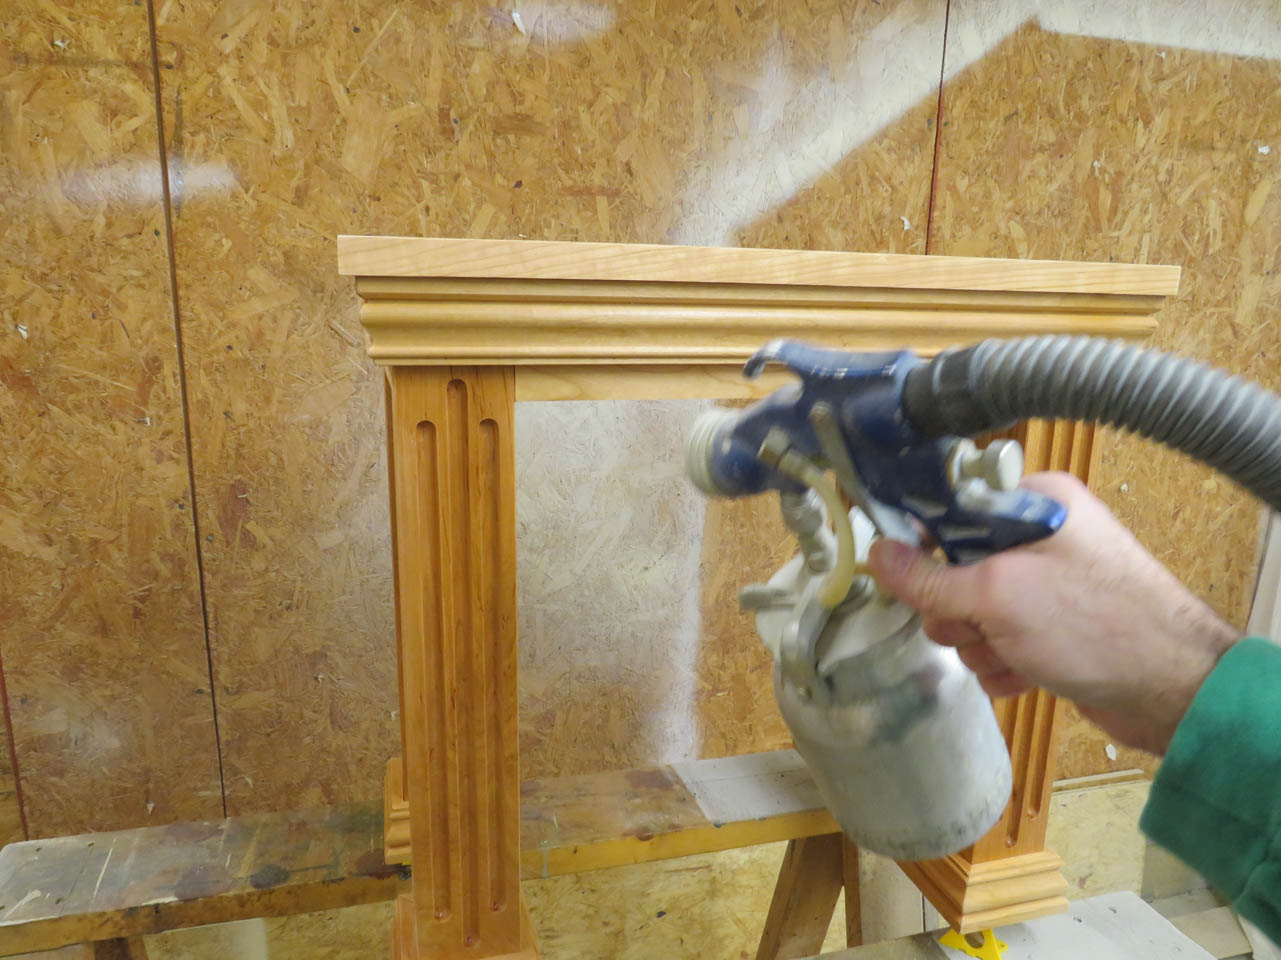
Then it was time to apply polyurethane.
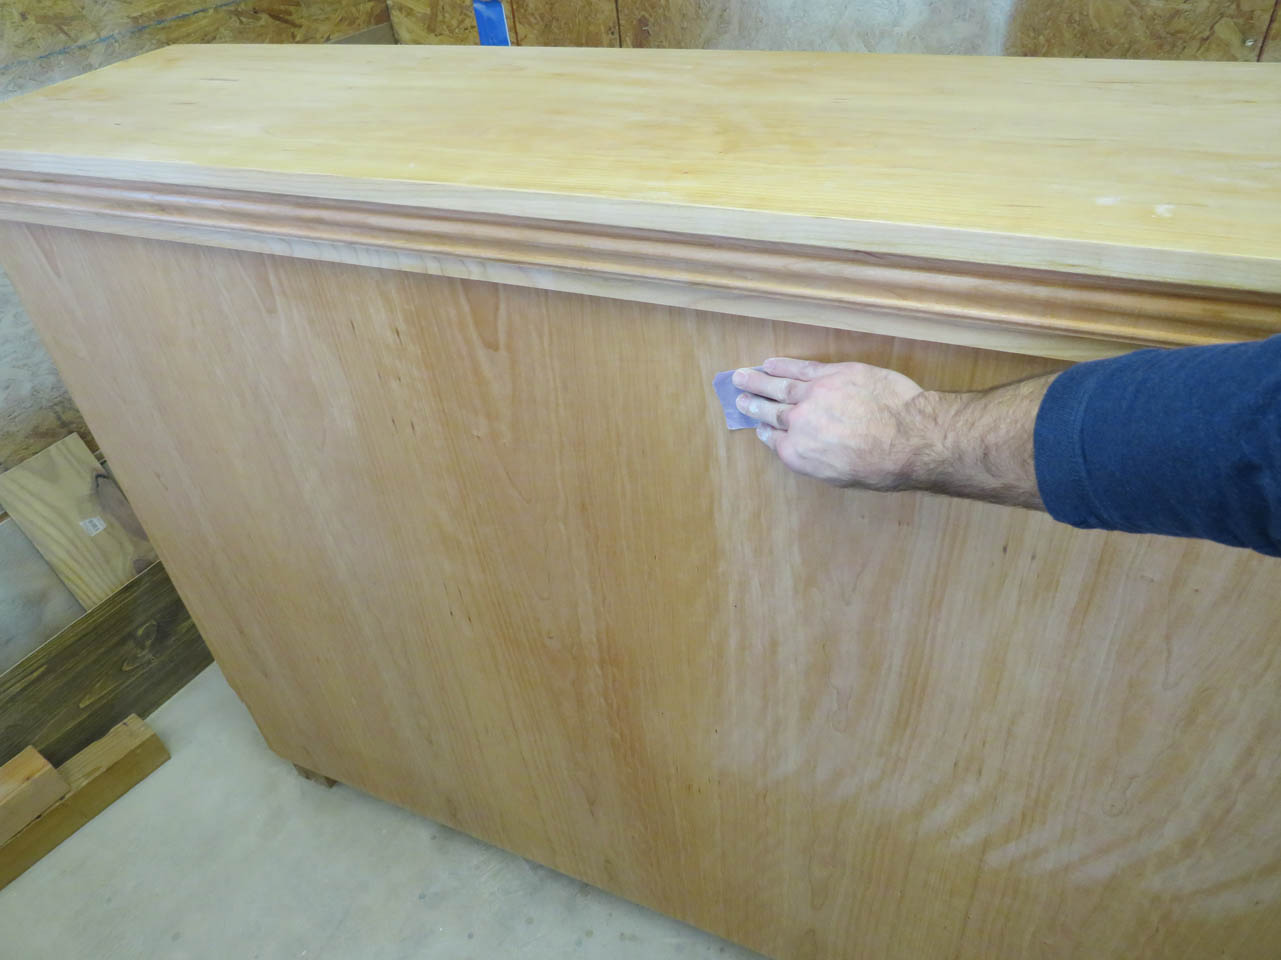
After the first coat dried, it was sanded back and the second coat was sprayed on.
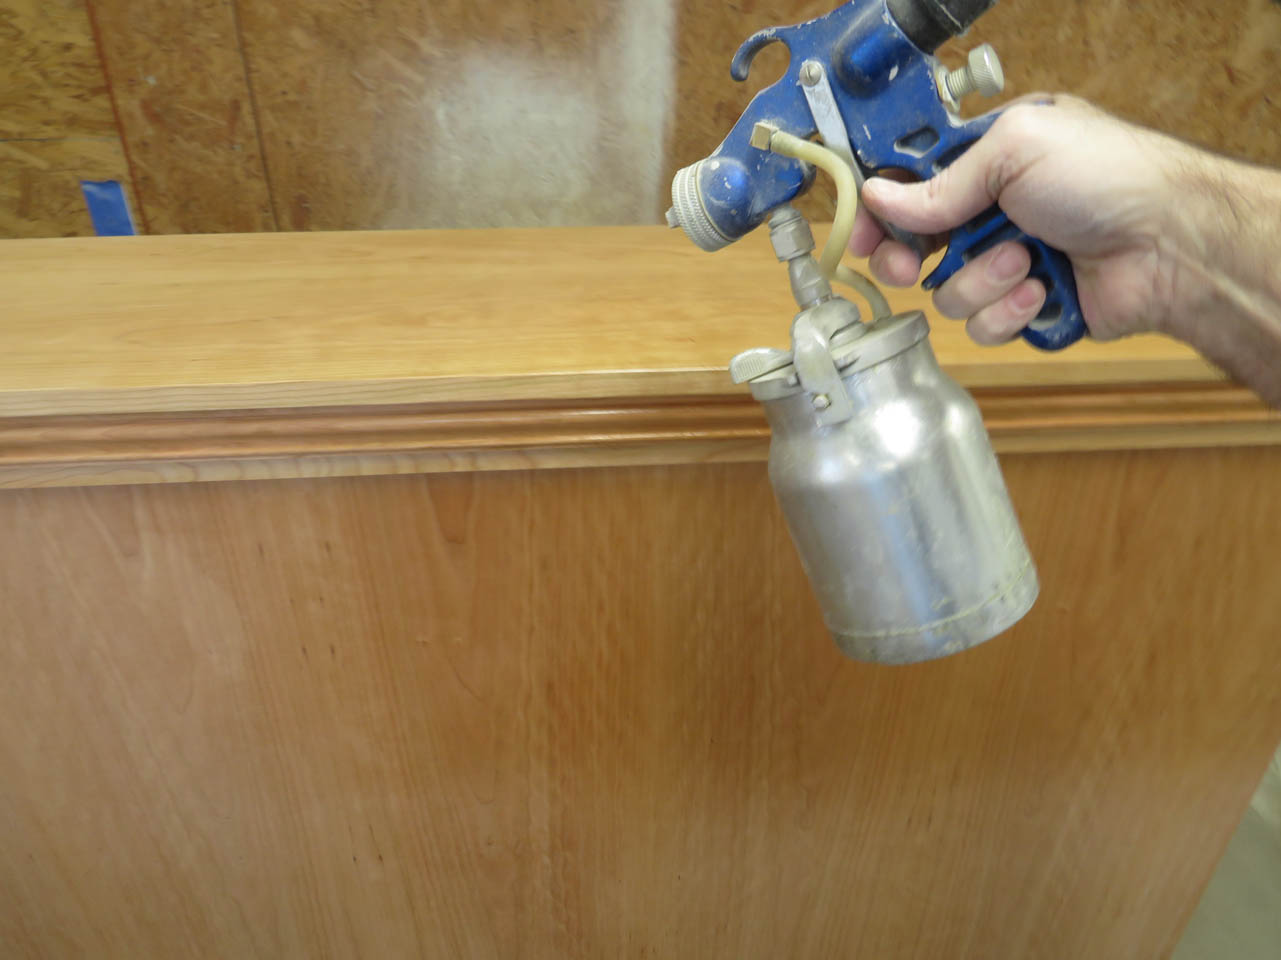
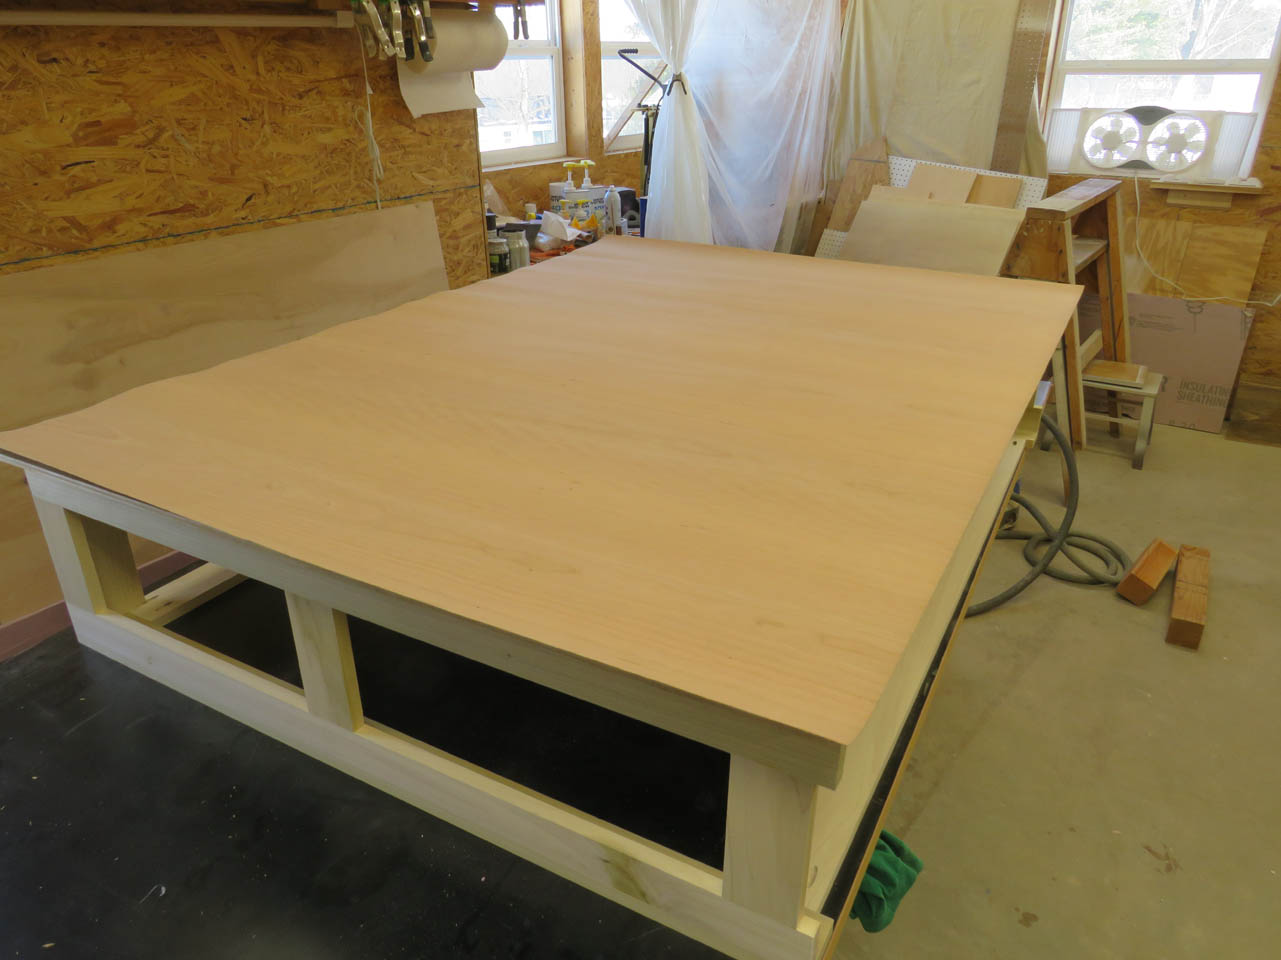
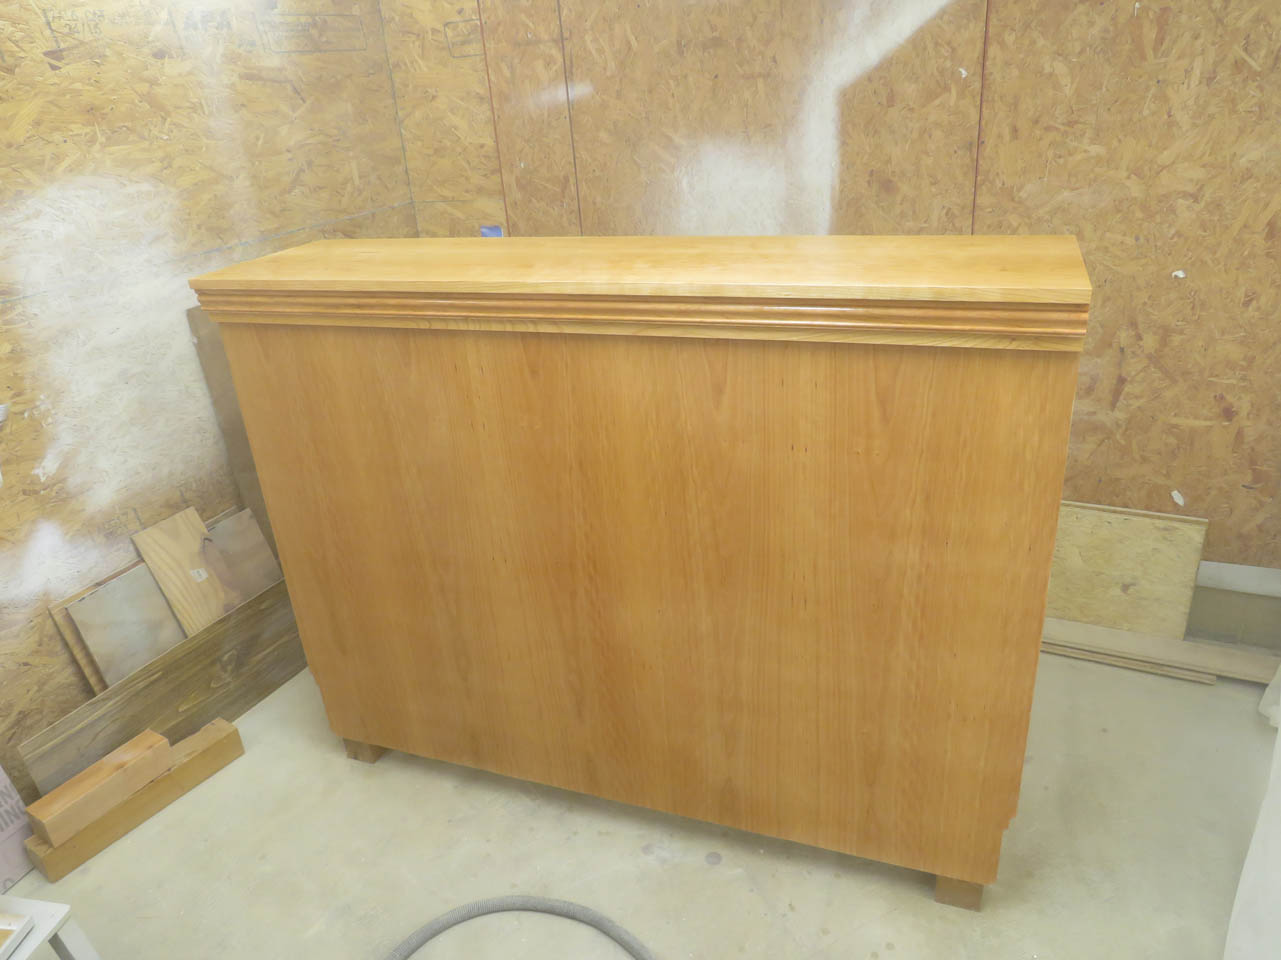
After three coats the main body is done.
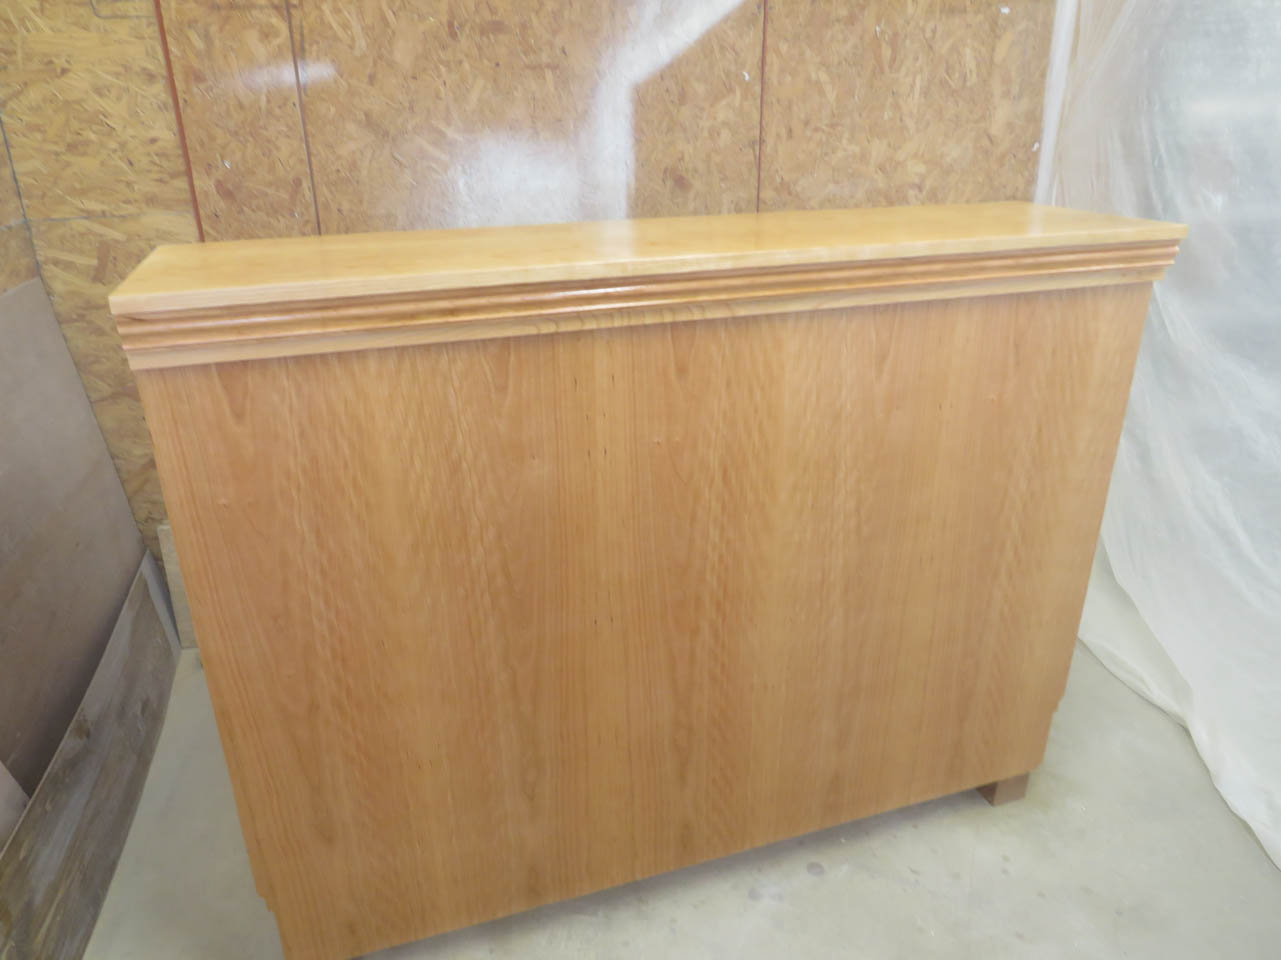
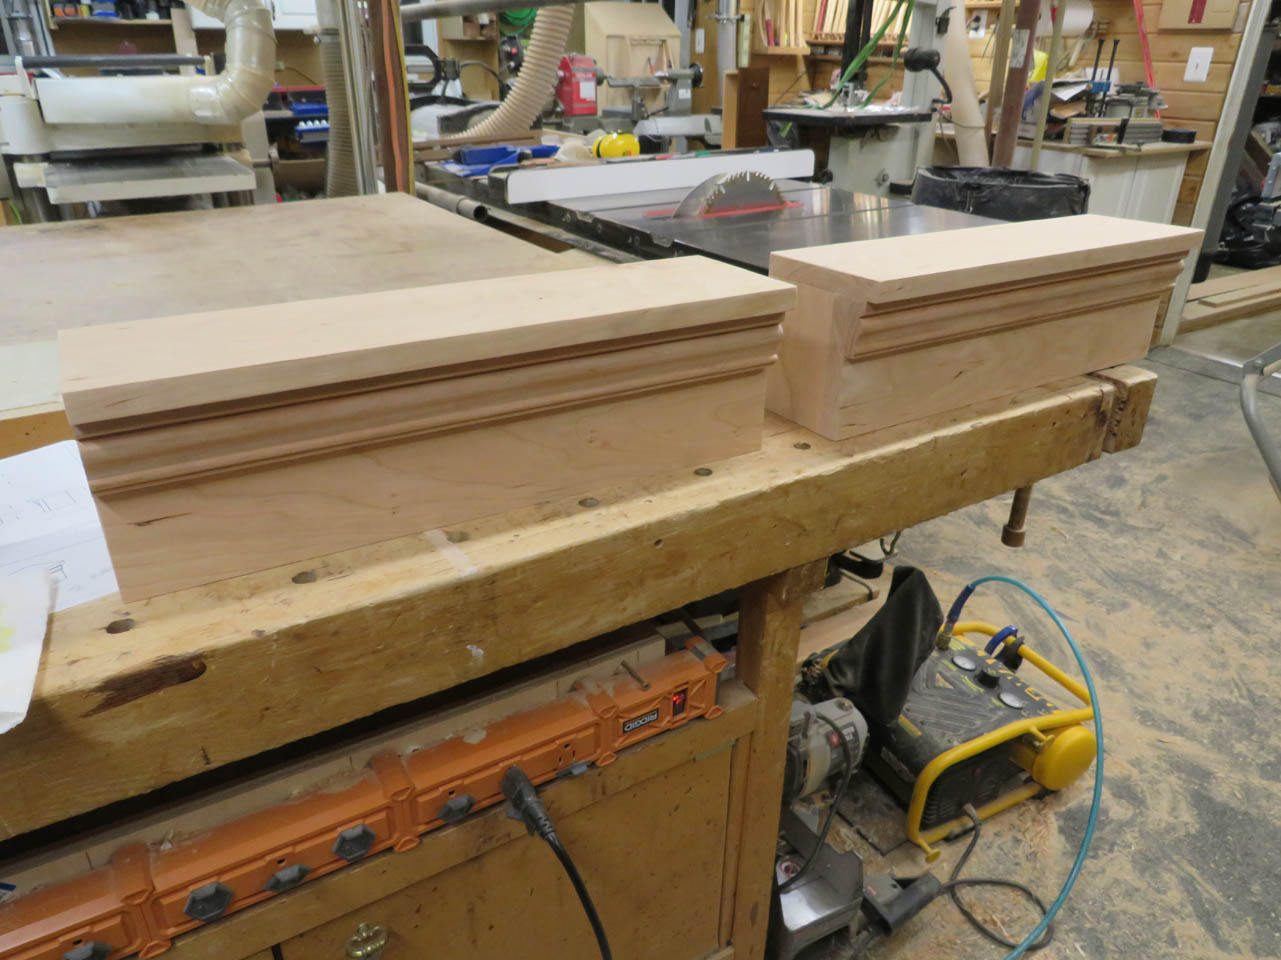
Reliquaries will be set along the front of this piece. I was asked to make some matching shelves for the back for candles to sit on.
These are pretty simple, I cut a top, front, and two sides to glue together.
I brad nailed the top on then clamped the rest into place and left it to dry.
I also cut more molding to trim the front. That was also glued and clamped into place
When they were done, they were sanded and sprayed with polyurethane.
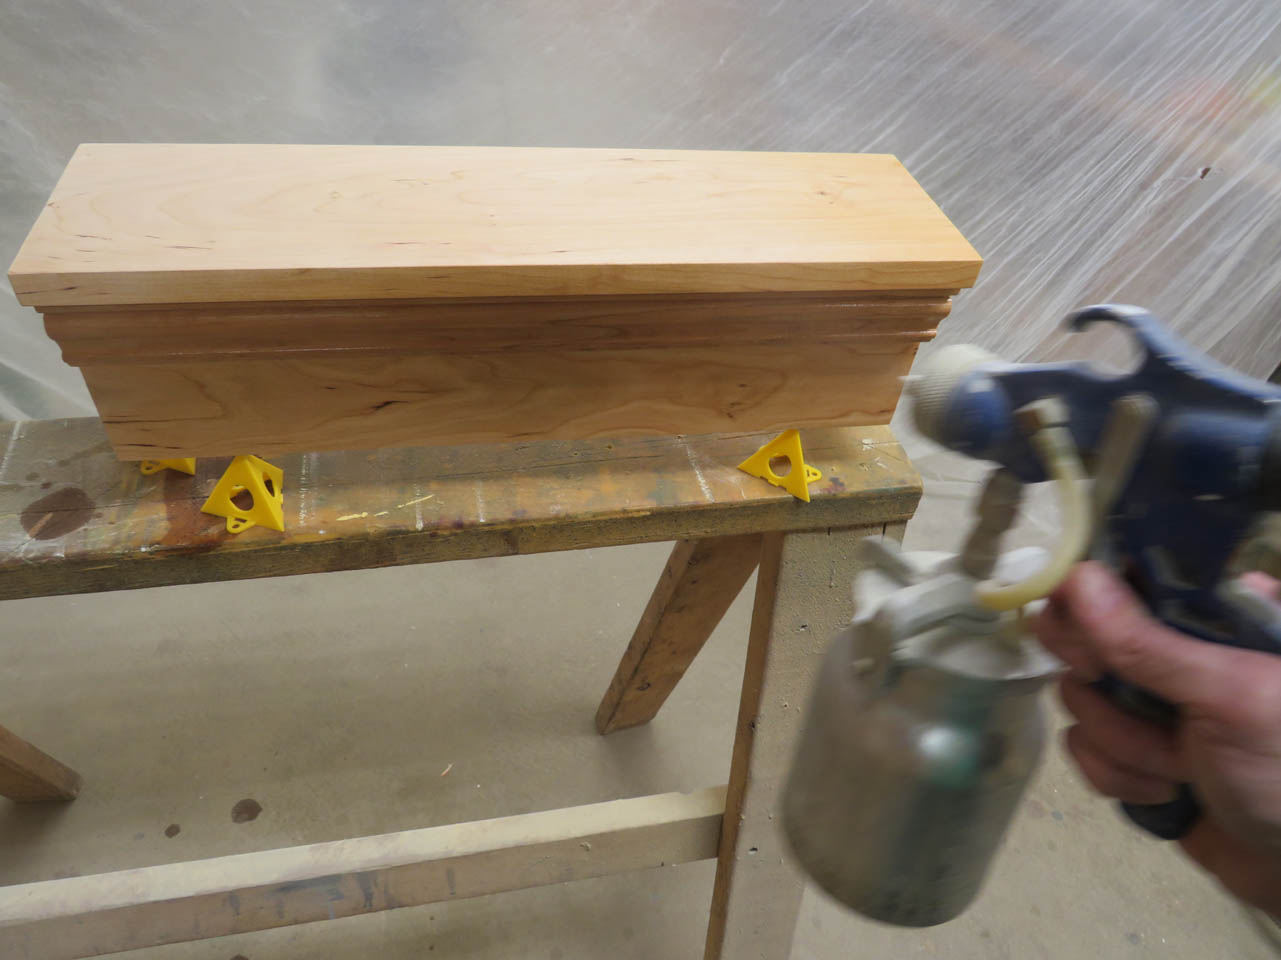
They had the same three coat process as the rest of the pieces then they were set in place on the high altar and I got started on the final piece.
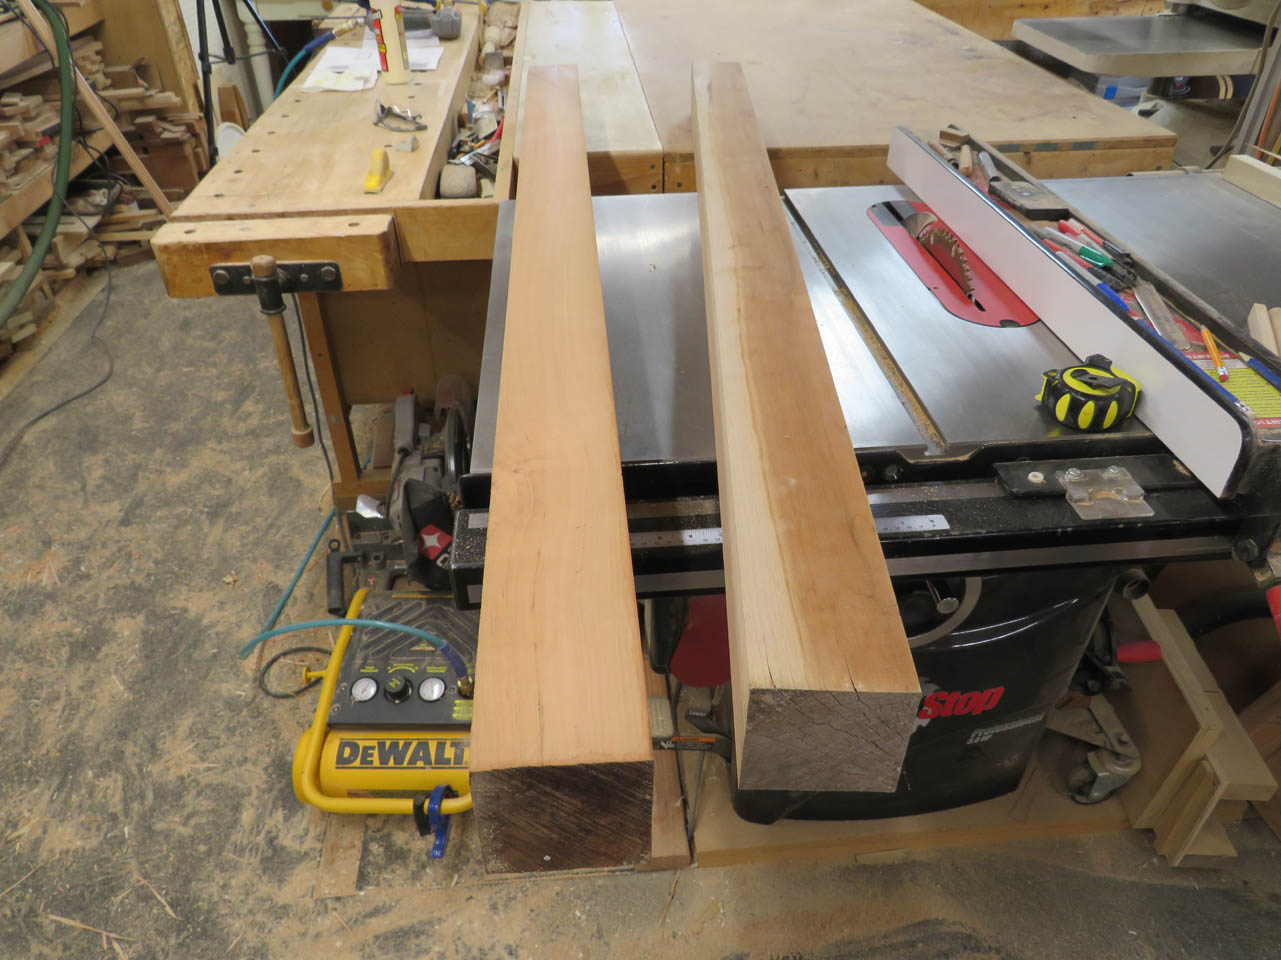
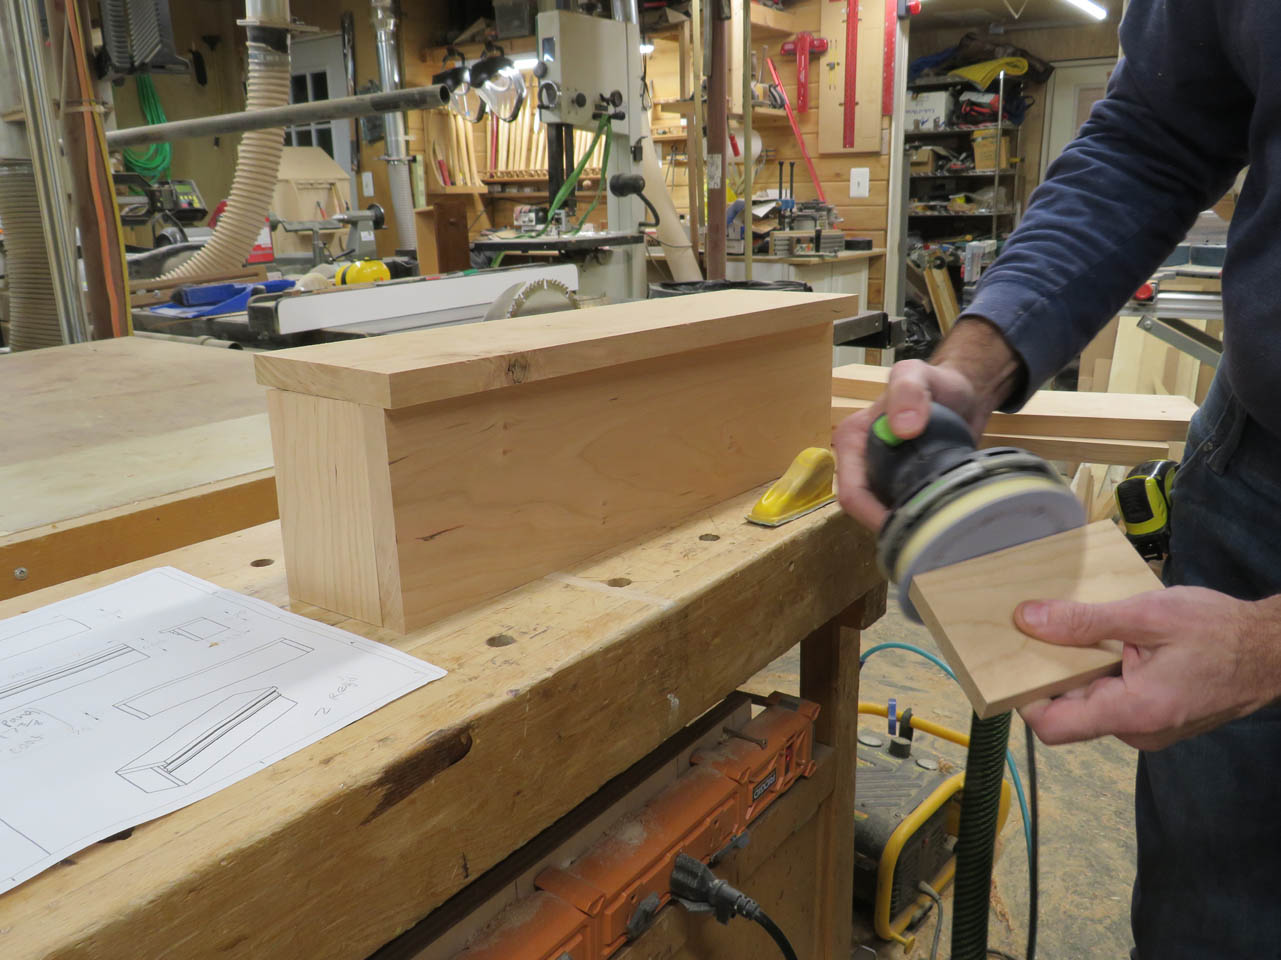
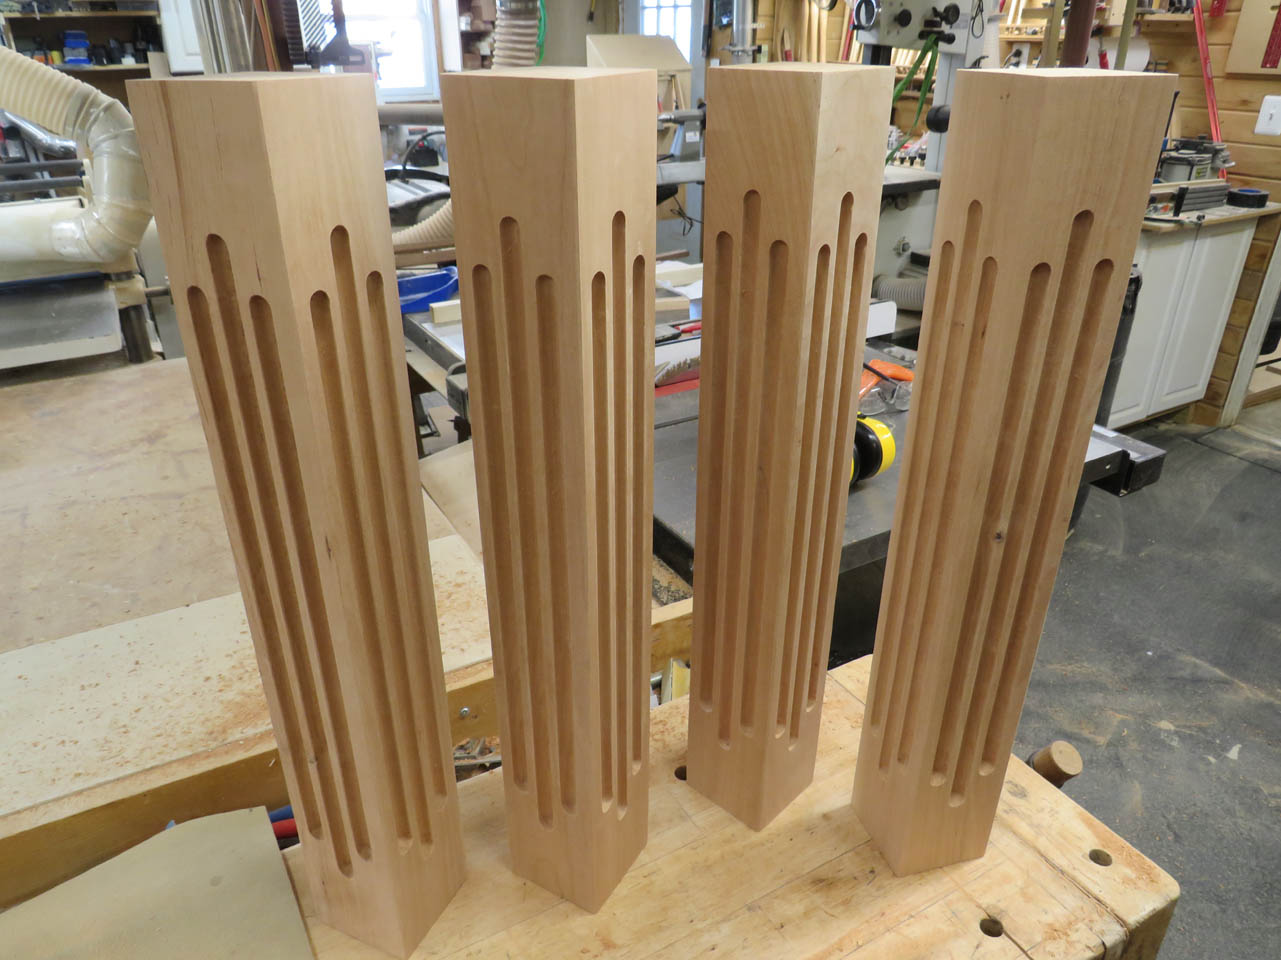
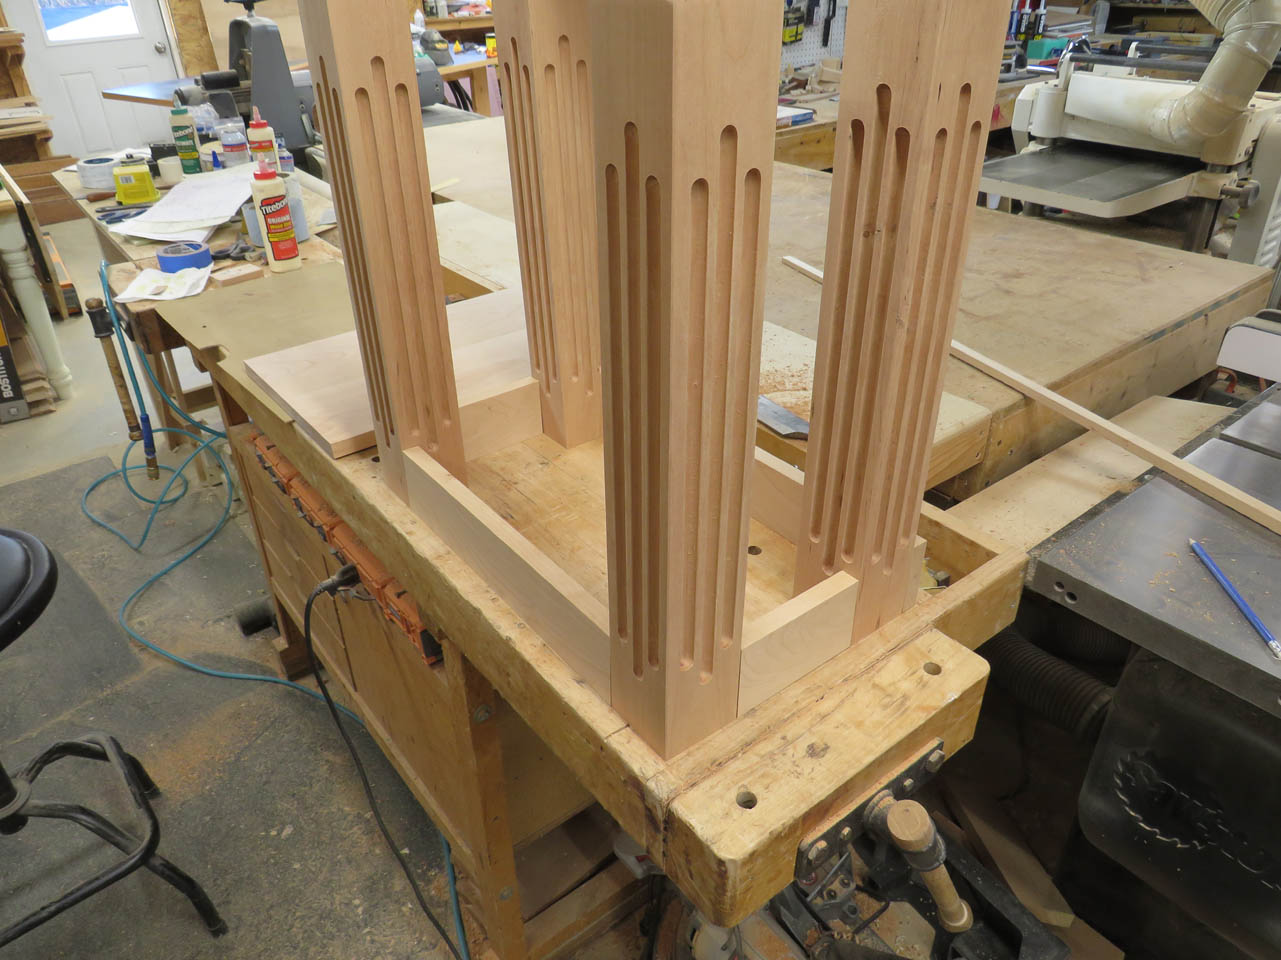
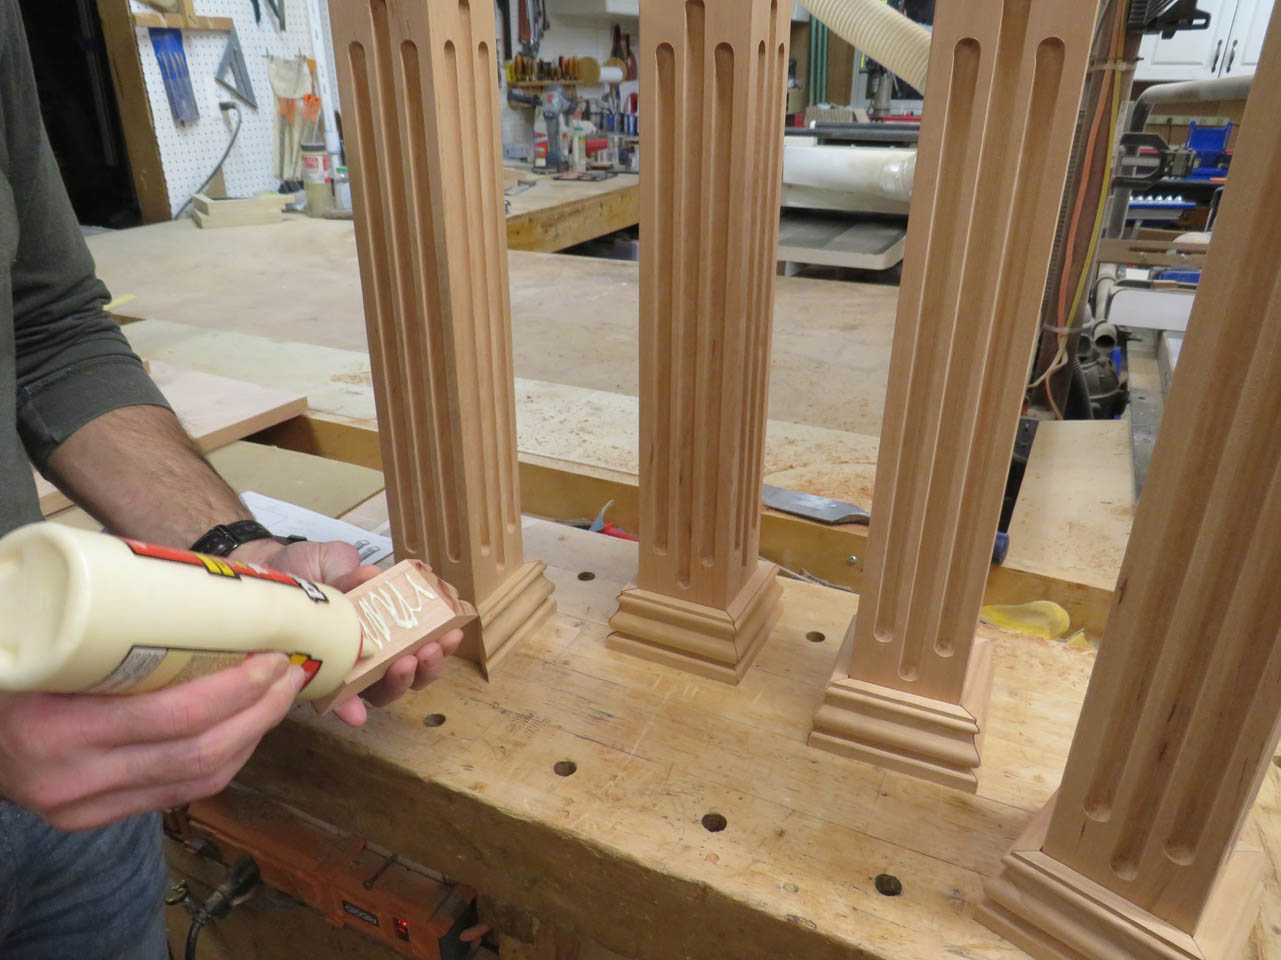
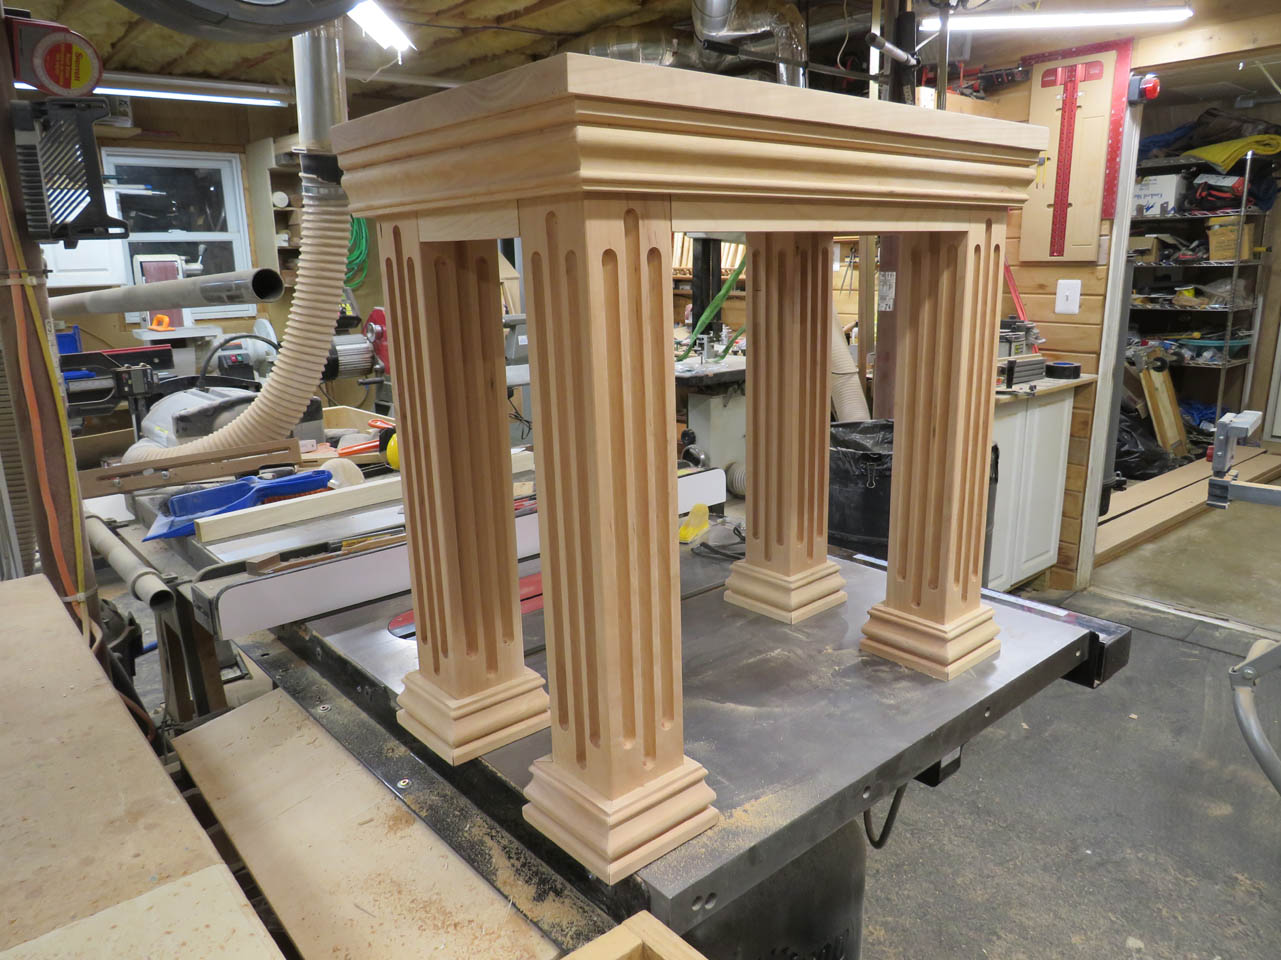
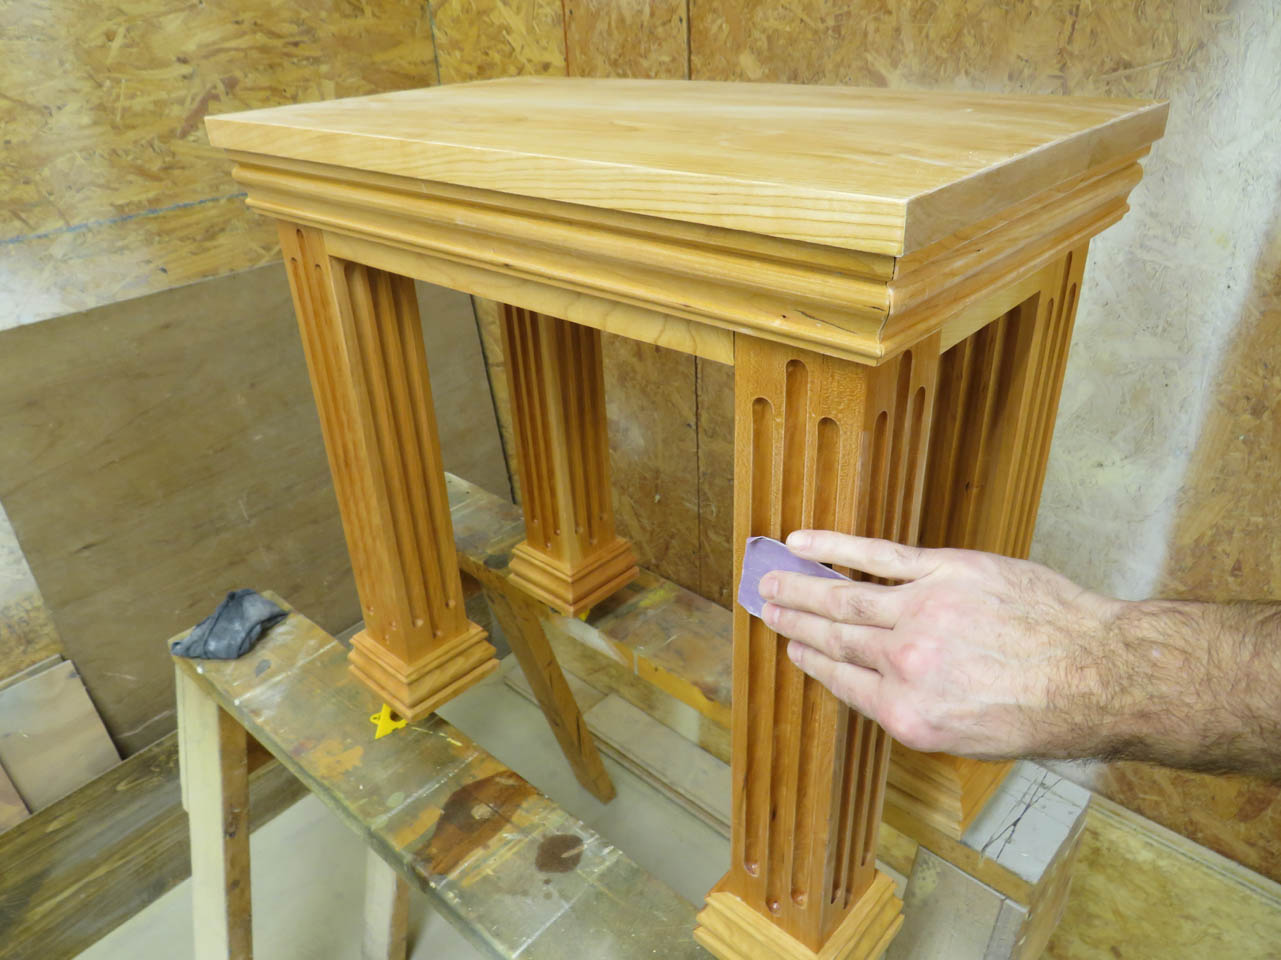
This will be a small house that the tabernacle will sit within. It will have four trimmed and fluted legs to match the rest of the chapel furniture.
I got some 60″ long 3.5″ square(ish) pieces to make the four legs.
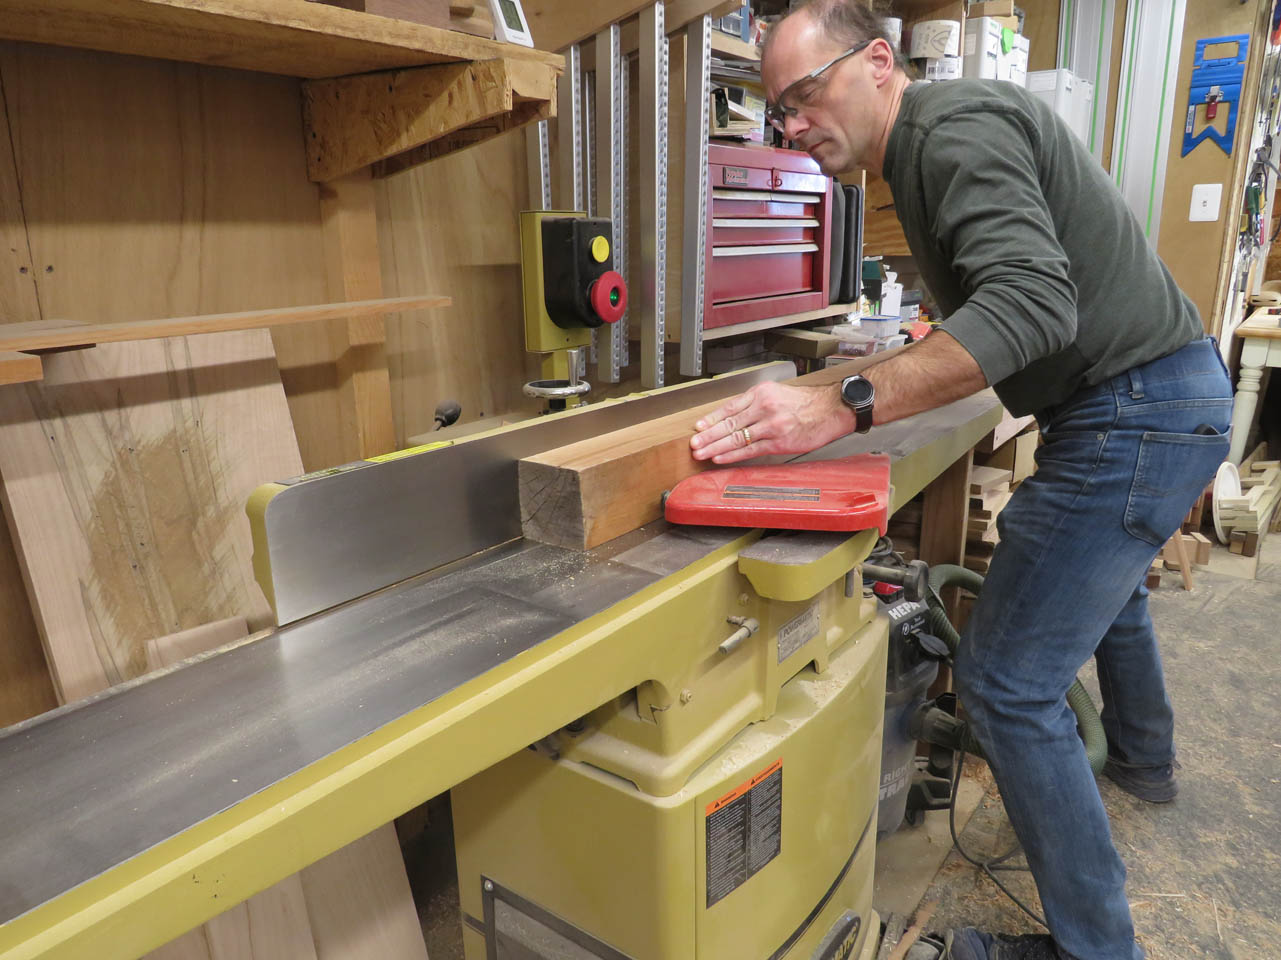
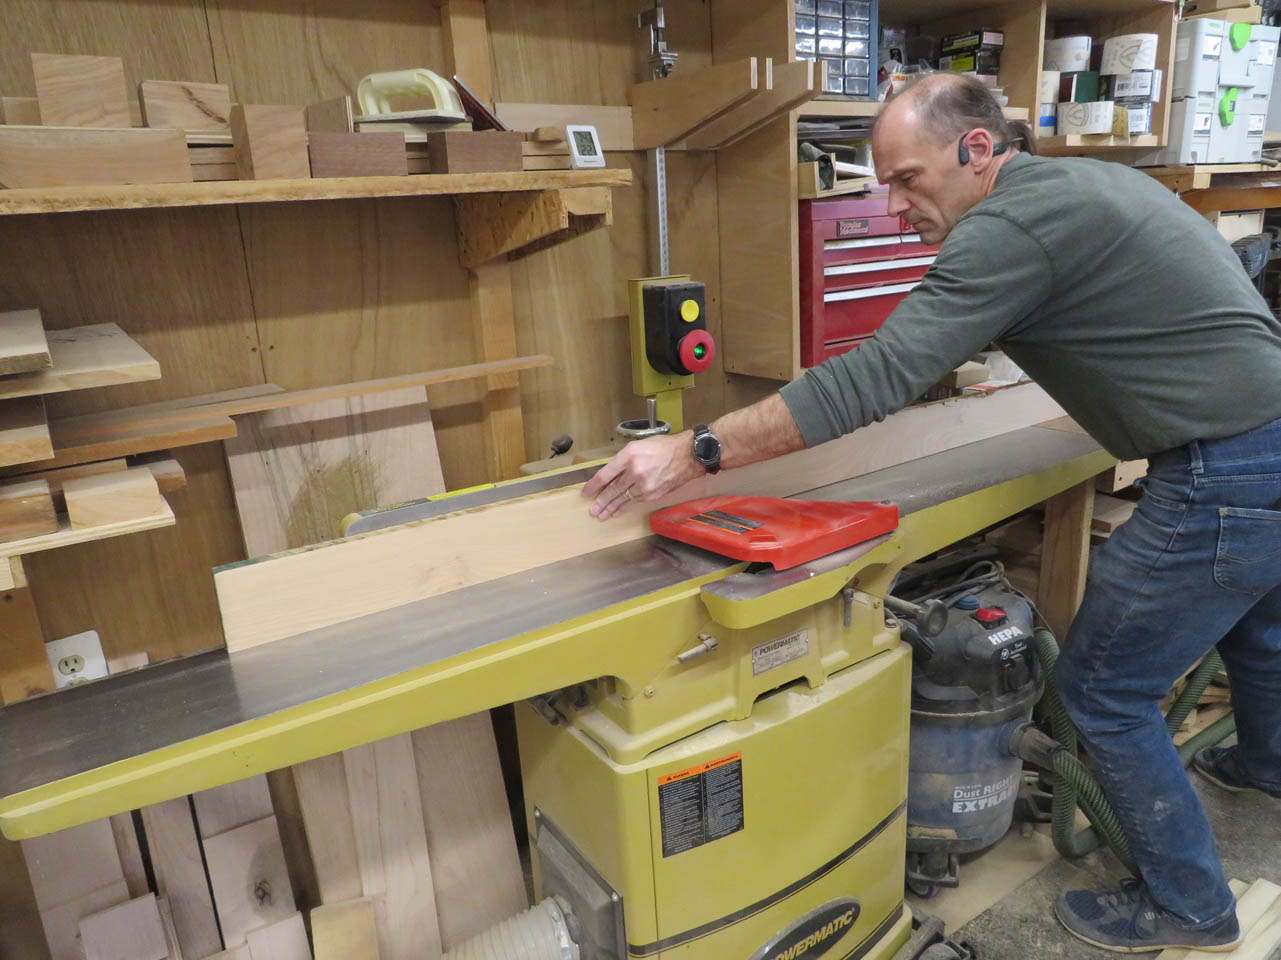
The final width of these legs will be 3″ so I have lots of room to square them up properly on my jointer.

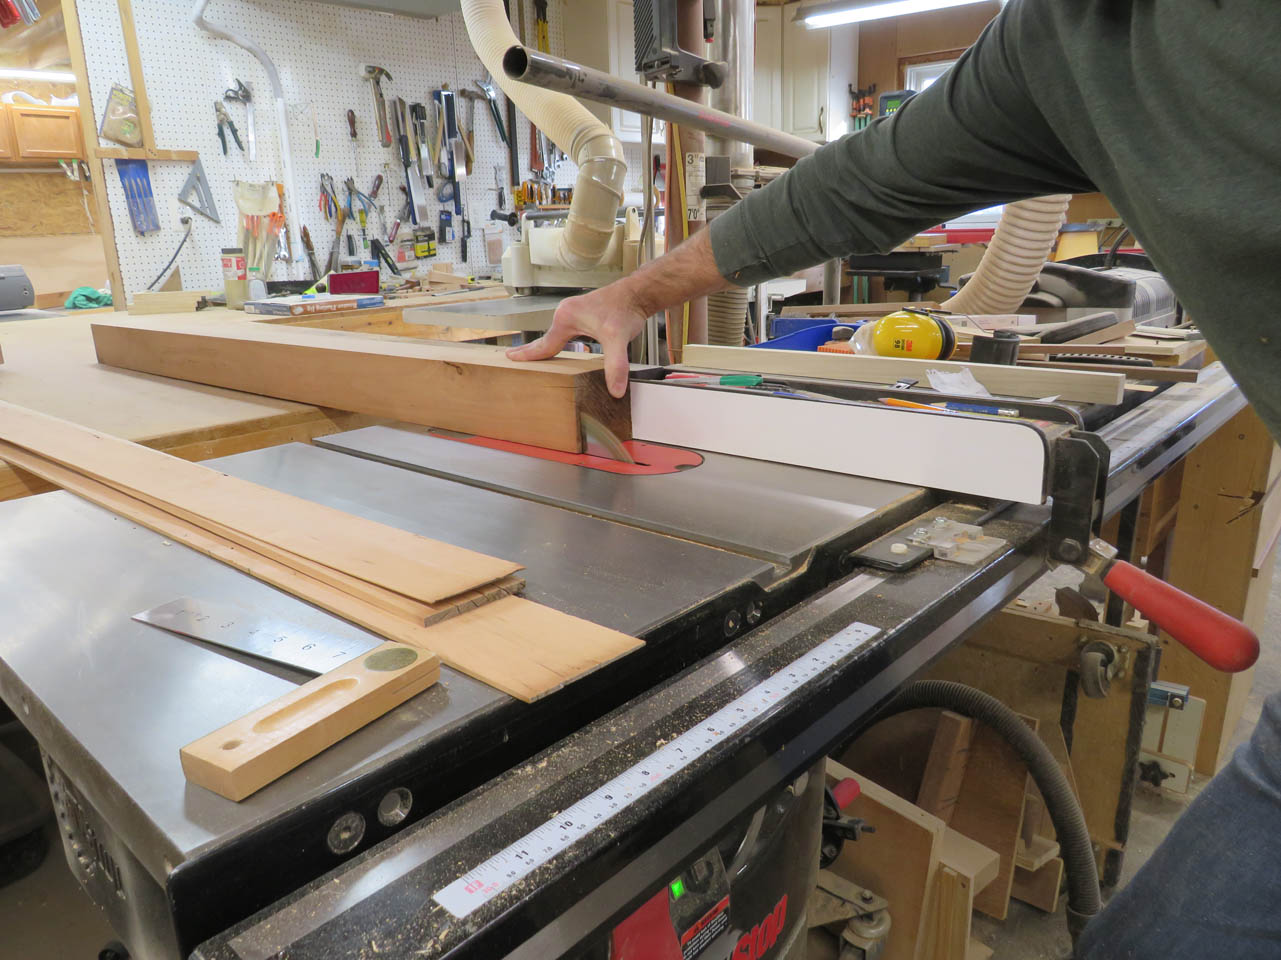
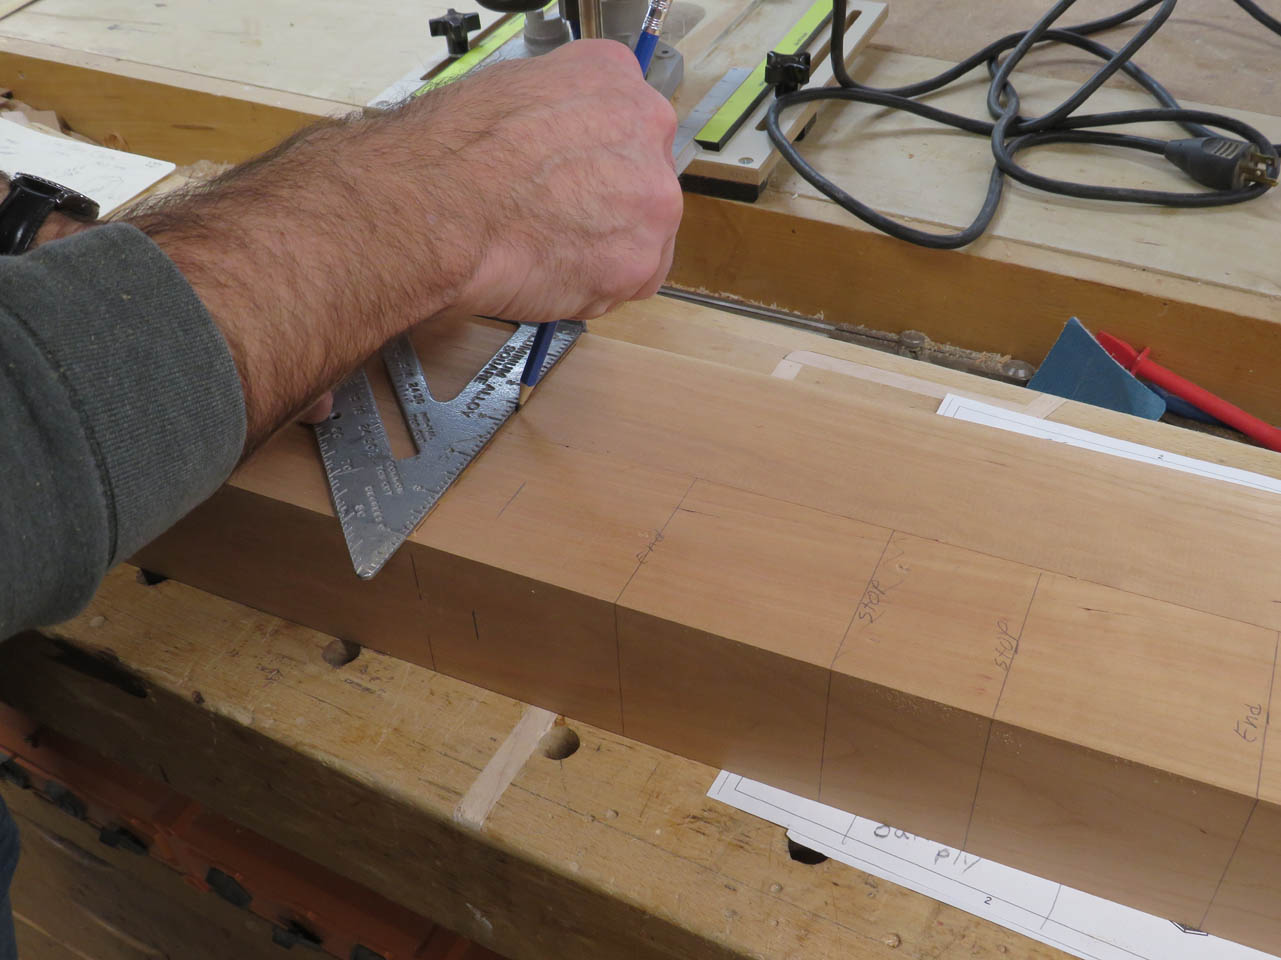
Once they were both cut down to perfect 3″ squares, I started laying out the flute locations.
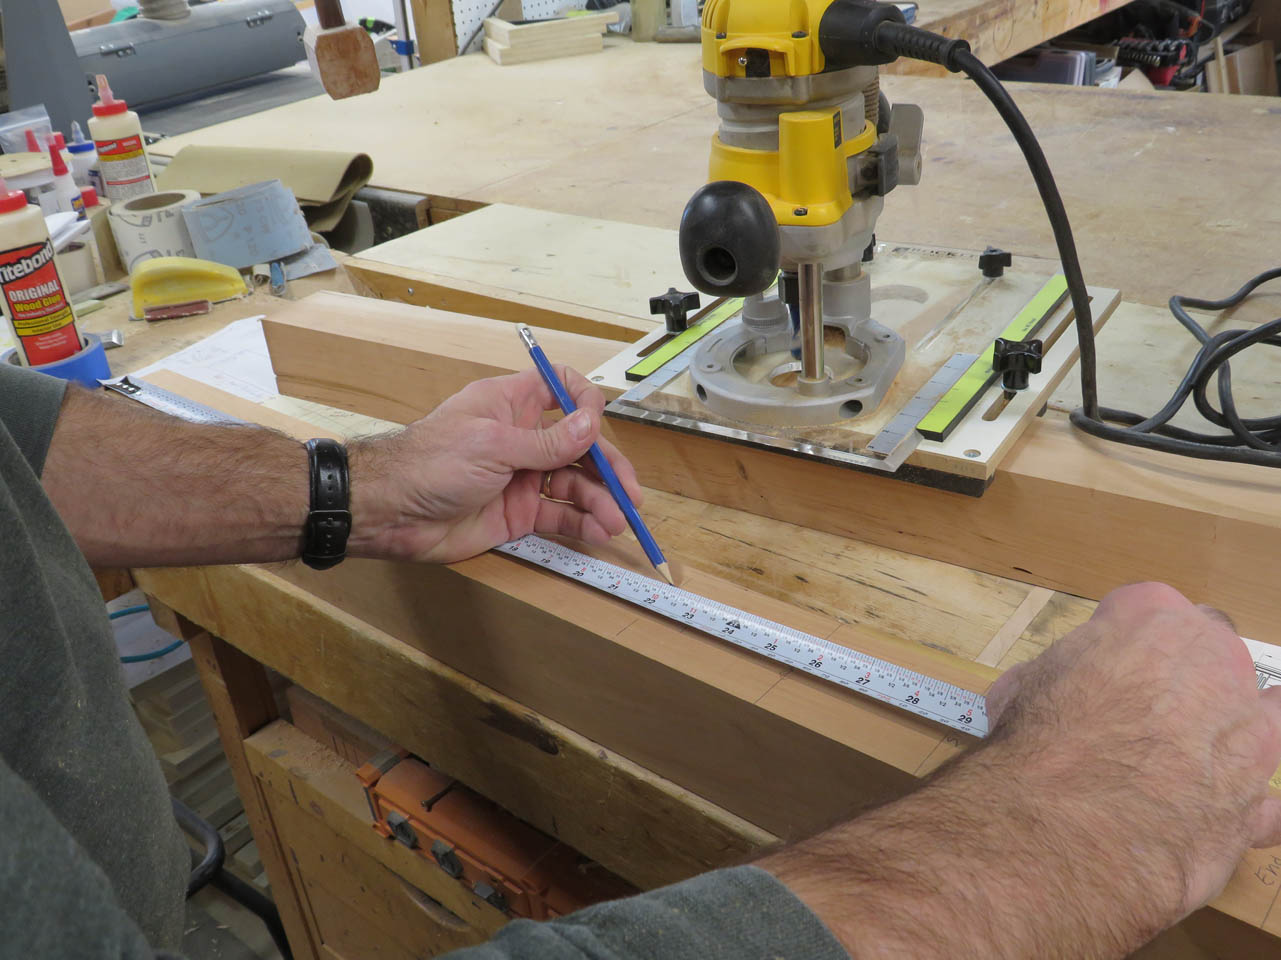
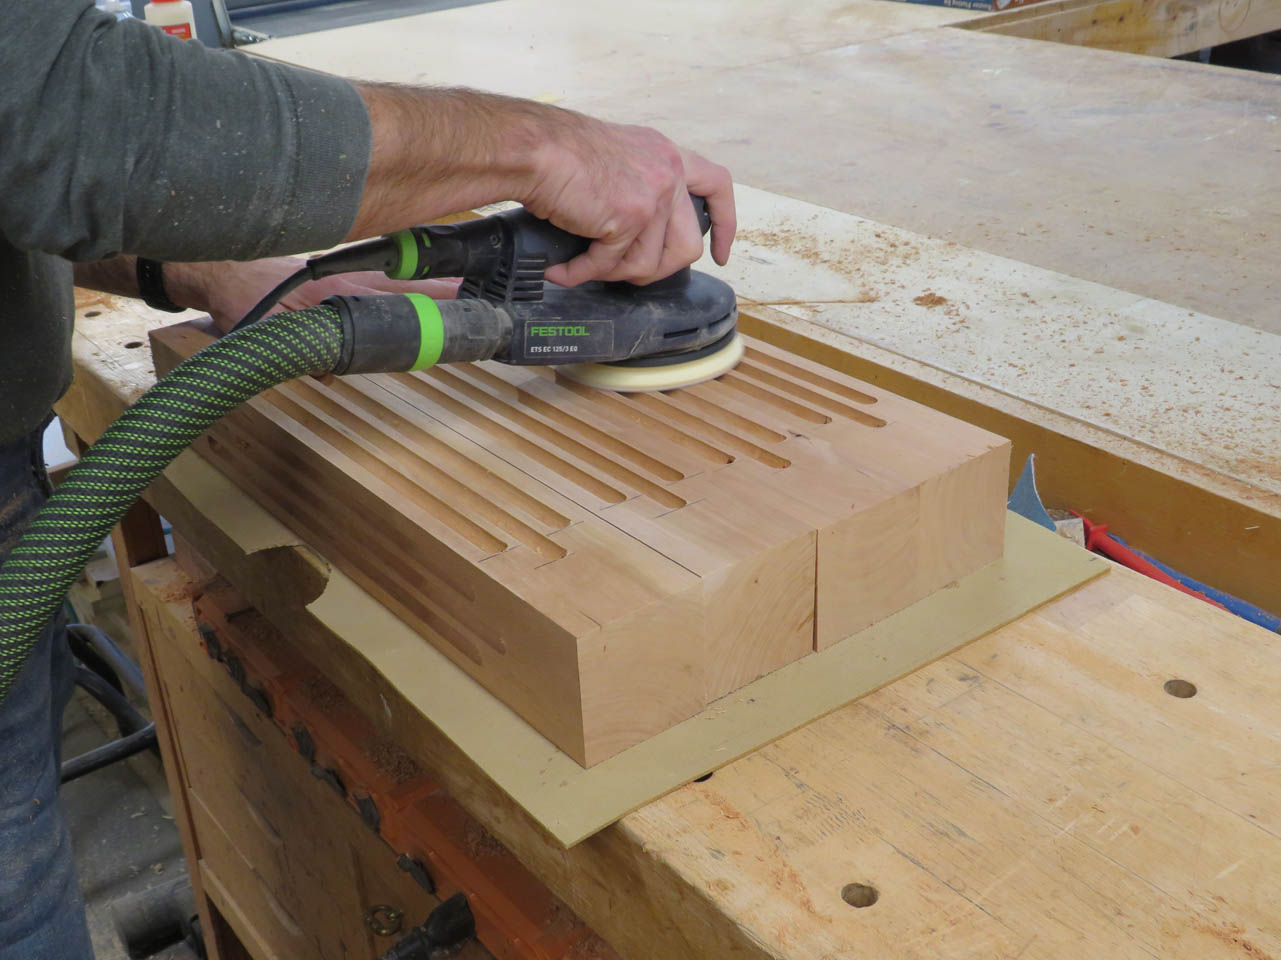
The spacing is the same from both ends and on all four sides so I created a story stick to transfer the marks. I left the pieces oversized so I had room to clamp them down tightly so I could cut the flutes with a router and my fluting jig.

All the marks were copied to the second board and I got started cutting. The jig moves between two clamped blocks for the longer center section. For either side, I add a 1″ block to each end so the flute on either side is a little shorter.
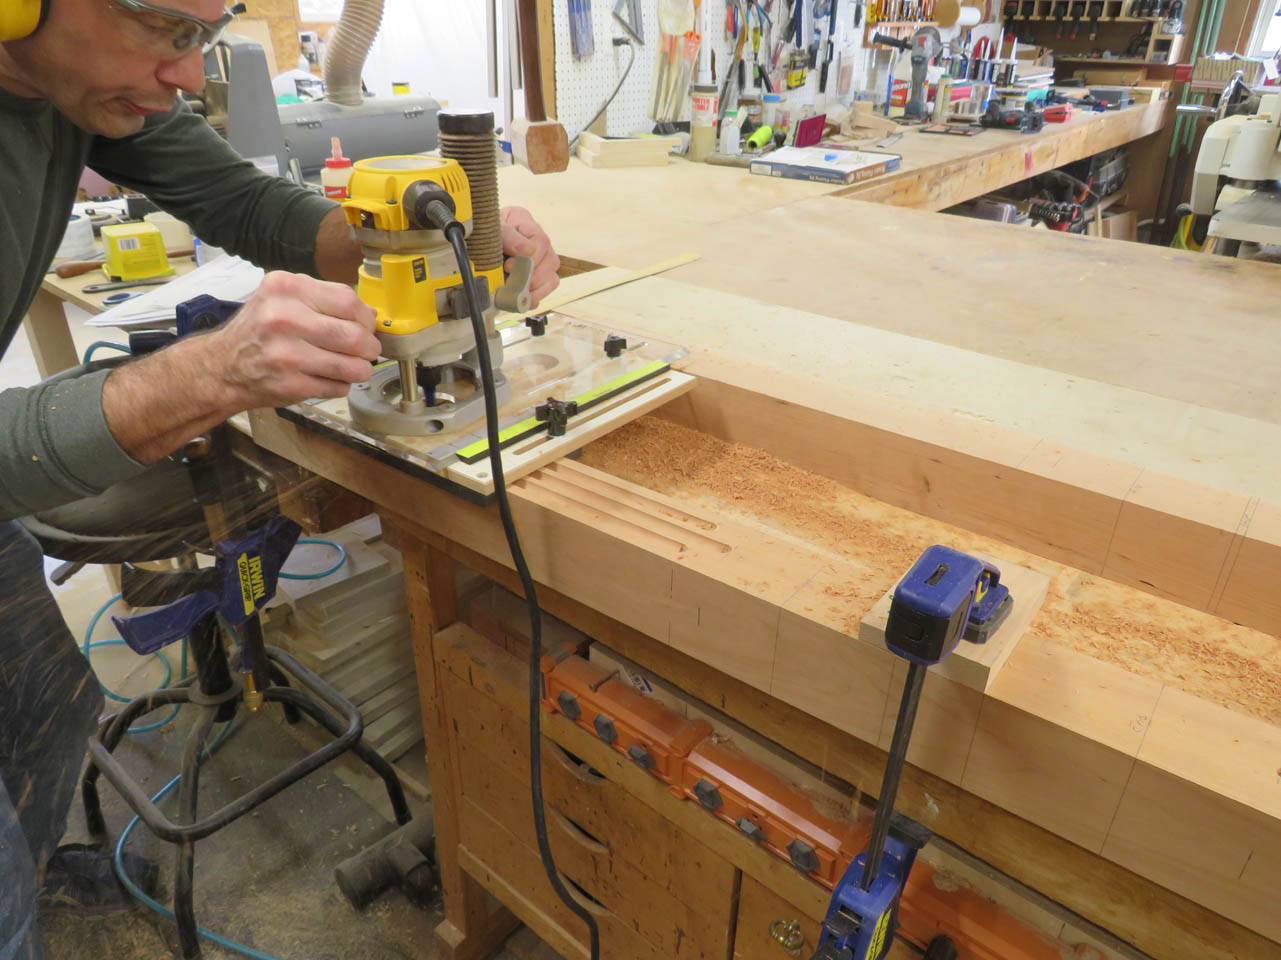
This was a long, messy process requiring me to change the settings three times per section for sixteen different sections.
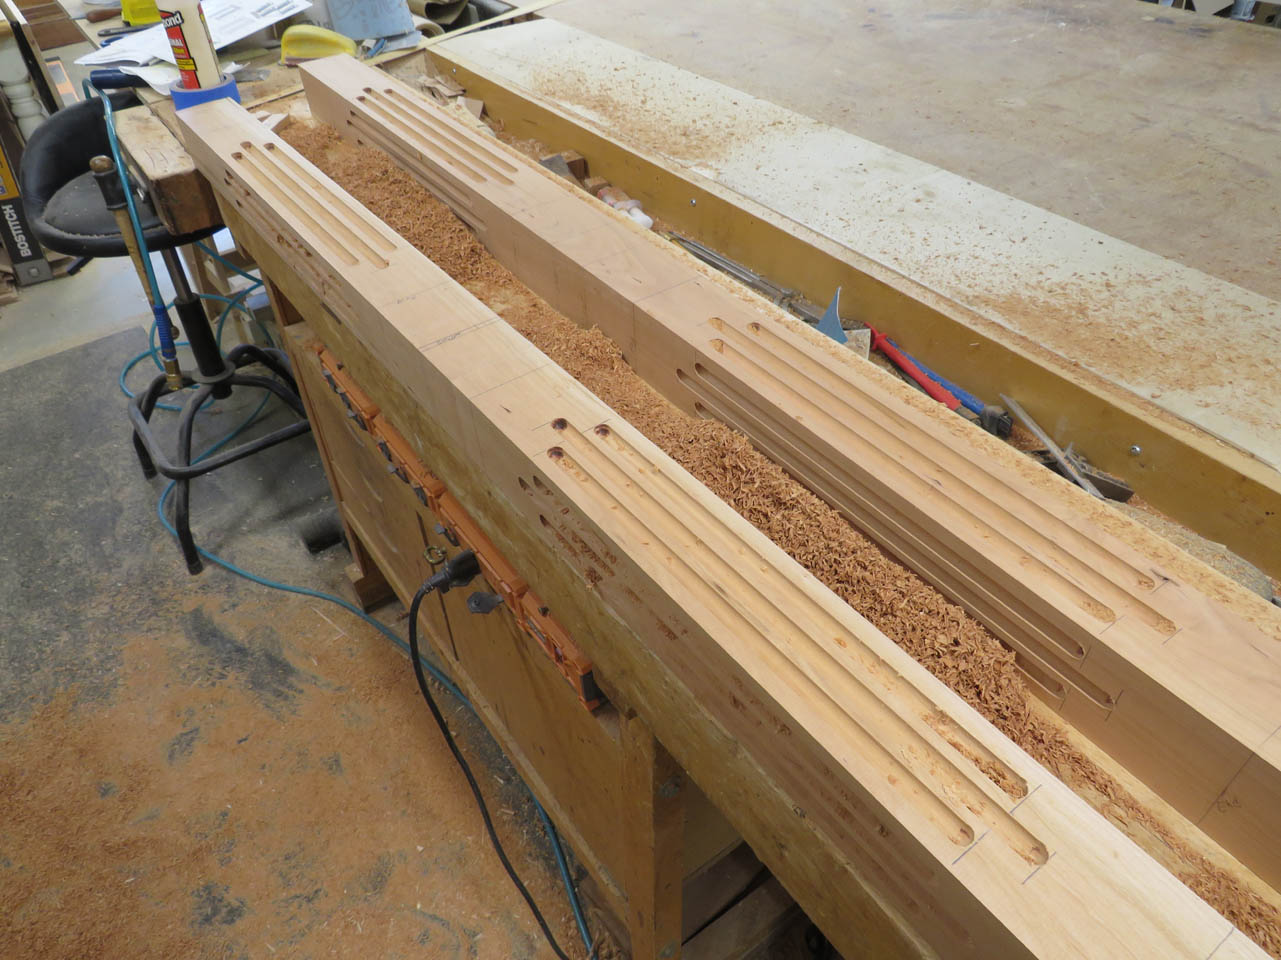
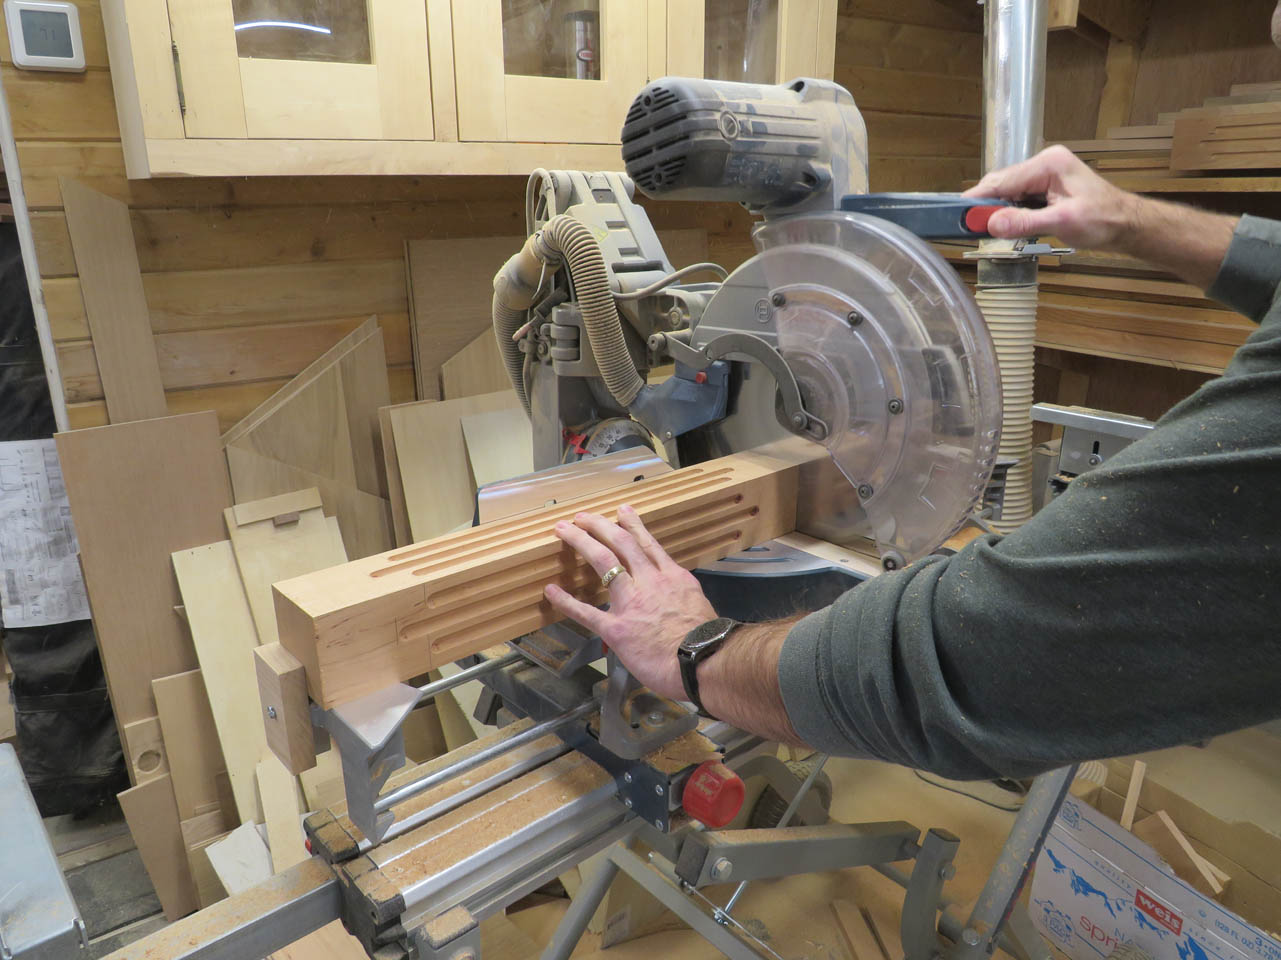
Once finished, it was time to cut them to length then finish sand them.

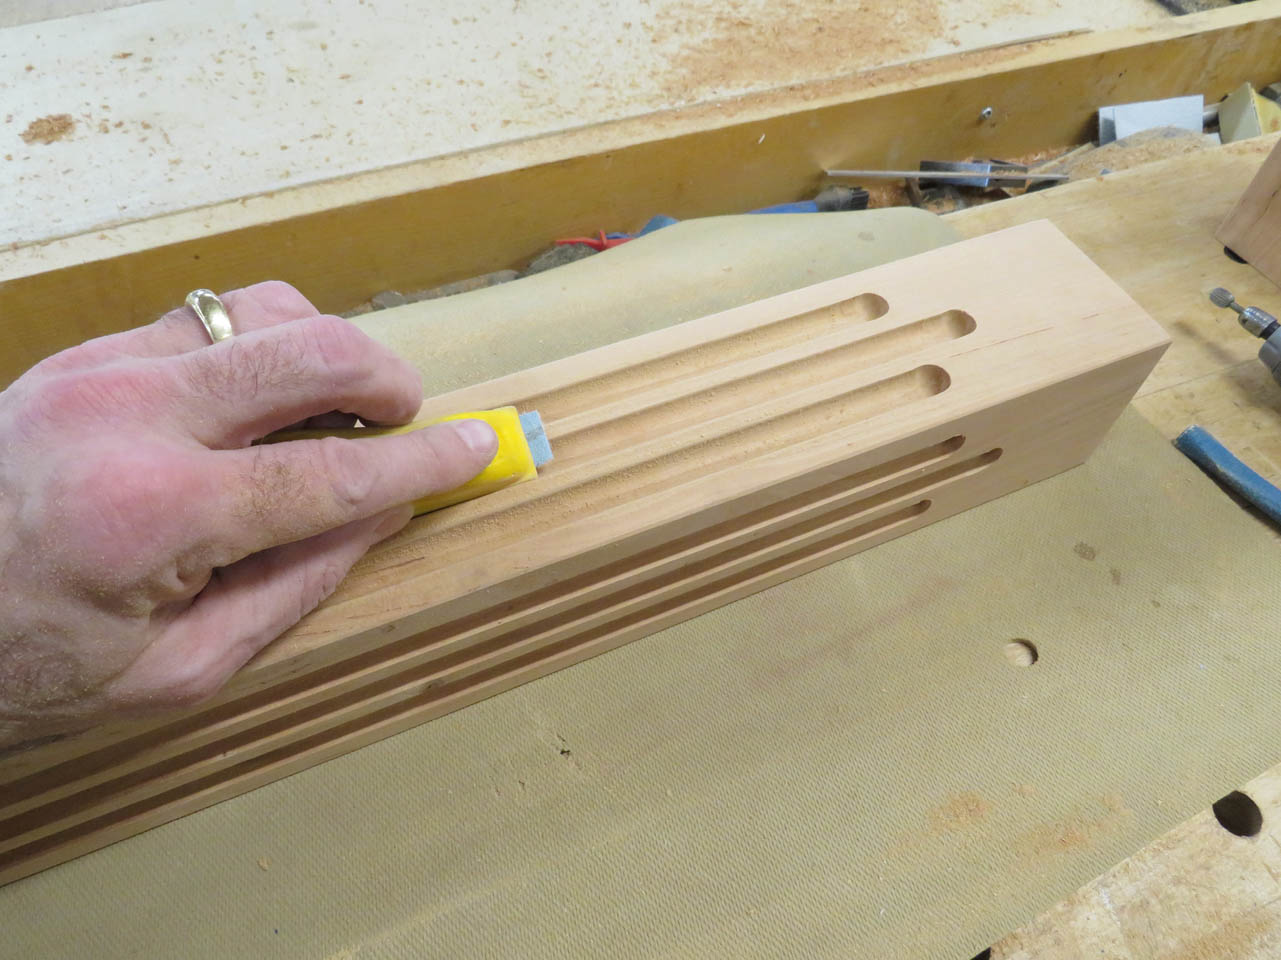
Of course each groove end had burn marks from the pitch in the wood heating up.
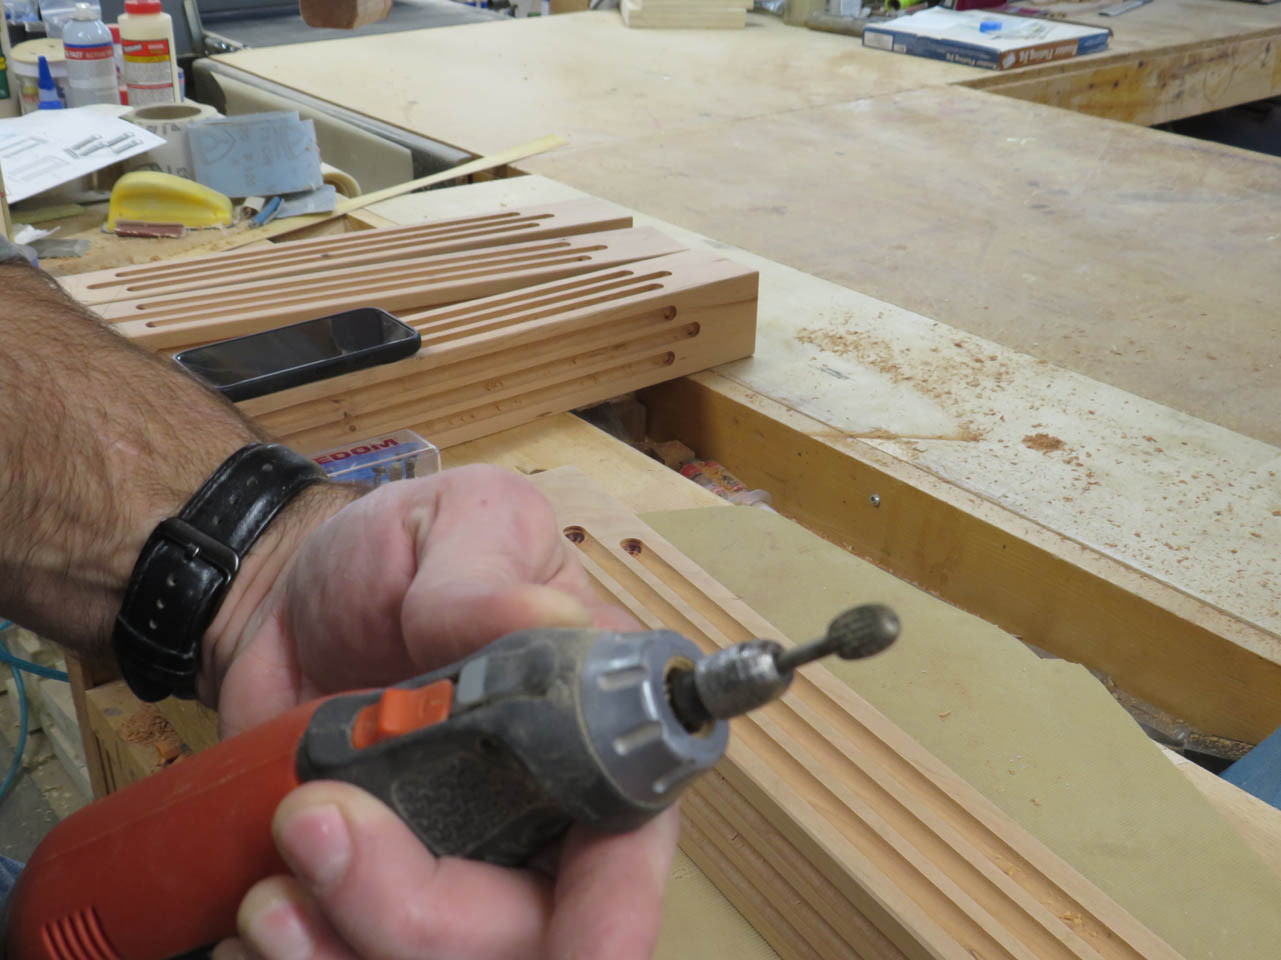
This has to be removed by hand with a scary little bit that has about a dozen tiny blades spinning at 8,000 rpms right next to my hand…
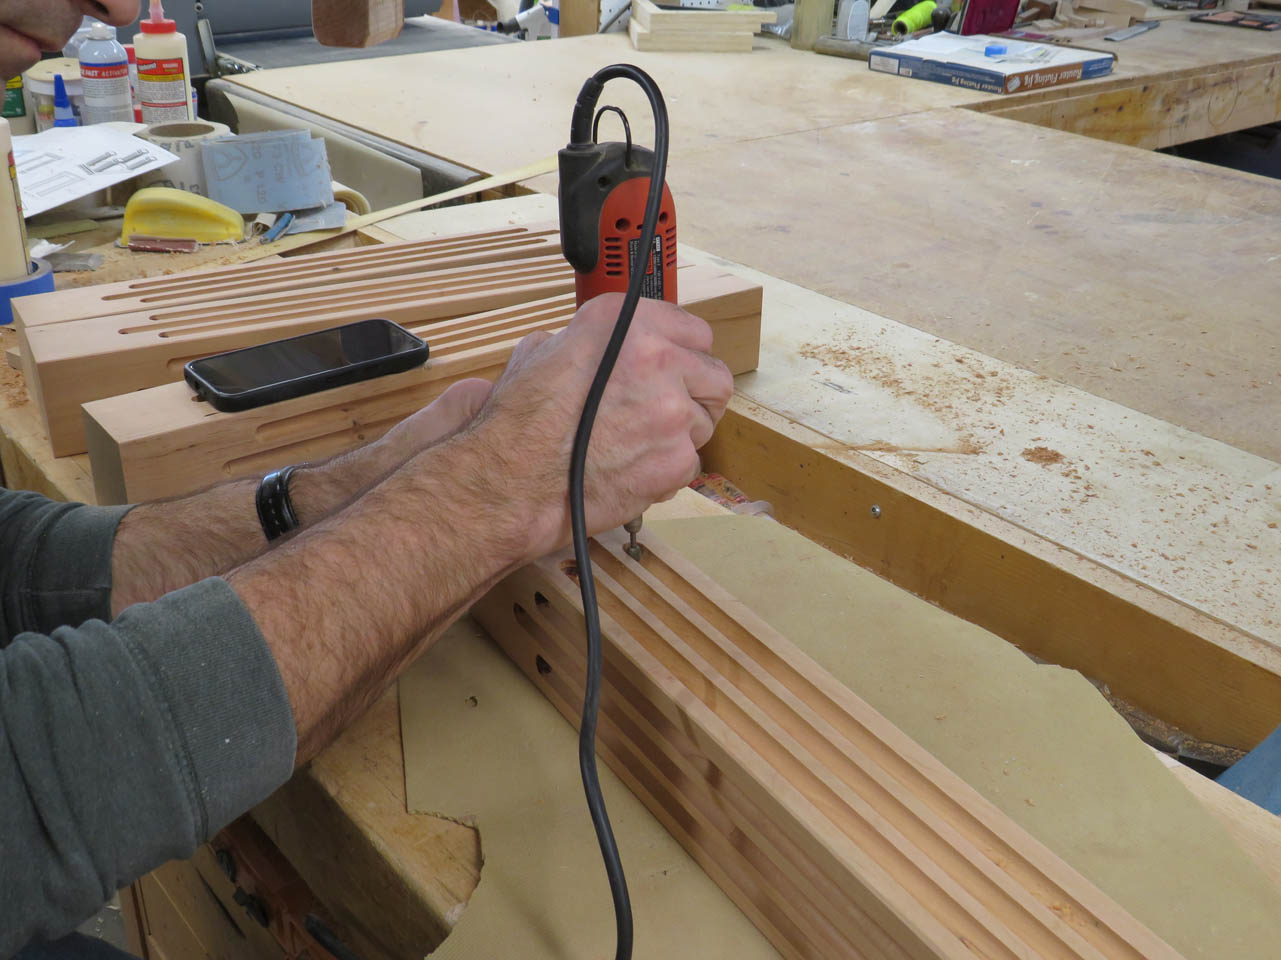
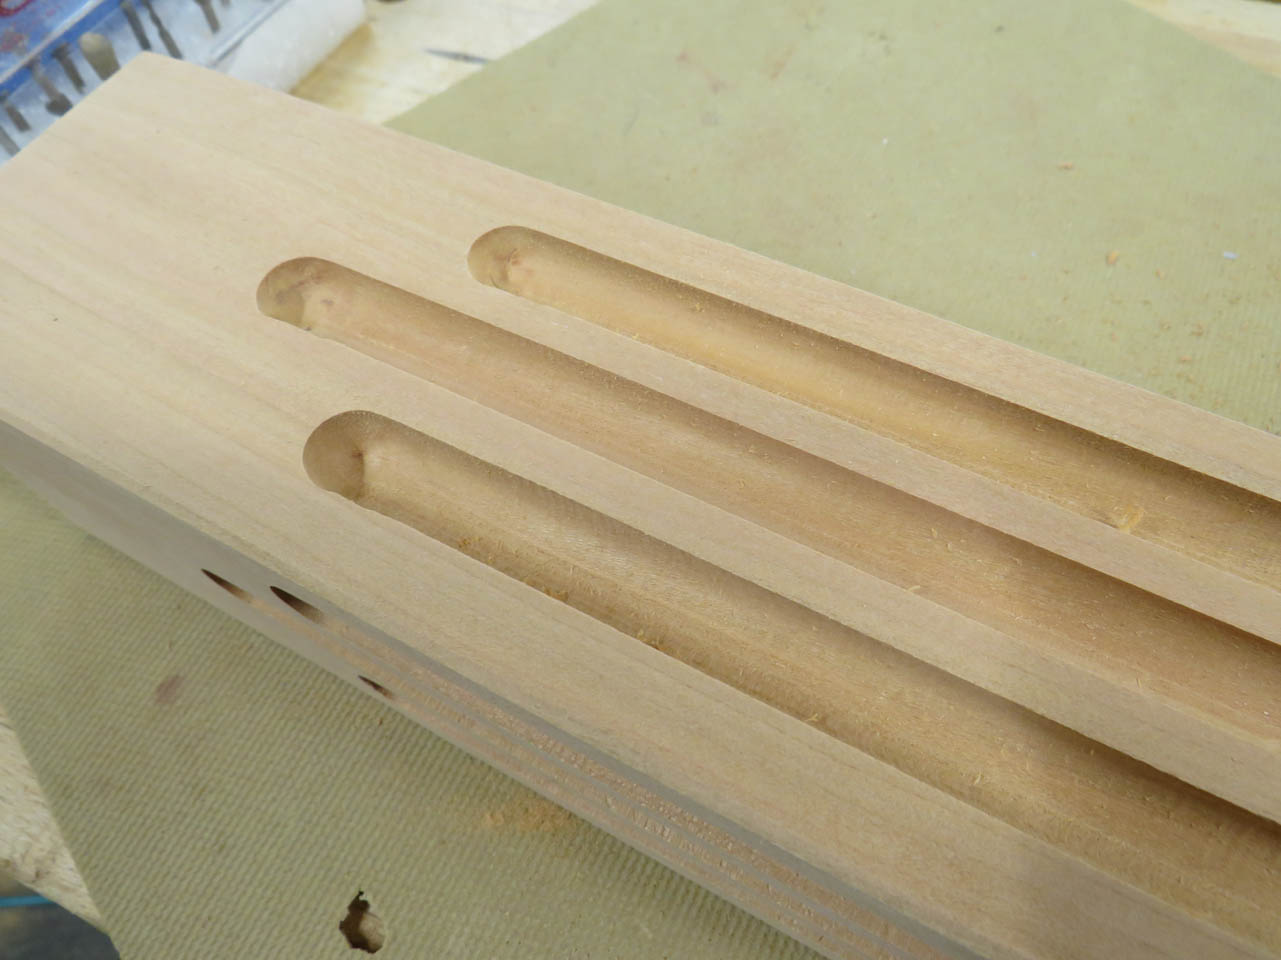
It does a pretty good job of cleaning out most of the burn marks. The rest gets sanded by hand.
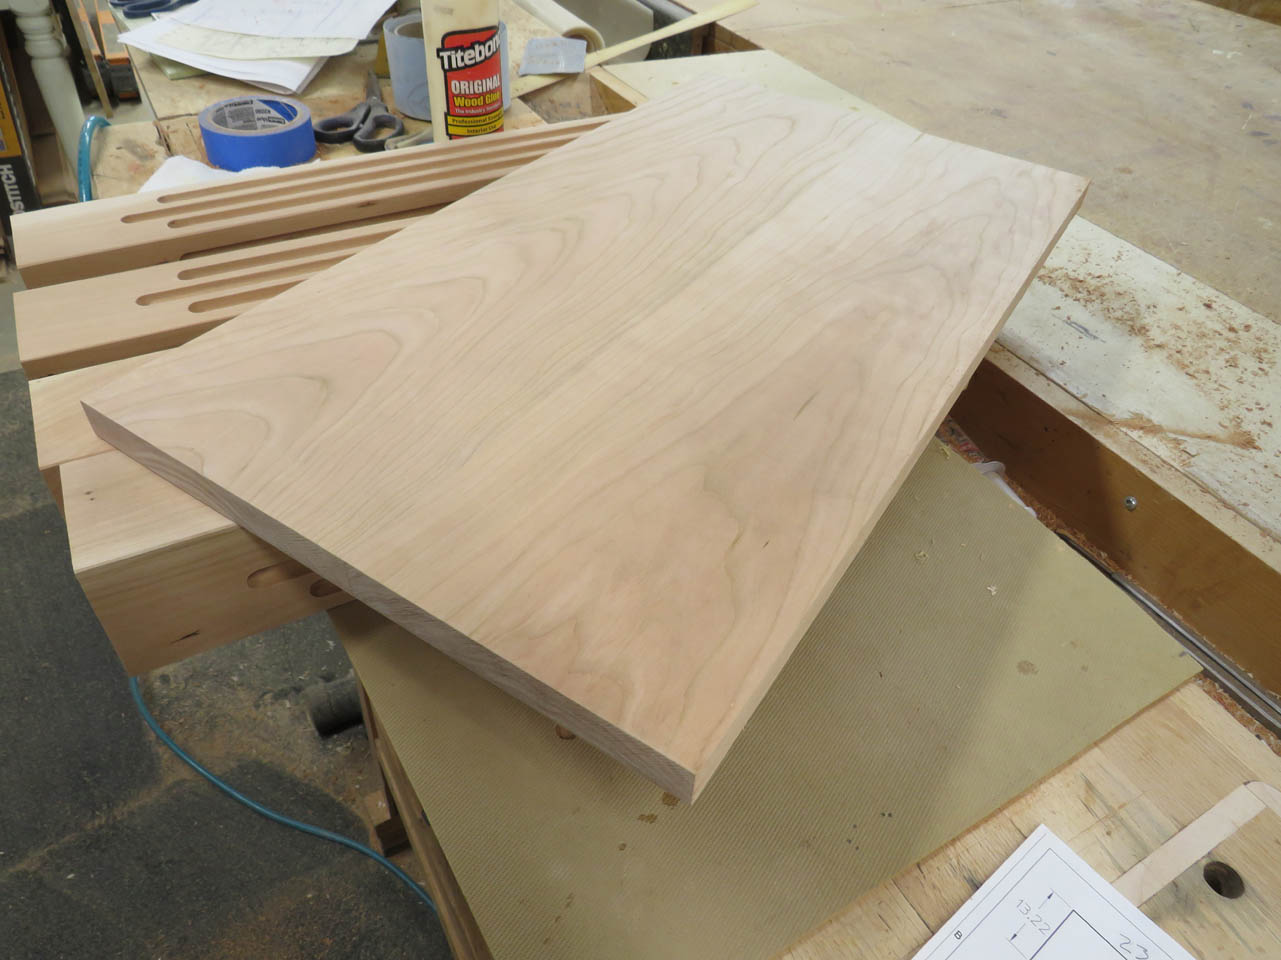
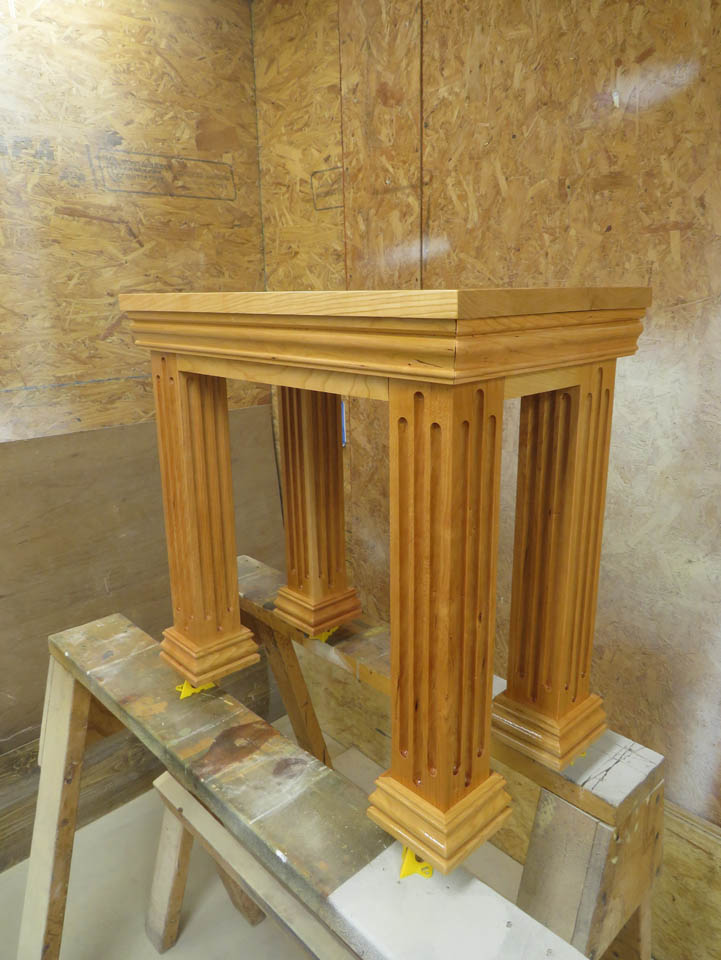
The legs are done so I milled up a few boards to make the top panel.
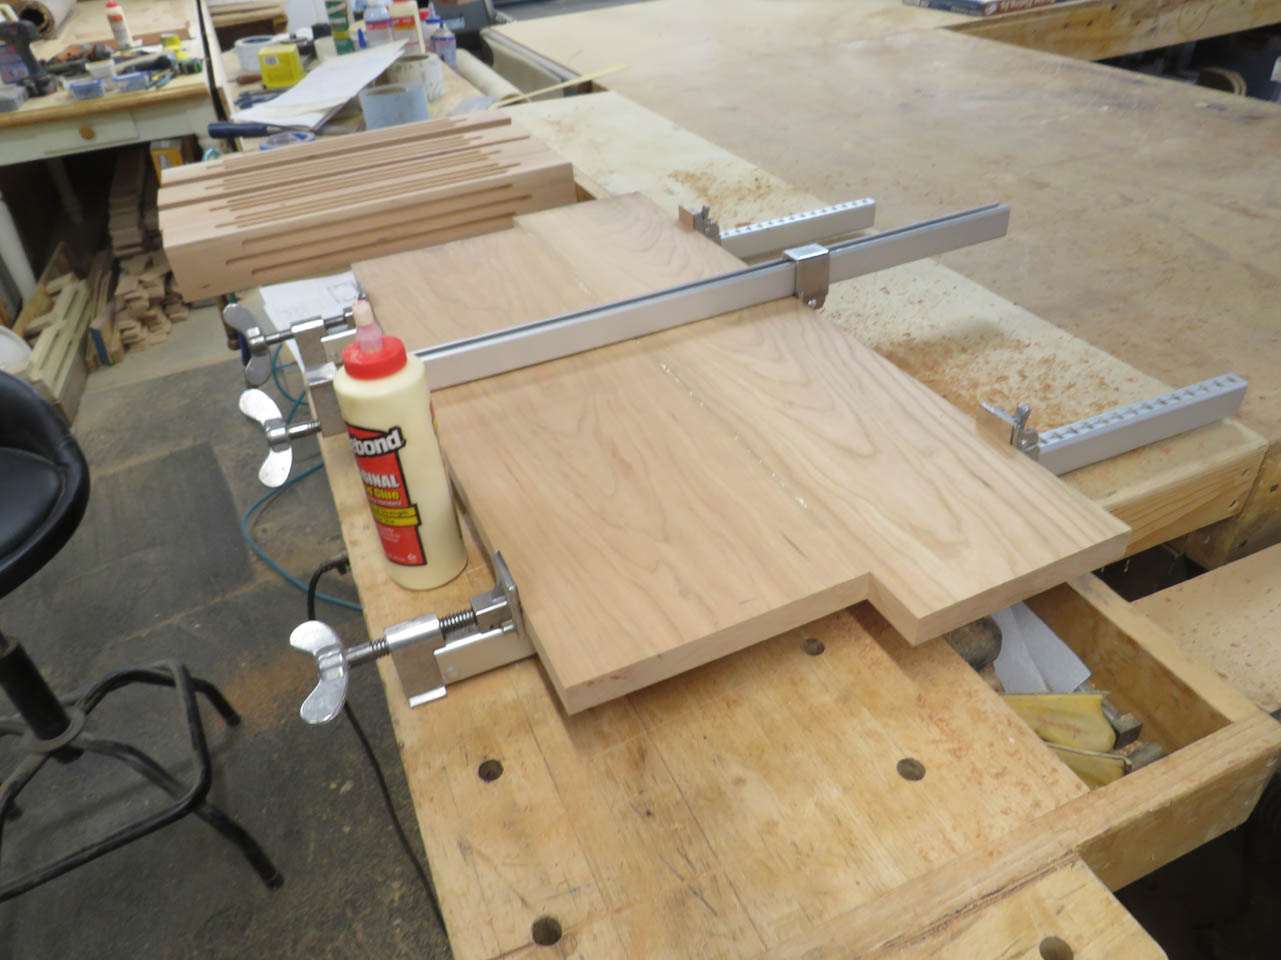
These were glued up, then cut down to size when dry.
The top will be trimmed with 3″ boards as well as more of the same molding.

These pieces were cut to size and test fit.
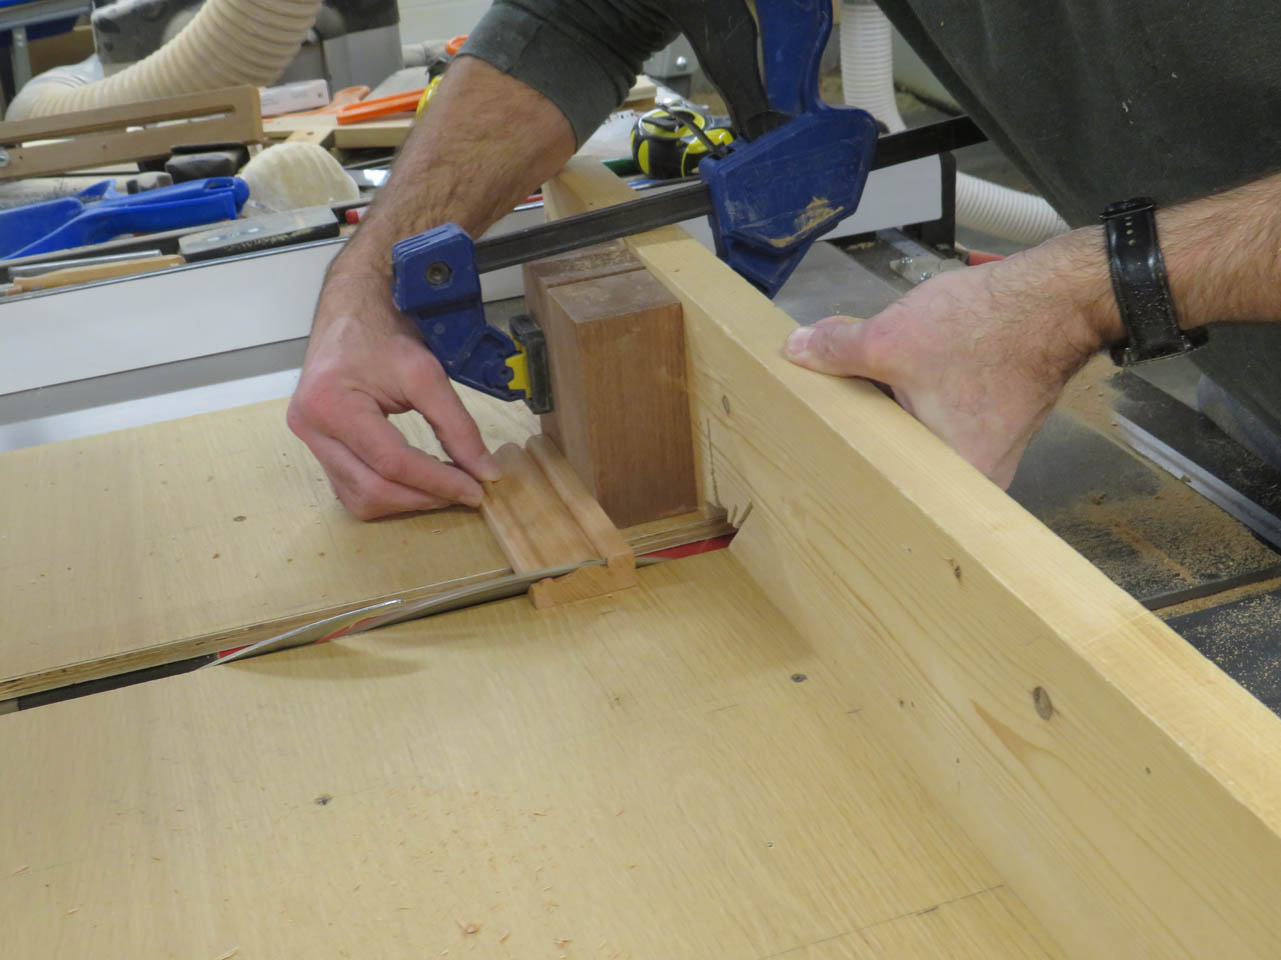
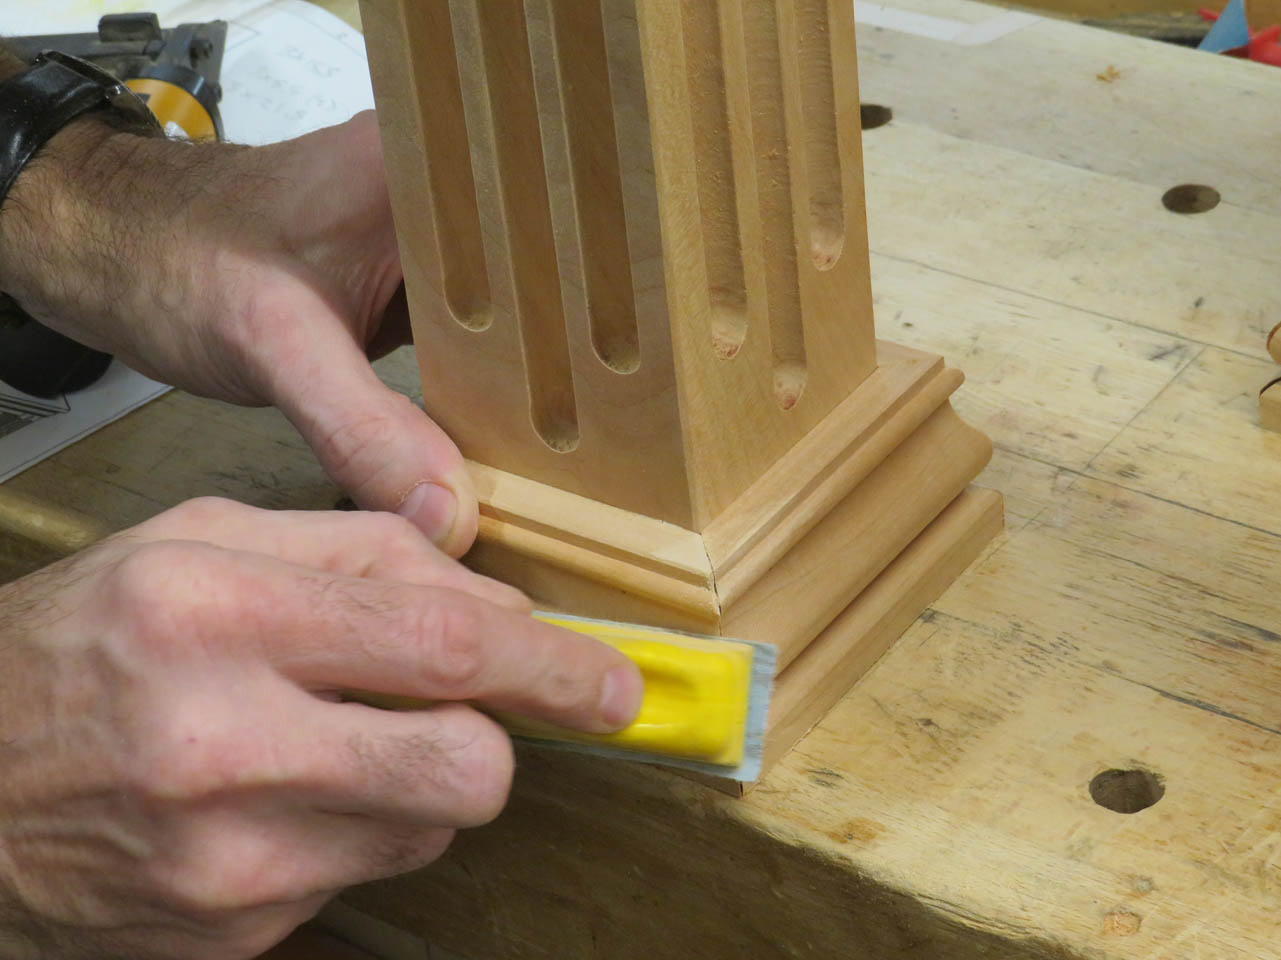
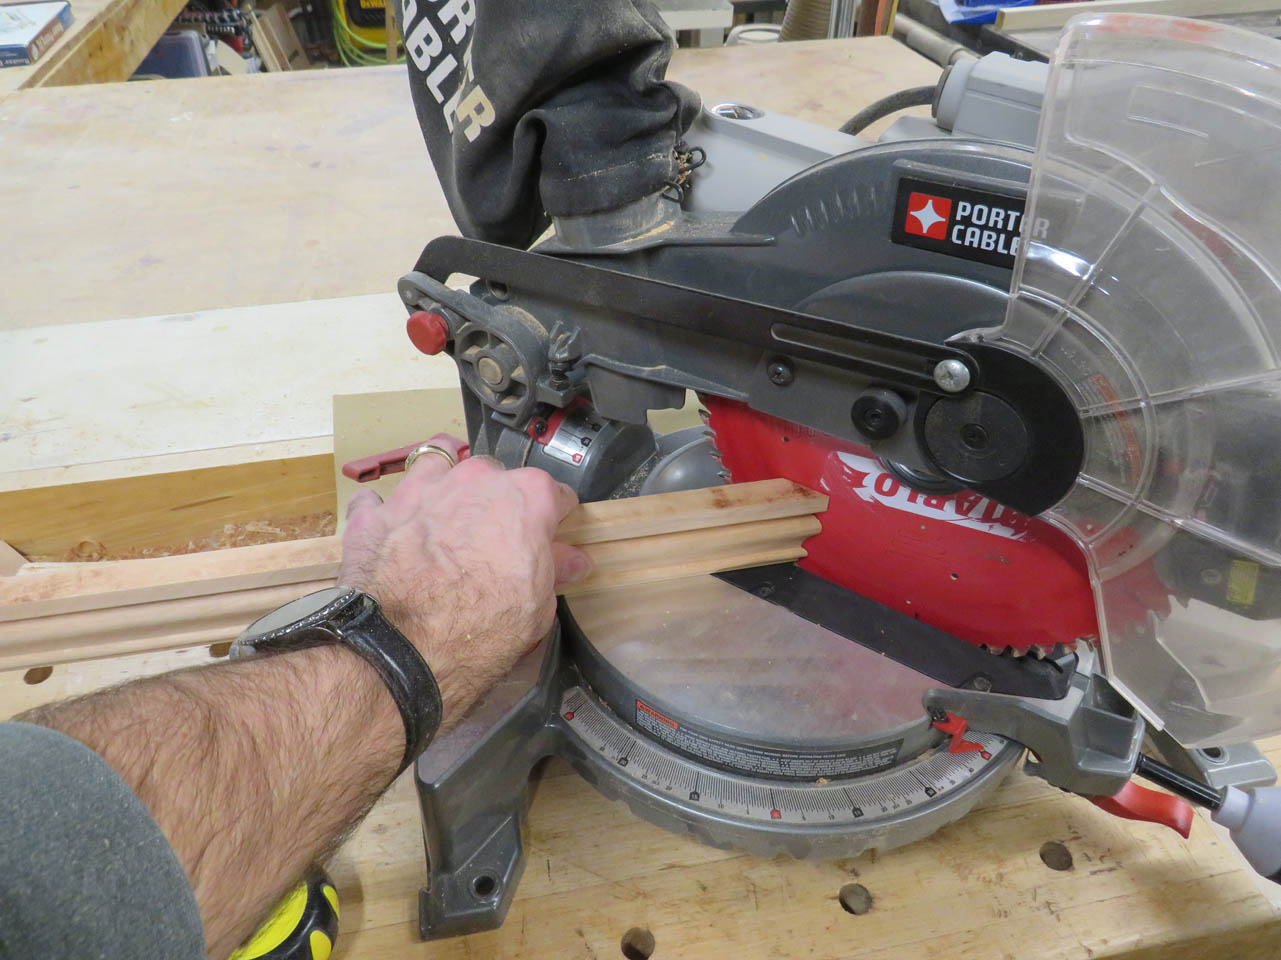
Before tying them all together, I also need to trim each leg so I set up a jig on my crosscut sled to make repeatable miter cuts on the table saw since each side is the exact same dimension.
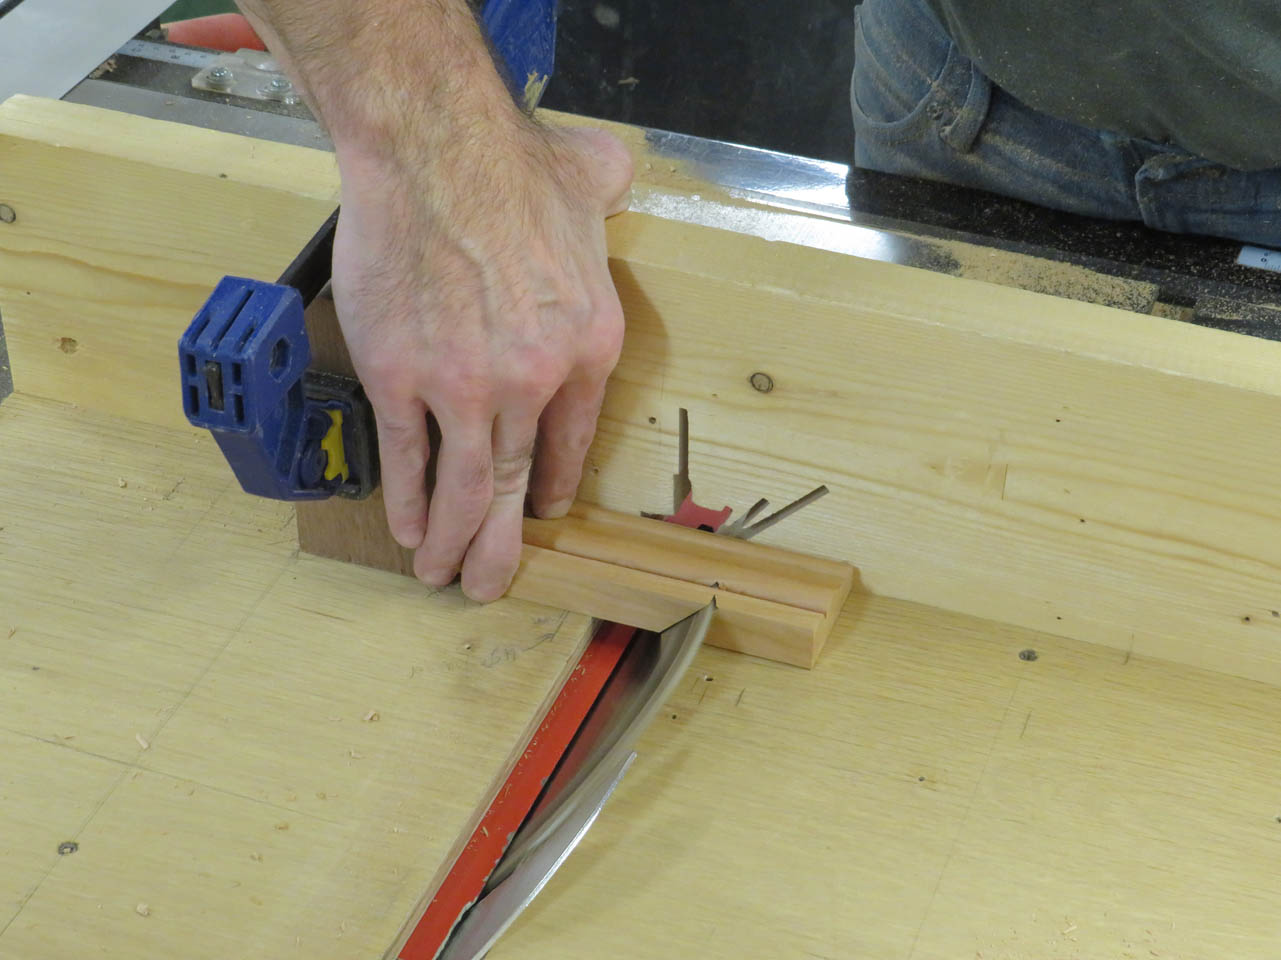
After a little trial and error, I found the exact size and made sixteen pieces then started gluing and pinning them to the bottom of the legs.
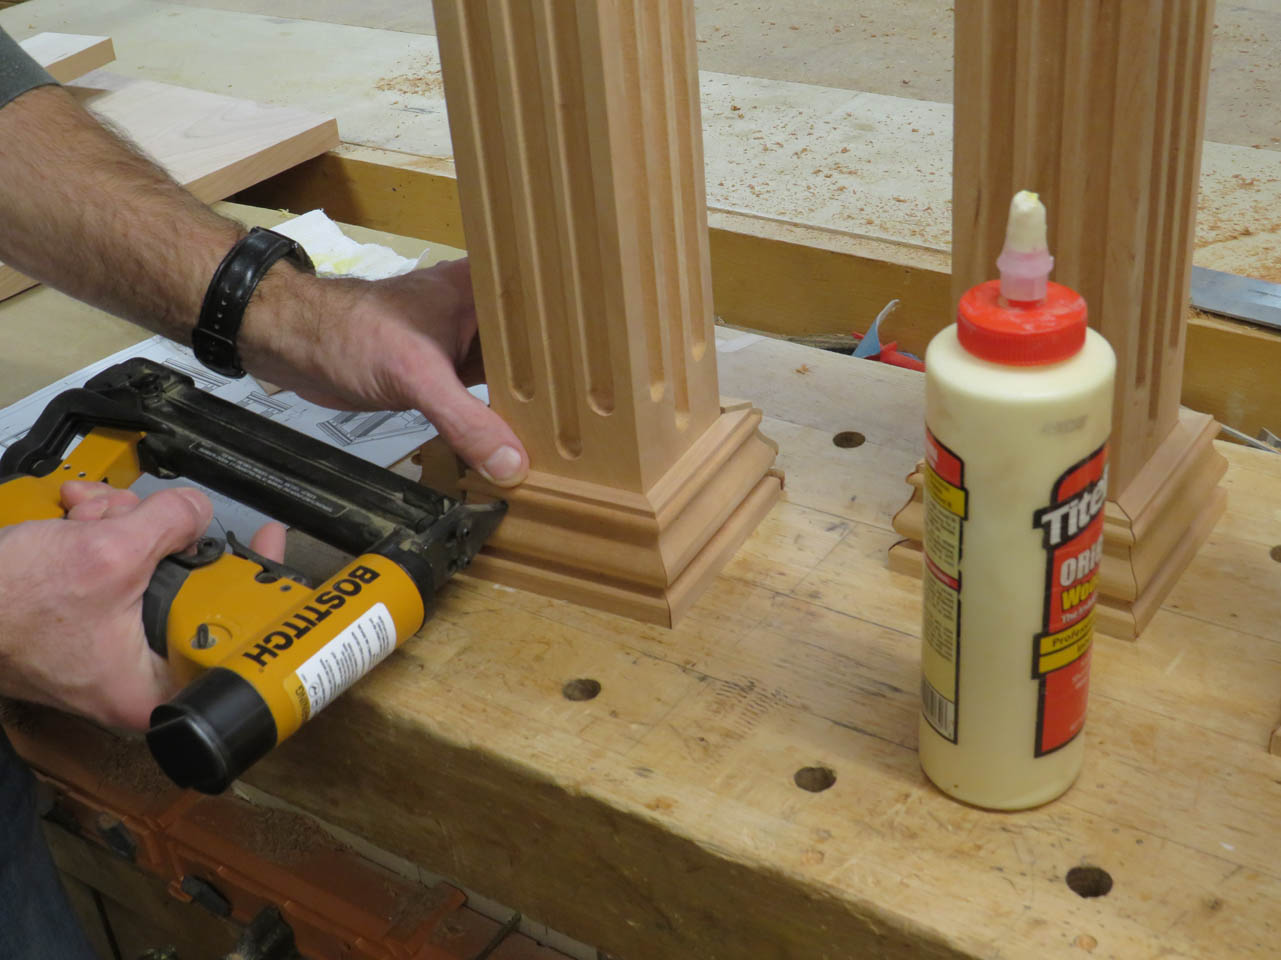
These were all hand sanded to remove the sharp corners.
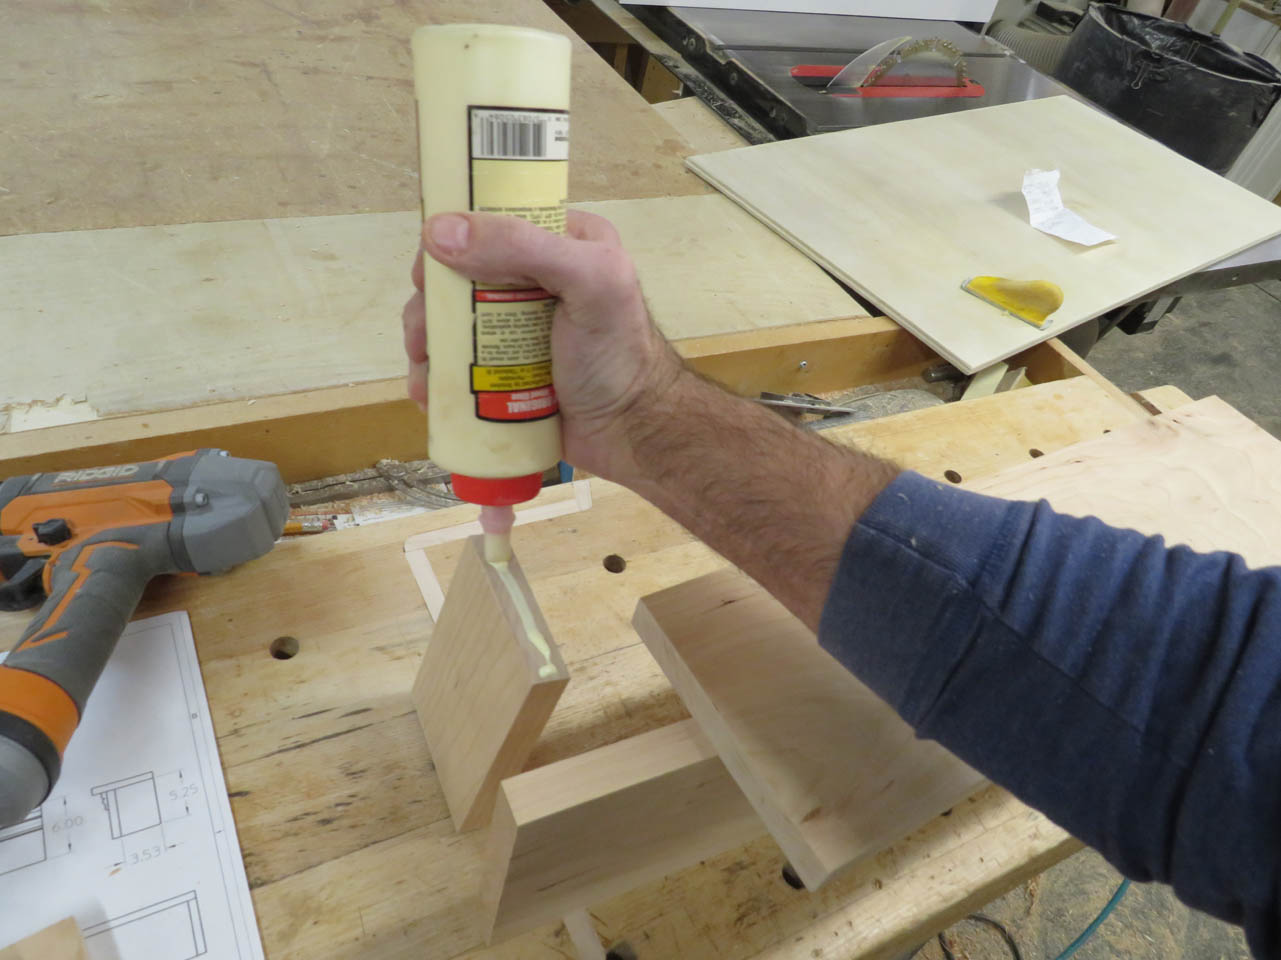
To start connecting them all together, I glued and clamped on the back piece first. This one is in the back and not visible so it is a simple face glue and easy to clamp.
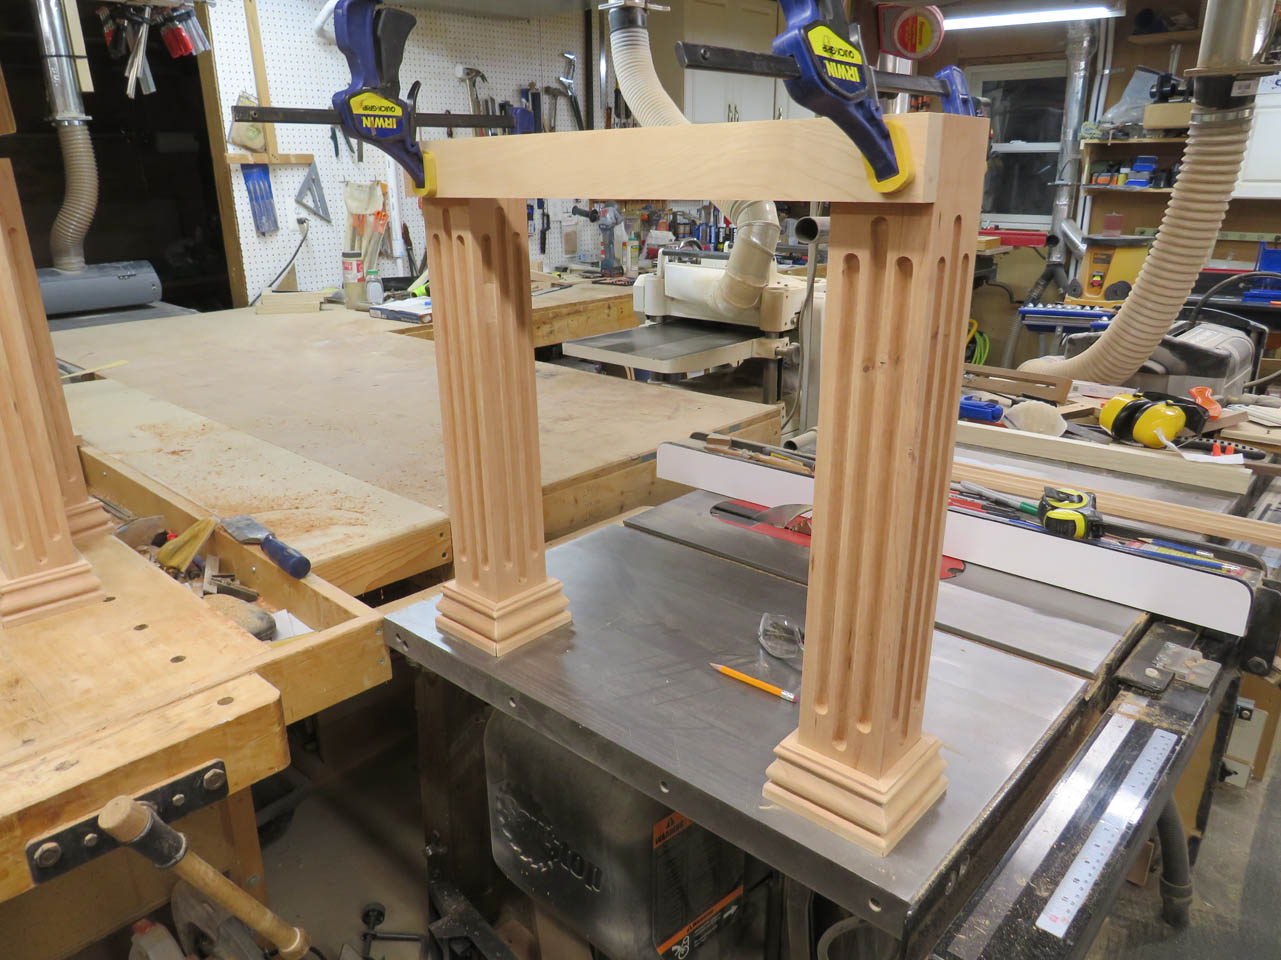
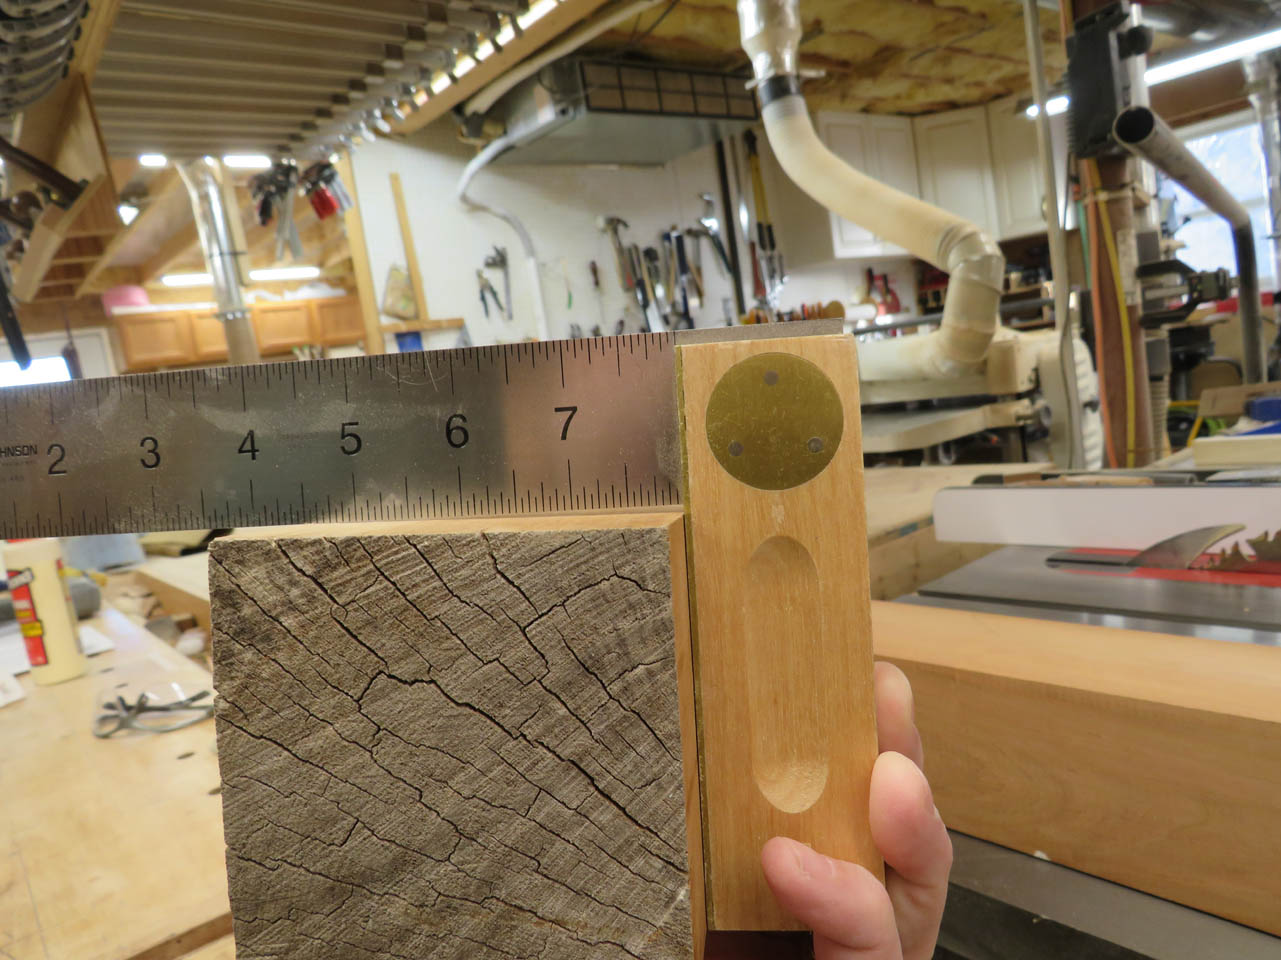
The rest were end grain glue-ups and that never goes well. I decided to take it back apart and add floating tenons with my Domino jointer. Unfortunately I did not get any pictures of that part. Once the tenons were installed and glue applied, I could clamp the whole thing together.
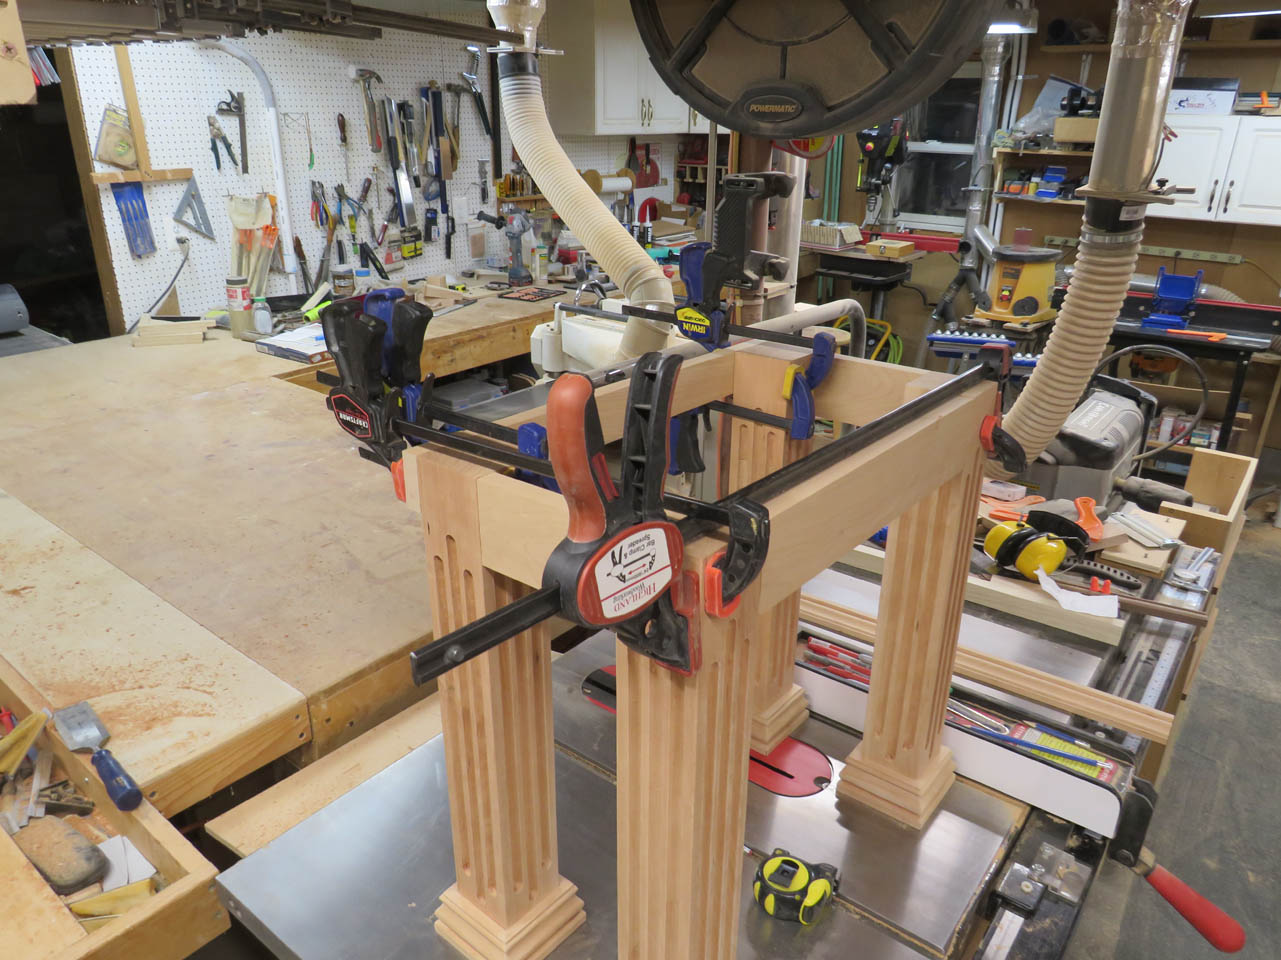
Once that dried, I could miter and attach the top molding using glue and clamps (and a couple of pin nails to keep it from sliding when clamped).
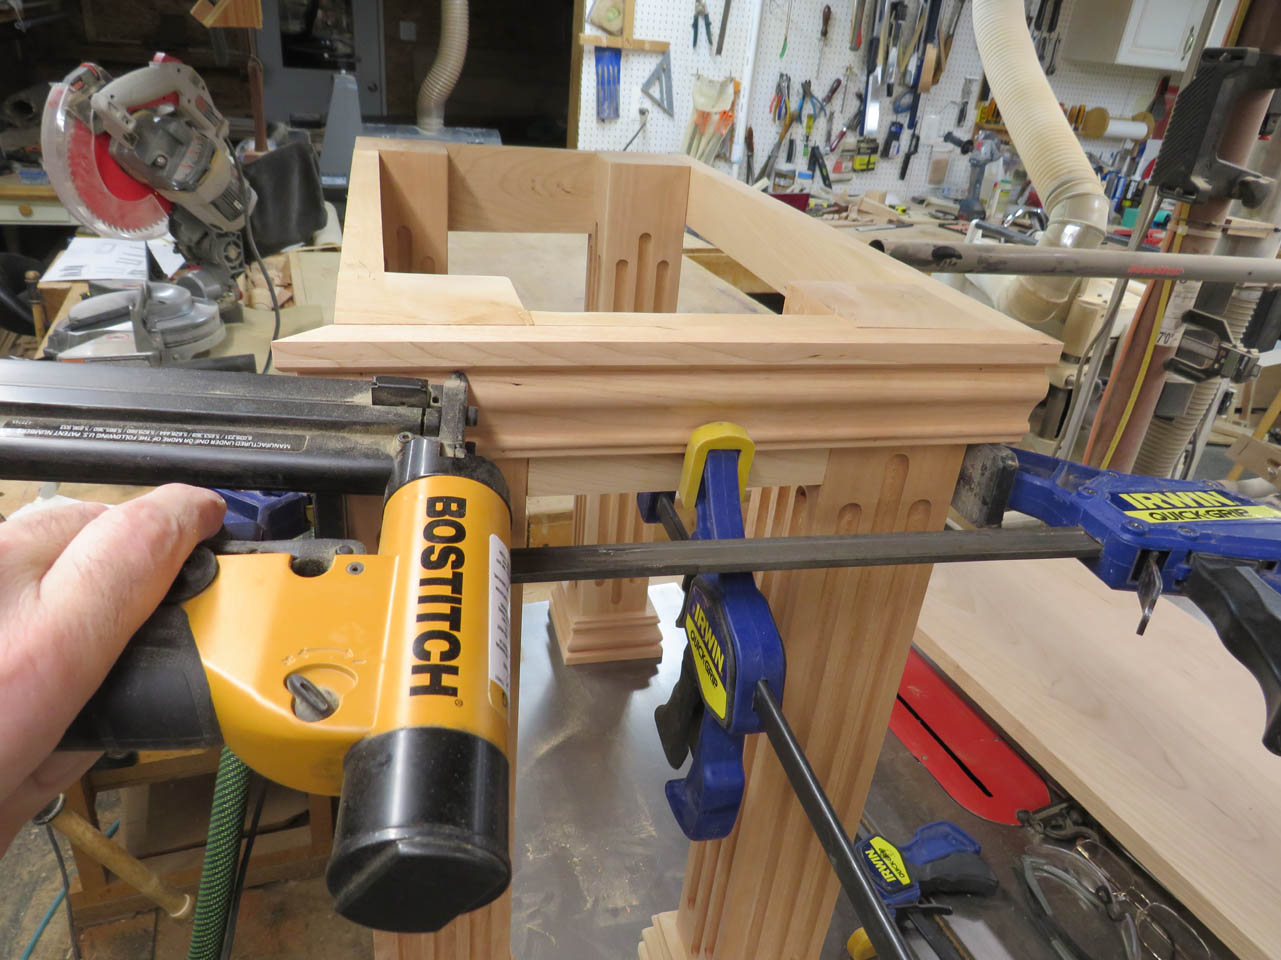
Then the top was attached using glue and clamps as well.
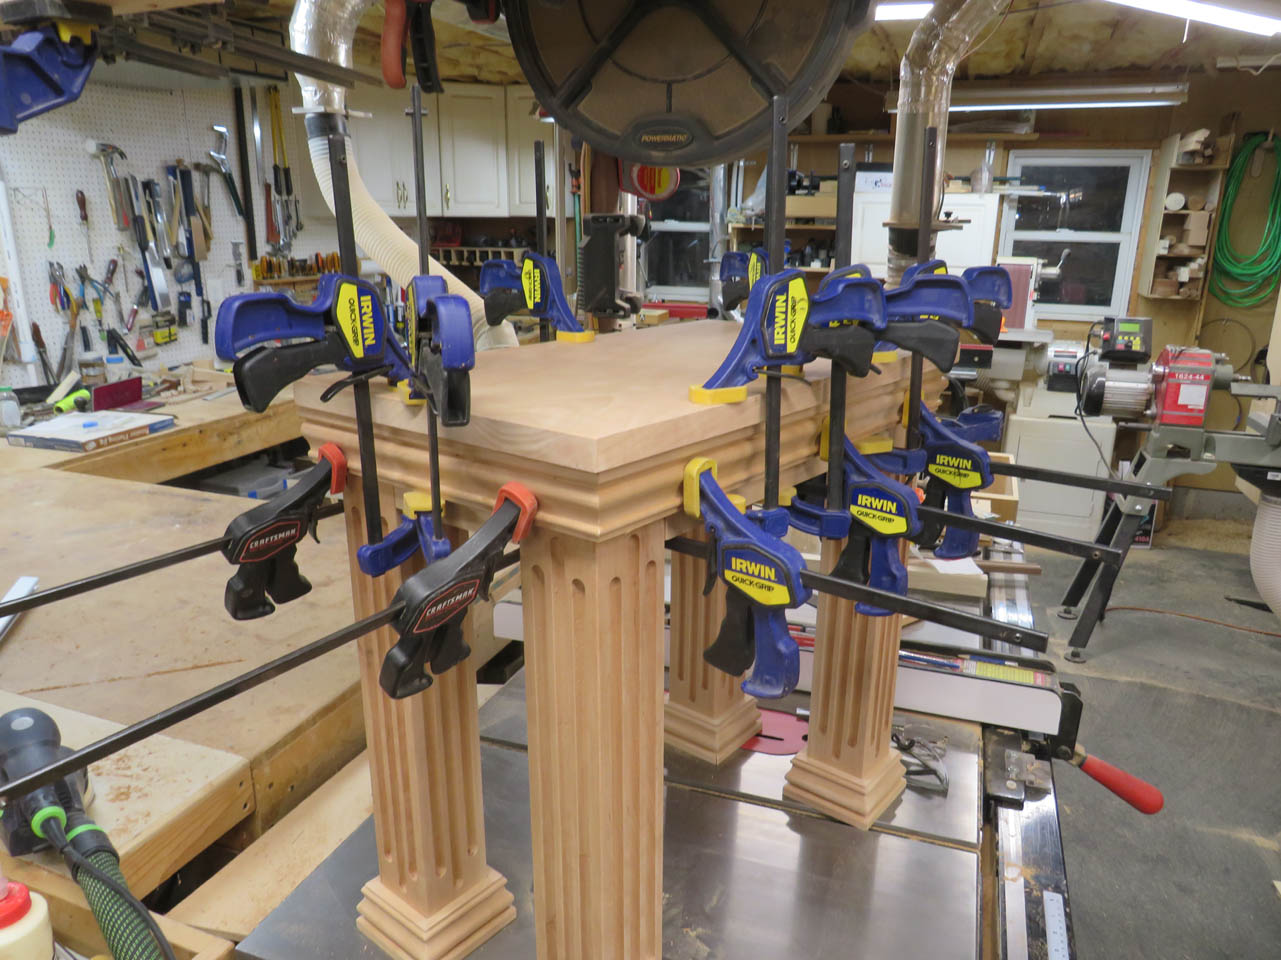
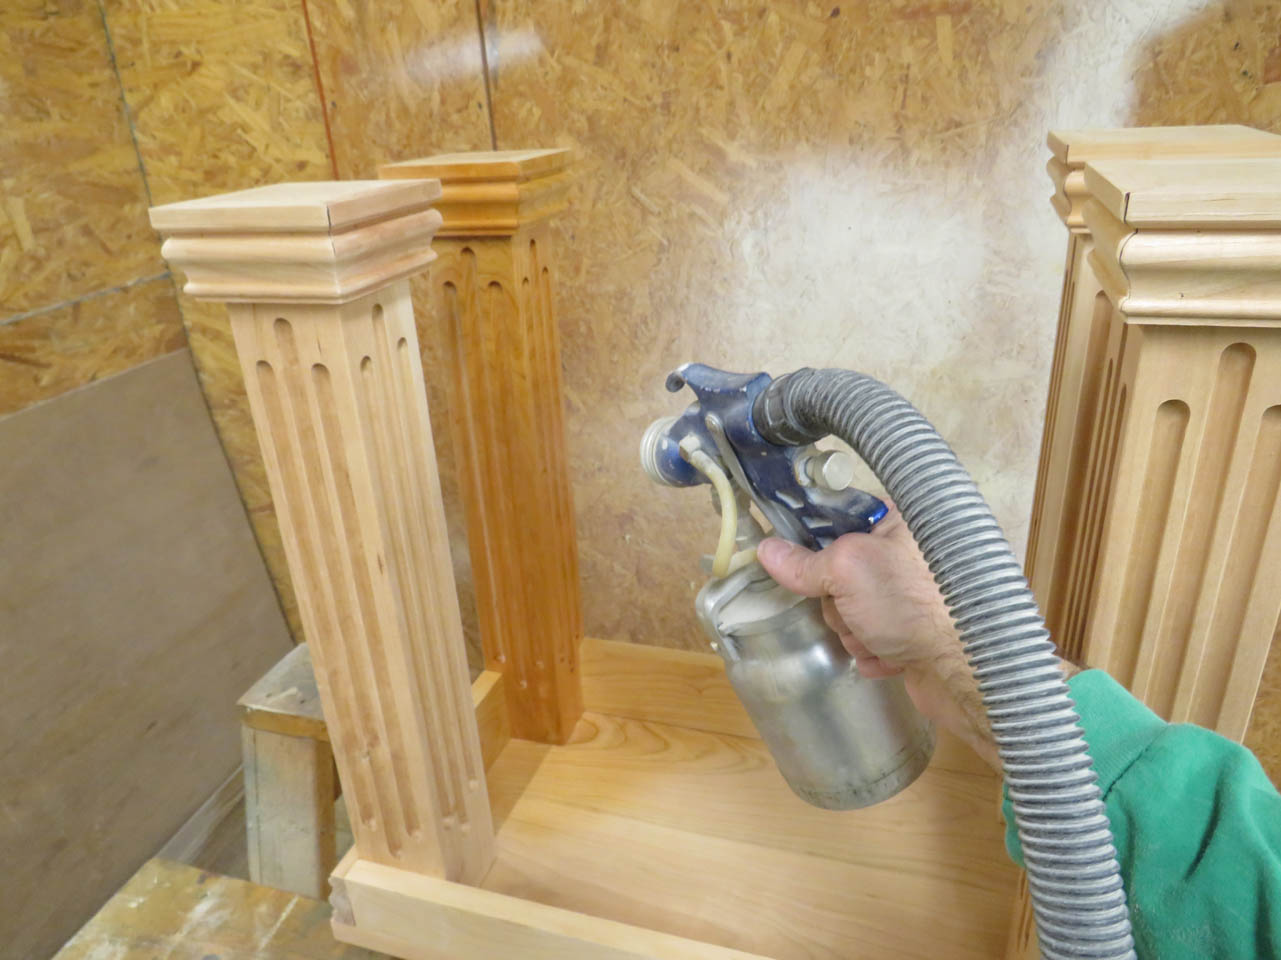
When all the glue was dry and the final sanding complete, it was time to spray on the polyurethane.
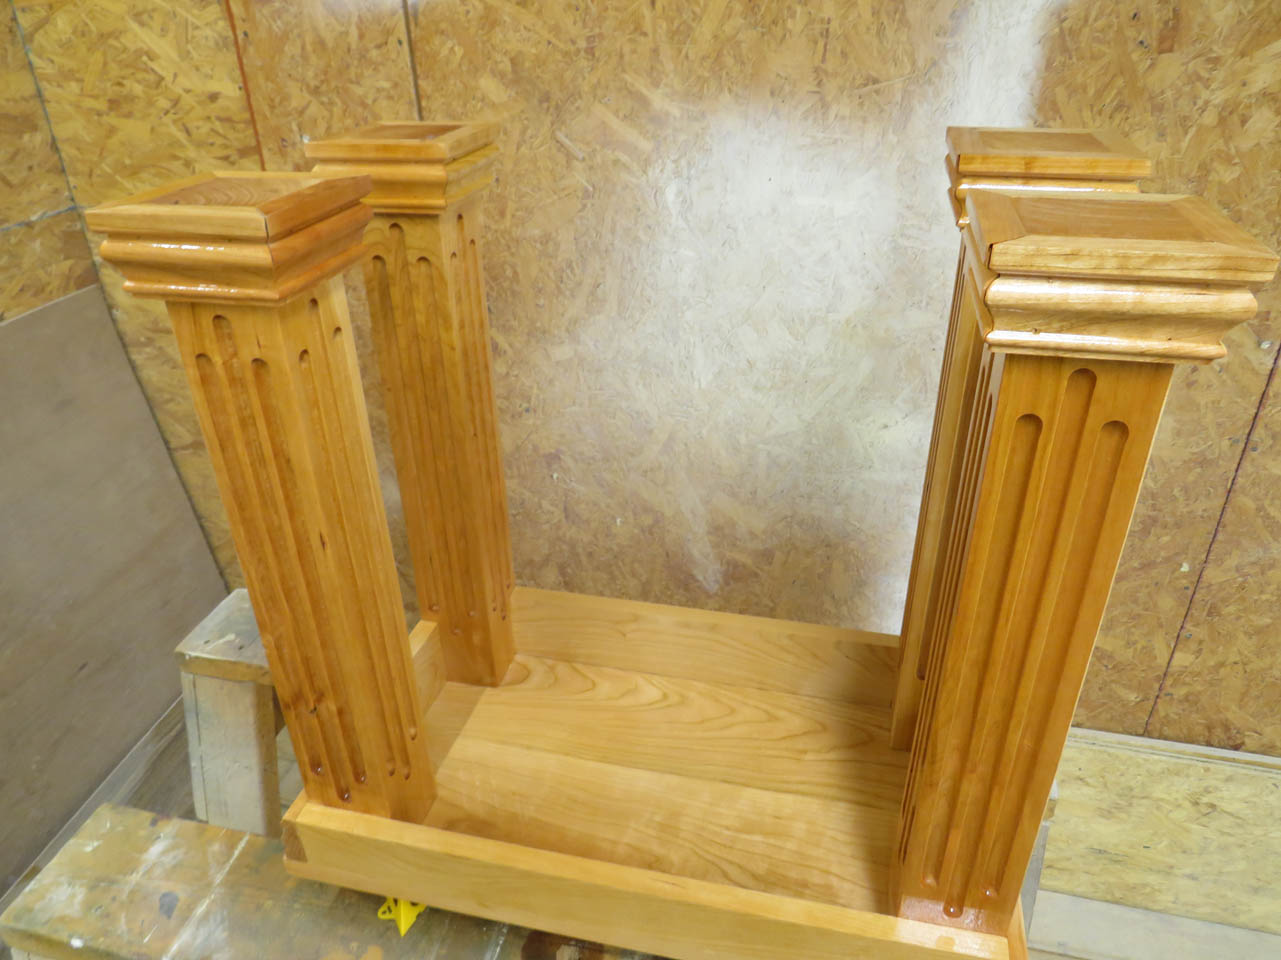
Sanding between coats I sprayed two more times.
And the last piece of this set wis done.
All ready to be packed up and delivered. As soon as I can corner one of my sons to help me carry things that is…
This was a challenging project. I have been told that they are now interested in a matching chair and possibly a chapel door as well. That should be fun.
