
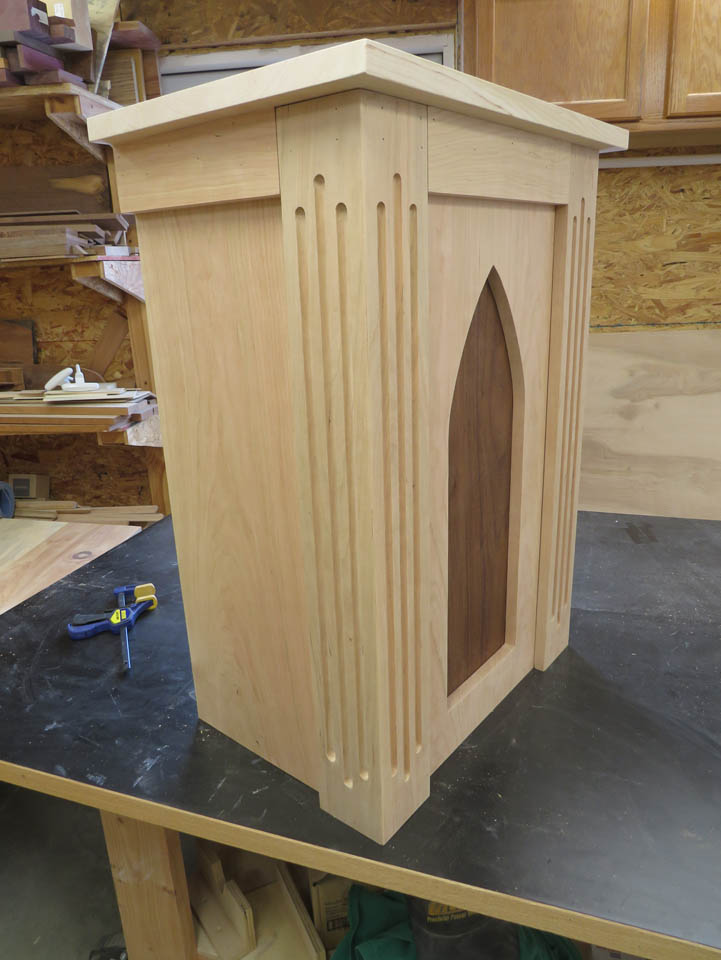
Cherry credence table
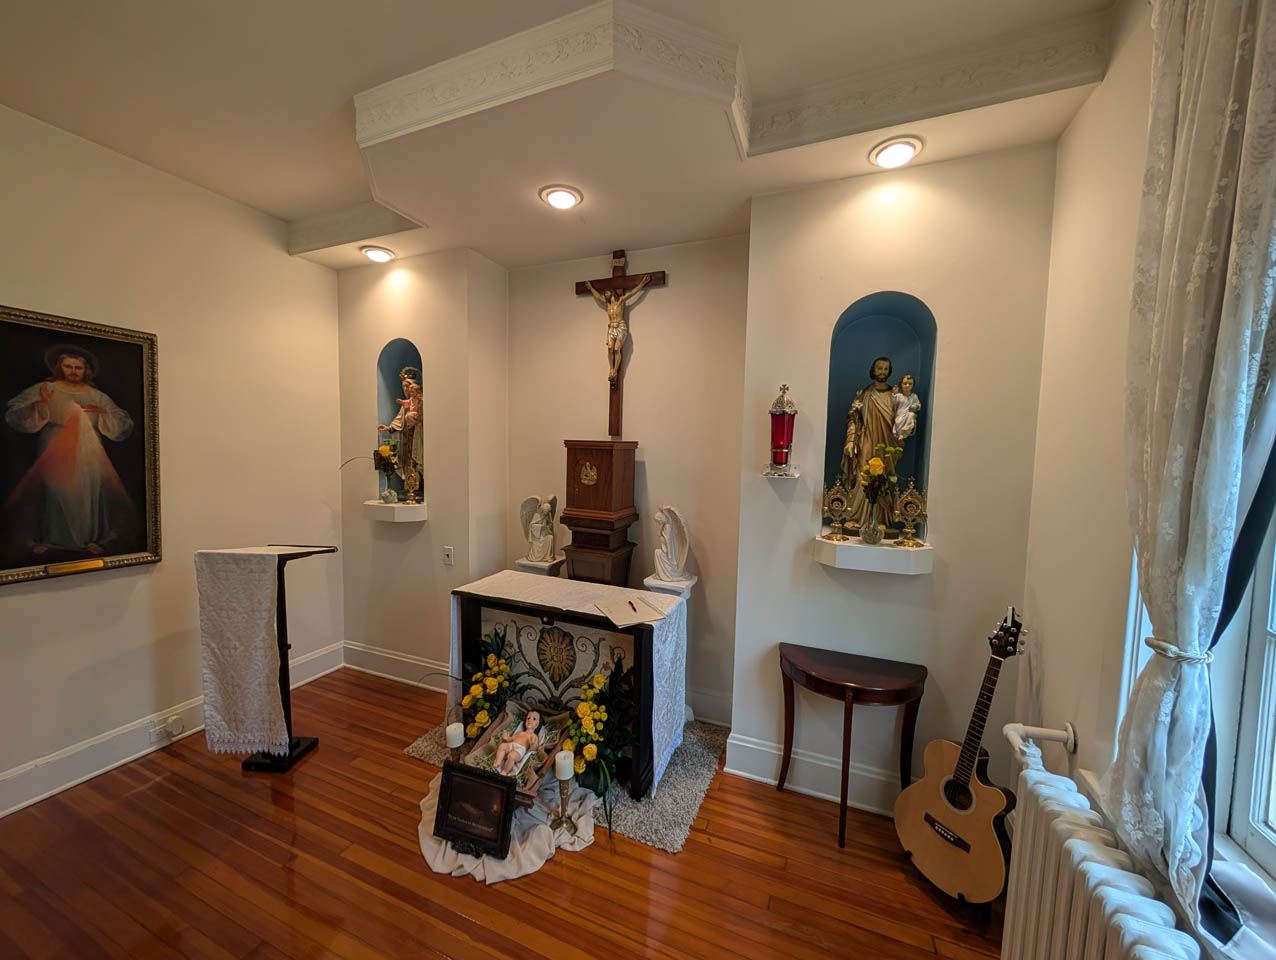
For the next piece in my chapel project for The Sisters Poor of Jesus Christ – Baltimore Mission, I am working on the credence table that will match the altar and ambo. This is the design: credence table.pdf
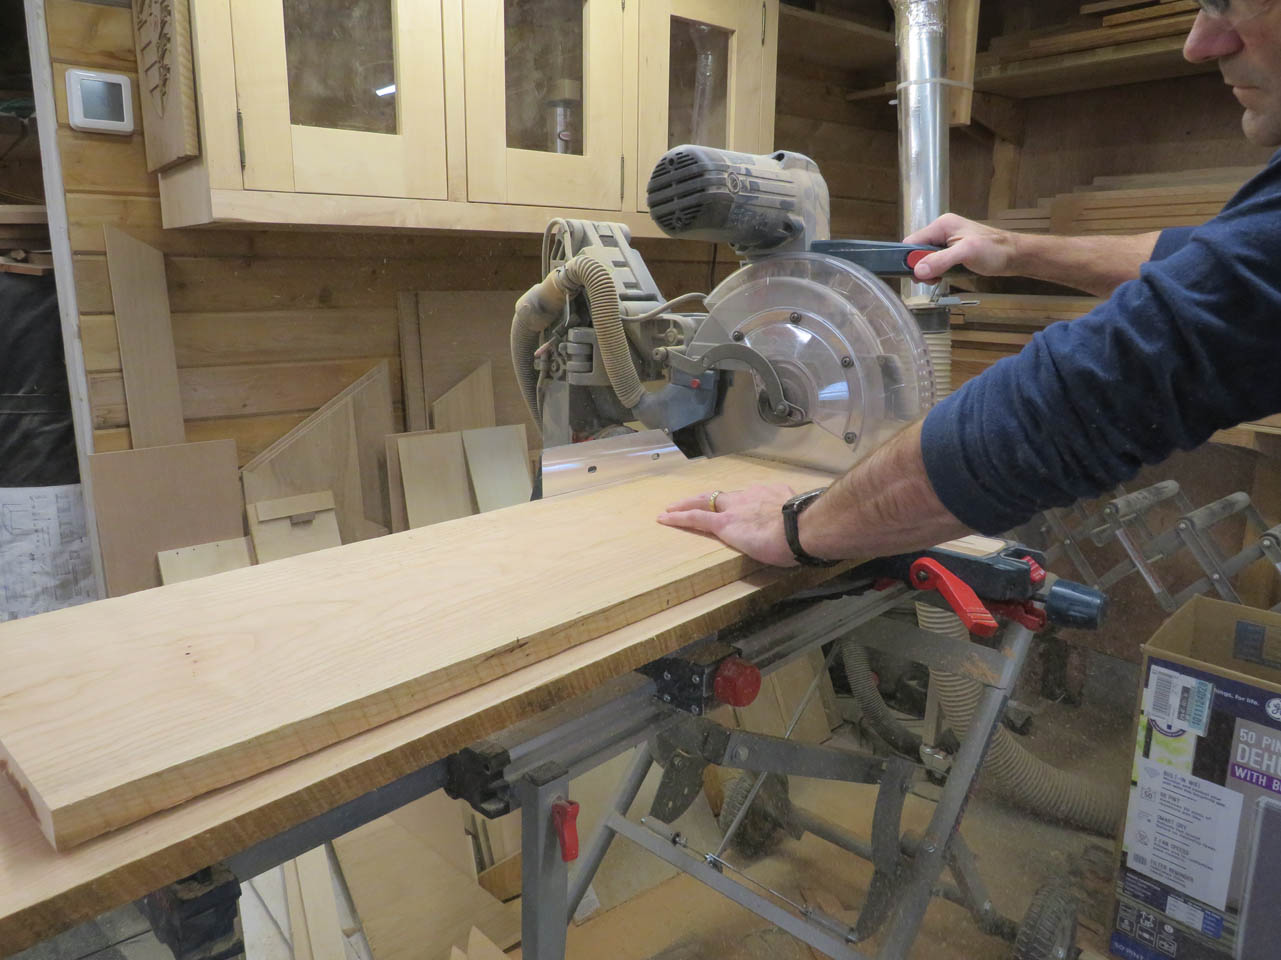
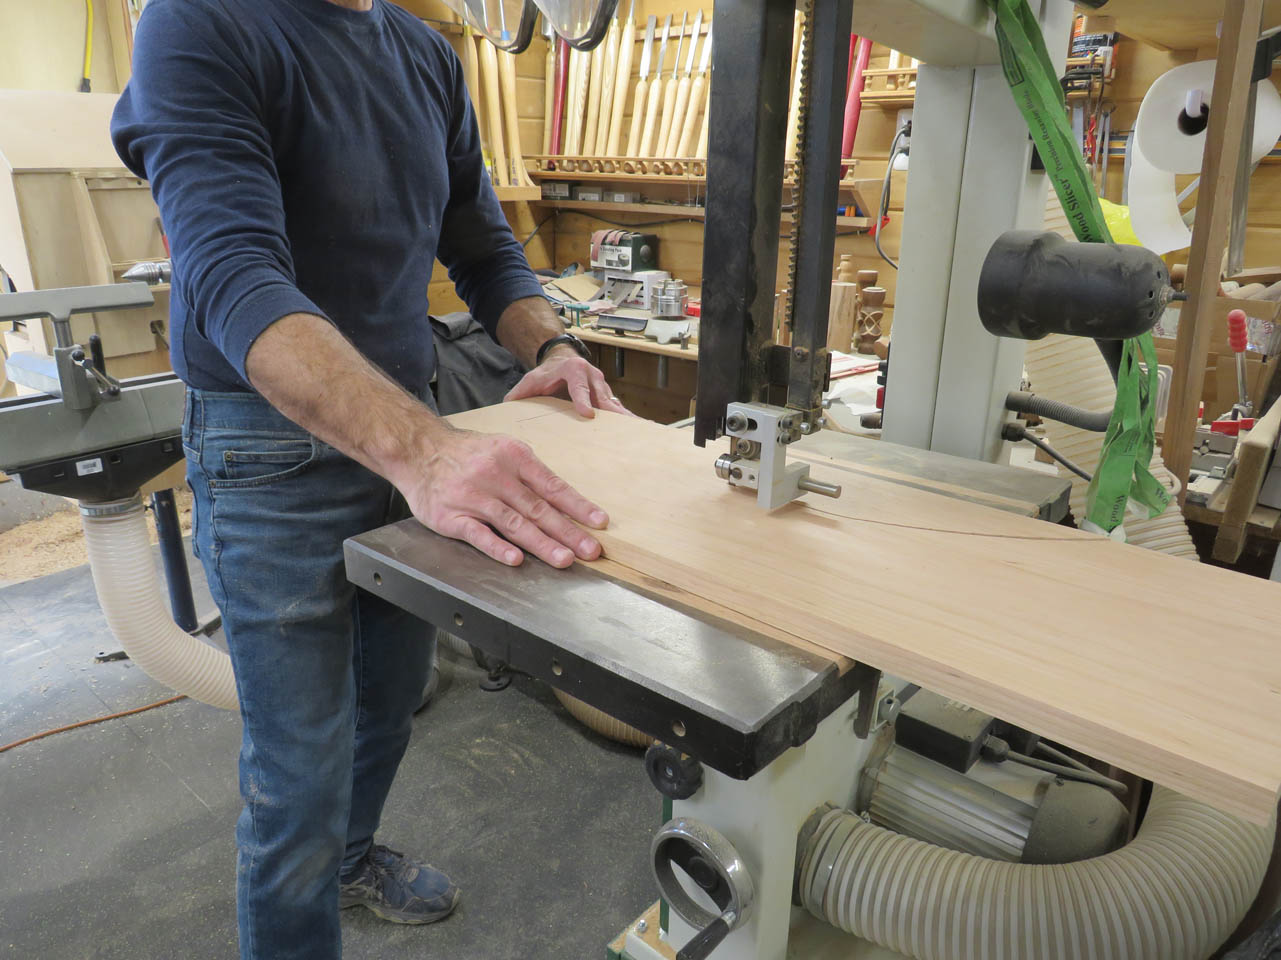
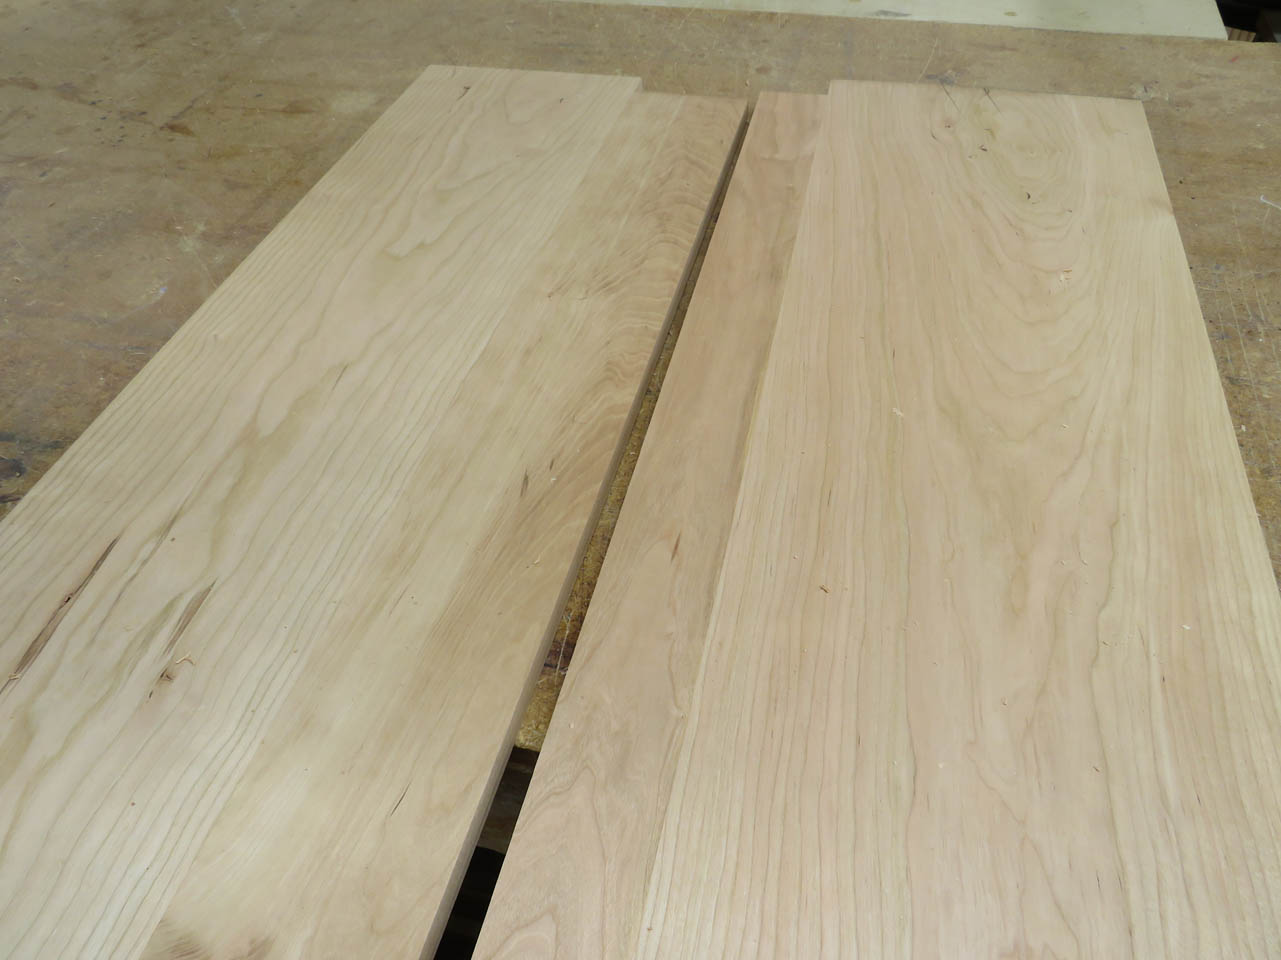
To make up the sides of the table, I need to rough-cut some cherry boards to size.
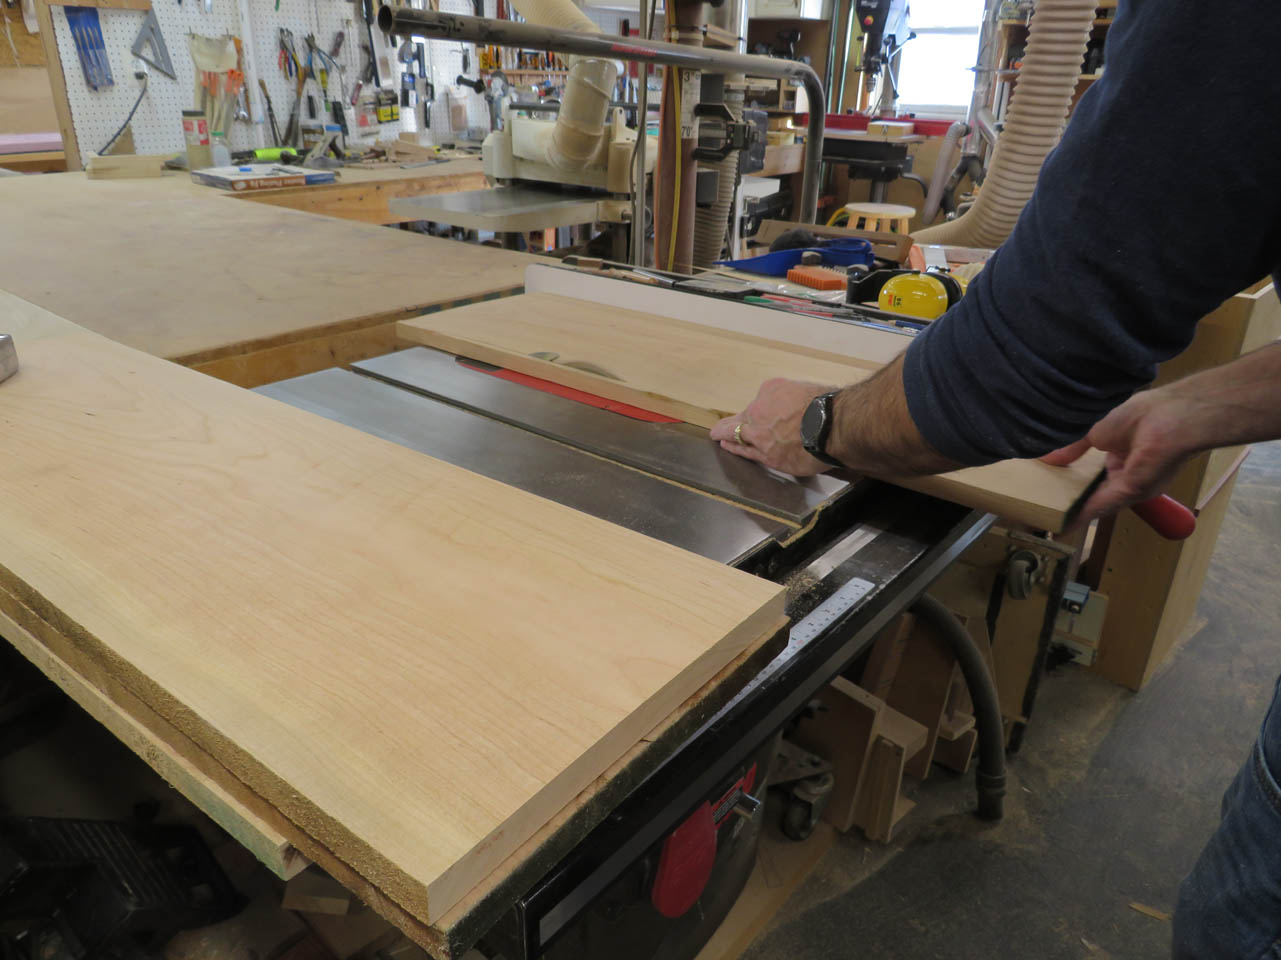
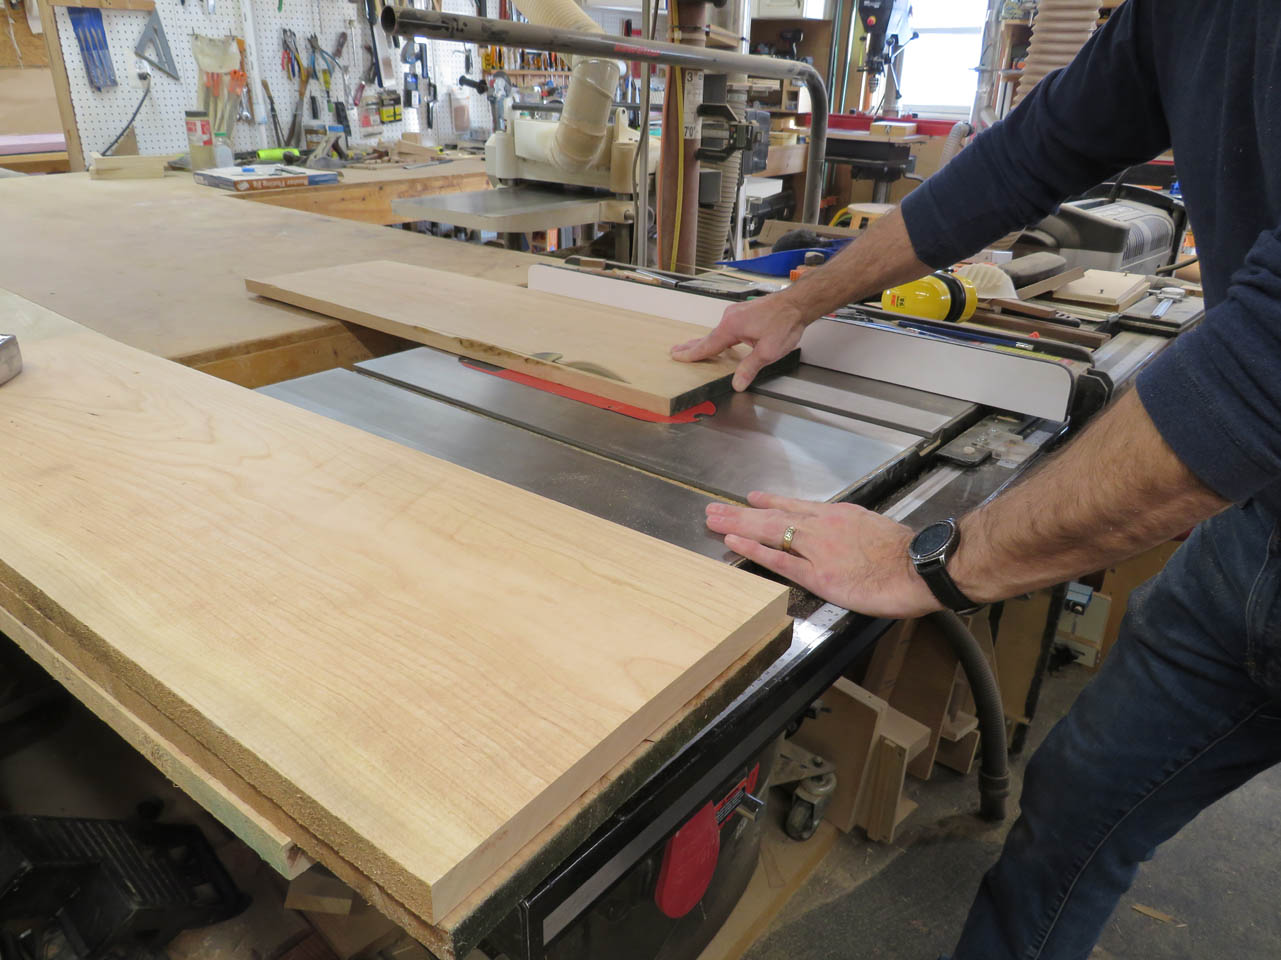
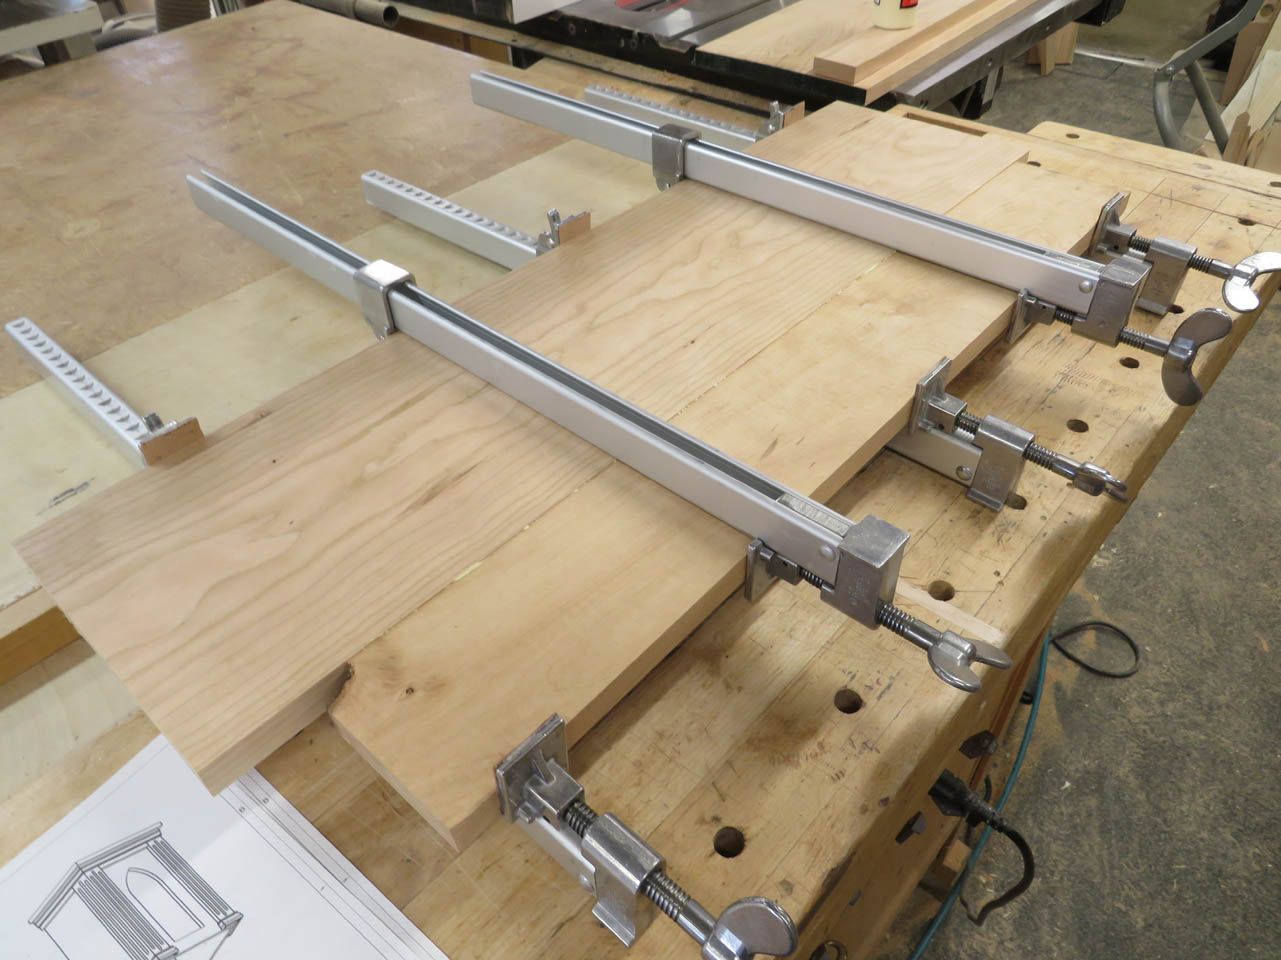
These get cut to width and jointed so that I have good, straight edges for gluing.

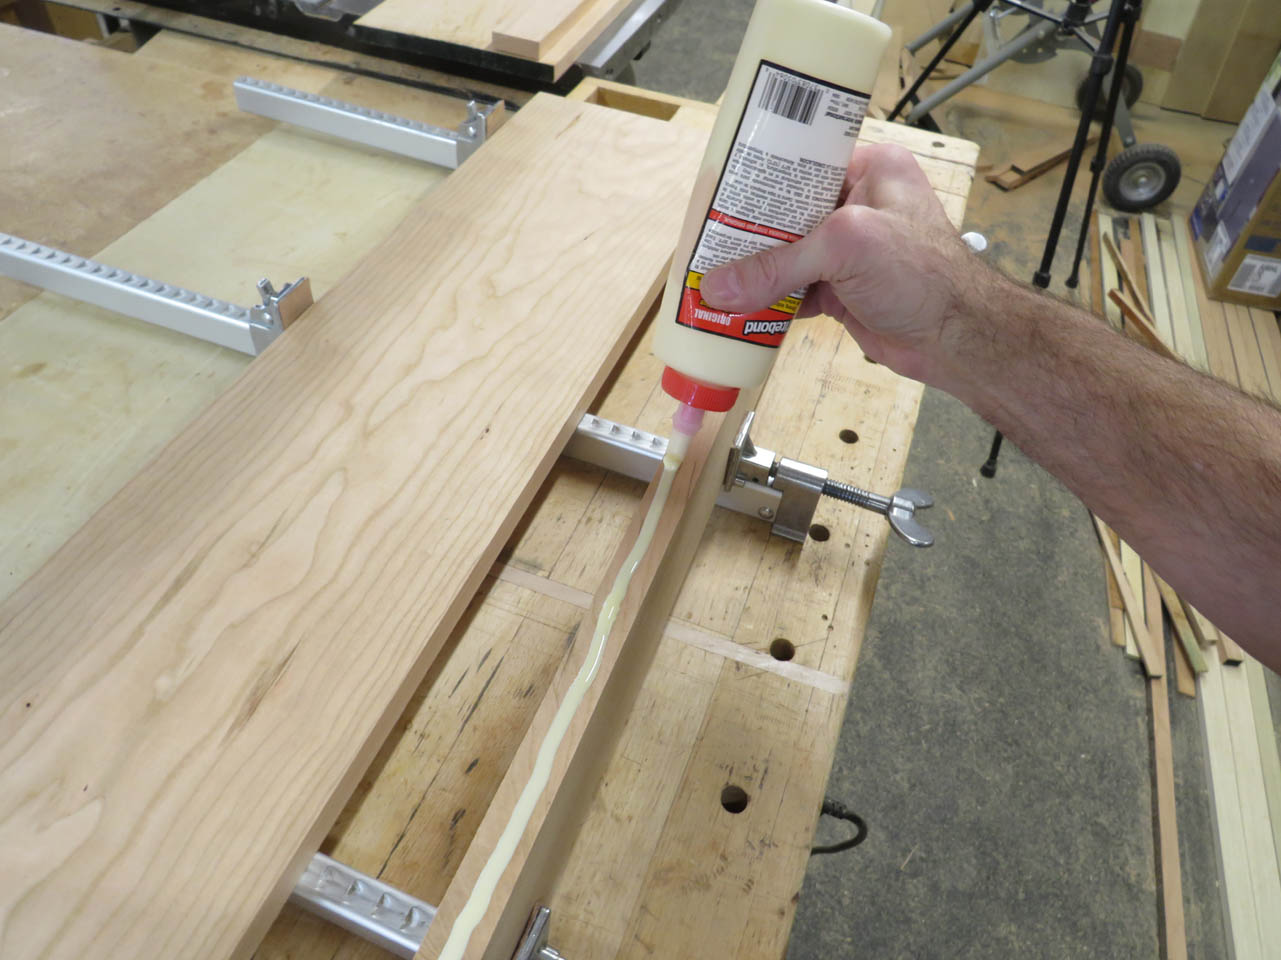
I clamped up two side panels and left them to dry.
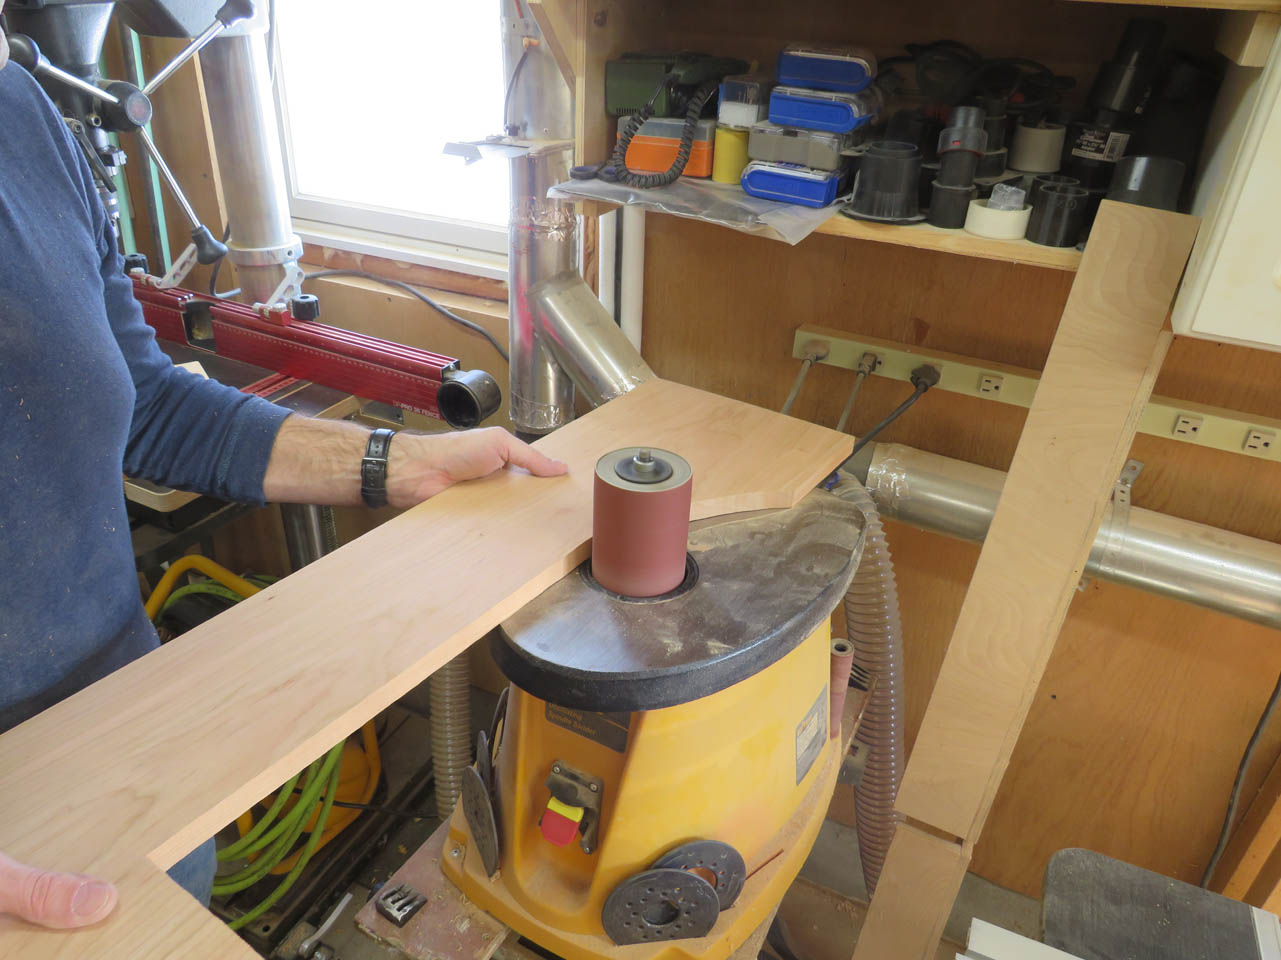
While they were drying, I milled up two boards to make the front. These will be joined together later, but first I need to cut out the arch that they will make when joined.
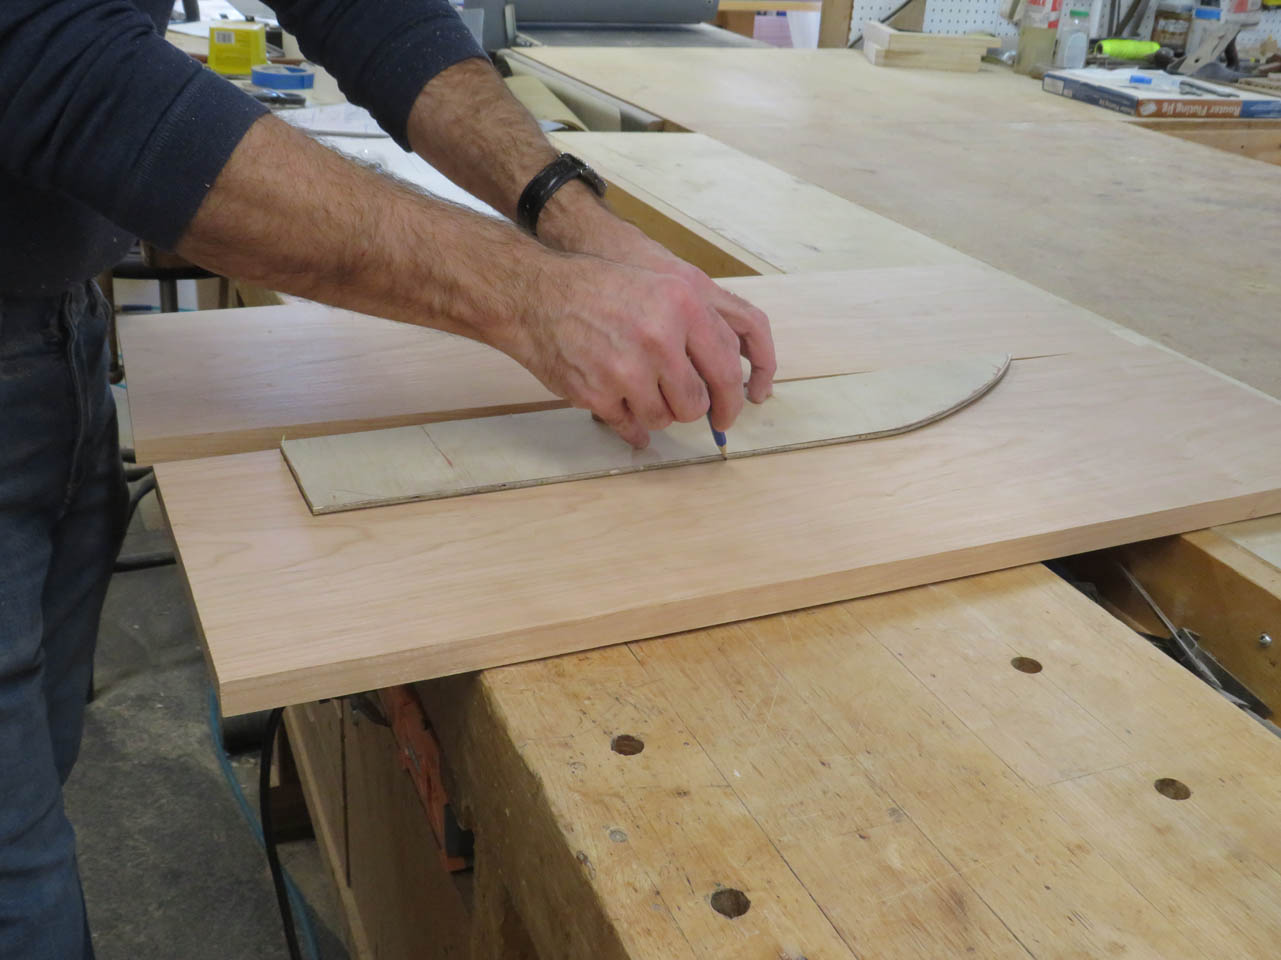
I traced out half the outline on each side from the template that I have been using on the other pieces in this set.
The arch is cut with the bandsaw, then sanded smooth with my spindle sander.
Once everything is sanded smooth, I can glue the panel together.
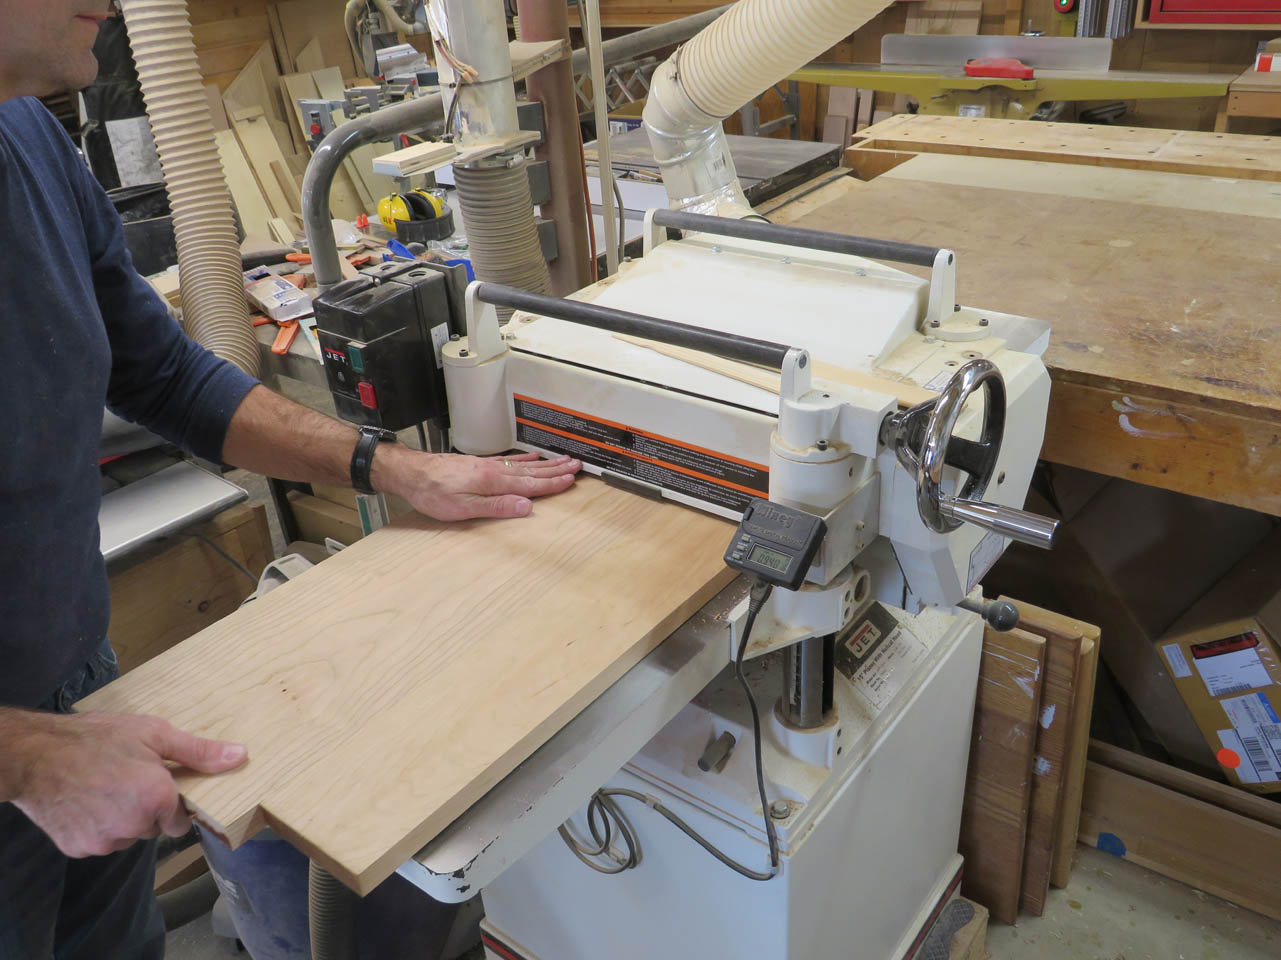
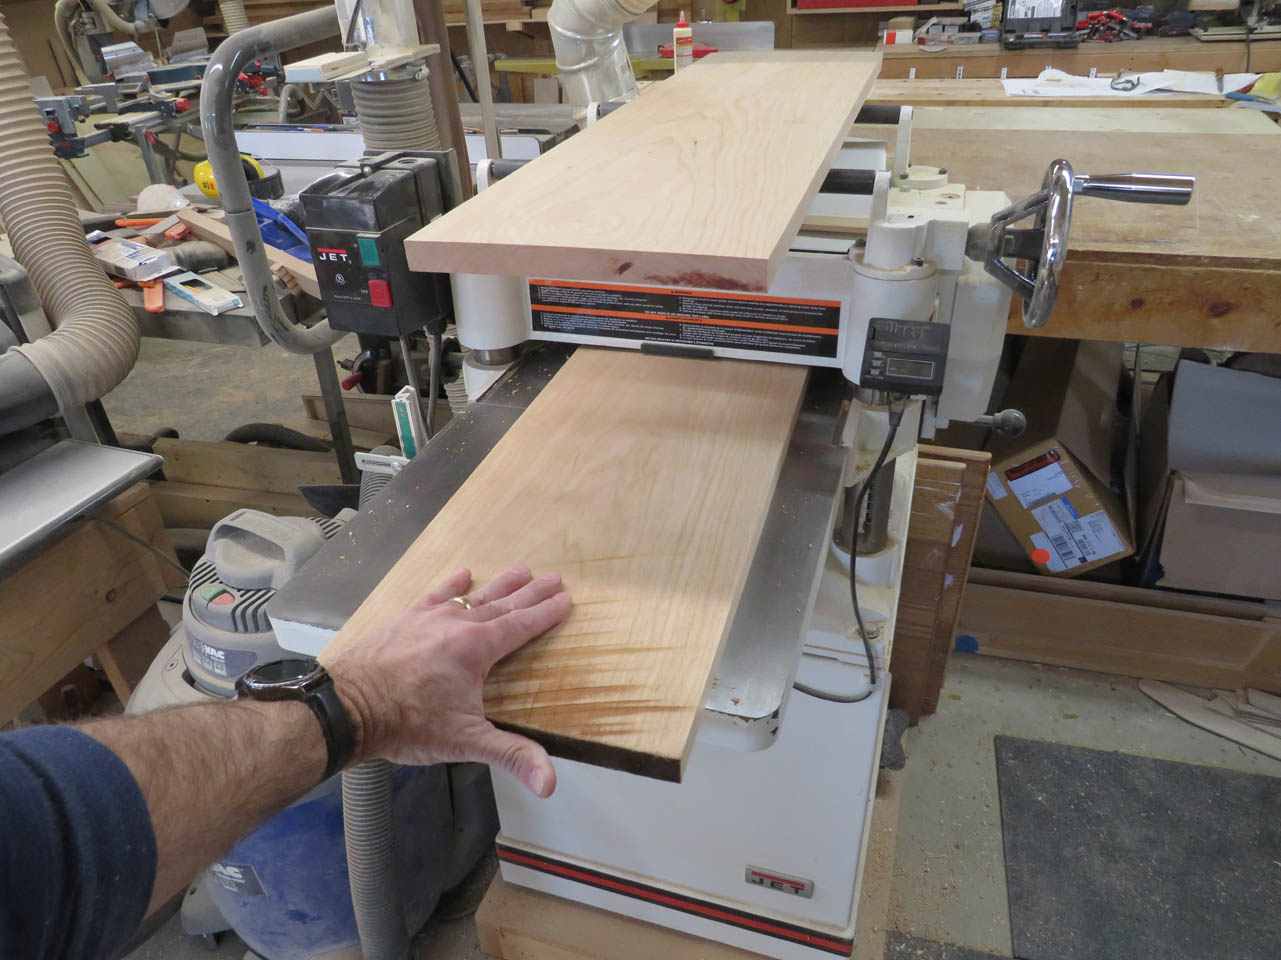
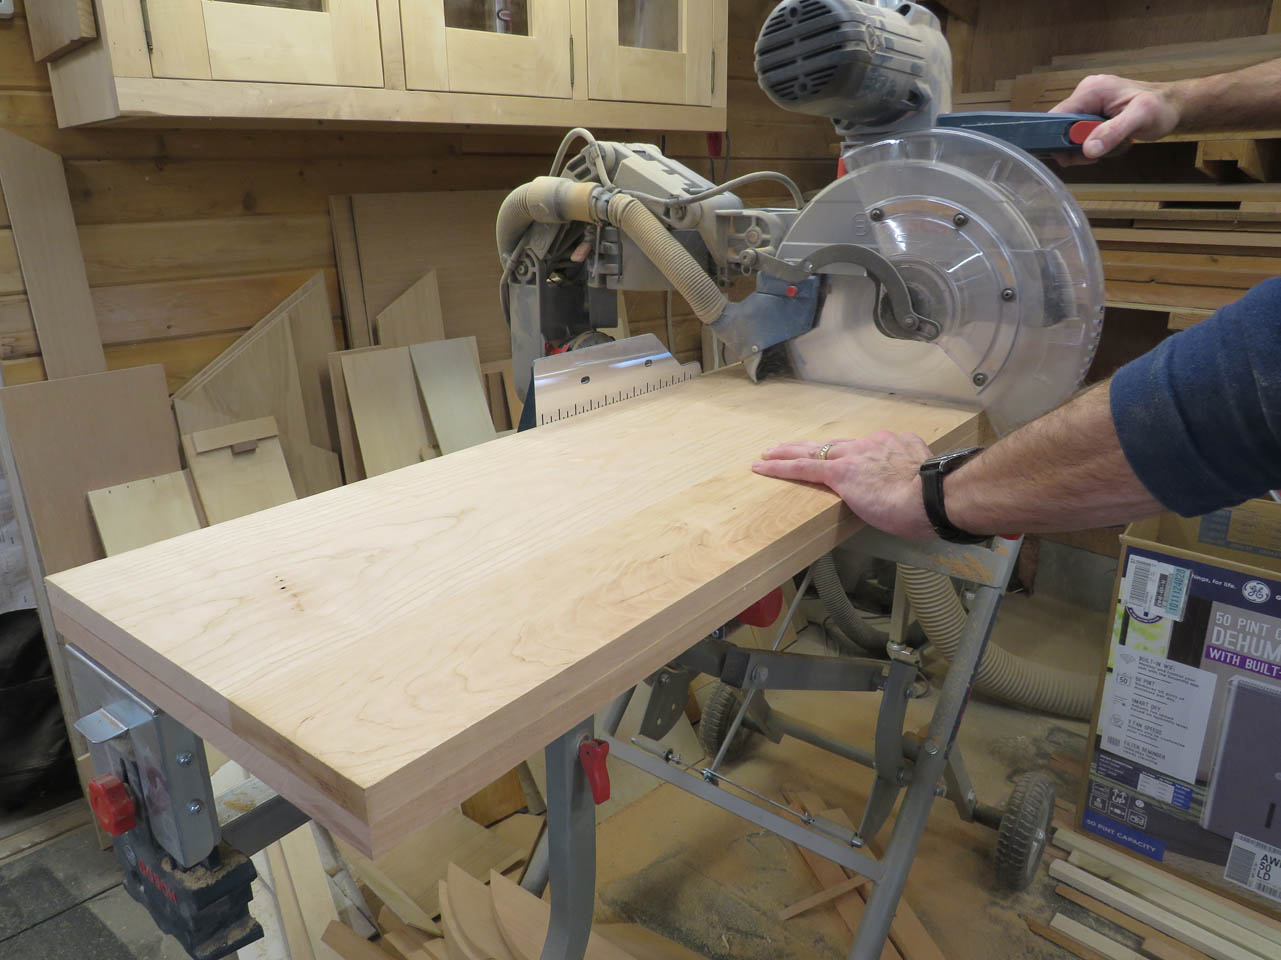
The sides have dried so I can pull the clamps and run them through the planer to smooth out the glue joint and bring the pieces down to 3/4″ thick.
Both pieces are then cut to the exact same length on the miter saw.
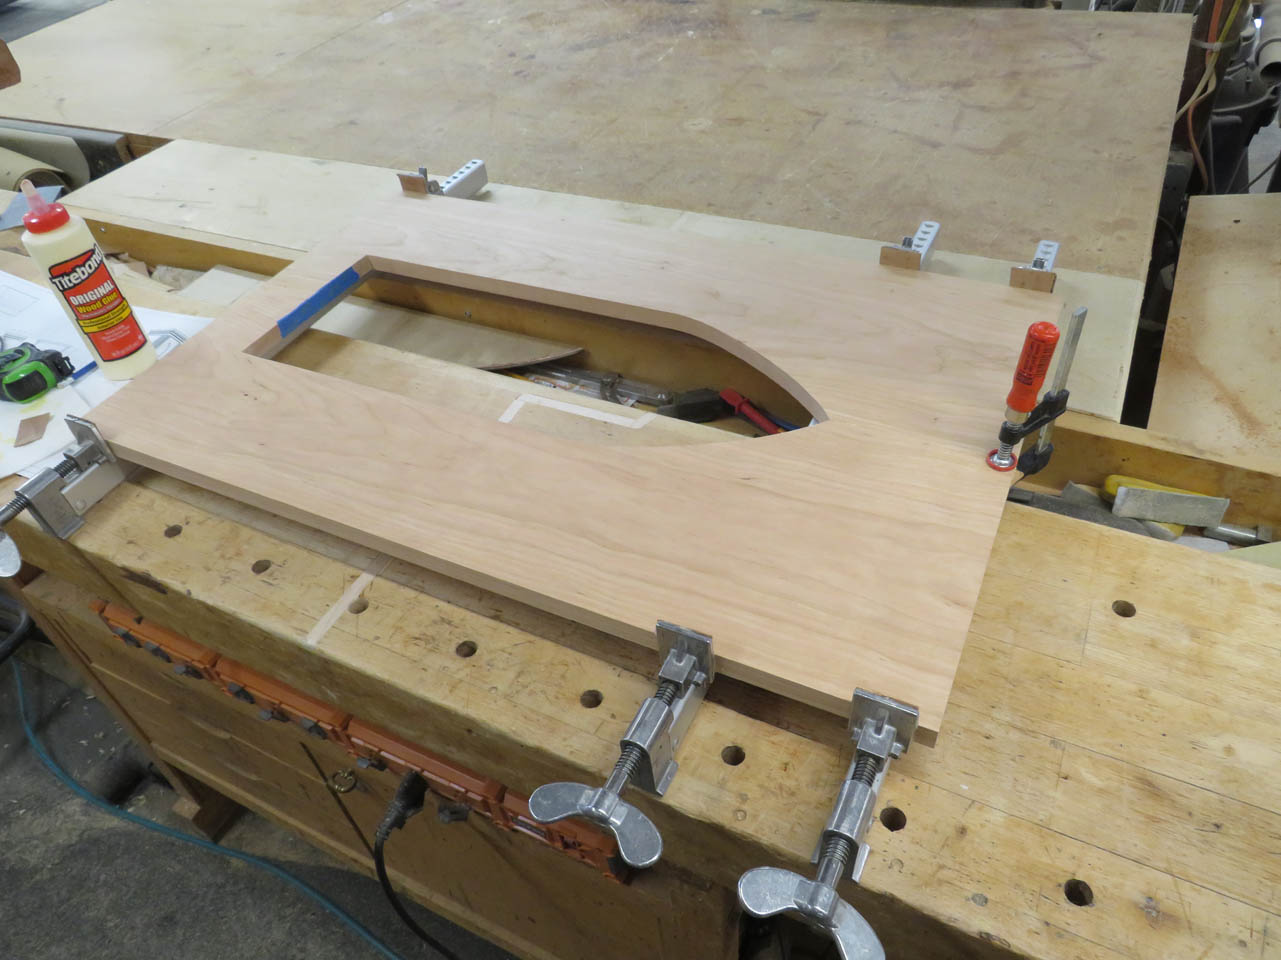
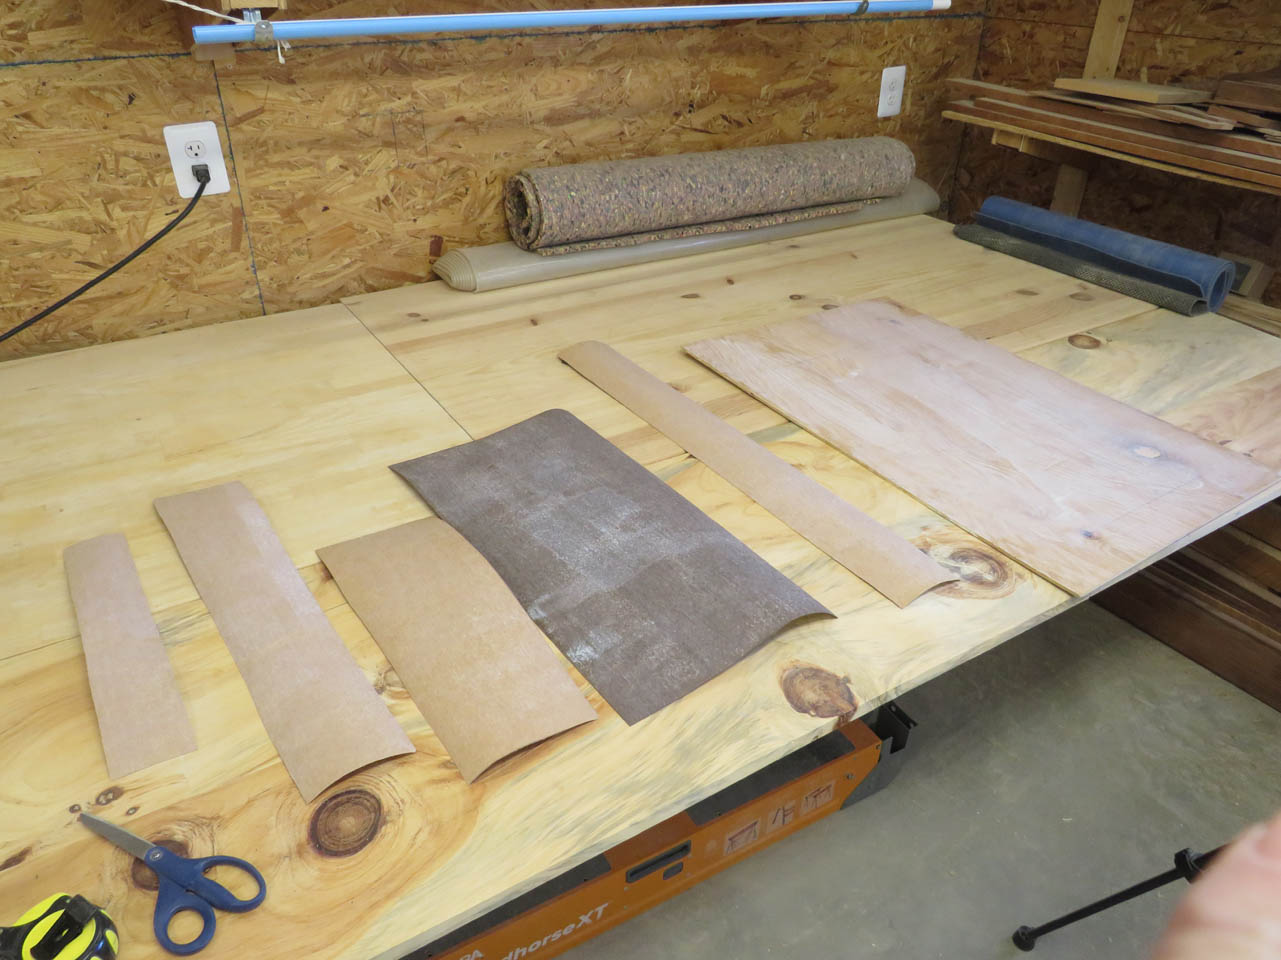
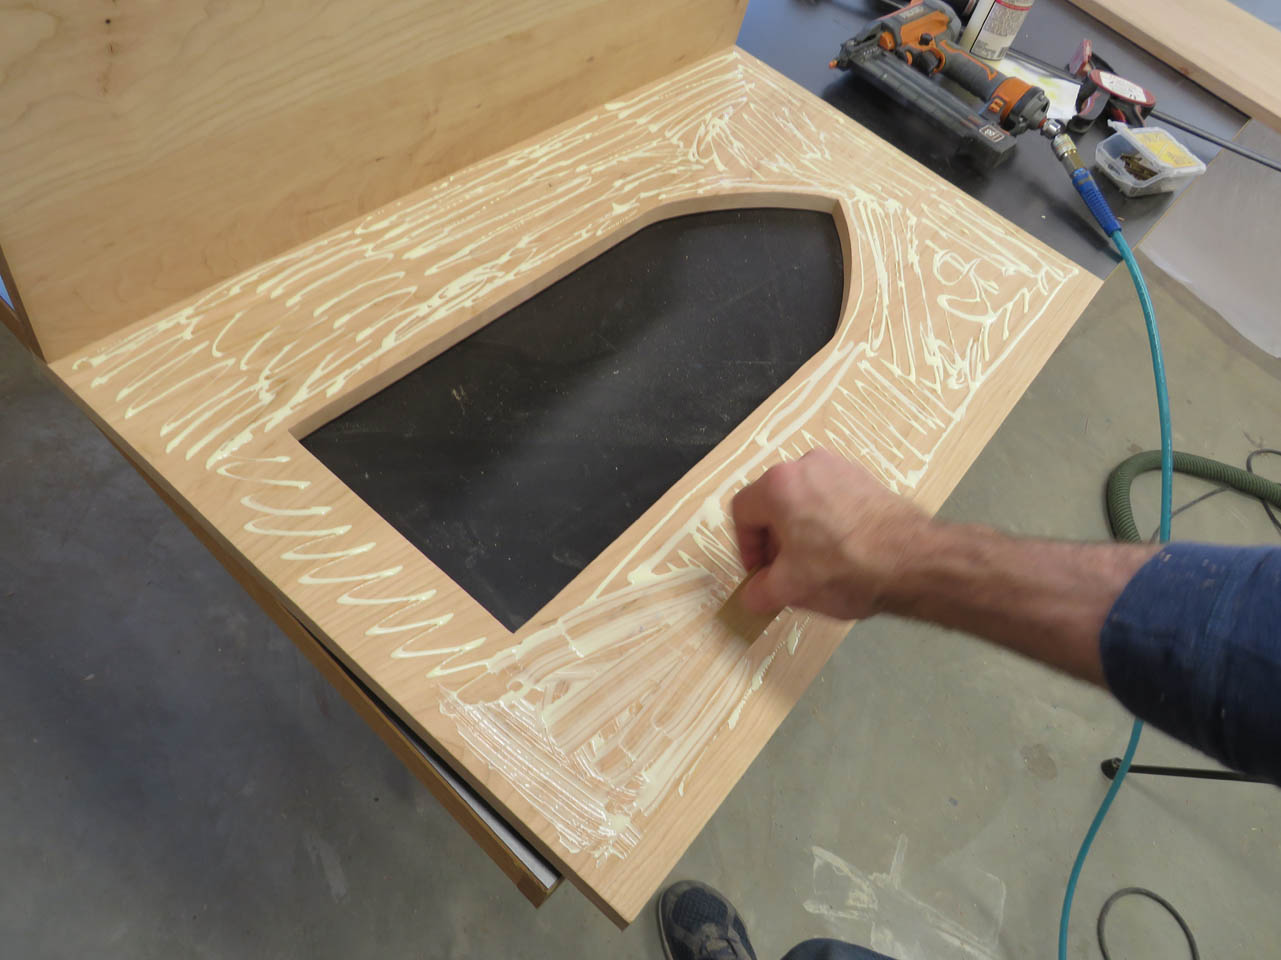
I have been filling the arched areas with walnut veneer so I cut my last piece of walnut veneer to the size of the arch then cut left-over pieces of cherry veneer to frame the outside, just to keep the panel the same thickness.

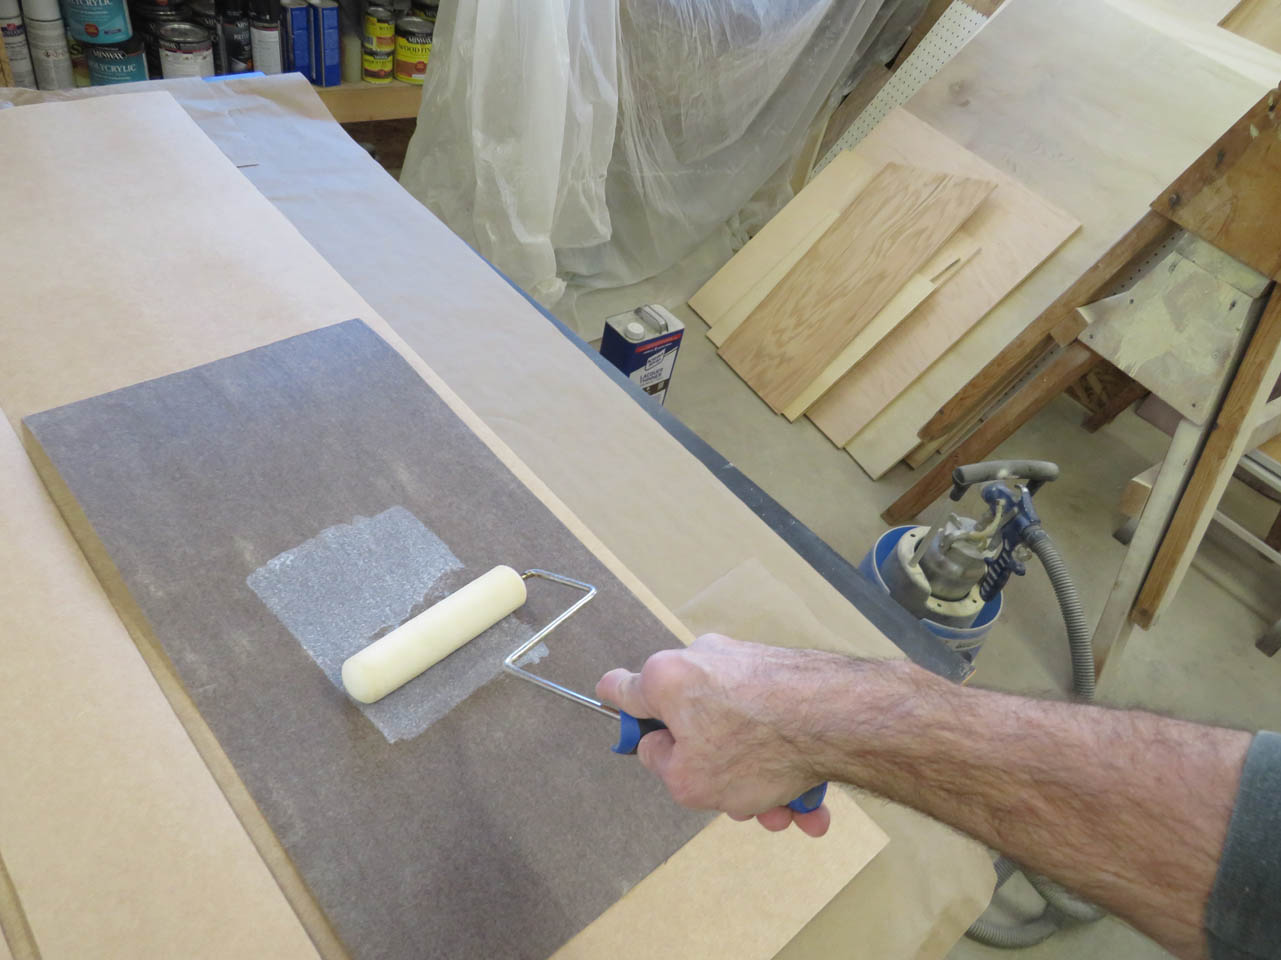
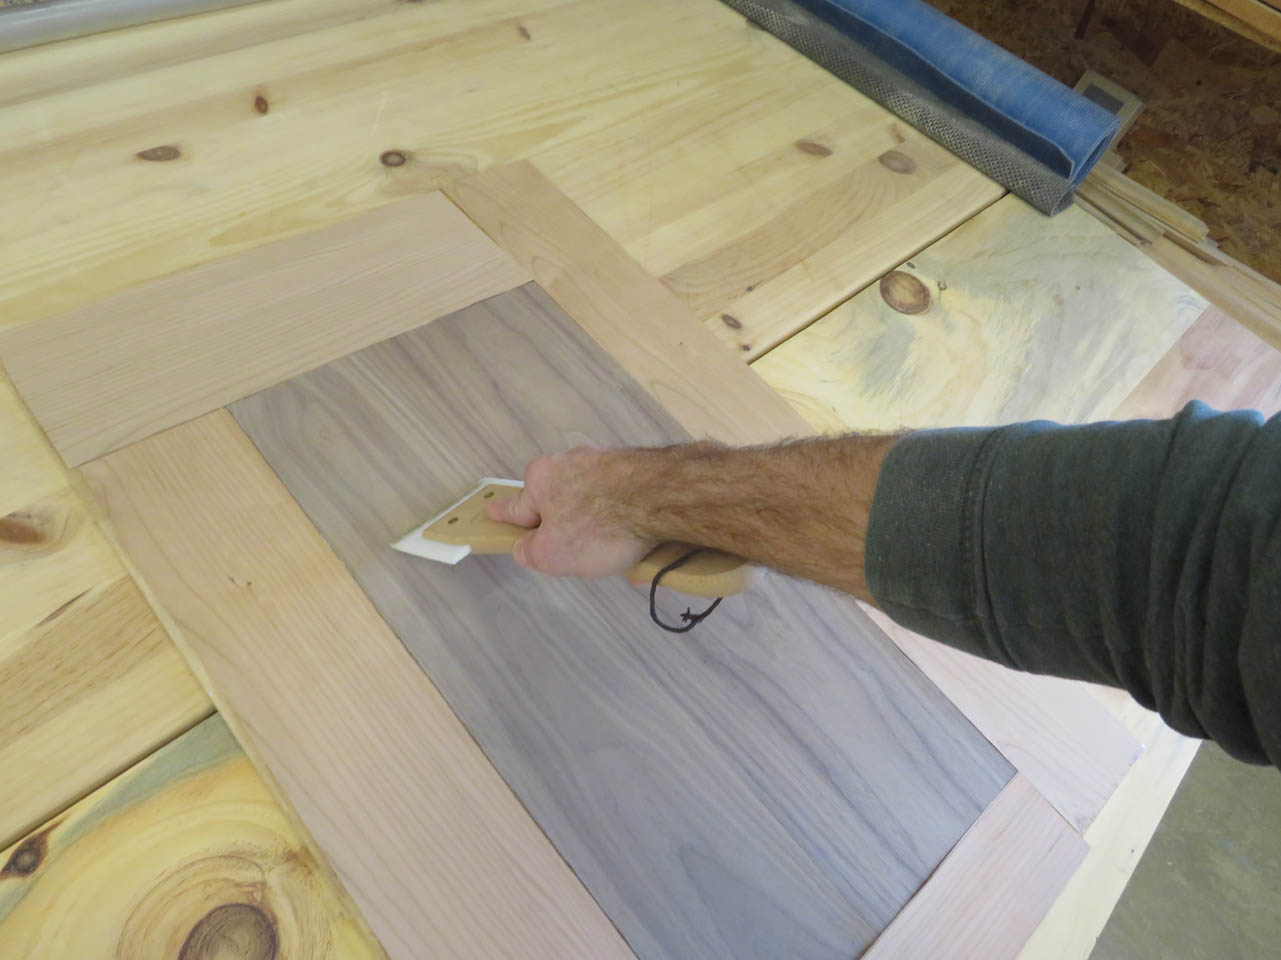
Then it was time to roll on the contact adhesive for attaching the veneer.
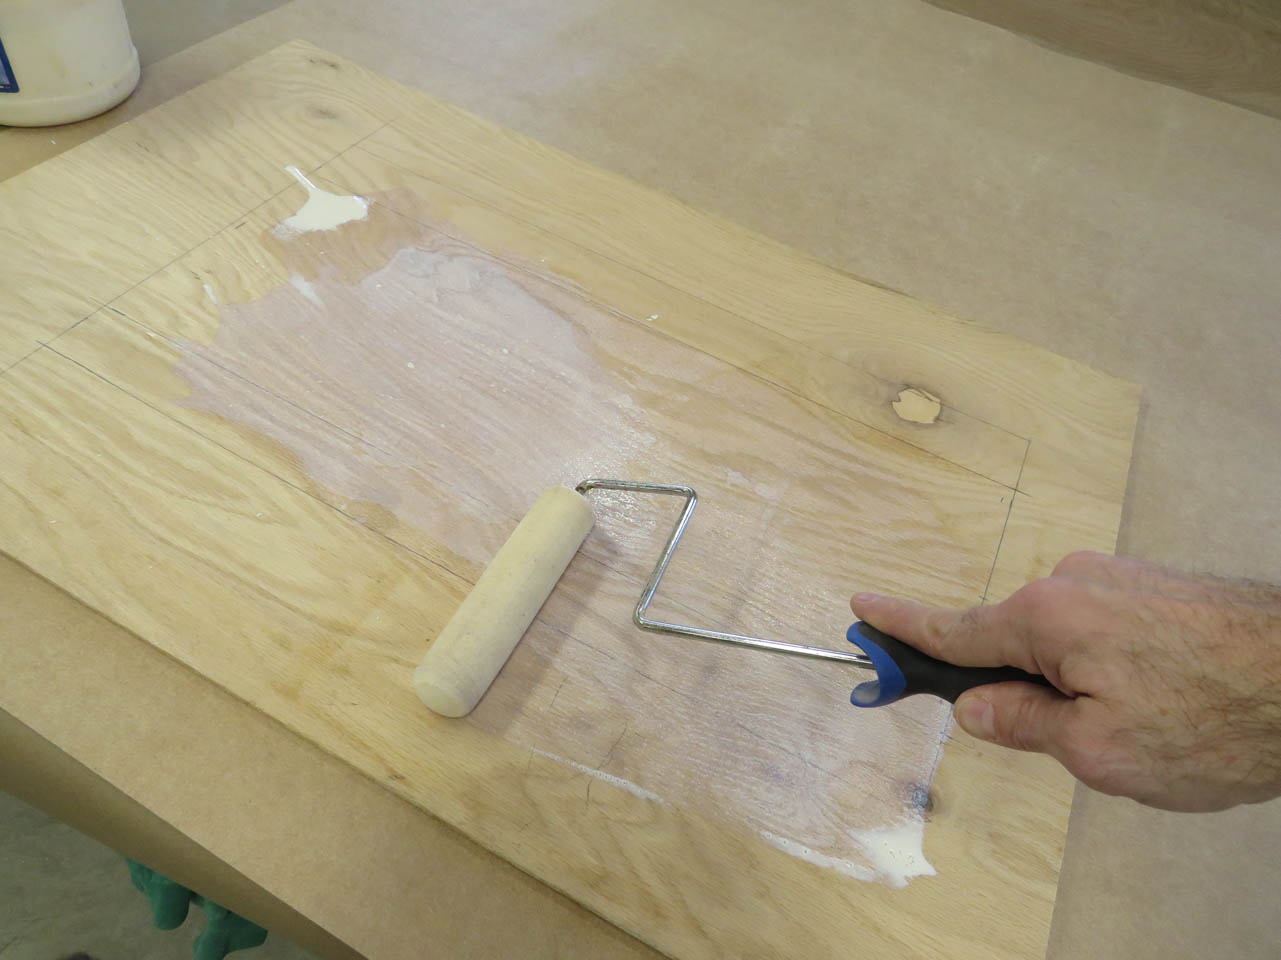
Once everything had dried, I could begin attaching the veneer to the panel. I use a plastic scraper to press the veneer into place and squeeze out any bubbles.
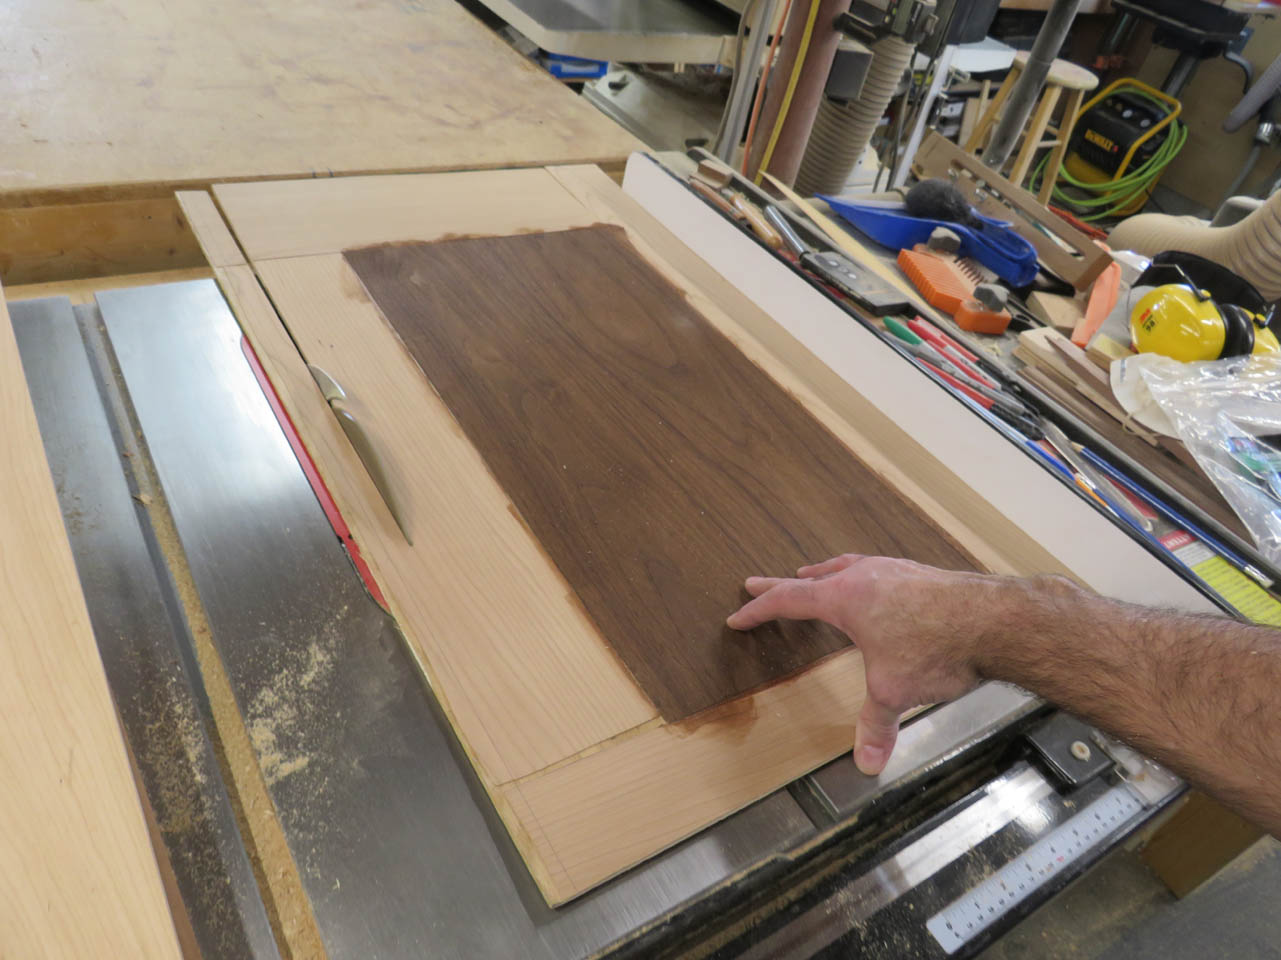
Then I can cut the panel down to the final size on the table saw. To match the walnut tabernacle, I applied stain to the walnut veneer.
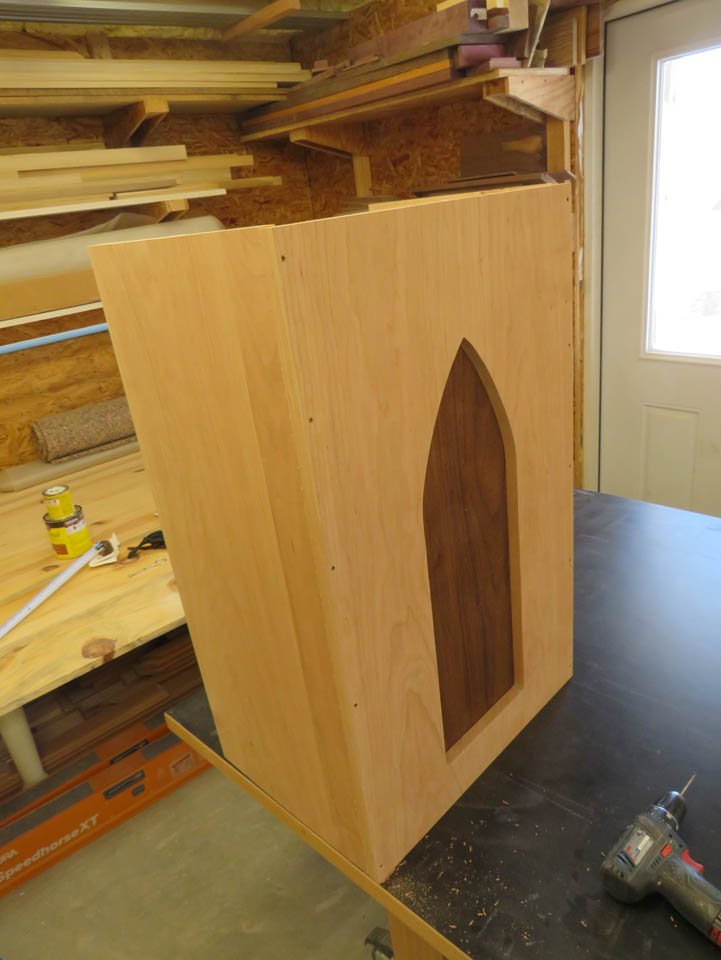
I did a test fit before assembly.

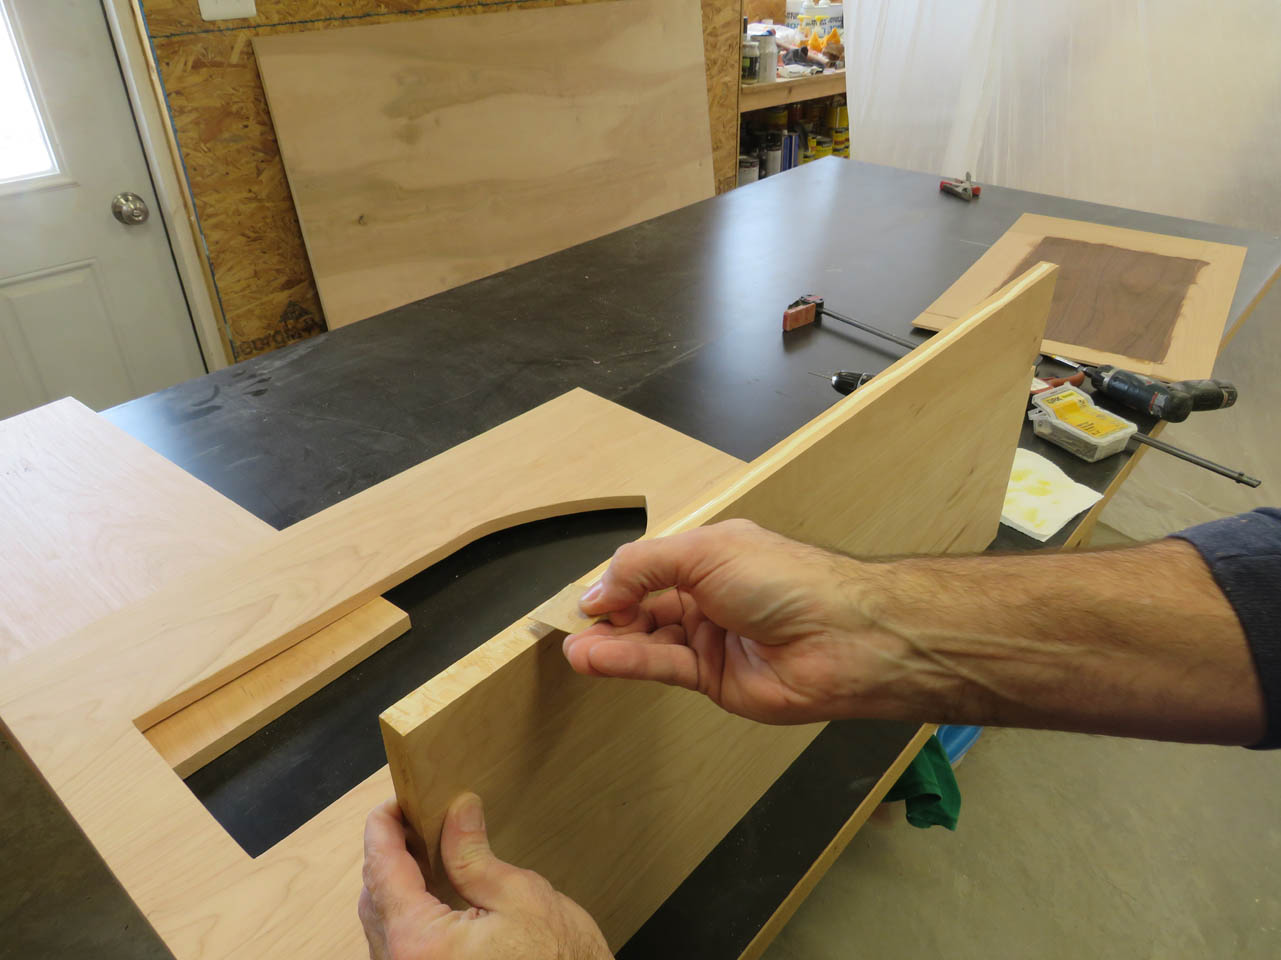
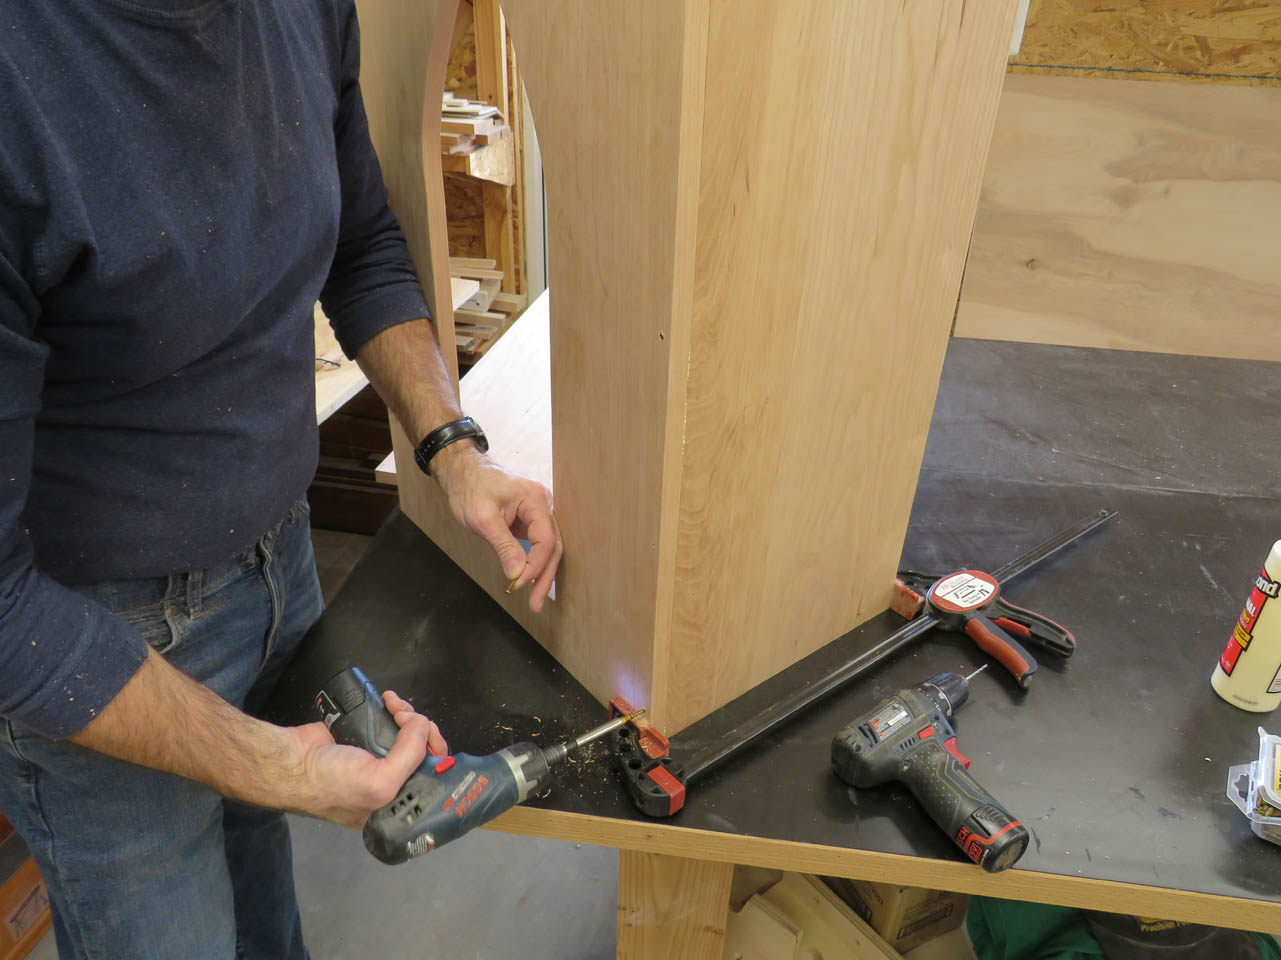
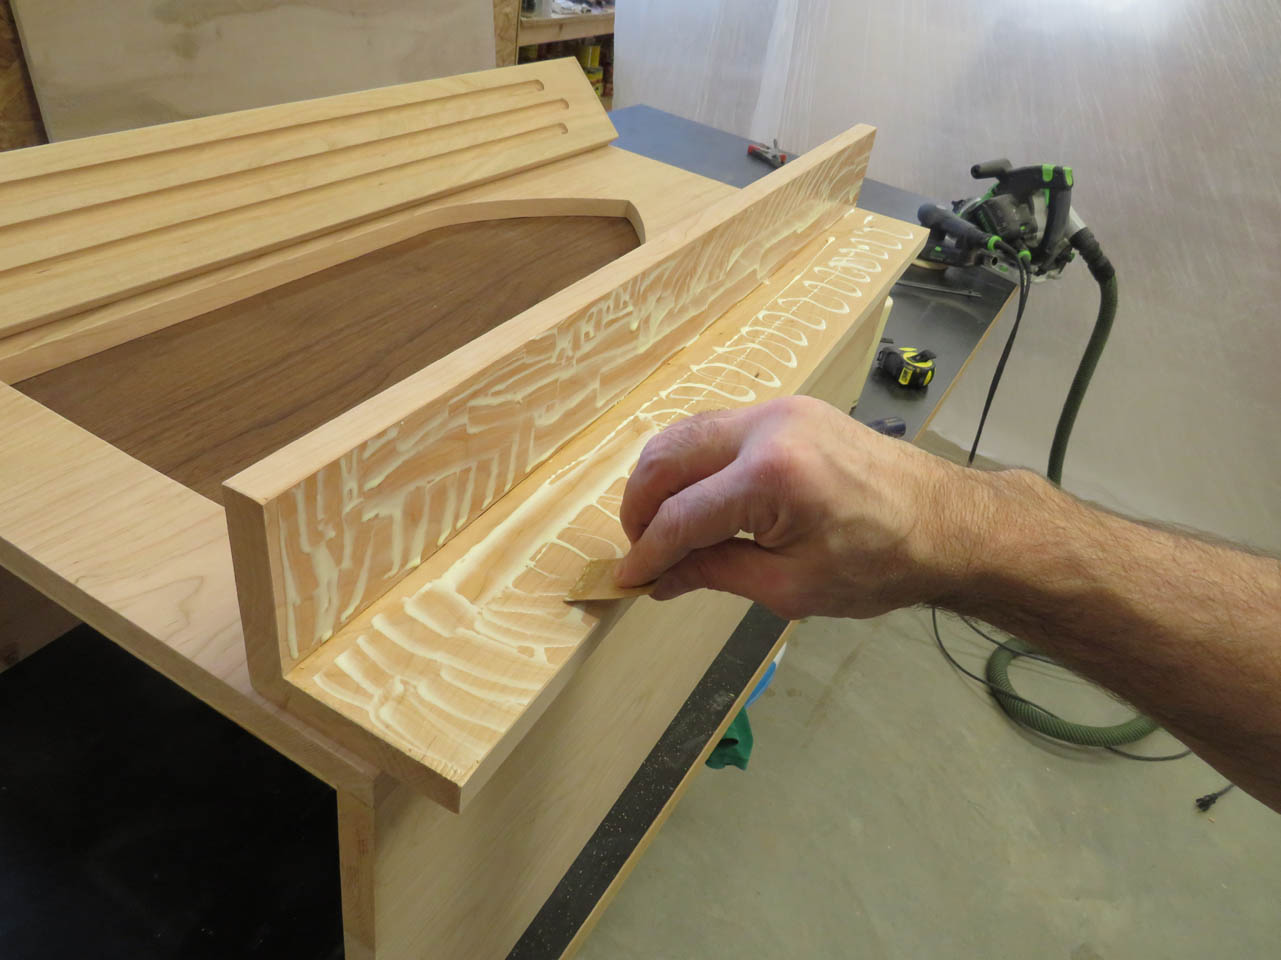
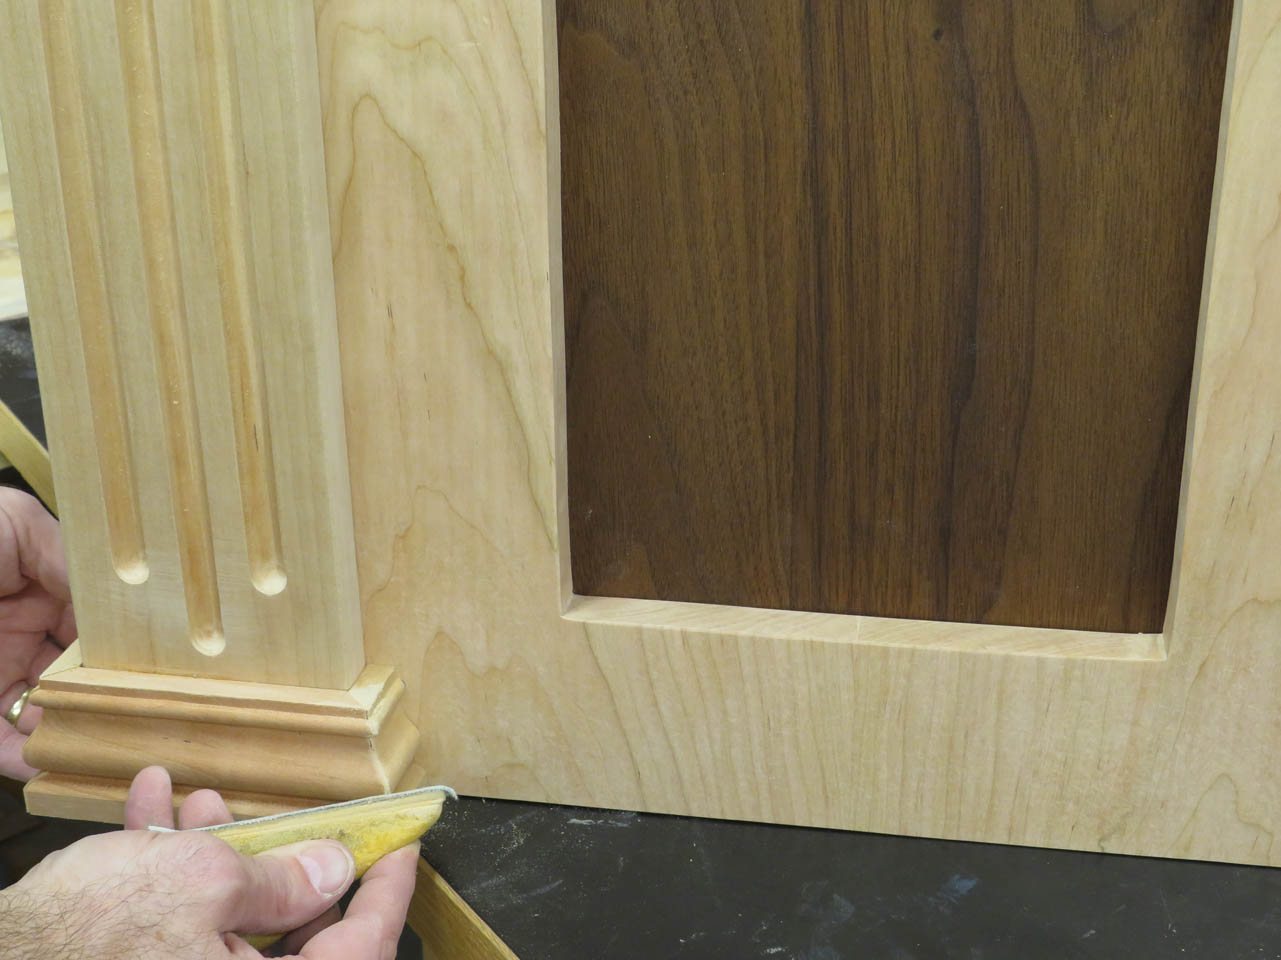
The sides are attached to the front with wood glue but I added several trim screws as well for additional support.
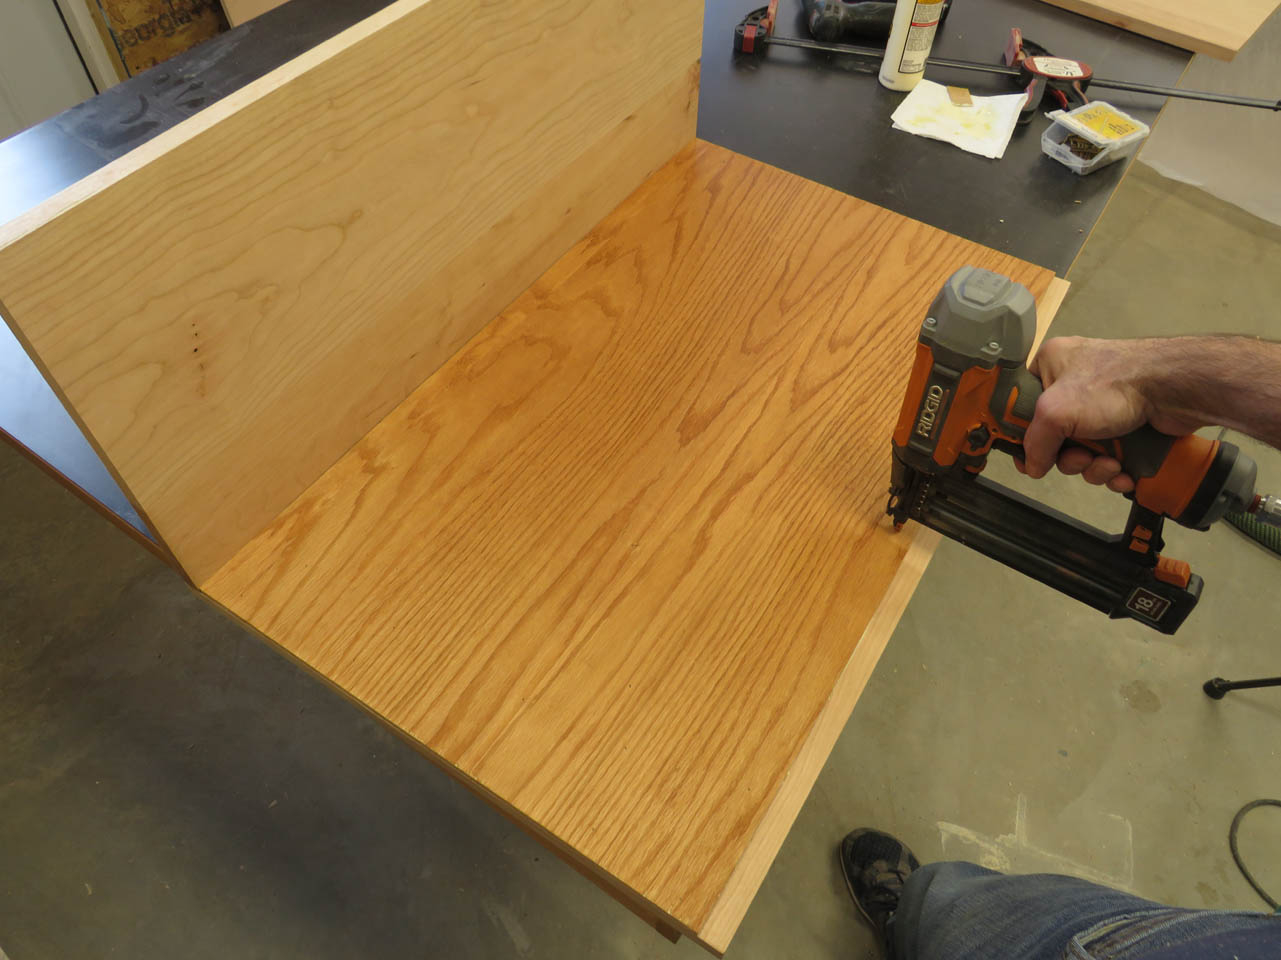
Then I spread glue along the face and attached the veneered panel with brad nails to hold it flat while the glue dries.
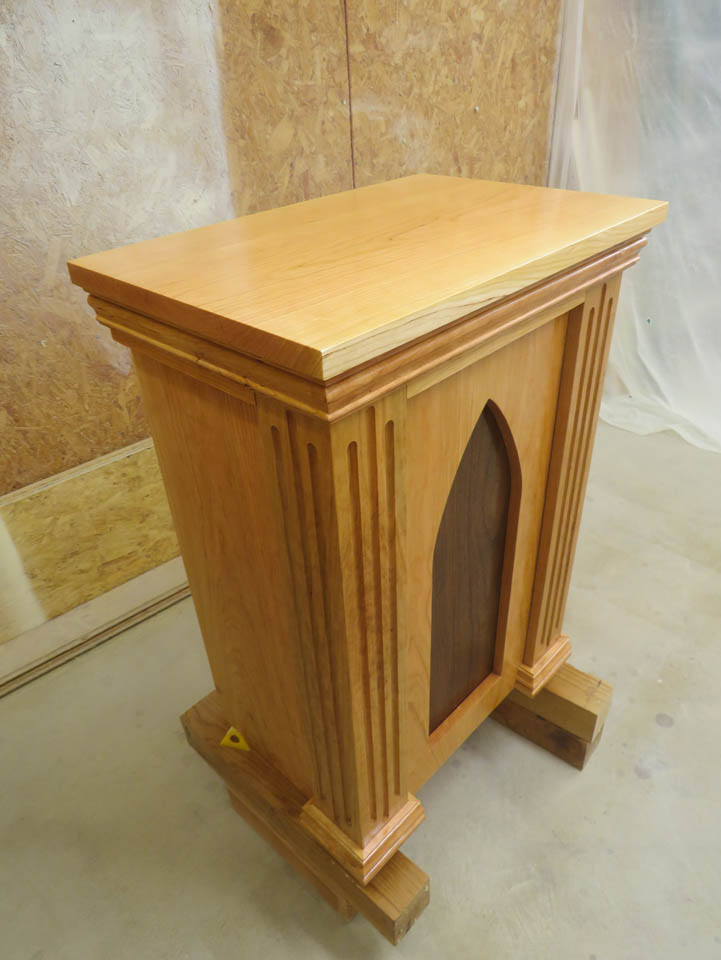
The fluted columns for this piece were made at the same time as the rest for this project, you can read about that in the altar build post.

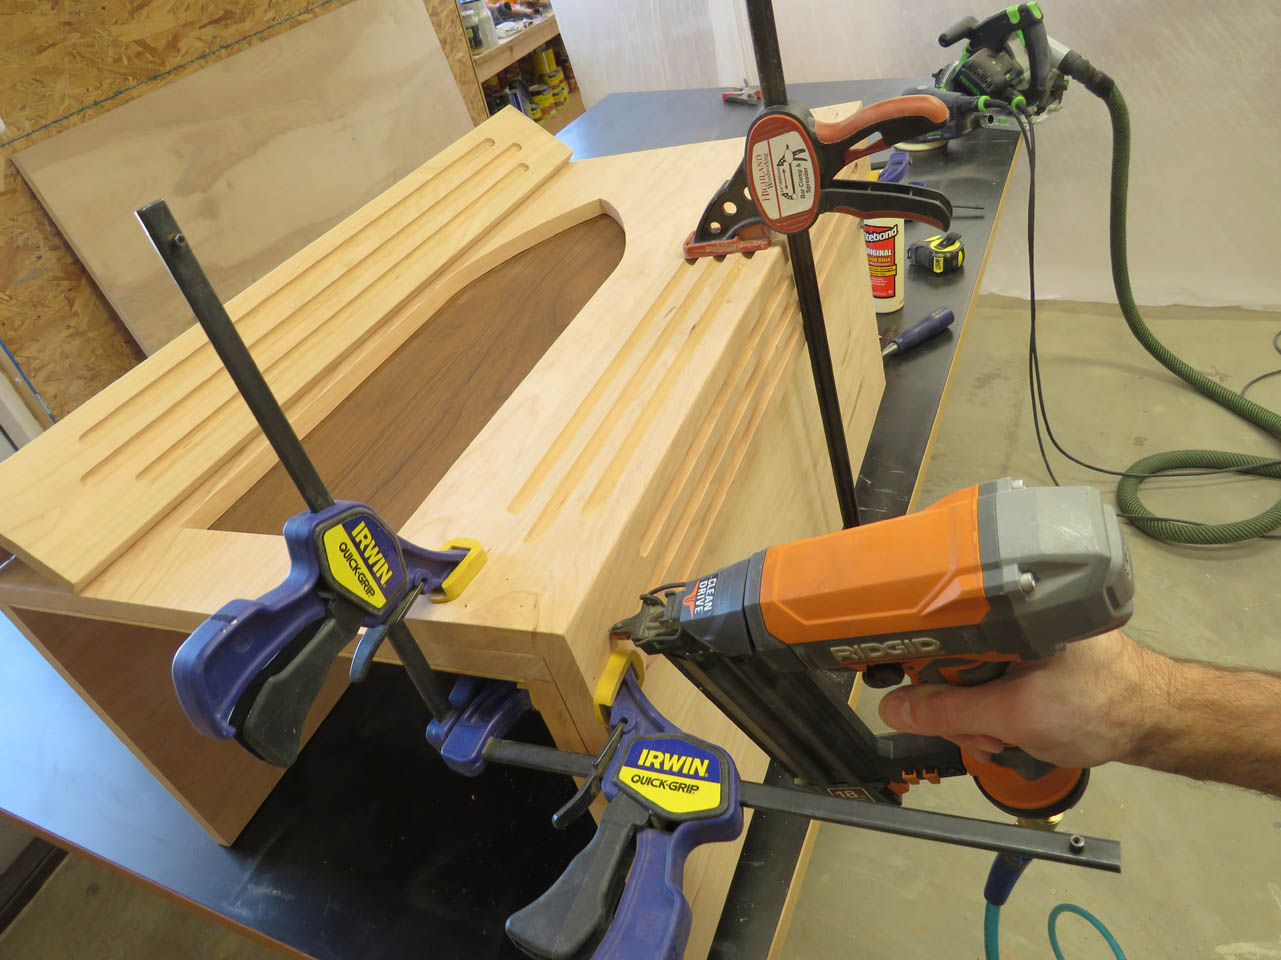
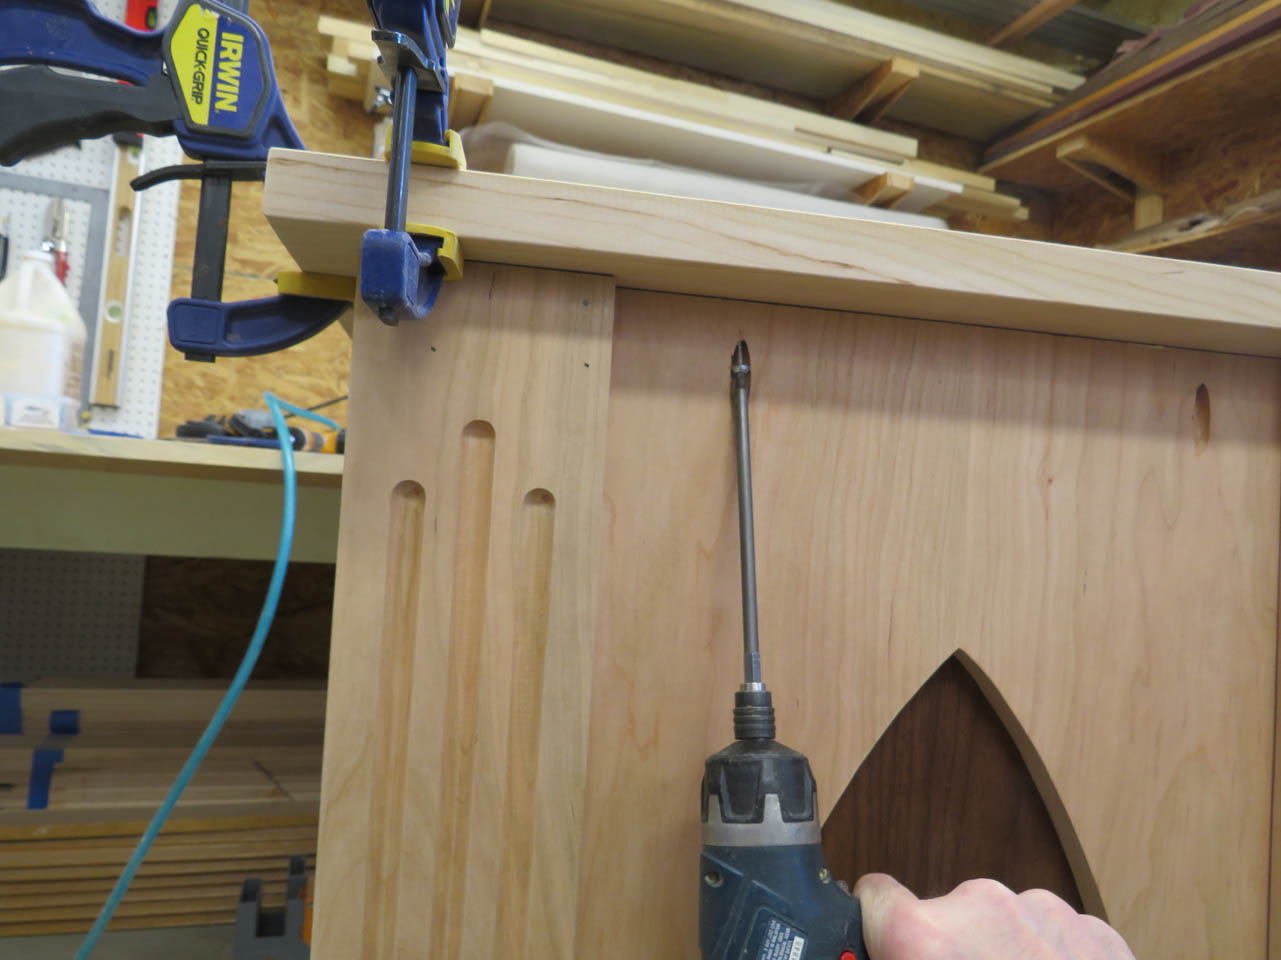
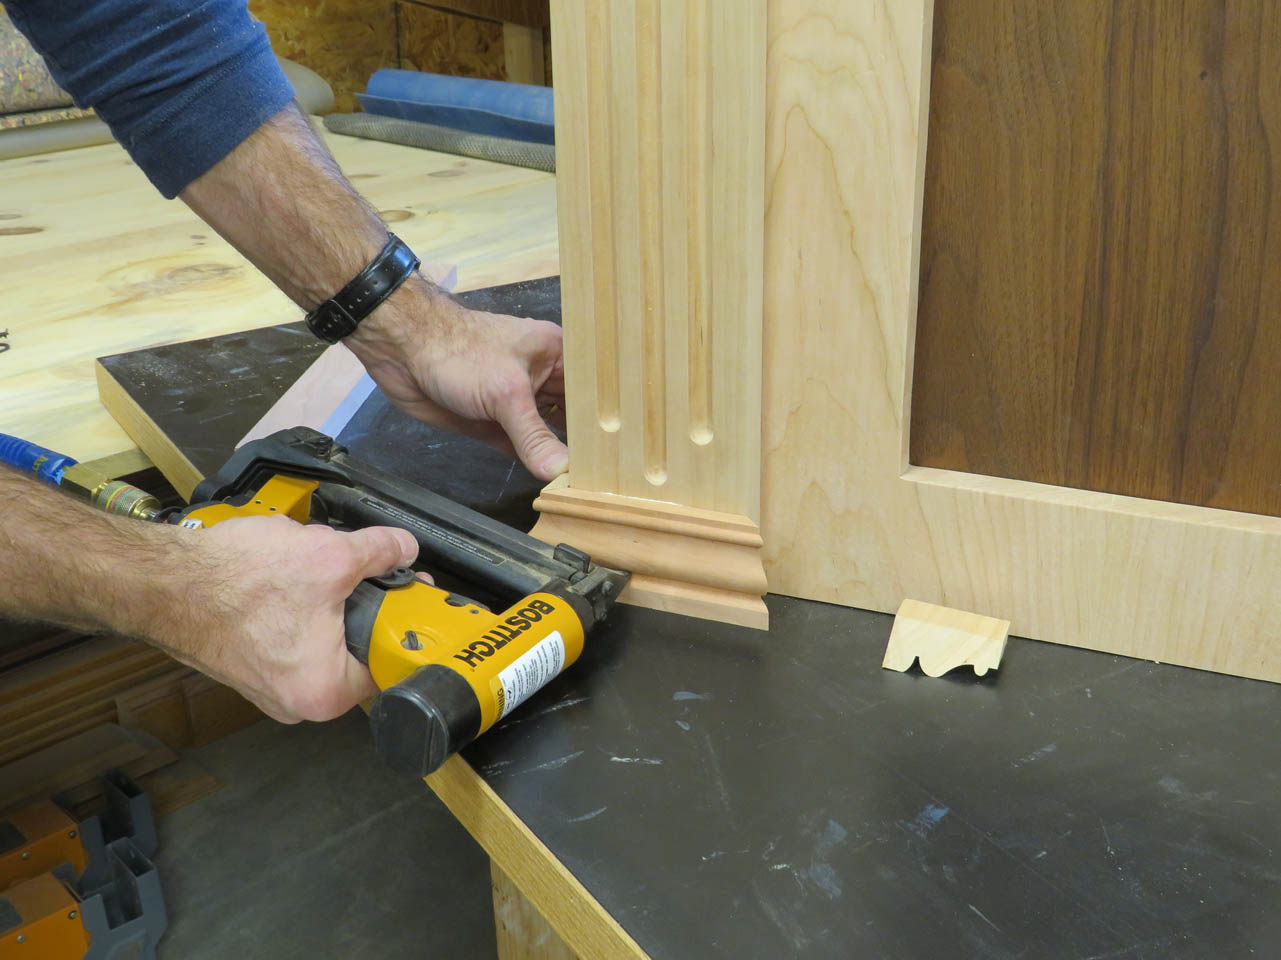
The columns get attached with glue and clamps. I added a few brad nails as well to hold them in place while the glue dries.
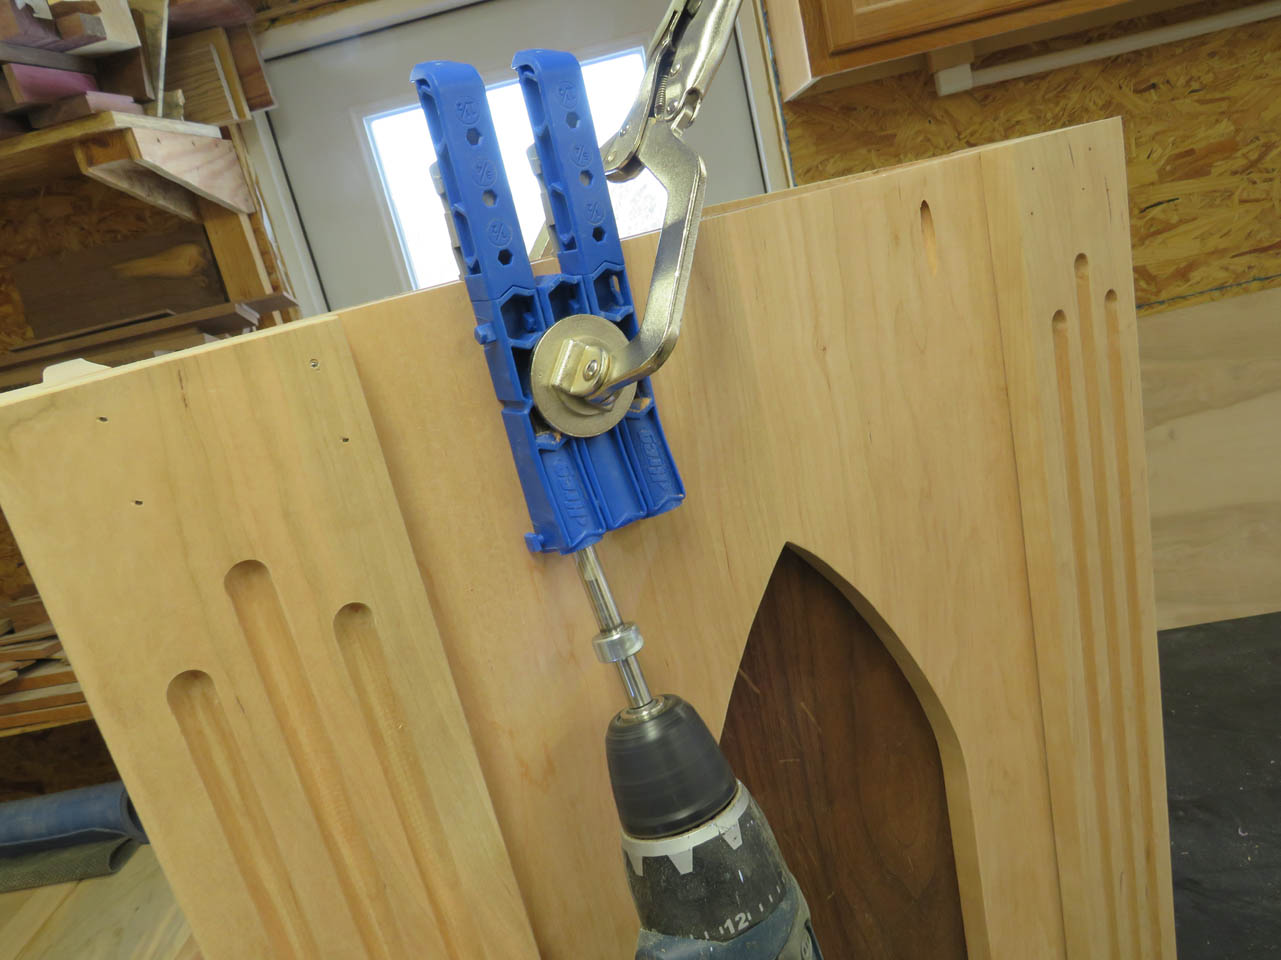
Like the ambo and altar, the top will be held in place with pocket hole screws. Since the inside will be open, I add the screw holes to the outside faces. The holes will get covered with trim later so they will not be visible.
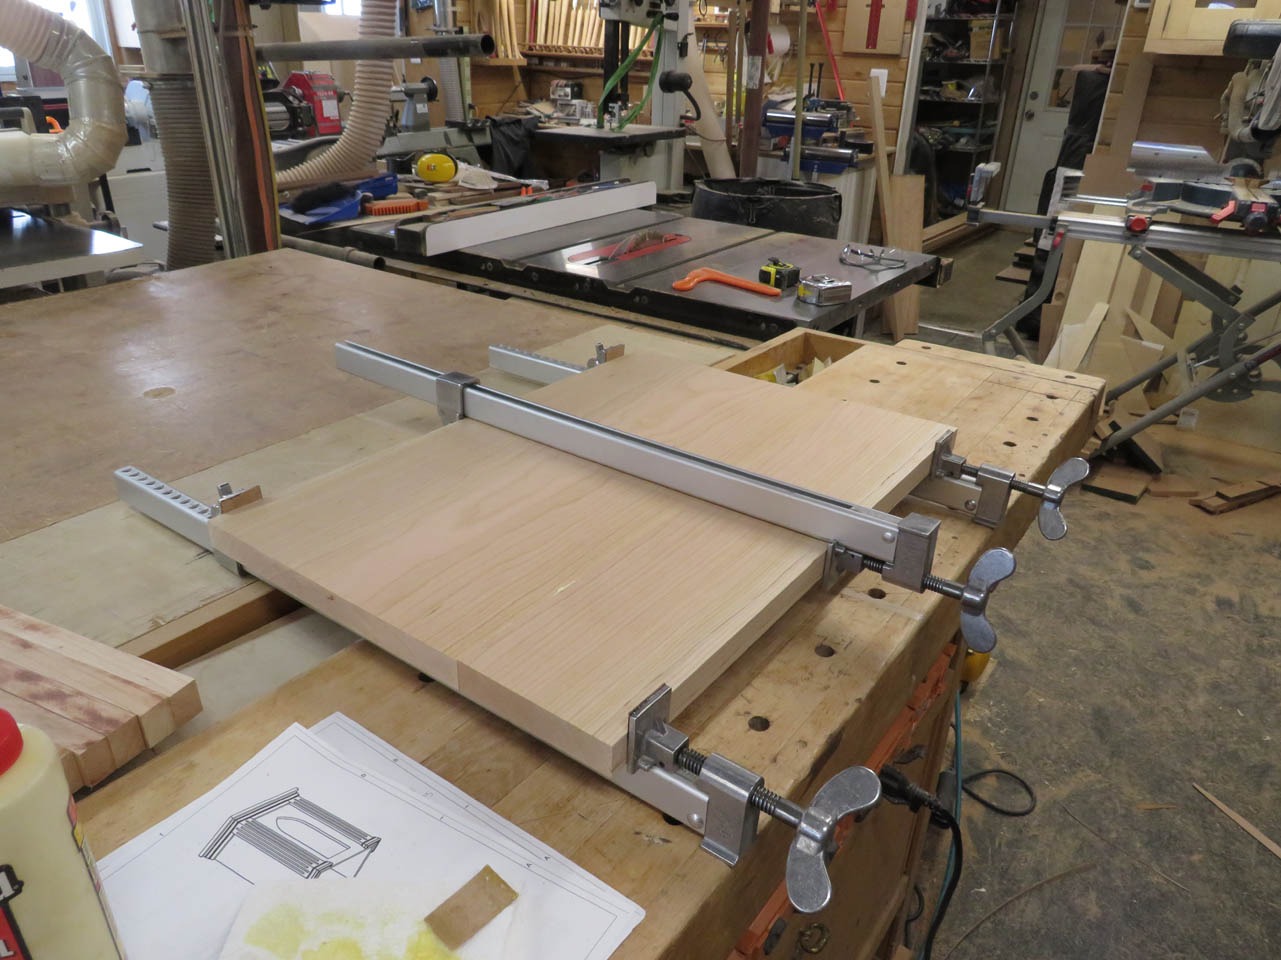
The top panel is assembled with glue and clamps like the sides but it is too wide for the planer so the final sizing will be done on the drum sander to remove the glue joint.

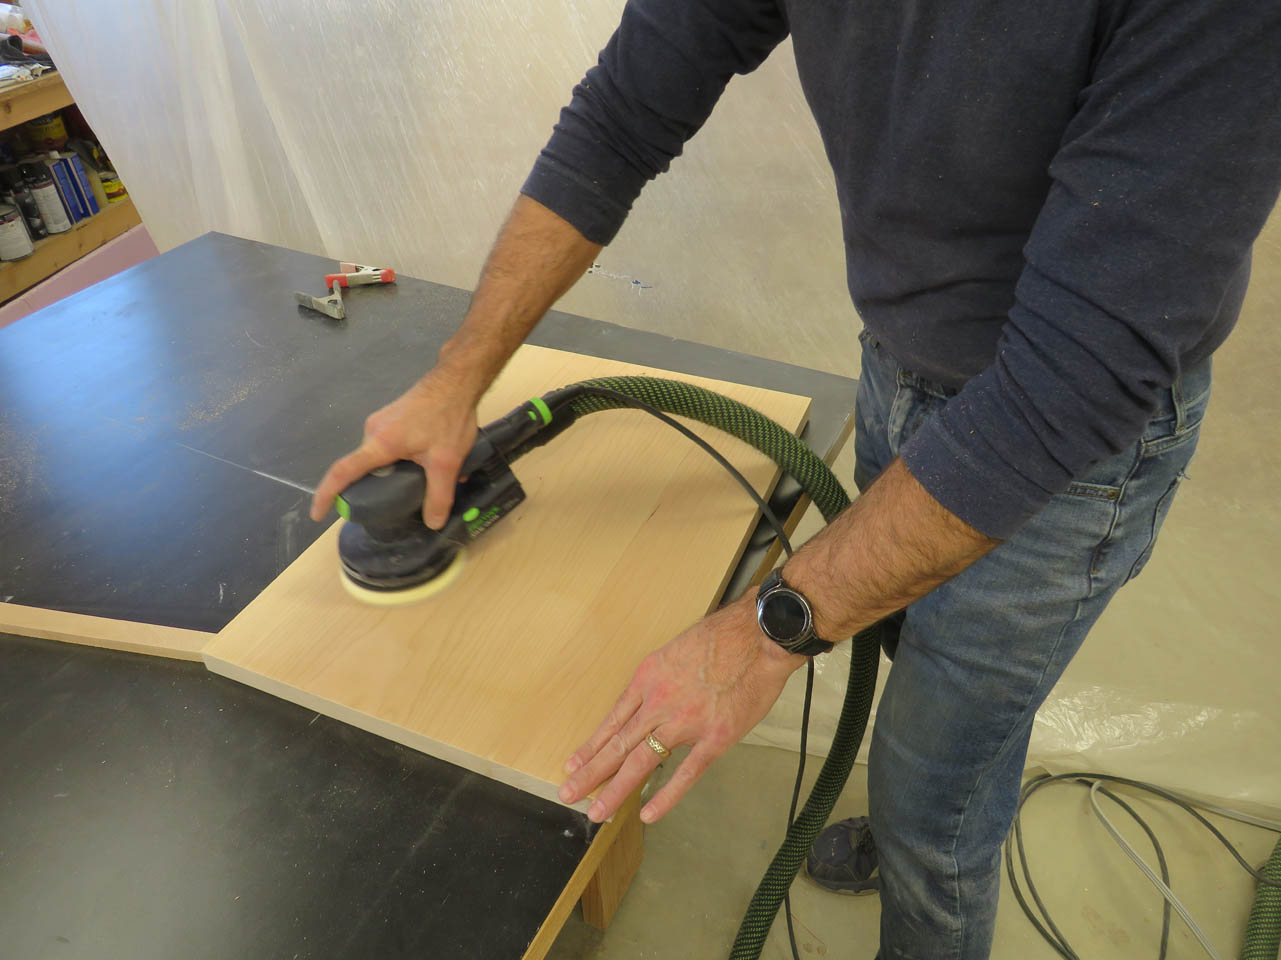
The panel gets a final sanding before assembly. It is attached with glue and screws.
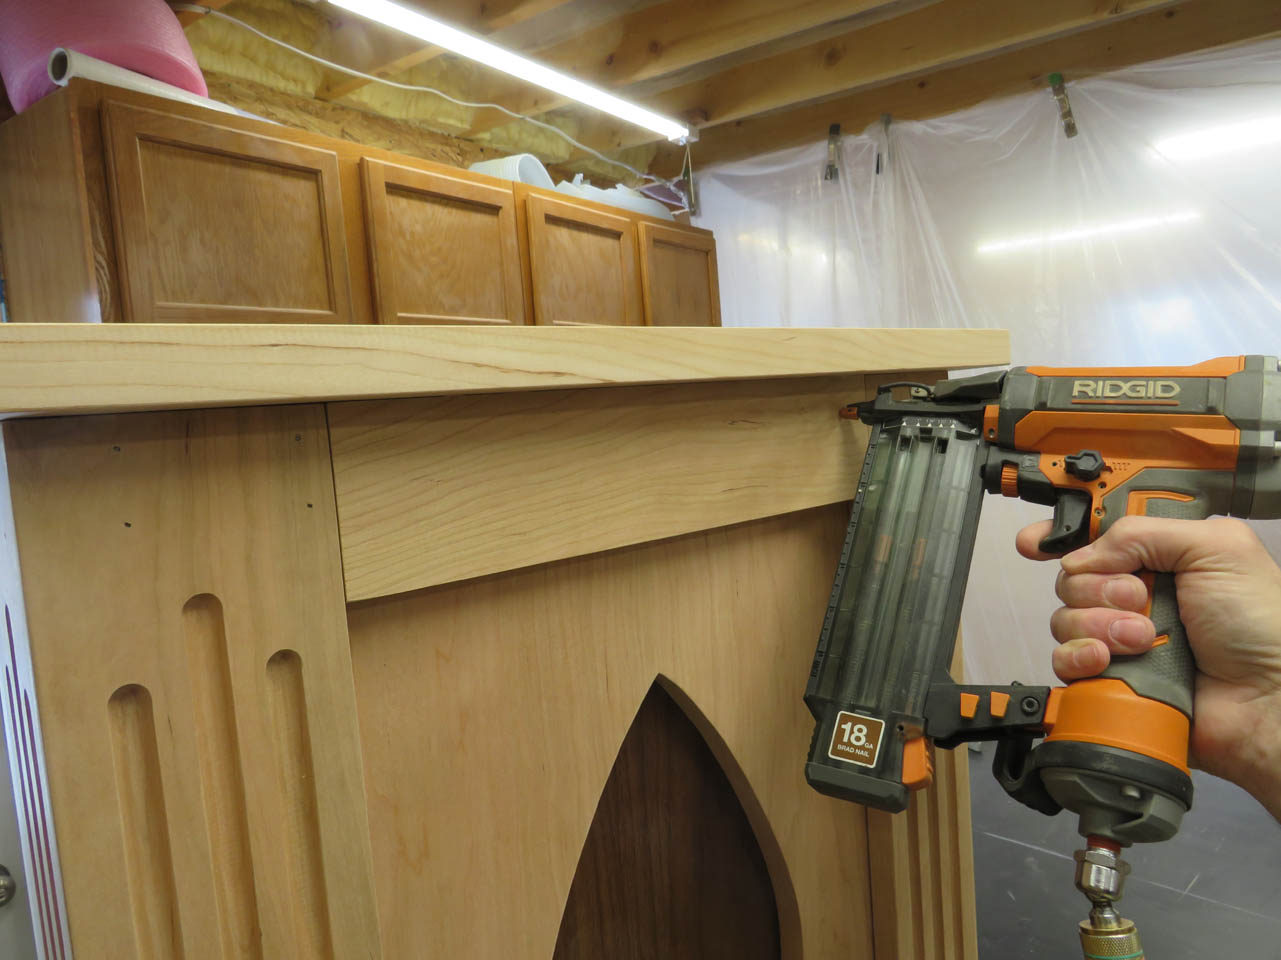
A 3″ wide trim gets attached to the top to cover the screws.
I miter cut the top and base trim to fit, then glue and brad nail it in place. This trim is extra left-over from the altar and ambo builds.
The corners get sanded to remove any really sharp edges.
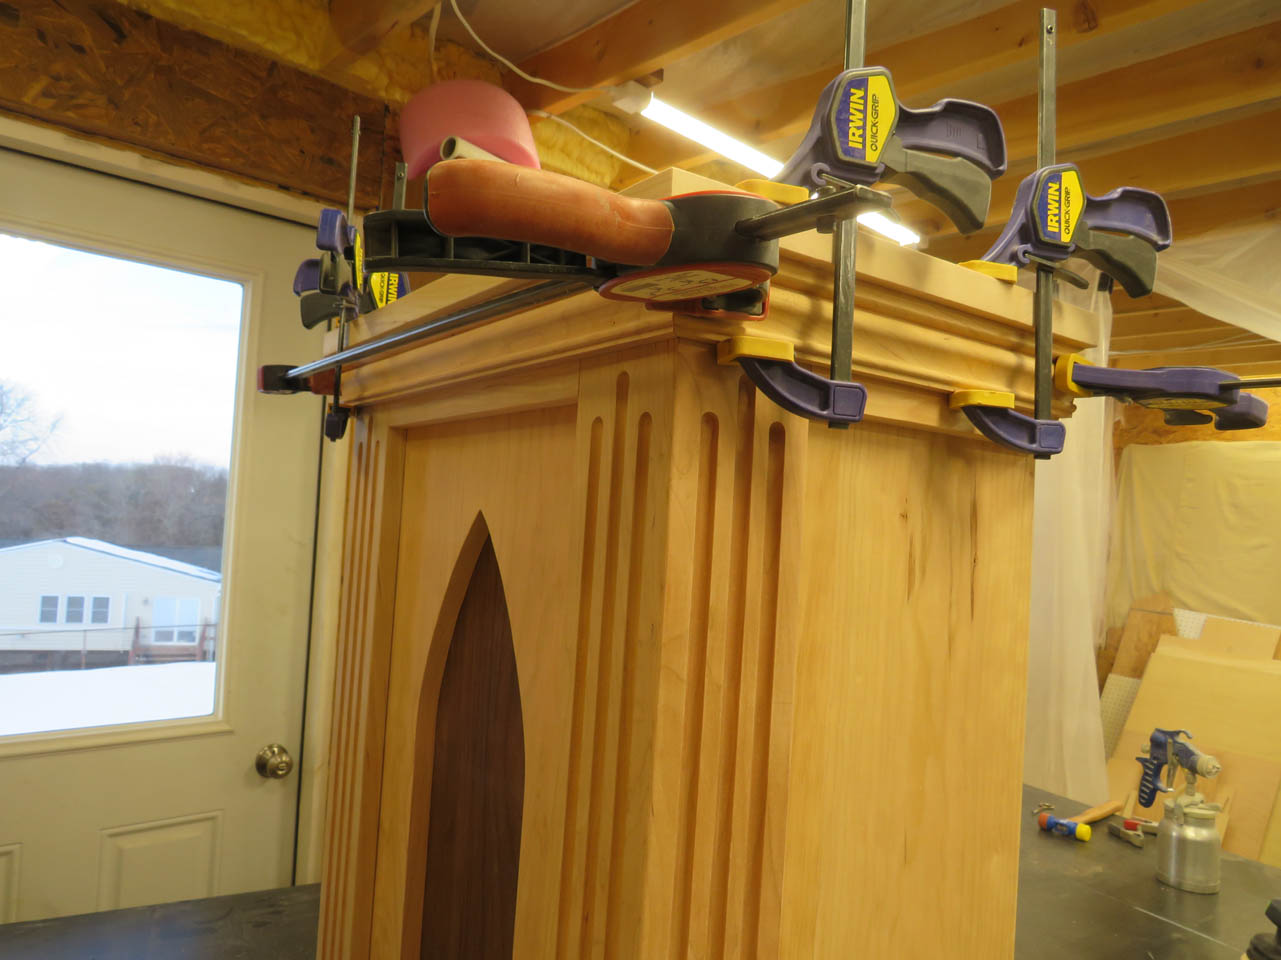
Then the trim gets glued and clamped in place along the top as well.
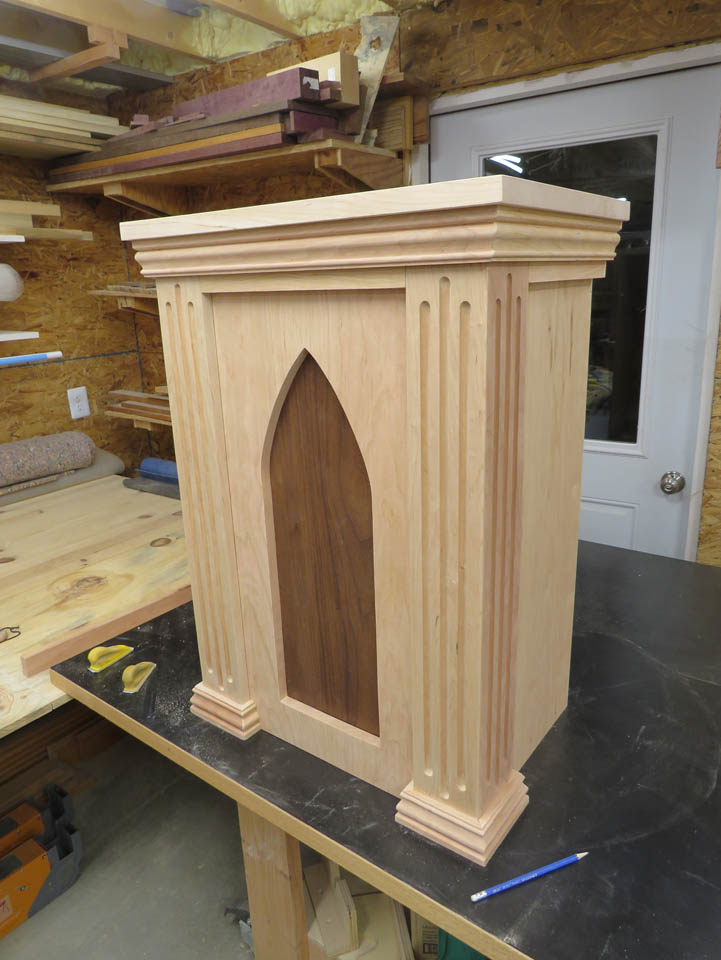
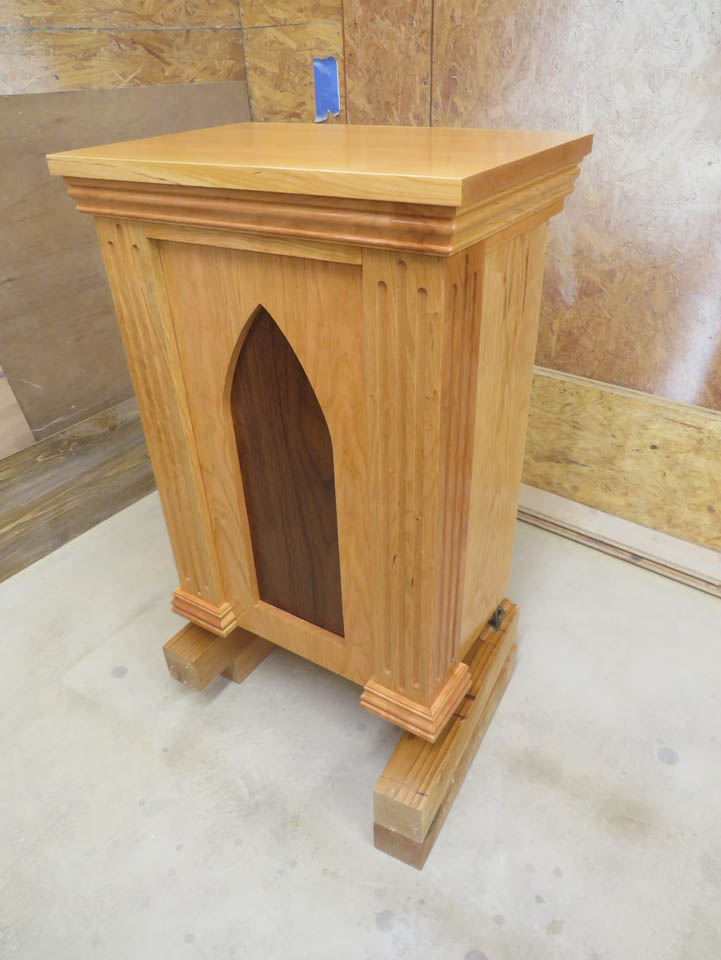
Assembly and sanding are done so it is time for finish.
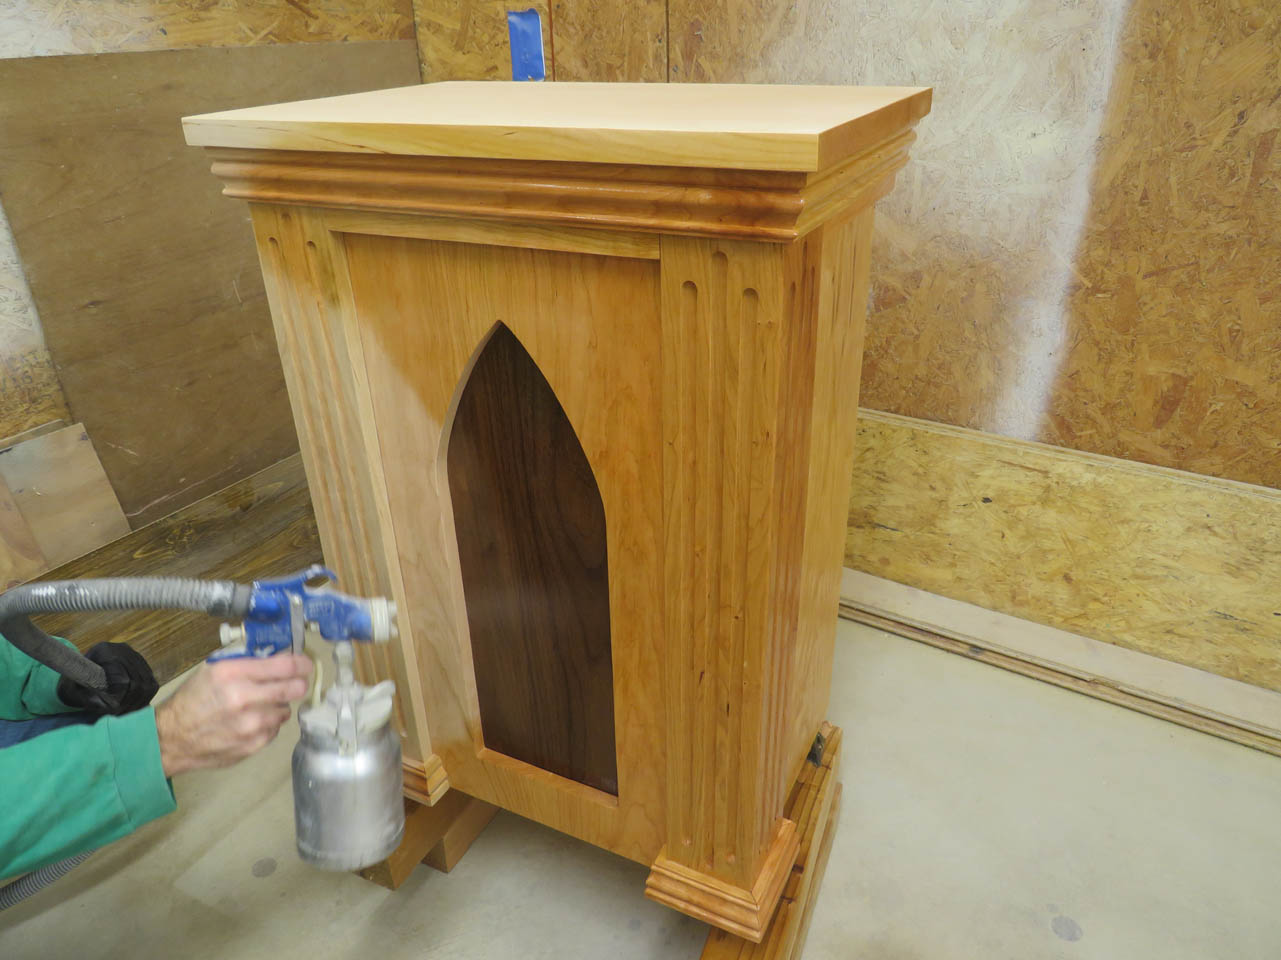
I apply a spray coat of polyurethane for the first coat and allow it to dry overnight.
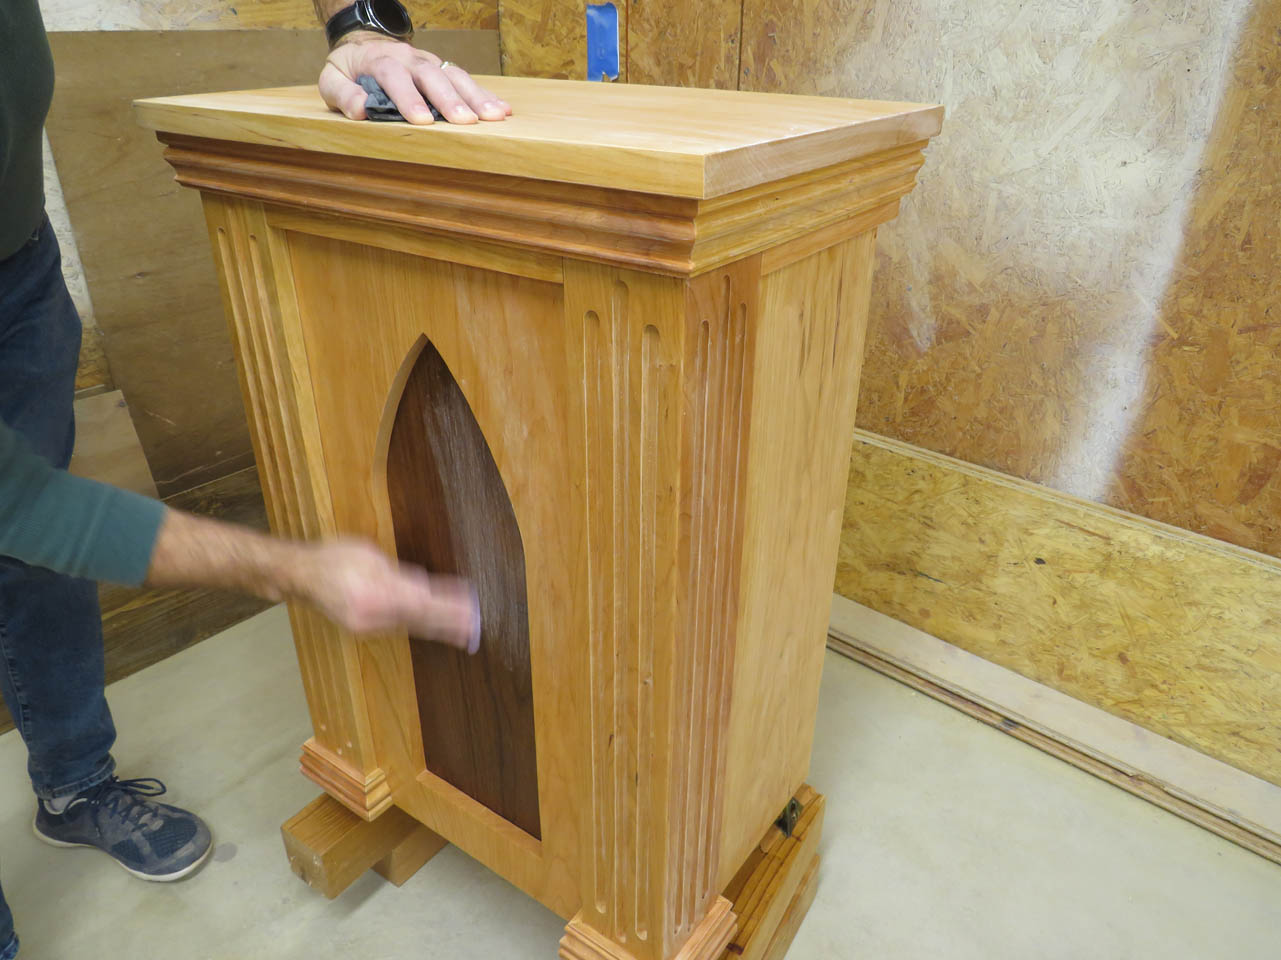
The next day the entire surface gets sanded down with 400 grit paper and the dust wiped off.
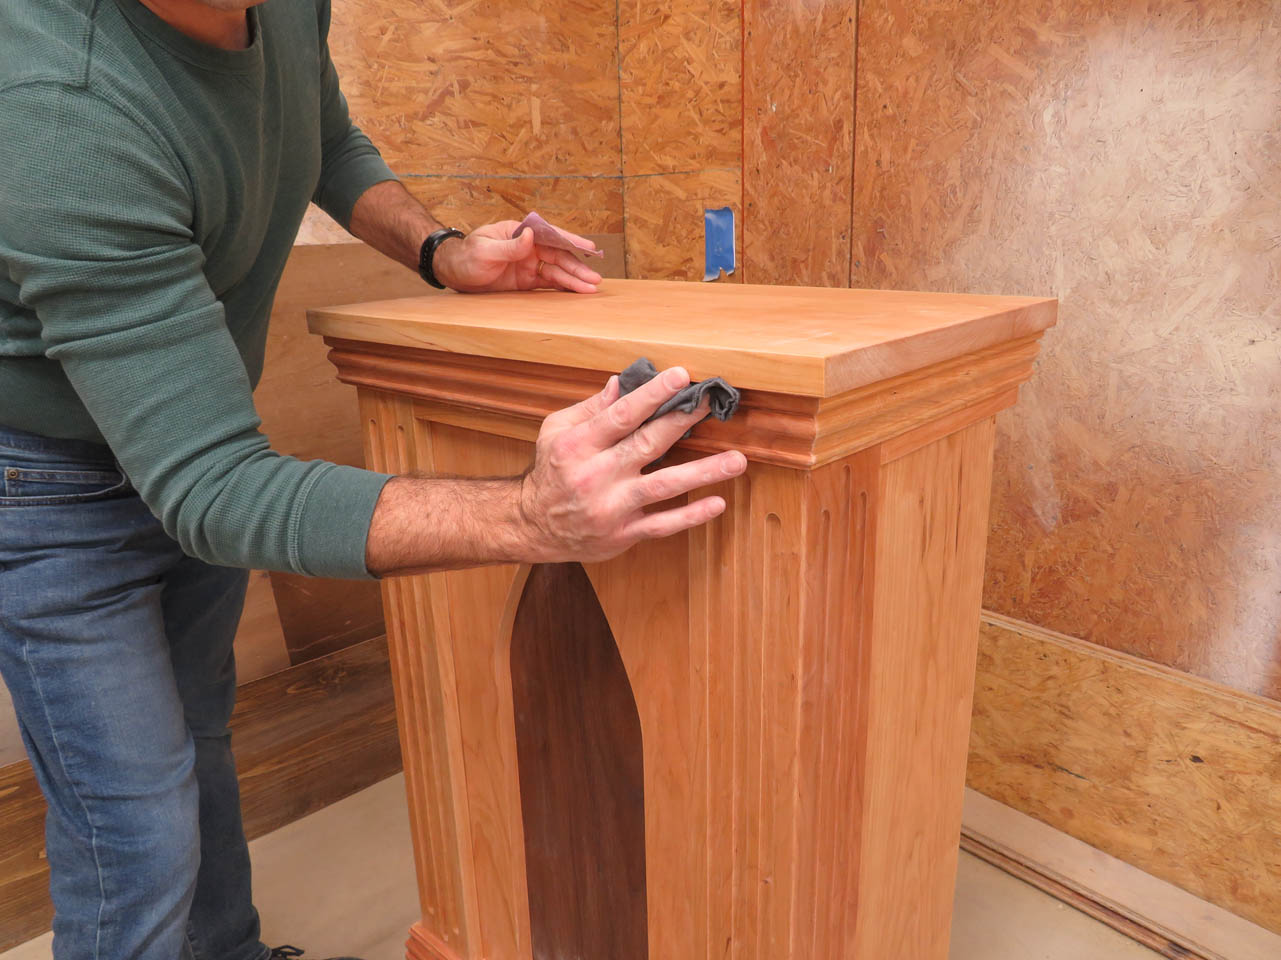
Then the second coat gets applied.
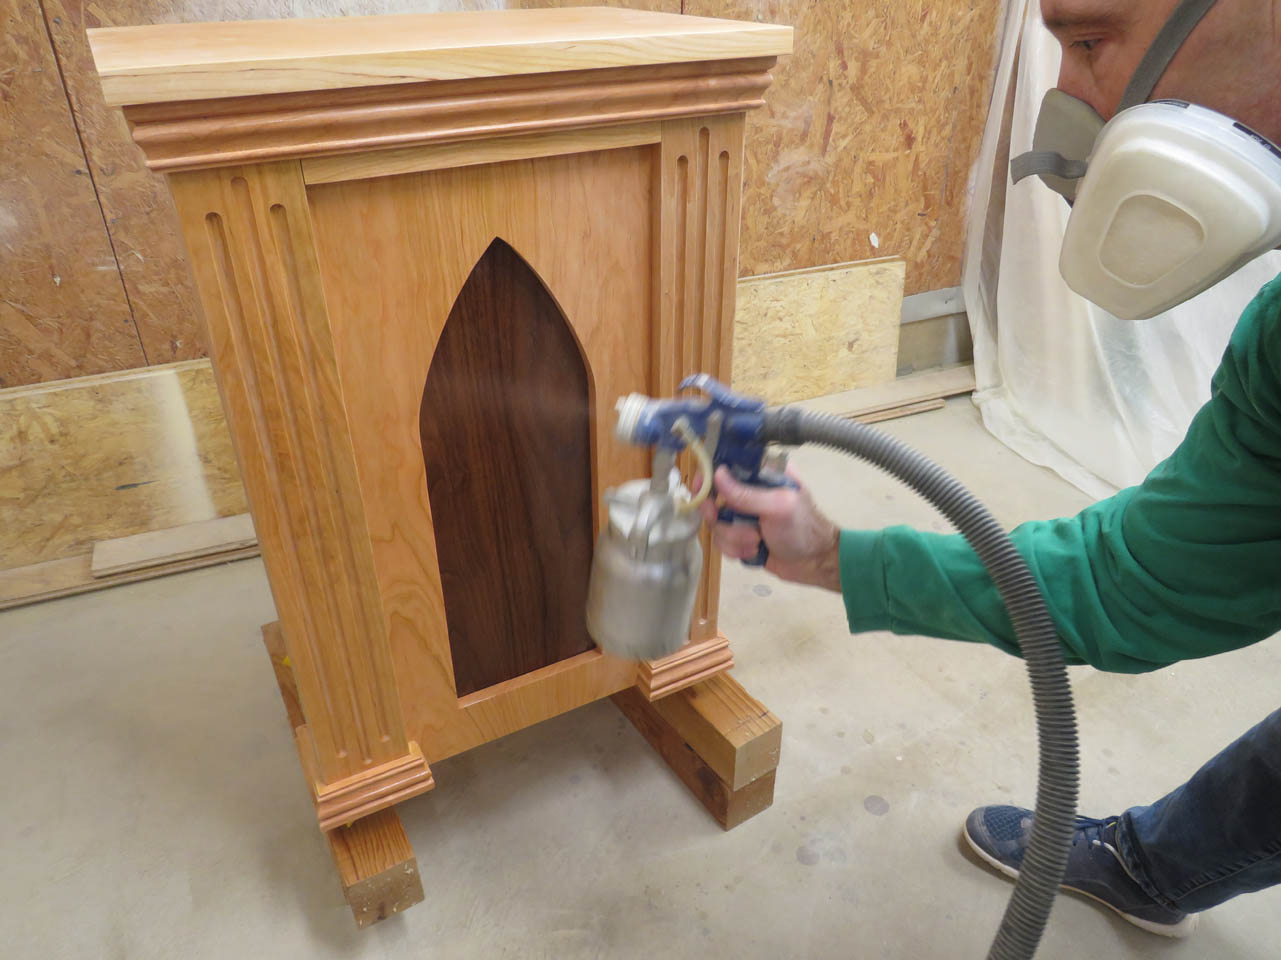
The process is repeated a third time and the table is finished.
Next up will be the high altar that sits behind the main altar.
