
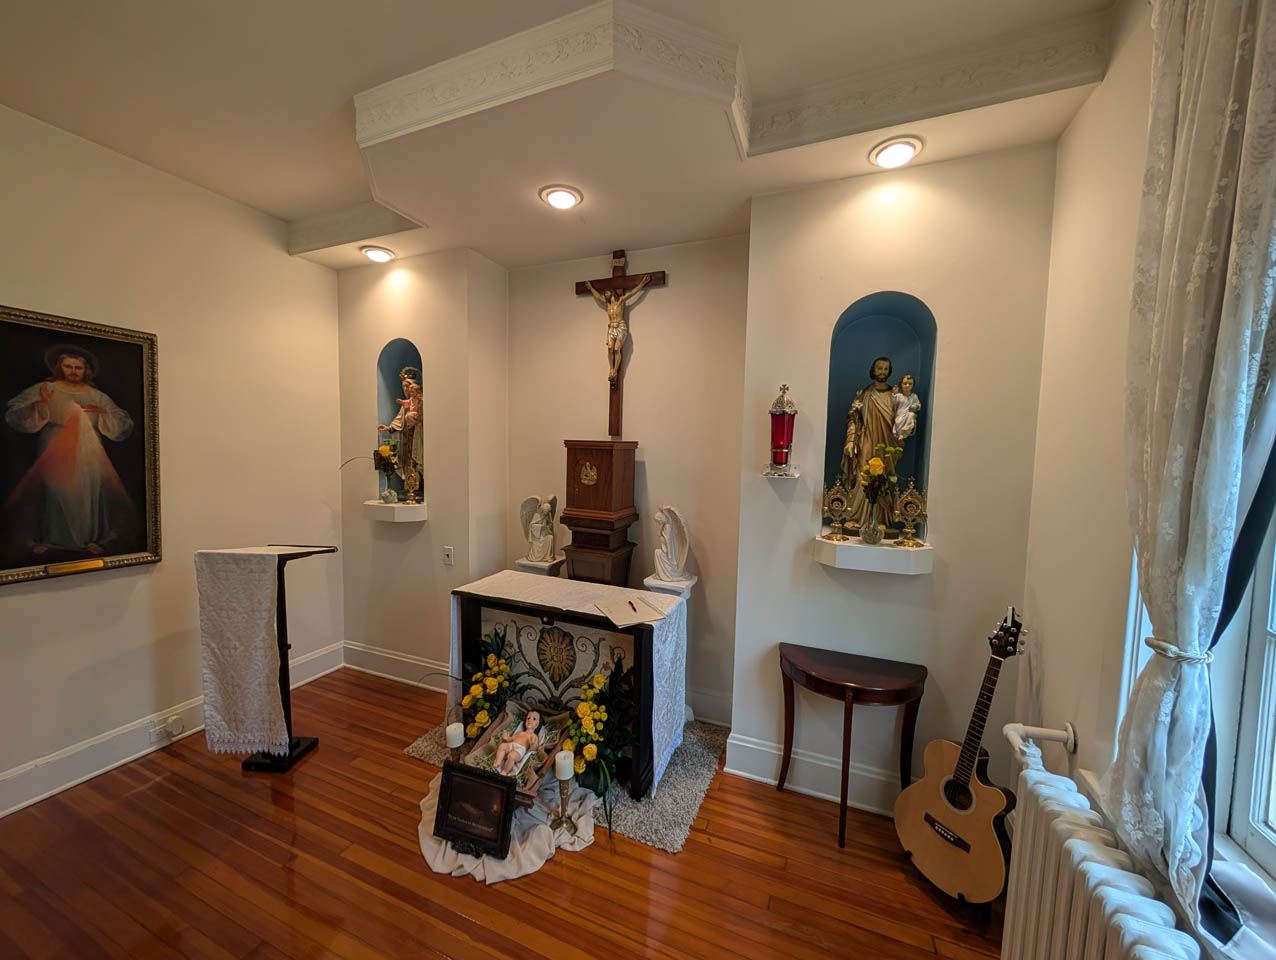
Cherry front altar
Continuing my project for The Sisters Poor of Jesus Christ – Baltimore Mission. I am stating on the altar that will match the ambo. I have tweaked the dimensions a little from the original design. This is the updated design: ALTAR.PDF

All but the front panel will be made from solid cherry. The front will be a veneered plywood to protect against wood movement, mainly in the arched areas. Wood expands and contracts with changes in temperature and moisture and we want to avoid cracks in the wood in detailed areas like the arches.
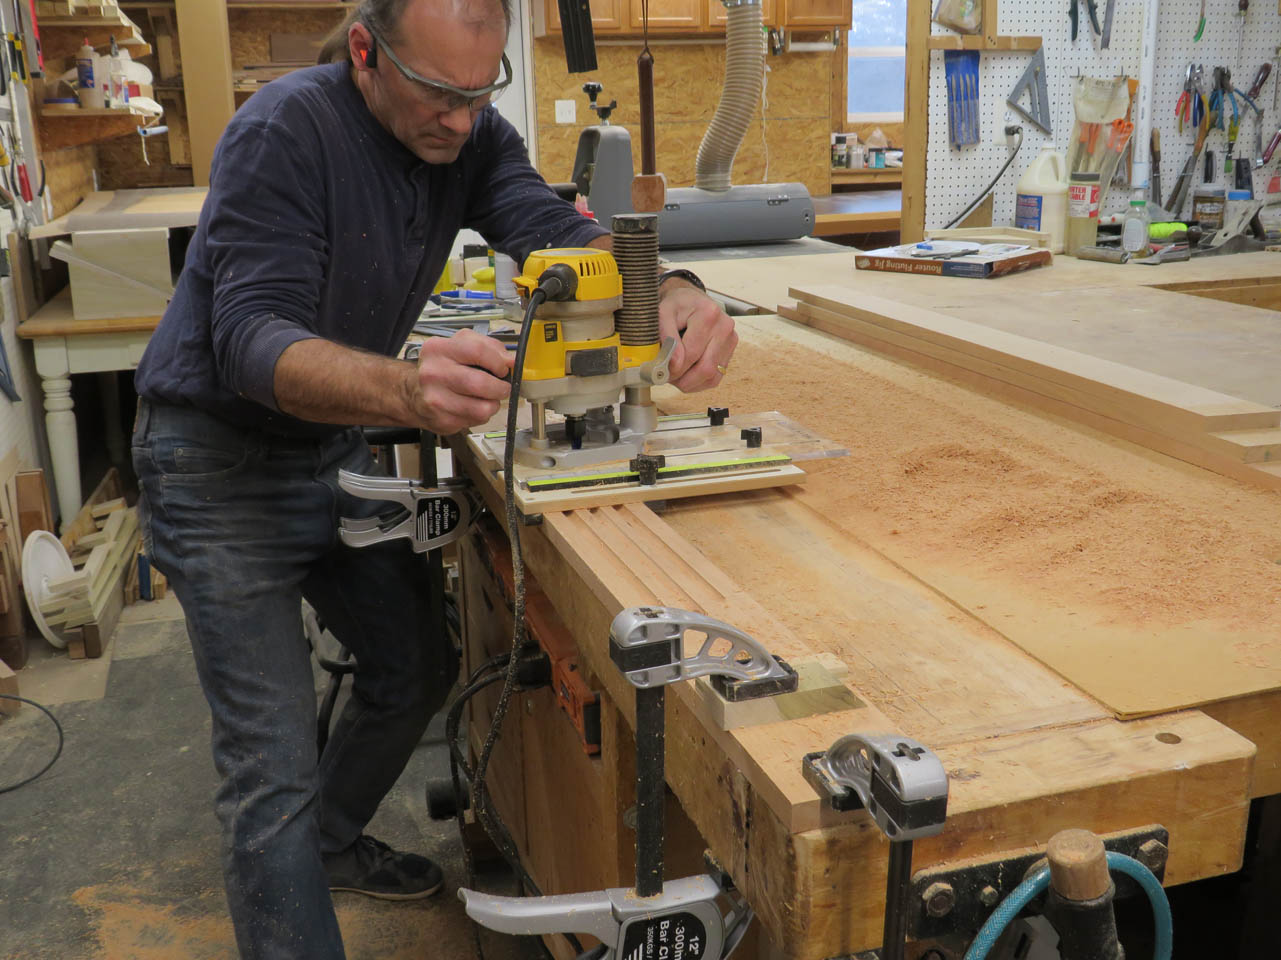
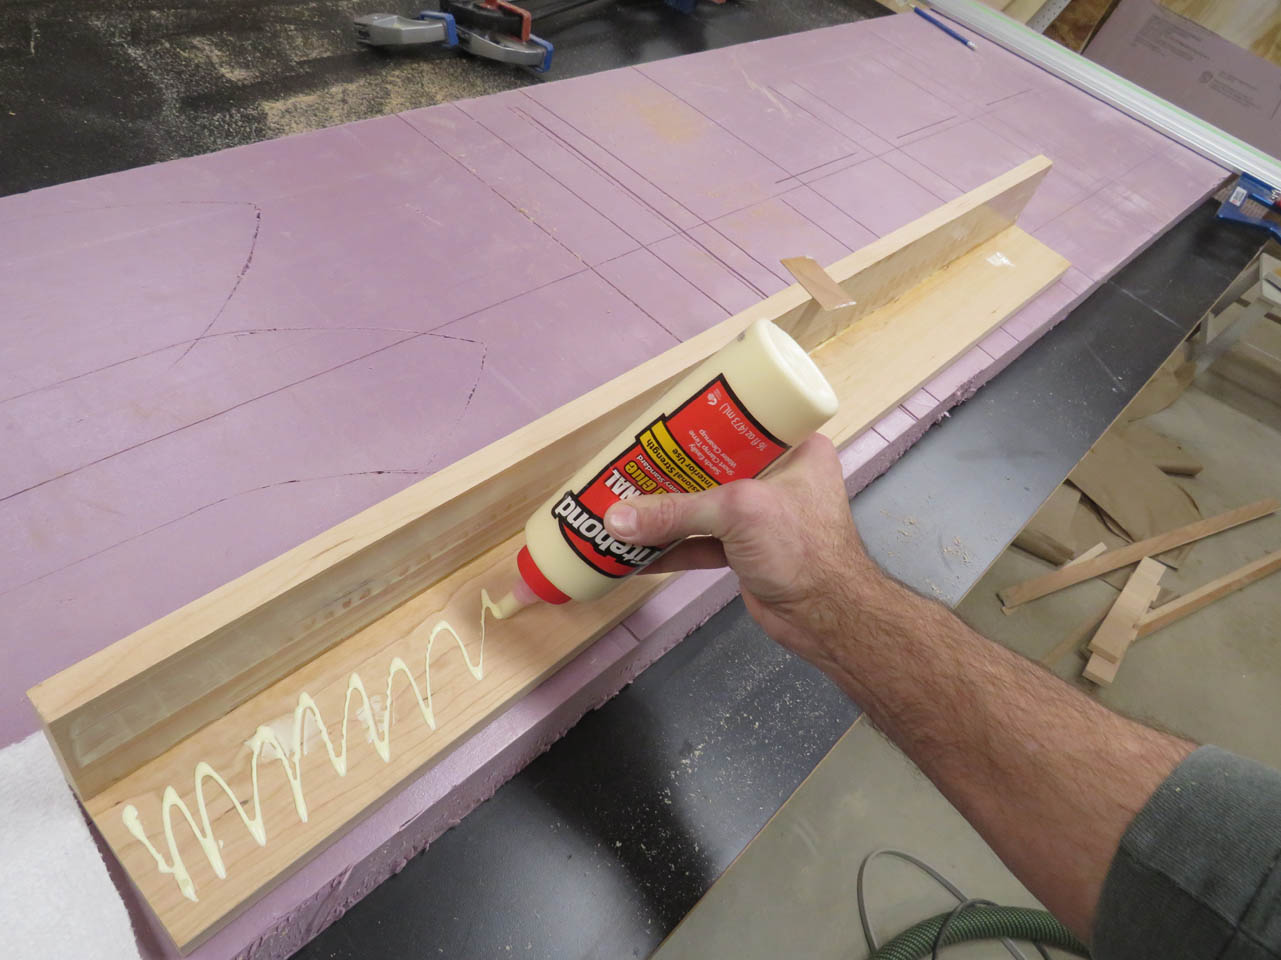
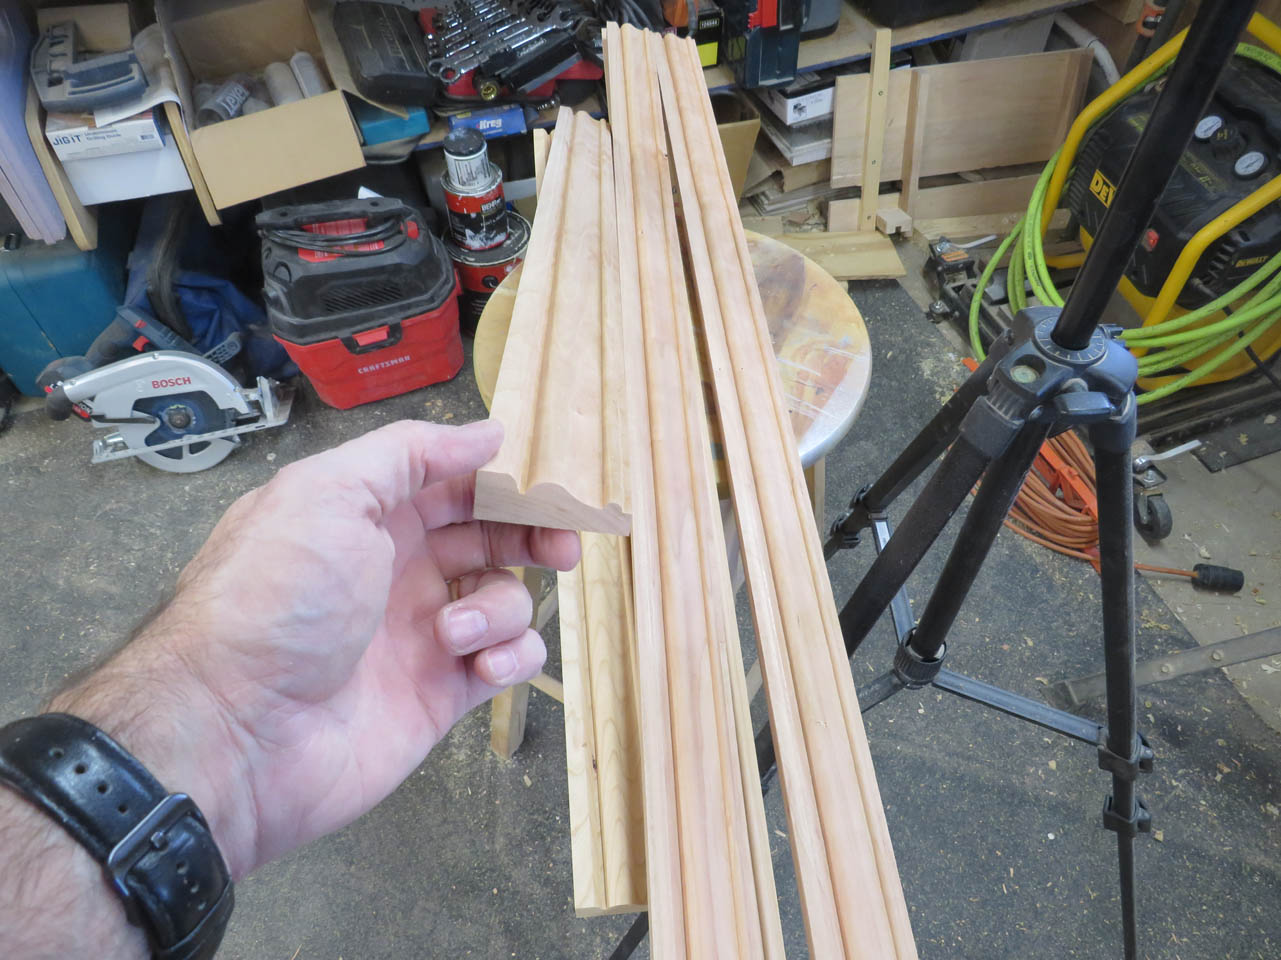
I gave a more detailed description of building the fluted columns in the ambo build. But, briefly, I used a fluting jig for one of my routers to create the flutes on individual boards.
Once the flutes were cut, I cut each individual side down to the final length.


A miter was cut along the adjoining edge and glue was applied to the miter.
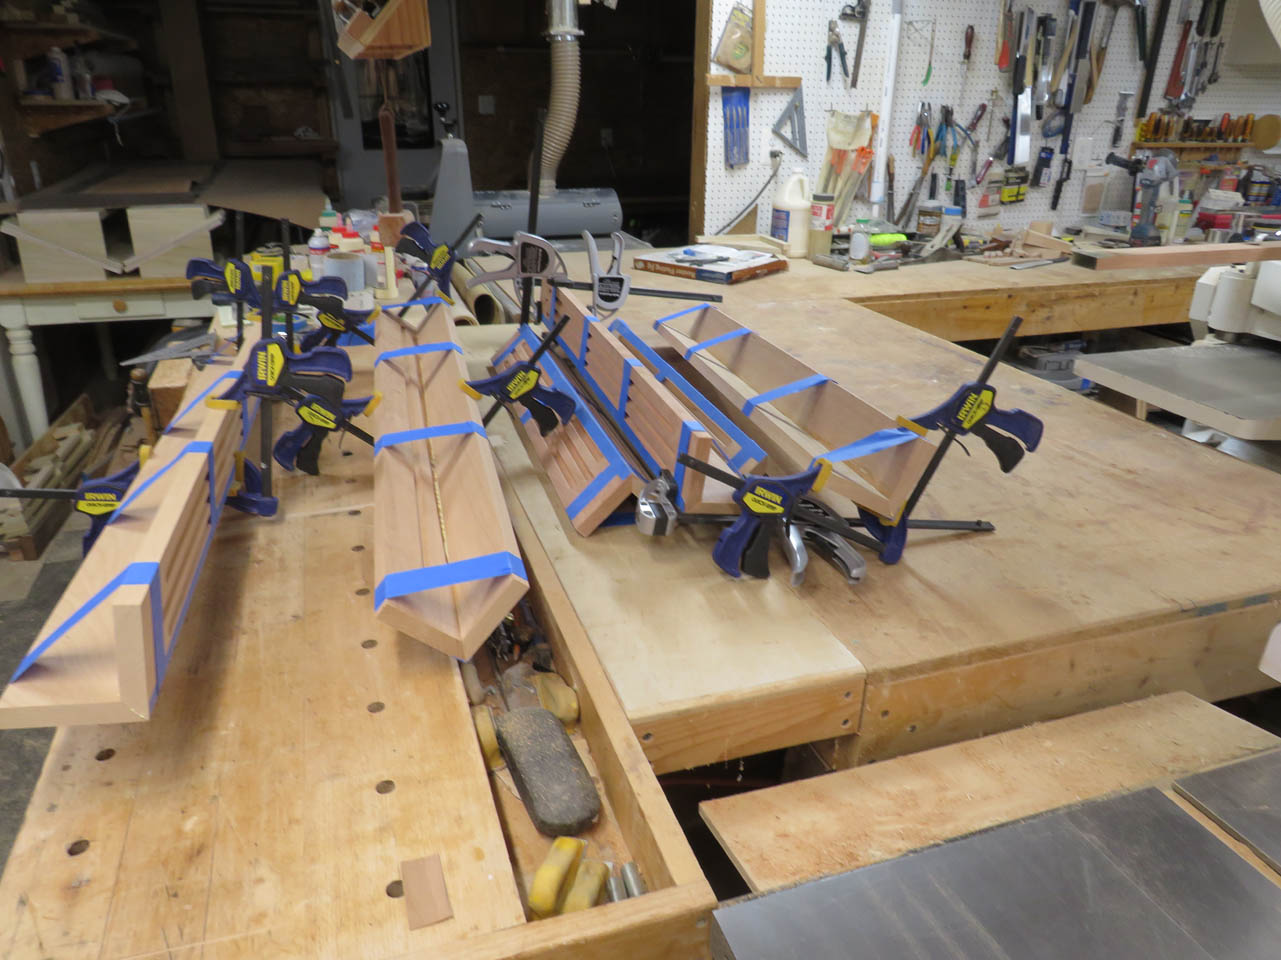
When dry, the columns were sanded and set aside to be installed later.

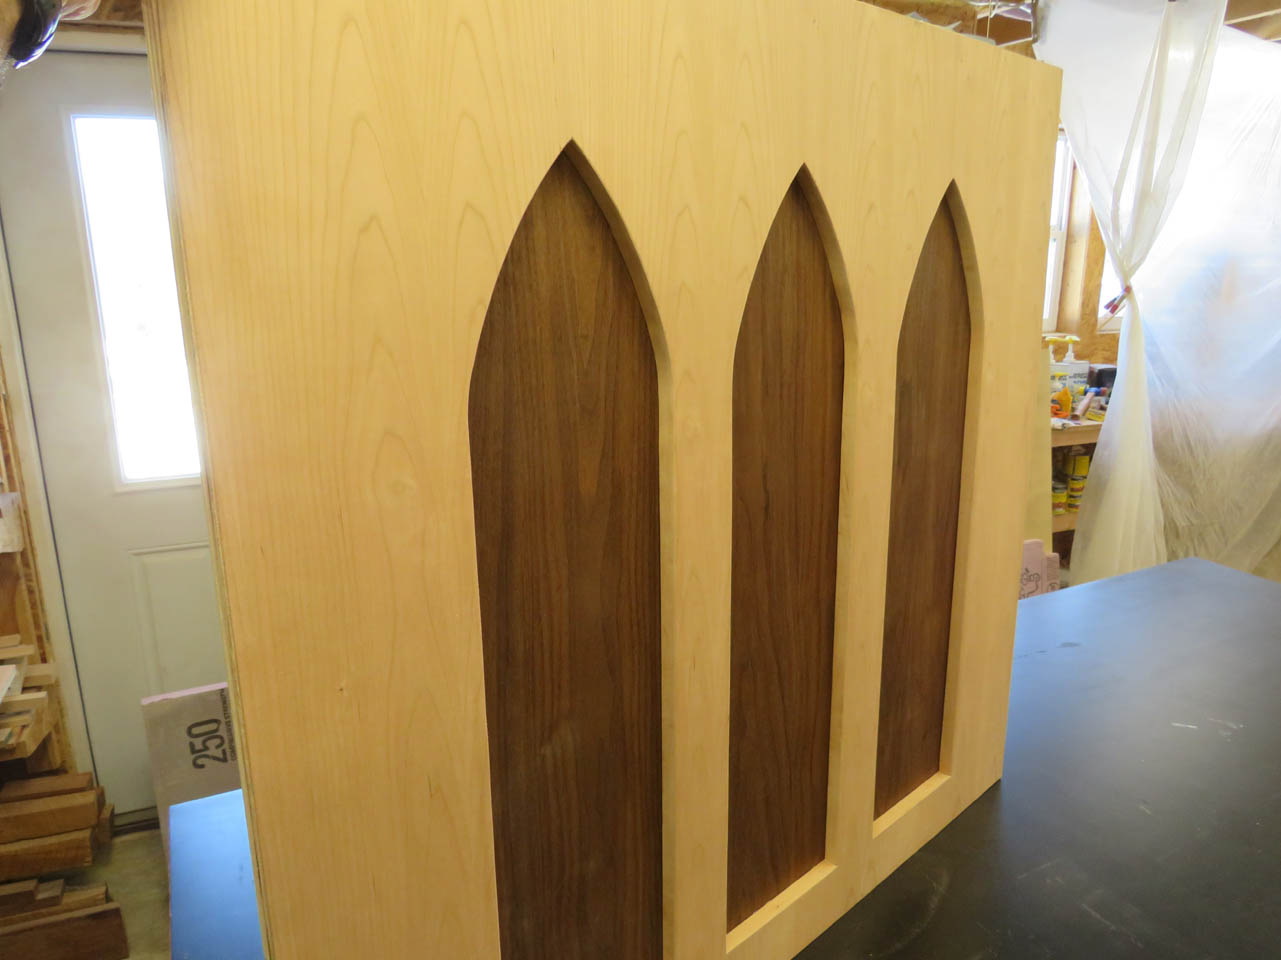
Now for the front panel with three arches.
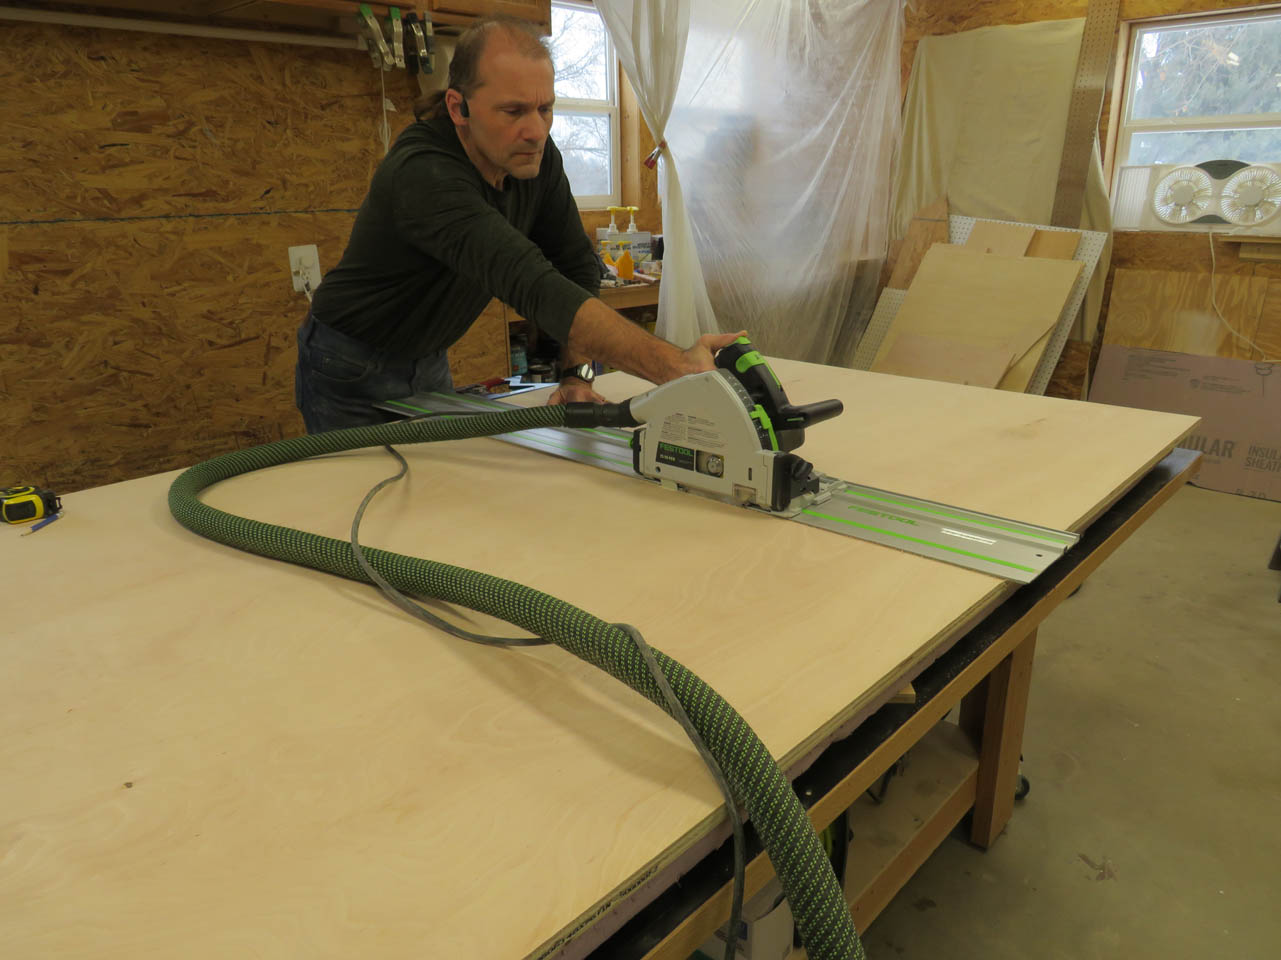
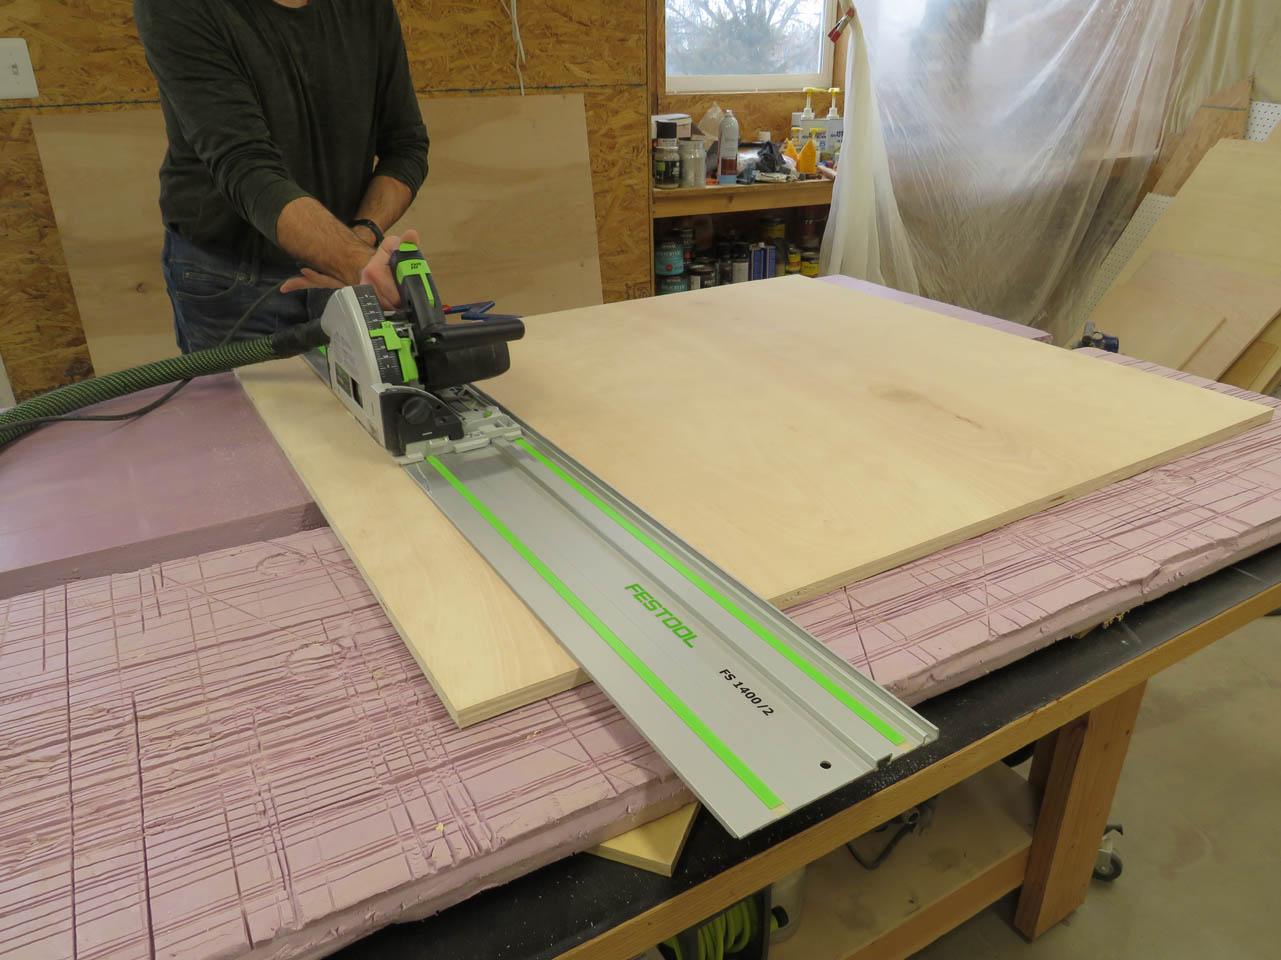
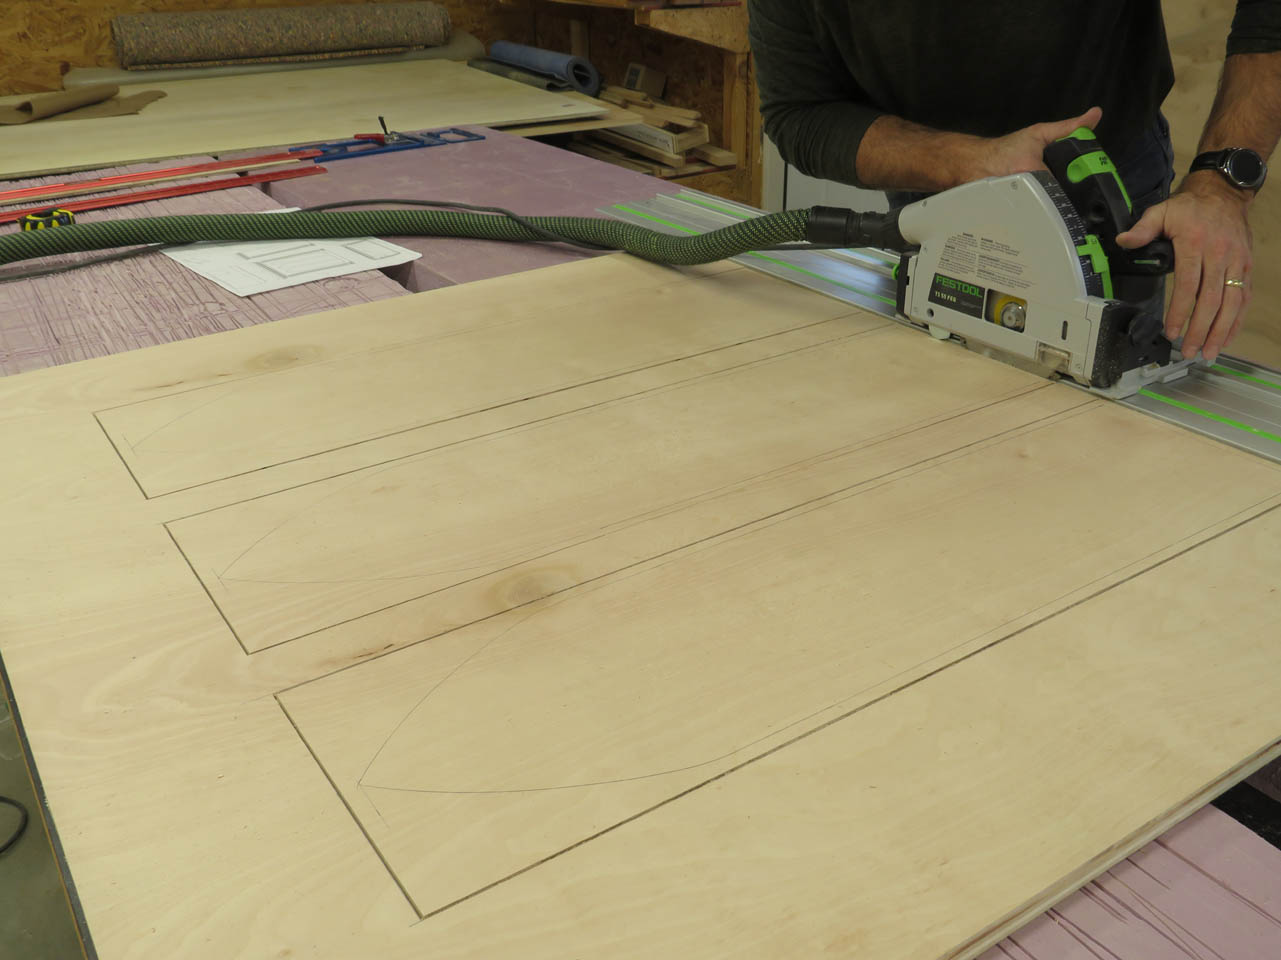
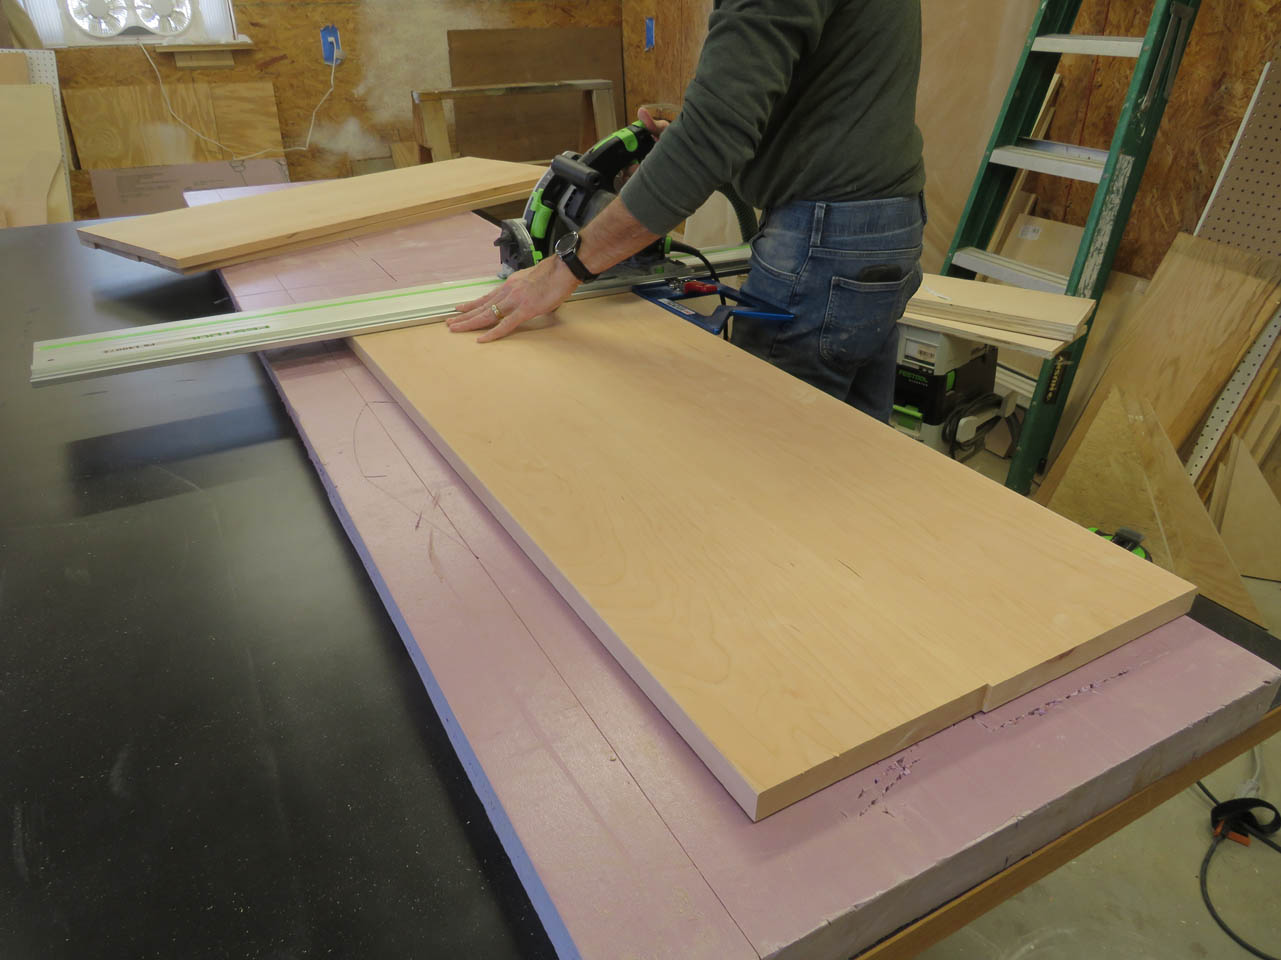
I started by cutting the front panel to size from a sheet of 3/4″ plywood. I used my track saw to cut square, straight edges.
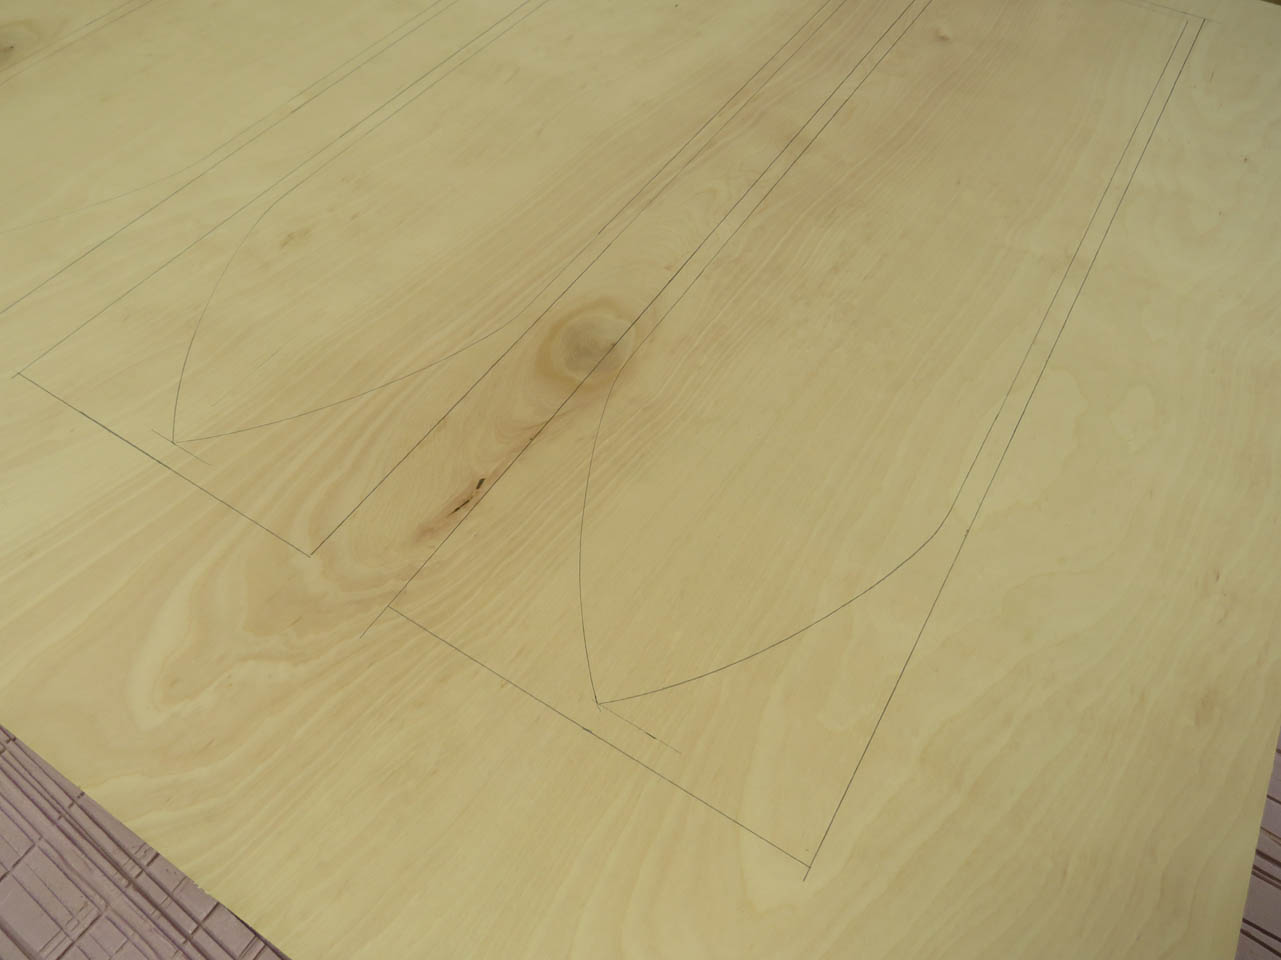
Then I used the arch template from the ambo, cut down to be slightly shorter. I used it to locate the three arches on the front of the panel.
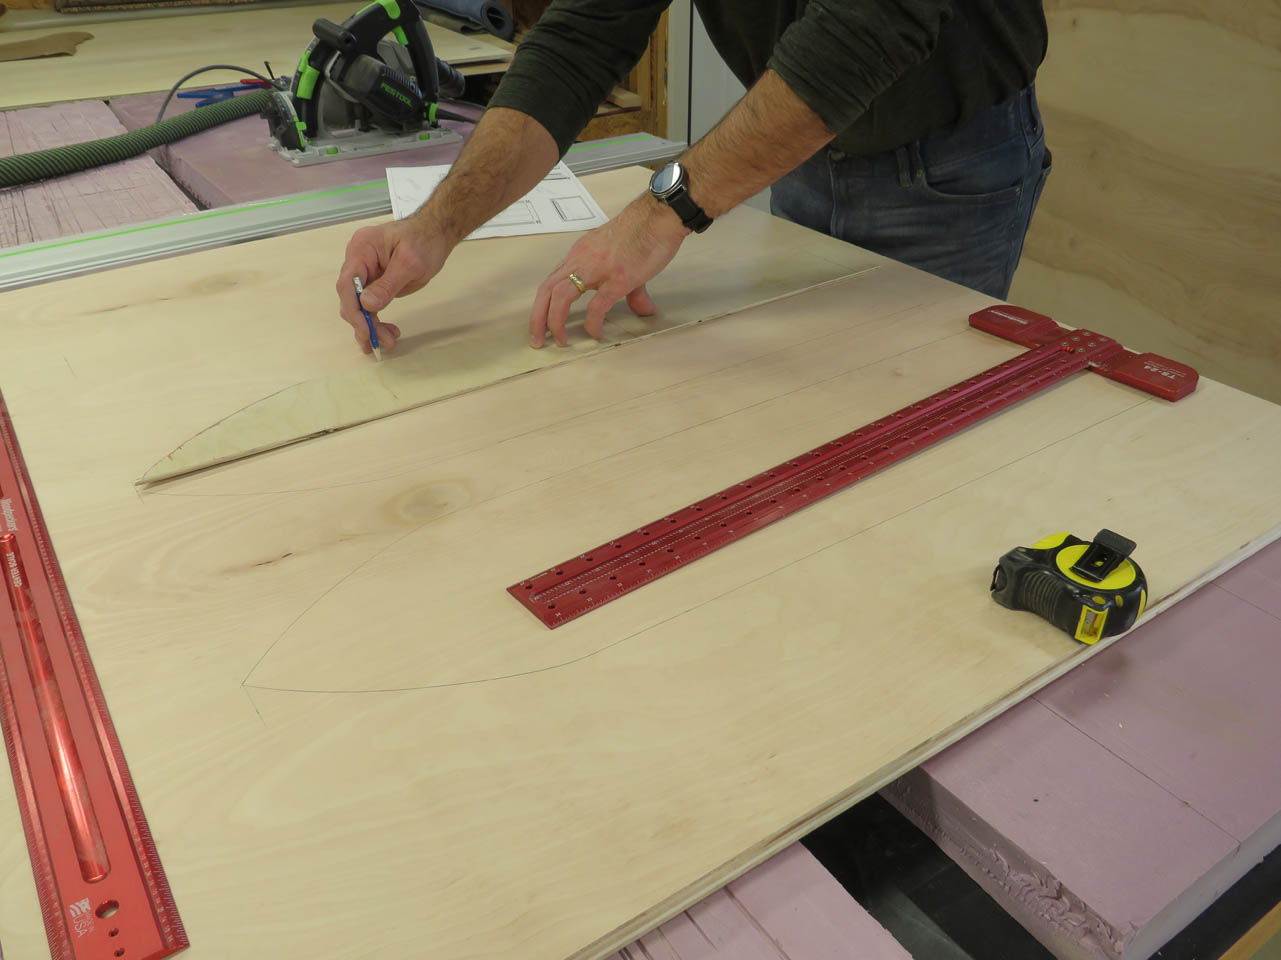
Next, I laid out a rectangle that was 1/2″ larger all the way around the arch.
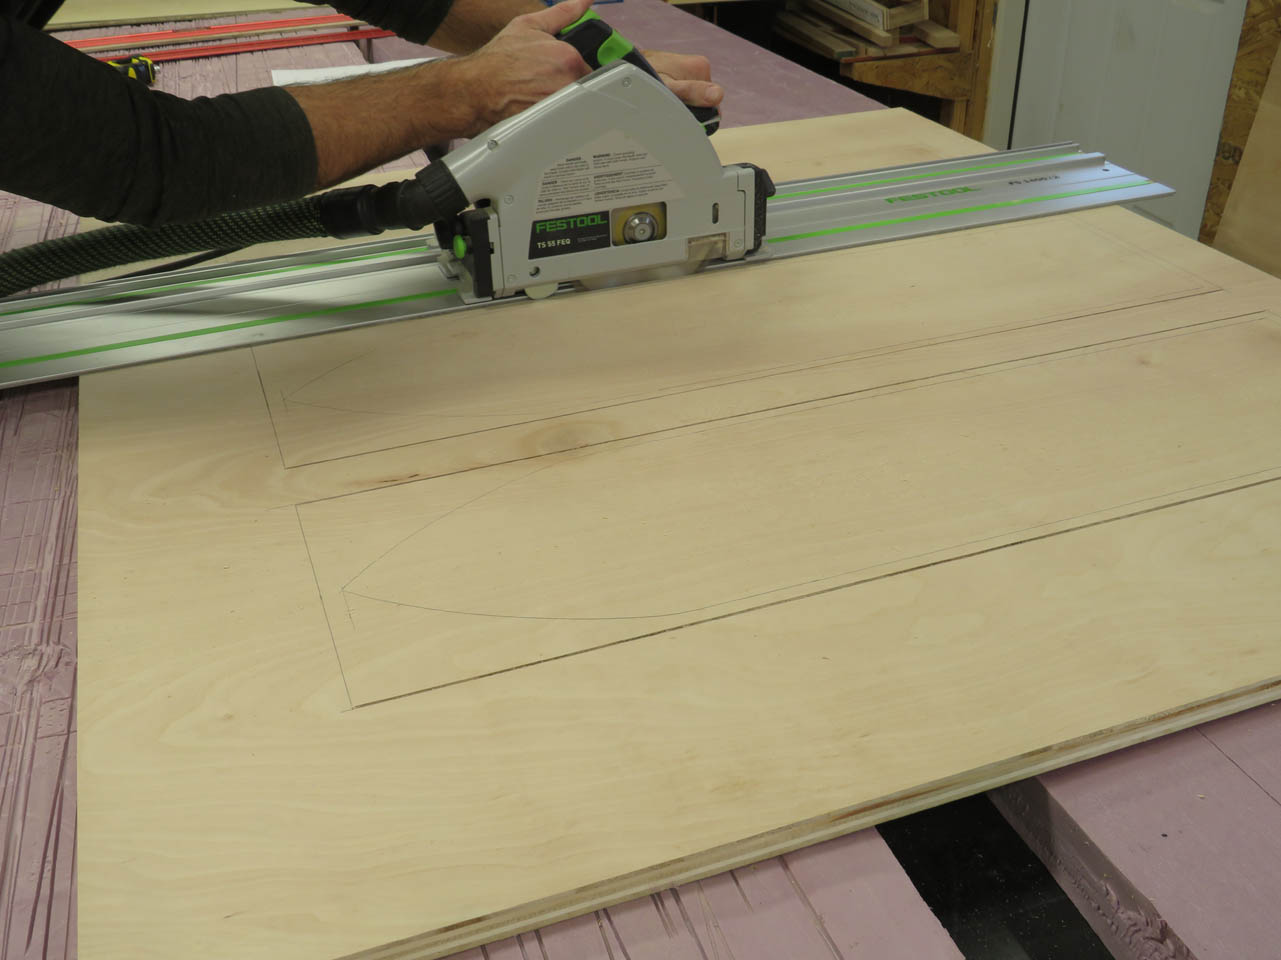
I used my track saw to cut out the rectangular sections as accurately as possible.
Since the blade is round, I had to cut the corners by hand with a razor saw.
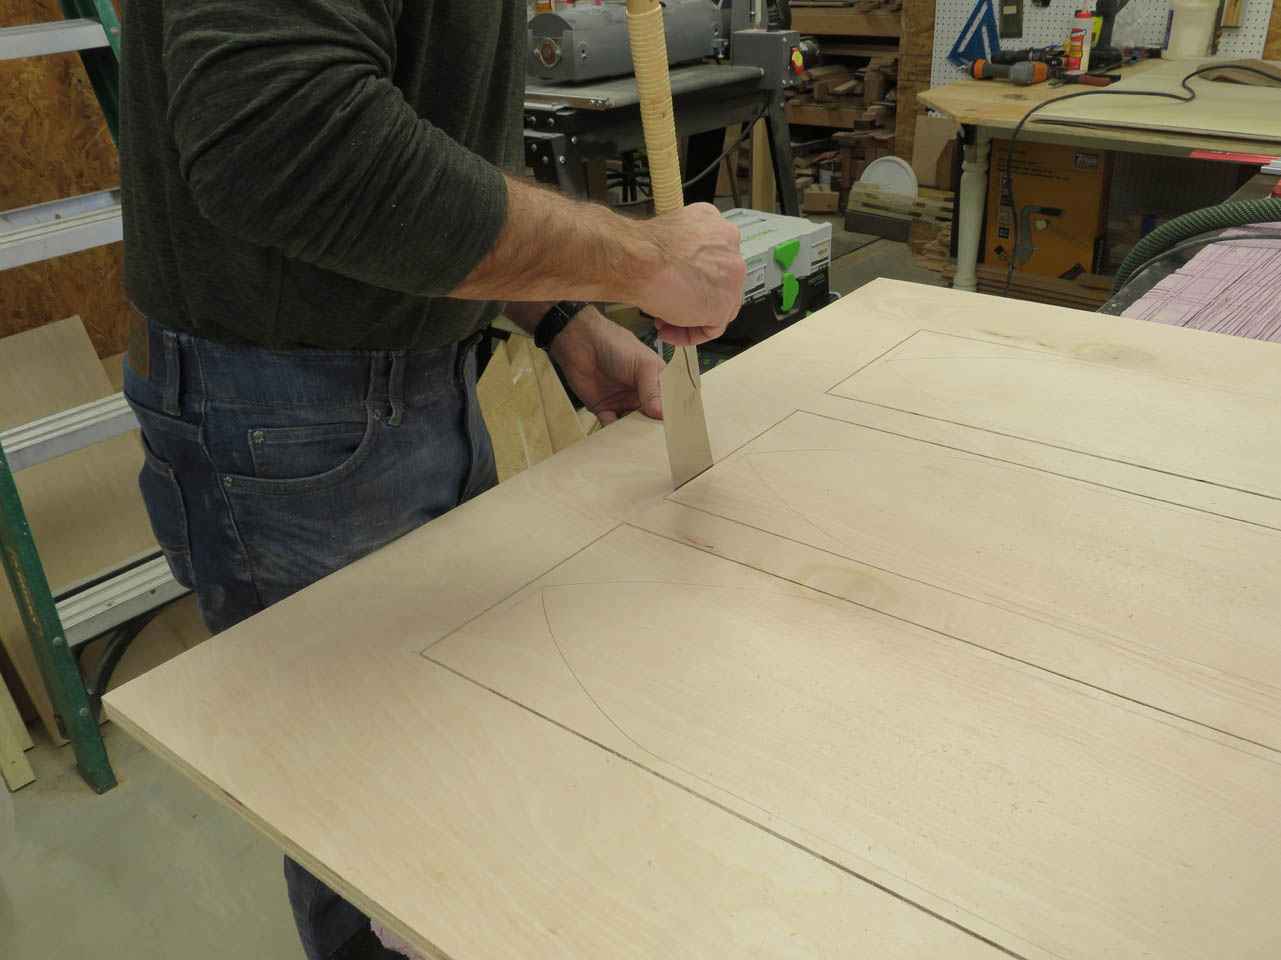
These corners were sanded by hand until the edges were perfectly flat.
I could have cut the arches and used a simple edge banding veneer but I want solid cherry to line the edges of the arch. Sometimes edge banding can accidentally be peeled away.
To create the solid edges, I cut down cherry boards to be half the width of each opening.
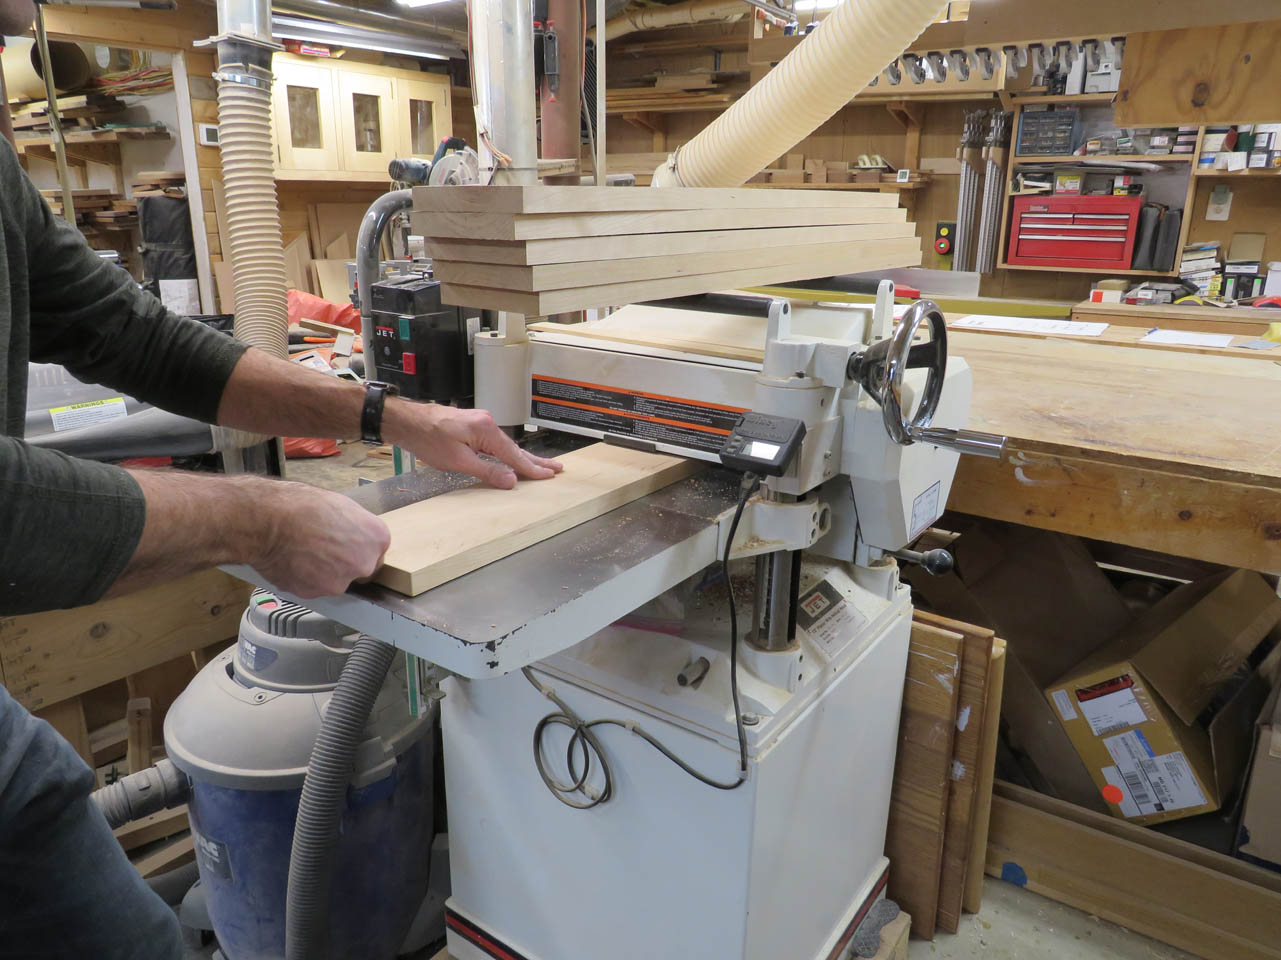
I planed these boards down to the exact thickness of the plywood.
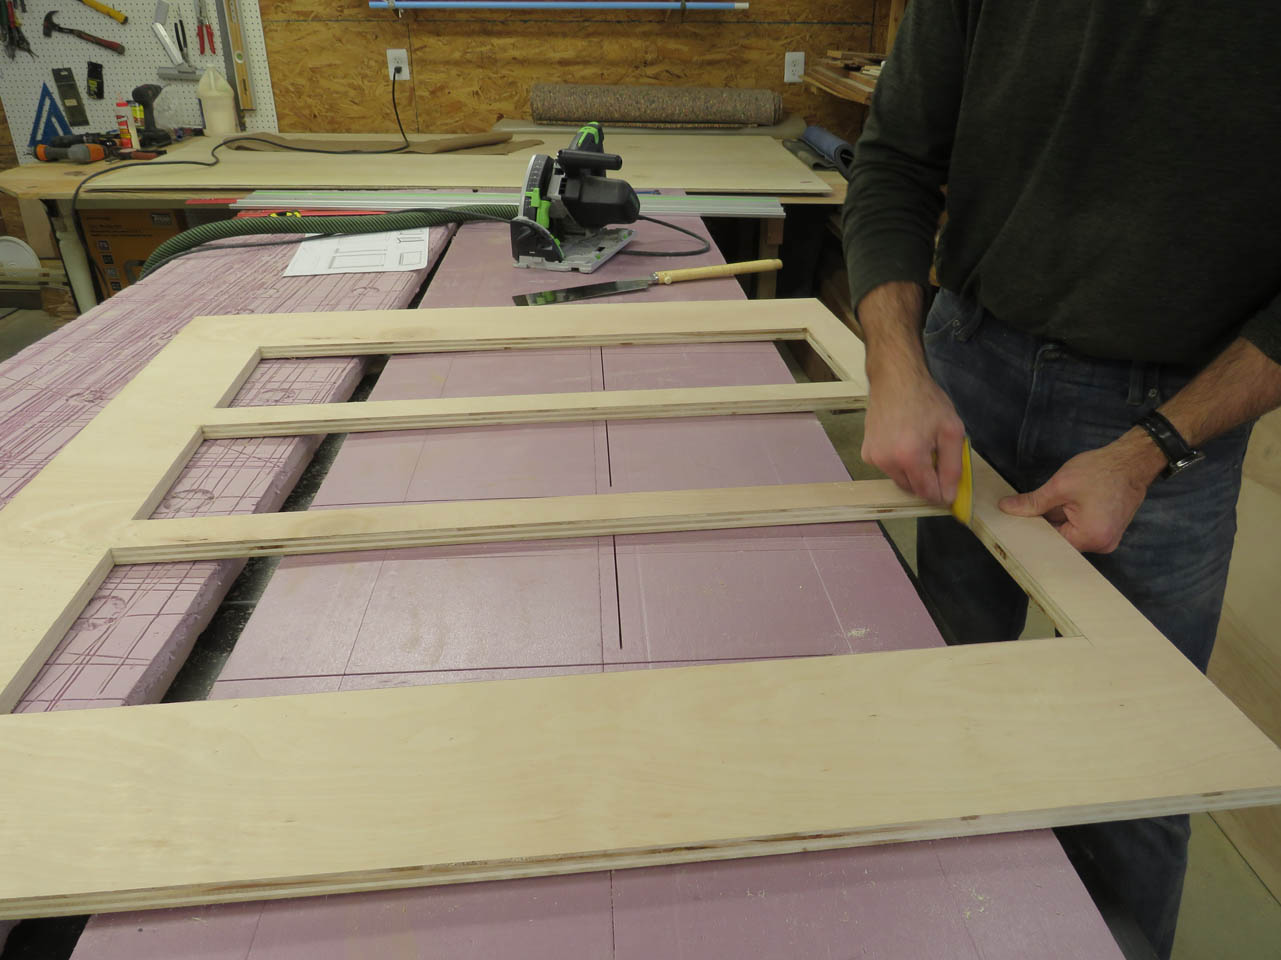
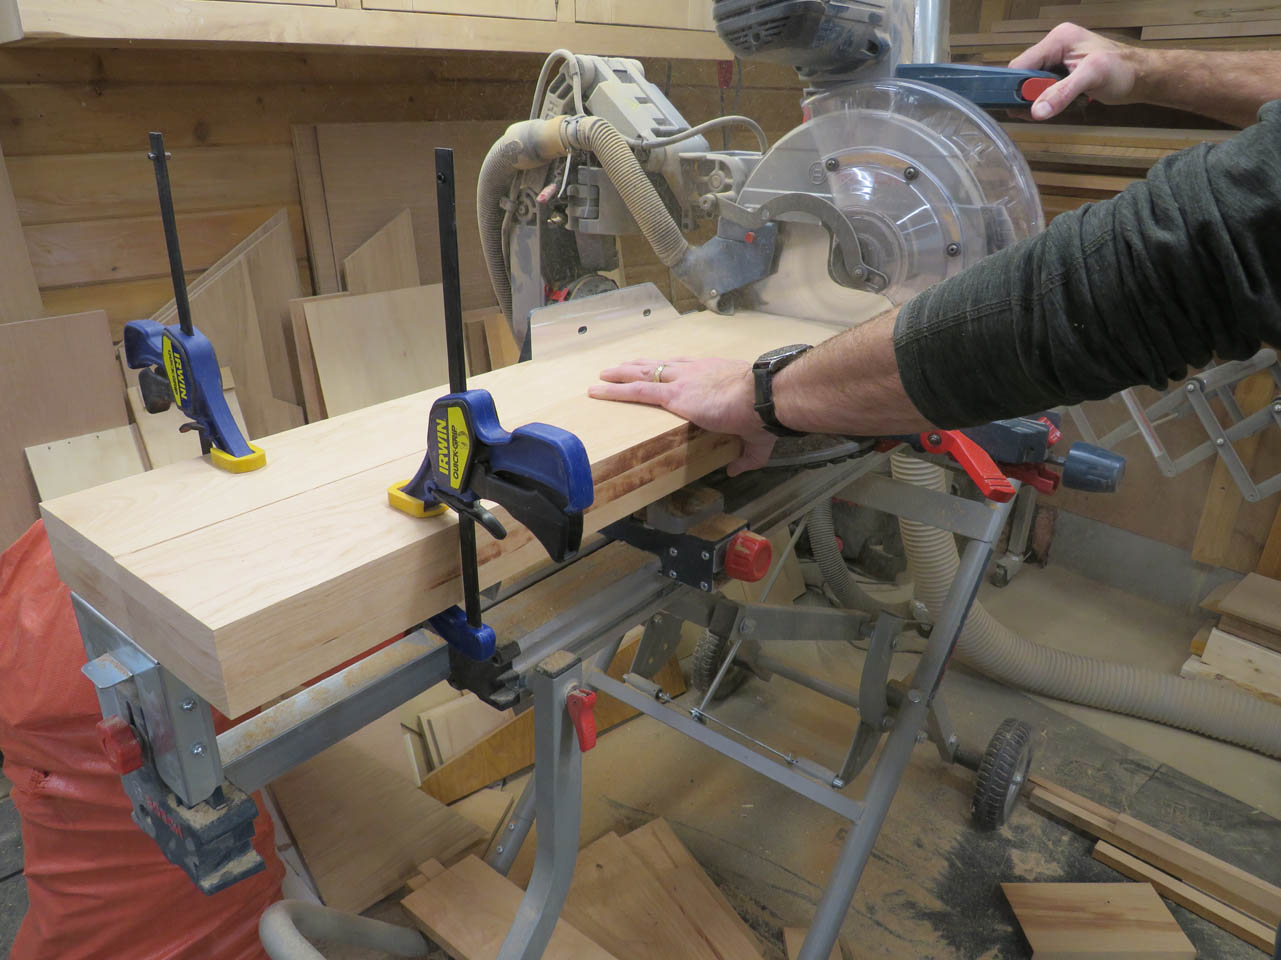
They were clamped together and cut to the exact length.
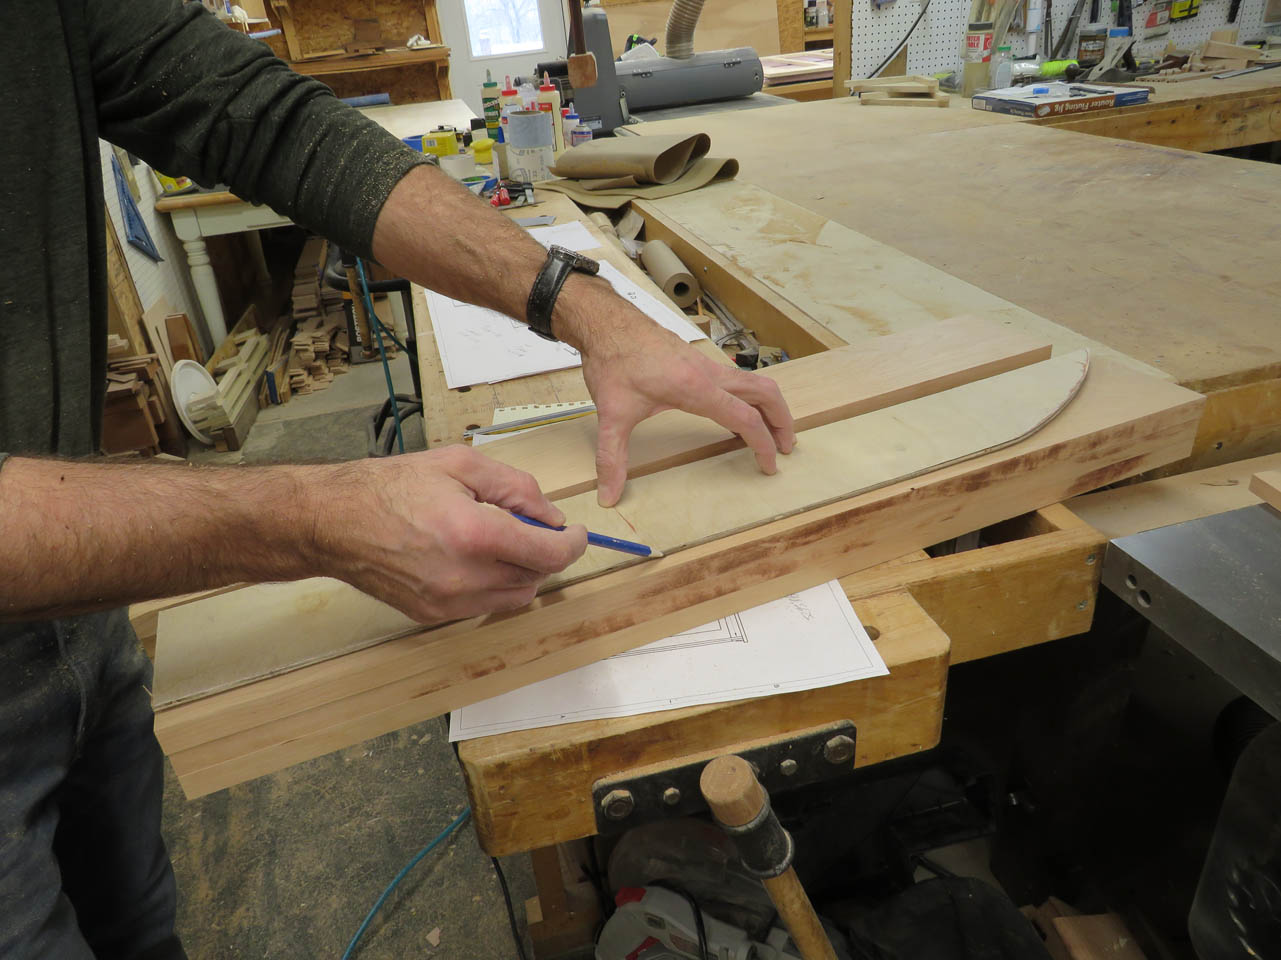
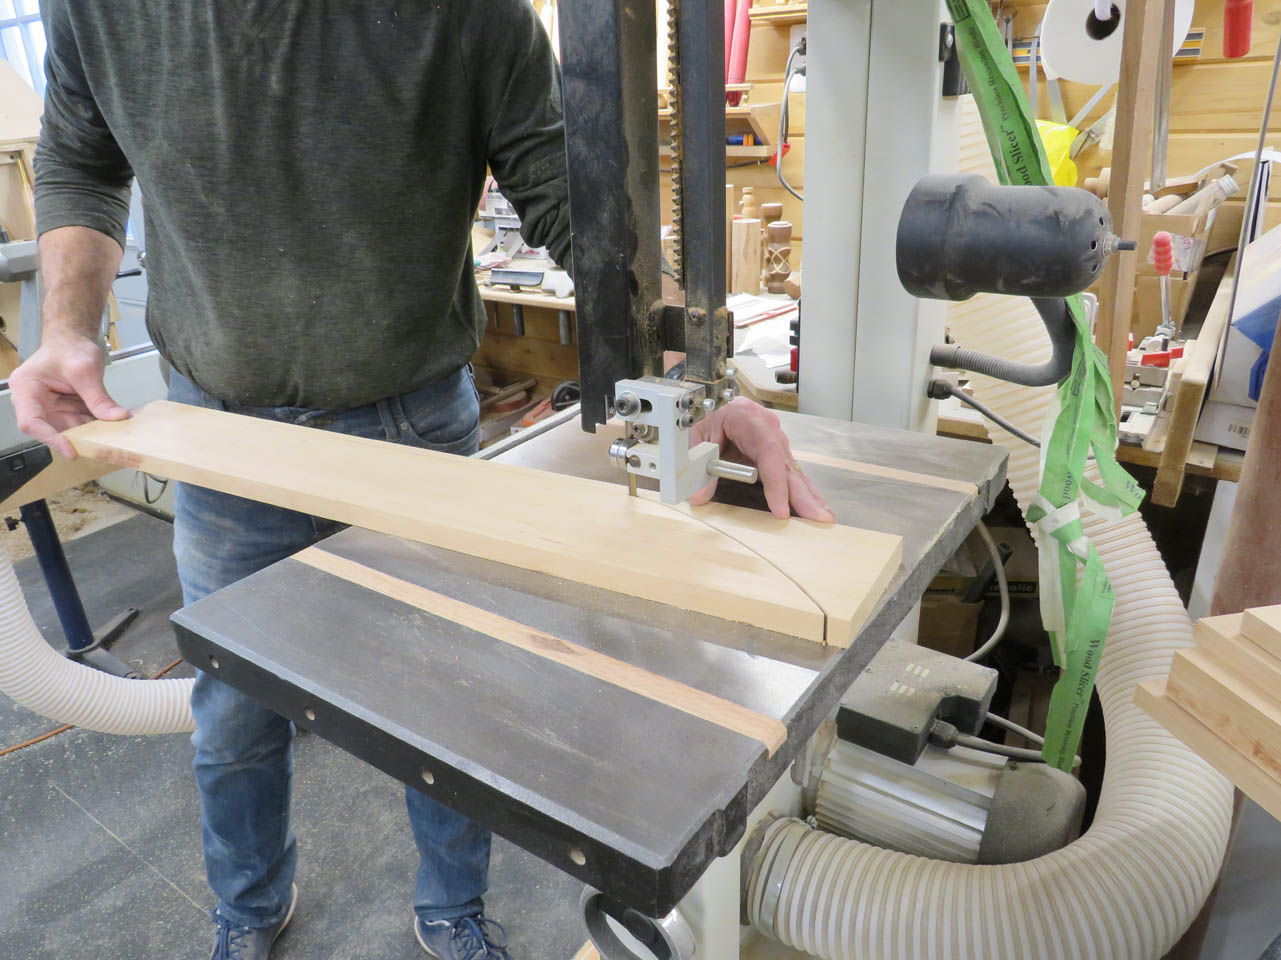
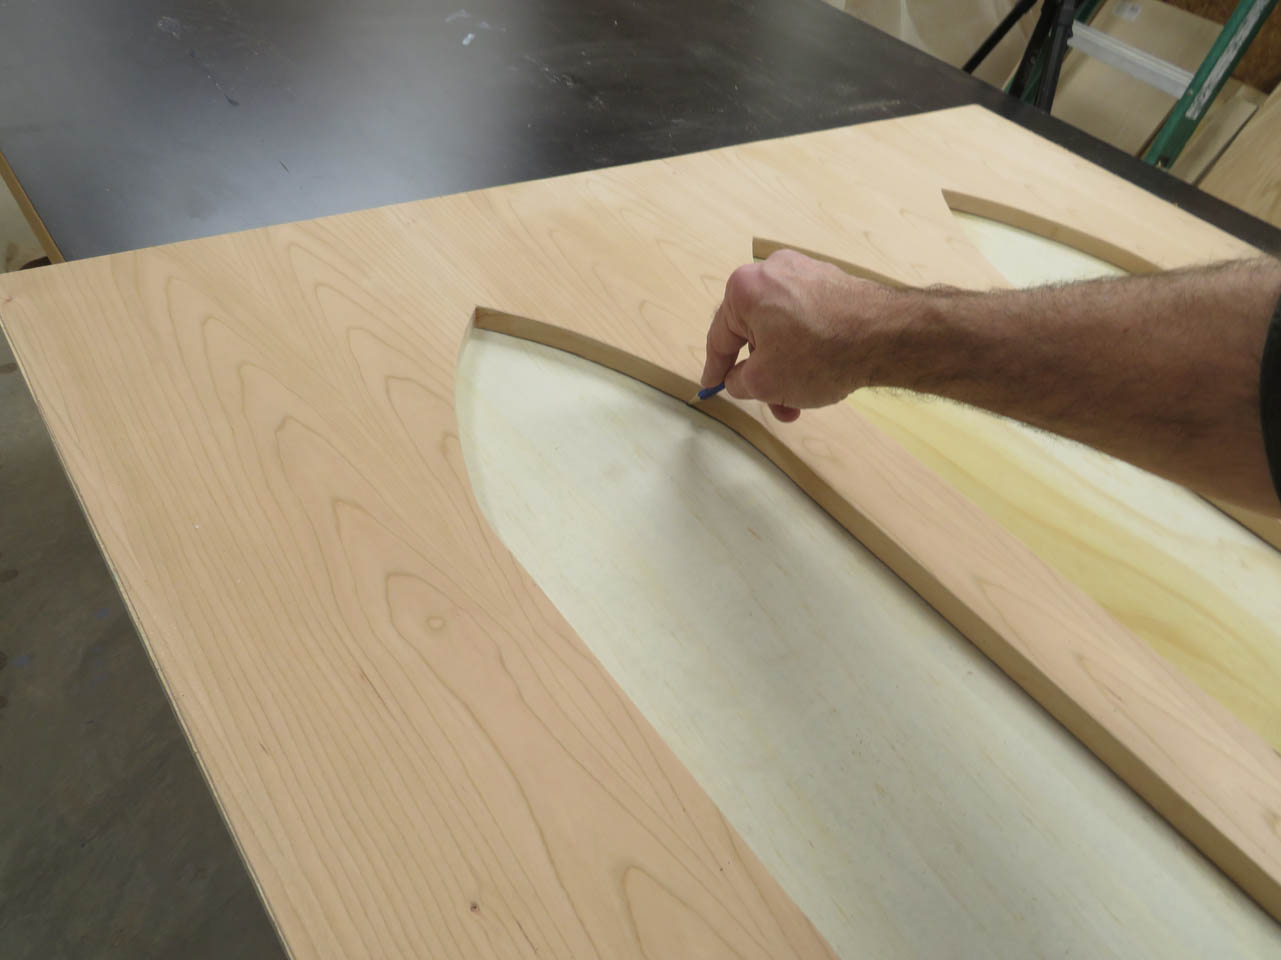
Then I centered and marked around the arch template on each of the six pieces.
The arch was cut out on the bandsaw.
Then the cut edge was sanded smooth on my spindle sander.
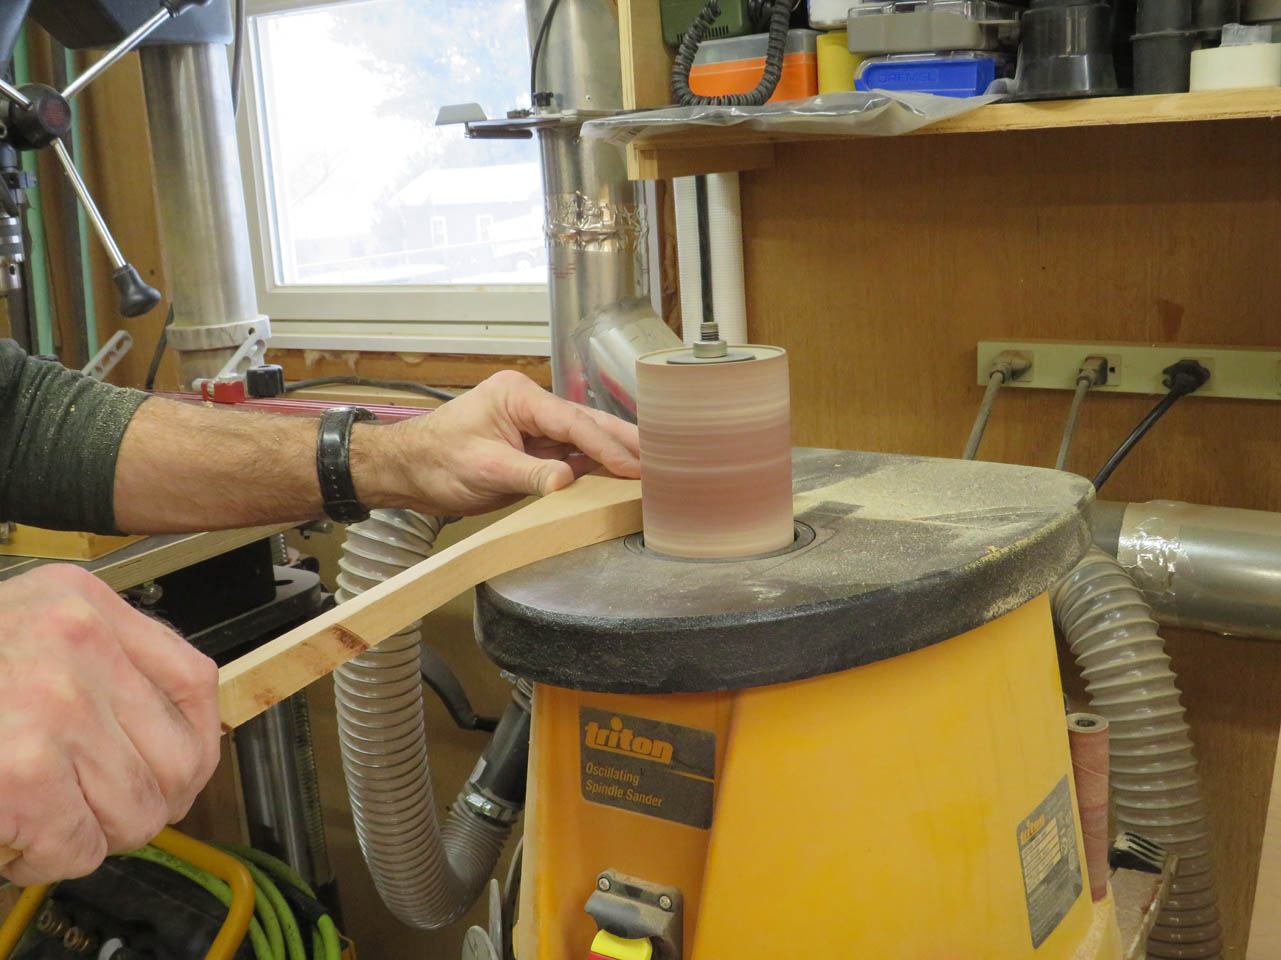
I decided to use a long-grain piece along the bottom instead of a thin edge-grain piece. This will be less likely to crack or separate over time.

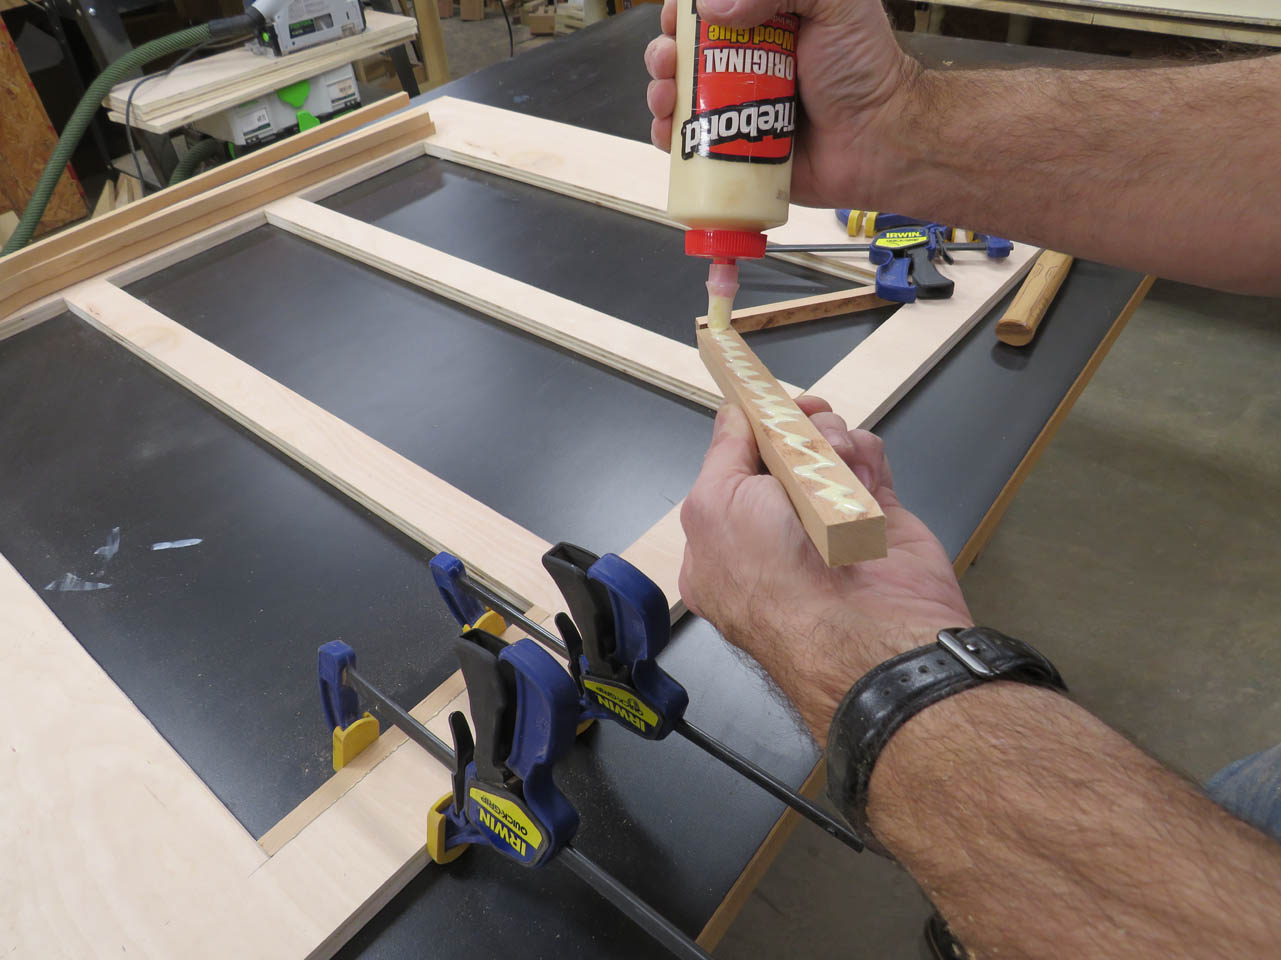
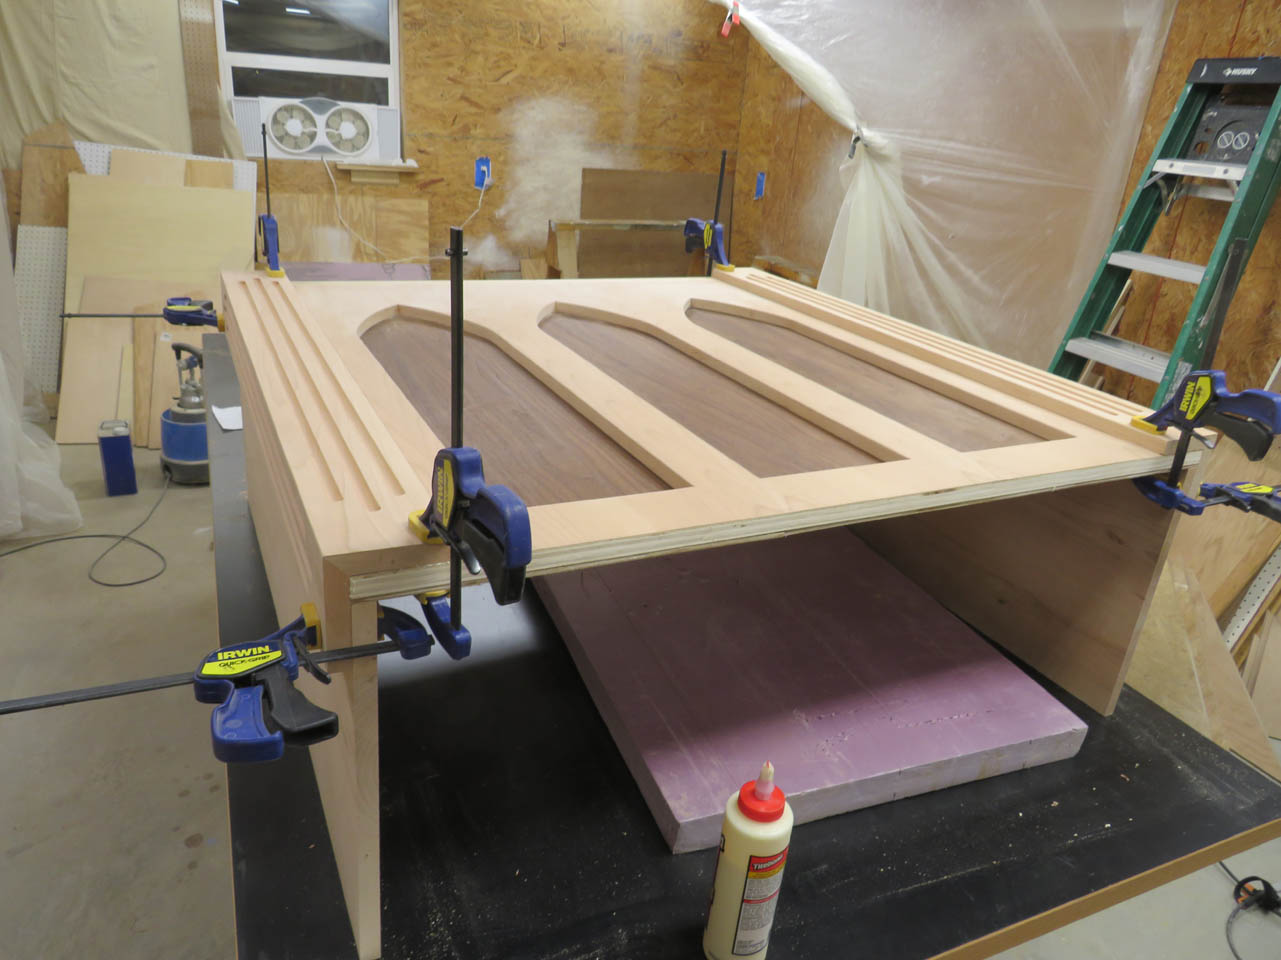
Once they were glued and clamped in place, I attached the arch sides as well.
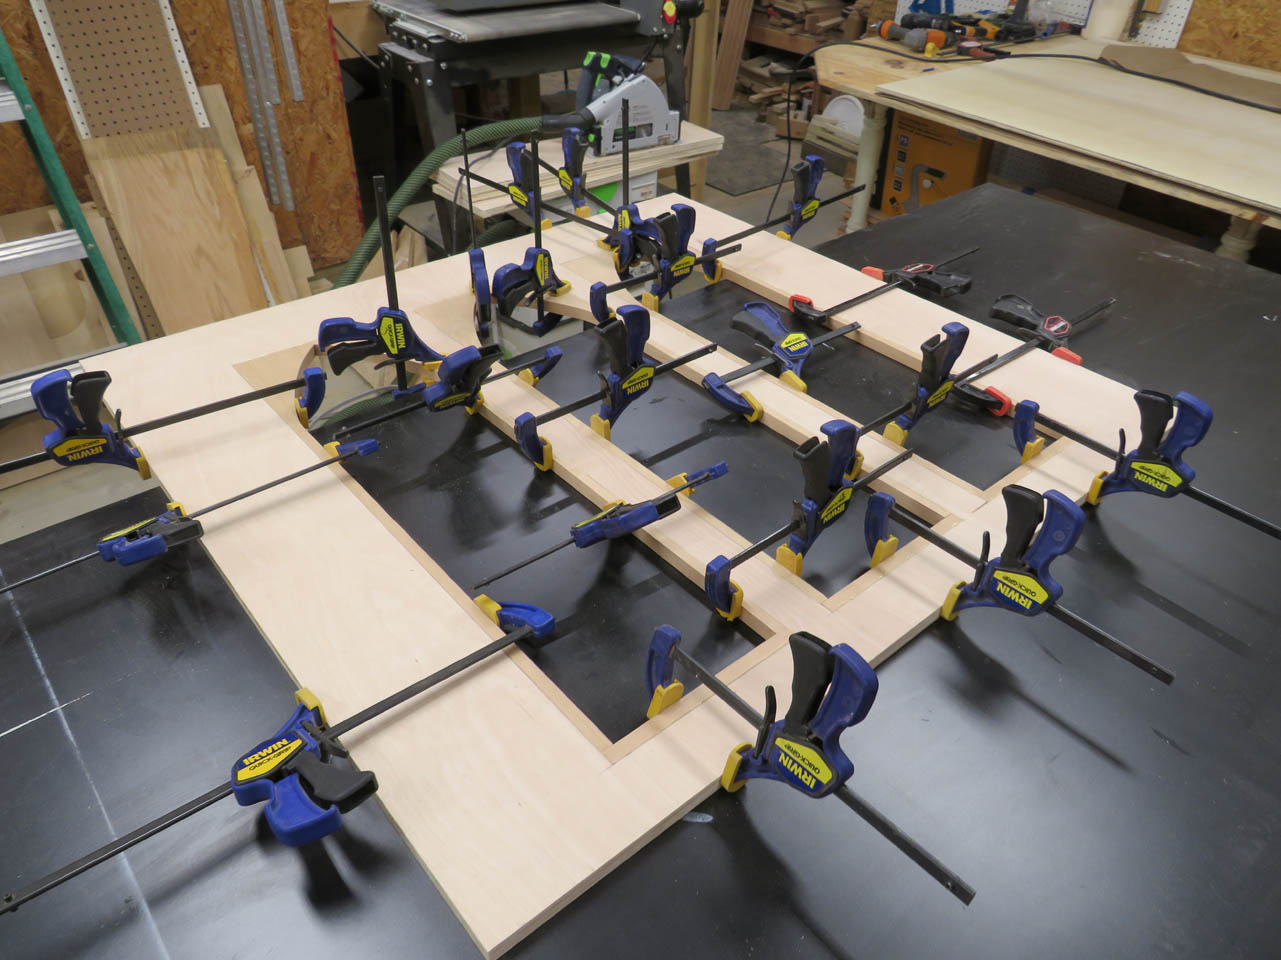
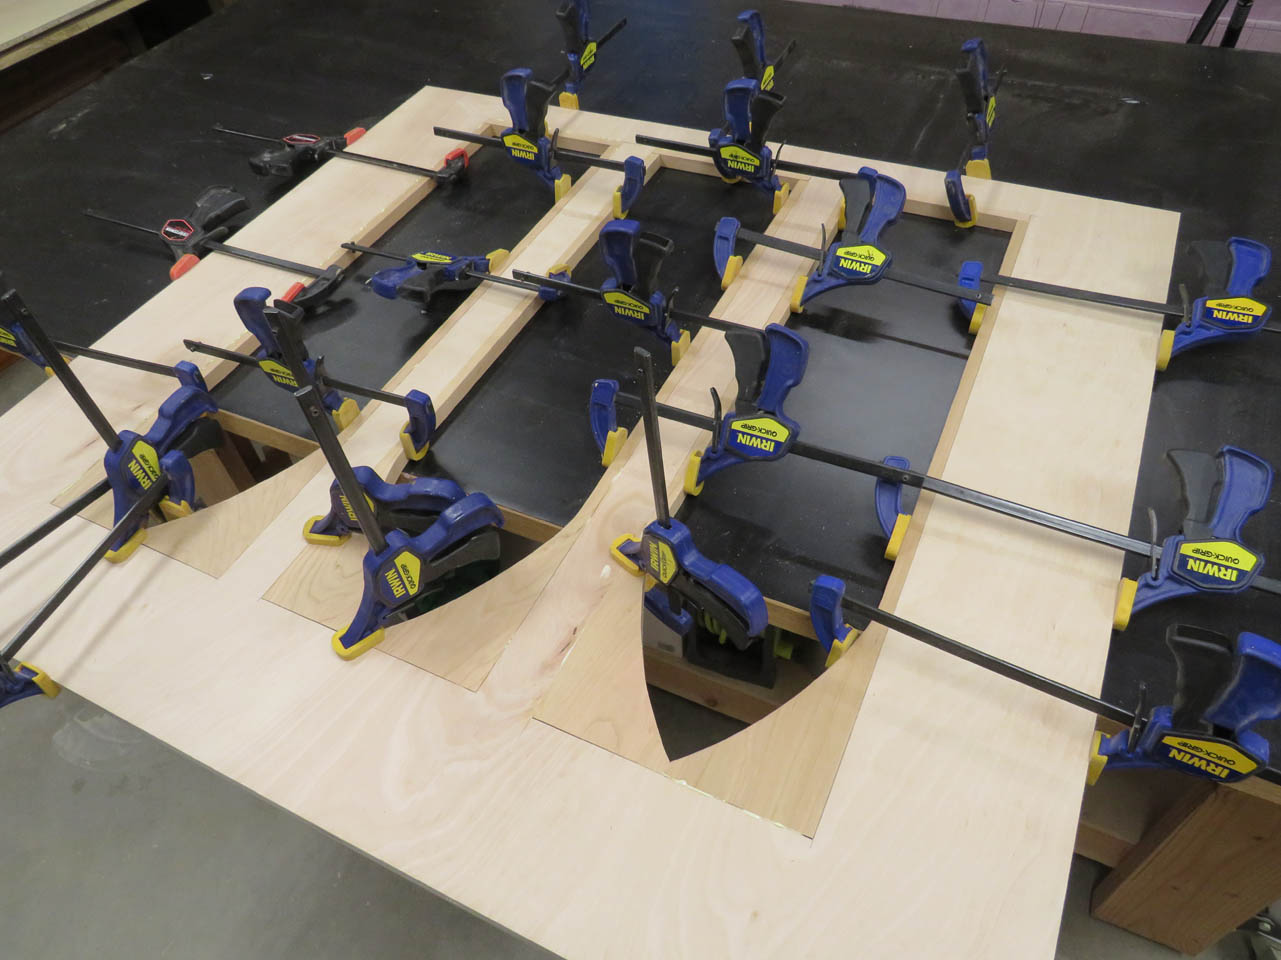
After everything was dry, I pulled the clamps and sanded away all of the glue squeeze-out.
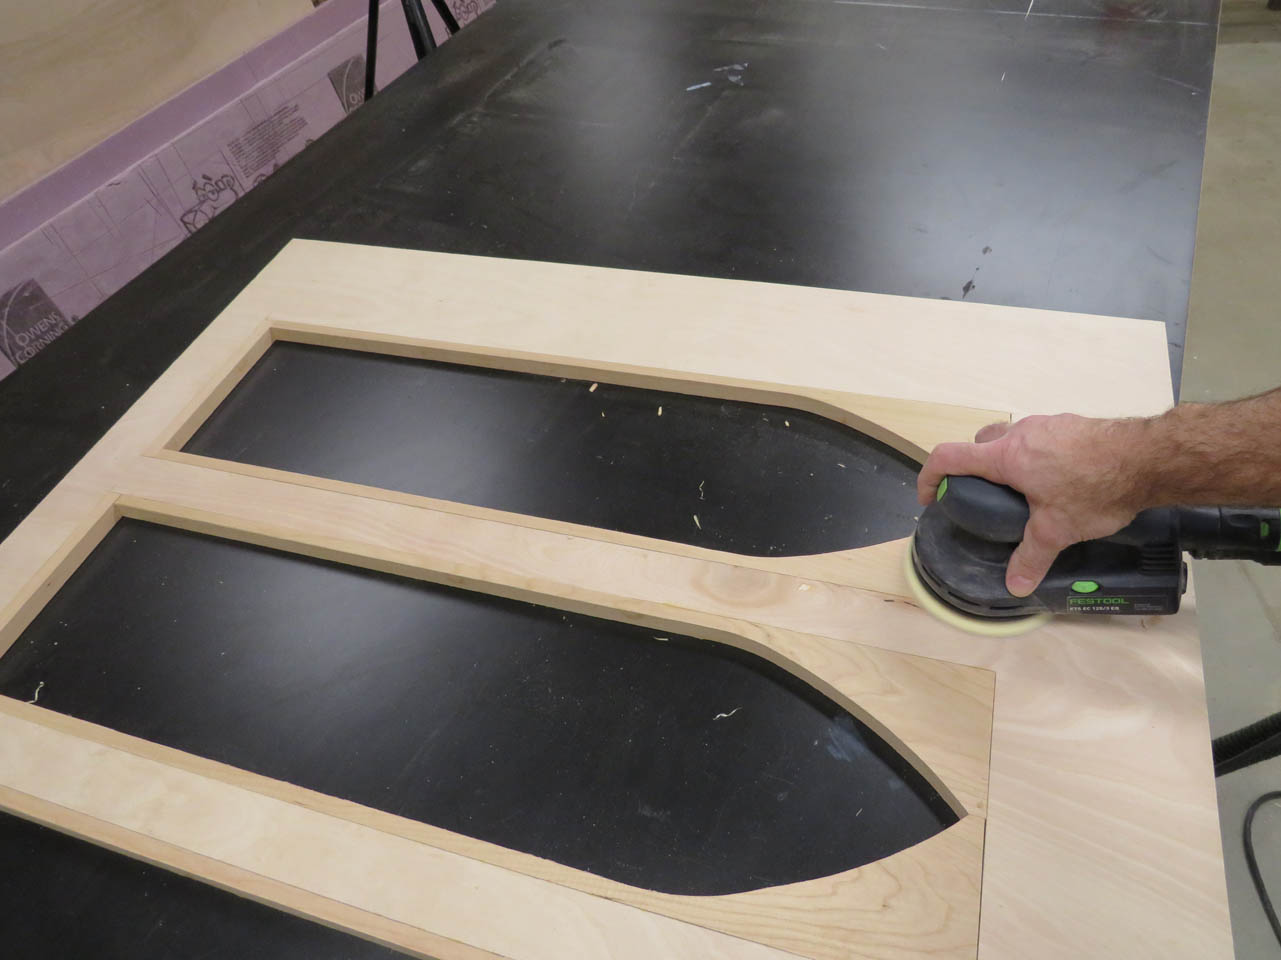
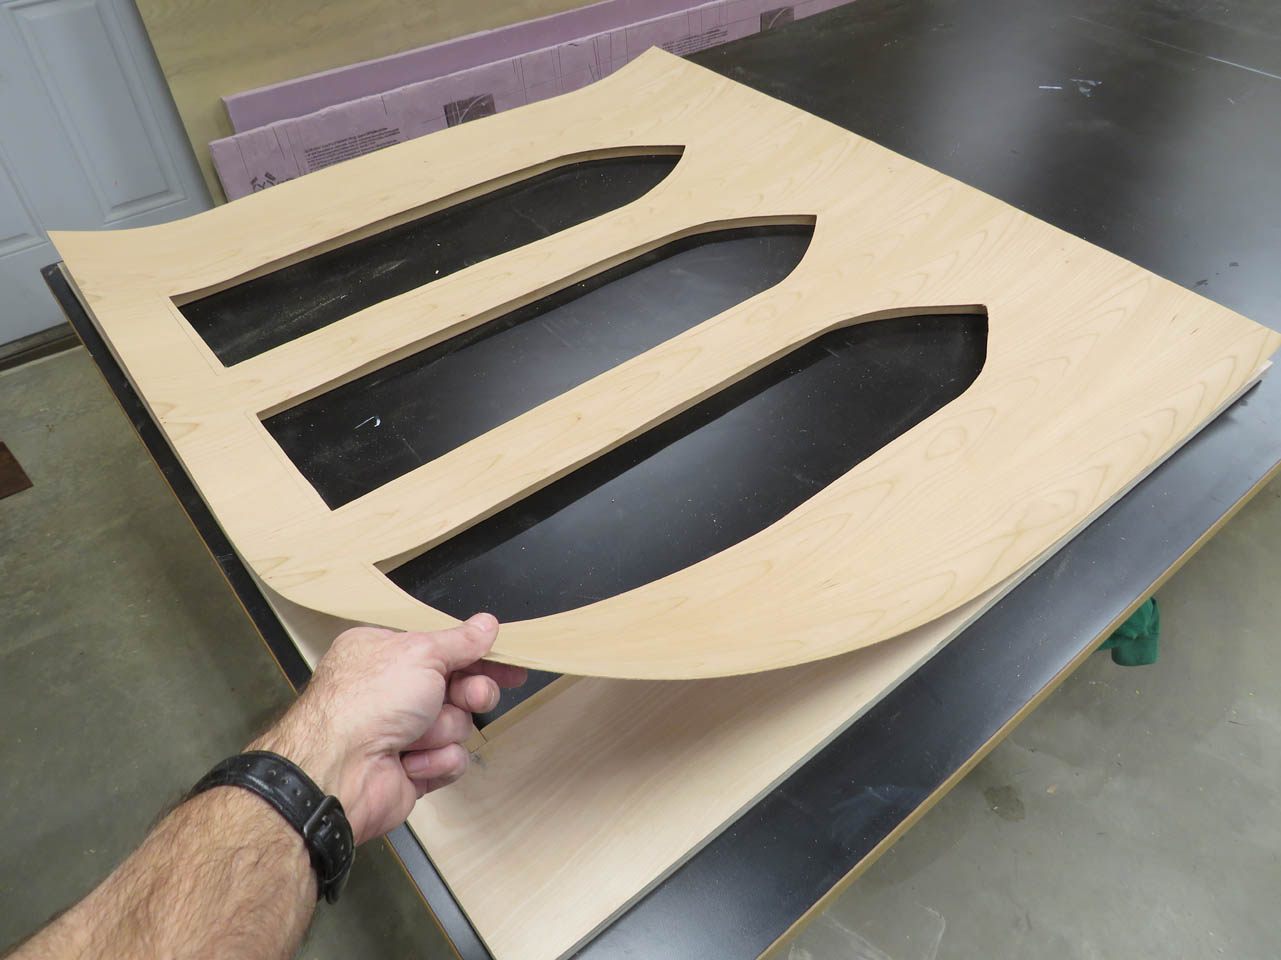
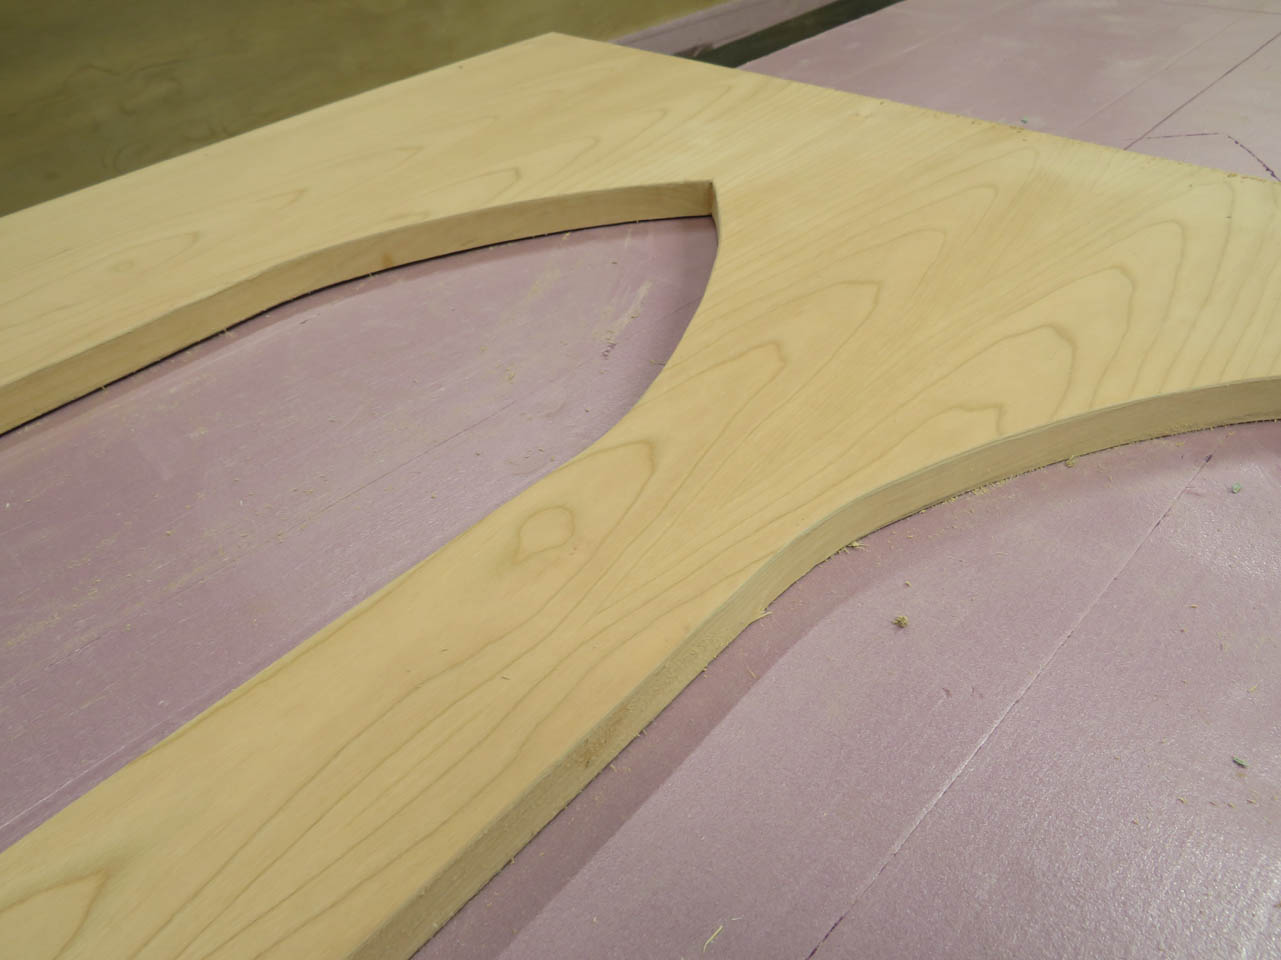
Now I have the solid cherry arches inlaid within the plywood and I can start on the veneer.

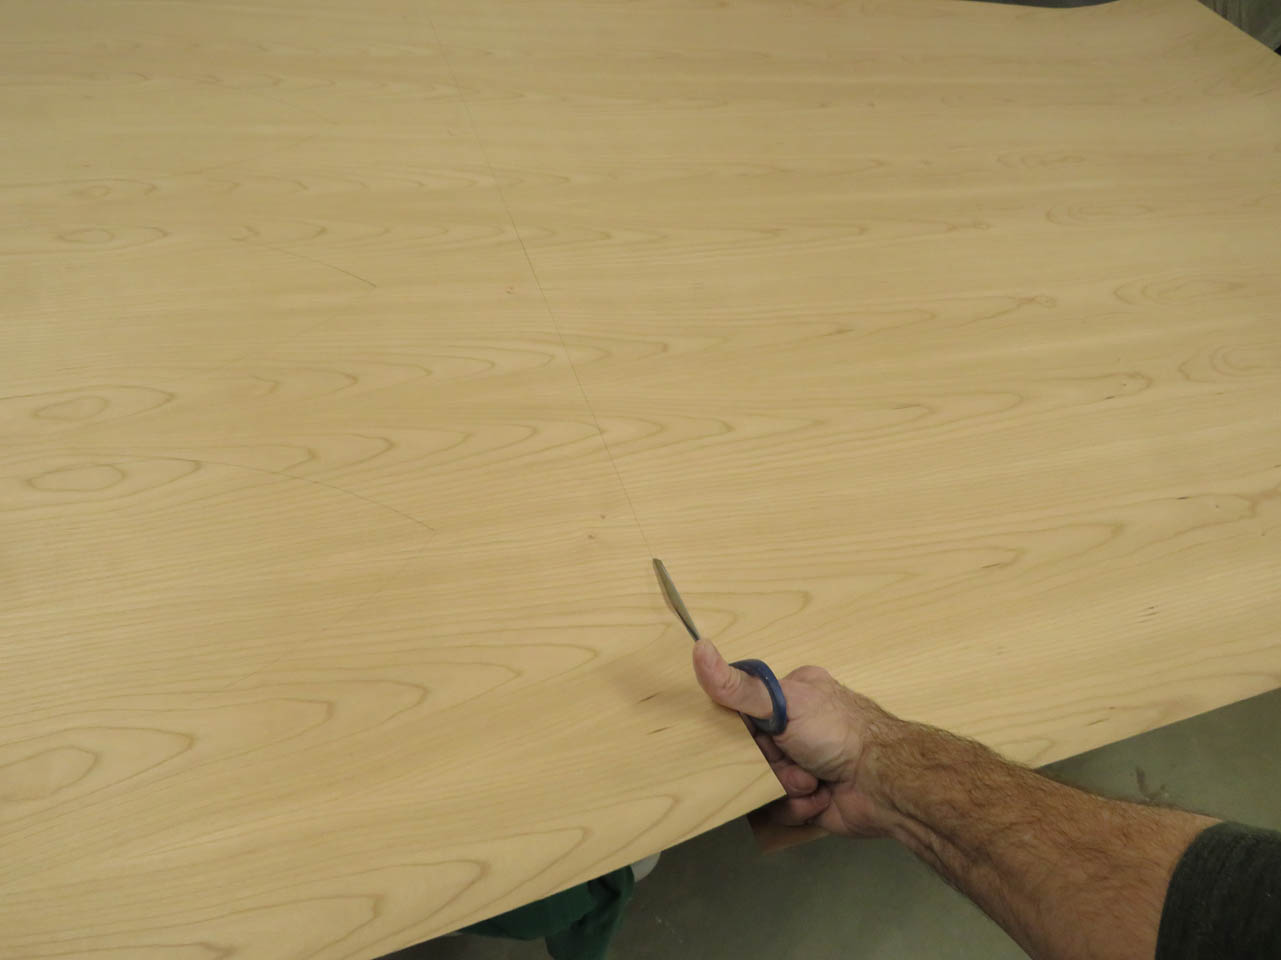
I traced out the location of the arches and the edges of the plywood, then cut the veneer down to size.
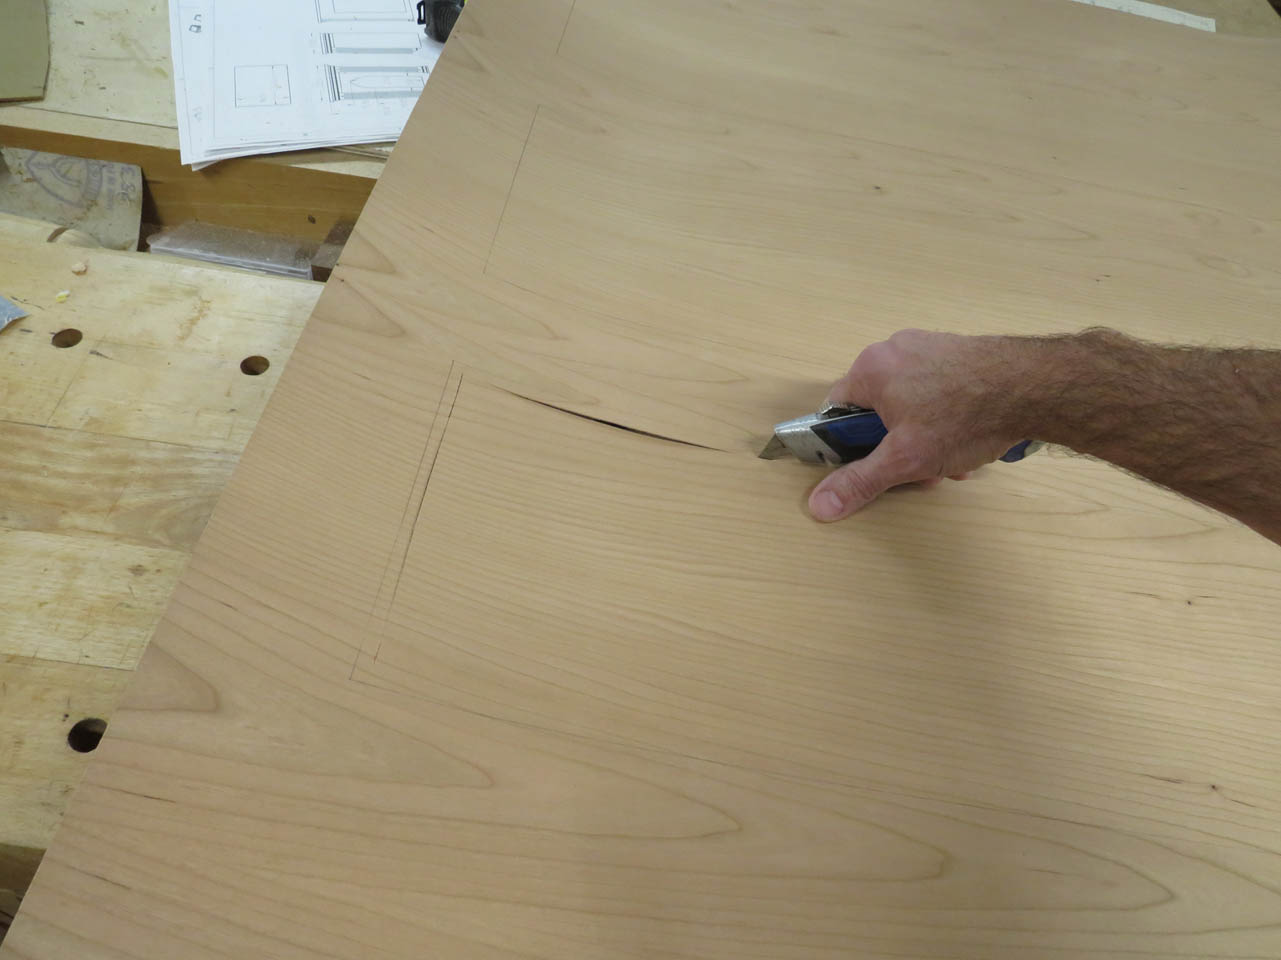
I used a utility knife to roughly cut out the arches. This will make them easier to clean up later.
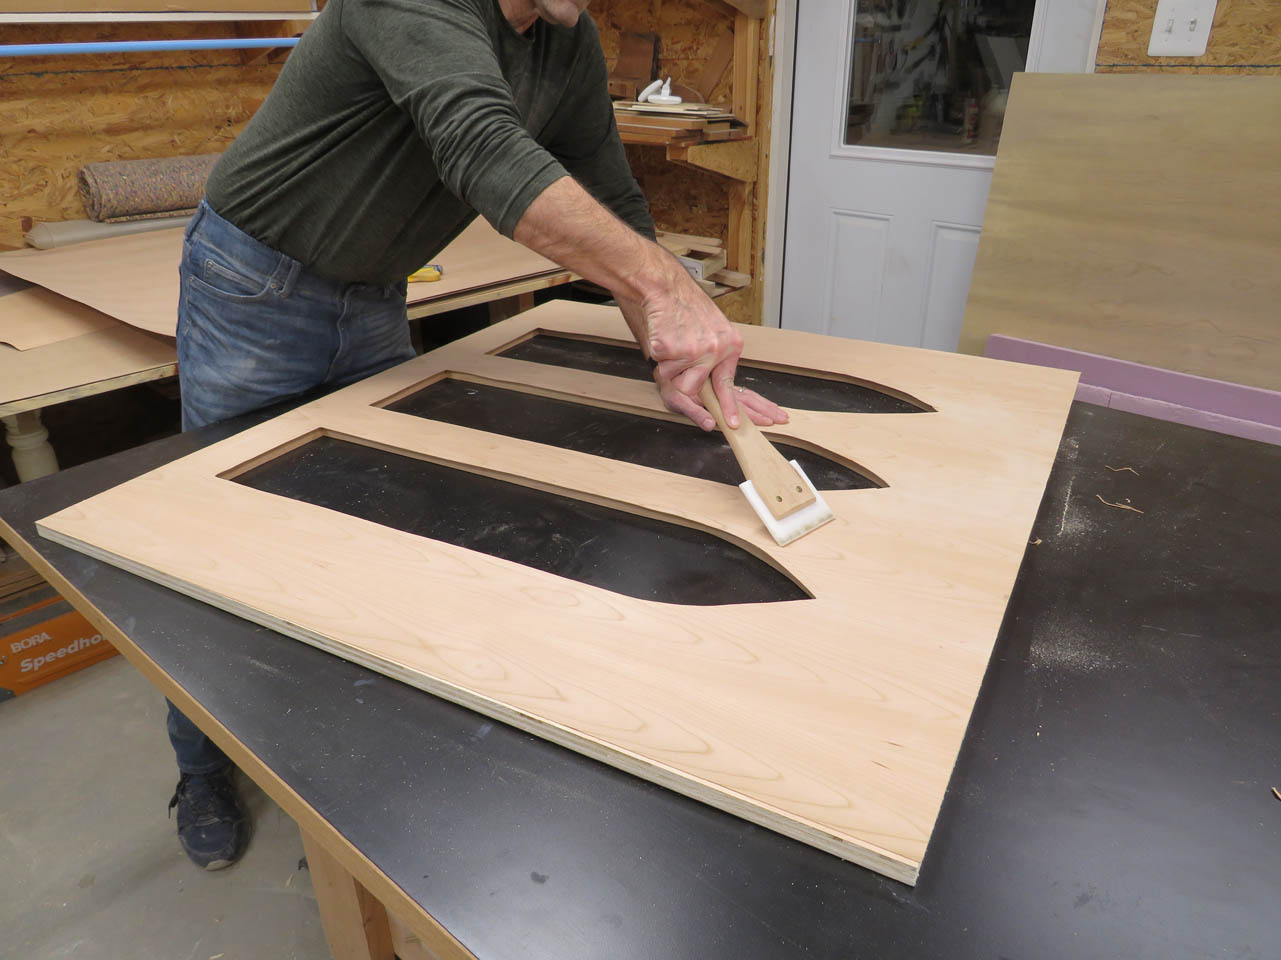
After a test fit of the veneer, I applied the contact adhesive and let it dry.
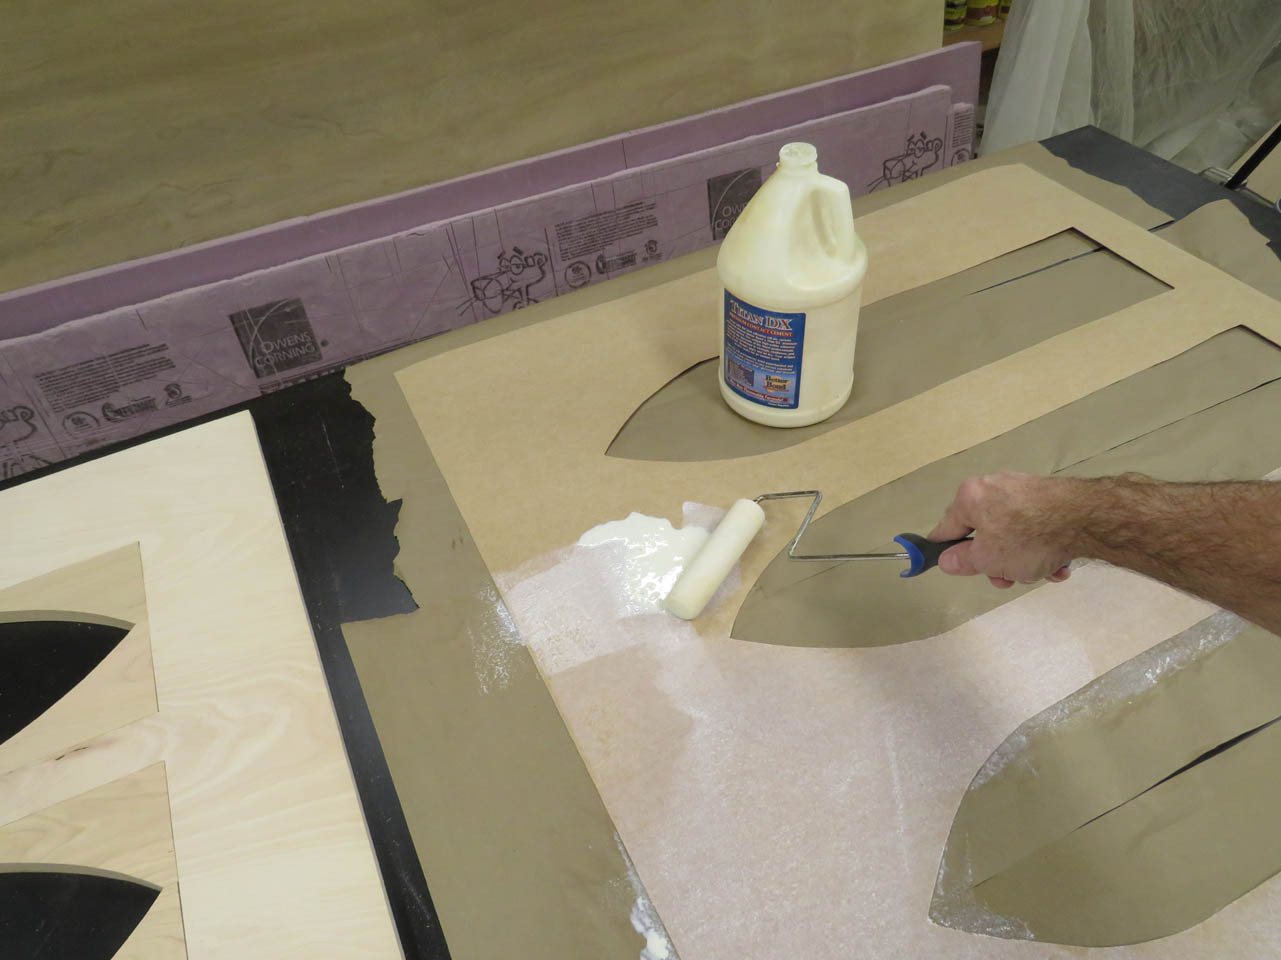
Once dried, I can carefully attach the veneer to the plywood.
I used a scraper to to press down the veneer as well as remove any bubbles.
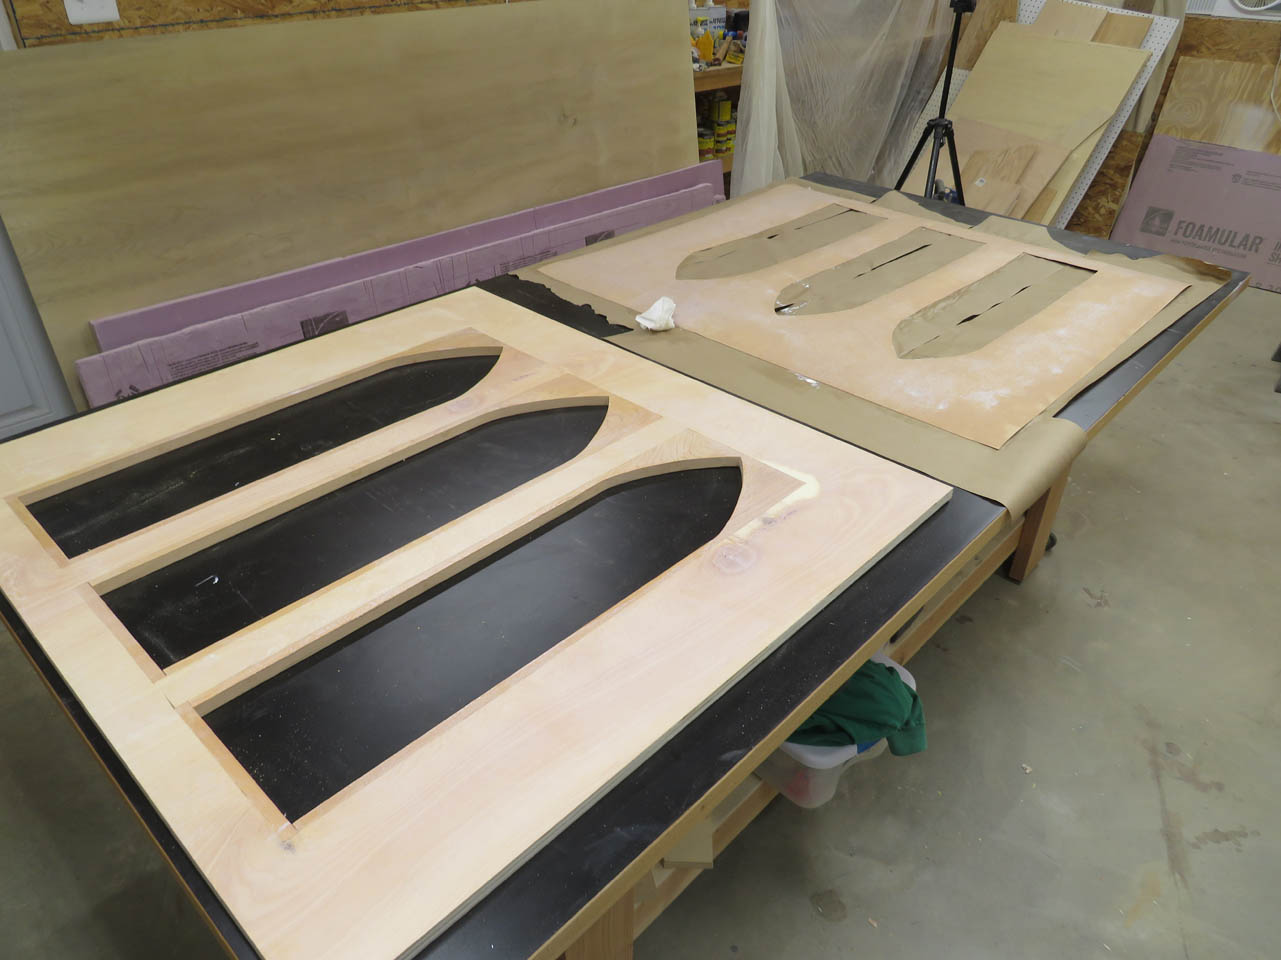
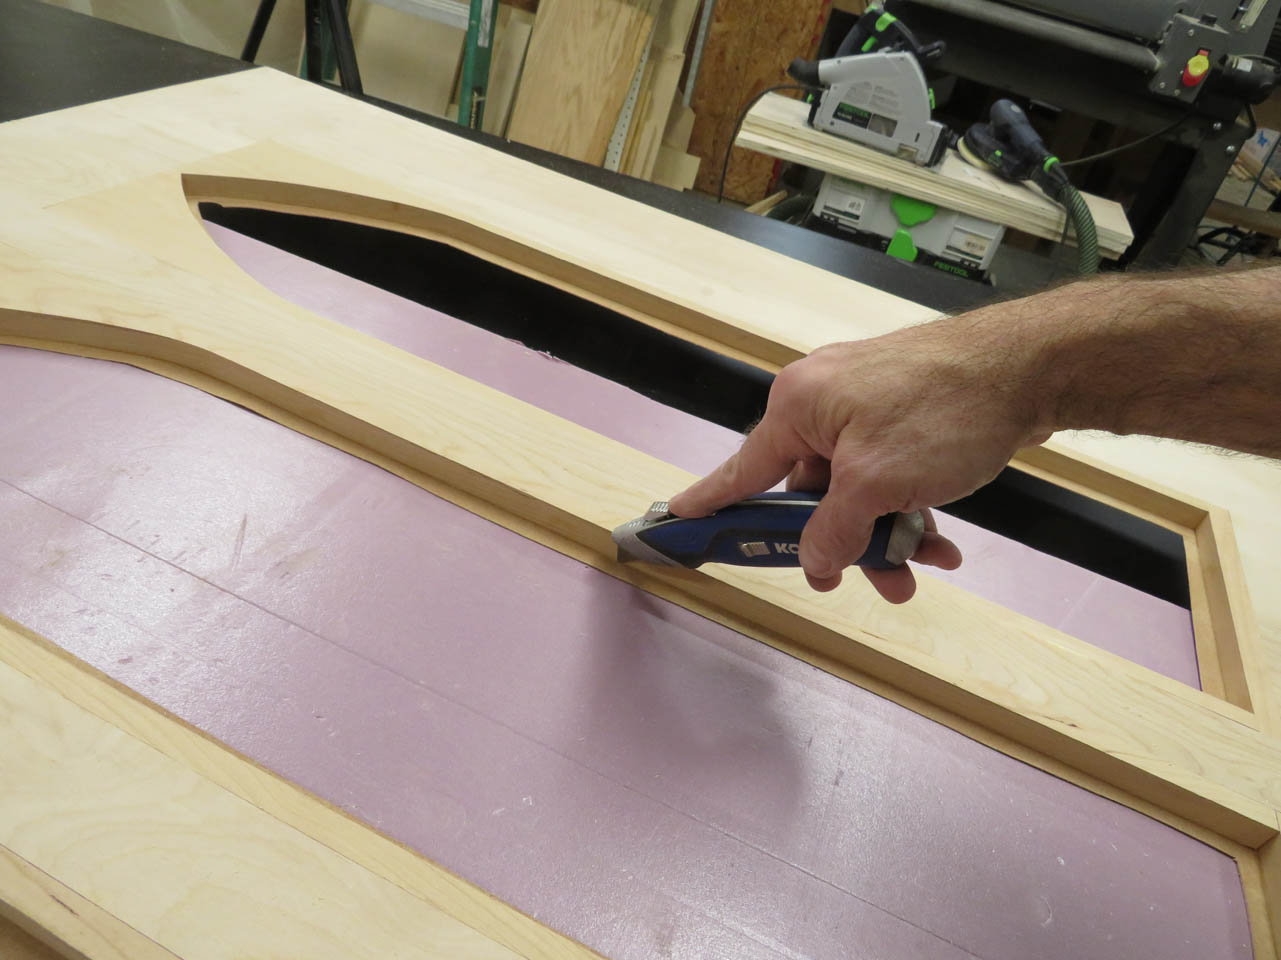
I flipped over the panel and trimmed away the excess veneer within the arches.
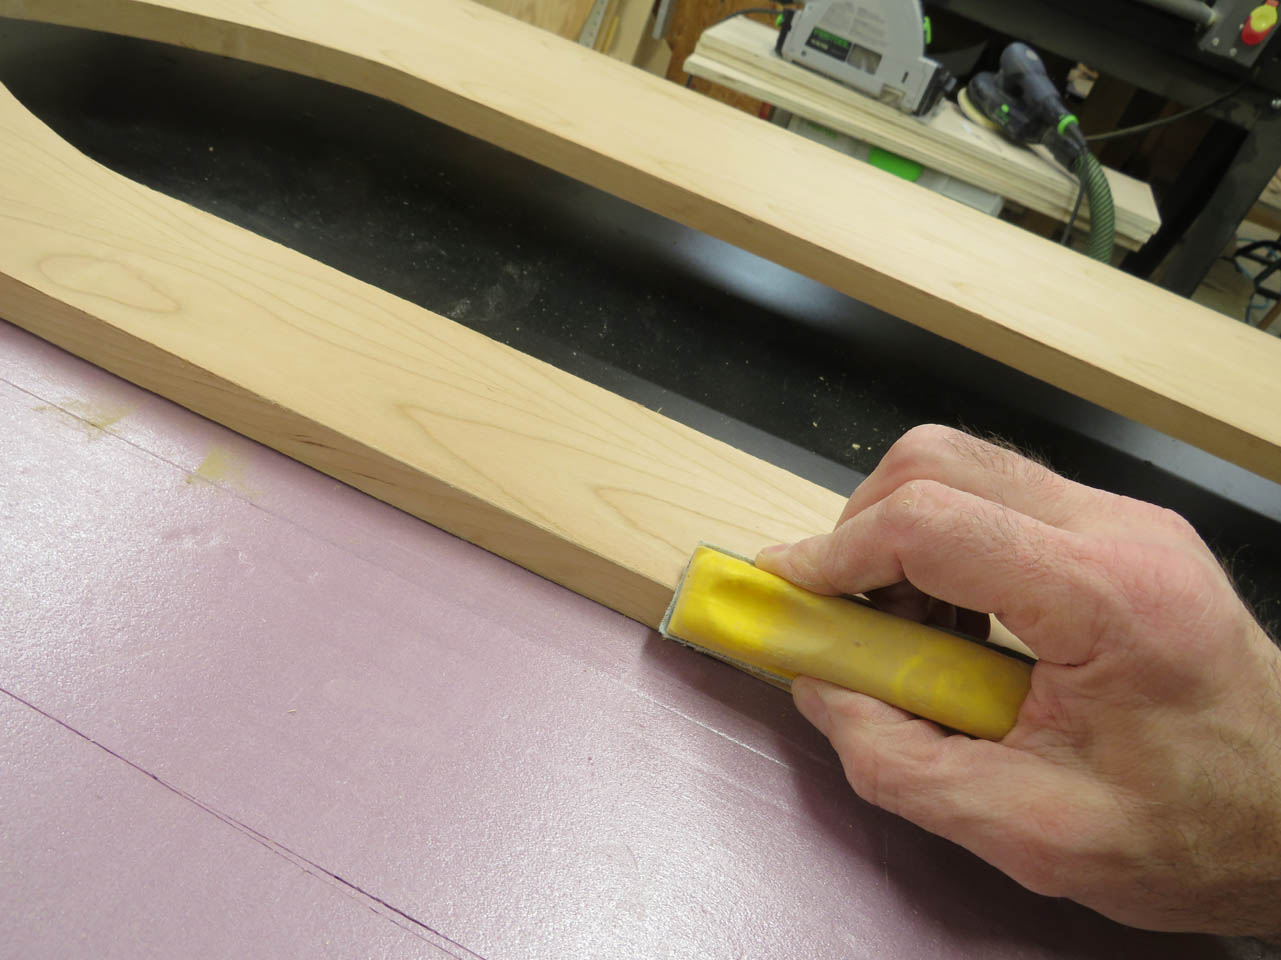
After a little sanding, it was hard tell that the entire panel is not completely solid cherry.
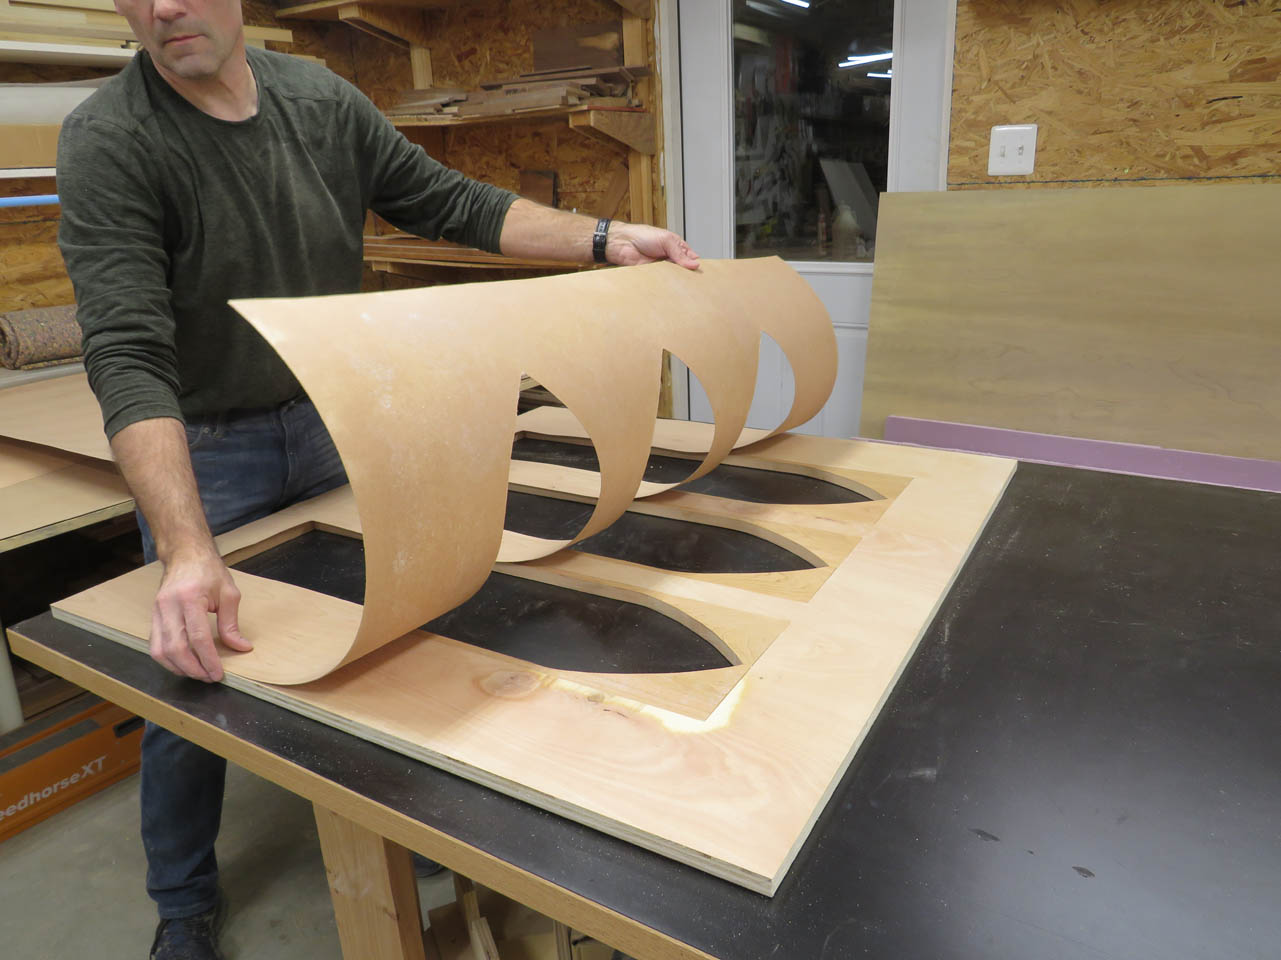
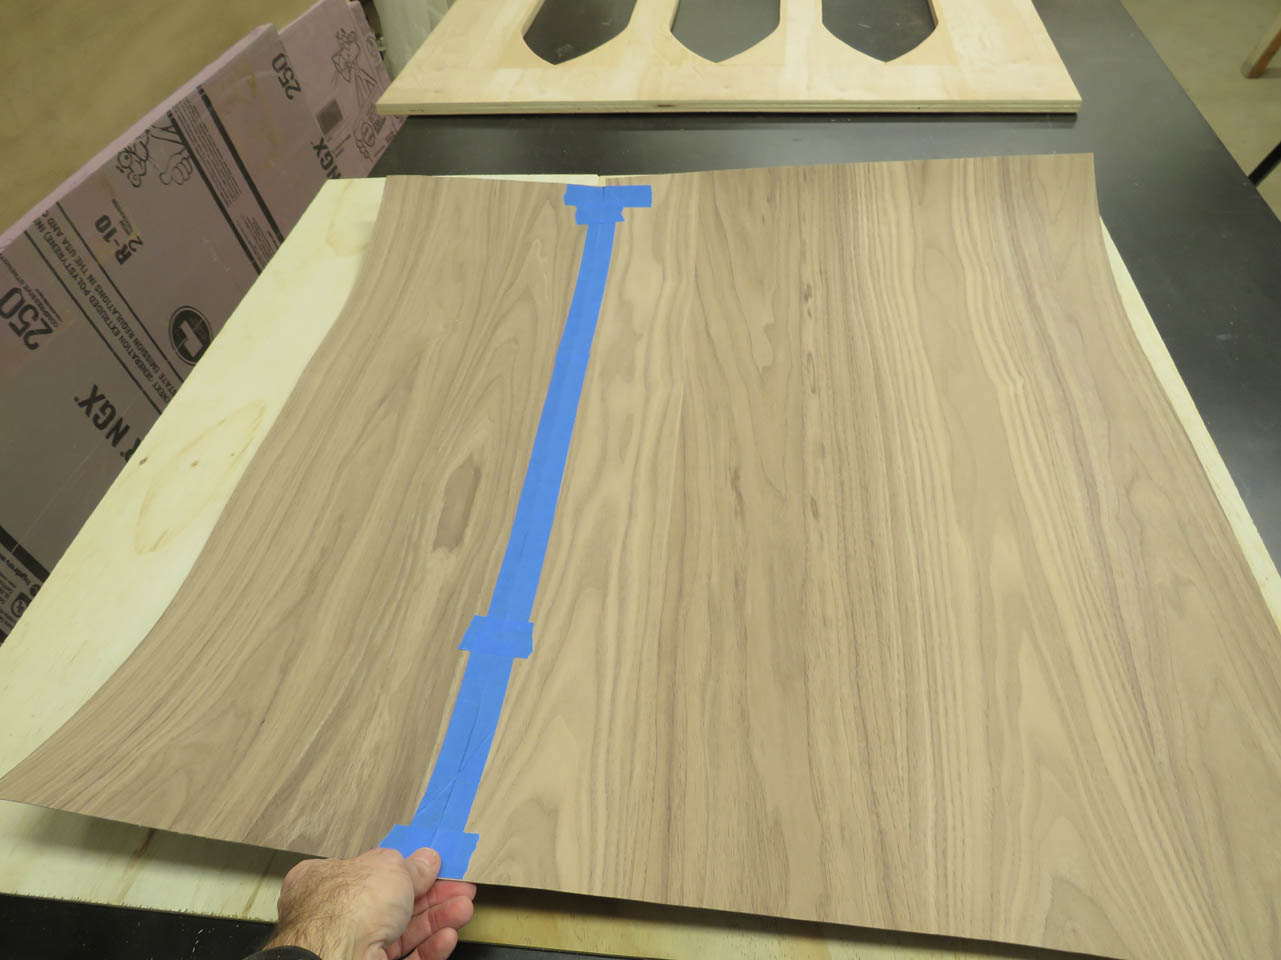
To create the walnut back panel, I am using a sheet of 1/4″ plywood. I cut it down to size and trace out the locations of the arches.
I cut some of my walnut veneer to size and taped two pieces together to get the correct width. I made sure the seam would fall behind one of the plywood sections between the arches.
Then I repeated the process of applying the glue and attaching the veneer.
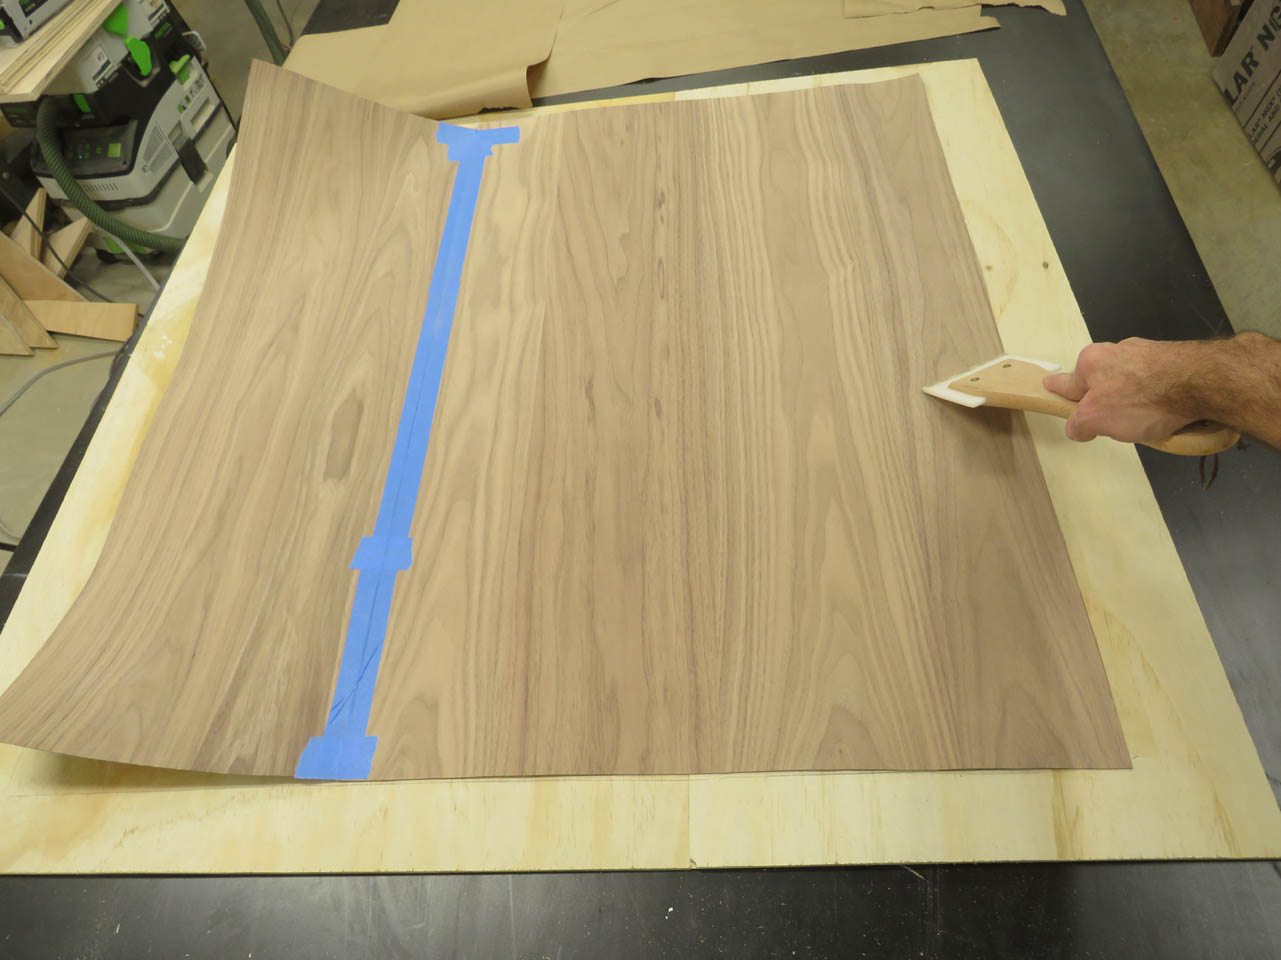
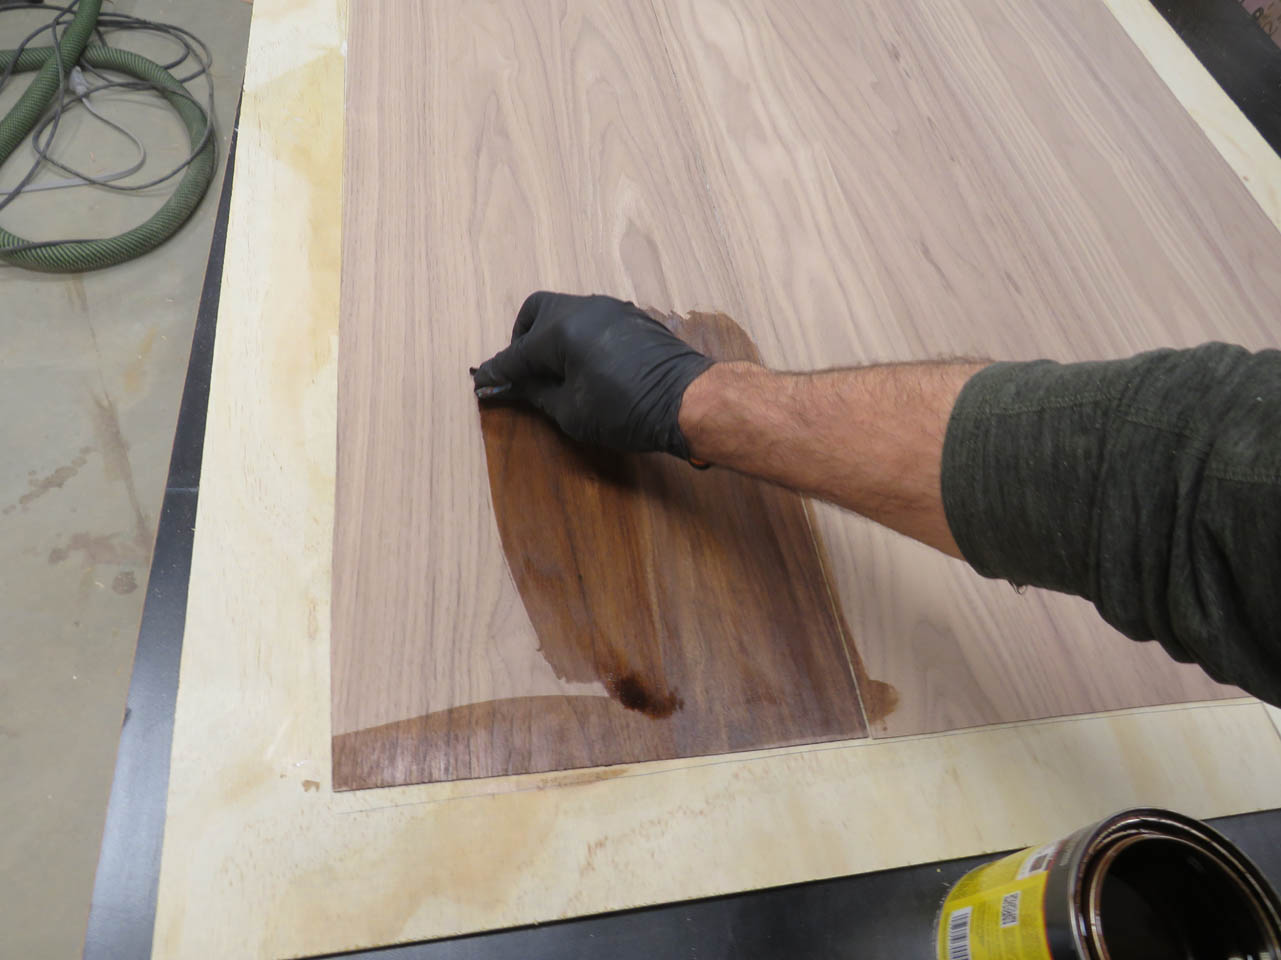
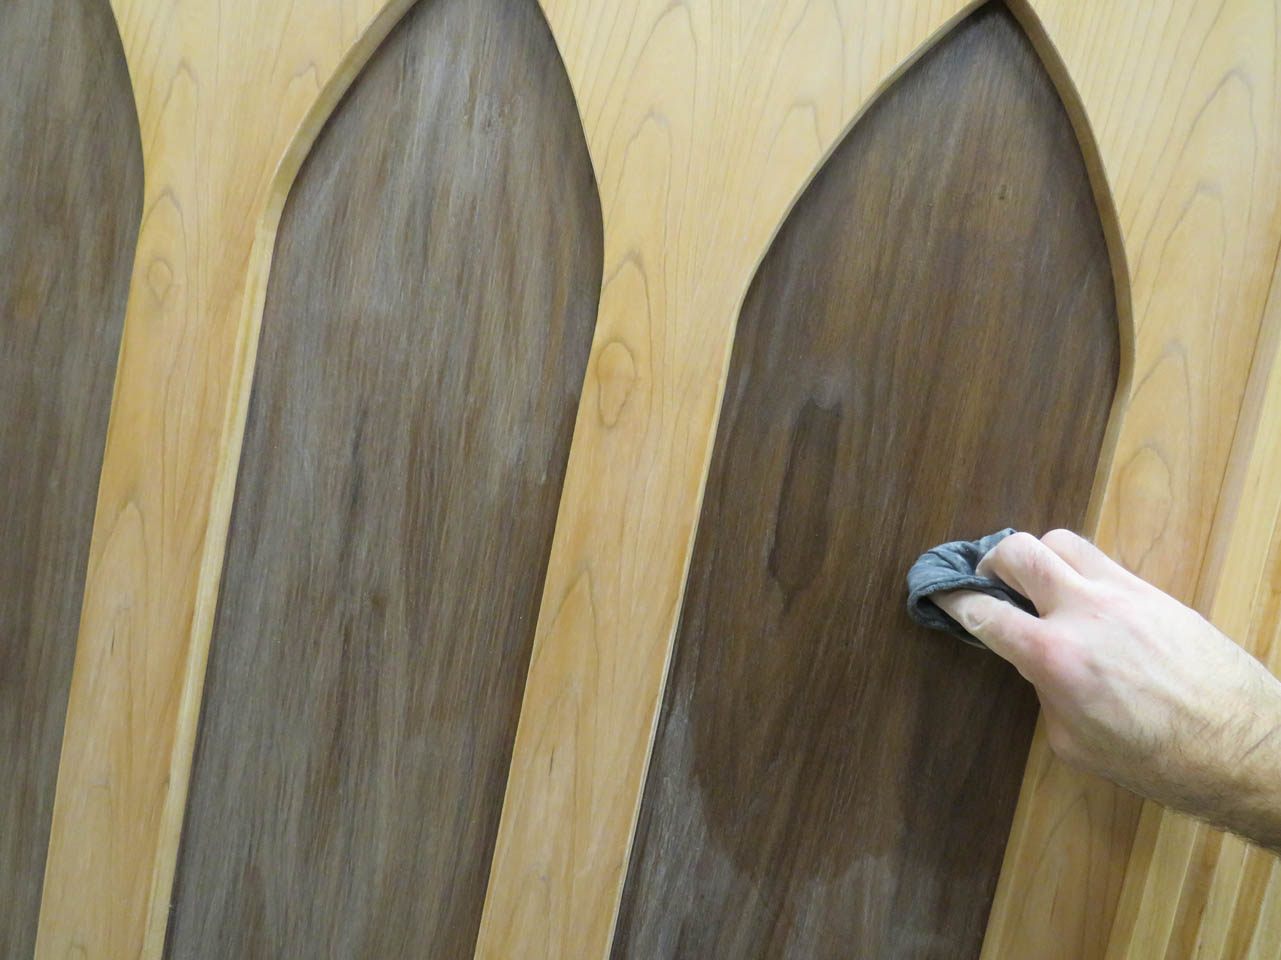
Before installing the panel, I stained the walnut to match the color of the panel on the ambo as well as the solid walnut tabernacle.
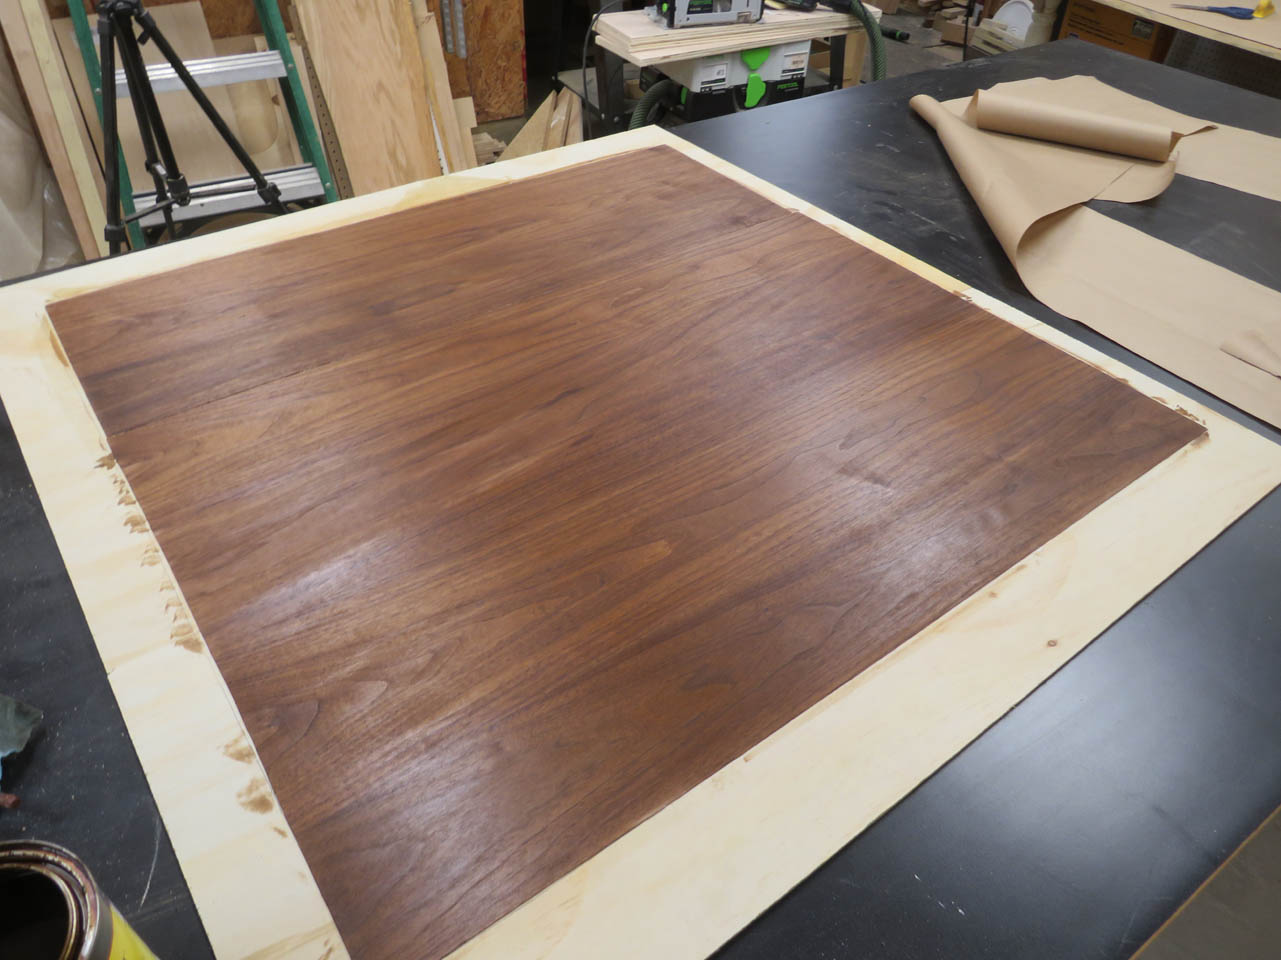
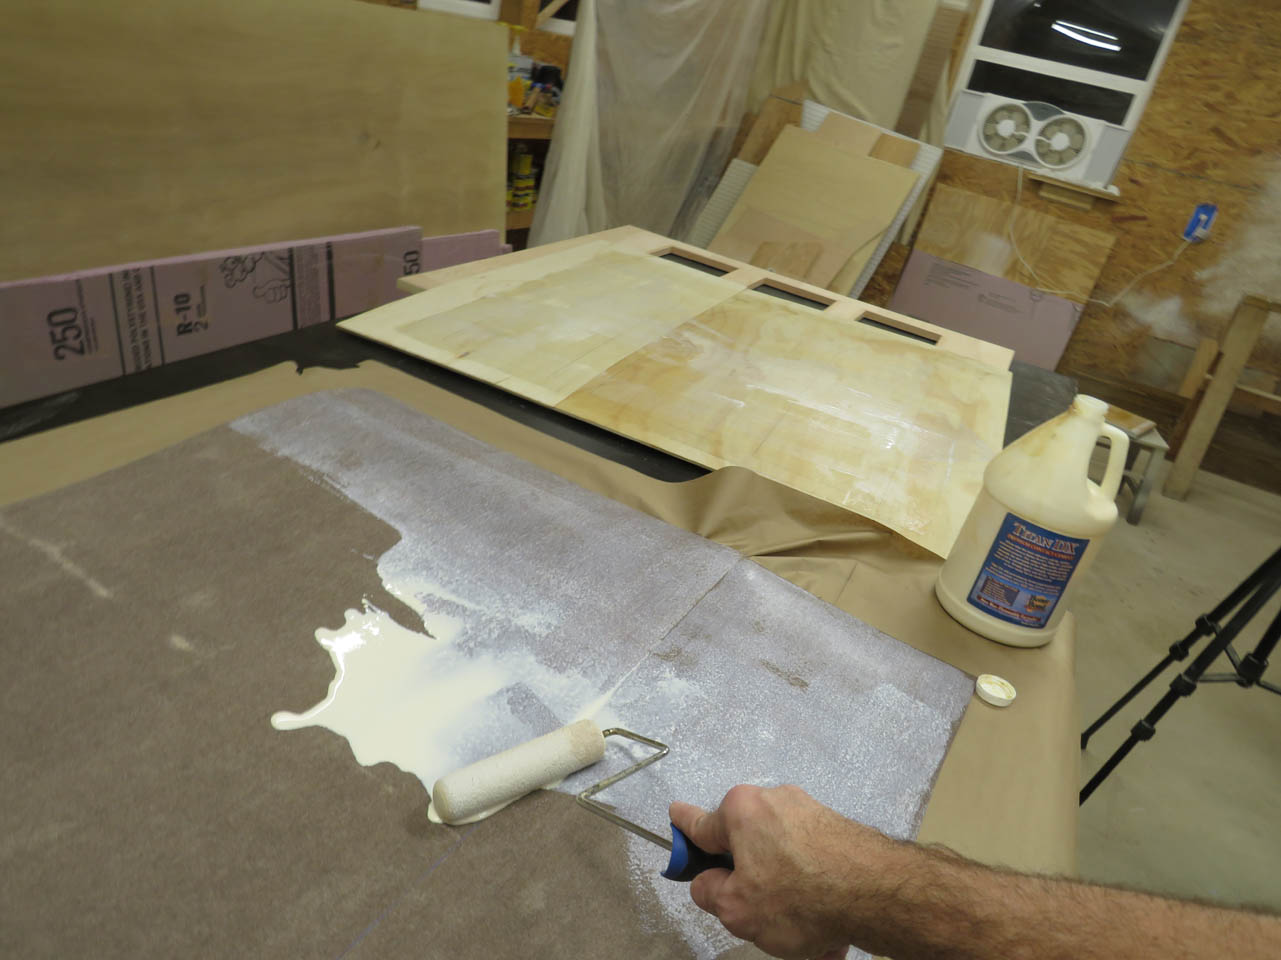
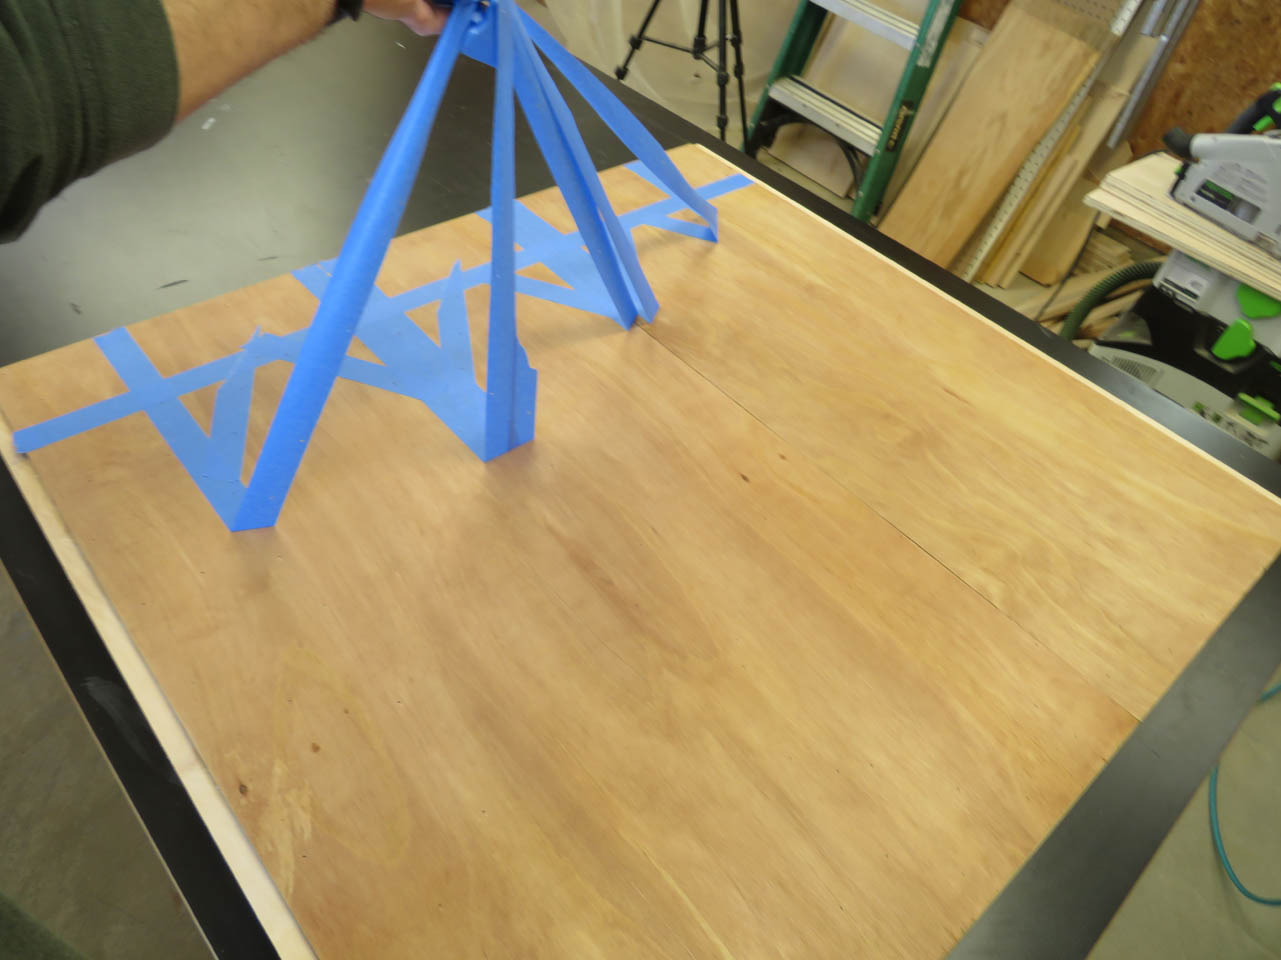
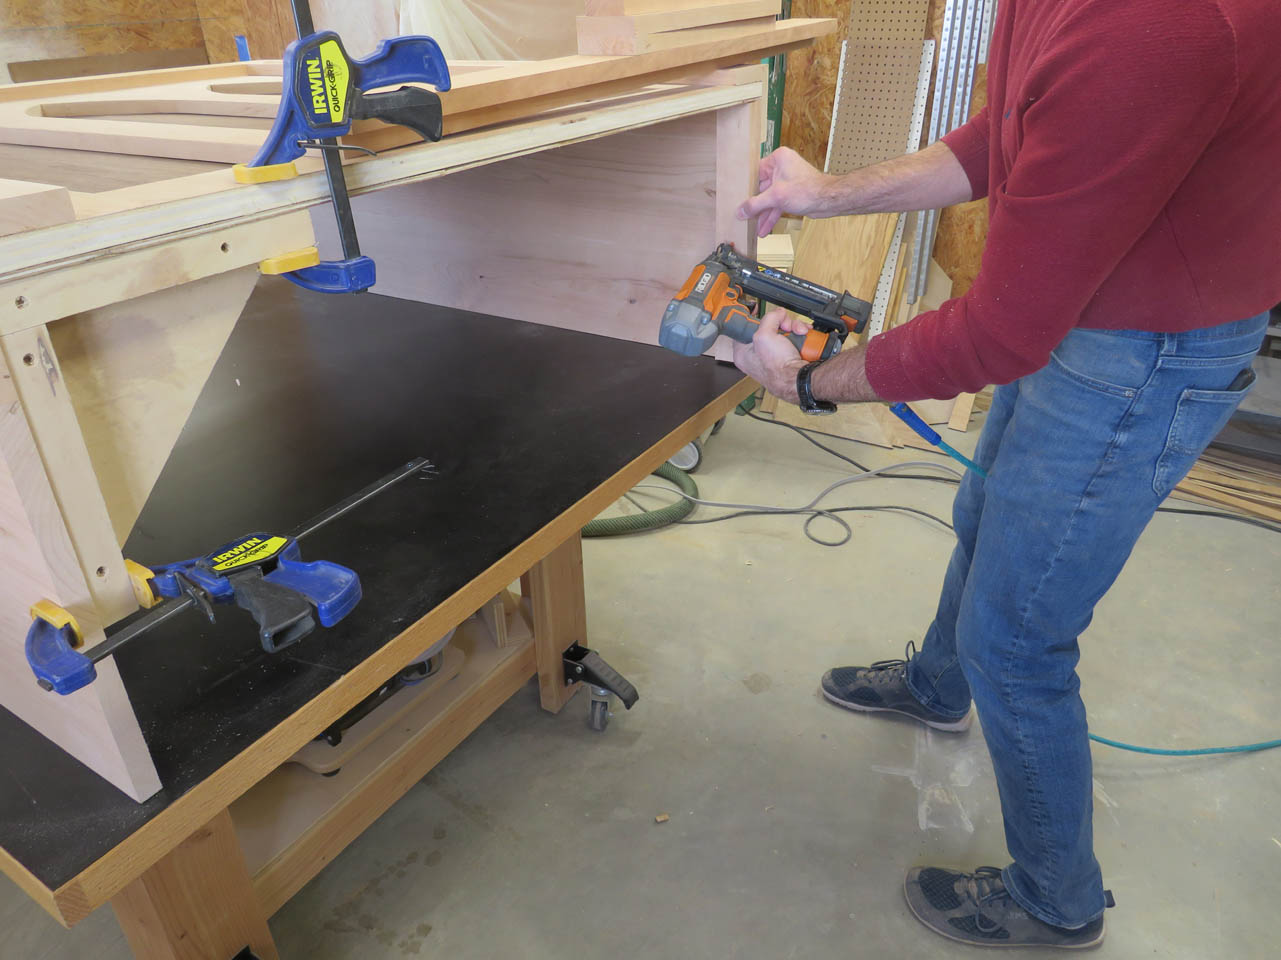
When dry, the back of the panel was stained cherry as well. This section will not be seen, but I prefer it to blend in with the solid wood anyway. I intend to glue this panel in place but I will hold it down flat with brad nails. To insure those nails do not go through the arched areas, I laid out the arches with painter’s tape.
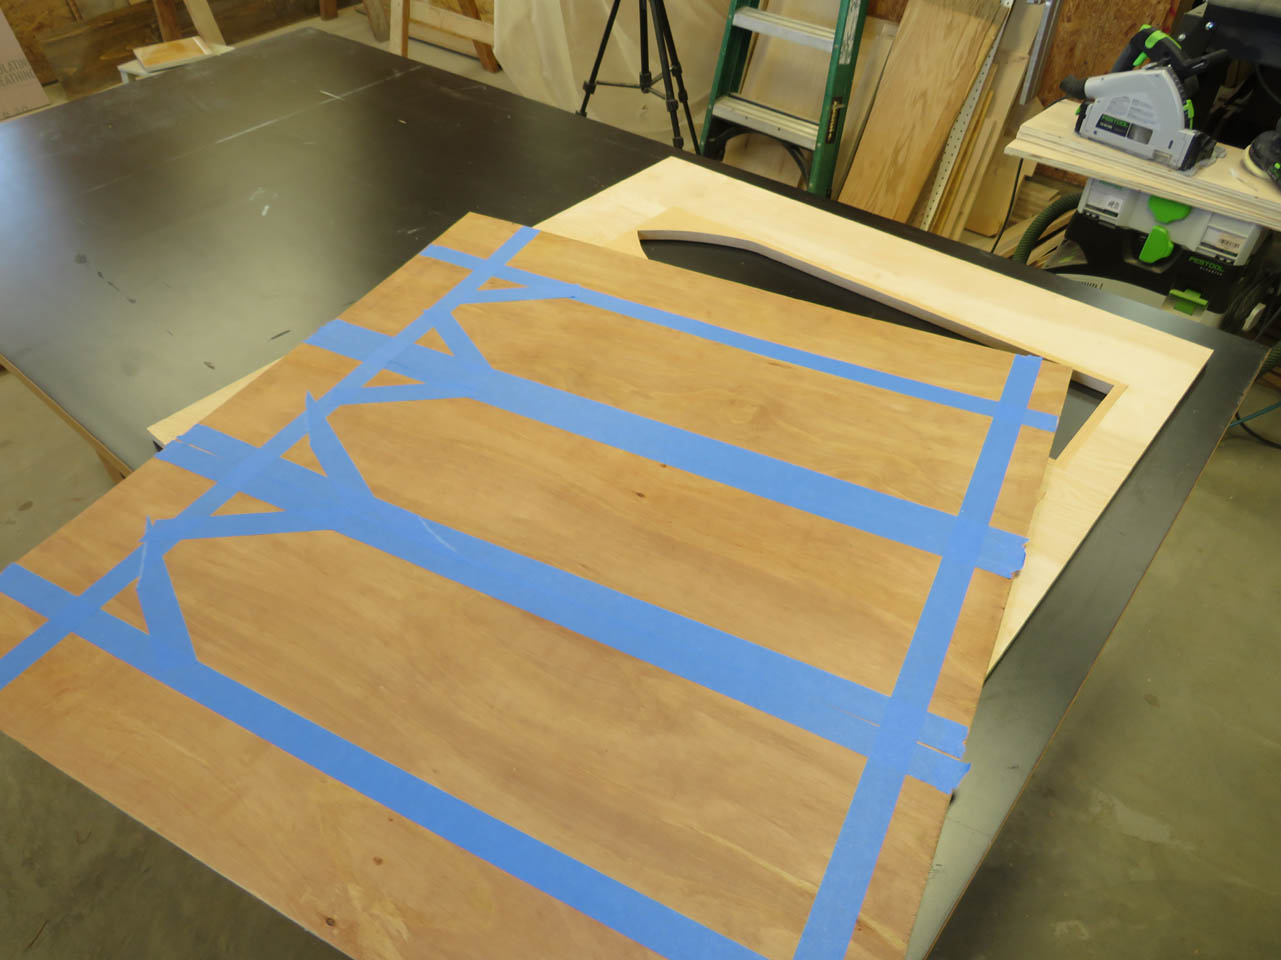

The glue was applied and spread out evenly.

Then the back panel was nailed in place, only shooting the nails in where I had applied tape.
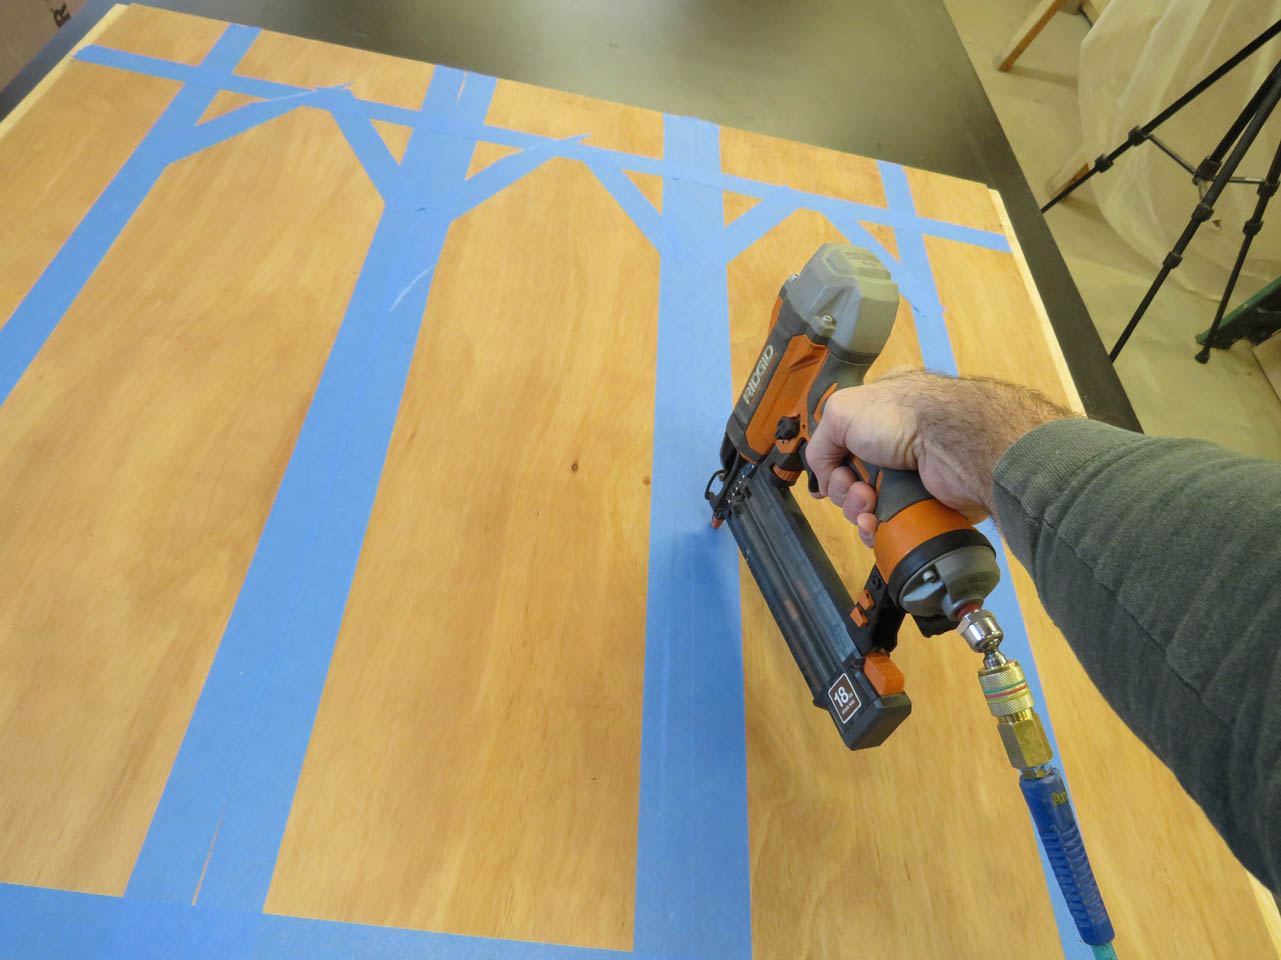
When the tape was removed, the front panel was finished.
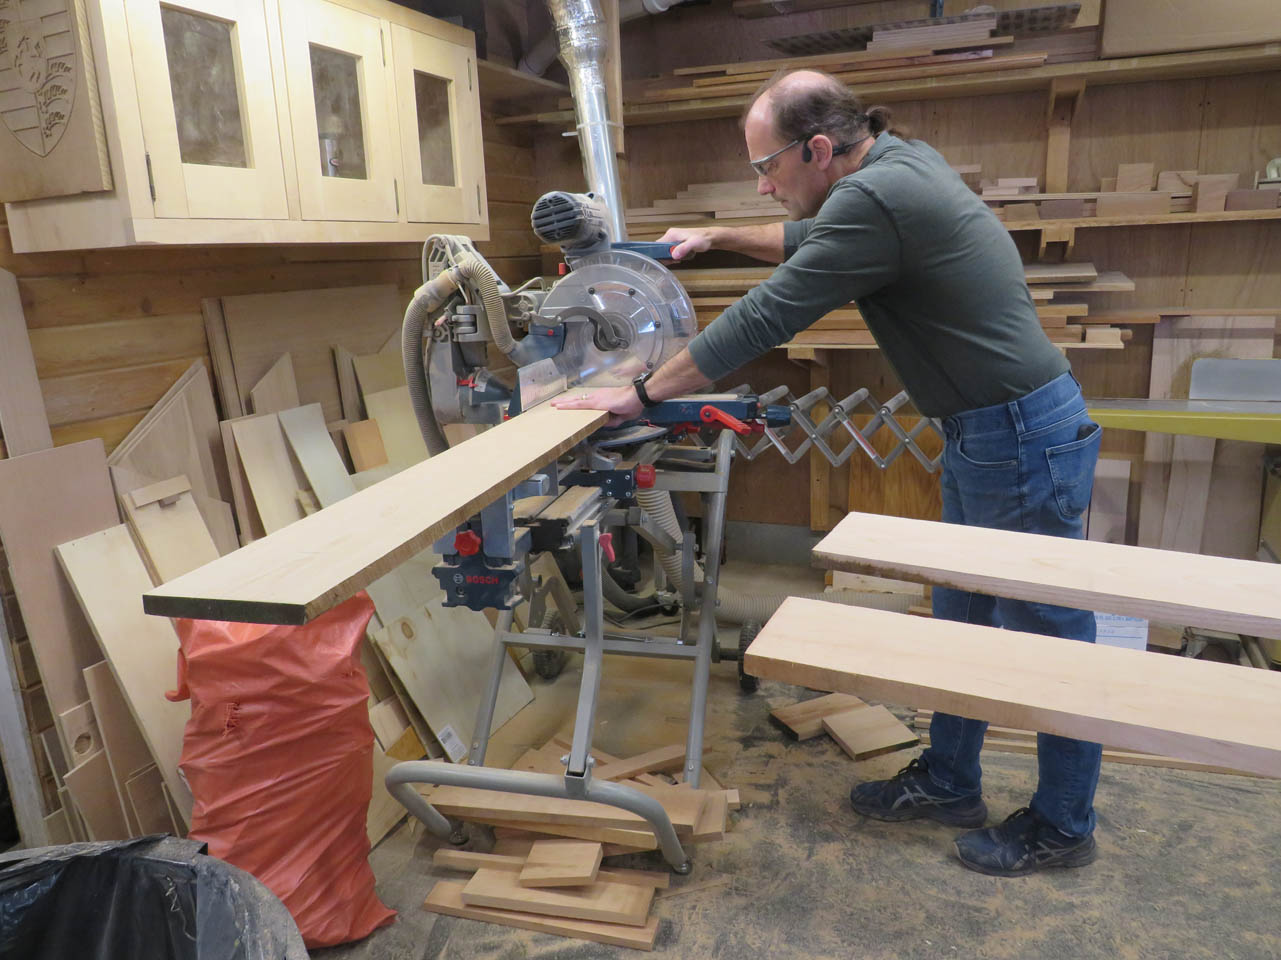
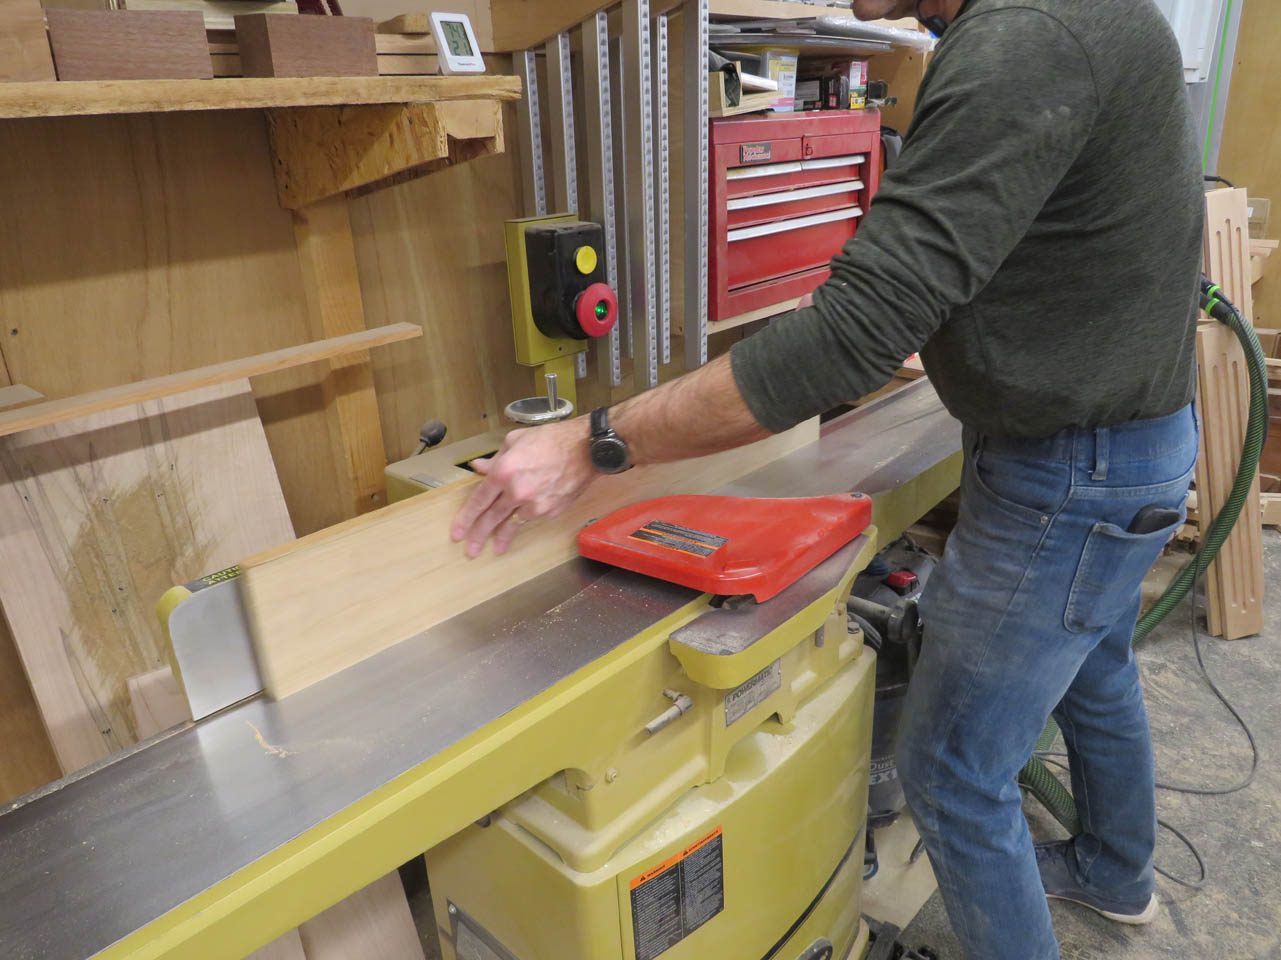
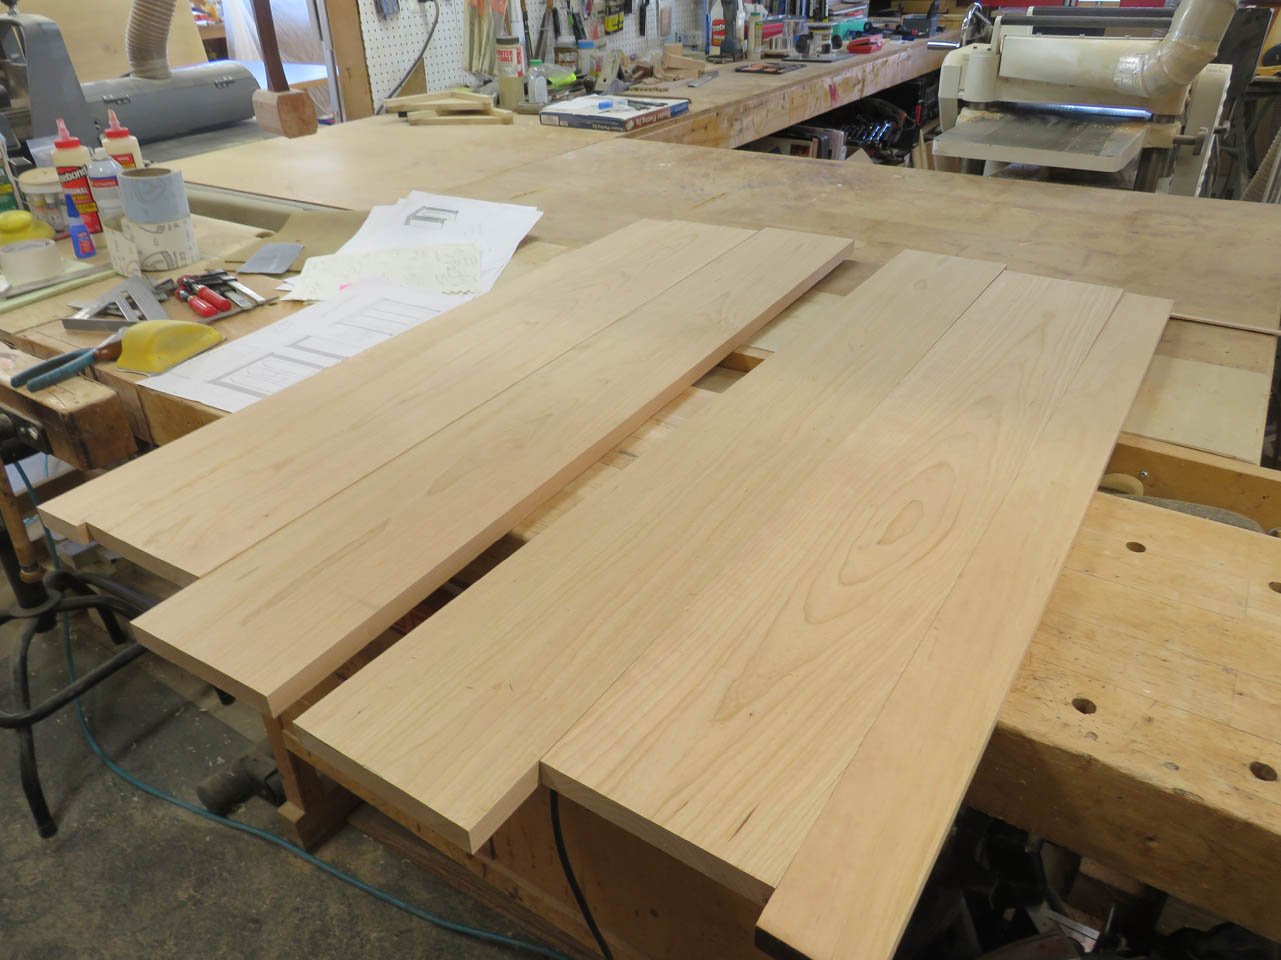
With that done, I can start on the side panels. These will be made from cherry so I start cutting the boards roughly down to size.

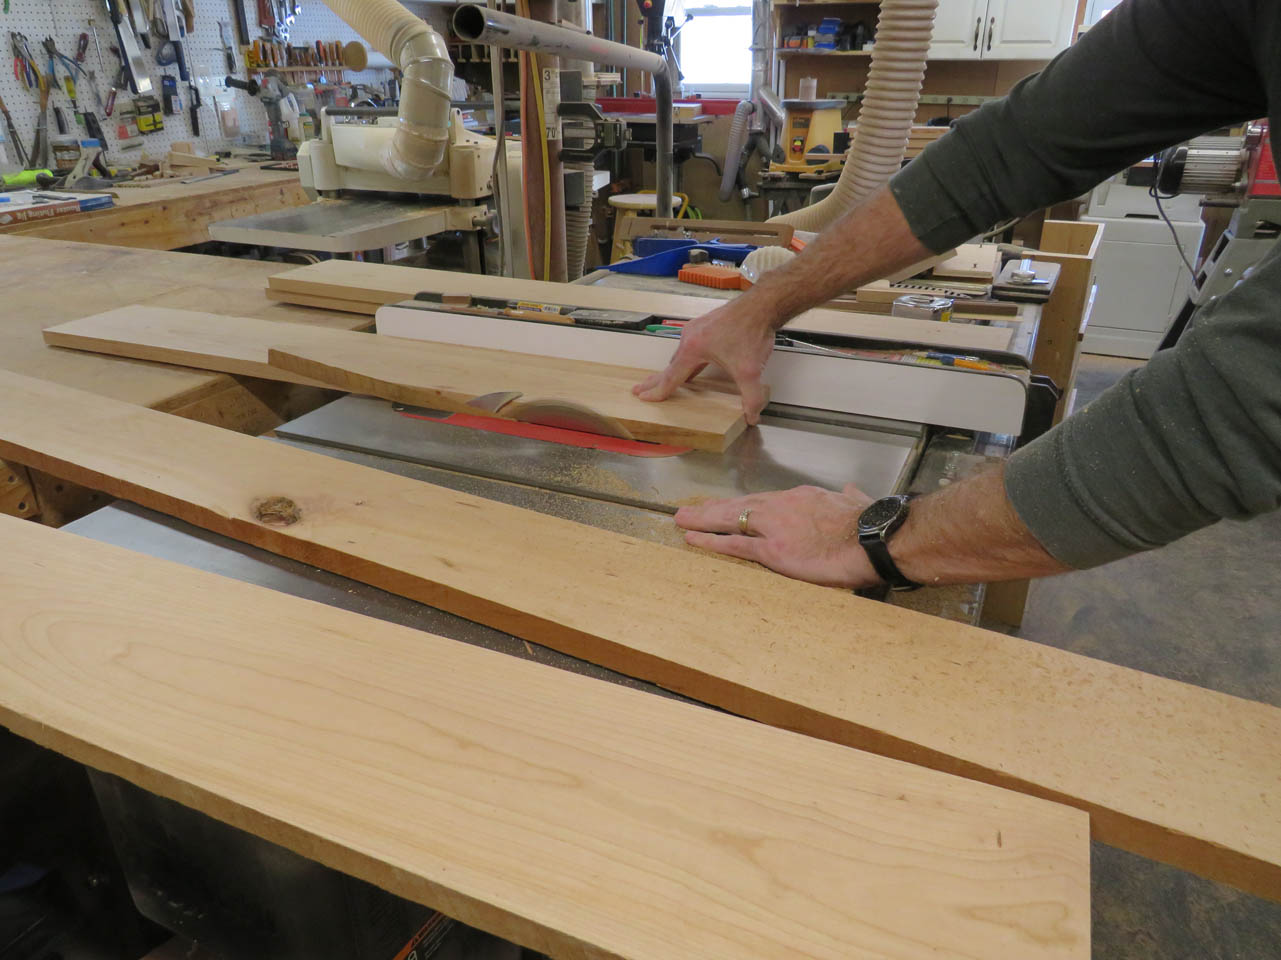
These were planed, jointed, and cut to width.
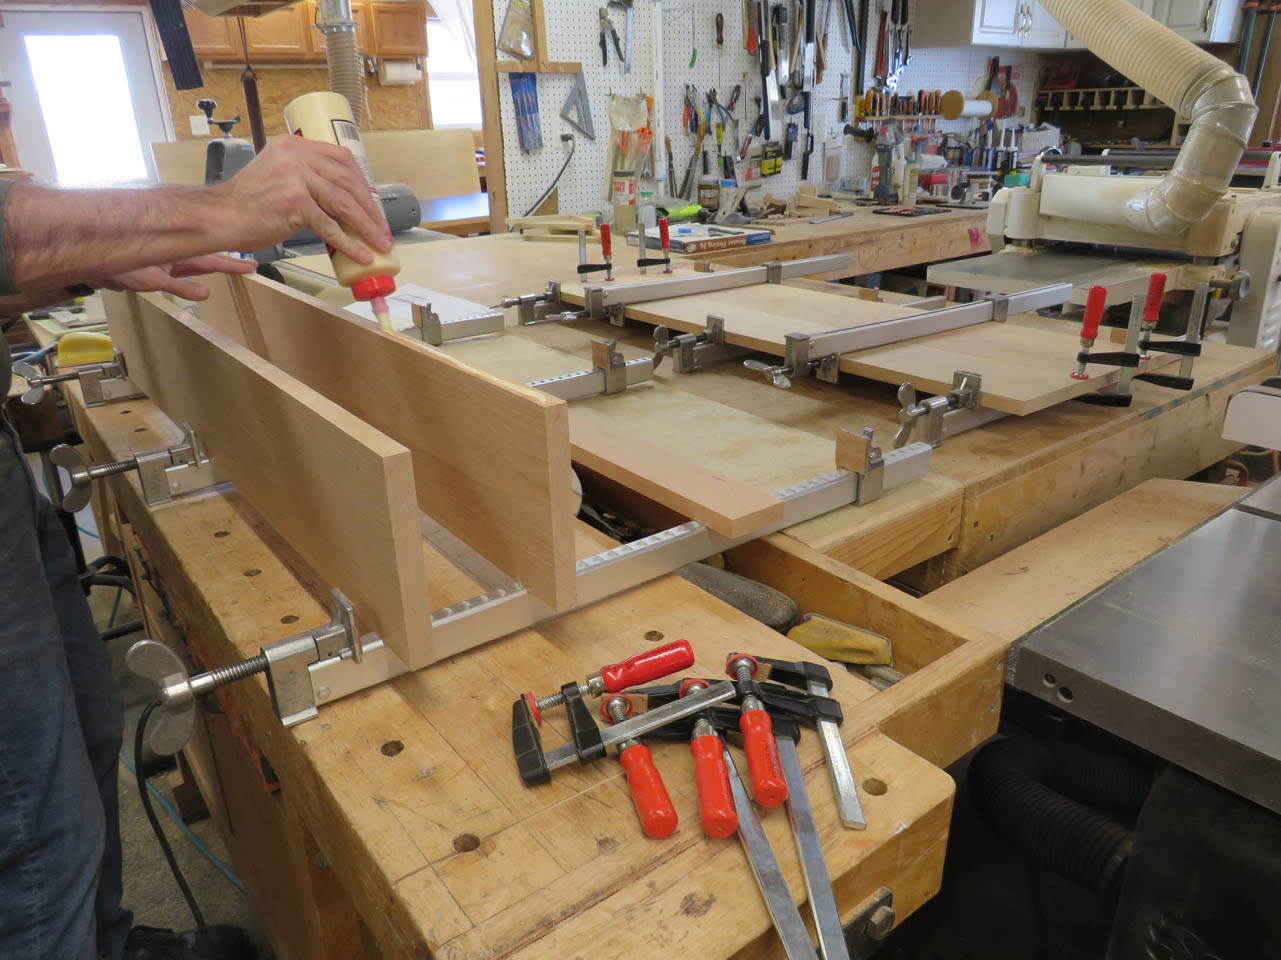
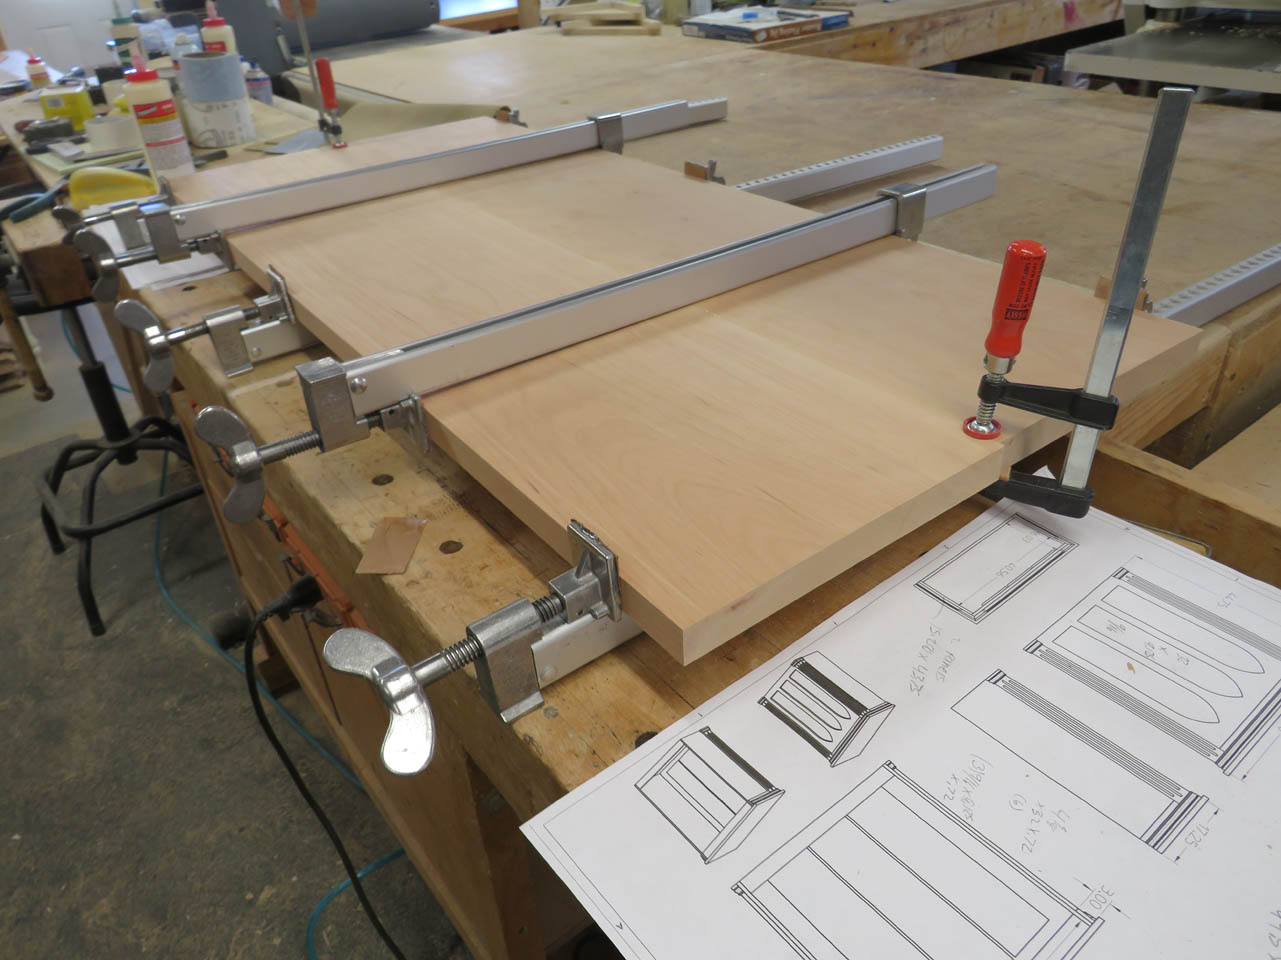
Then the panels were glued and clamped.
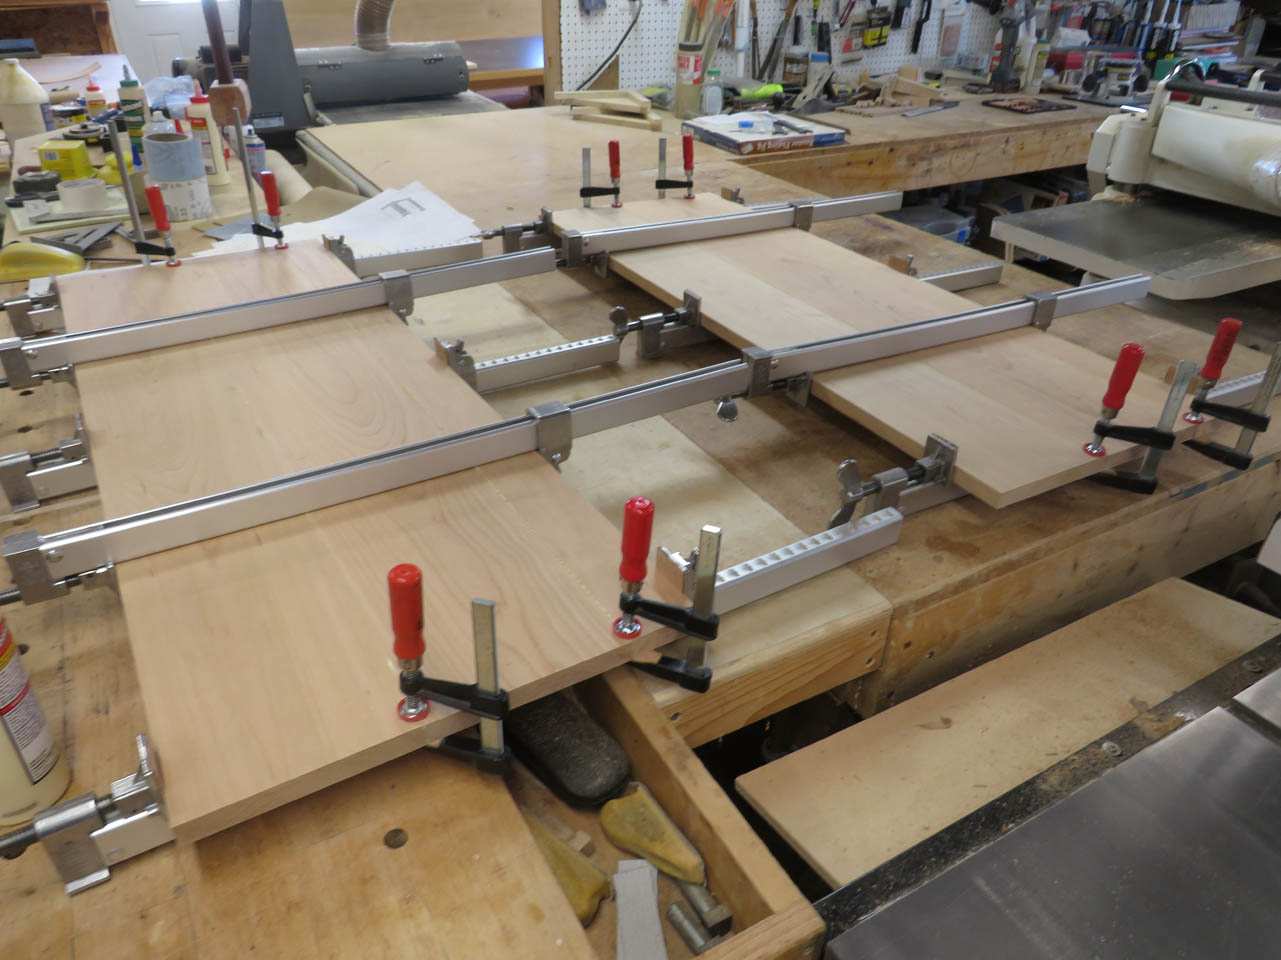
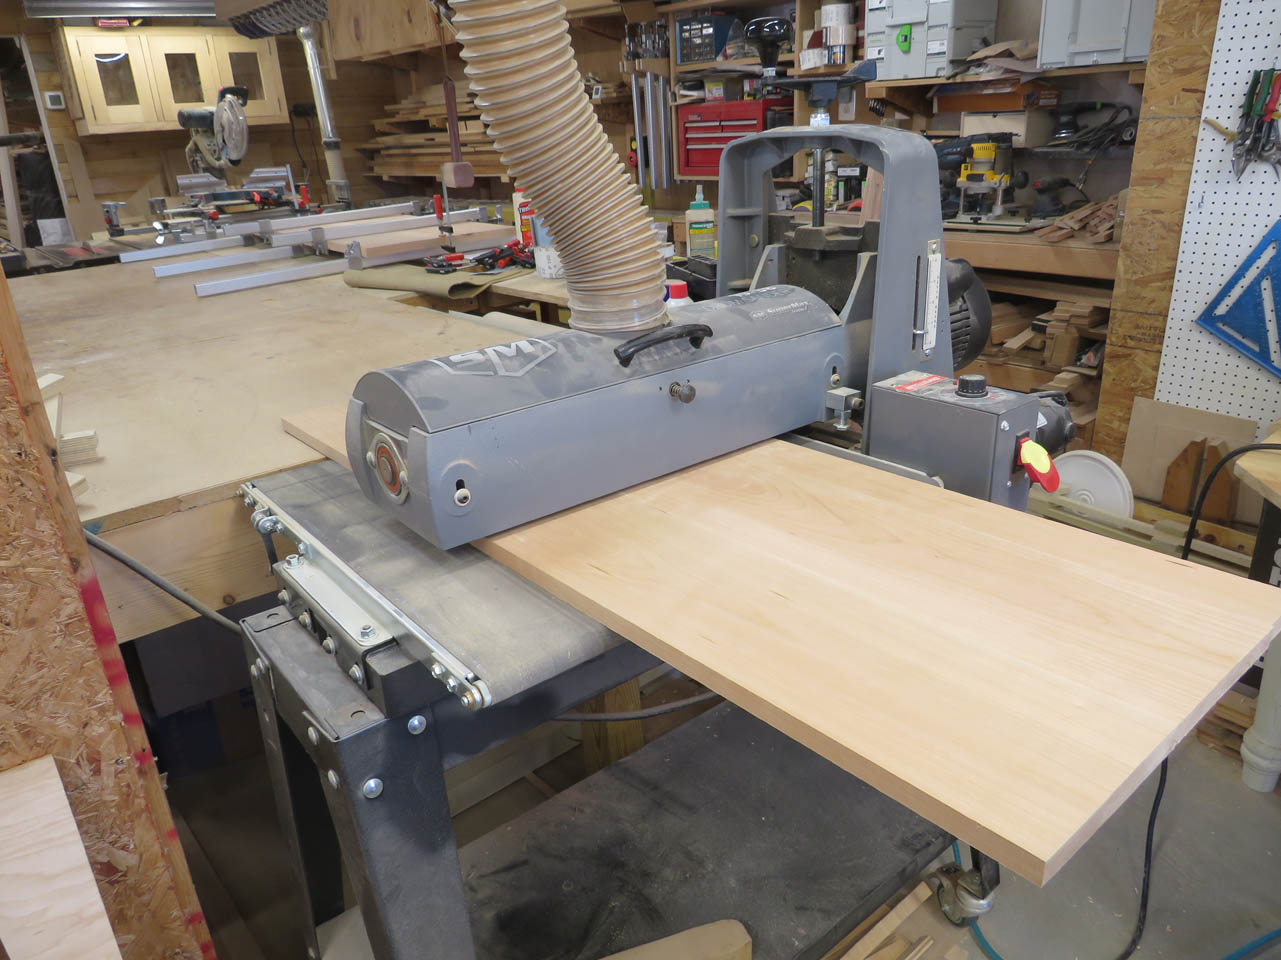
While I was at it, I also made up the thicker top of the altar.
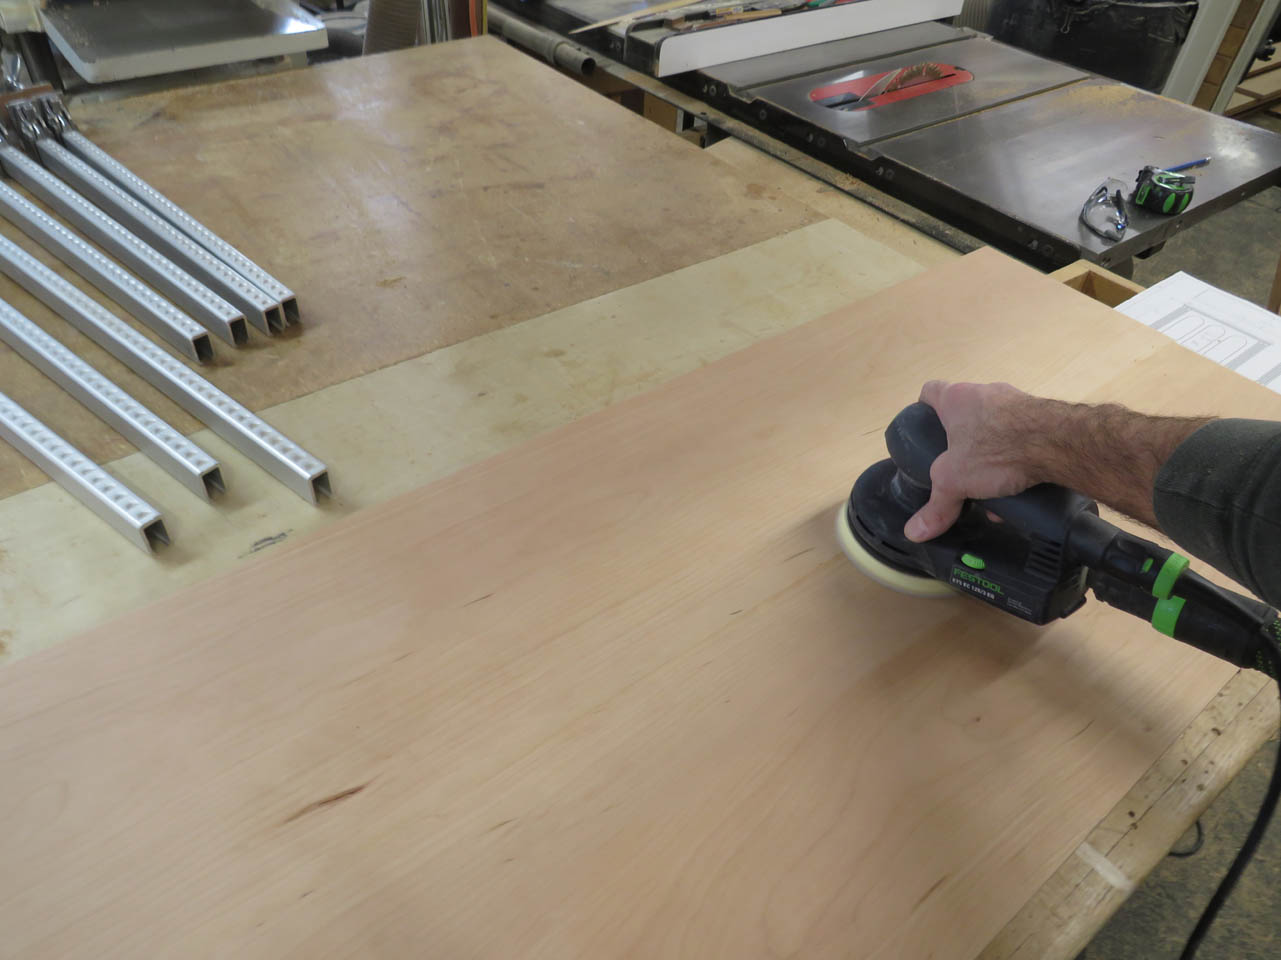
Since the panels are now too wide to fit through my planer, I ran them through my drum sander to clean up the glue joints.
I used my orbital sander to remove any mill marks from the drum sander.
I then cut the panels to length with my track saw.
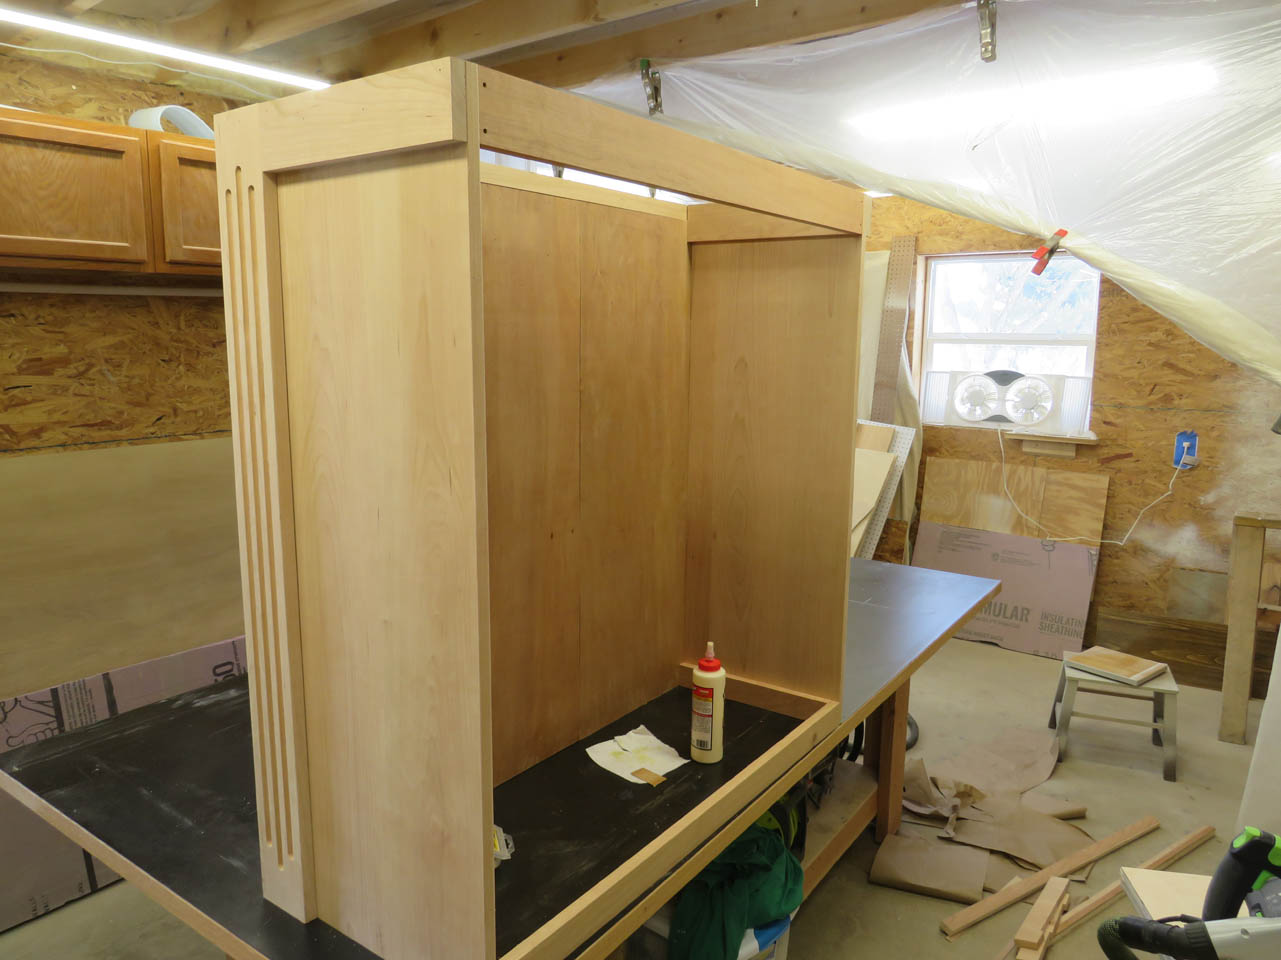
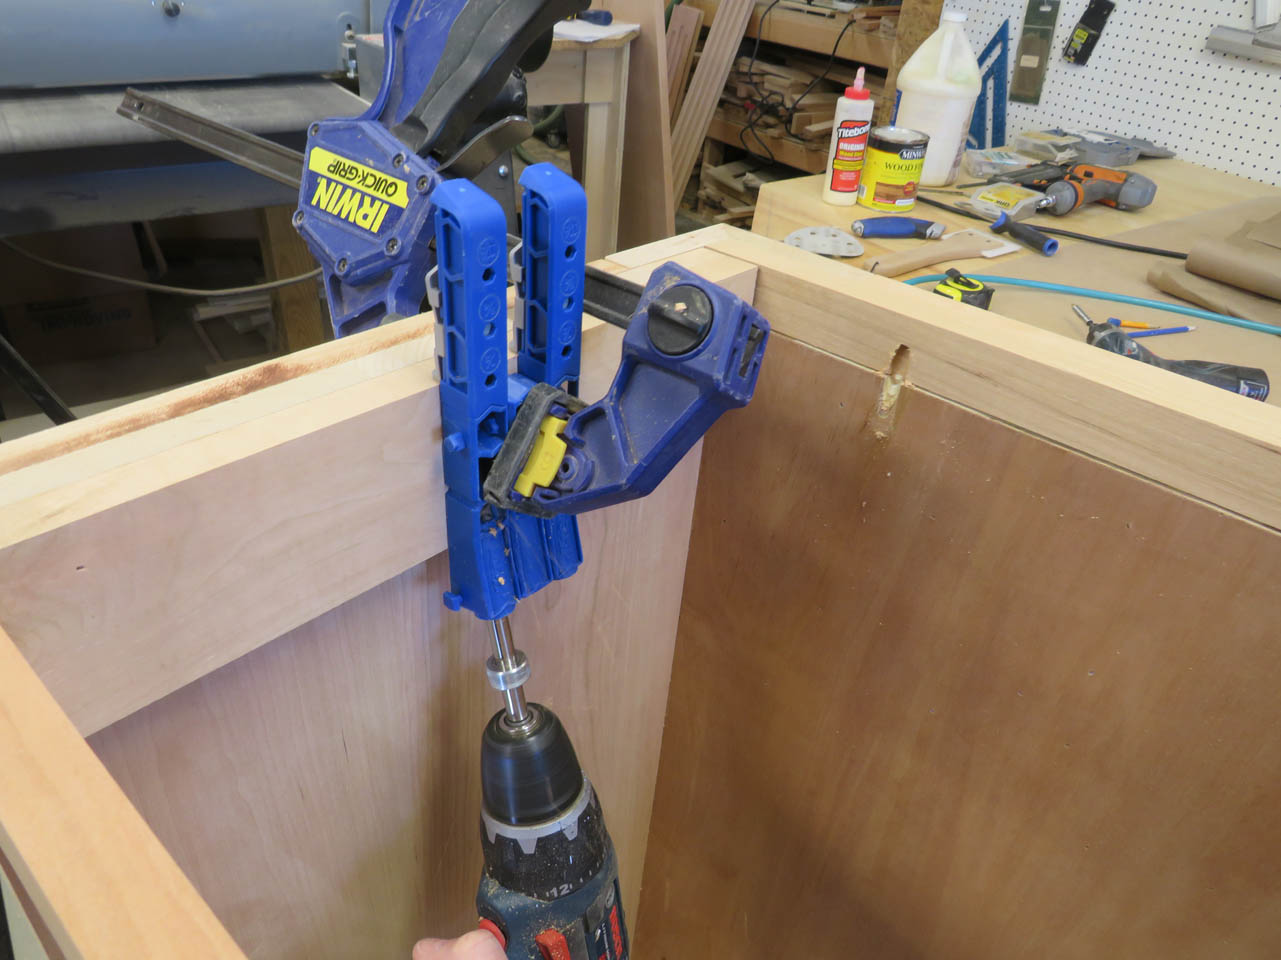
The sides were attached to the front panels using glue and screws.
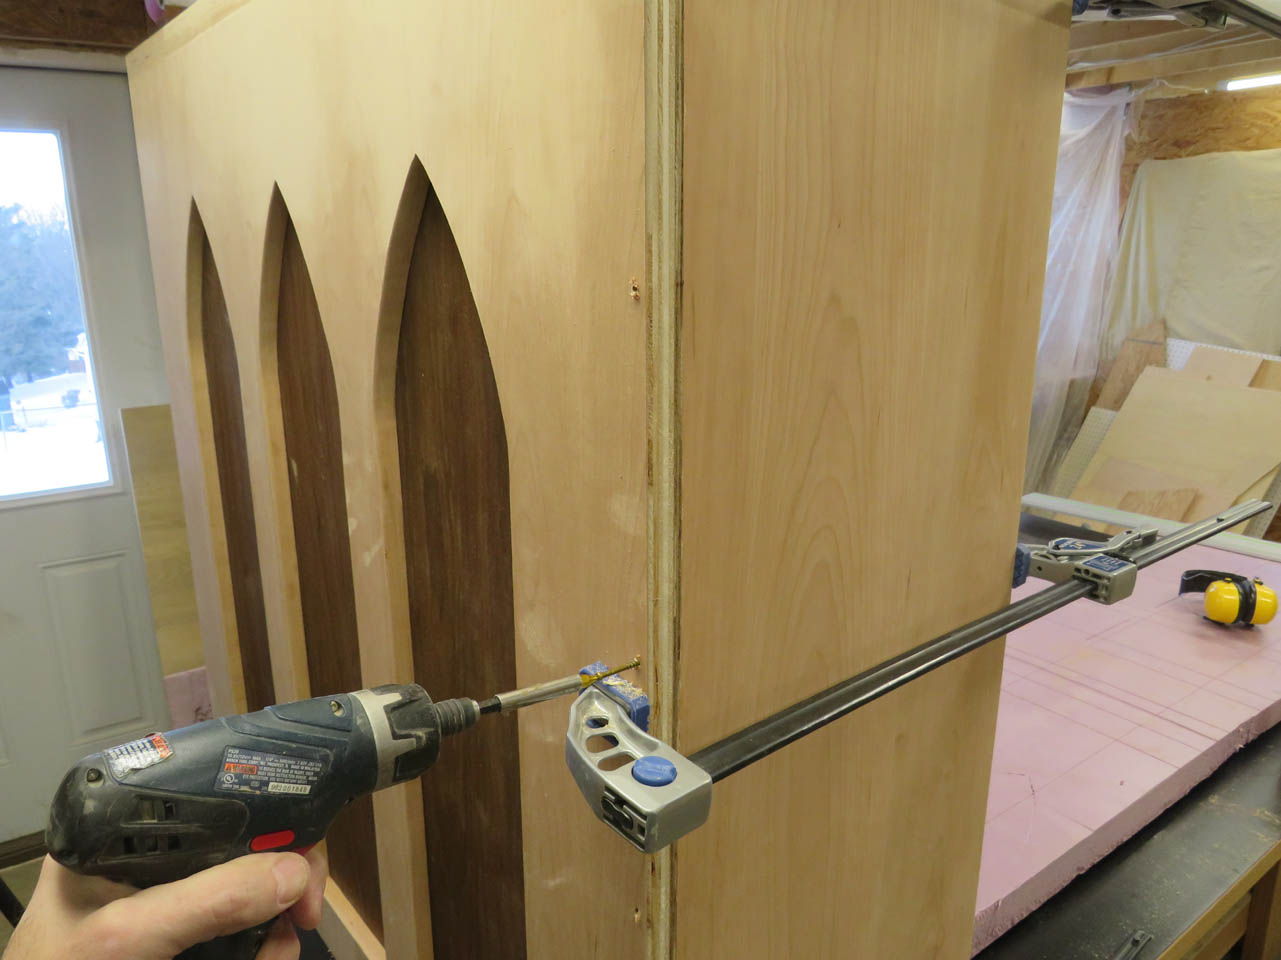
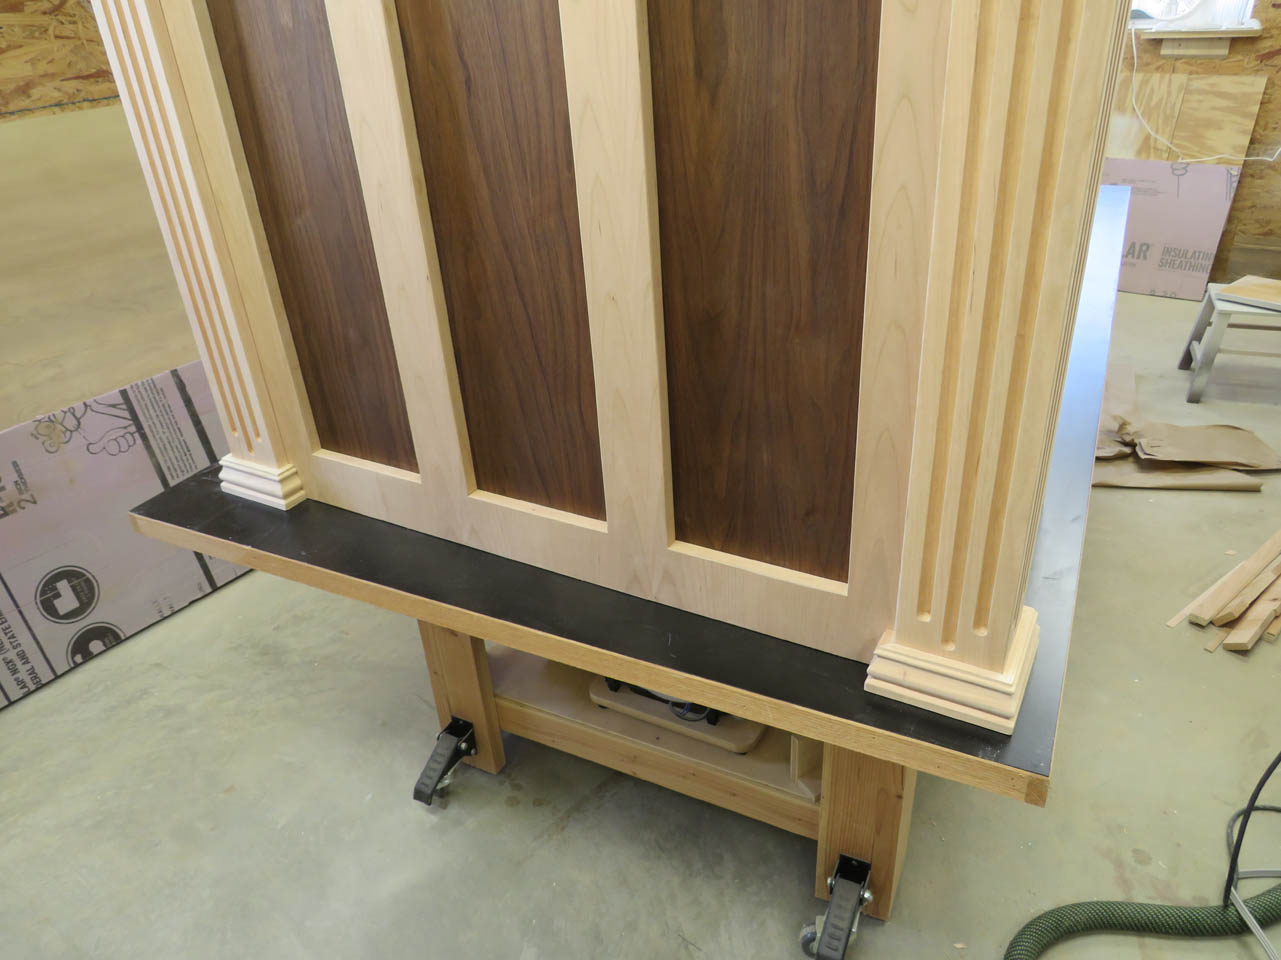
Then my fluted columns get glued and clamped in place.

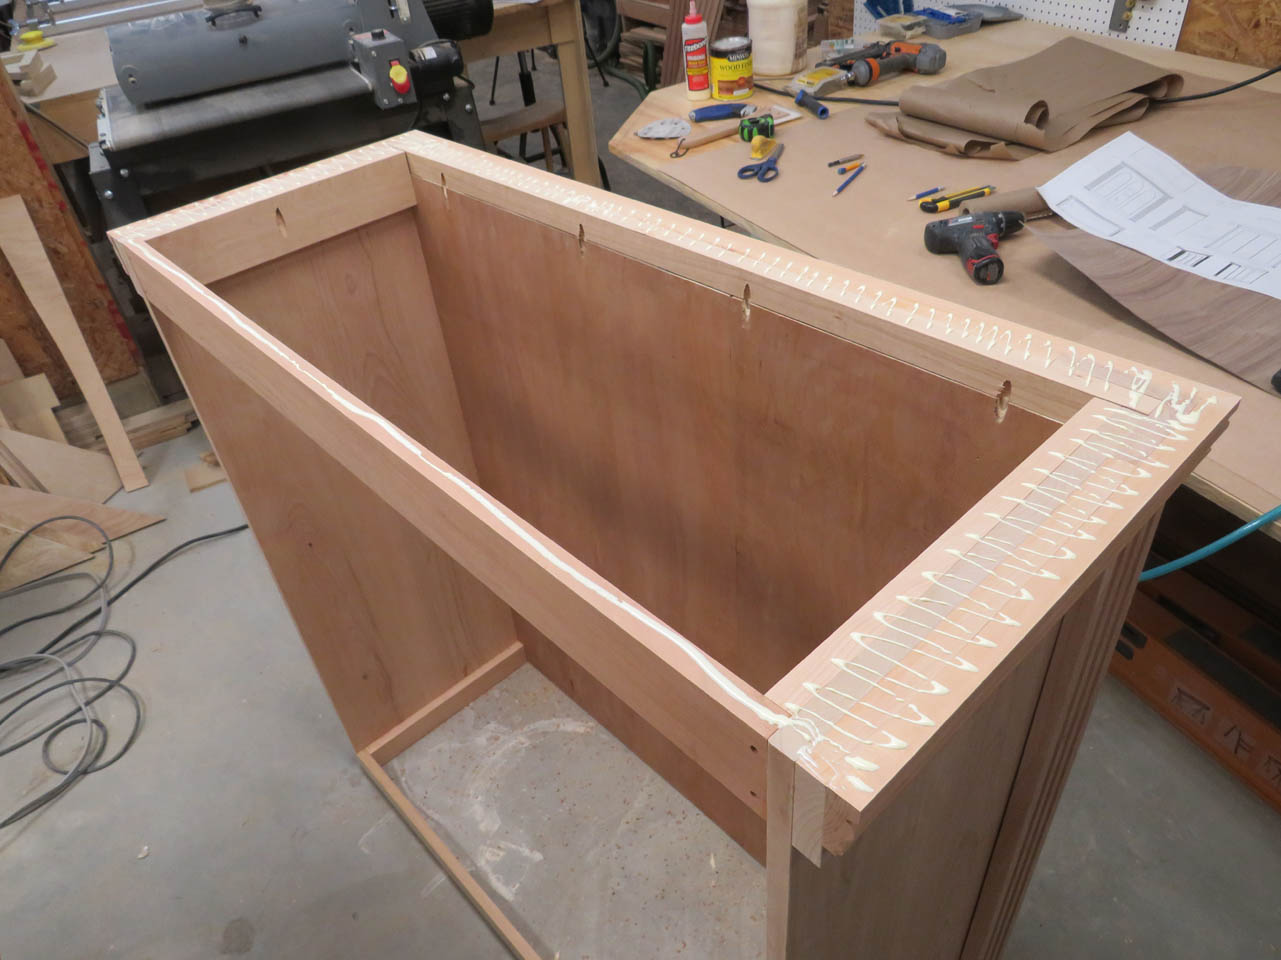
A 3″ wide piece of trim is also added along the top edge all the way around.
I placed a board across the top and bottom along the back to hold the altar square. It will be placed against a back altar when complete so the rear won’t be visible.
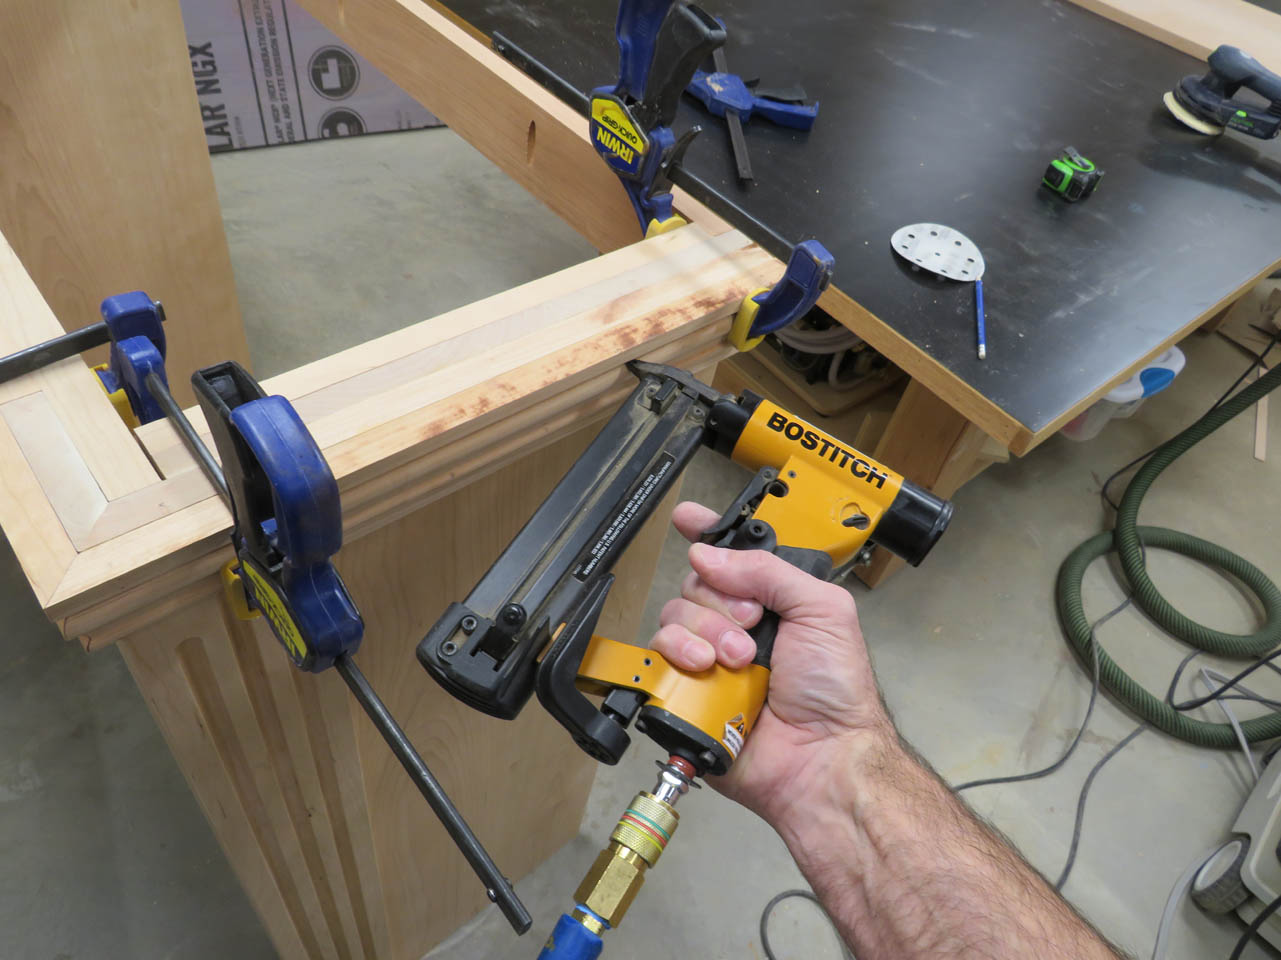
I had some small pieces of trim left-over from the ambo so I started cutting and installing the trim at the base of the columns.
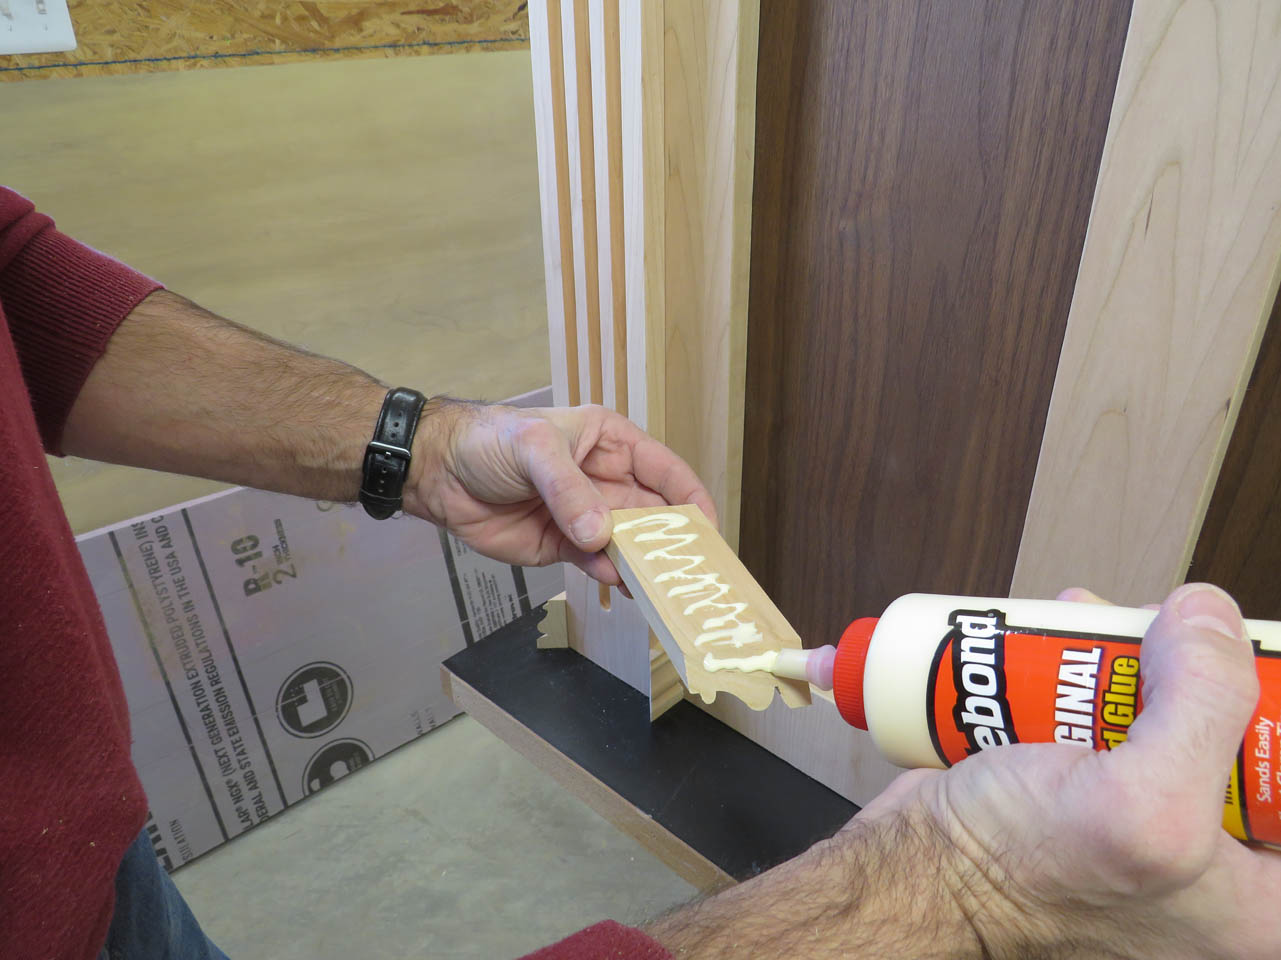
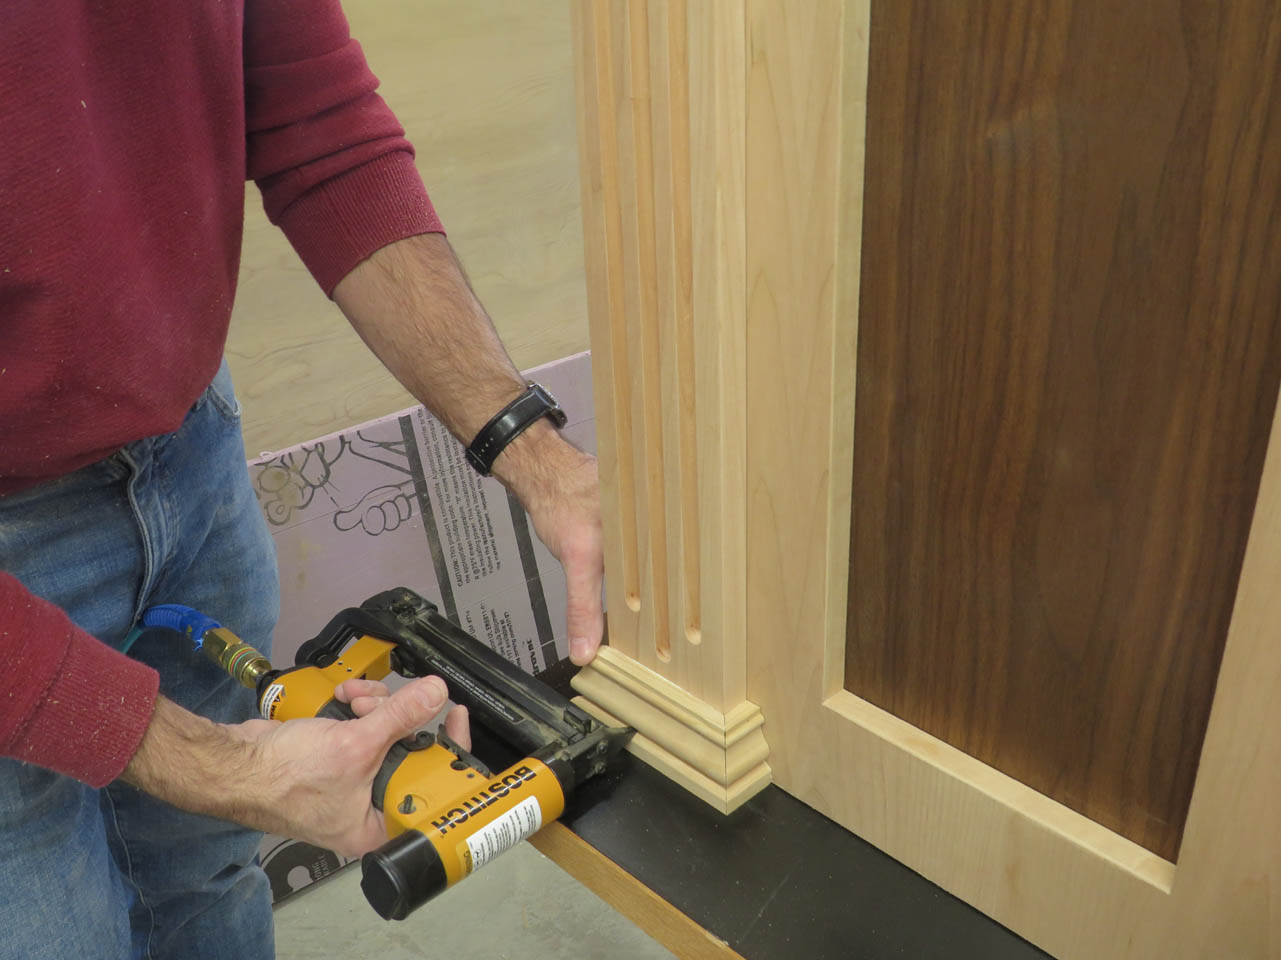
These are held on with pin nails while the glue dries, then I can sand all of the mitered edges smooth.
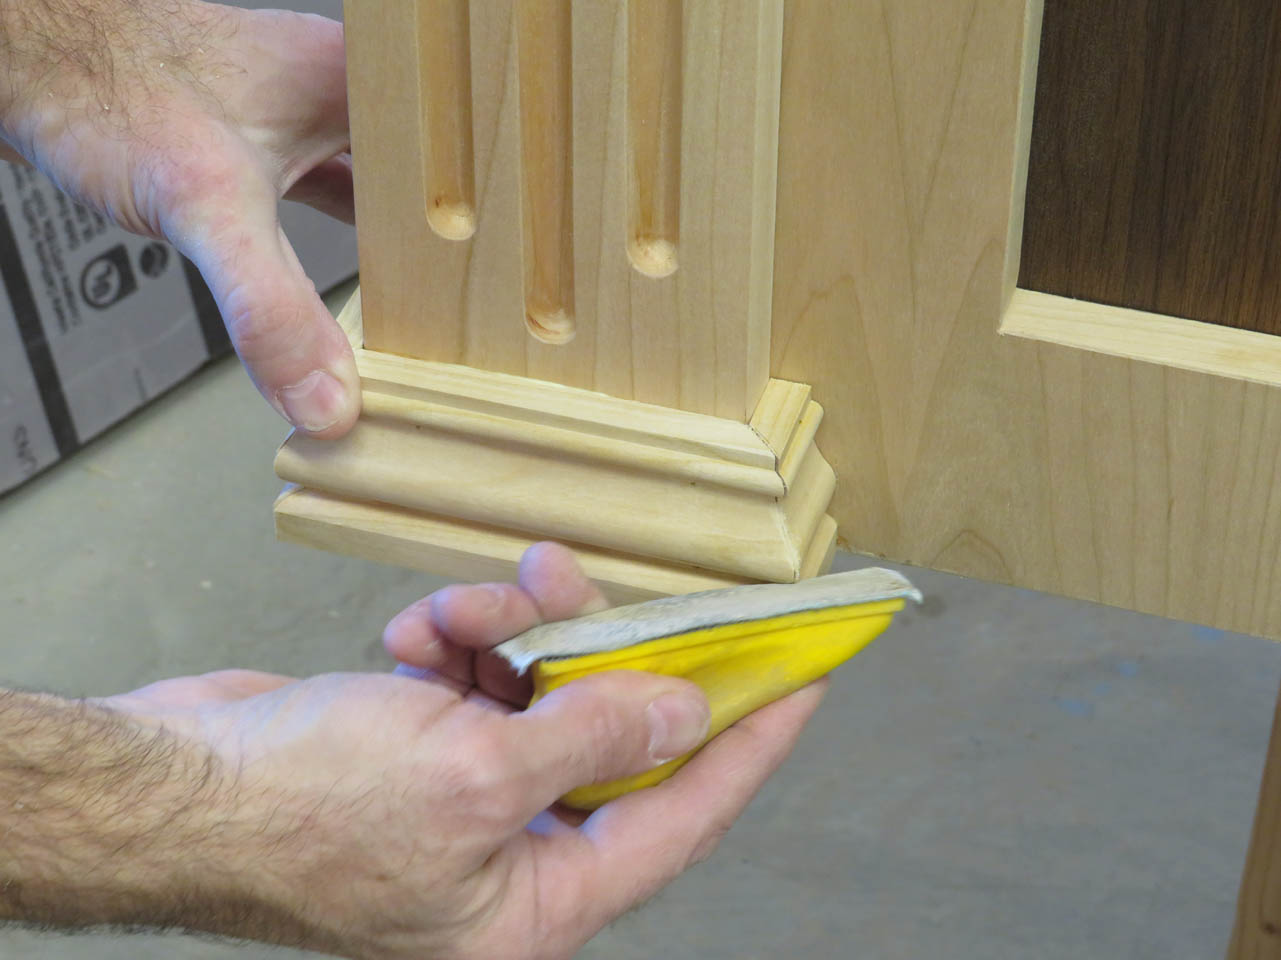
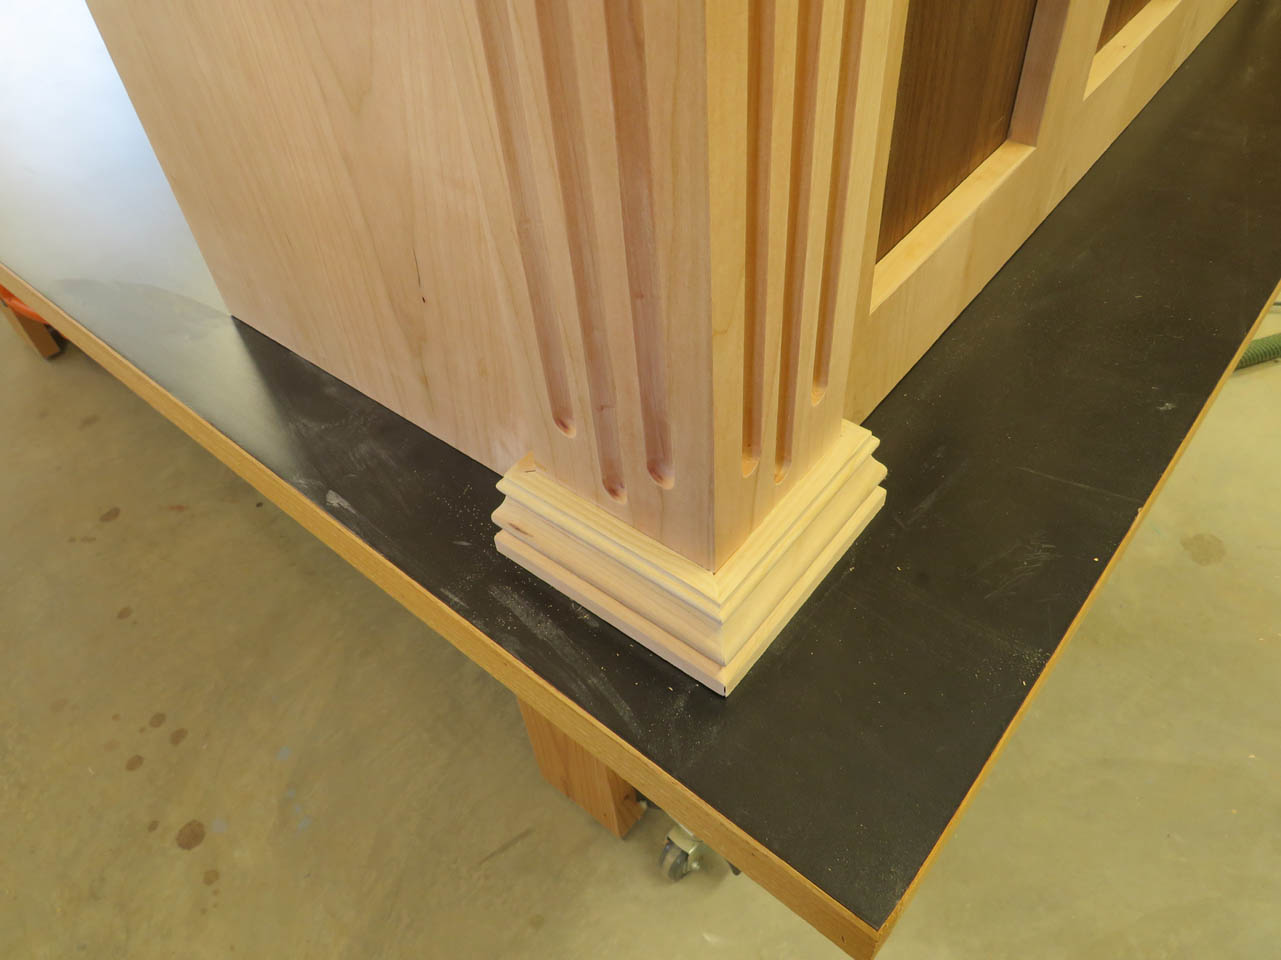
The trim and the columns look good.
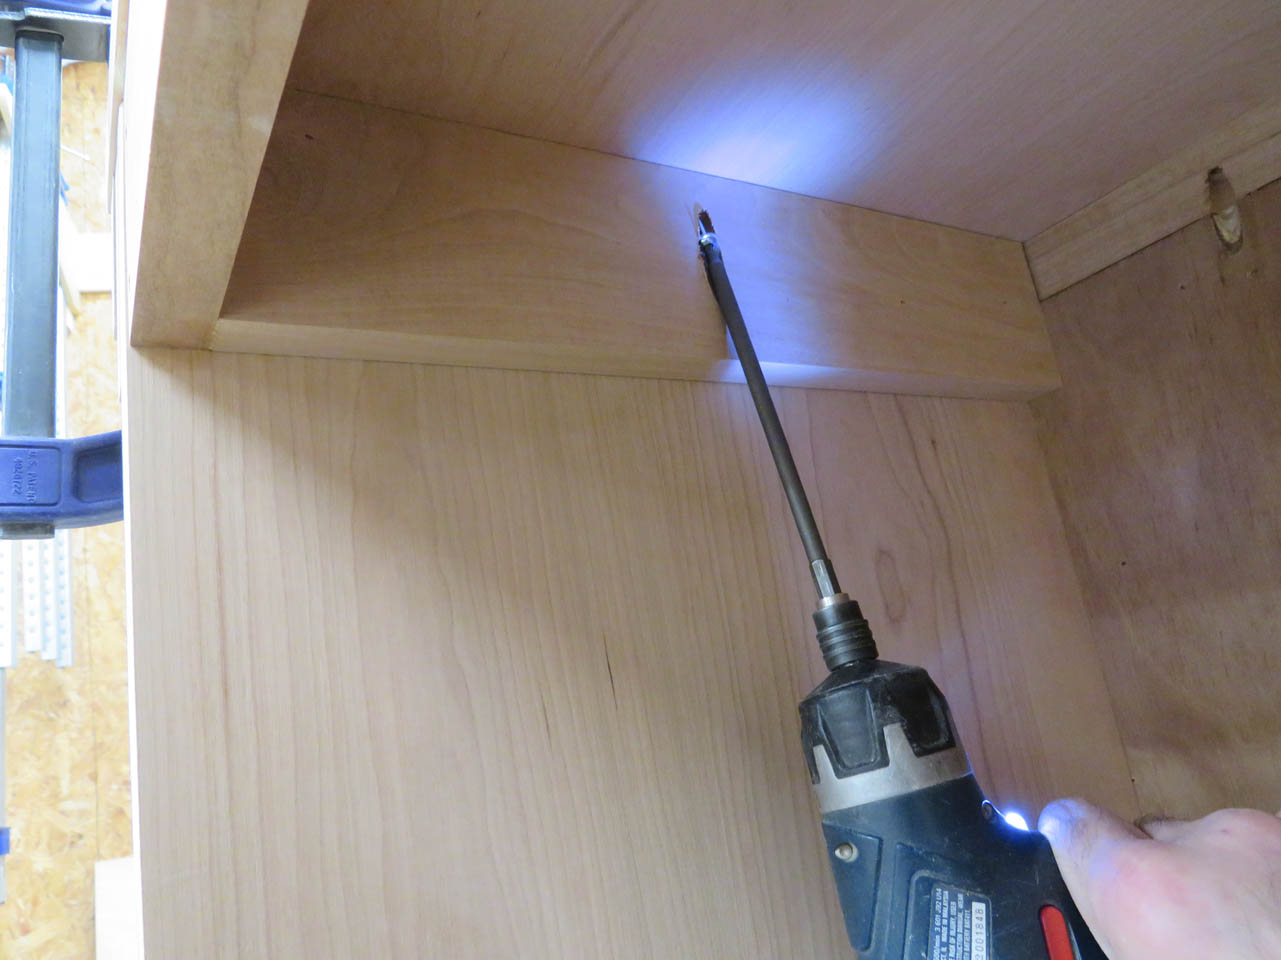
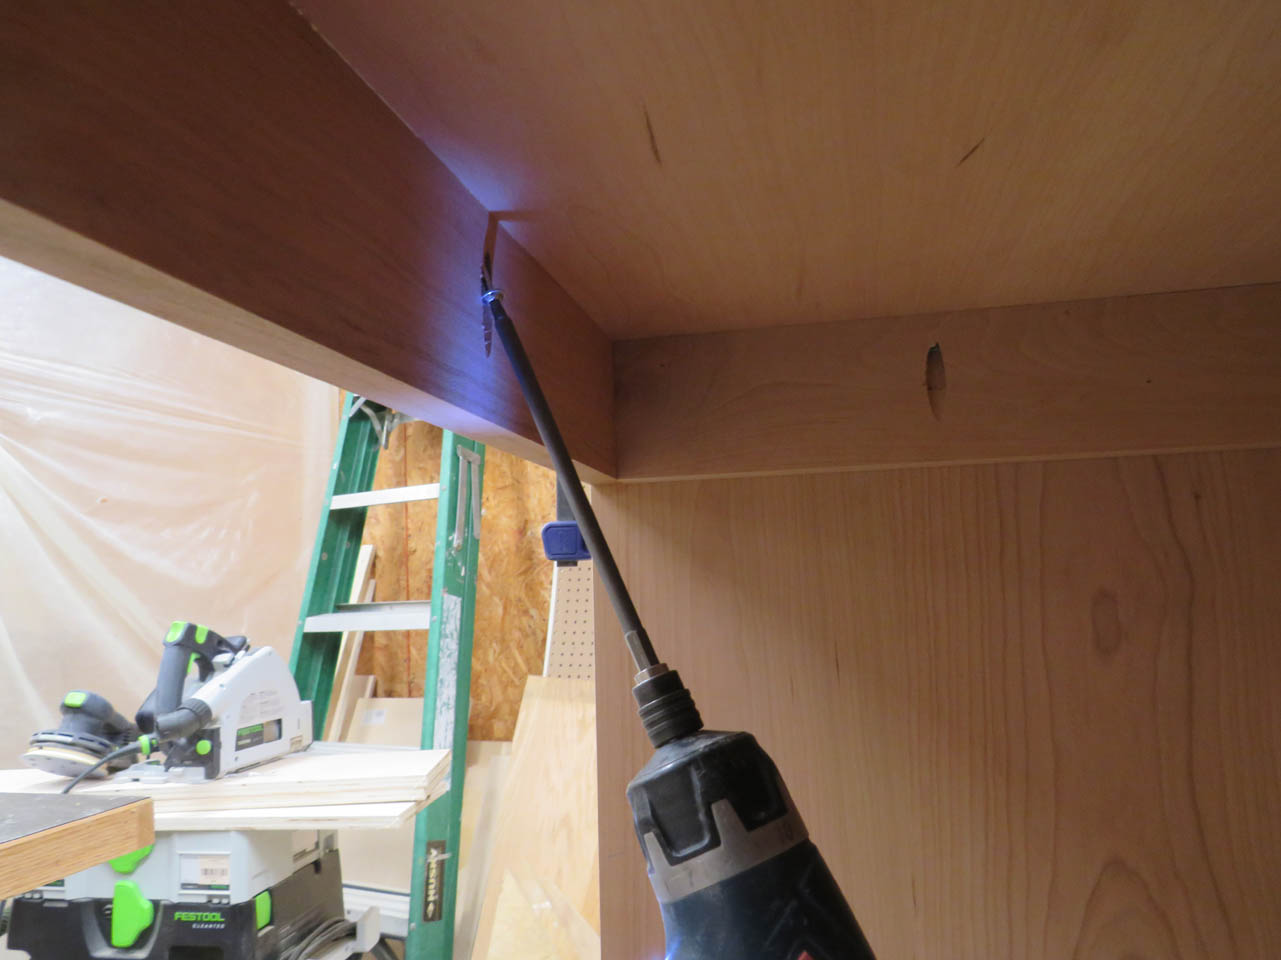
I will be attaching the altar top with pocket hole screws so I went ahead and drilled the pocket holes all the way around the inside.
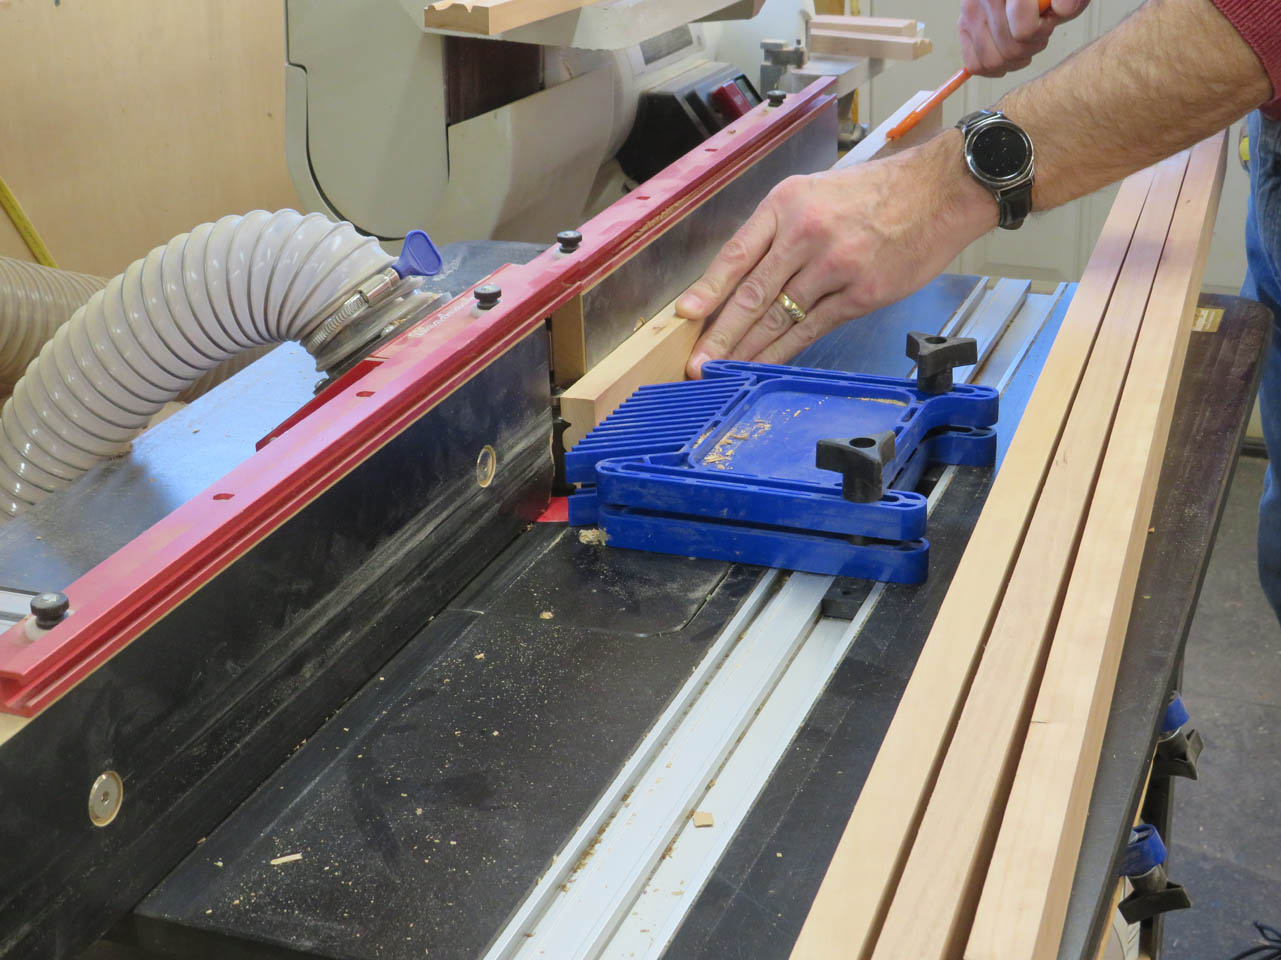
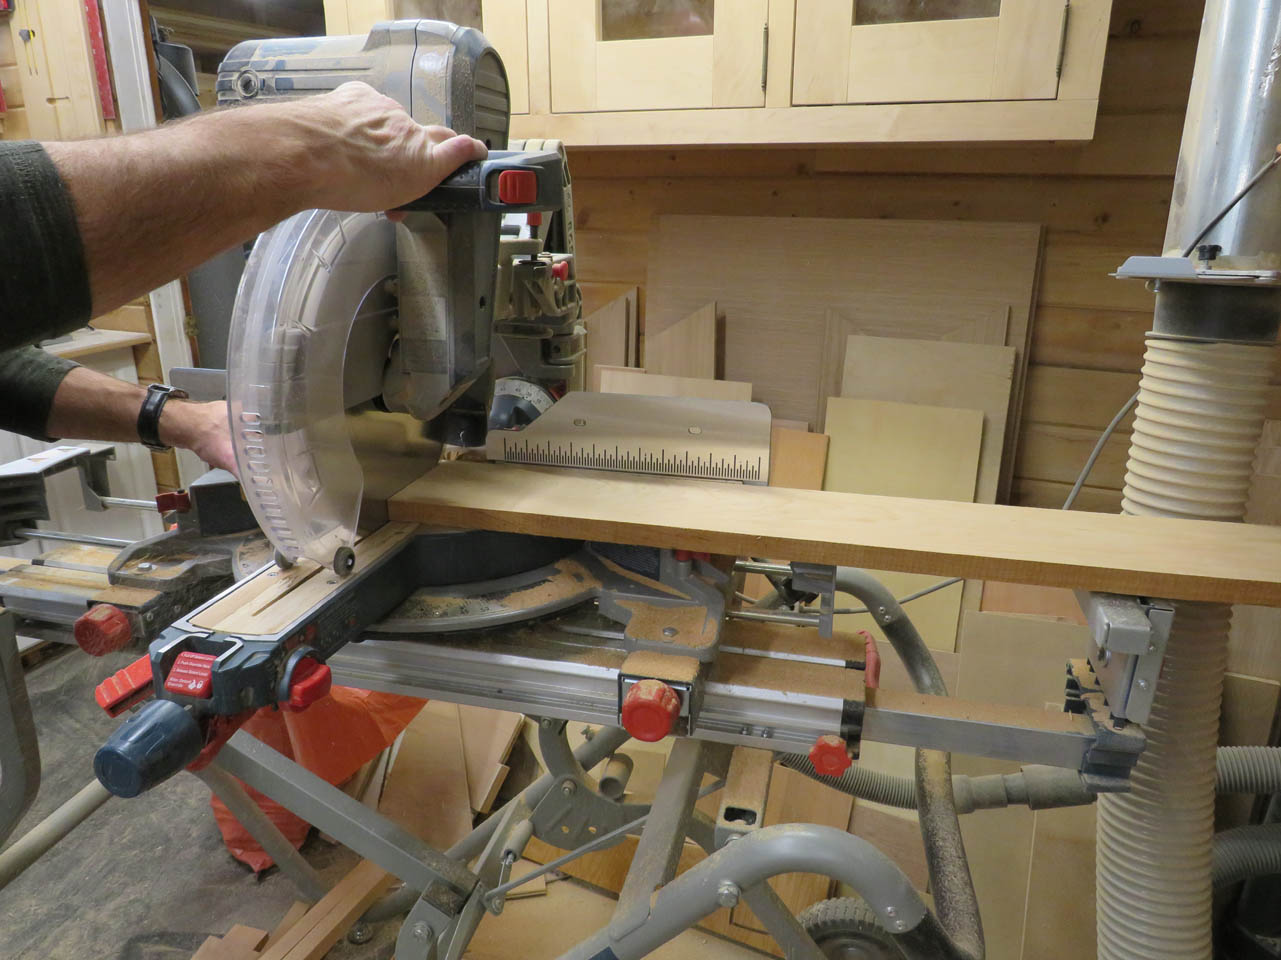
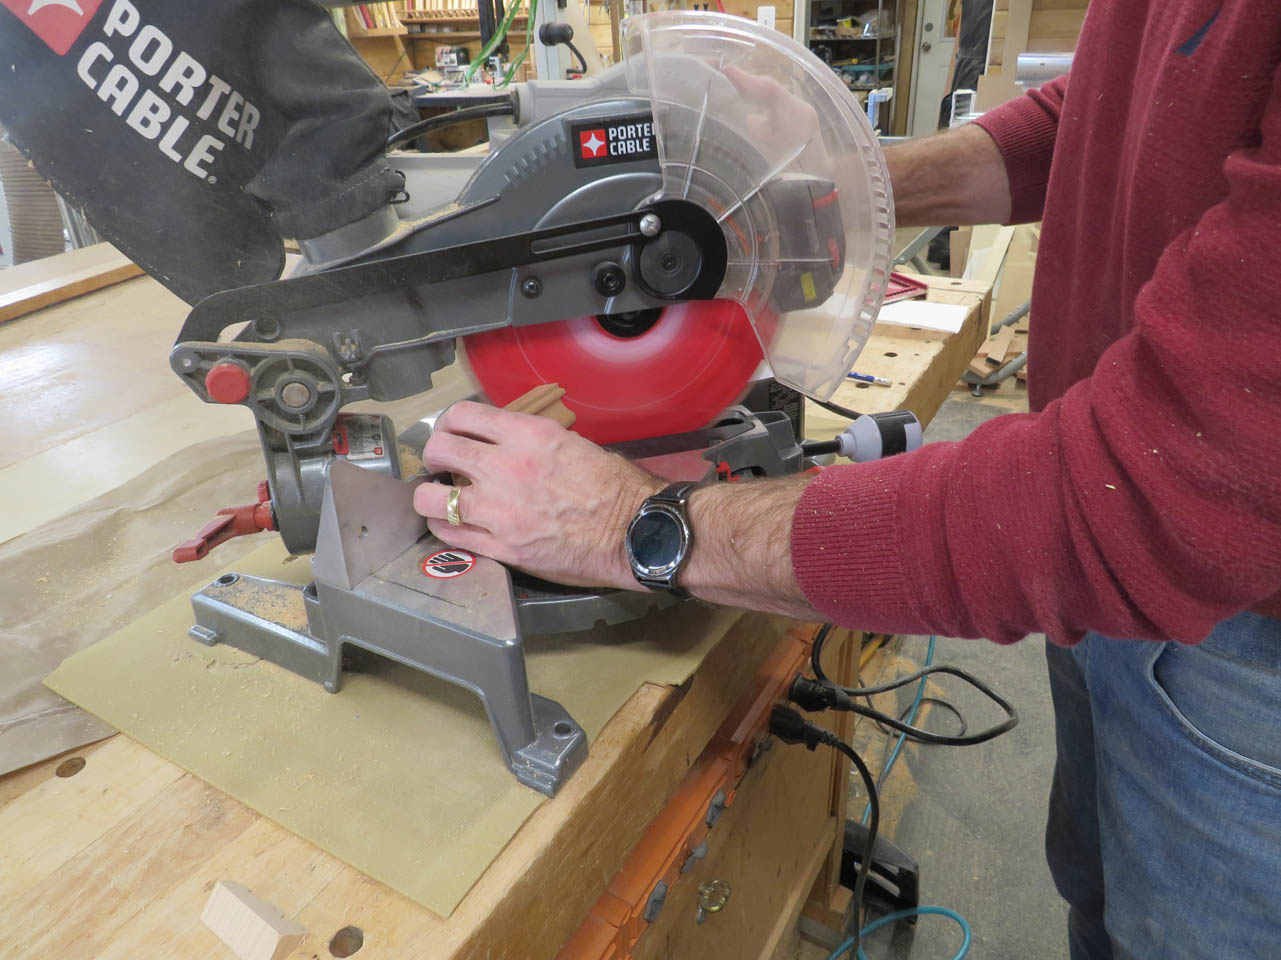
Then I started cutting all of the longer molding pieces I would need to trim the top. These were cut on my router table. I use a big molding bit so I have to feed it very slowly or it vibrates a lot.
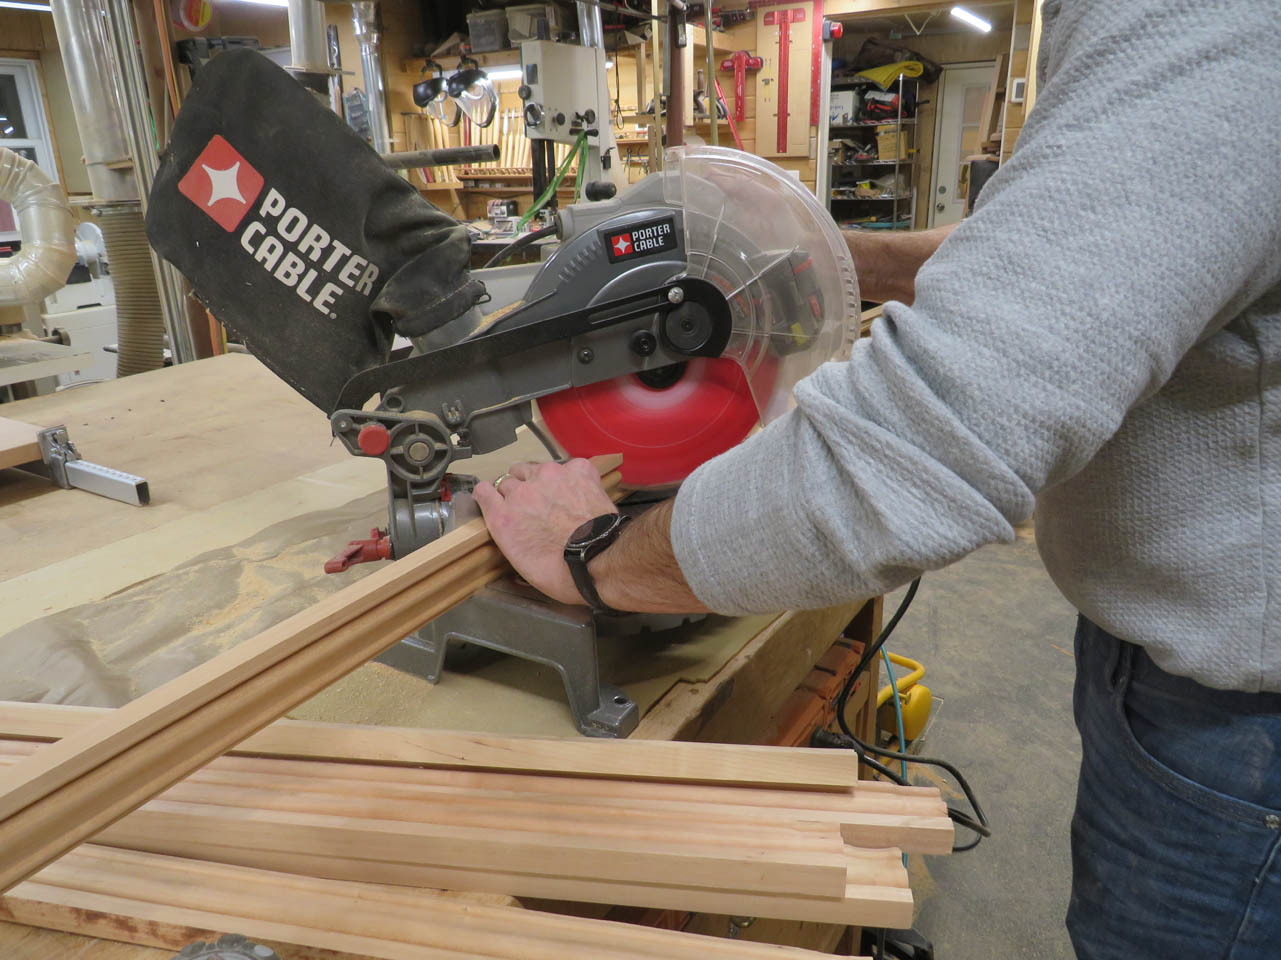
When these pieces are done, I can cut the corner miters on my miter saw and attach them with glue and pin nails.
I made up the top panel while I was making the sides so that is ready to install.
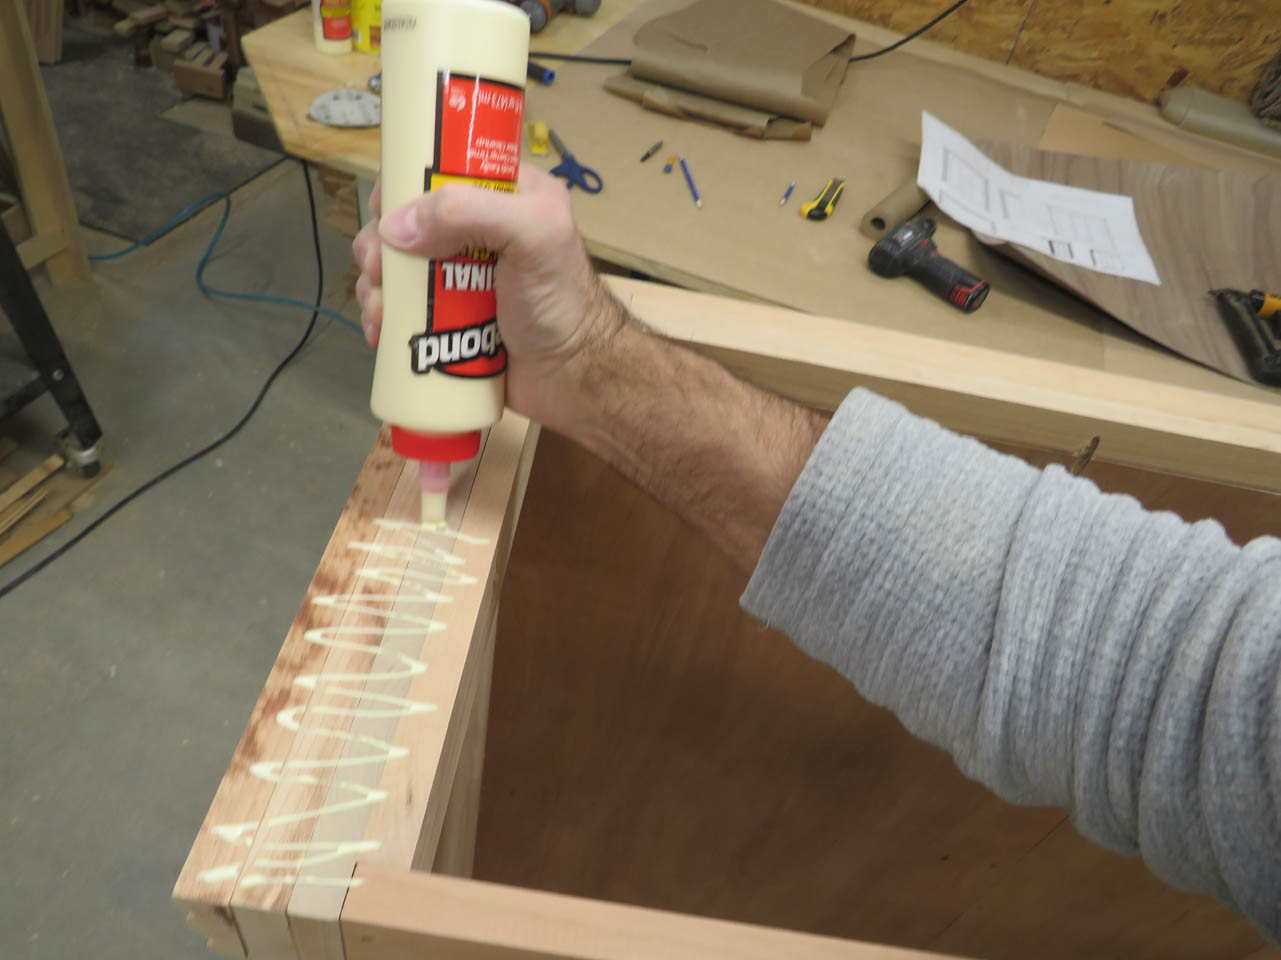
I covered the top of the walls with glue and centered the top in place and clamped it down.
Then I screwed in all the pocket screws to hold it down while the glue dried.
I gave everything a final sanding then moved it into the spray booth.
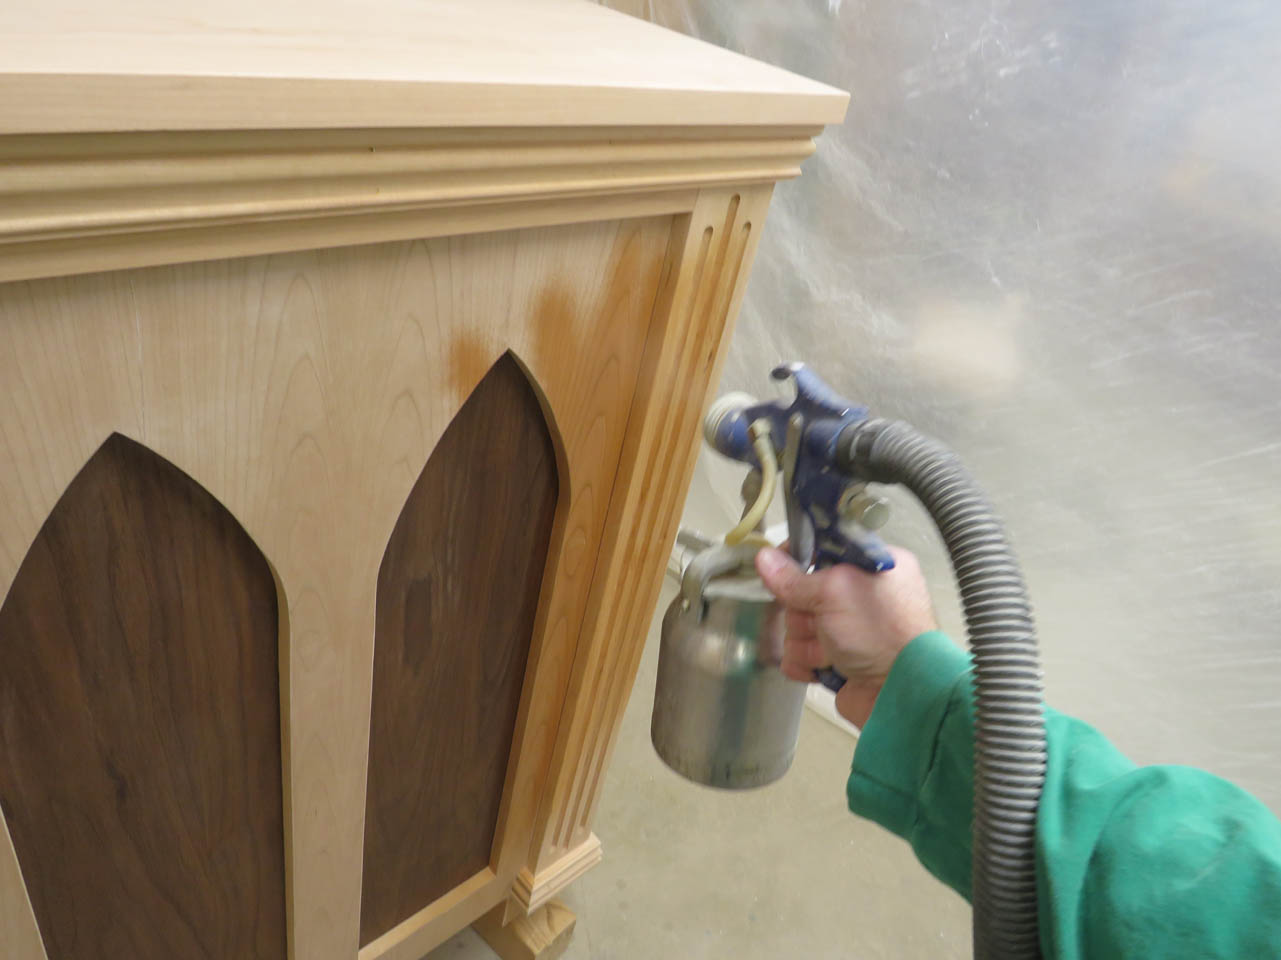
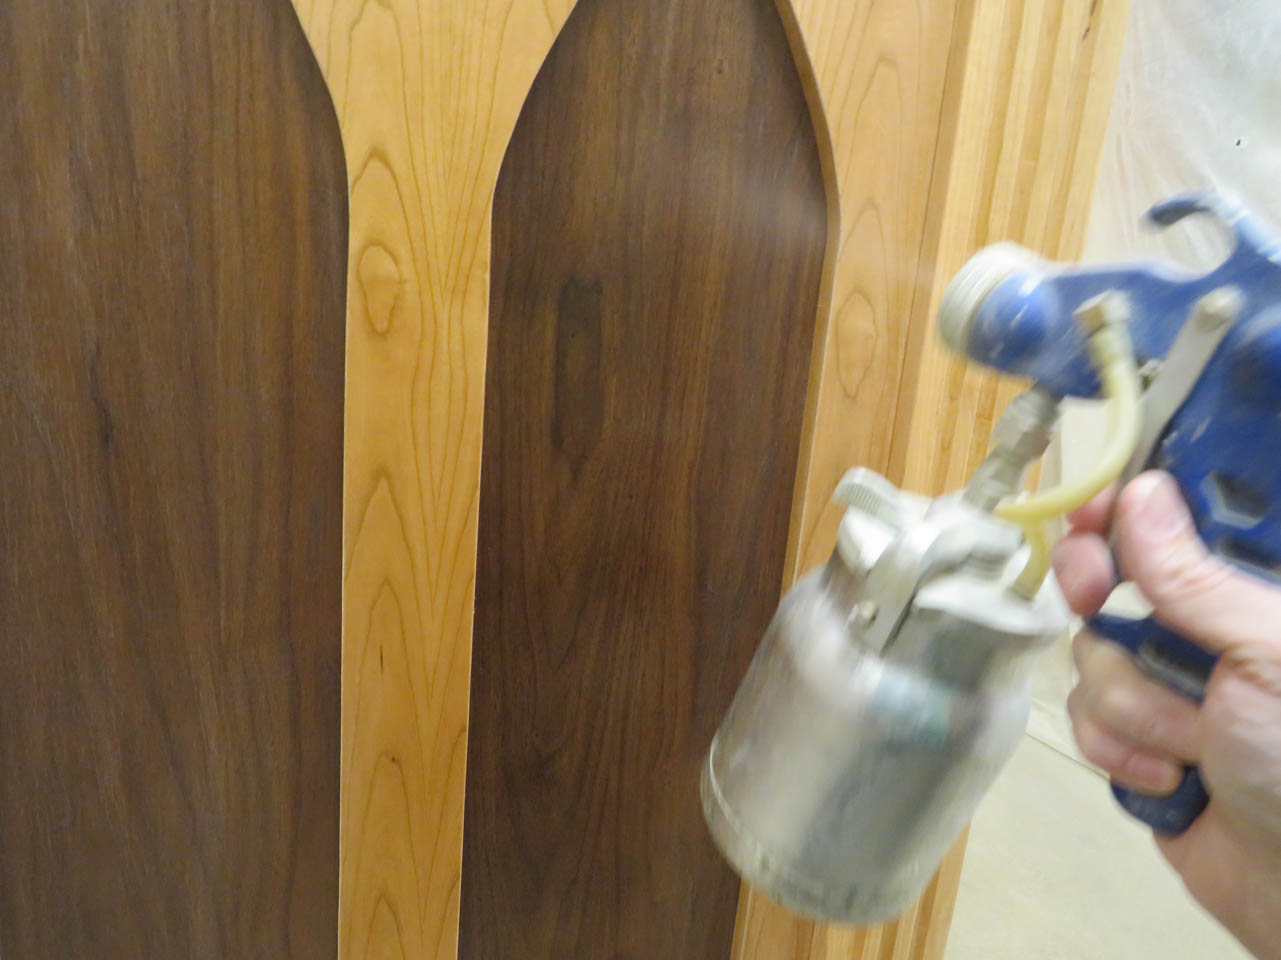
I used my HVLP sprayer to apply the first coat of polyurethane.
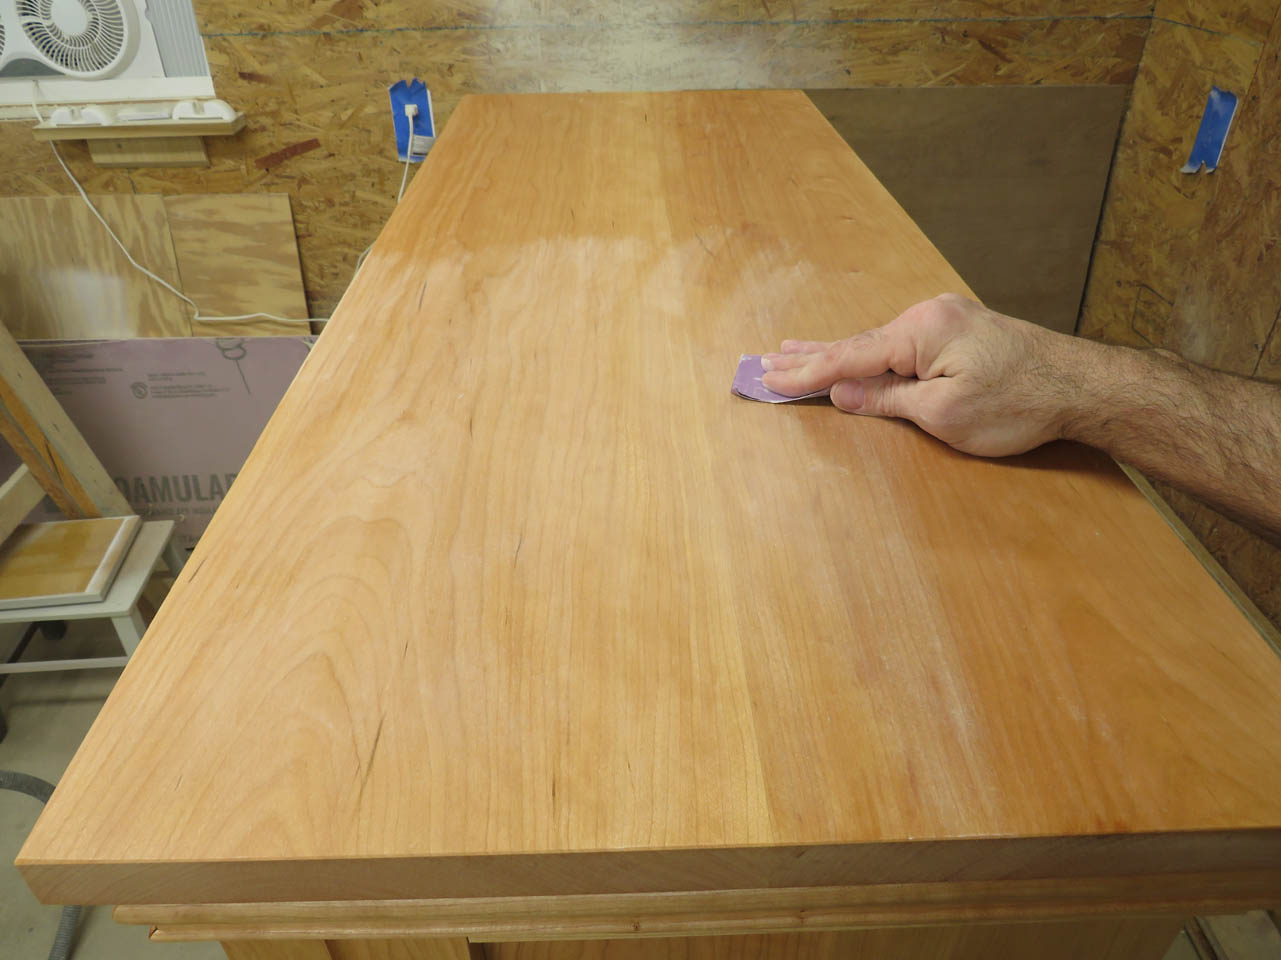
After the first coat dried, I sanded down every surface with 400 grit sandpaper.
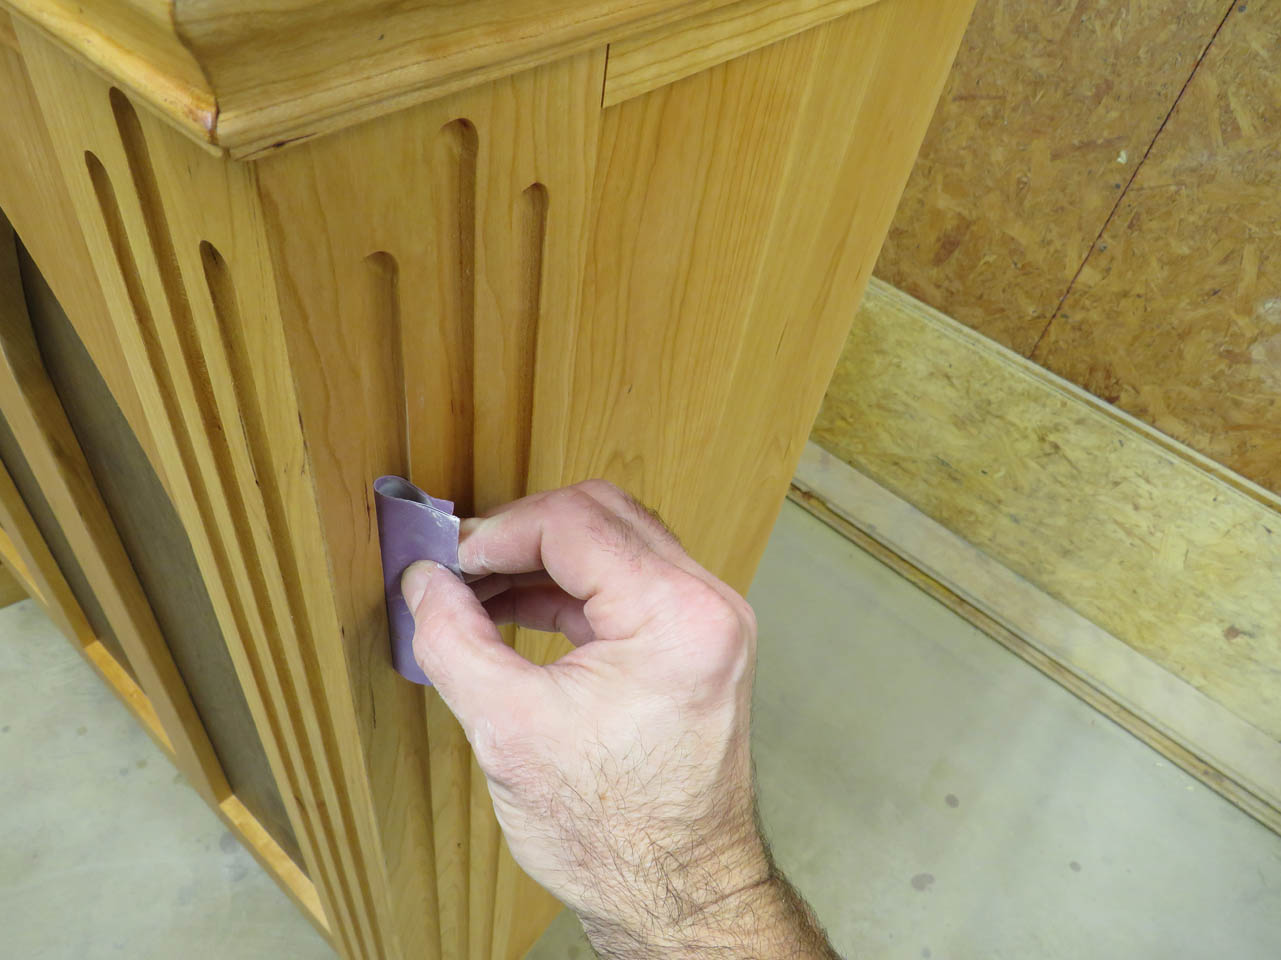

I wiped off and vacuumed away all of the dust before spraying the second coat.
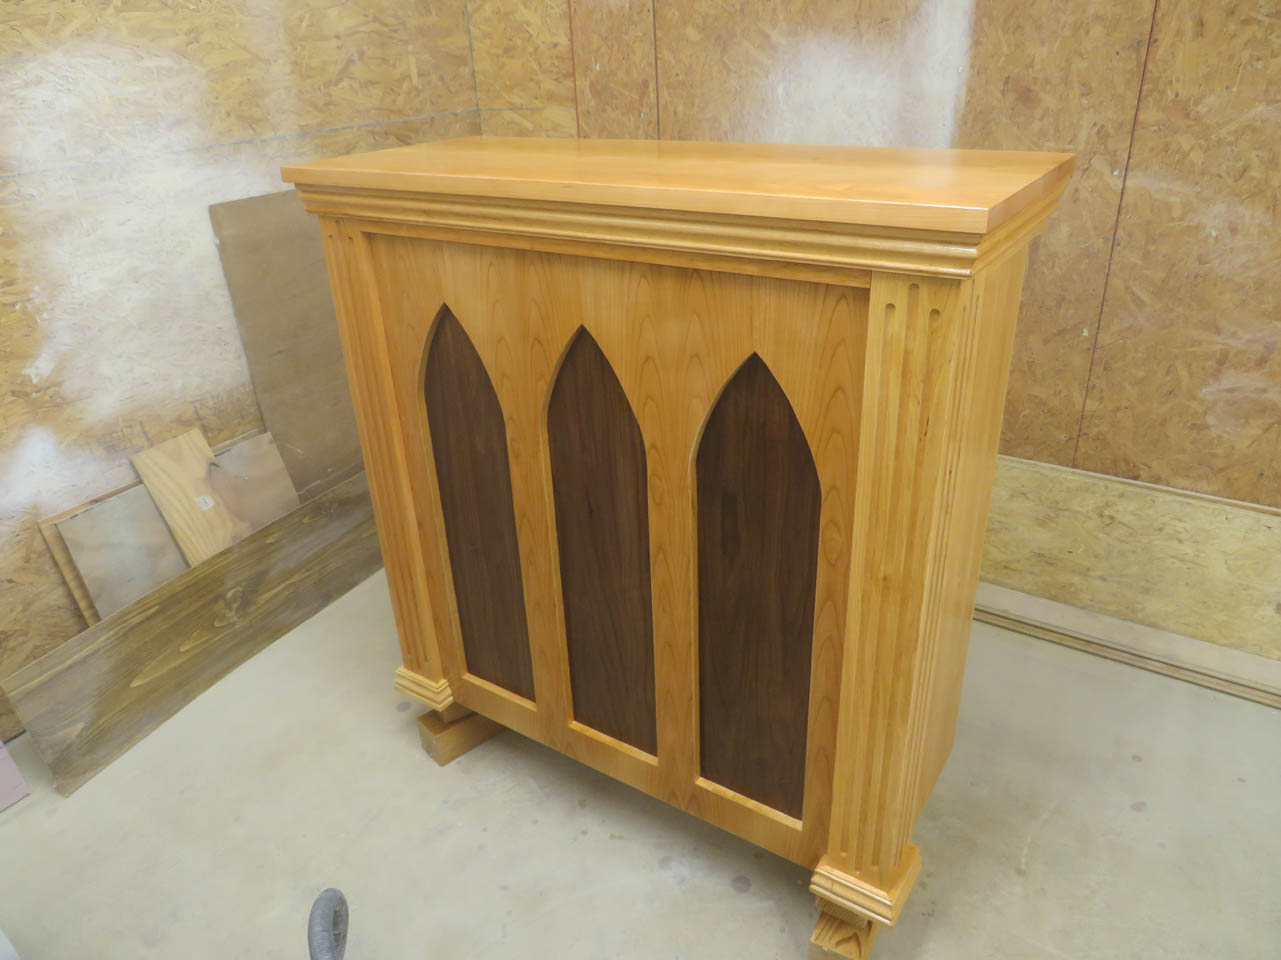
Then the second coat was applied. A third coat was also applied to the top where it will see the most use.

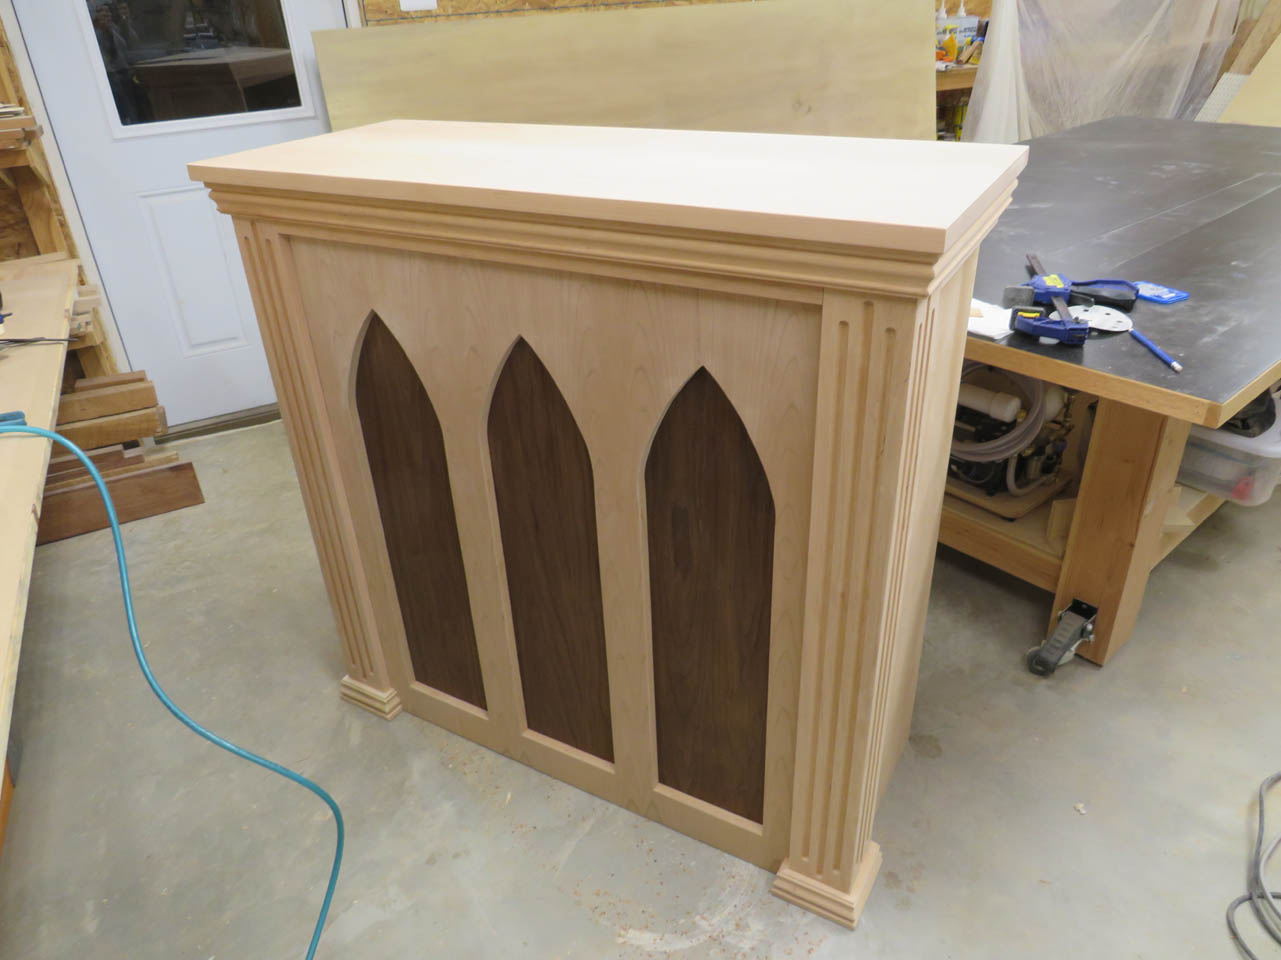
This front altar is complete. I will be building a taller section to go behind it as well, but that will be another post.

Pingback: Cherry credence table | Midnight Woodworking
Pingback: Cherry high altar | Midnight Woodworking