
Seton Shrine reader rails
I have a new project for The National Shrine of Saint Elizabeth Ann Seton in Emmitsburg, MD. They require wall mounted reader rails for their next museum exhibit.
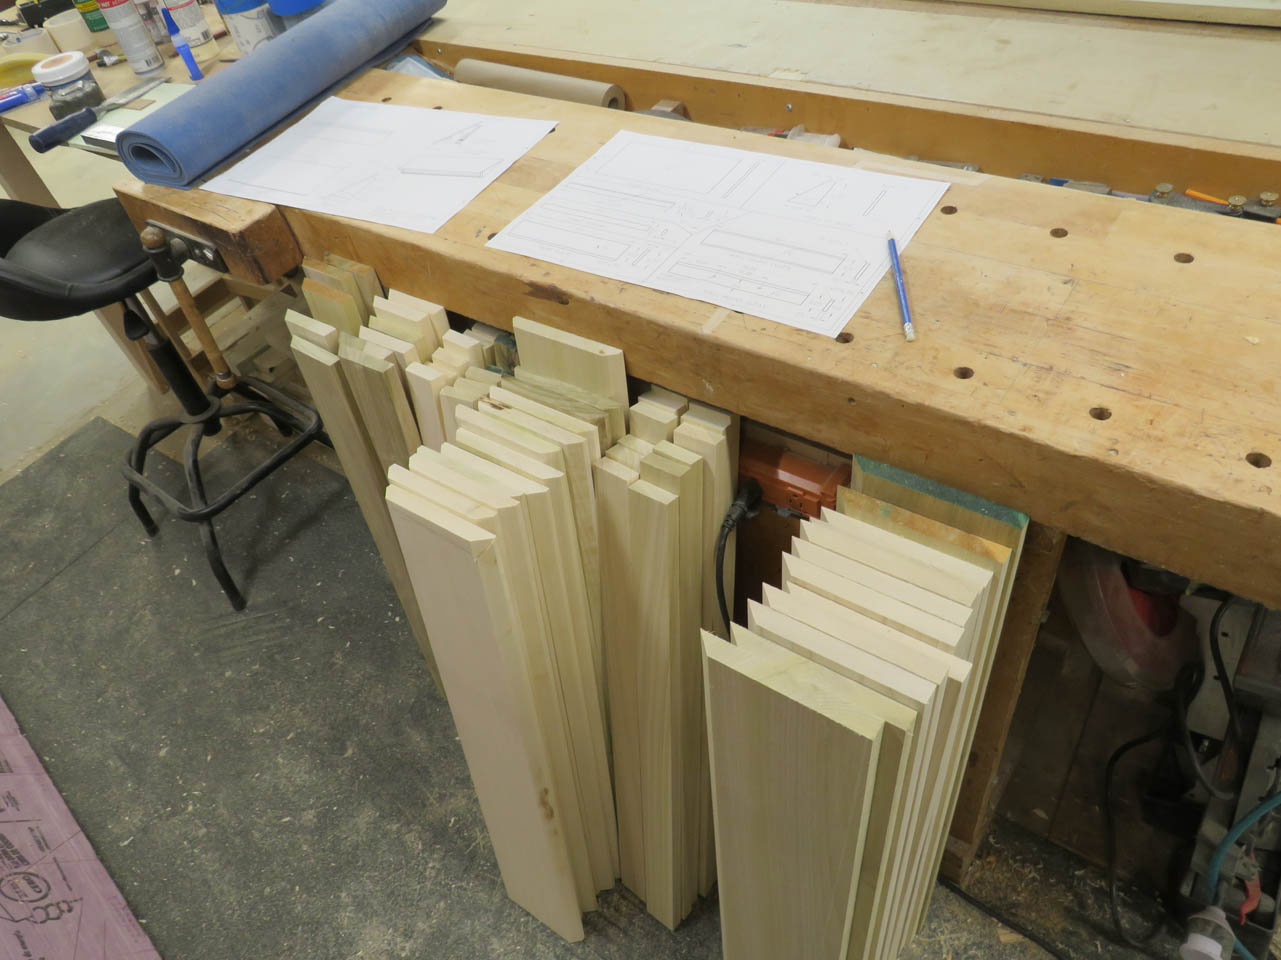
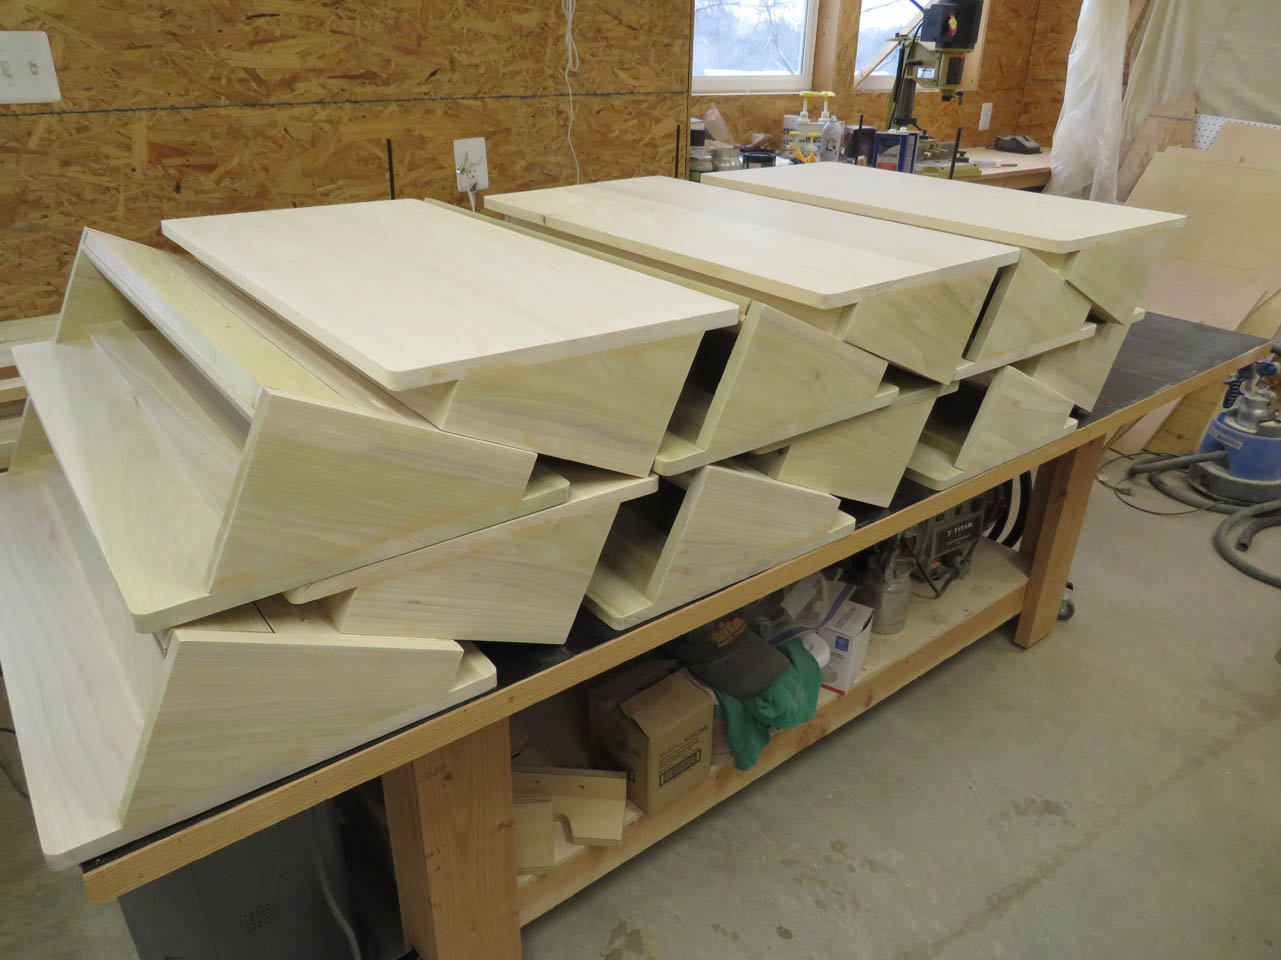
This is the design that we agreed on: READER RAIL PARTS A French cleat will be mounted to the wall, then the rail can be hung from it and bolted in place. The rails will be painted to match the walls of the exhibit so I picked up about 150 board feet of poplar to make the 12 rails.
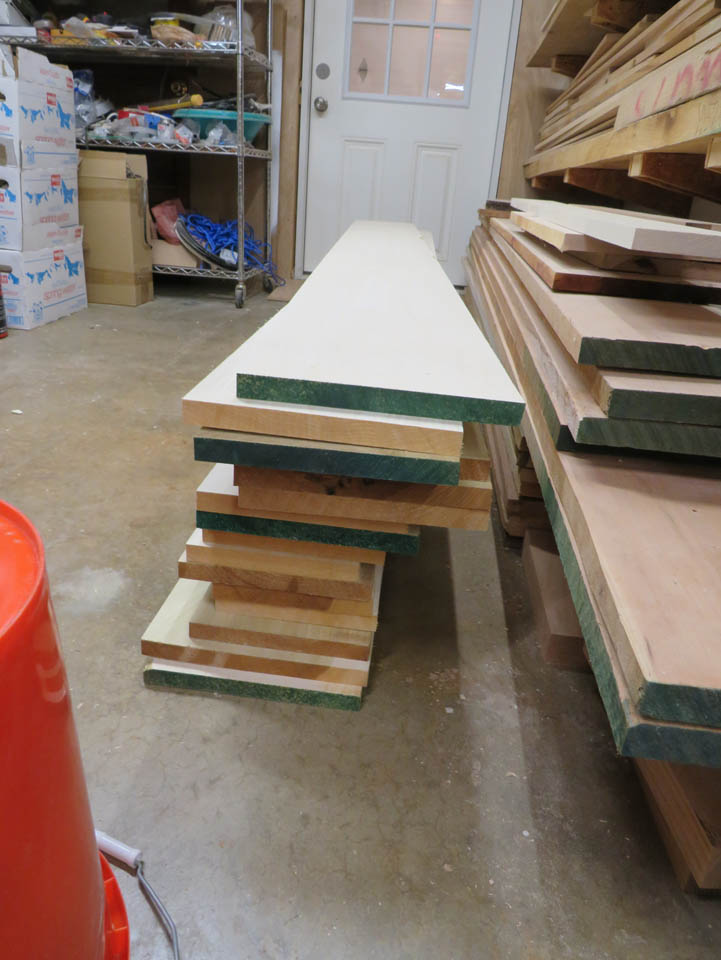
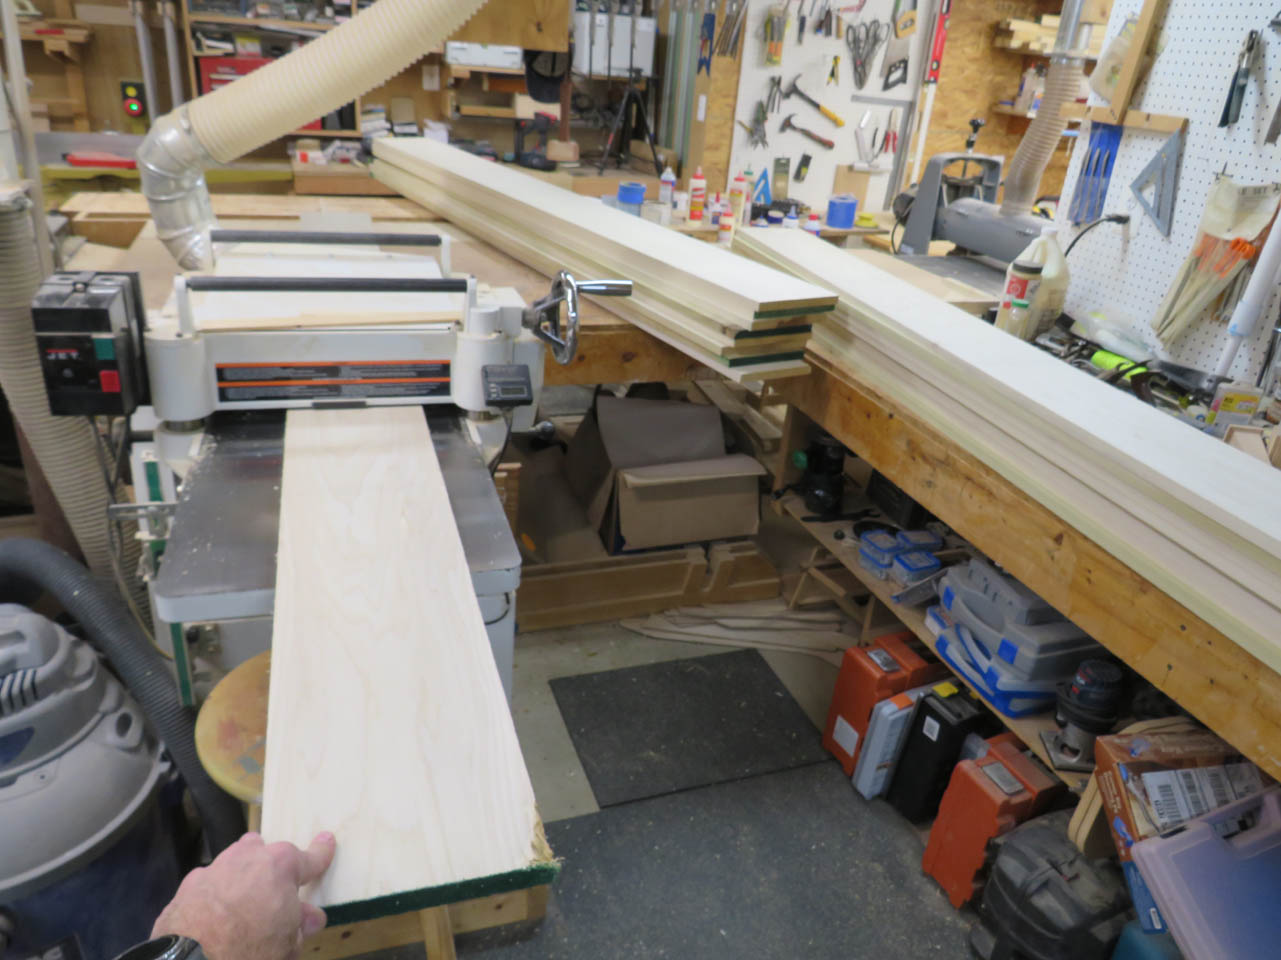
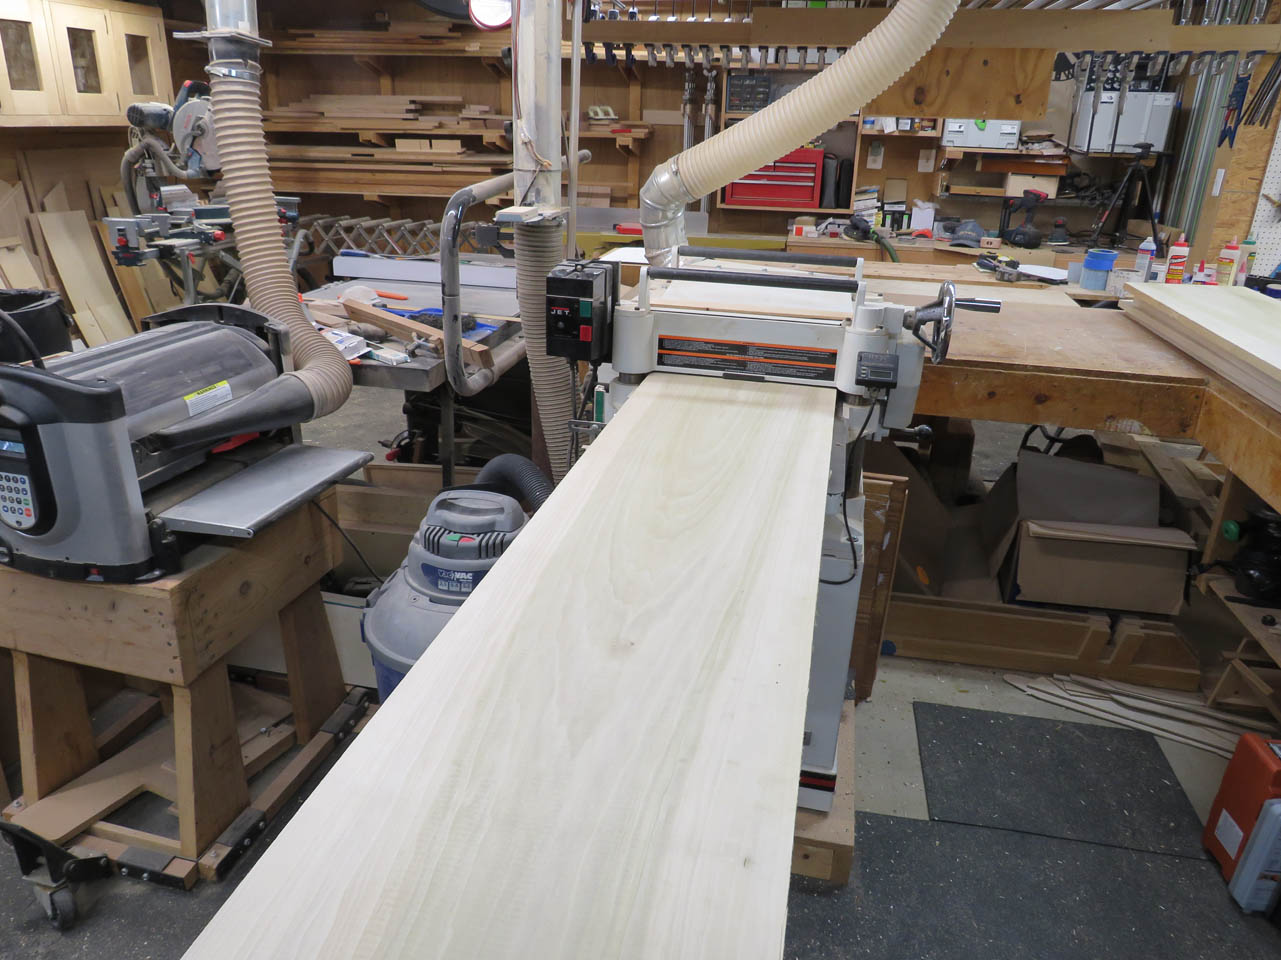
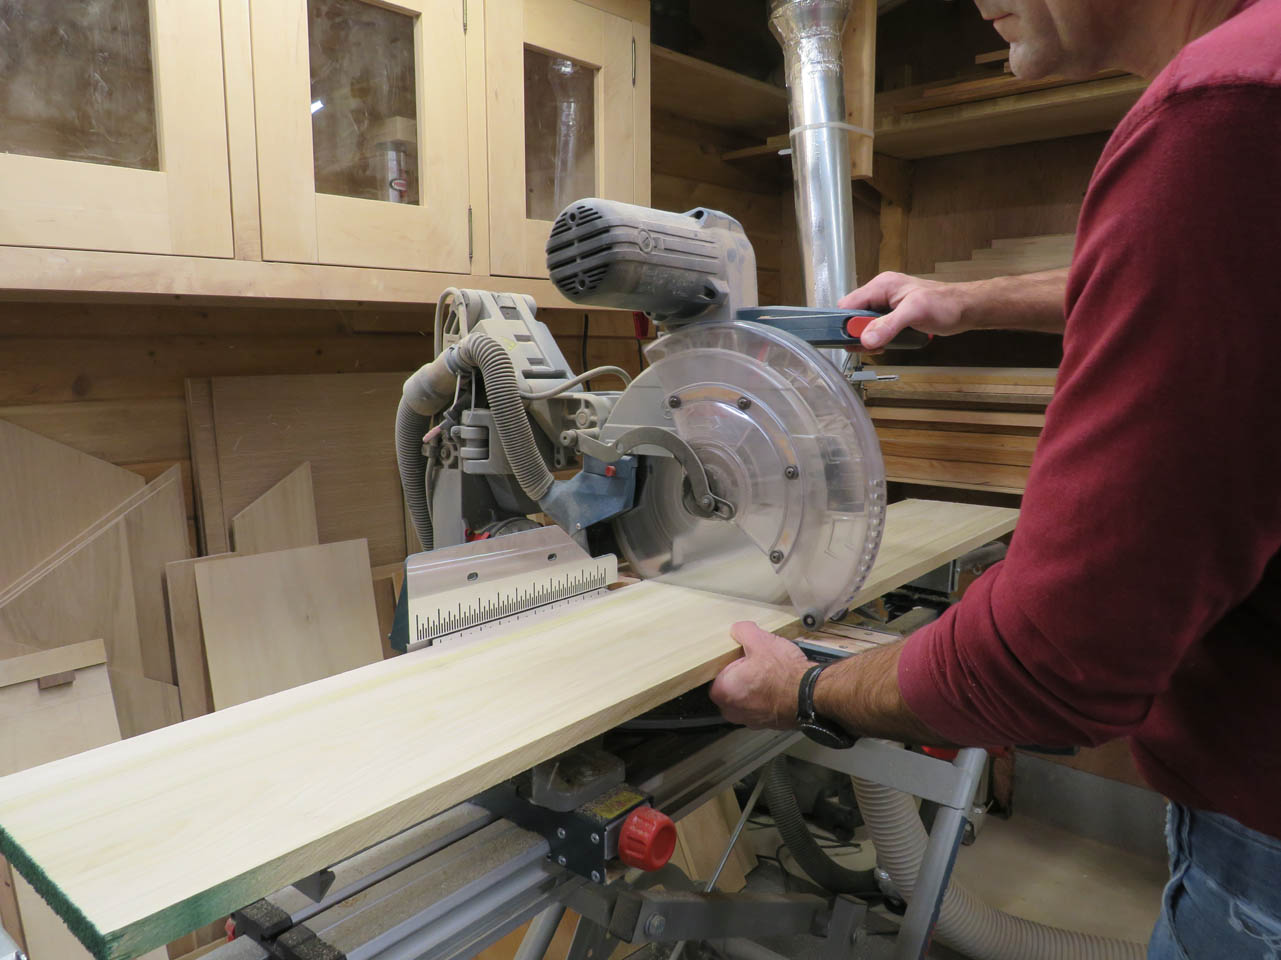
I planed all of the poplar down to 3/4″ thick.
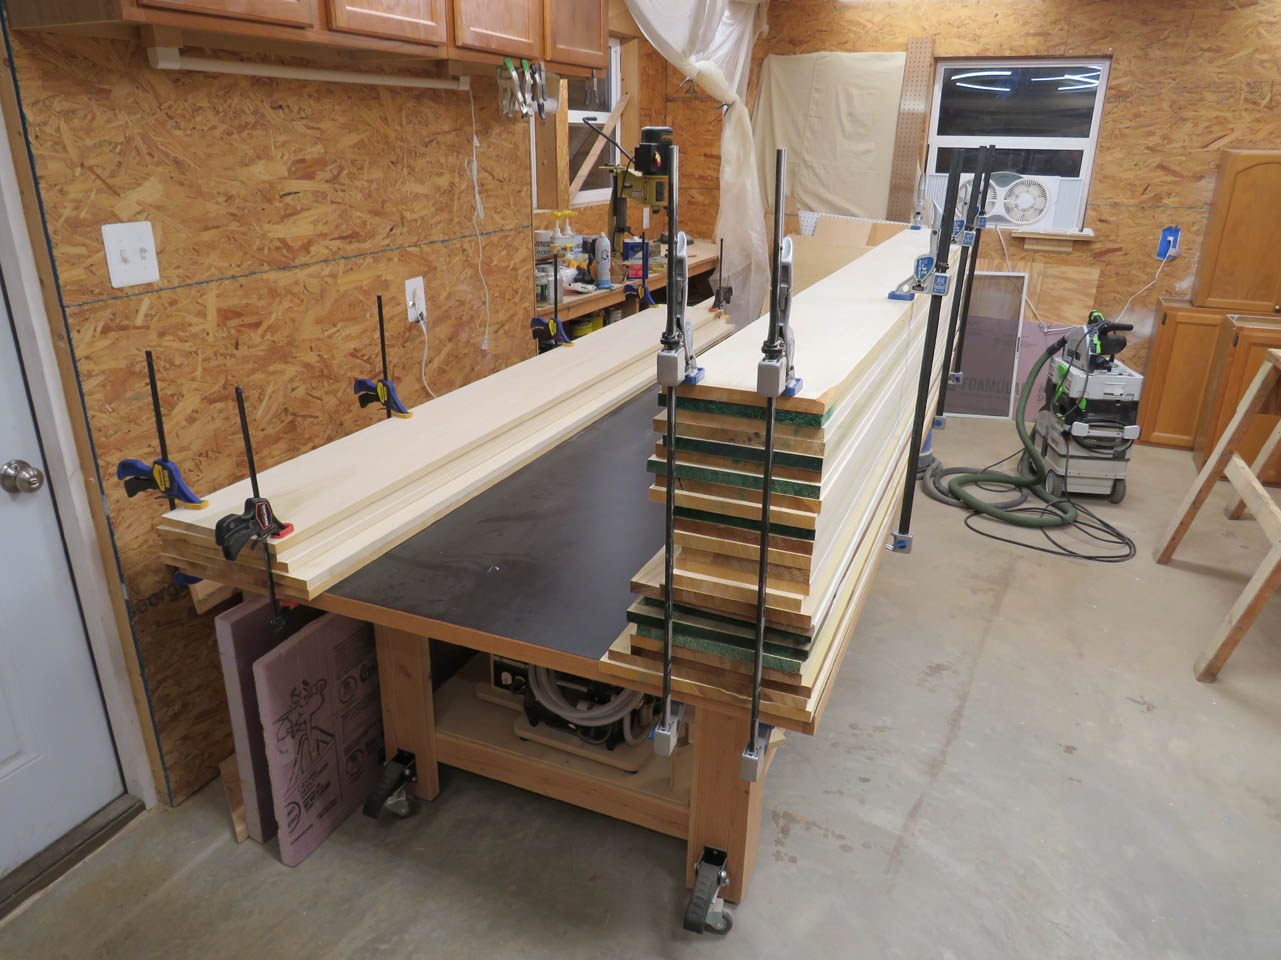
To make sure the wood stays flat and straight, I keep it all clamped flat until it needs to be cut and assembled.
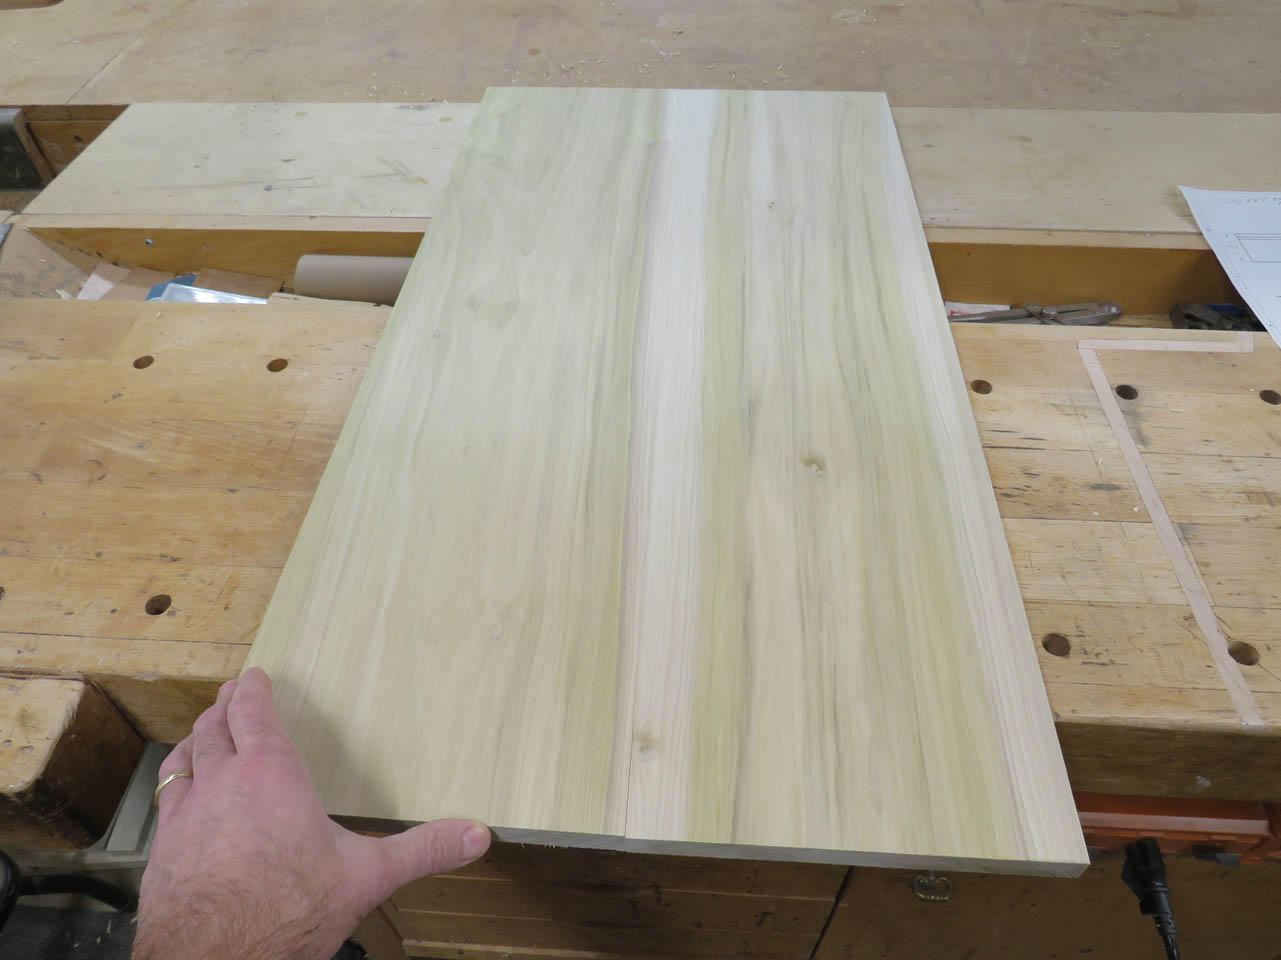
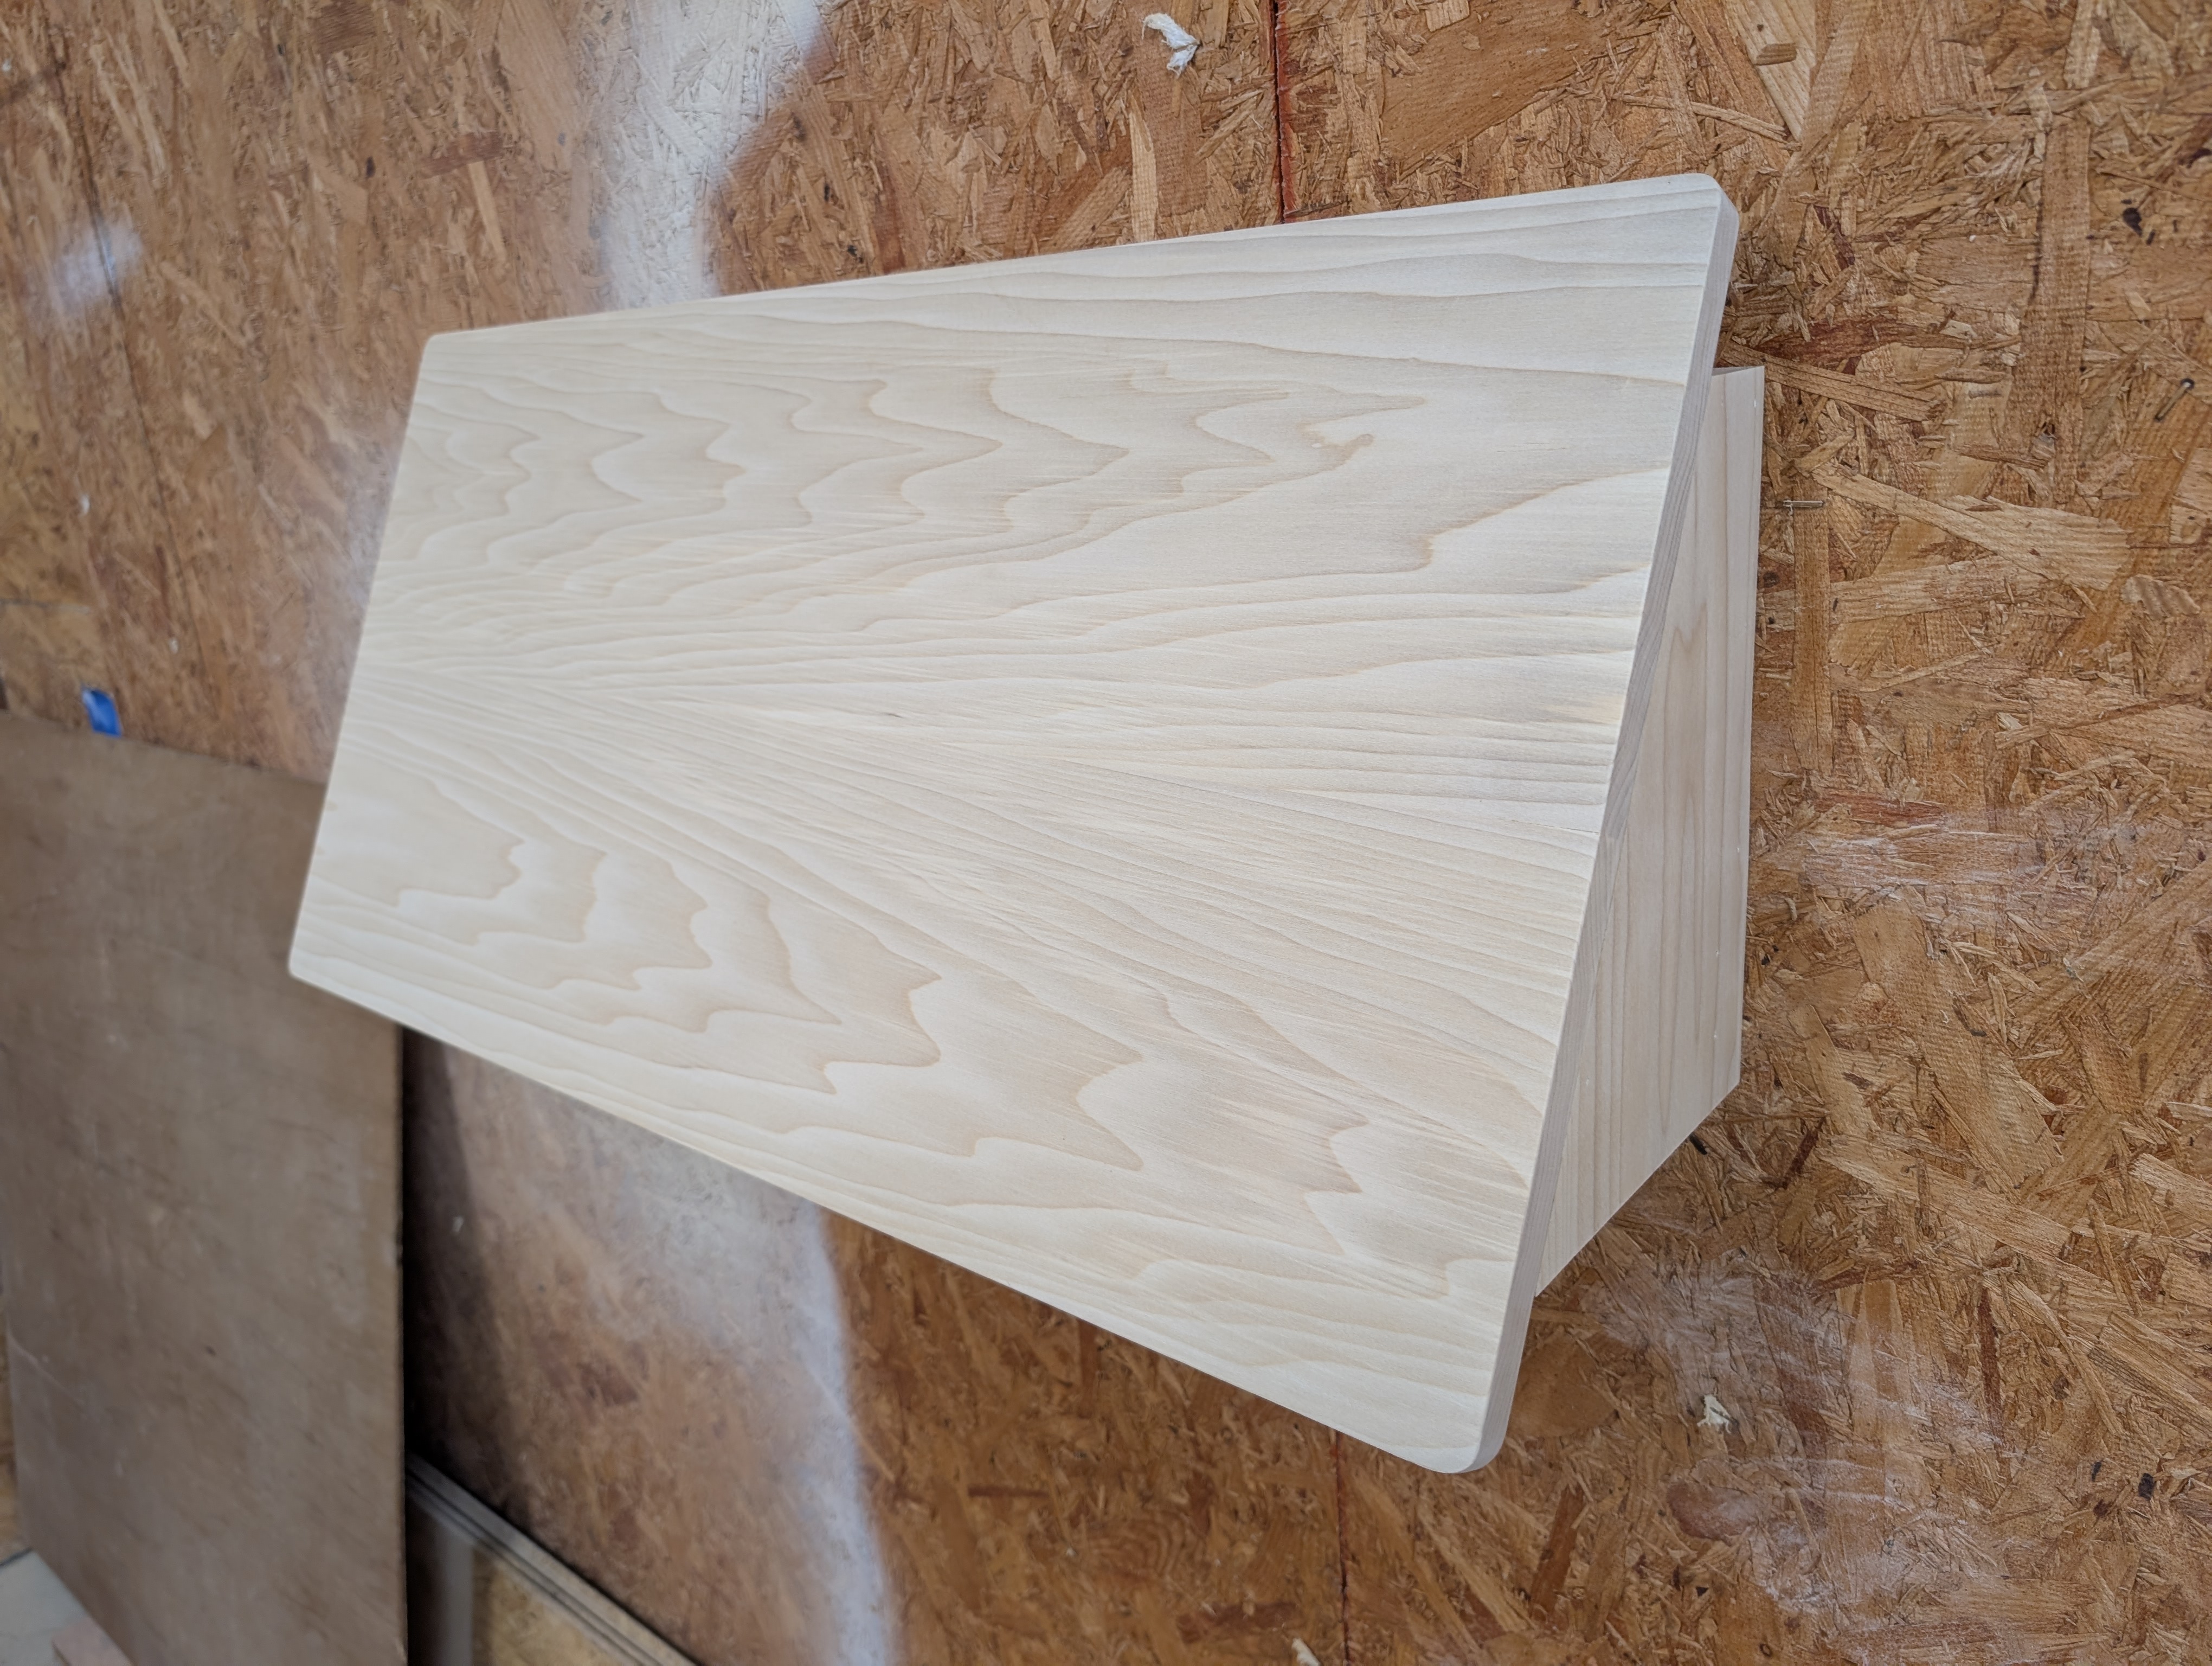
My first step in the process is to make the large, flat front panels.
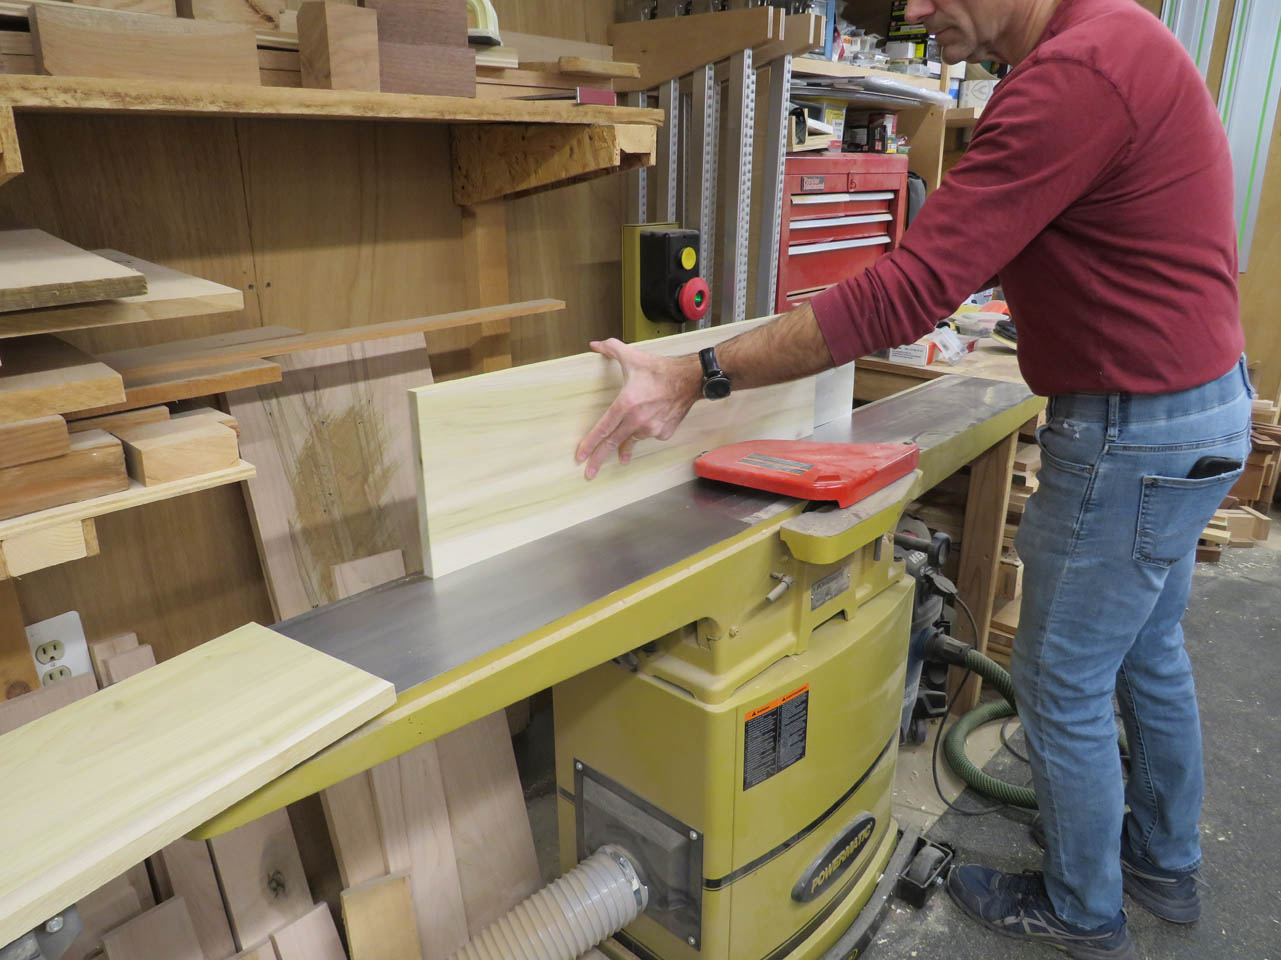
I cut all of the panel parts to be a few inches long, then joint both edges so that I have clean, smooth surfaces to joint them together.
I paired up all the panels and make sure they will be the correct width or wider.
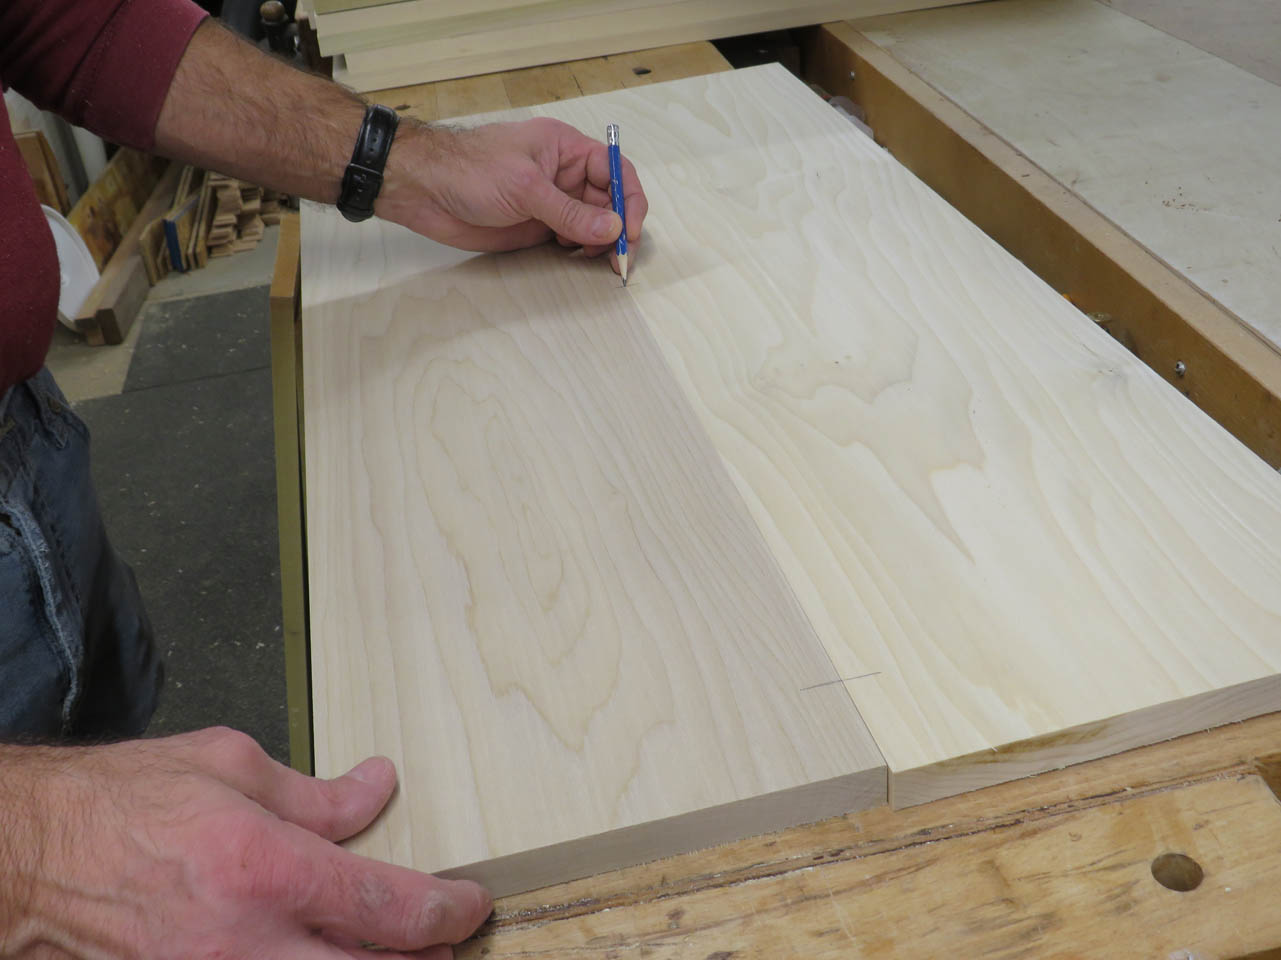
Then I mark four evenly spaced locations for tenons.
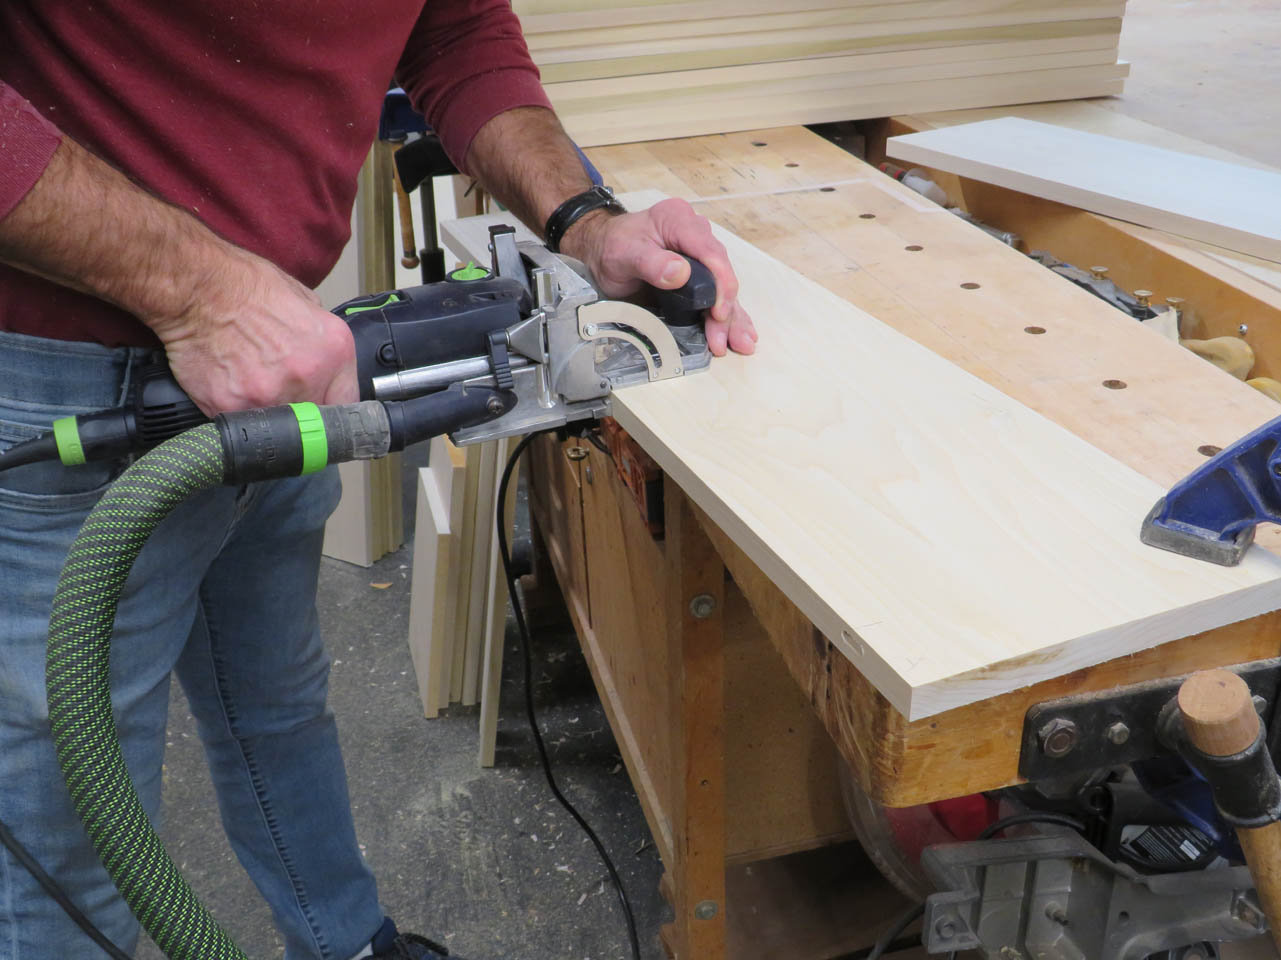
I used my Festool Domino to create mortises for the tenons. These will help with strength and alignment.
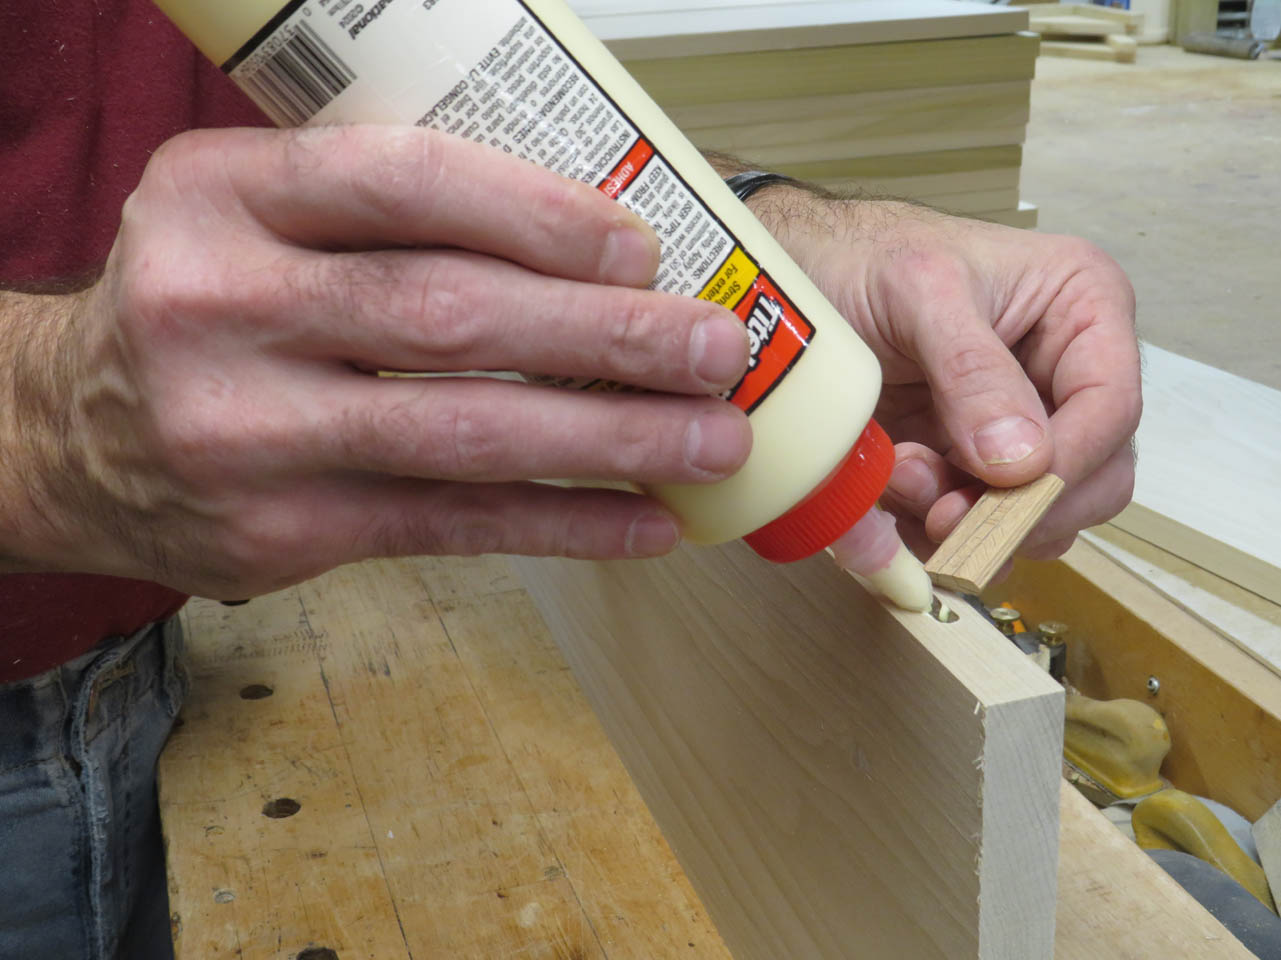
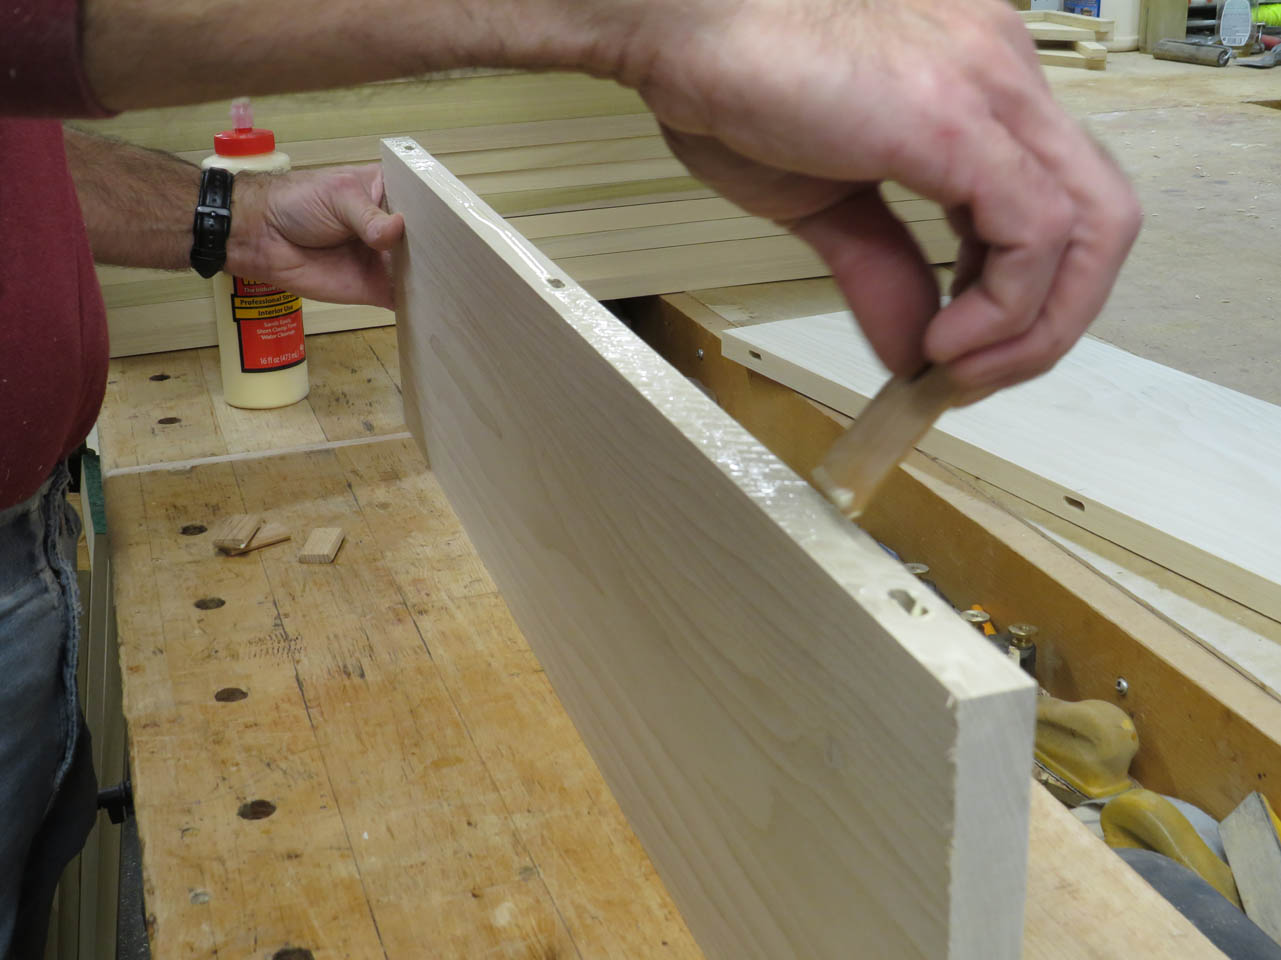
The tenons are glued in and the rest of the joint edge gets a thin layer of glue as well.
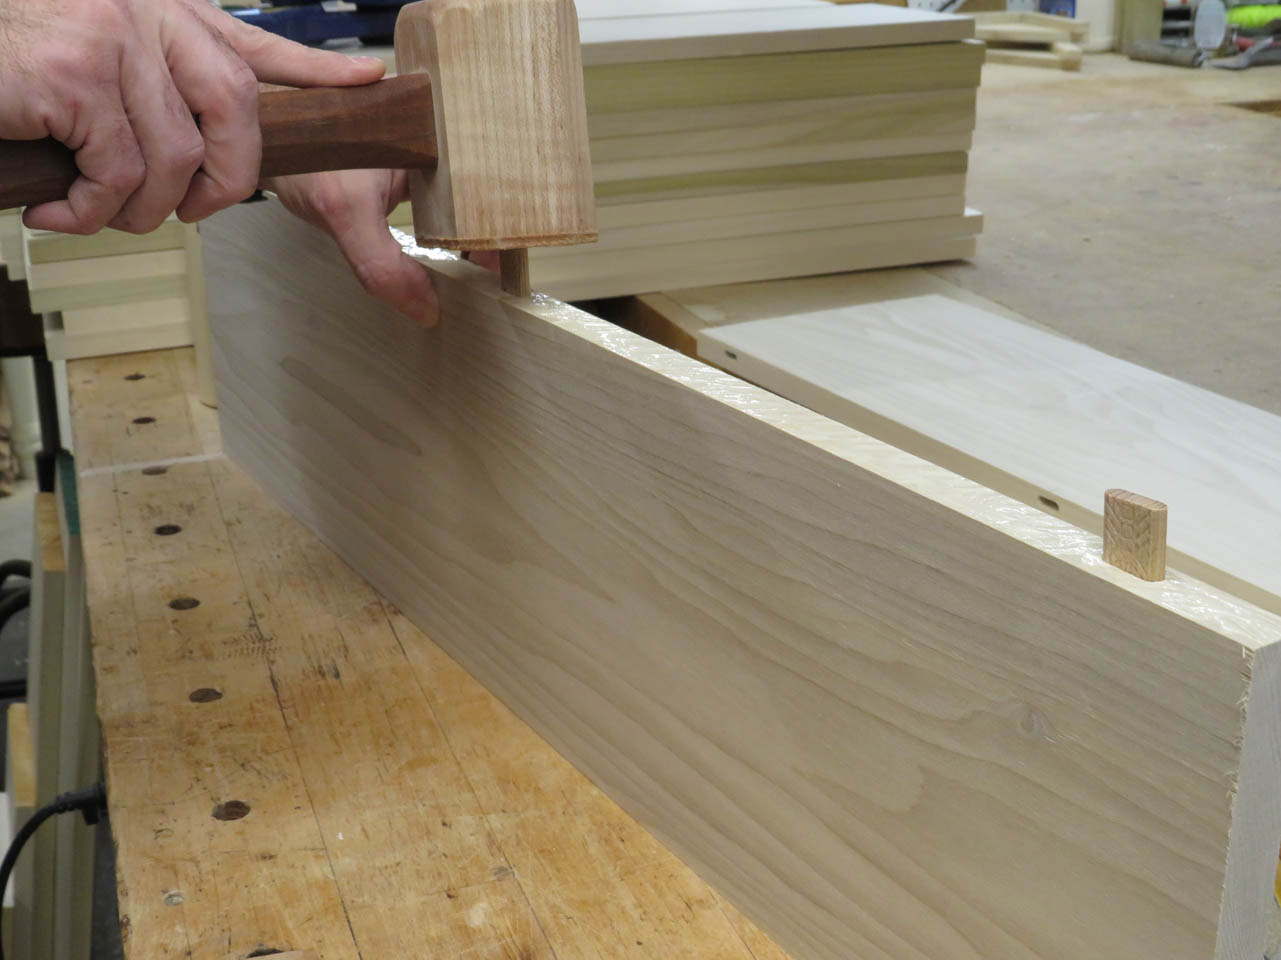
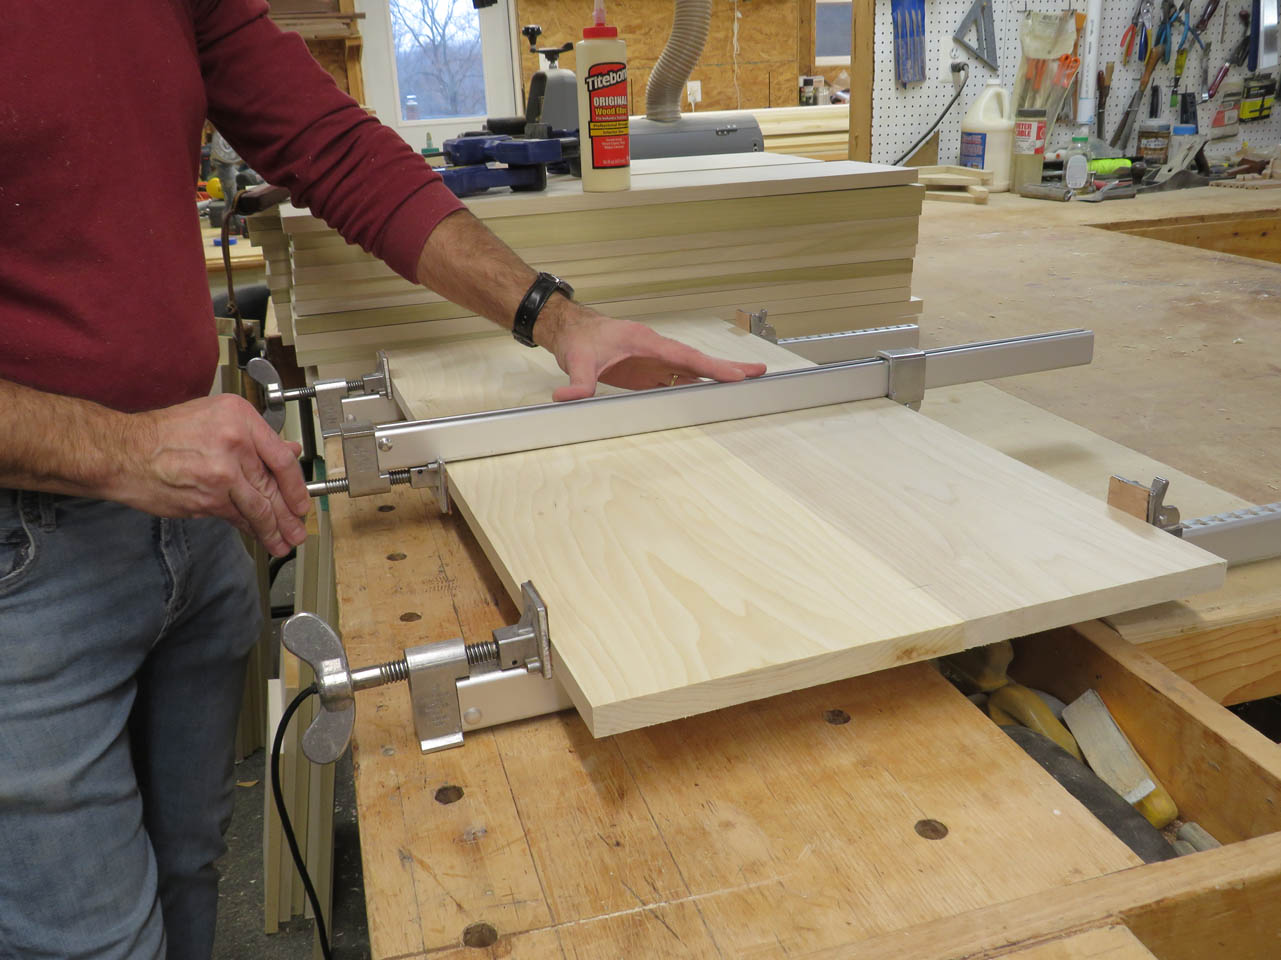
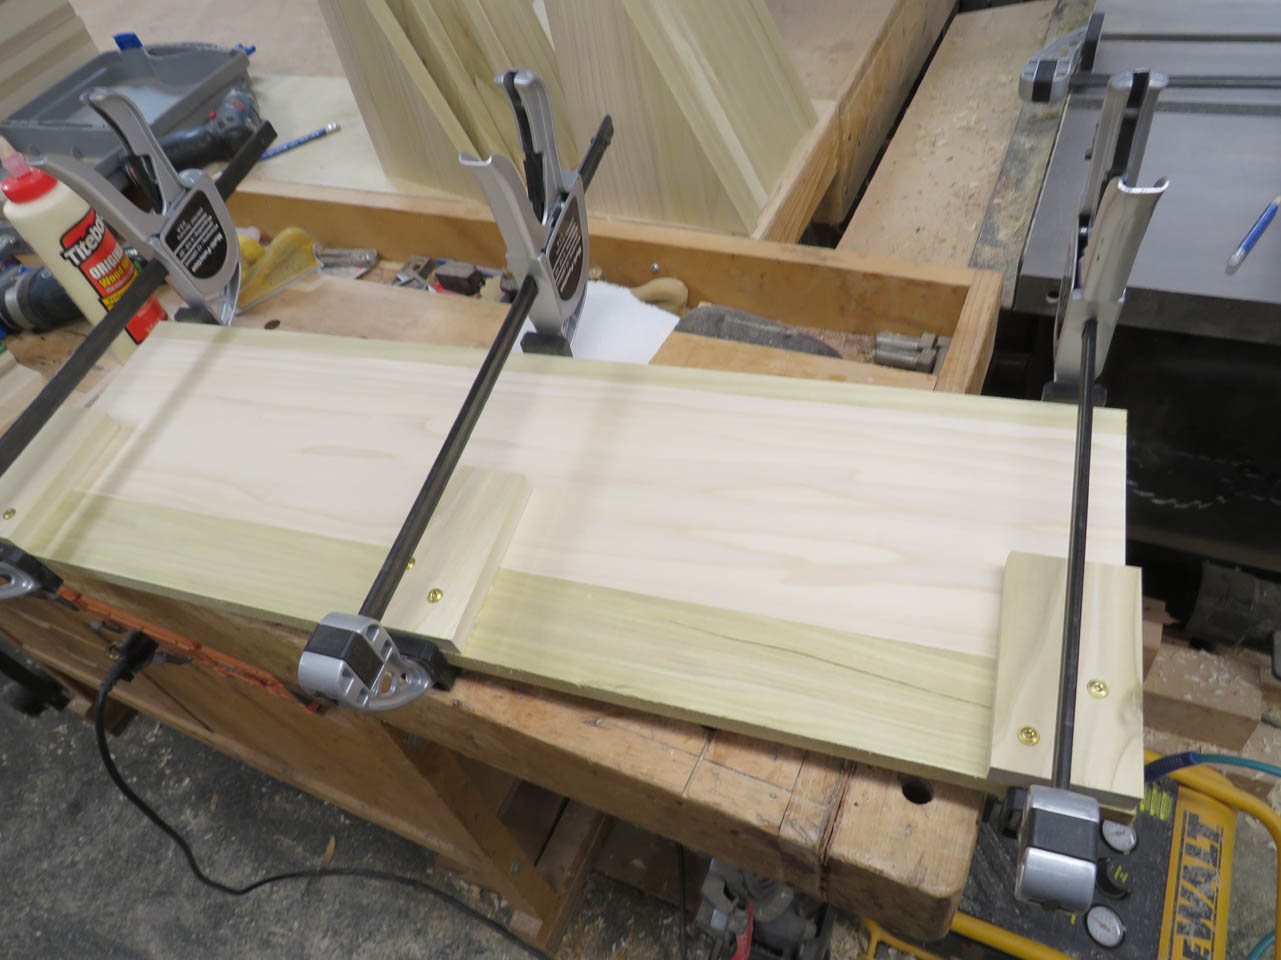
Then each board gets clamped up to dry.
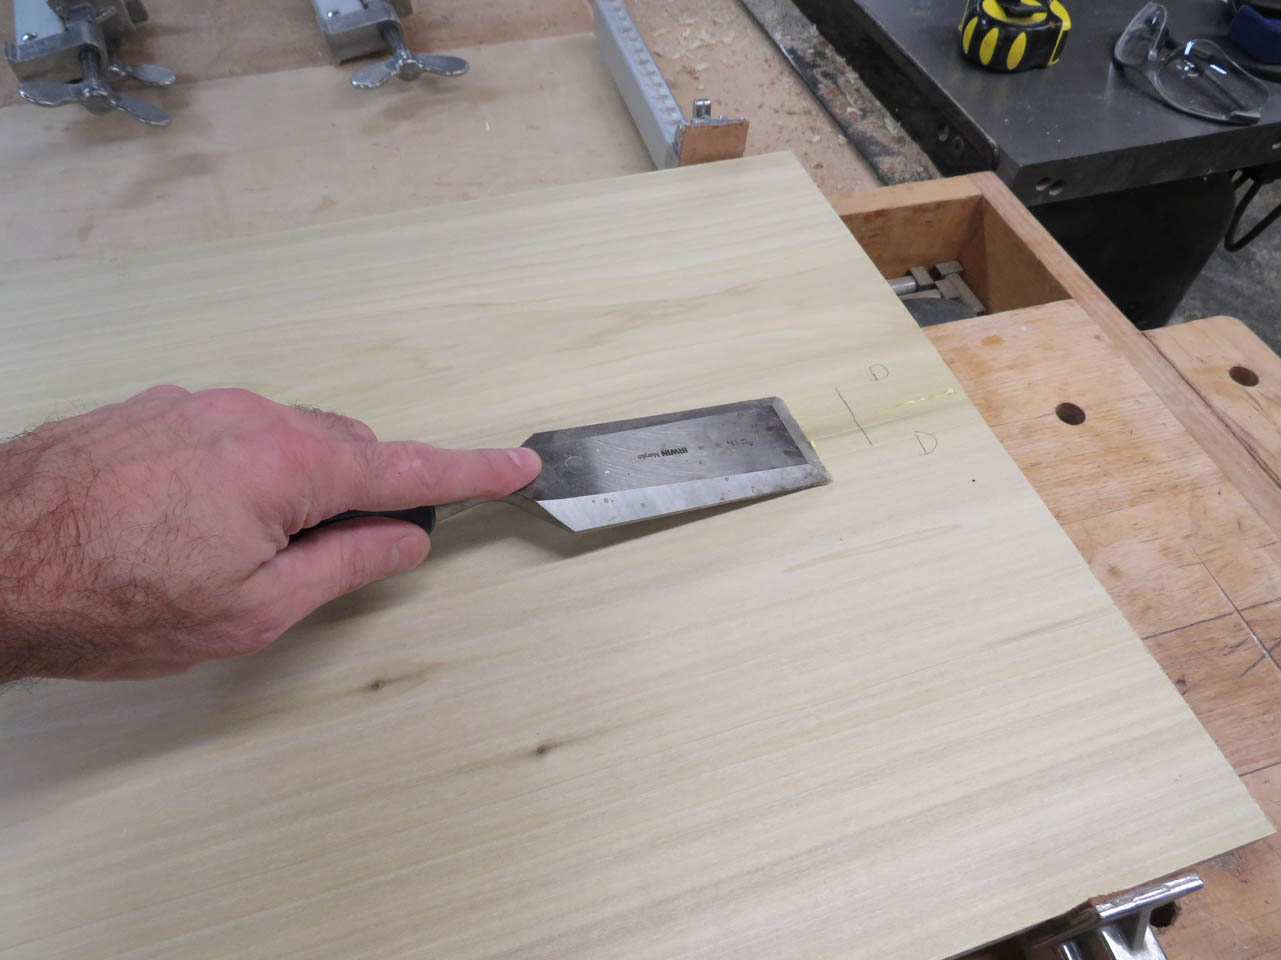
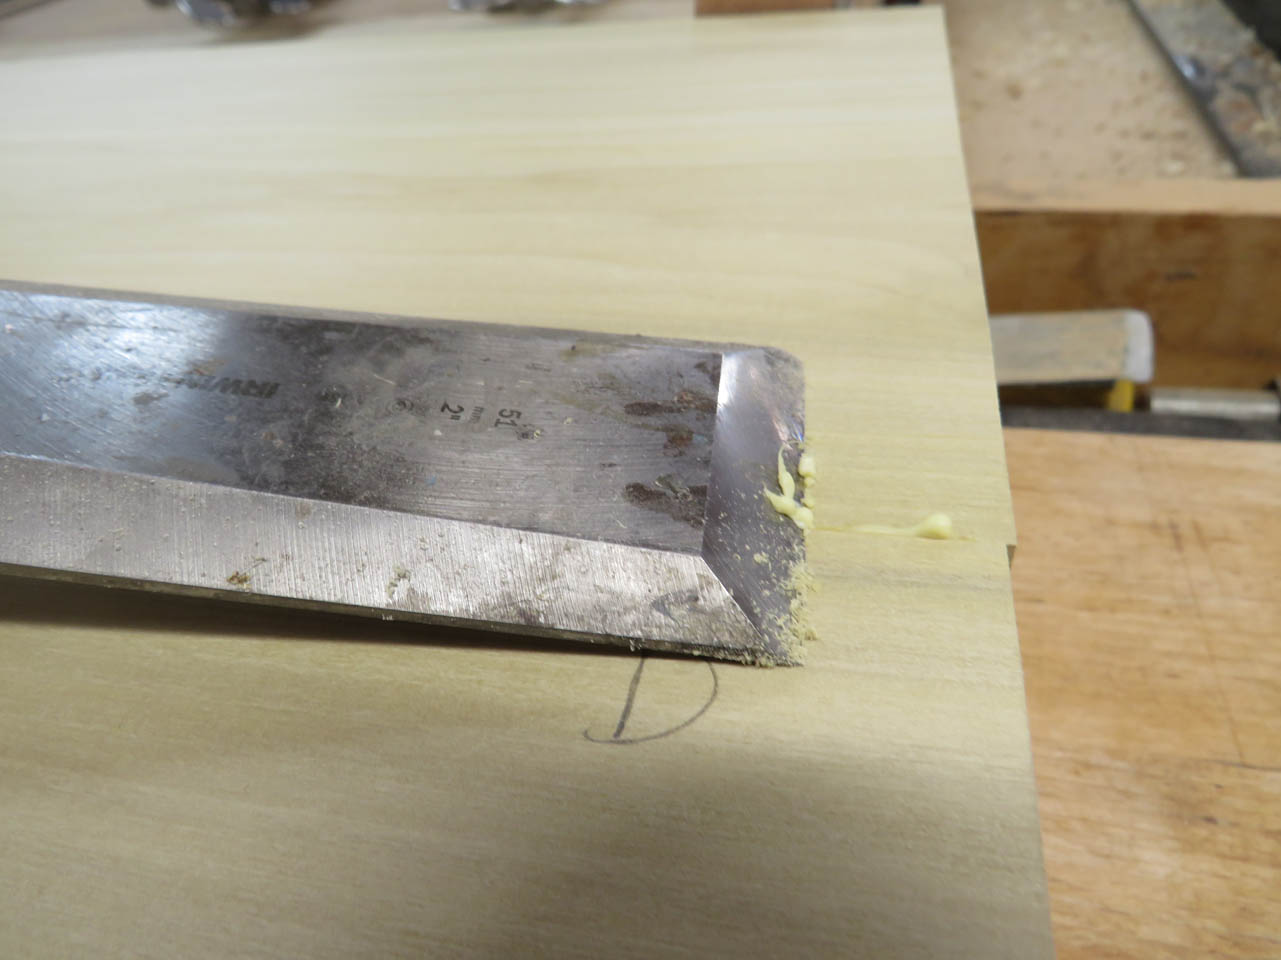
After an about an hour, the glue is set and I can easily scrape away the squeeze-out with a wide chisel.
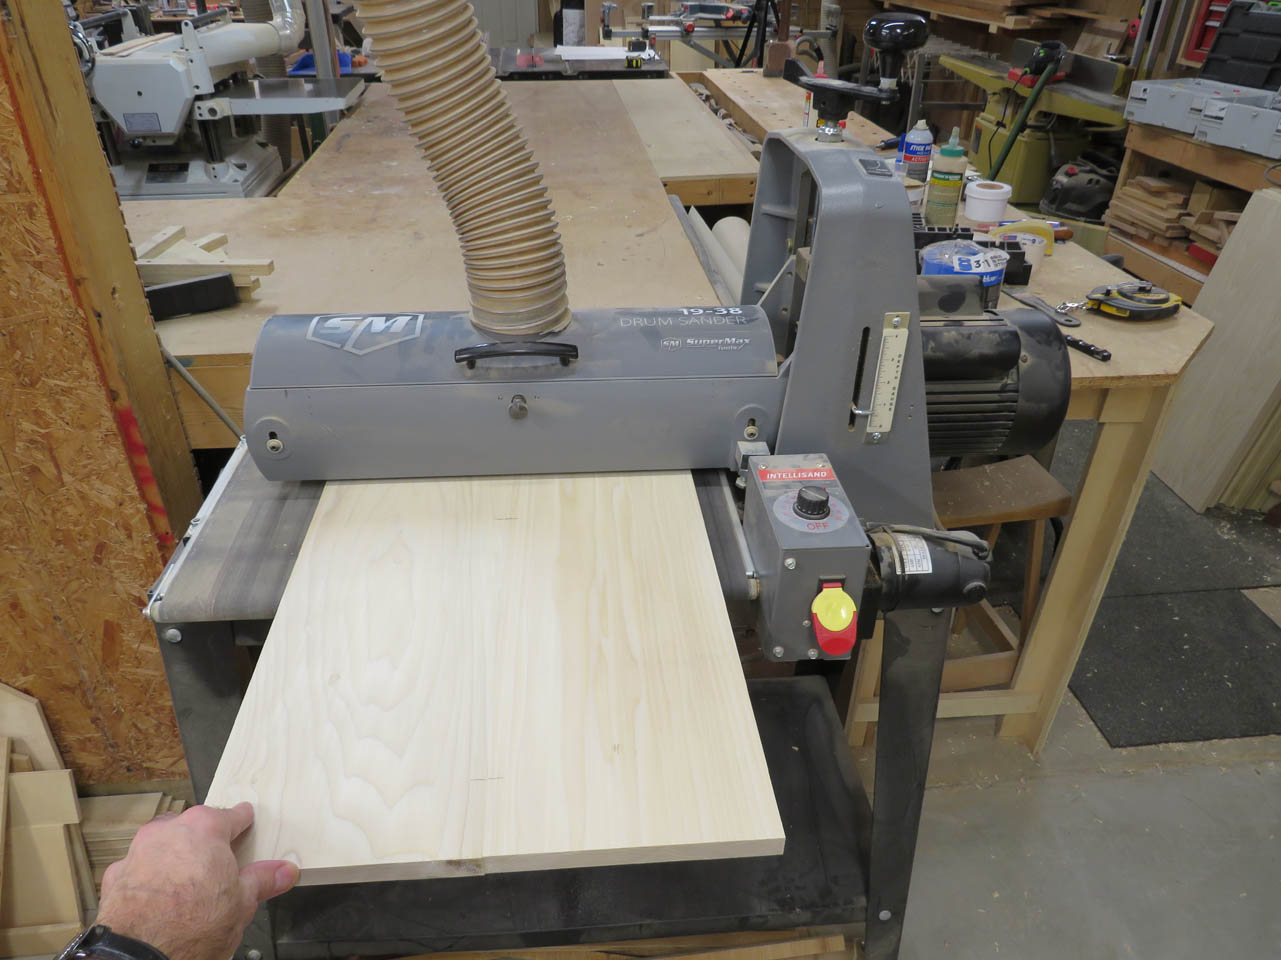
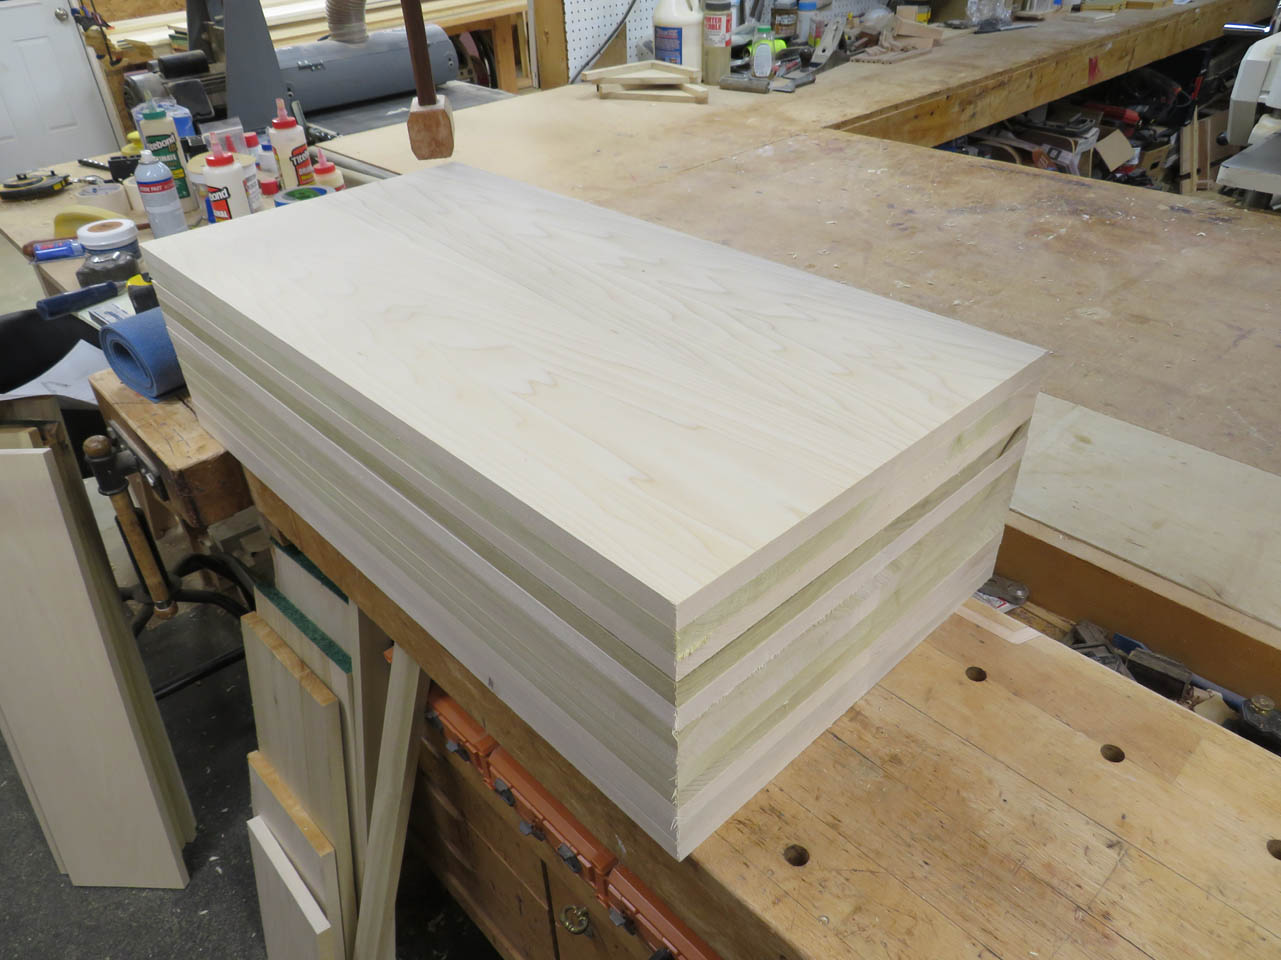
Once all of the panels are fully cured, I run them through my wide belt sander to make sure the glue joint is perfectly smooth.
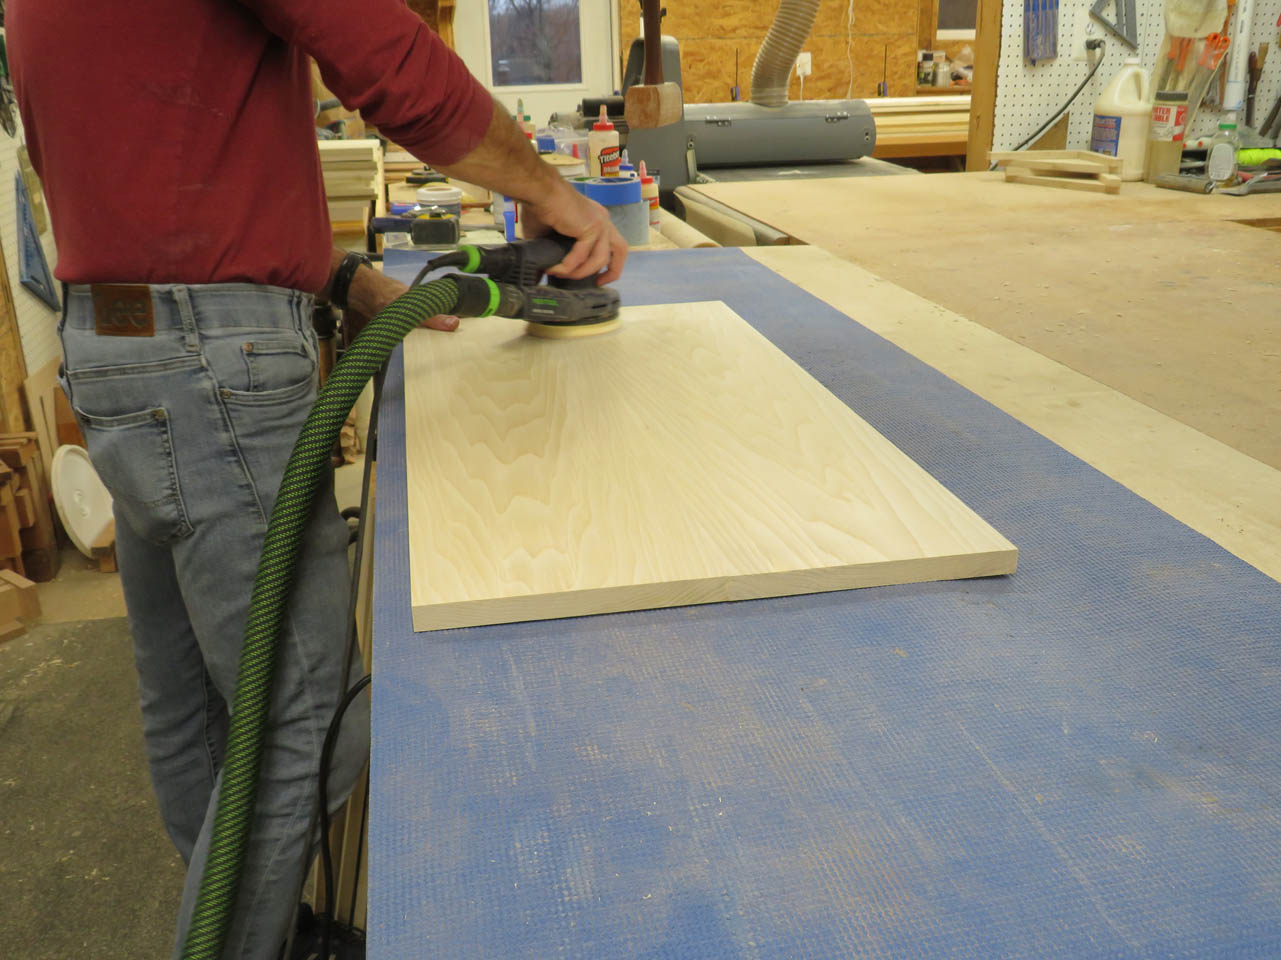
Then I do some additional sanding with my orbital sander to remove any straight sanding marks.
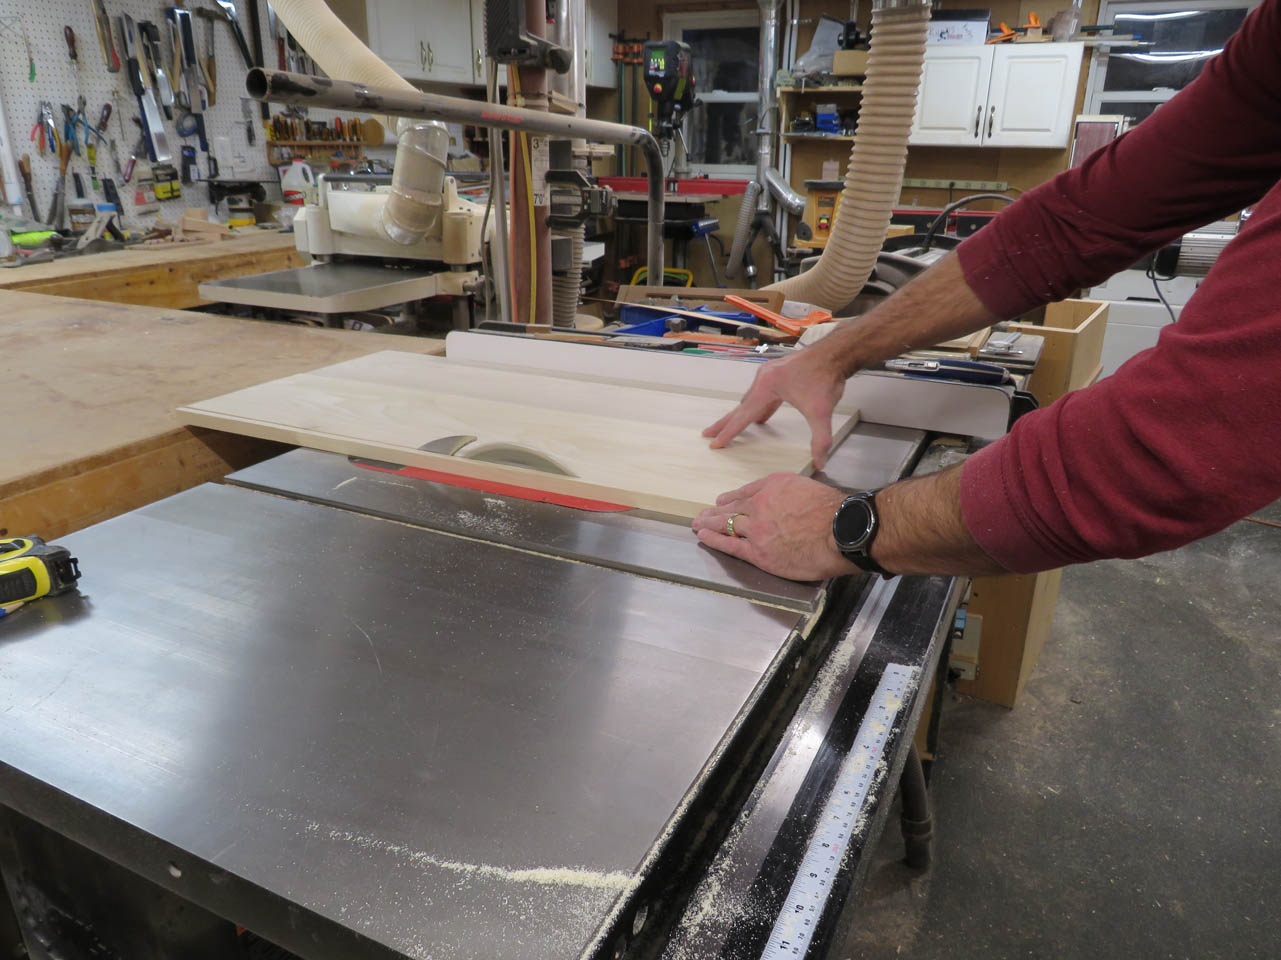
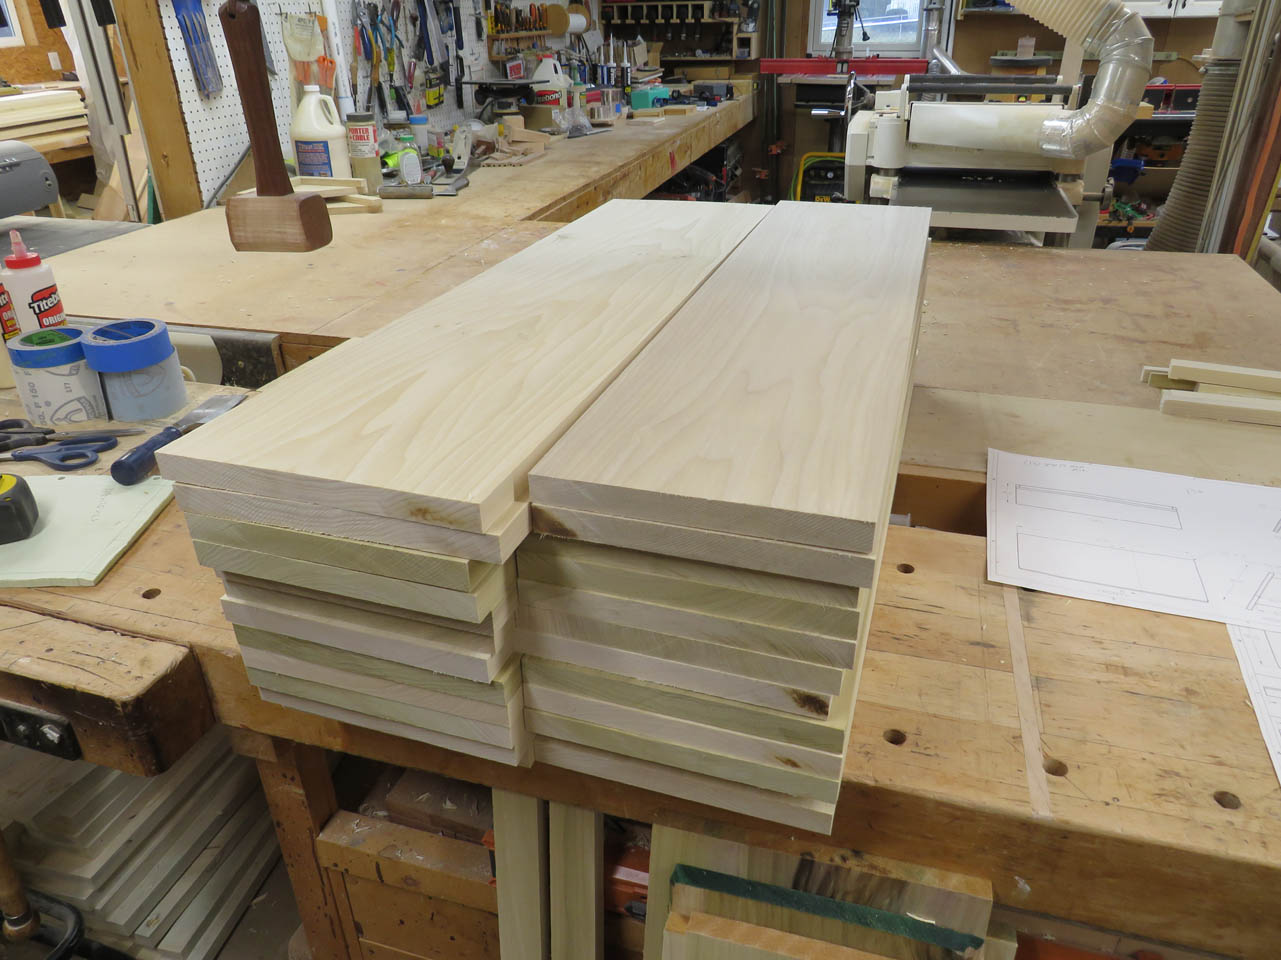
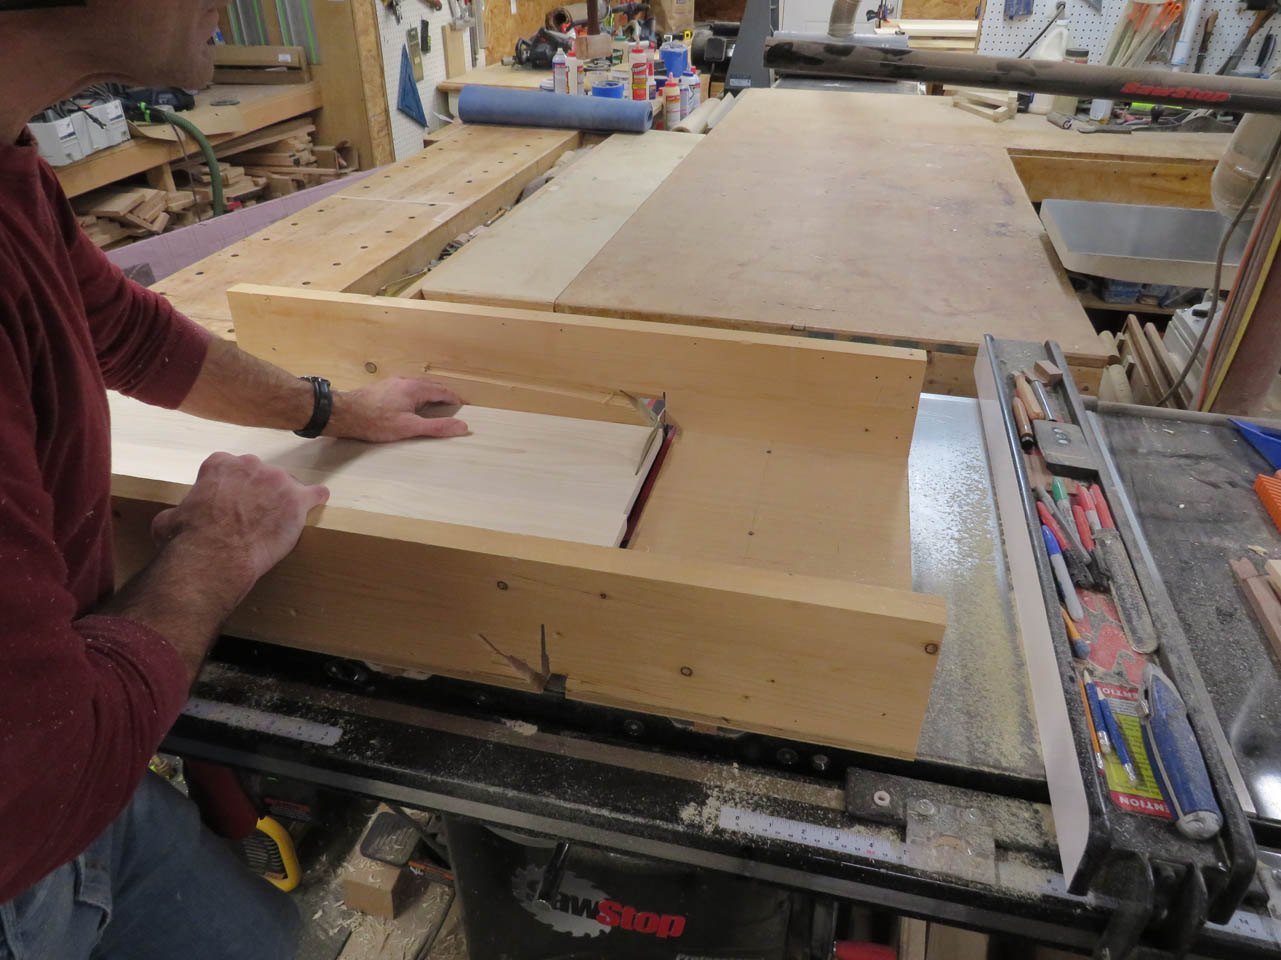
With the panels complete, I can now cut them down to their final size.
I can use the fence on the table saw to give me a parallel cut for the width, and a cross-cut sled to give me perfectly straight and perpendicular edges.
When they are complete, the last thing they require a 1/2″ radius cut on each corner.
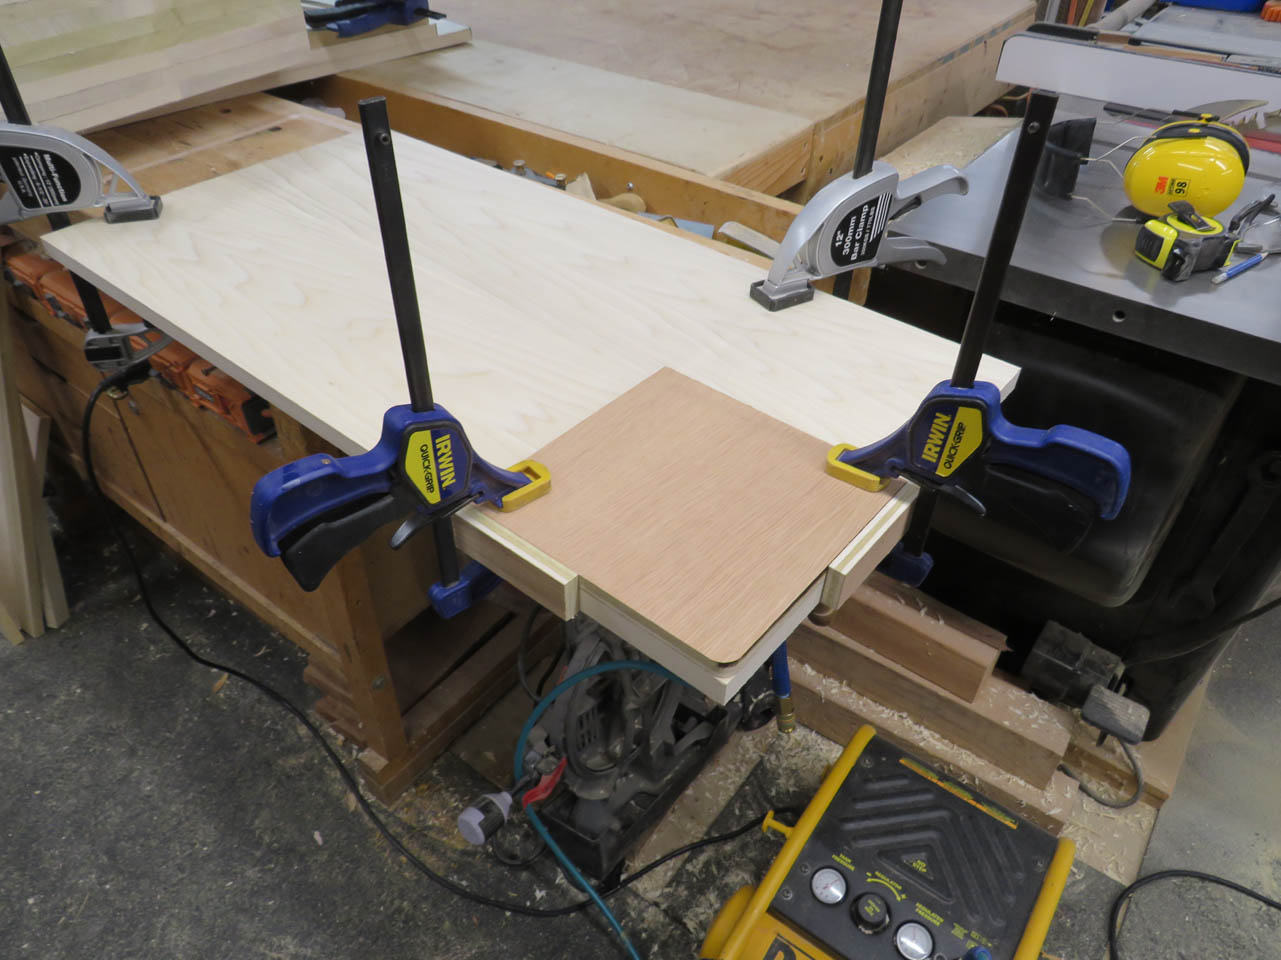
I created a jig for this. It is clamped to each corner, one at a time.
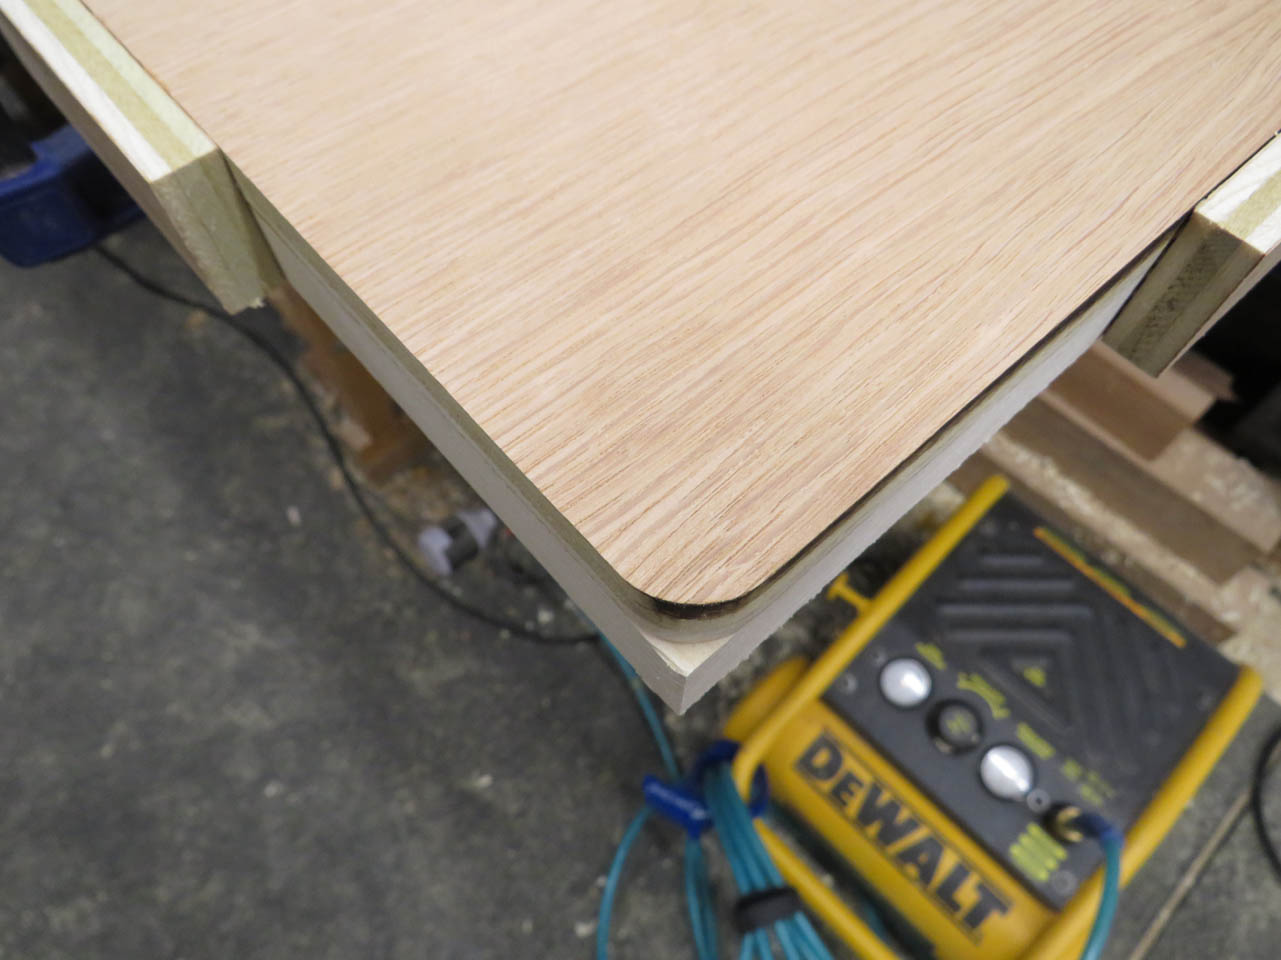
I can use a spiral, flush-trim router bit to round each corner.
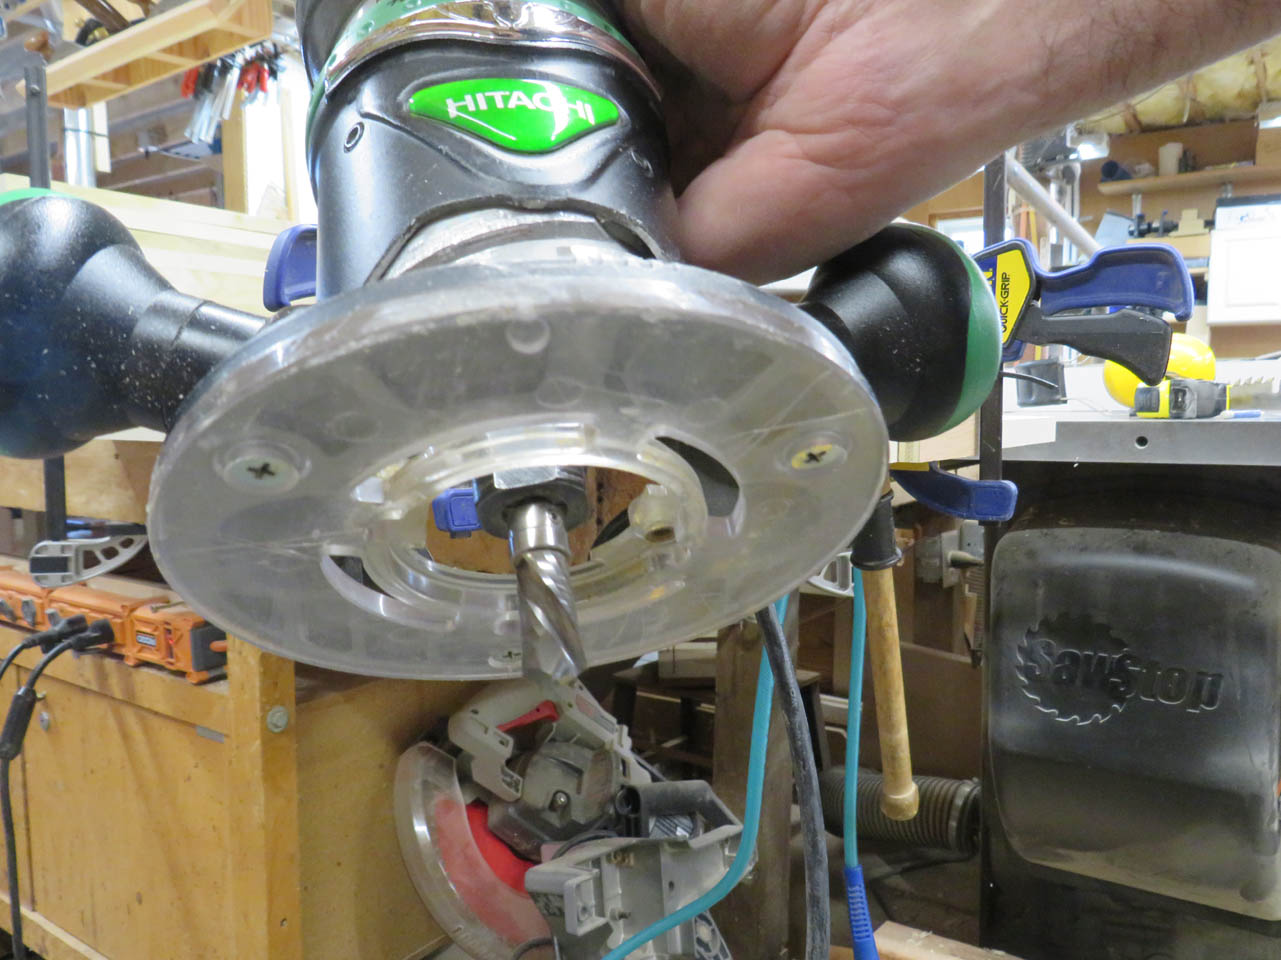
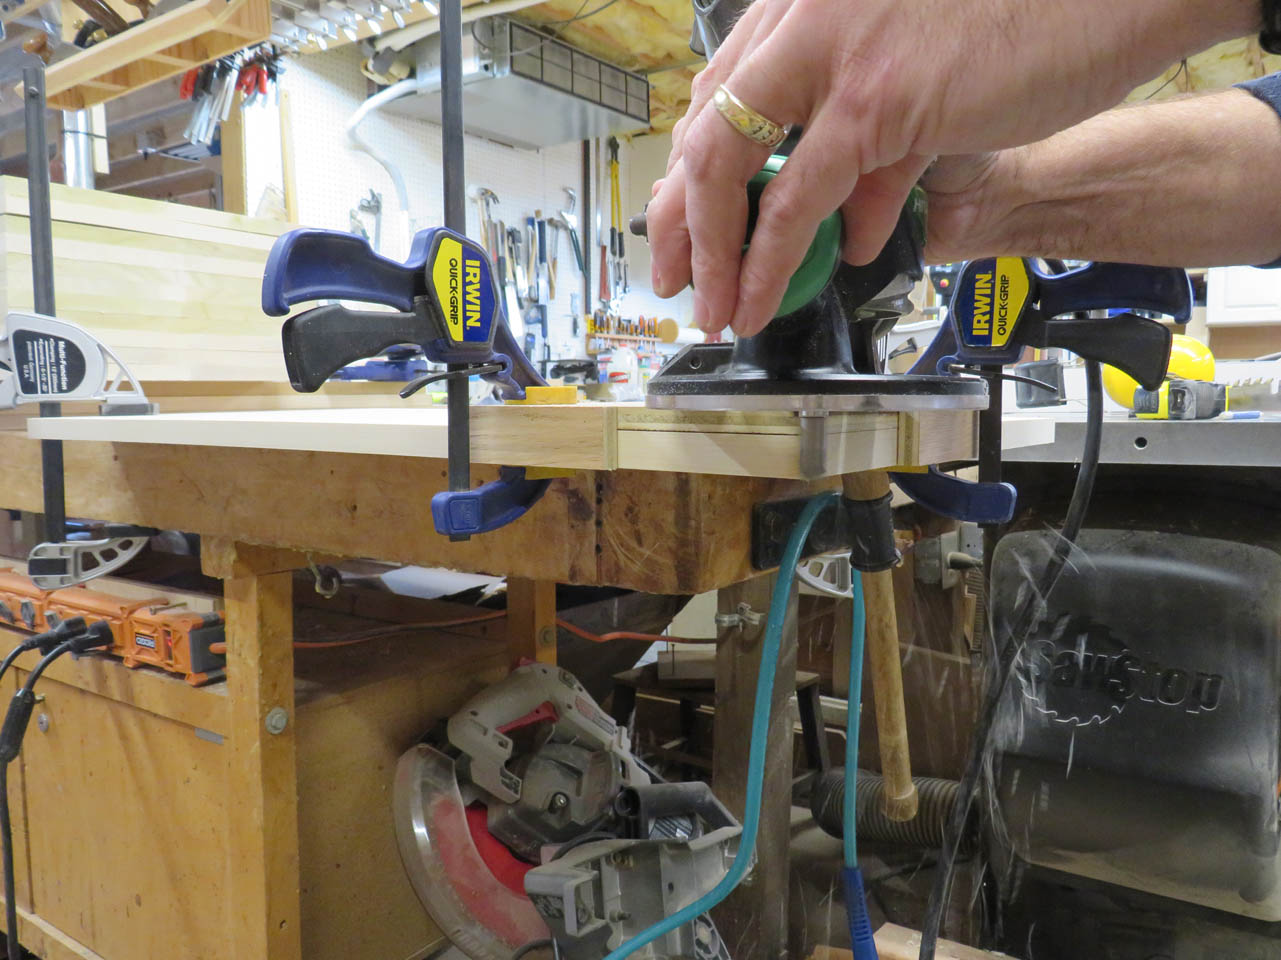
Making sure that I cut with the grain, I let the bearing on the router bit ride along the template while cutting the new radius on each corner.
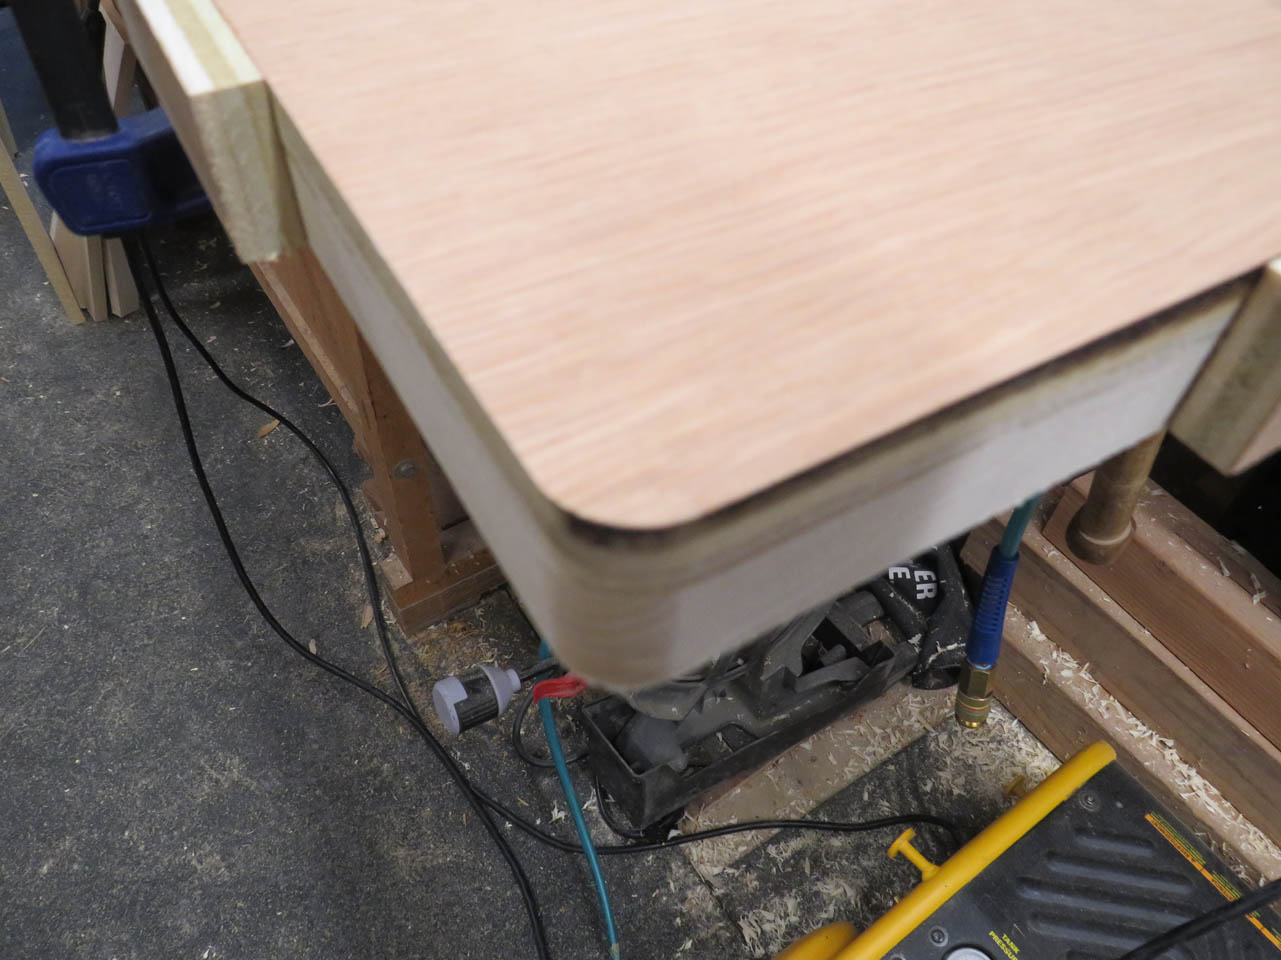
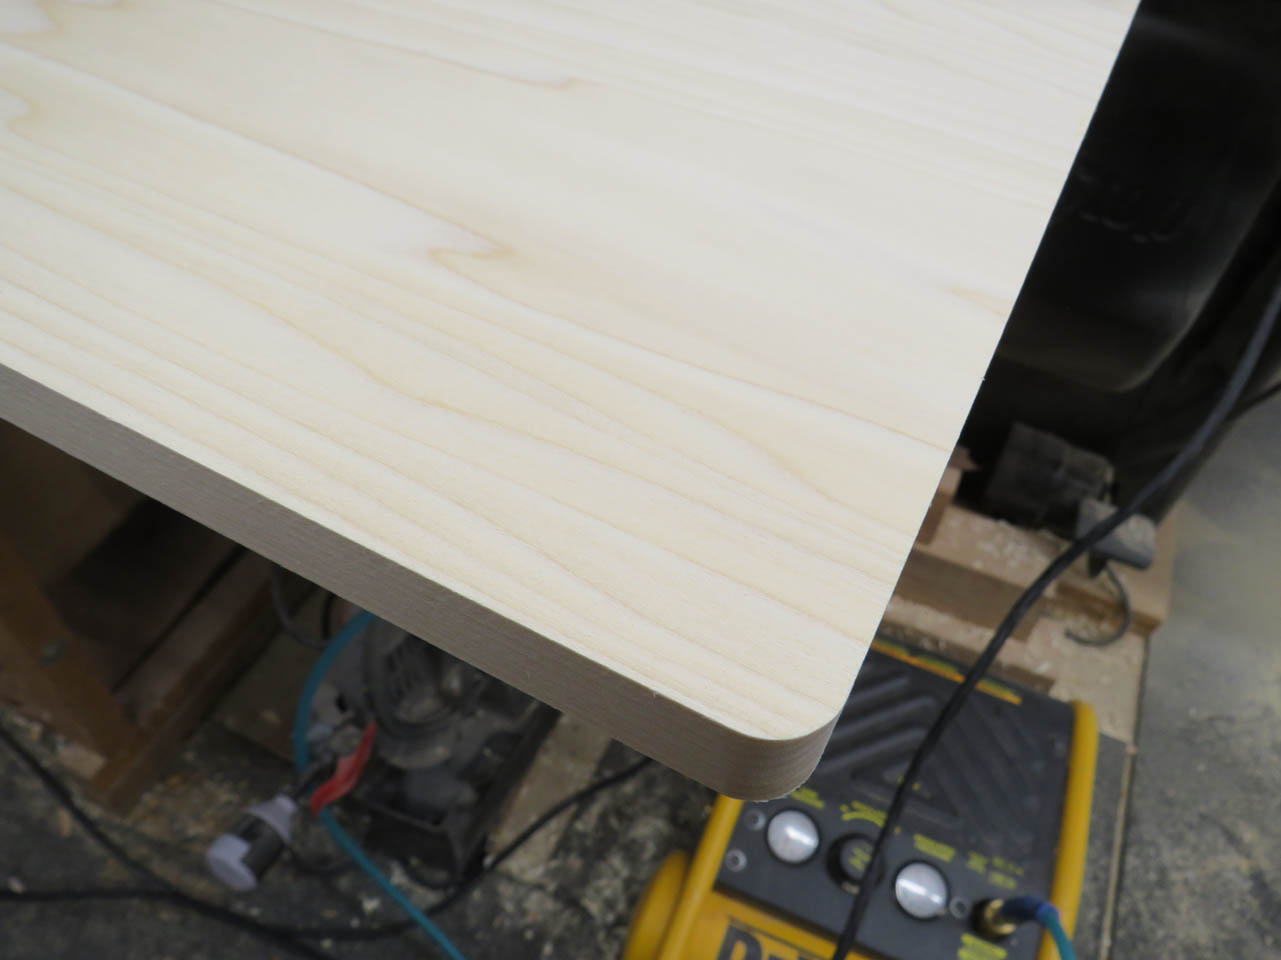
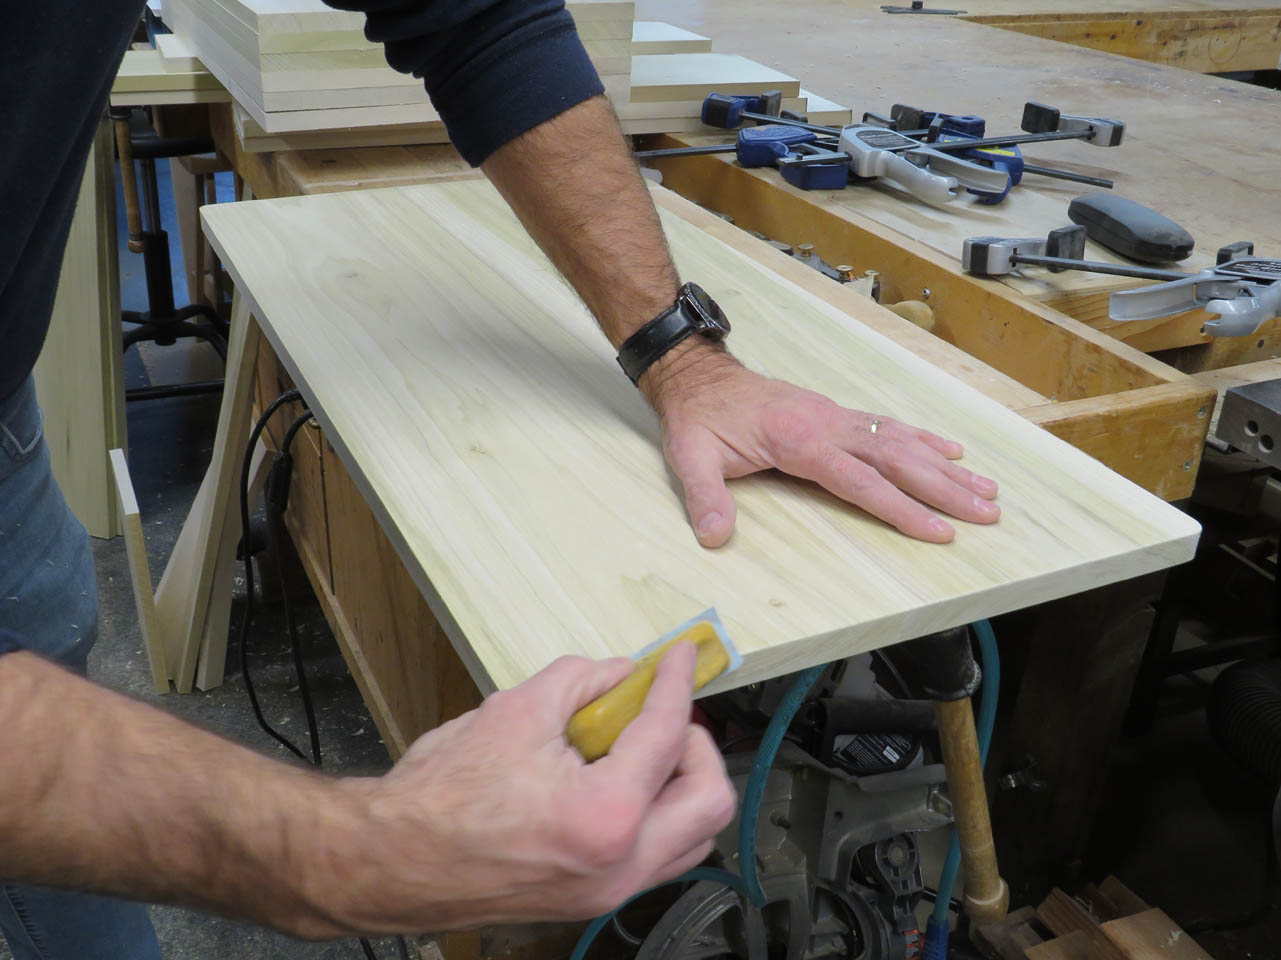
Then all I need to do is a little sanding on the corners and I use the hand sanding block to break all of the sharp edges.
Next up, it is time to cut the back plate and the French cleat. I set the table saw blade to 45° to cut these. Since the plate and the cleat rest on each other, I can actually cut them both from the same piece if it is wide enough.
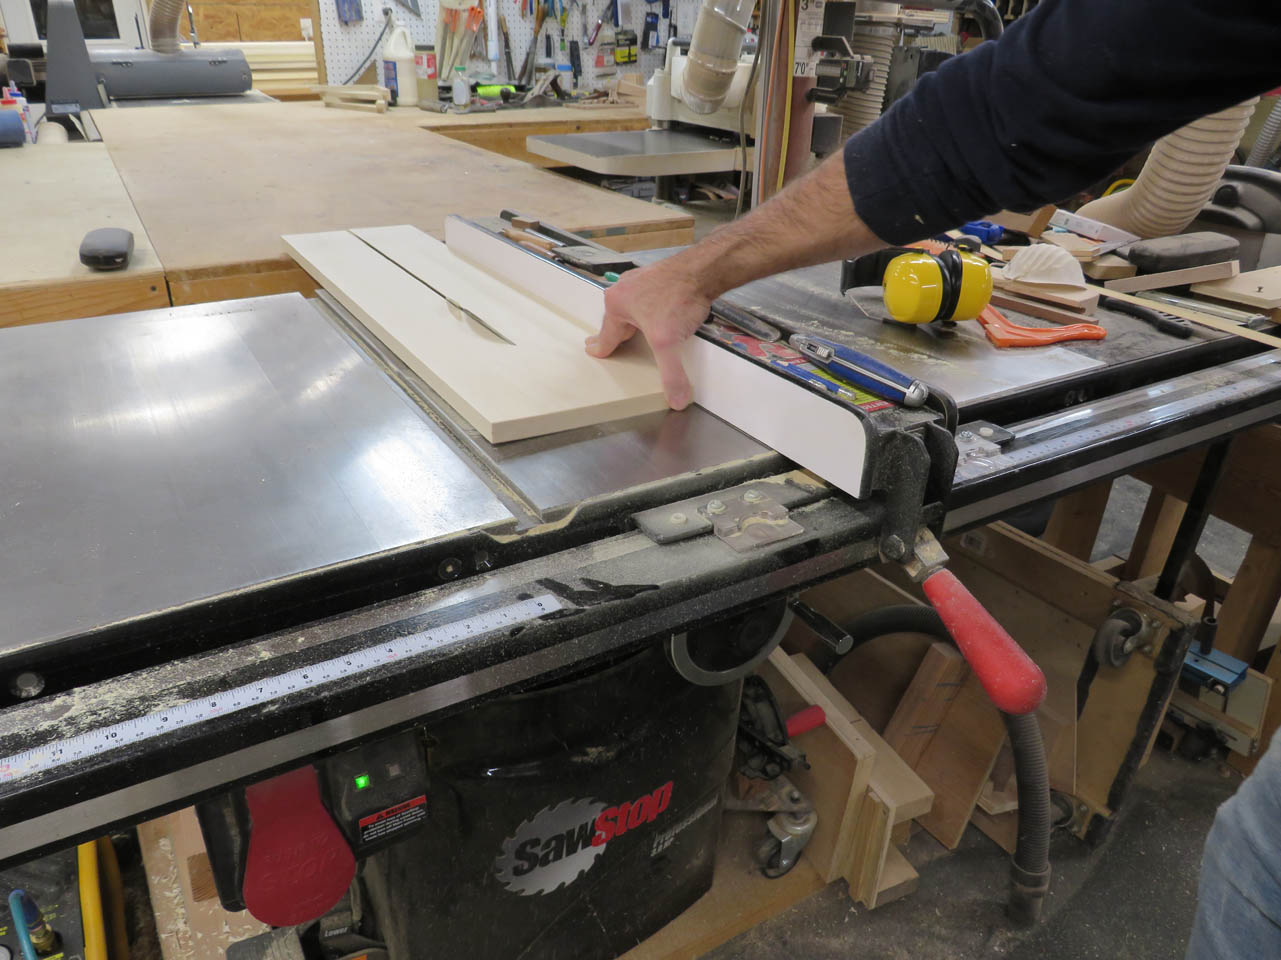

The inner overlay plate was cut to width and the two bevels applied with the 45° saw blade.
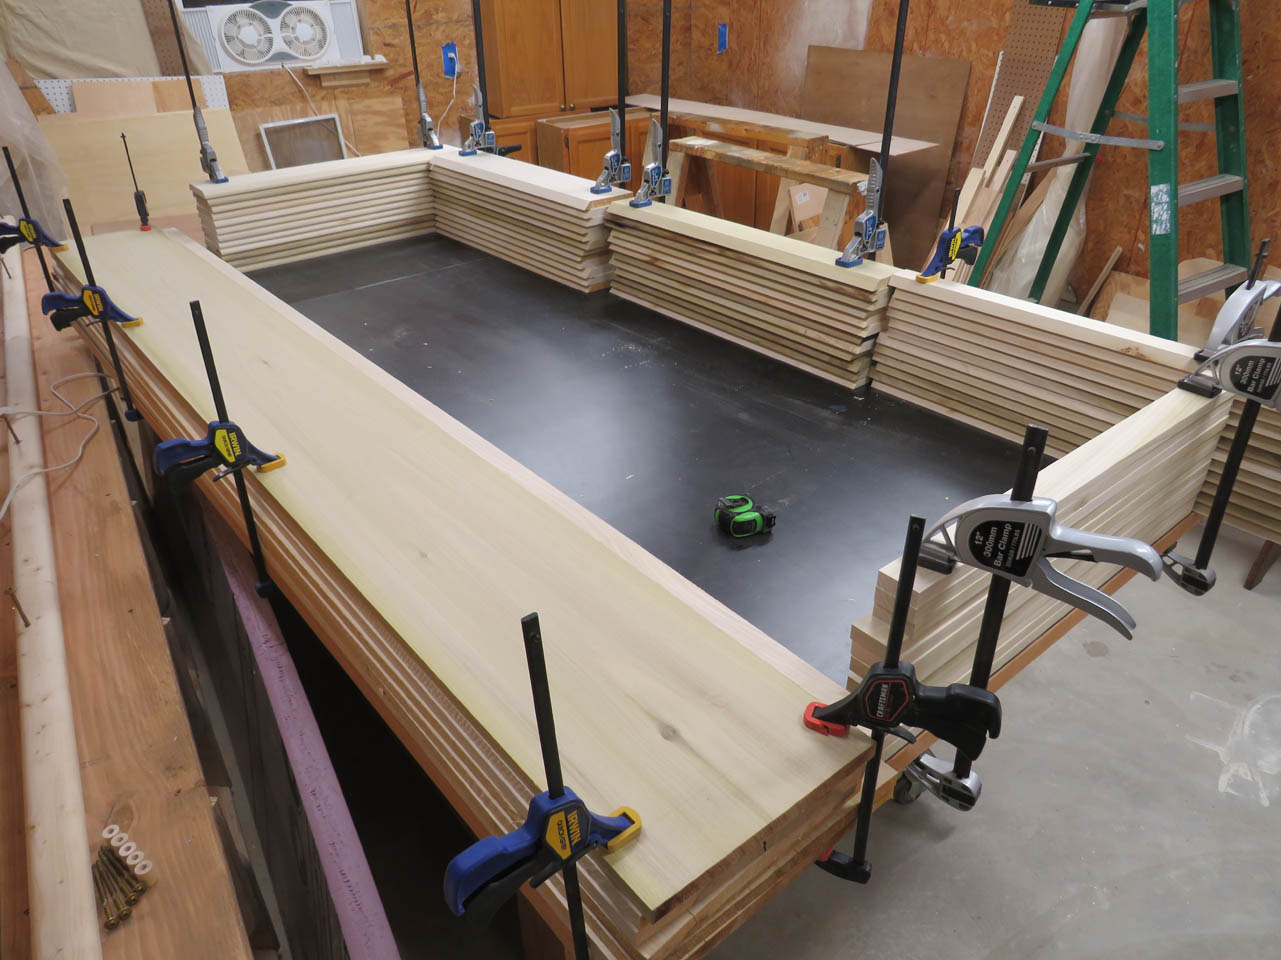
I finished cutting all the rest of the long pieces to rough length as well.
These were also clamped flat until they could be cut to final length and assembled. This normally is not required when I am making one of something but I am making 12 of these so every step takes 12 times longer. I prefer to clamp everything down to prevent twisting after they have been cut and planed.
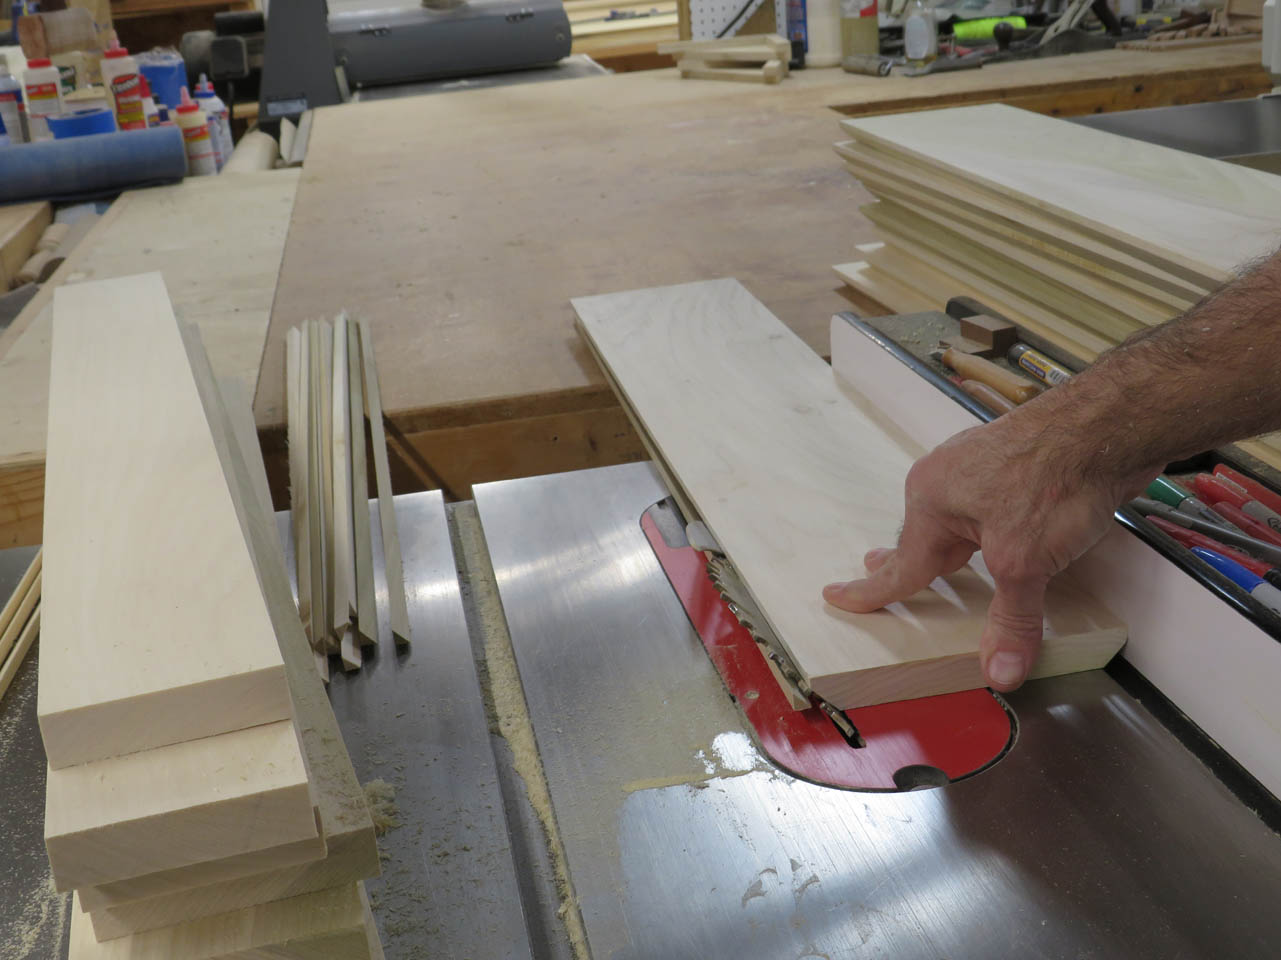
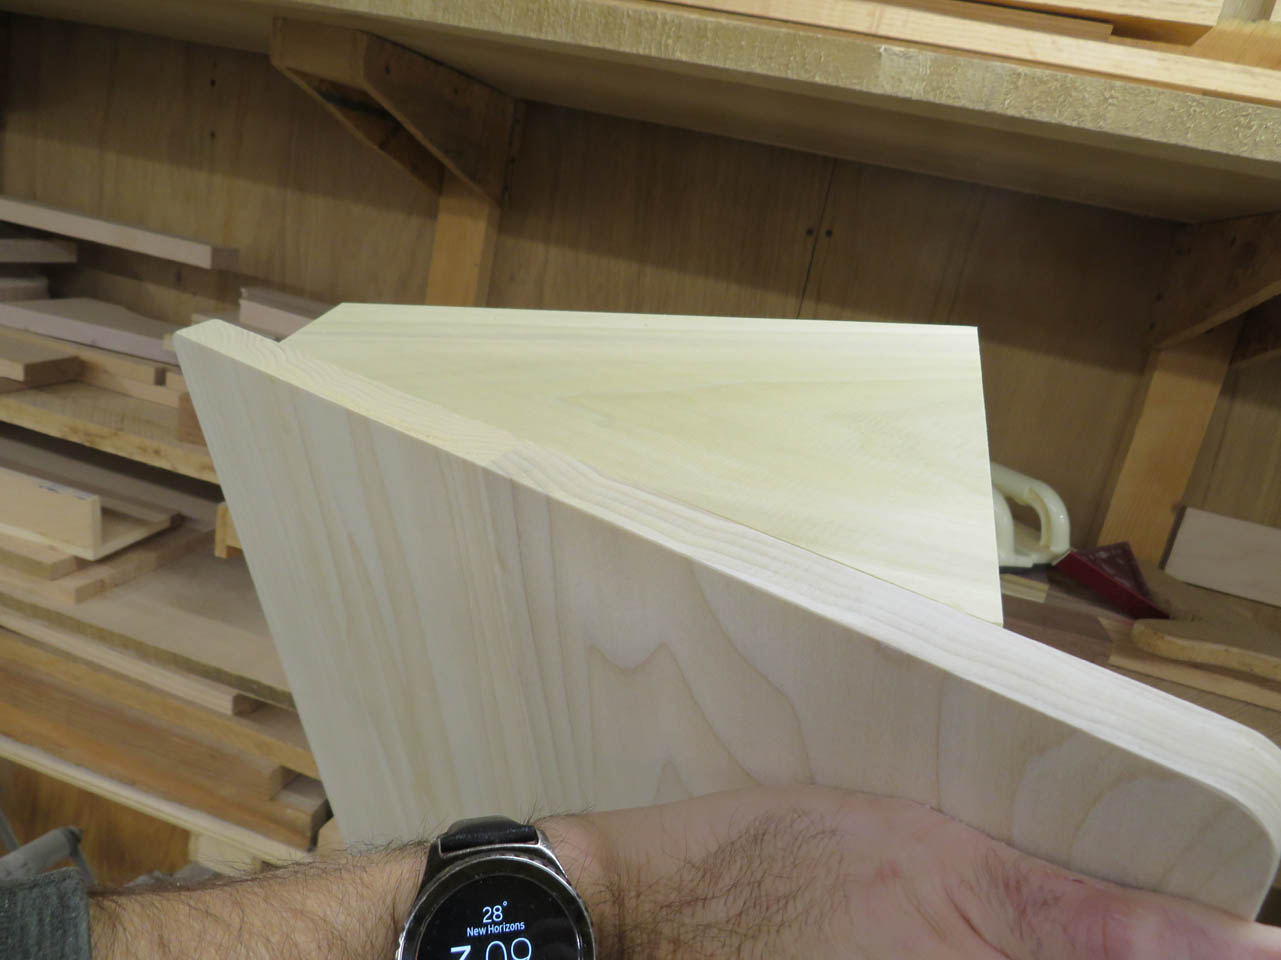
Time to cut the side pieces. I cut the overall blank to size on the table saw.

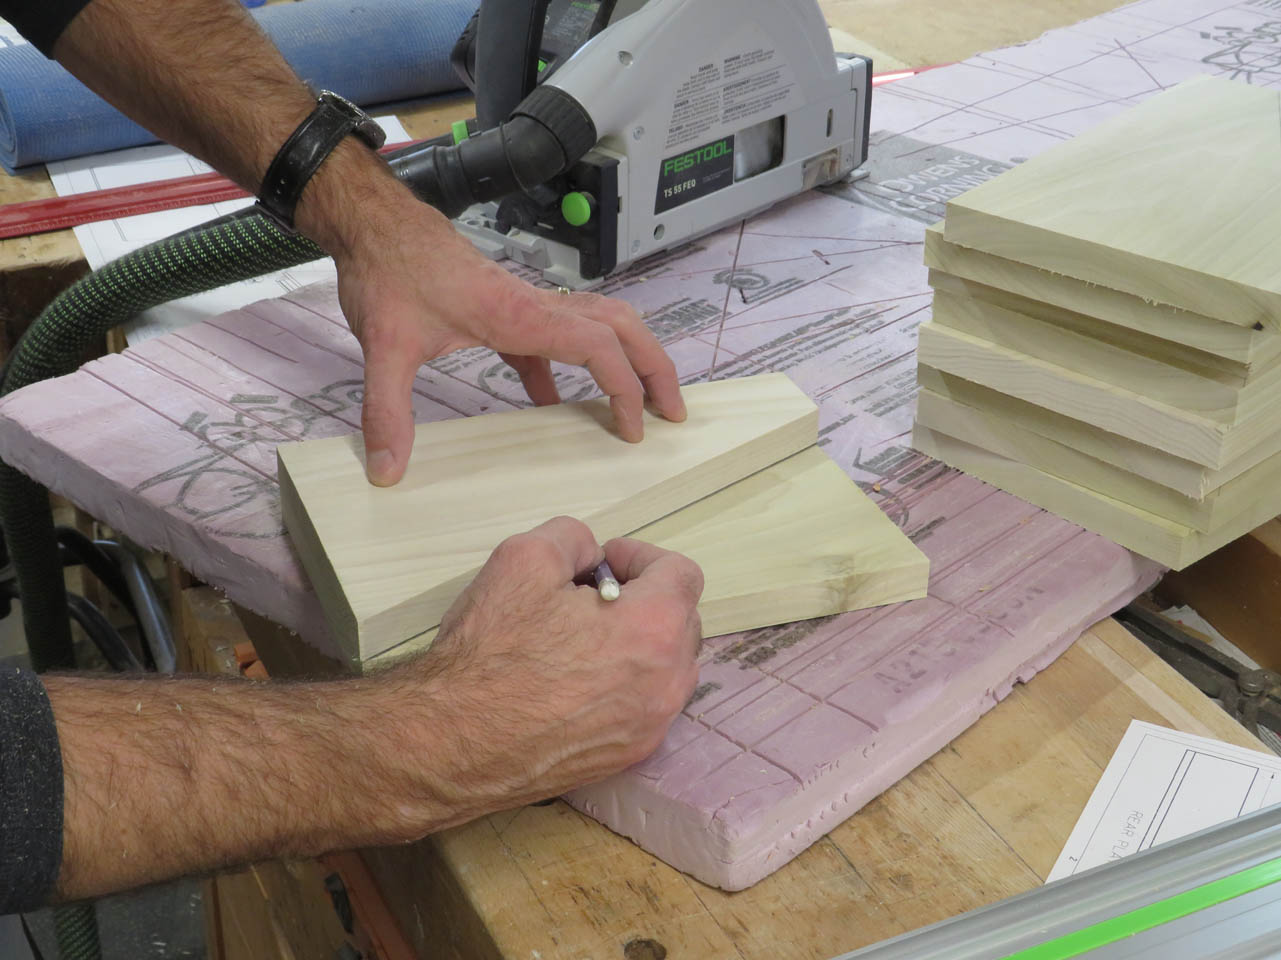
These all get a 25° angle cut on one side so I marked the first piece and used my track saw to cut the angle.
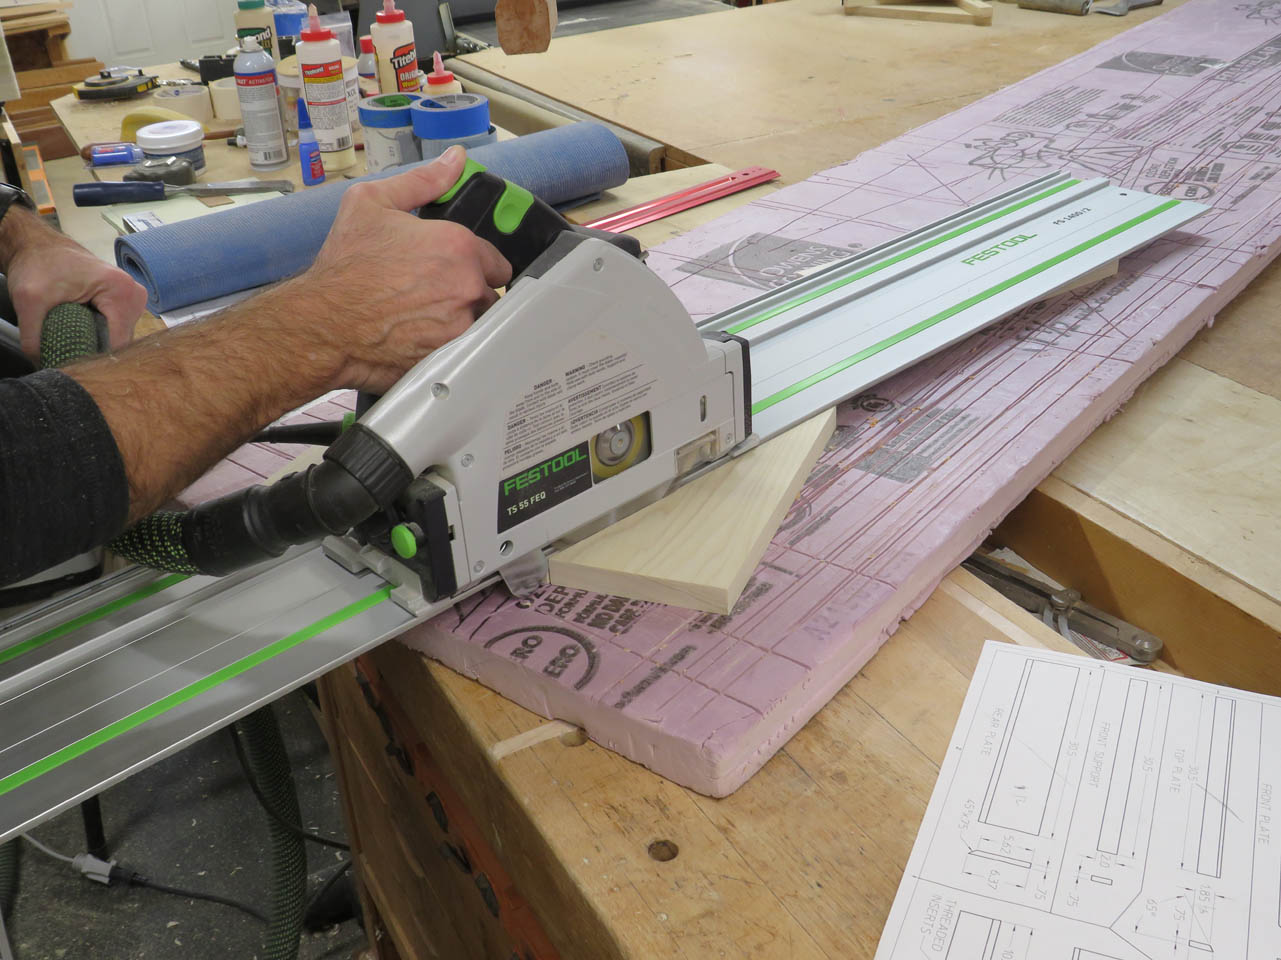
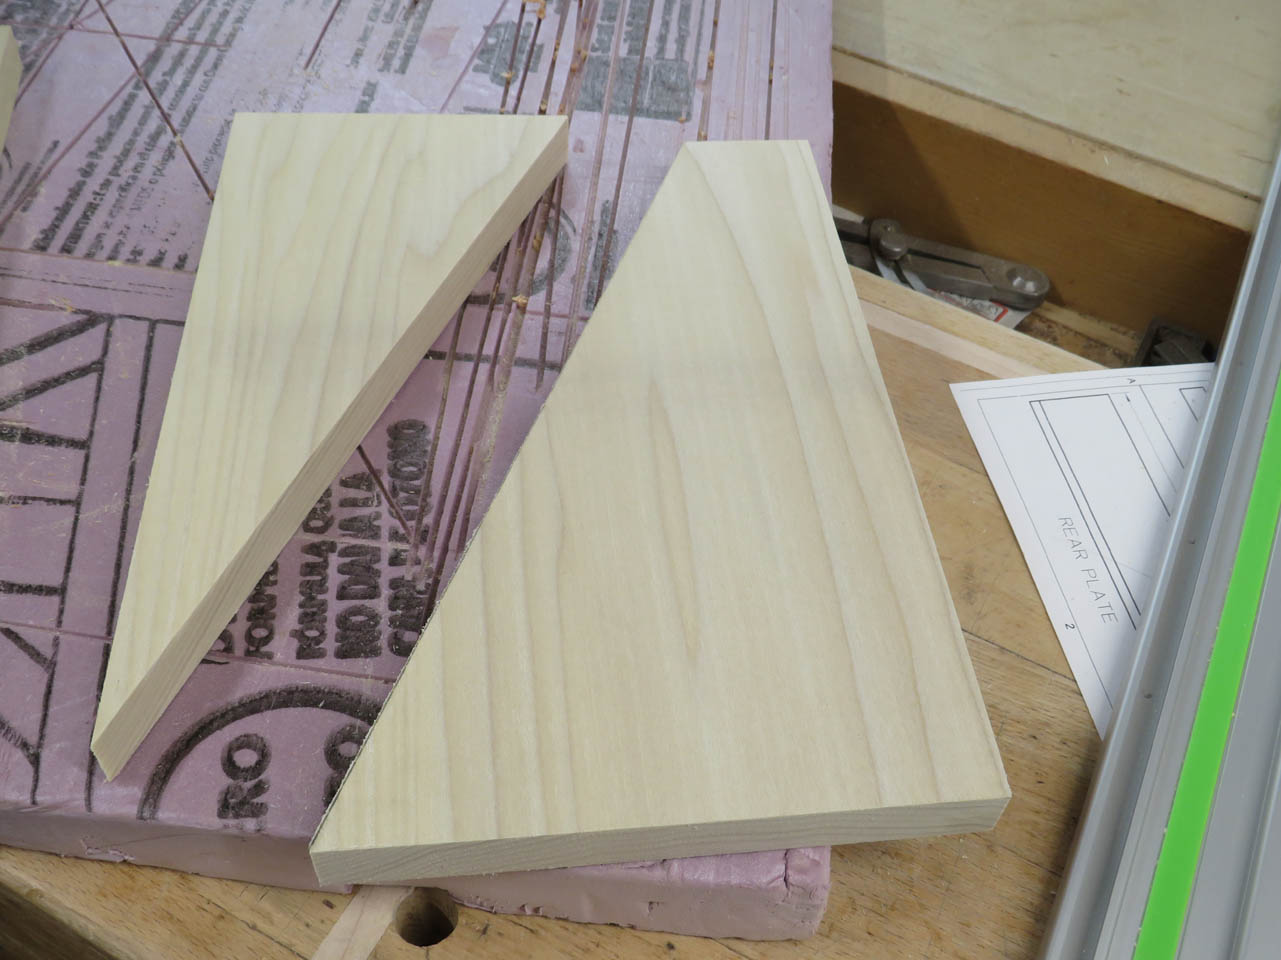
This first piece then became the pattern to mark all of the rest.
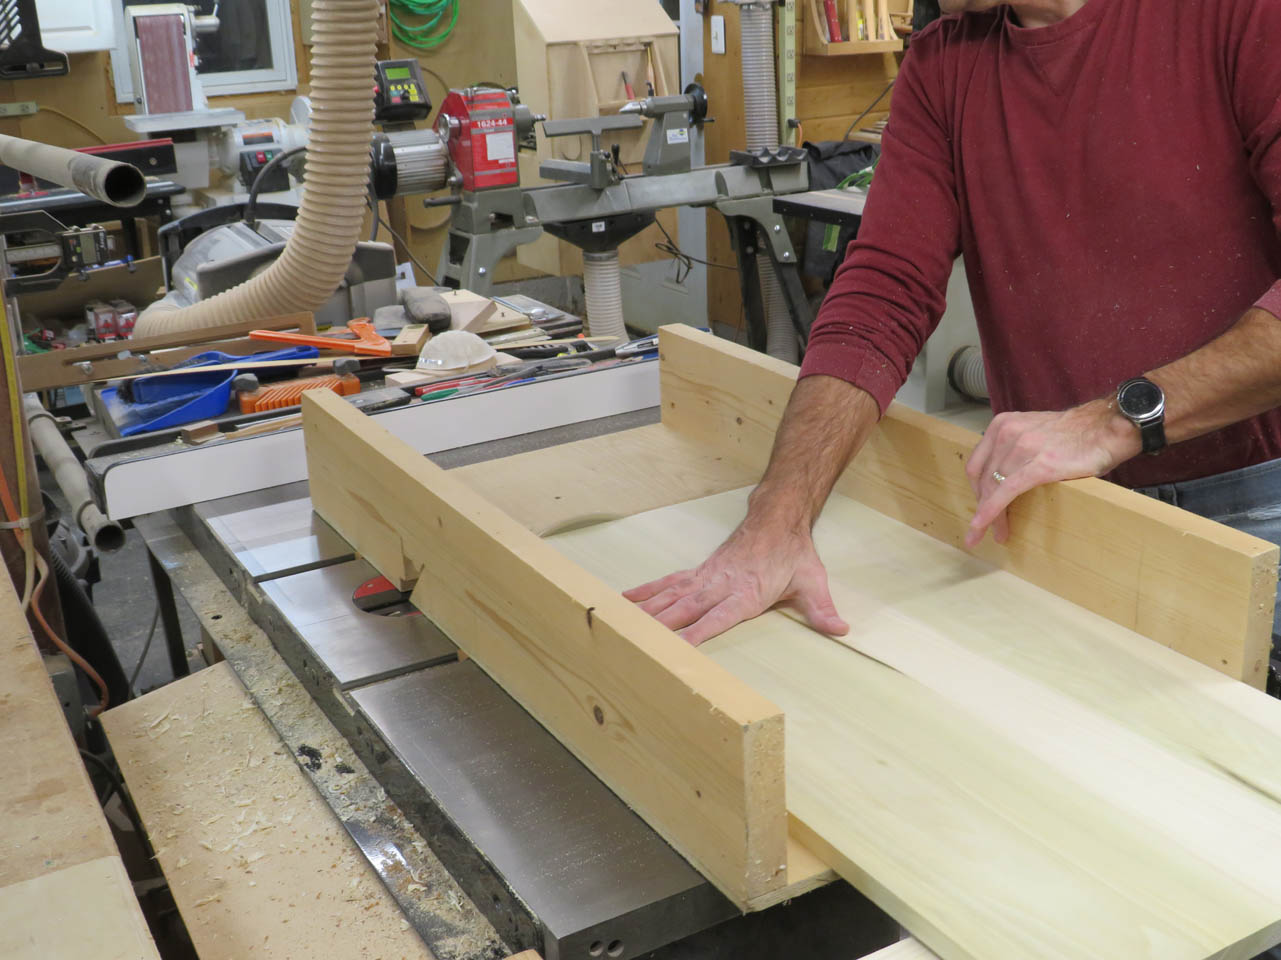
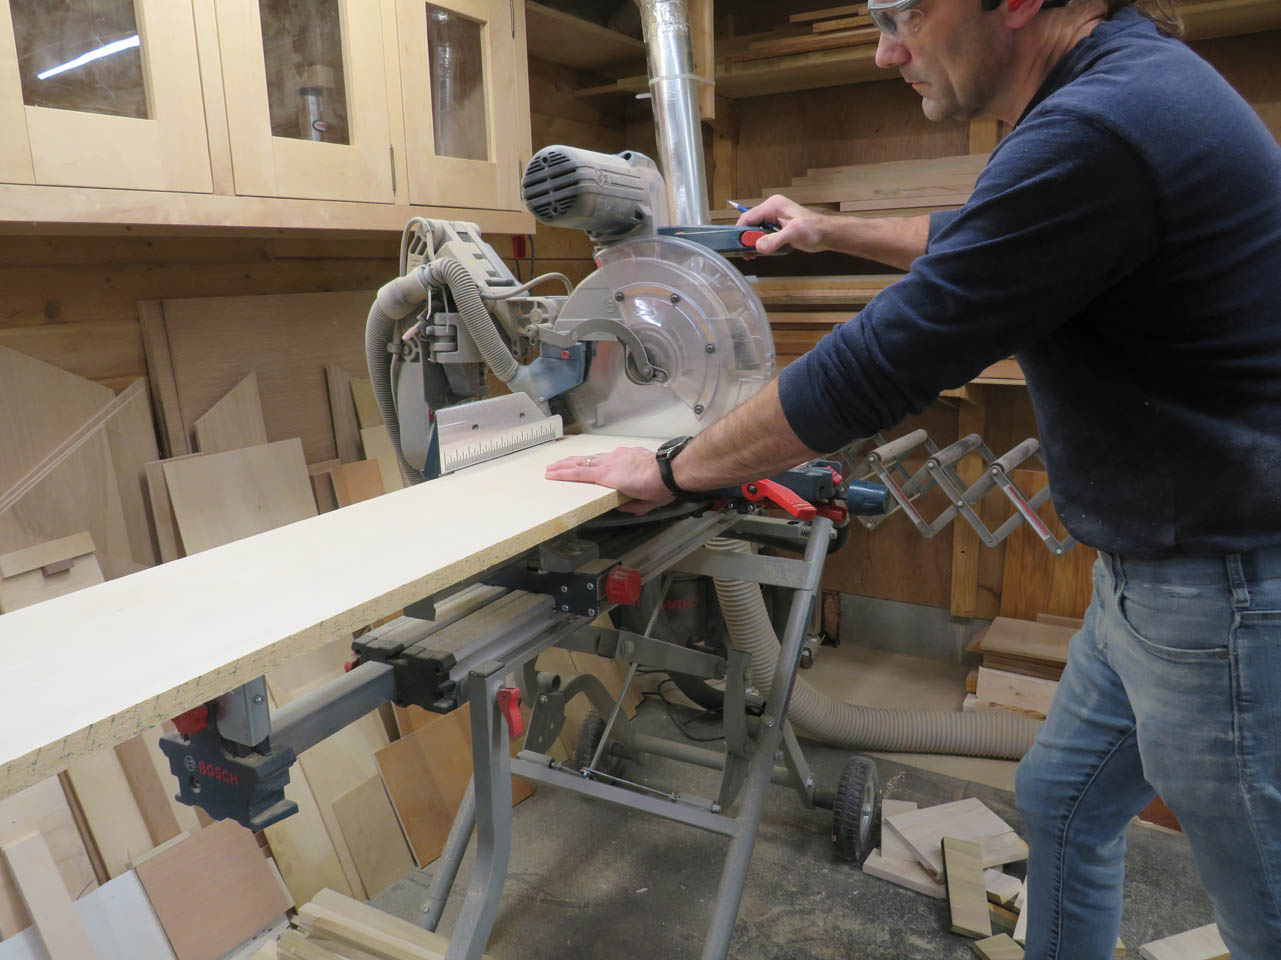
To insure that all the long pieces, of each rail, were the exact same length, I sorted out 12 separate sets and clamped them together to cut to length.
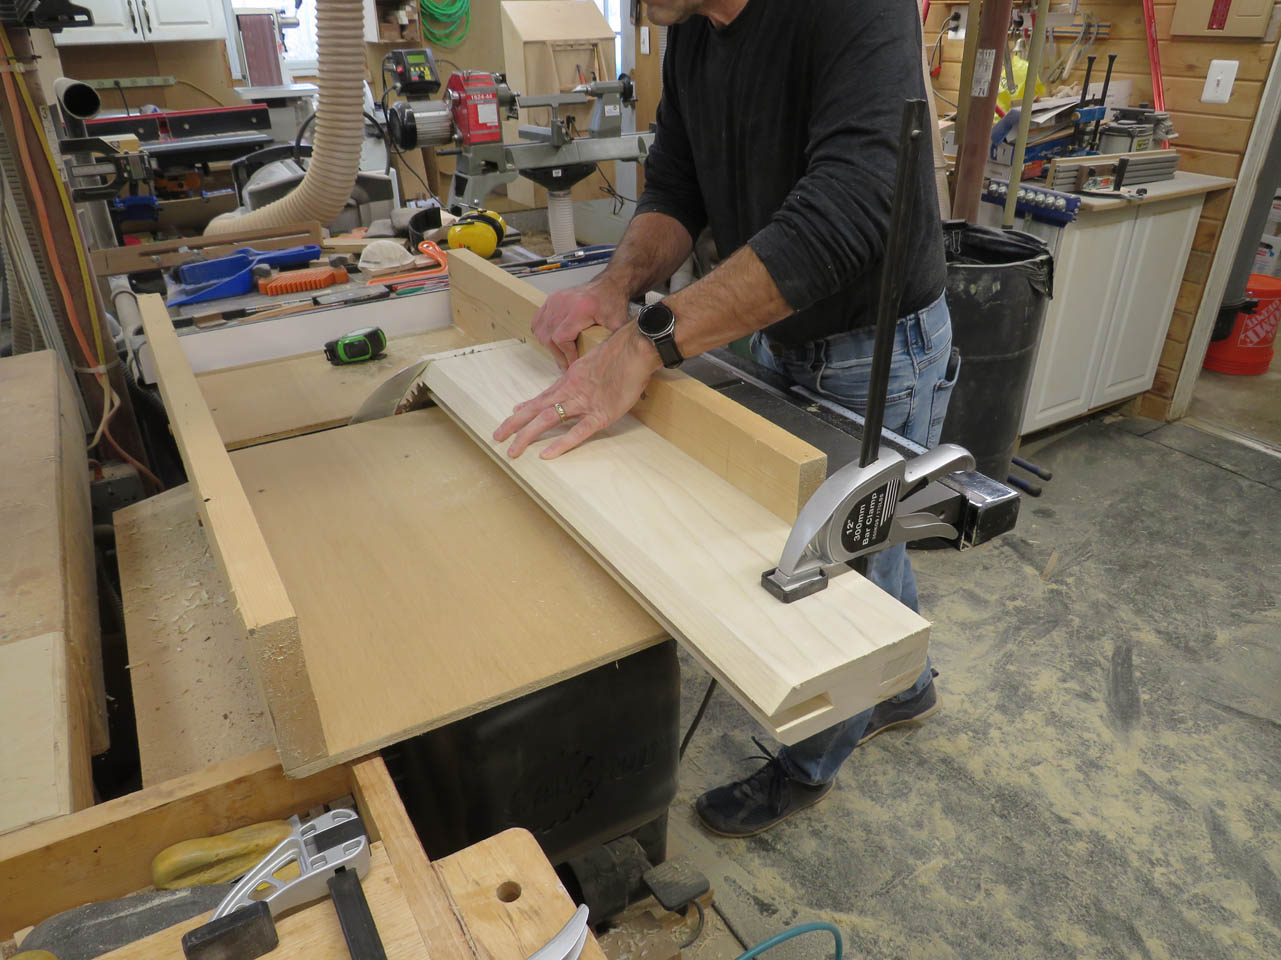
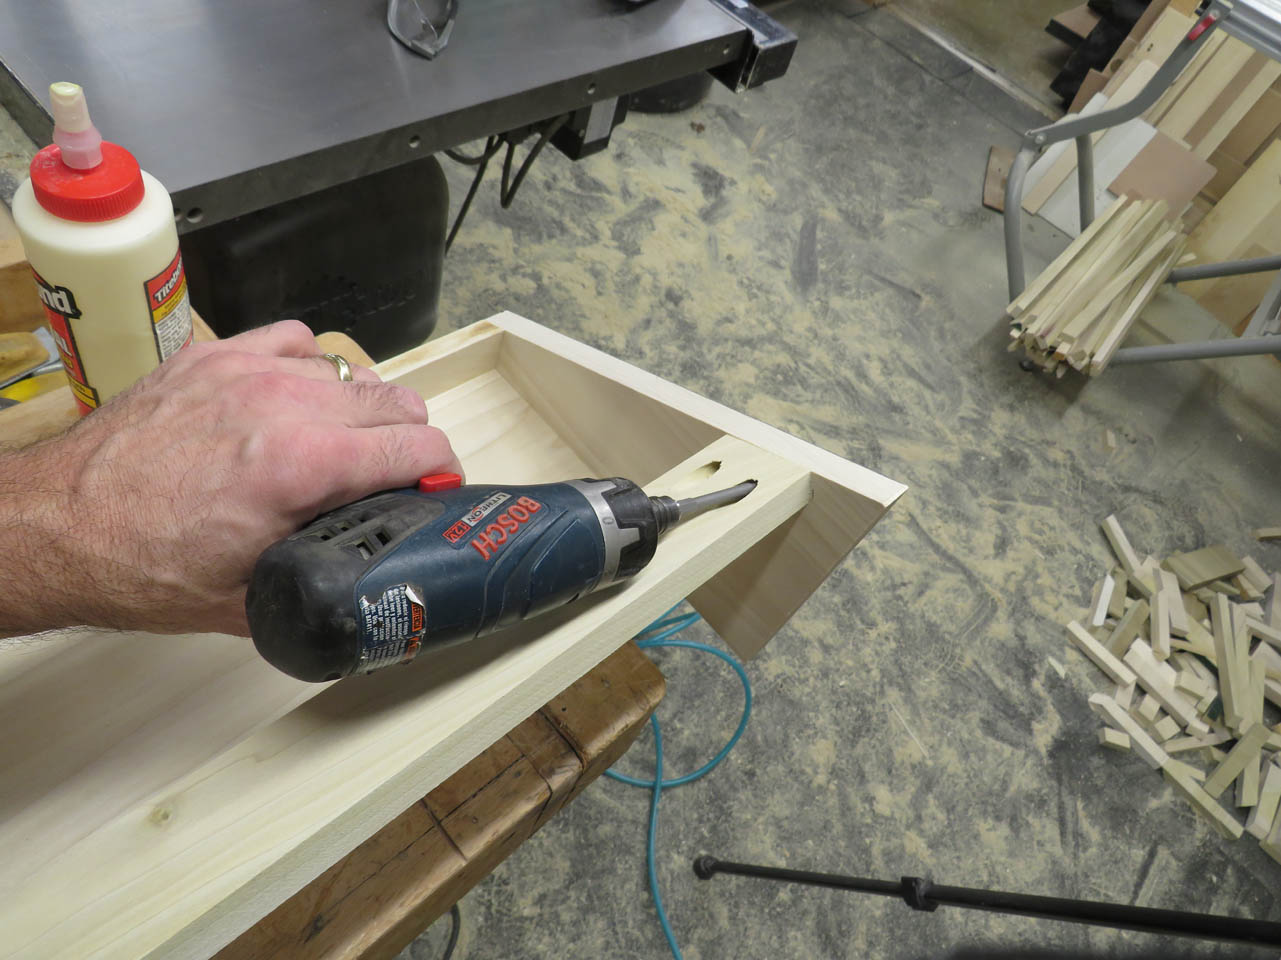
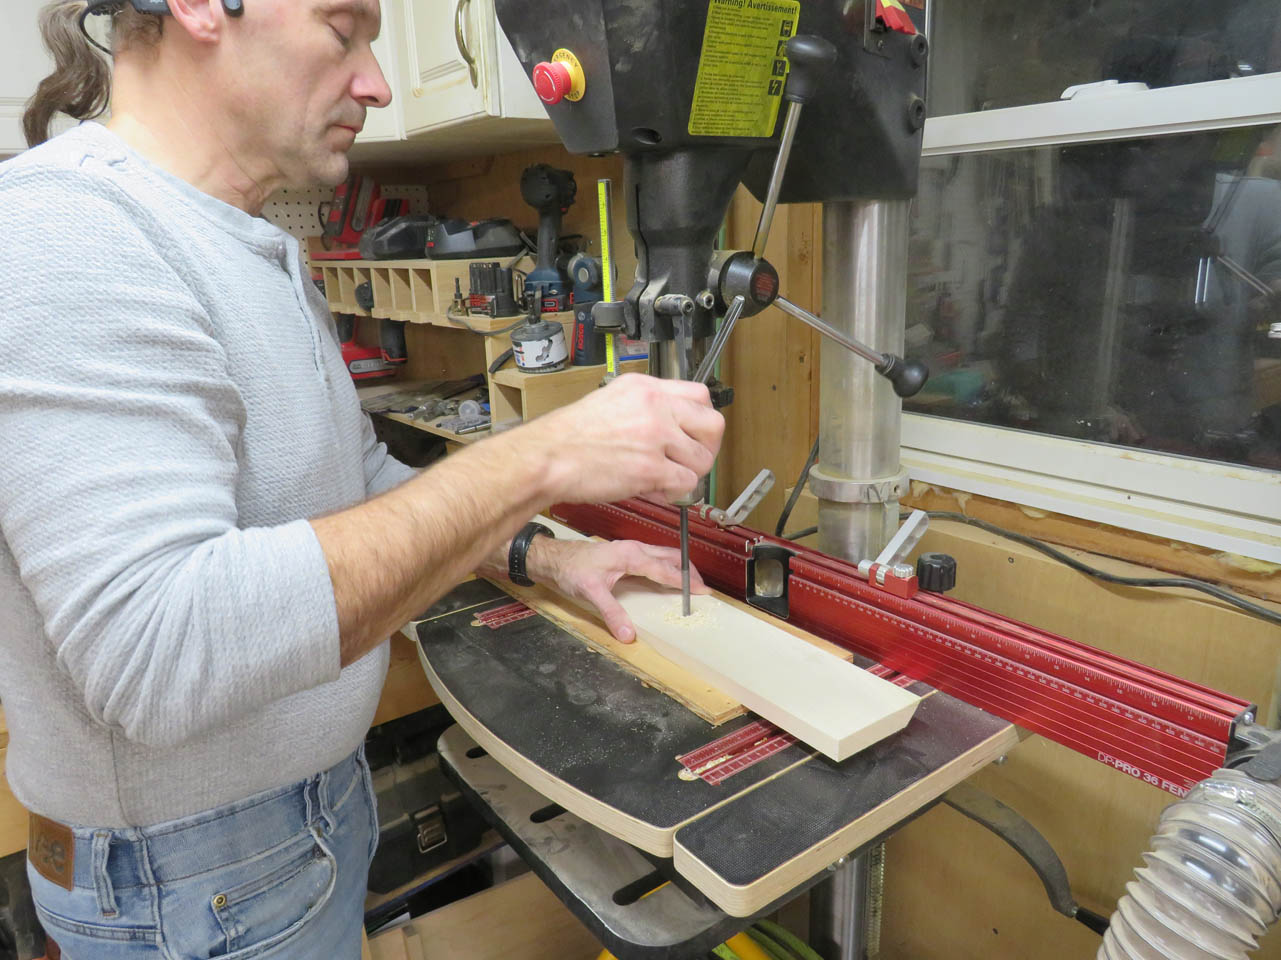
I worked on each matched set separately so they didn’t get mixed up. I drilled screw pockets into the front support and rear rail, prior to assembly.
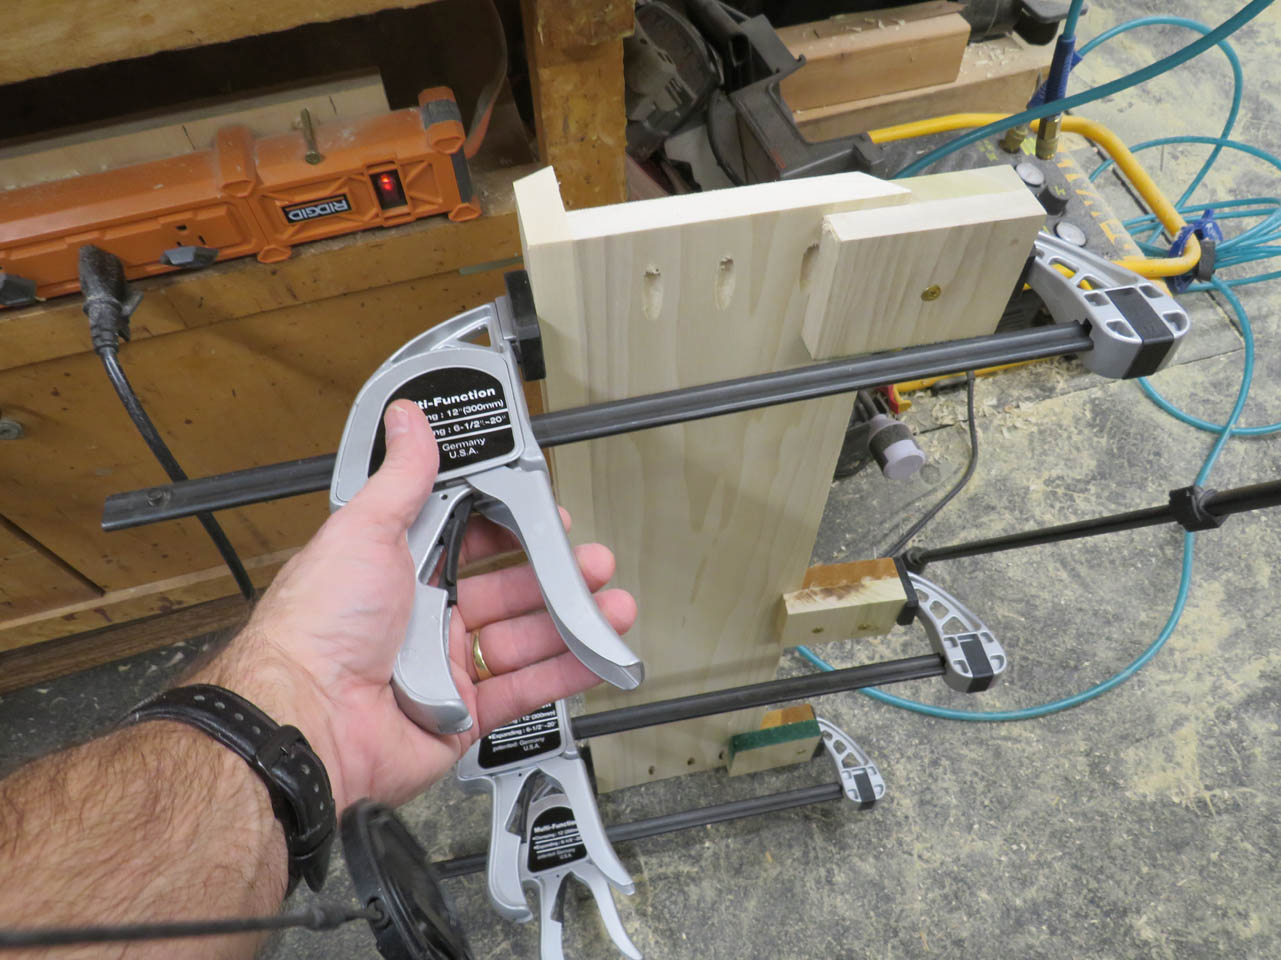
The first step of assembly will be attaching the top and rear rail to each other. This will be difficult because they both have beveled ends which are hard to clamp. I applied glue to the top of the rear plate then lined up the top plate for clamping.
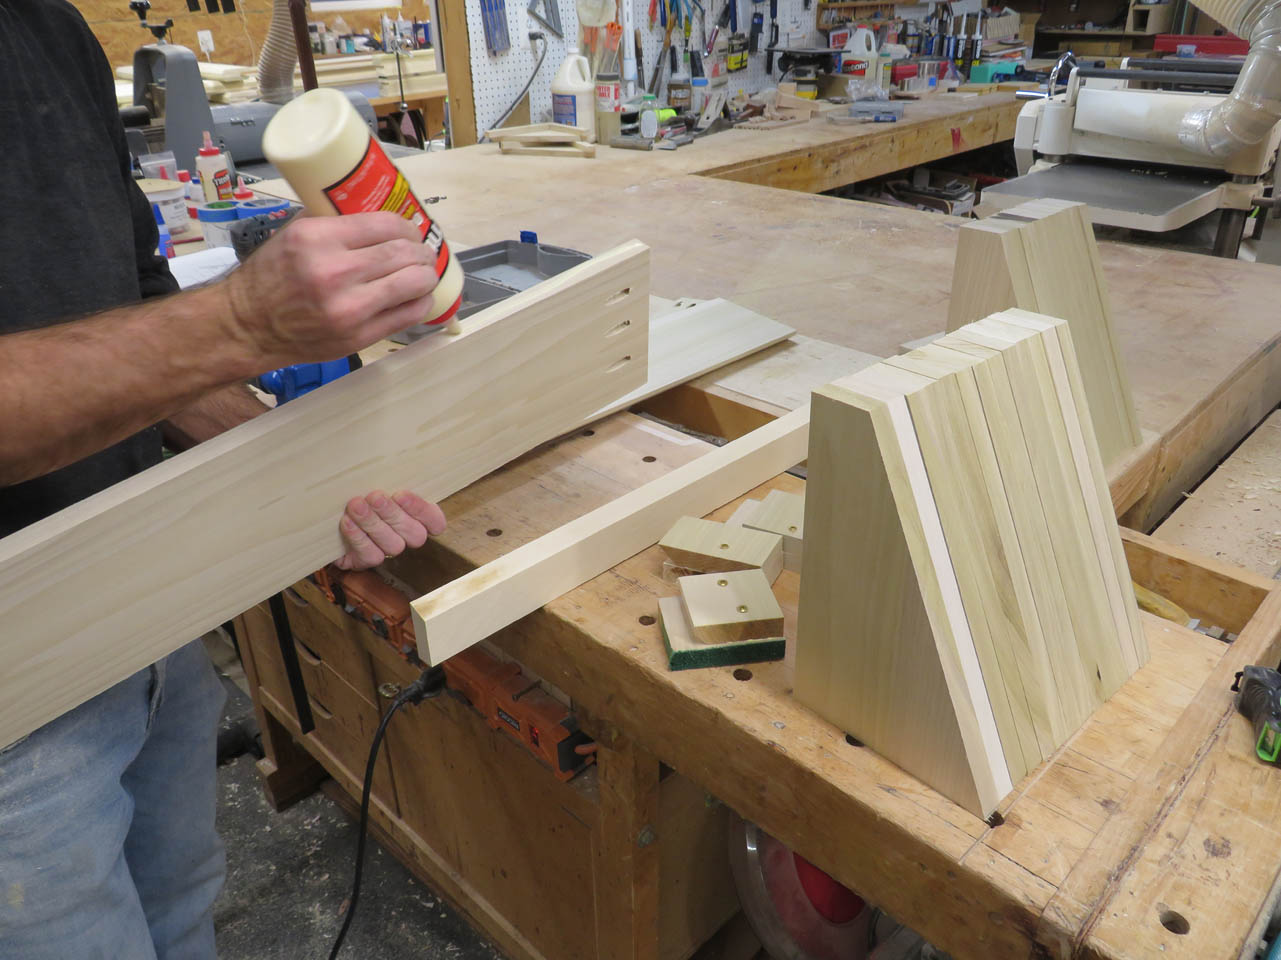
I made up some blocks to prevent the clamps from damaging the beveled edges and clamped them in place.
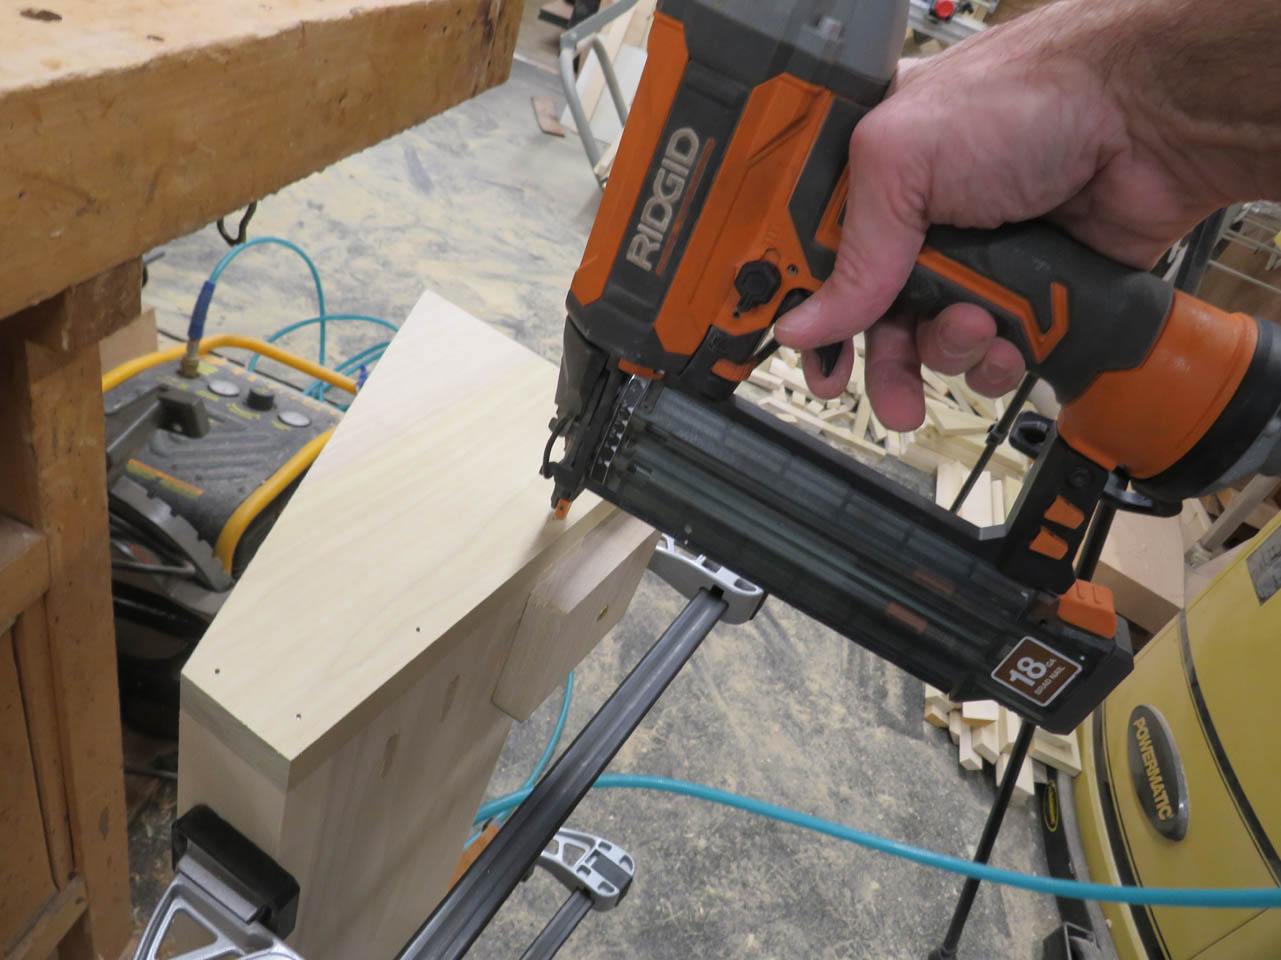
While they were drying, I applied glue to the side edges and attached the side pieces with 18 gauge brad nails.
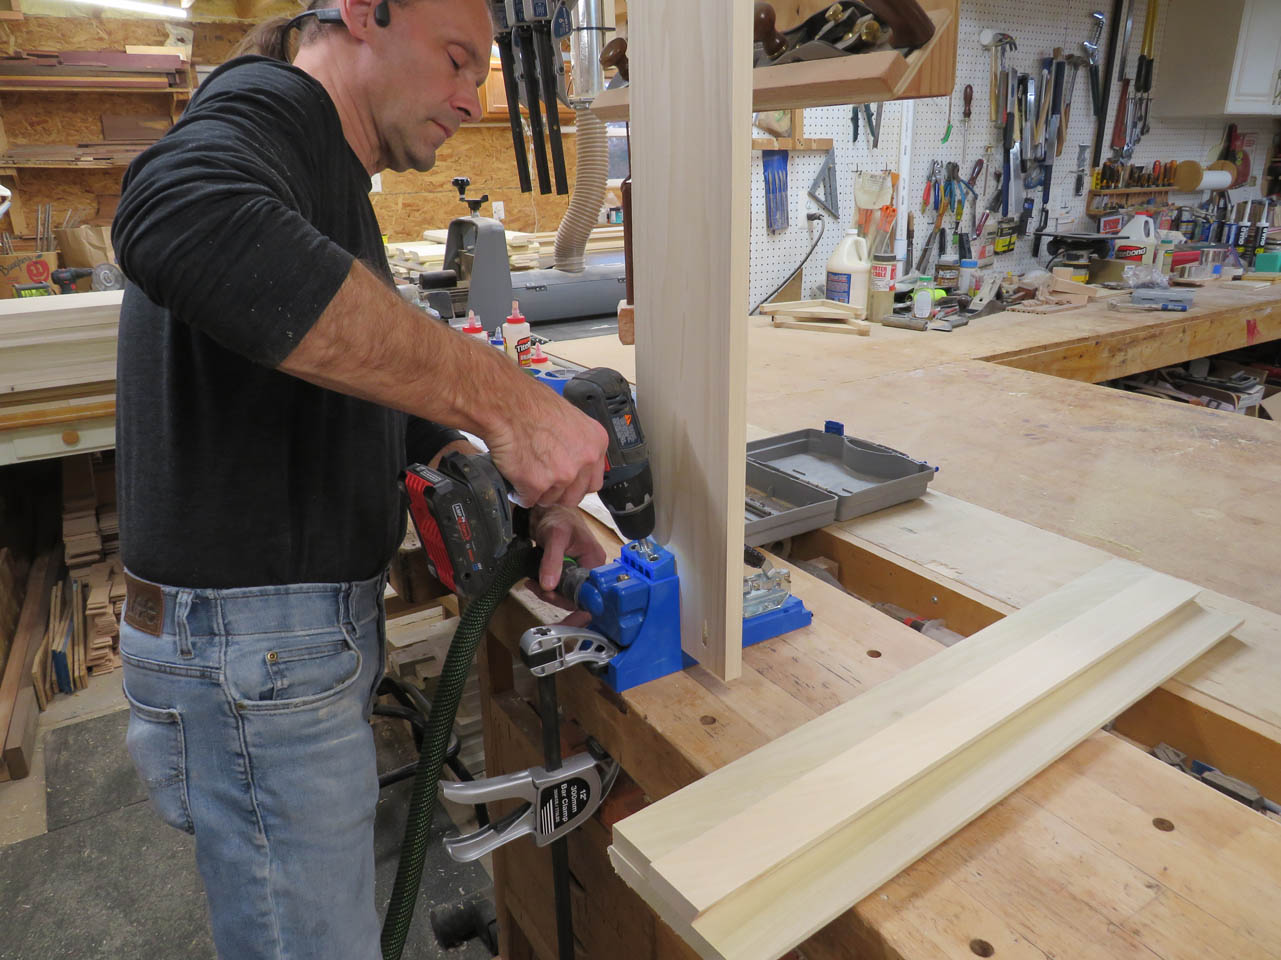
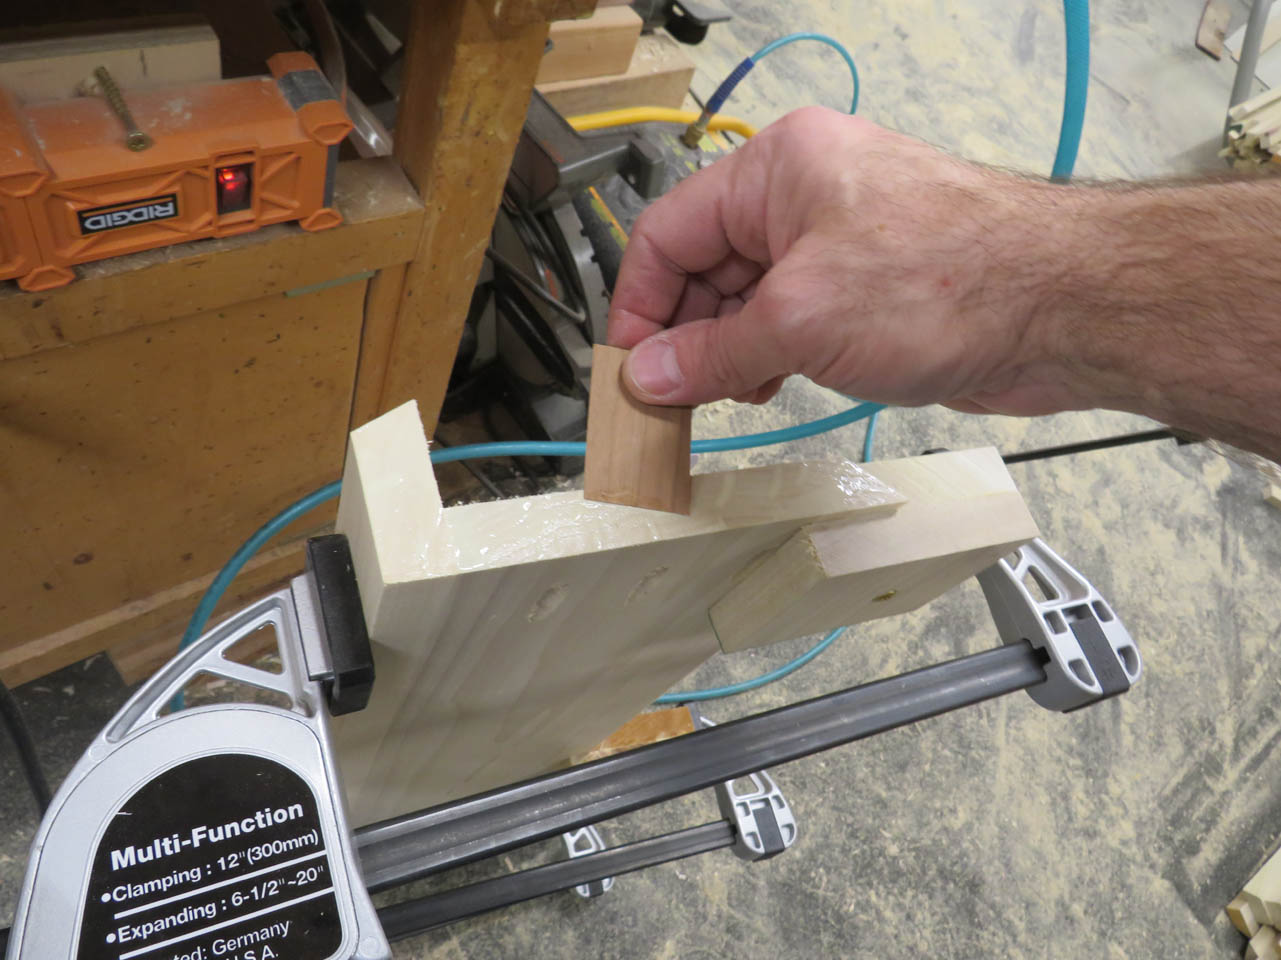
With the sides in place, I can now attach the front support rail and the rear plate with the pocket hole screws.
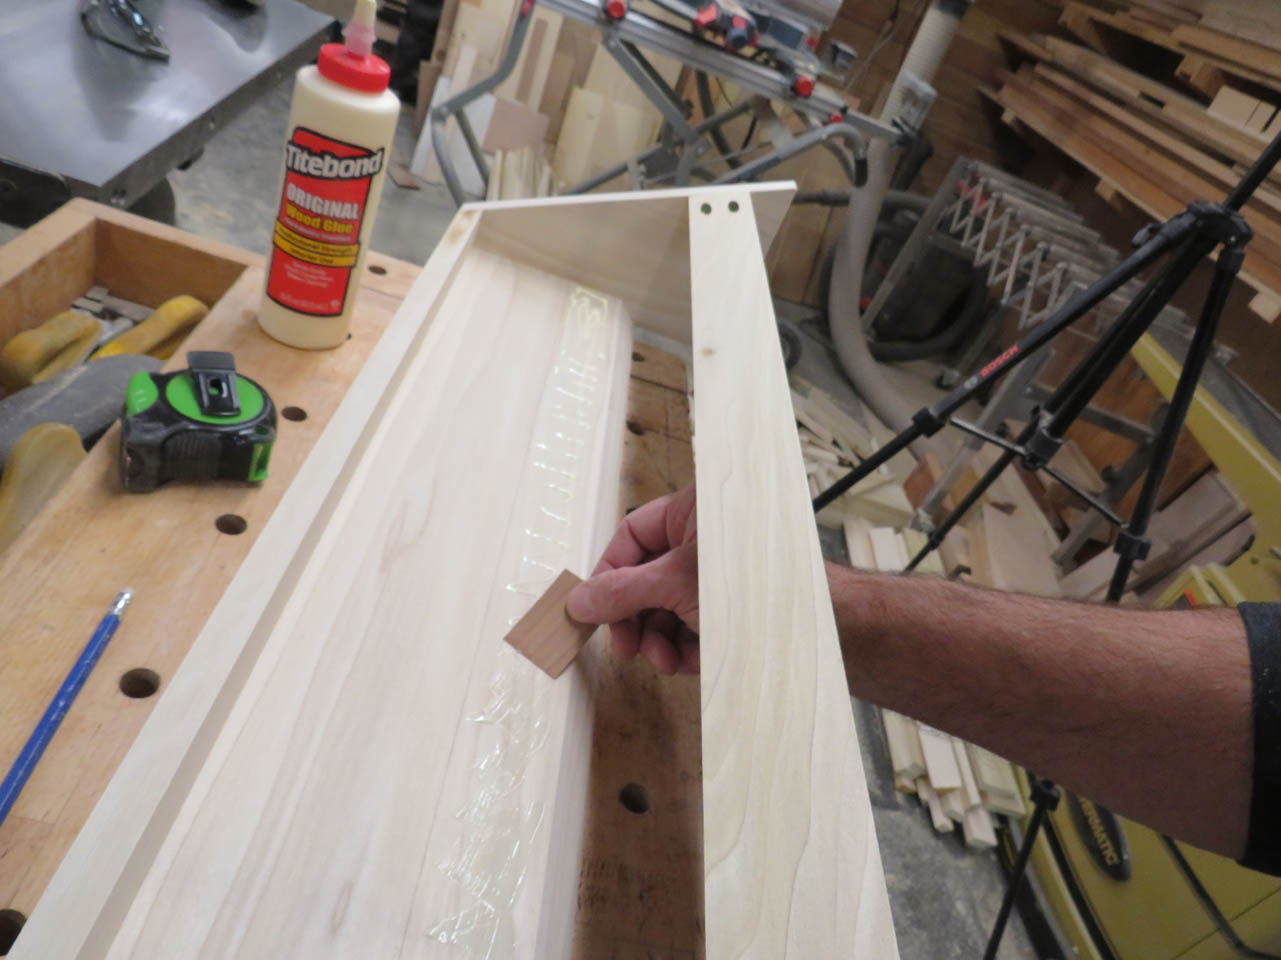
After locating the inner overlay plate and marking it’s location, I can apply more glue.
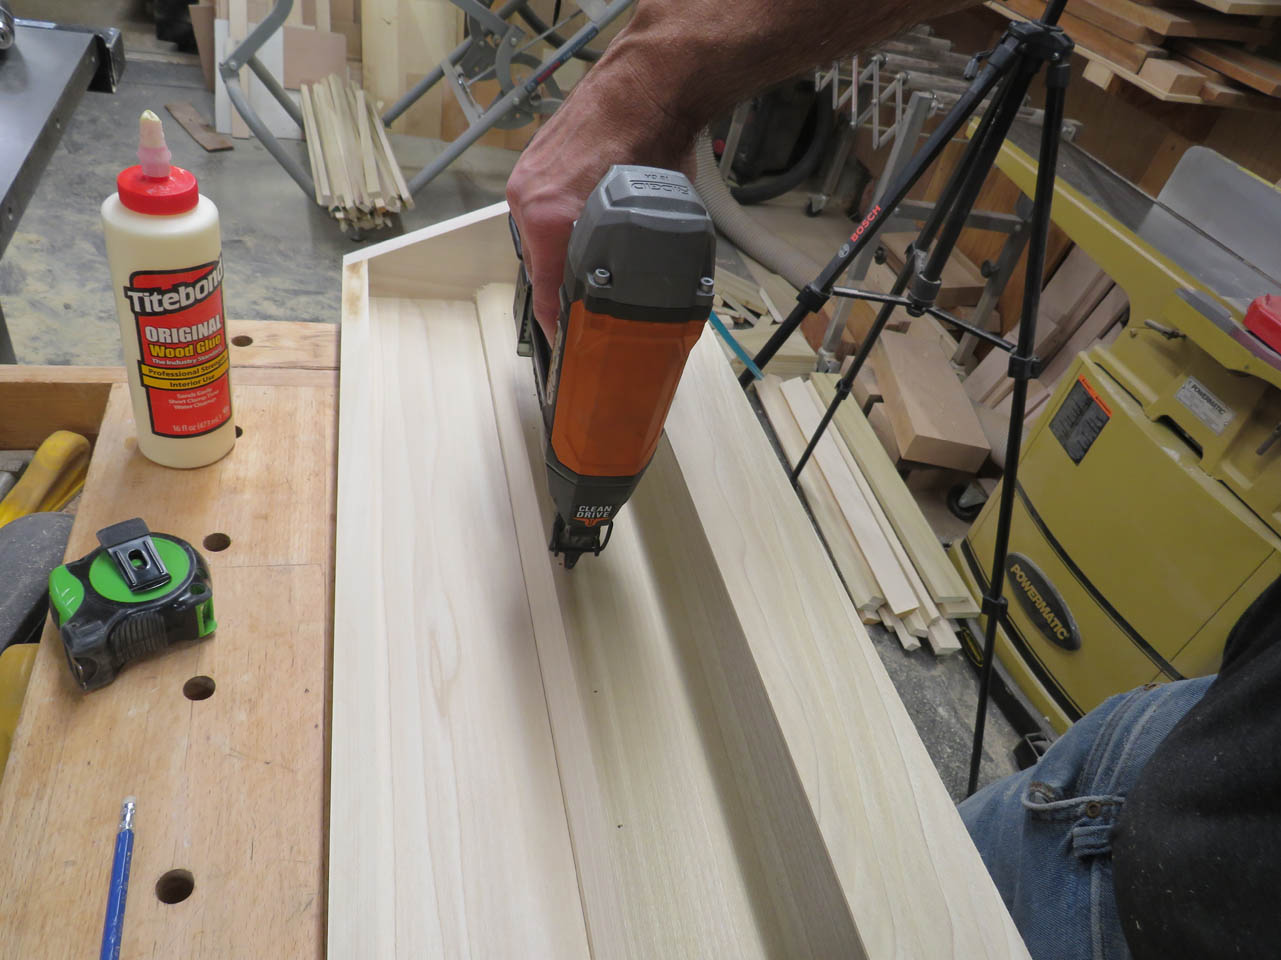
Then I brad nailed the overlay plate in place. This creates the pocket for the French cleat.
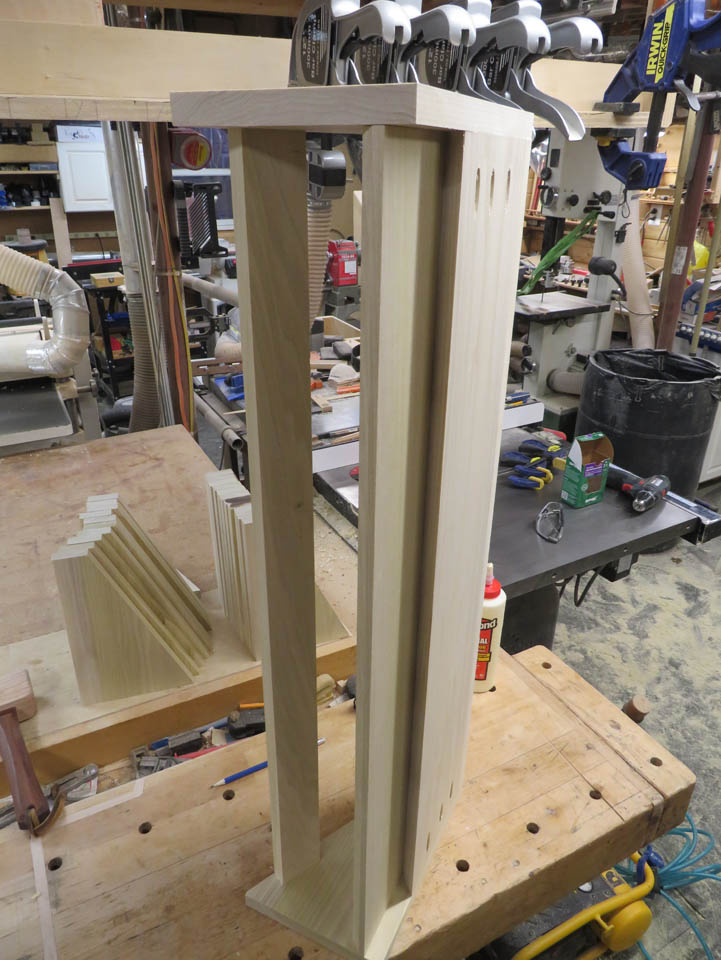
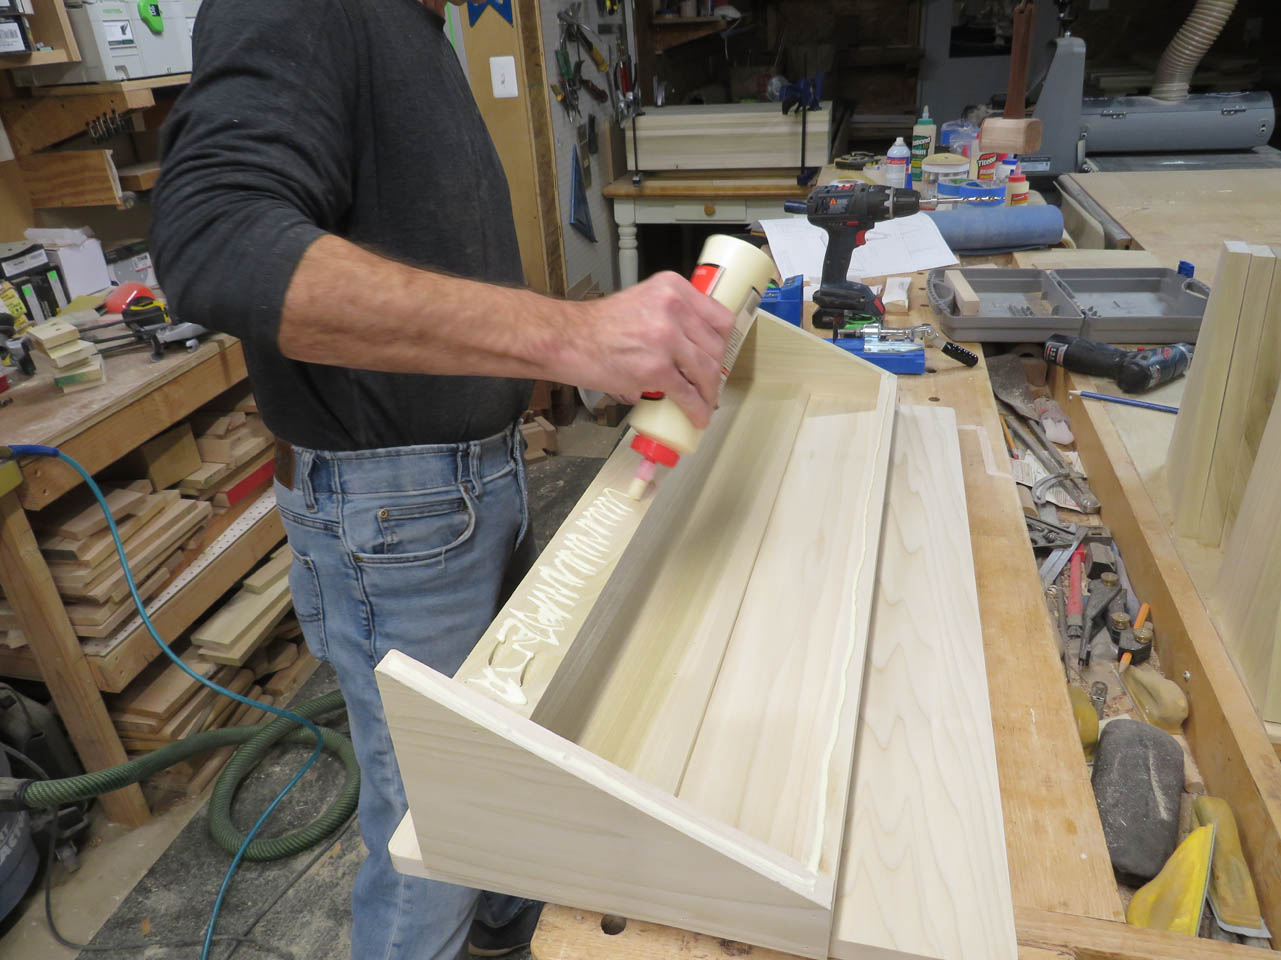
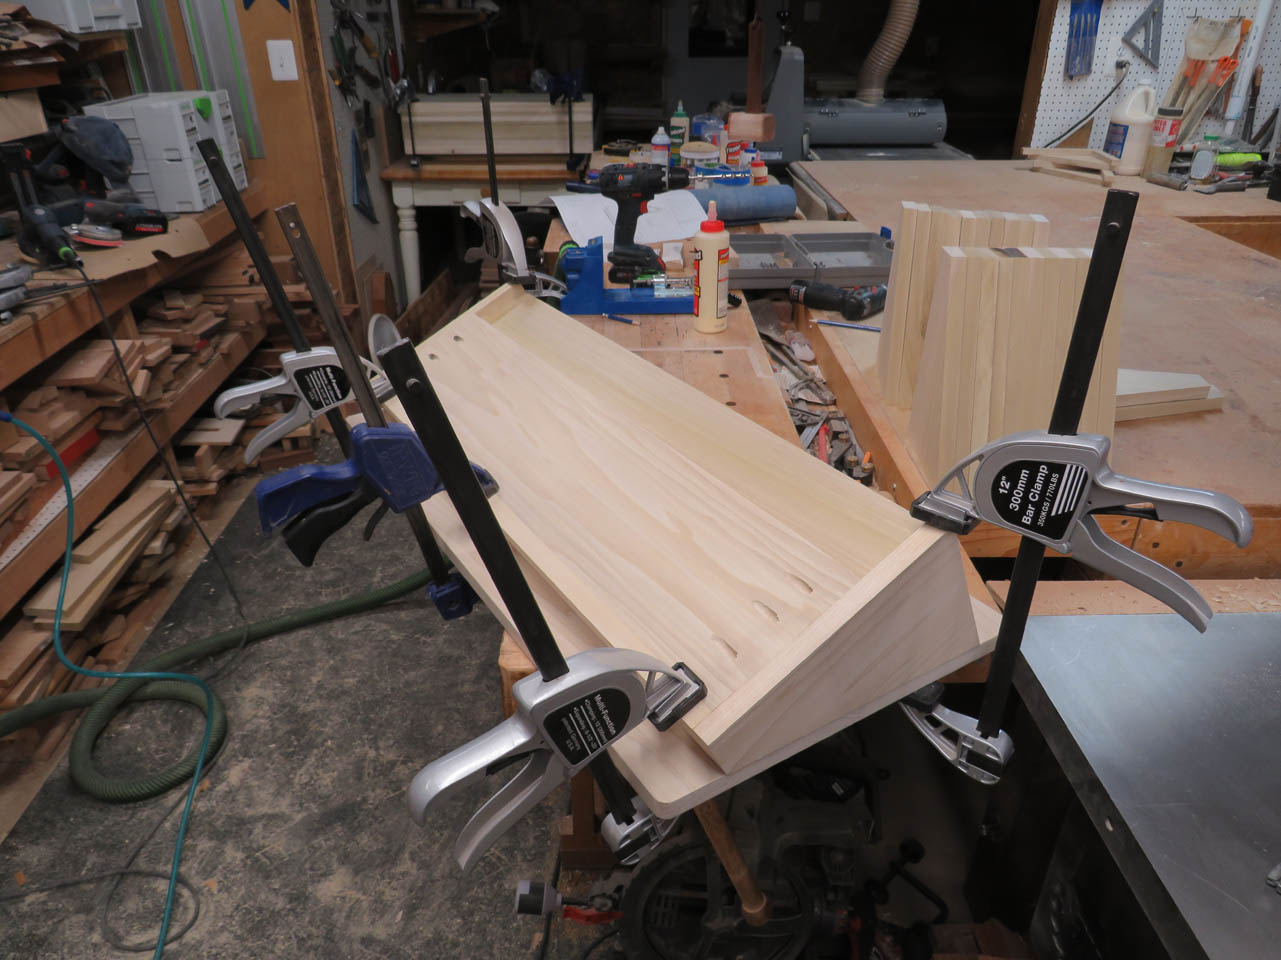
With the structure assembled, I can now apply glue to all of the front faces and clamp it to the front panel.

After assembling the first one, I determined that my bevel blocks needed to all be attached to make one single jig for assembly. The new jig was a lot easier to get setup for clamping the tops to the back plates.

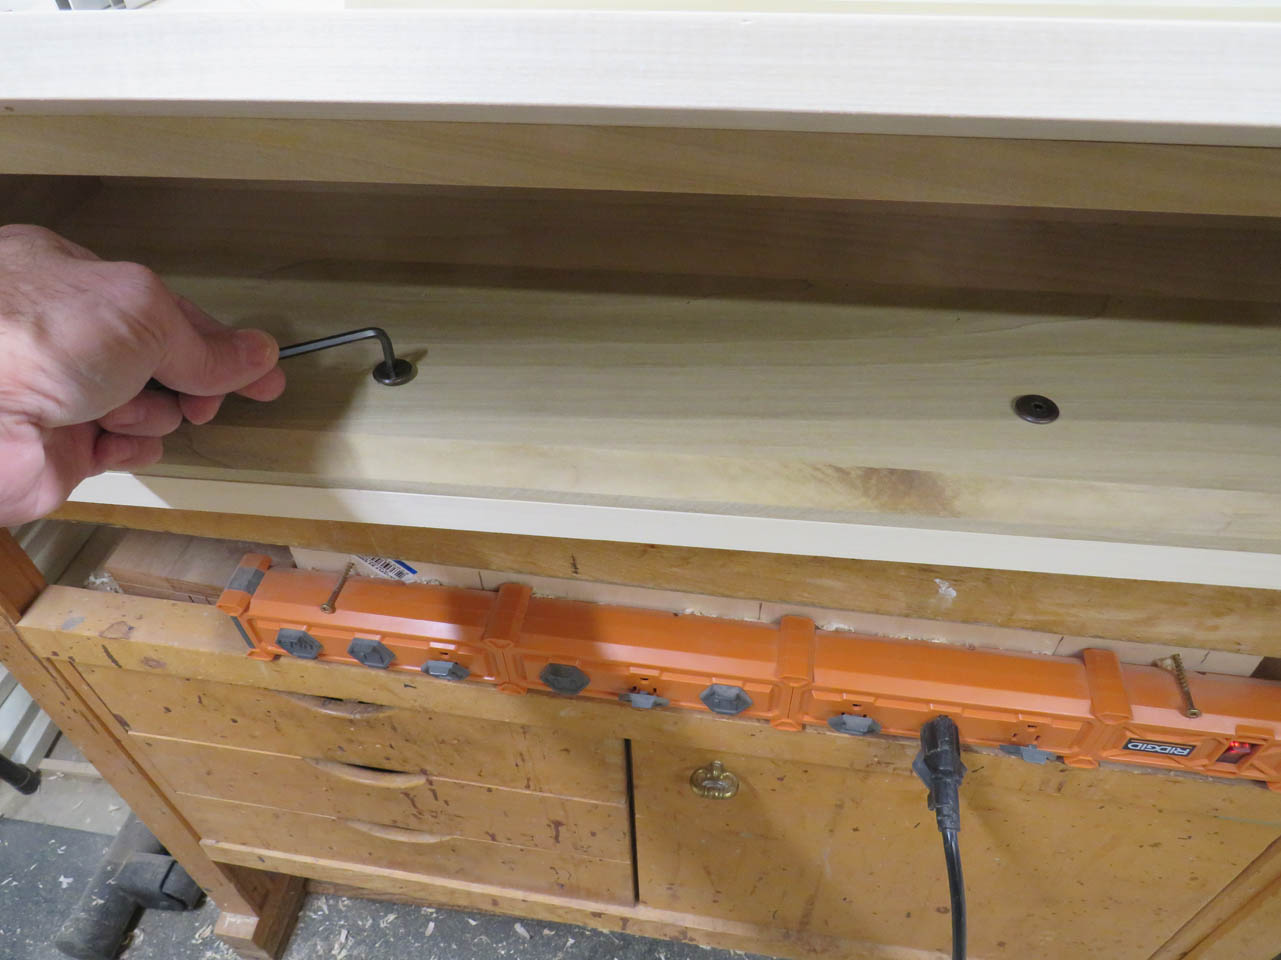
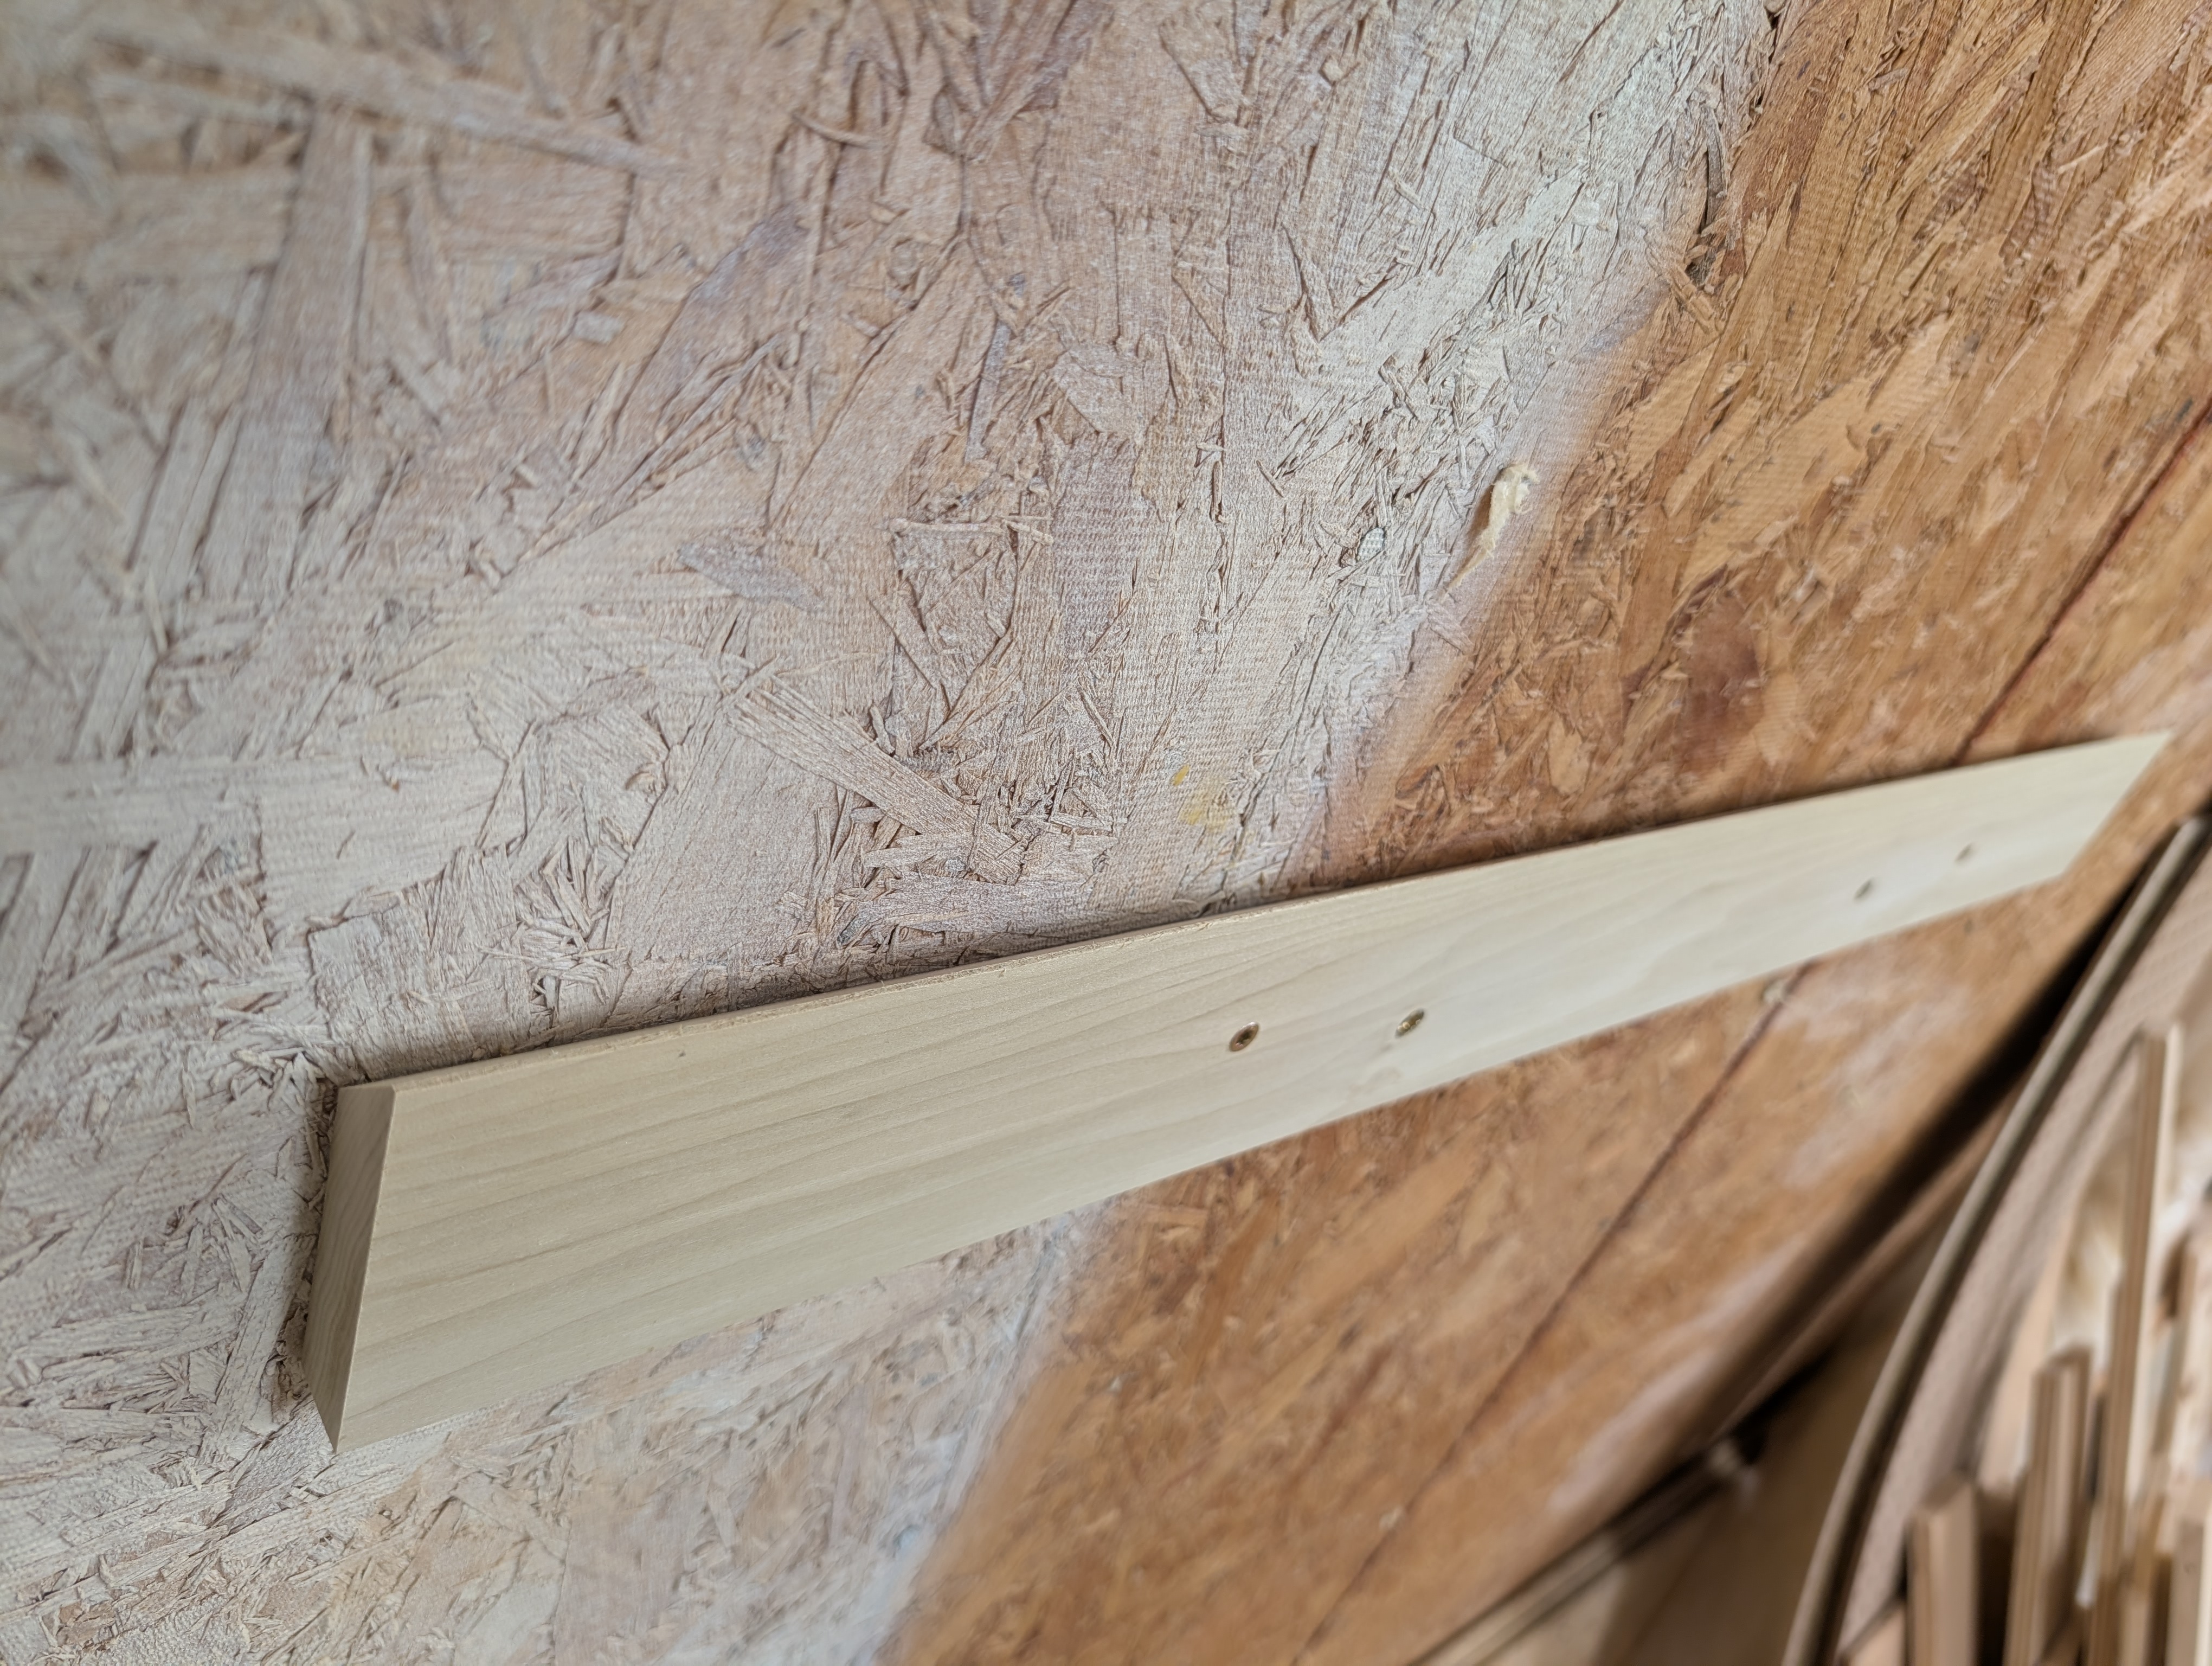
The cleats themselves will be mounted to the wall, but to insure the shelf stays attached, the cleats are drilled and inserts are installed so the shelf can be bolted in place.
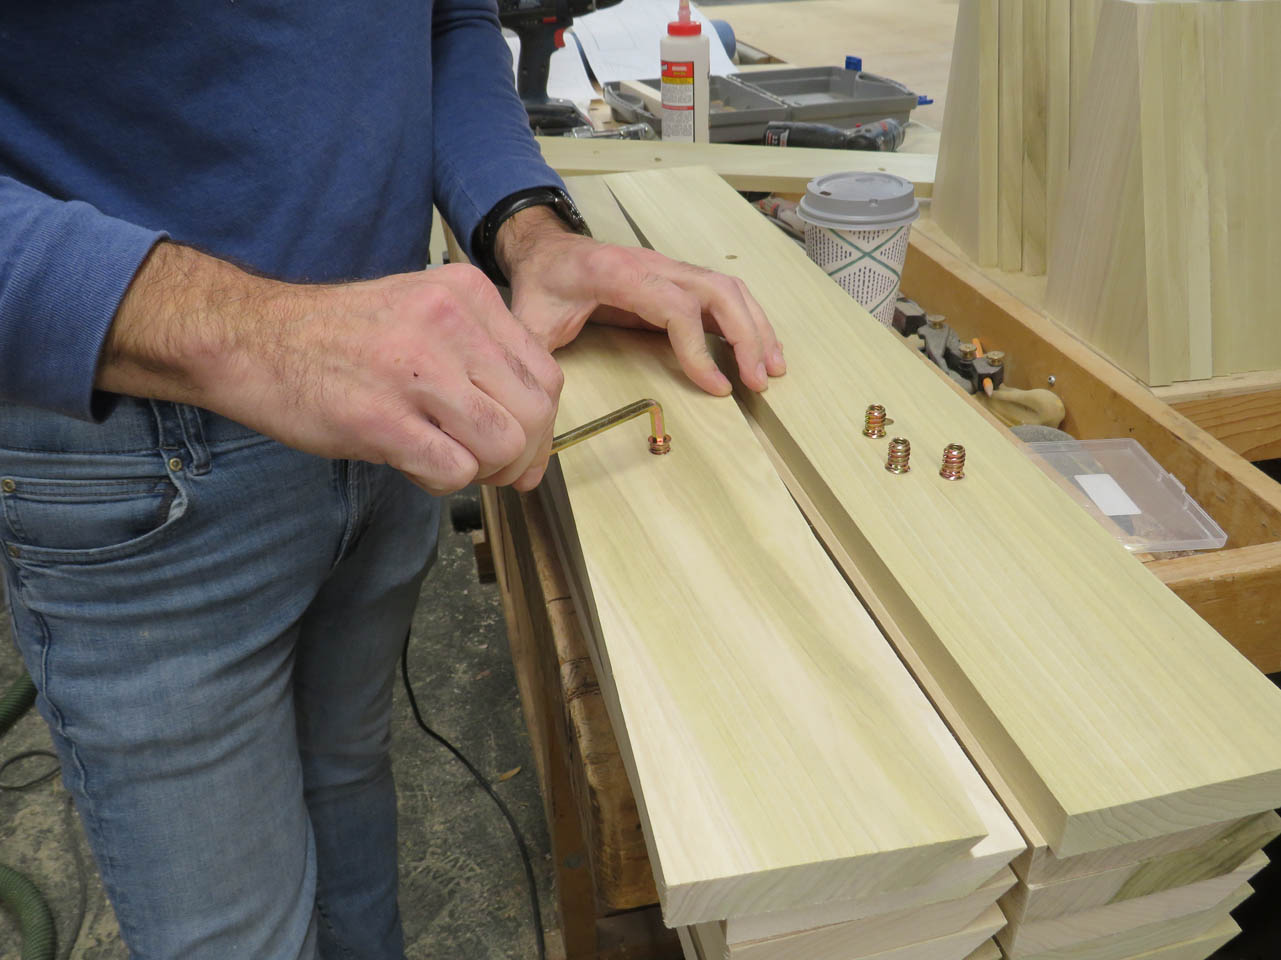
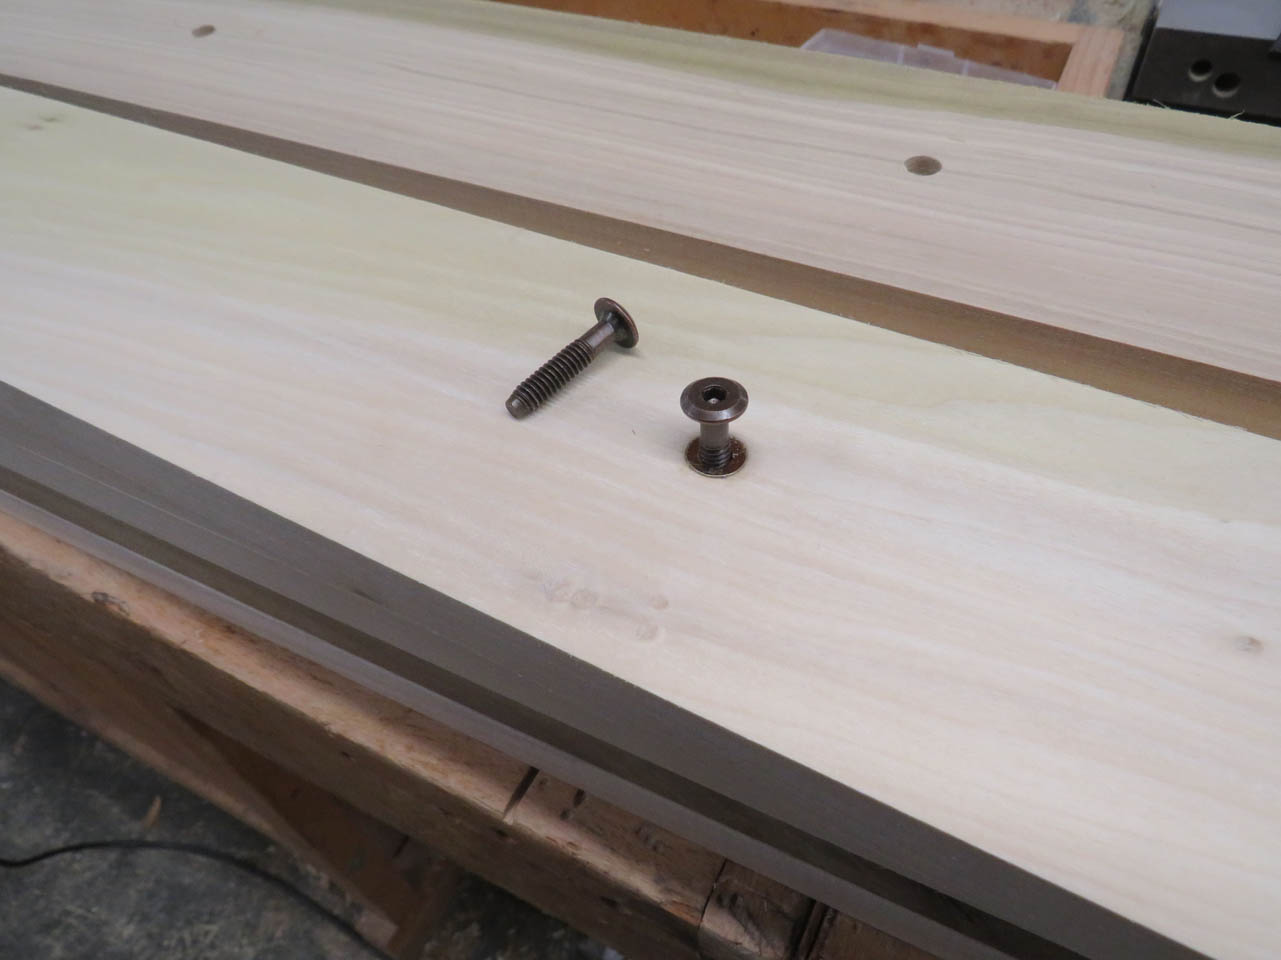
I found some wide head connector bolts for this purpose.
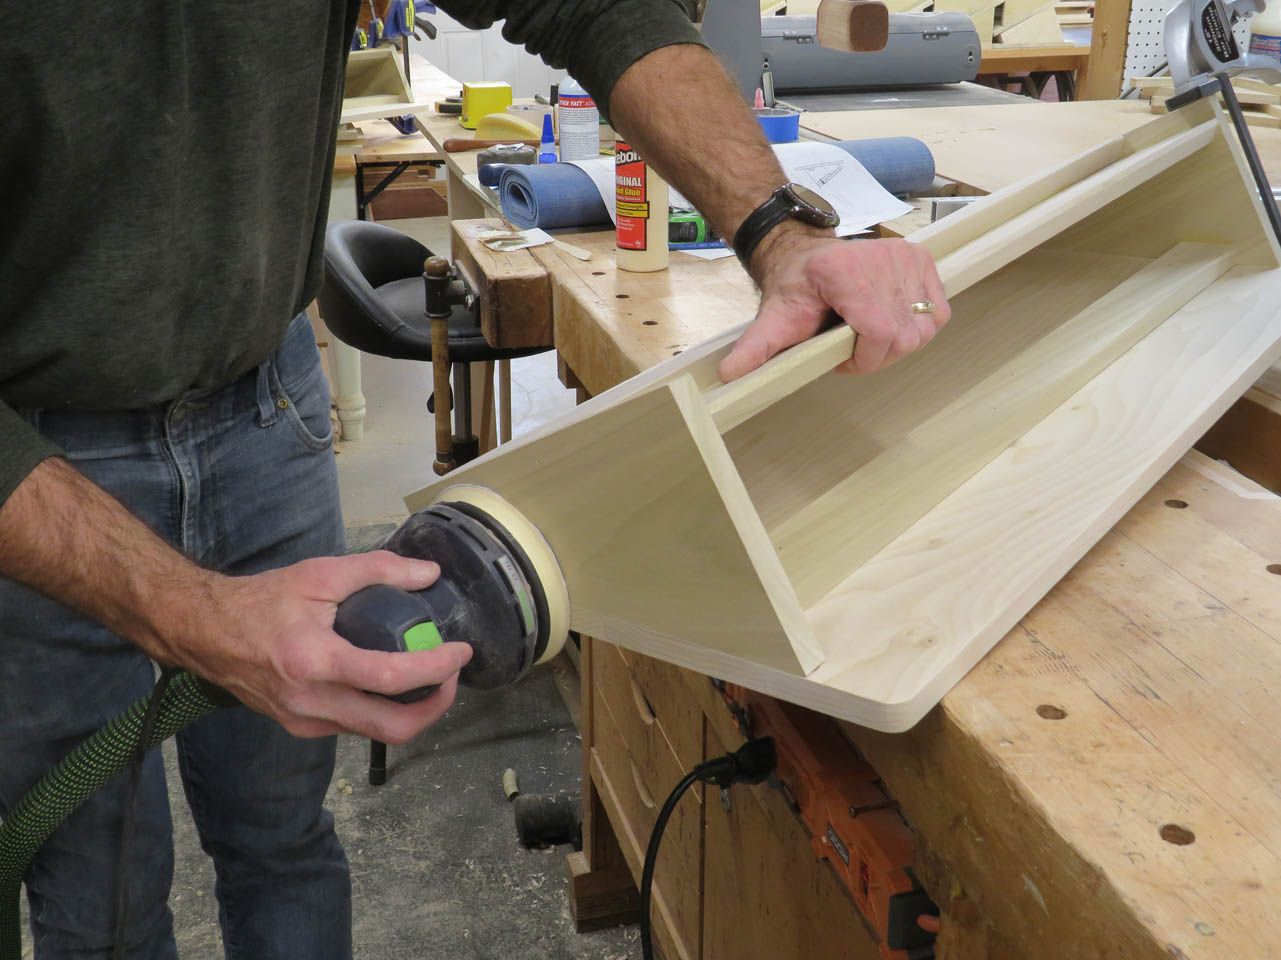
When the reader rail assemblies were dry, I noticed that some of the sides stuck out past the edge of the front plates slightly. Luckily they were just narrow enough that I could joint down the side faces while fully assembled.
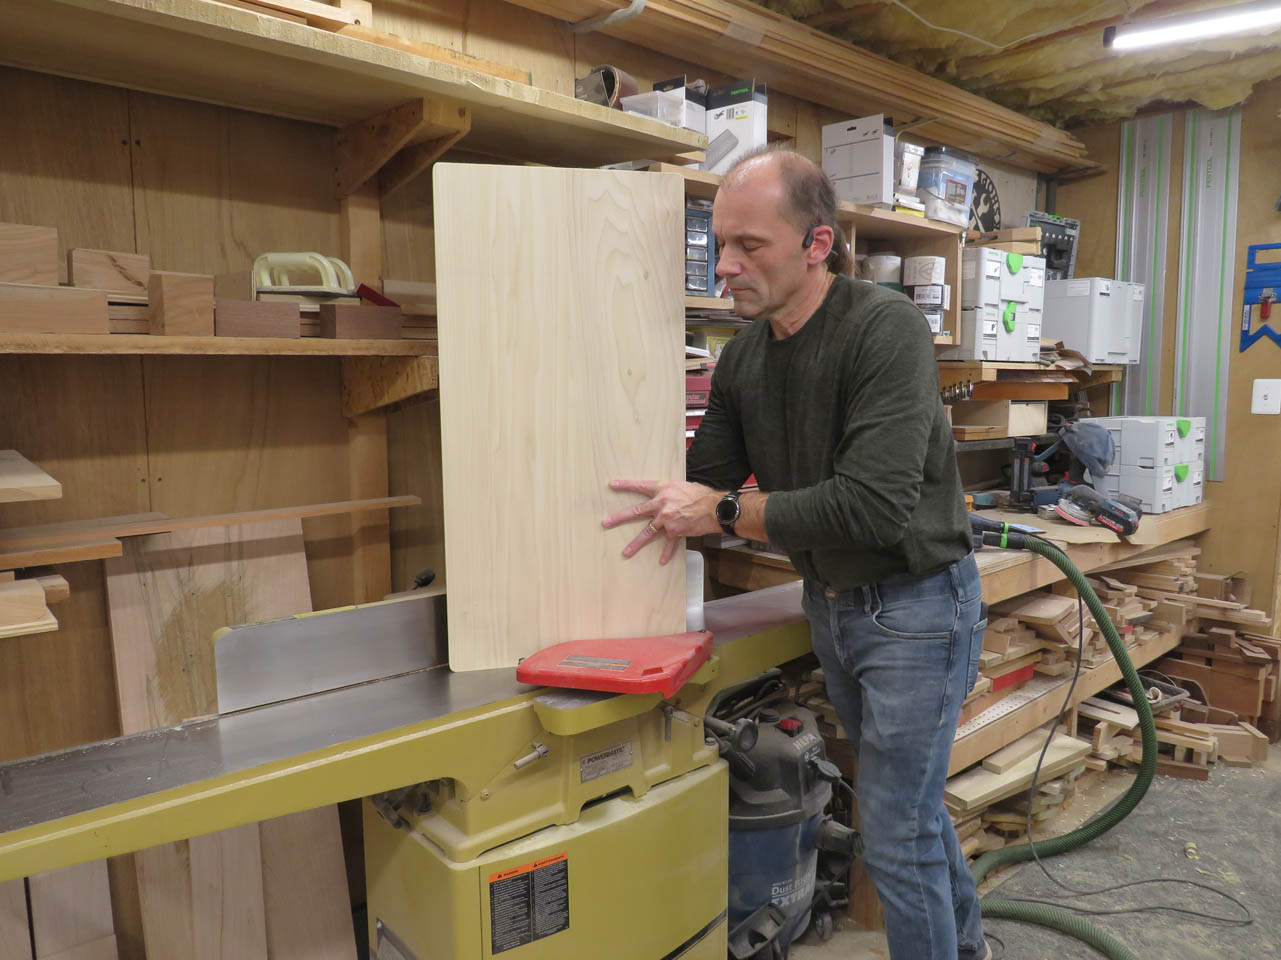
It worked surprisingly well. The helical head blade caused no tear-out at all. The sides are all now perfectly flush.
After some final sanding, I can get back to the cleats.
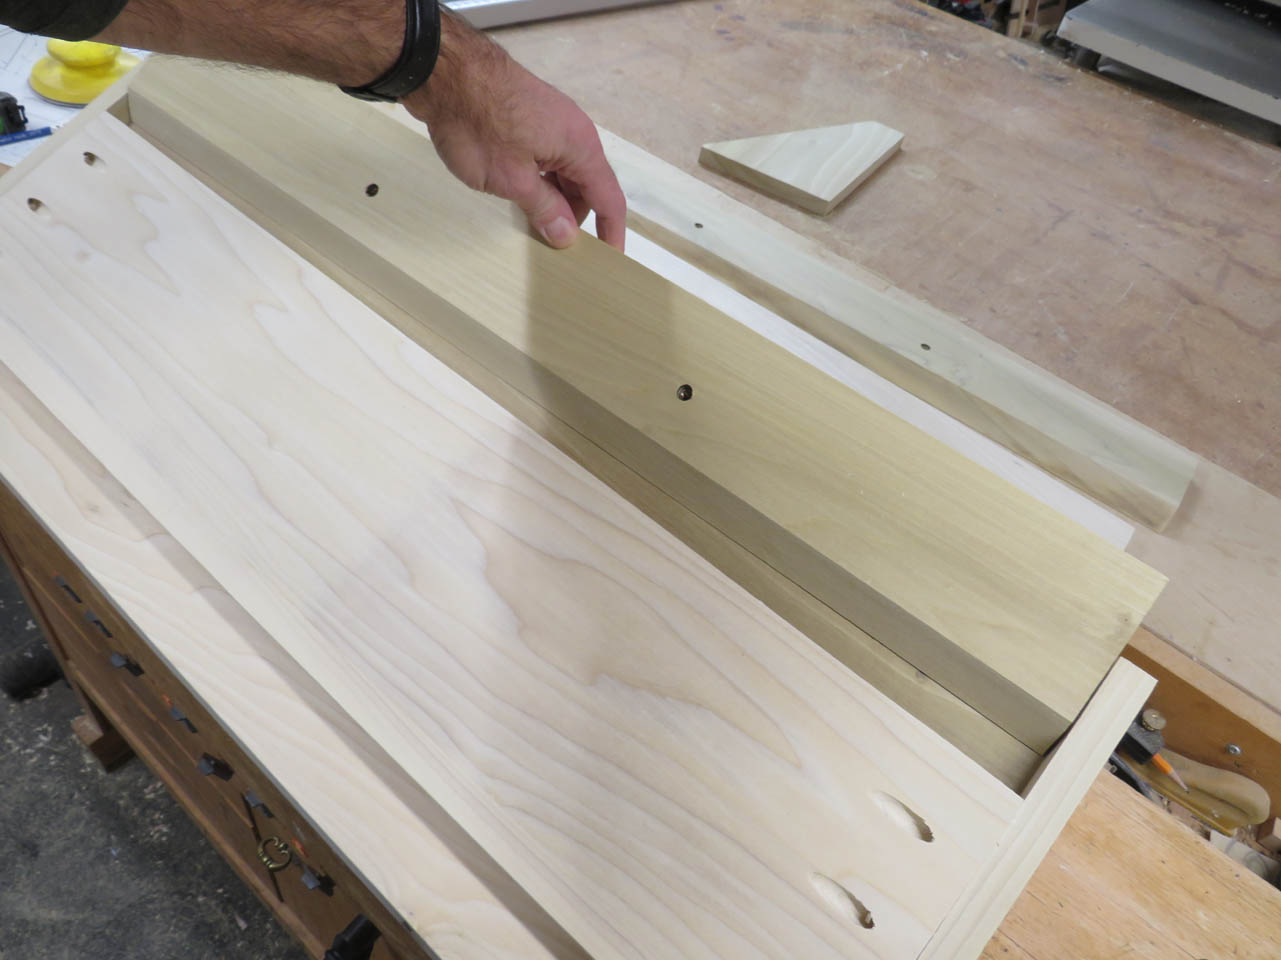
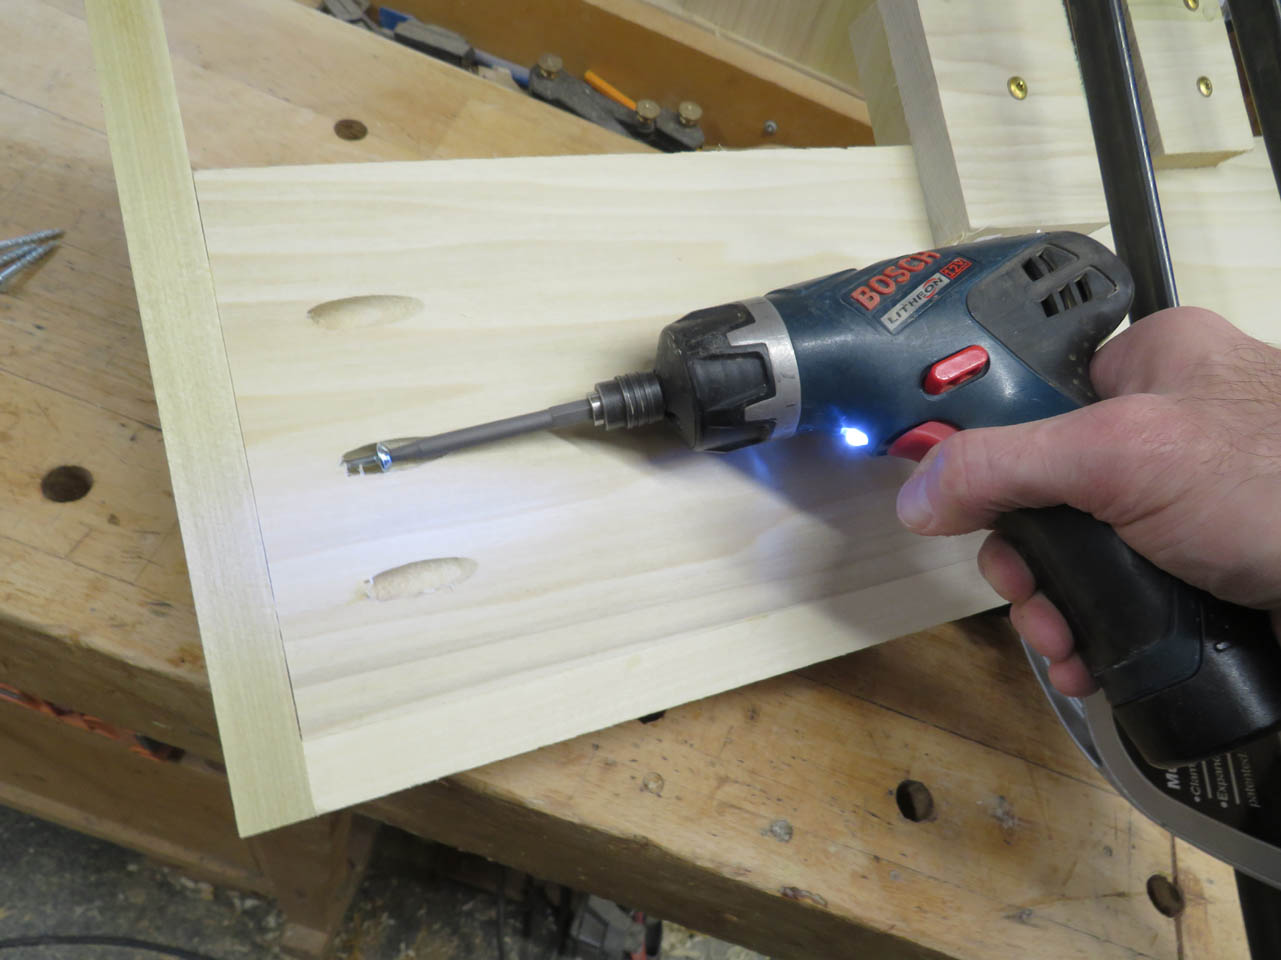
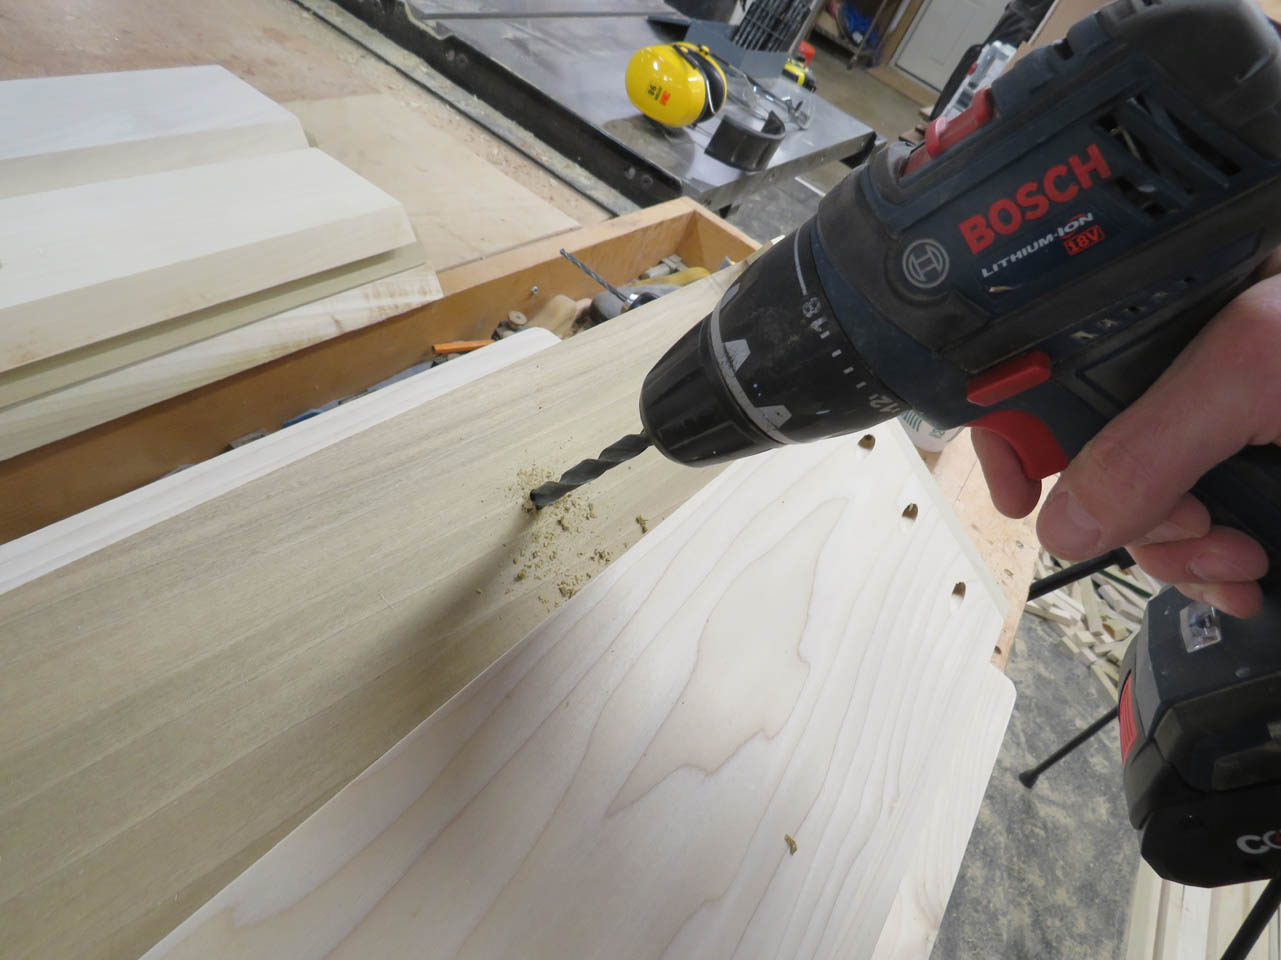
I located the cleats in place, then match-drilled through the threaded inserts, to the overlay plate.
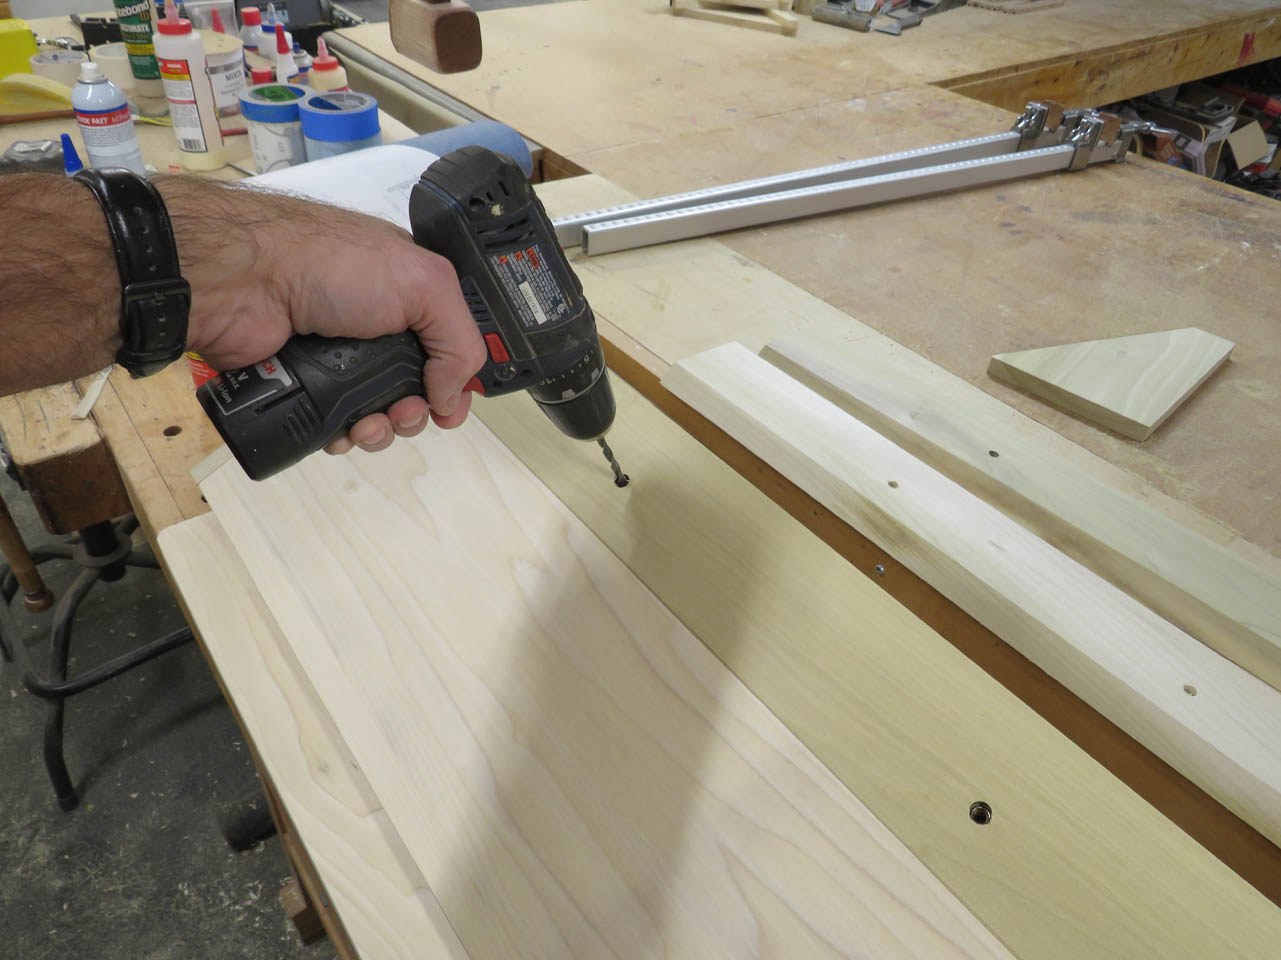
This pilot hole was then enlarged so that the connector bolts could easily pass through.
I attached the cleat with the bolts so that they would stay attached to the rail they were match-drilled to. I carefully measured and drilled each so that they were as exact as possible and the through holes are large enough so that any rail should fit onto any cleat, but I want to keep them bolted together to prevent the cleat from warping or twisting.
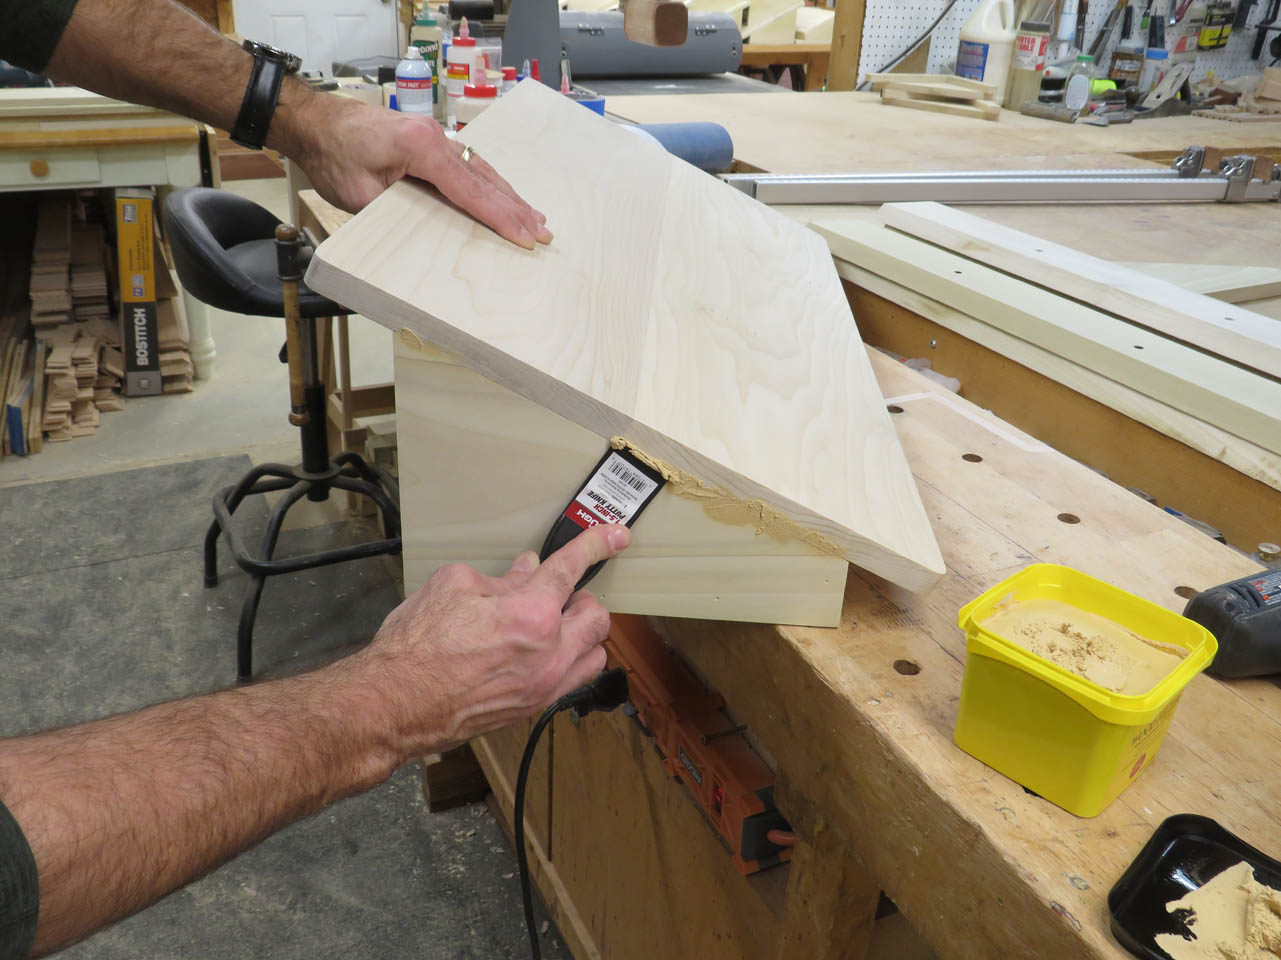
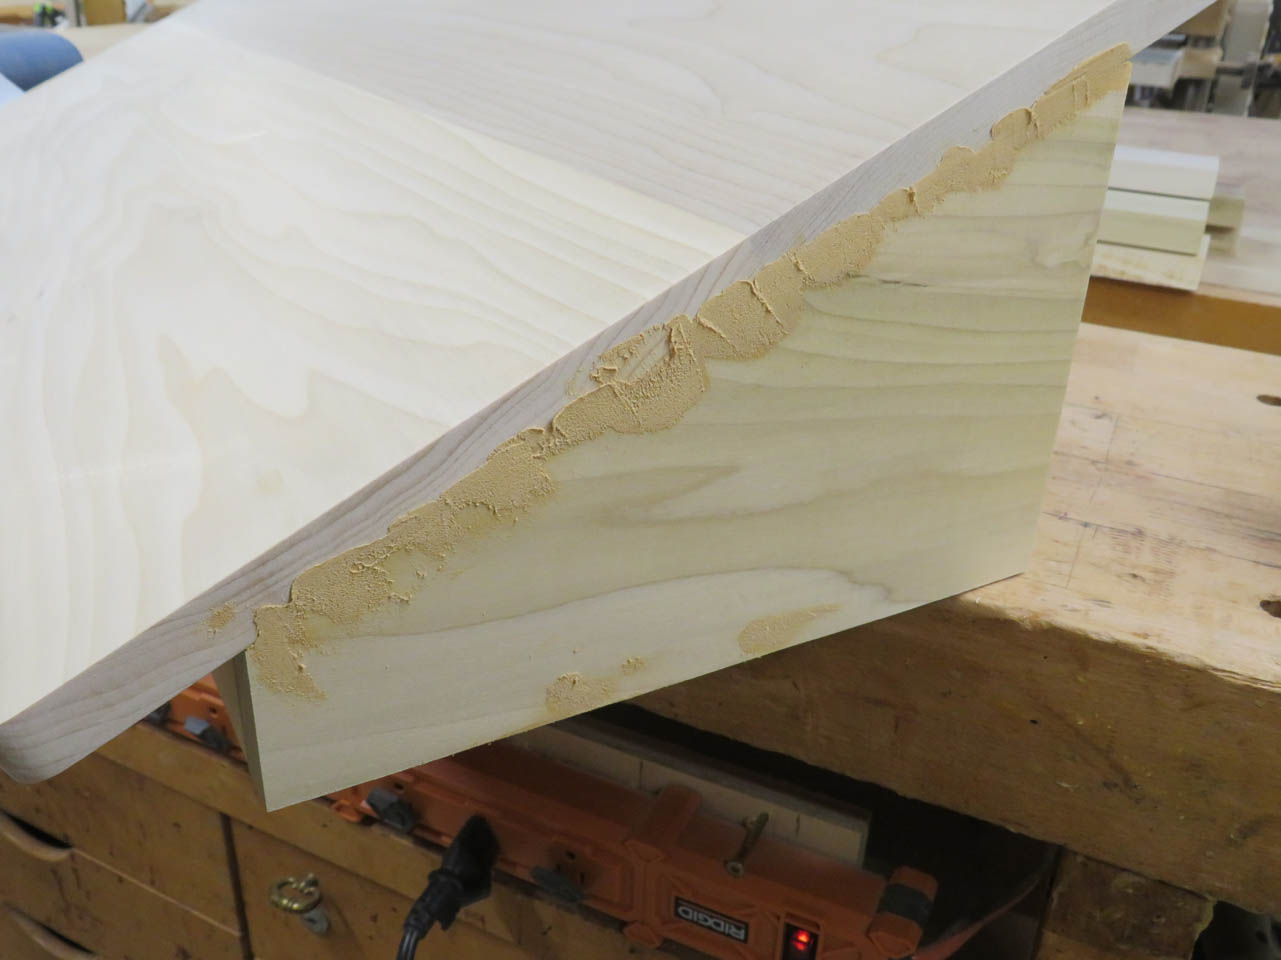
The final step before painting is to fill any nail holes or joint gaps with wood filler.
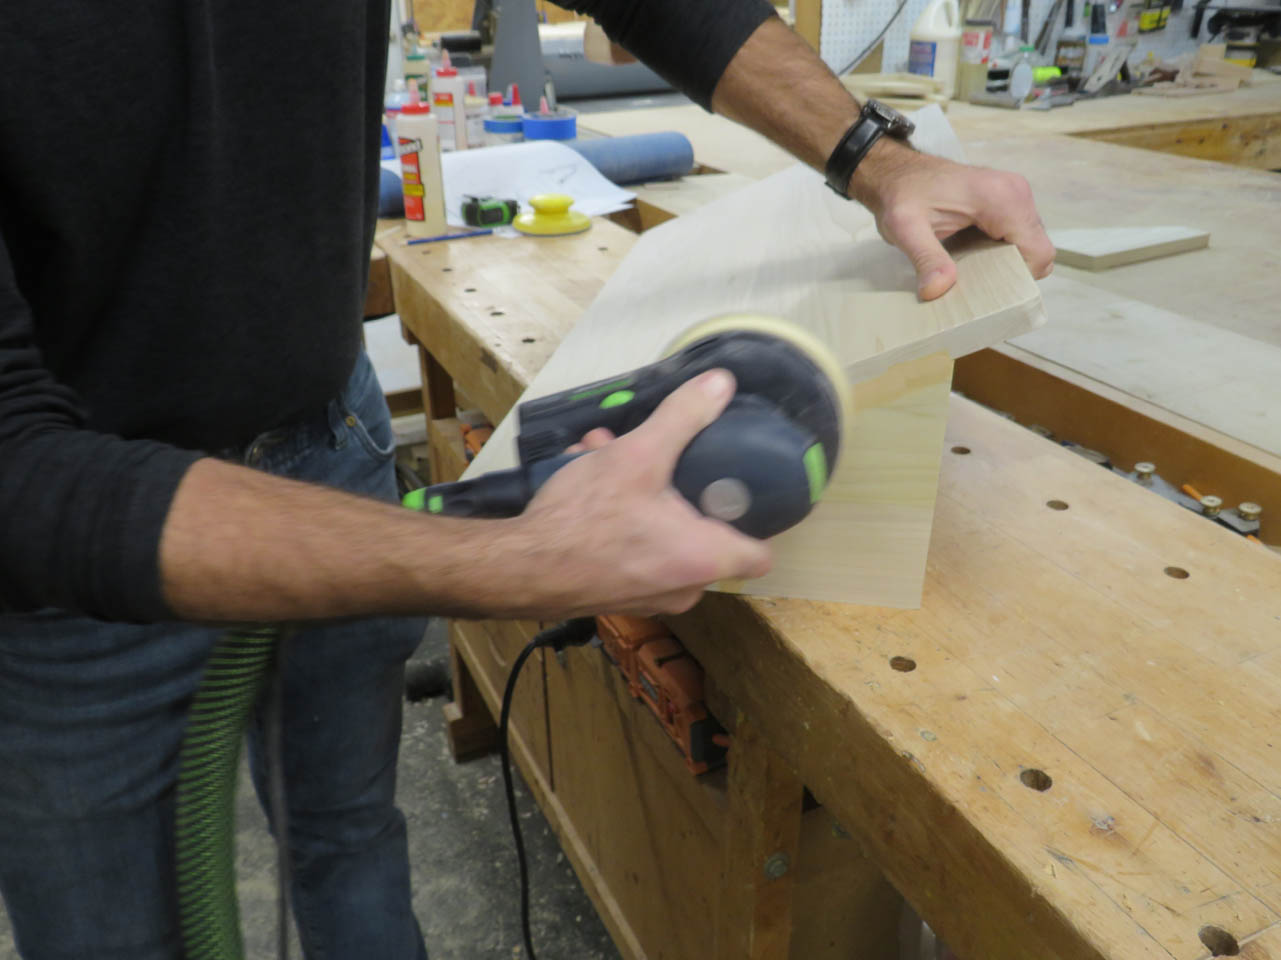
Once the filler dried, everything gets a good sanding.
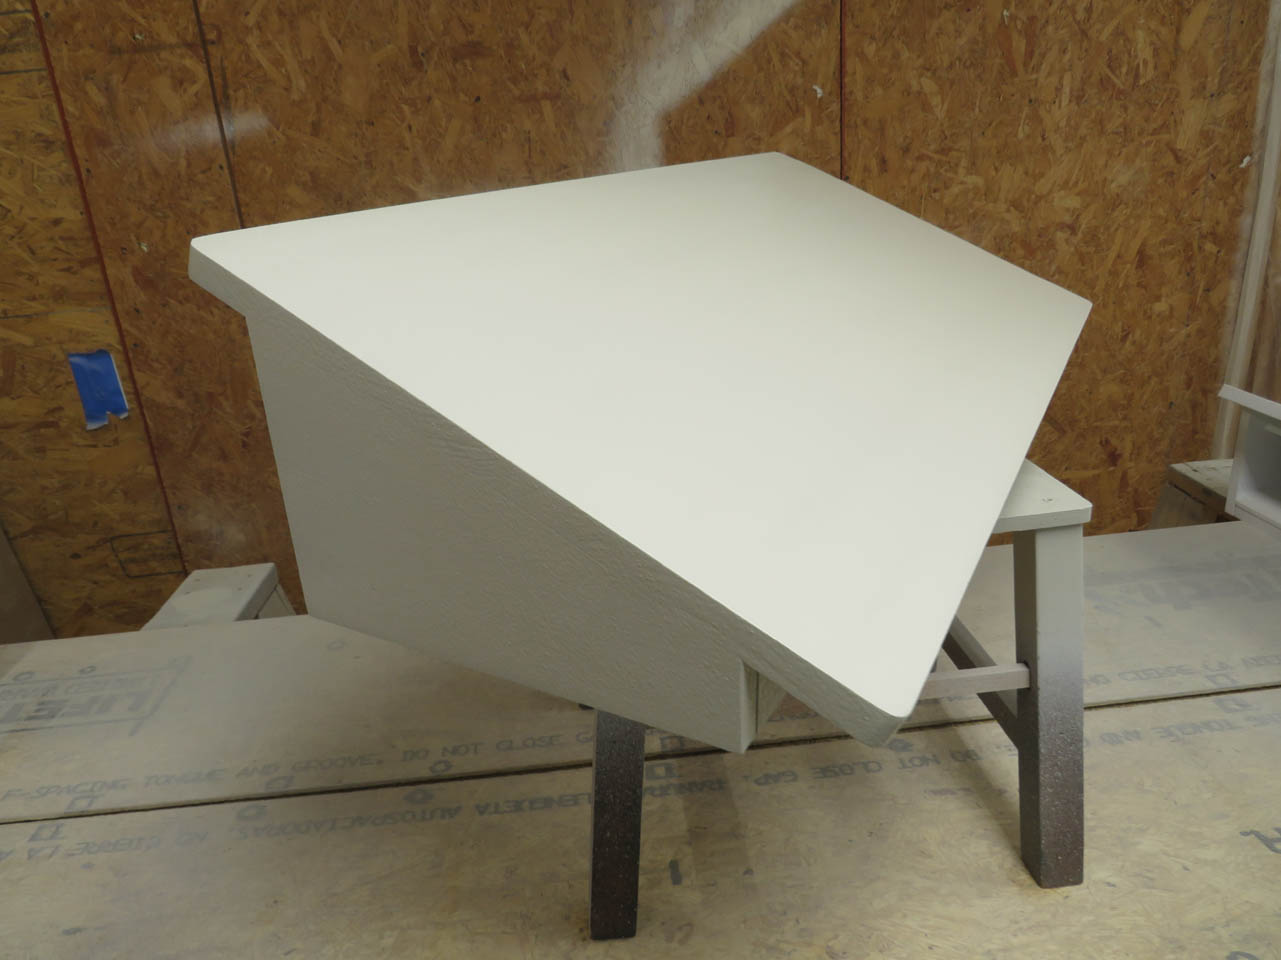
I did a test fit of one of the cleats to the wall, then bolted on the reader rail.
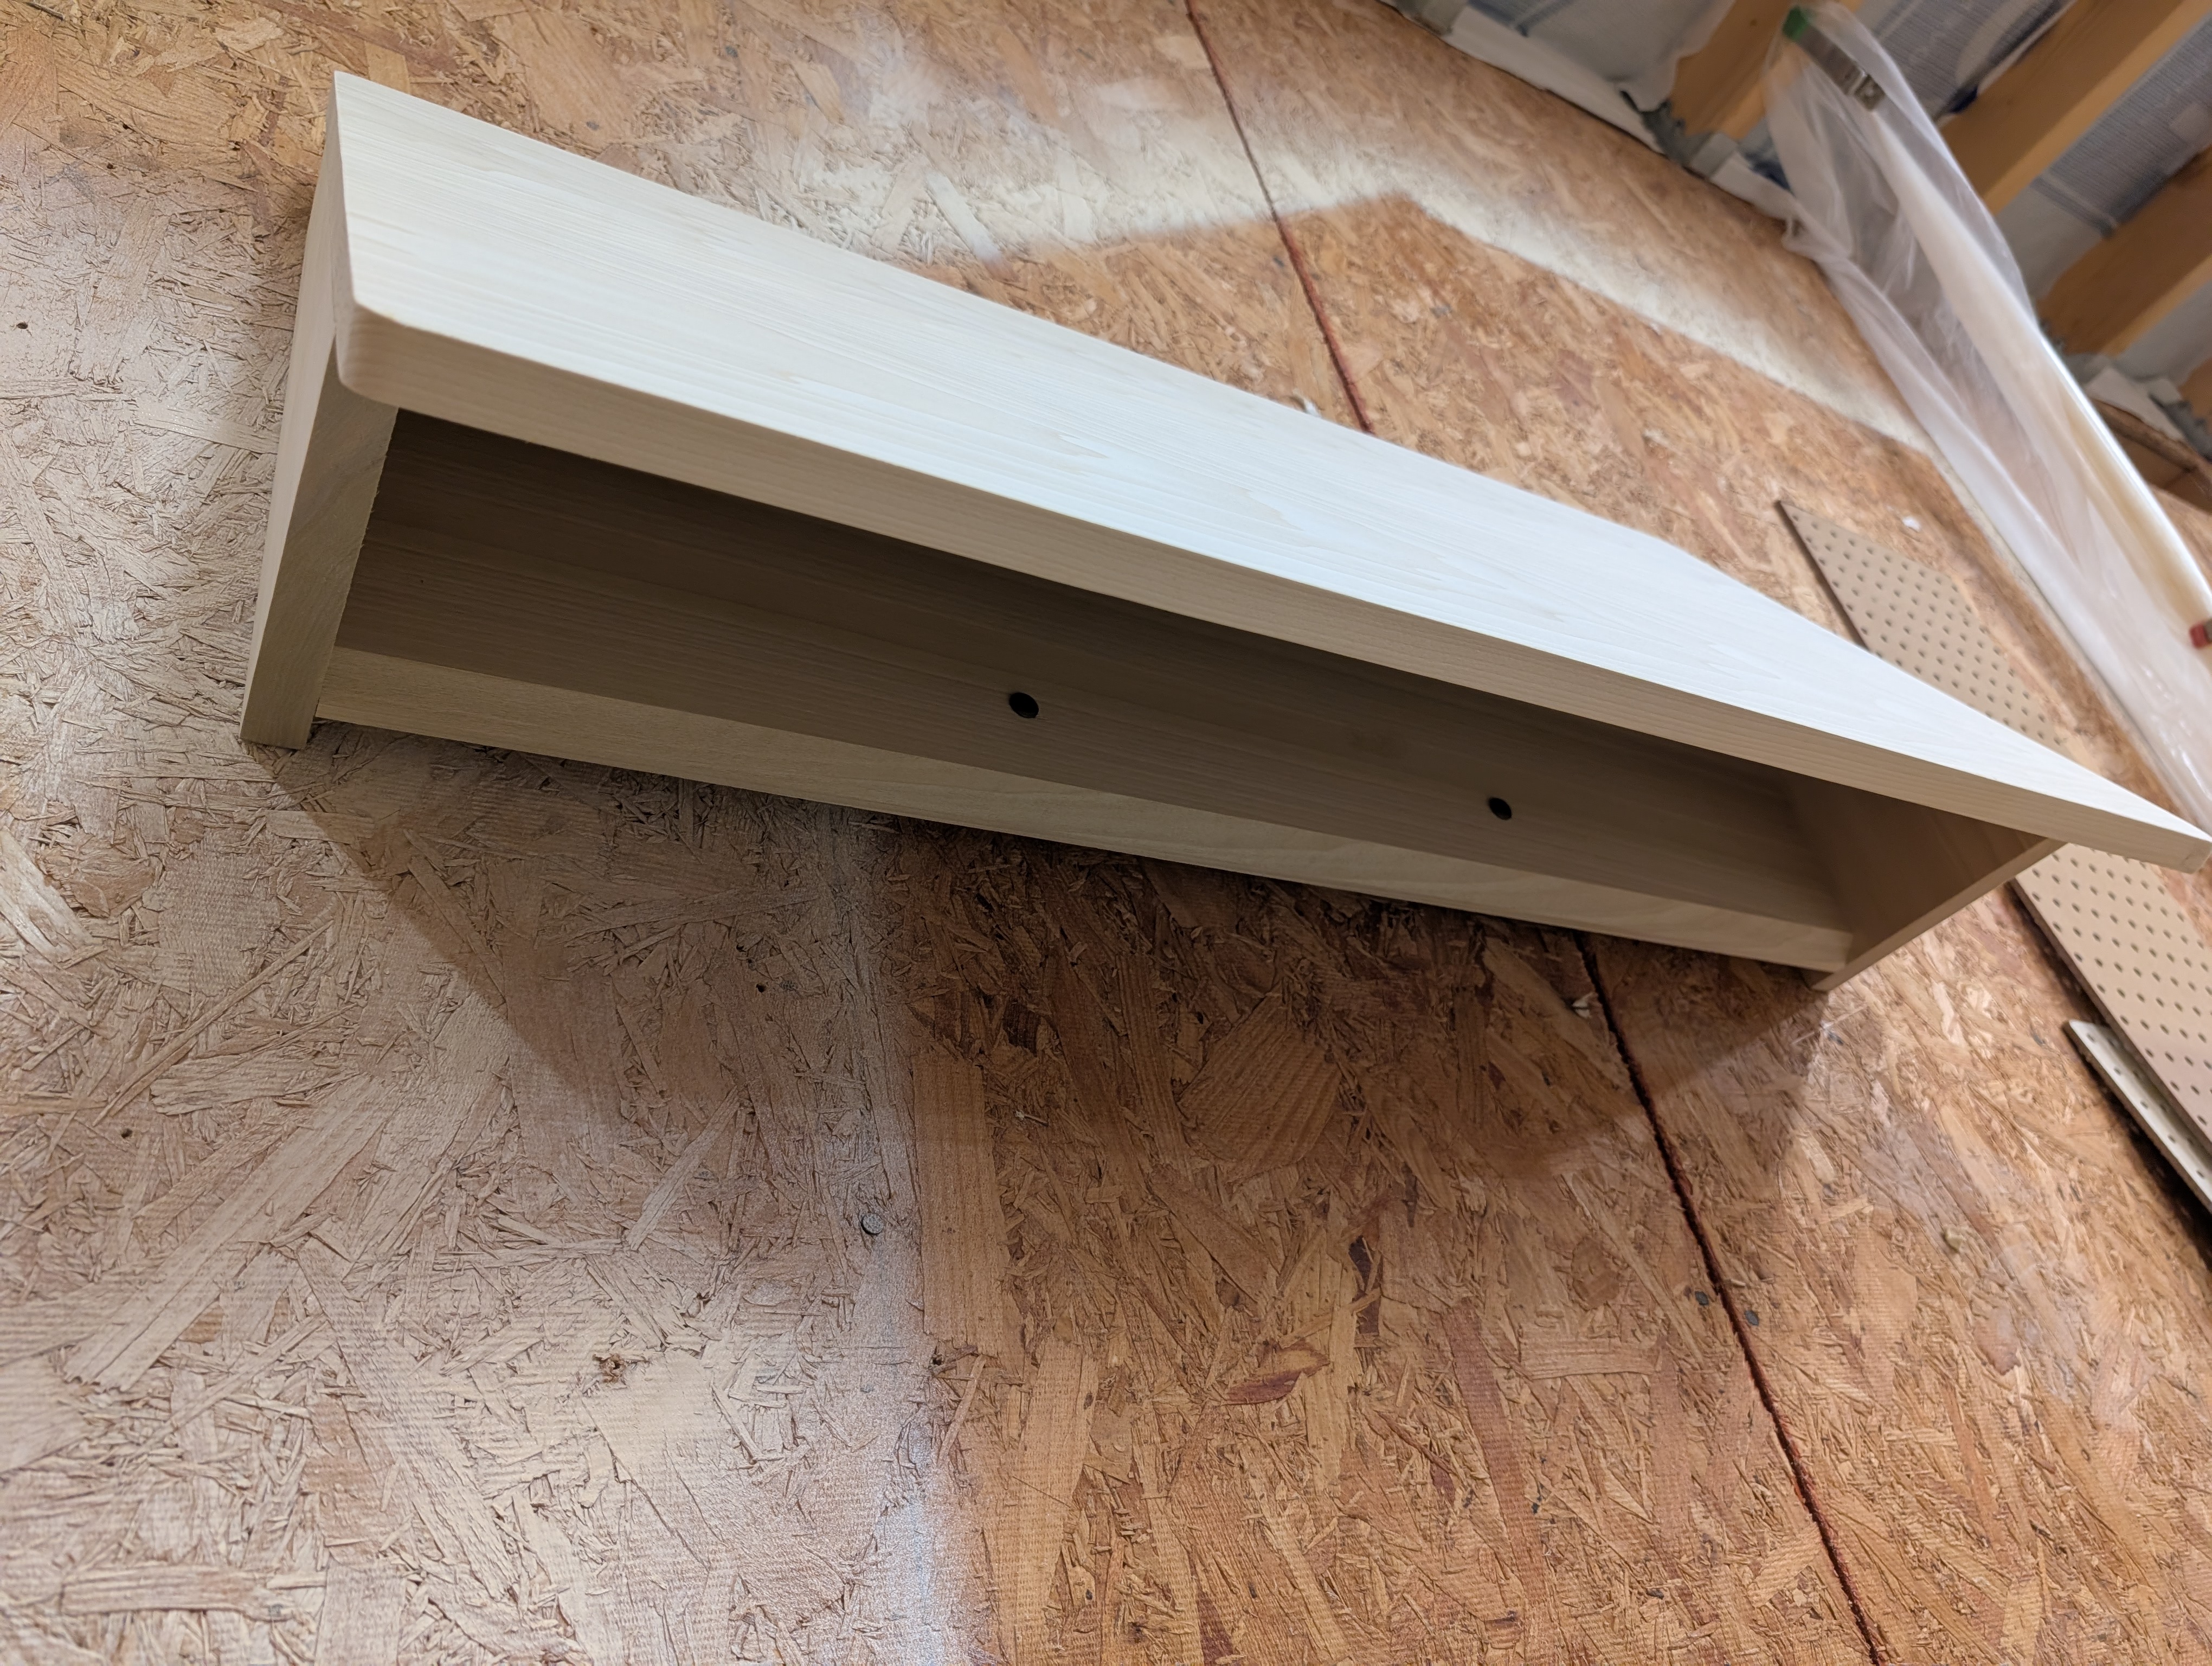
The test fit worked well.
Now I am ready for paint.
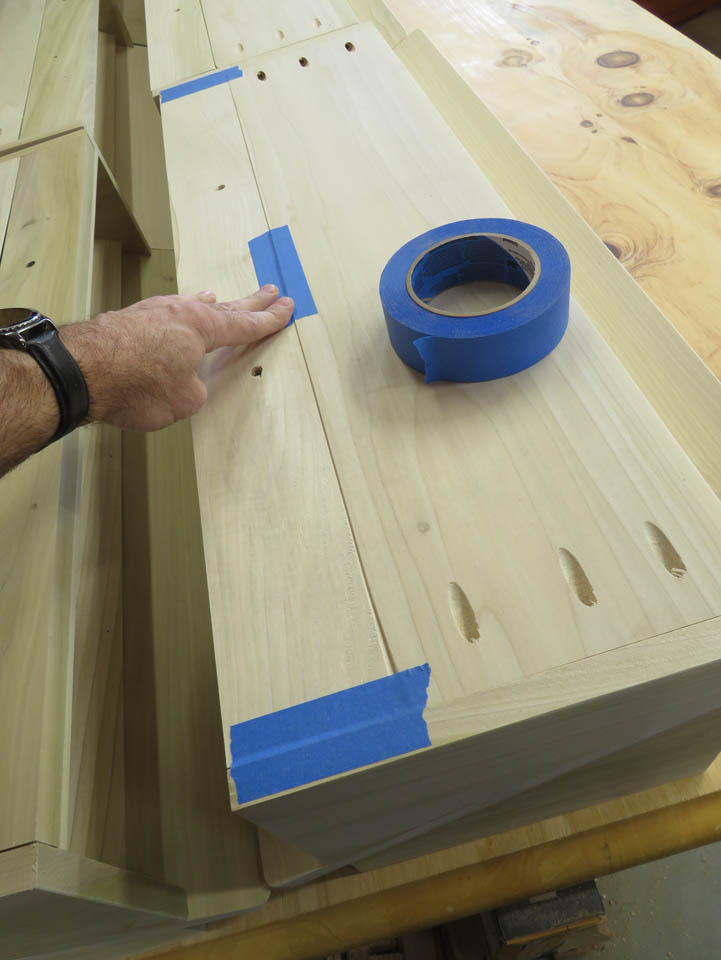
Prepping for paint. I do not want to paint any surface of the cleat that slides into the rail. Latex painted surfaces can stick together, and these rails were made to be removed and relocated in the future. The only surface of the cleat that I want painted is the very bottom edge. To prevent paint from getting into the pocket as well, I just taped the cleat in place.
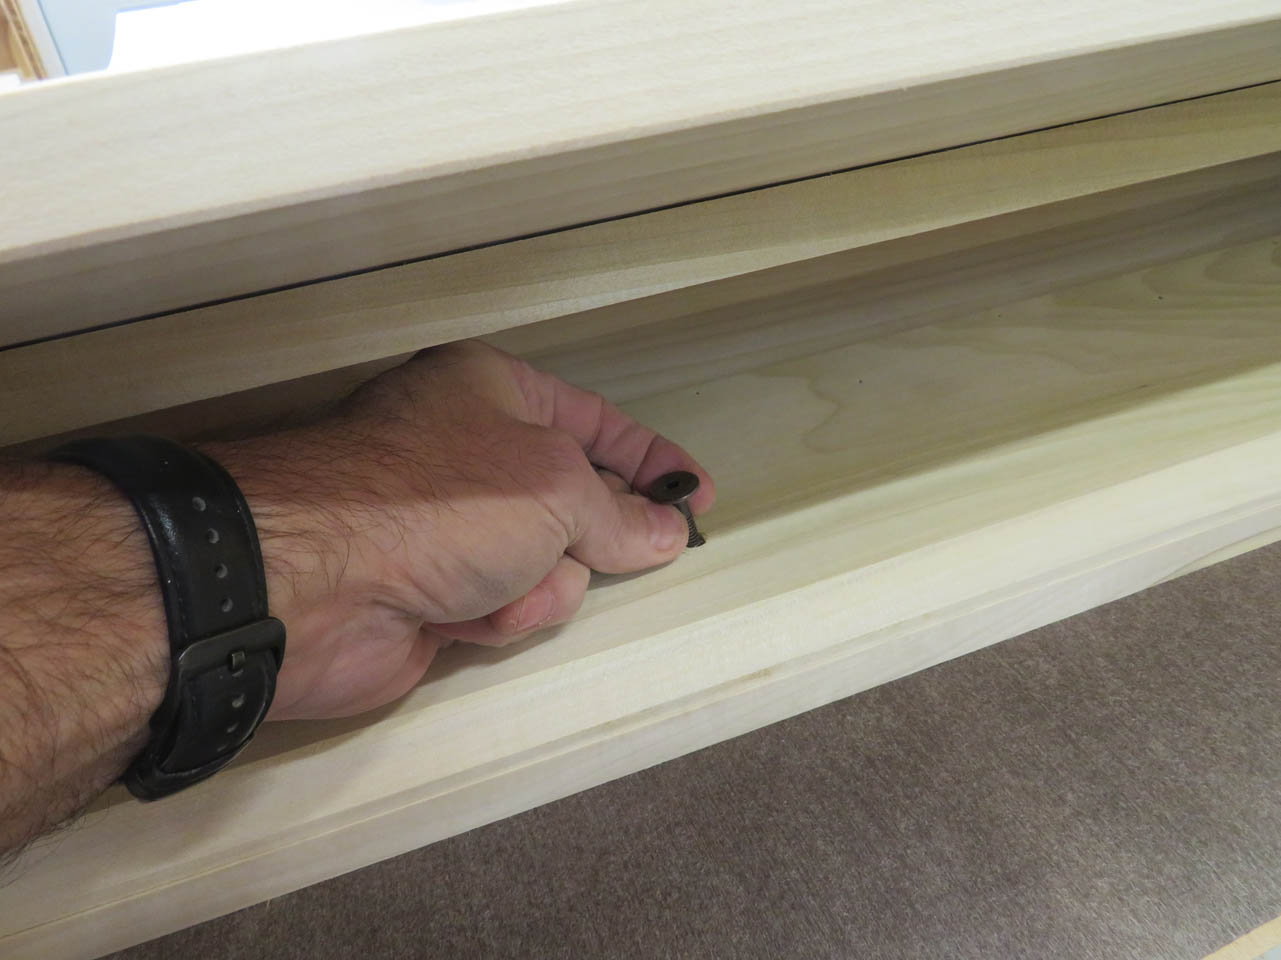
Then I removed the bolts so they don’t get painted.
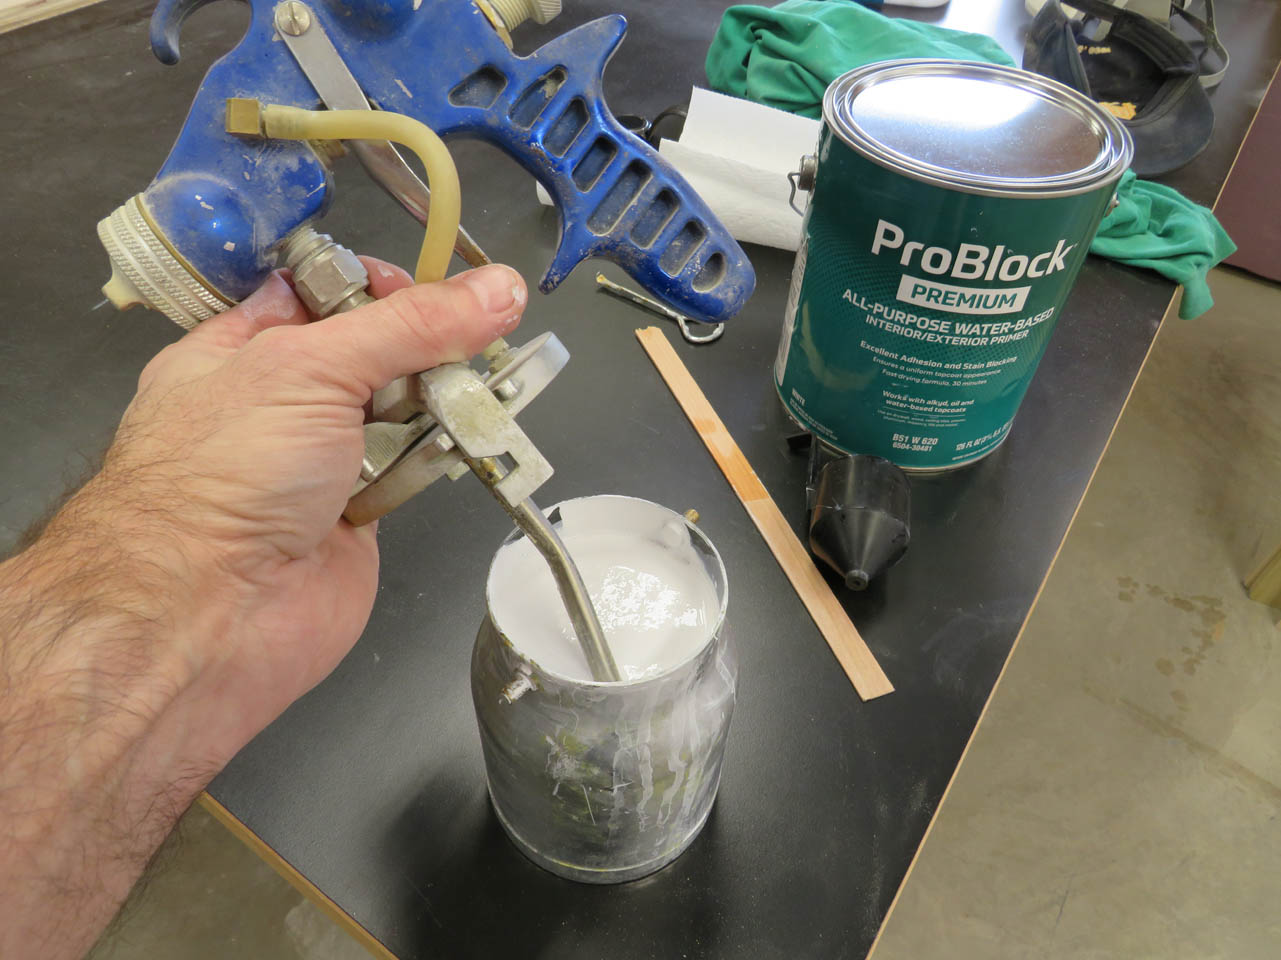
The paint and primer are both too thick for my sprayer so I diluted each with 10% water, per the manufacturer’s instructions. First to go on is the primer so I loaded up my sprayer.
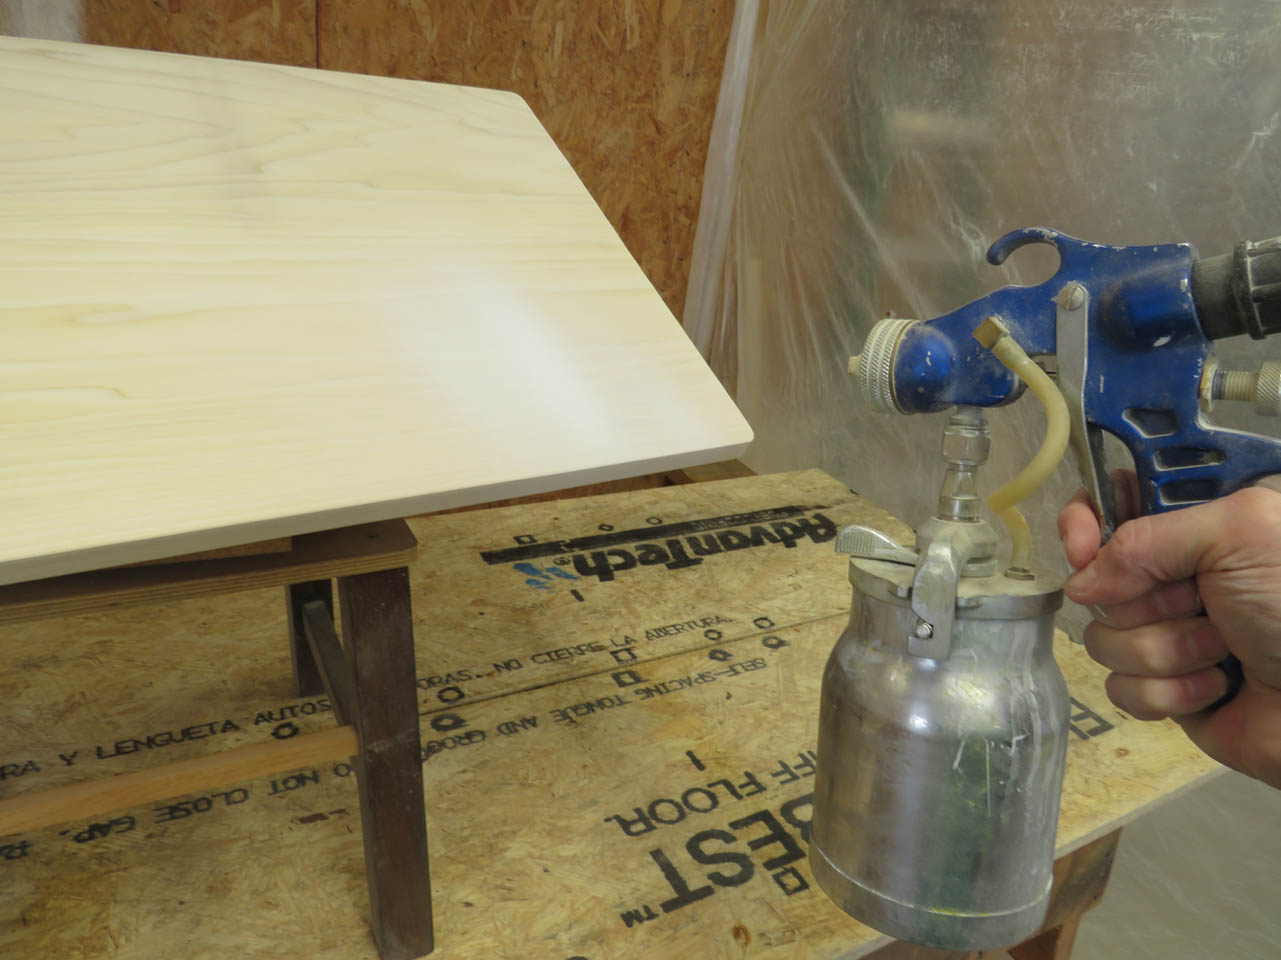
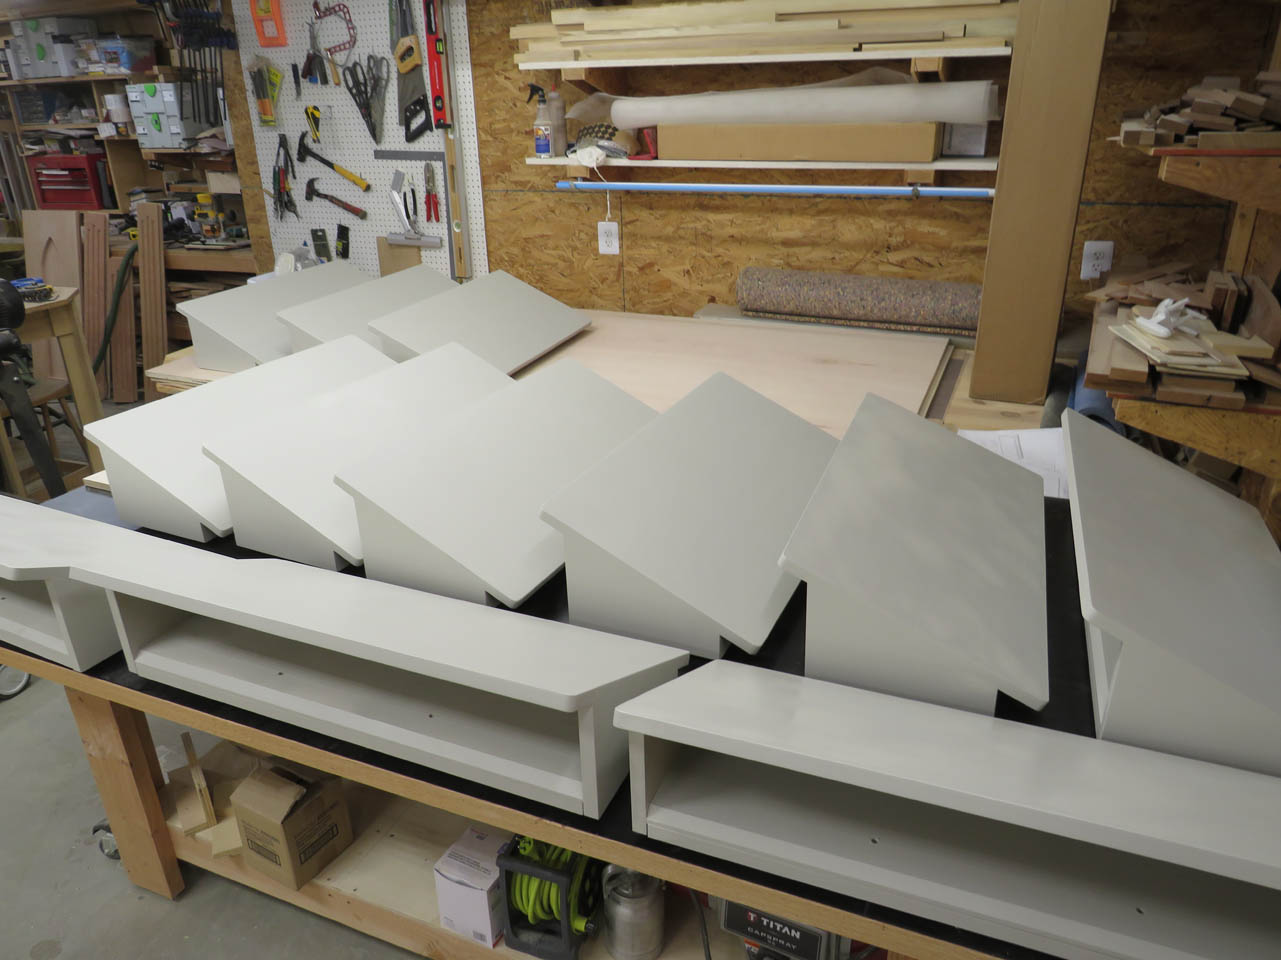
I have a small table with a lazy Susan top so I can spin the rail as I spray.
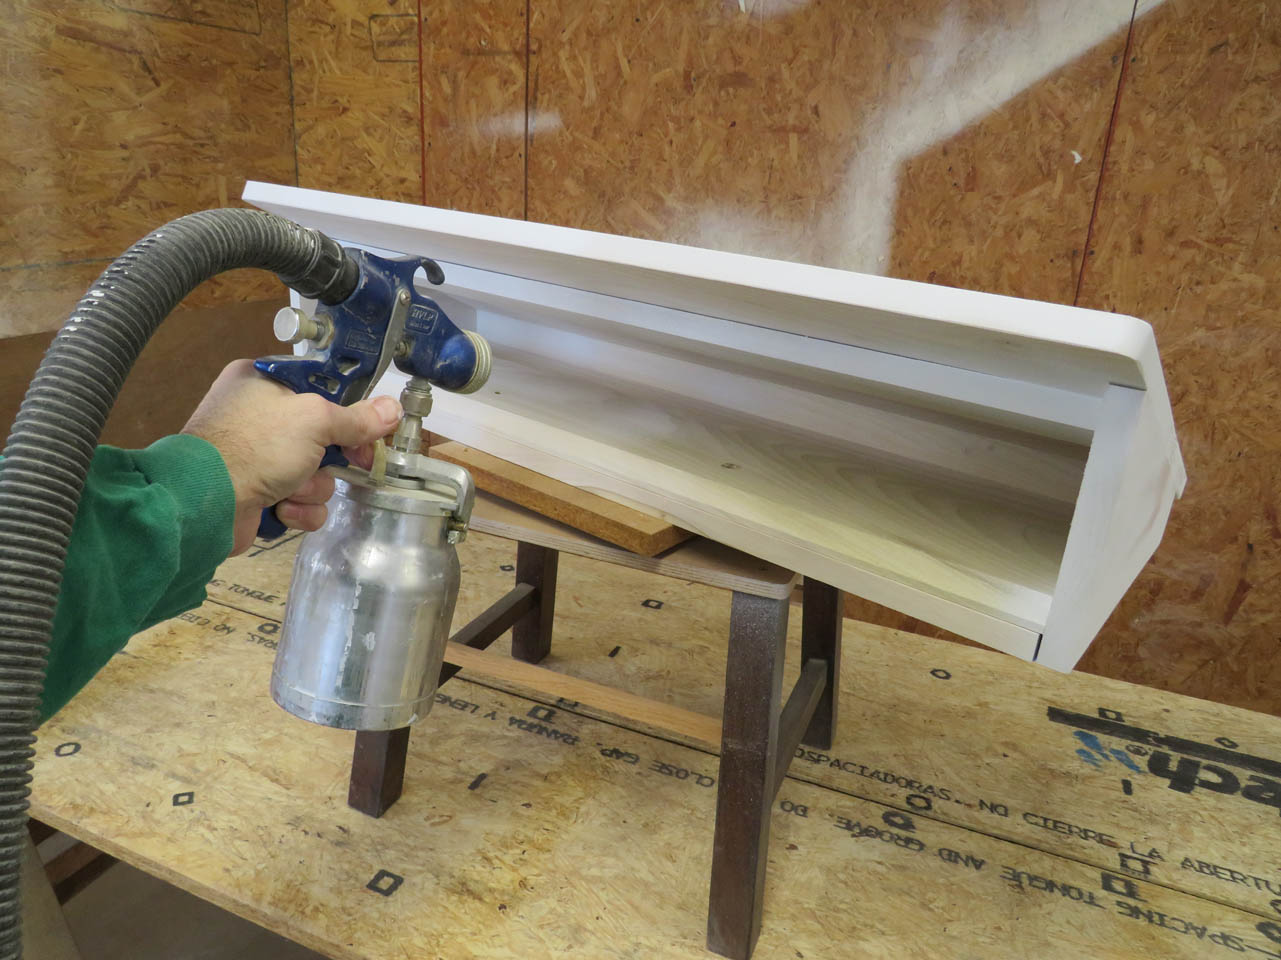
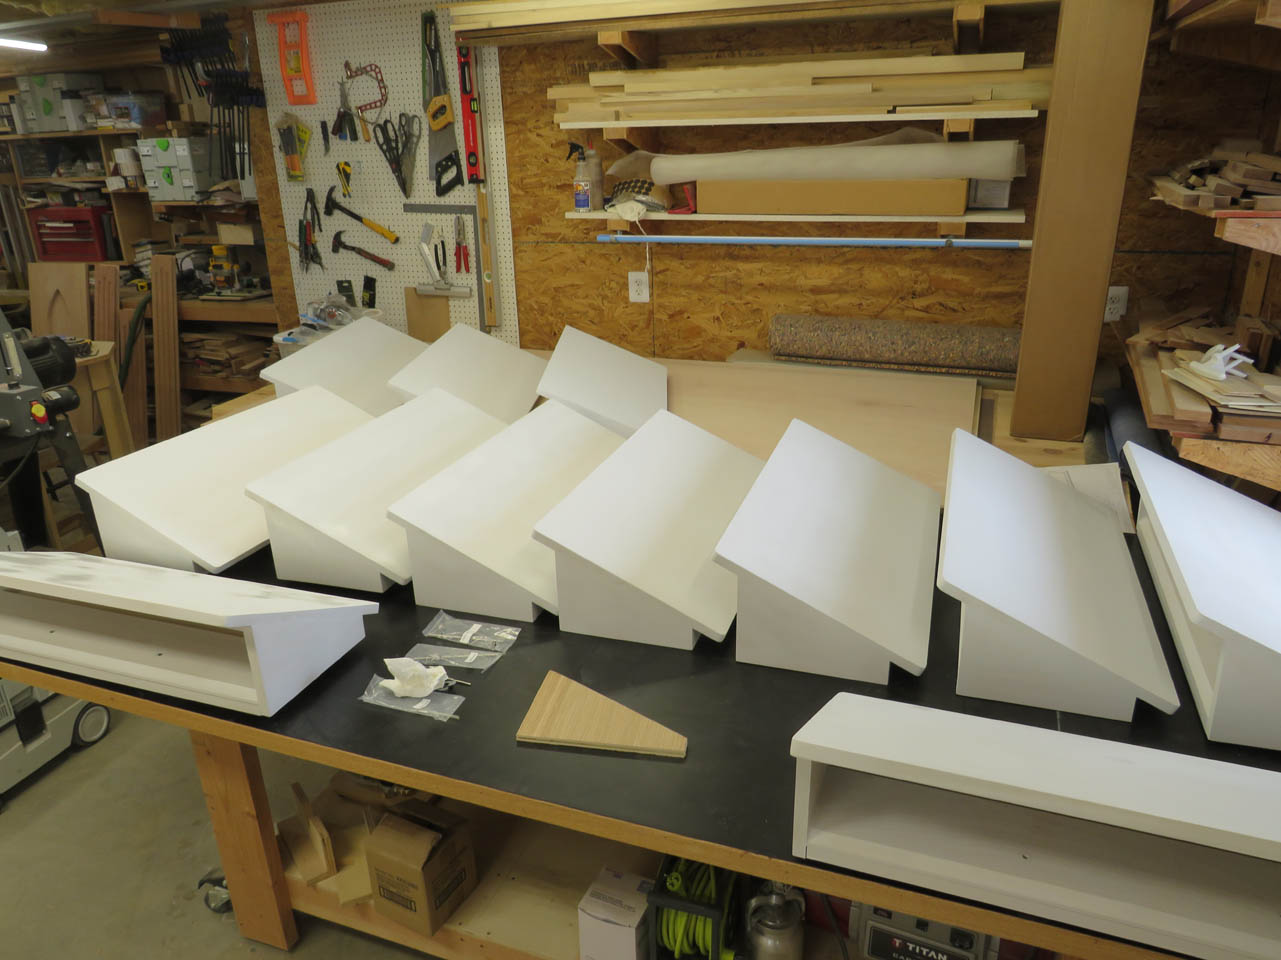
I applied one coat of primer to each rail, them left them to dry for a couple of hours.
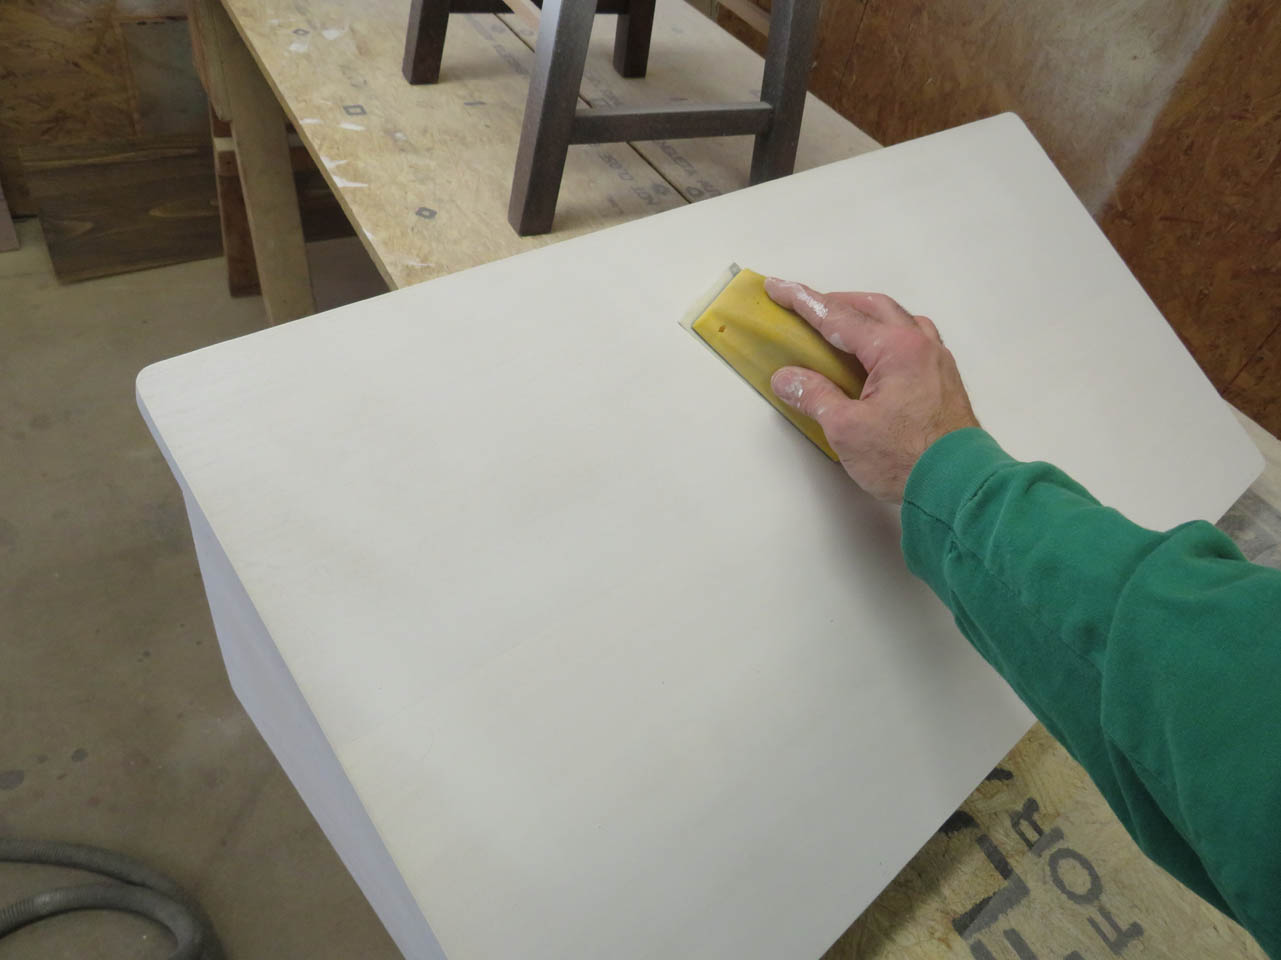
Before applying the first coat of paint, I sanded down each surface with 320 grit sand paper to smooth the surface and remove any dust that may have settled on the surfaces.
Then the first coat of paint was sprayed on.
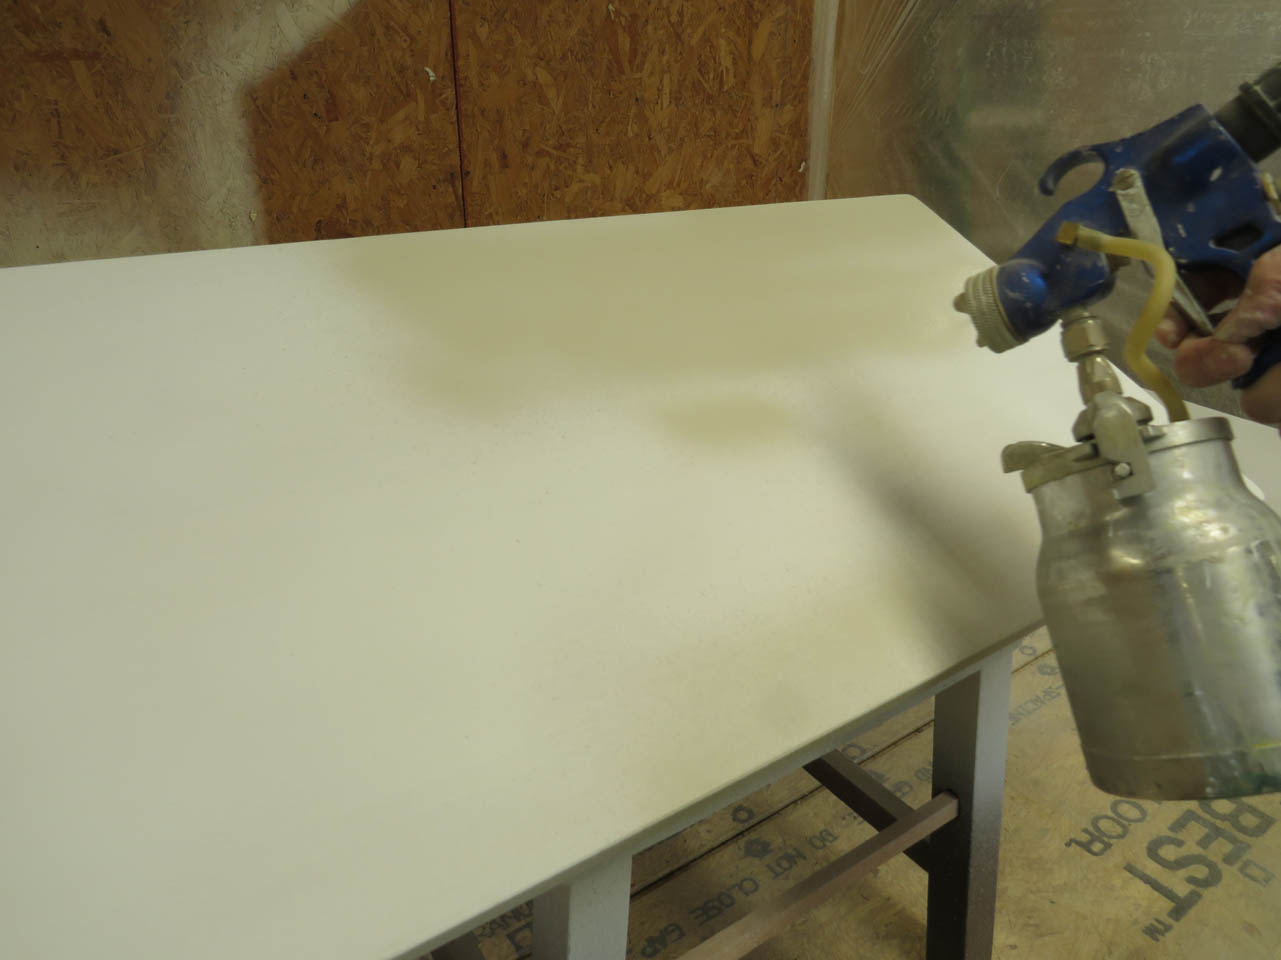
After the first coat, the sanding and painting process was repeated again.
The second coat was applied and the rails left to dry.
When dry, I will reinstall the cleat bolts and pack them all up for delivery.
