
Aggravation game board
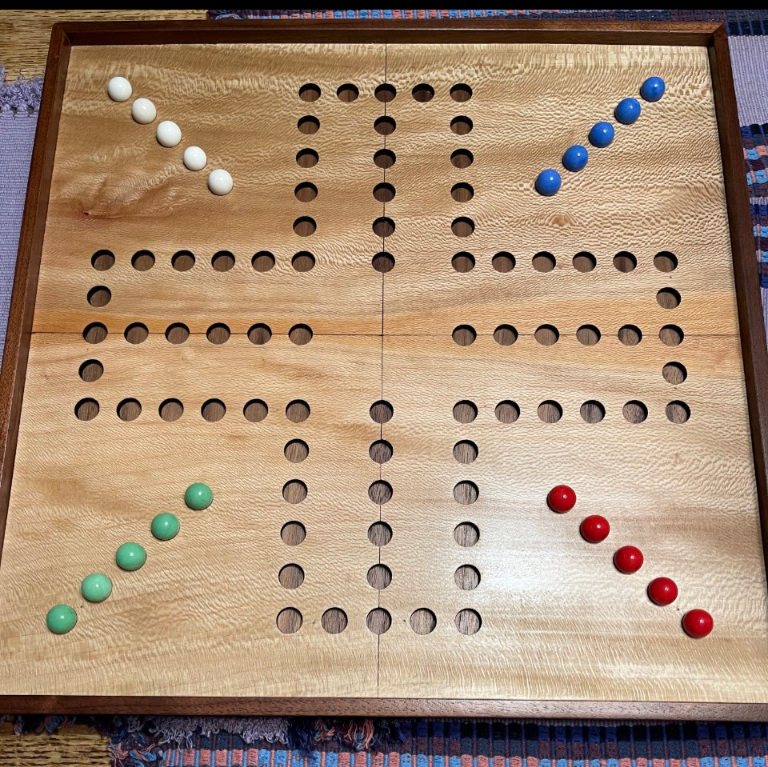
I was asked to make a wooden game board. The one pictured below was made many years ago by my brother-in-law’s grandfather. His wife asked if I could make a copy for them and eventually for each of his sisters. They have all moved far apart but want to play when they visit each other.
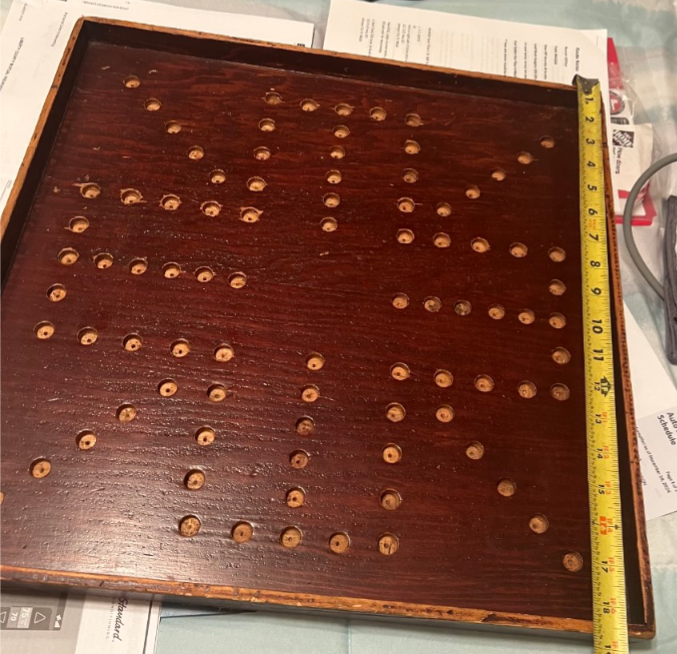
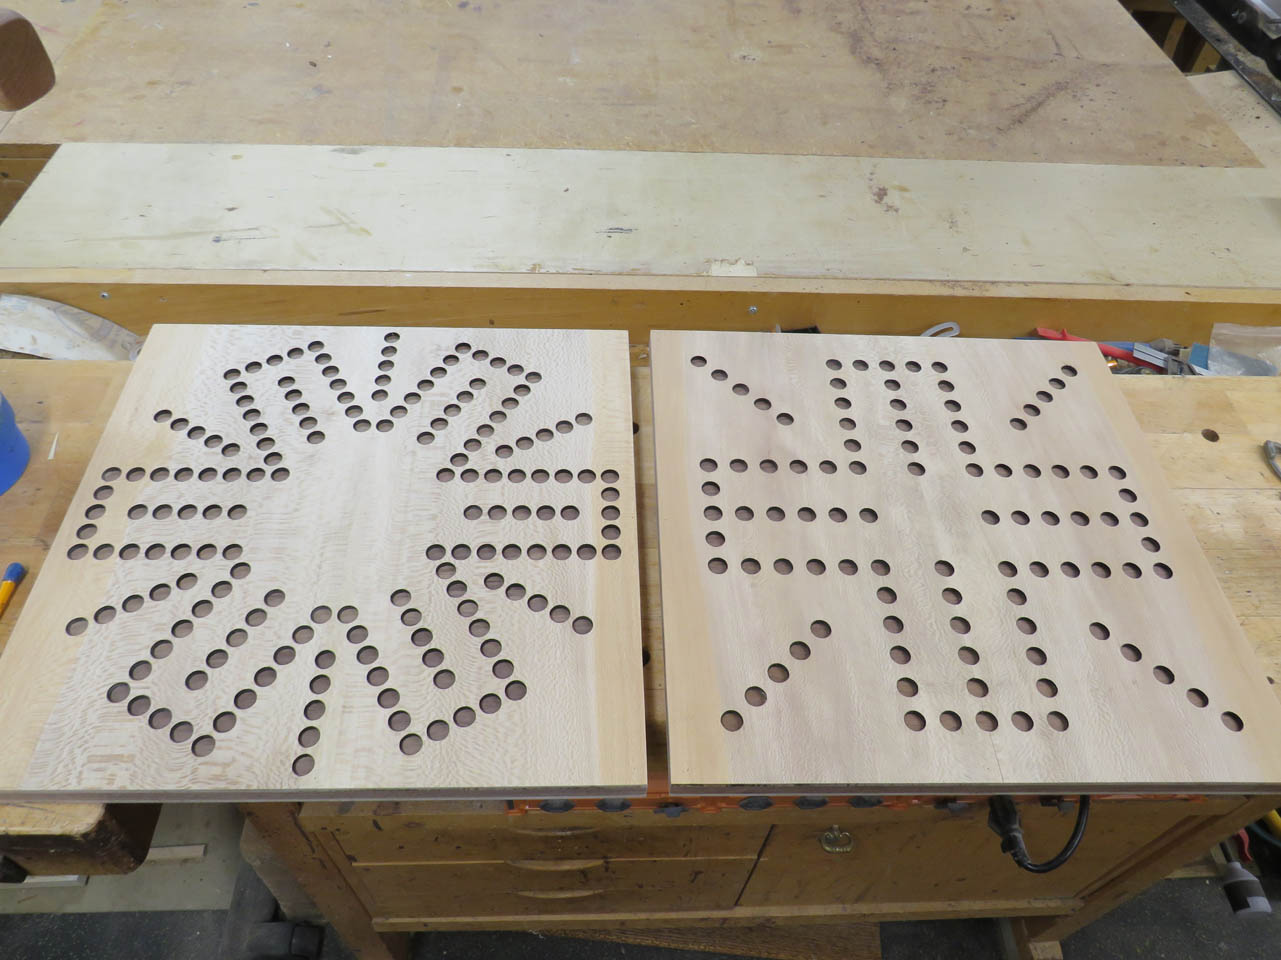
After doing some research, I found the game has two names that it is commonly known by, Aggravation & Wahoo. With some additional research I found that they make 6-player boards as well as this 4-player one. I spent some time designing a board that had 4-player on one side and 6-player on the other. Below are some templates if anyone wants to make their own.
Since there are various different sizes of marbles, I designed this board for 5/8″ diameter marbles. They sit perfectly in the cup while just barely missing the bottom. Other sizes should work too but they may sit differently.

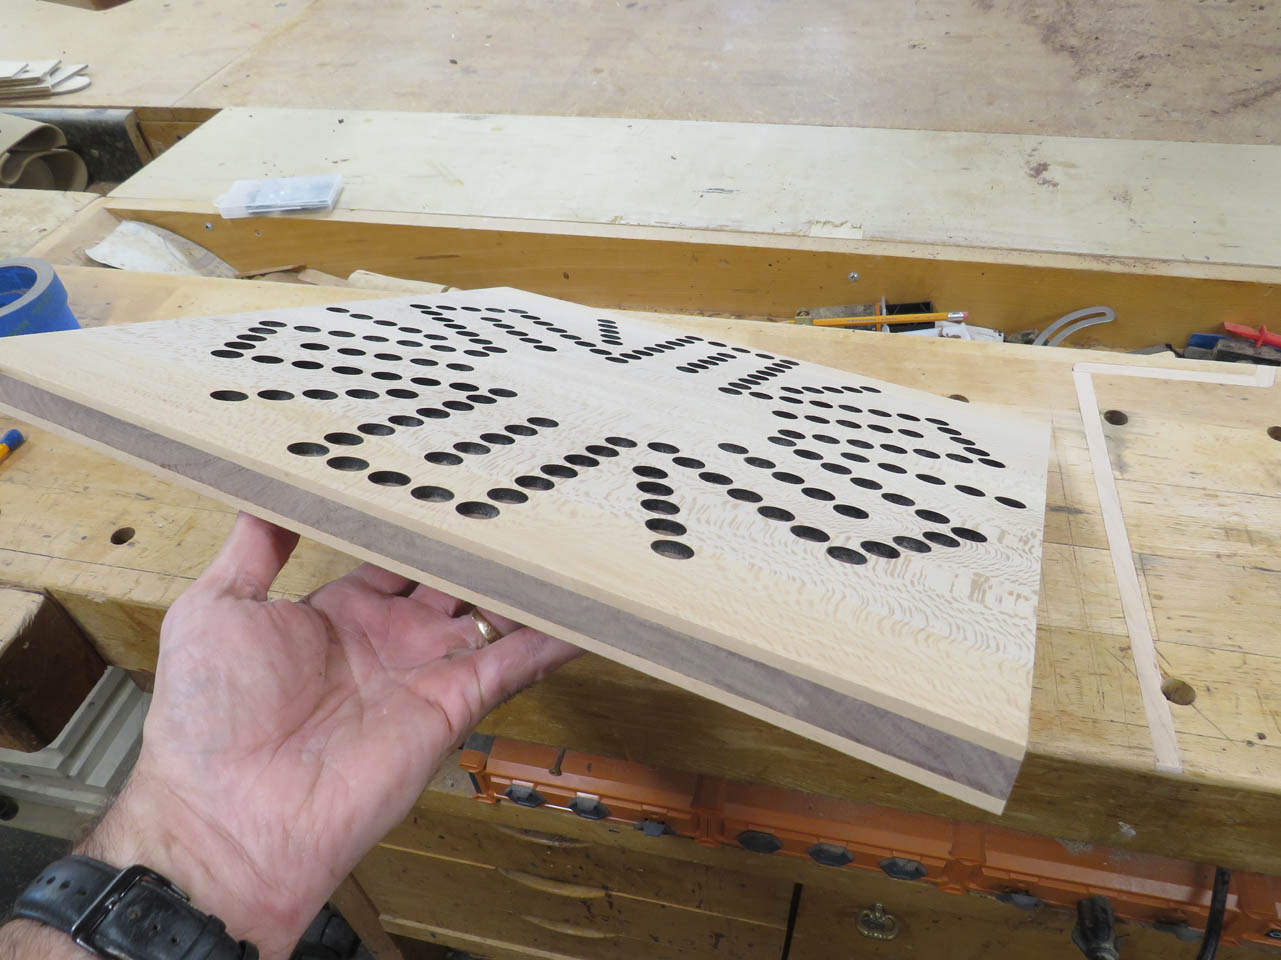
The original gameboard was made from plywood and the pockets were drilled by hand. Since that one has been around for decades, I assumed the new ones would be used for quite some time as well so I decided to spruce it up a bit. I have some beautiful quarter-sawn sycamore that I can book match for the faces of the game board, and the center and sides will be walnut for contrast.

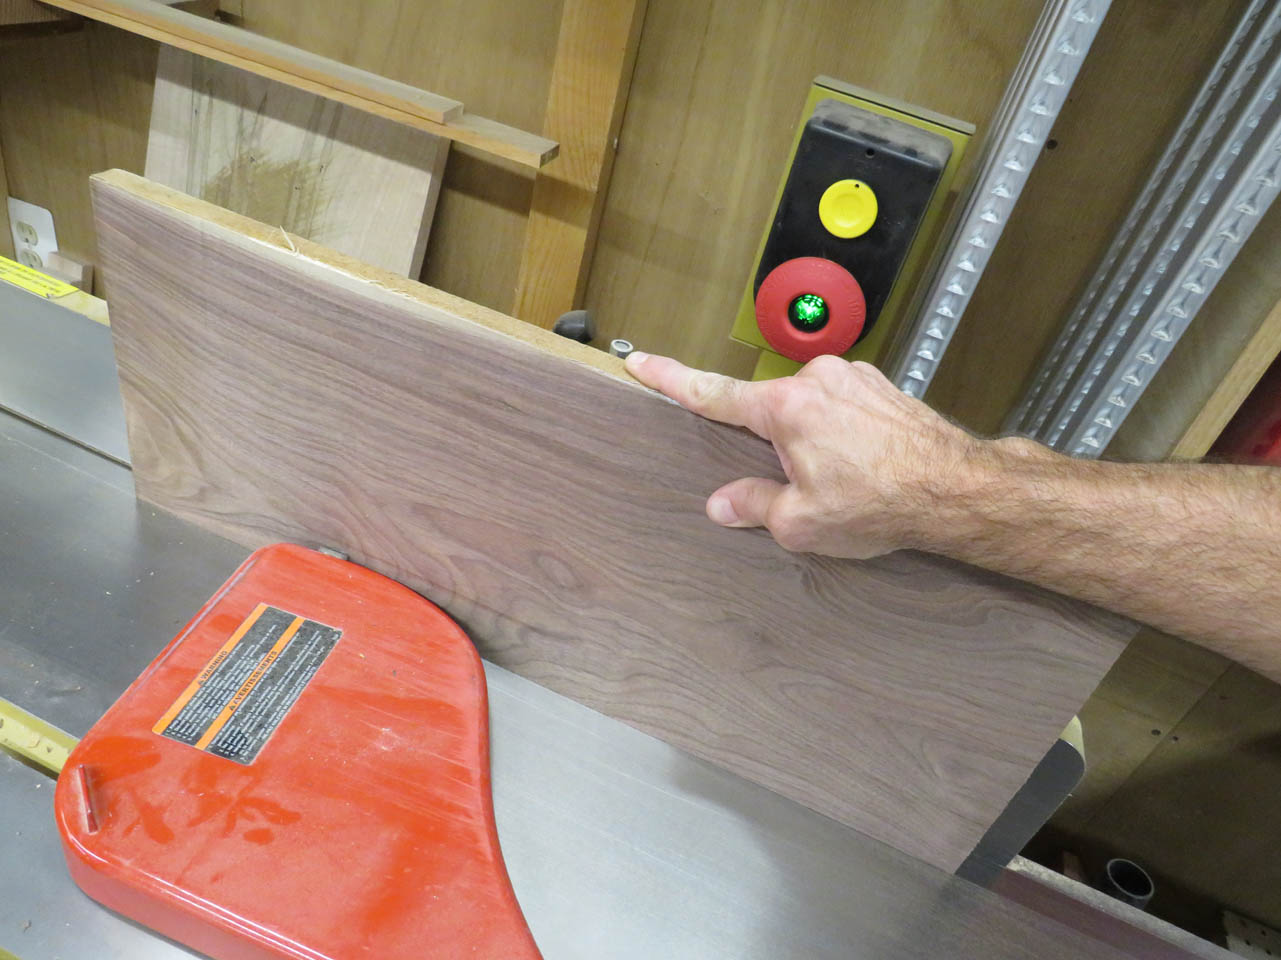
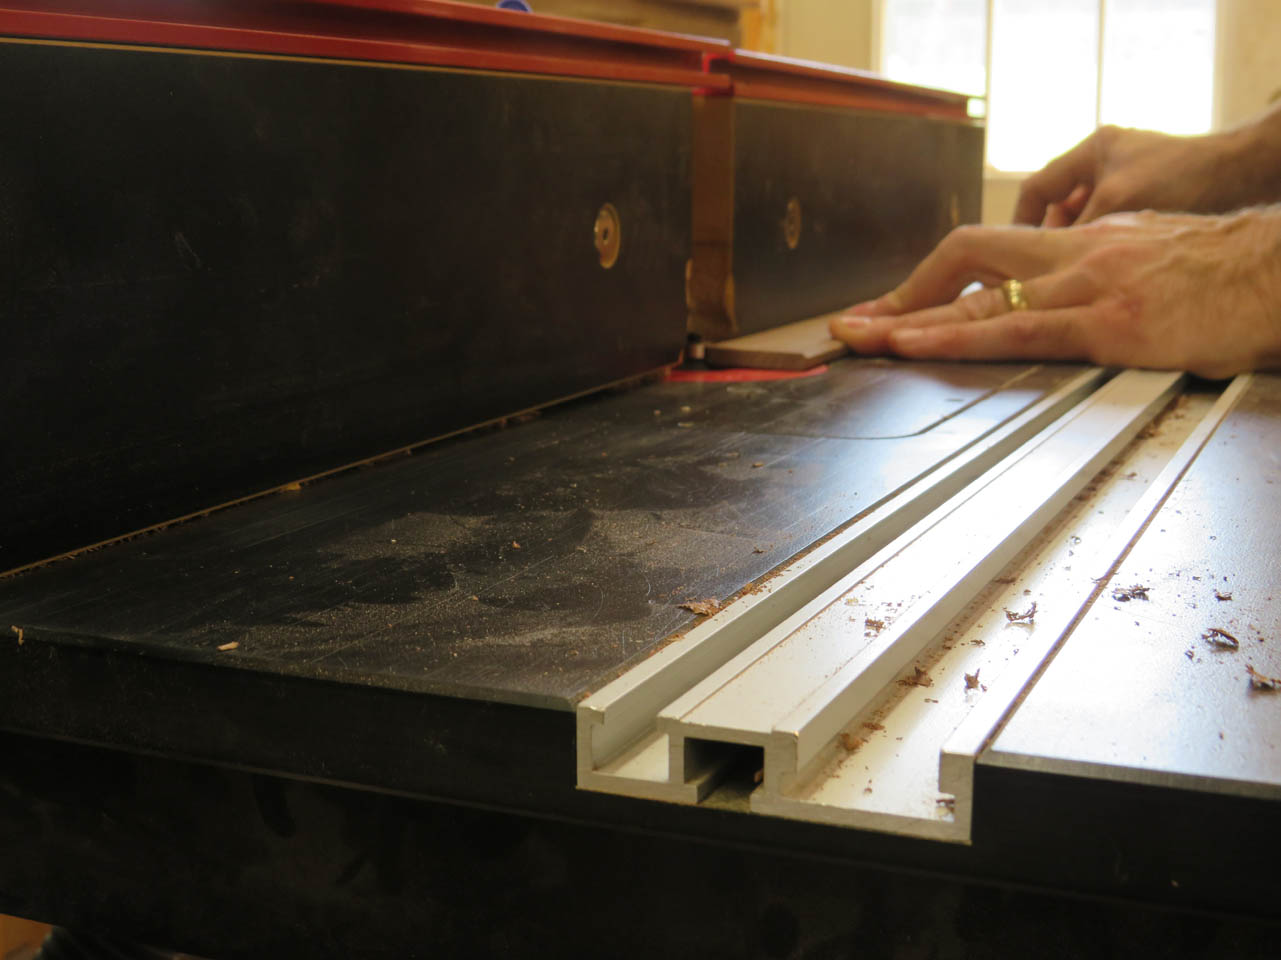
To re-saw the sycamore to create the book match, I start by ripping the boards as deep as I can on the table saw, then finishing the through-cut on the bandsaw.

I re-sawed enough to create four faces.


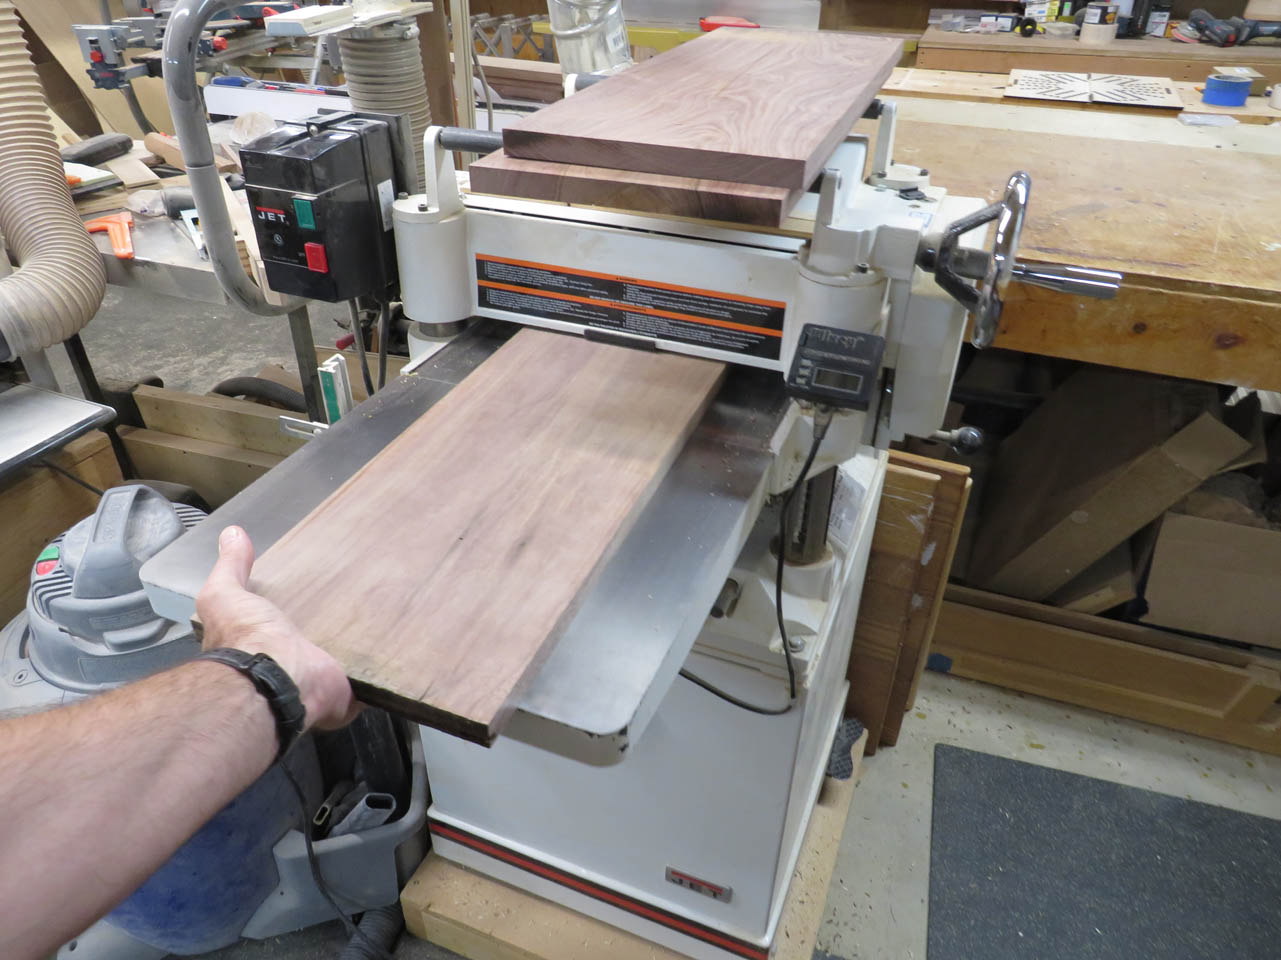
These were all planed down to 3/16″ thick.
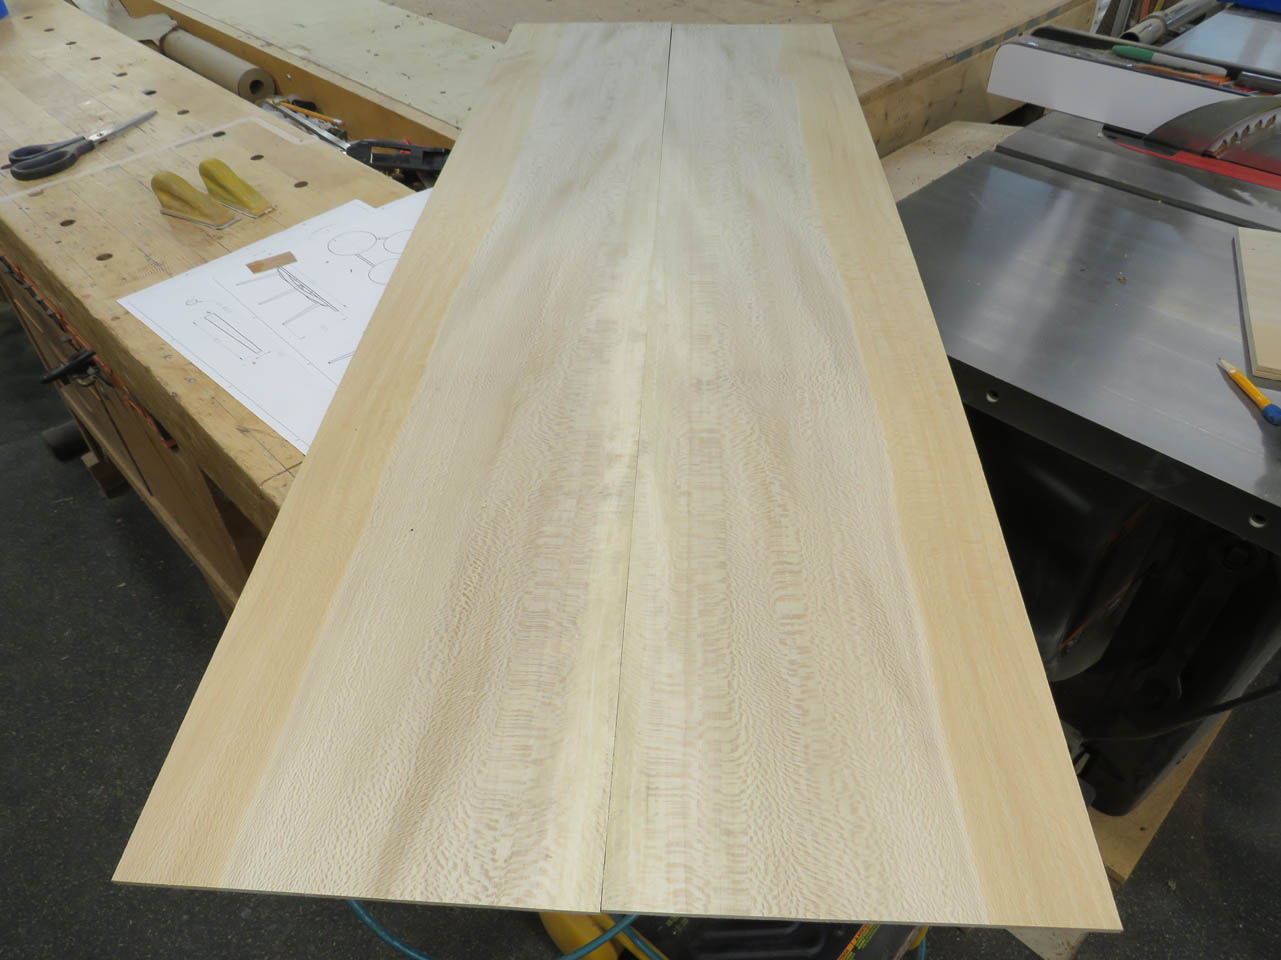

Then they were cut slightly oversized and the glue edge was jointed flat.

With the boards prepped for gluing, I have to decide which edges I want in the middle. I decided to place the darker edges to the outside.

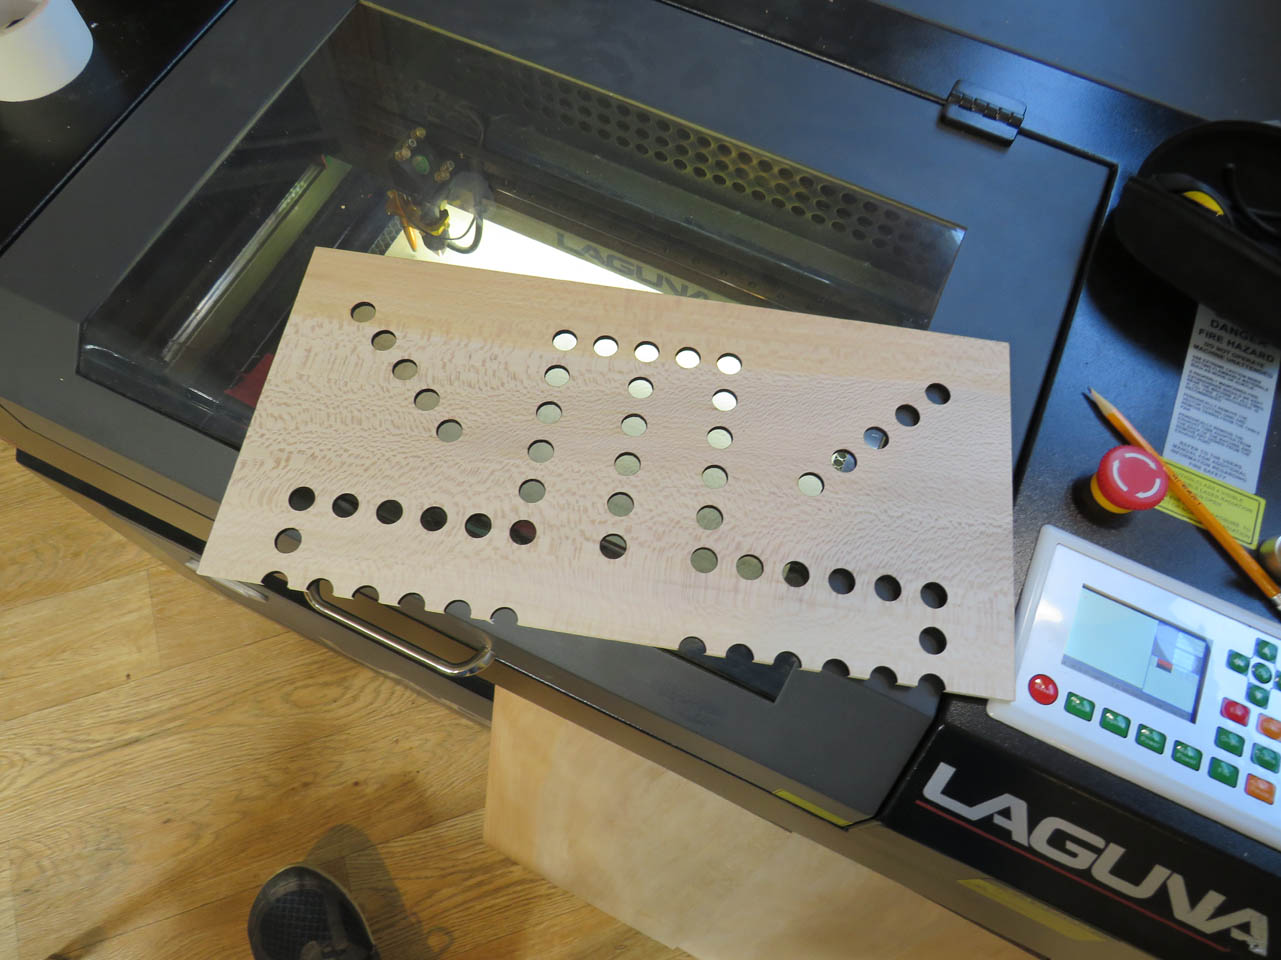
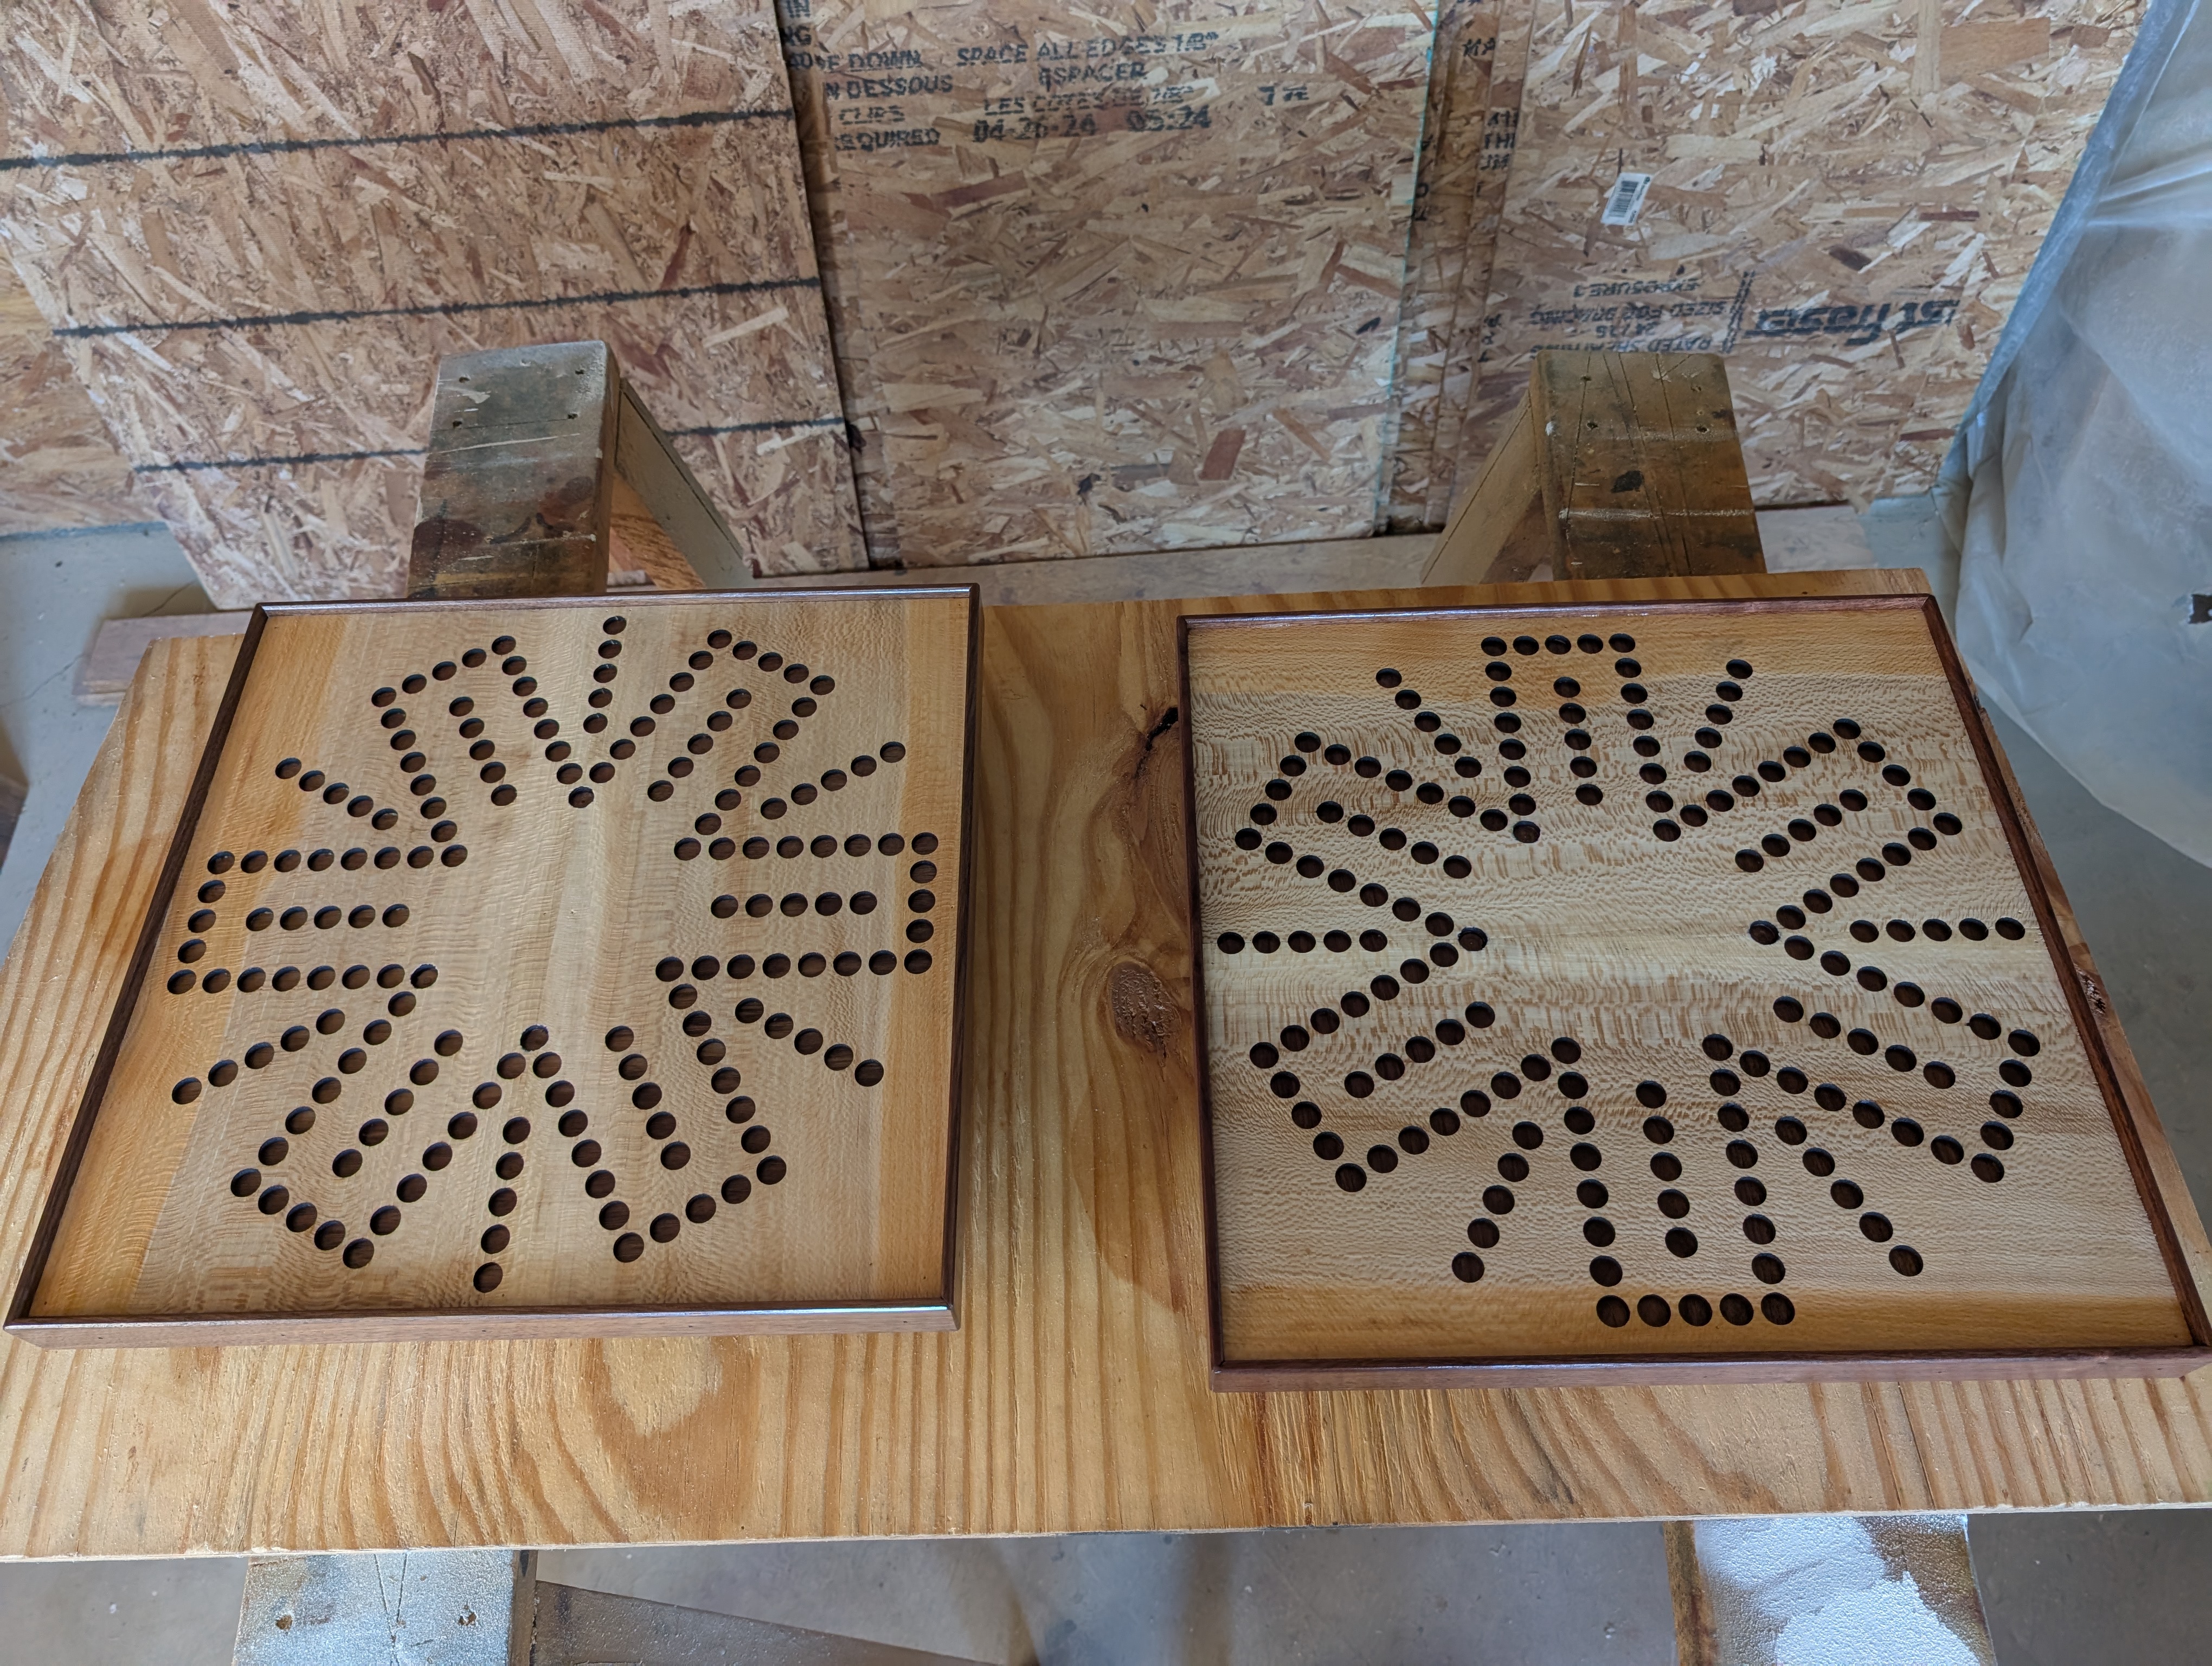
I created a pattern for the laser to cut half of the game board on each piece. Keeping track of the darker edge that would be on the outside, I loaded the first piece into the laser.

And the laser started doing it’s thing.

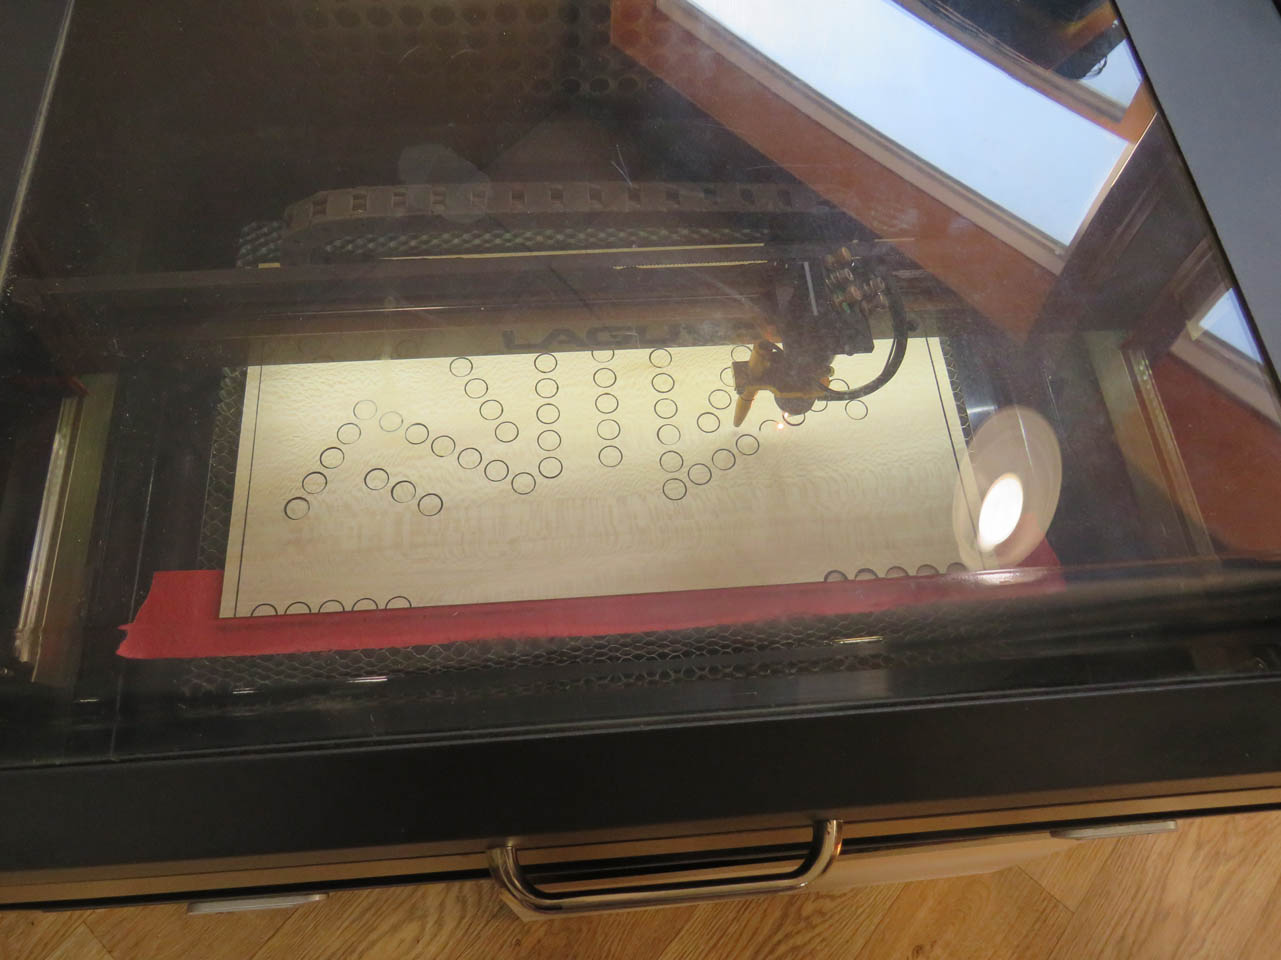
My laser is only 40 watts so I had to slow it way down to cut all the way through. It took about 30 minutes to cut each half.

I started with the 6-sided game board first. While they were cutting, I started on the walnut core of the game board.
I cut some boards to rough size, then planed them down to 1/2″ thick.
These were then trimmed down to all be the same length.


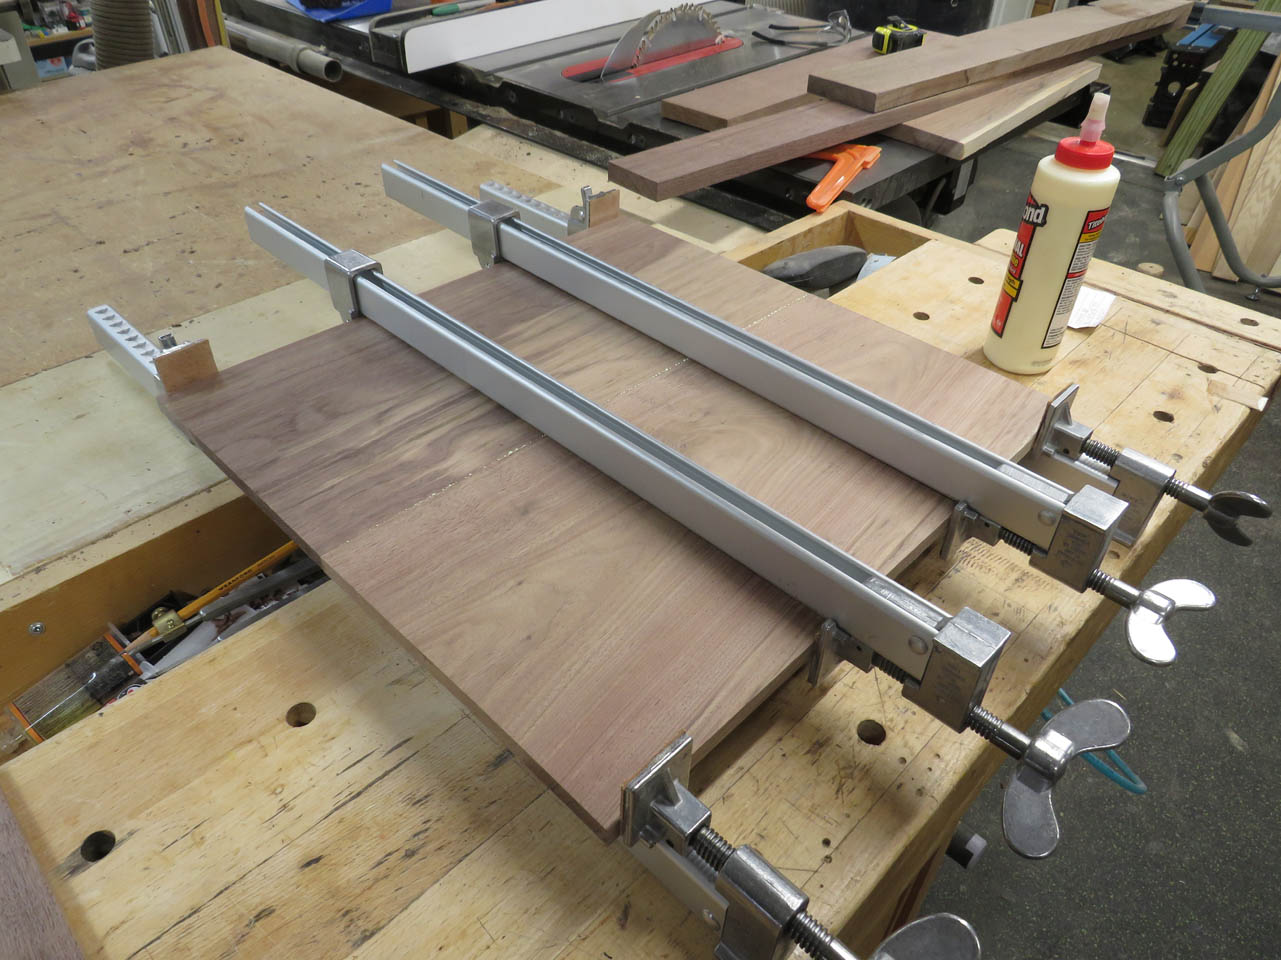
Glue was applied to the edges and the panels were clamped up to dry.

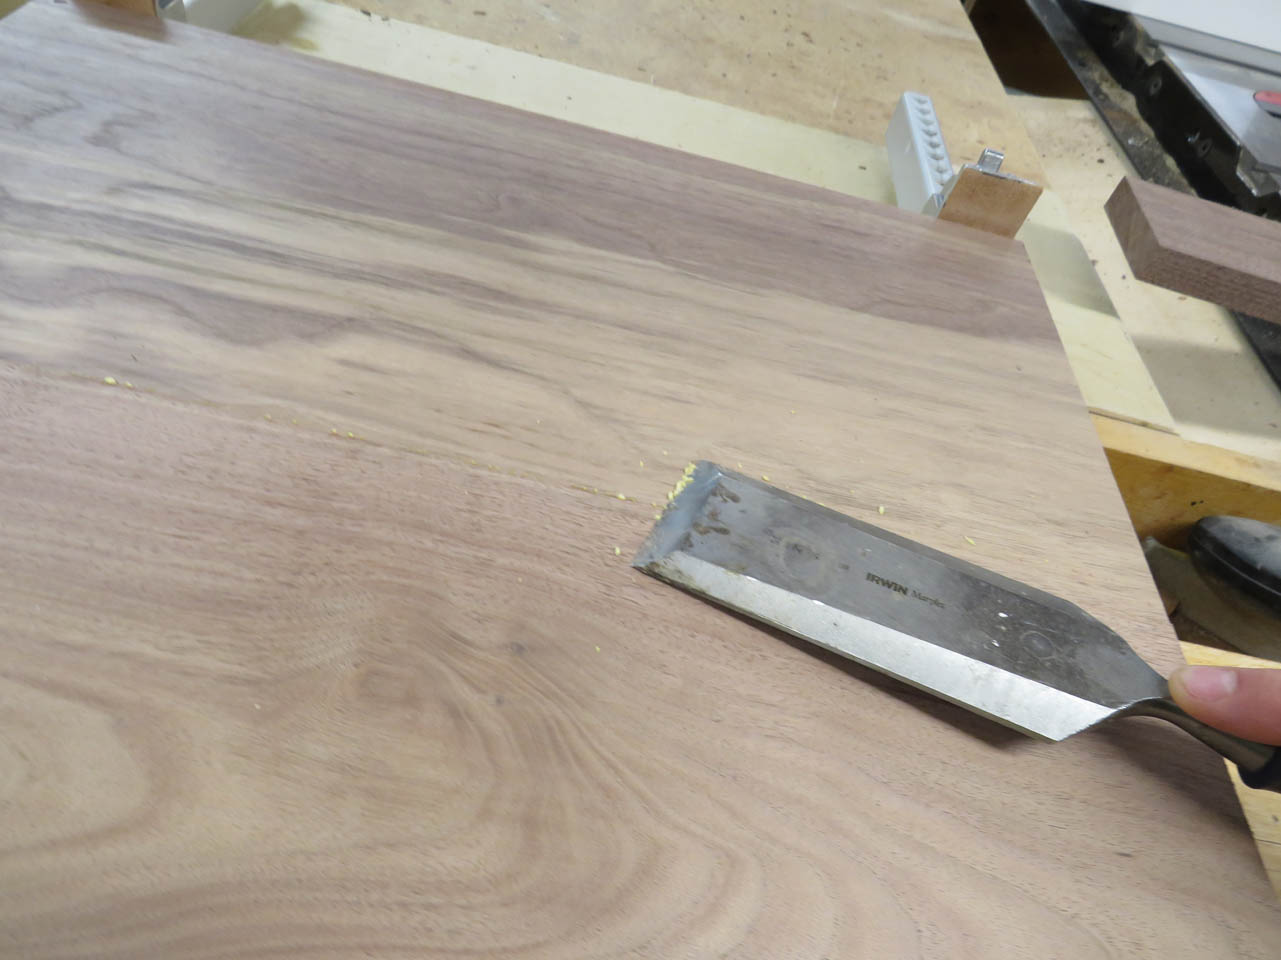
After they were dry, the glue squeeze-out was scraped away and the faces sanded down.
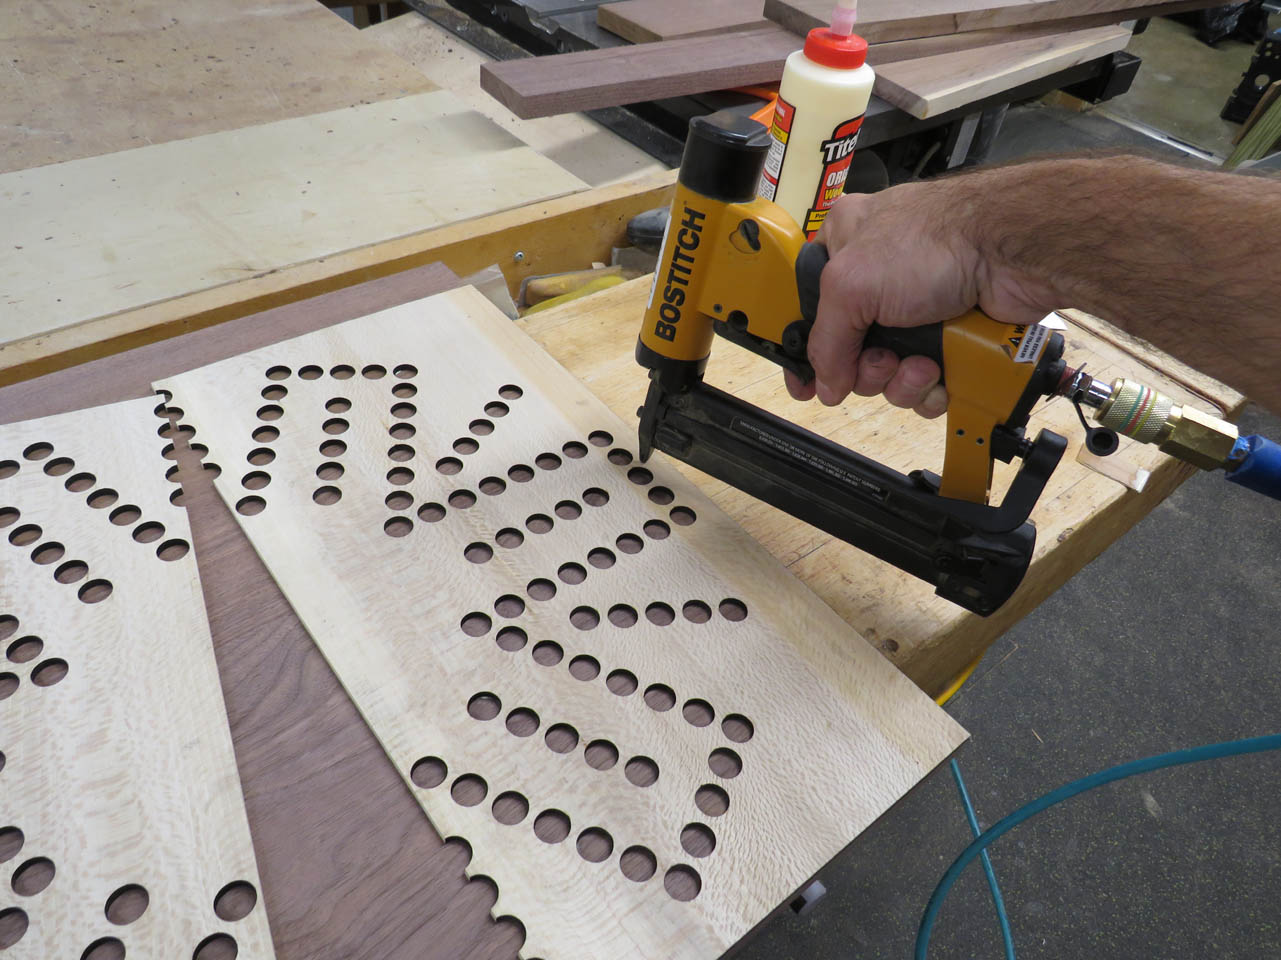
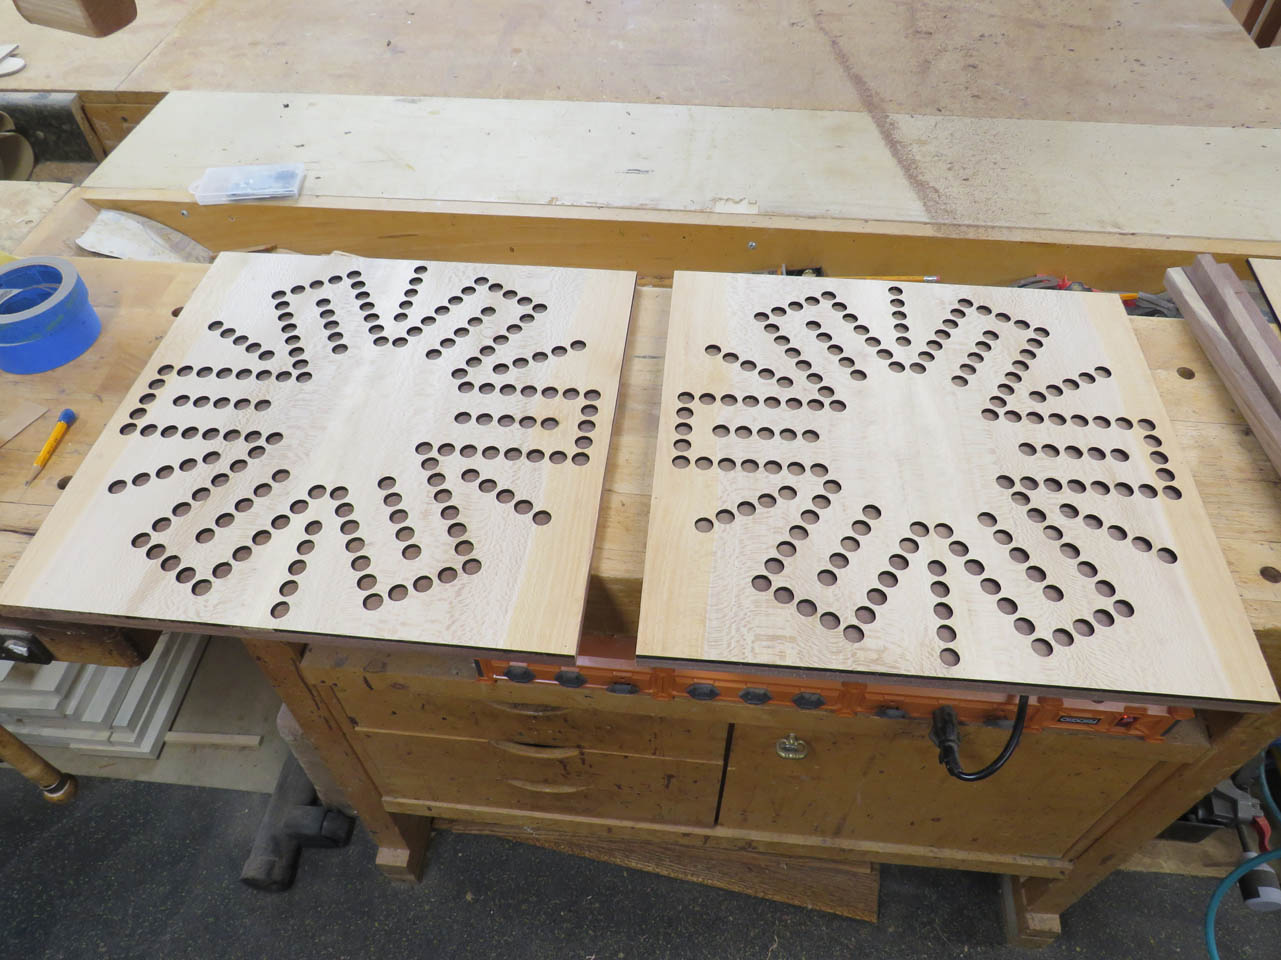
By the time they had dried, I had all four halves of the 6-player boards. I started applying wood glue to the first side.


This was spread evenly around to help avoid squeeze-out, then I used some tiny pin nails to hold the first piece in place. I had to work quickly because the glue sets up quickly.

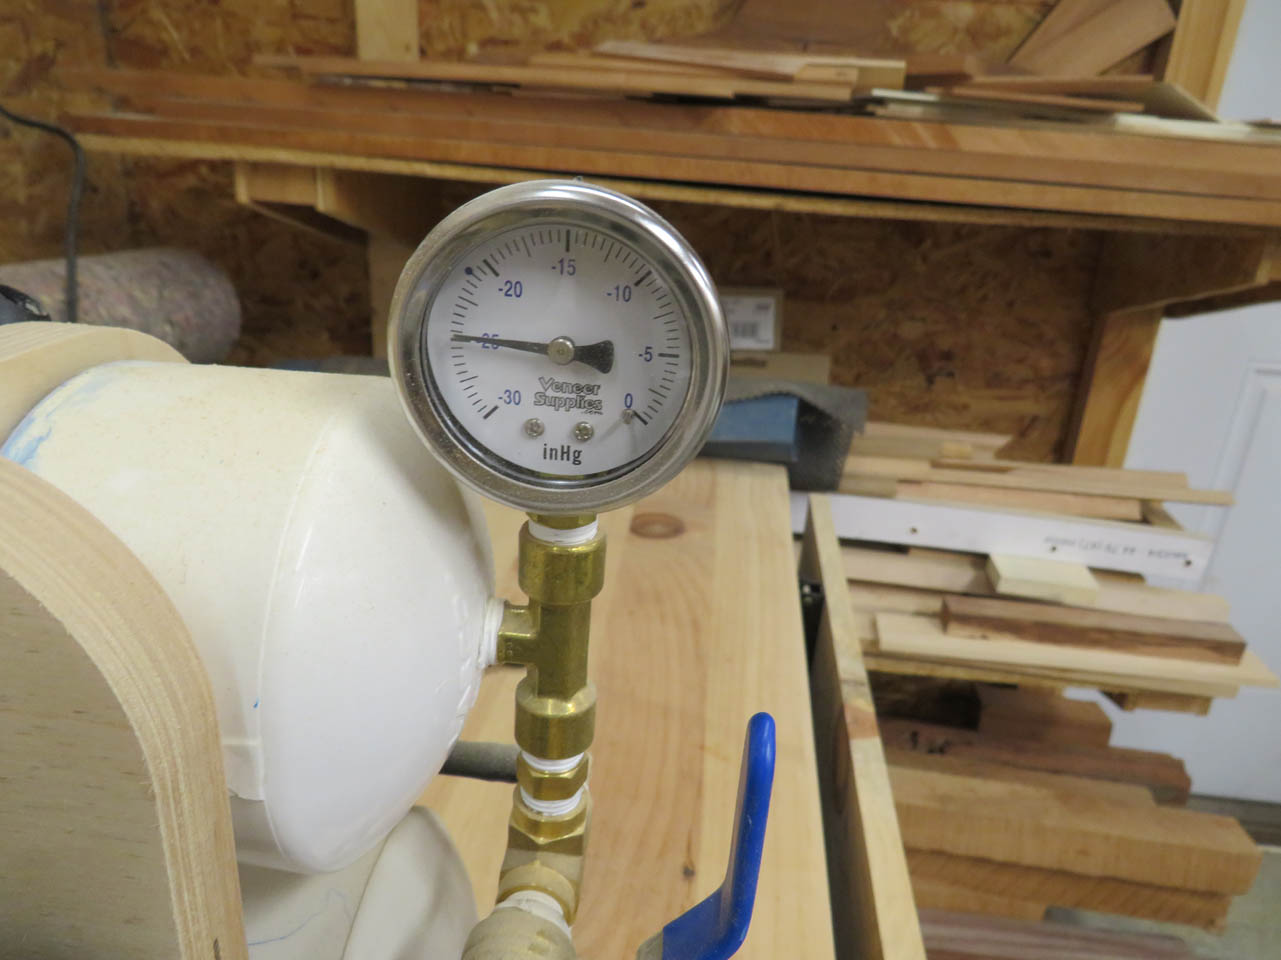
When both boards were glued and pinned in place, I placed them into my vacuum bag to clamp the veneers tightly flat to the walnut.
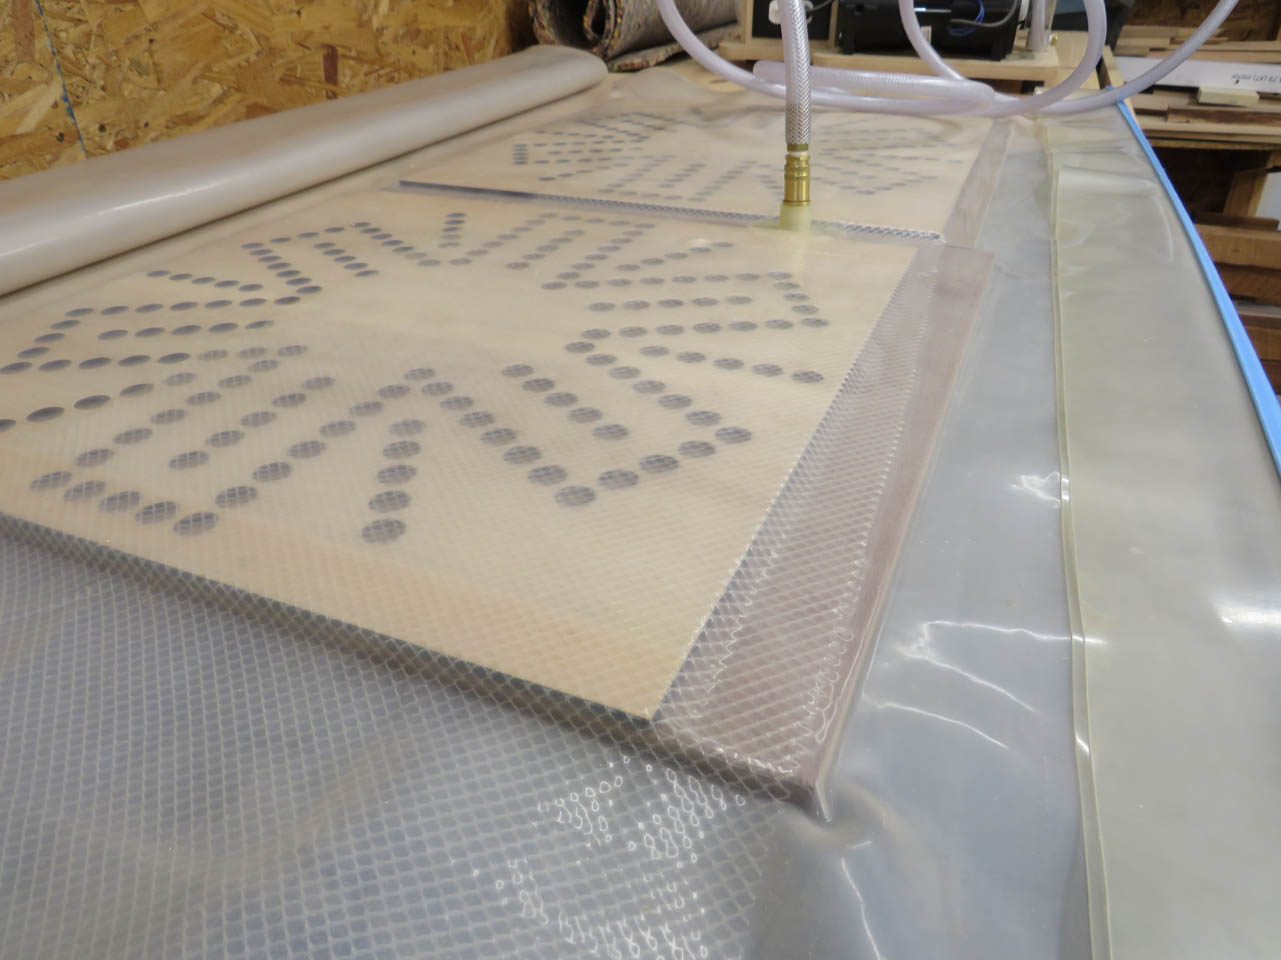
I let the vacuum suck it way down, creating about 300 pounds of clamping force evenly across the surface. Alternatively, I could have sat a heavy pile of wood on top as it dried, but this works better.


While I was doing that, I was also cutting out the opposite face with the 4-player boards.
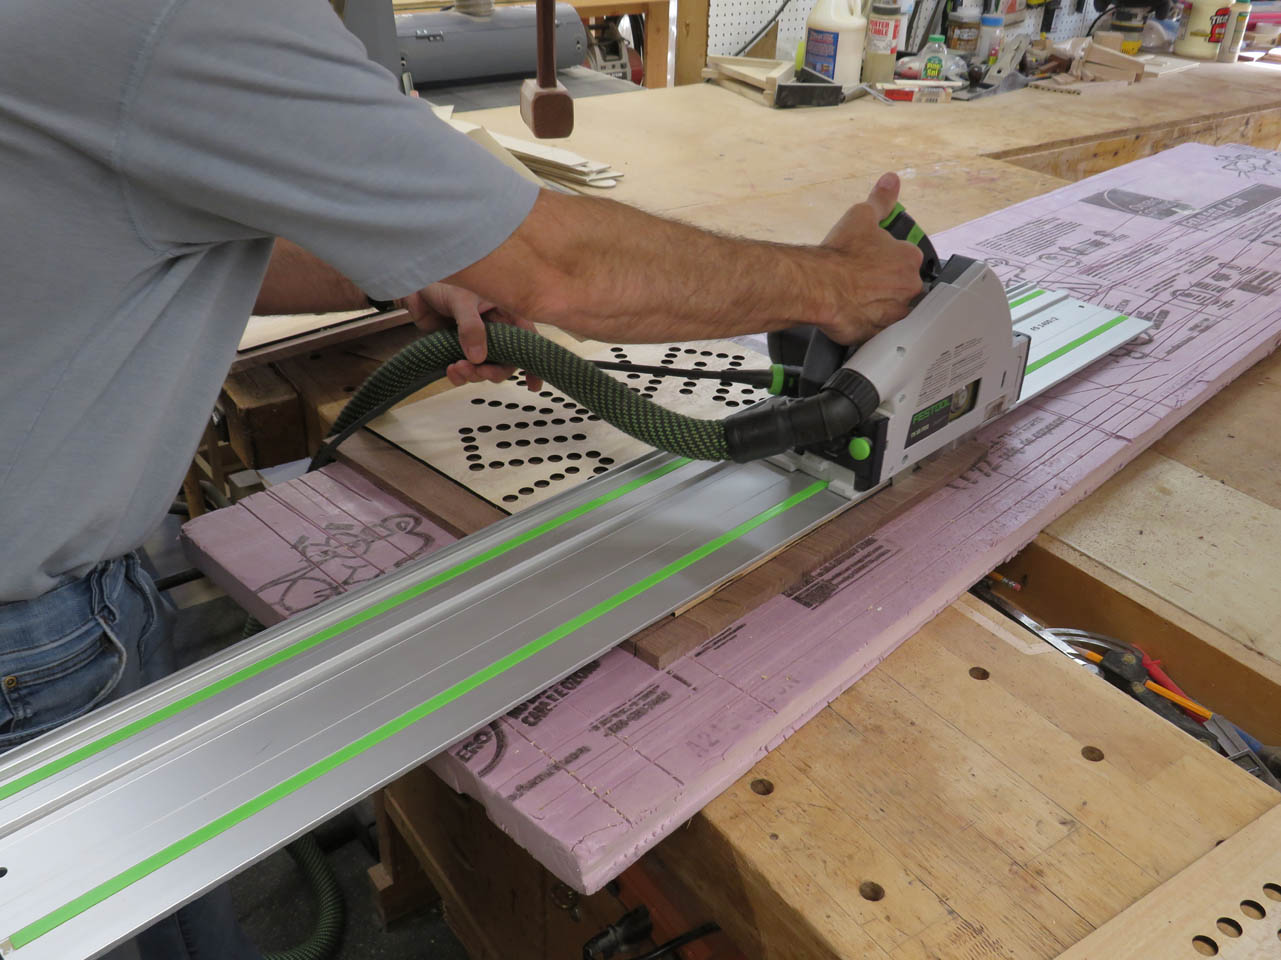
When the glue was dry, I pulled the boards out of the vacuum press and trimmed the walnut to the edges of the sycamore with a track saw.

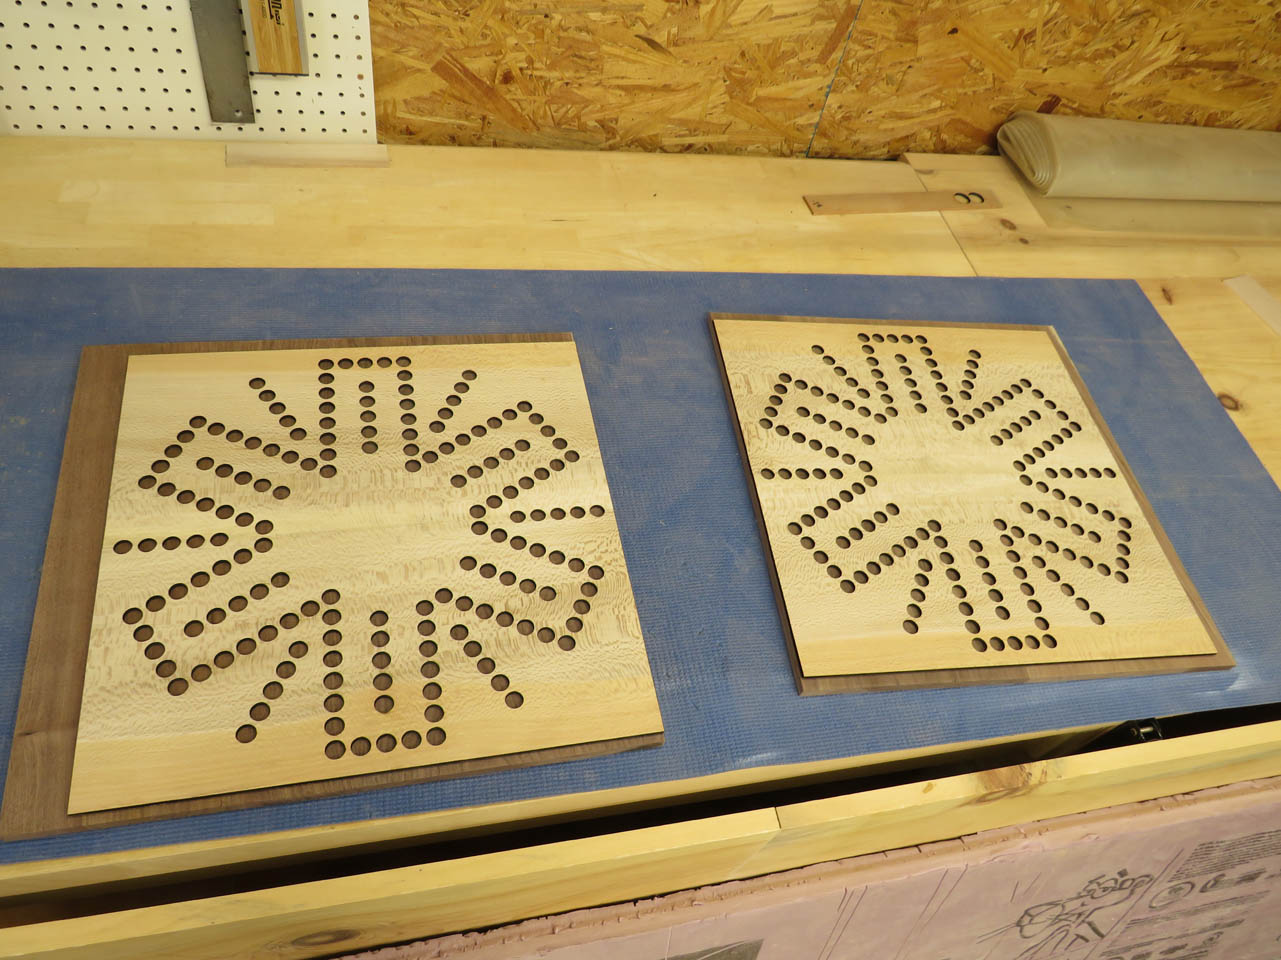
Now that they are cut square and to the correct size, I can align the opposite sides more easily.
Then I repeated the process again with the 4-player boards. Also, you probably cannot tell but I attached the sycamore with the grain running perpendicular to the walnut’s grain. This creates a layering that strengthens the board as well as making it more stable, like plywood.


Since the other board is still cutting on the laser, I went ahead and did the first one while waiting…
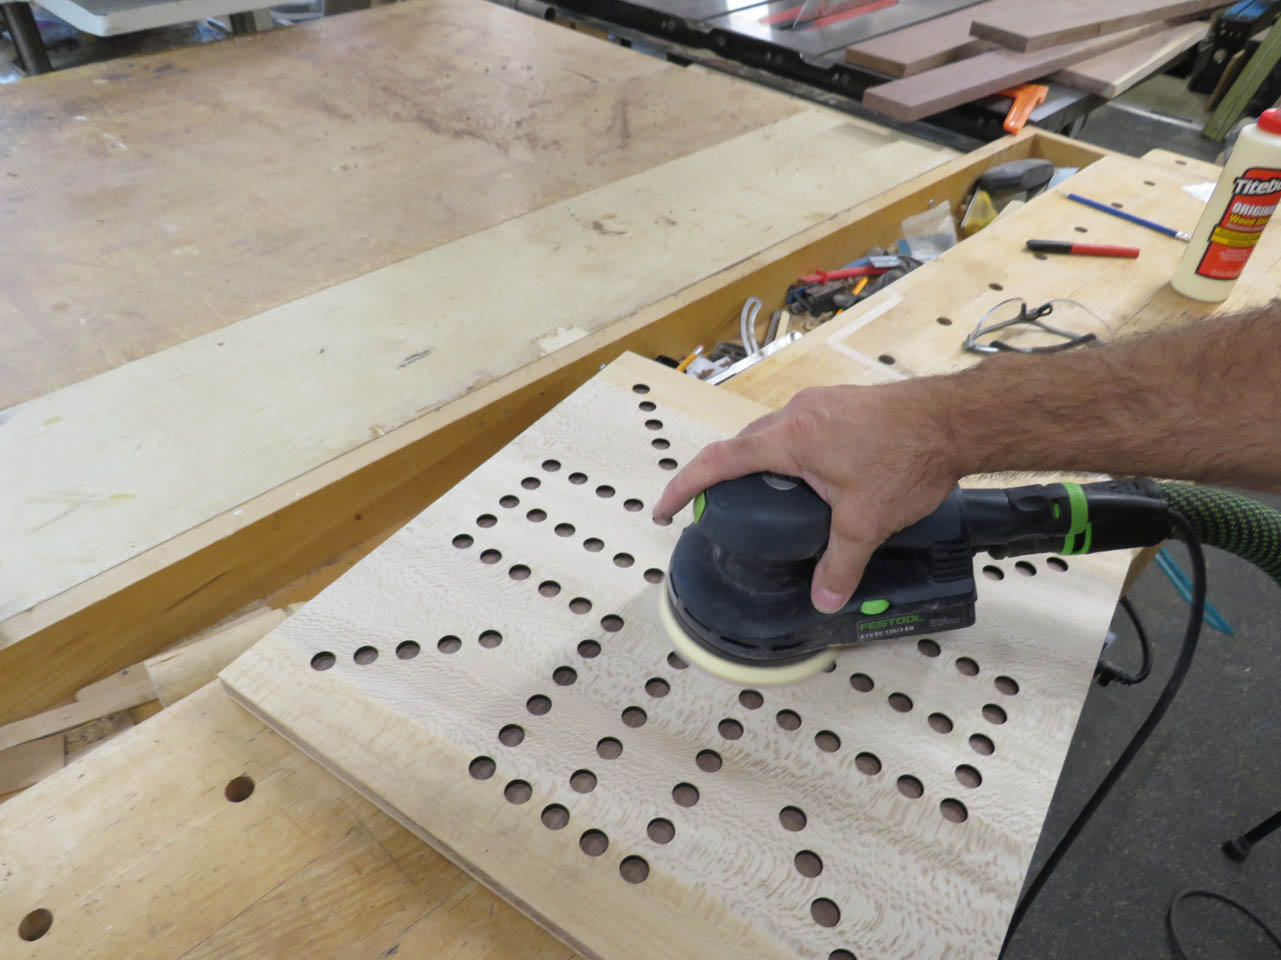
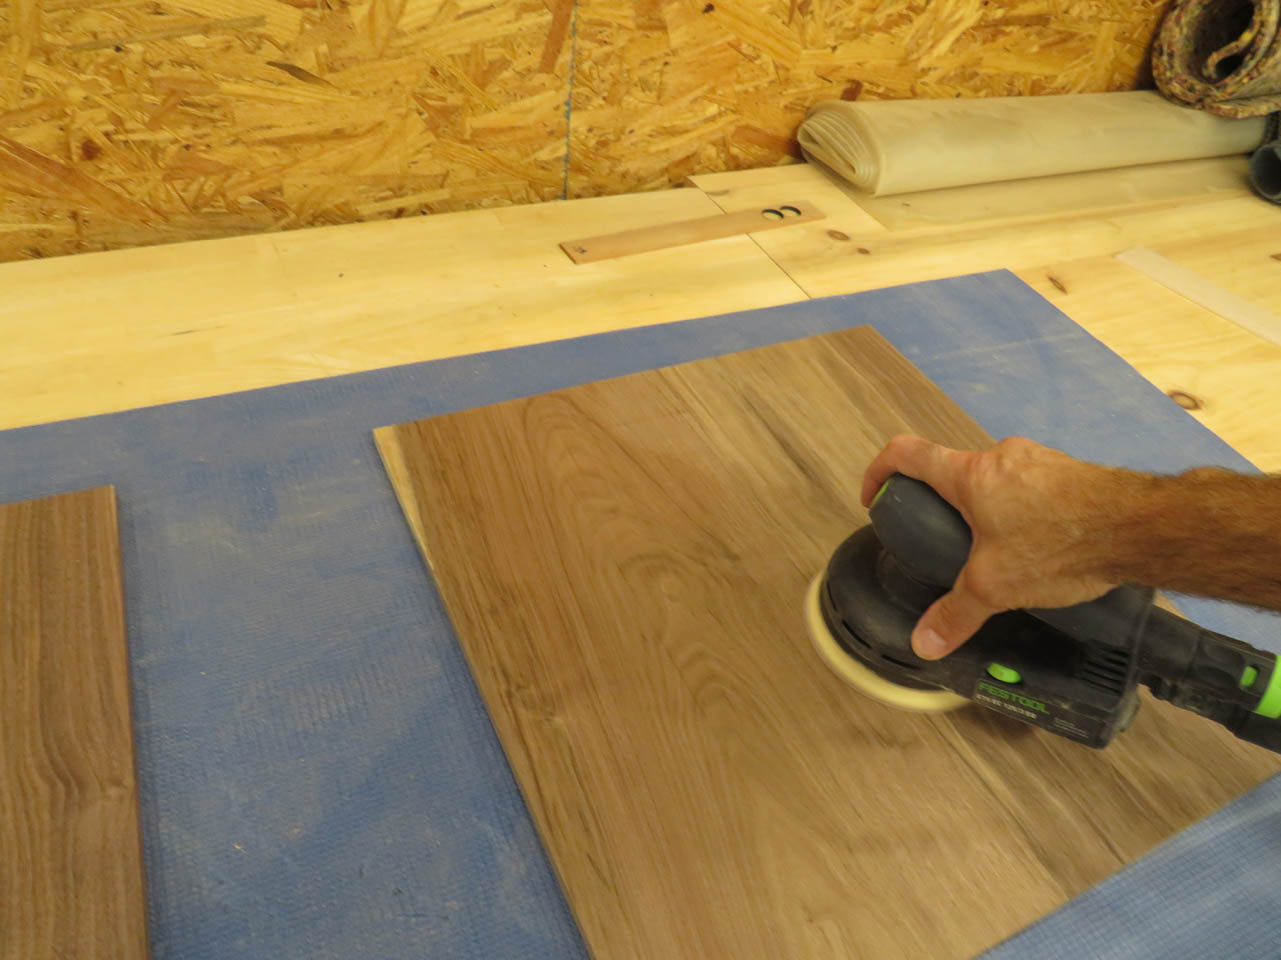
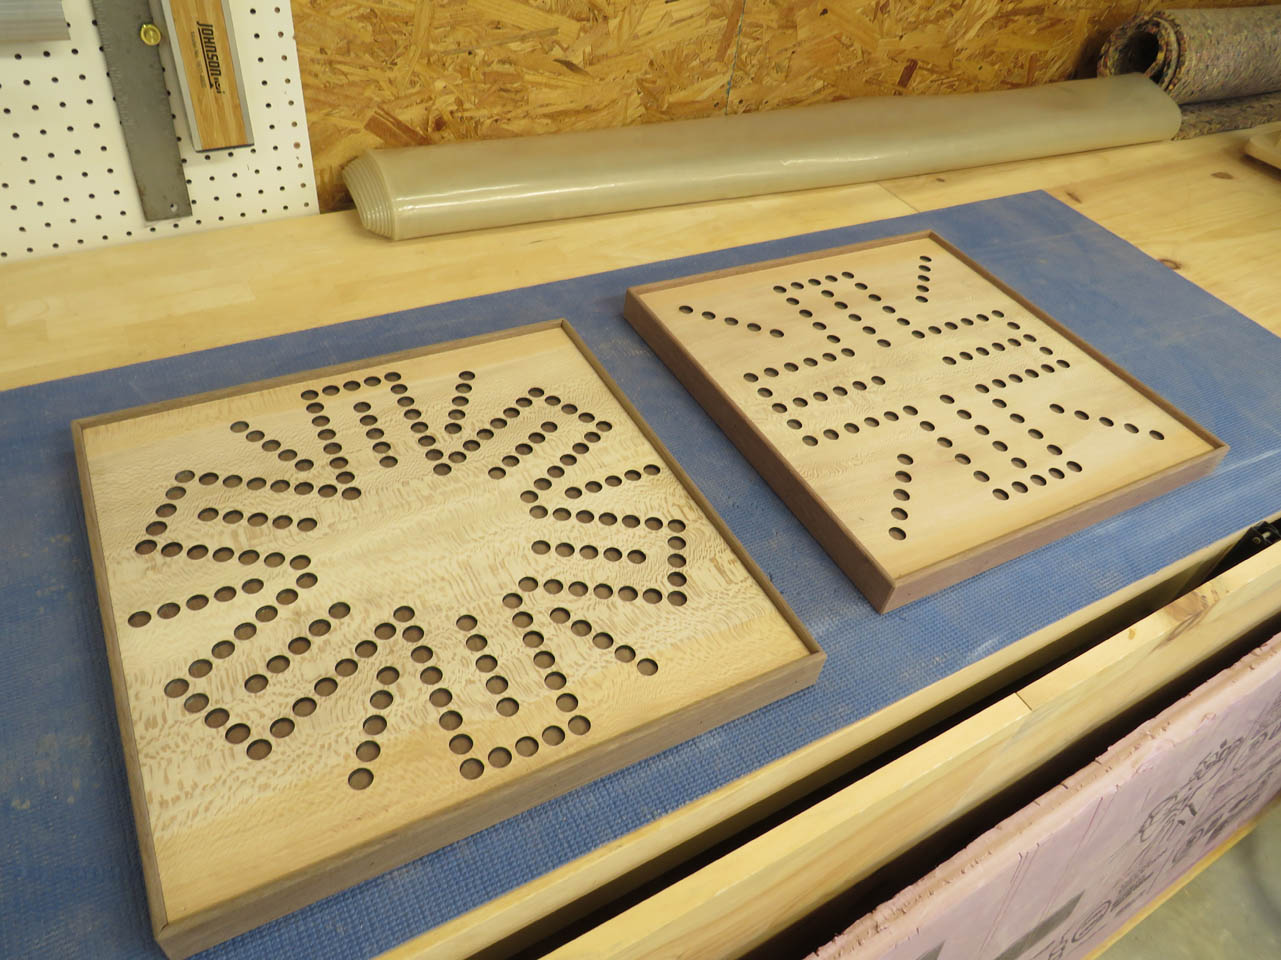
When they were dry, all the boards were finish sanded .
With both boards done, I set them aside to start making the edge banding.
The banding is wide enough to create a curb all the way around the board. This will keep the marbles from rolling off.

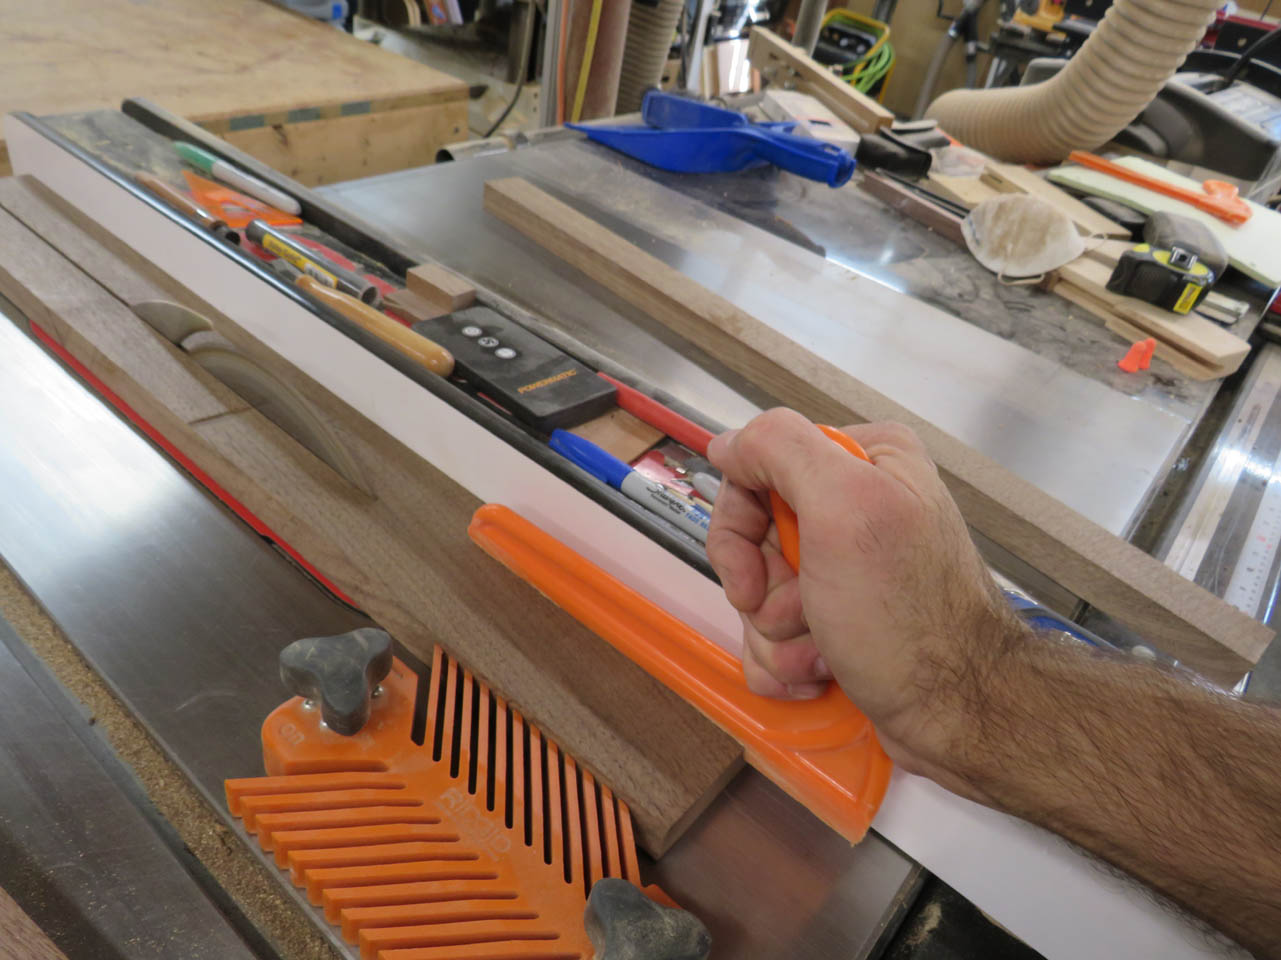
These strips were cut to 1-1/4″ wide and planed down to 1/4″ thick

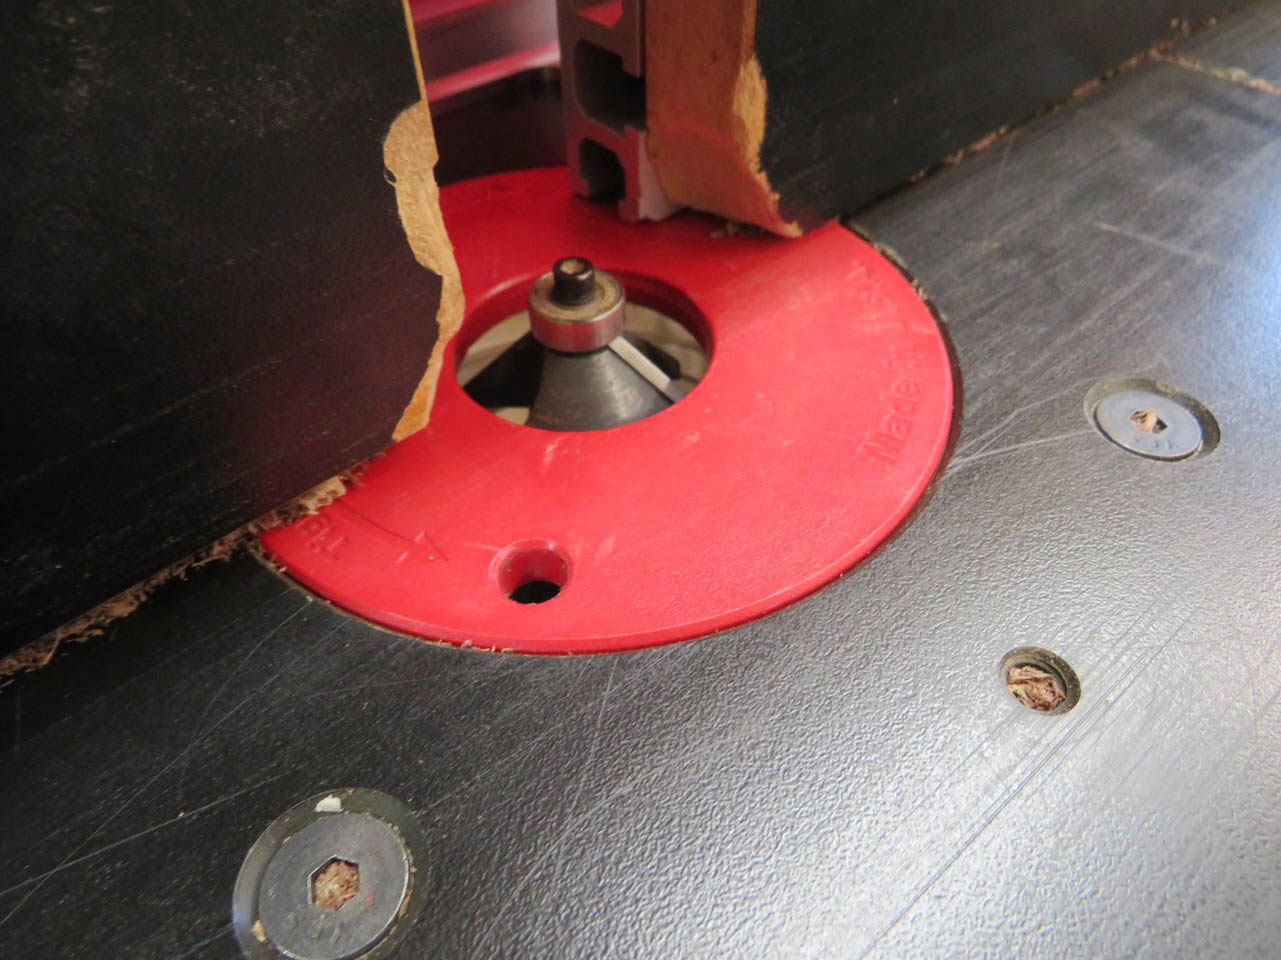
I placed a 45° chamfer bit in the router table to create a small bevel on each edge.
This removes any sharp edges where you might lay your arm when playing.

I cut a 45° miter on the end of each strip and held the first two in place, raising the board up on some scrap wood to hold it in the center of the edge banding.

I could then mark the inside edge of the next miter cut.
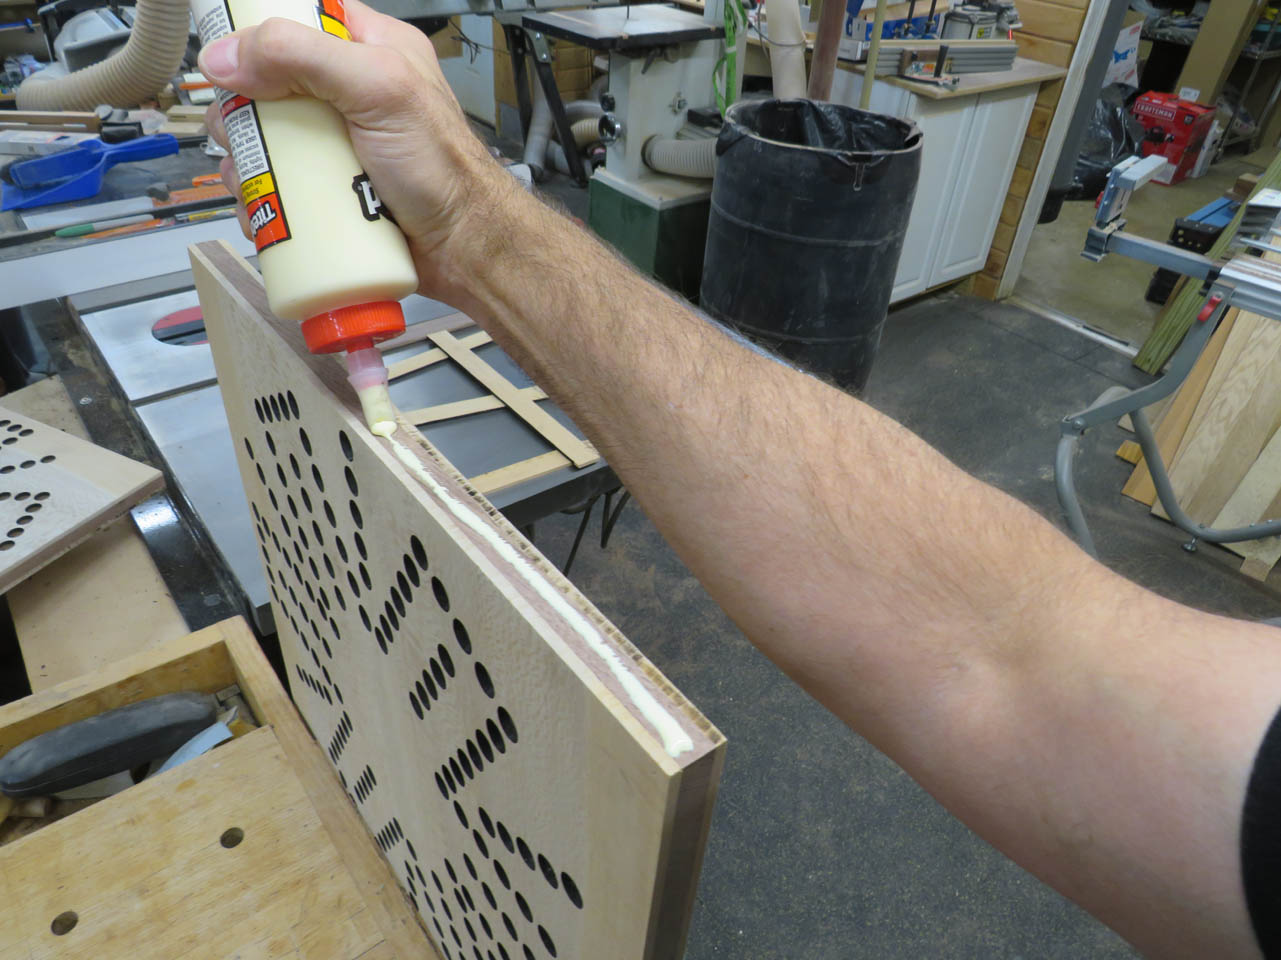
With that cut to length, I can apply glue along the first edge.

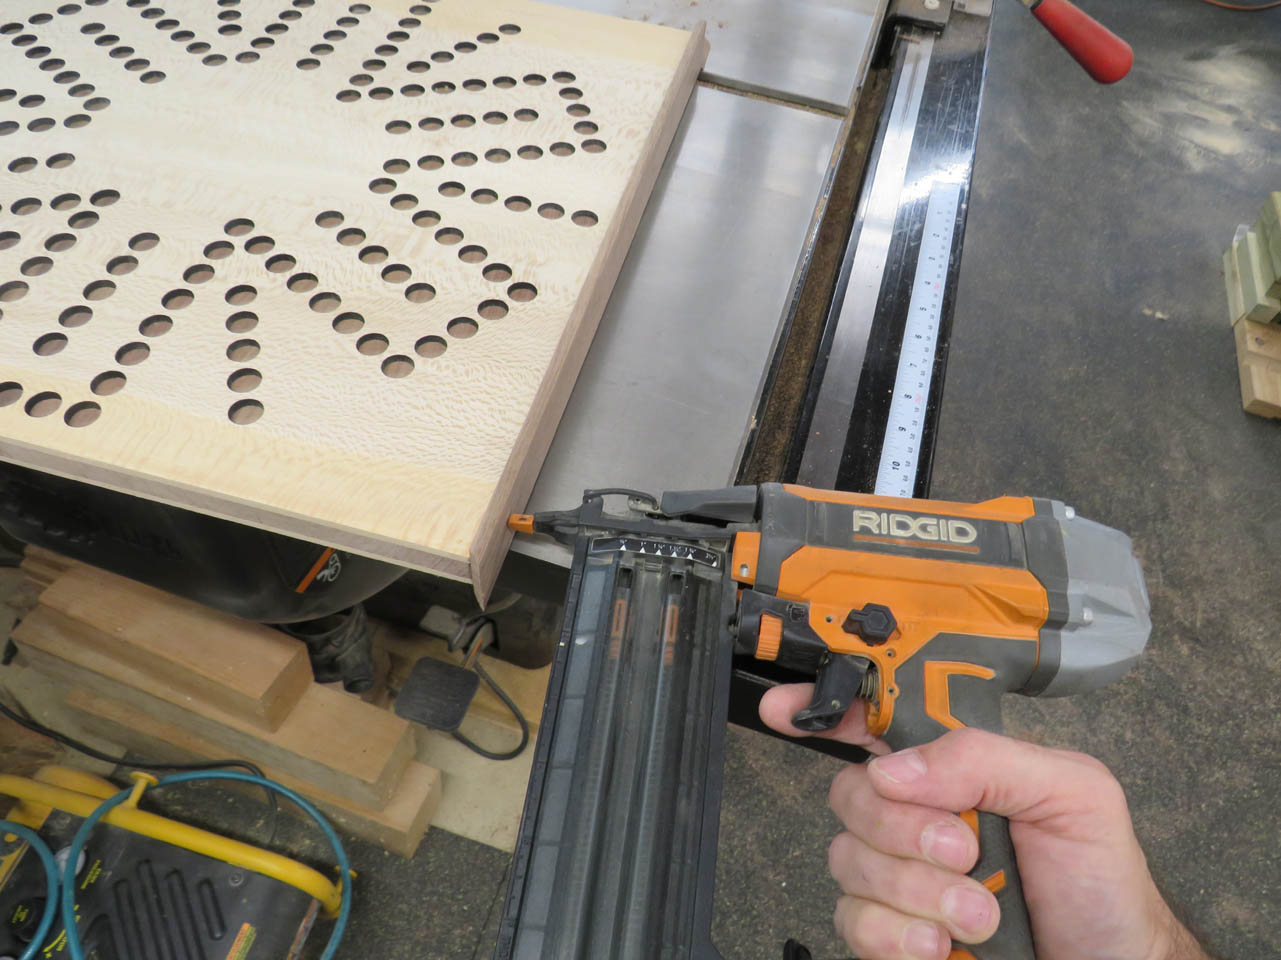
I use my brad nailer to hole the edge banding in place while the glue dries. Then I can repeat the process all the way around.
When finished, I can hand sand the corners to get rid of any sharp edges.
The boards are done, time for finish.
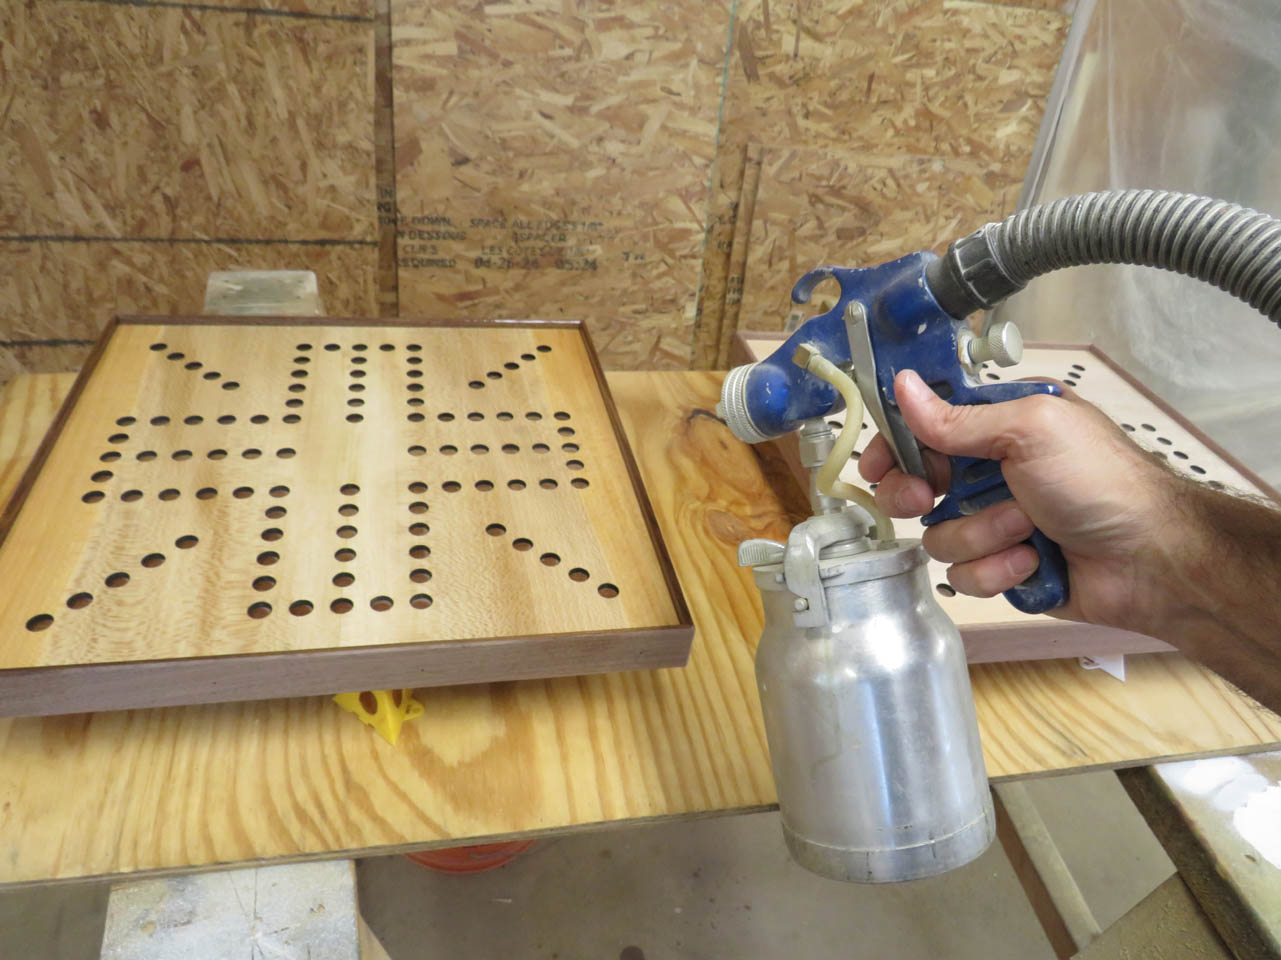
I am applying 3 coats of oil-based polyurethane to create a durable surface.
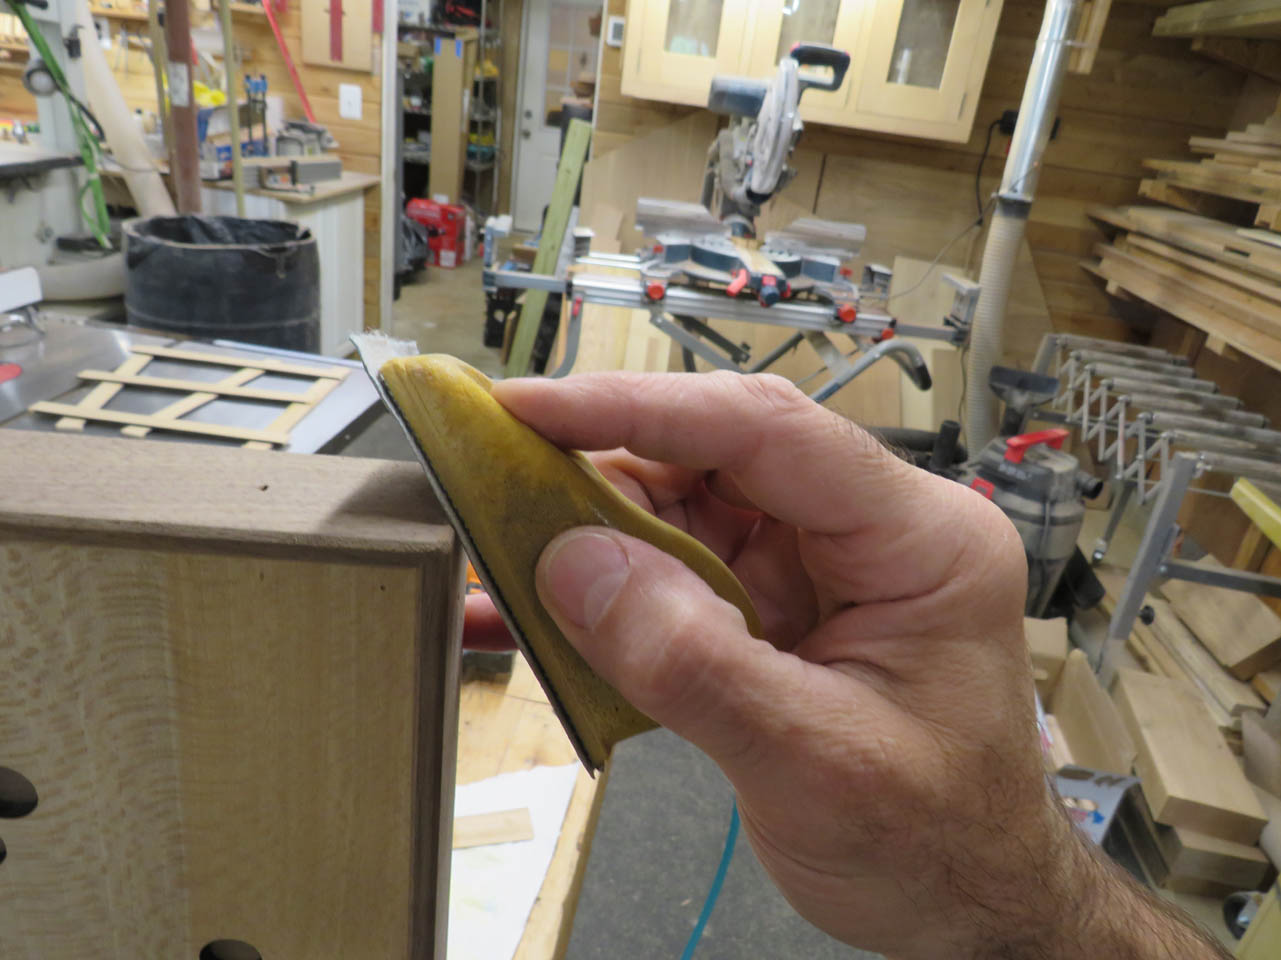
Between each coat, I sand the surface with 400 grit sandpaper to remove any dust that settled while it was drying and prep the surface for the next coat.


I spray one face first, then flip the boards over onto painter’s pyramids so I can spray the second side at the same time.
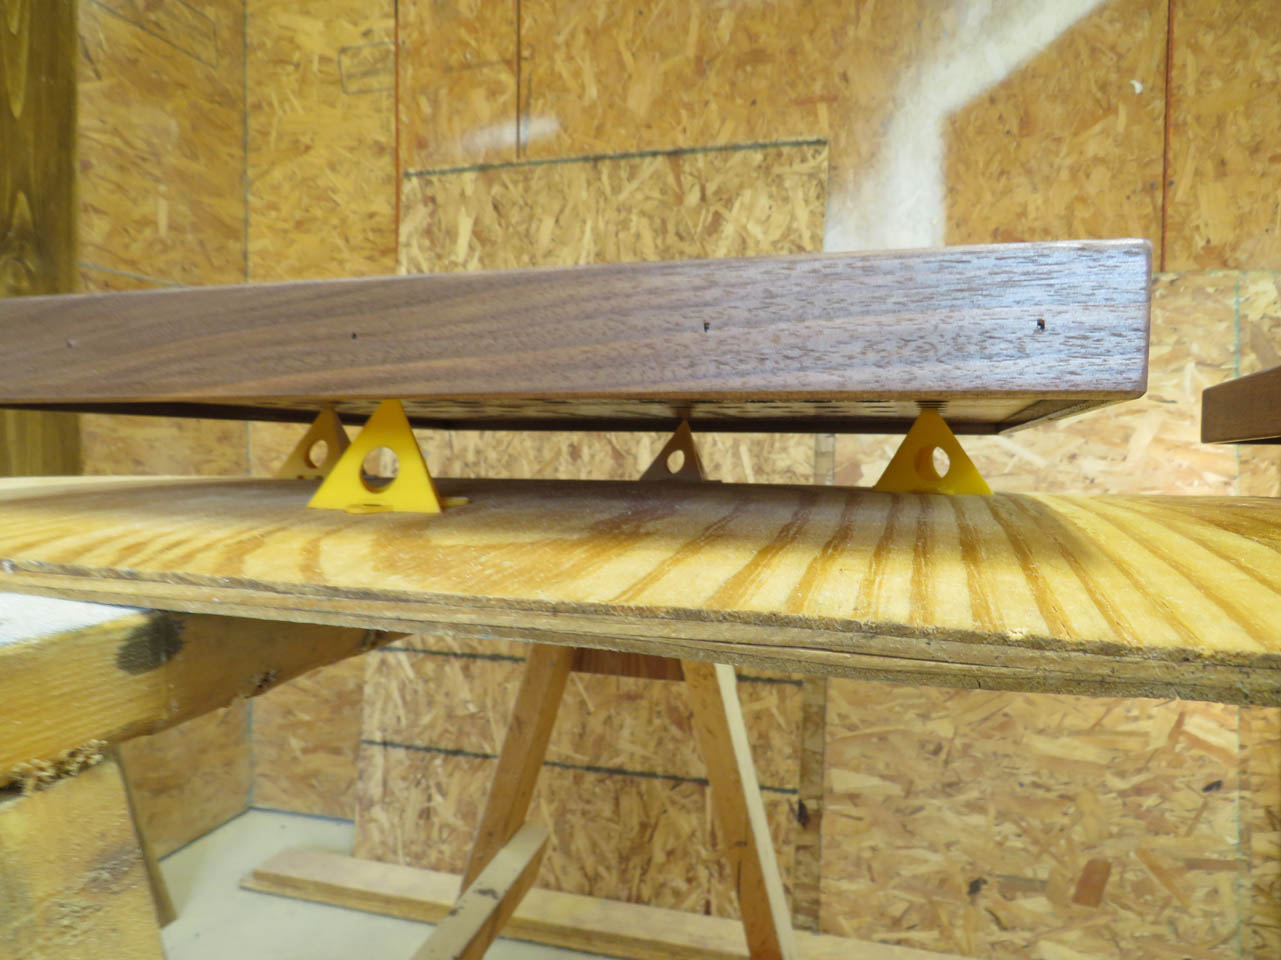
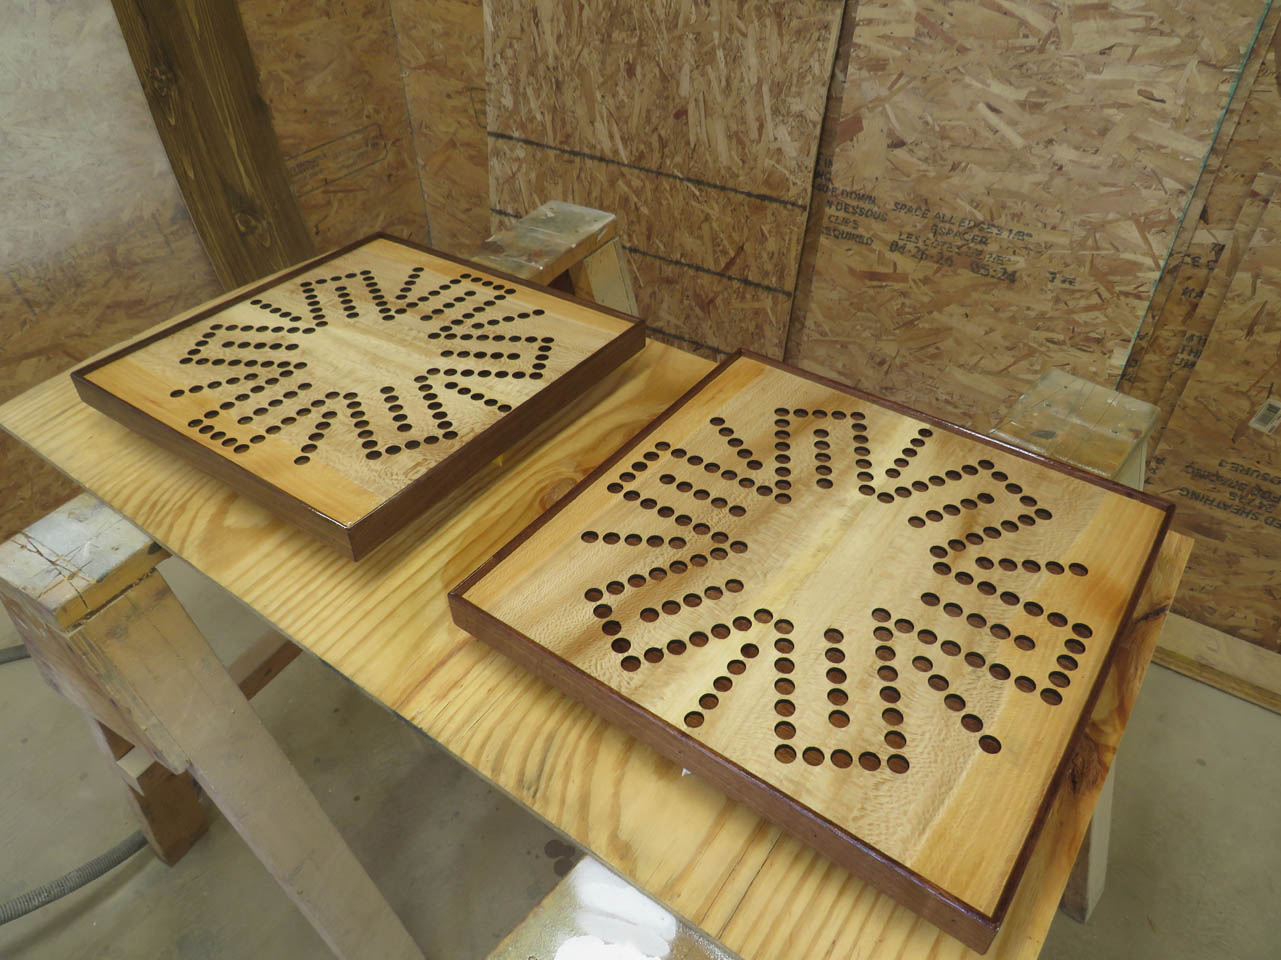
I usually let the finish dry for 12 to 24 hours between coats. After a couple of days, the game boards are done.
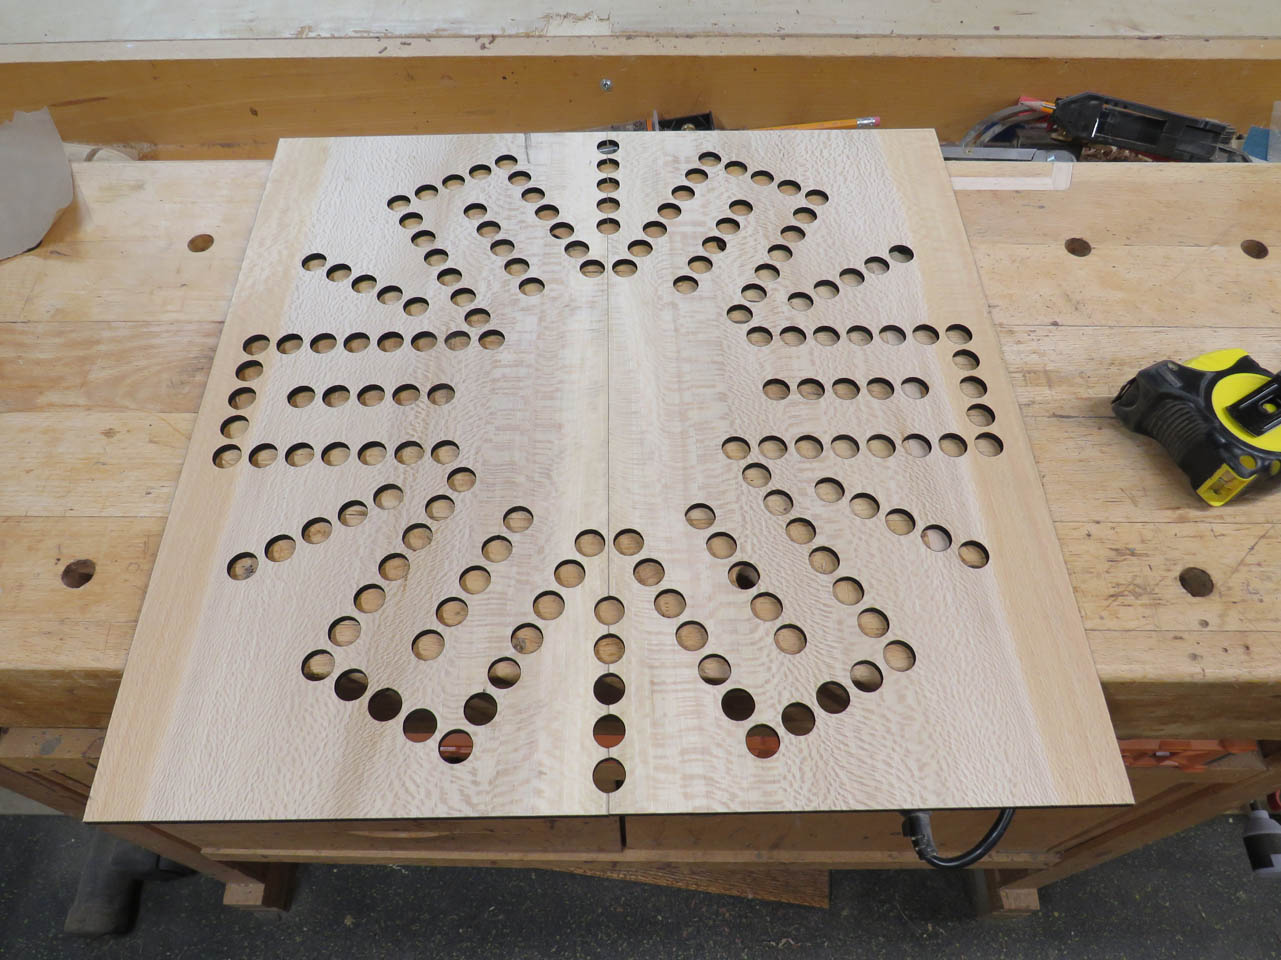
The picture below is the original one that I made by laser cutting the individual quadrants. When I made these two, I decided to laser cut the entire half. Unfortunately, I could not cut the entire thing from one piece because my laser isn’t big enough.
This was a fun project if your family likes to play games together.
