
Prototyping a deck chair
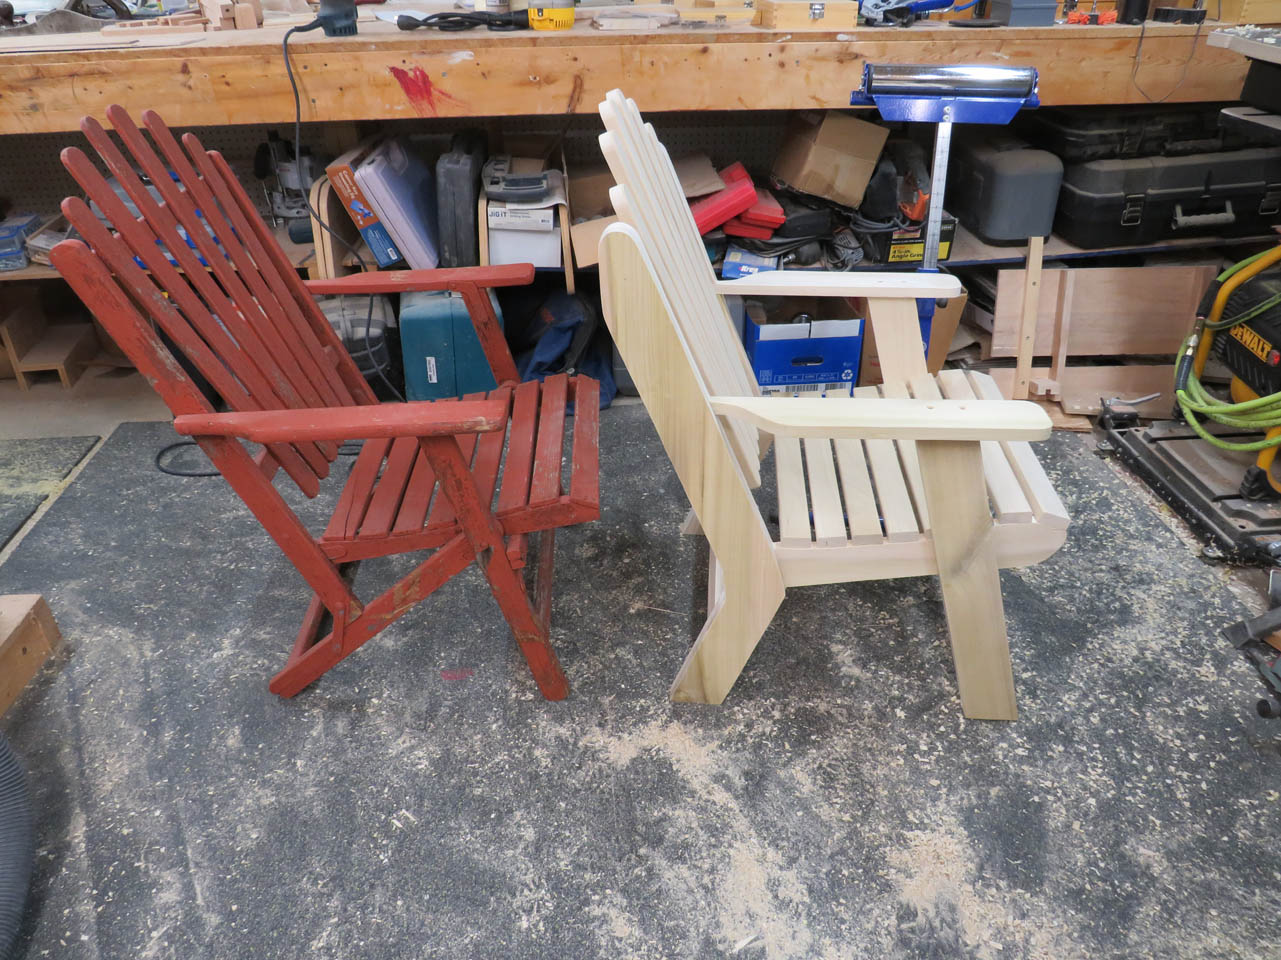
A client asked me if I could replicate a chair that her father built many years ago. The original was a lightweight foldable chair, meant to be portable. The new chair did not have to be lightweight or portable, but it did require the same curvature in the seat, as well as the straight back, at the same angle. They found the design of these chairs to be quite comfortable and that is what they wanted replicated.
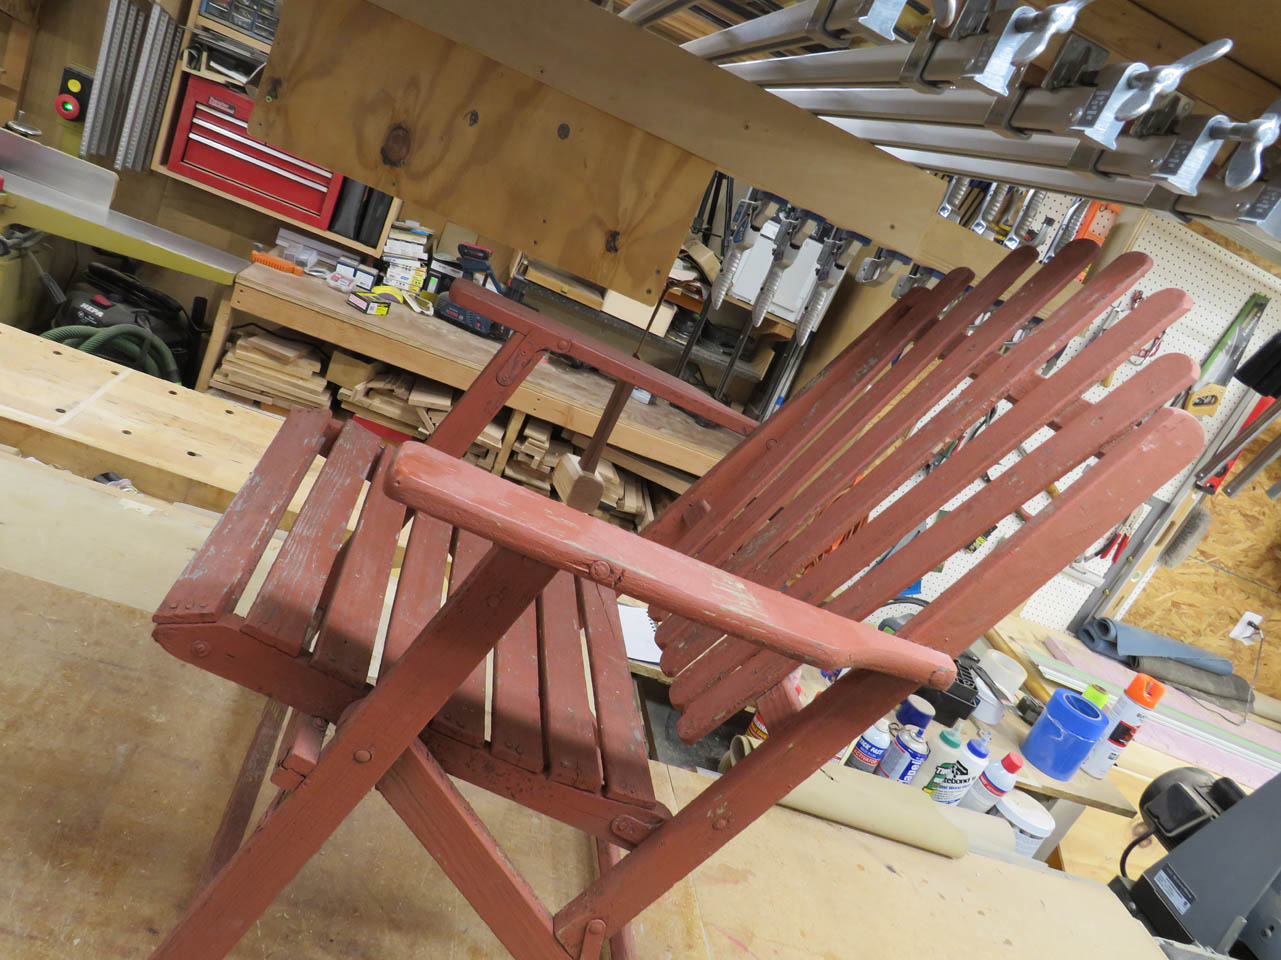
The original chair was assembled with plates and rivets at all of the joints. This allowed the chair to be easily folded, yet sill strong.
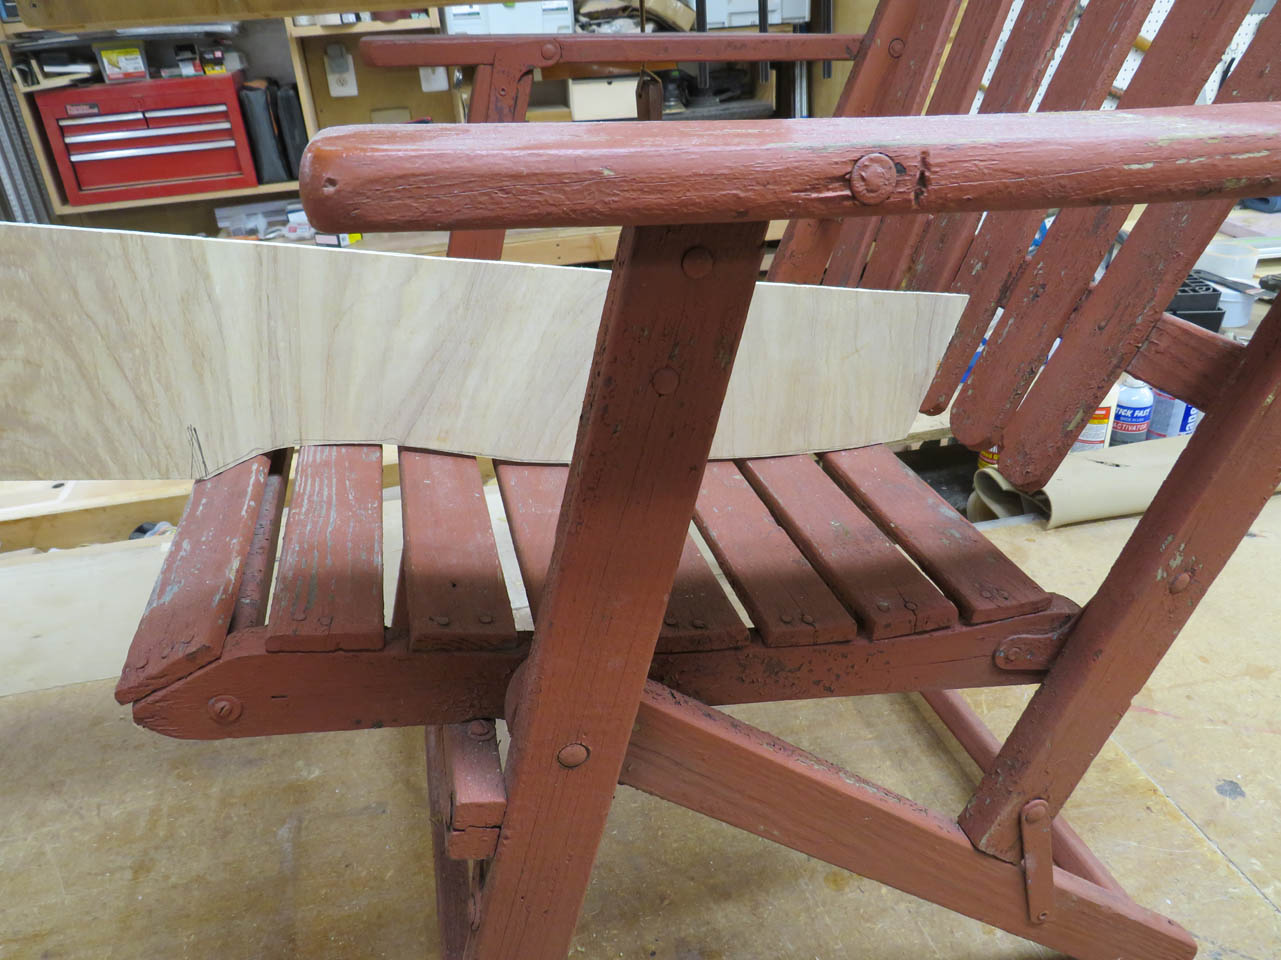
I am working on a prototype that will not fold. This will require joinery to replace the metal brackets so as I make each piece, I will be making a template of that piece so that I can reproduce it later.

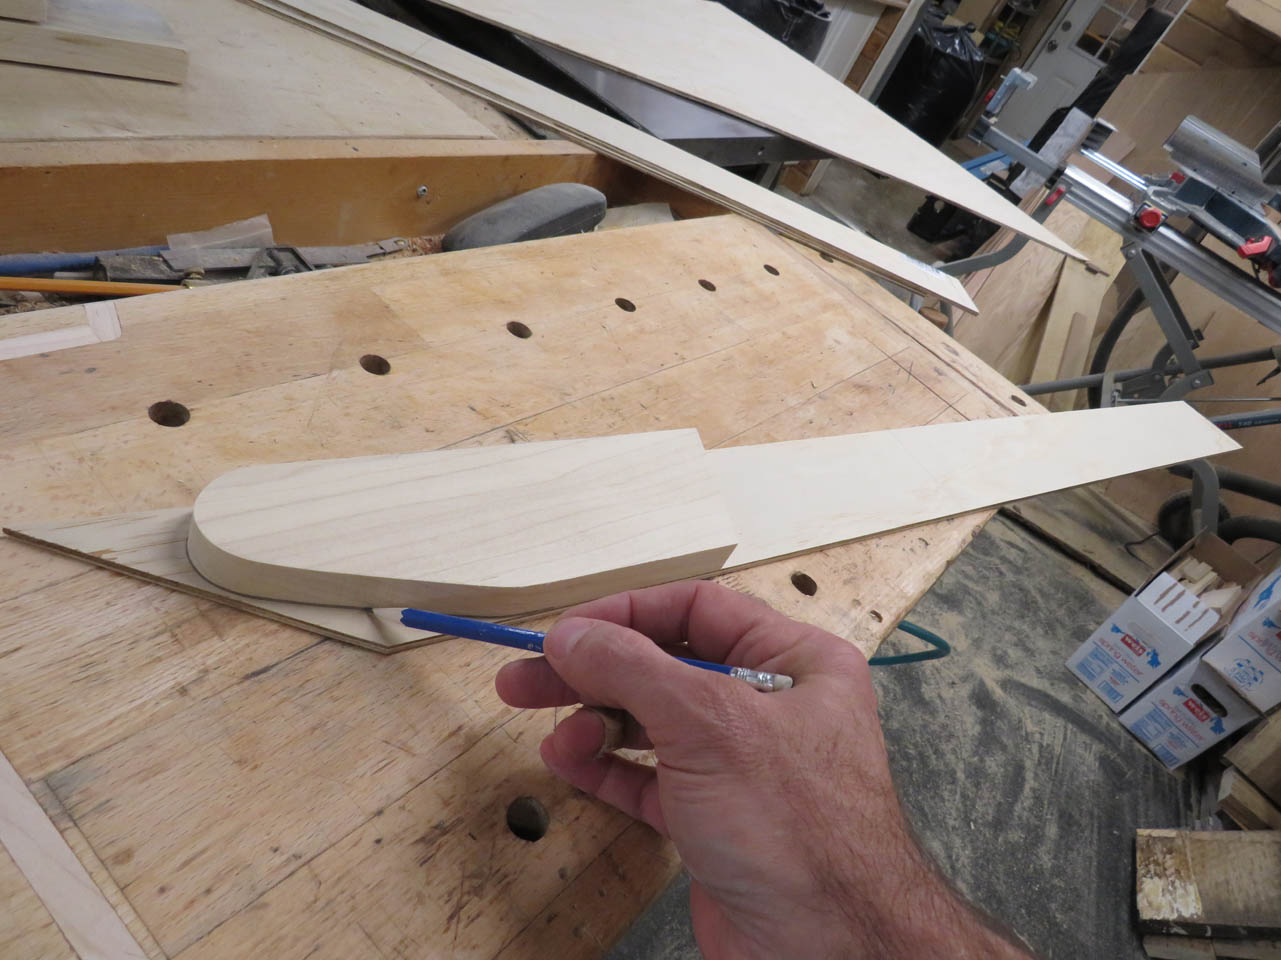
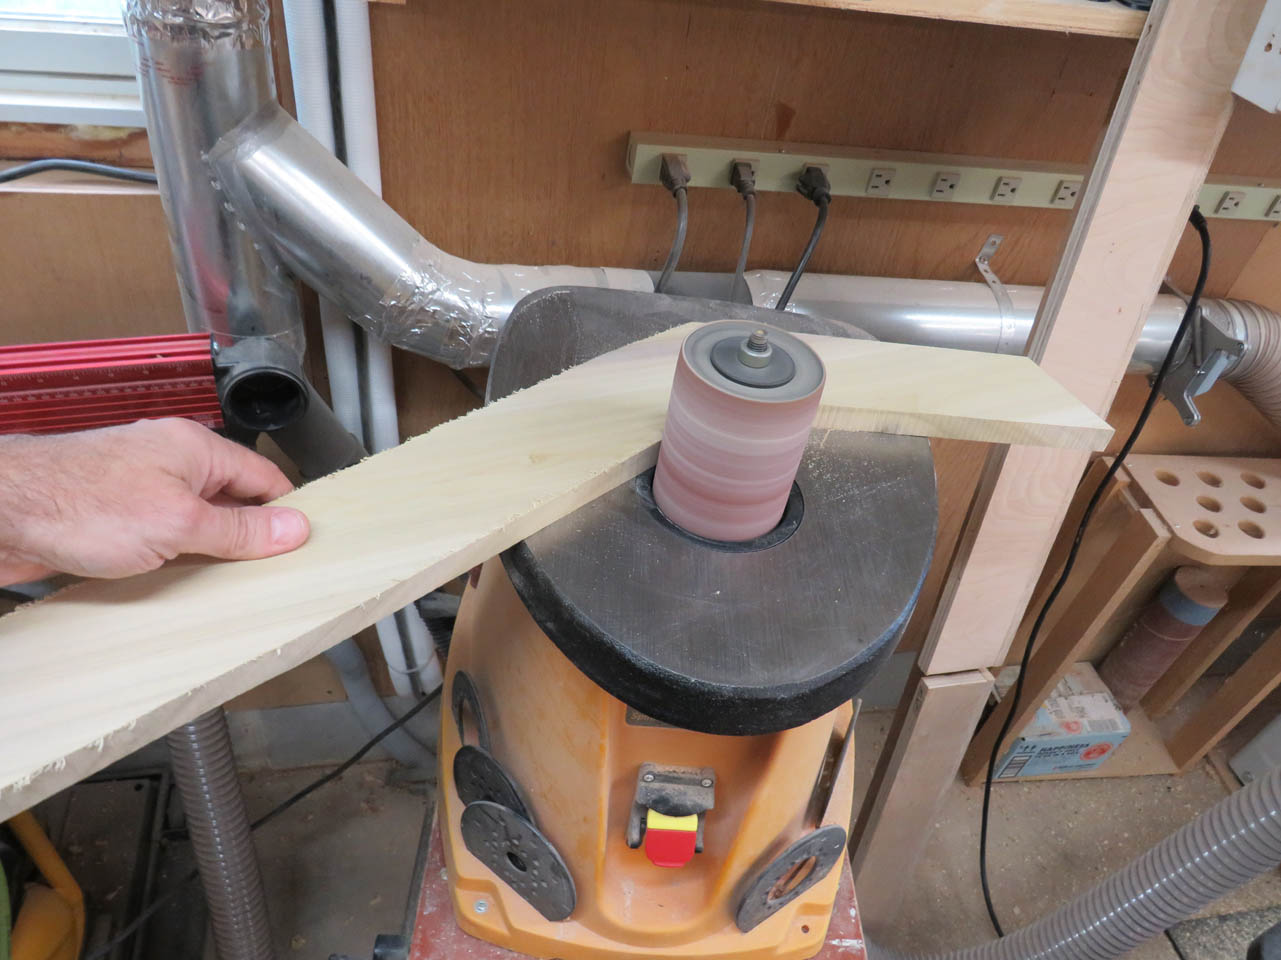
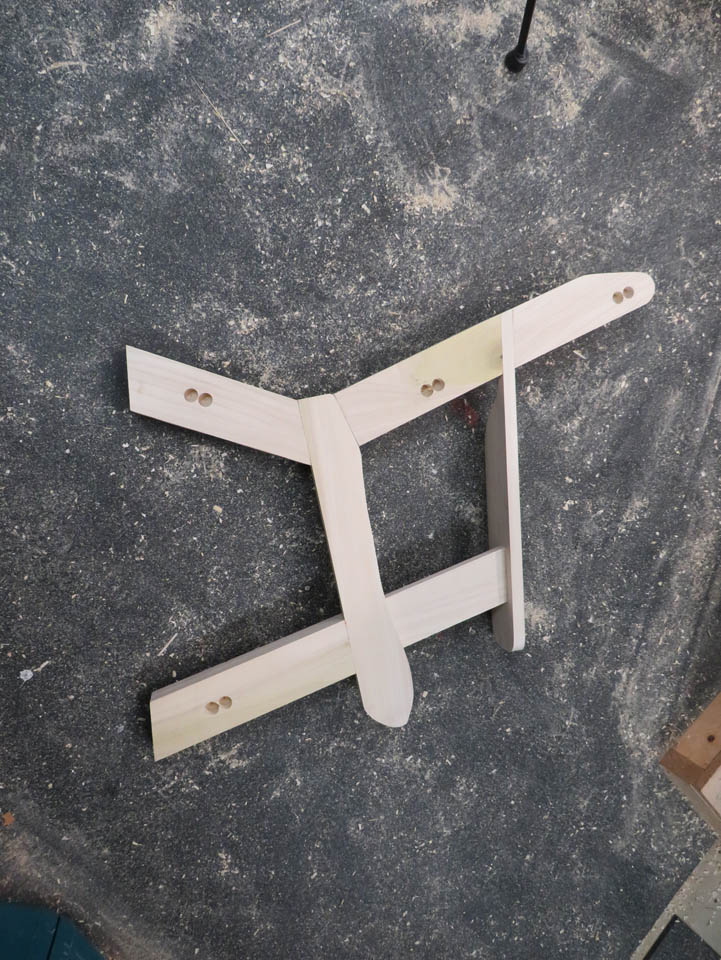
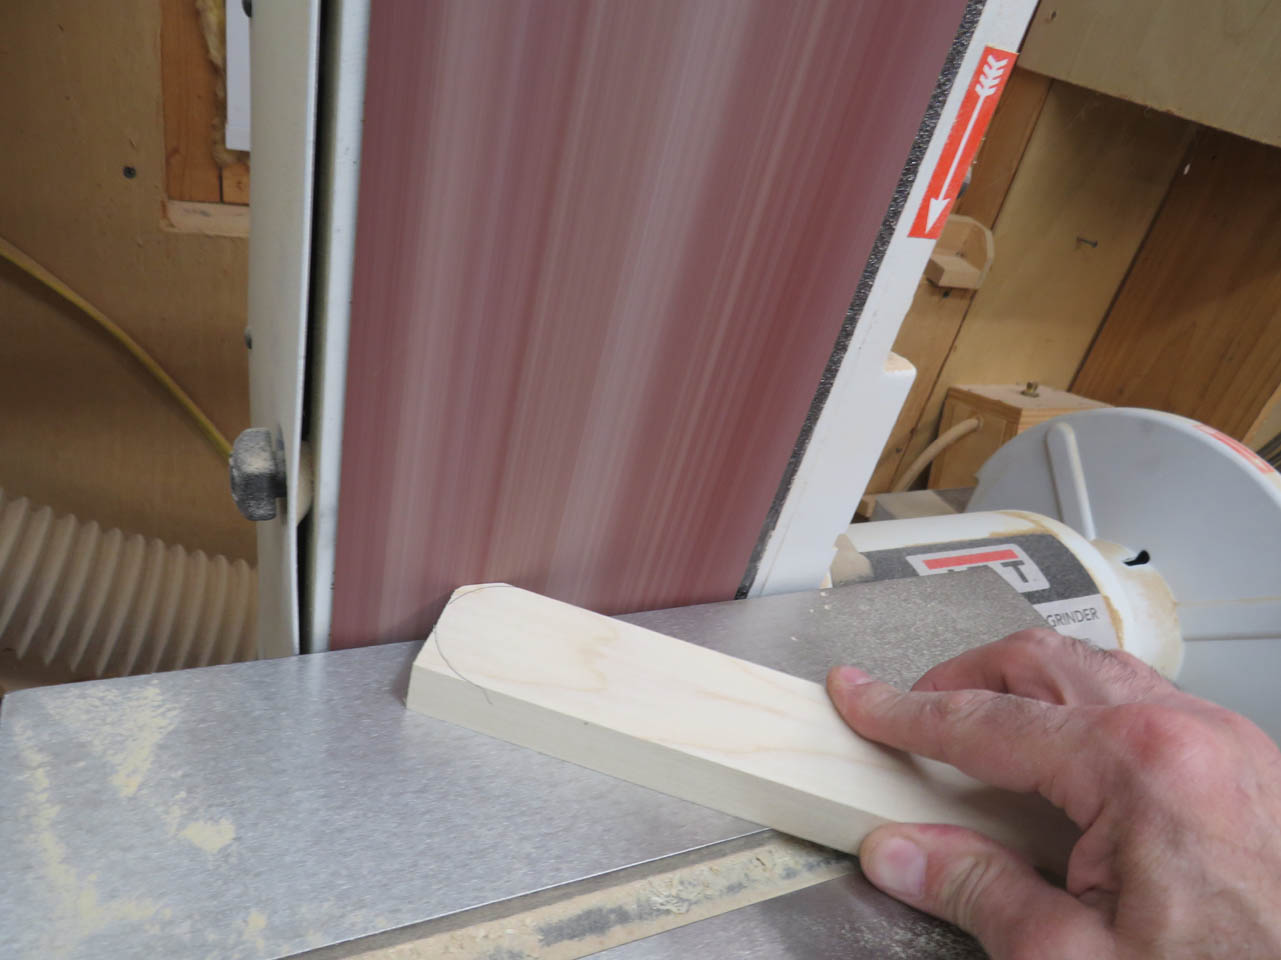
To create the profile of the seat, I laminate two pieces of poplar and a piece of 1/4″ plywood together with double-sided tape.
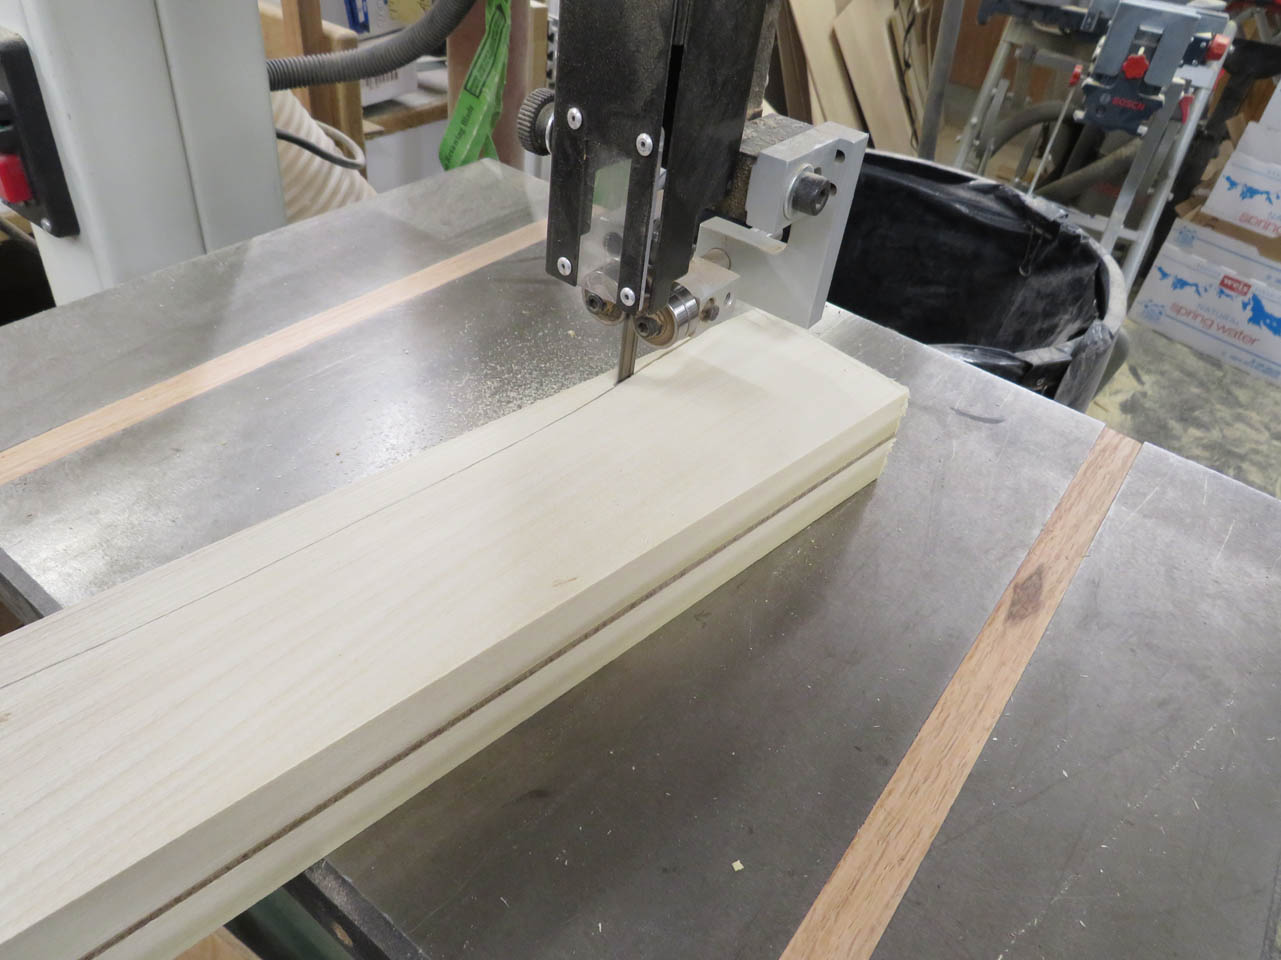
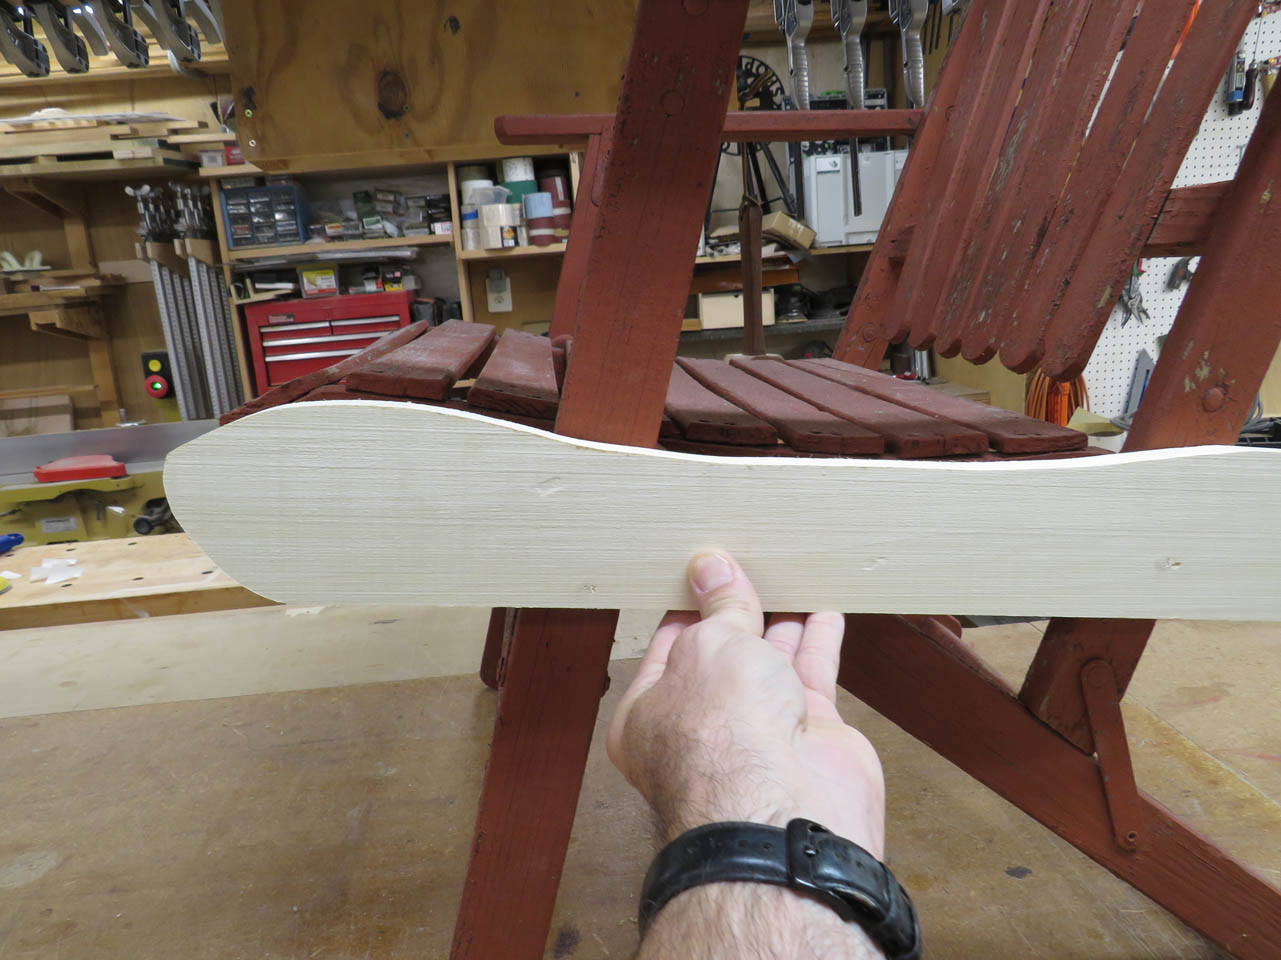
Then I carefully cut and sand the stack until I match the curves of the seat.


I use a putty knife to separate the layers once the shape is achieved.
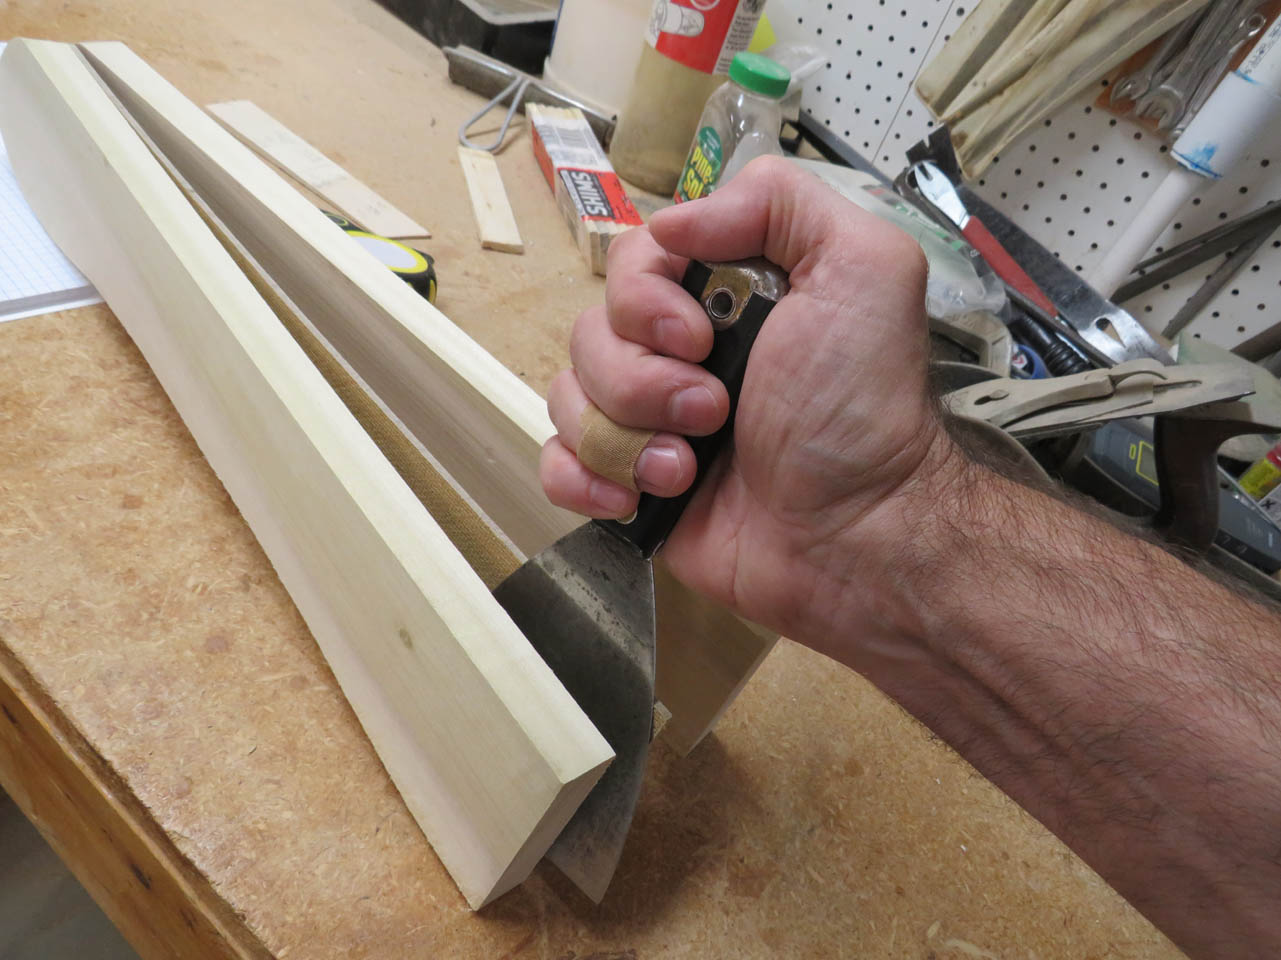
Now I have two sides for the seat that match the original shape.

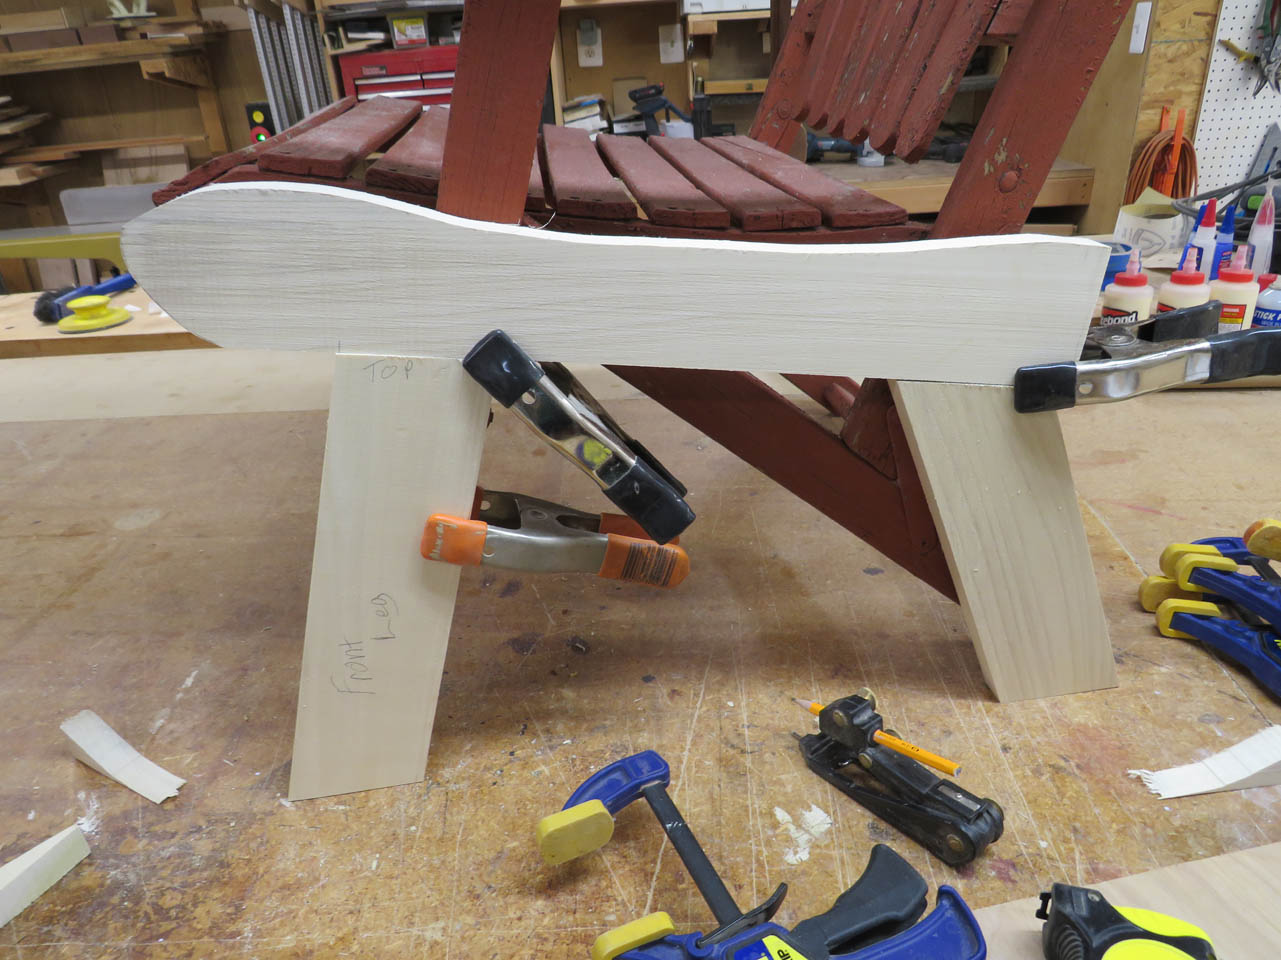
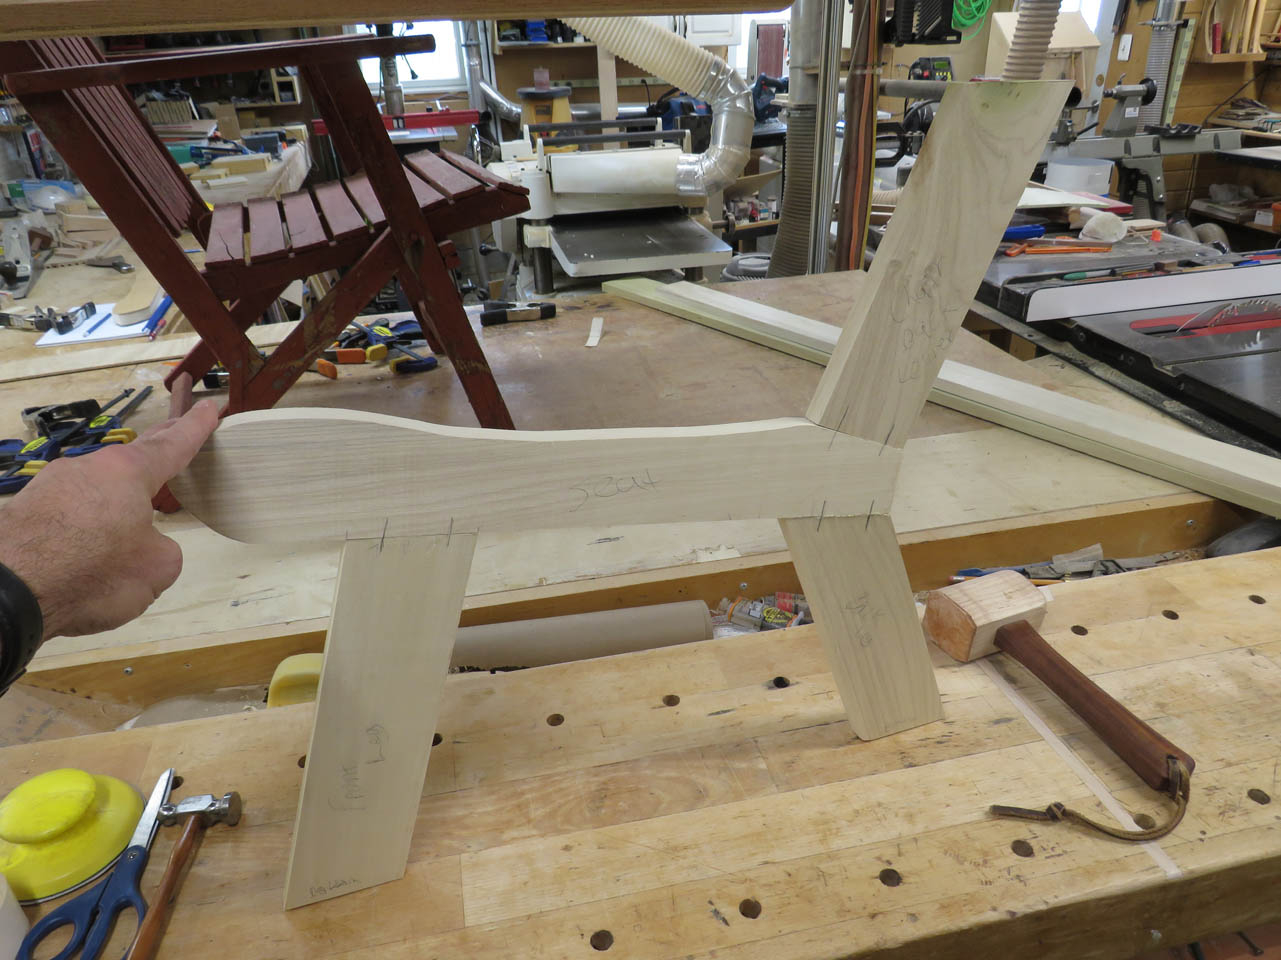
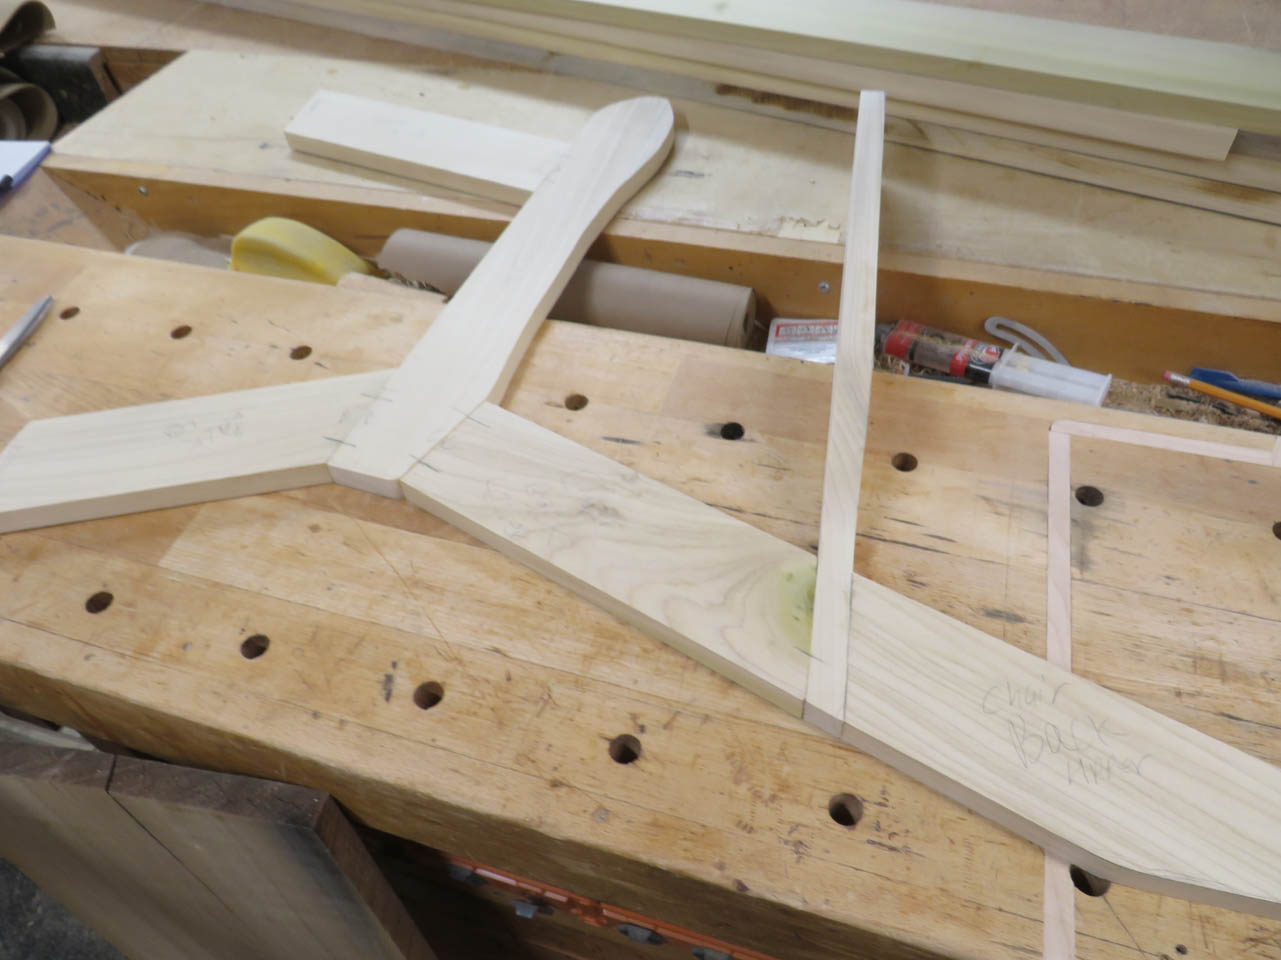
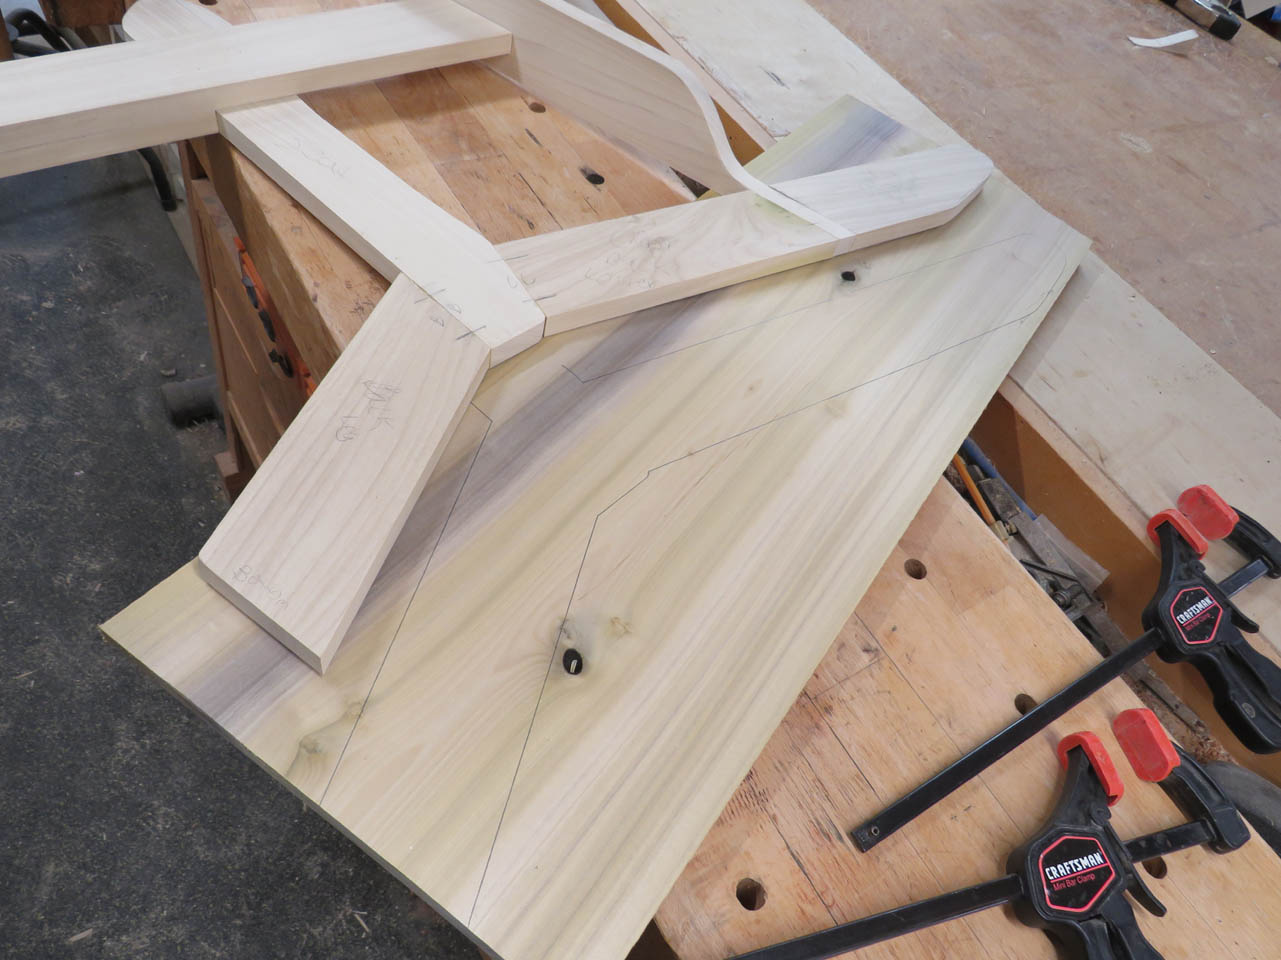
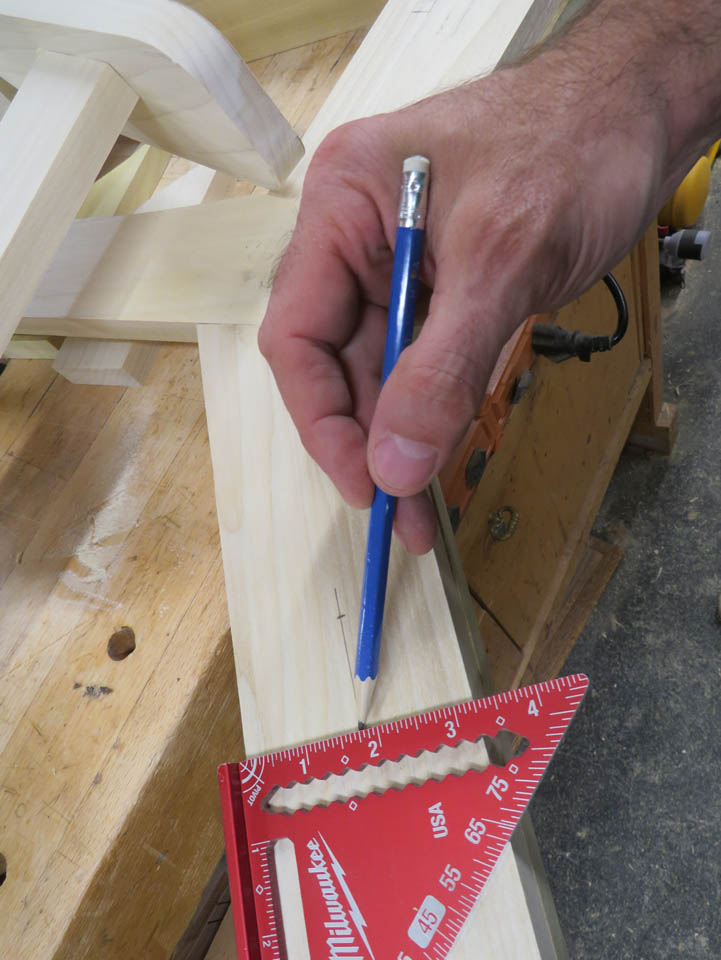
I clamp the new seat support to the side of the chair so that I can get the first leg. I mark and cut the angle of the bottom.

Then I can clamp that in place and mark where it meets the seat support.

Once trimmed, it also gets clamped into place and the rear leg is created in the same fashion.
From there, I can next create a straight piece to match the back angle.

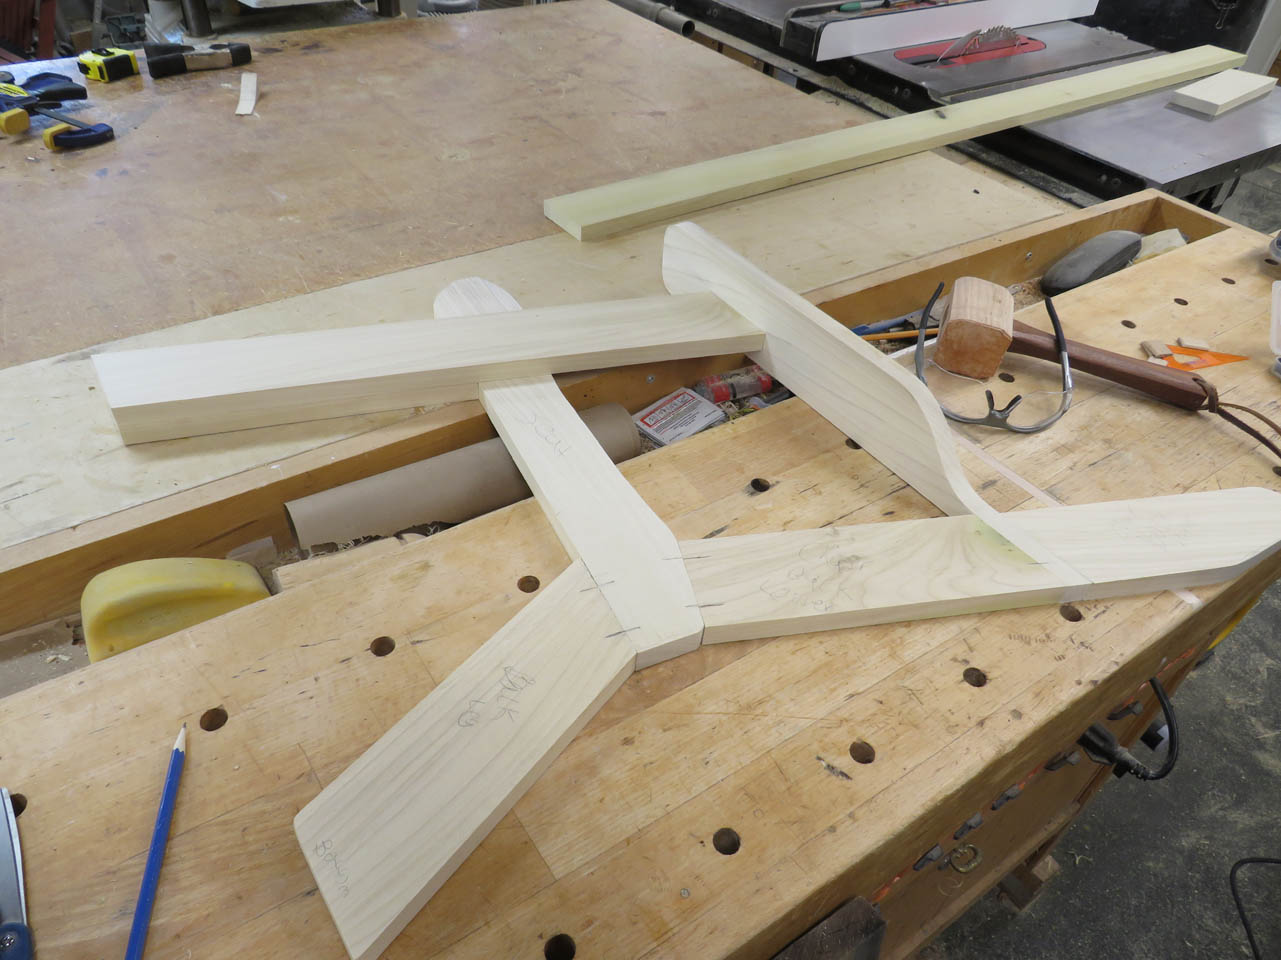
Before unclamping, I mark where each piece meets so that I can remove it and lay it flat to locate where the floating tenons will be placed.
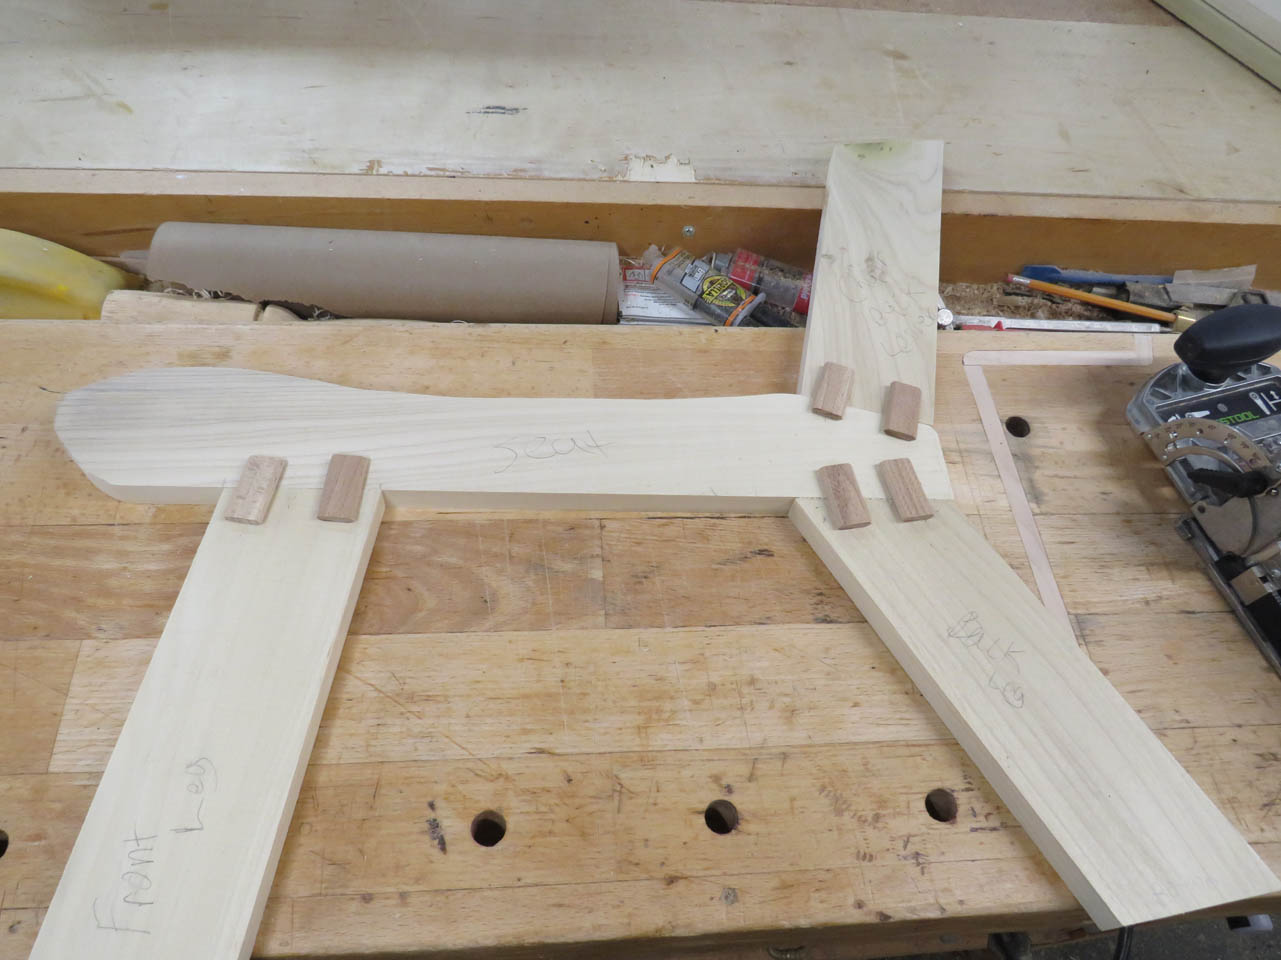
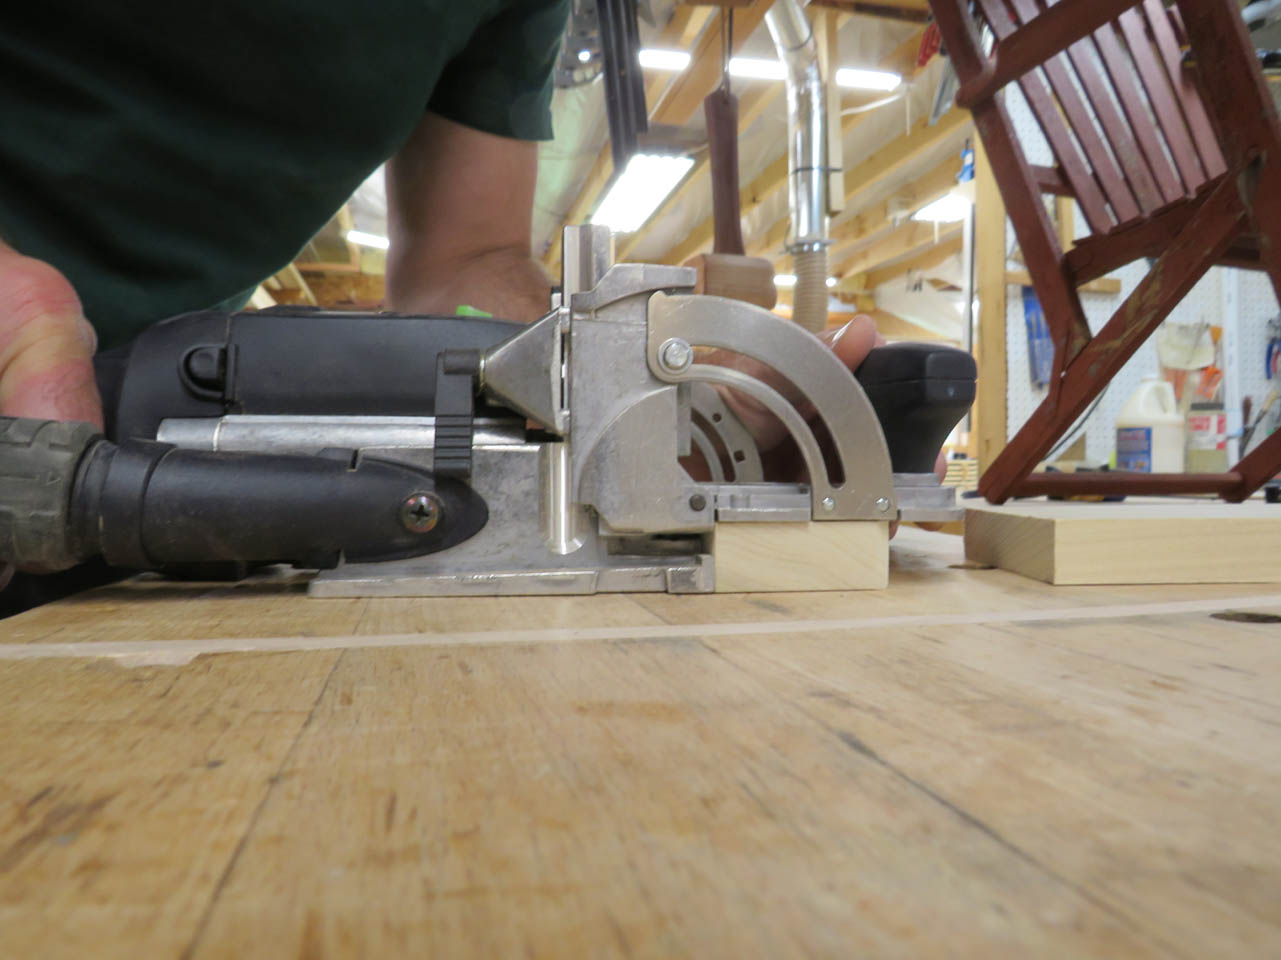
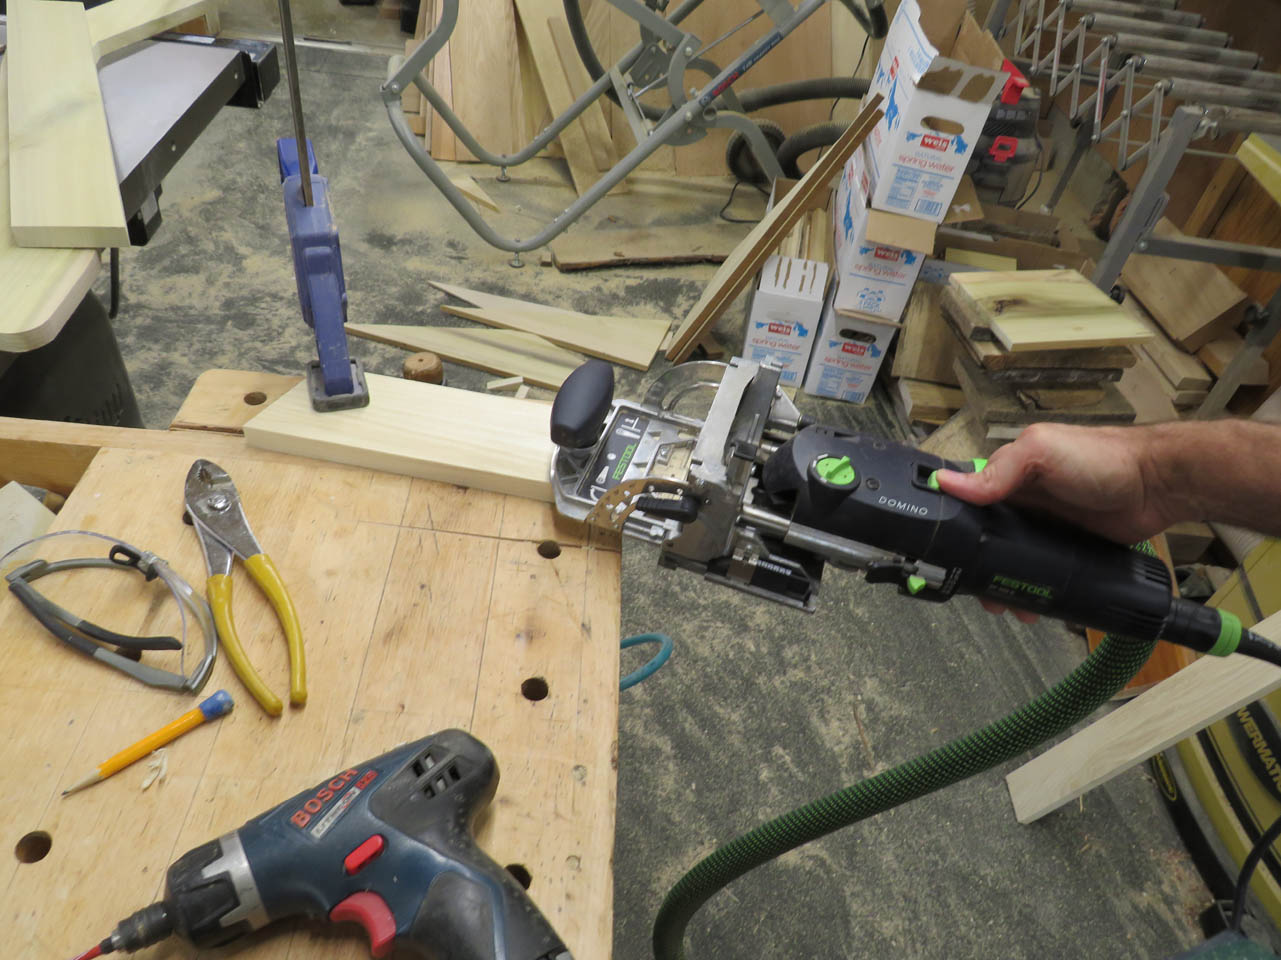
With them marked, I can cut the mortises with my Domino Jointer.
The floating tenons can be dry-fit for now and glued in place later if I am happy with the design.

The side is done, up to the arm so I traced the arm and cut another arm, wider than the original, adding a little more width for the arm to sit on or to place a cup.

Once the arm was roughed out, I created the top half of the back as well.
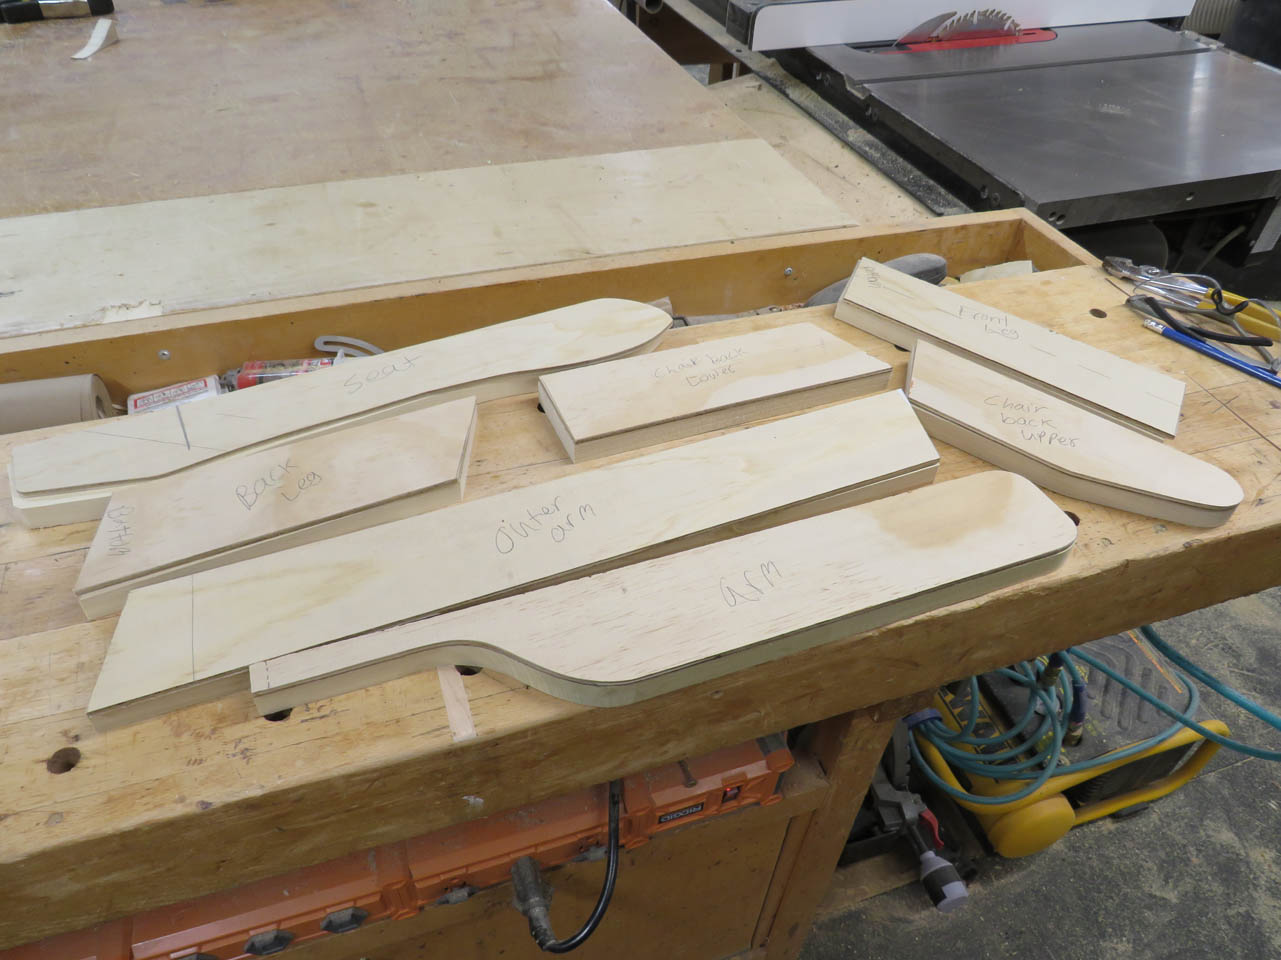
As I create each piece, I trace it onto my template material when I am happy with it’s final shape.
The arm gets screwed to the upper back section, then more floating tenons will be used to attach it to the lower section.
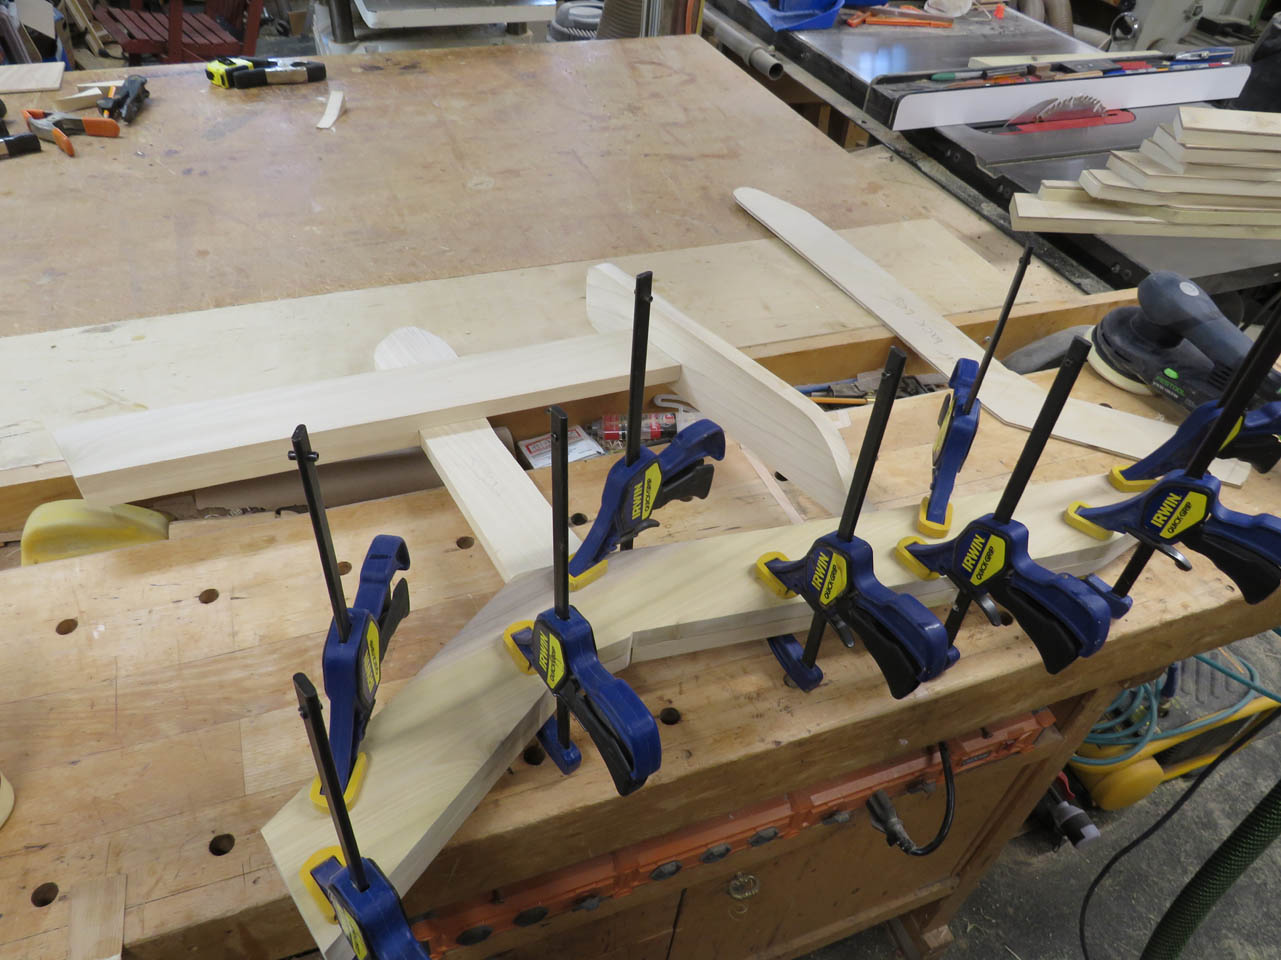
I created a second layer to attach to the inside of the front leg, that will extend up to hit the front of the armrest.

This gets glued and clamped in place.

I use my templates to make a second set of all of the pieces to create the opposite side of the chair.
Once I have pieces for both sides, I traced out a piece to match the entire back and rear leg.

This piece will get glued along the entire back side to strengthen all of the joints along the rear of the chair.
With one side complete, I can clamp all the pieces for the second side to the first so I can mark out all of the joinery.

Then I can cut all of the mortises for side two.
Then glue it together, using the first side to make sure alignment is exactly the same.

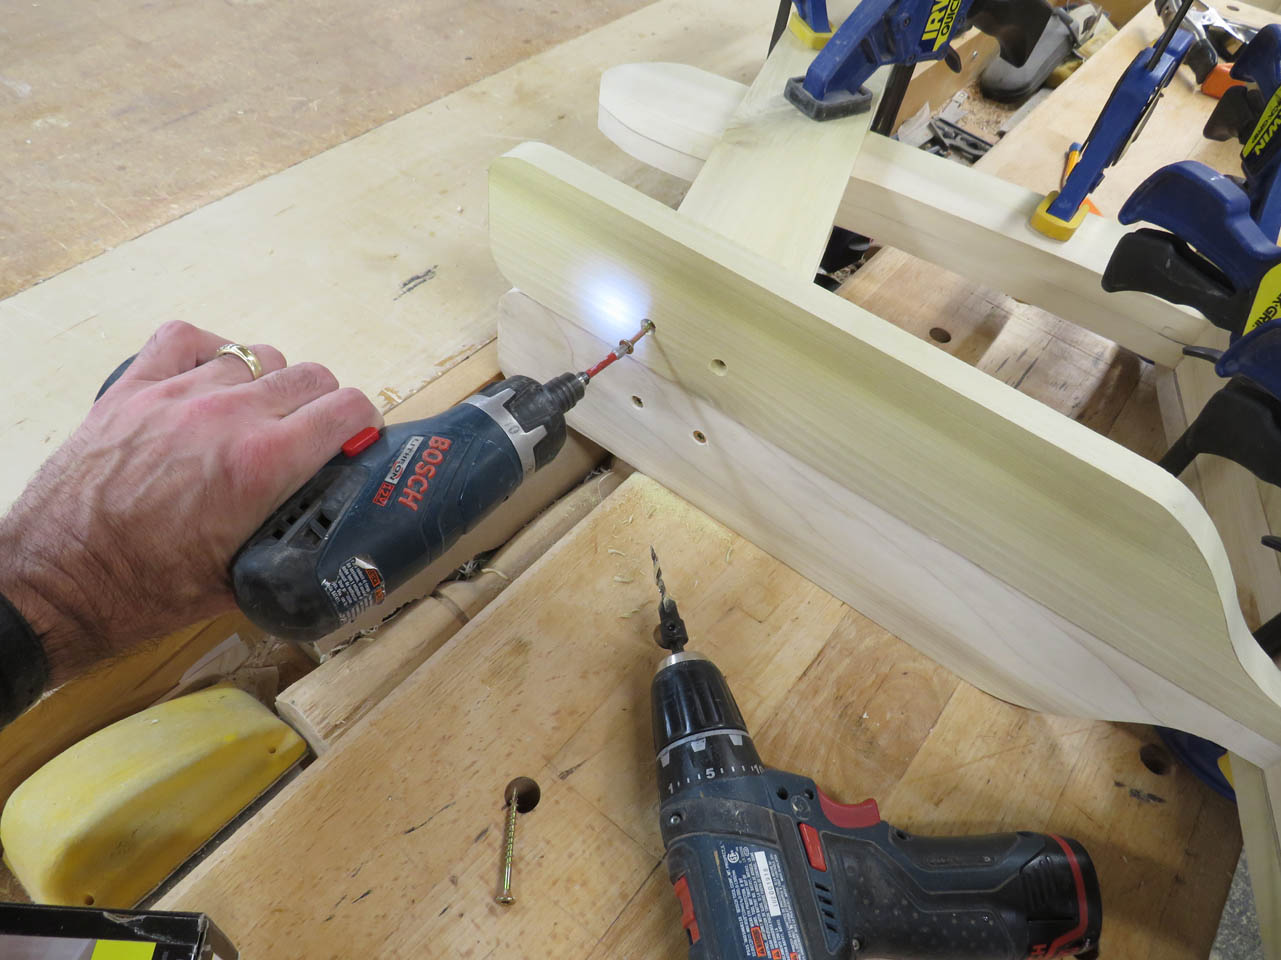
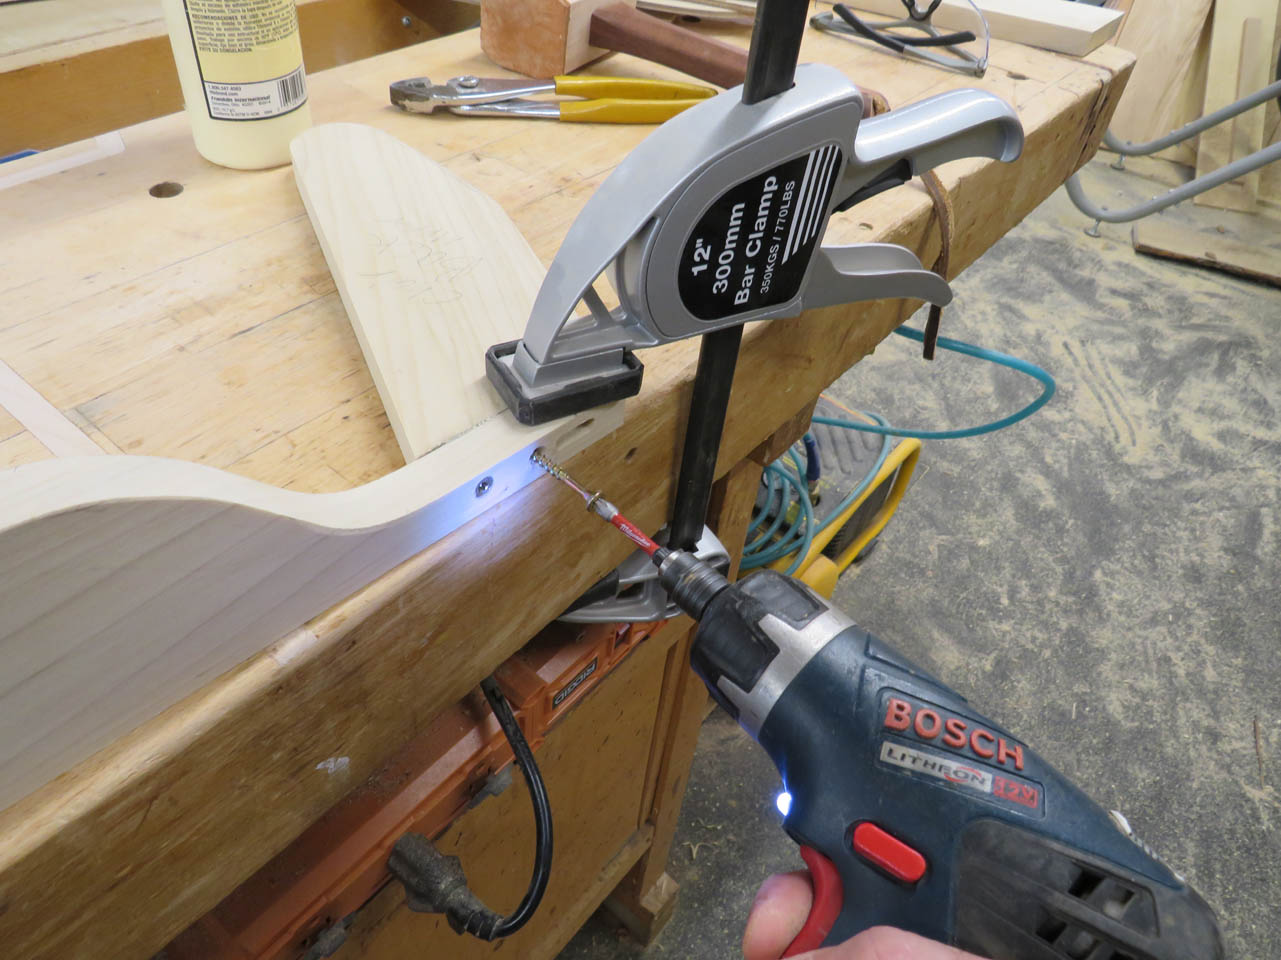
For now, the armrest will be screwed to the supports. I may change that in the final version so the screws are hidden, but for the prototype, it works fine.

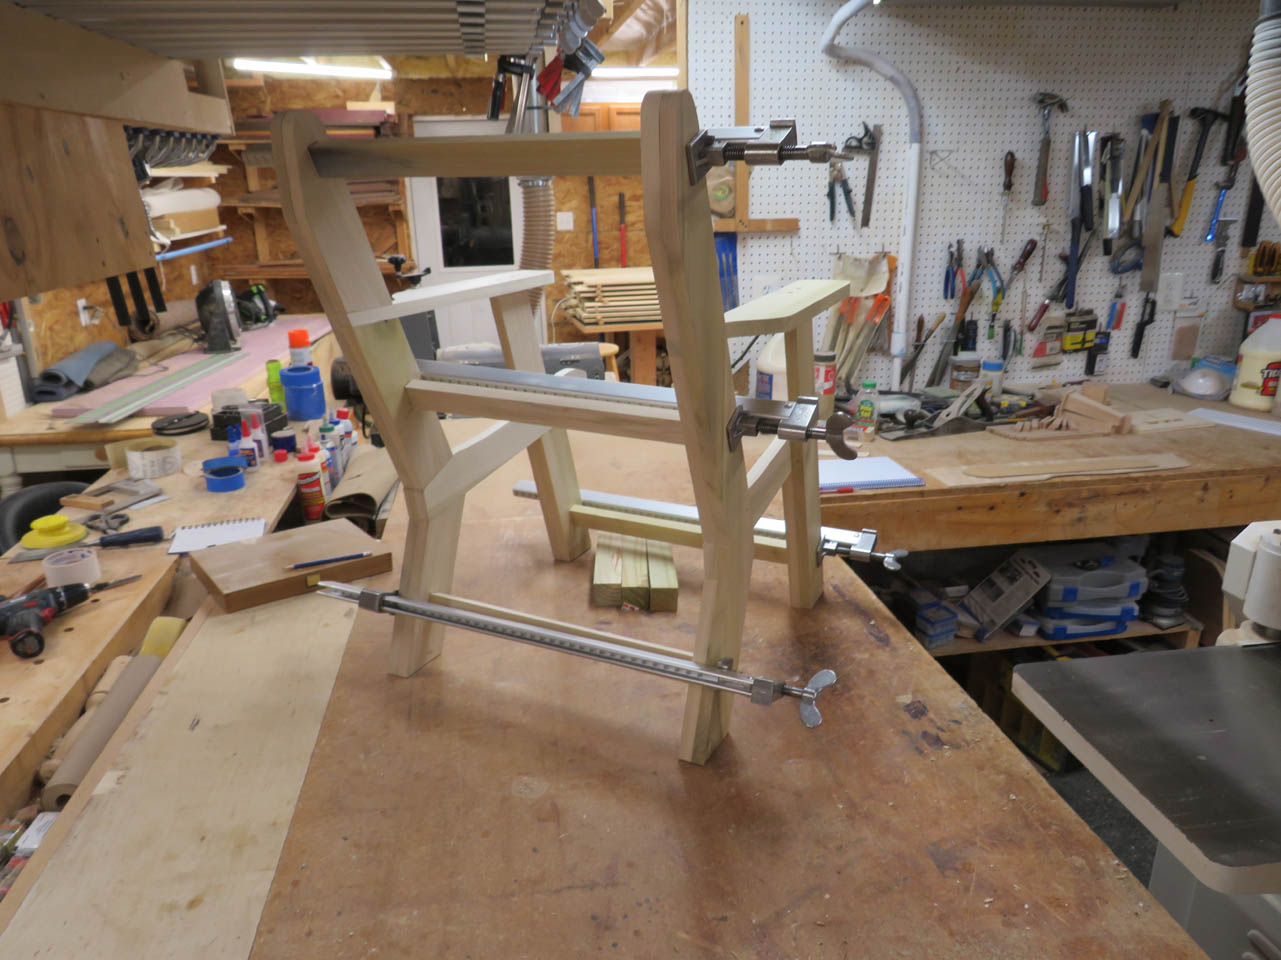
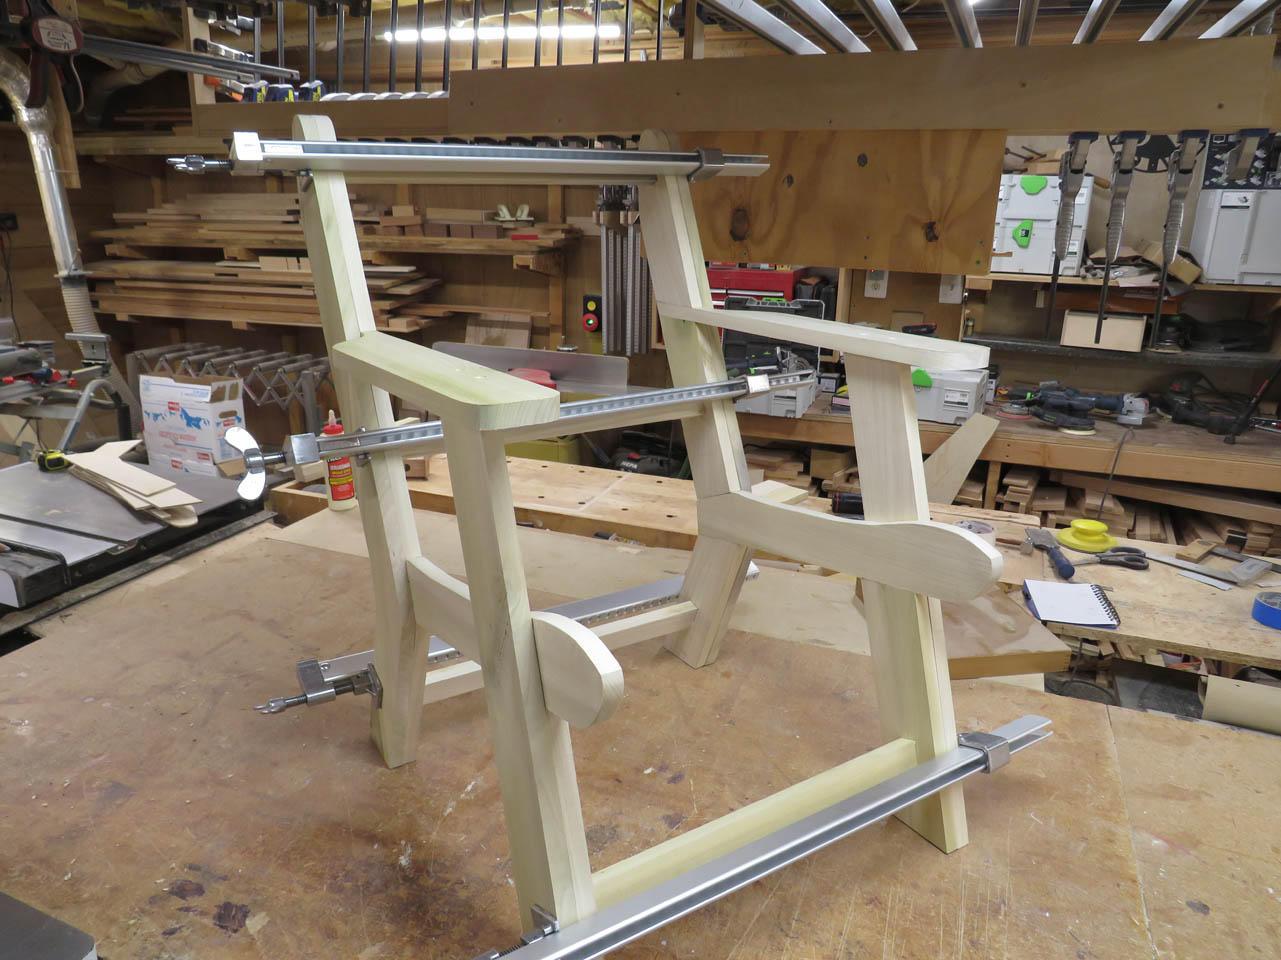
The two sides are complete, now I just have to connect them together.
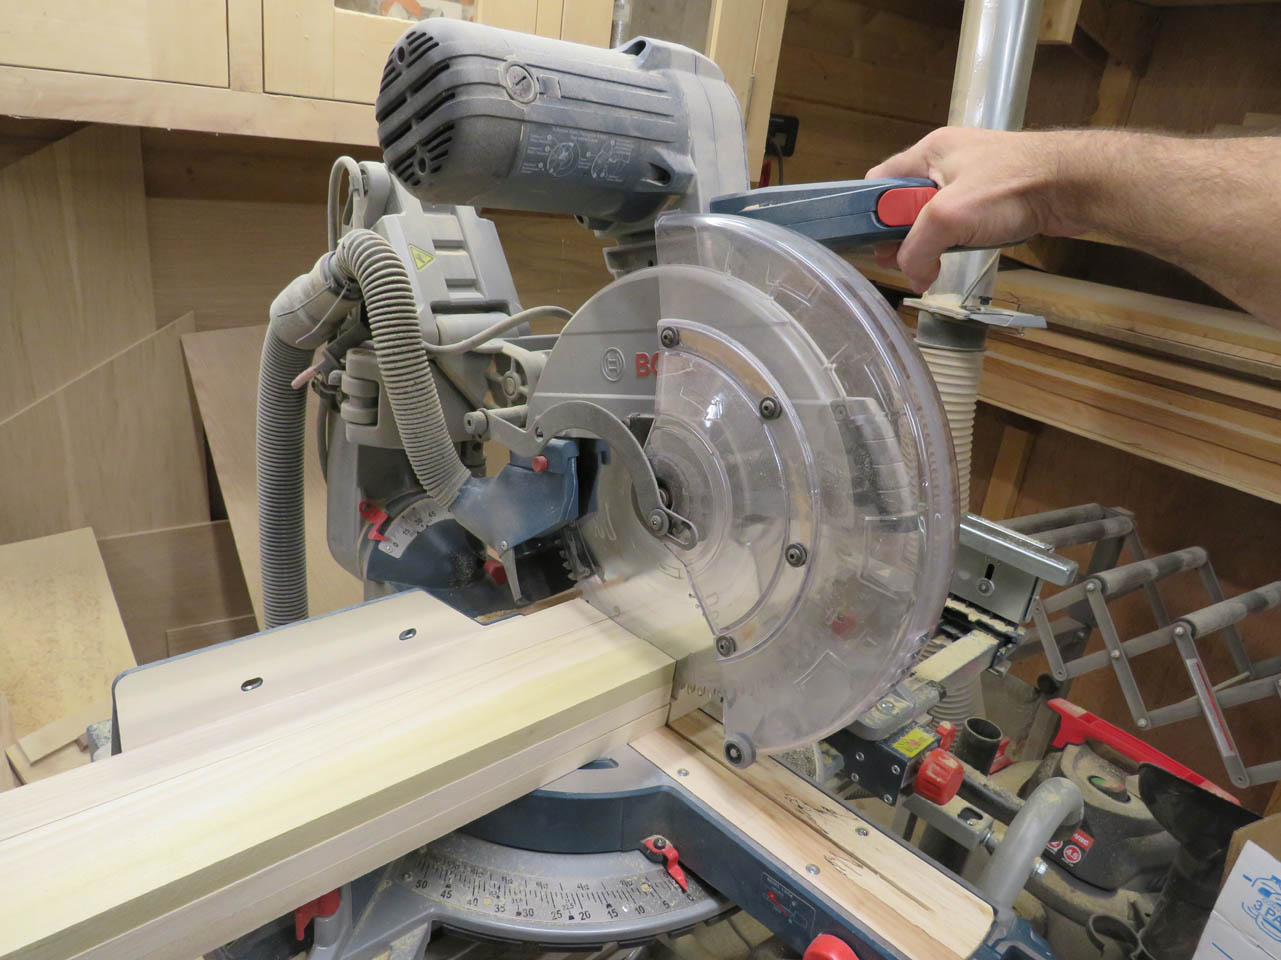
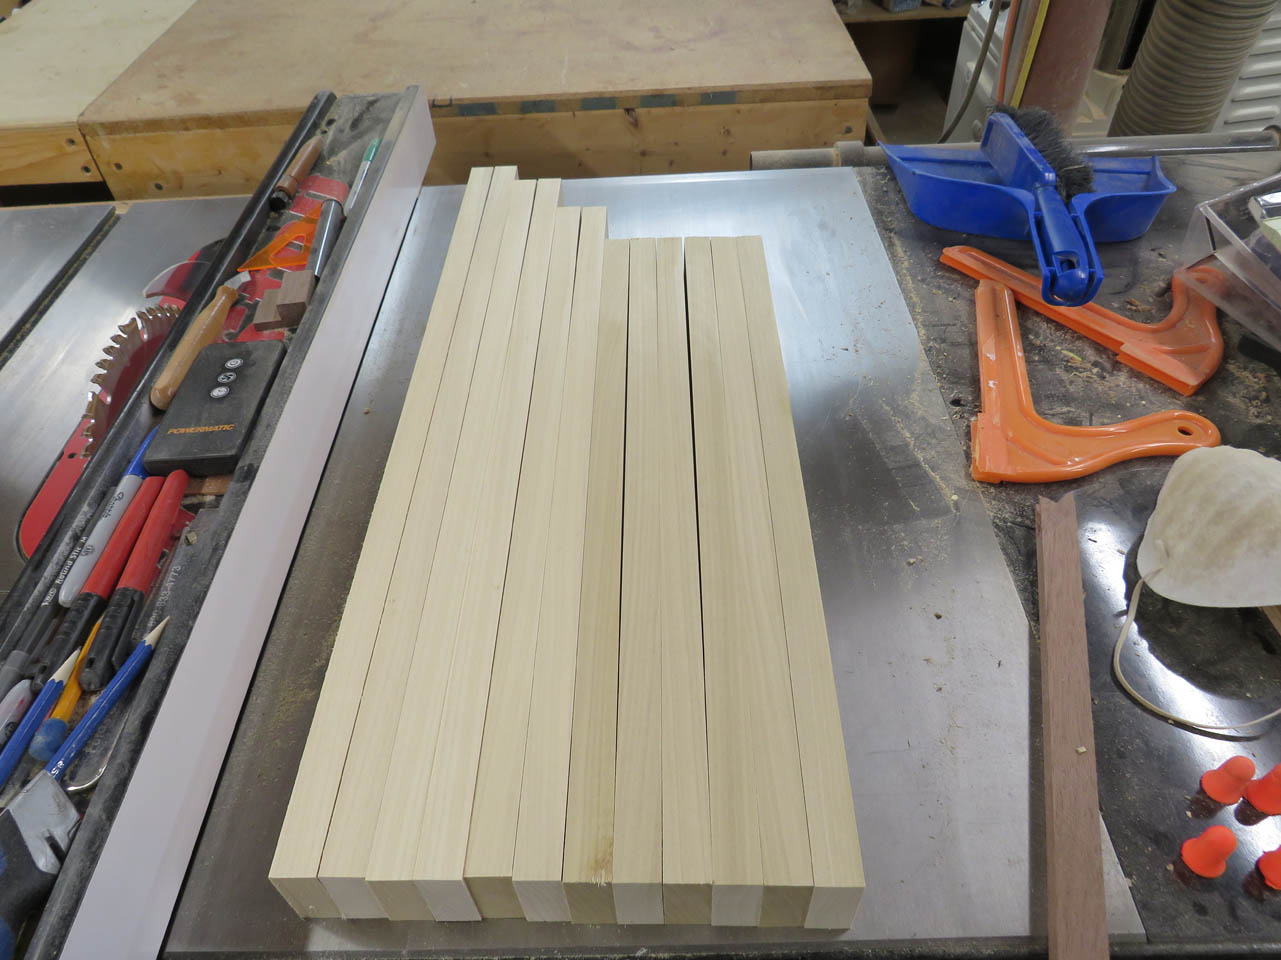
Mimicking the original, I created a bunch of 1-1/4″ wide slats for the seat. I ganged them together to be cut to the exact same length, all at the same time.
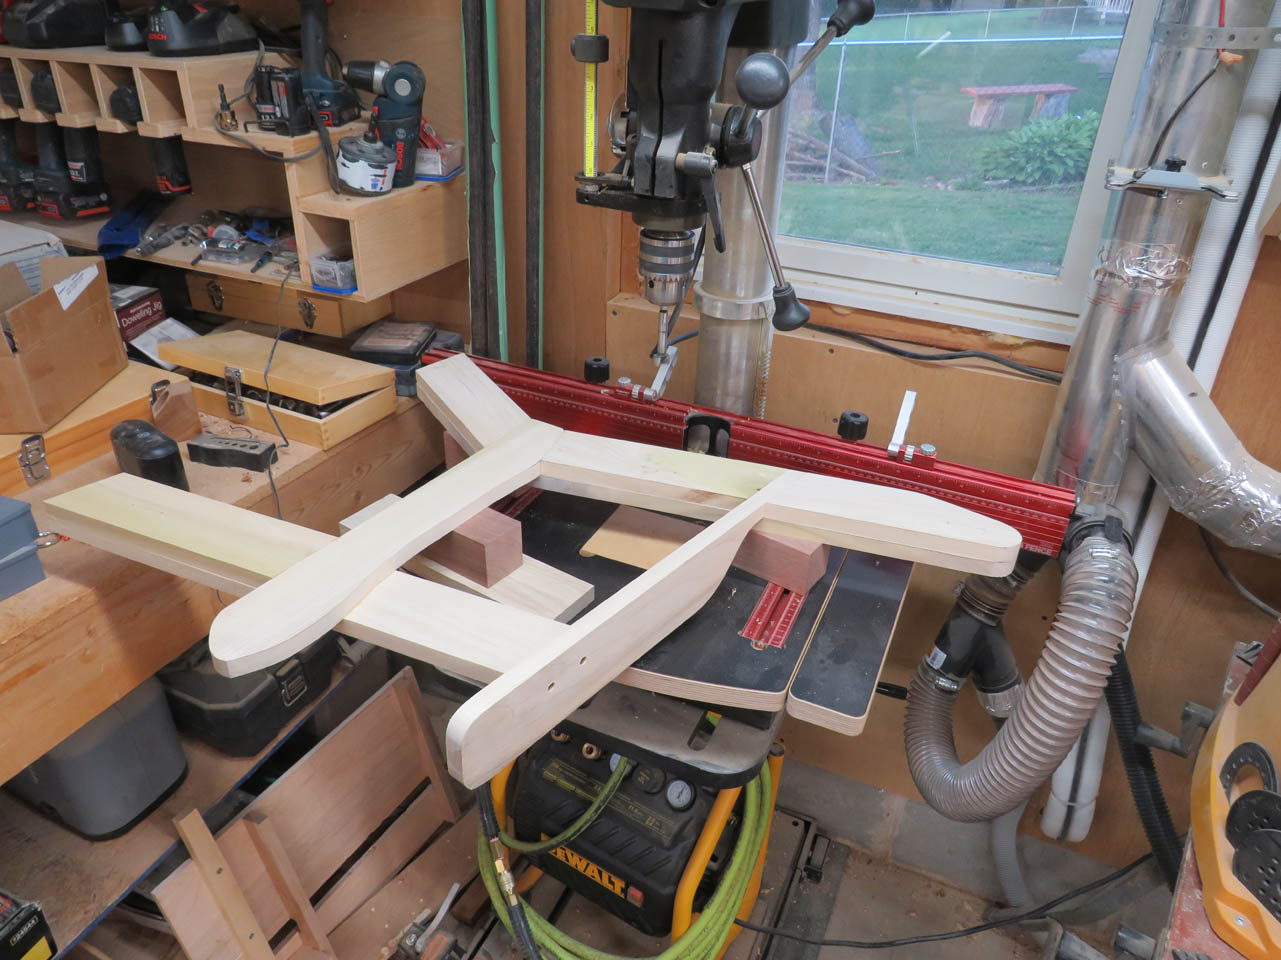
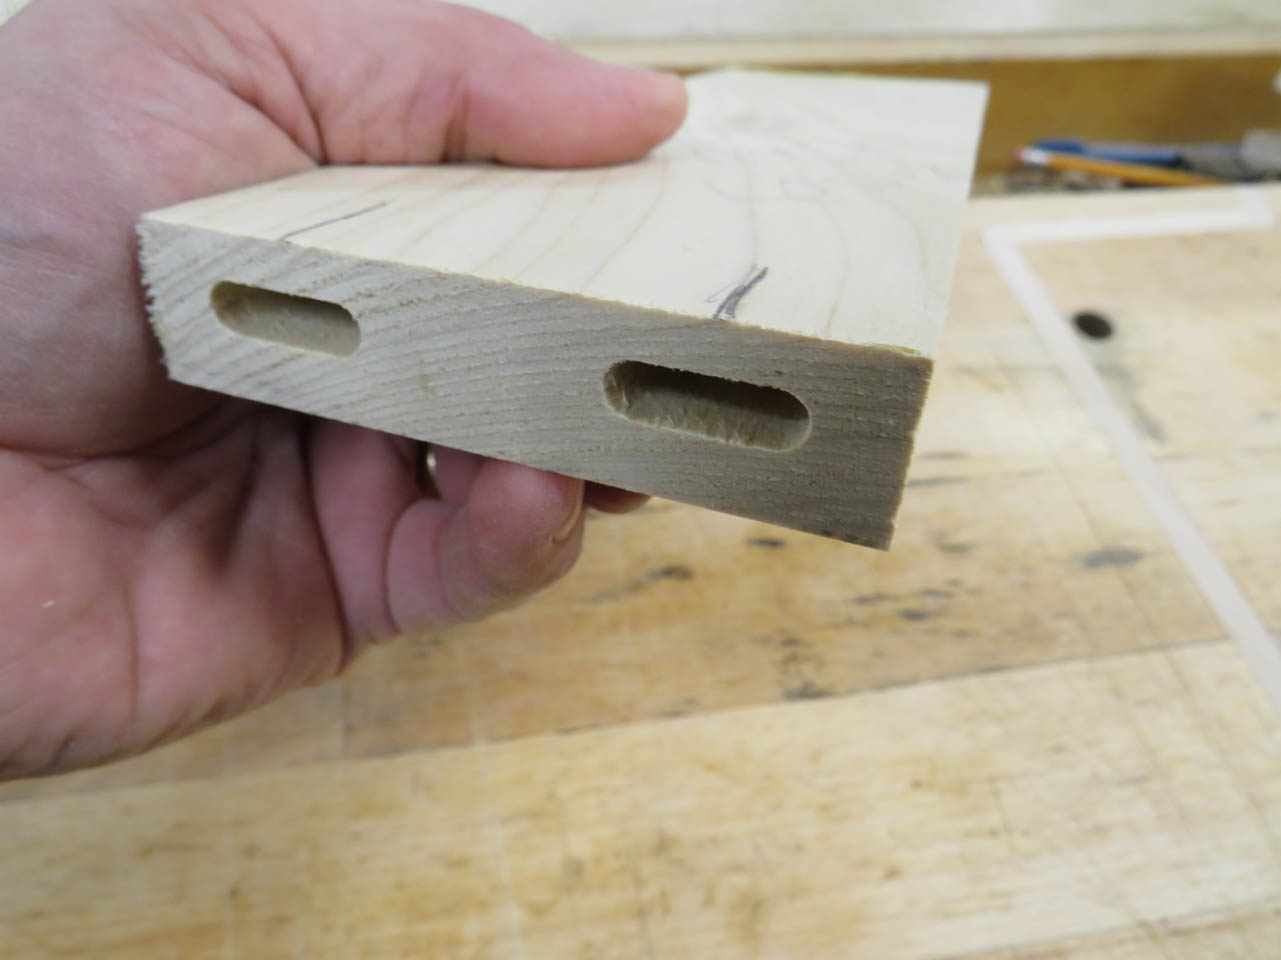
For structural support, I am going to cut mortises in both sides and have horizontal stretchers attached to them.
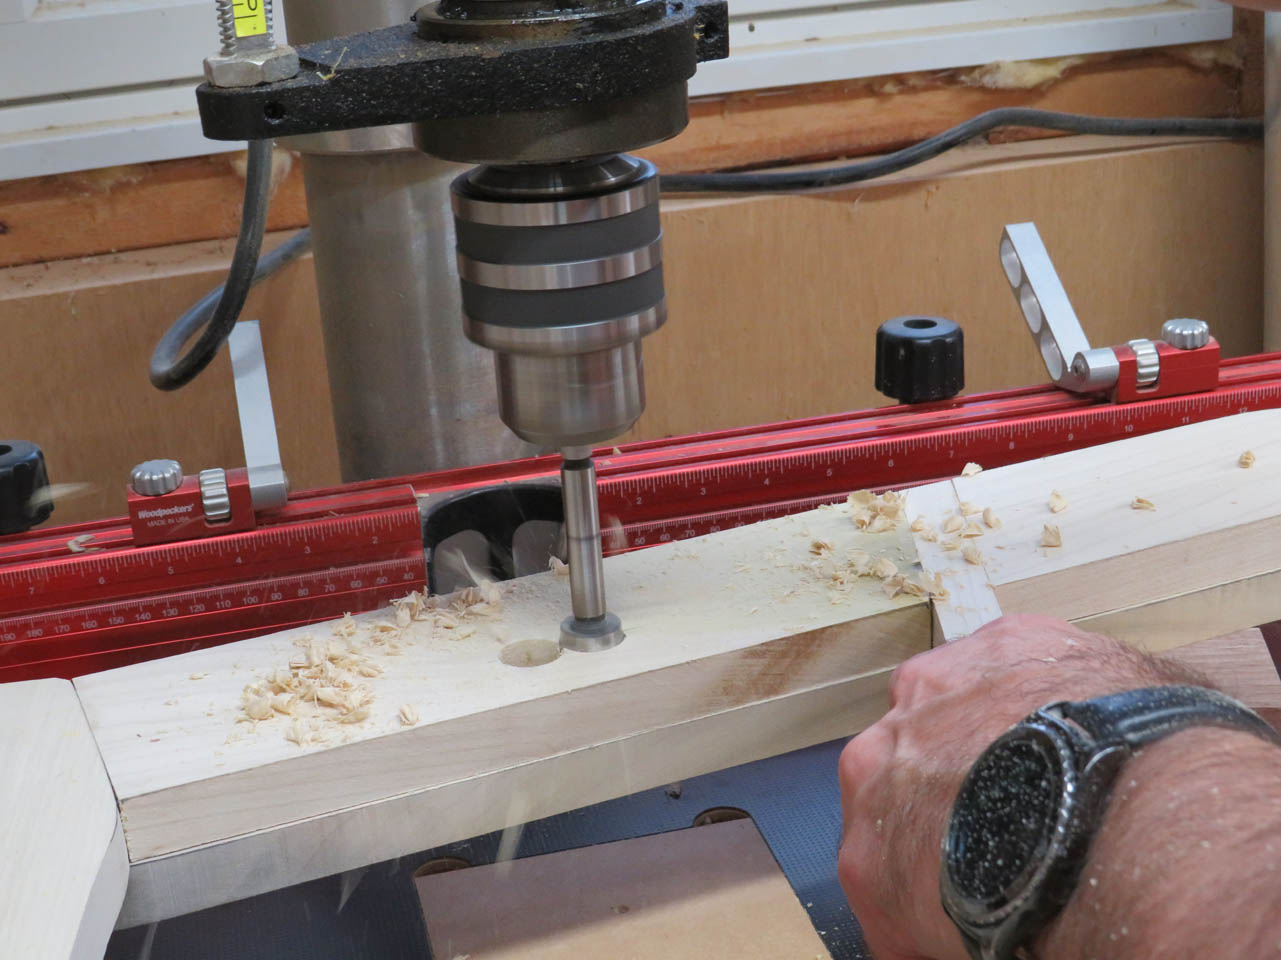
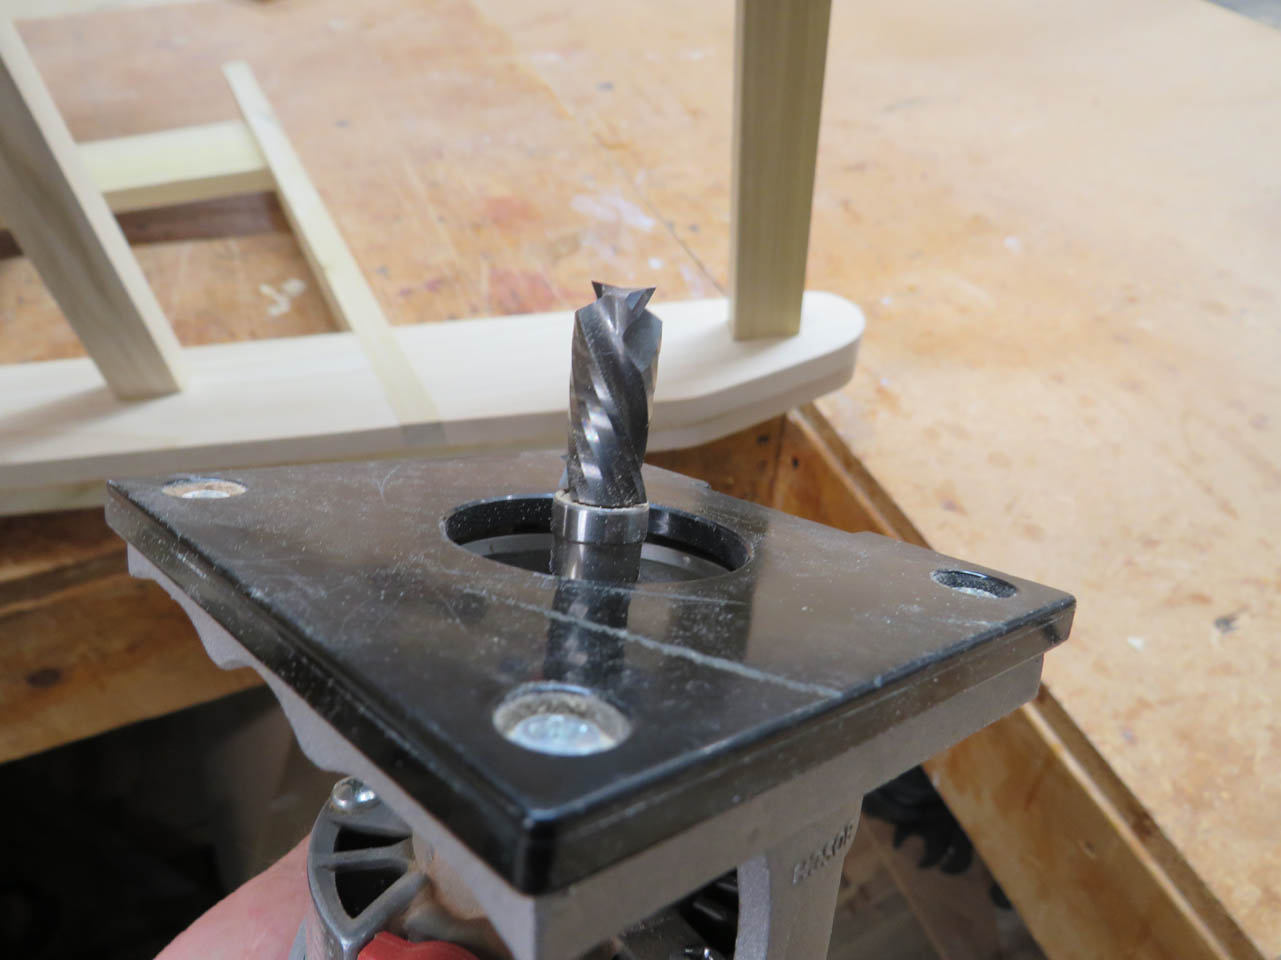
I pre-drilled a couple of holes in each mortise location to the desired 3/4″ depth.
Then I chopped out the mortises by hand with a chisel, squaring up each pocket.


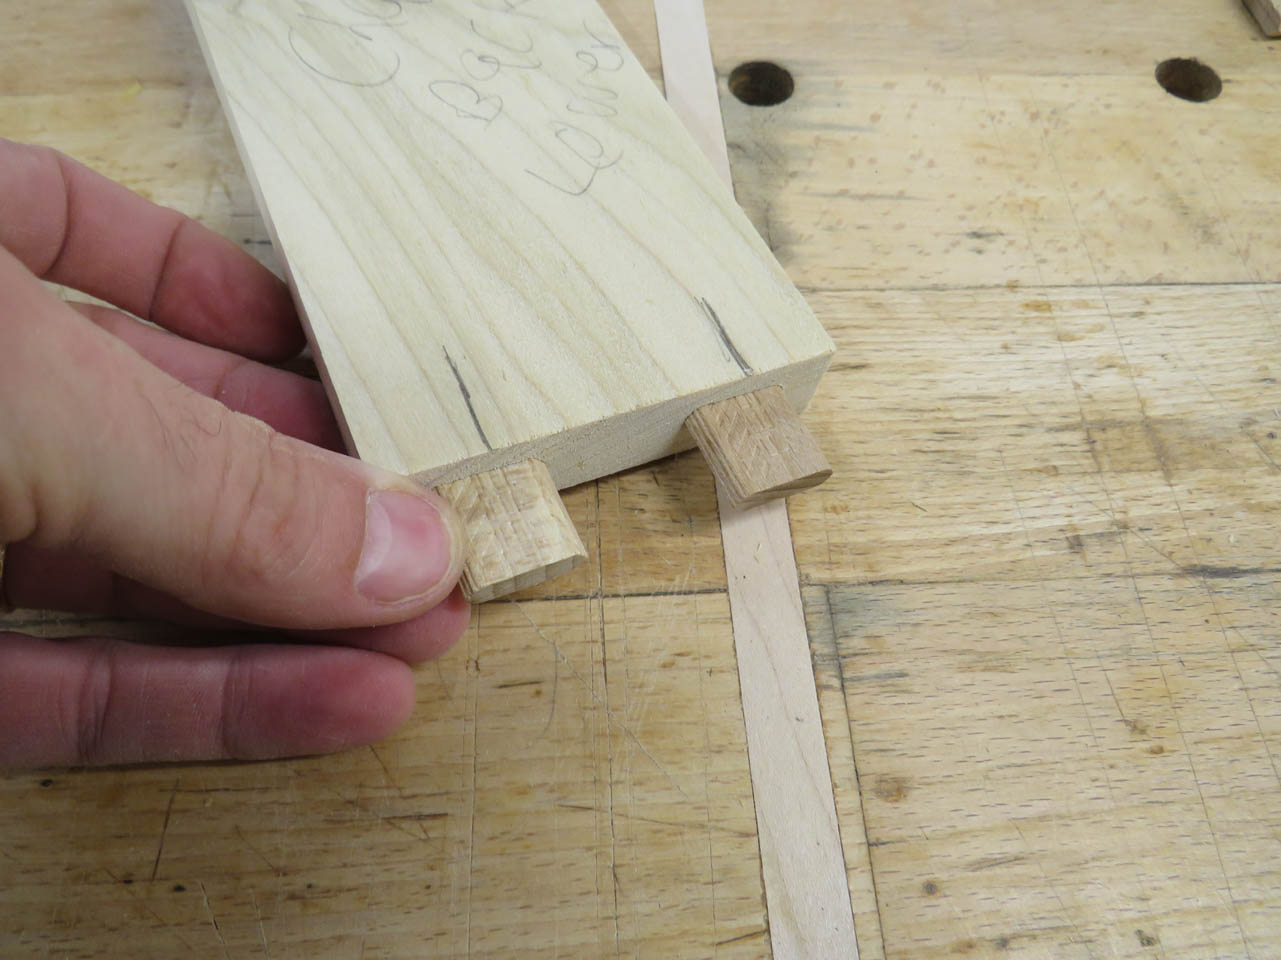
Now I can cut stretchers to fit each.


These will all get glued into place and tapped in with a mallet.

Once both sides are glued, the entire structure can be clamped together, making sure all the legs are sitting flat on the bench so there is no twist.

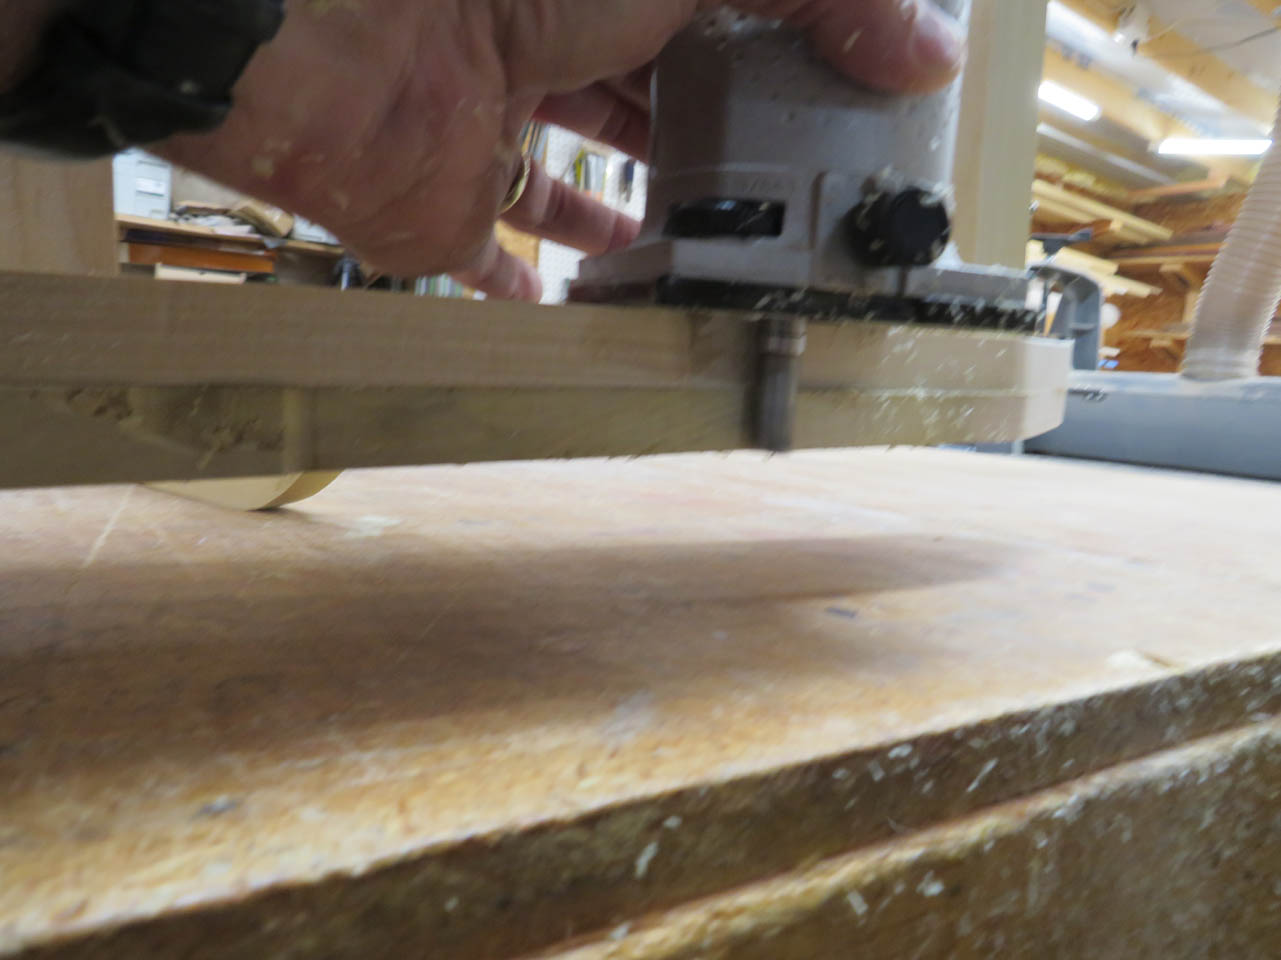
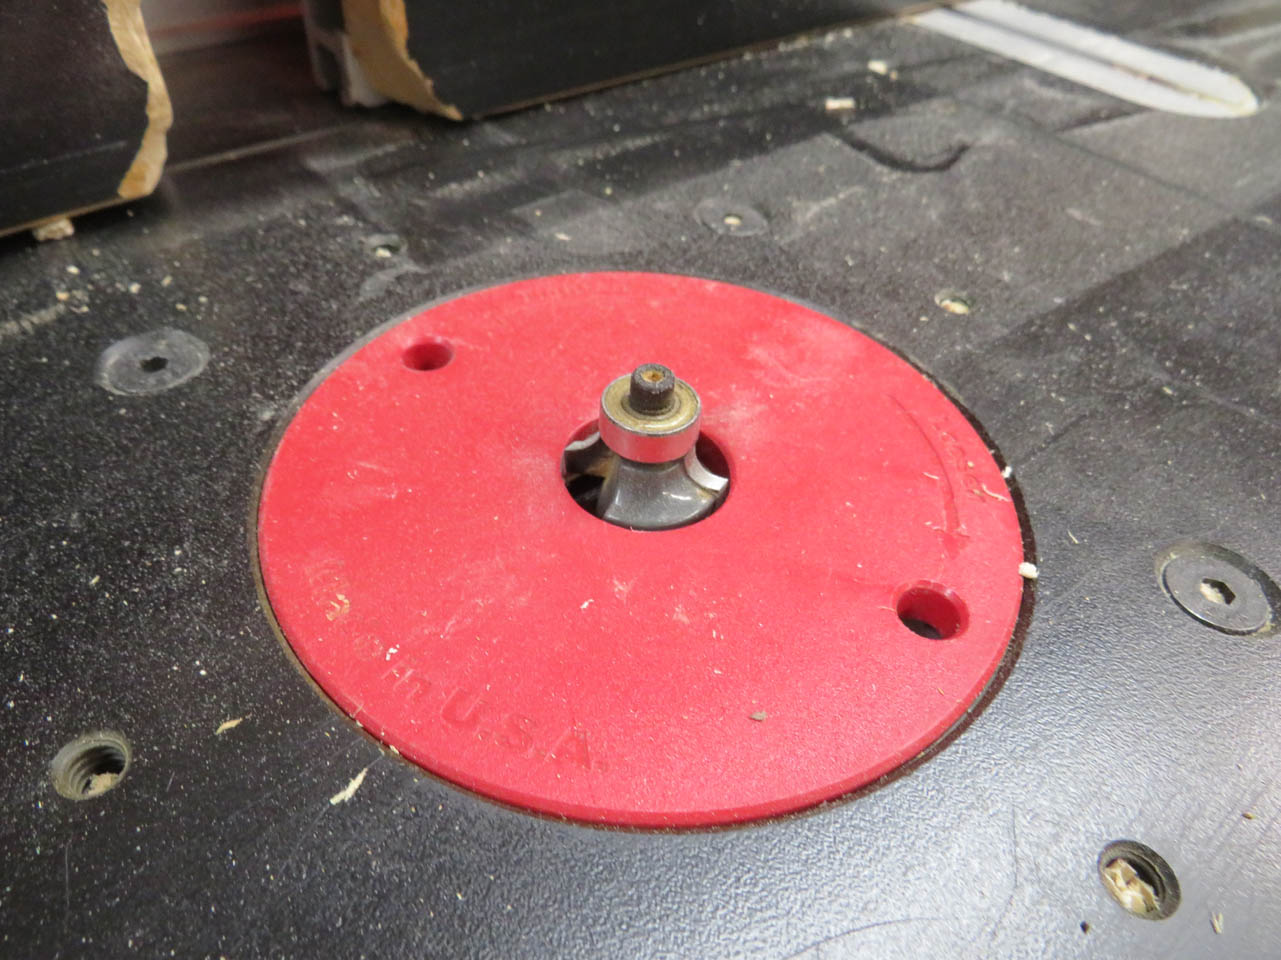
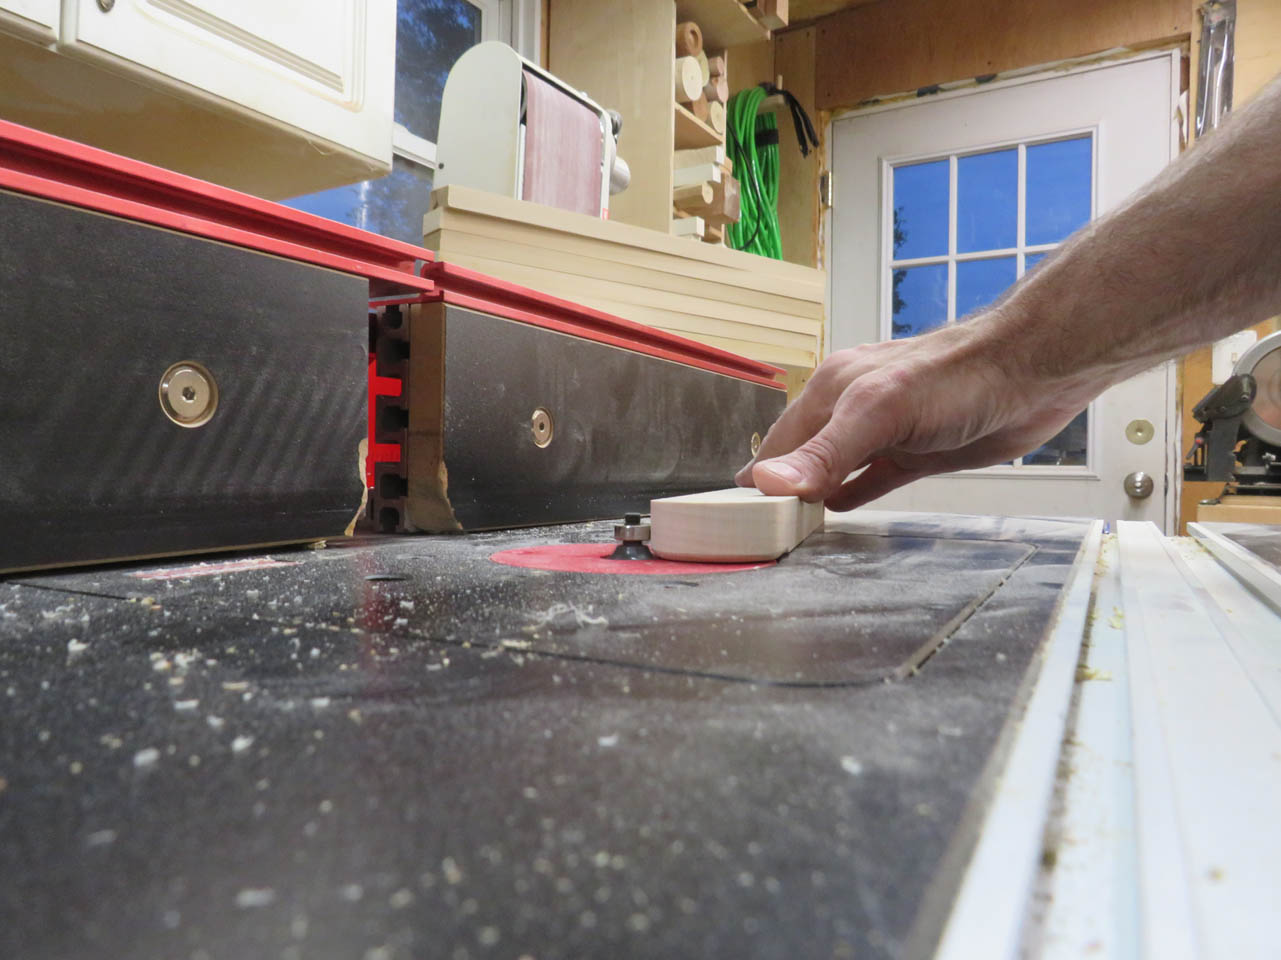
I noticed a couple of locations where my boards slipped when gluing up so I set up a flush-trim bit in my trim router.
As the bearing follows one side, it will flush trim the other side to match.
After those were cleaned up, I cut the slats for the back of the seat.

These are stepped to be taller in the center and shorter as they fan out to the sides.
I am also adding a radius to the ends. This is traced on each end, then sanded down to the desired shape.
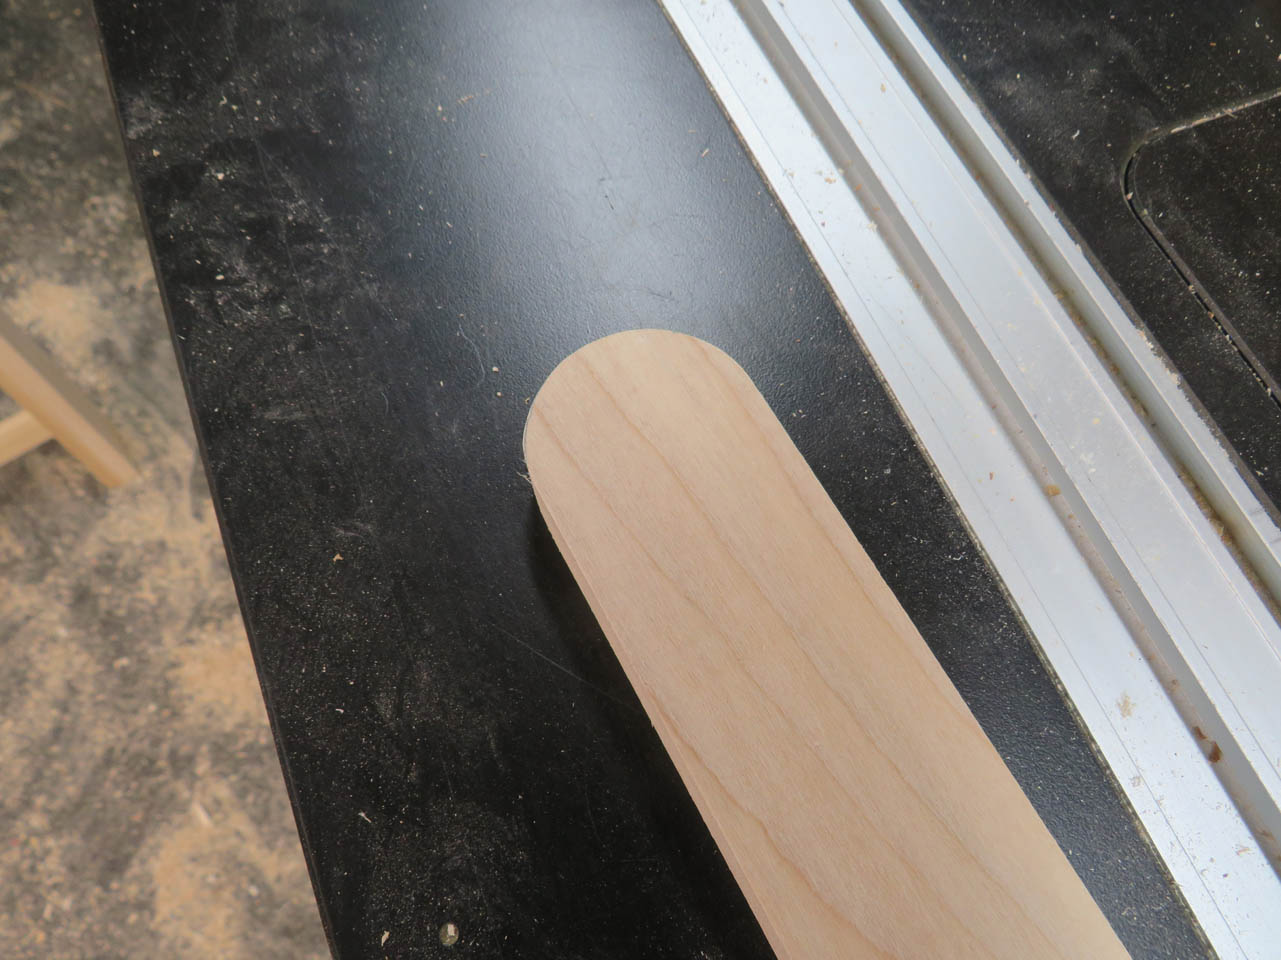
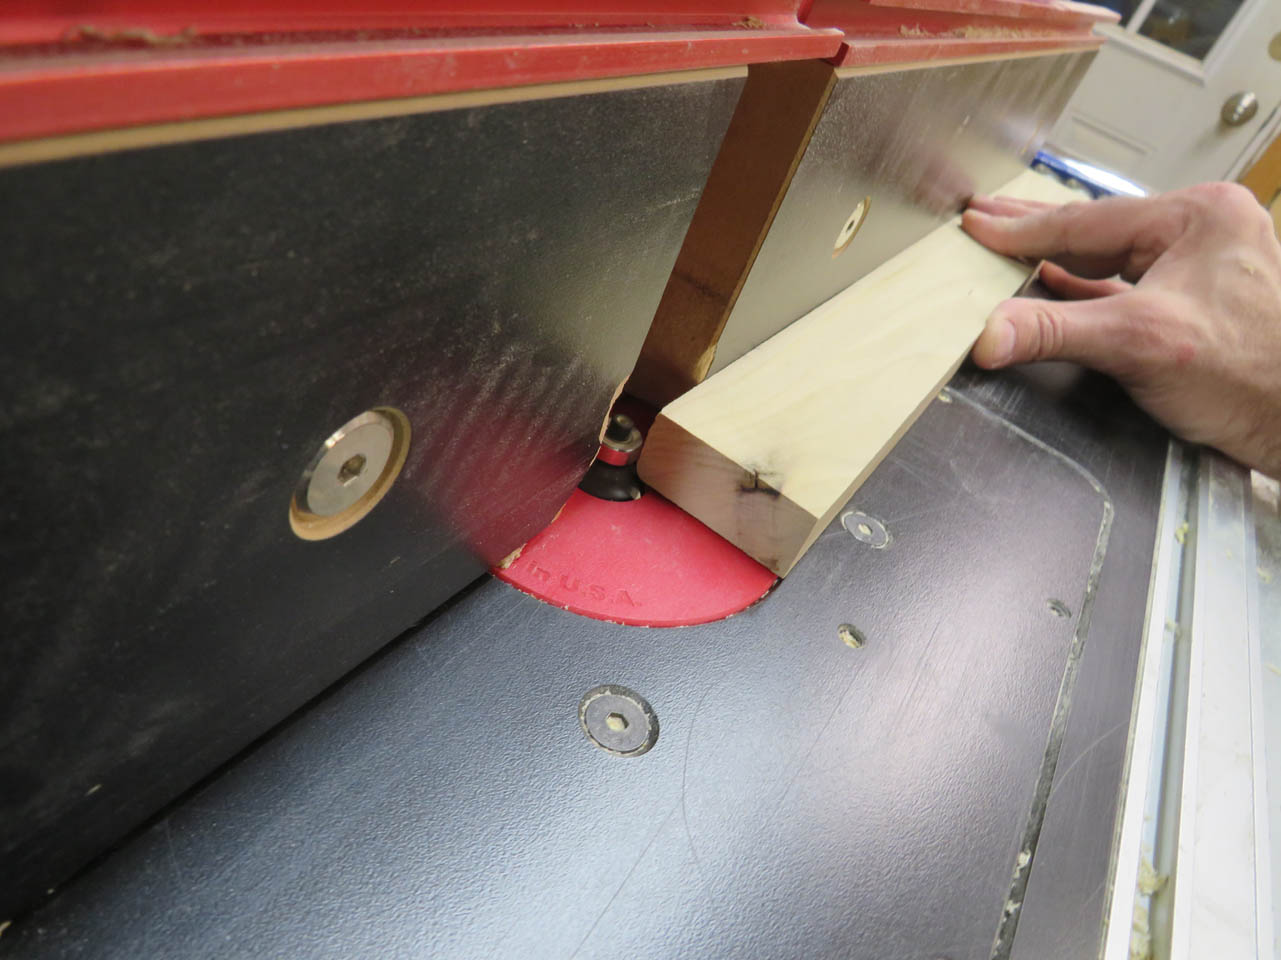
To avoid sharp edges, I placed a 3/16″ round-over bit in my router table.
Then cut a radius onto each slat for the seat and back.


For the back, I cut all the way around the face and only the long edges on the seat slats.

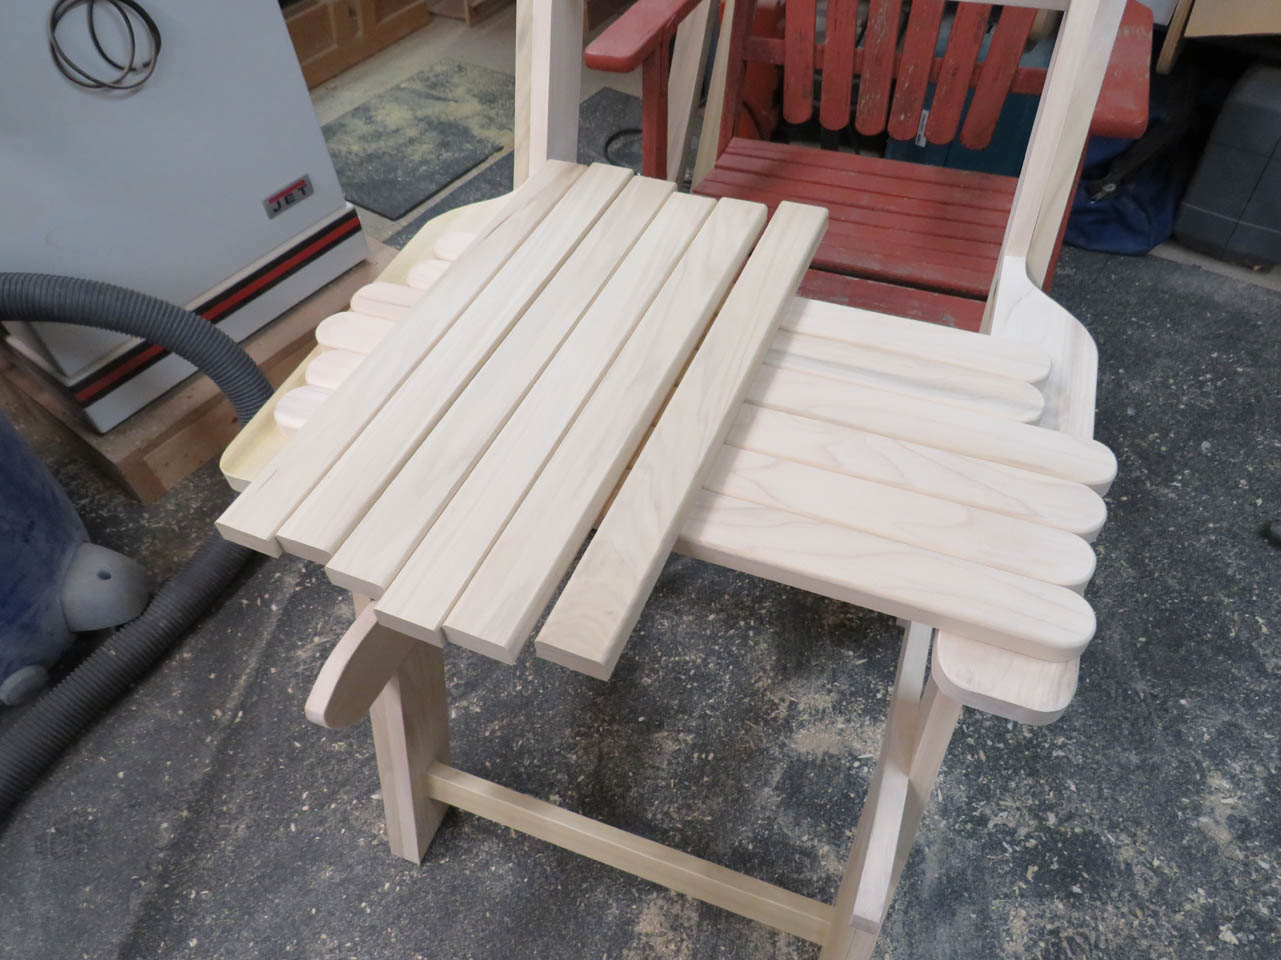
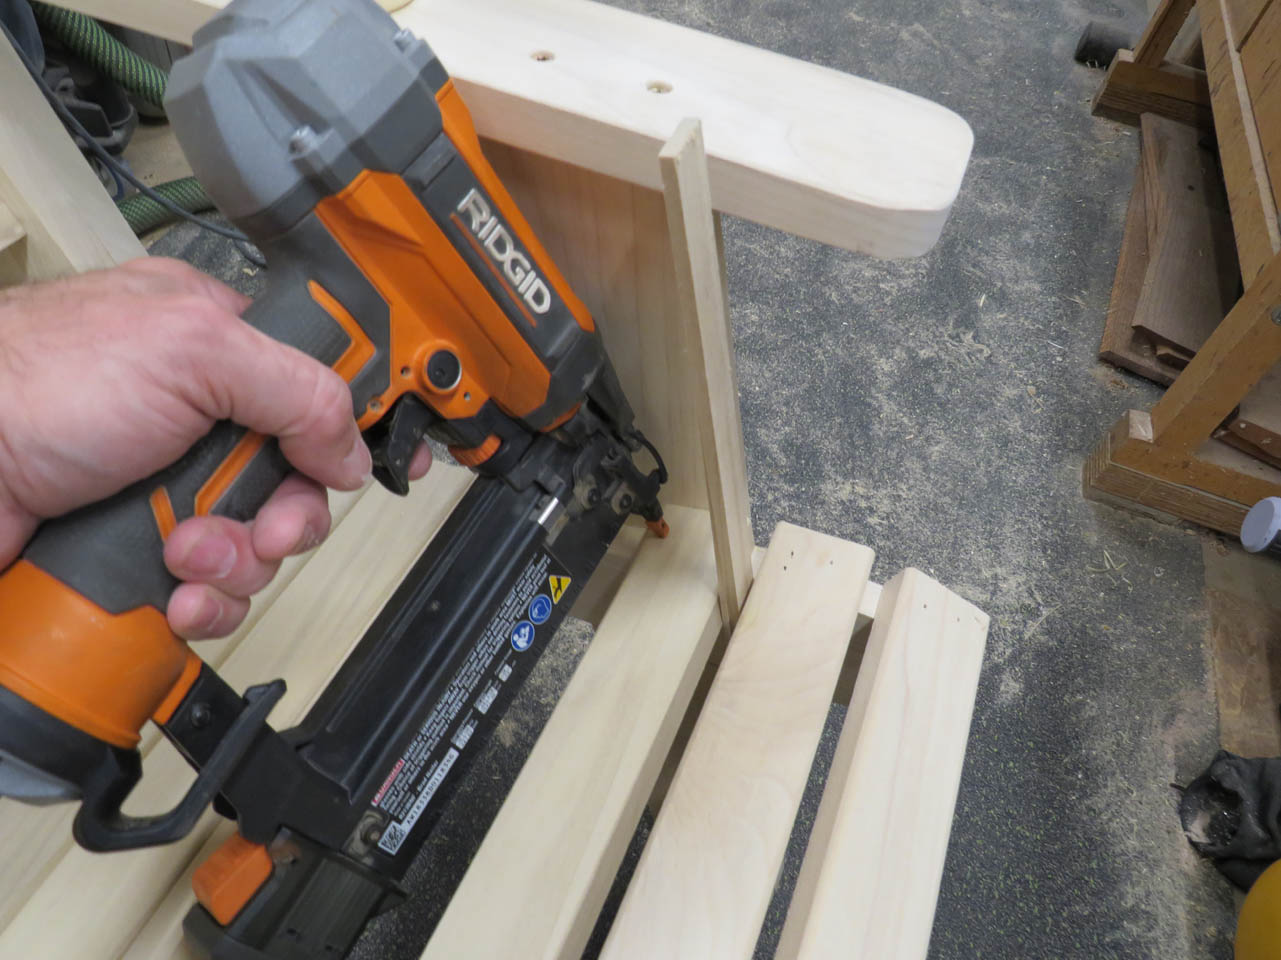
For the prototype, I am installing the seat slats with glue and a brad nailer.
This was awkward with the armrest in place. I will need a different method for the final version.
I used a strip of wood as a spacer between each slat as I installed them.
The seat looks good, time for the back.


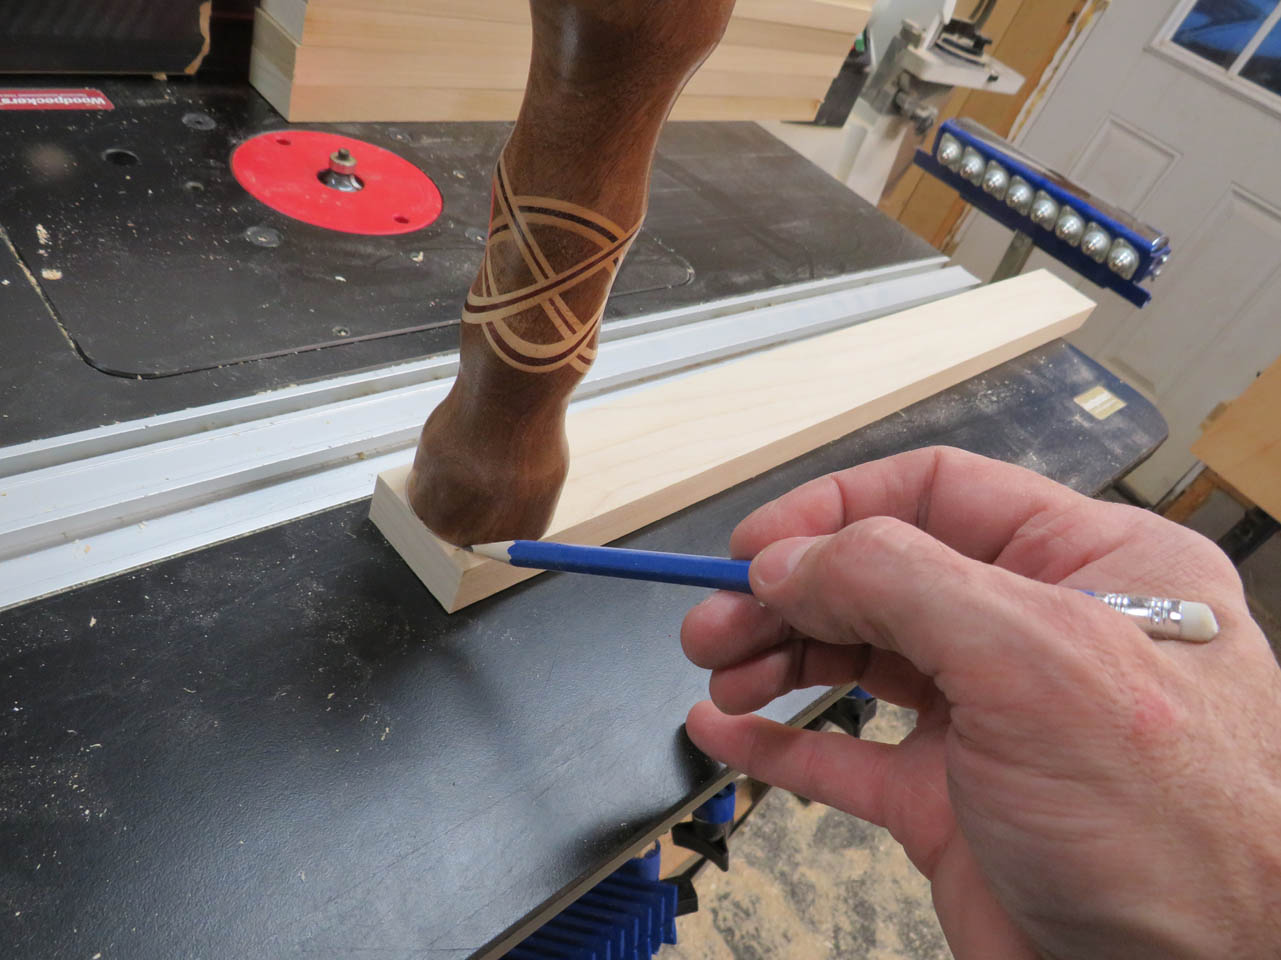
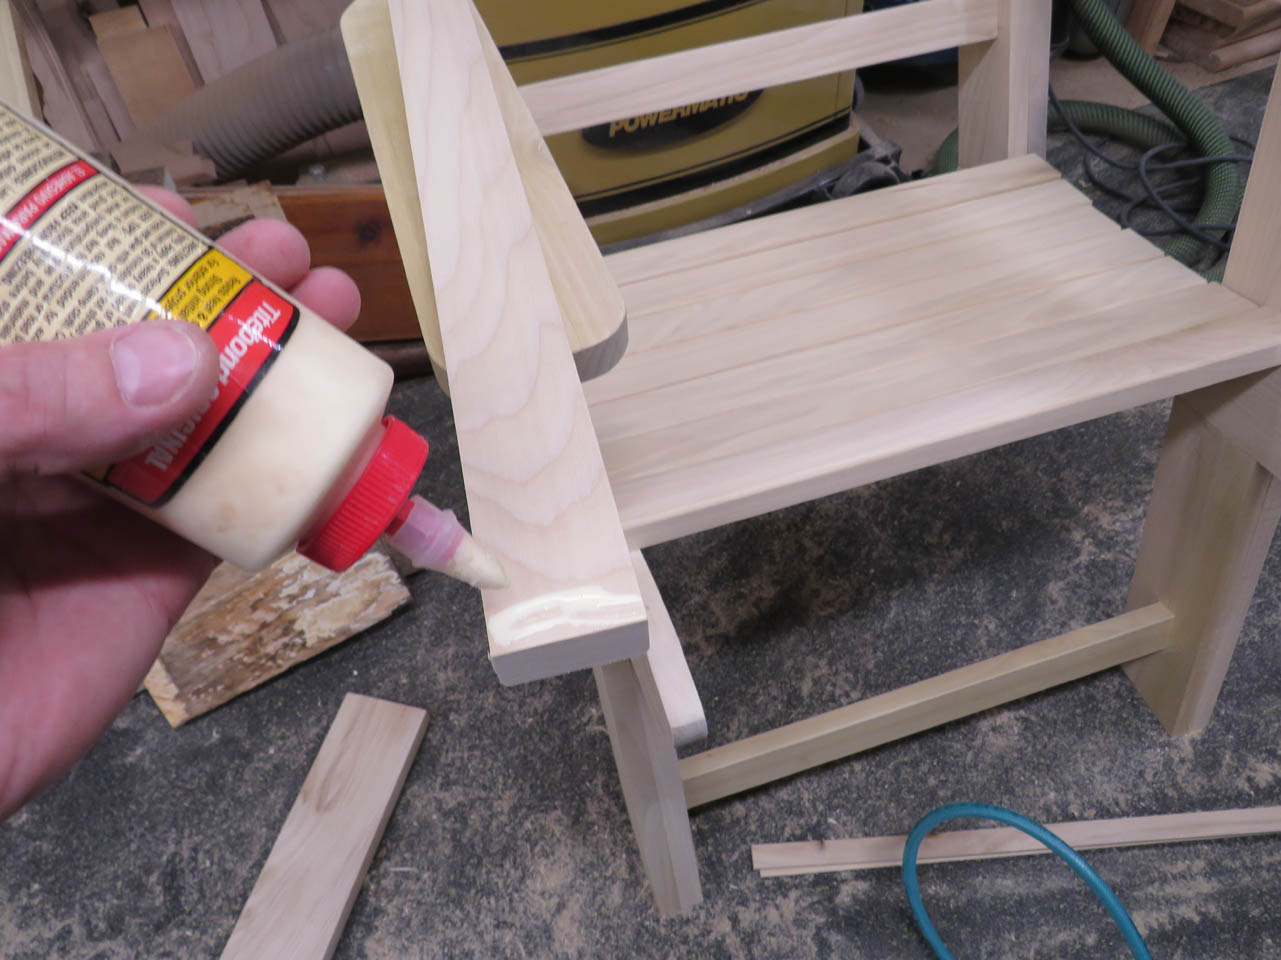
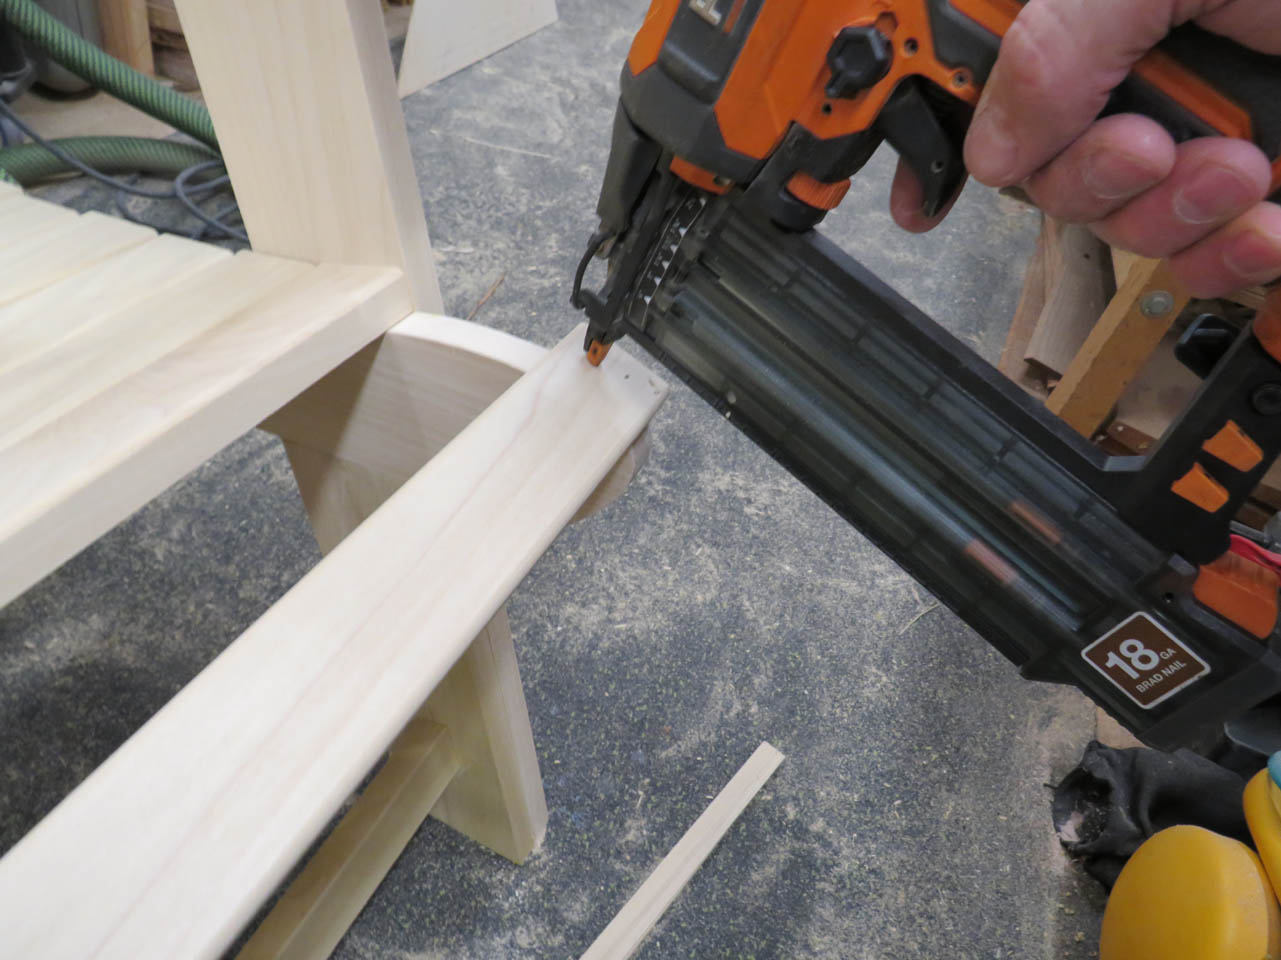
To start the back layout, I placed a 3/4″ thick block on the bottom to have somewhere to sit the first slat. I marked the center and splayed the center back-slats in a slight vee.
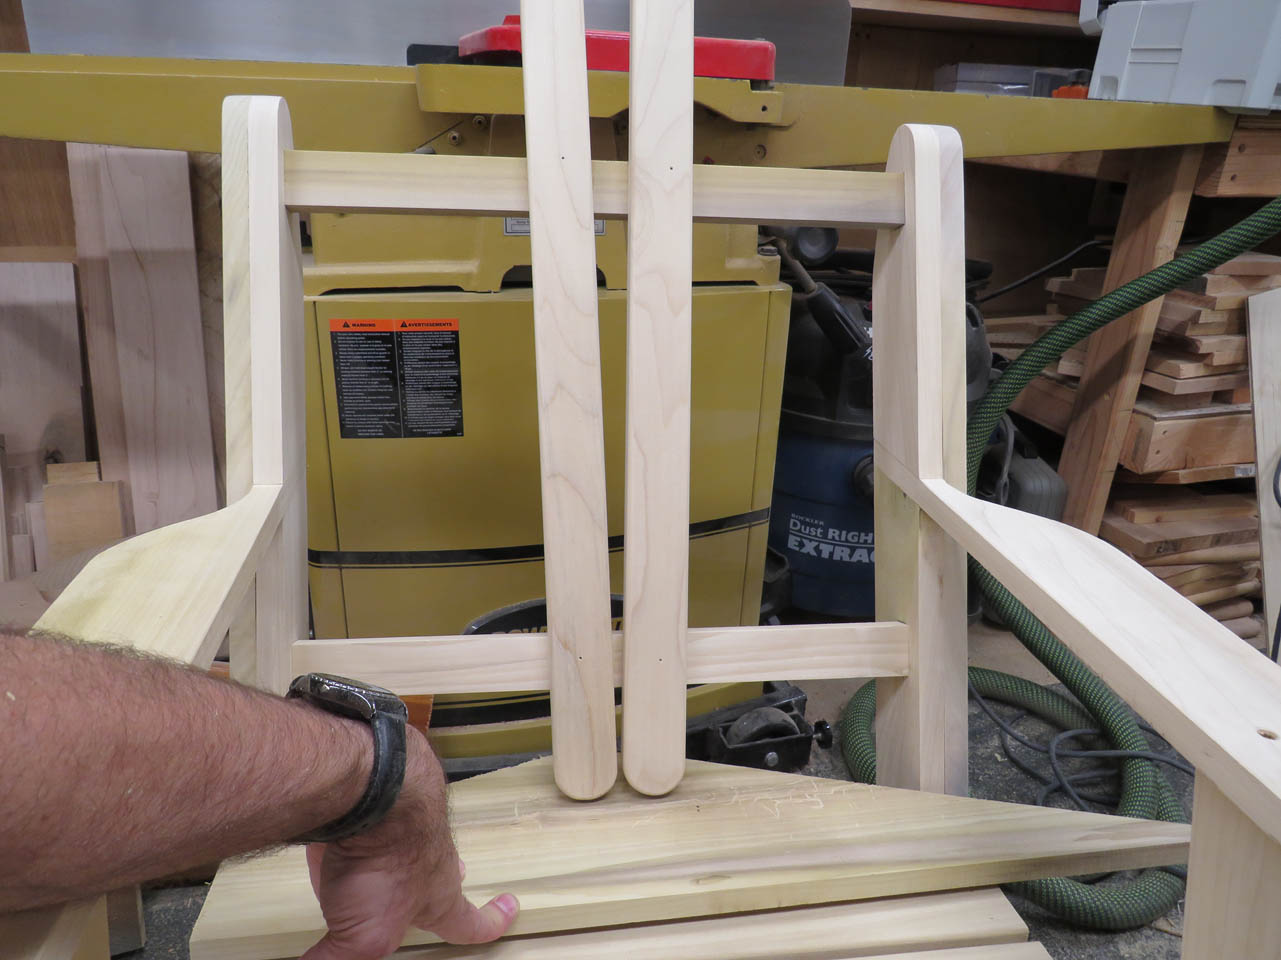
Once in place, I evenly spaced the rest and glued, then nailed them in place as well.
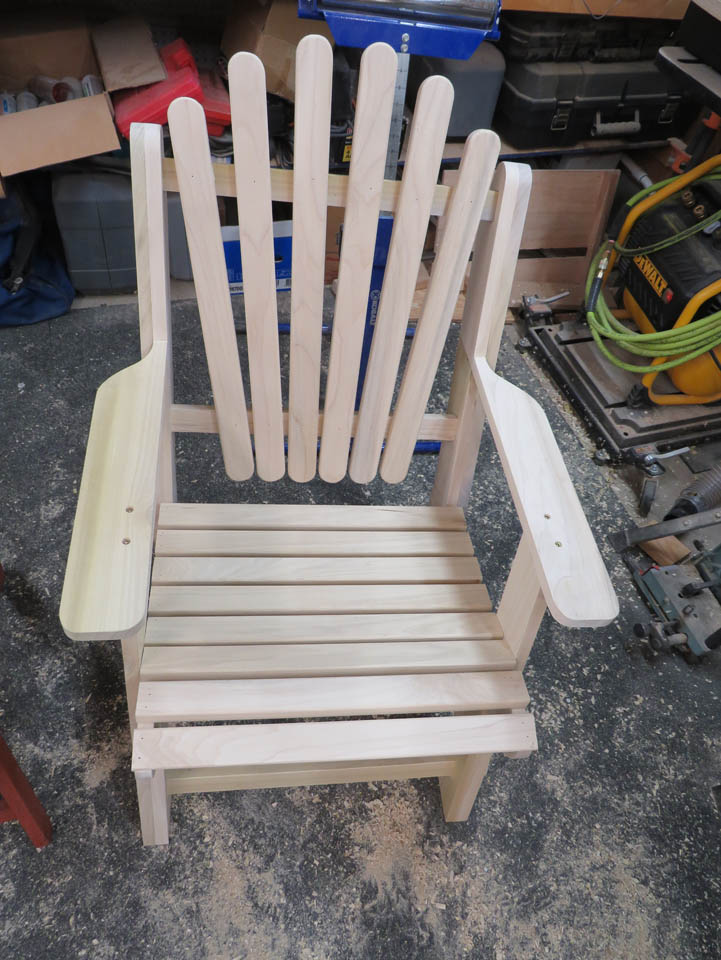
The prototype is complete. This matches the required shape and height of the original for the client to test and determine if they want me to make them more out of more expensive, outdoor safe wood.

Something to note moving forward: The new chair is far more structurally sound (less wobbly) but the thicker material means the slats have less give (bounce). If I were to make a future version from something soft like cedar, it will be just as stiff. If the client misses the flexibility of the original, I will have to use a heavier material so that the seat slats can be thinner and more bouncy, like mahogany, white oak, or teak.
This version was made from scrap poplar and would probably survive outdoors for a while with a good coat of paint, but for prototyping, poplar is perfect because it is softer and easy to work. It was an interesting experiment and it gave me an idea how long the next version will take to make. I now have templates so I can reproduce it accurately if needed.
