
Under stair storage
A contractor friend of mine asked me to build an under-stair storage solution for a client.
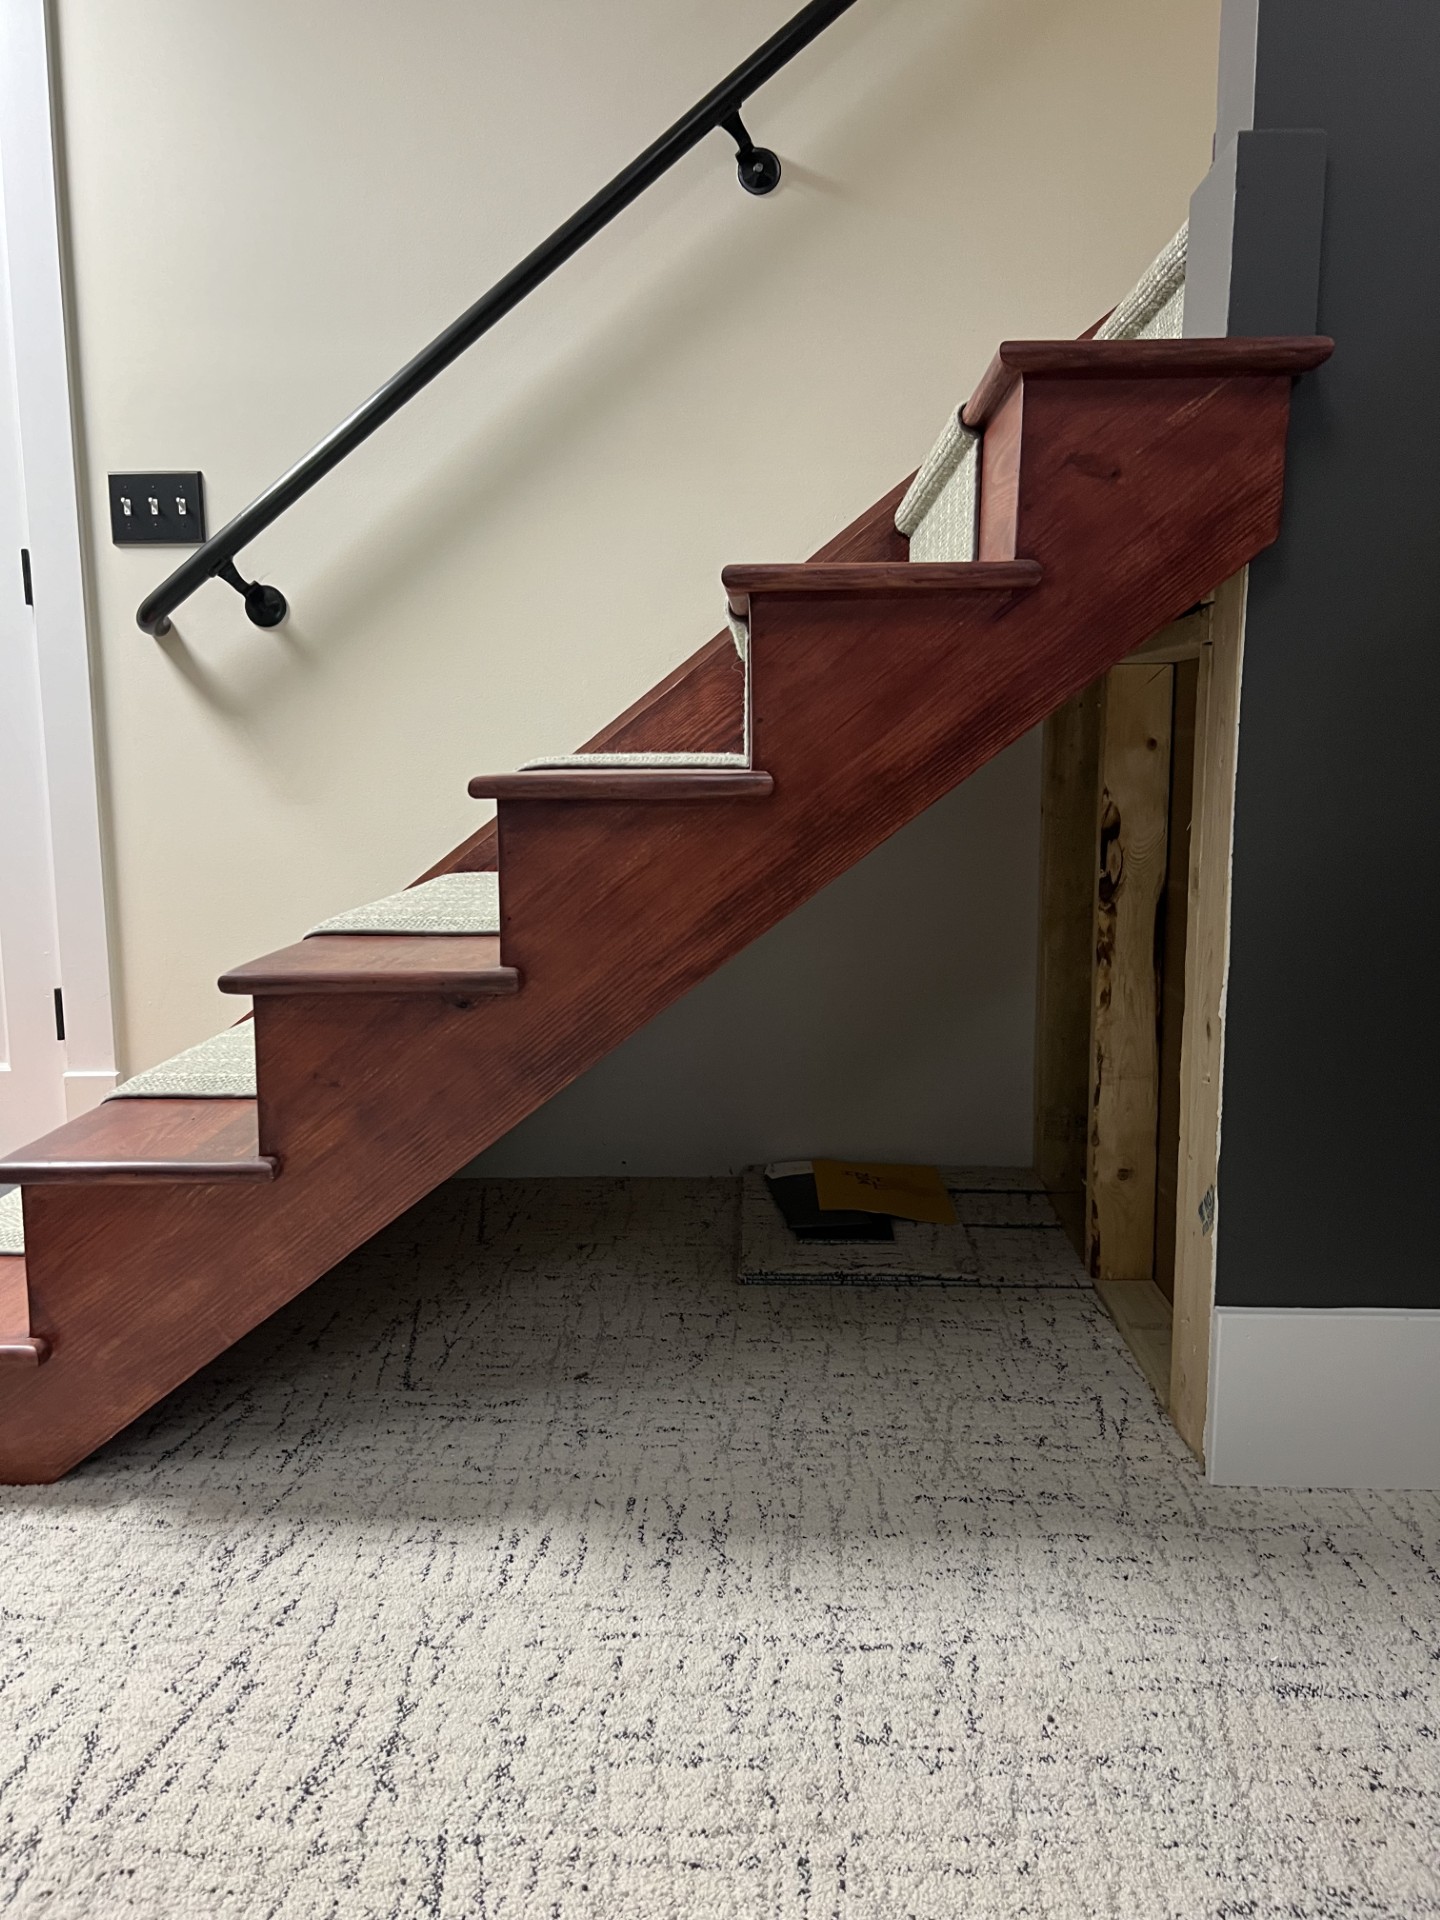
These are the stairs:
I had the contractor make me a template of the opening so that I did not have to be on-site for the entire build. This is the final design that I came up with for the client: STAIR DRAWERS – PARTS.pdf
The template was a piece of 1/4″ thick plywood, held over the opening. The contractor sat under the stairs and traced the opening. My plan is to build a cassette that will slide under the stairs with a very tight fit. The contractor can add additional trim if needed after installation.
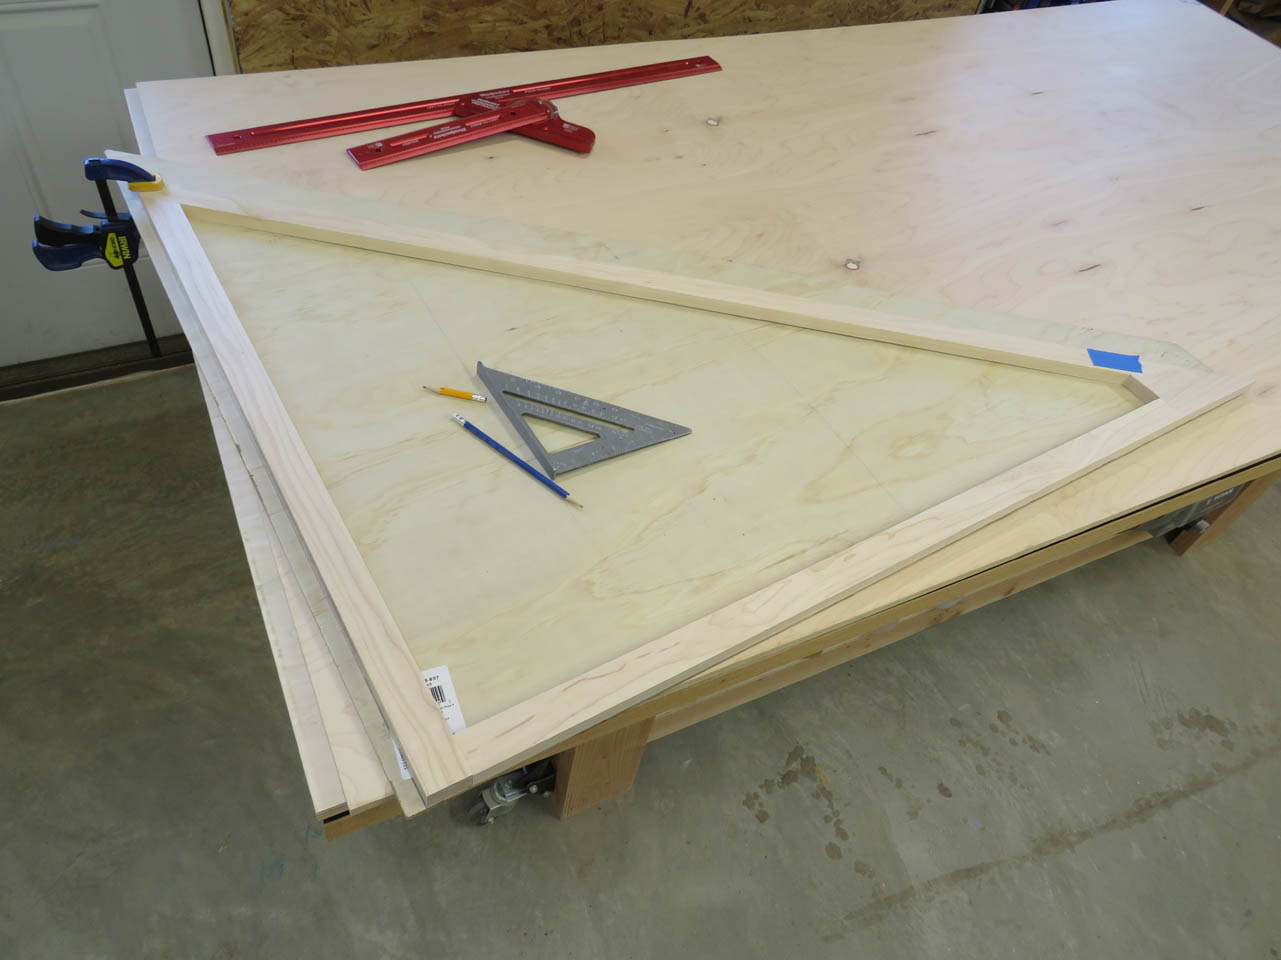
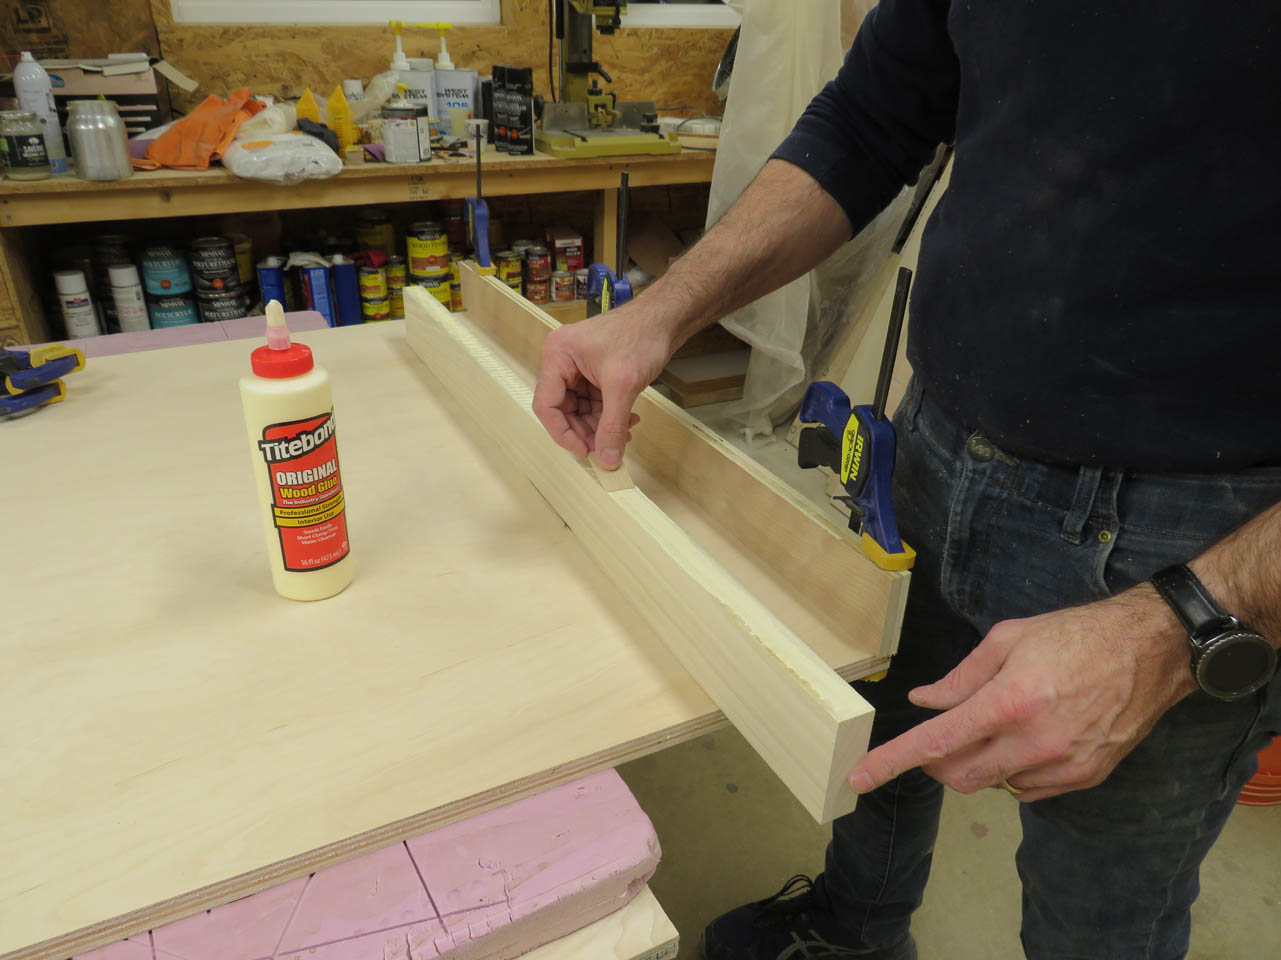
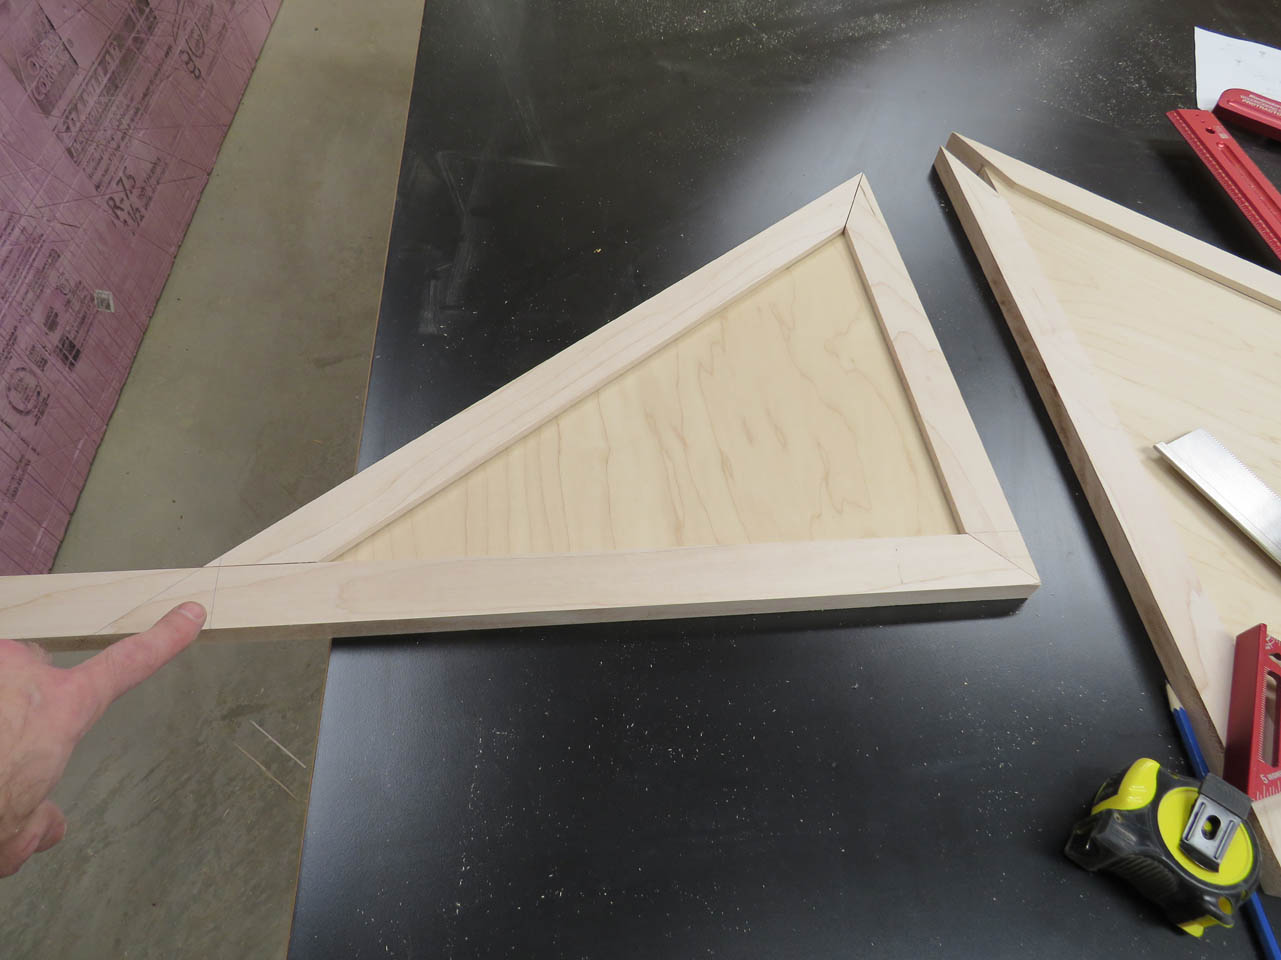
These drawers will be made from soft maple and maple plywood. I started by milling down a bunch of soft maple to work with. To create the face frame, I started by working directly on the template. This turned out to be the best approach because I didn’t realize until the very last step of construction, that the triangle was not perfectly square…
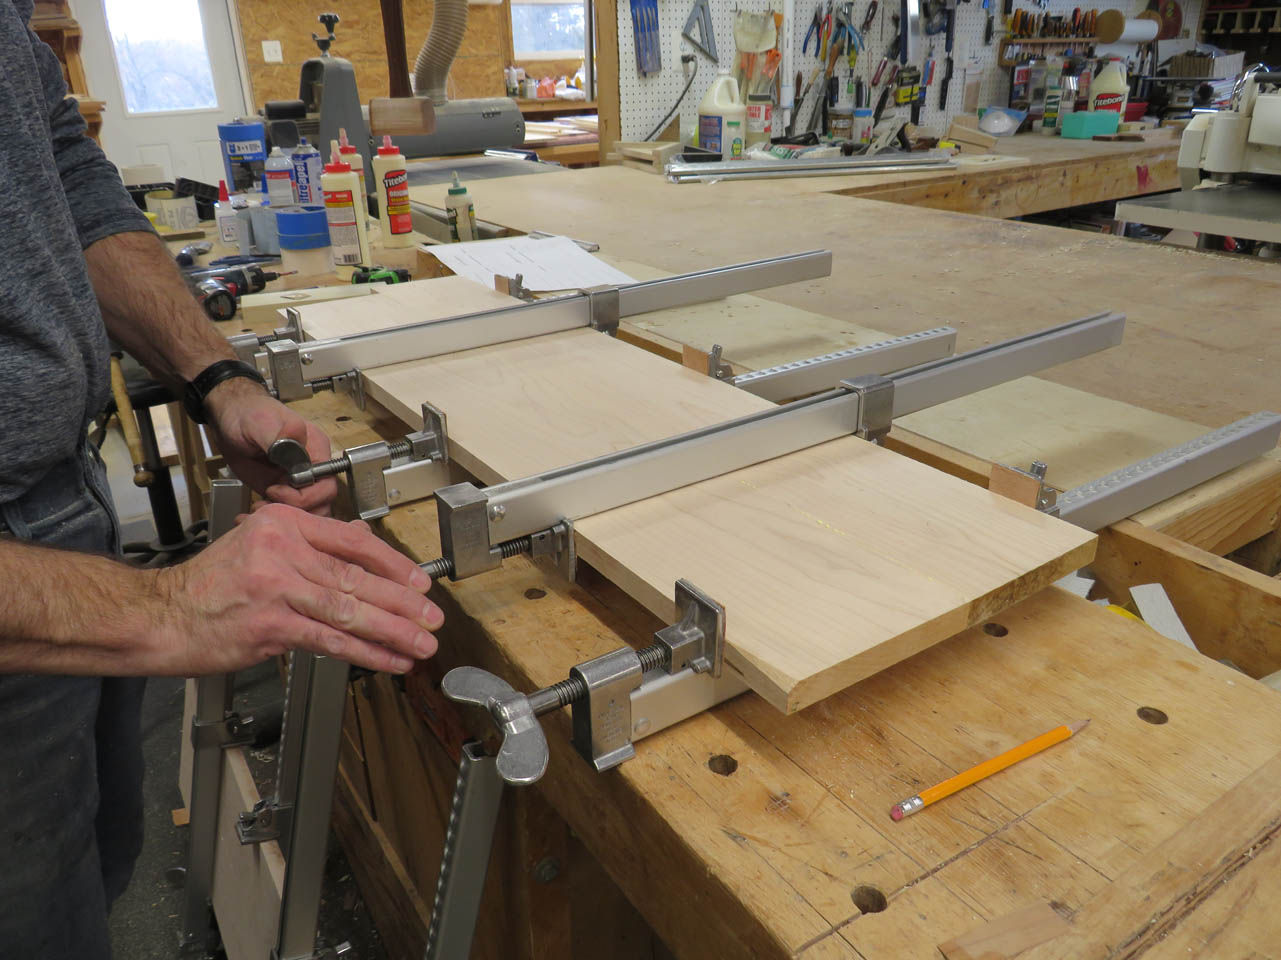
My face frame consisted mainly of 1-1/2″ wide strips that were mitered together.
Miters do not glue up well because they are typically end-grain glue-ups.

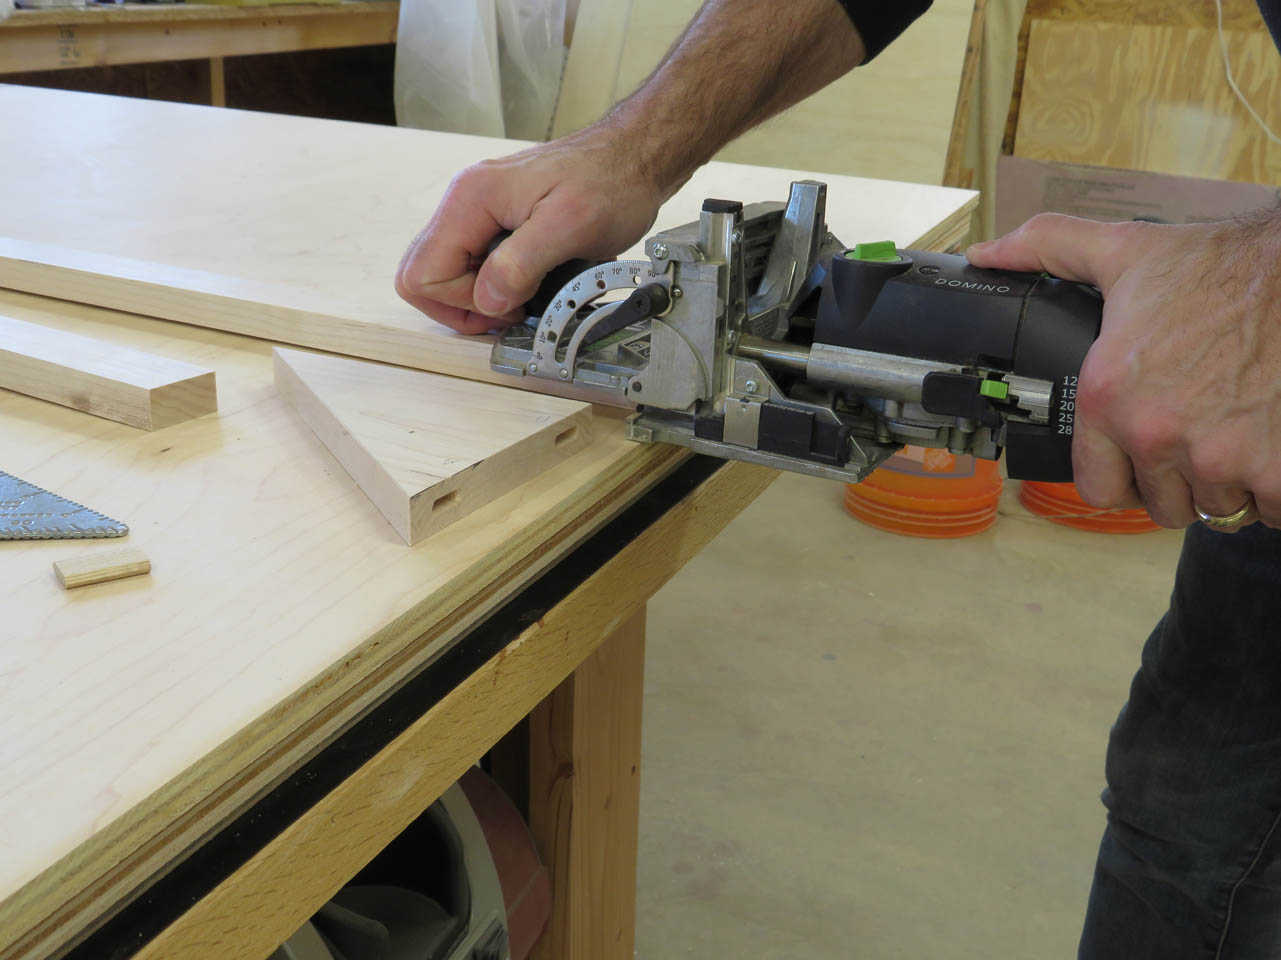
To strengthen these joints, I use tenons that can be glued into each joint.

I mark the location of each tenon, then cut the mortise to receive them with my Domino jointer.

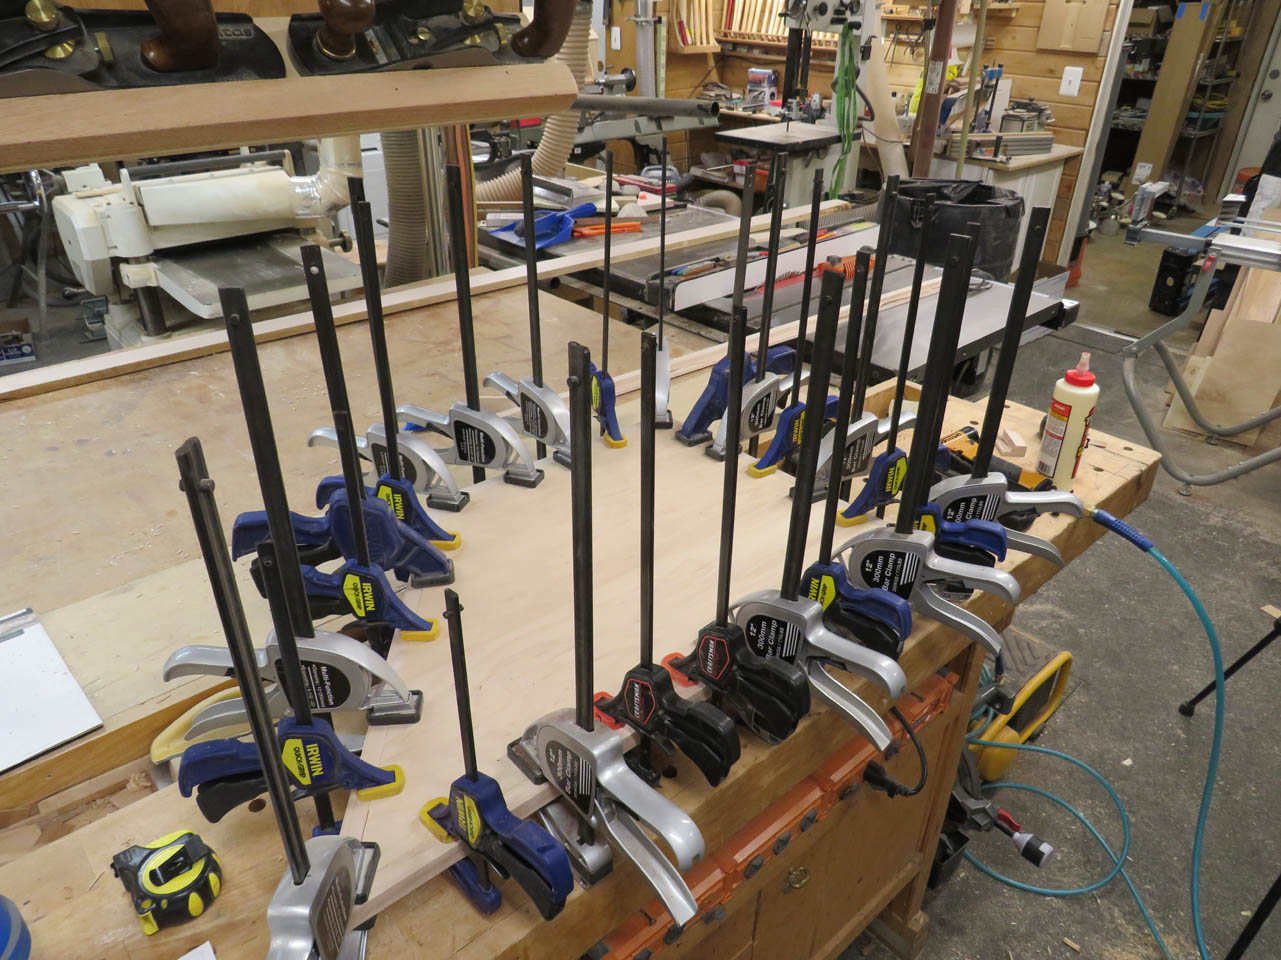
After a dry-fit, I can apply glue and reassemble.

I clamped the frame to the template as it dried to maintain the overall shape as accurately as possible.

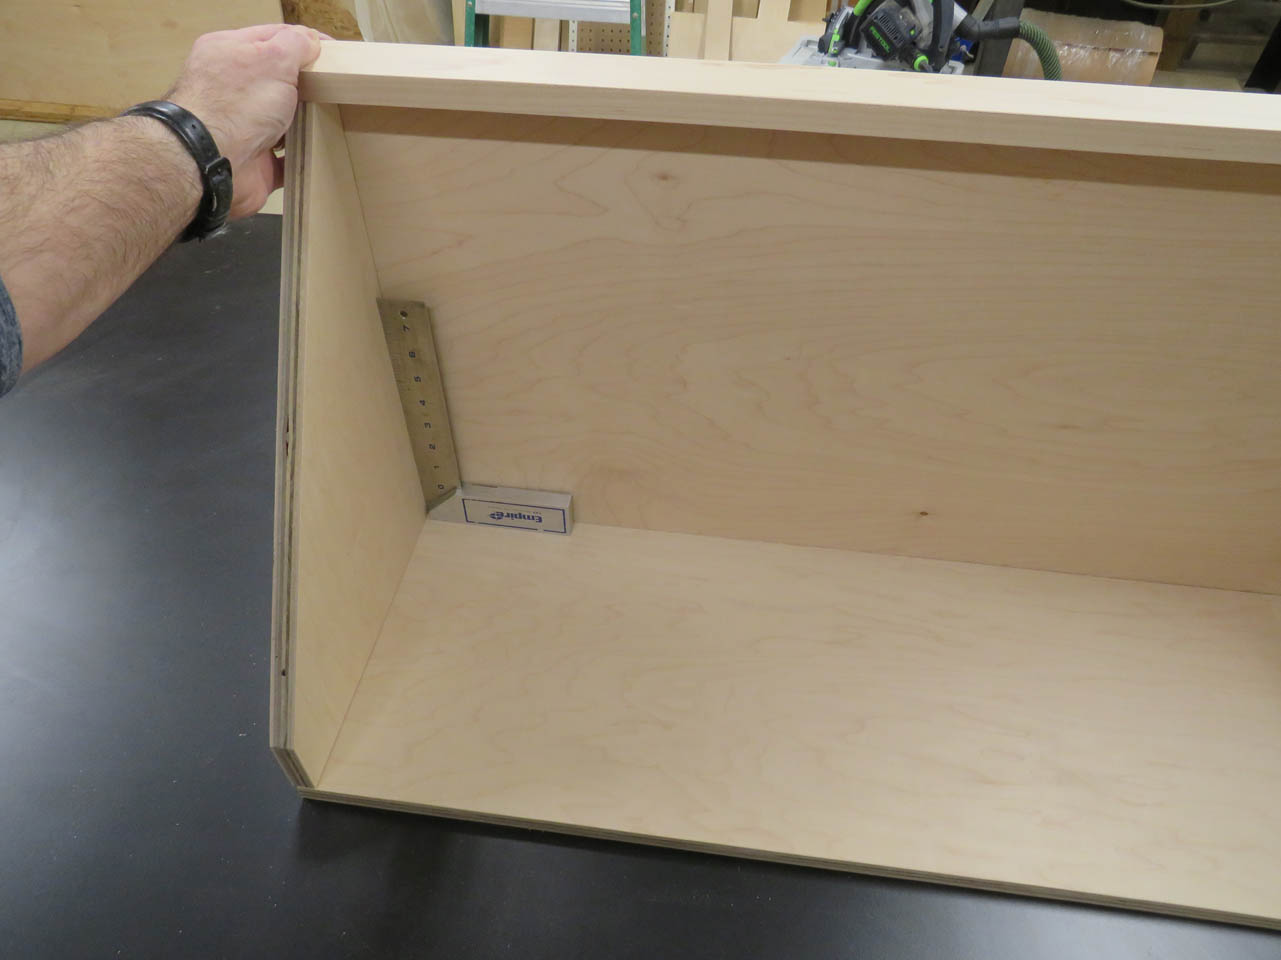
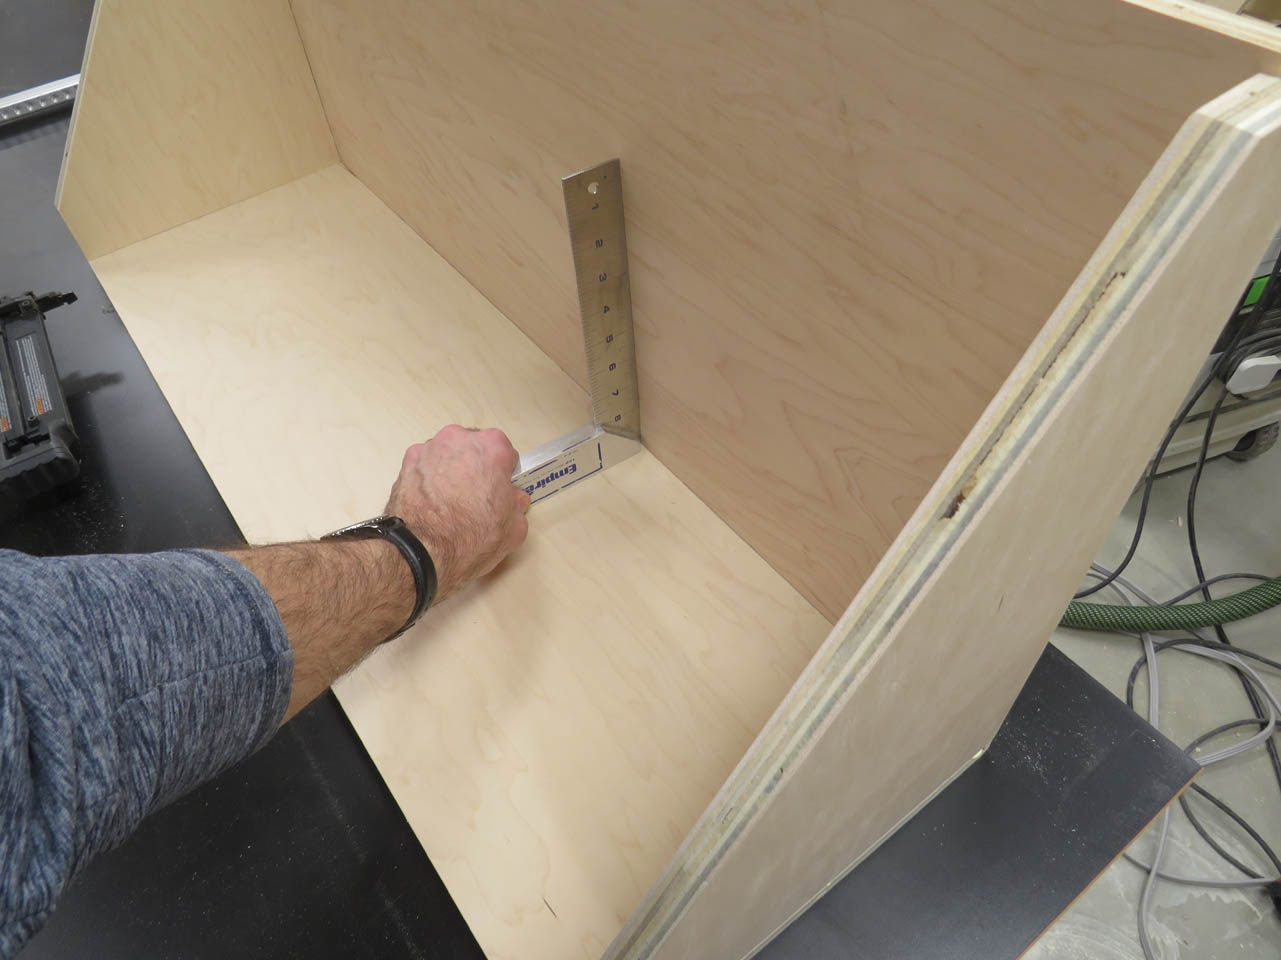
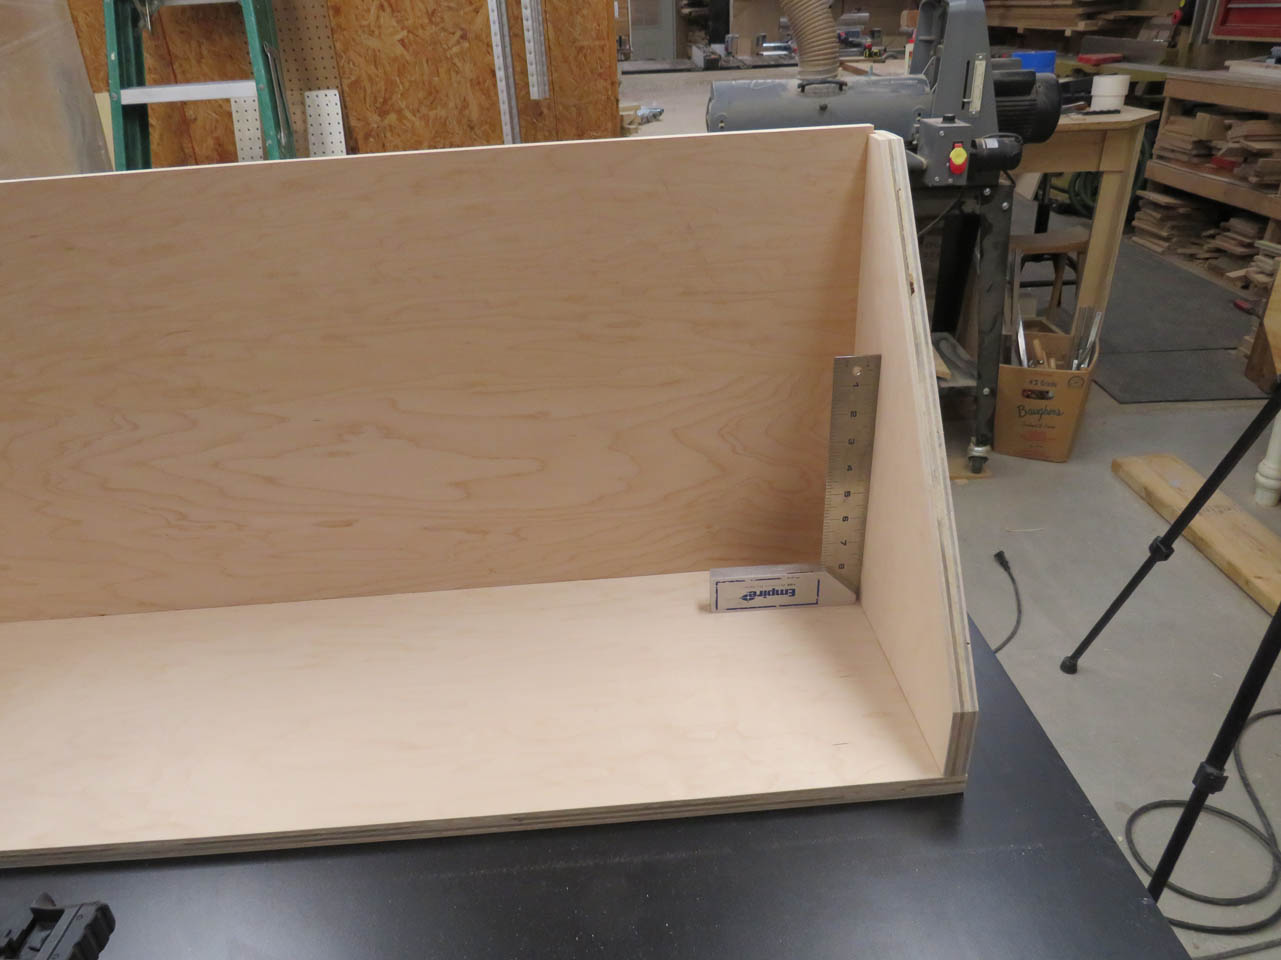
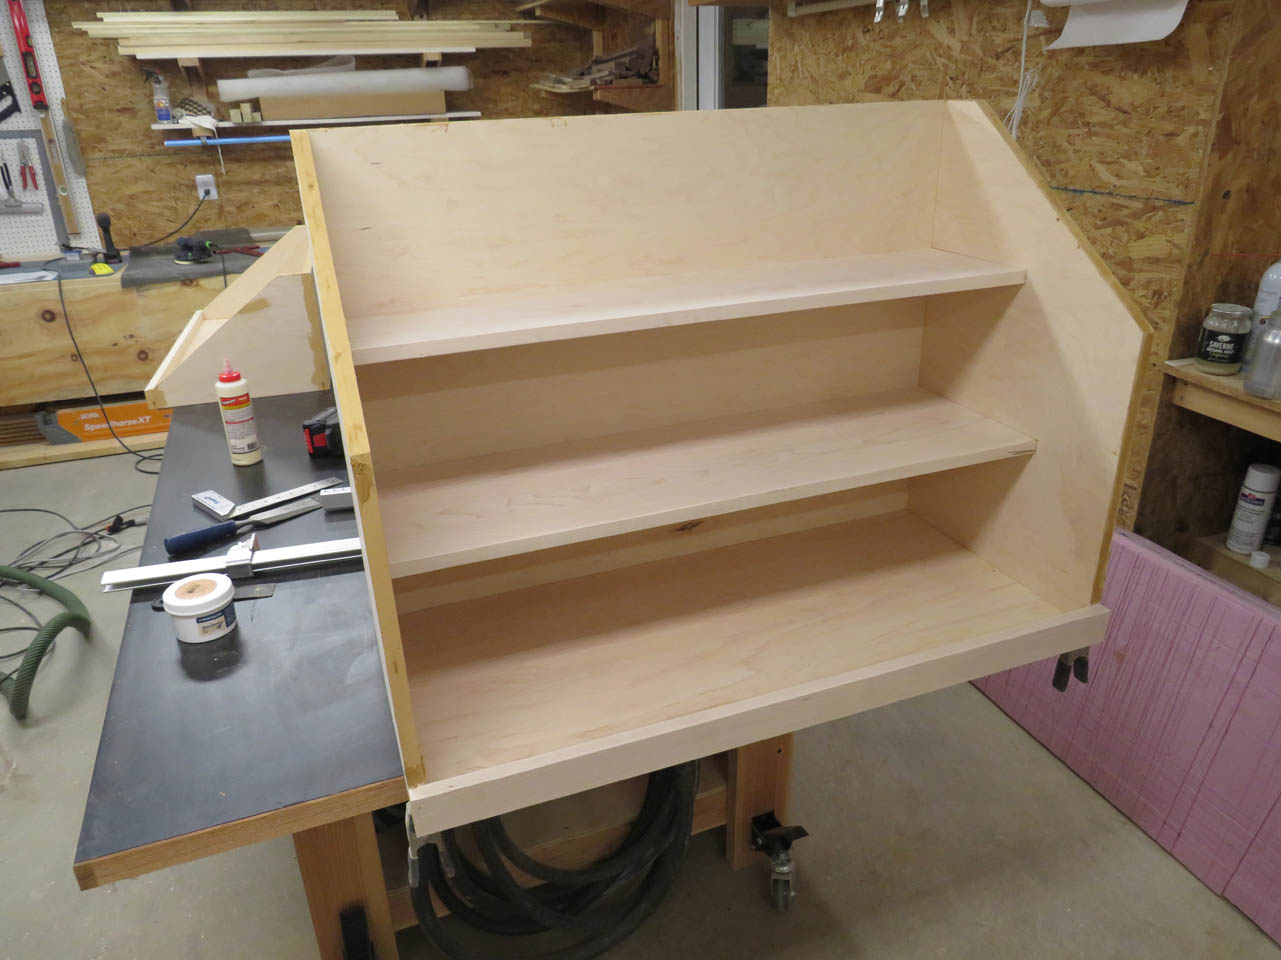
With the face frame done, I can start building the cassette With 3/4″ maple plywood for the bottom and back.
I also added a solid strip to the top of the side wall to get a good solid attachment point for my gusset strips.

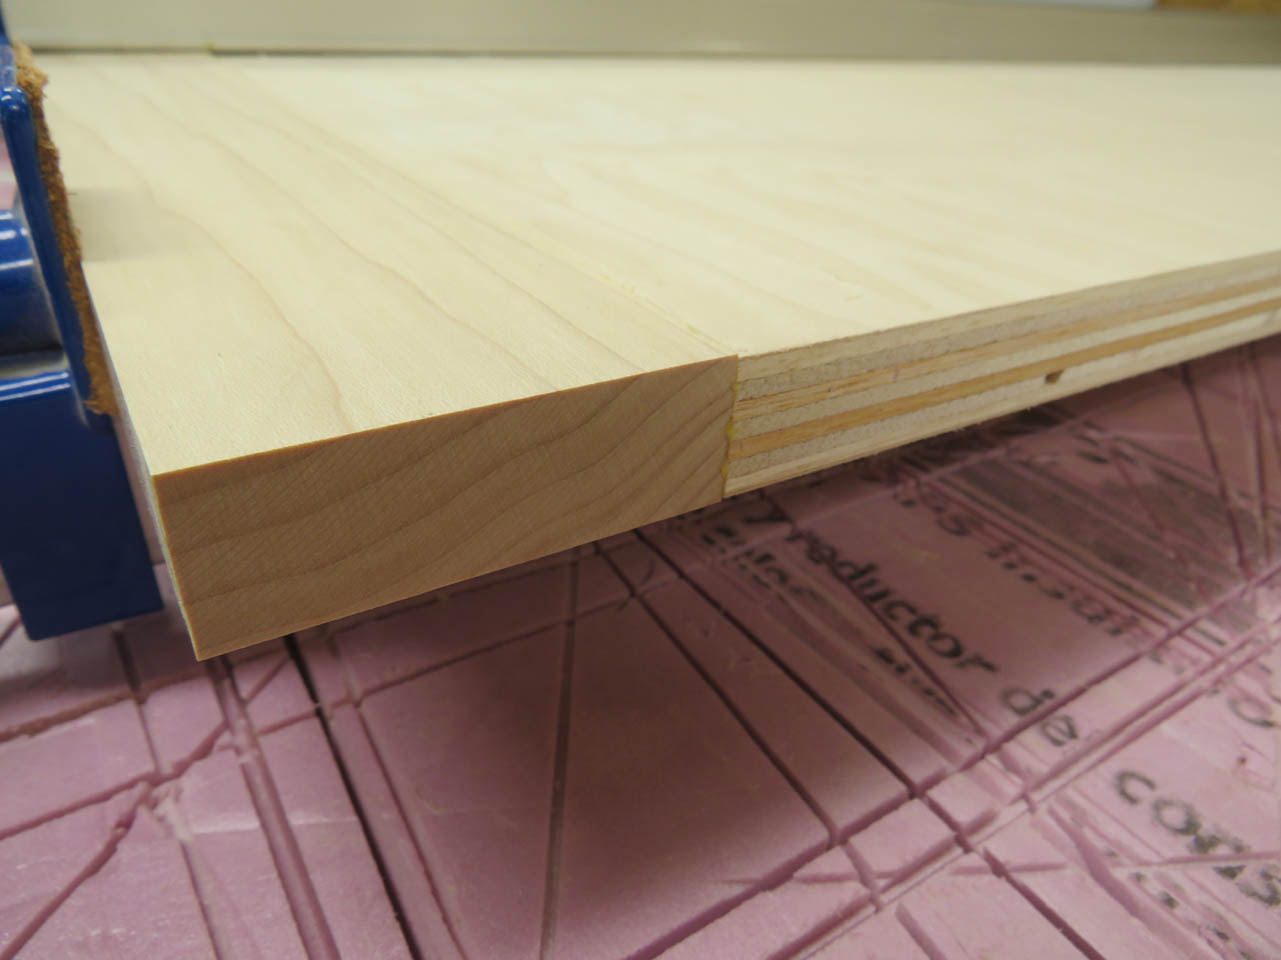

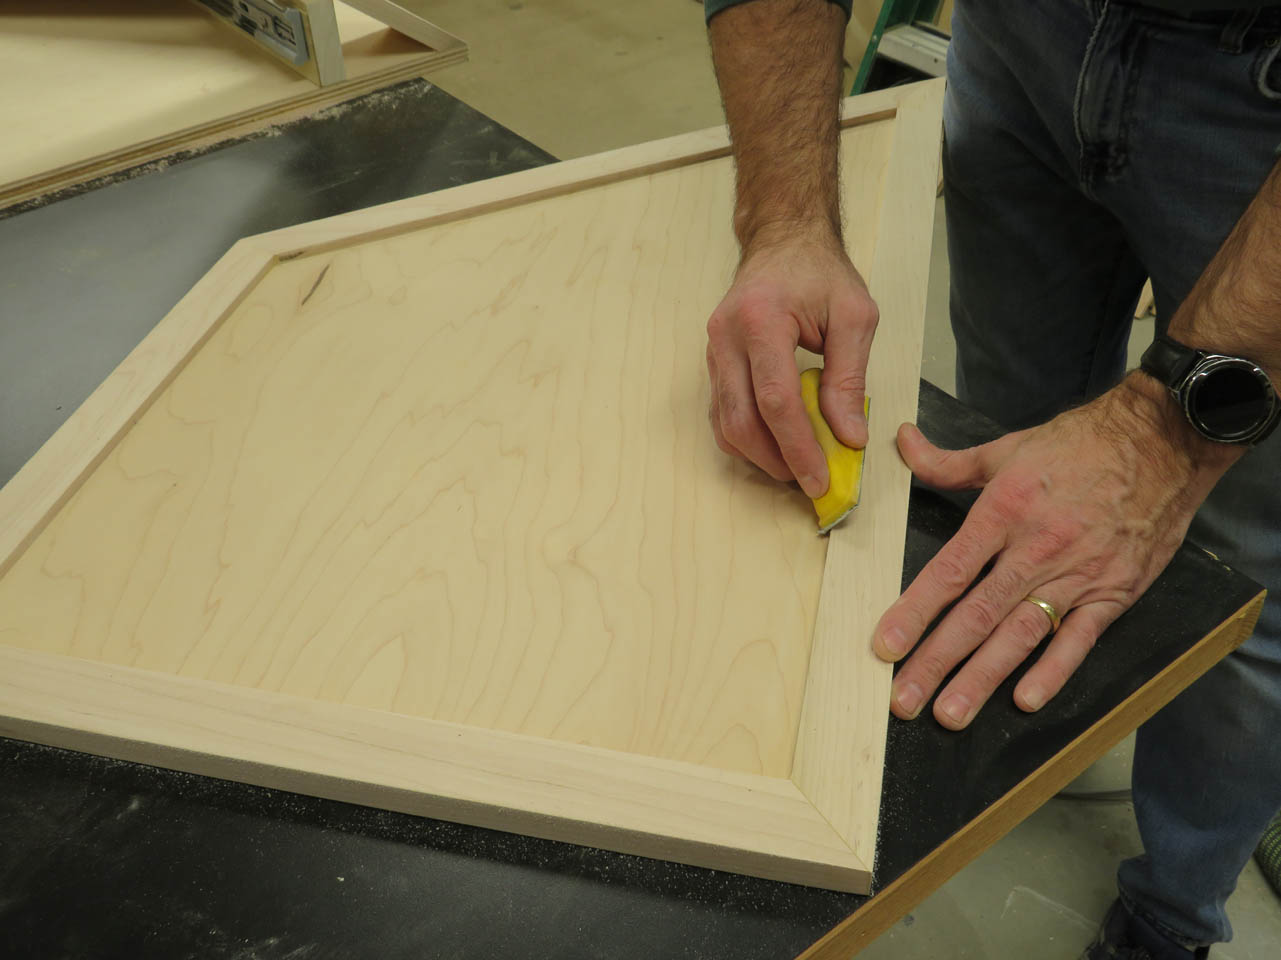
Once dry, I sanded the joint smooth.
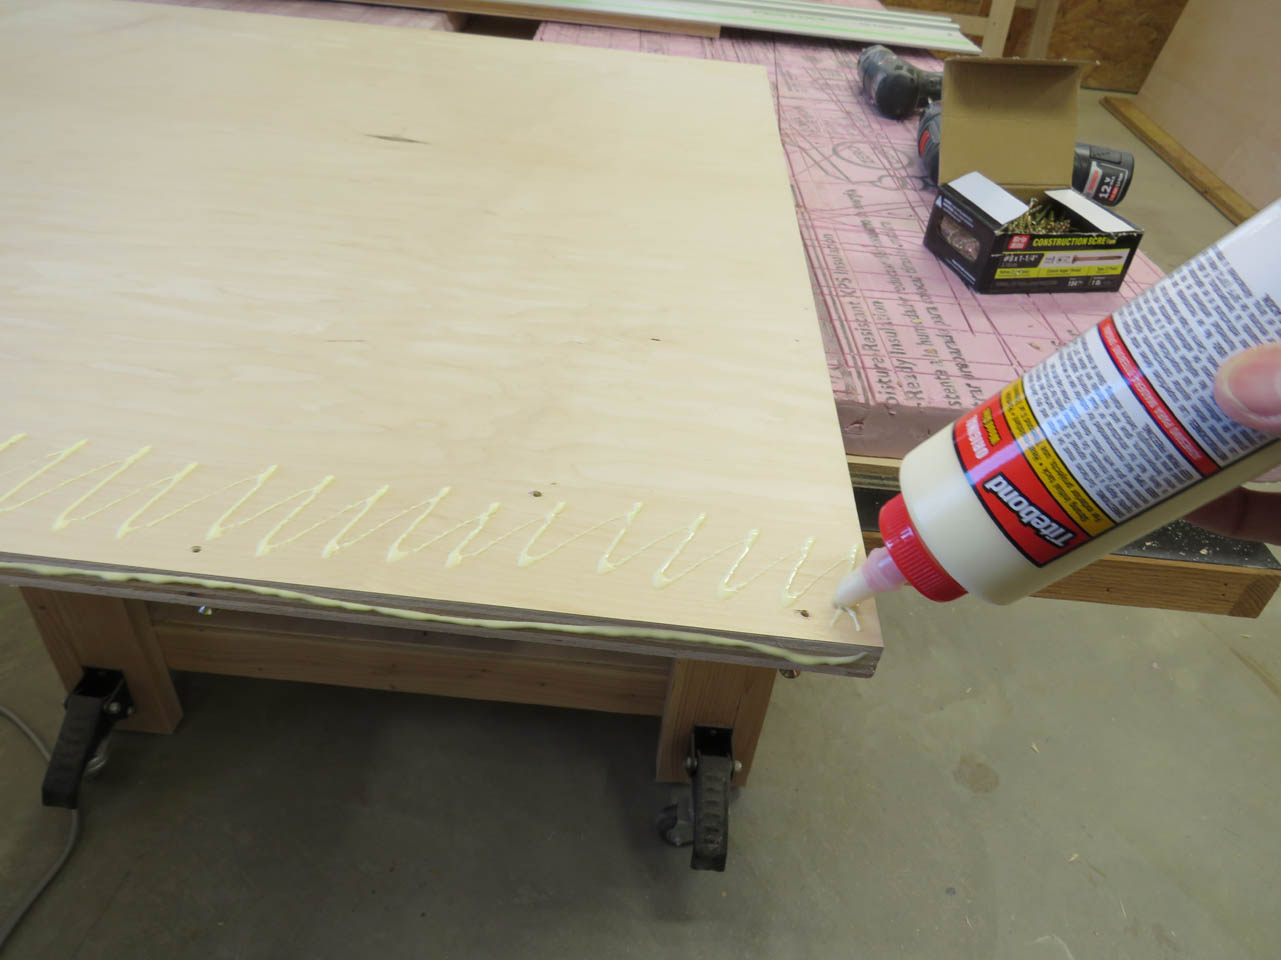
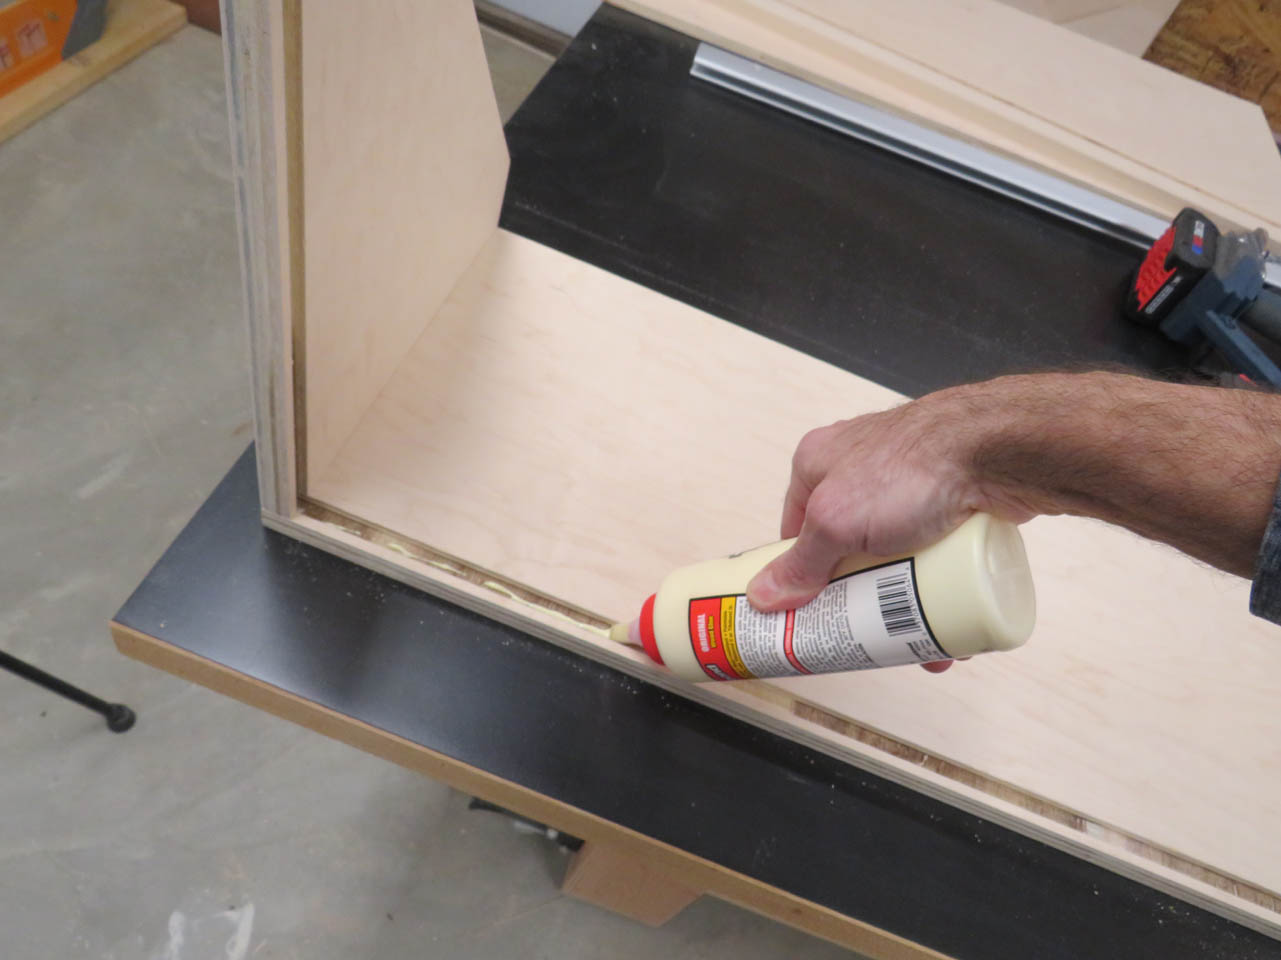
Next up, I cut some 1″x3″ poplar strips that get glued and screwed to the bottom for the slides to attach to. Poplar is softer than maple and will reduce the risk of snapping off screws when installing the big slides.
I clamped a 3/4″ spacer to the end of the bottom board, then set the poplar board next to it. This got glued and screwed in place from the bottom.
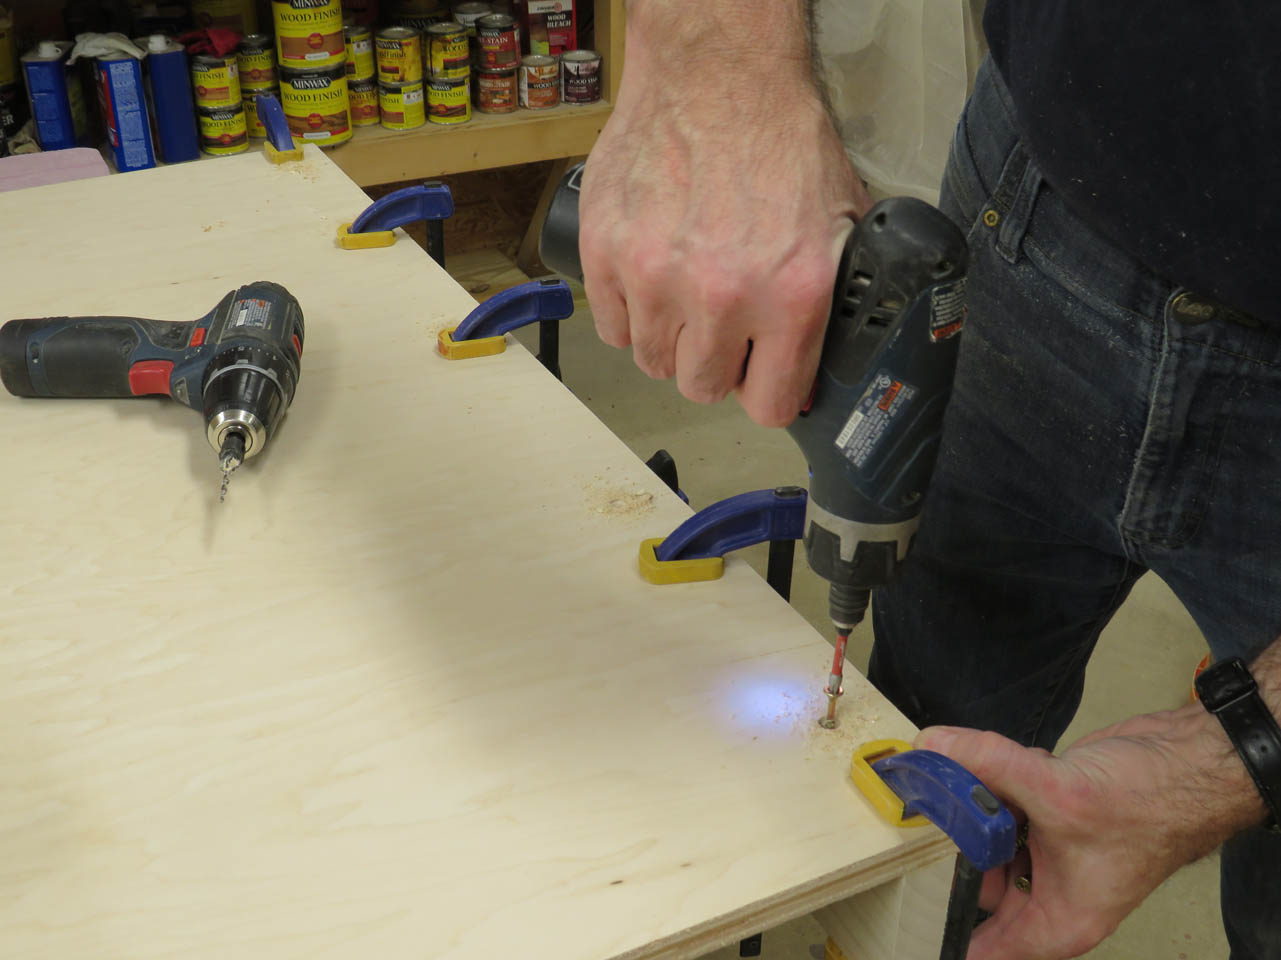
I calculated the width of my drawer slides plus the width of my drawers (plus a little under 1/16″ clearance) and cut a piece of plywood to that width.

This board was used as a spacer for the next two pieces of poplar so the drawer spacing would be exactly the same and parallel as well. These drawers are 36″ long, any variation that is not parallel will cause the drawers to bind.
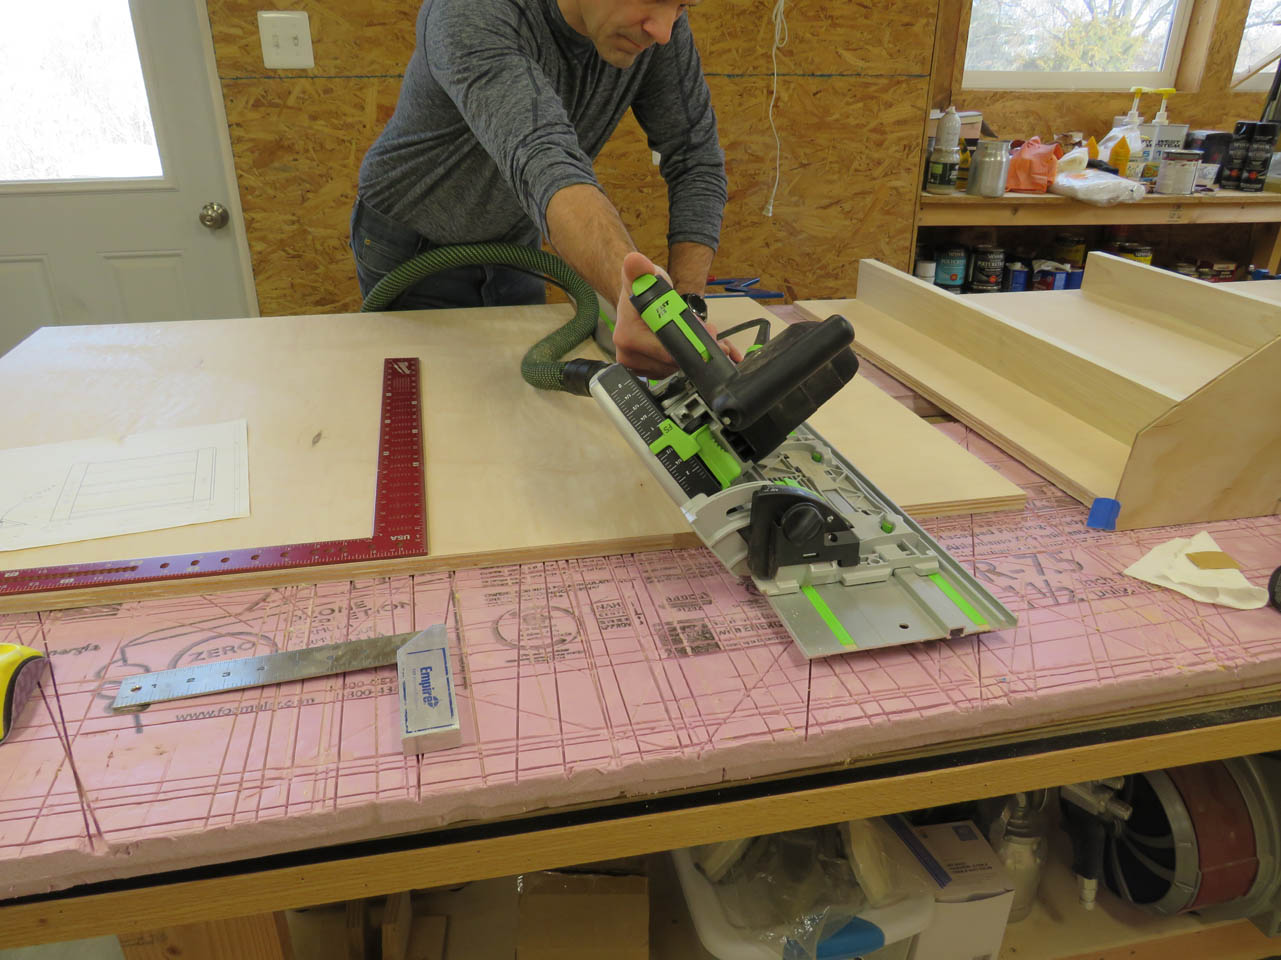
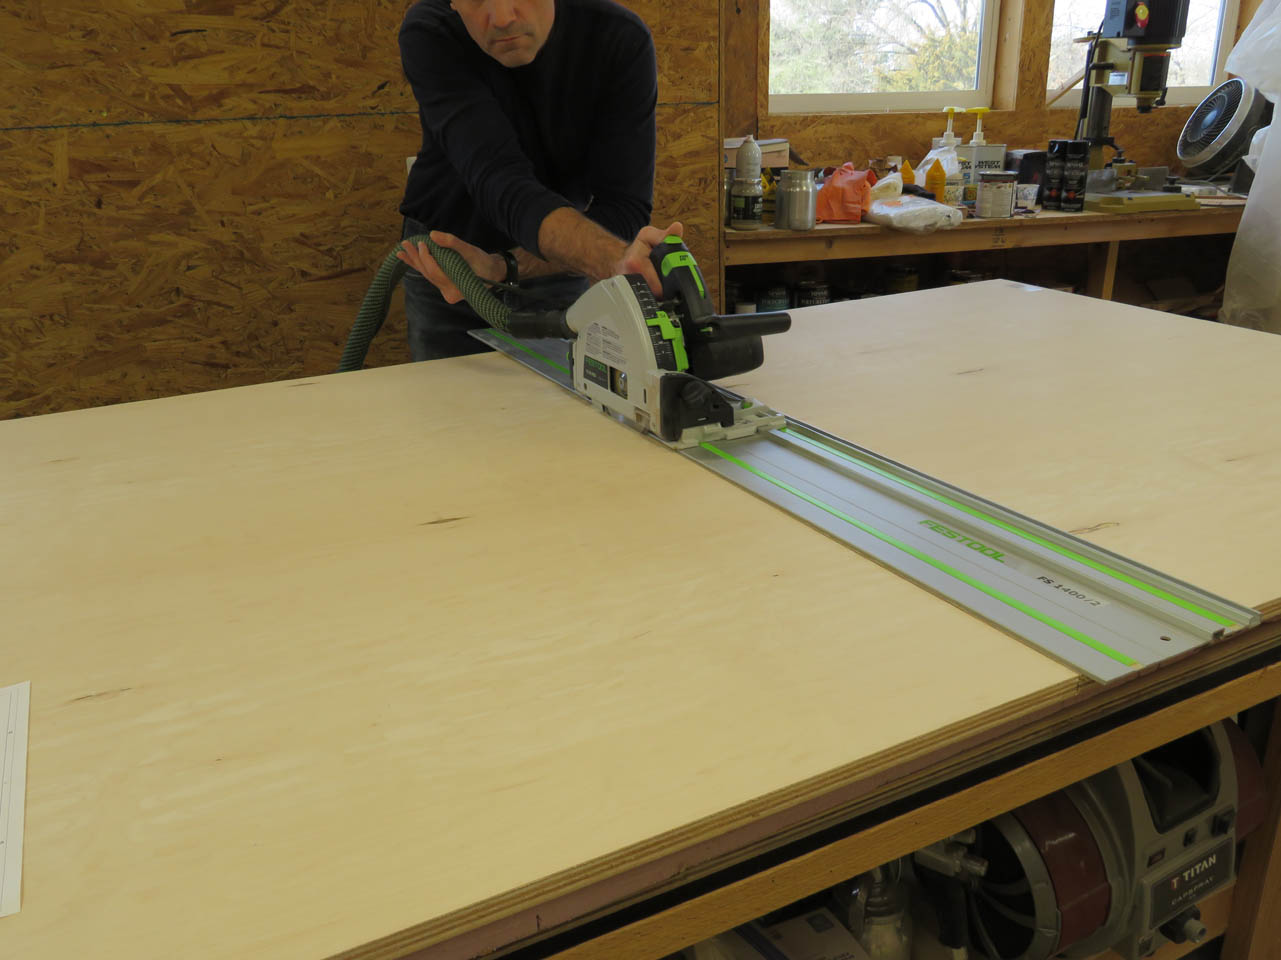
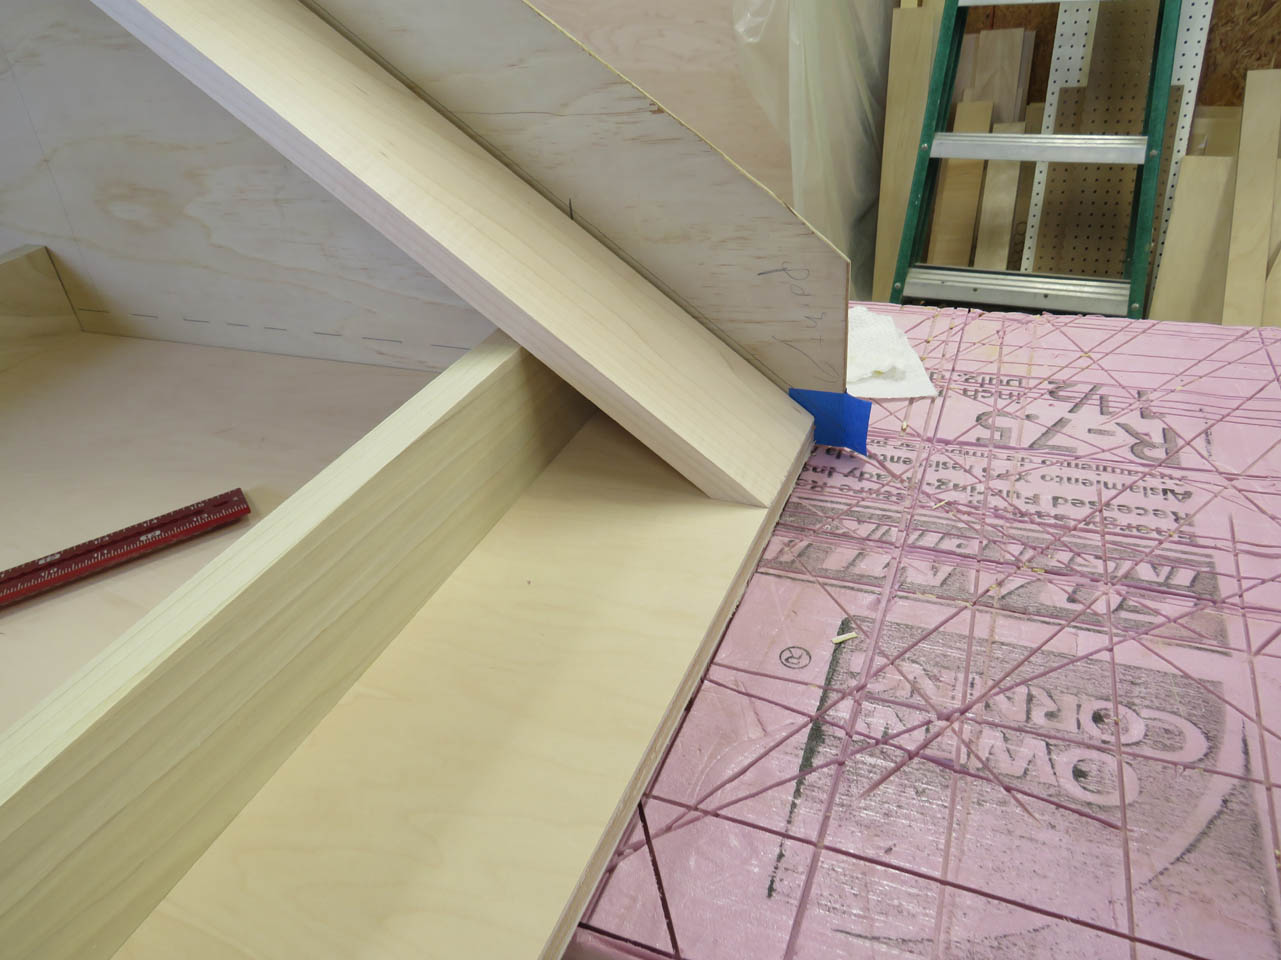
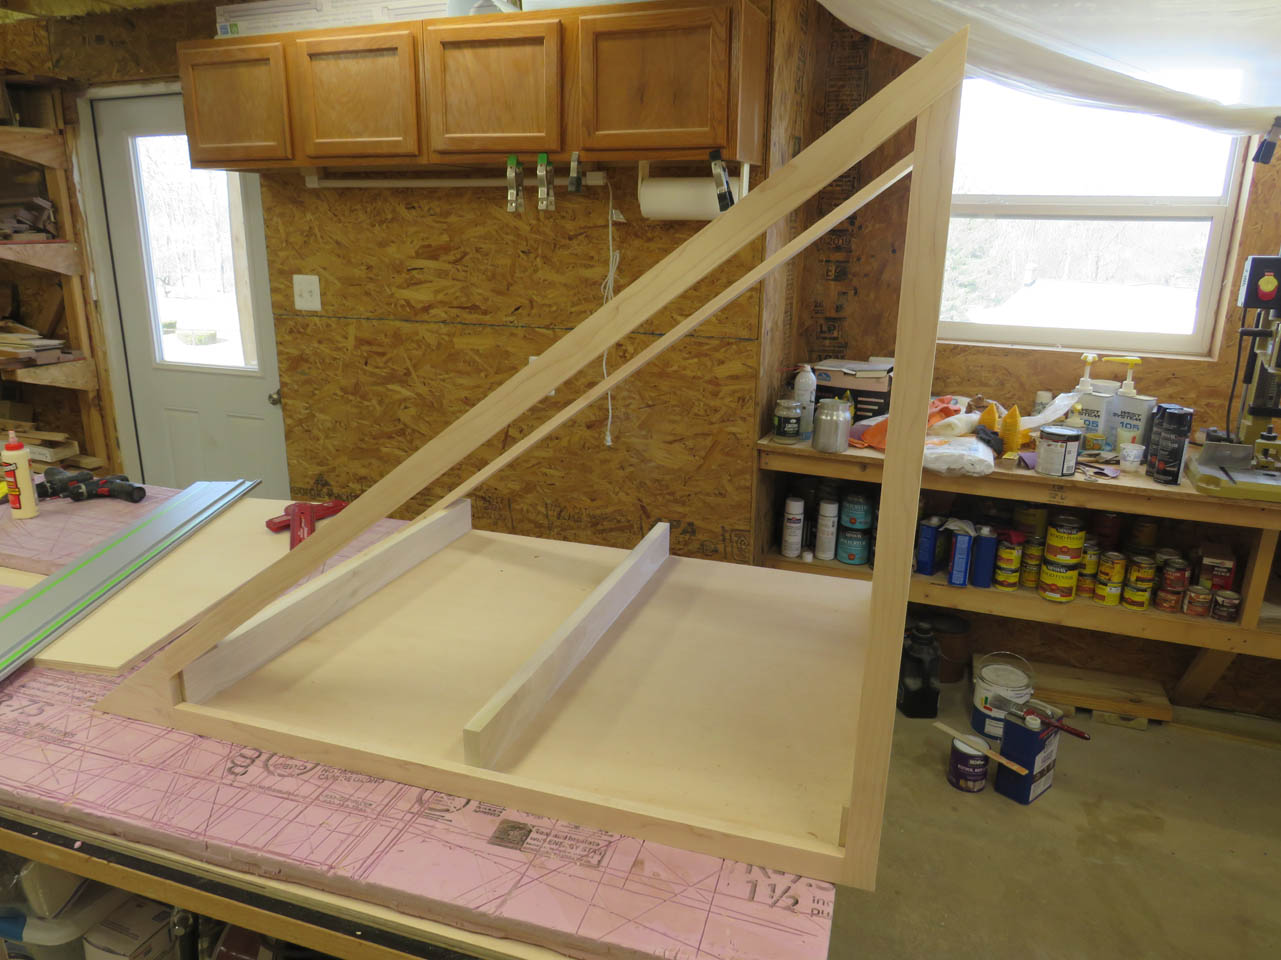
Before mounting the side wall, I cut an angle along the top with my track saw.

This will give me the exact angle that my gusset brackets will need to sit.
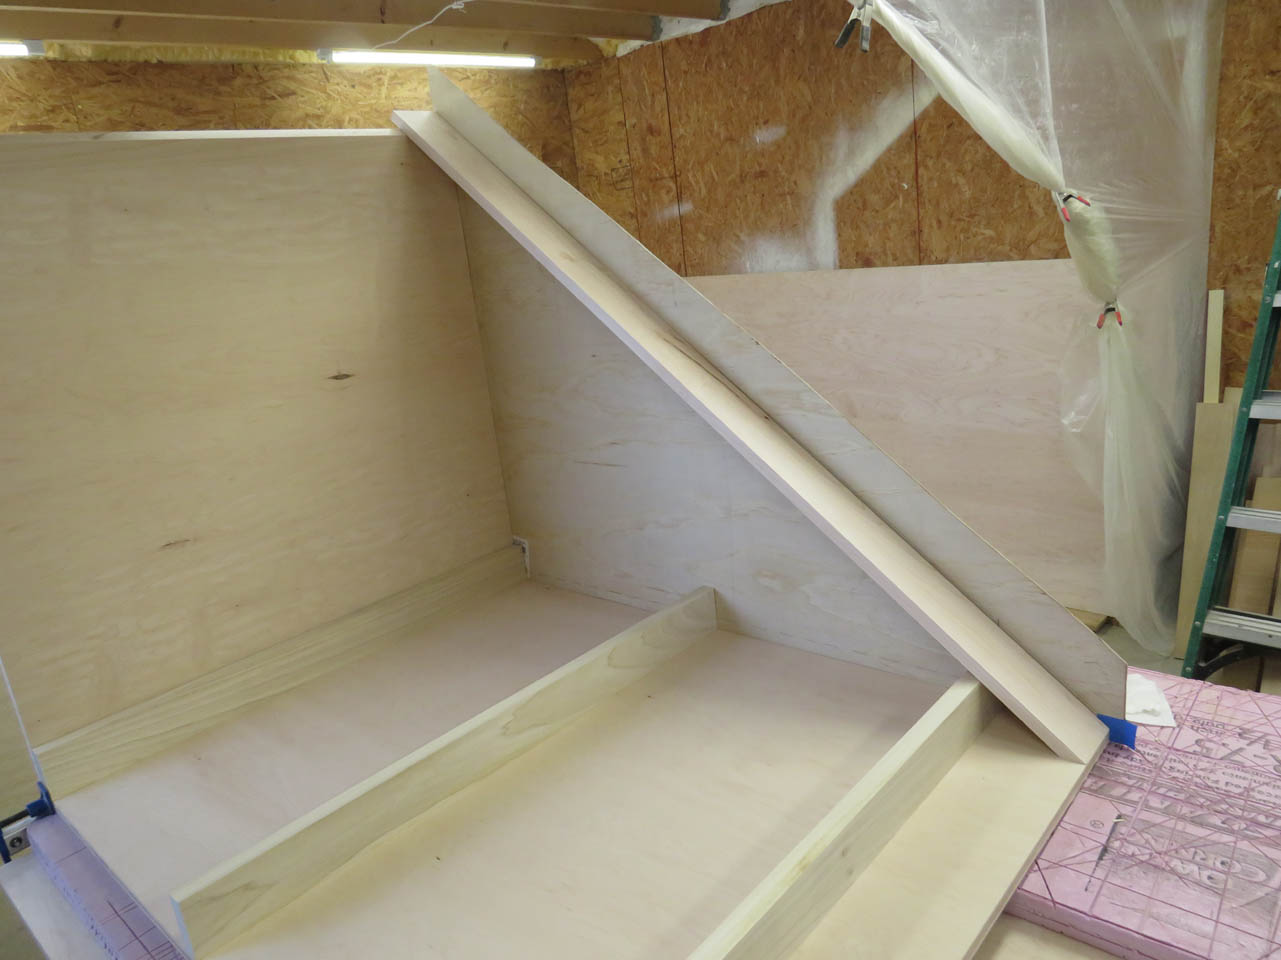
Those will be used to hold the entire triangle rigid. I am using a 4″ wide strip of solid 3/4″ maple on the front and back instead of another piece of plywood to lighten the structure and give me access to install drawers later.

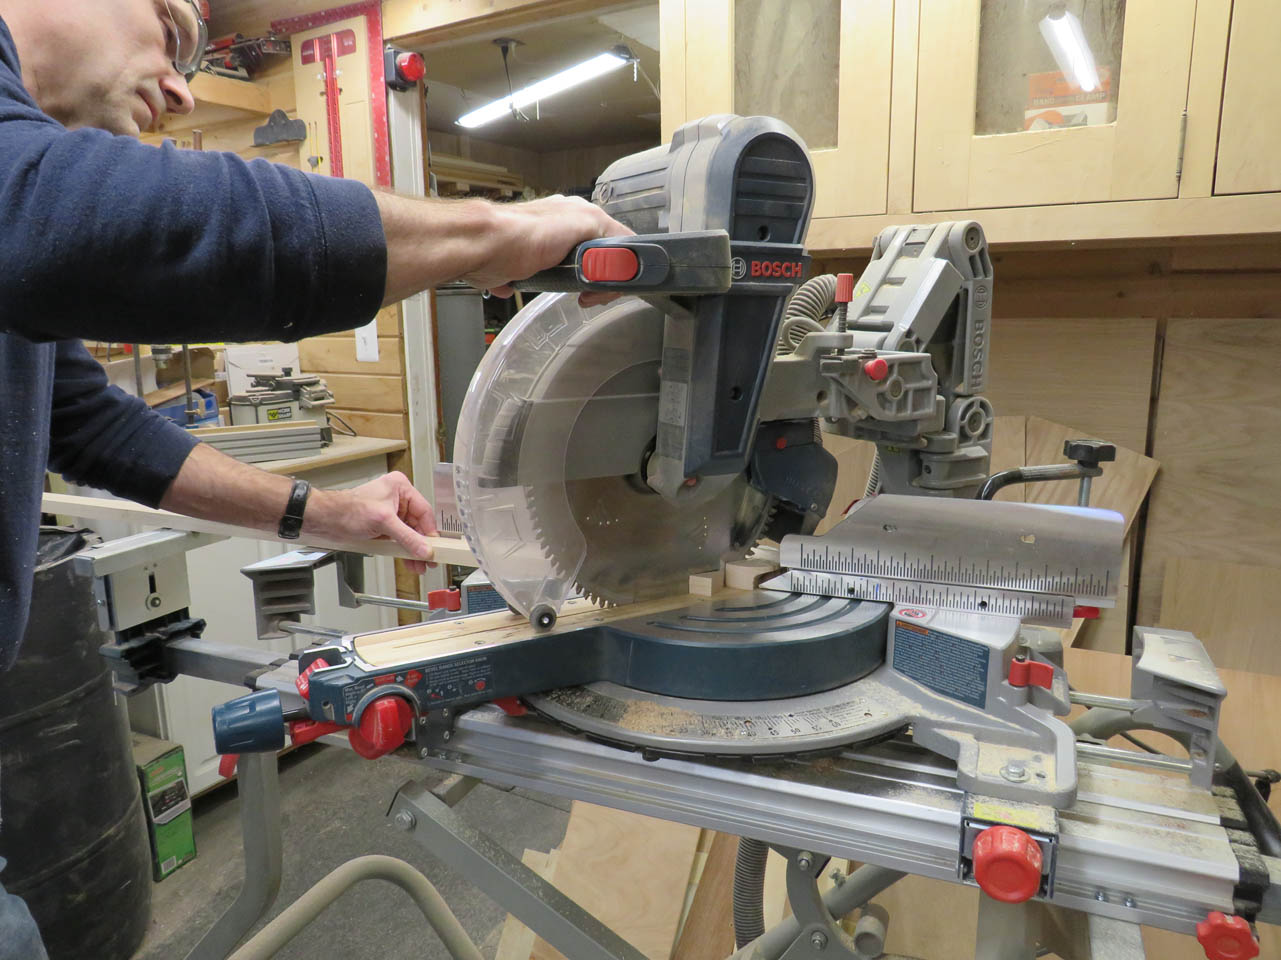
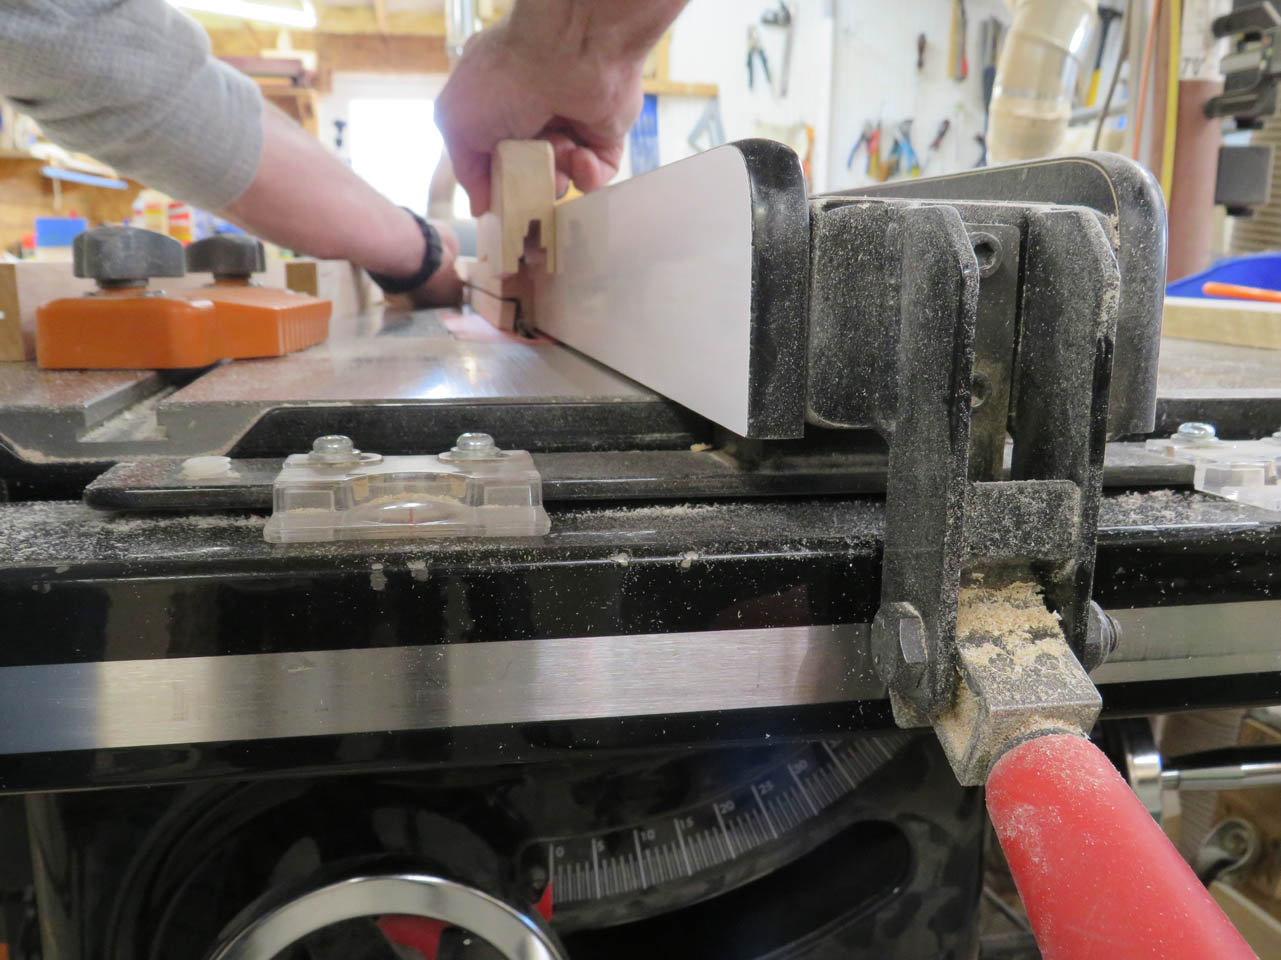
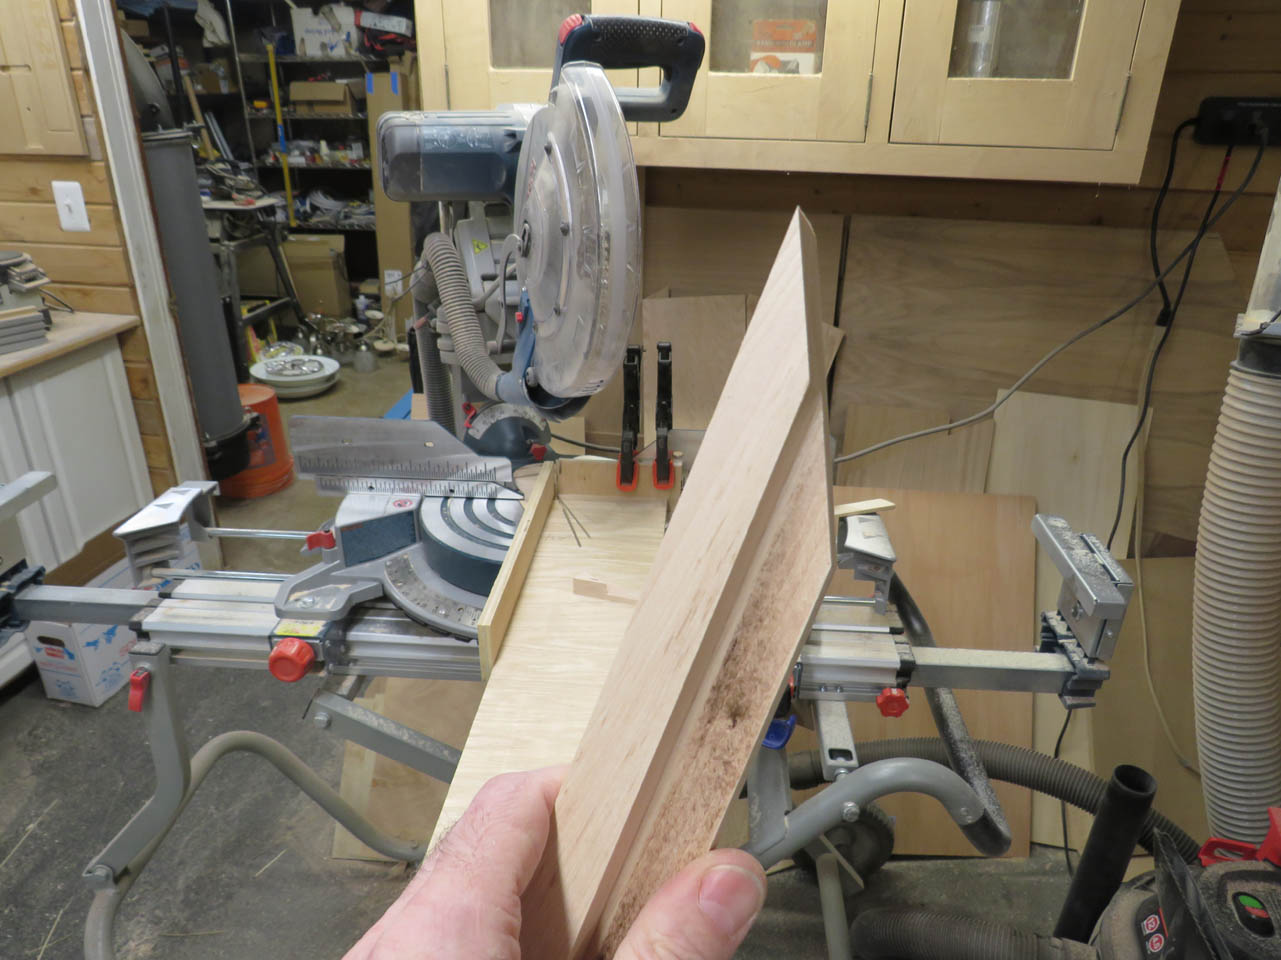
I had to create an alternate fence for my miter saw to cut the acute angle required for the gusset ends.


I clamped and supported the stock while cutting.

It worked remarkably well and I was able to locate the gusset to mark the length on the opposite end.
Everything was dry-fit then assembled with glue and screws.
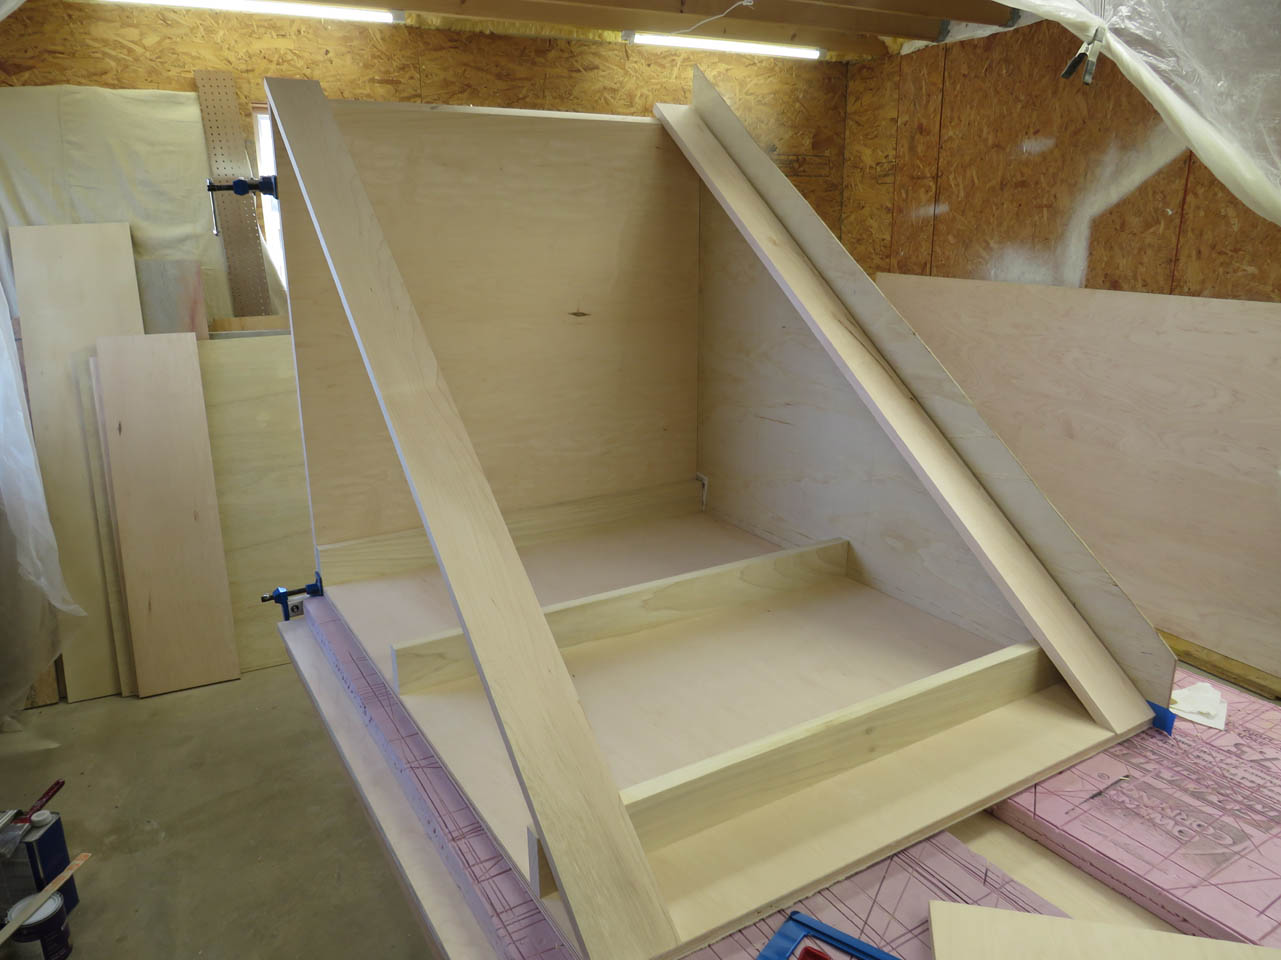

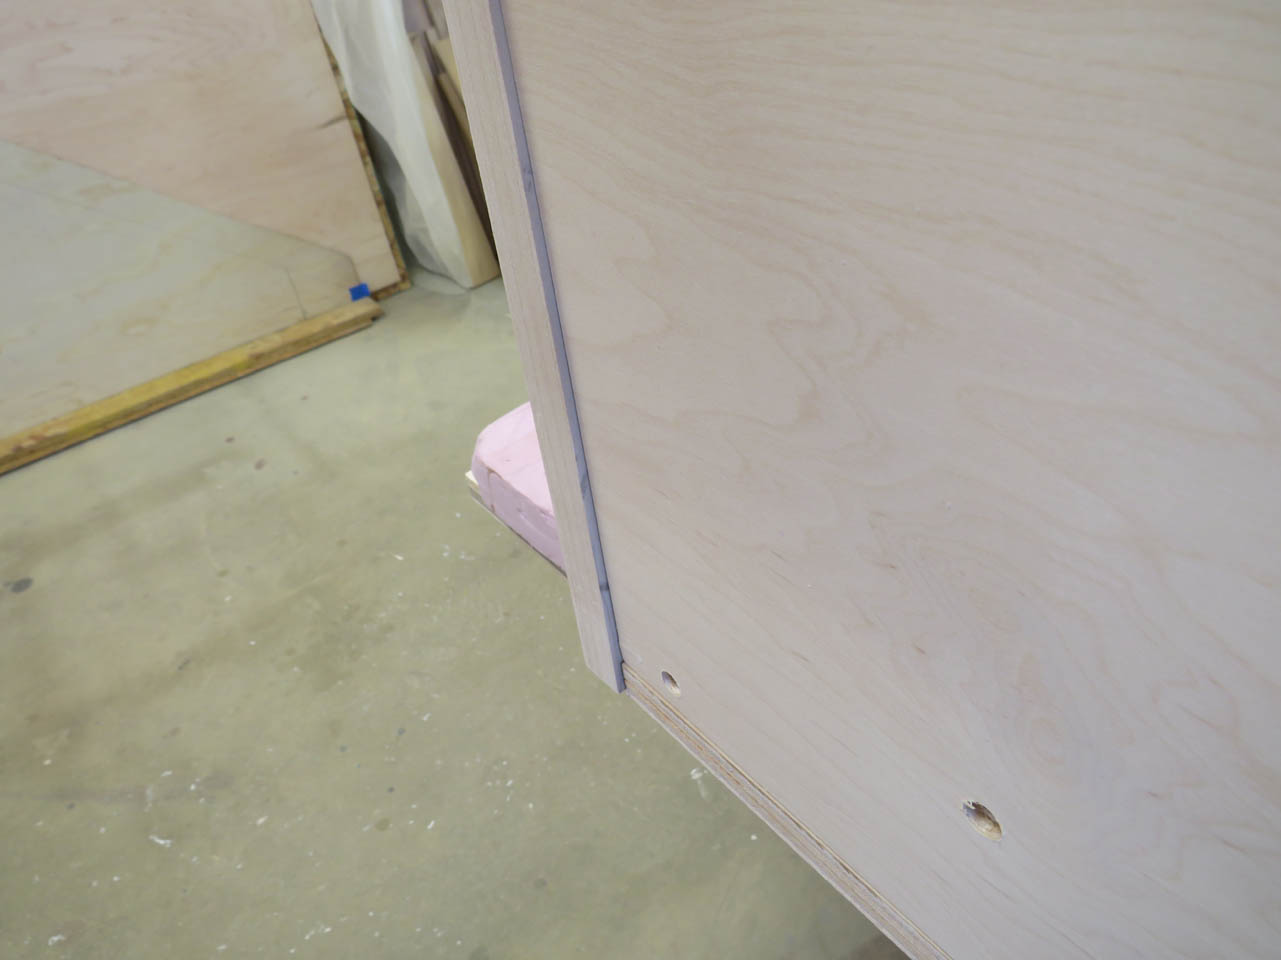
The side panel was counter-sunk so that it could be screwed to the poplar bracket.

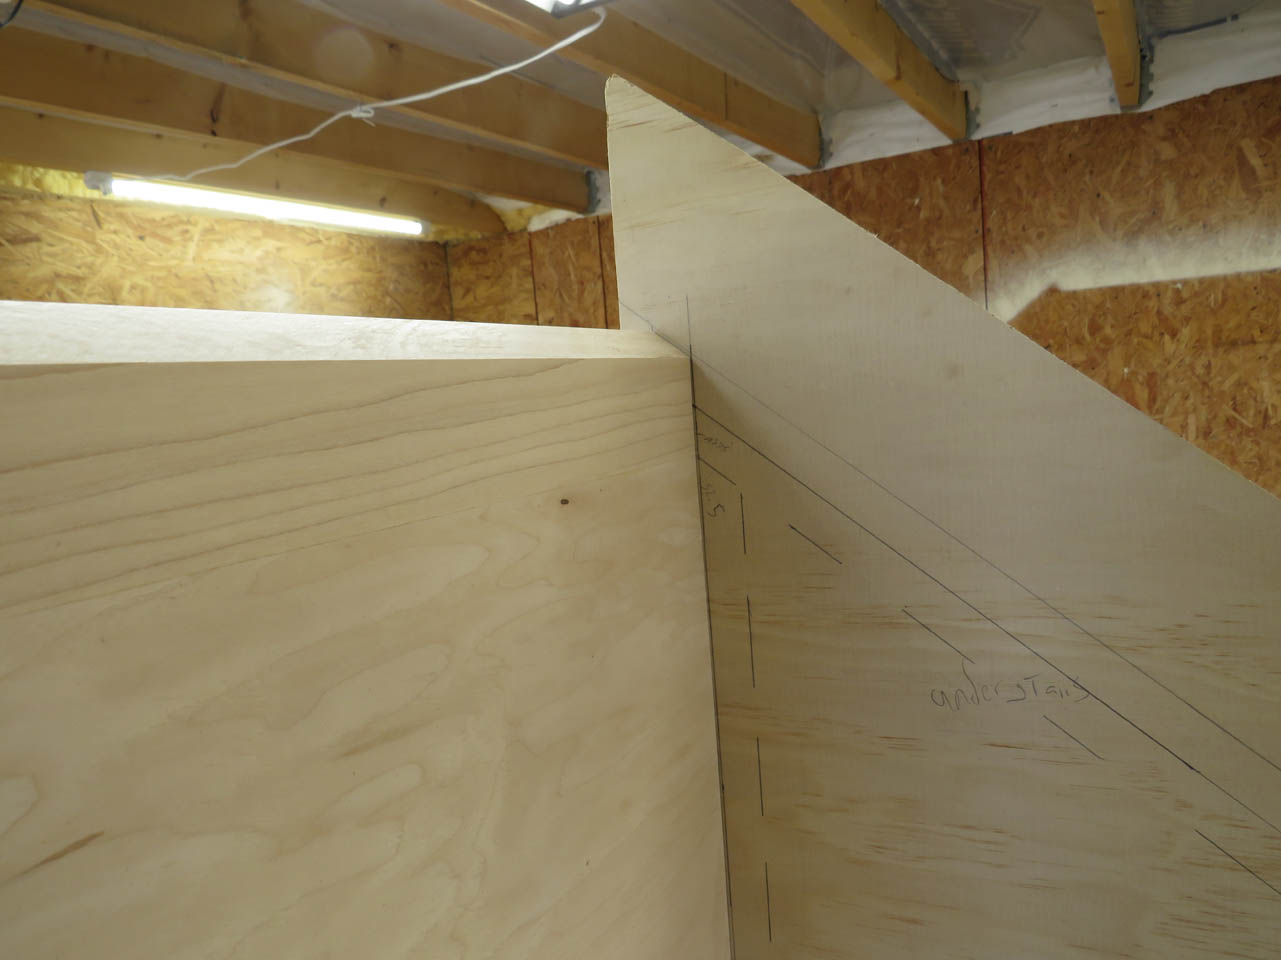
Time to attach the face frame.
I built the cassette to be slightly smaller than the face frame so that the face frame would be the tightest part at installation.
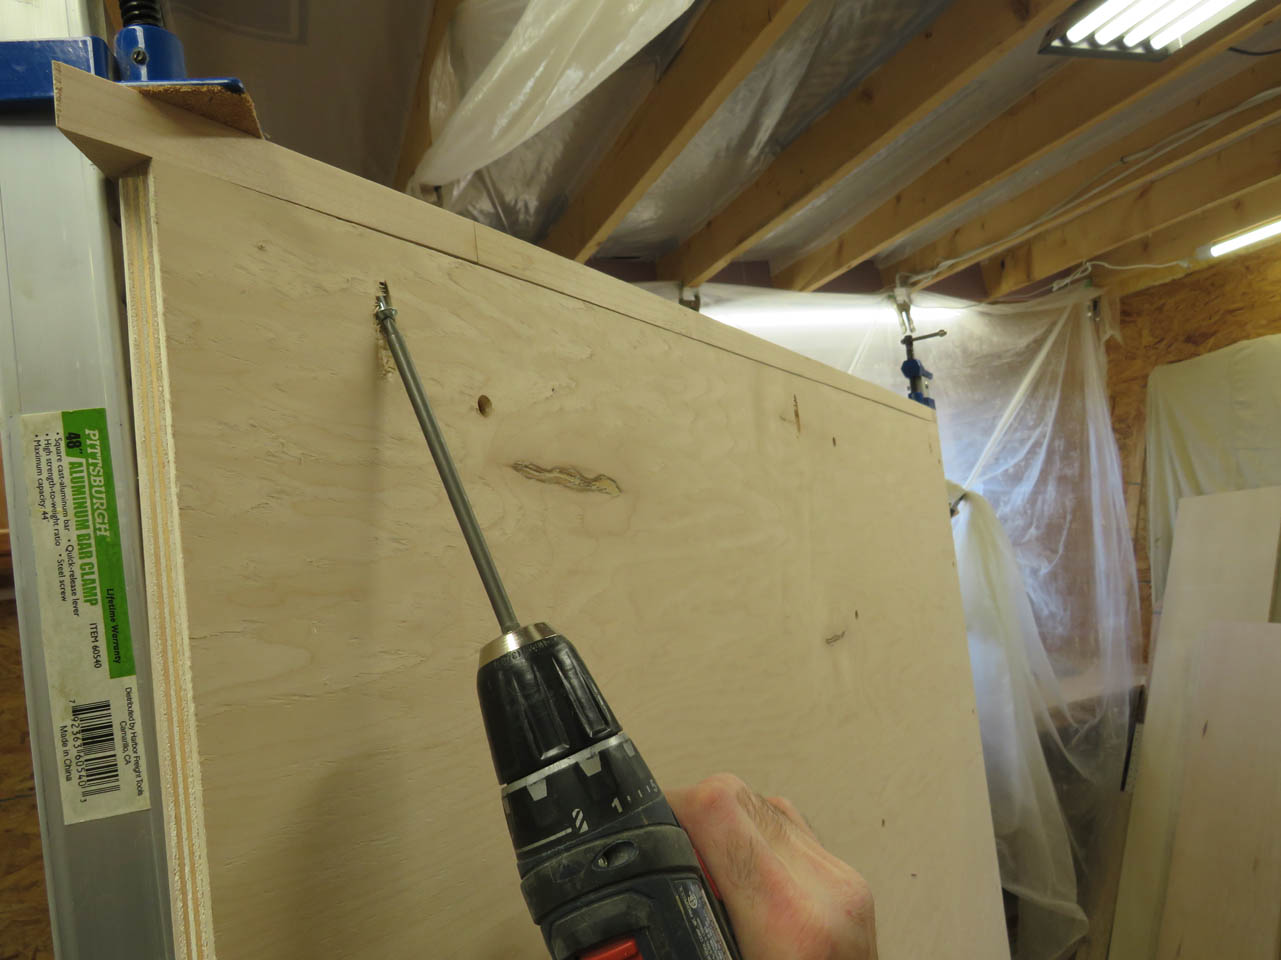
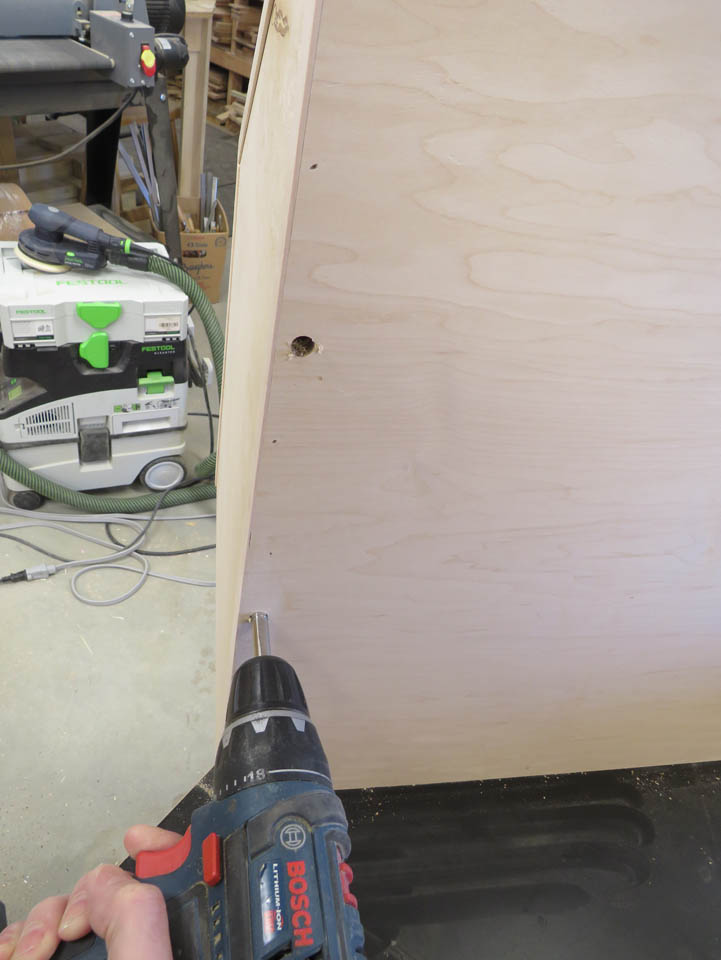
I drilled pocket hole screw holes in the wall, base, and front gusset to attach the frame, holding the cassette about 1/16″ from the edge of the face frame.
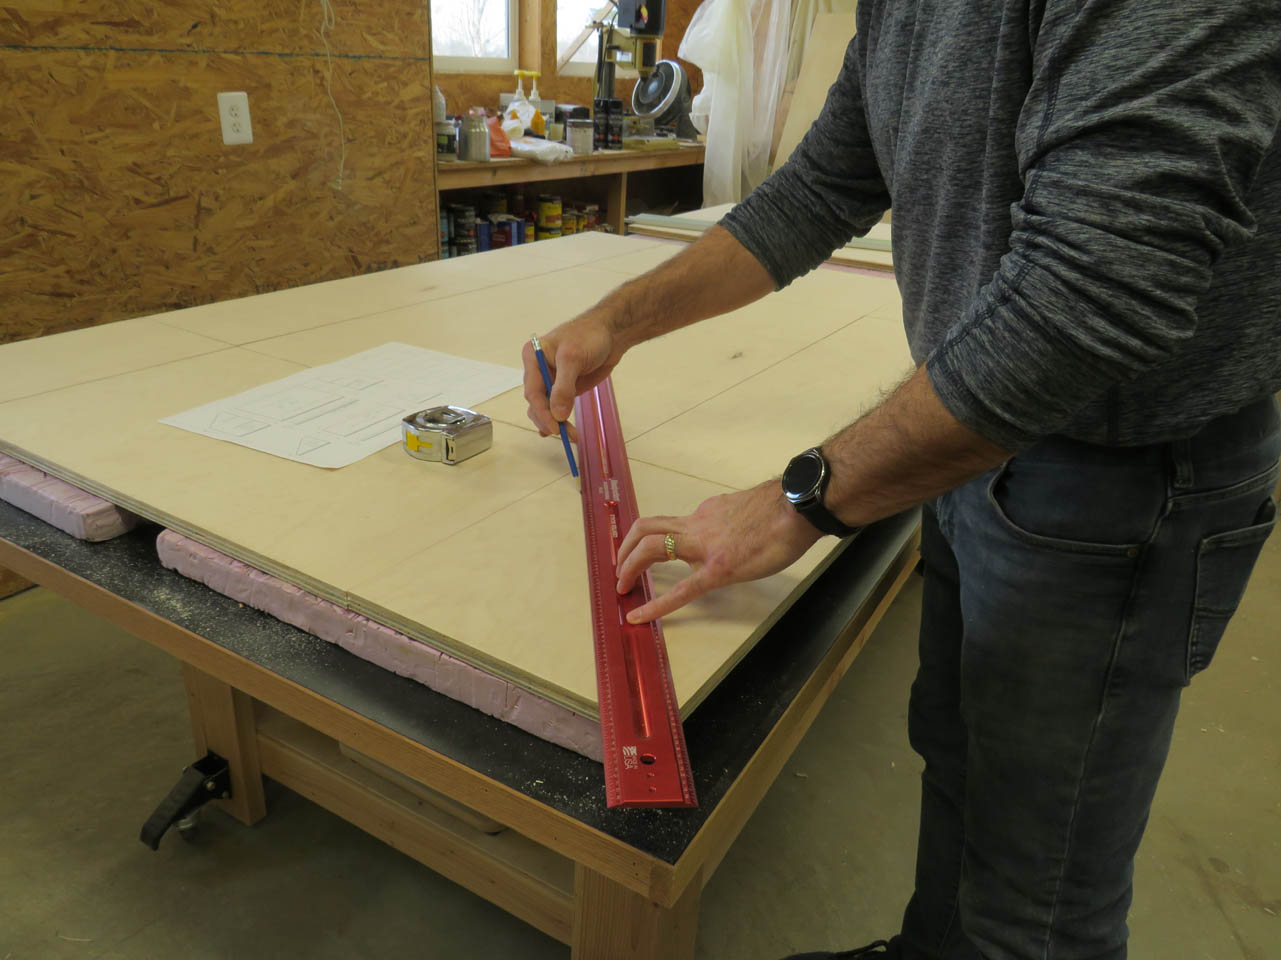
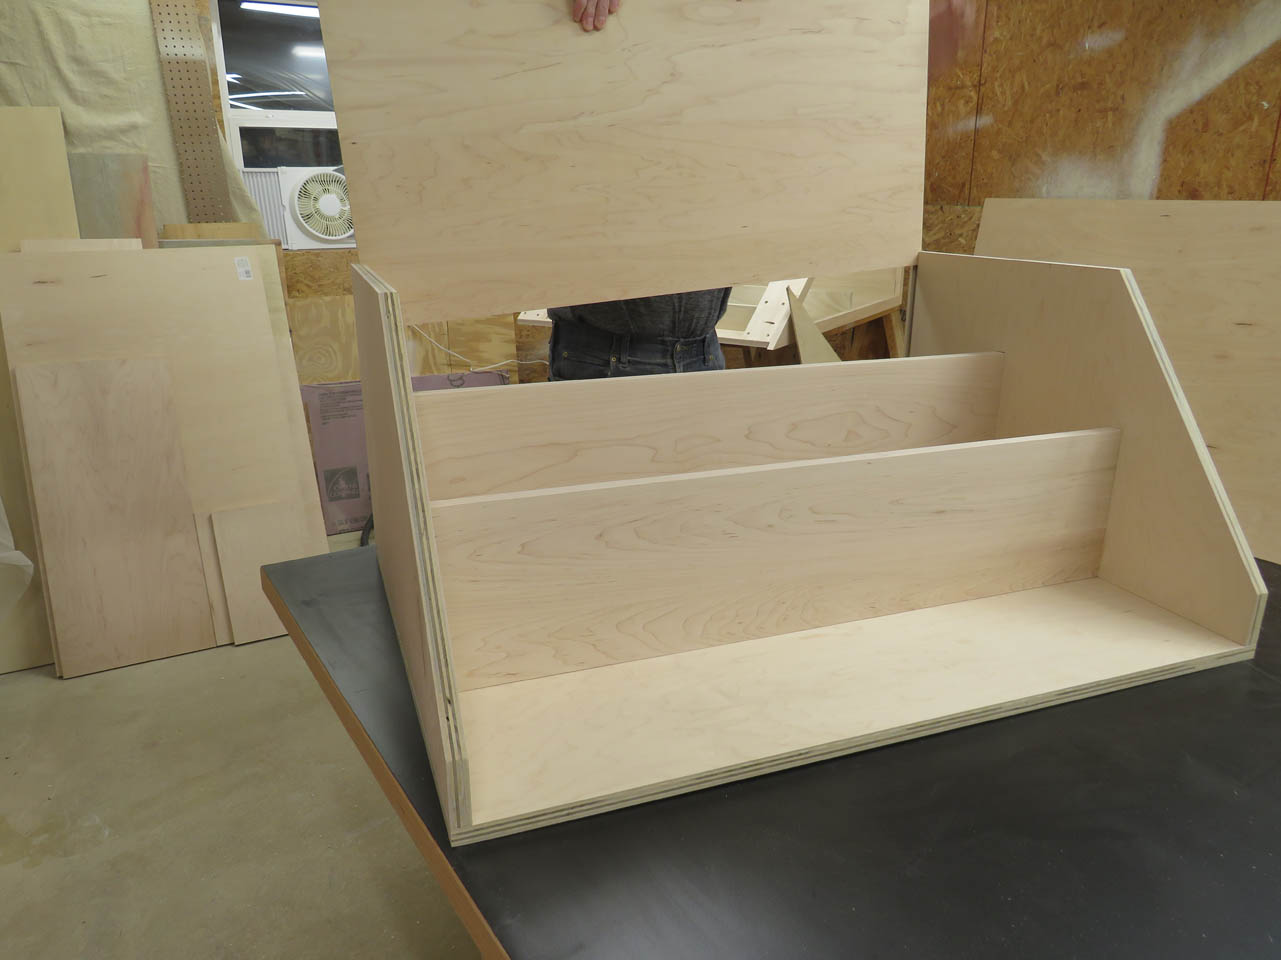
The cassette is done for now so I laid out the sides and back of the drawers on another piece of 3/4″ plywood and started cutting them out with my track saw.


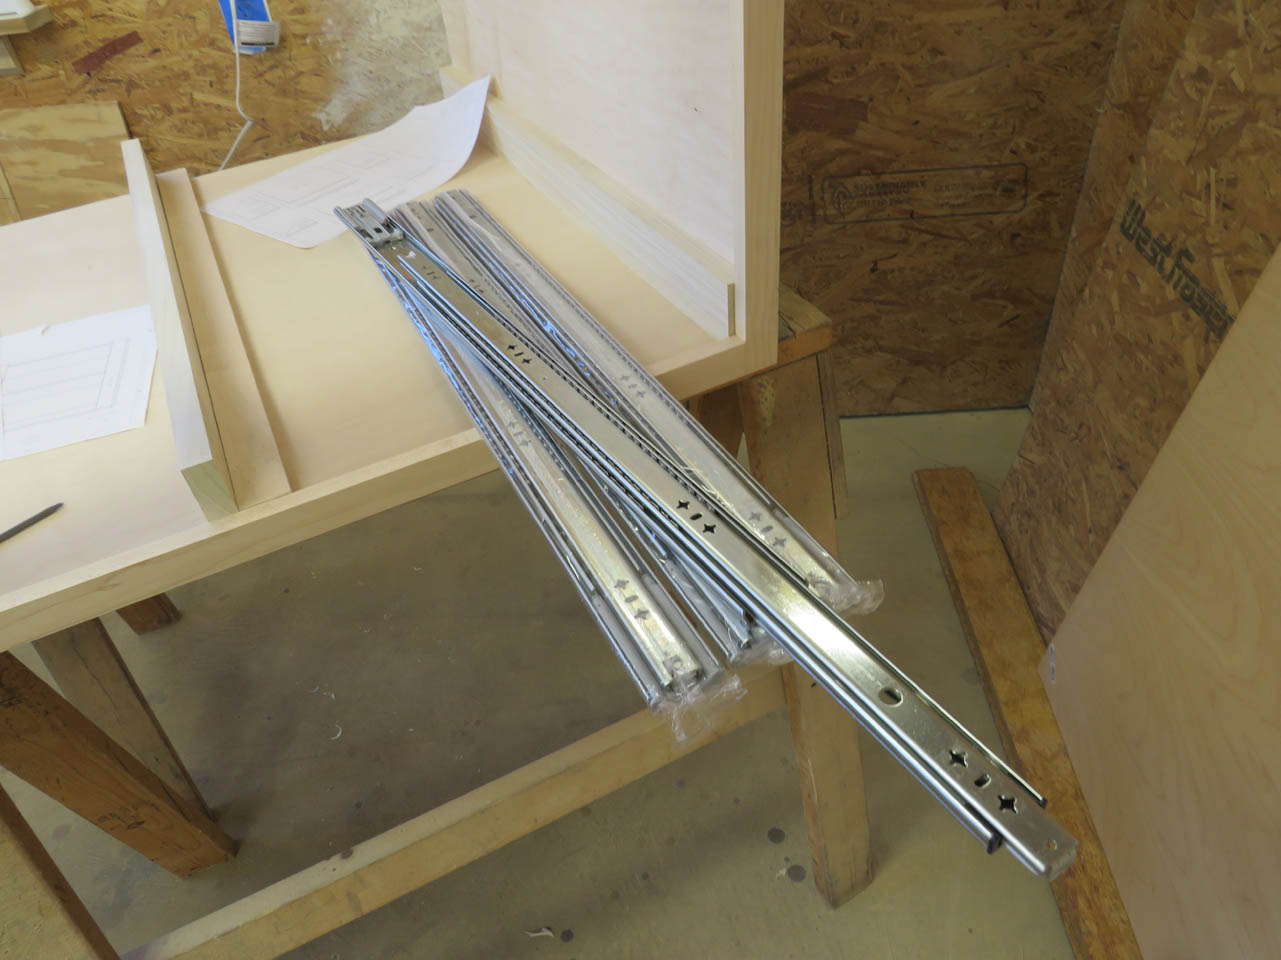
These will be heavy drawers and I don’t know what they will be holding so I bought drawer slides that can hold 150 pounds. With that in mind, I am making the drawer bottoms out of 1/2″ maple plywood.
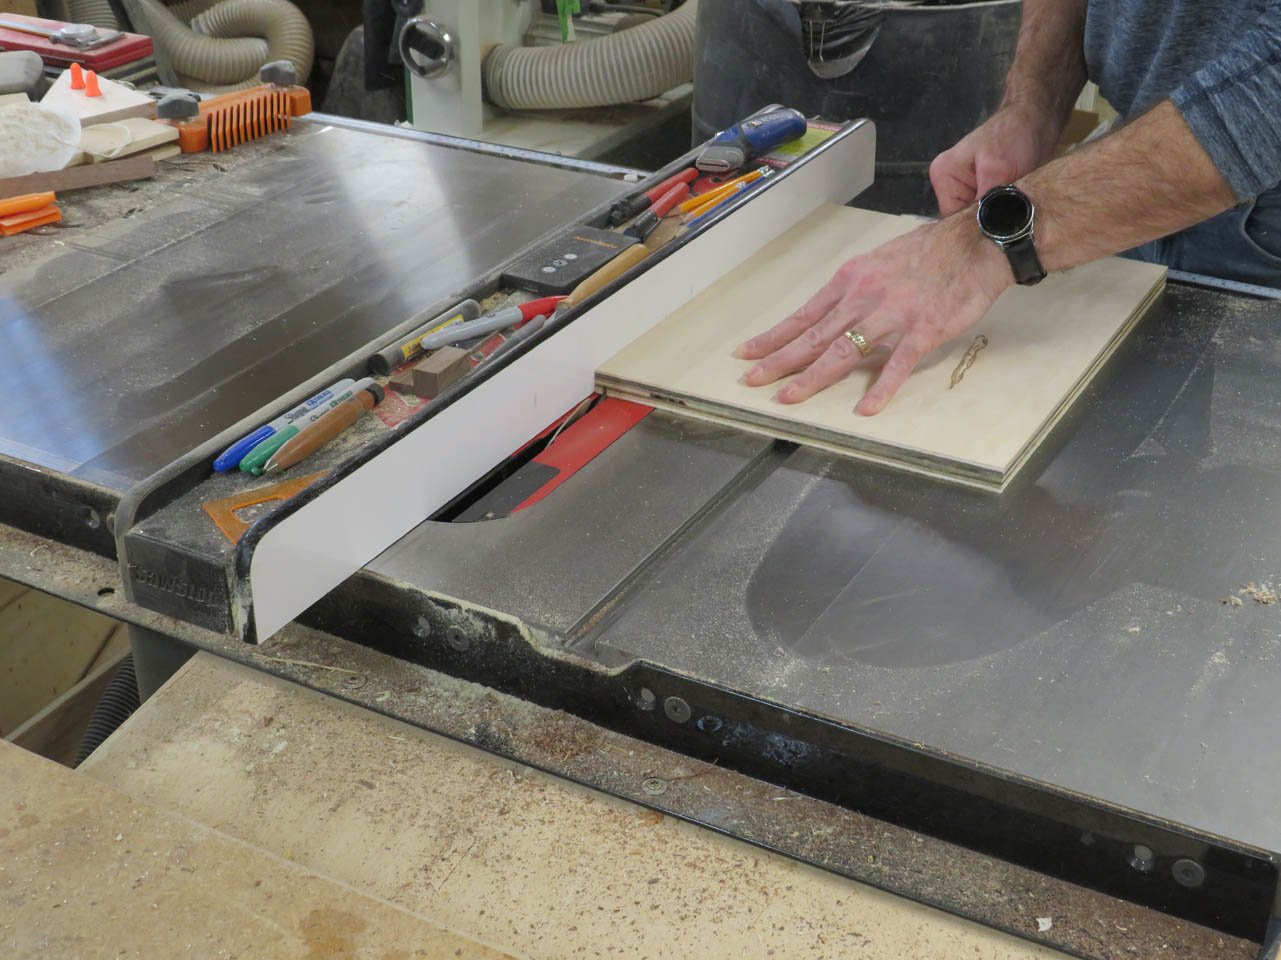
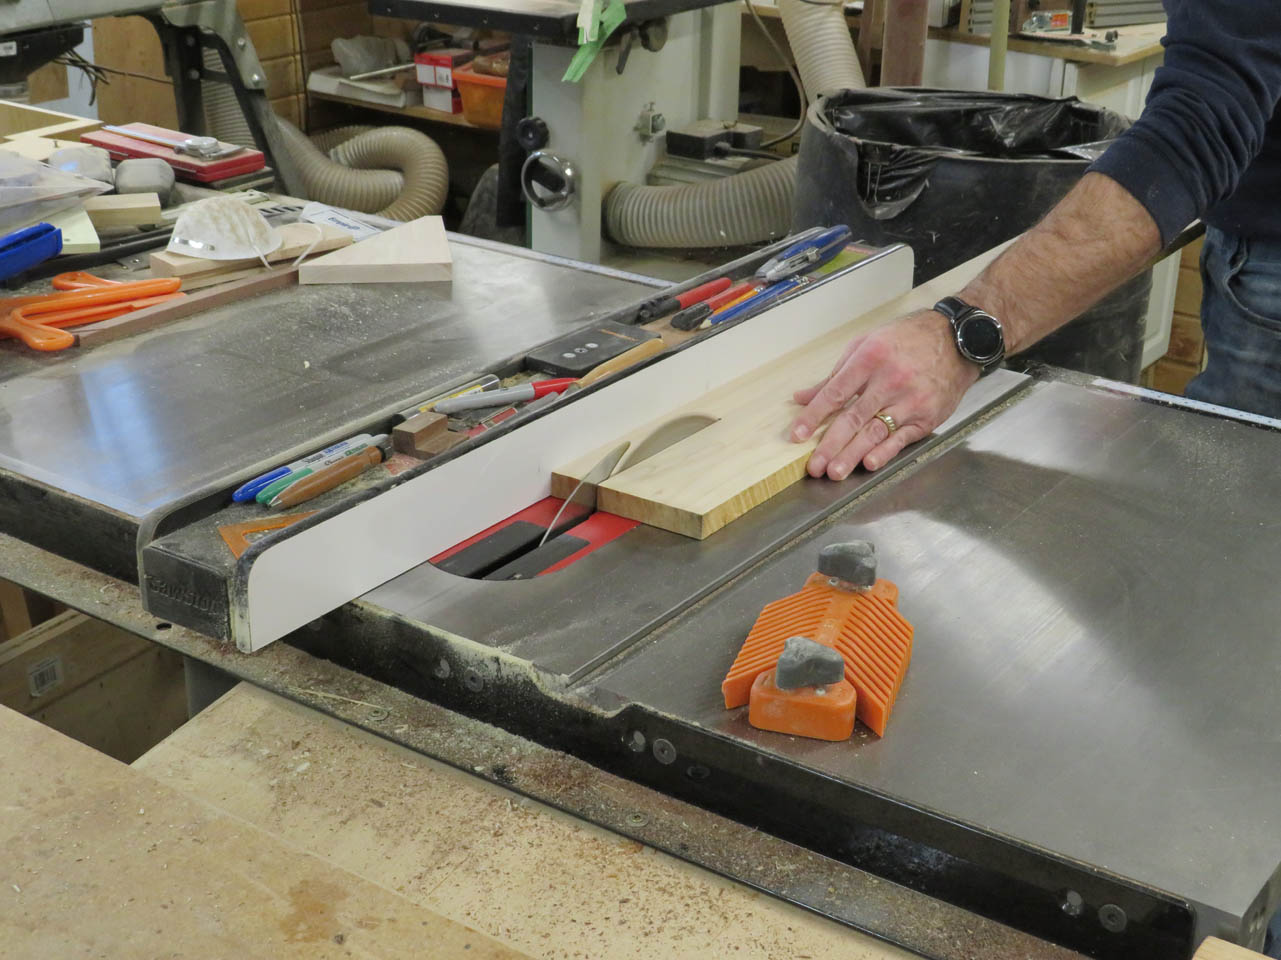
I use my table saw to create 1/2″ wide dados at the bottom of each side of the drawer to receive the plywood bottom.

After I worked out the exact width, I repeated the cut on all of the drawer sides.

The front and back of each drawer is angled, but I left the plywood rectangular so that my dado cuts would be safer to make. After the dados were cut, I could use the track saw to cut away the rest.

The shorter, left side of the drawer was made from solid maple for added strength. Plywood is used everywhere else on the drawer to reduce the risk of expansion and contraction (especially in a basement). The smaller solid strip of maple is small enough that it poses little risk of expansion. Any expansion or contraction could risk binding the drawers down the road.

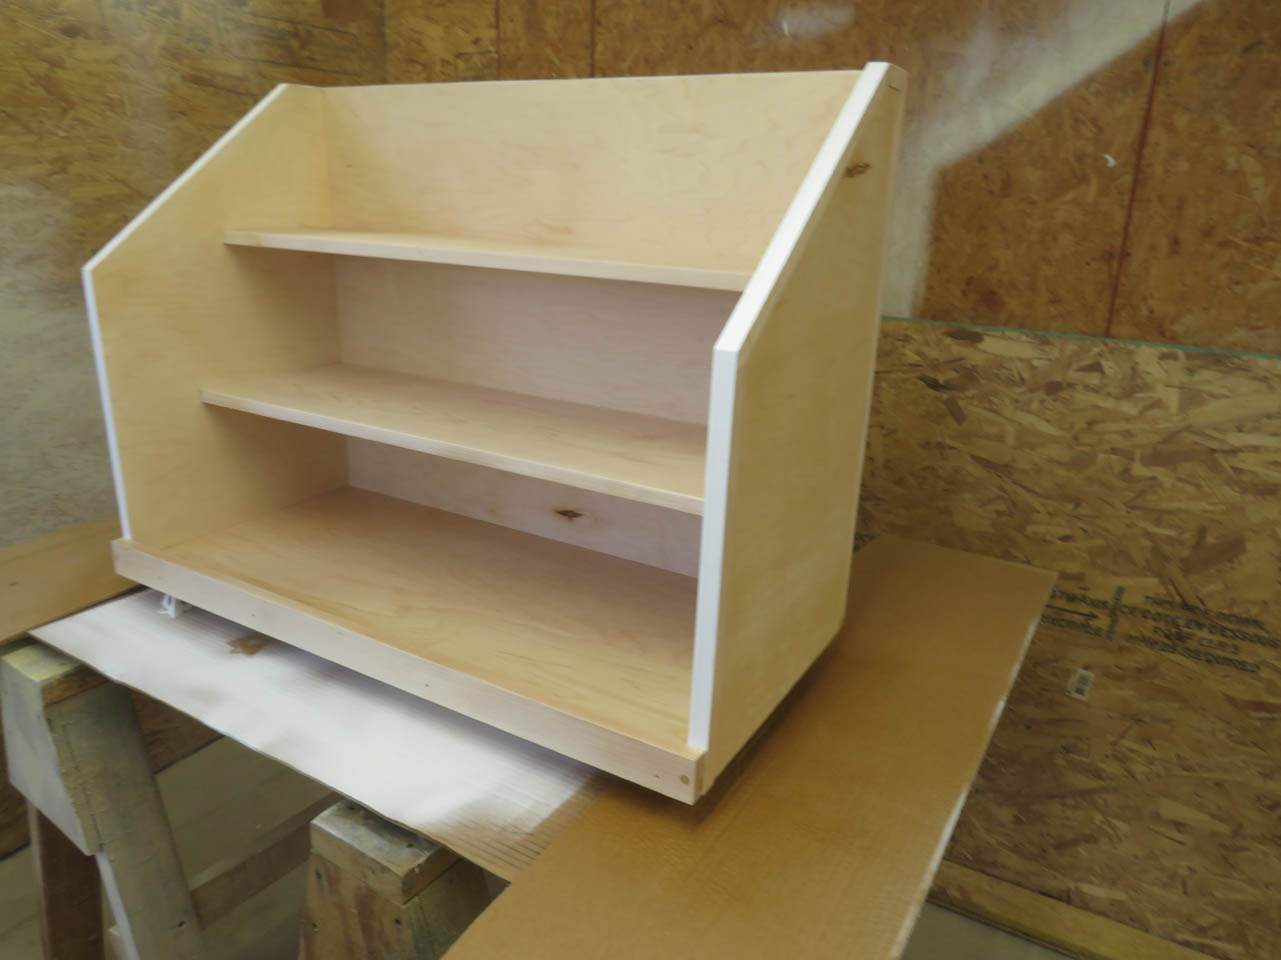
The larger drawer will contain shelves that will be solid maple for strength and durability, and should not pose any expansion problems that would affect the slides.
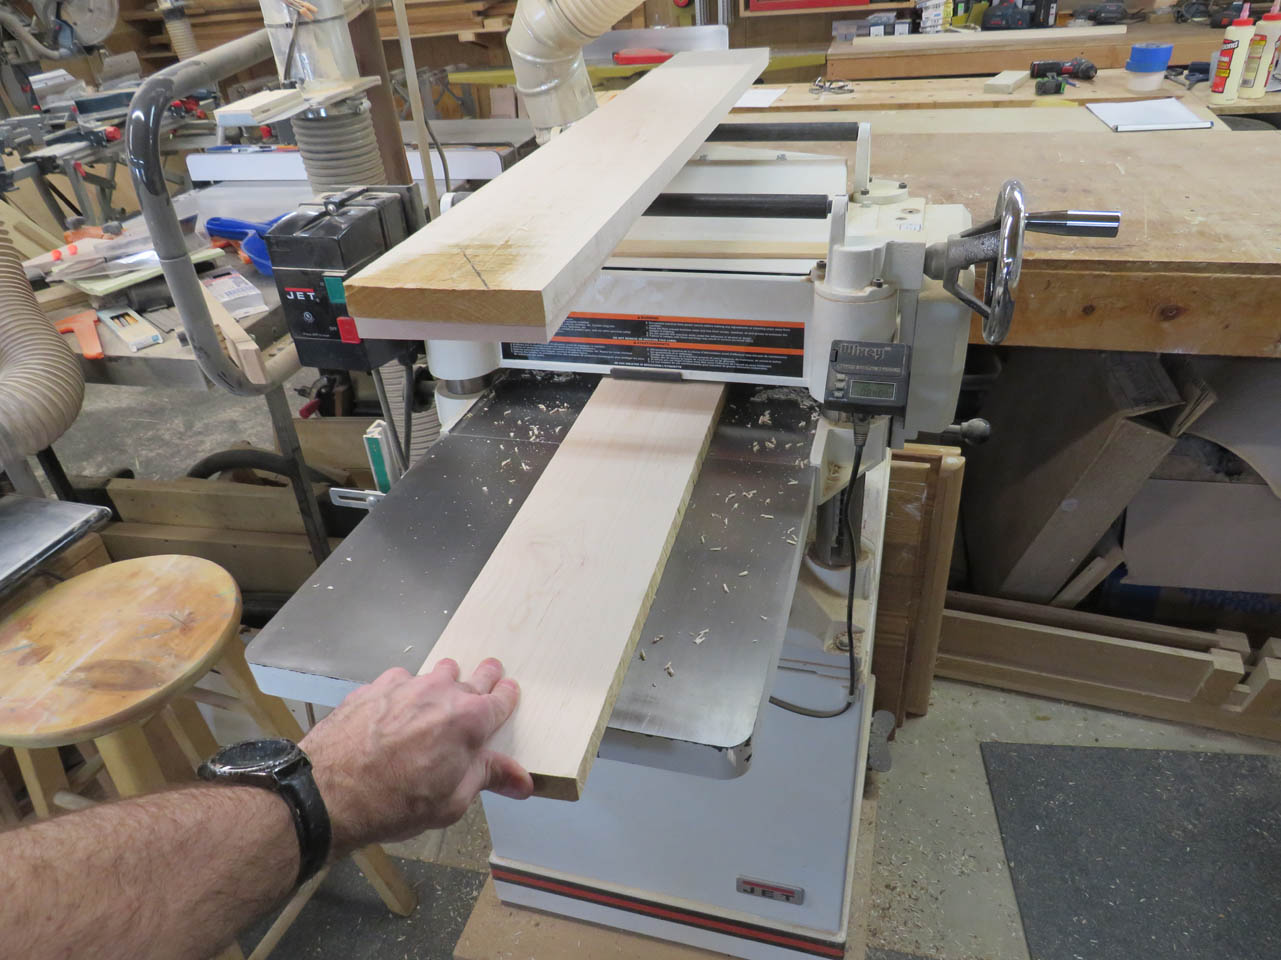
So I pulled another board and milled it down.

I cut them to rough length and joined up two boards to make the shelves.
They were glued up, cut down, and sanded.


These will require stopped dados since they do not run the full width of the drawers. I will cut them with a router and a jig.
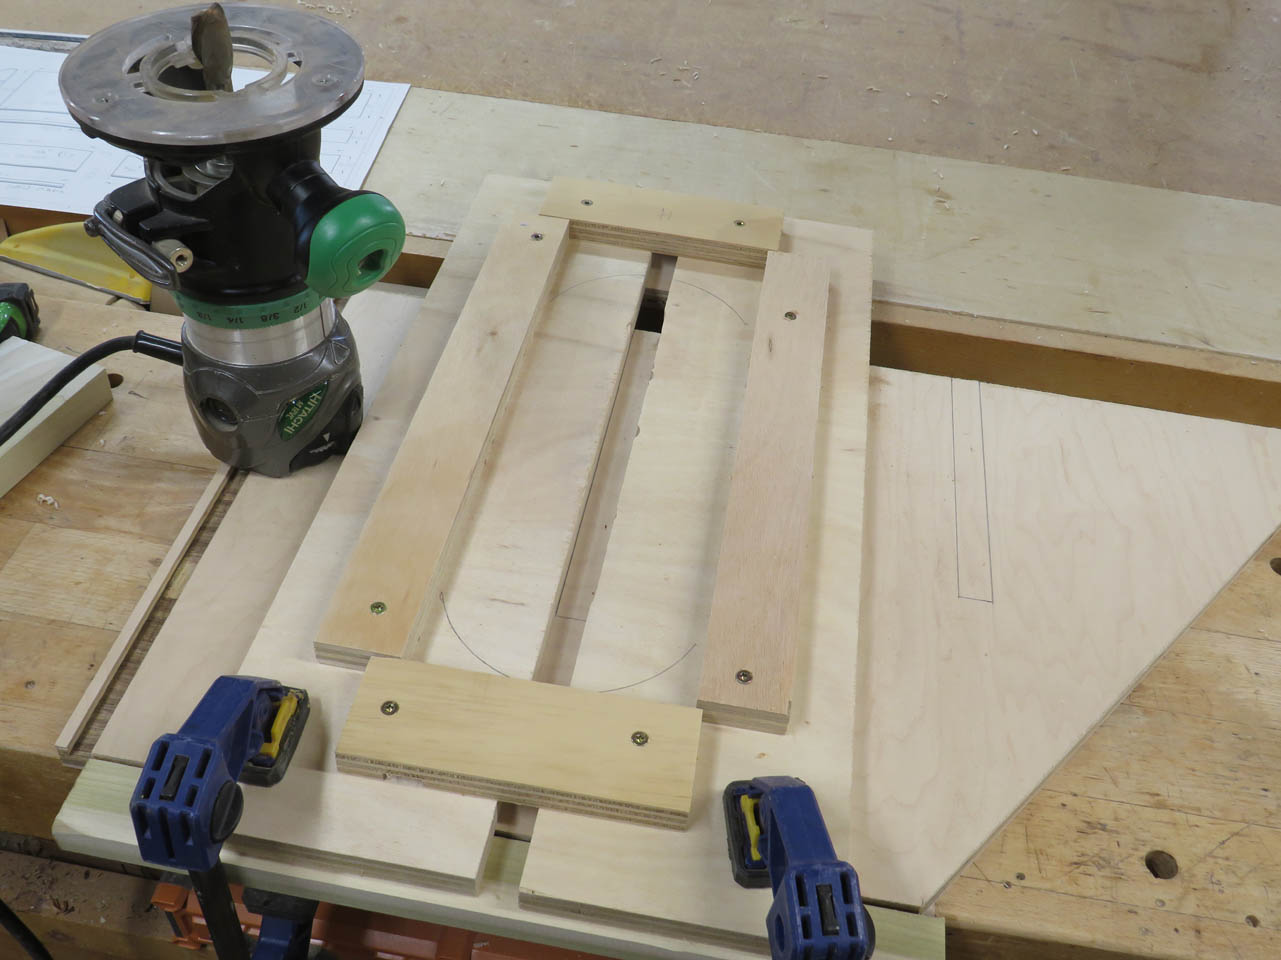
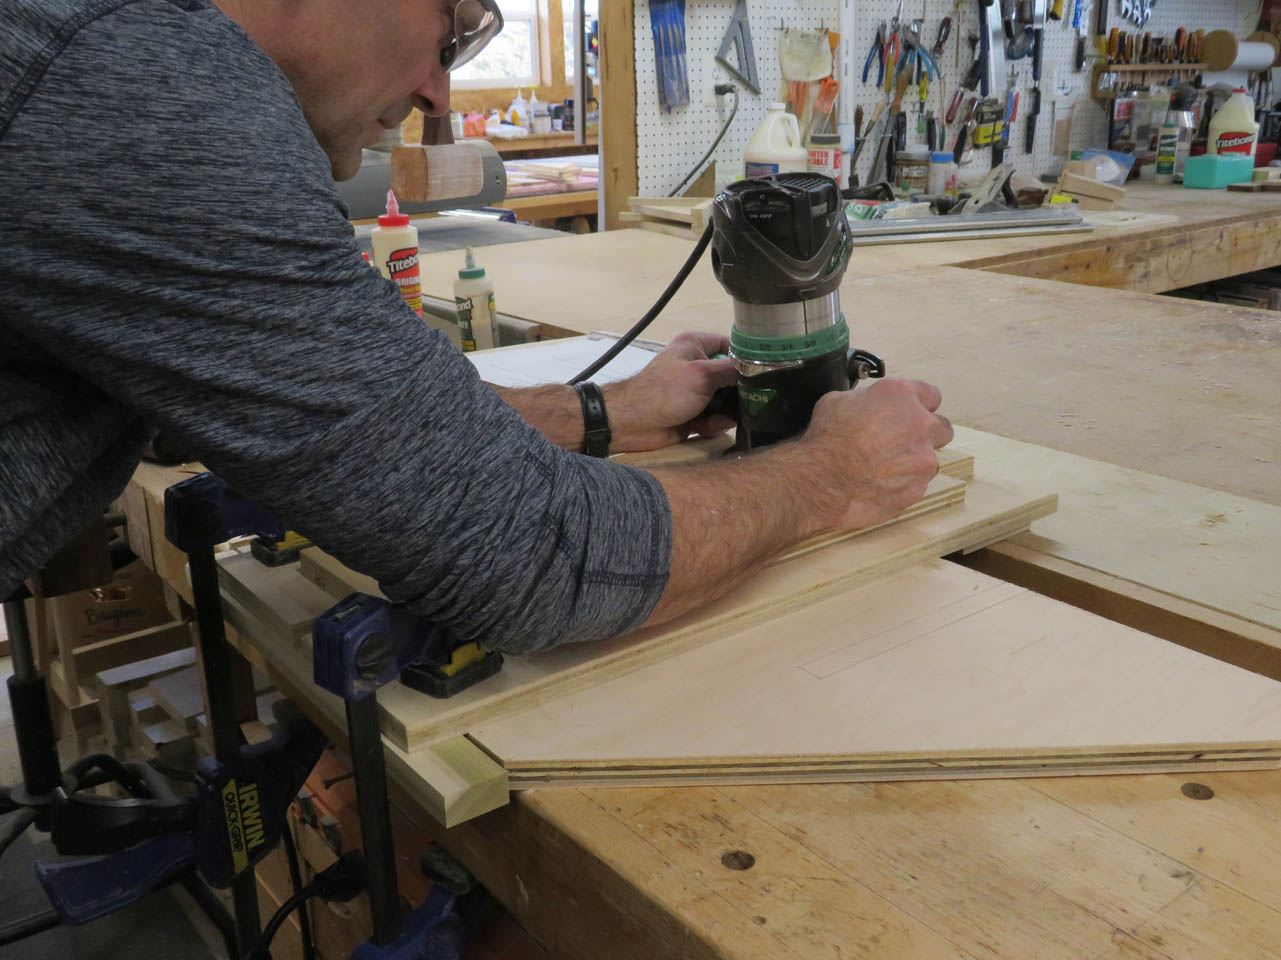
I use a 3/4″ bit, set 1/4″ deep and rout to my marked line.

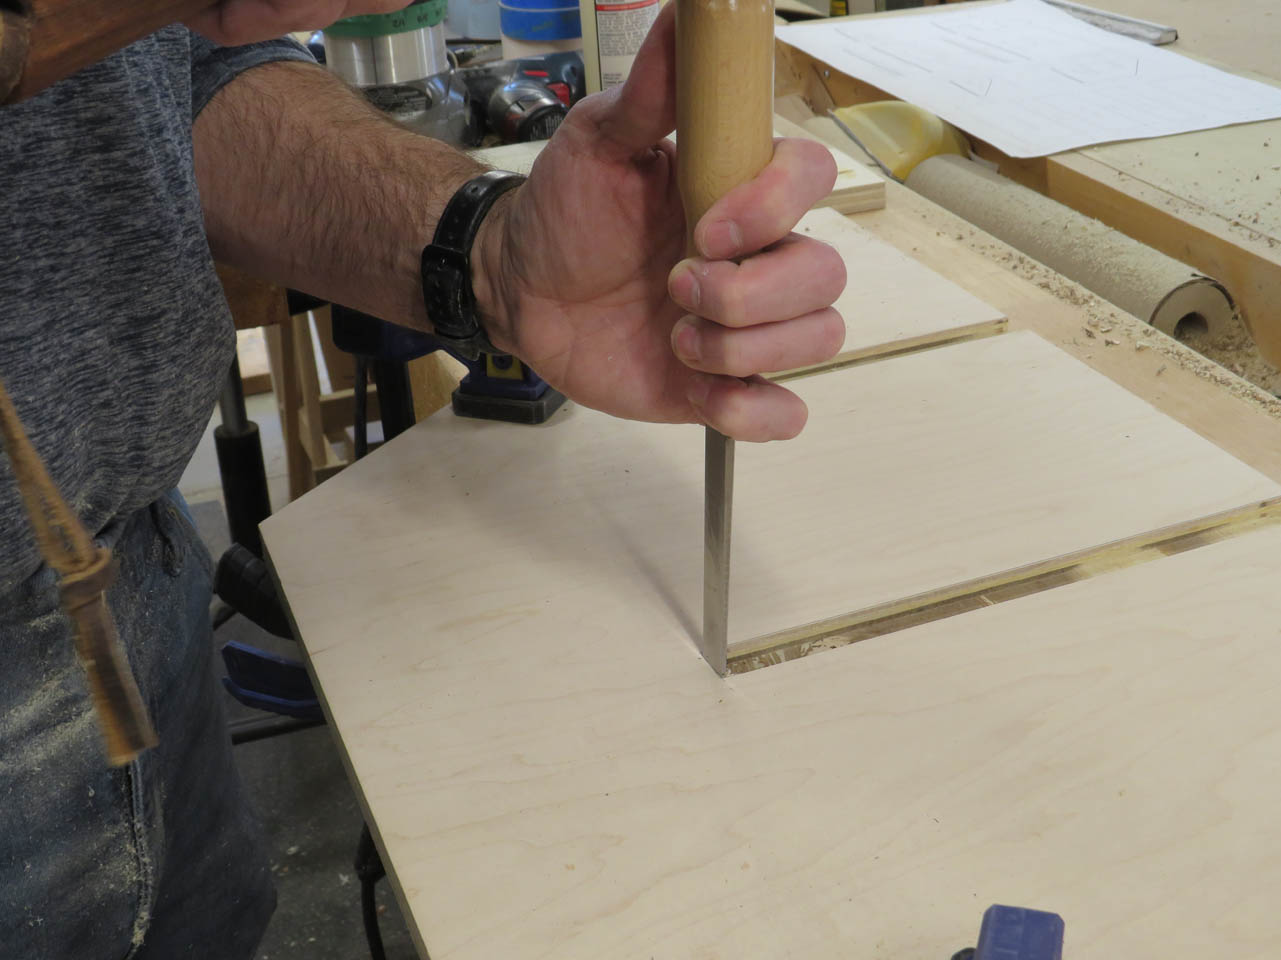
The bit is round so I used a chisel to square up the end of the cut .
Before I can assemble the drawers, I need to cut the bottoms from 1/2″ plywood. This was also done with the track saw.

After a dry-fit, I can apply glue and assemble.
I make sure everything is square before clamping and brad-nailing the assembly together.
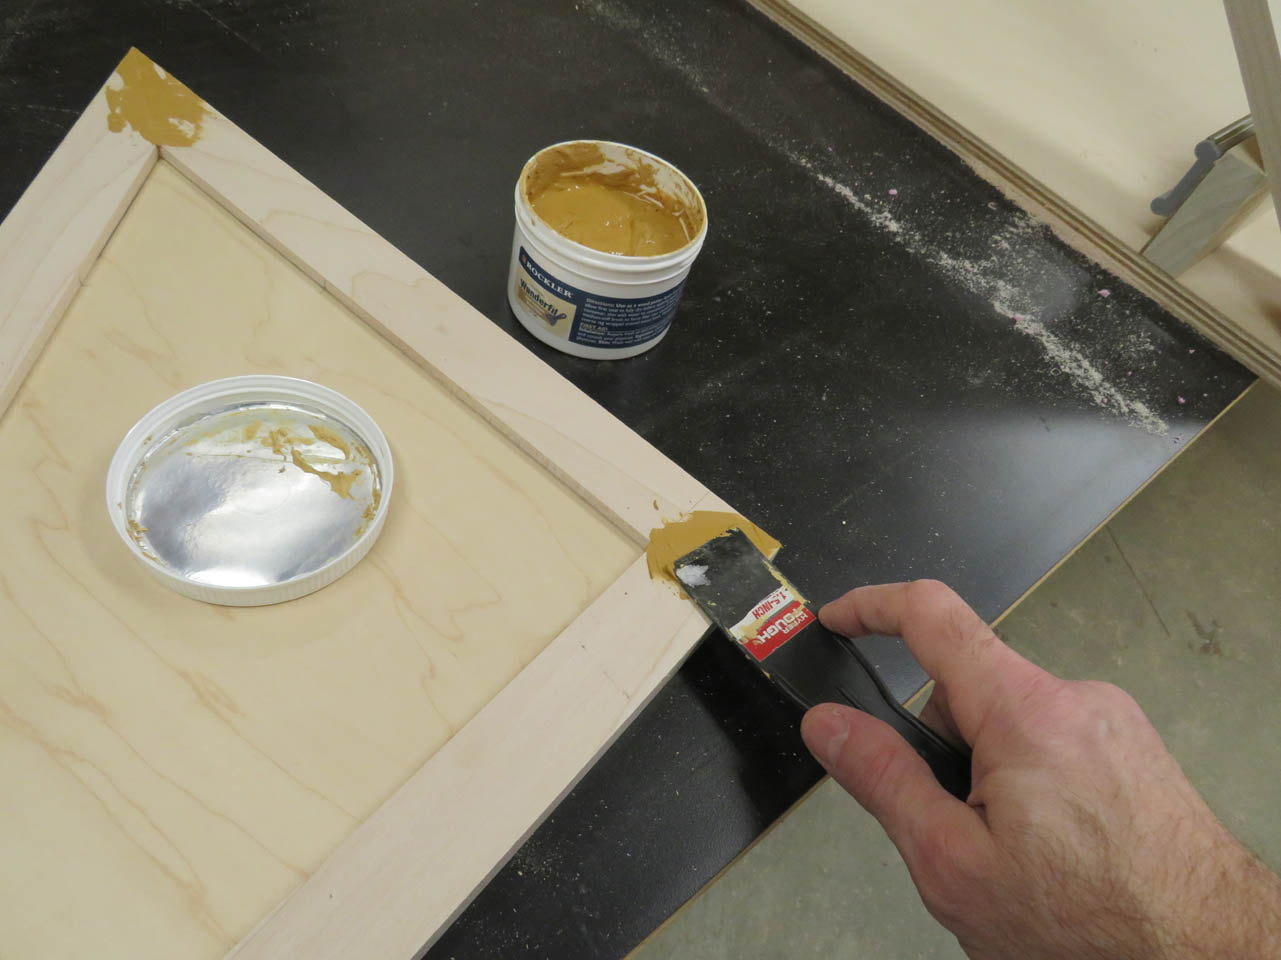
Once assembled, I apply wood filler to any gaps in the plywood edges.
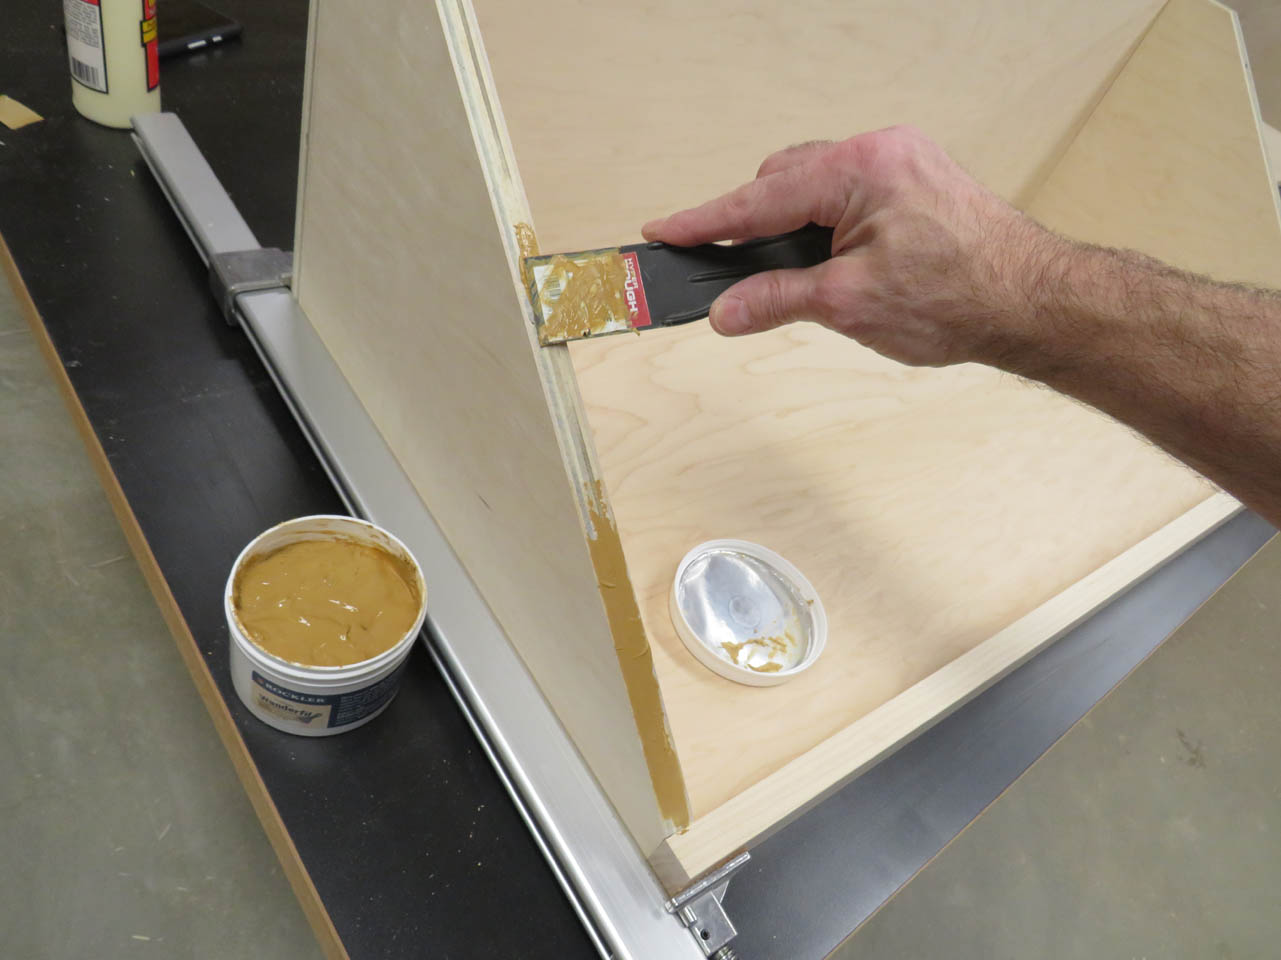
Then I repeat the assembly process on the slightly more complicated larger drawer.
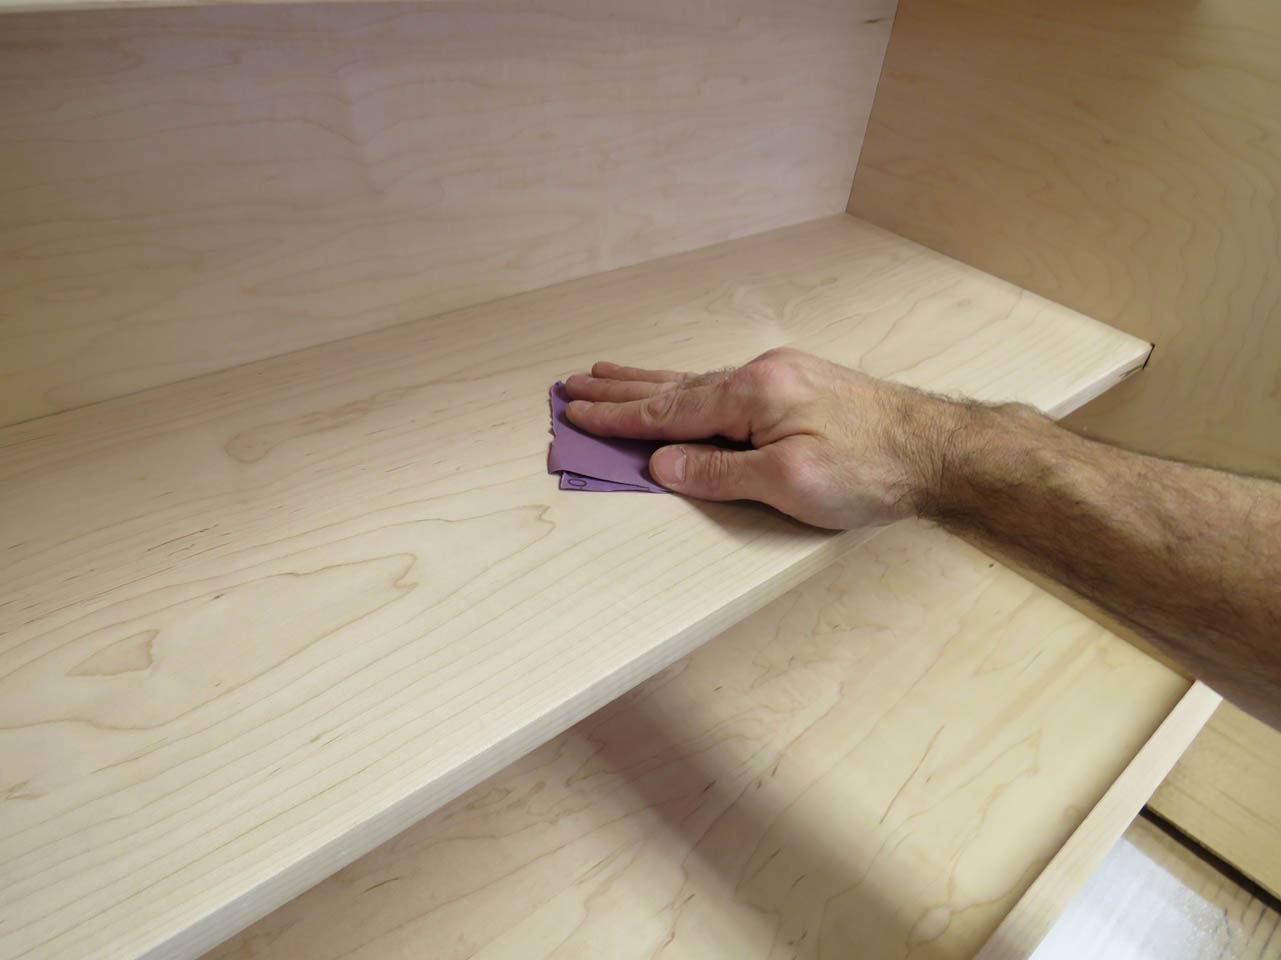
When the wood filler is dry, it all gets sanded and more filler applied if necessary.

Time to attach the slides.
I set a 3/4″ spacer along the bottom to hold the slides parallel to the bottom of the cassette, and screw the slide into place.

I stack up sheet goods to the bottom of the face frame to set my drawers on for assembling the slides to the drawer.

Those got pre-drilled and screwed on as well.

First worked well so I installed the second.

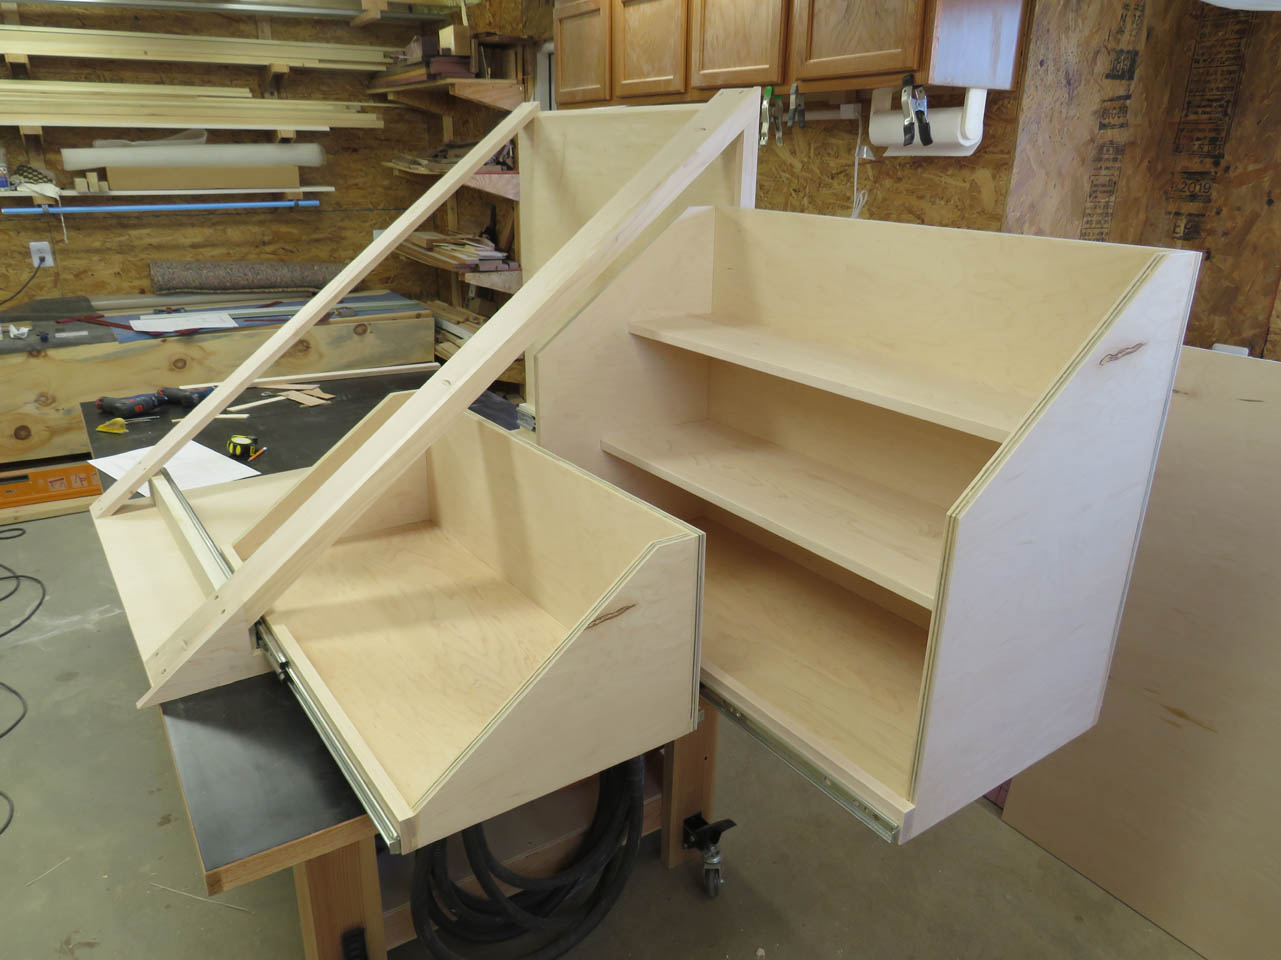
They both worked well, now I just need to build the drawer faces.

These will be made from 1/2″ maple plywood as well, trimmed with 1-1/2″x3/4″ solid maple.

I cut the two plywood pieces as well as milled up some more maple.


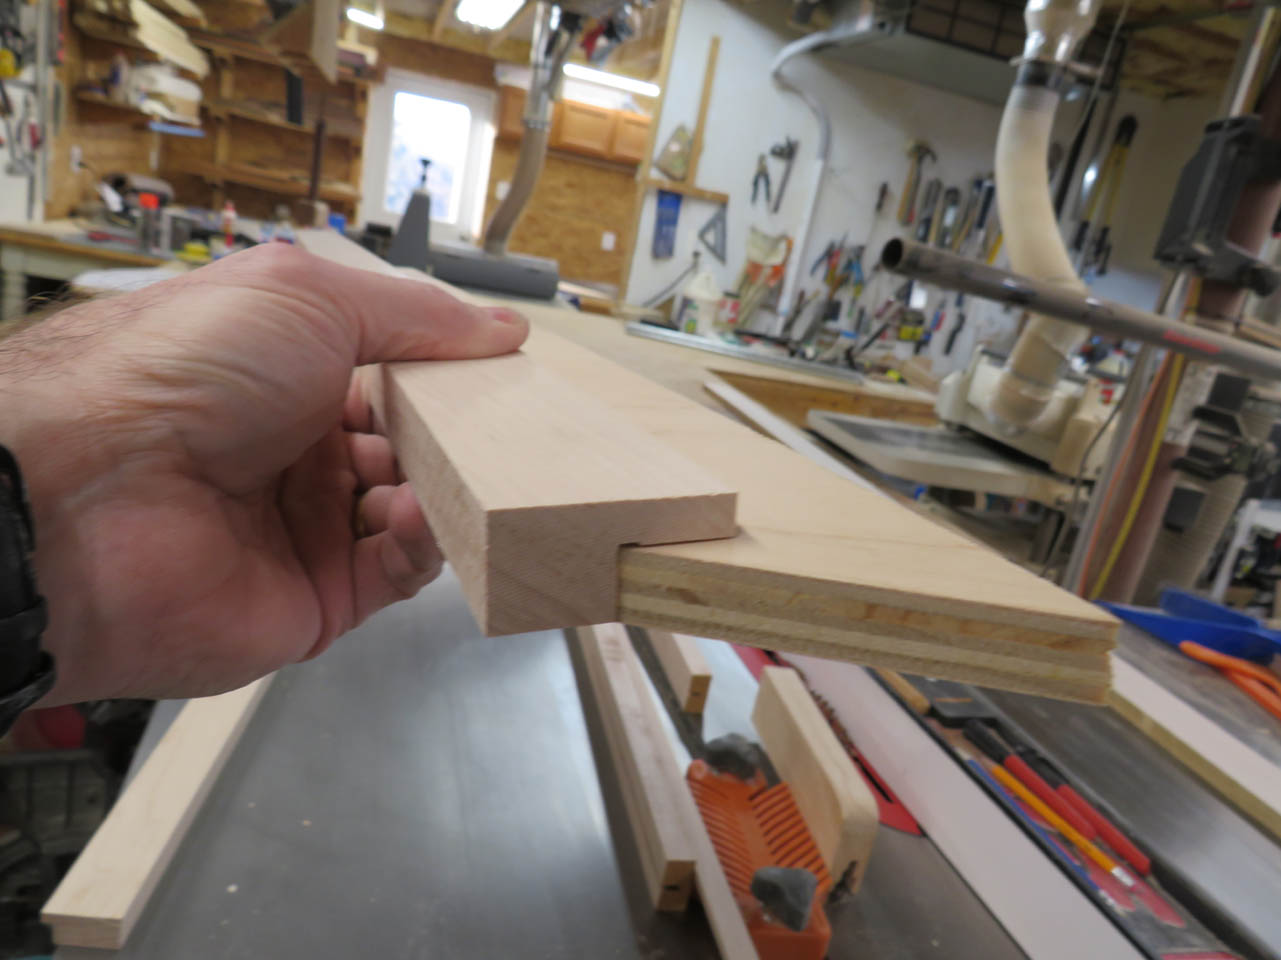
I cut a 1/2″x3/4″ notch on one side of the trim to slip over the edge of the plywood.
Once I was happy with the fit, I could cut the miters and fit them around the plywood.
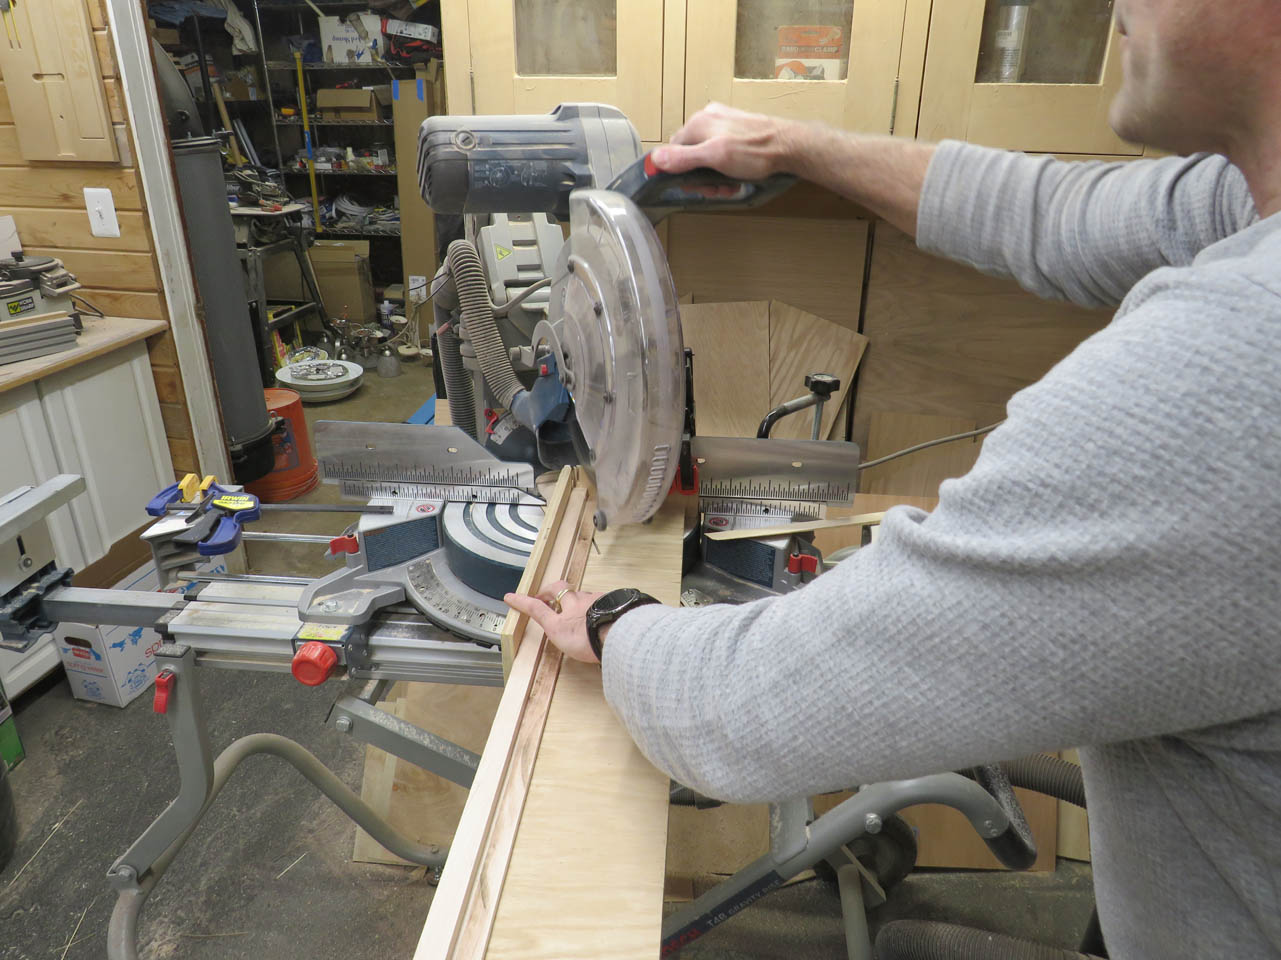
I got to use another alternate fence attached to my miter saw to make the acute angle required.
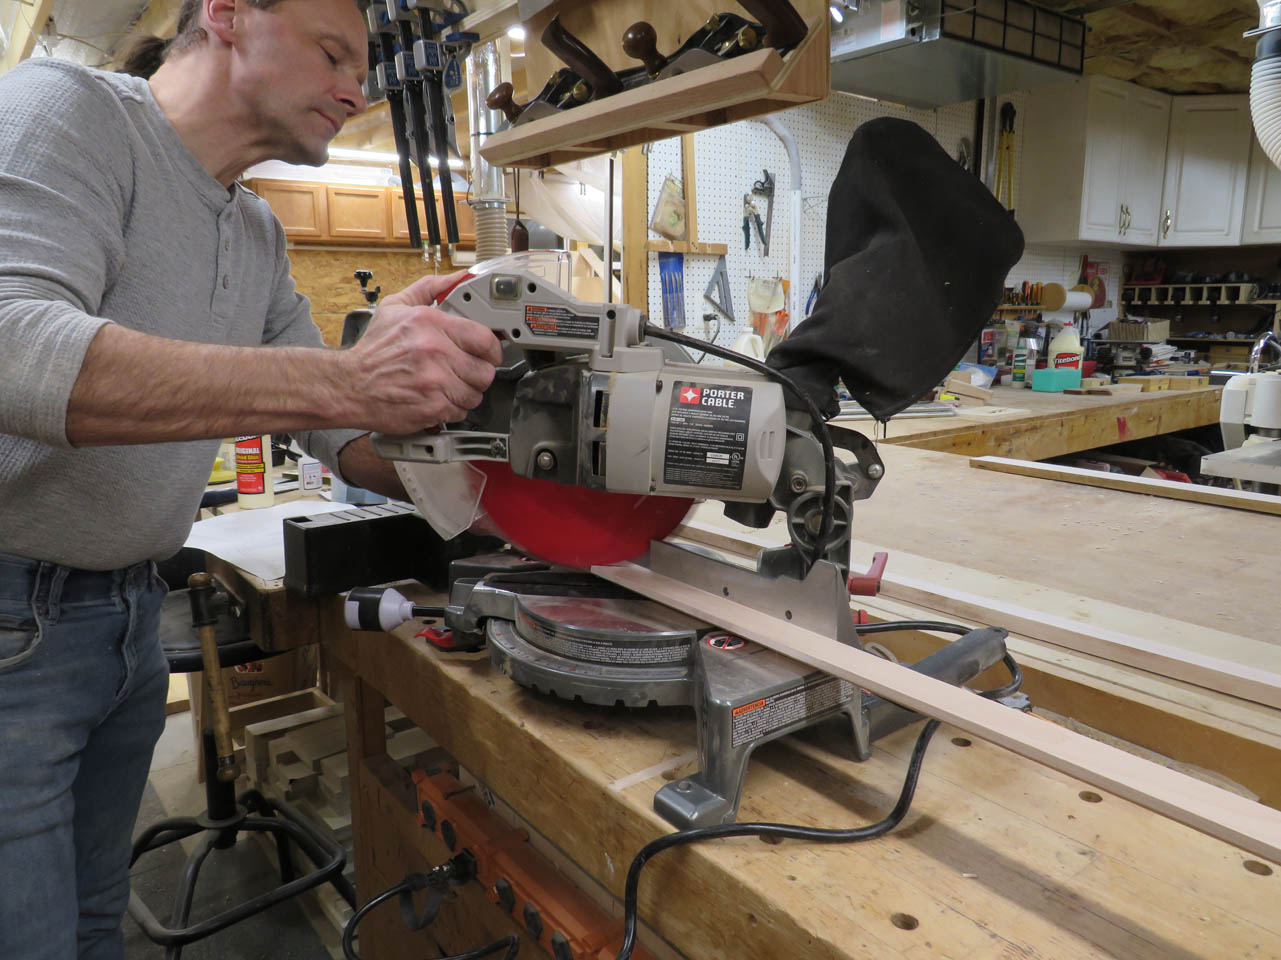
Since I had the jig set up to cut the acute angle I pulled out my portable miter saw to cut the 45° angles on the rest of the trim.
If you take your time and do a lot of test fits, you can get a really good fit.
Once all was cut, I applied glue and a few pin nails to hold everything in place for clamping.


Remember in the beginning when I said that I was glad I built to the template? This is where I found out the right side of the triangle was not perfectly square…

Luckily I could make easy adjustments with the track saw. I used paint sticks for spacers and trimmed the doors slightly till they fit perfectly within the opening with regular spacing all around.

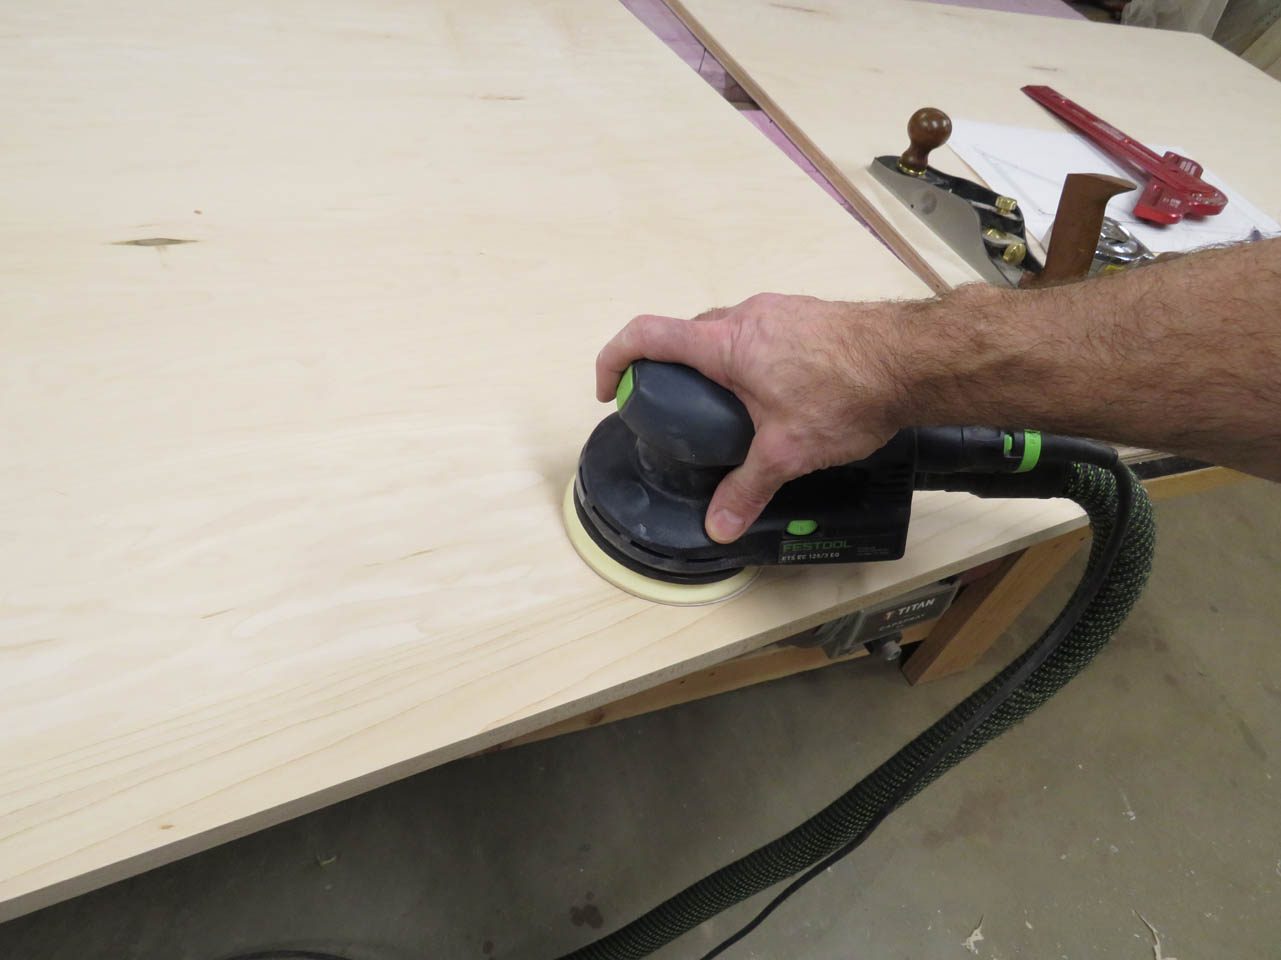
With the panels fitted, I can putty any small gaps and sand everything down.

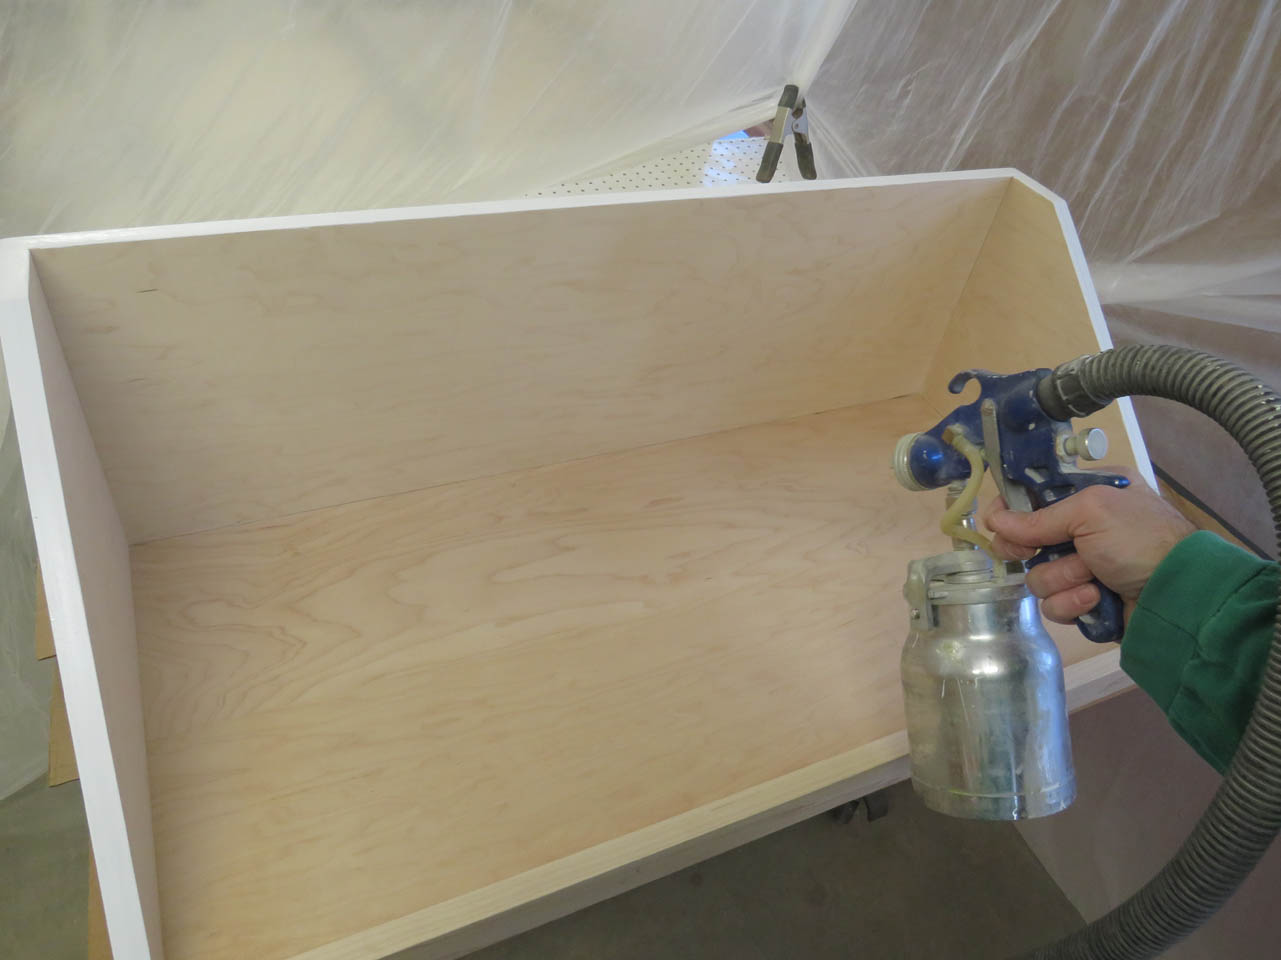
The door panels are getting painted to match the house trim so I sprayed them as well as the face frame.

I decided to paint the plywood edge, on the drawers, white as well so that it wouldn’t stand out too much with all of the solid maple.


I sanded the paint between coats with 400 grit sandpaper to give a smoother finish.
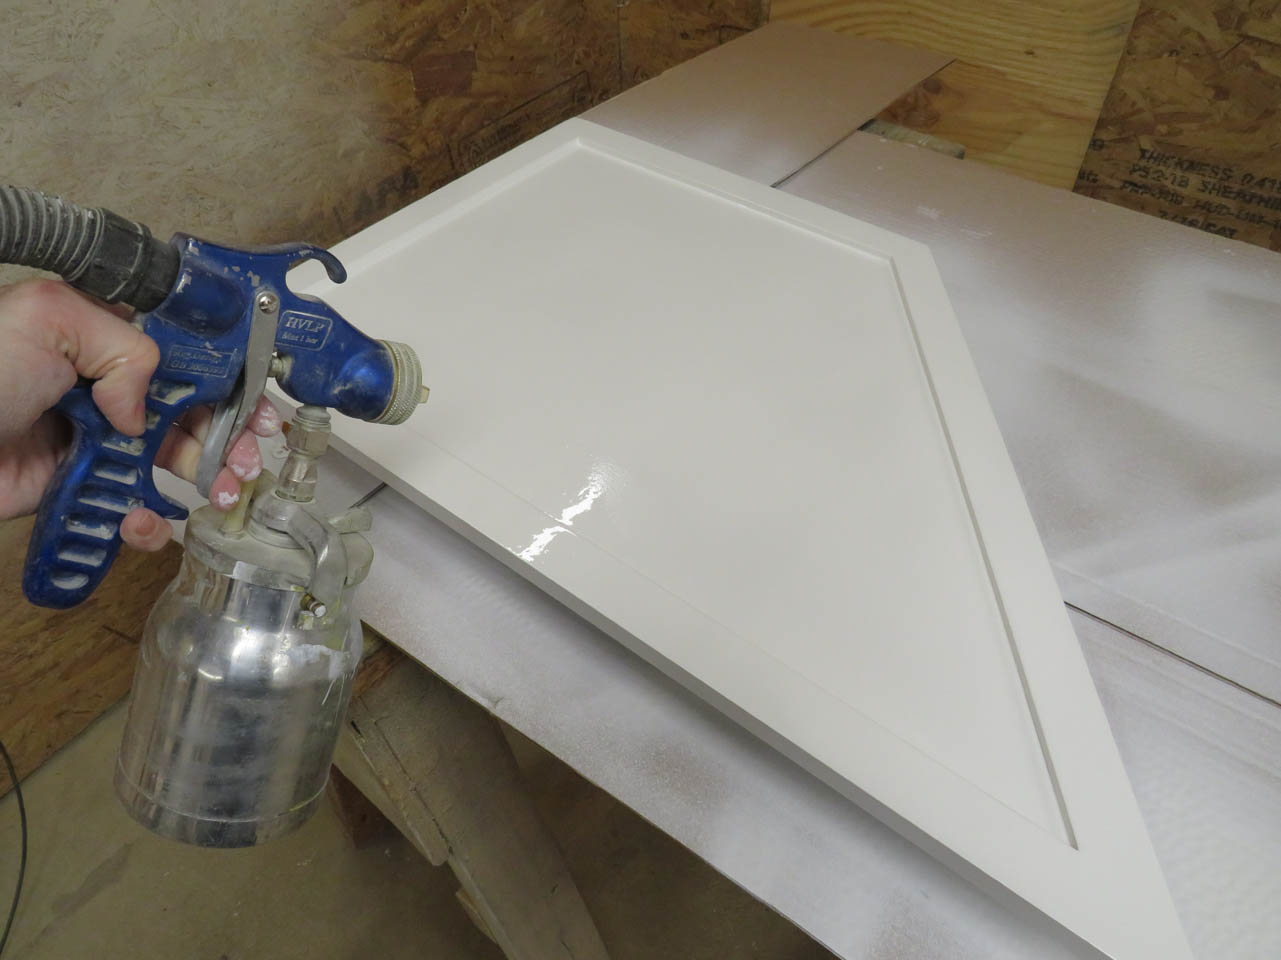
I applied three coats in total. Two would have been good but I had to thin it with water to spray, so I gave it a third to be sure…

For added strength on my drawers, I want to reinforce them with dowels.

I have used these “Miller Dowels” before and I really like them. They are stepped with lots of glue surface. They also taper down so that they do not take away from the plywood strength while adding the the strength of the joint.
Without knowing how much weight will ultimately be loaded into these drawers, I want to make sure the front of the drawer doesn’t get pulled off while trying to open the drawers.
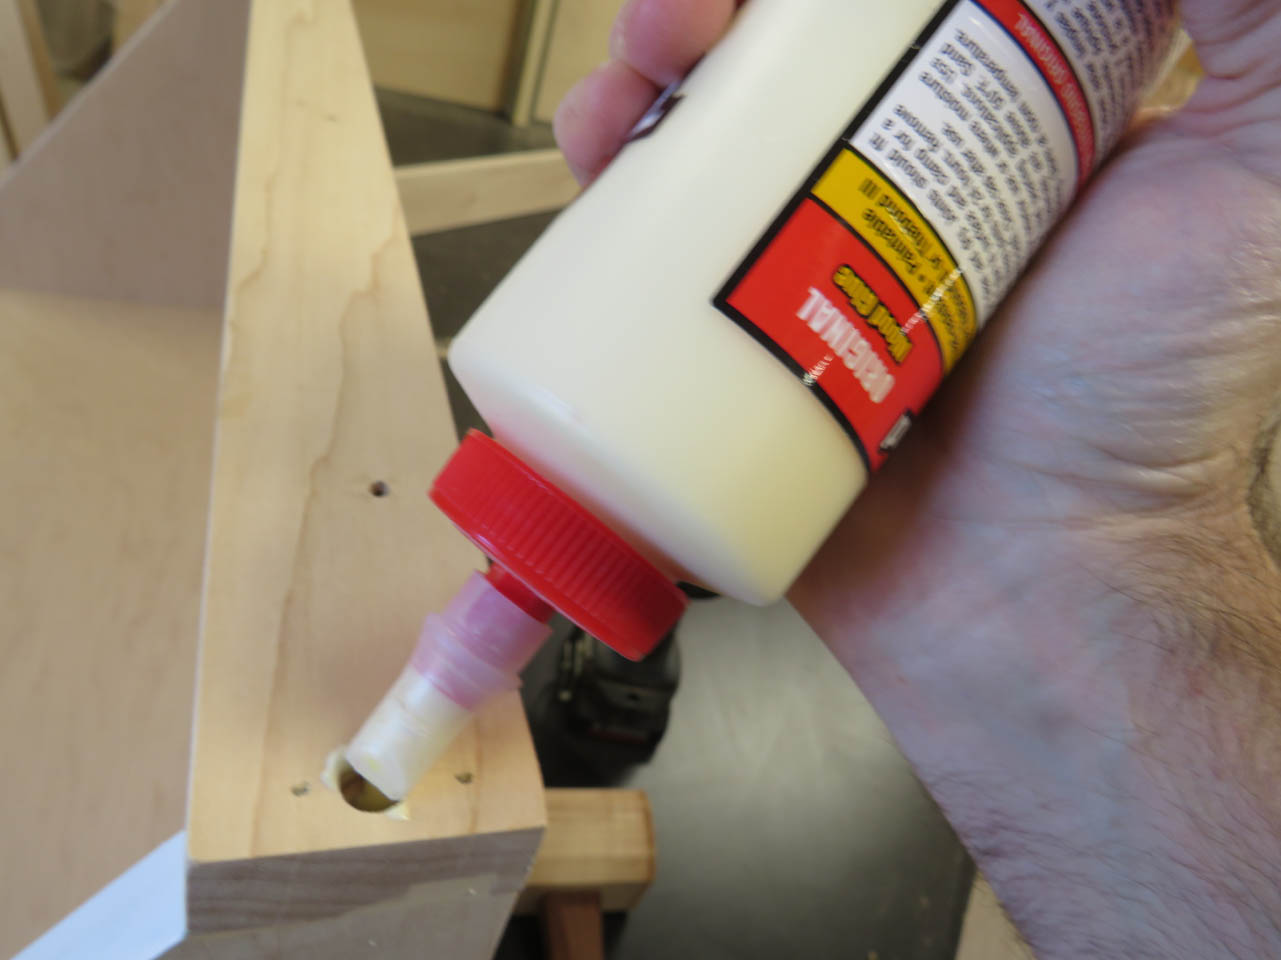
The dowel holes get a coat of glue, then the dowels get set firmly in place with a mallet.

Whatever is left sticking out can be flush trimmed and sanded down flat.

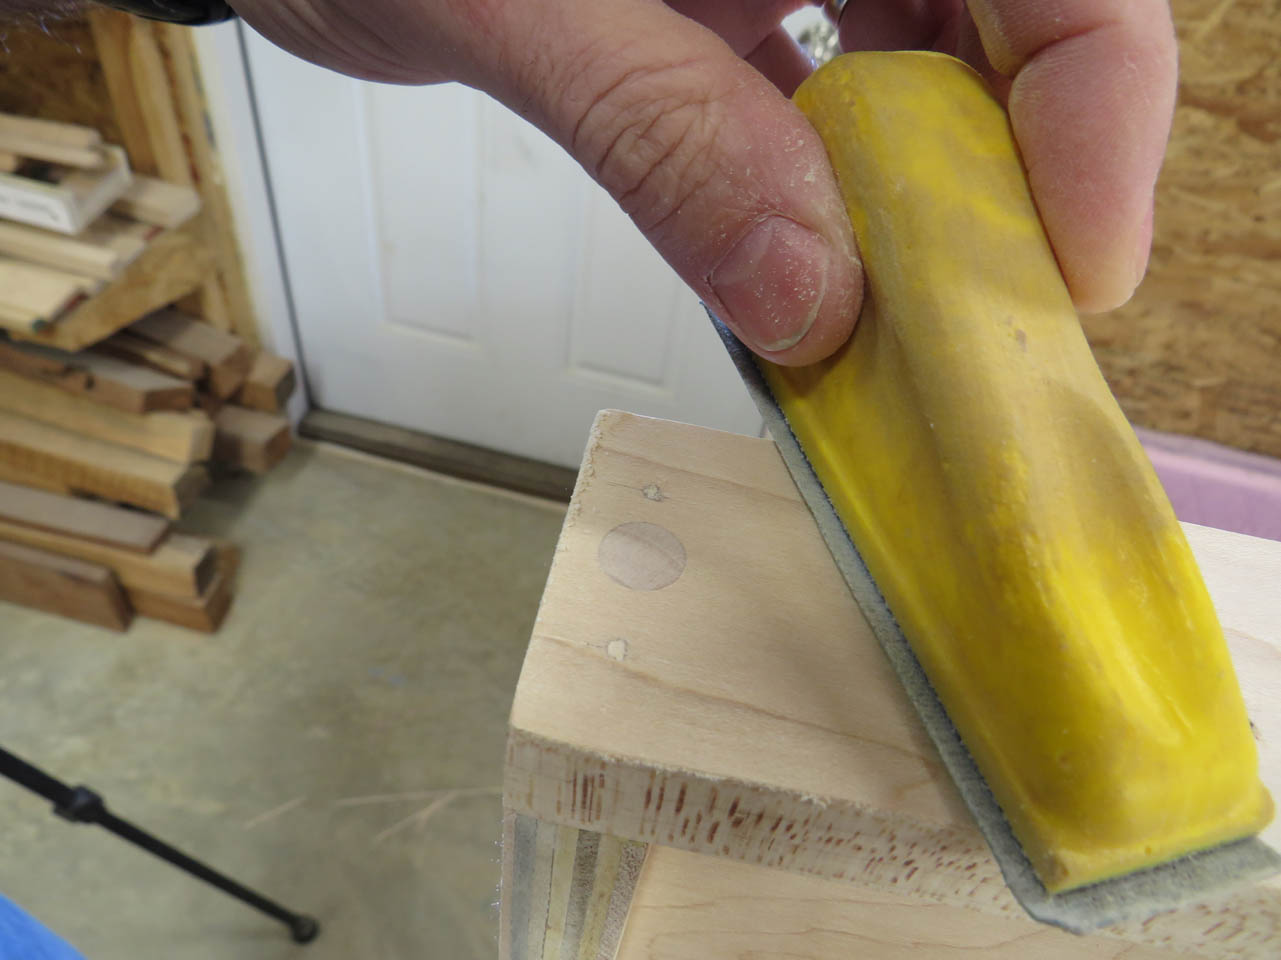
I had to use birch dowels, but they match the maple really well.

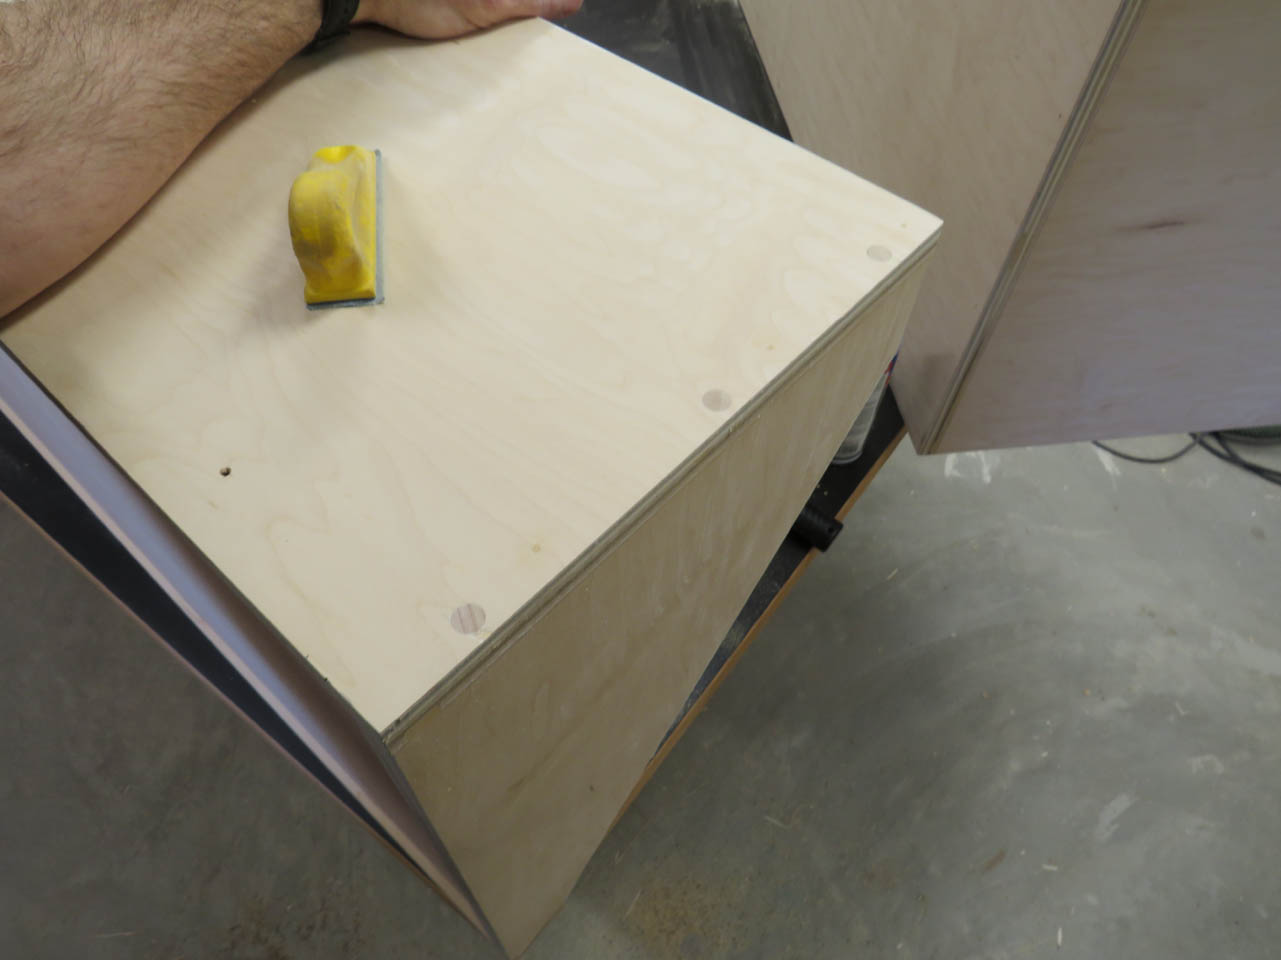
To add some protection to the drawers, I am spraying them with three coats of a water based polyurethane.


Between each coat, they also get sanded down with 400 grit paper.
The deeper drawers are a bit tricky to spray, but I do part of it with the shelf on it’s back and the rest of it standing up. It works well and all the surfaces get coated evenly.

Time to reinstall the drawers.

As well as attach the drawer faces.
Before attaching, I pre-drill all of the mounting holes in the fronts of the drawers, as well as blunting the tips of the screws on the grinder so that they don’t poke through the drawer faces.

I get out my pile of paint sticks and set the faces in place and tape them there.

Then I carefully run a screw, with the point still intact, 90% of the way through, then replace it with a blunted one. I am using course washer-head screws.


The faces are in place and the drawers are opening well.

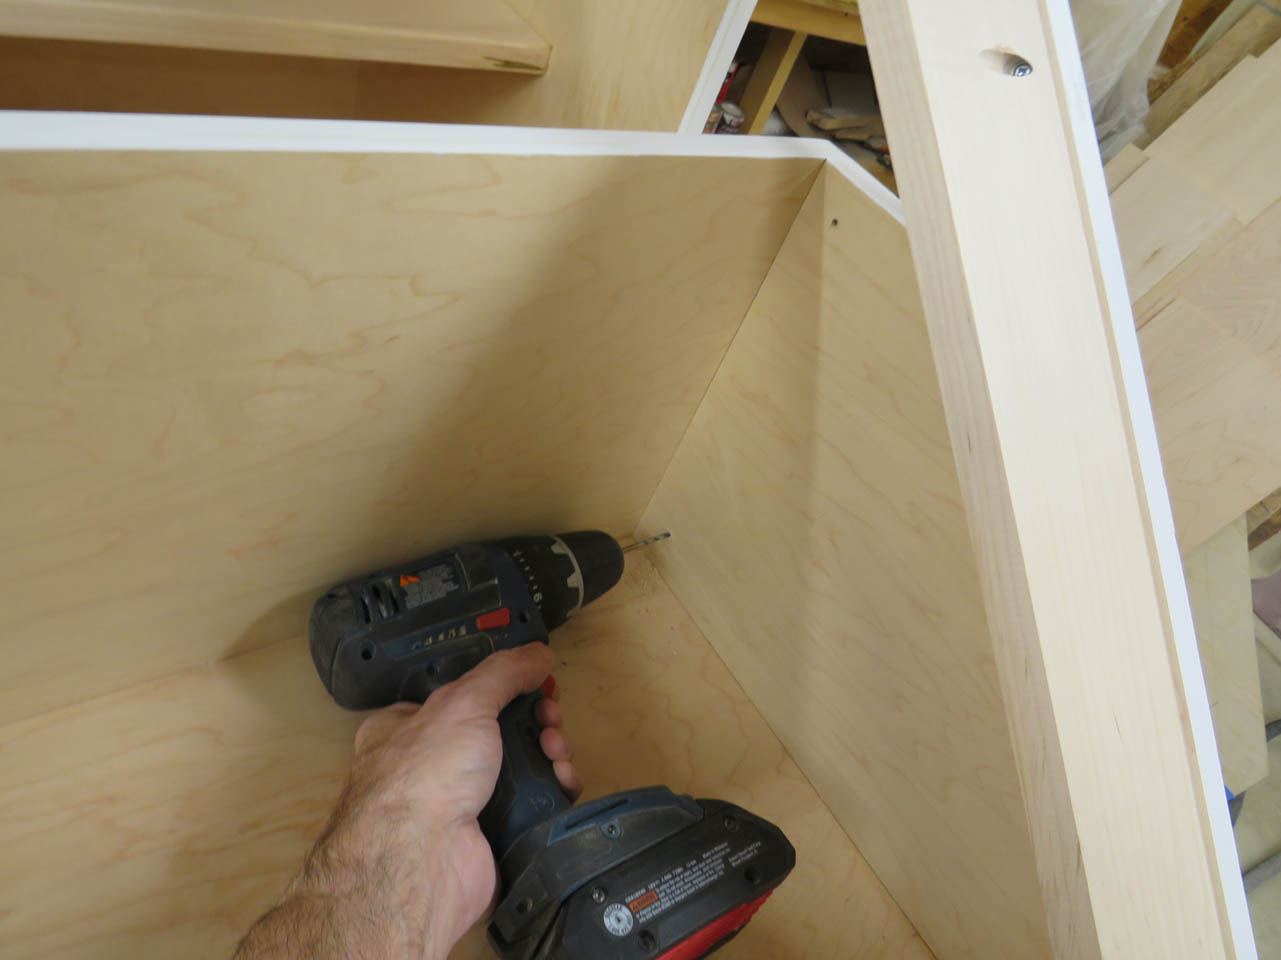
Time for installation. I had To crawl inside and attach the housing to framing then reinstall the drawers.

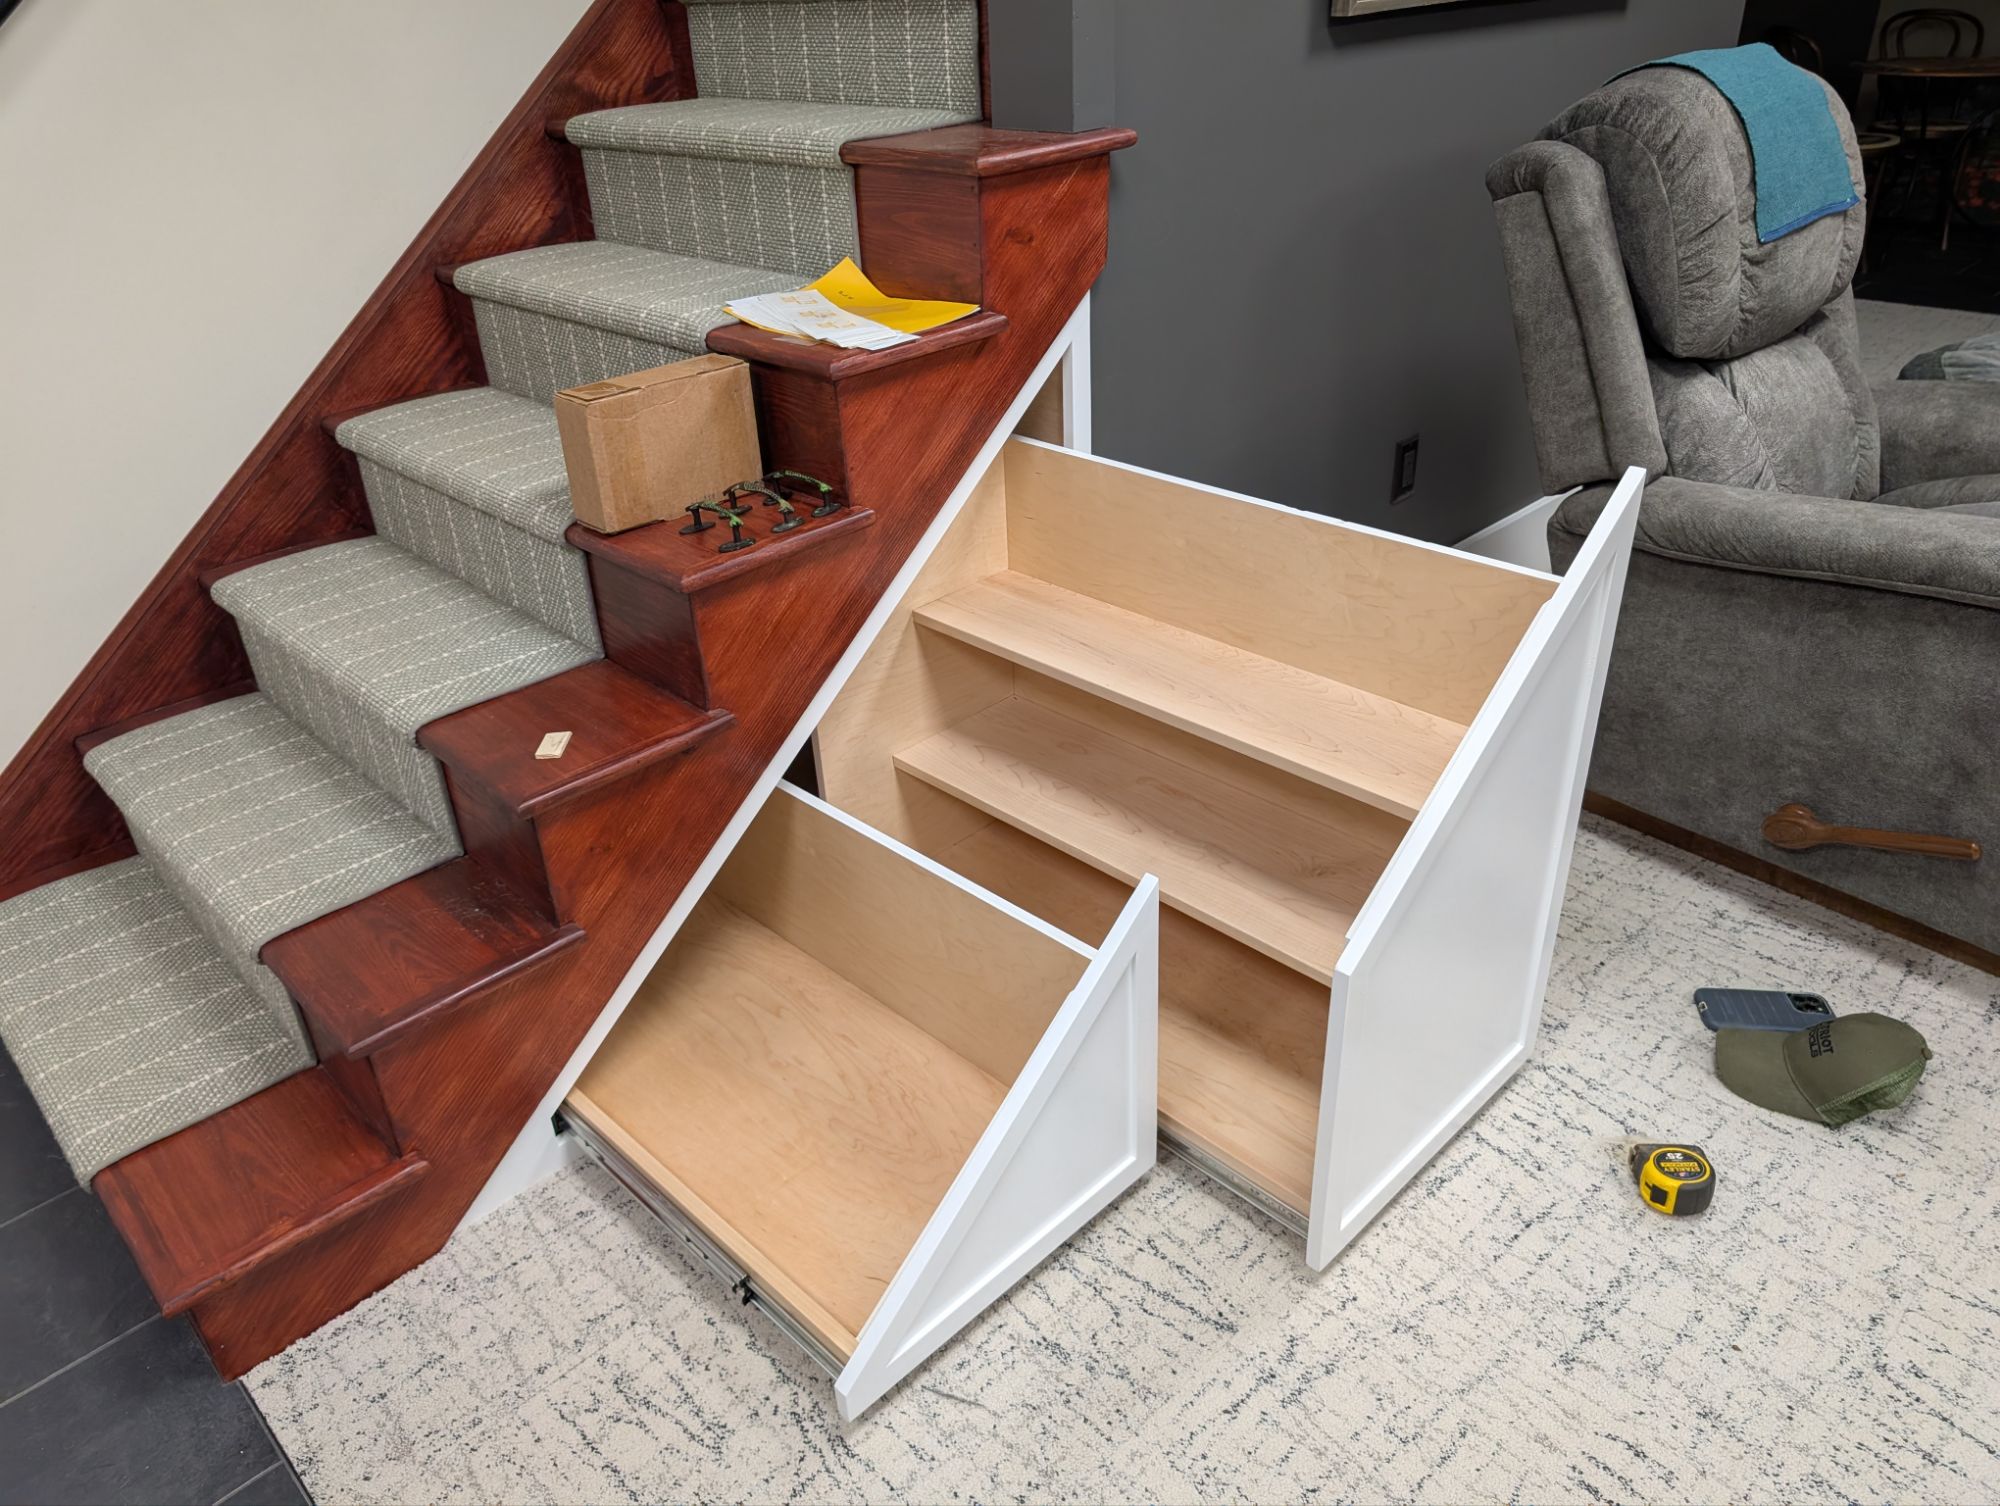

We had to remove the carpet beneath but it slid in perfectly and fit like a glove. The only thing left is to locate the drawer pulls, but their location Still needs to be approved by the boss.
