Curved pamphlet rack
I have an interesting new project for the Seton Shrine. They want a curved pamphlet rack for the welcome desk at the Mother Seton museum entrance. The sent me the Welcome desk specs and I made a template from it. The spec indicated that the desk was symmetrical but when I overlaid the template with the desk, they were different by several inches. So I laid out each side’s pamphlet racks differently on either side of my template. Here is the design I came up with: Pamphlet racks.
After some discussion, they opted not to have the two straight sections made right now, but the four curvy sections still need to be built. The reception desk is stained ash wood. I will be bending the ash so it will have to be air-dried wood. The kiln drying process hardens the wood and makes it more difficult to bend without breaking. I was able to get some air-dried ash from a woodworker that has a sawmill and had a little bit left.

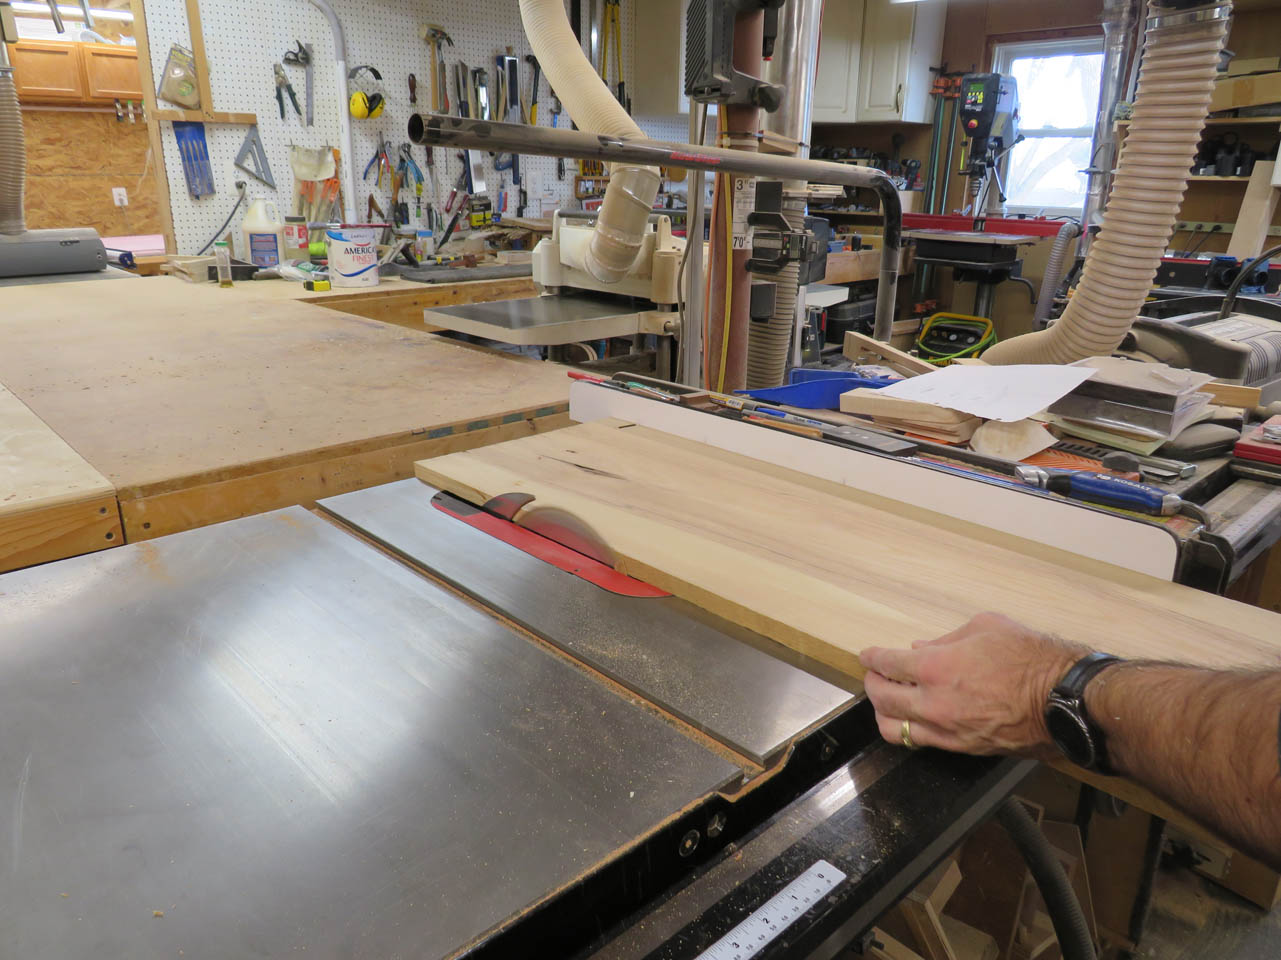
I started out by planing the boards down smooth, then I used my track saw to get a straight edge on one side.

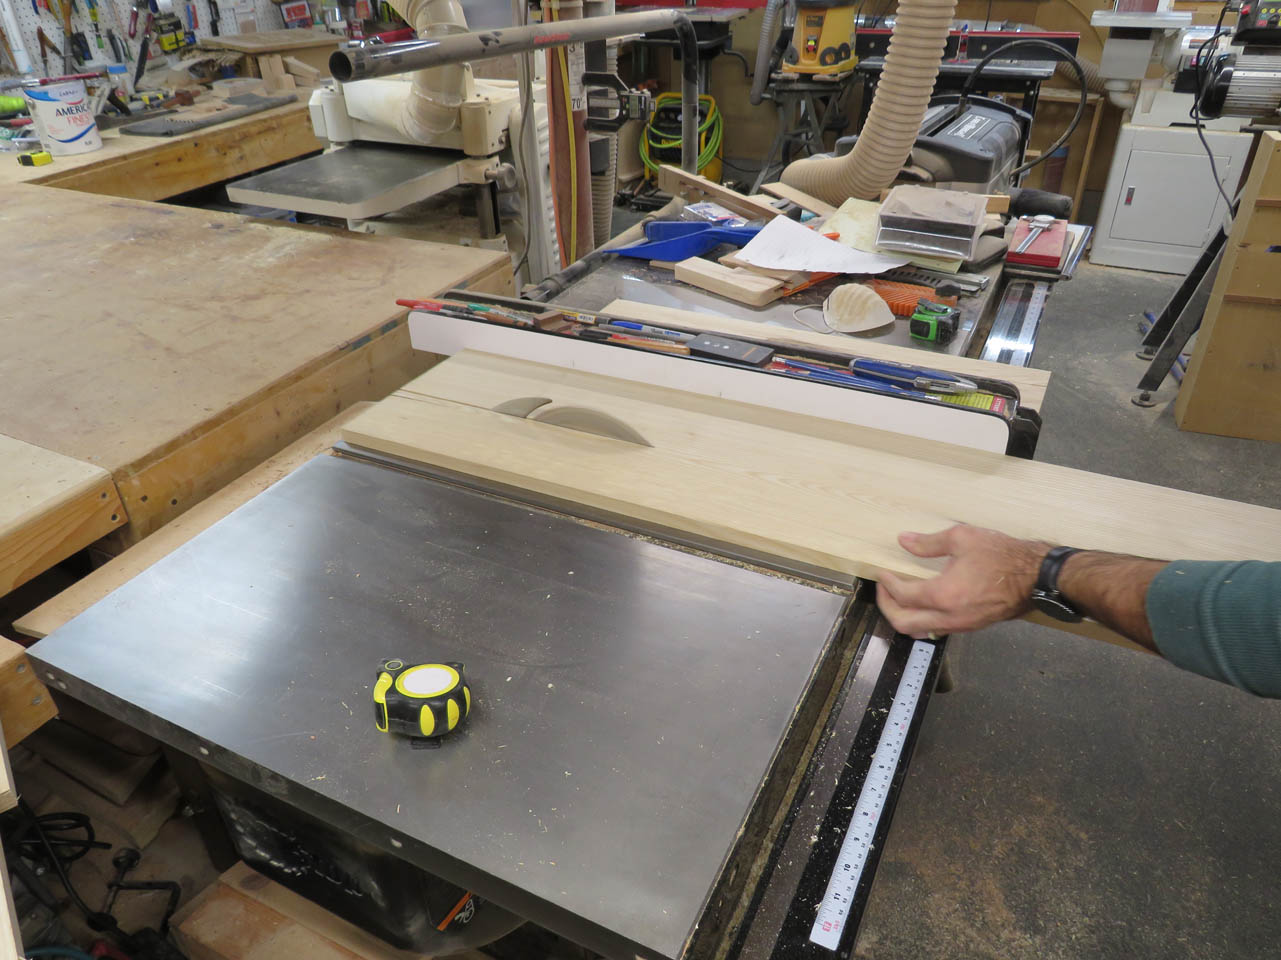
I can get the opposite side straight and parallel on the table saw.
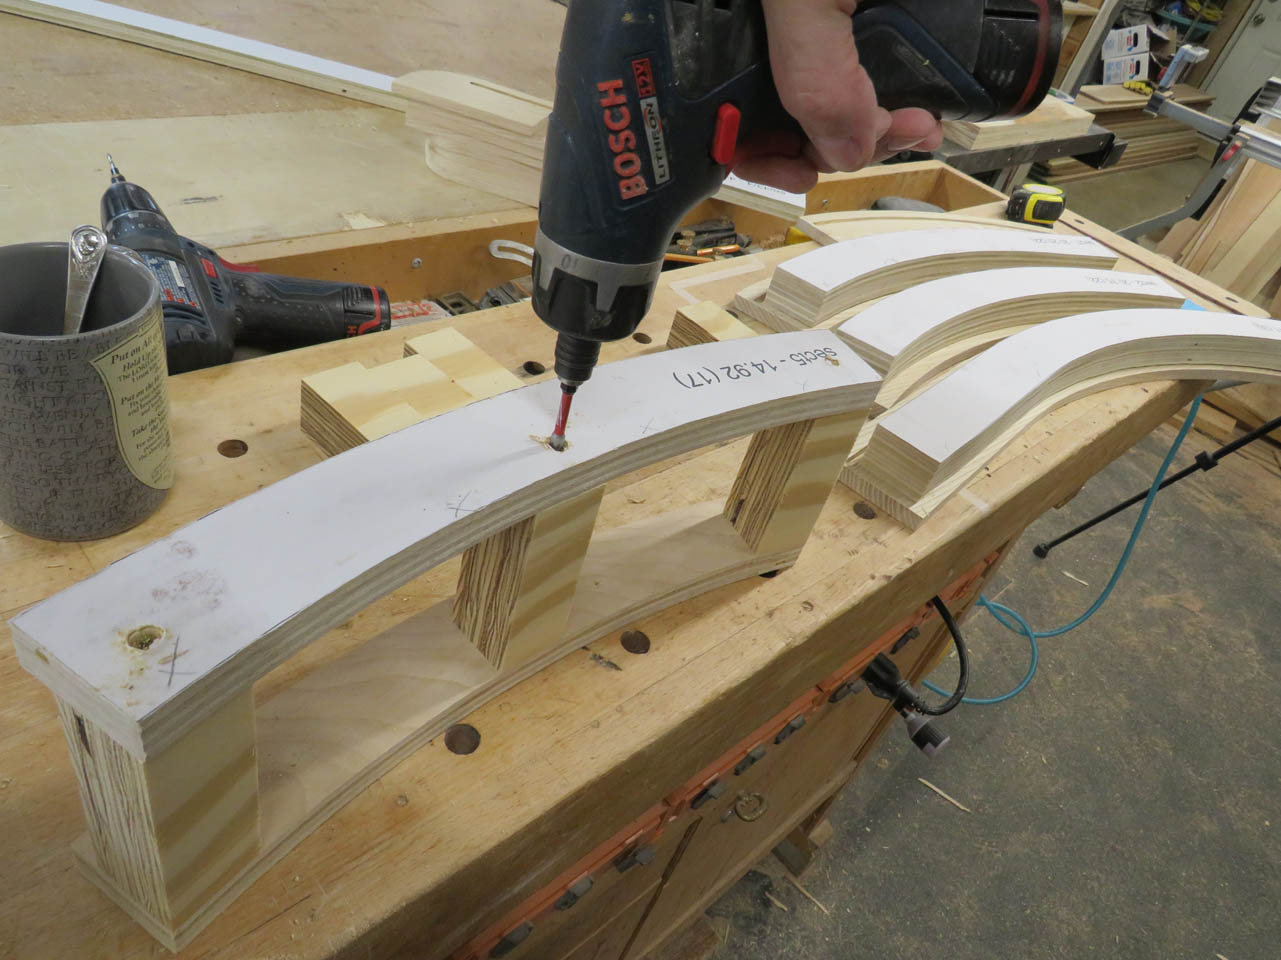
I will be using my small CNC to cut the curved bases and sides of all four racks. These were all carefully laid out on the computer based of the cad models I created earlier.
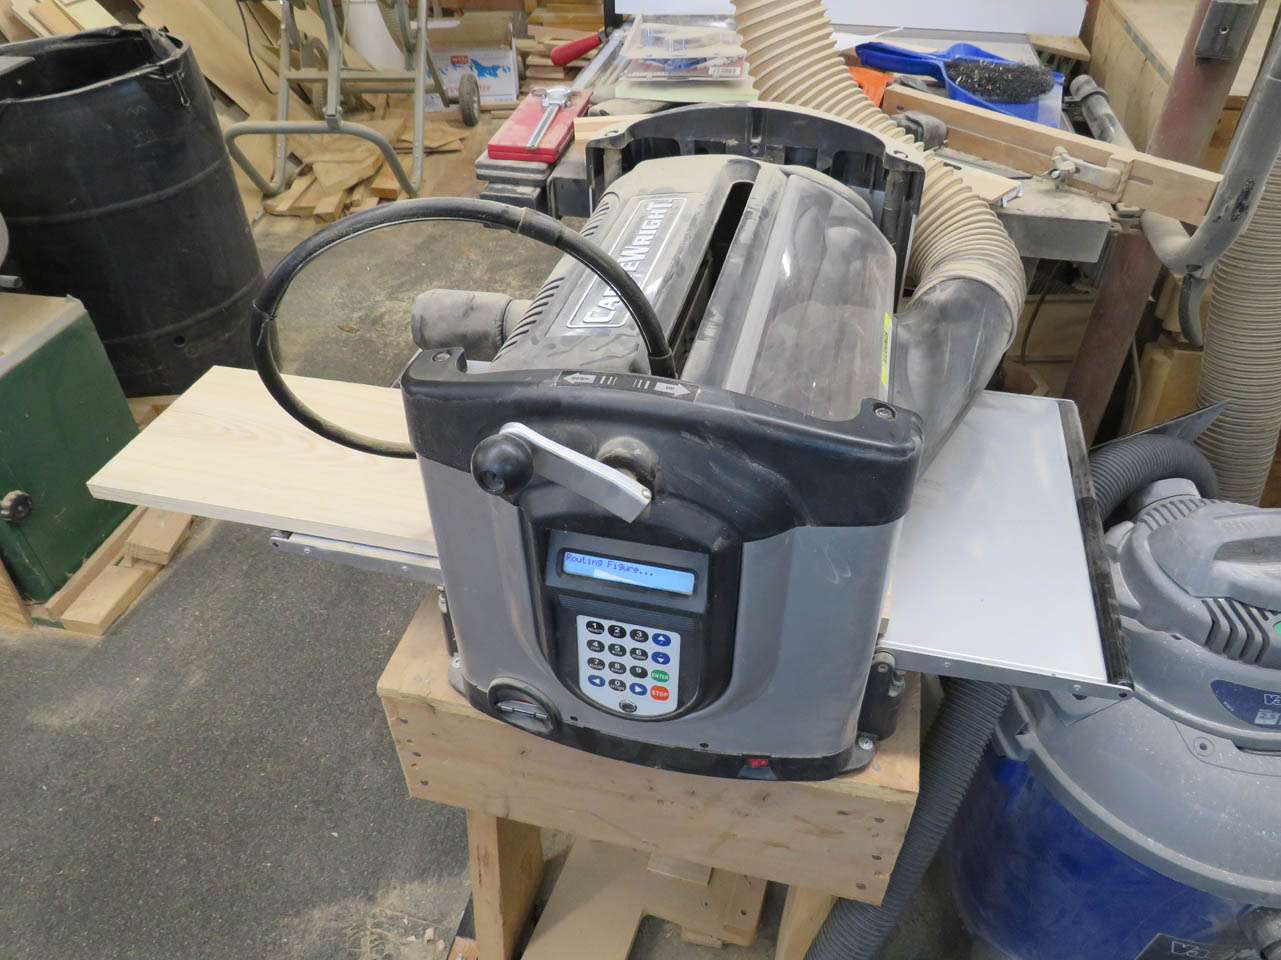

My CNC uses a small 1/8″ cutting bit to make repeated passes, each one cuts down about 1/8″ at a time until the depth required for each piece is reached.
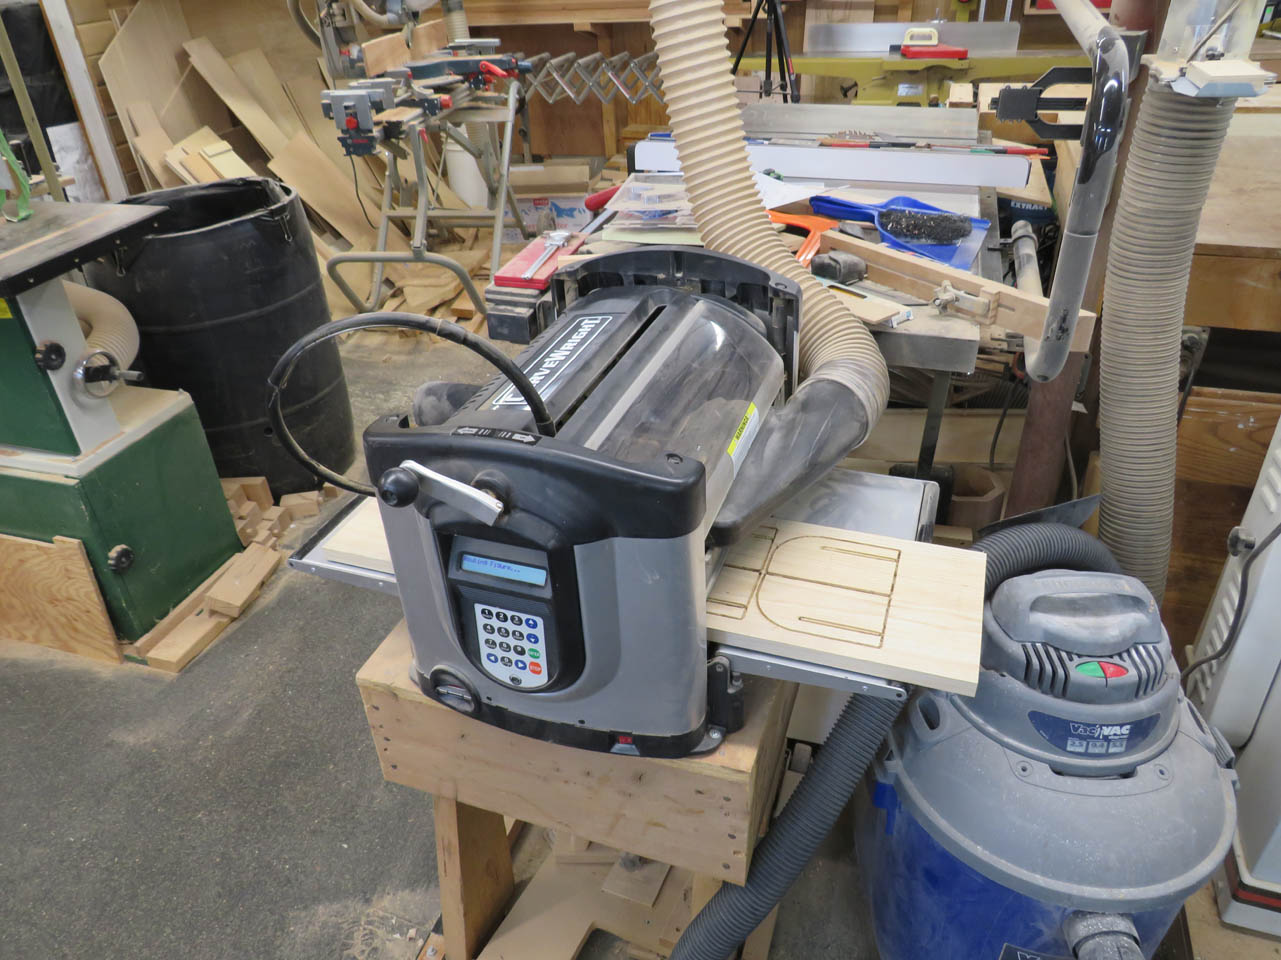
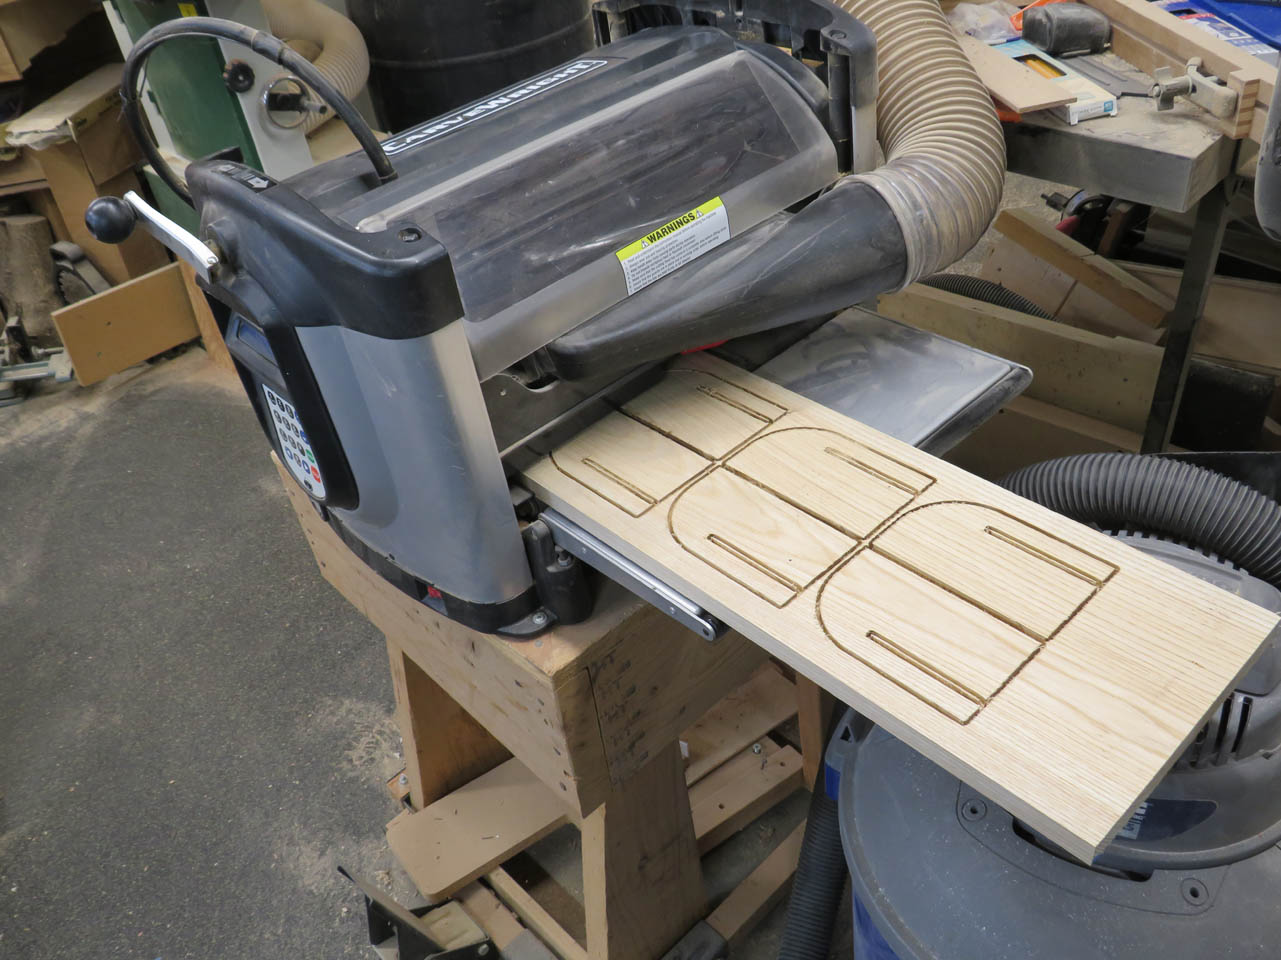
Each board took about an hour for my CNC to cut out. The boards were originally planed down to be about 1/8″ thicker than the final dimension needed.
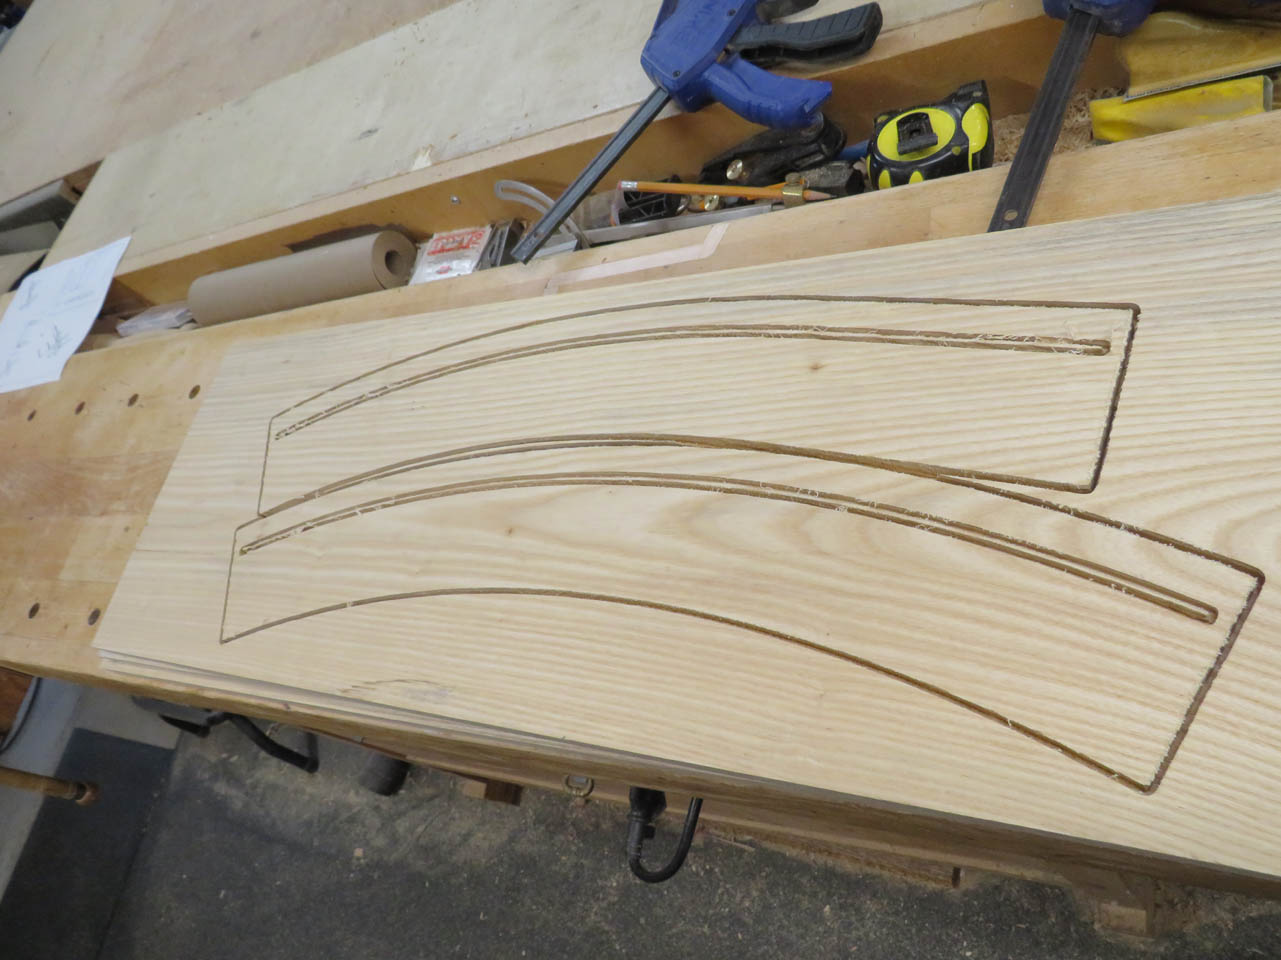
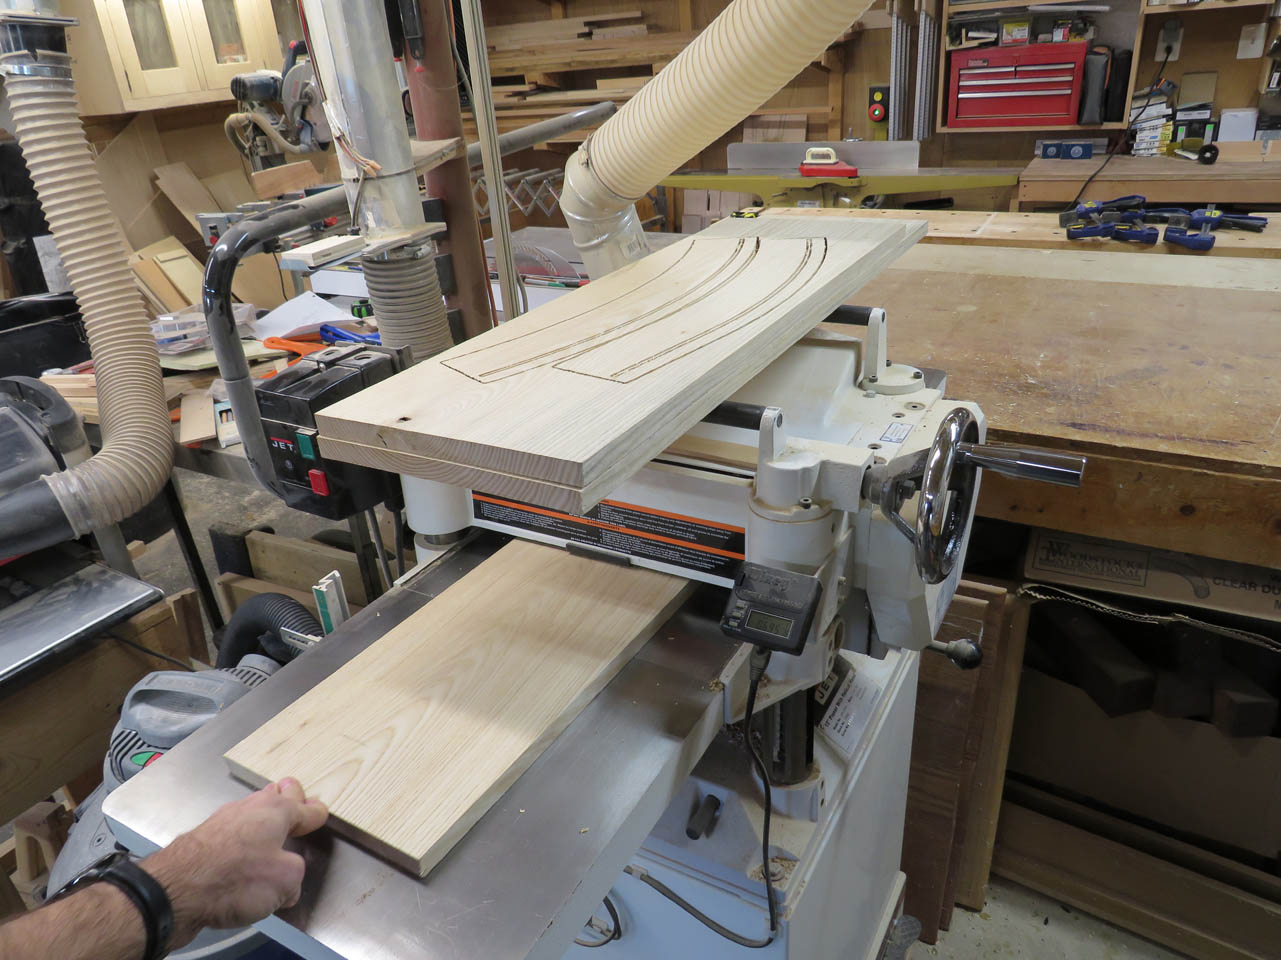
I did not want to put tabs in to hold each piece in place. Instead, I ran the back side of the finished boards through the planer to get them about 1/64″ over size.

Then I ran them through the drum sander to take them to the final thickness.

If I had kept planing, I would risk the smaller parts getting sucked up into the blades of the planer since they were too short on their own to be held down by the rollers.

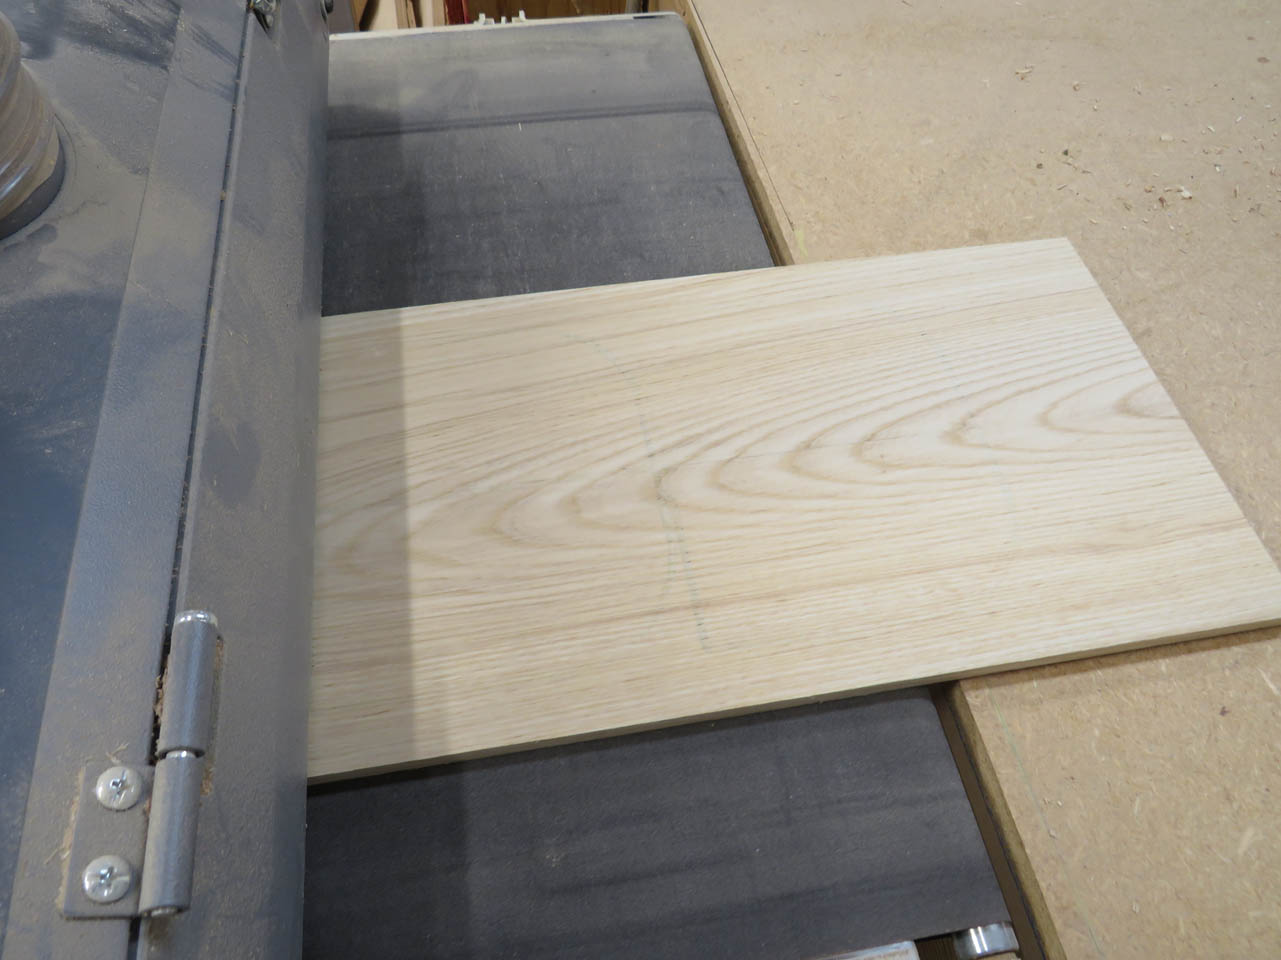
This method worked really well.

They just need a bit of cleanup…


I started by sanding the outer curved edges on the big belt sander.

Then I moved to the spindle sander for the inner curves.

They sanded up nicely and the sides line up perfectly with the bases.
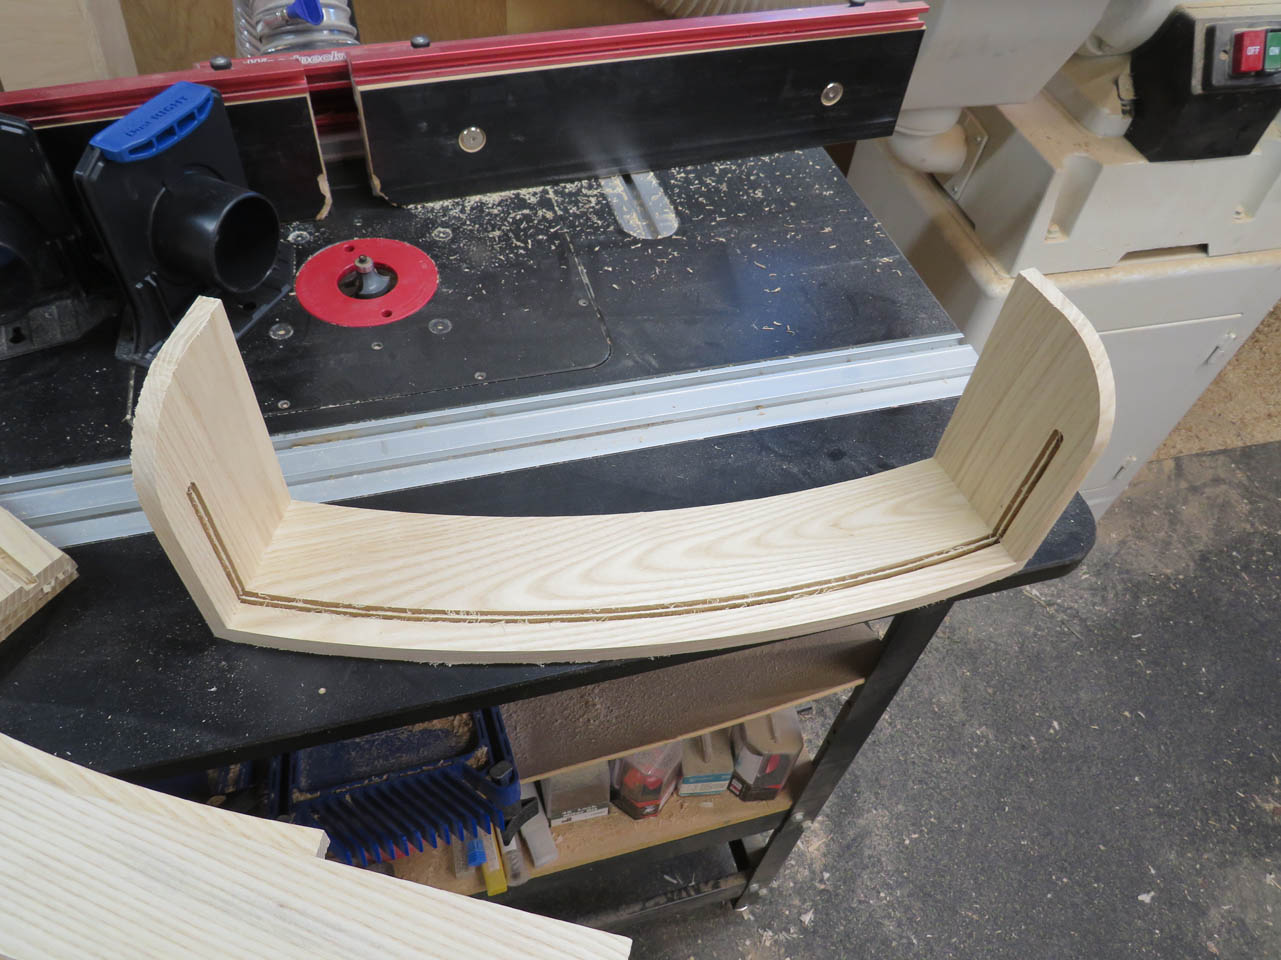

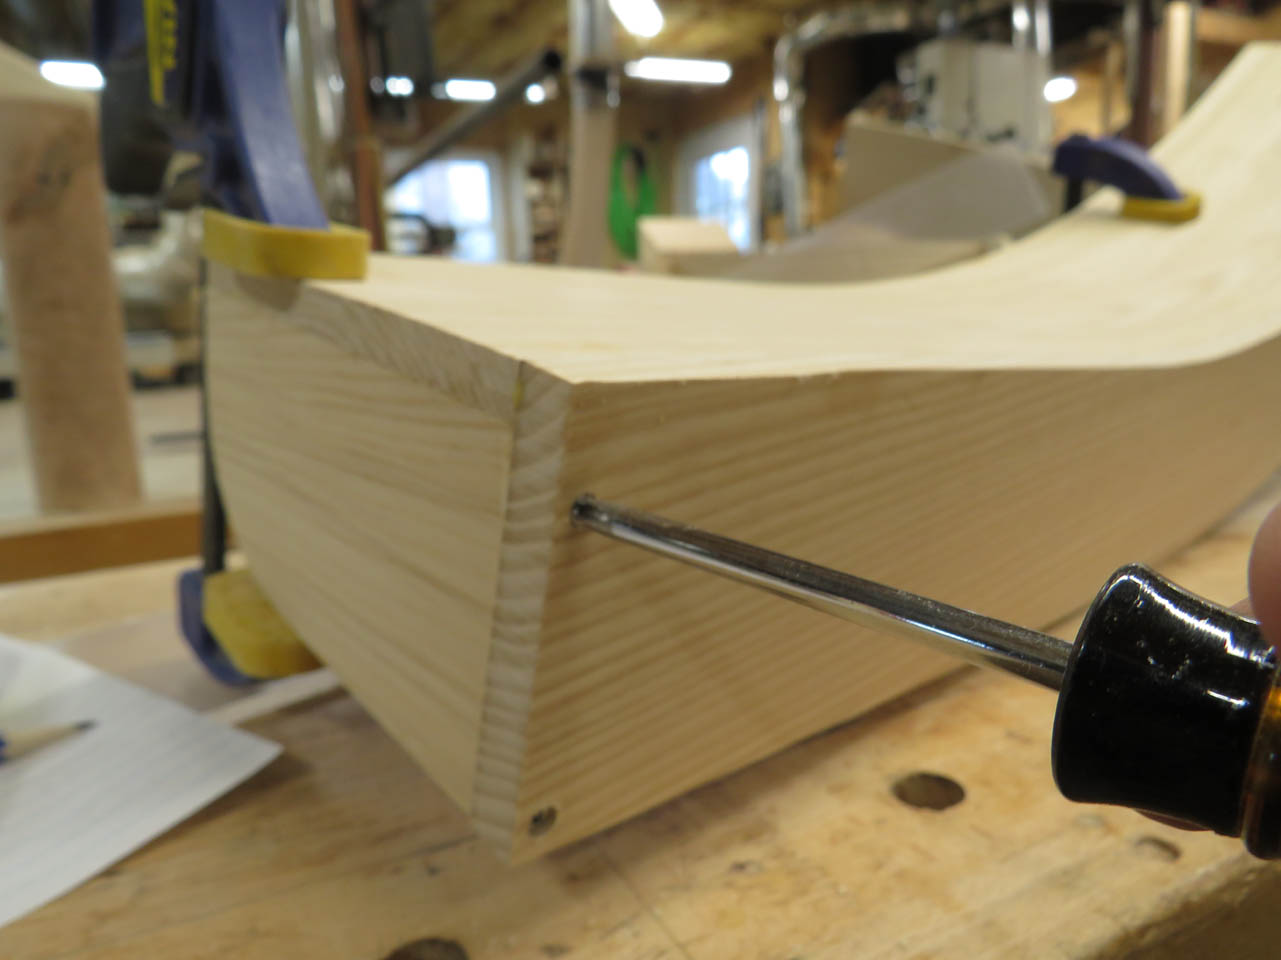
I had a thin sliver left over in the dado that will hold the clear acrylic so I cleaned that up with a chisel then hand-sanded the groove.
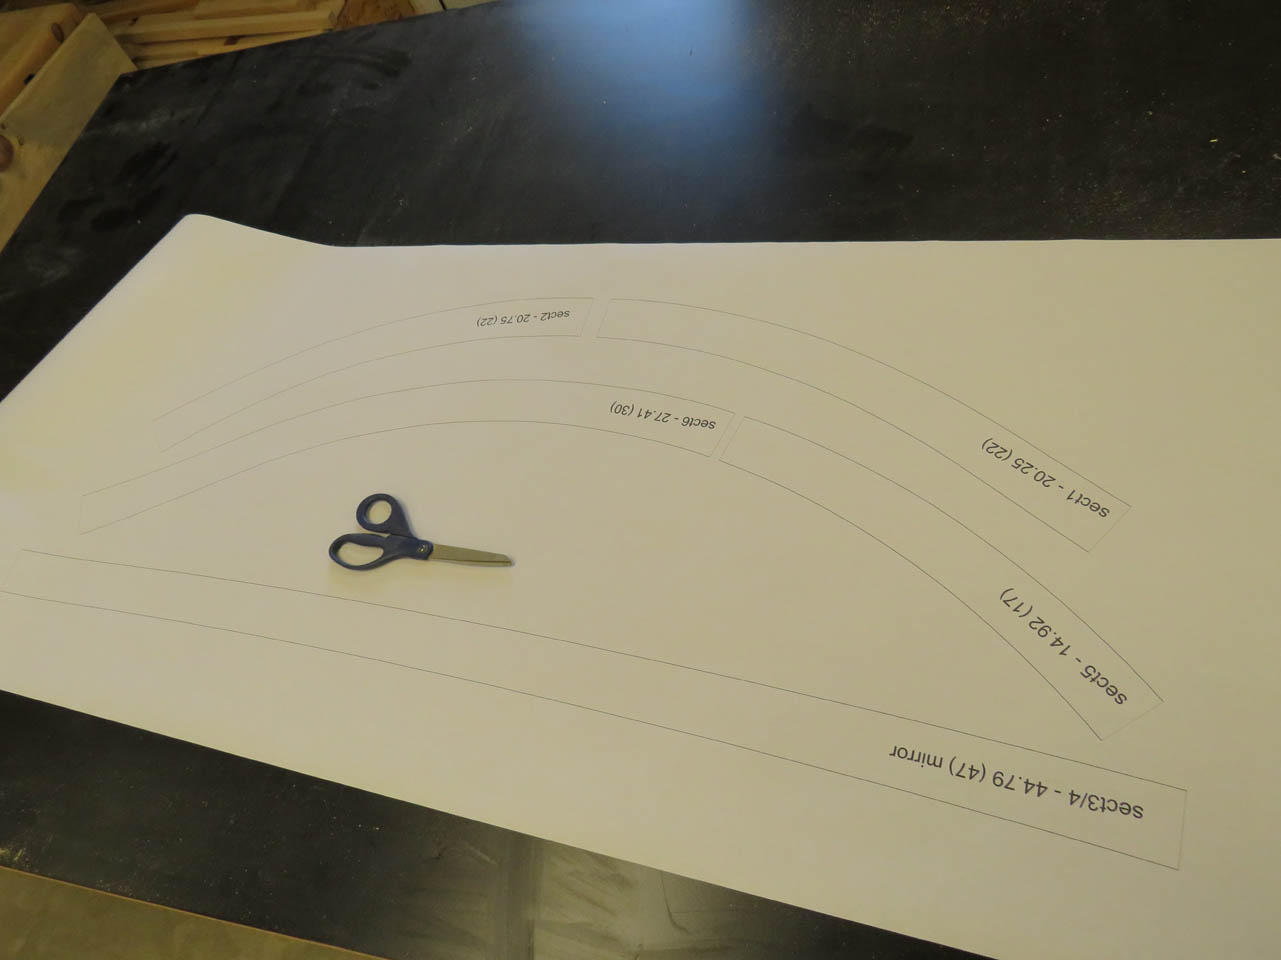
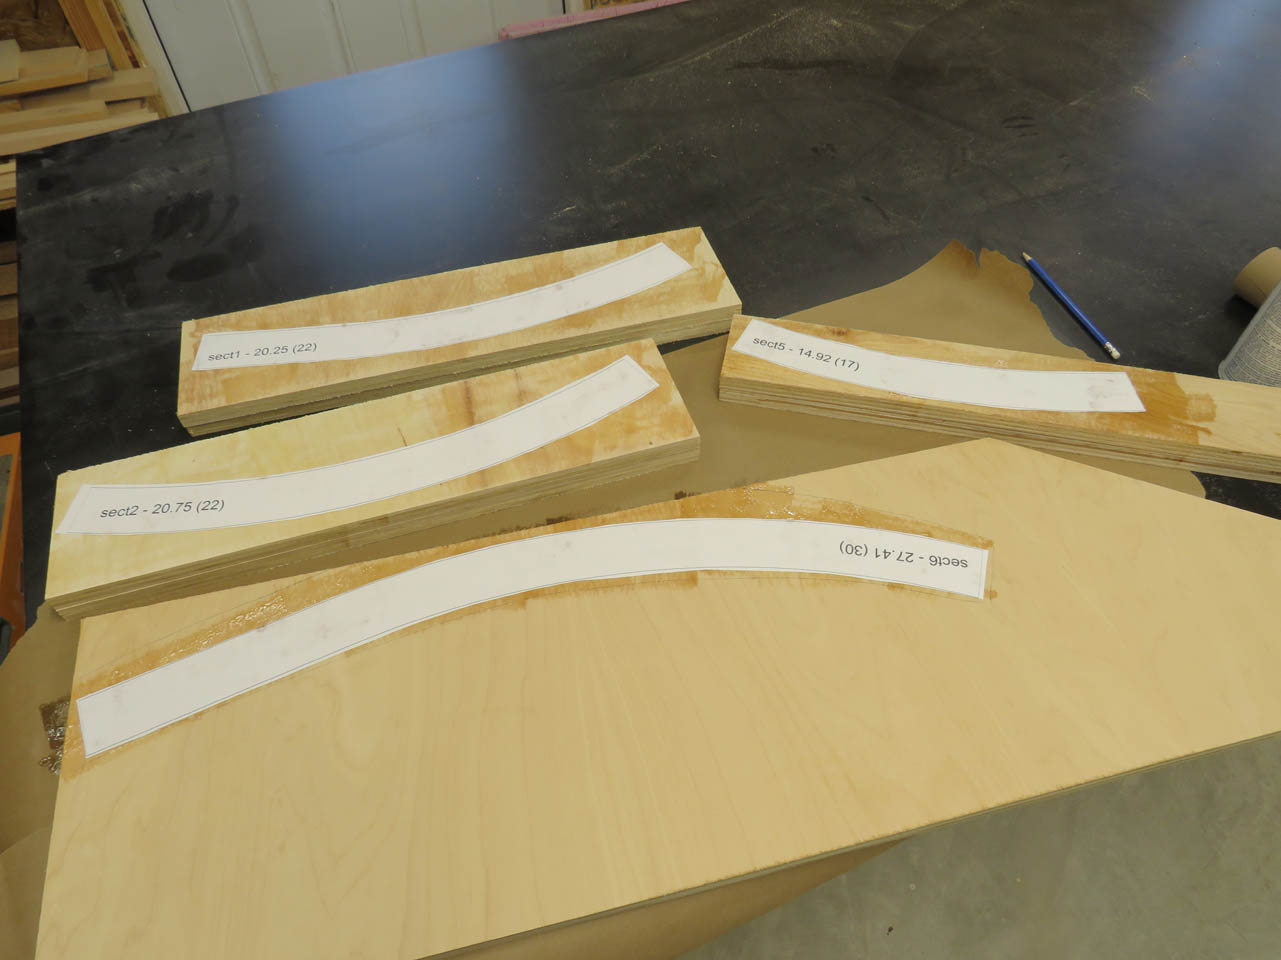
I created some more templates from the cad drawings. These are the templates for my bending forms.
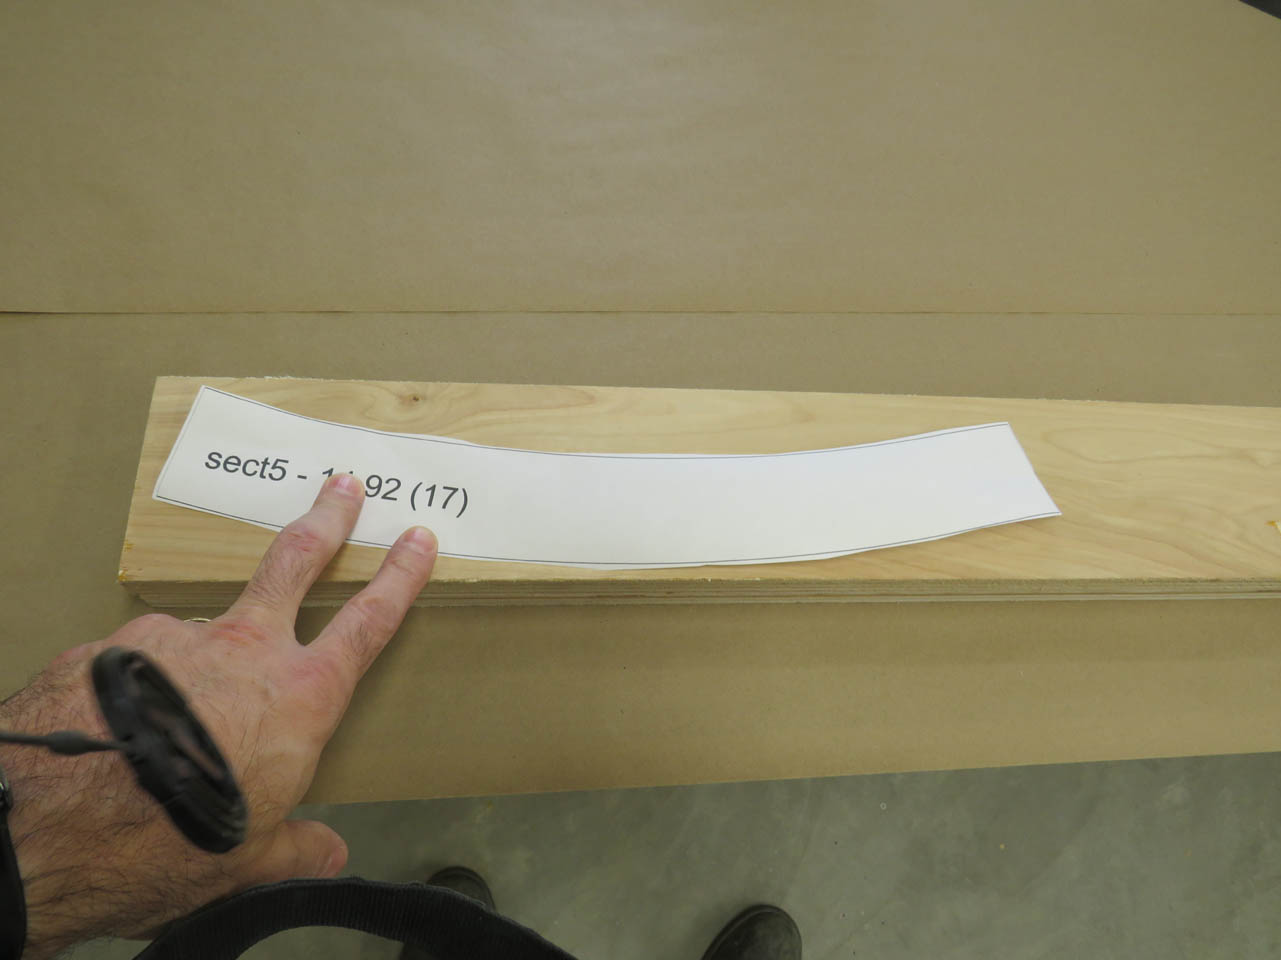
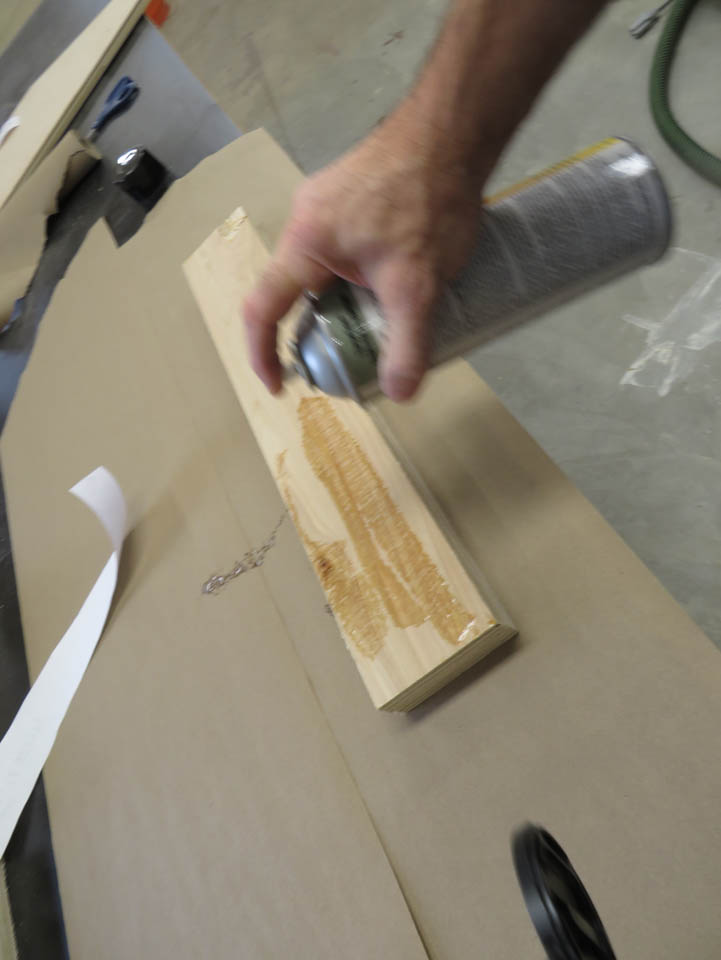
They get spray glued to some 3/4″ thick plywood.

After the glue dried, I screwed a second piece of plywood to the back of the first.

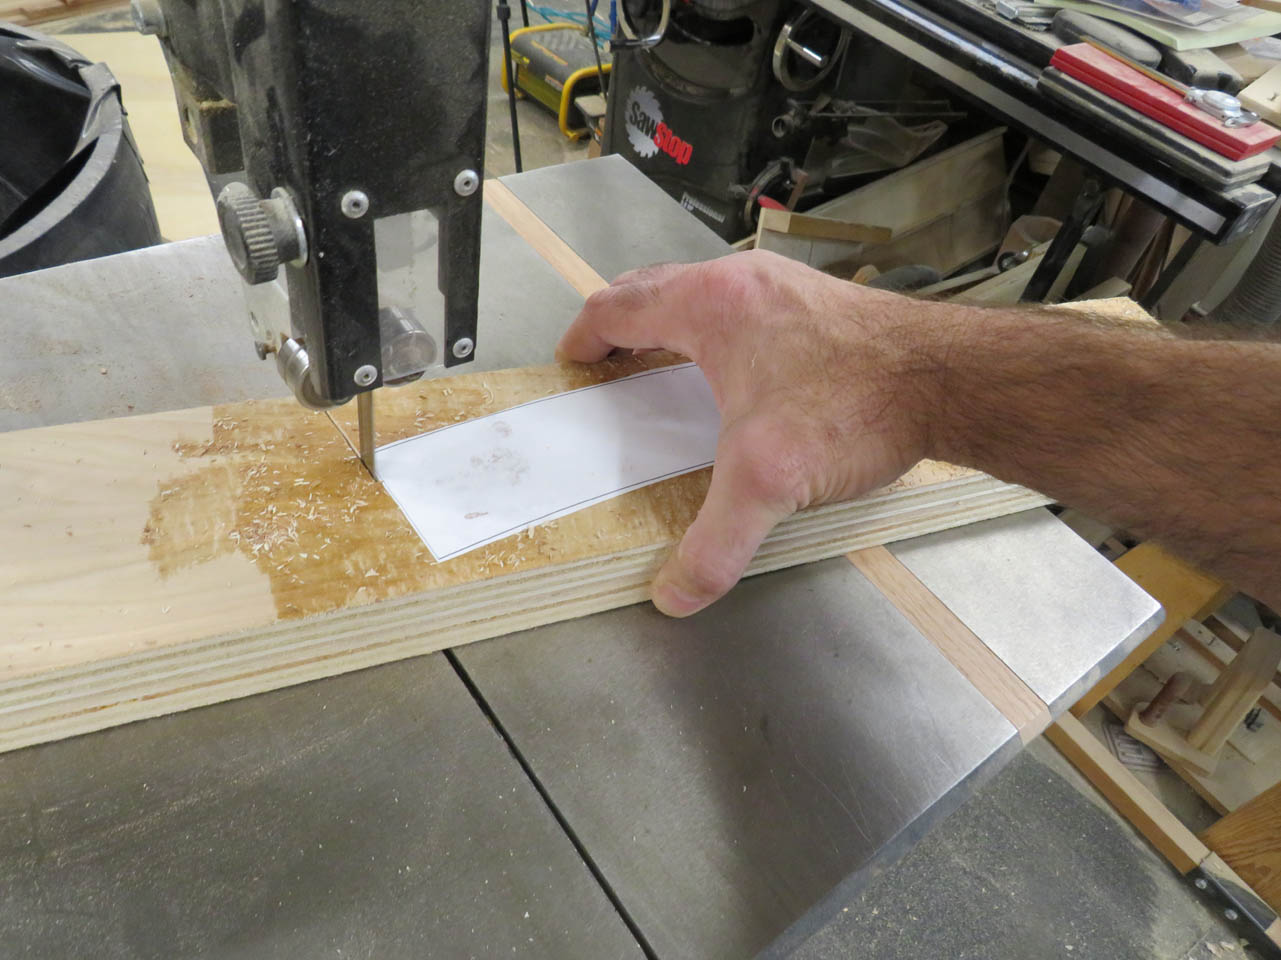
Then I cut both out on the bandsaw together.

While the two pieces are still attached, I can sand them on the spindle sander making sure they are both identical.

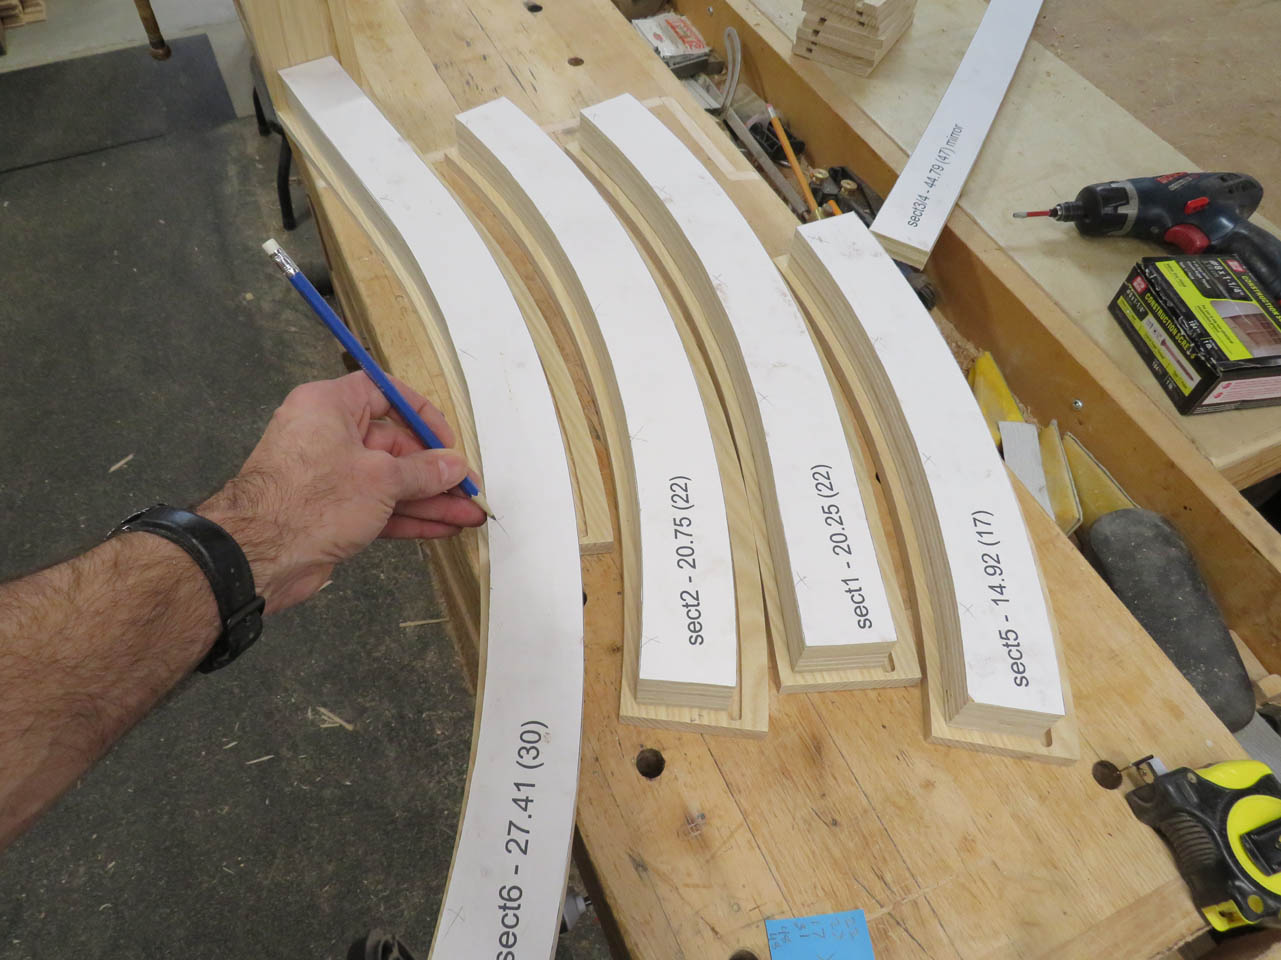
When they are done, I set them on their matching base and marked the side I would be clamping the back to. Seems silly, but it is very easy to accidentally clamp to the wrong side if you are not paying attention.
Next I disassembled the two pieces and added a 3″ tall spacer block about every 4″ or so and screwed them all back together.

Now that my bending forms are complete, I can start cutting down the wood for the curved backs of the racks.
I measured the exact lengths that I needed and added about 4″. I can cut away the excess later.
Each of these boards are over 3/4″ thick. They need to be about 1/8″ thick to bend without steam.

I re-sawed them down to just over 1/8″ thick, keeping track of their order so that I can keep the grain oriented when they are glued back together later.


Next I ran each through the drum sander to remove the saw marks and take them down to 1/8″ exactly.

Putting all three pieces back together, I can test fit them to the forms and make sure they are thin enough to bend.


Since nothing broke, I can start applying glue to each piece and stacking them back together.
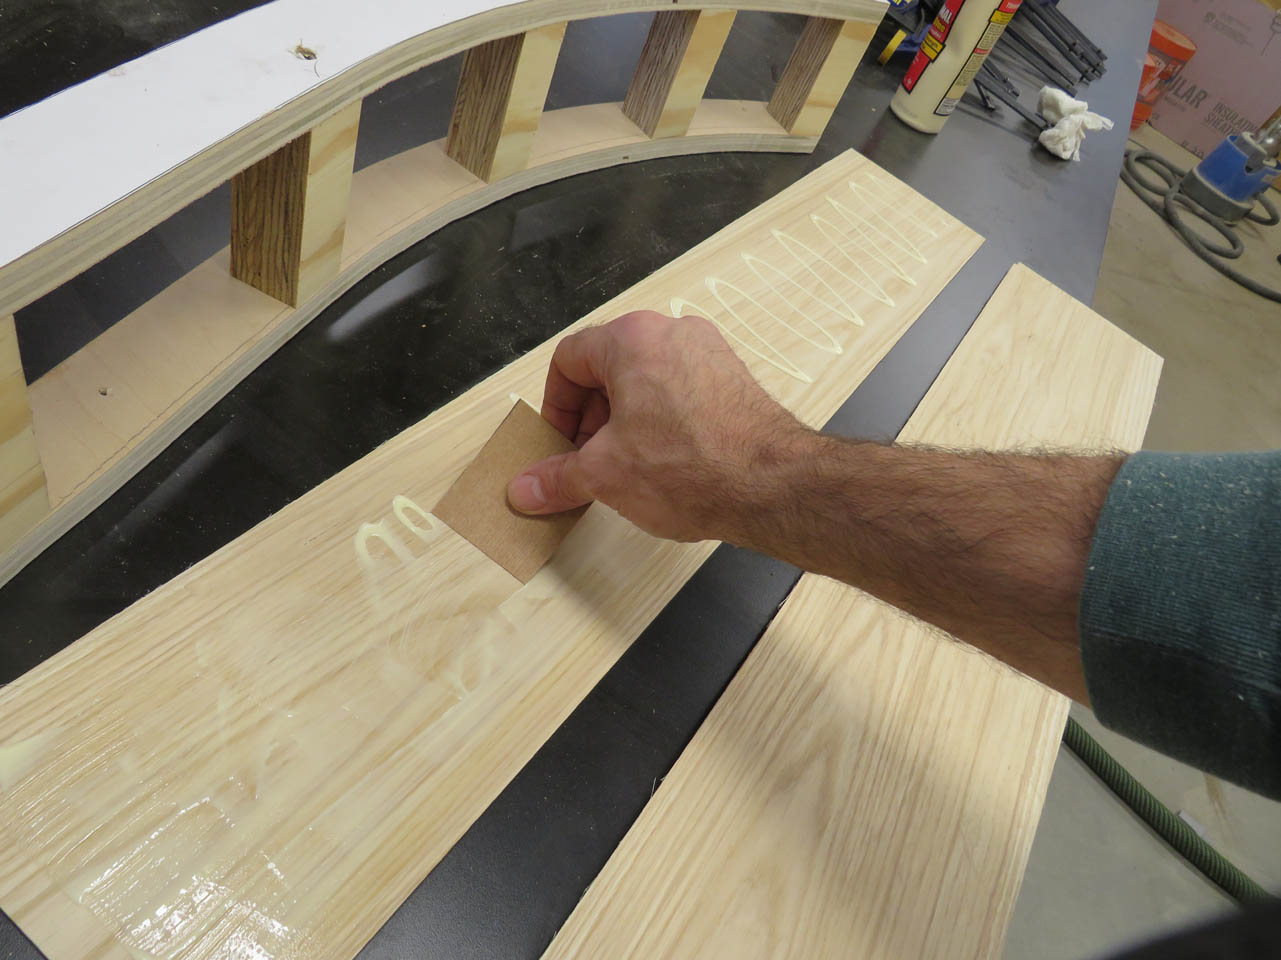
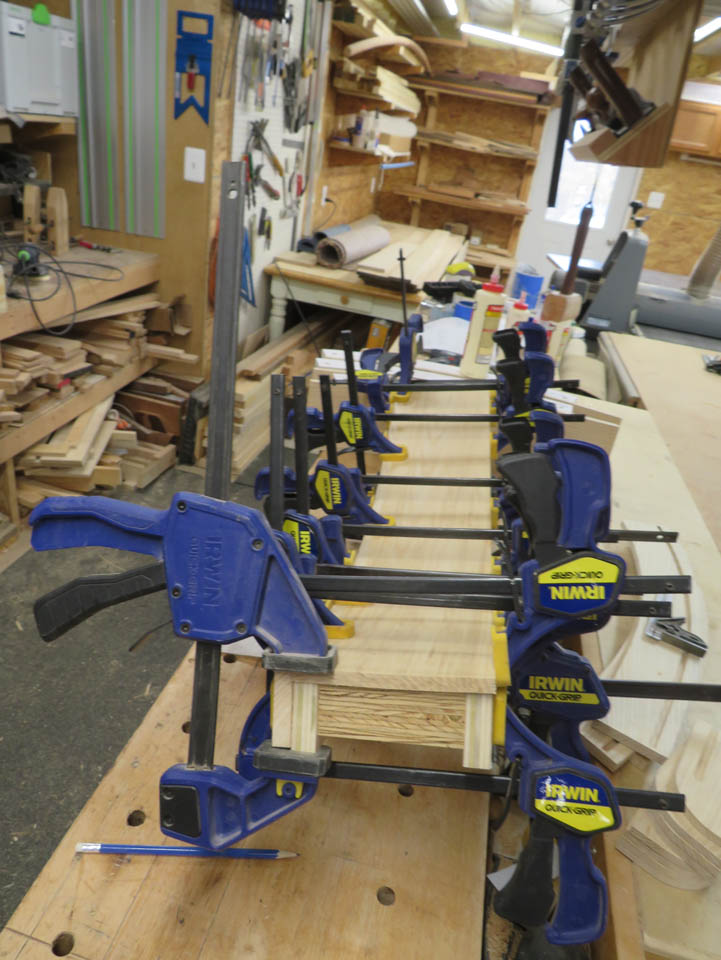
I clamped the laminated stack to the form, using as many clamps as possible to get a smooth curve.

Then I flipped it over and clamped the other side as well.

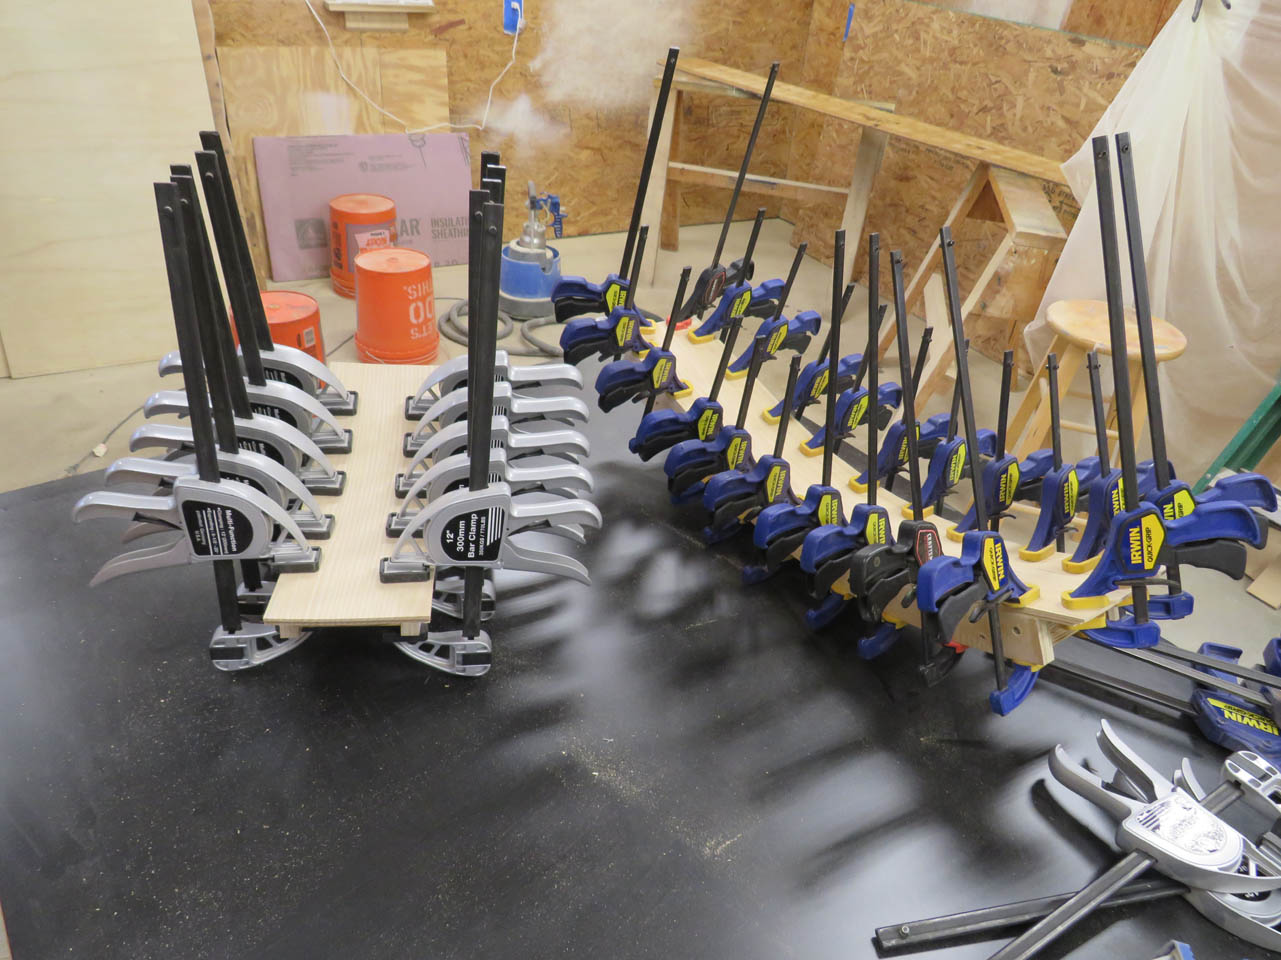
After two of these, I had to go find more clamps…
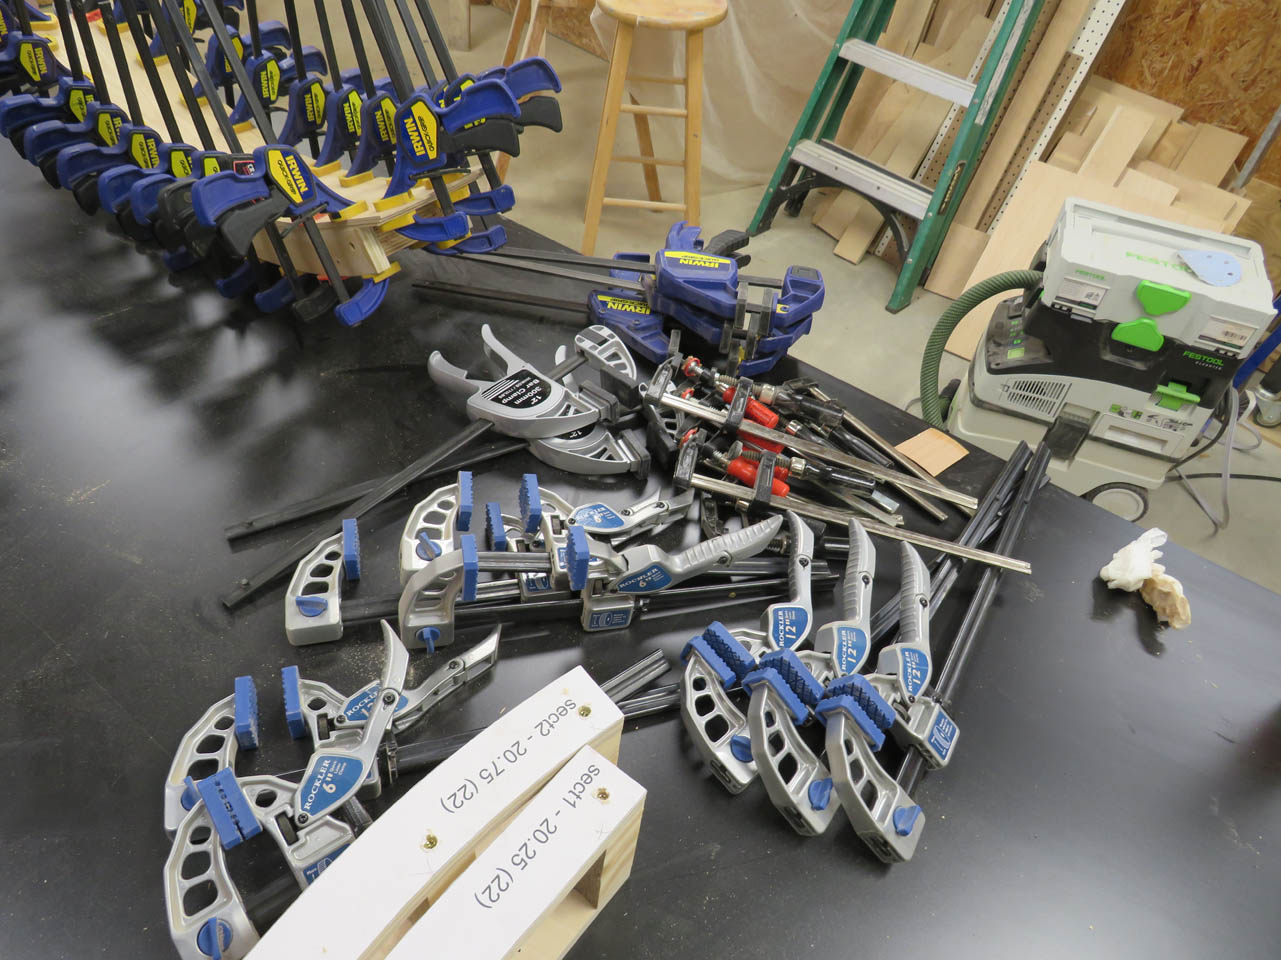
It took more than 80 clamps to do all four. Guess I need more clamps…

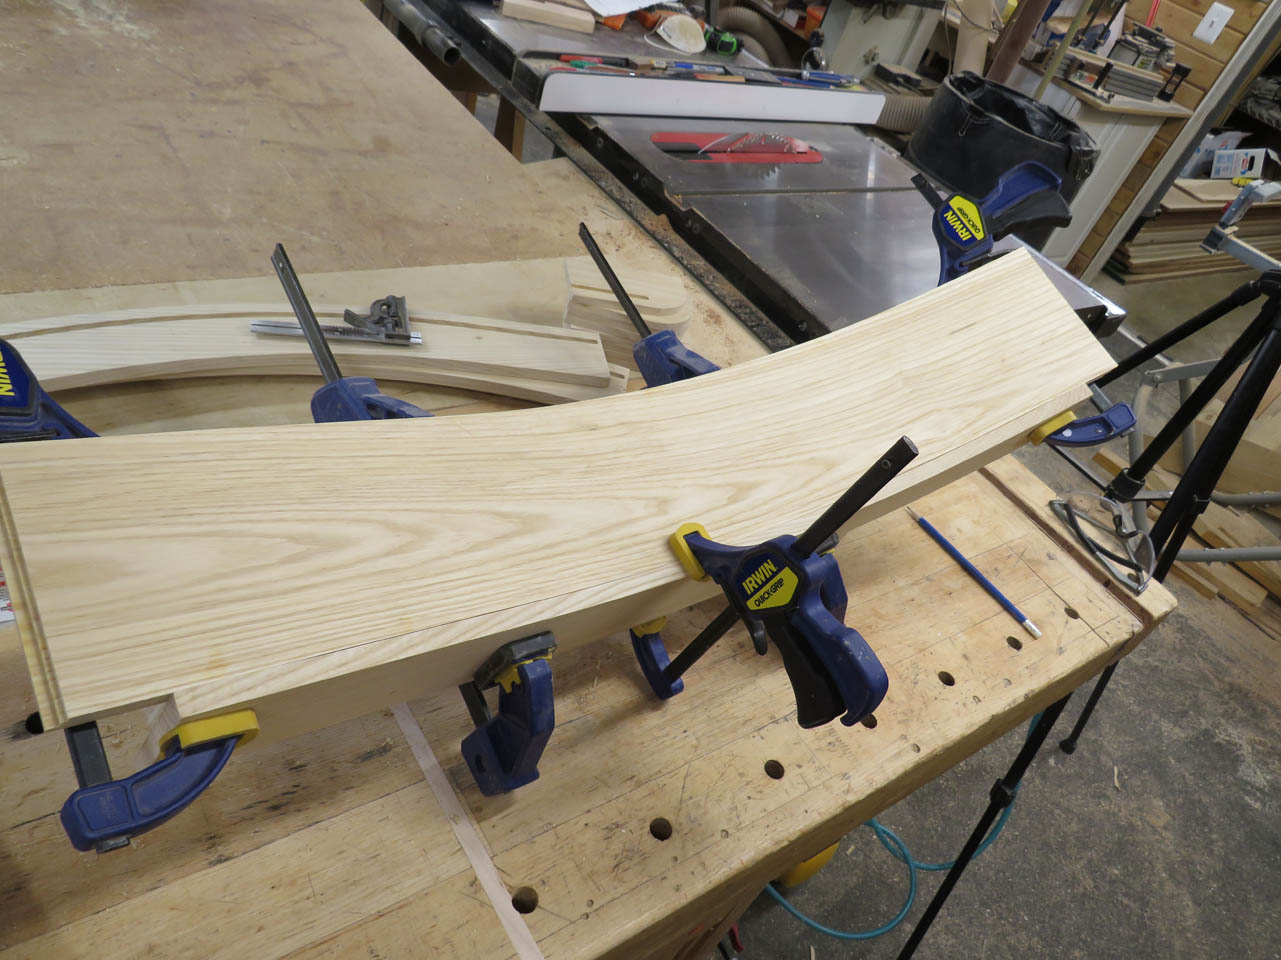
When the glue was dry, I pulled the clamps and only had a small amount of spring-back.

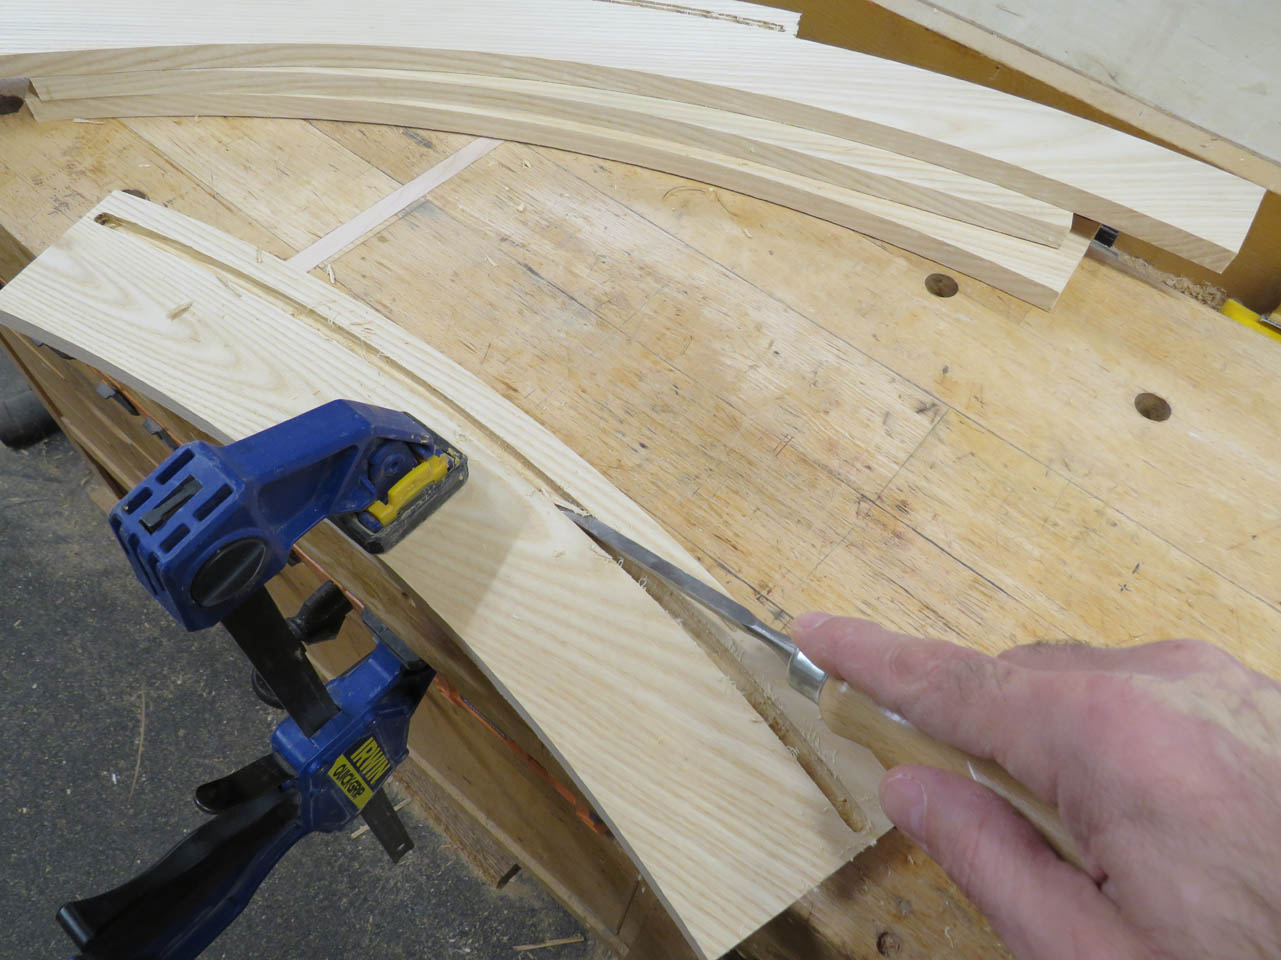
I made these back pieces about 1/4″ oversized so that I could easily clean the edges up. I ran one side along the jointer to get it perfectly flat.
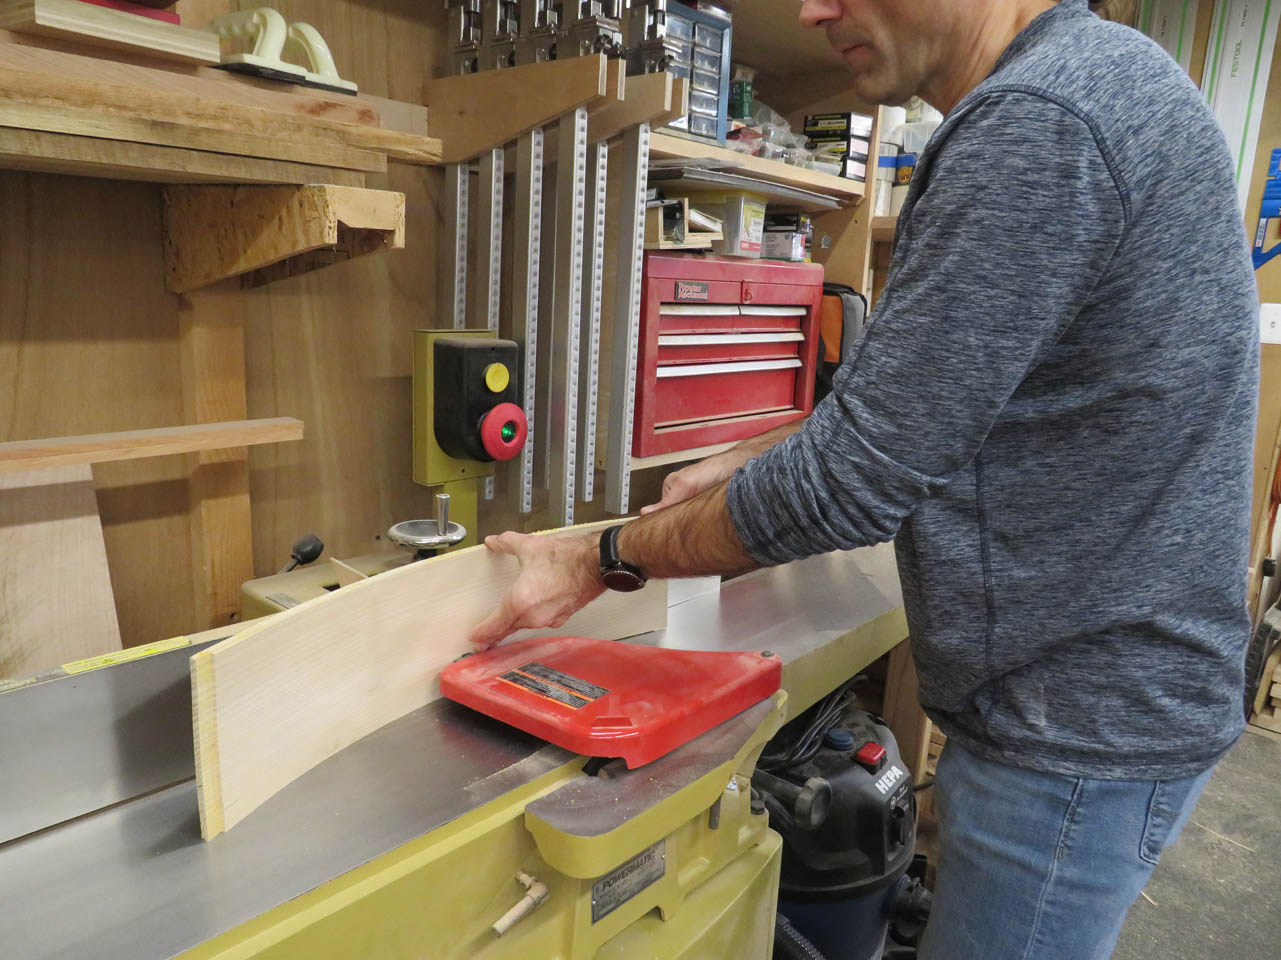
Then holding it against the fence of the table saw, I can roll the curve through the blade to cut the opposite side to the correct width.

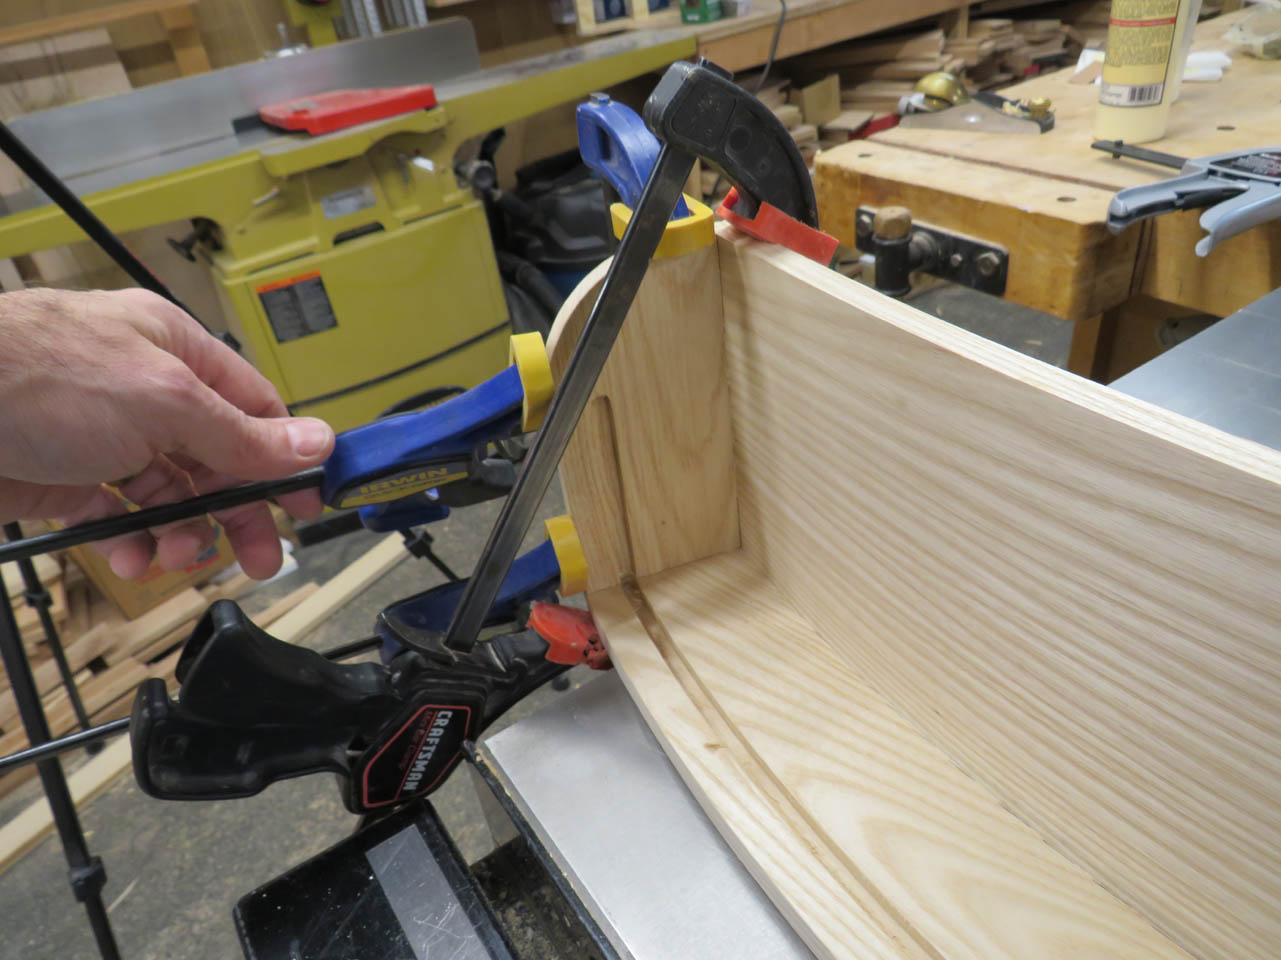
Next I clamped the form to the base, holding it exactly 3/8″ off the back where the new laminations will sit.

I clamped them in place and marked the end of the base’s location on each end.

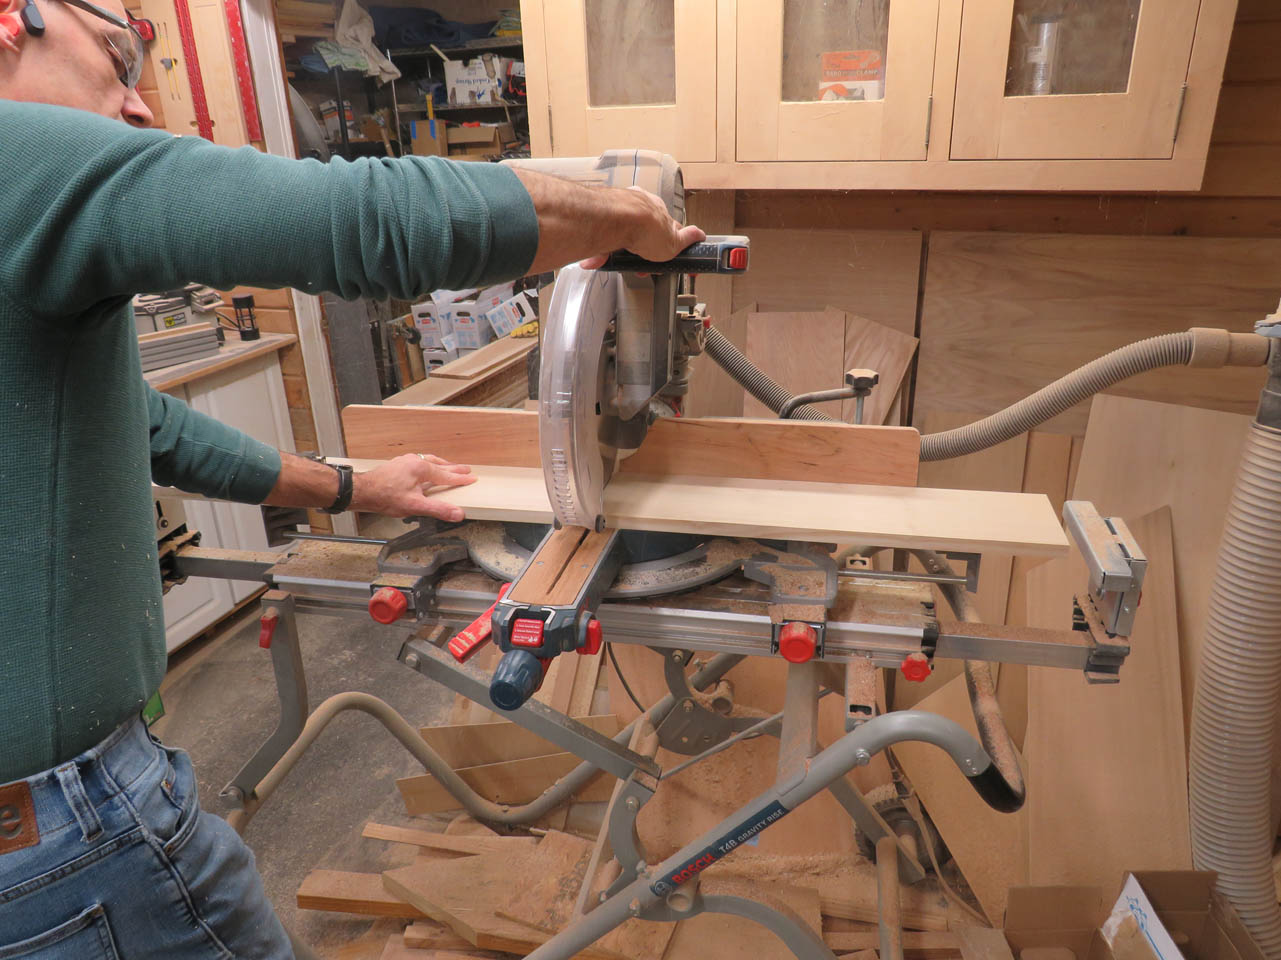
So that I could carefully cut it to length on the miter saw.

I didn’t bother to get the angle perfect. I can sand or plane this part down later.


Time to apply glue to the bottom edge and clamp the bent backs into place.

When all four were dry, I pulled the clamps.
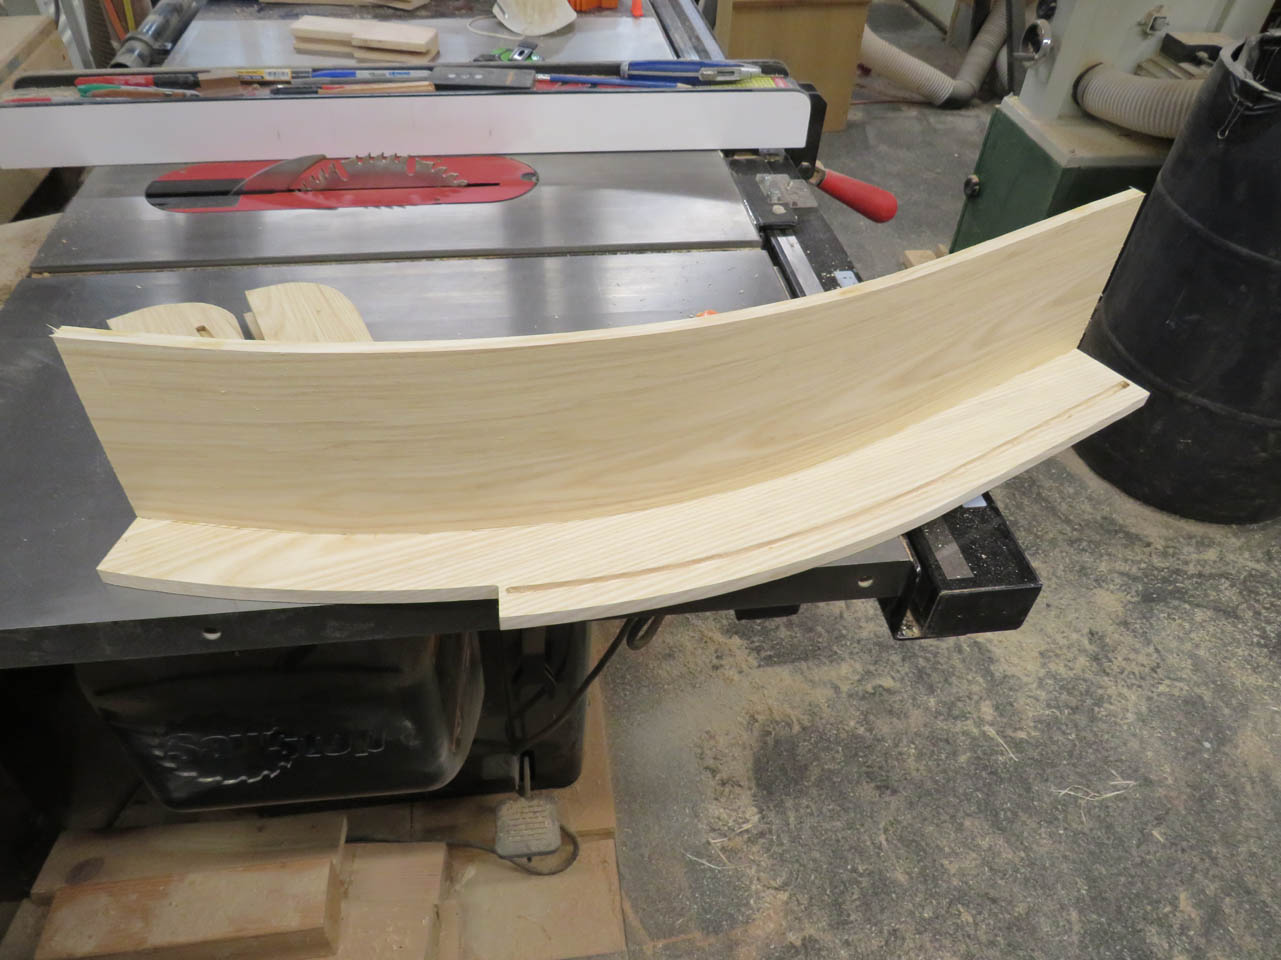
They worked perfectly. Now I can attach the ends as well.

Some of these require a slight change to the mating back angle.
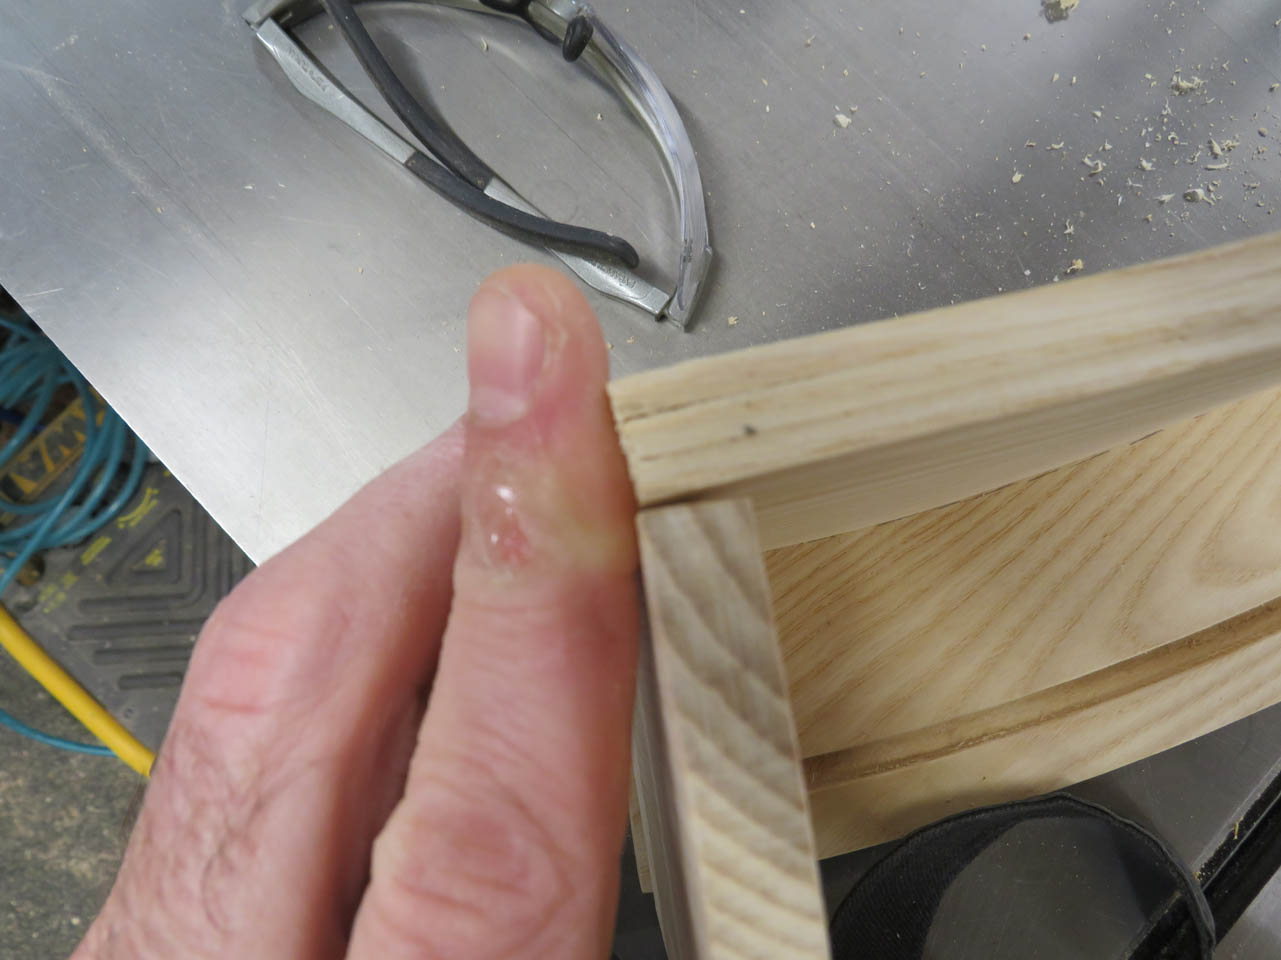
This was carefully accomplished with a block plane.

Now it fits nicely.

Then it was time to glue them in place as well, making sure the grooves stayed in perfect alignment.
Since the entire assembly will be under a bit of tension from the bent acrylic, I decided to add some small screws to the bottom of each side piece.
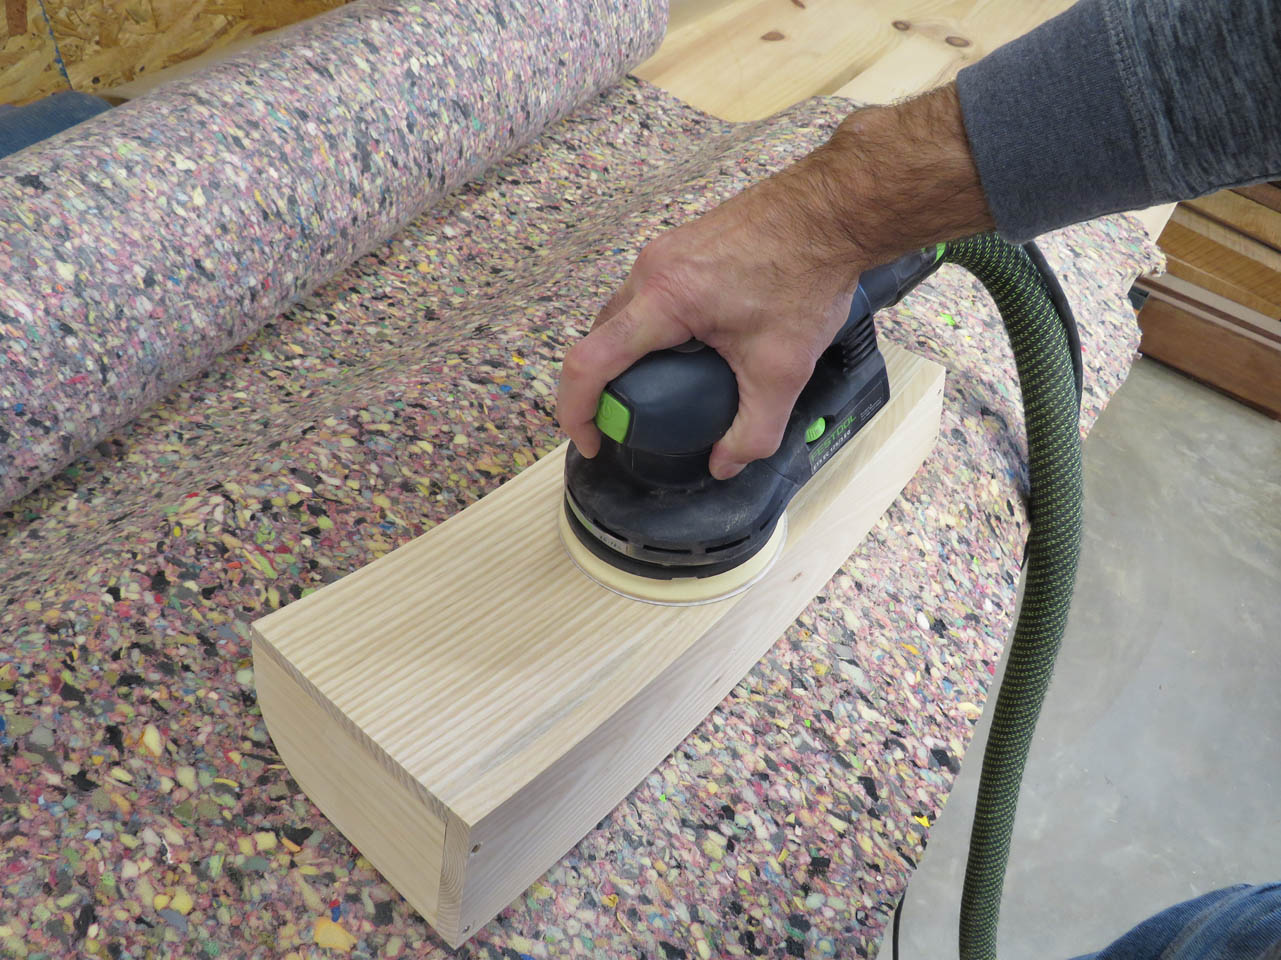
When everything was dry, I pulled all of the clamps and started sanding.

I think they turned out nice. I am dreading installing the acrylic. I could have installed it easily before gluing on the sides, but it would have made staining and finishing the wood impossible. I have a plan for the acrylic. We will see if it works later…


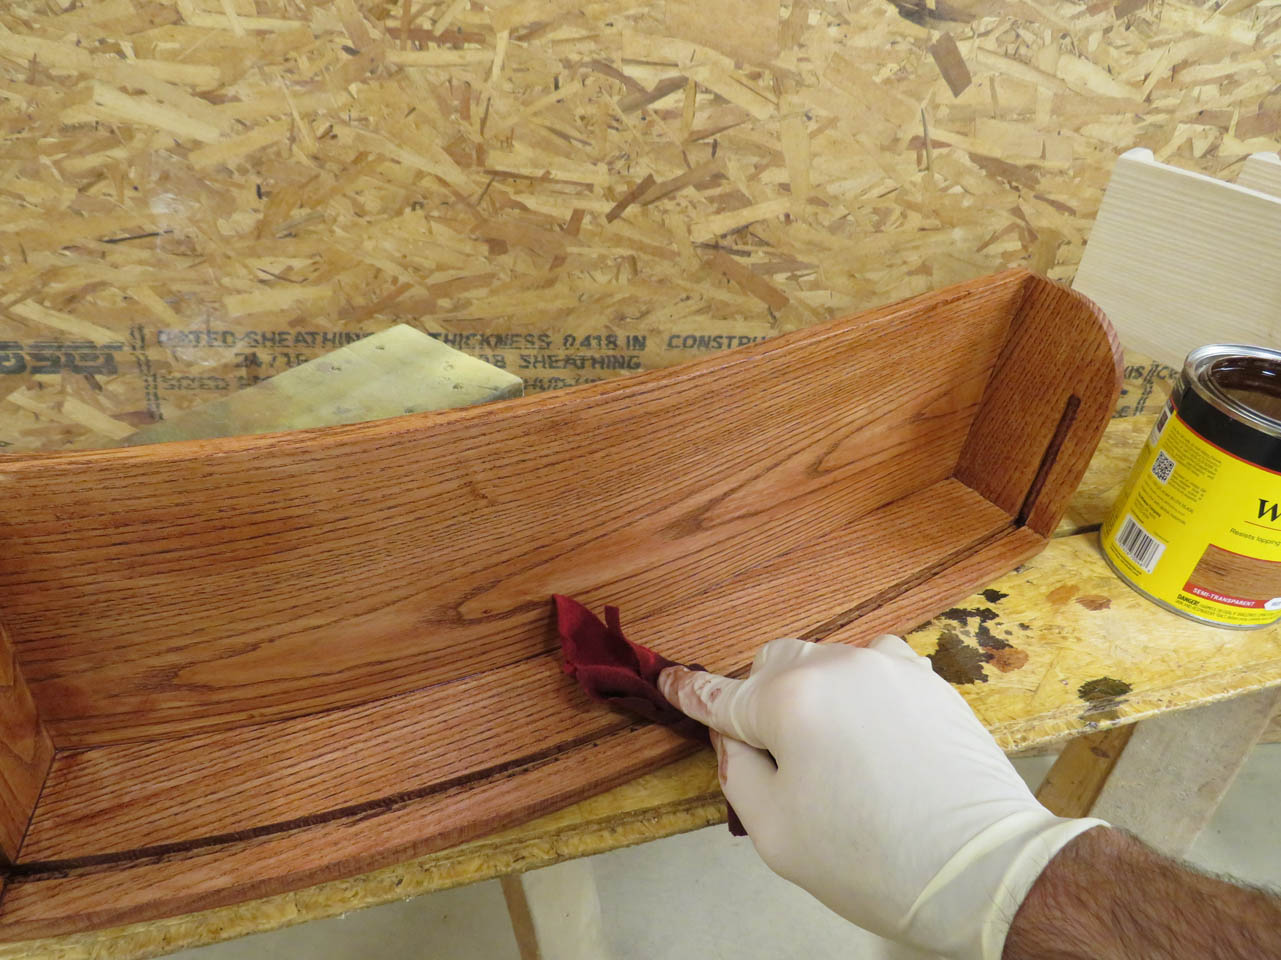
I am using a red chestnut stain to attempt to match the stain on the reception desk.

I hit all of the corners and grooves with the brush, then follow up with a cloth to spread the stain smoothly and remove any excess.

After drying for 24 hours, I felt the color was a bit too light still so I tried applying a second coat of stain.

This did seem to darken things up a bit. The oil-based poly will also darken it up a bit as well.

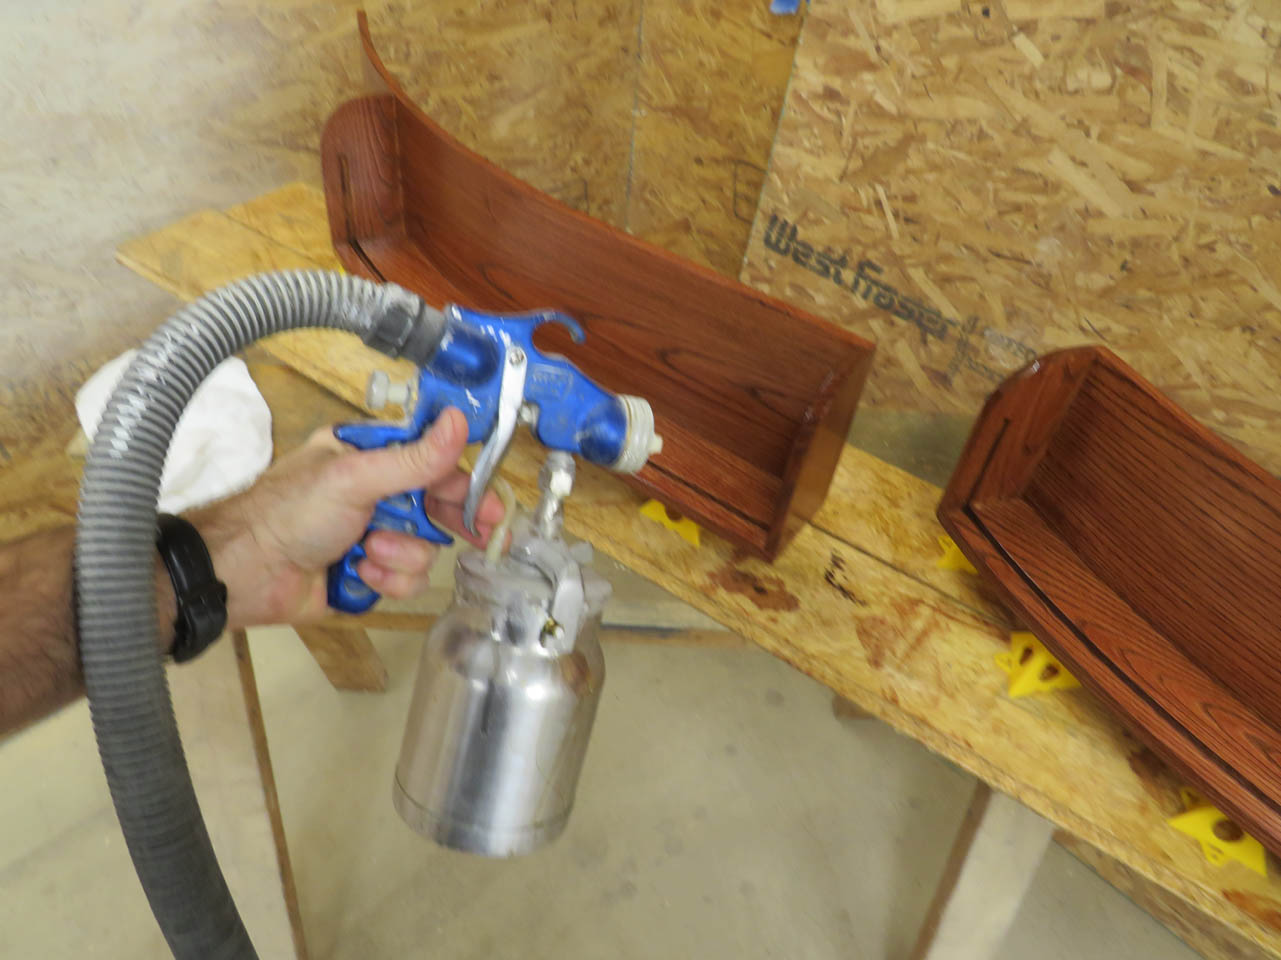
When that was dry, I applied the first spray coat of oil-based polyurethane.
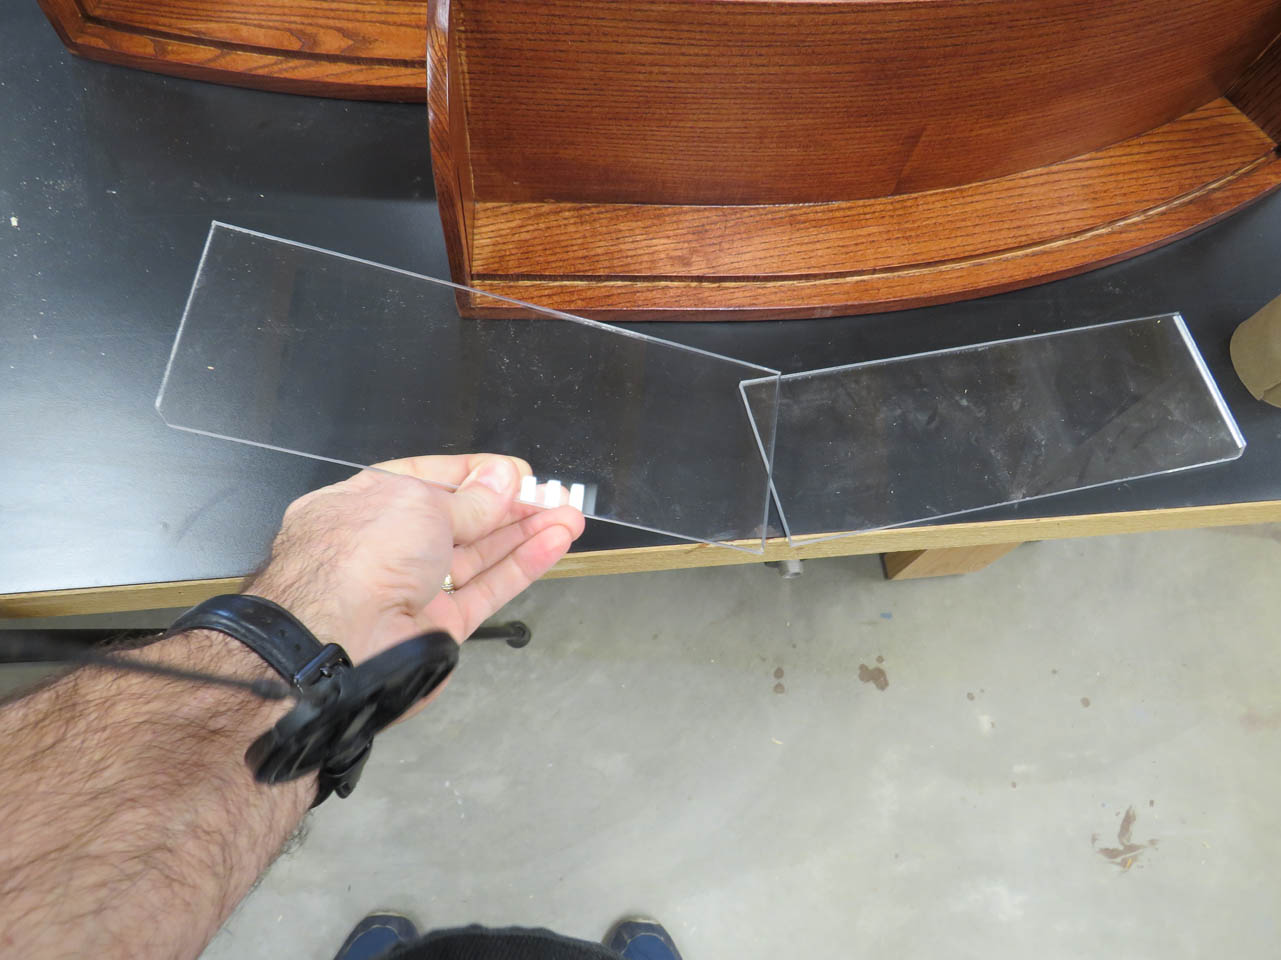
Since that has to sit at least half a day before the next coat, time to start on the acrylic. I bought a sheet of .22″ thick clear acrylic. I cut several pieces 4″ wide by 24″ long. All of these are oversized.

My plan is to cut a small chamfer onto each upper corner so that I can squeeze these into the slots once the finish is dry. It should let me squeeze into the side grooves , then drop down into the bottom slot while the sides expand out. I tested one before stain and it worked.

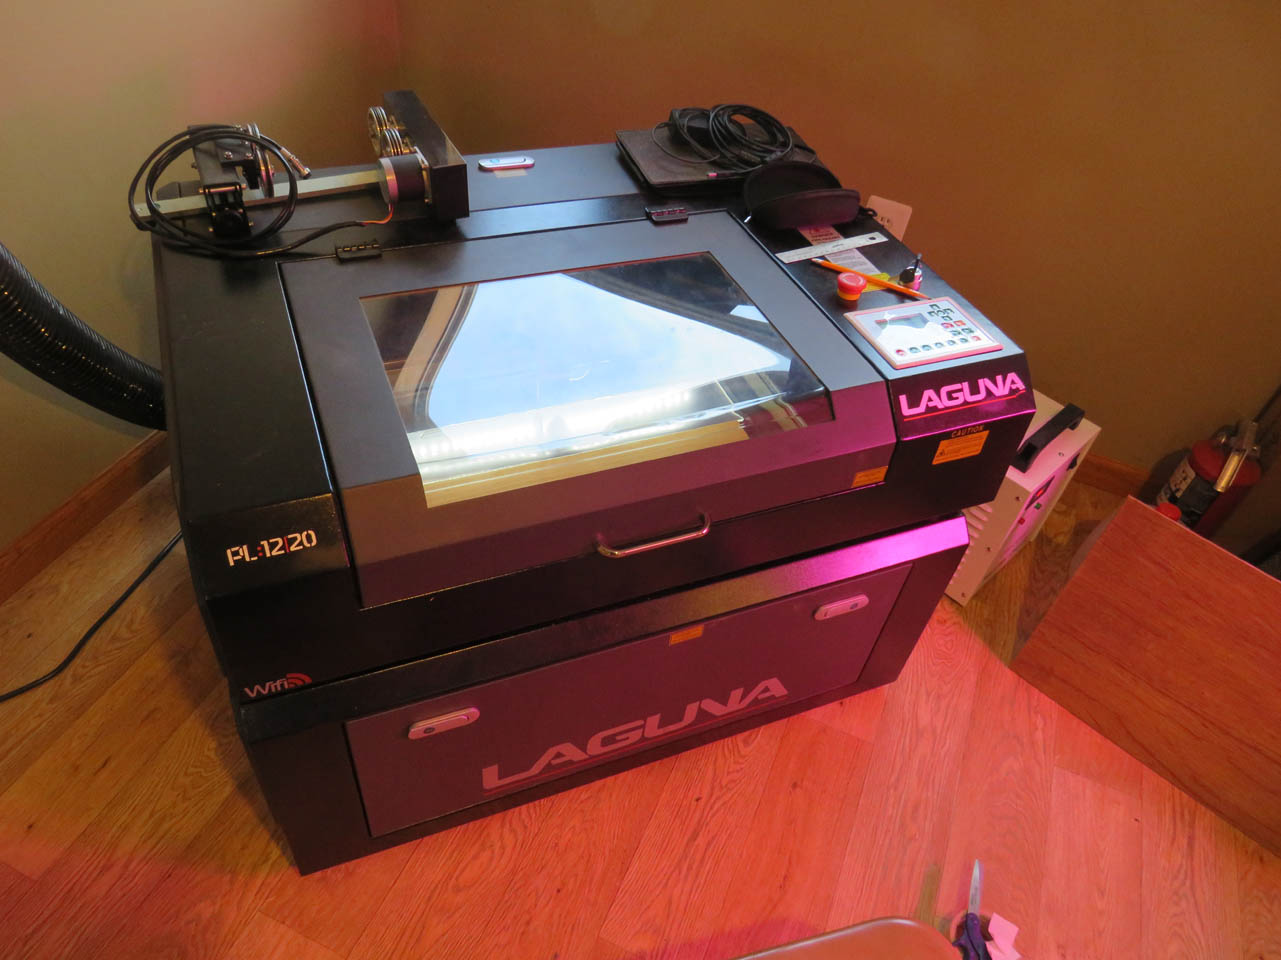
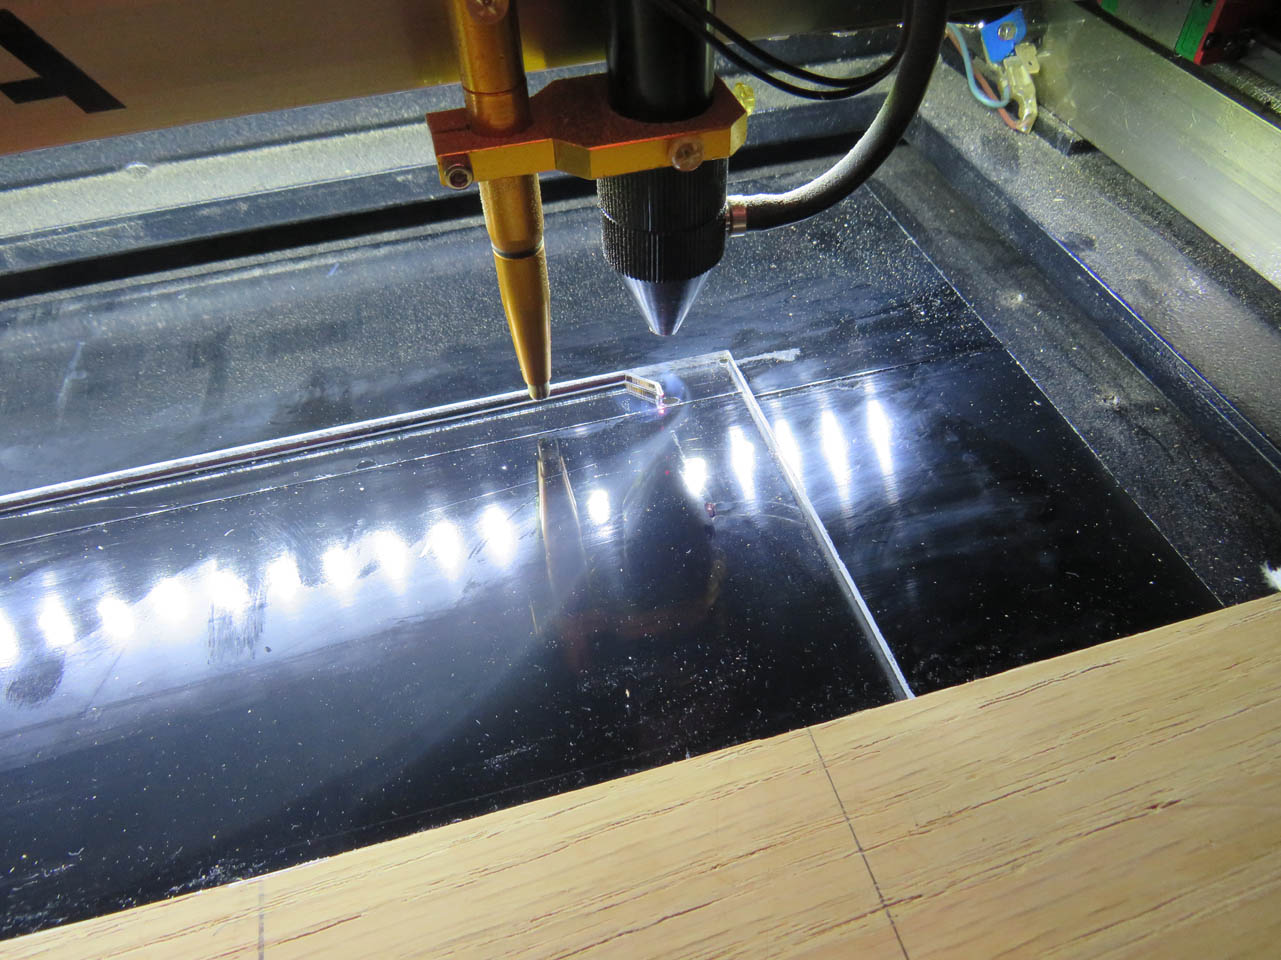
I decided to use my C02 laser to cut these since it leaves a glass smooth edge where it cuts. The table saw leaves a much rougher edge so hopefully this will give me a better look in the end.

My final piece is 3-3/4″ and the acrylic is cut to 4″ so I set up a straight edge to align each piece to before cutting. Then I let the laser do it’s job.

It left a weird oily substance behind when I cut so I tried without the protective film as well. No difference and the oil wiped up fairly easily so I left the film on so nothing got scratched.
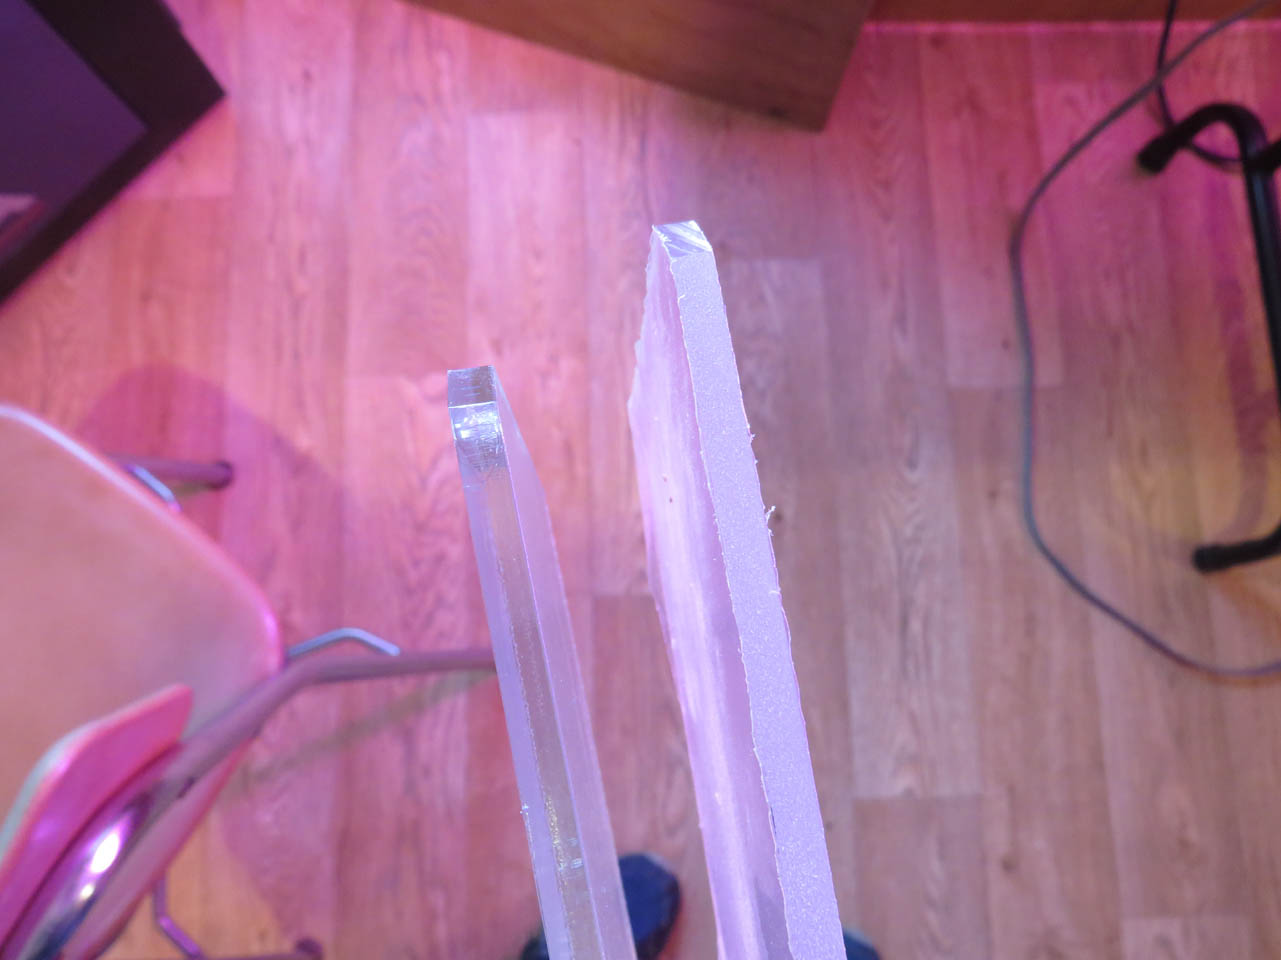
You can see the edge differences in the picture below. The one on the left was cut on the laser and the right, with the table saw. The laser is much cleaner.

When the first coat was dry, I sanded everything with 400 grit paper and applied the second coat of satin poly. I repeated this again to end up with three coats total.

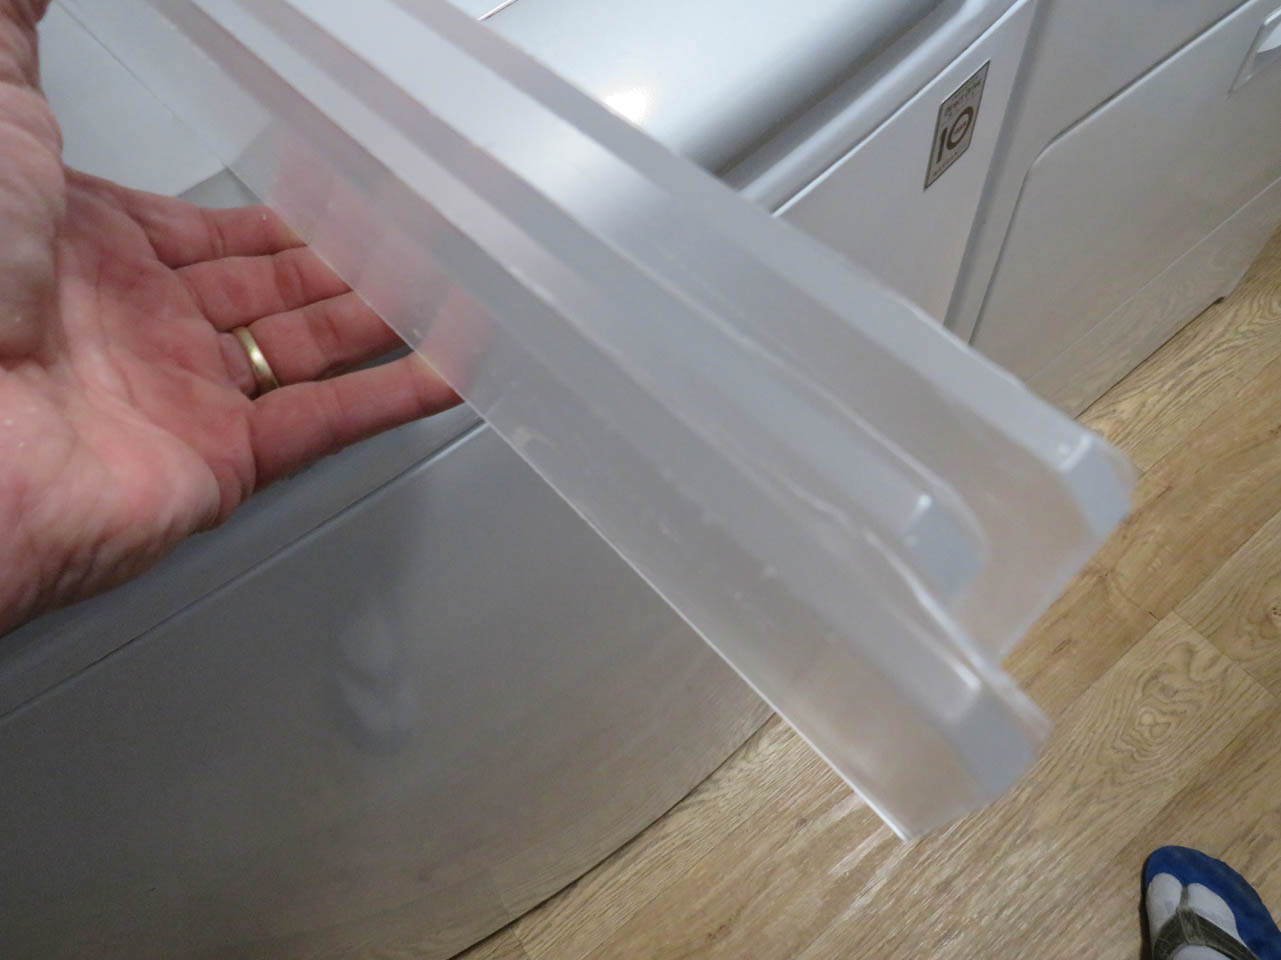
While the laser cuts a beautiful edge it also leaves insanely sharp corners so I decided to sand and polish all of the edges anyway. I sanded from 120 grit down to 600 grit with dry sandpaper then switched to wet-sanding from 600 grit all the way down to 12,ooo grit.

Now all the edges are soft and smooth.
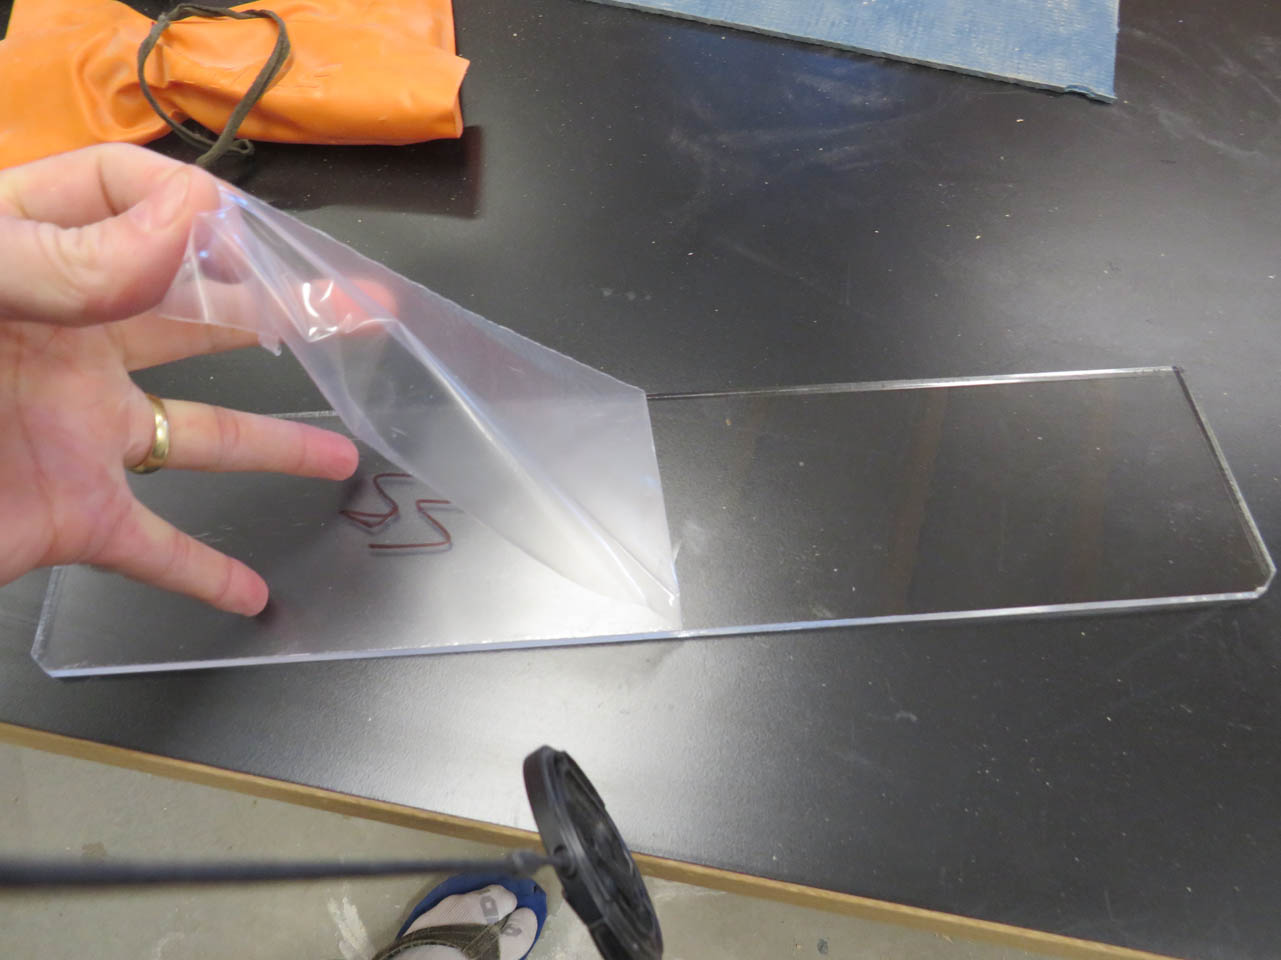
Time to peel off the protective film and install.
I start by pressing one end into the groove, chamfer up, then I inserted a roll of paper to use as a fulcrum and bent the acrylic around until I could squeeze it into the opposite side.

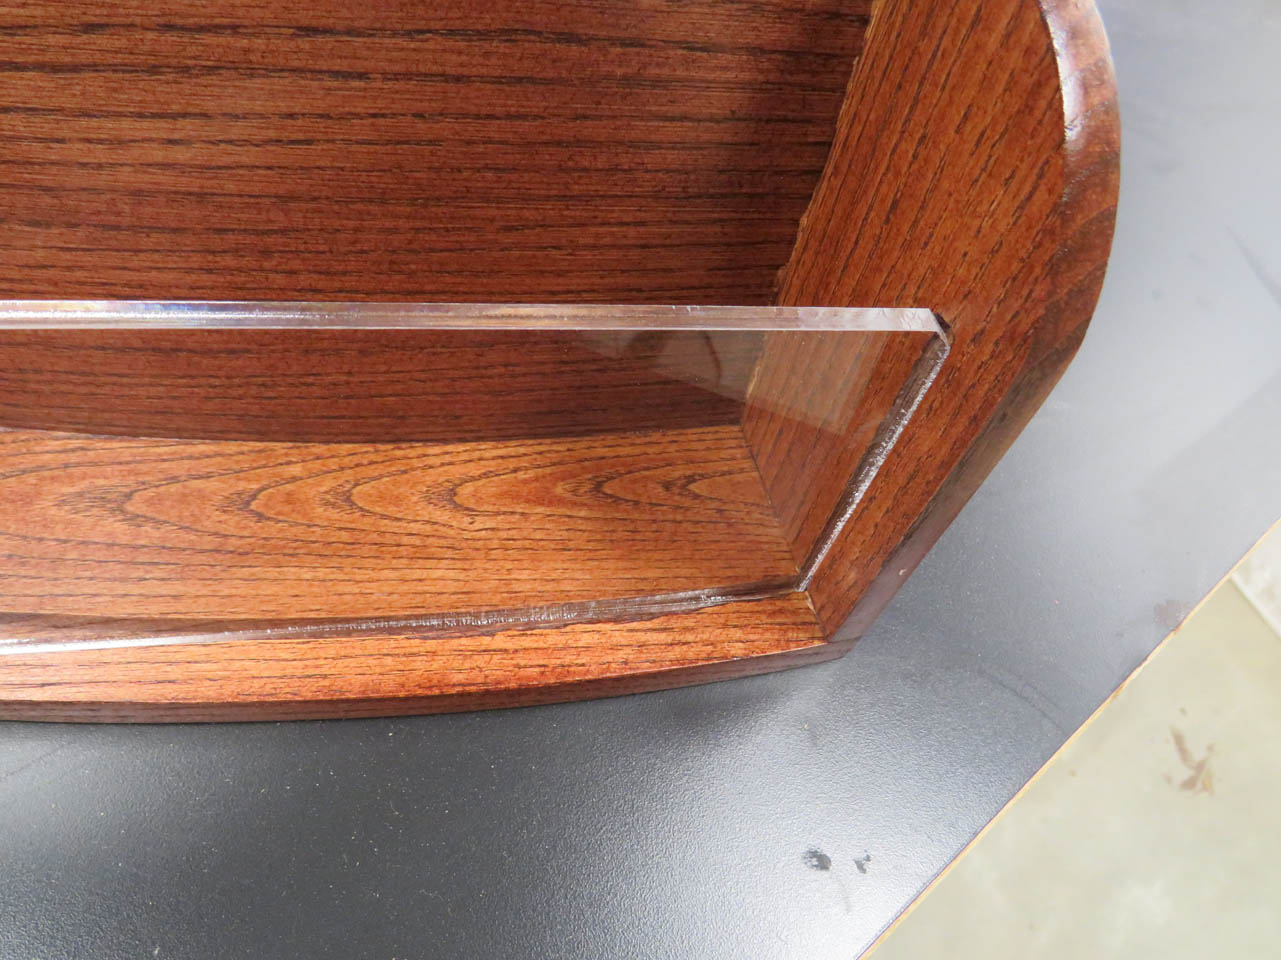
After removing the roll, I can press the bow in the acrylic gently till the sides expand further into the slots and I can drop the rest down into the slot on the bottom.
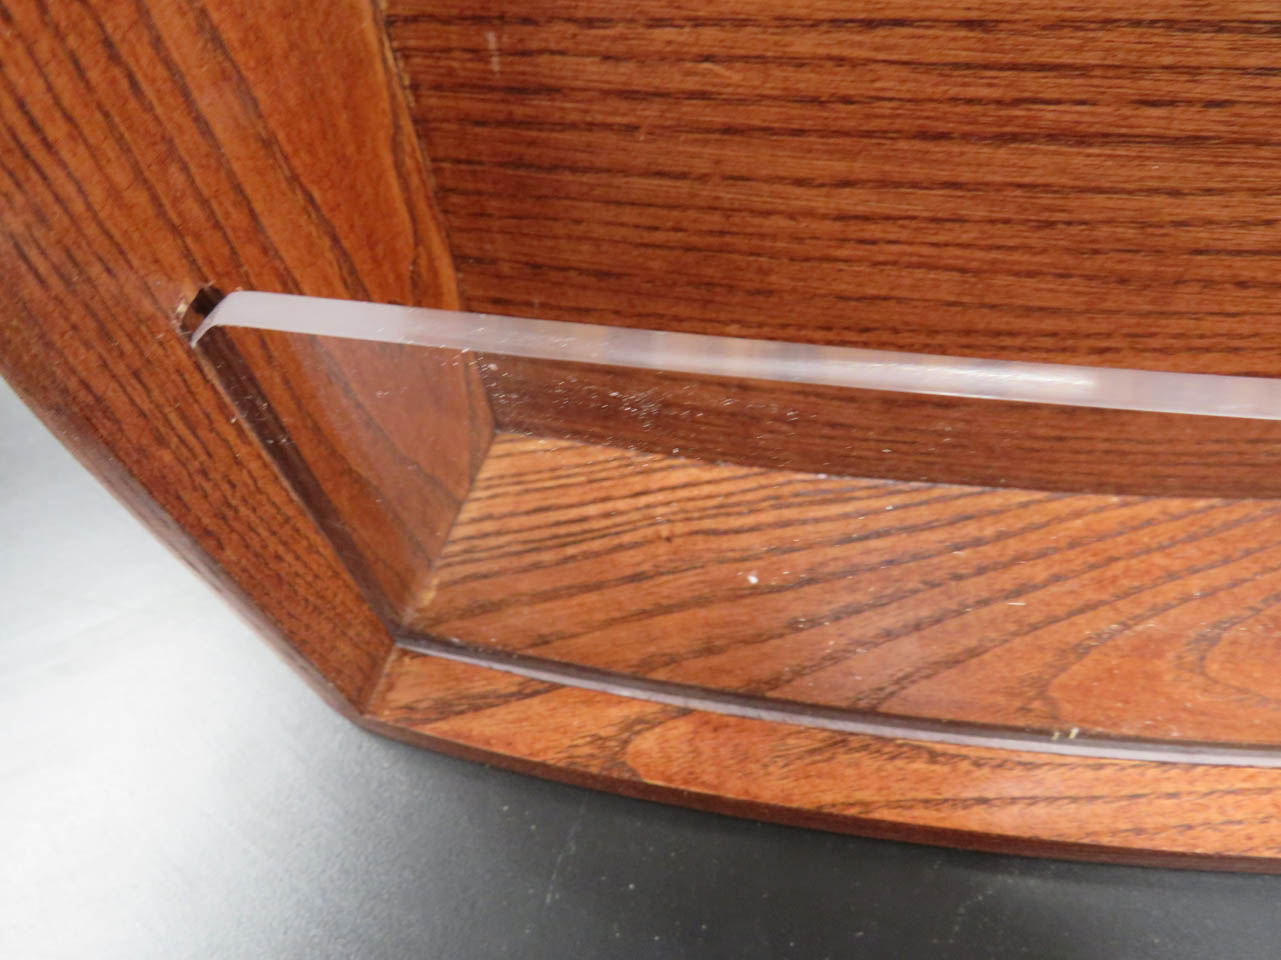

A little tricky, but it worked pretty well and it will not come out by accident.

Time to try the next one.

It broke. I started with the shortest thinking it would be the hardest. Apparently not because the longest one is the one that broke.
The rest installed similar to the first but I did have to remake one of them. Perhaps there was a crack or flaw in the acrylic.

The last thing I want to do is install a couple of non-skid rubber dots on the bottom .

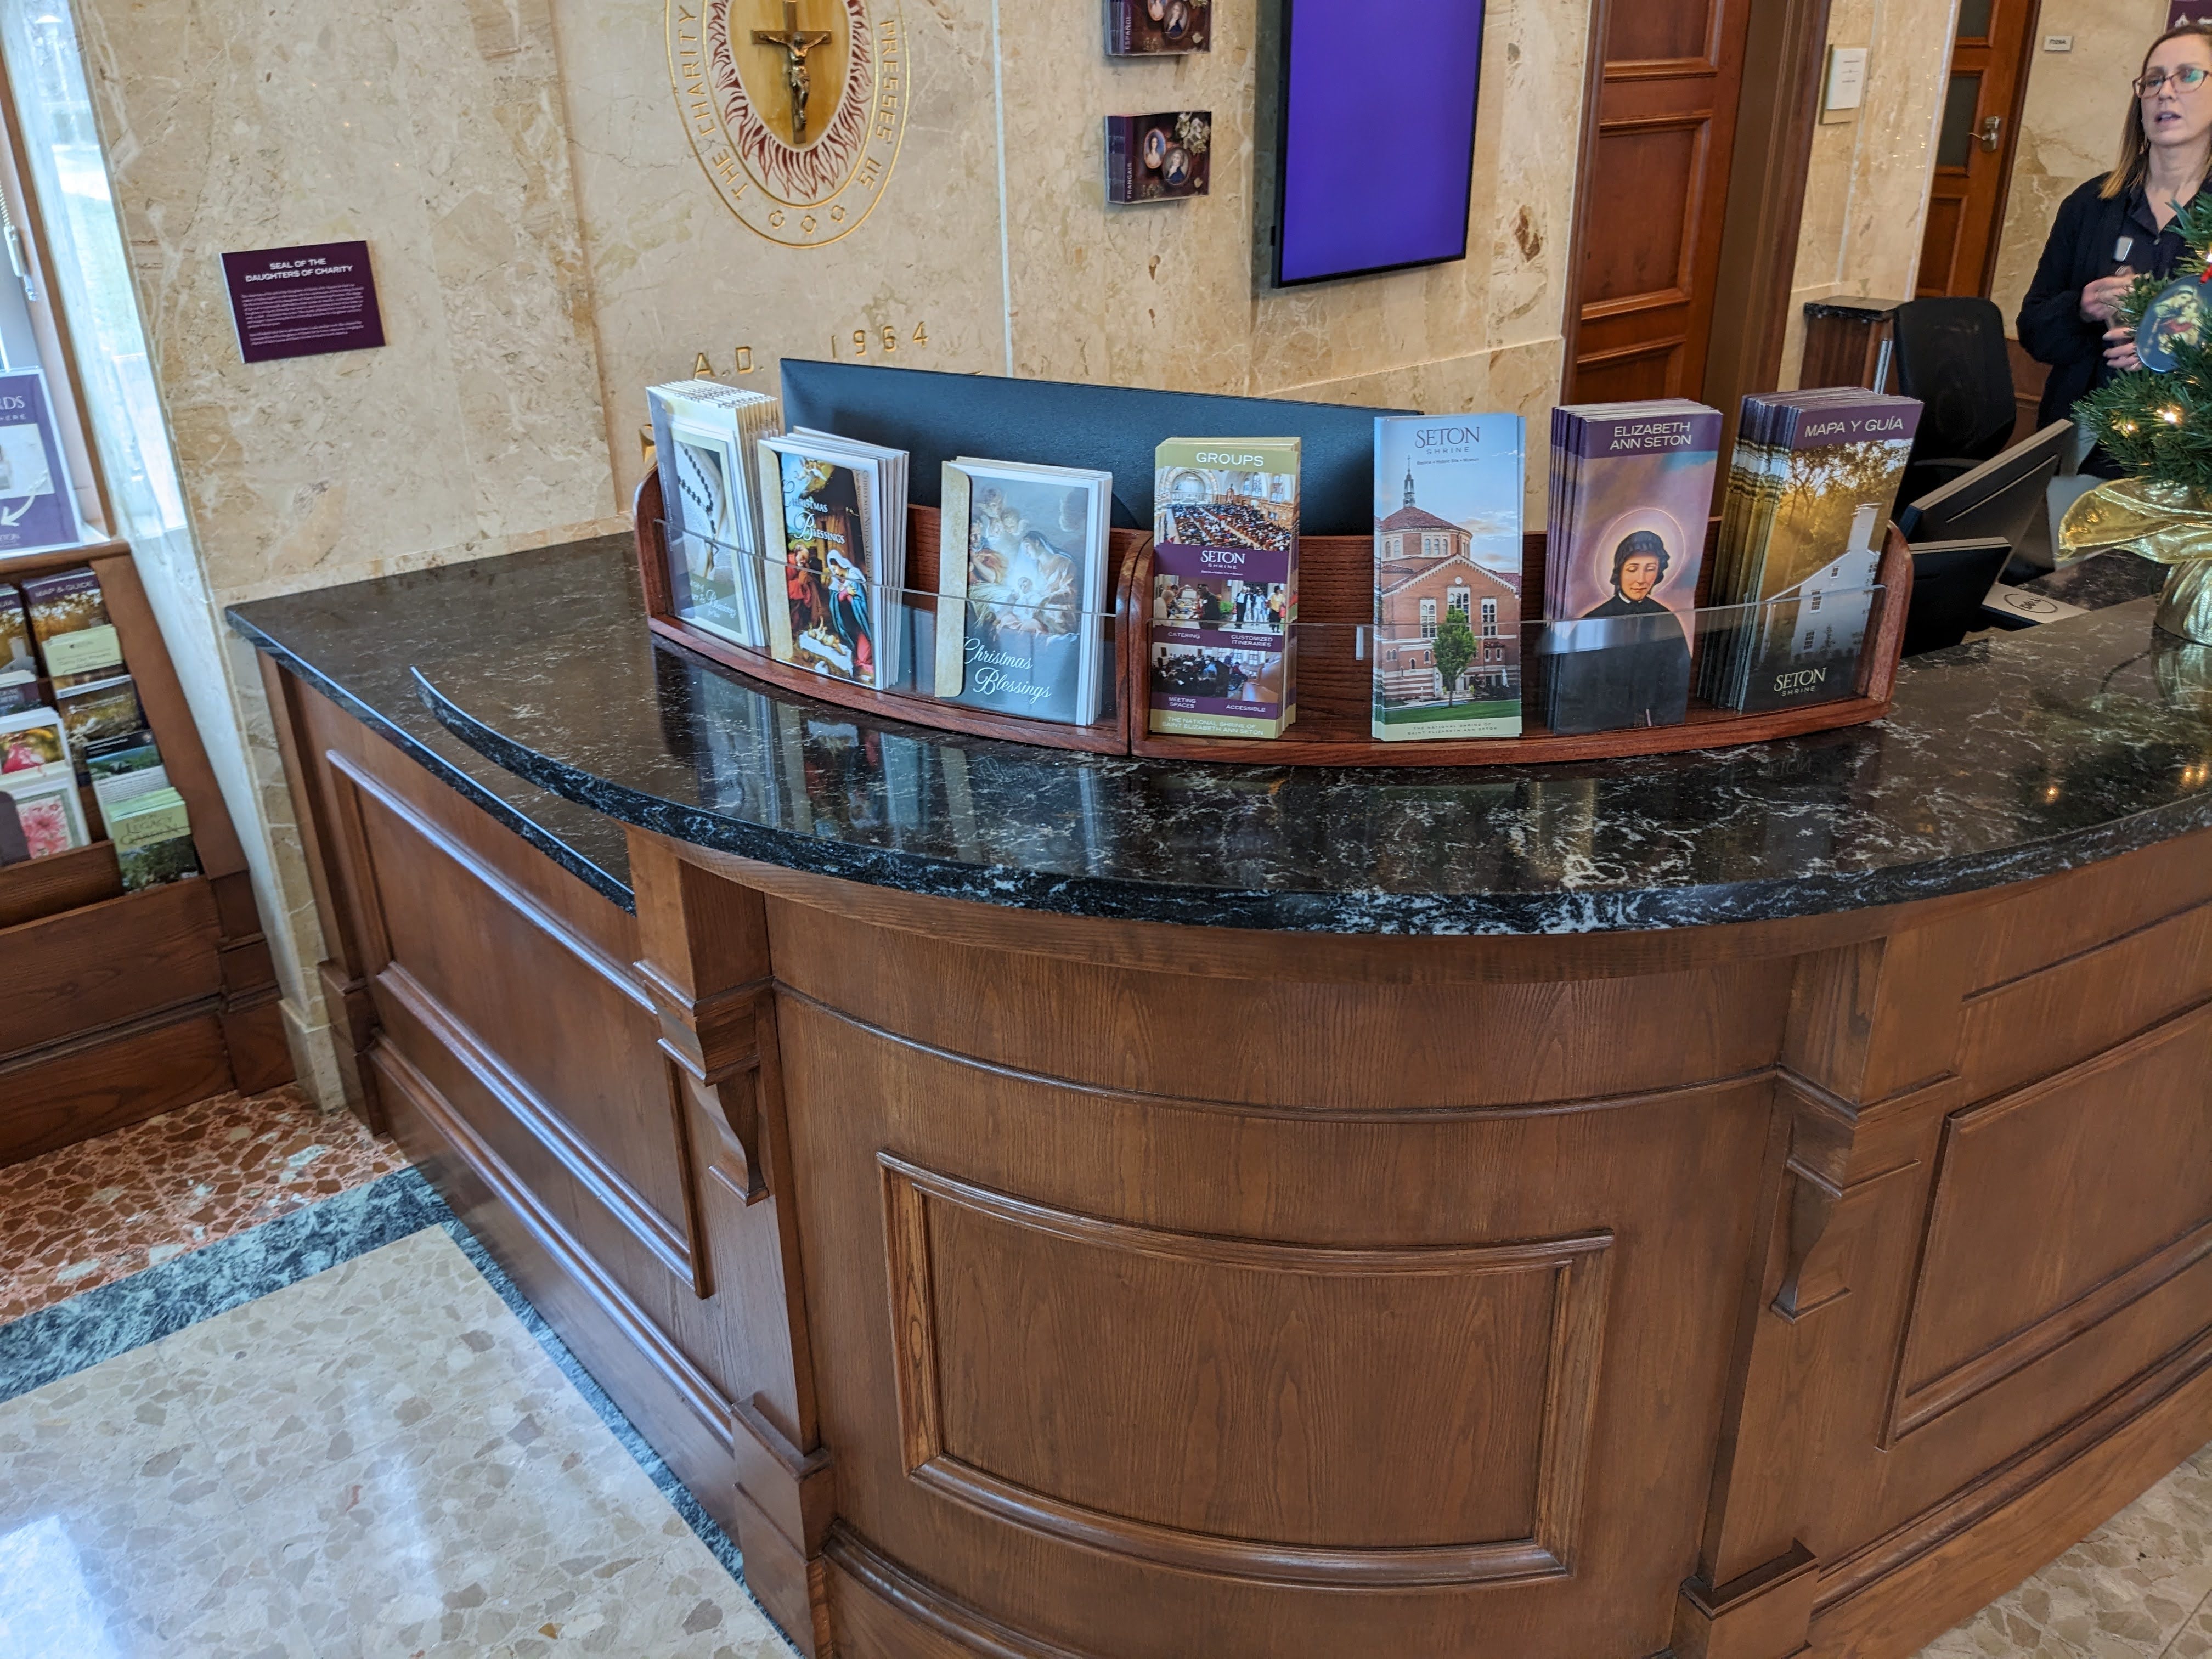
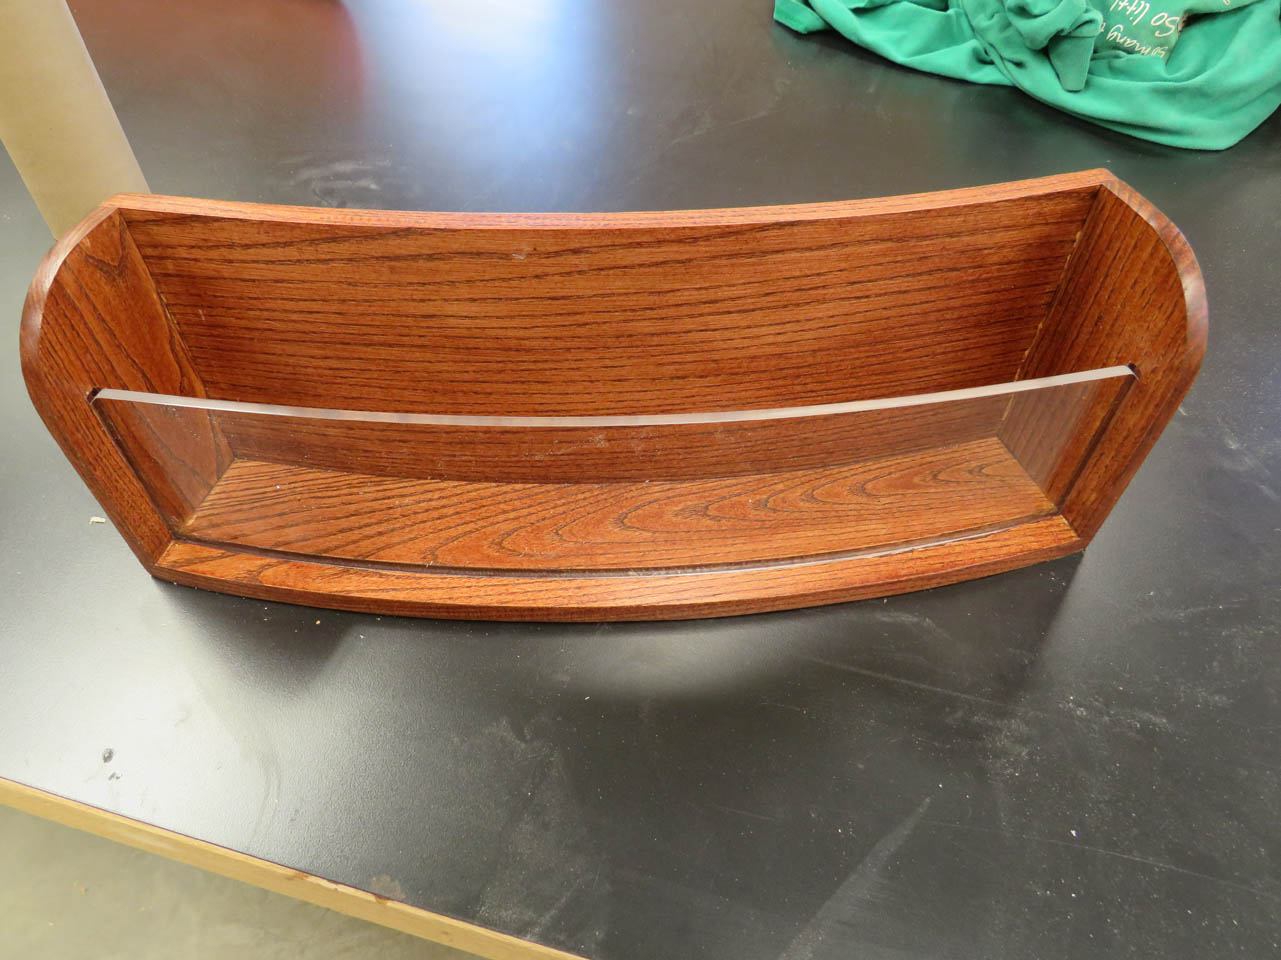
Those four are complete. Interesting project. Took a lot of time to make sure it all turned out right but I think the design works well.

Here is the final location:
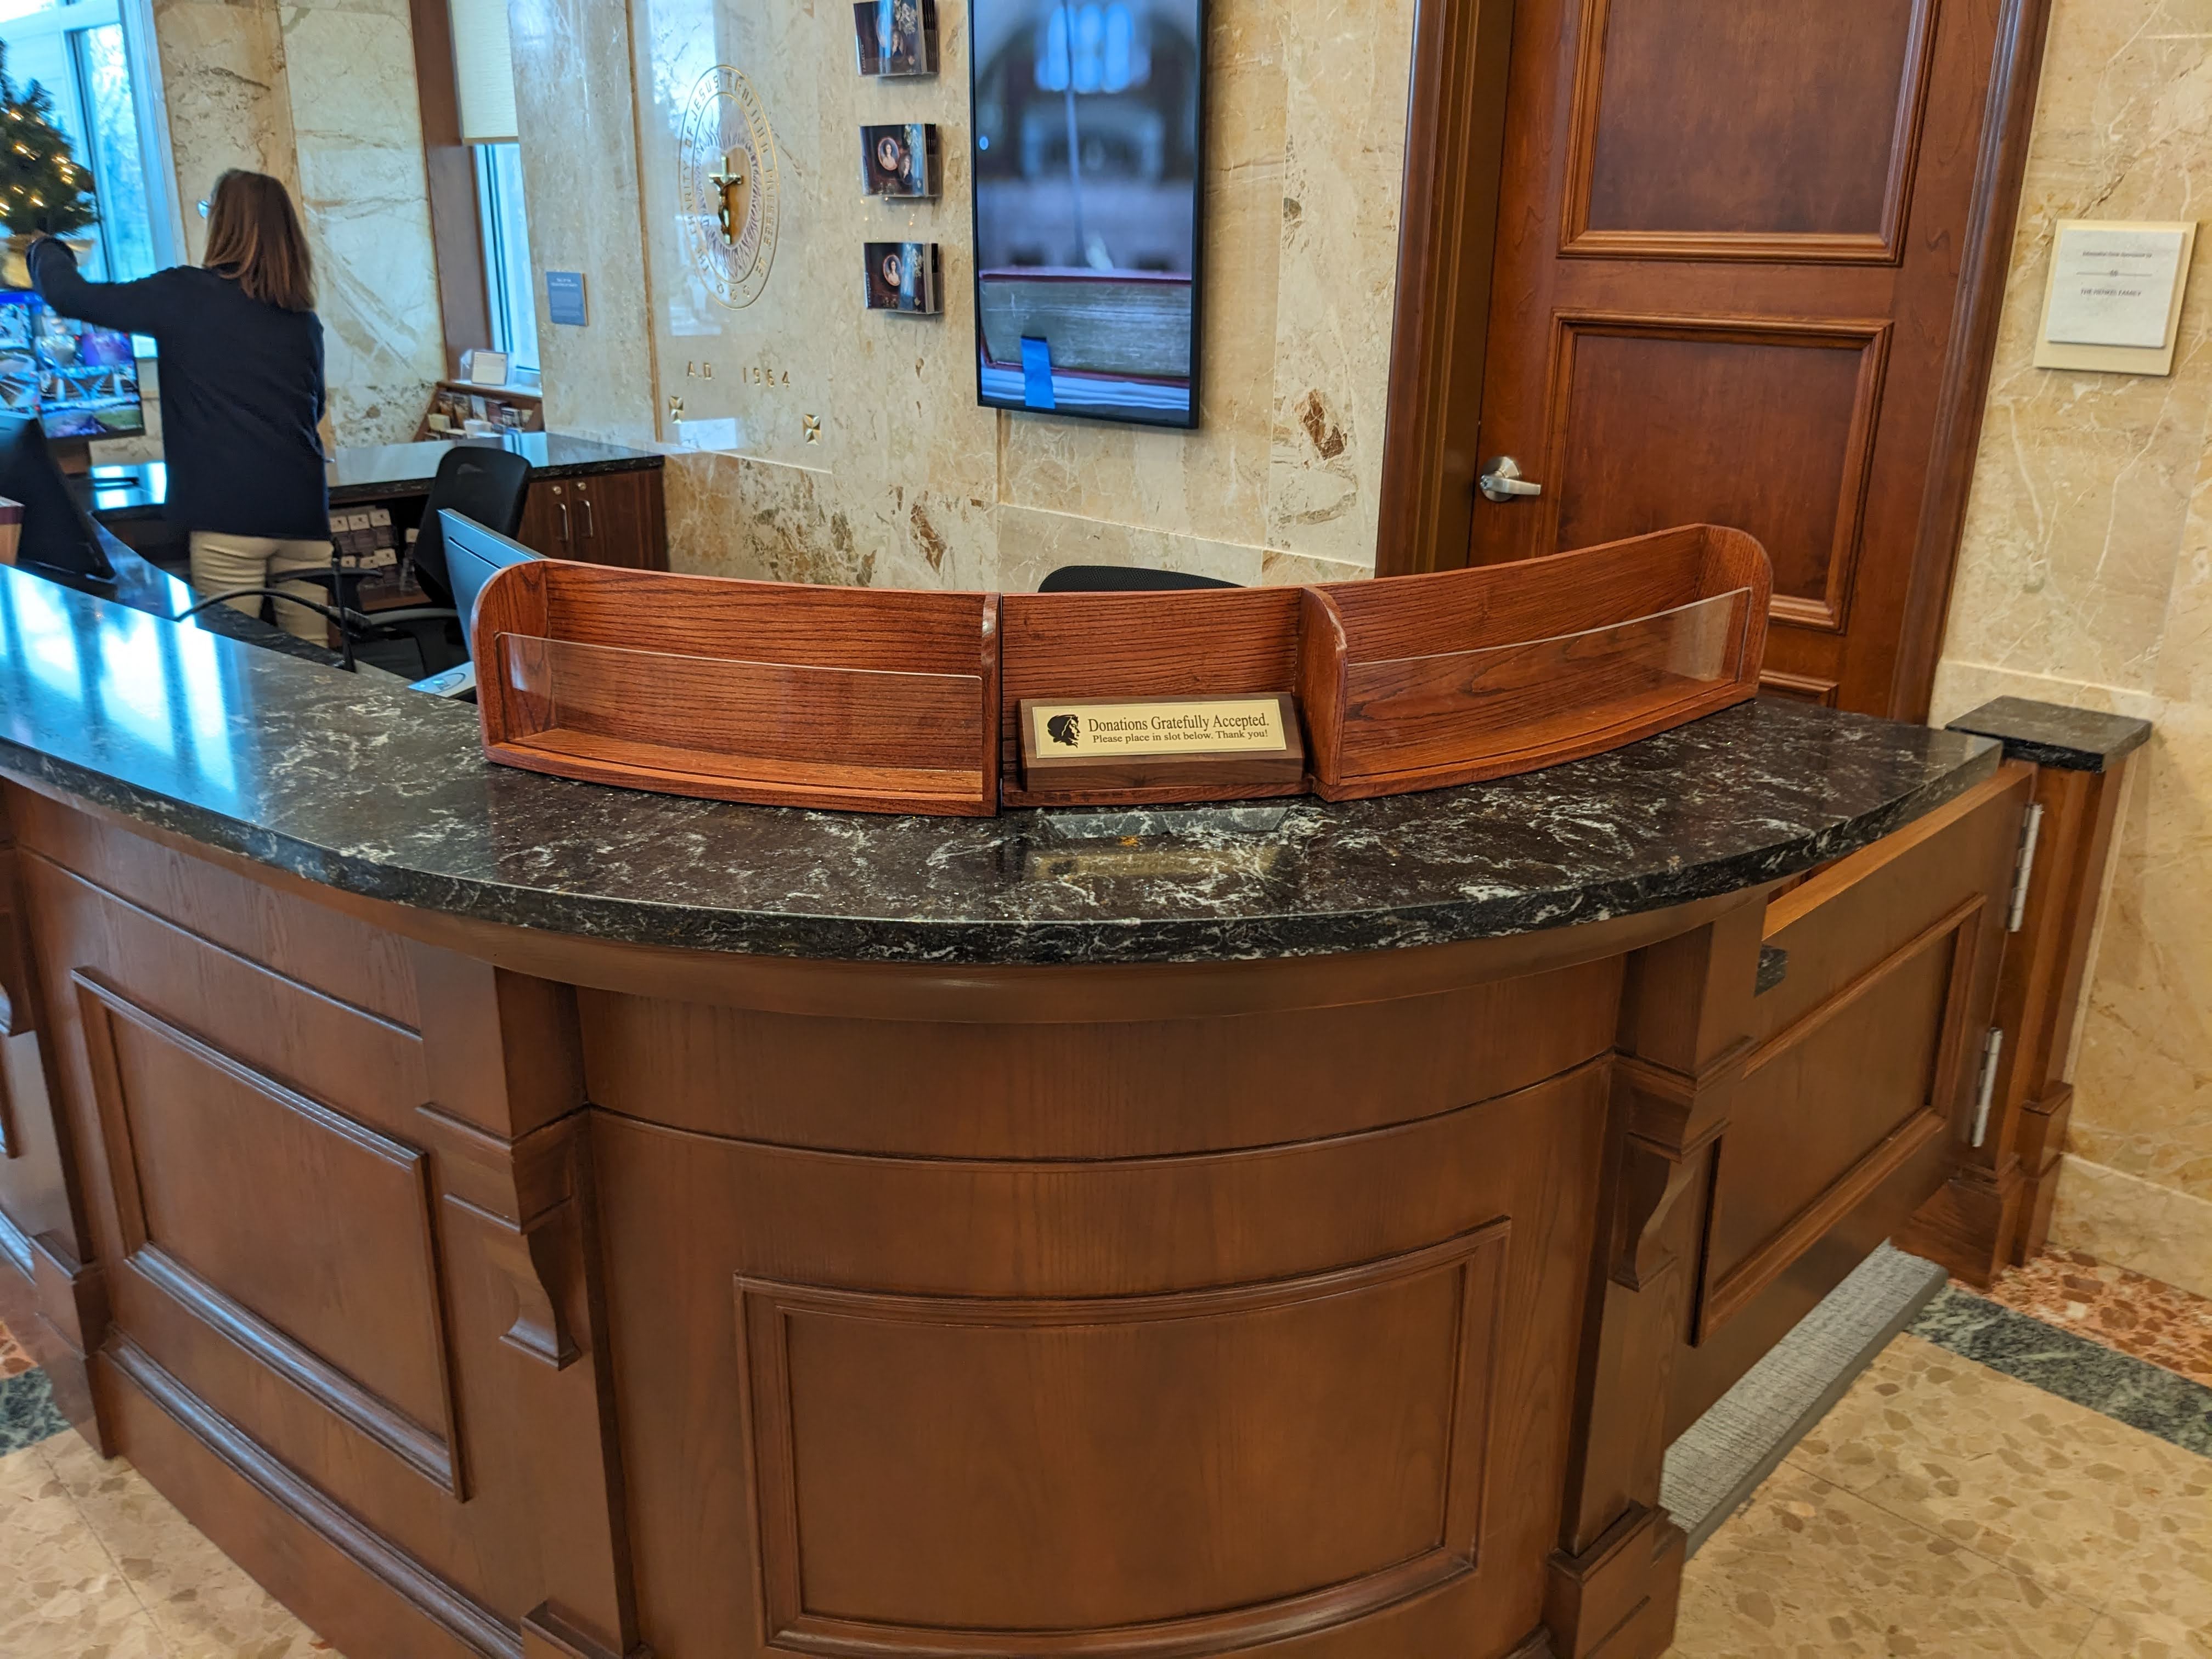
They fit the curves perfectly.
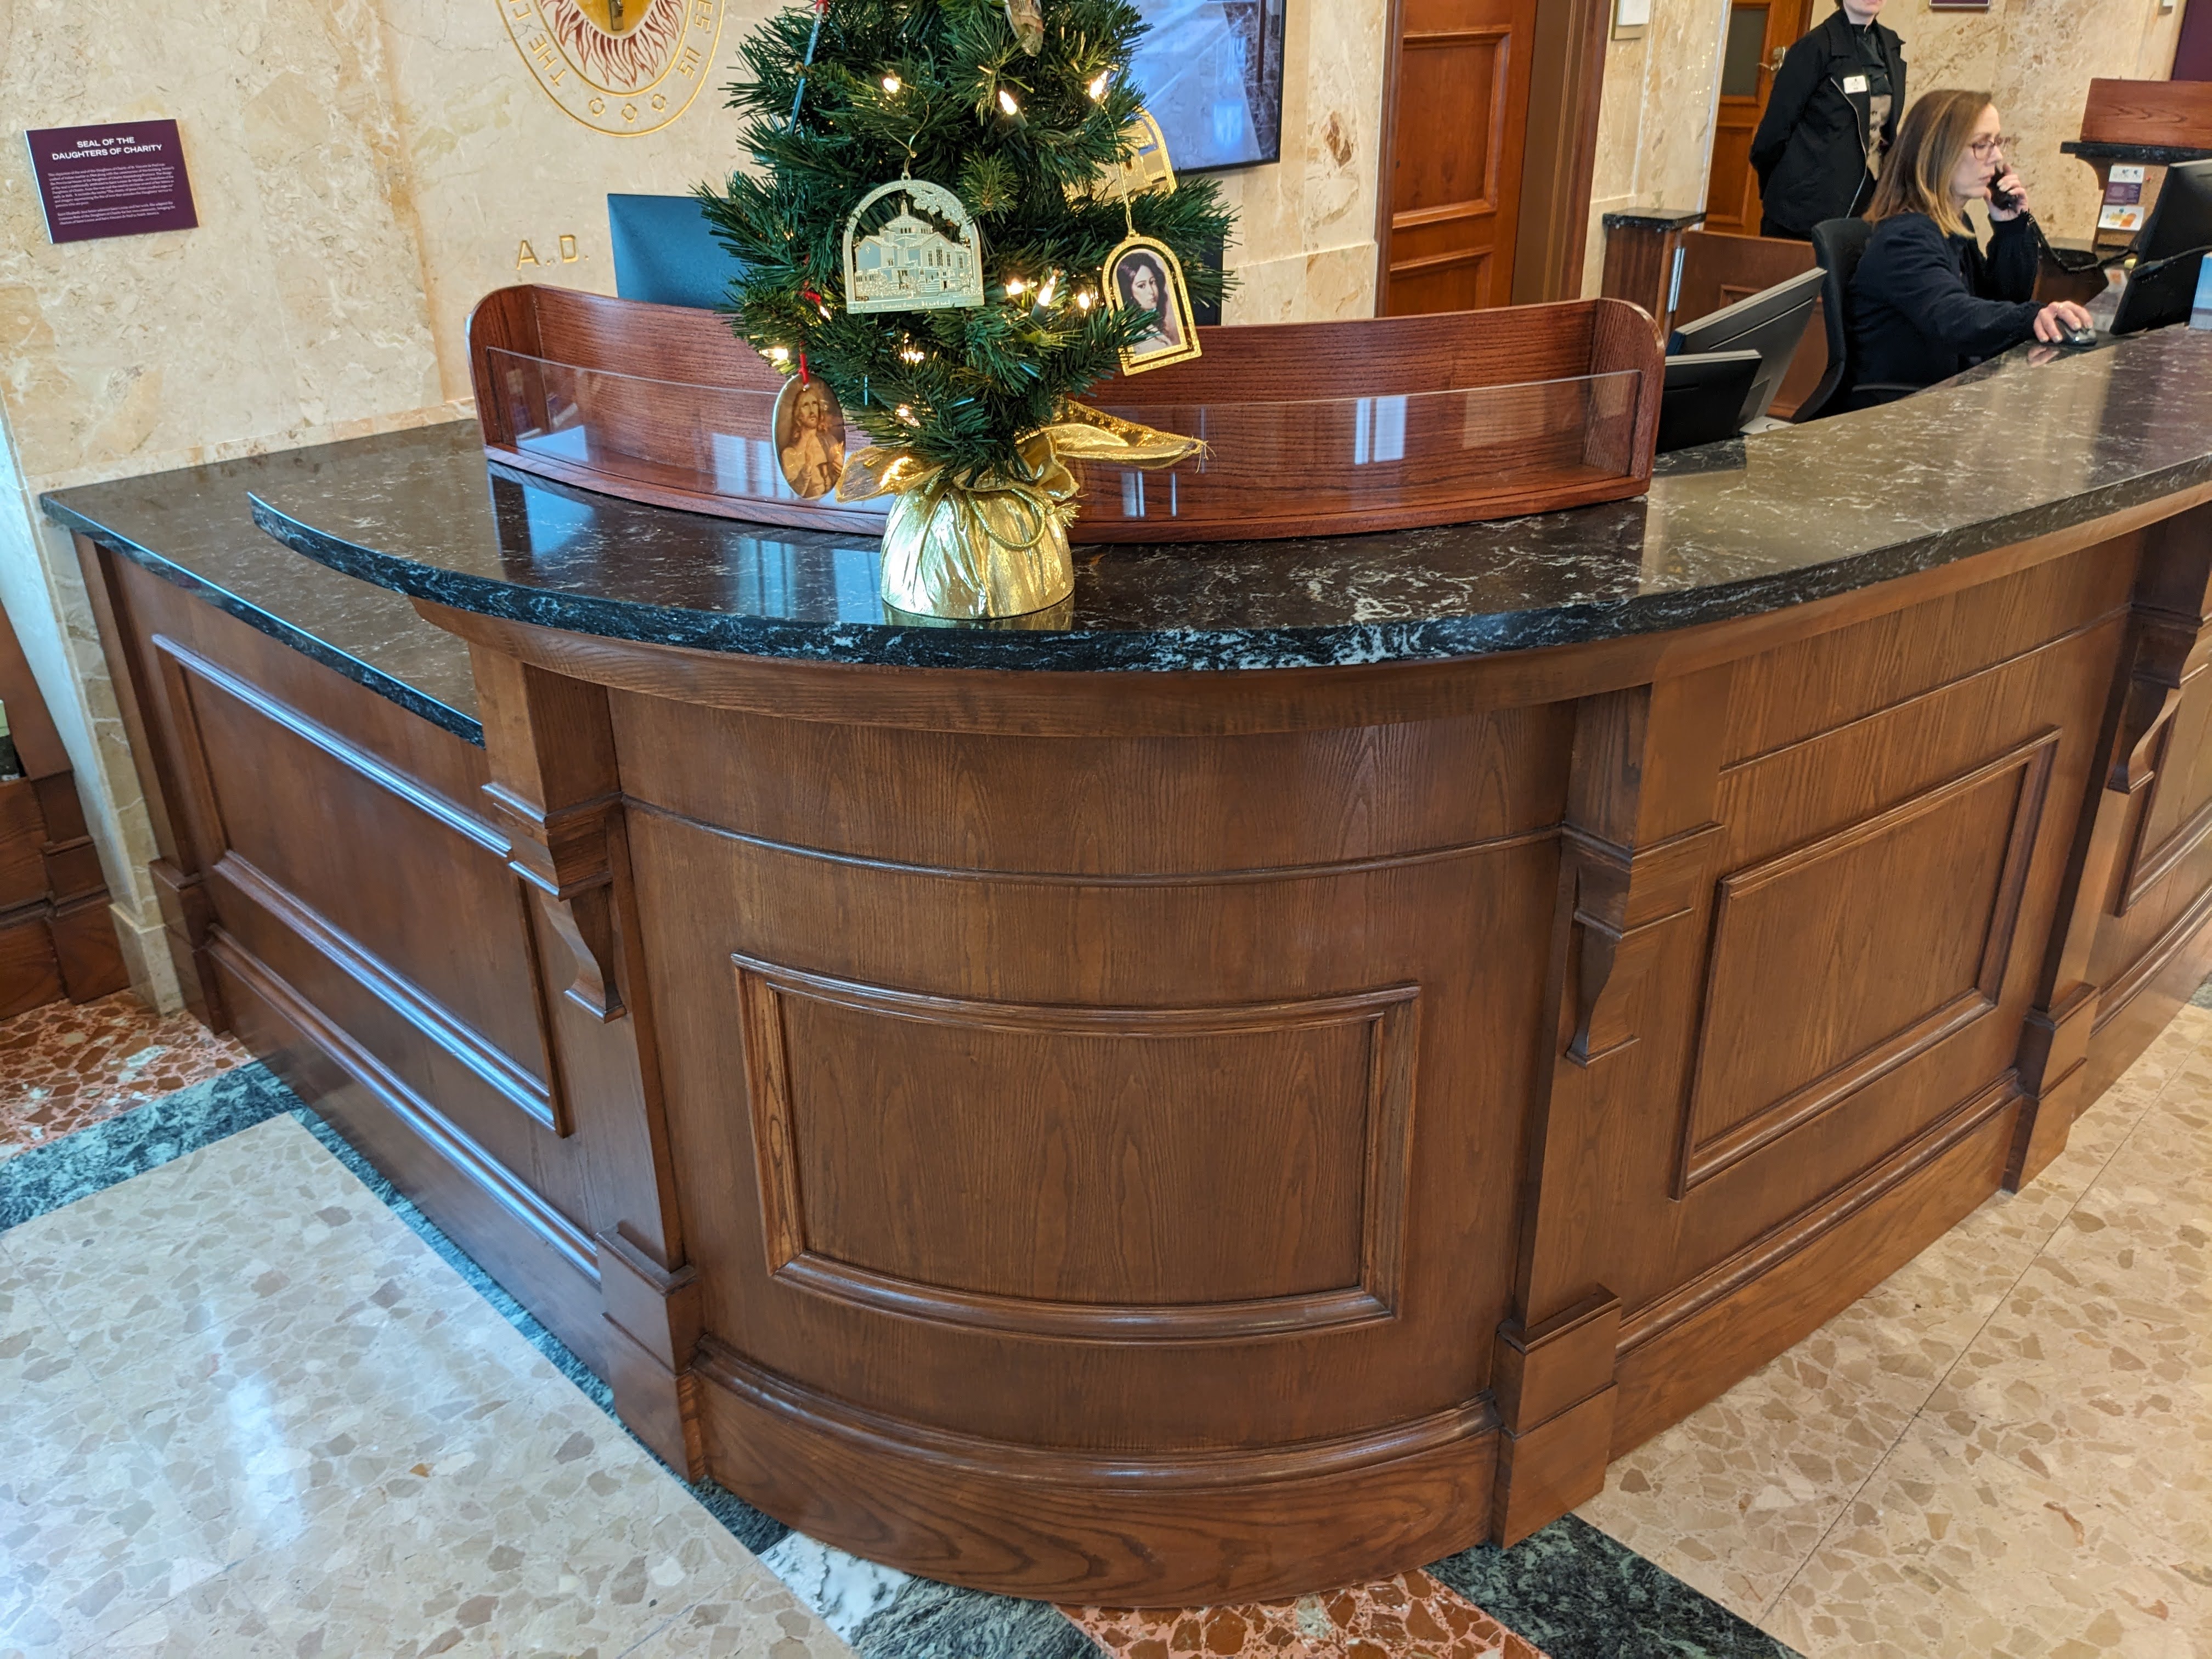
We had to nudge the Christmas tree out of the way to load up the rack.