
Challenge coin display
I was recently asked to make another Coin Display . I made the original over ten years ago and couldn’t remember how long it took. I decided to build another for this gentleman. One, because he was a veteran with a growing challenge coin collection, and two, to track my hours.

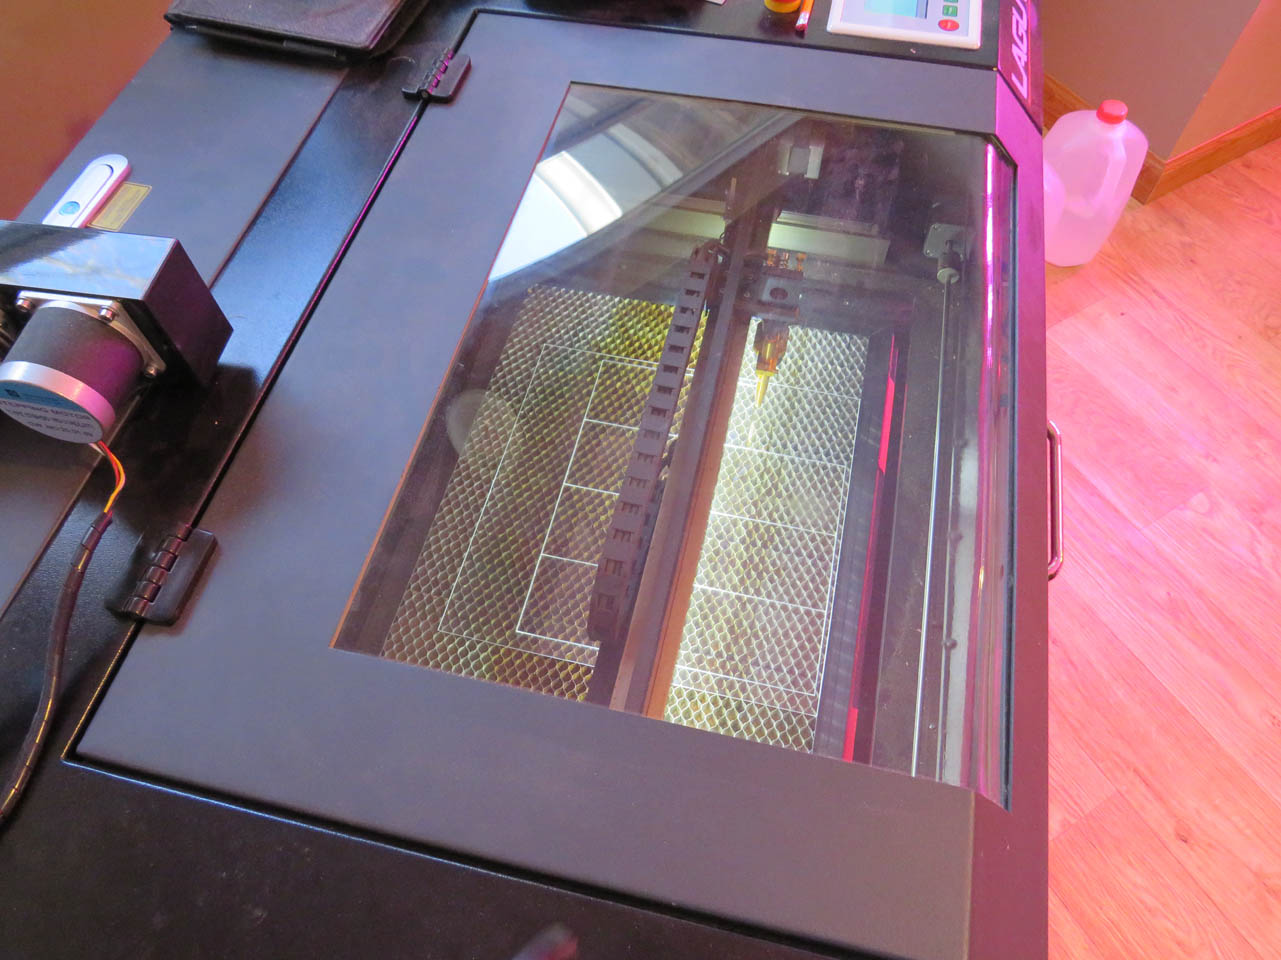
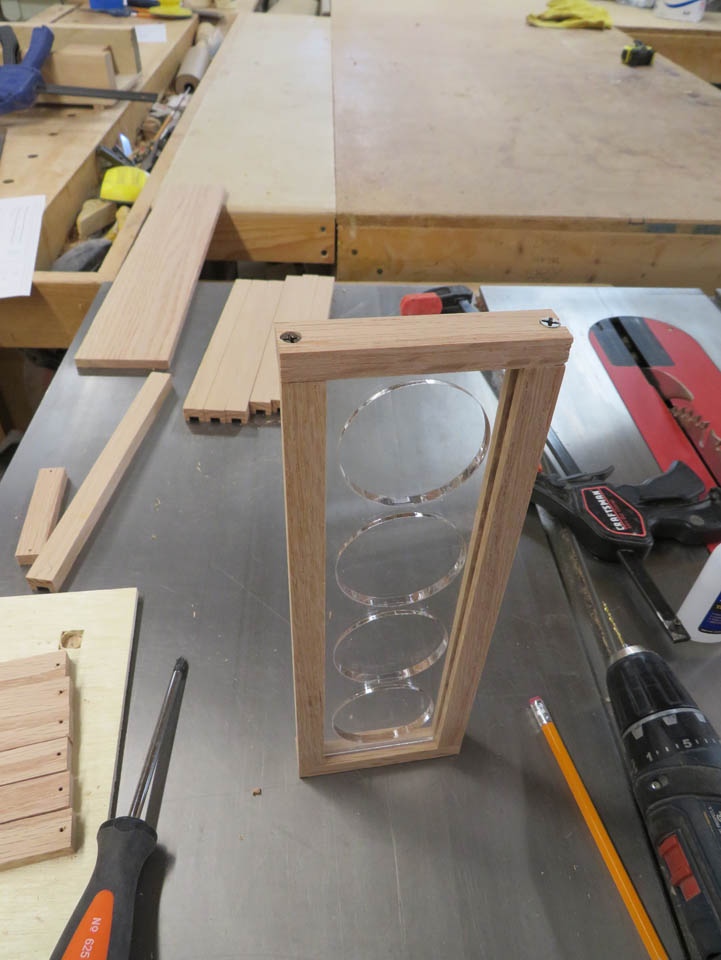
After some discussion, I redesigned the frame to accommodate a couple of different size coins. My original design used a wooden insert to hold the coins, but I now have a Co2 laser so I decided to go with acrylic this time. The laser does a nice, clean job of cutting through the acrylic and it is far less sketchy than the hole cutter that I had to use the last time I made one.
This is the design that we settled on: display.pdf
I wanted to see how well the laser cut the 3/16″ clear acrylic so I started on the laser.
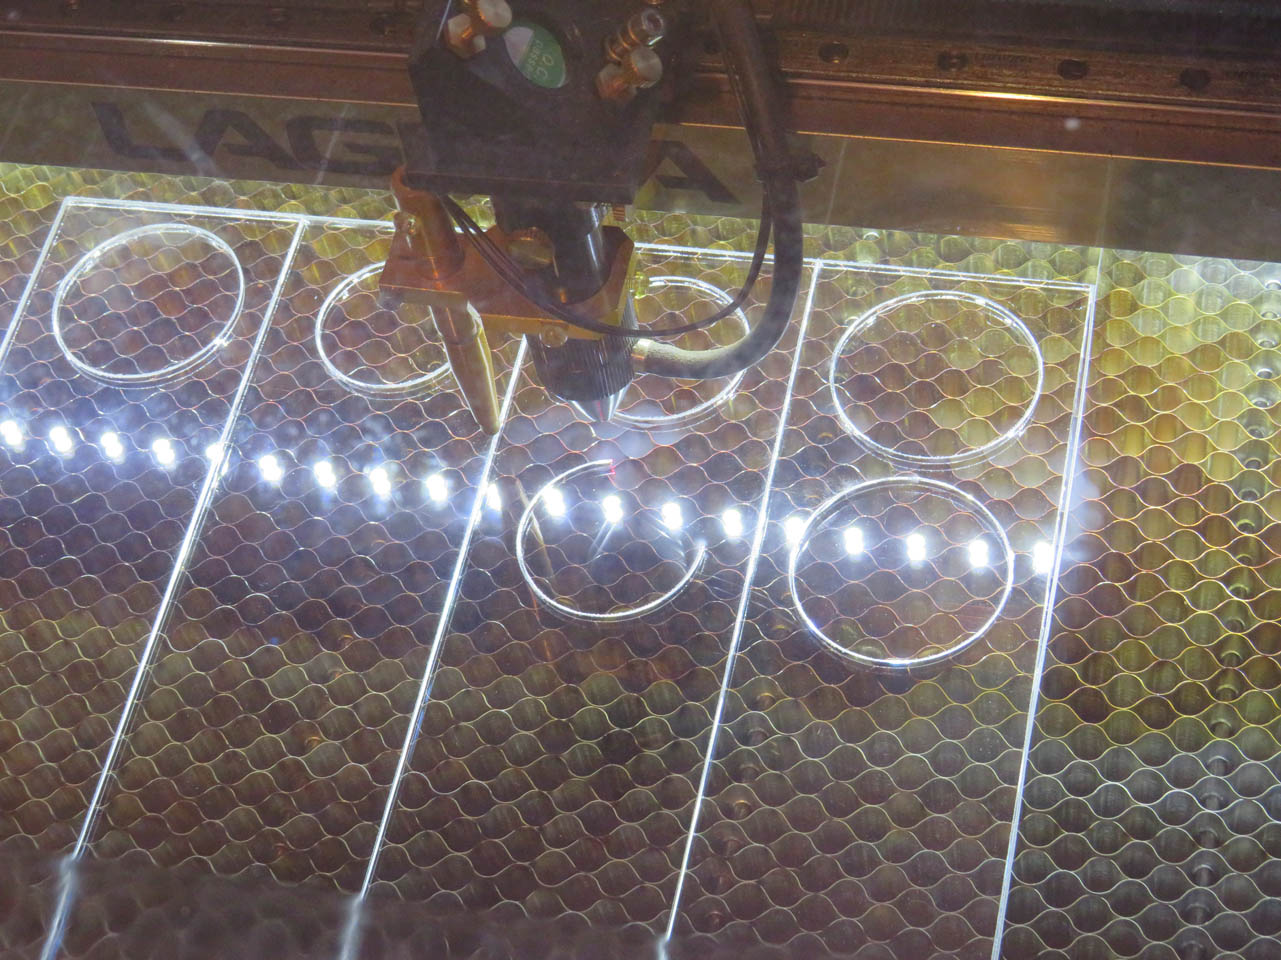
It did a fantastic job.
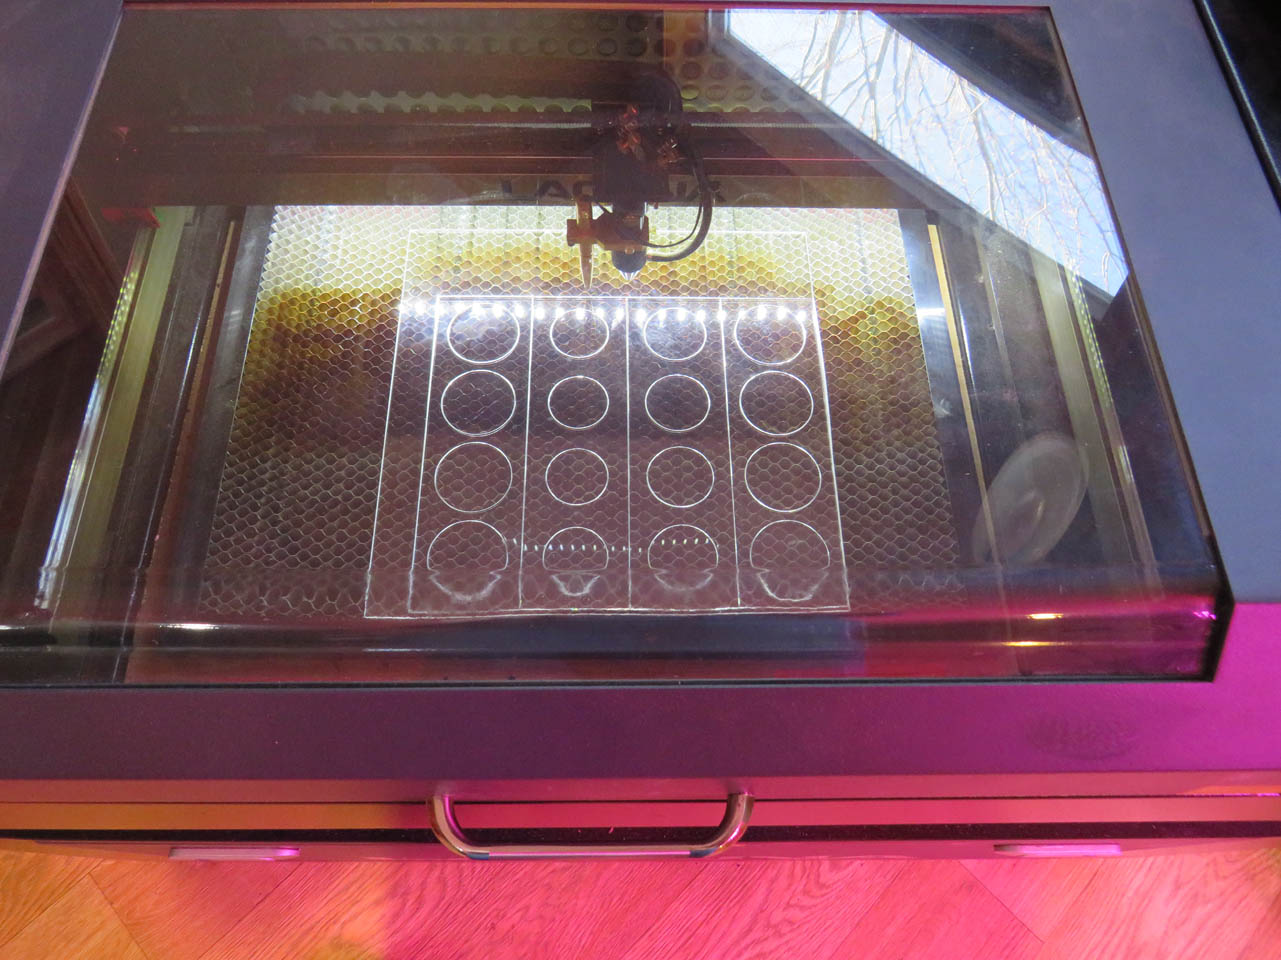
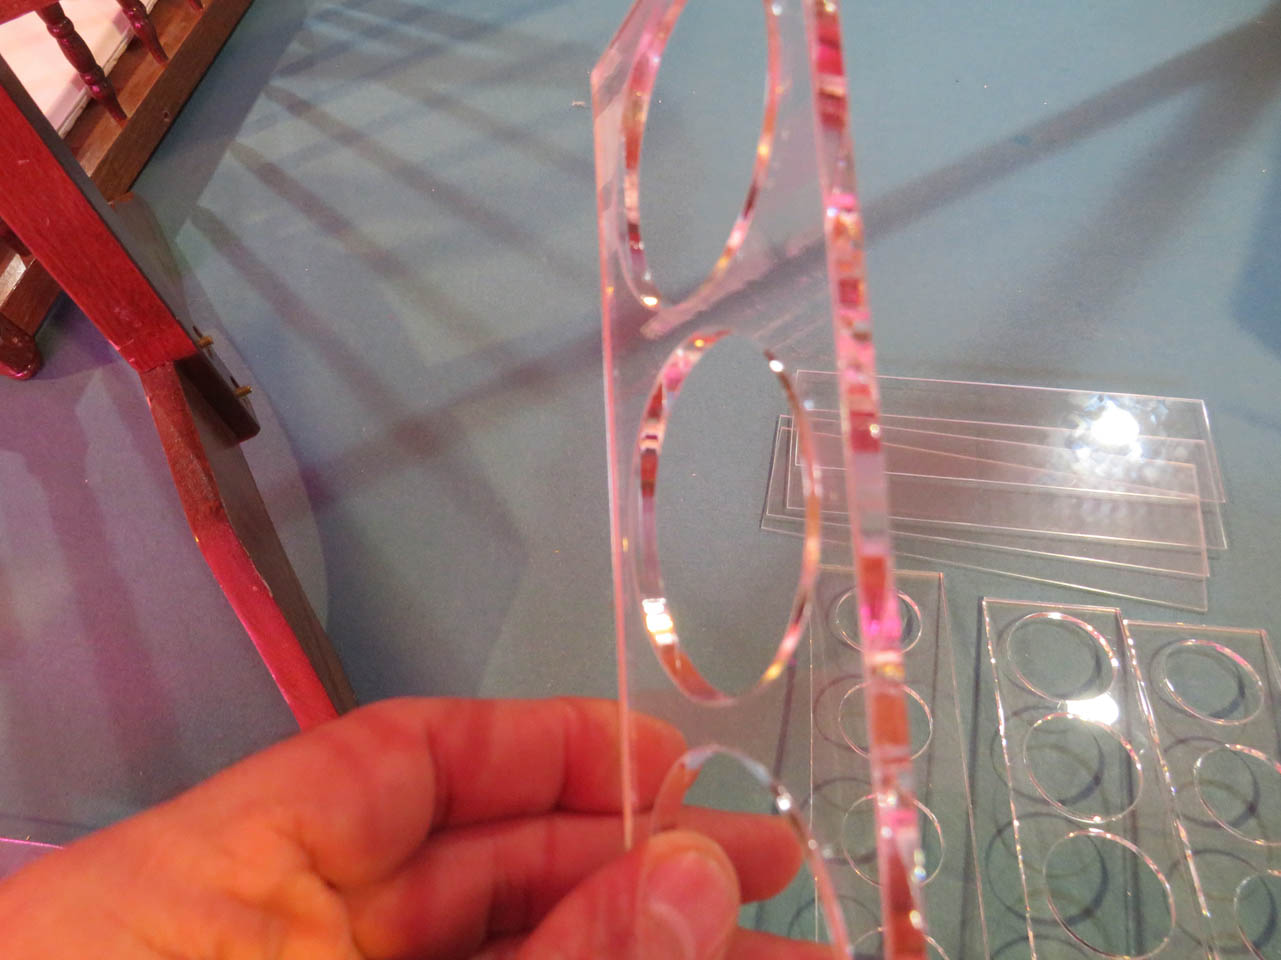
After I cut the coin holders, I put the thinner acrylic sheet in to cut the retaining sides.

The laser cut beautifully, leaving clear, smooth edges everywhere it cut.
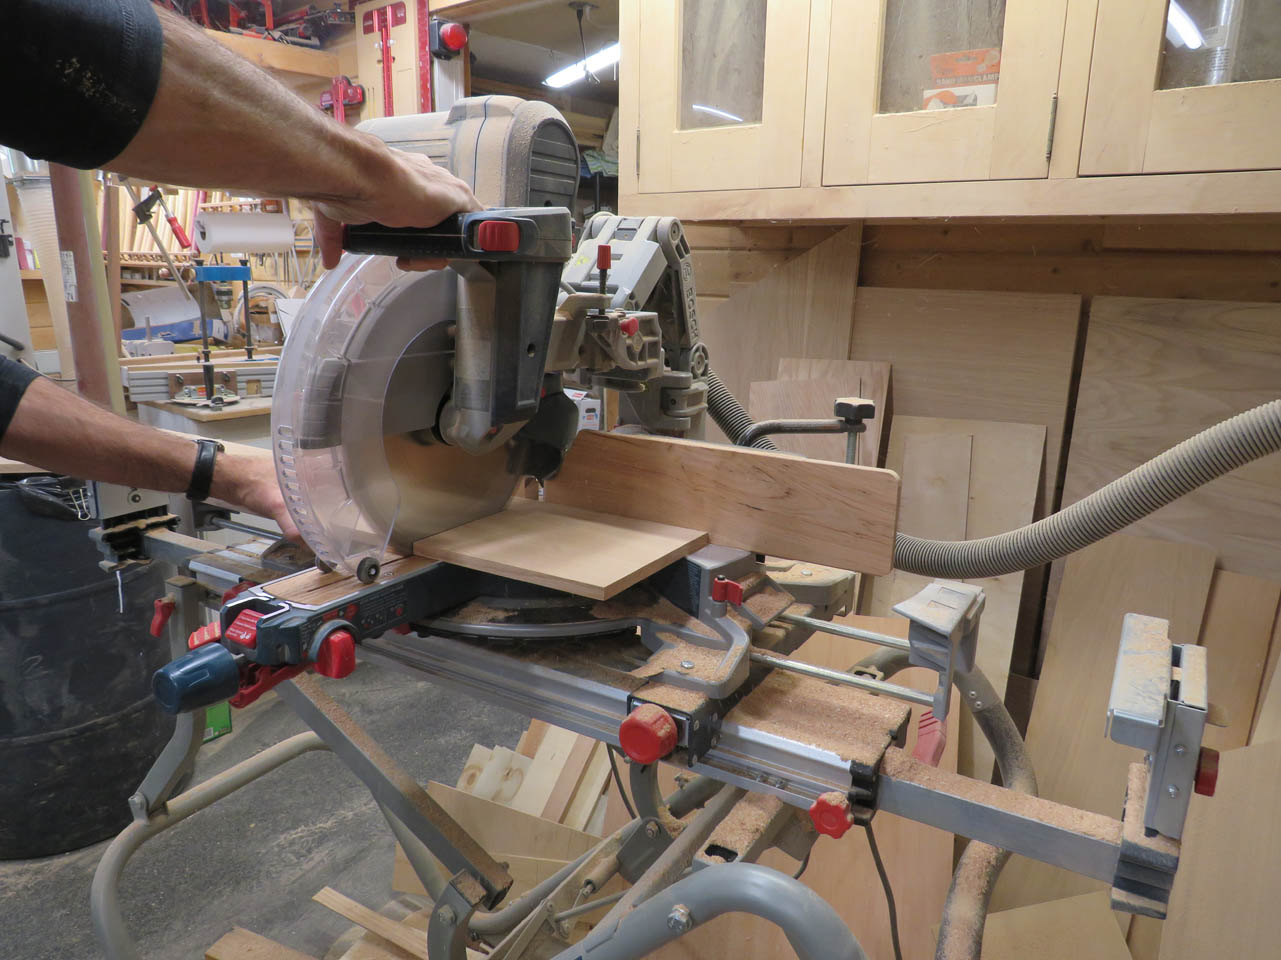
With the acrylic out of the way, I started cutting up the oak for the coin frames.

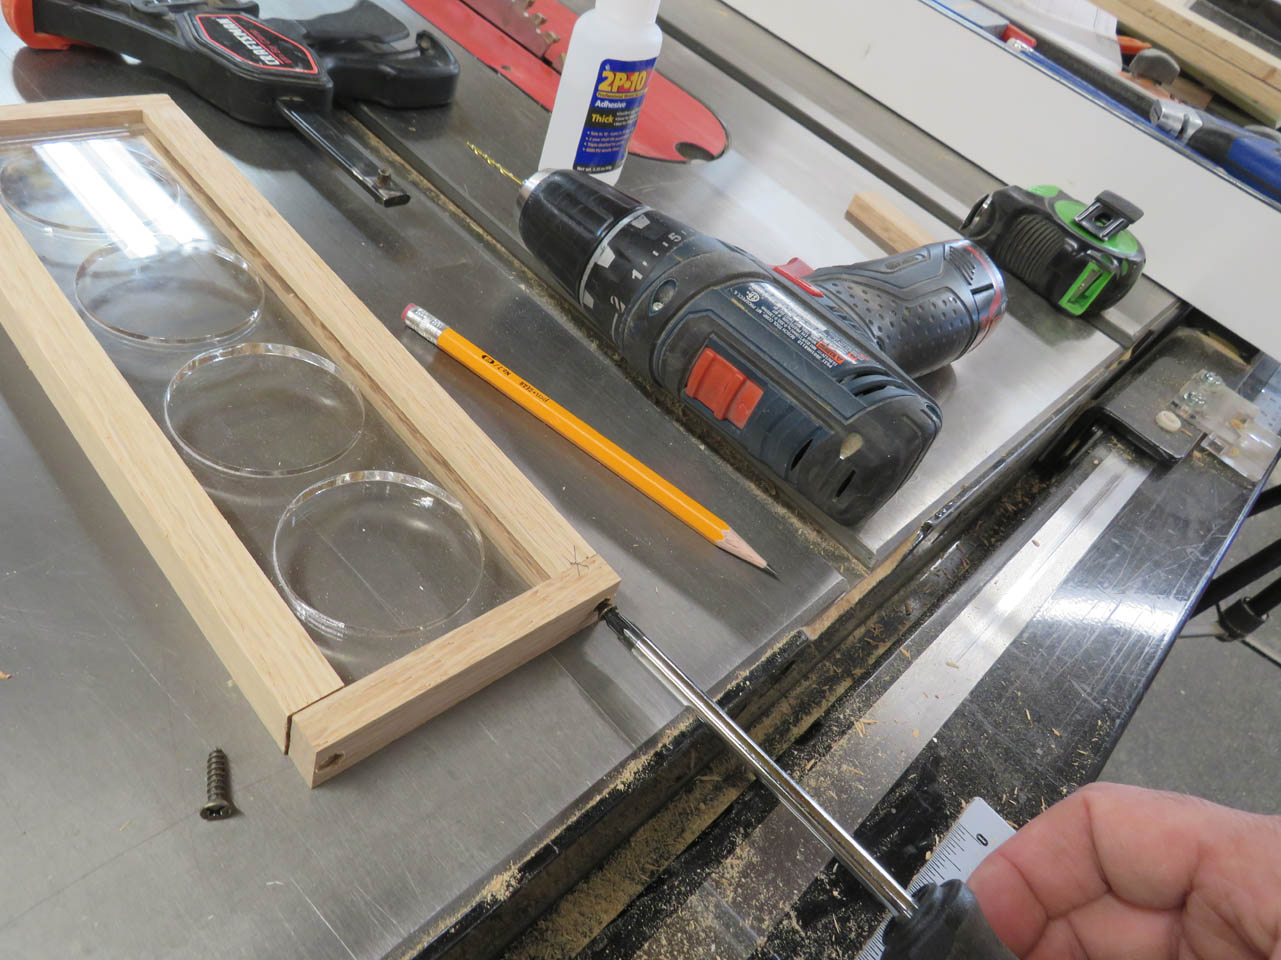
I made three passes on the table saw to remove the center channel of the frame sides.
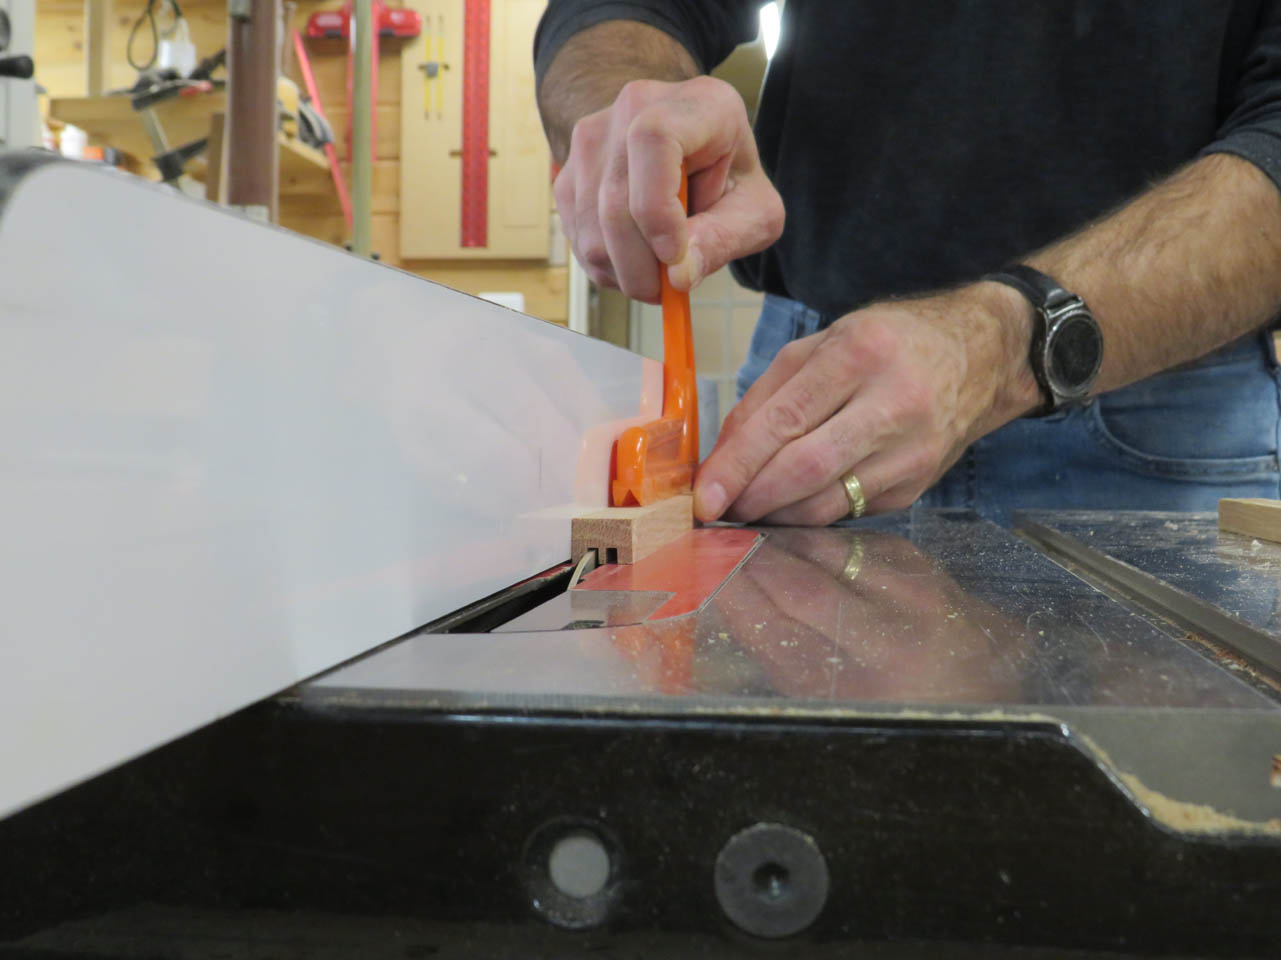
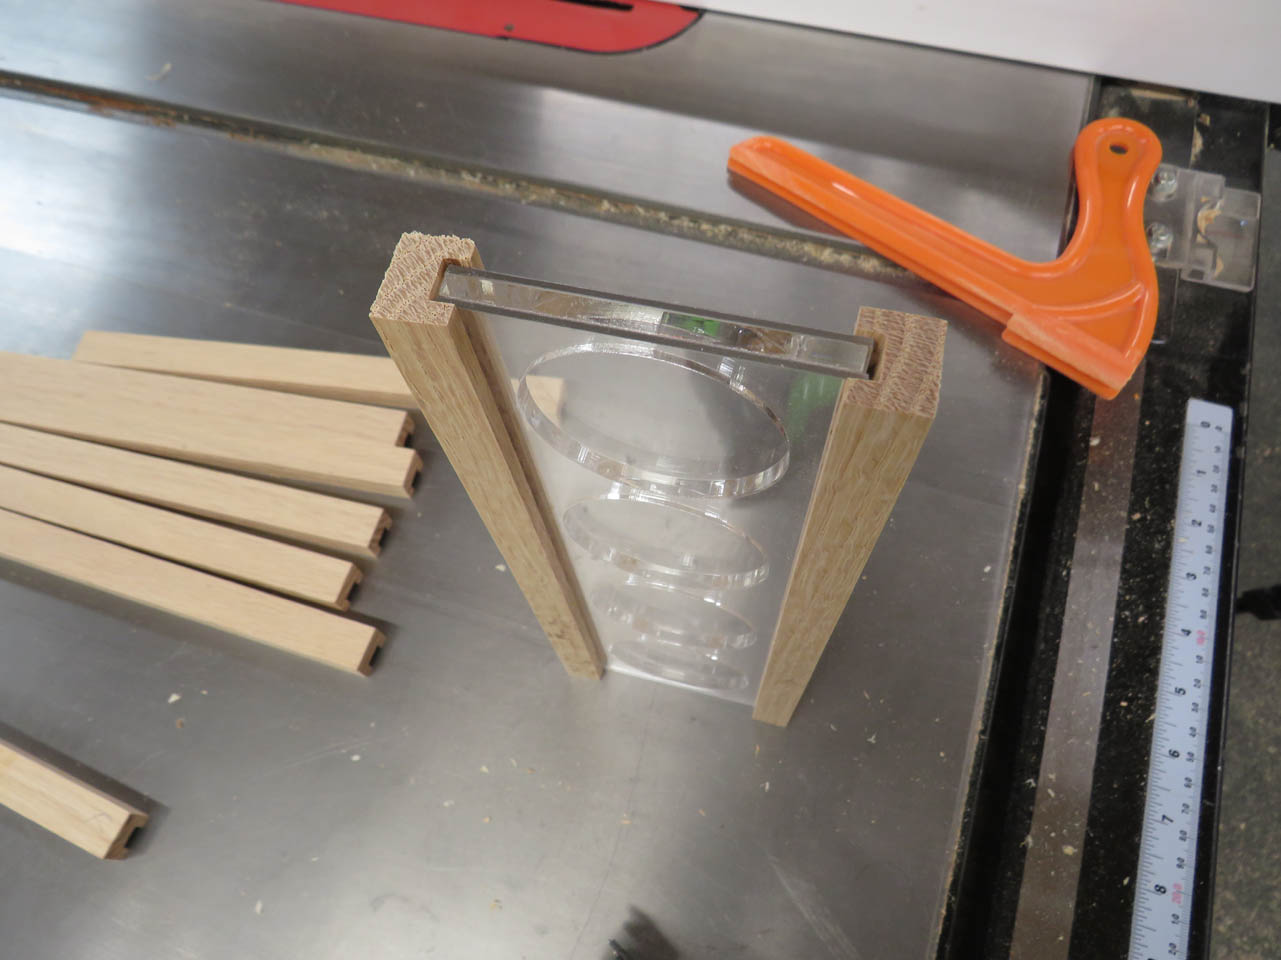
This left a channel just wide enough to capture all three pieces of acrylic.
This is a great project for small pieces from the scrap bin. I am mainly using 3/8″ and 1/2″ material and I have a bunch of short pieces in my scrap pile.

To cut the smaller end caps to length, I used my small cross-cut sled. I can clamp a block to one side and safely cut eight equal length pieces.

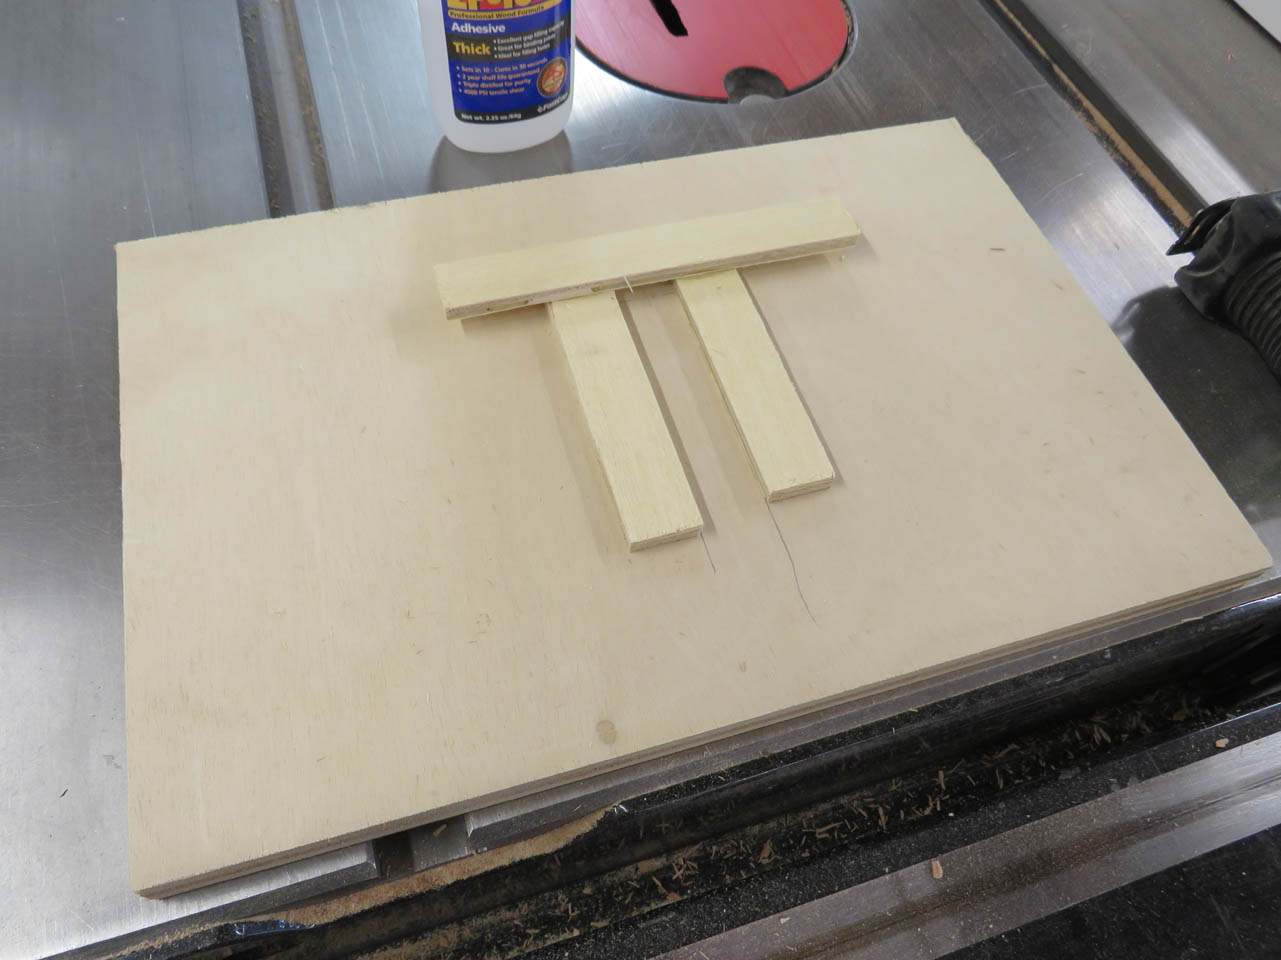
I created a simple jig to drill the holes on each end.
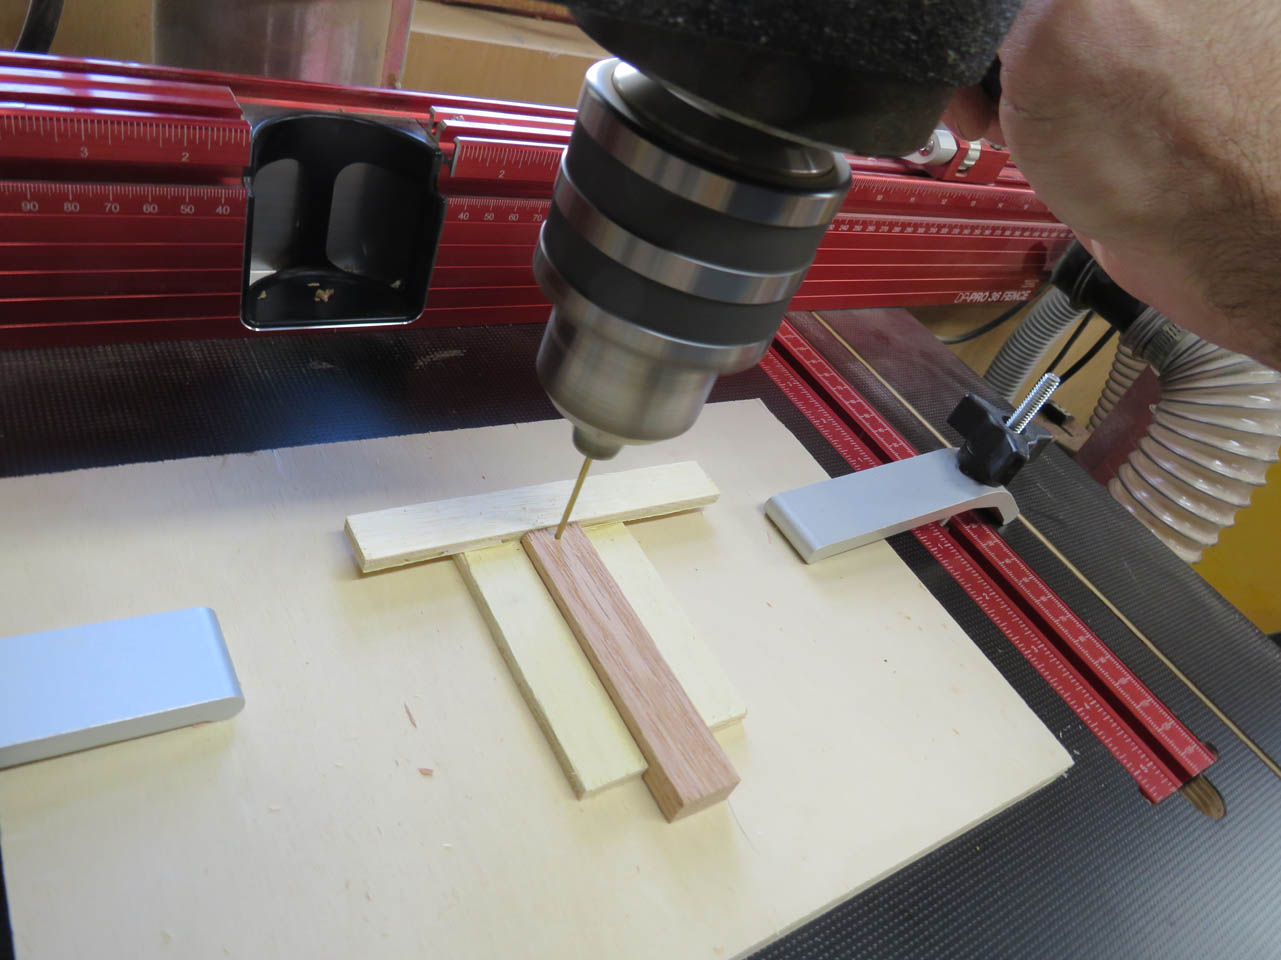
My goal is to get them perfectly centered, but oak has some assertive grain and it can sometimes gently nudge the thinner bits to one side, just enough to be off-center.

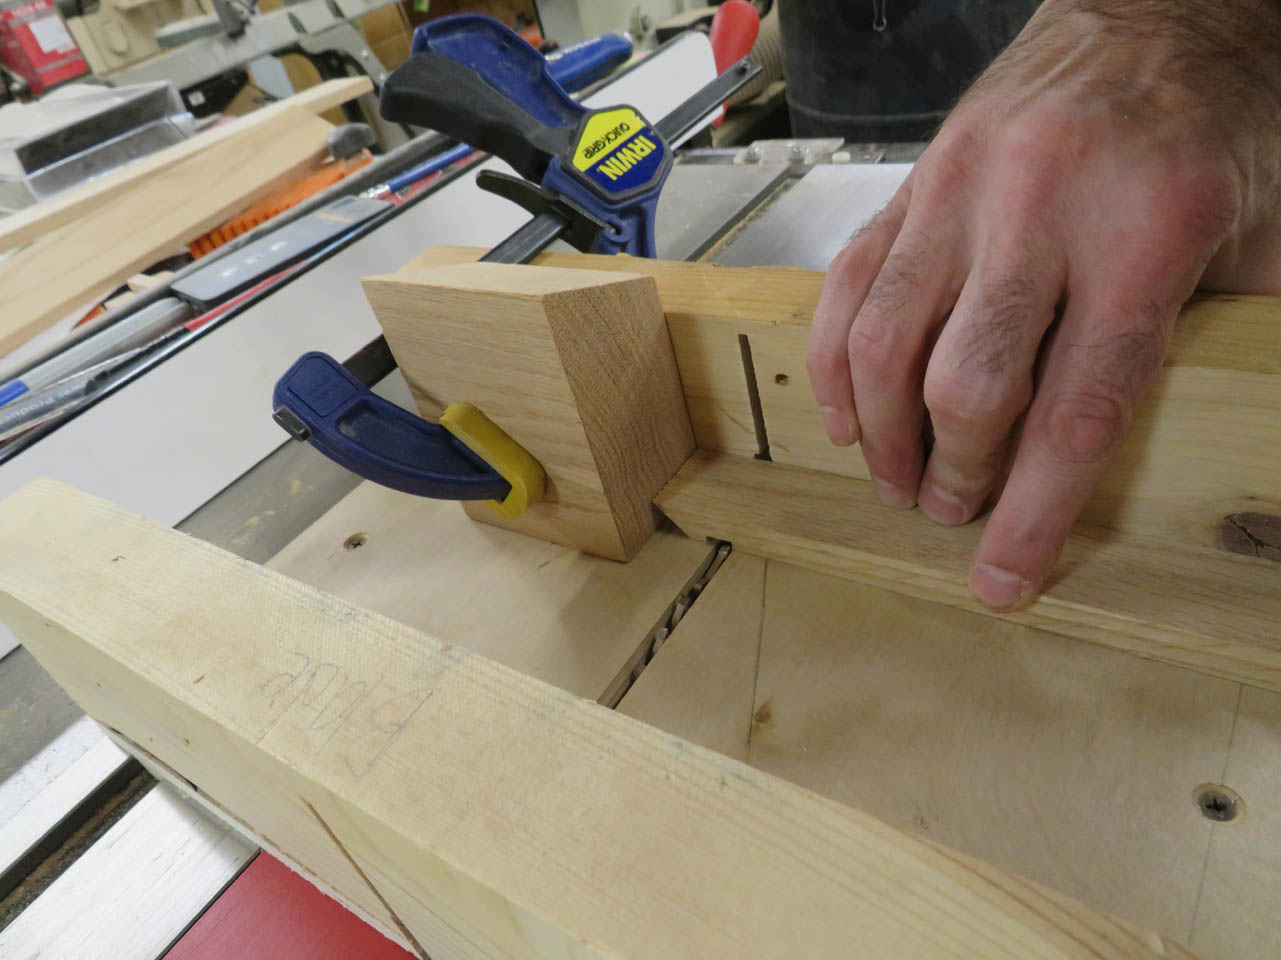
I transfer this pilot hole to the rest of the frame by clamping it all together and then using the hole to drill deeper into the sides.

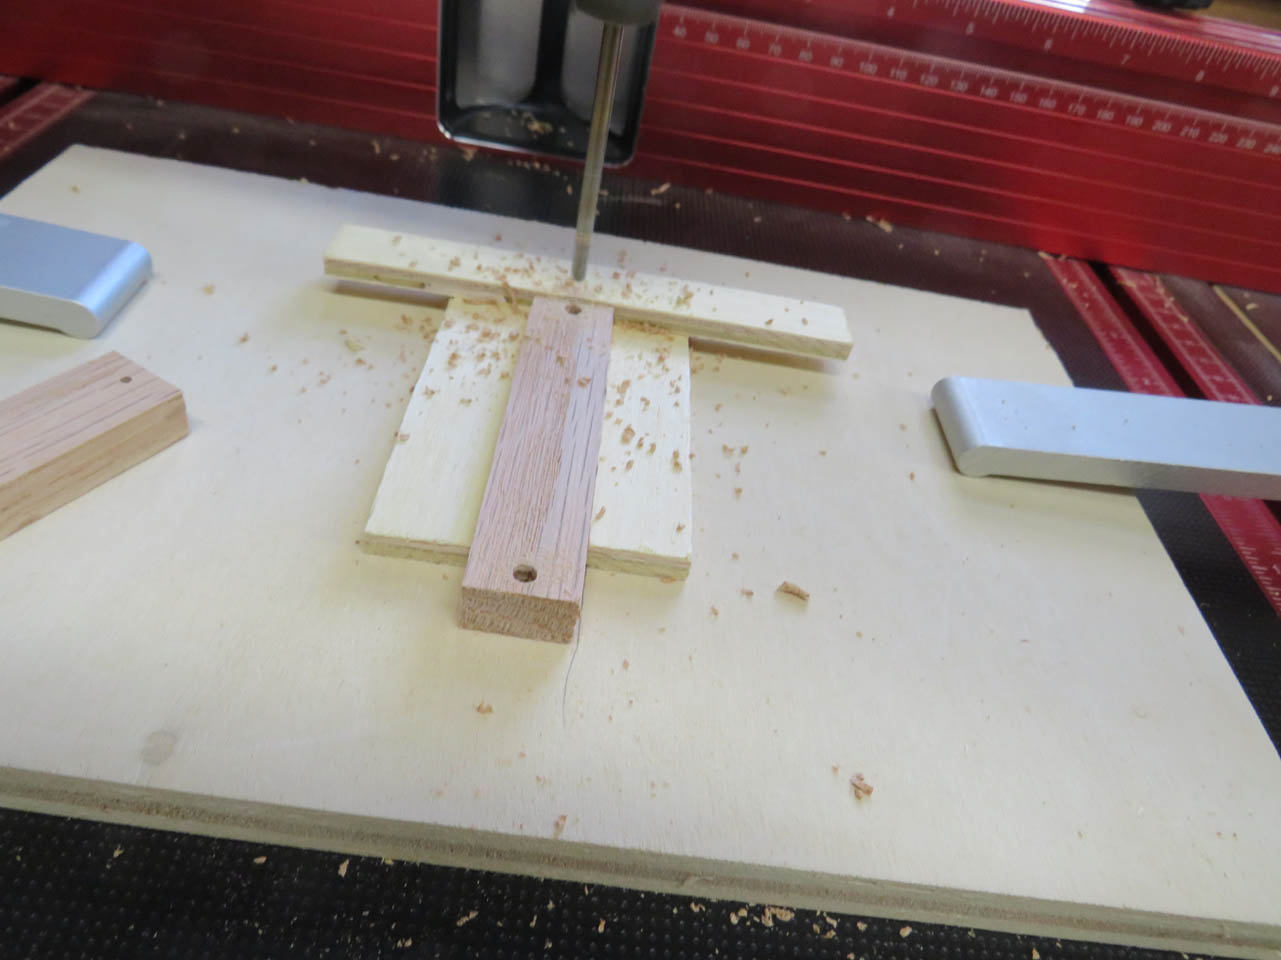
Then I can drill a larger through hole and a small counter sink in the end caps.

I am using some small, #8 wood screws to attach the ends.
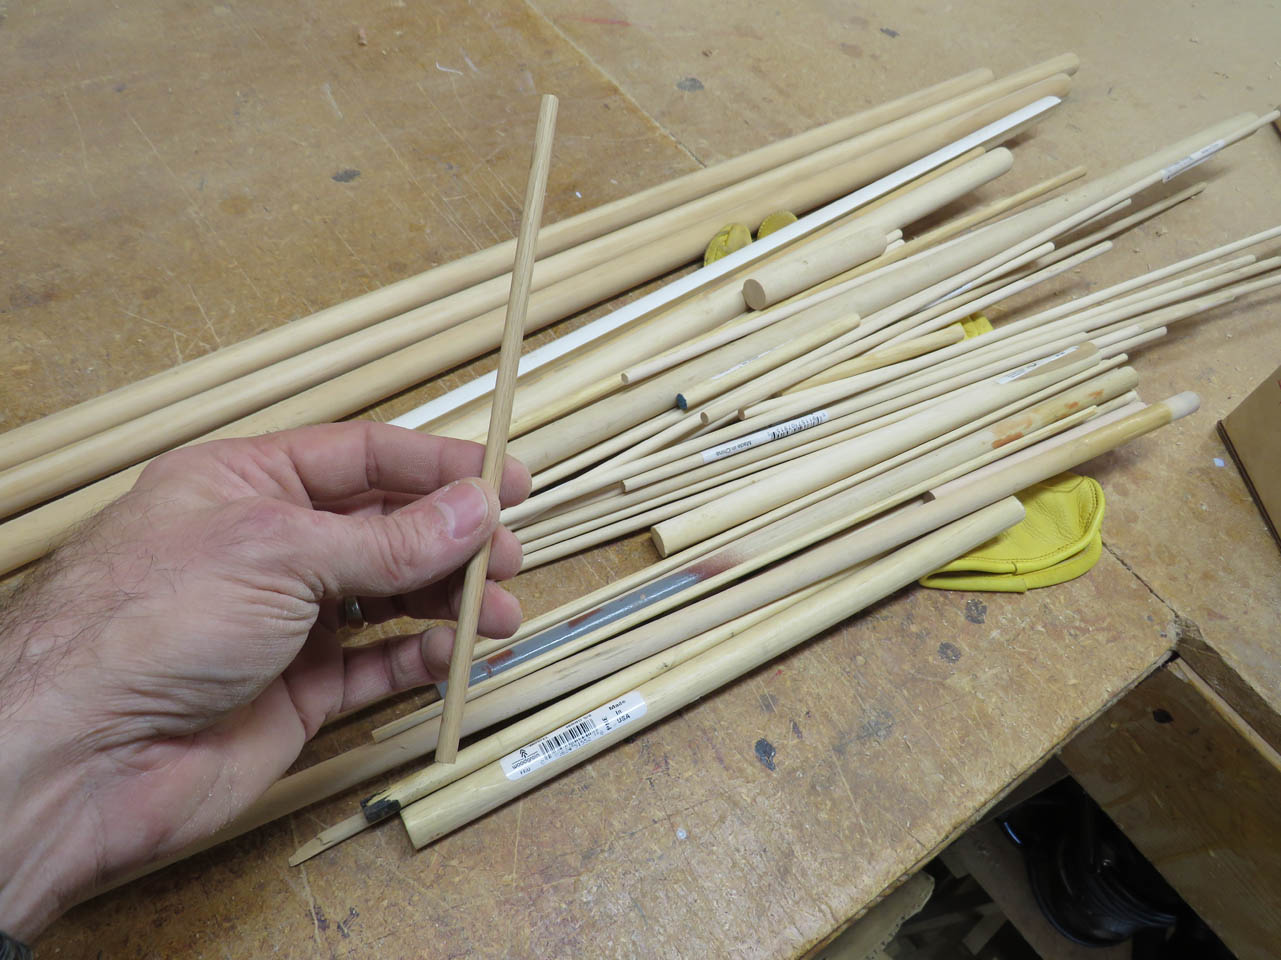
I dumped out my collection of dowels and only found a single piece of 1/4″ oak. Luckily it should be just enough.
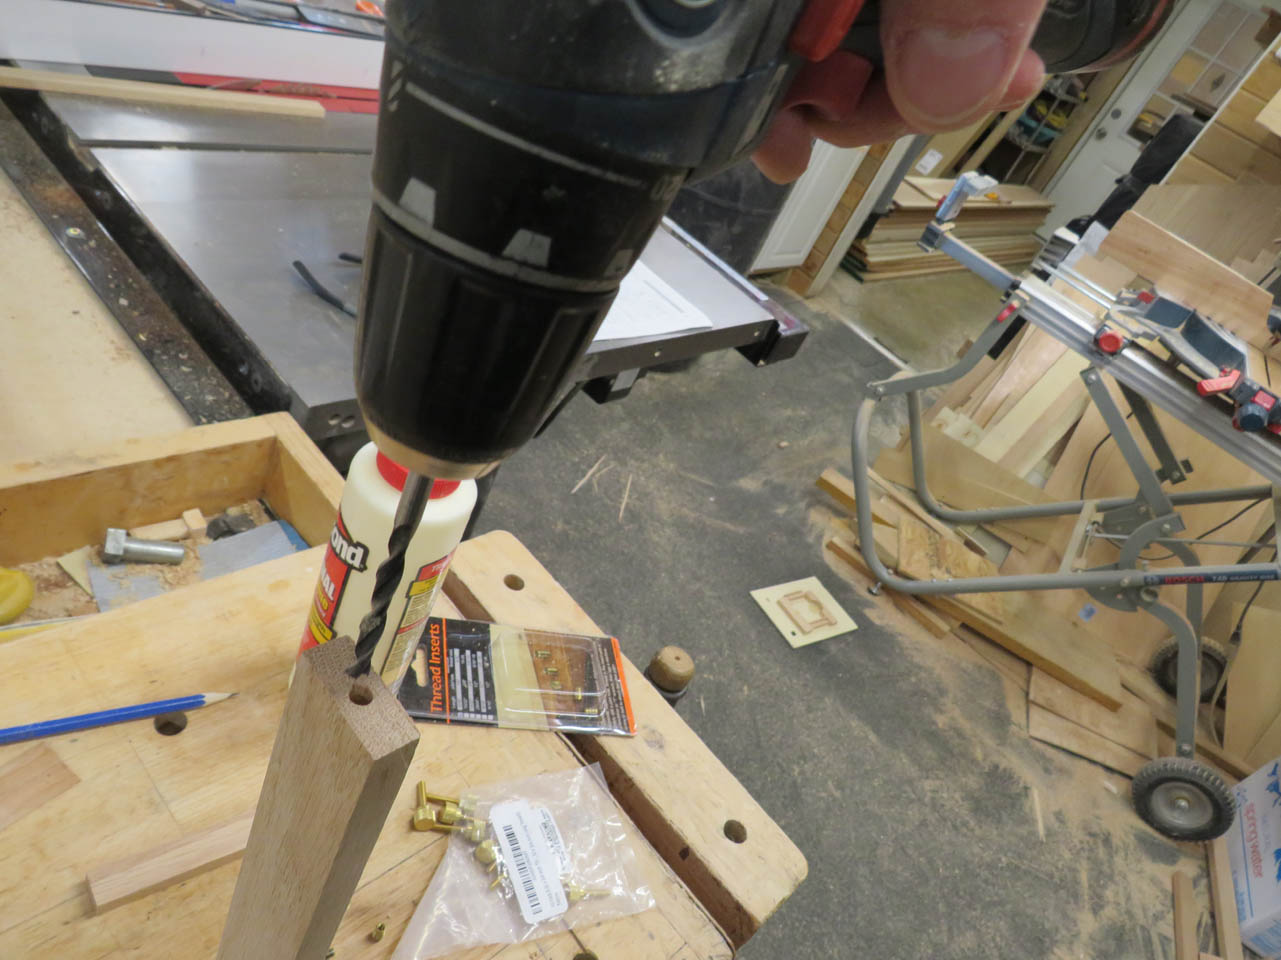
I drilled a stopped 1/4″ hole into the center of each of the end caps.

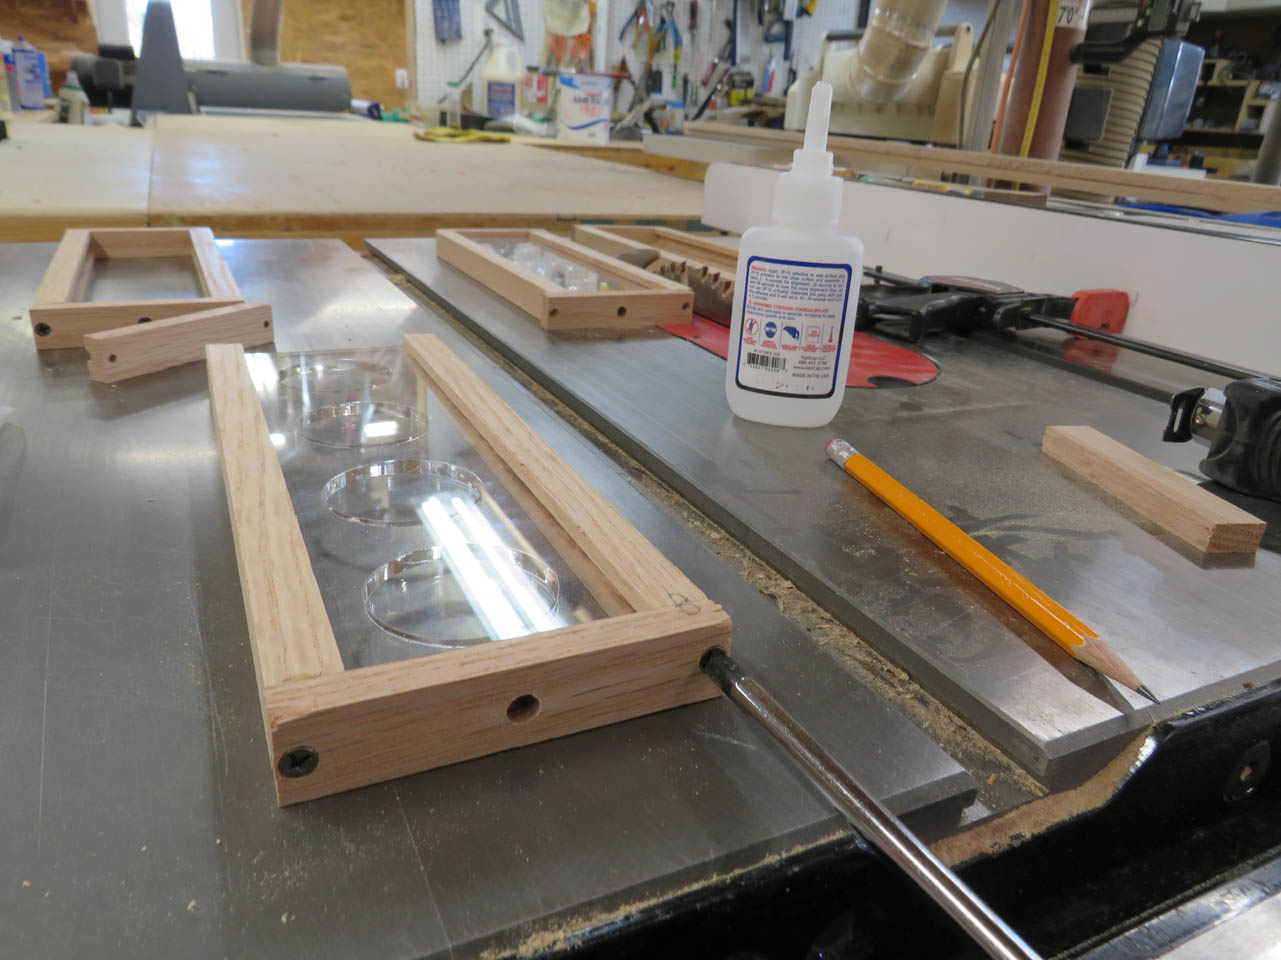
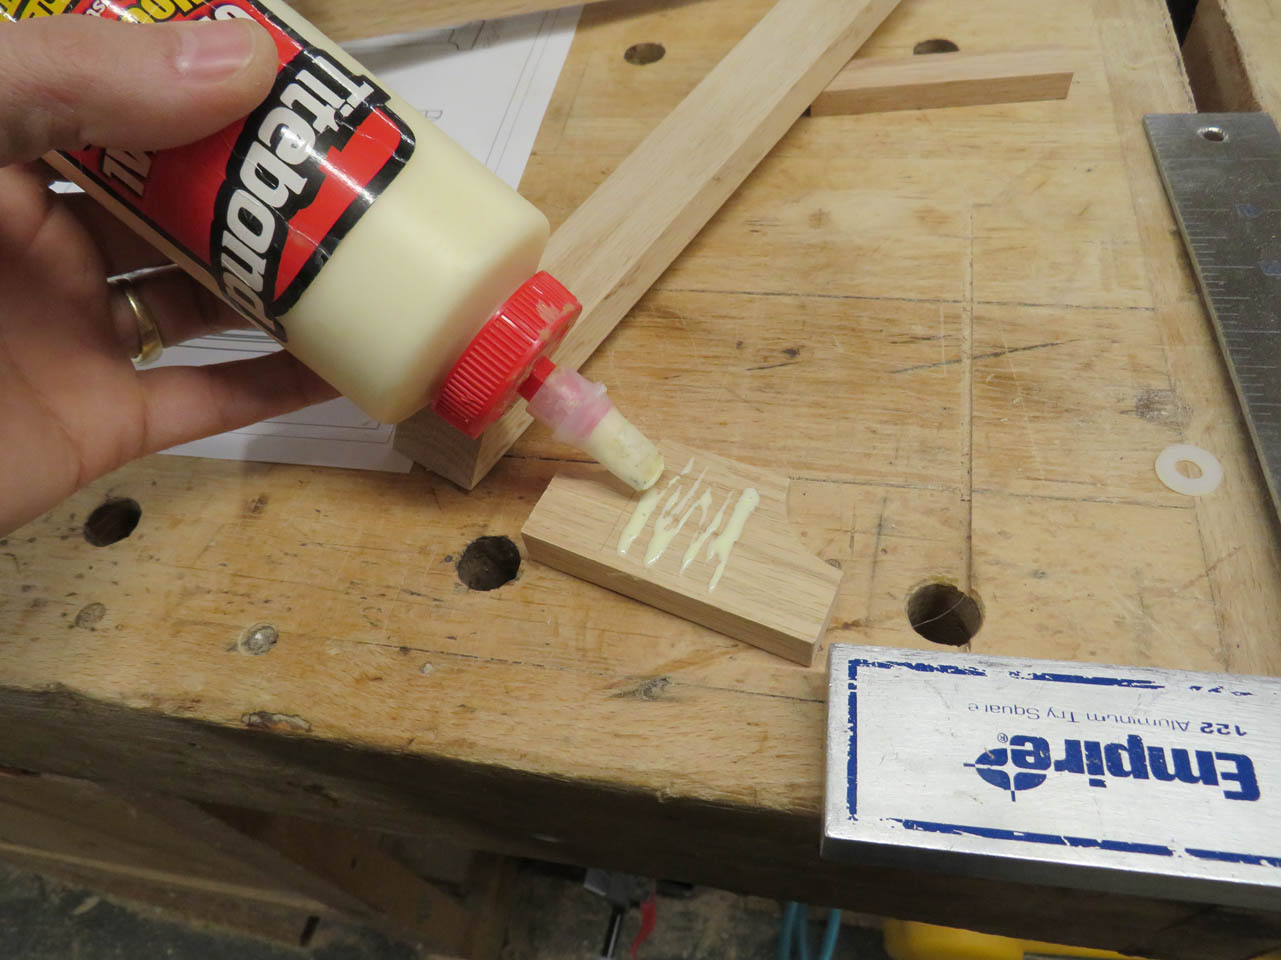
I permanently attach the bottom cap with some CA glue, then screw it on.

I also reattach to top cap. The top piece will get a longer dowel than the bottom so I wanted to establish which end was top before adding the dowels.

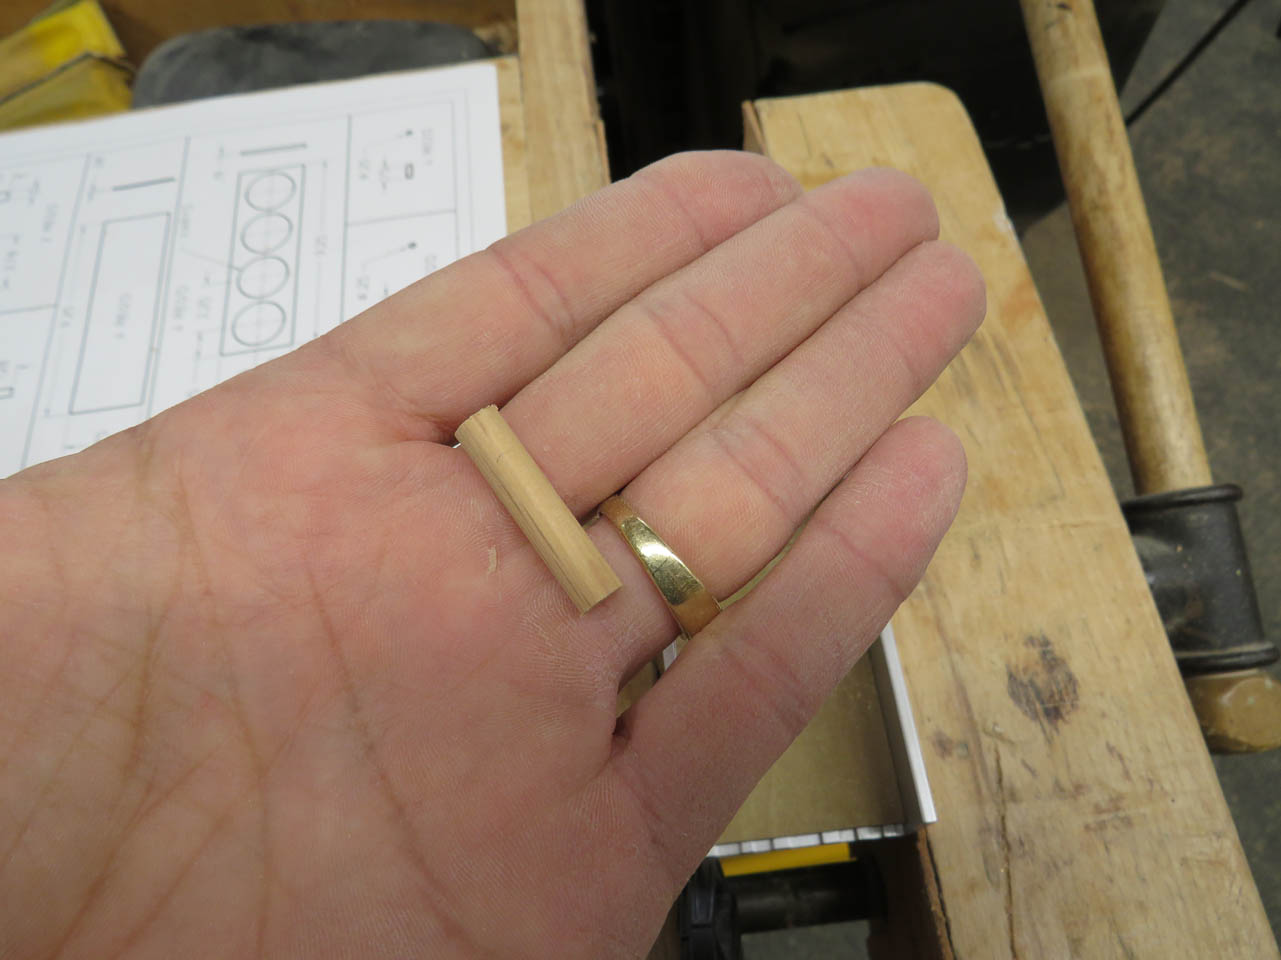
I rounded each end of the dowels before cutting them because they will be too short to hold safely after they are cut.

Then I used a tiny miter box and razor saw to cut the dowels to length.
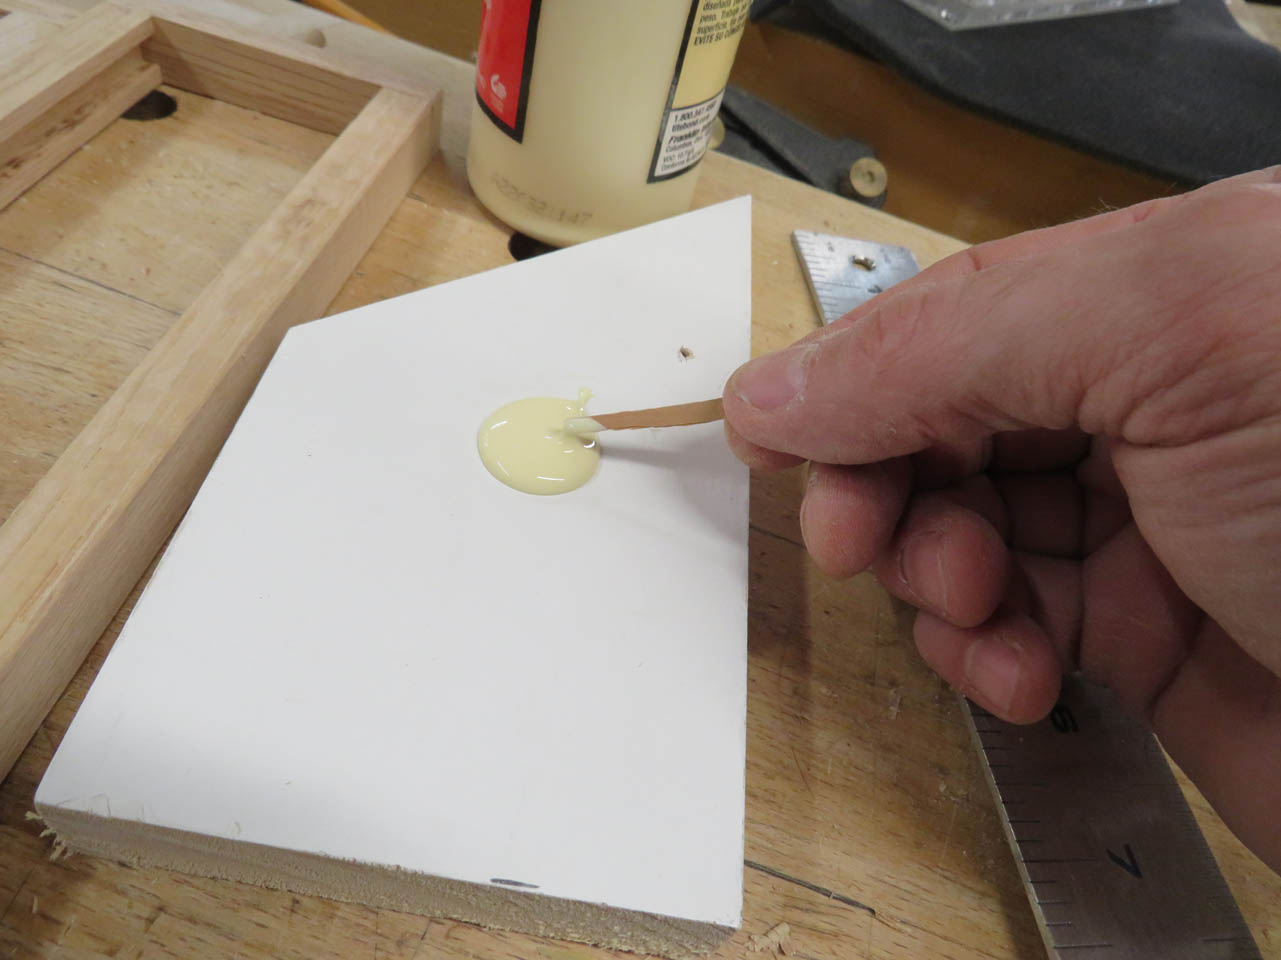
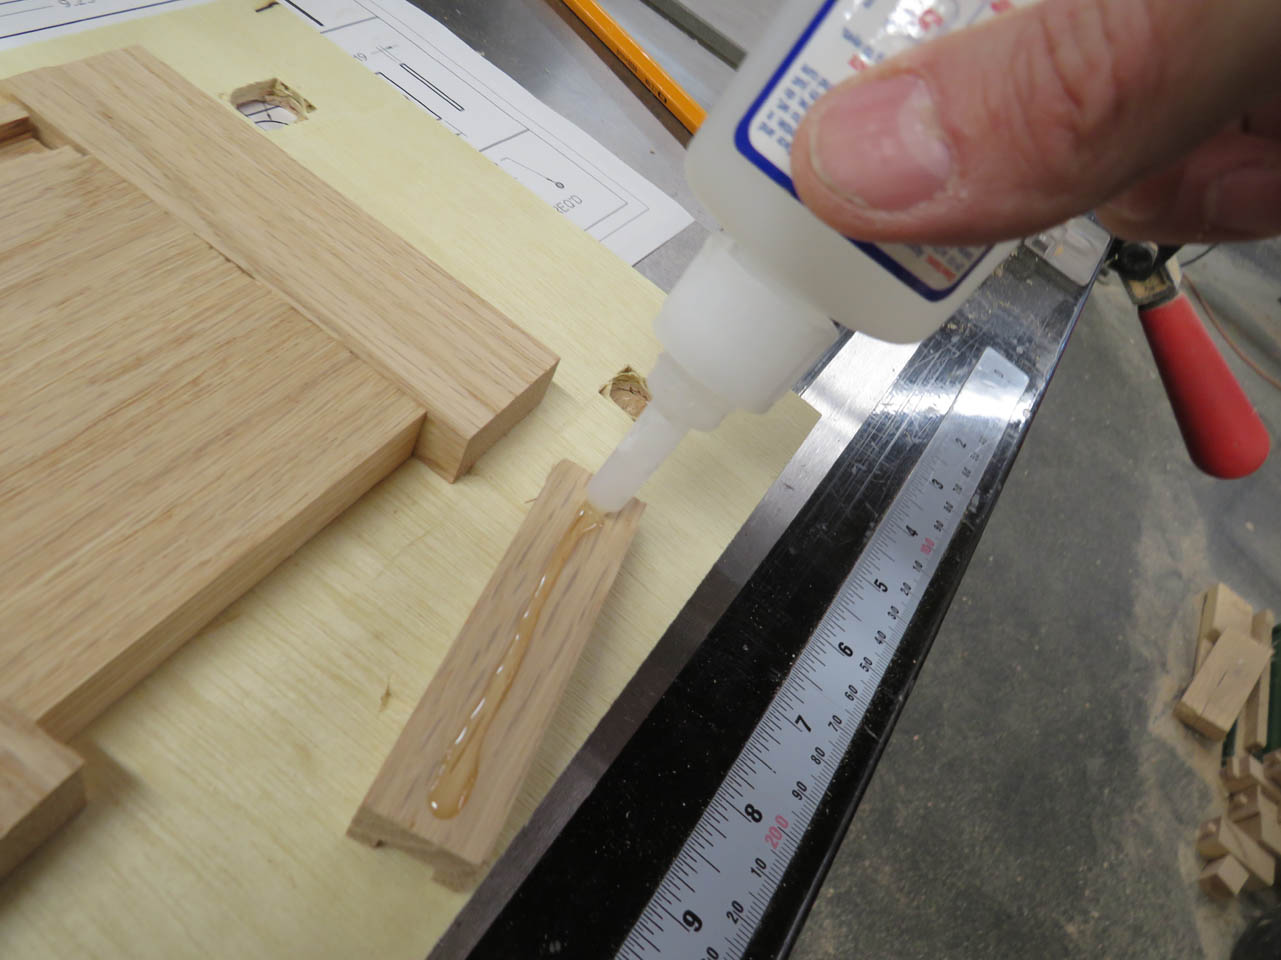
I line the holes with a bit of glue, then insert the dowels.


After letting them dry, I set my table saw blade to 45° and make a pass along each edge.
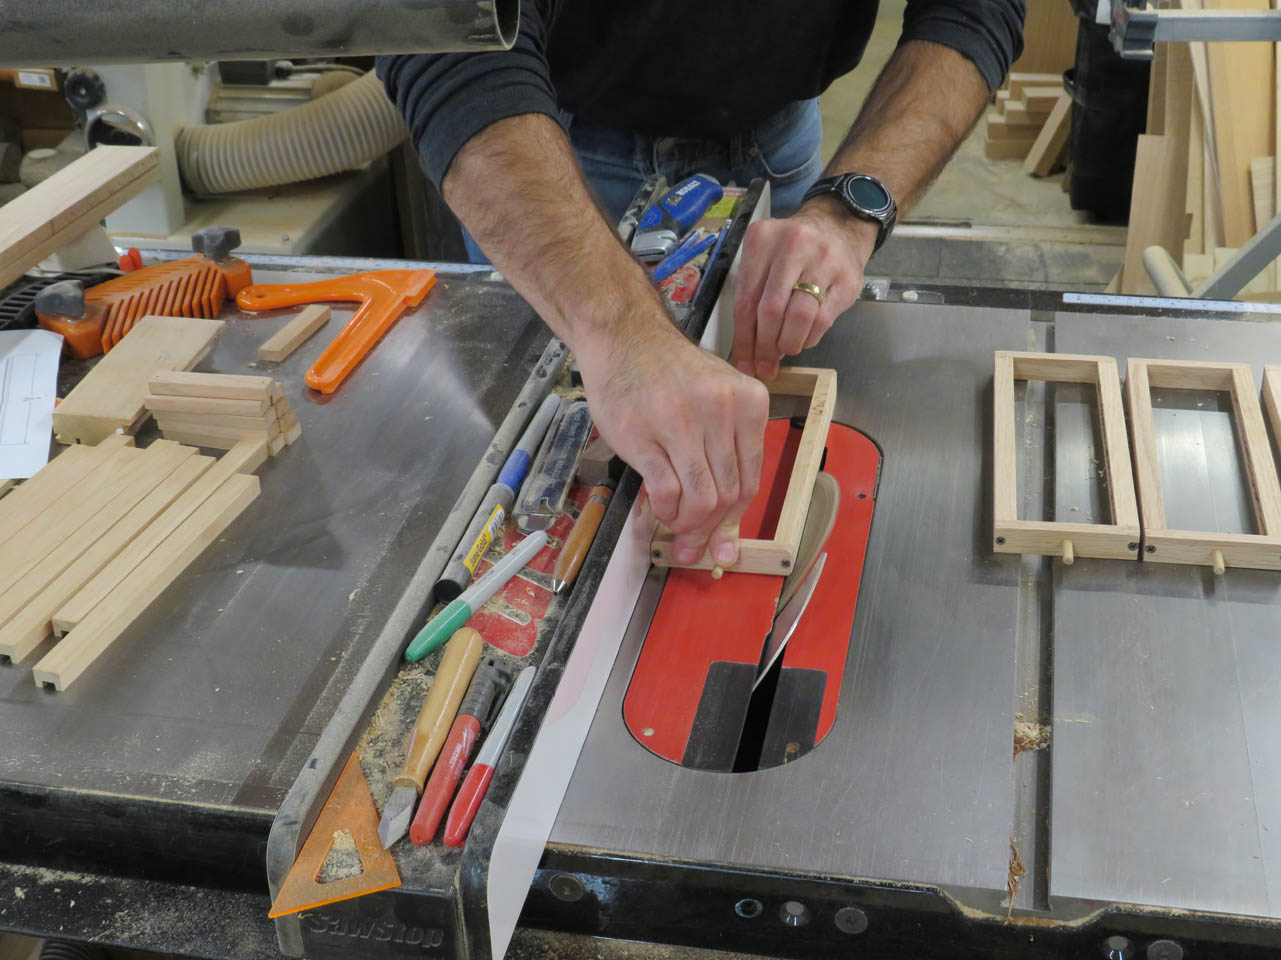
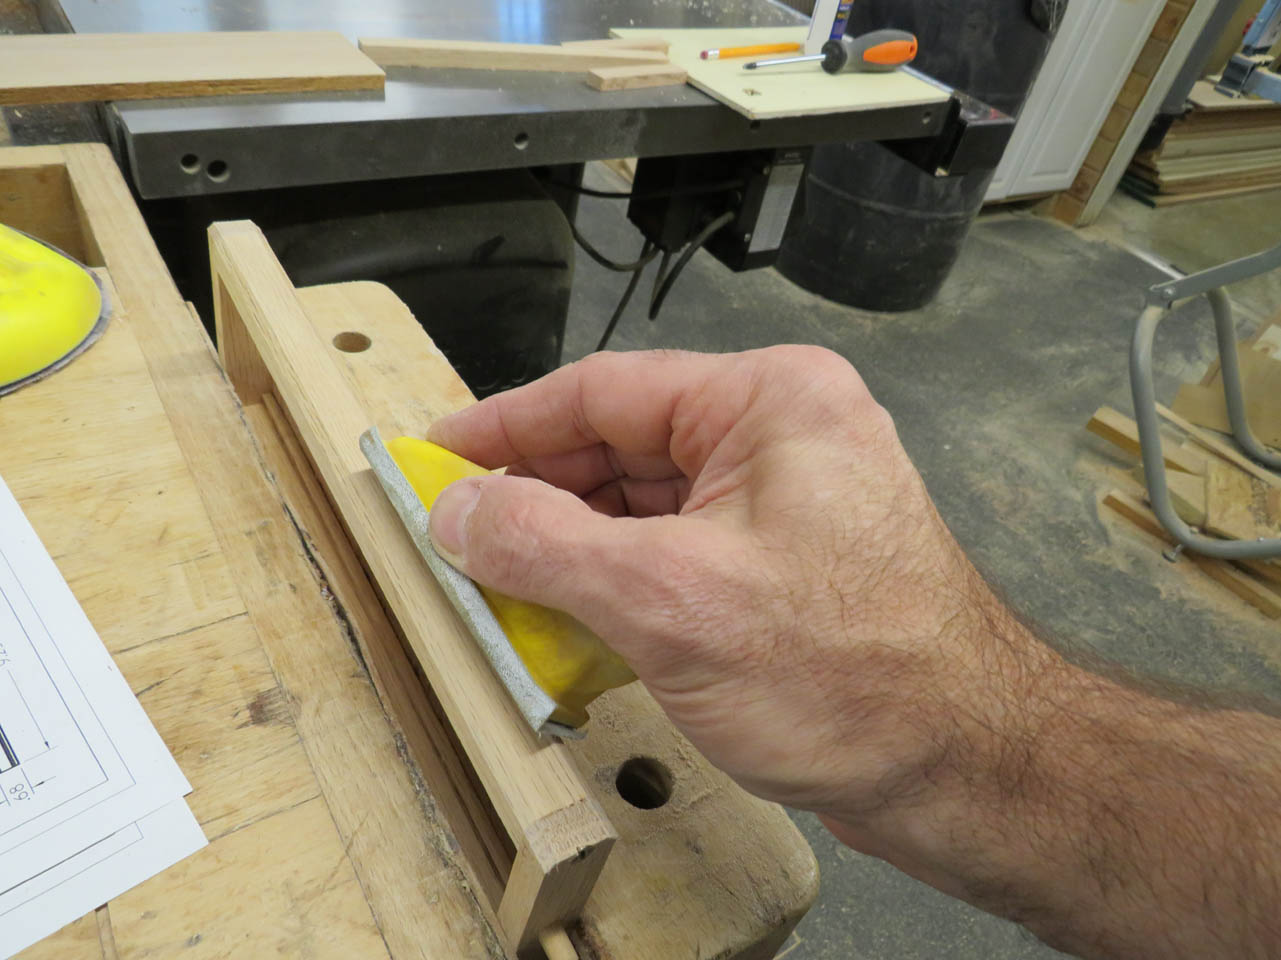
This takes off the sharp edge and allows the frames to spin without banging into each other. I sanded them all smooth by hand.

To make the feet, I cut two blanks and used CA glue to trap them together on a jig.
This allows me to cut two 1-1/4″ holes at the corners of the blanks.

This method creates a quarter-round notch on each of the upper corners of the feet.

I can then round over the tops and now I have some decorative feet.

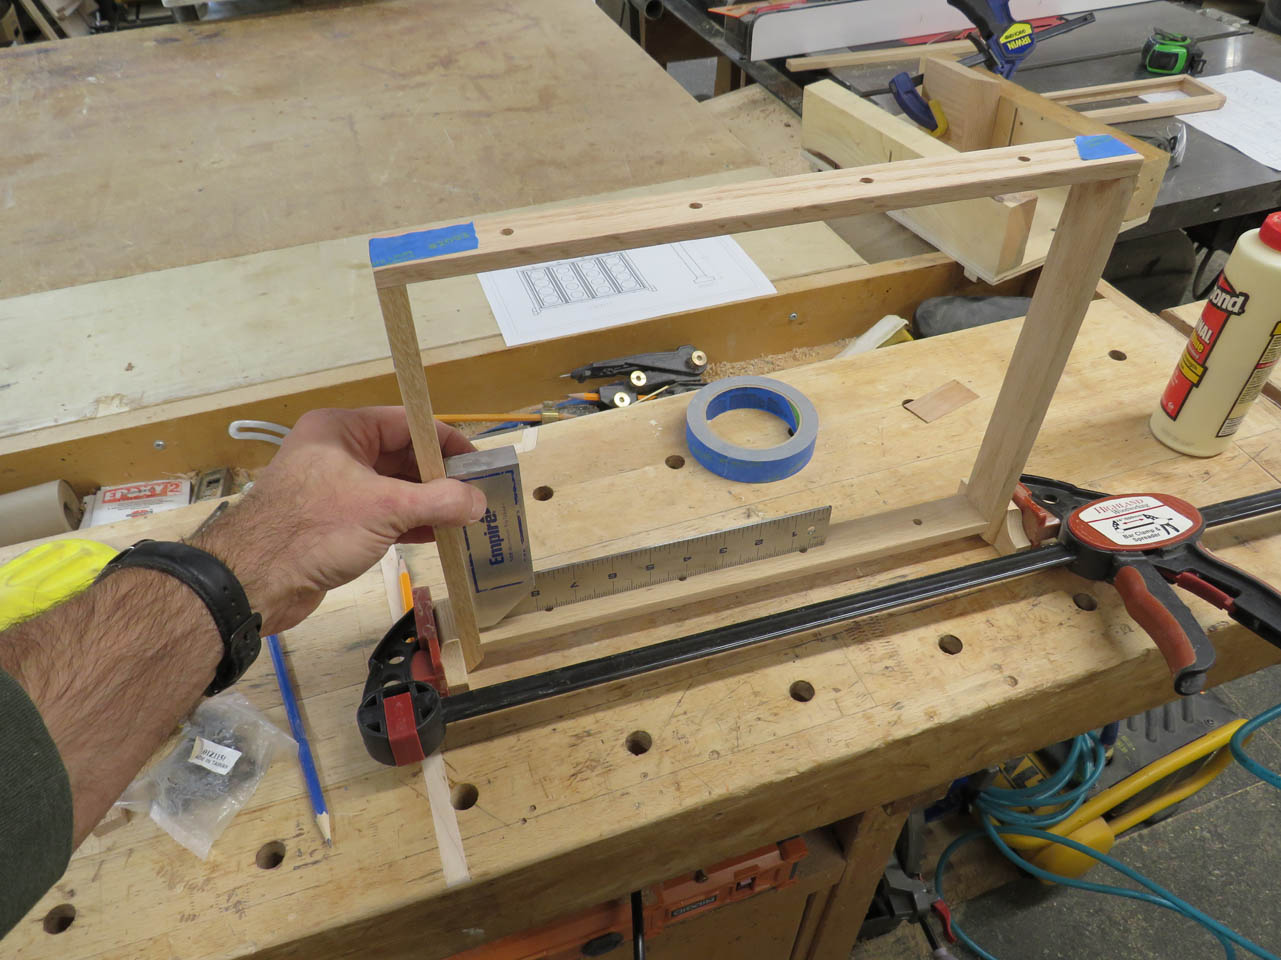
I cut the sides of the display to length and width, then cut a 45° end and used my cross-cut sled to cut a shallow dado to receive the bottom piece.
I did a quick dry-fit to test the length.

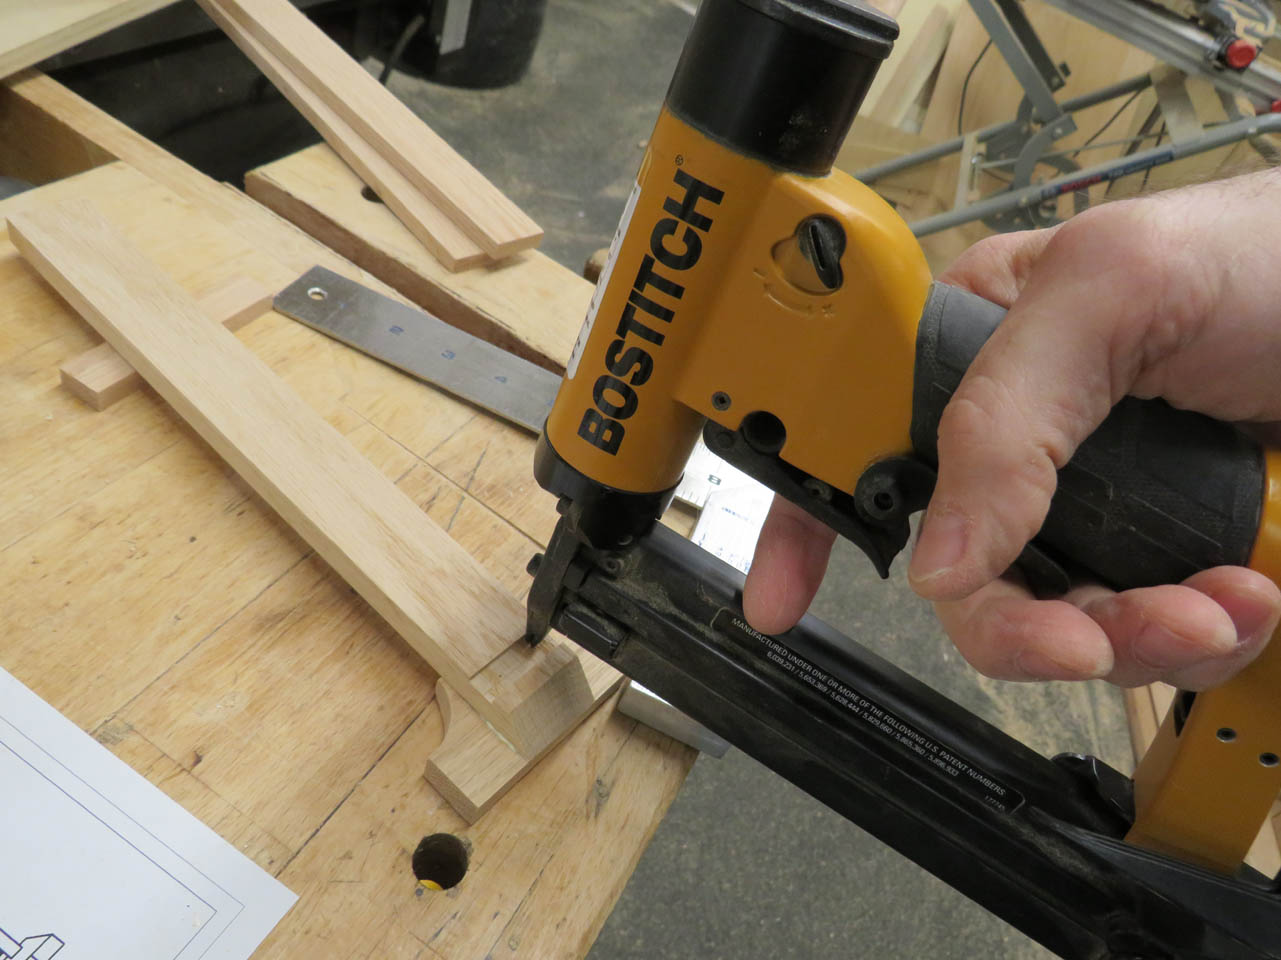
Satisfied with the dry-fit, I applied glue to the feet.

I used a square to align them to the sides and pinned them in place with some 23 gauge pin nails.
Then I clamped the feet in place and let them dry.


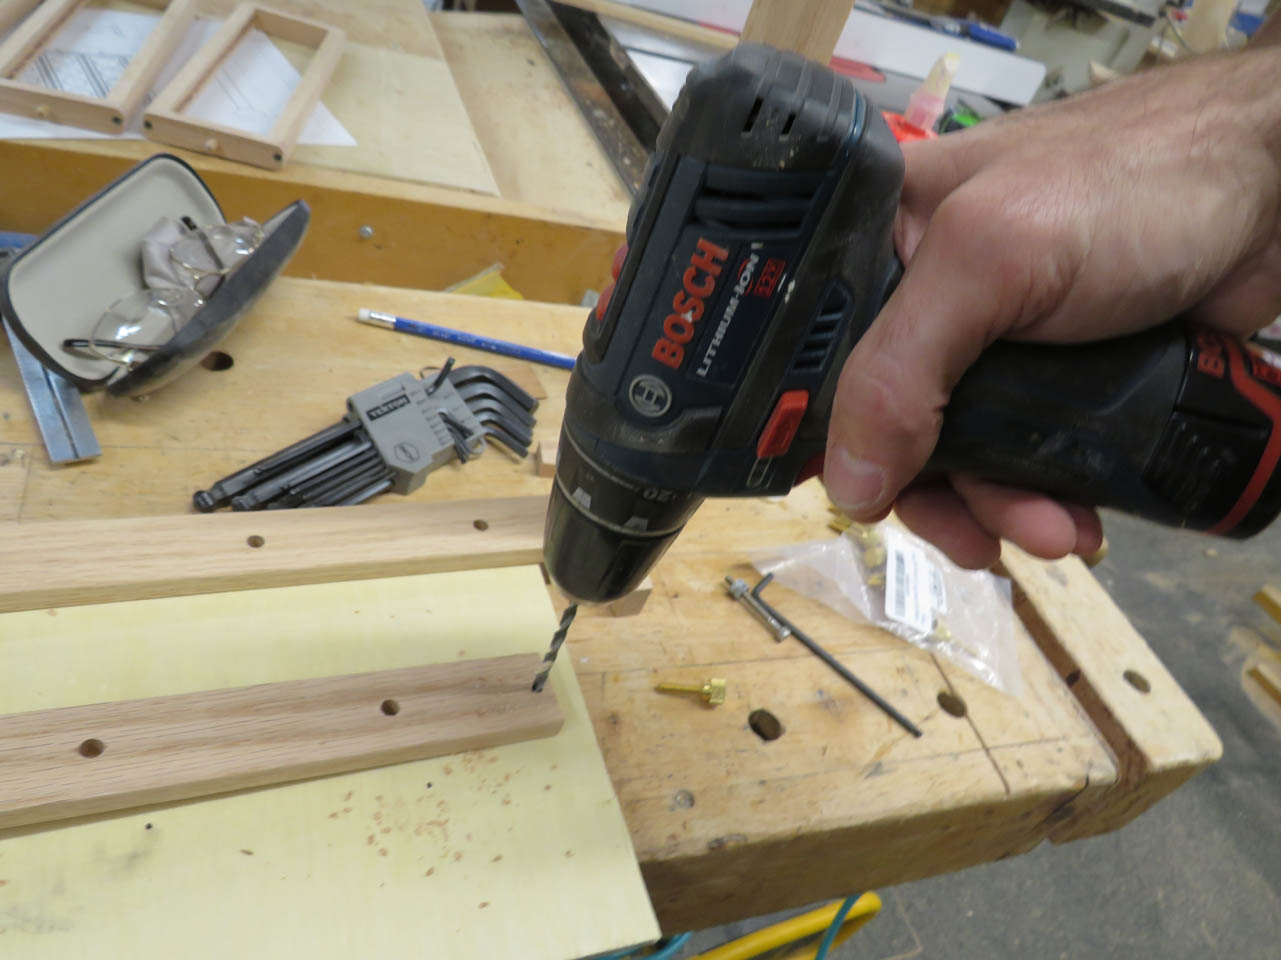
Next I laid out the holes in the top and bottom.
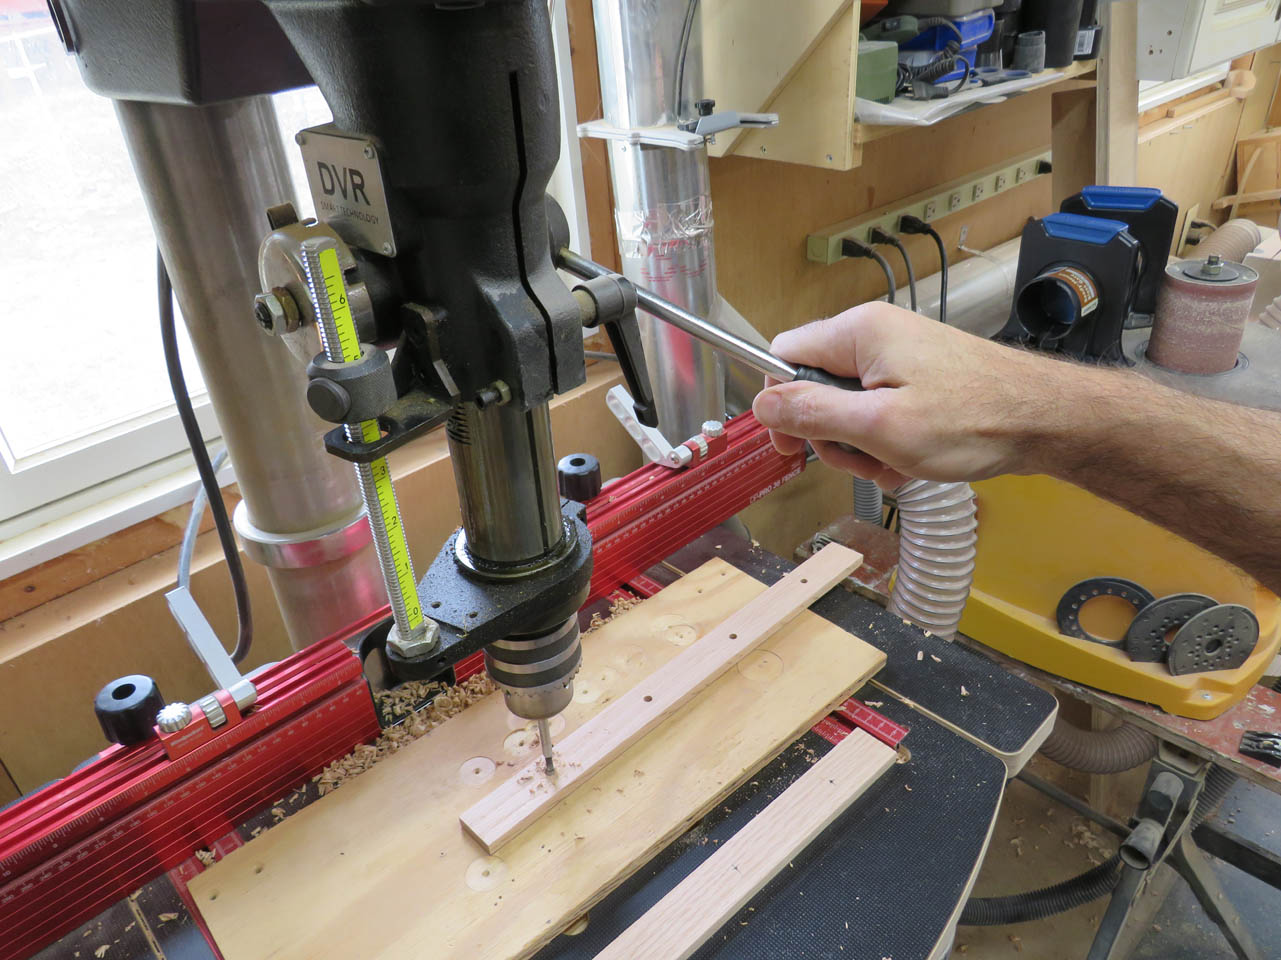
I used a forstner bit to drill a clean through-hole, that used a slightly larger twist drill to open the hole up 1/64″ bigger so the 1/4″ dowel would spin freely. (They don’t make forstner bits in 1/64″ sizes…)


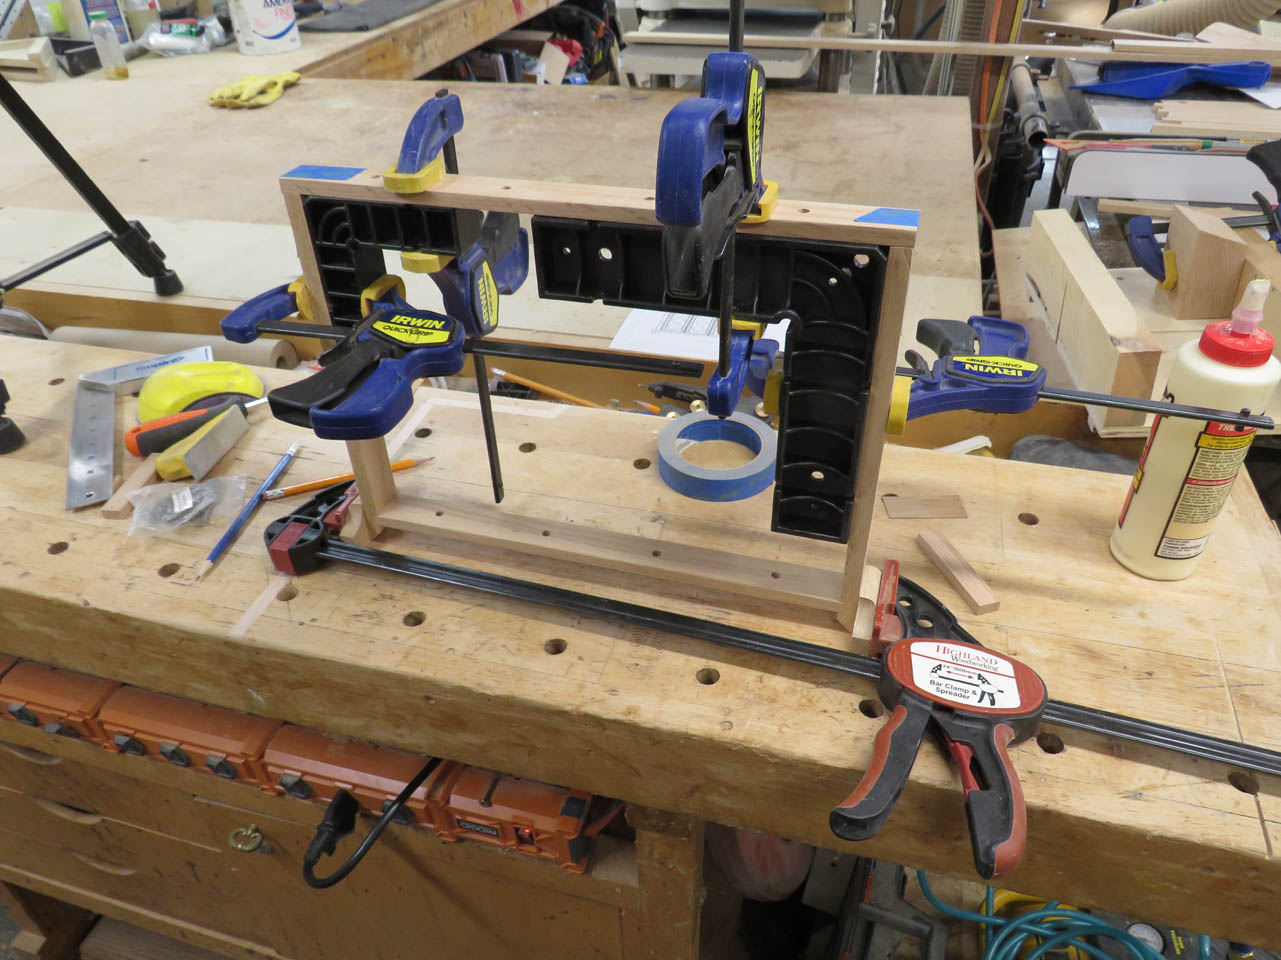
I applied glue in the side dados and clamped the sides to the bottom of the frame.
I used a square and some clamping blocks to hold it all square while it dried.
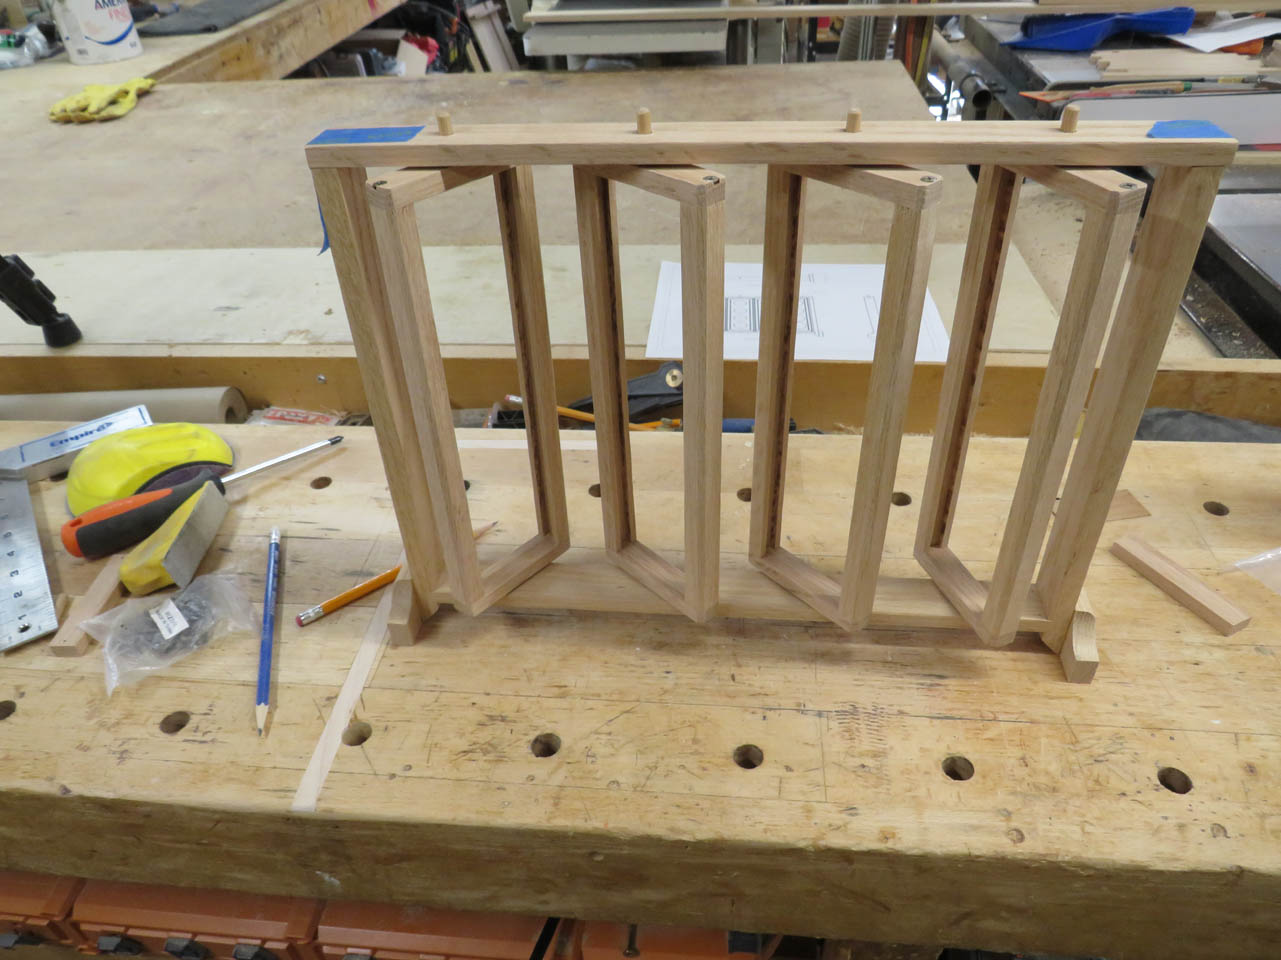
I fully assembled the display to double check the fit.
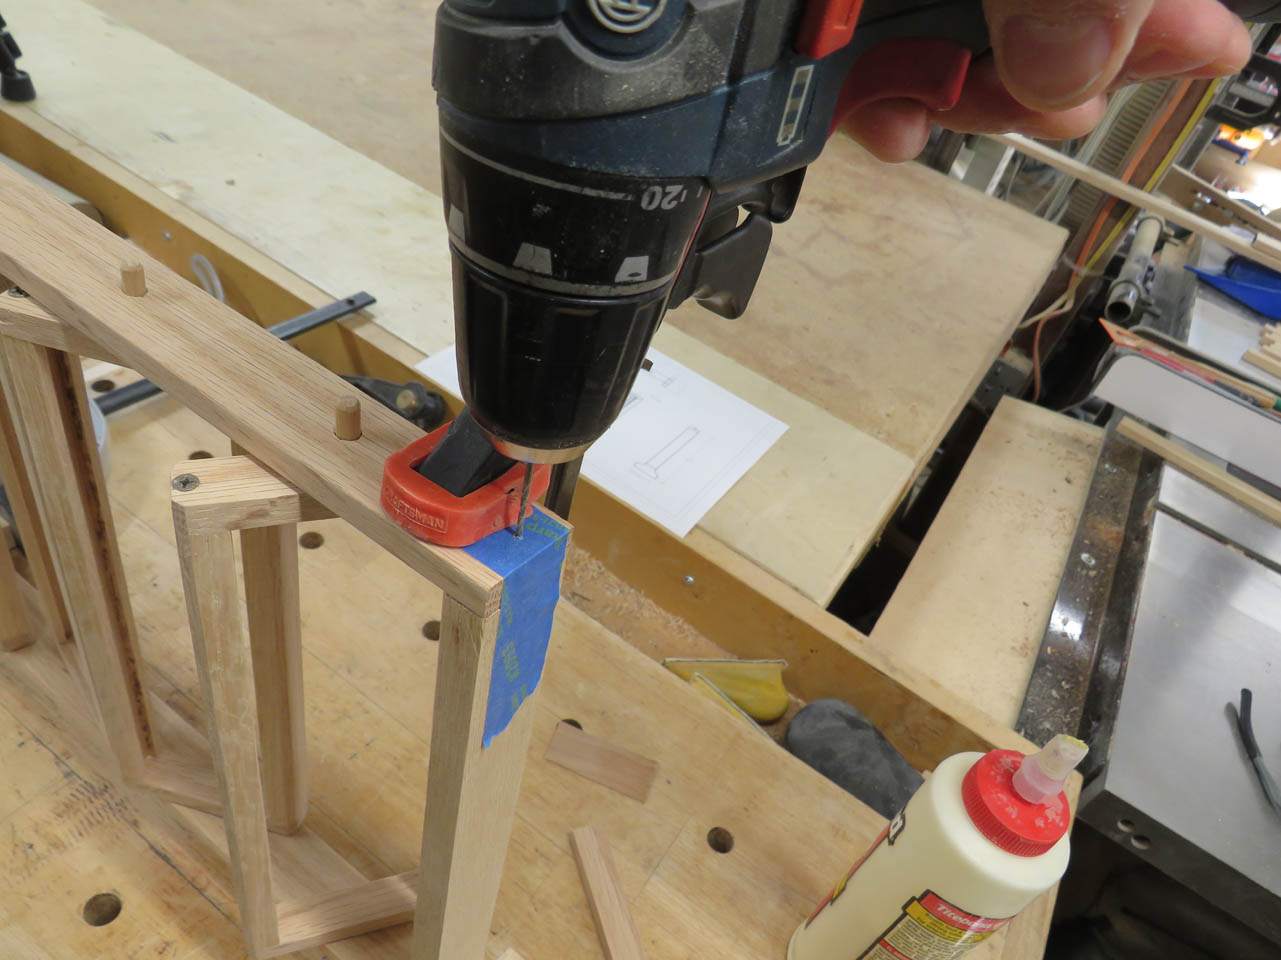
Then I drilled a pilot hole in each side for attaching the top.
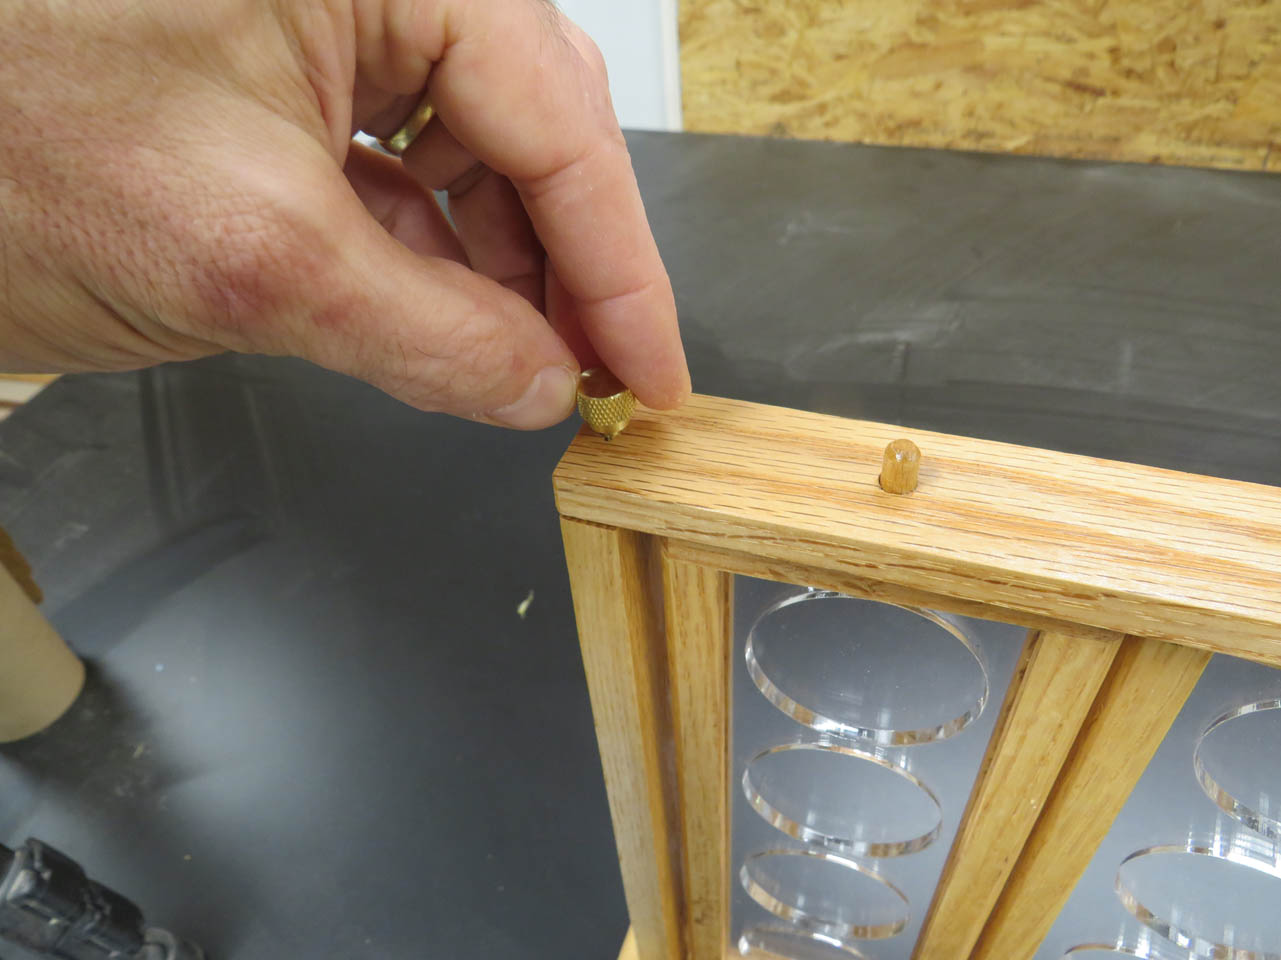
I decided to use thumb screws and threaded inserts to hold the top on so I drilled out a larger hole in the side pieces and used a bolt to install the inserts.

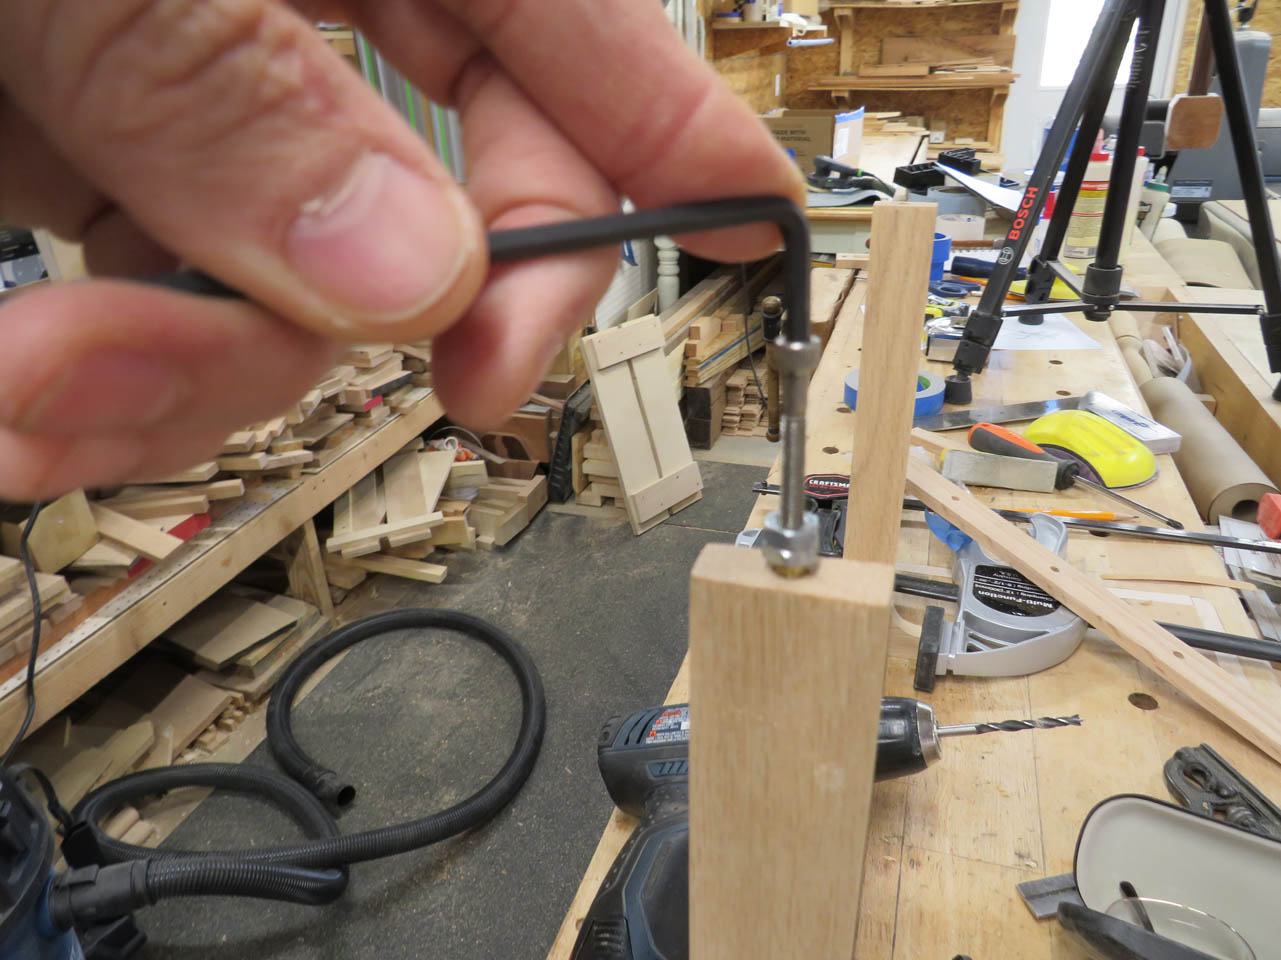
Once installed, I drilled a larger hole in the top plate to accept the thumb screw.

Perfect fit!

Now I can give everything a good, final sanding before applying finish.

I forgot to take a picture but I also attached a nylon washer to the top and bottom dowels with some CA glue before starting to apply finish.

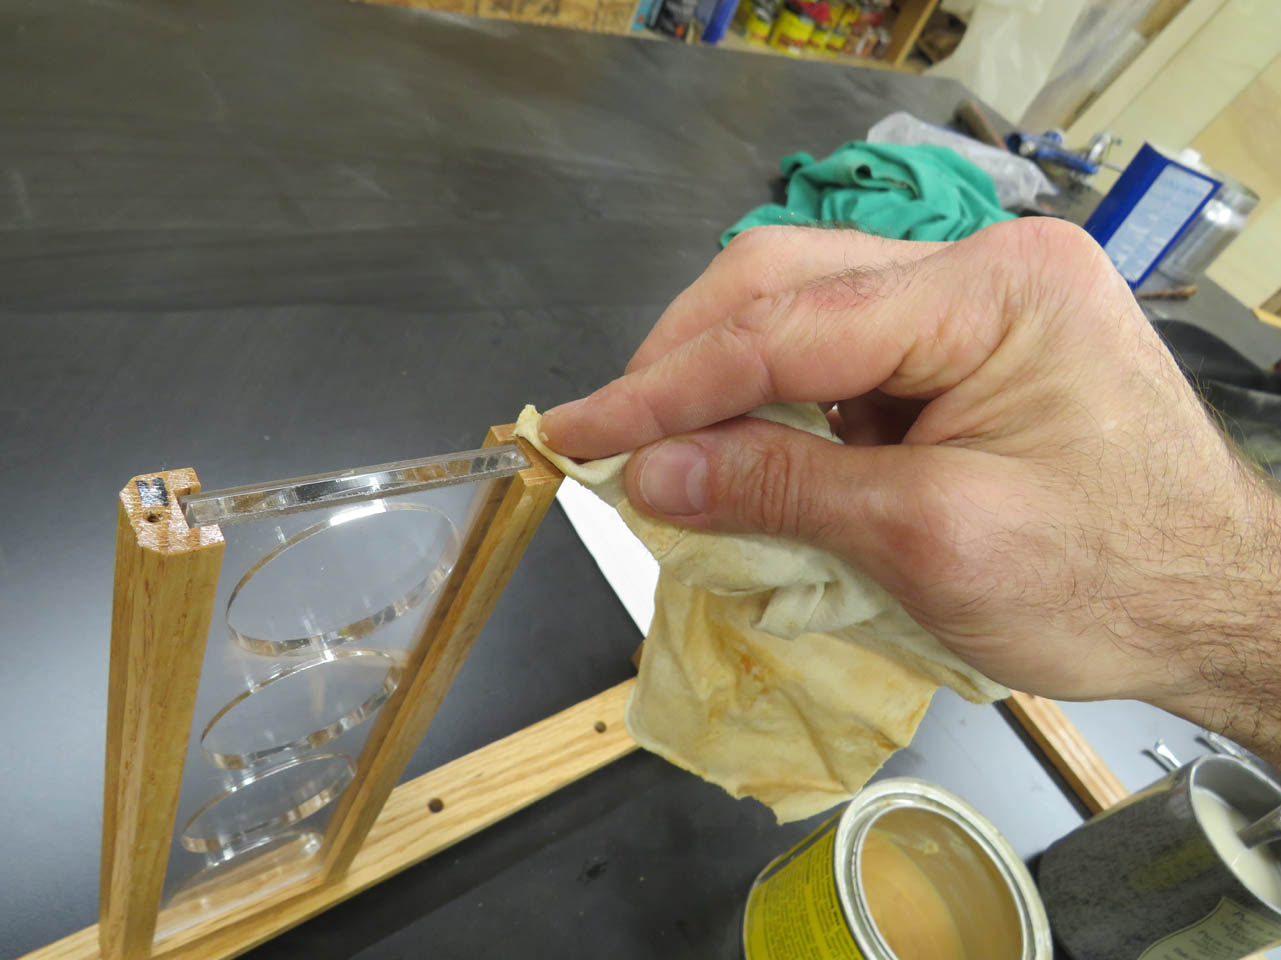
These pieces are small and everything has a fairly tight fit so I decided to use Tung oil for the finish. It soaks into the wood for the first few coats without raising much of a film.
Between each coat, I sand all the pieces down with 400 grit paper.

I also installed screws into the threaded inserts to keep the finish from gumming up the threads.

I numbered the end caps so that they could be reattached to the same frames for perfect alignment.


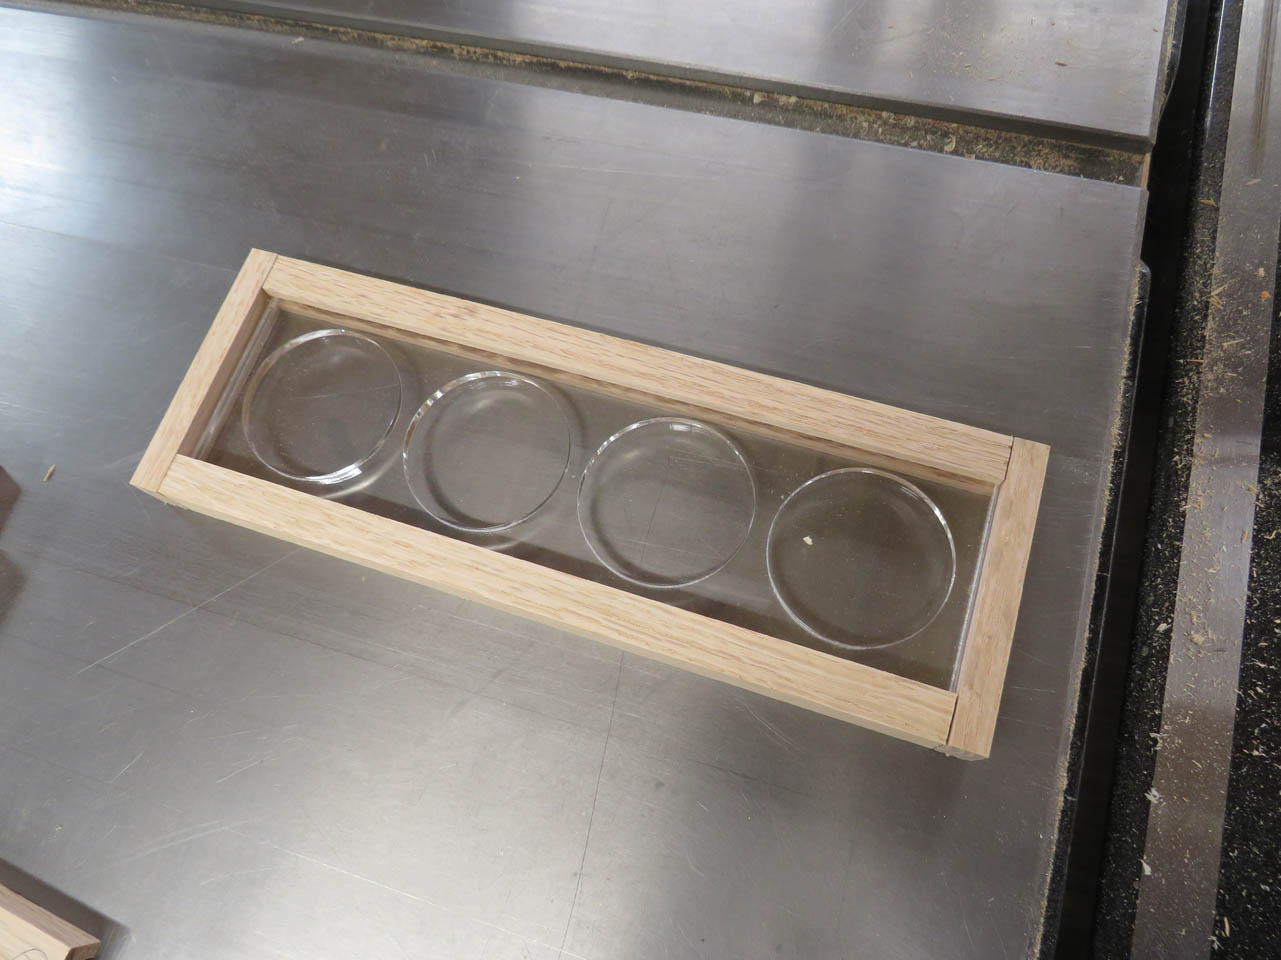
Next, I layered the acrylic pieces together and inserted them into the frames.


To keep the finish from sticking I applied a tiny bit of past wax to the tops of the frame sides.
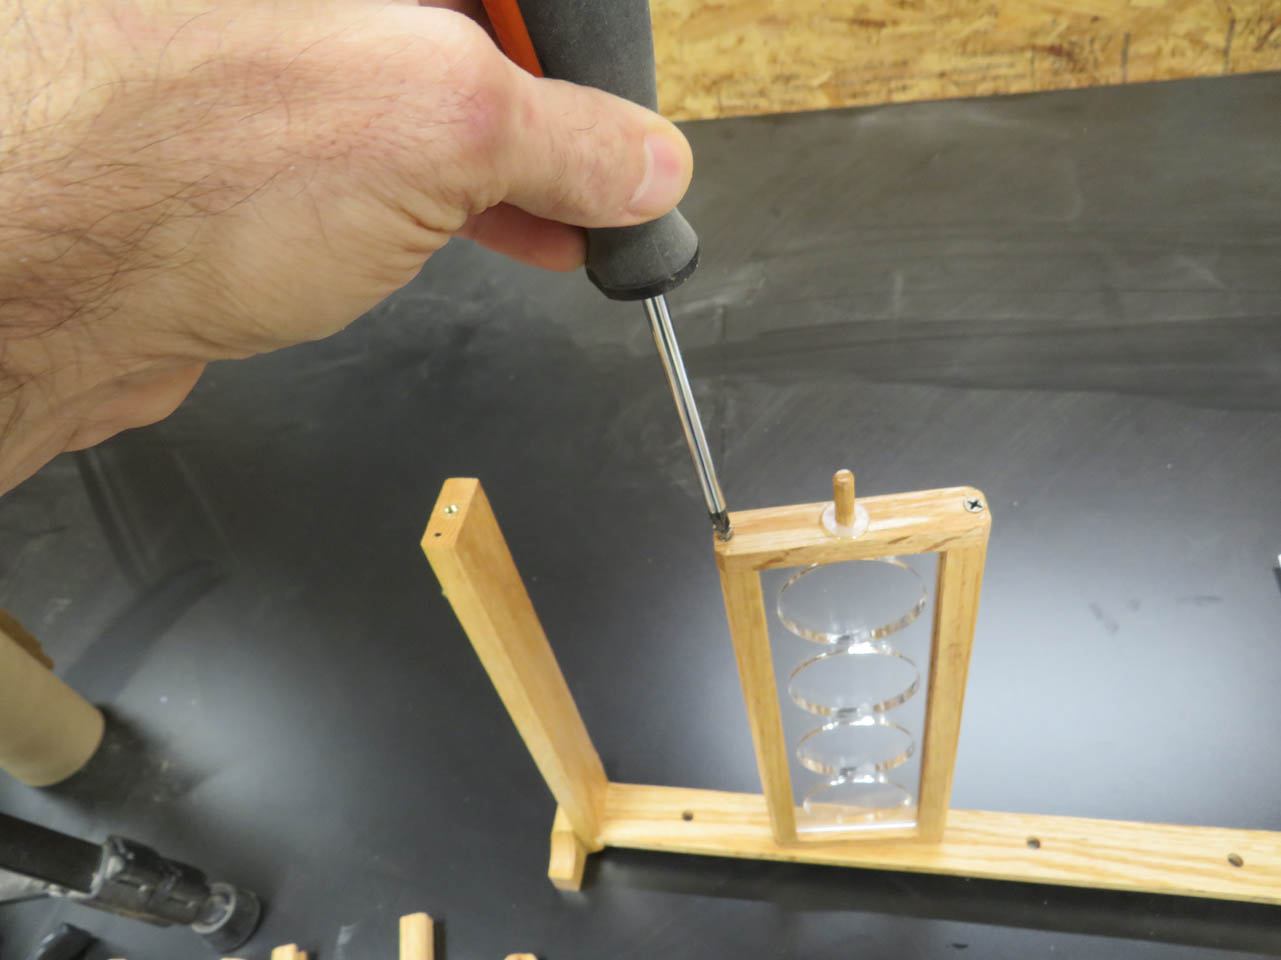
Then used a #2 Phillips head screw driver to “gently” reattach the tops of the frames.
I also marked the top with a dot so that it also can be reassembled to the correct side.

Then the frames can be lined up with the holes in the top plate and the thumb screws installed to hold it all together.
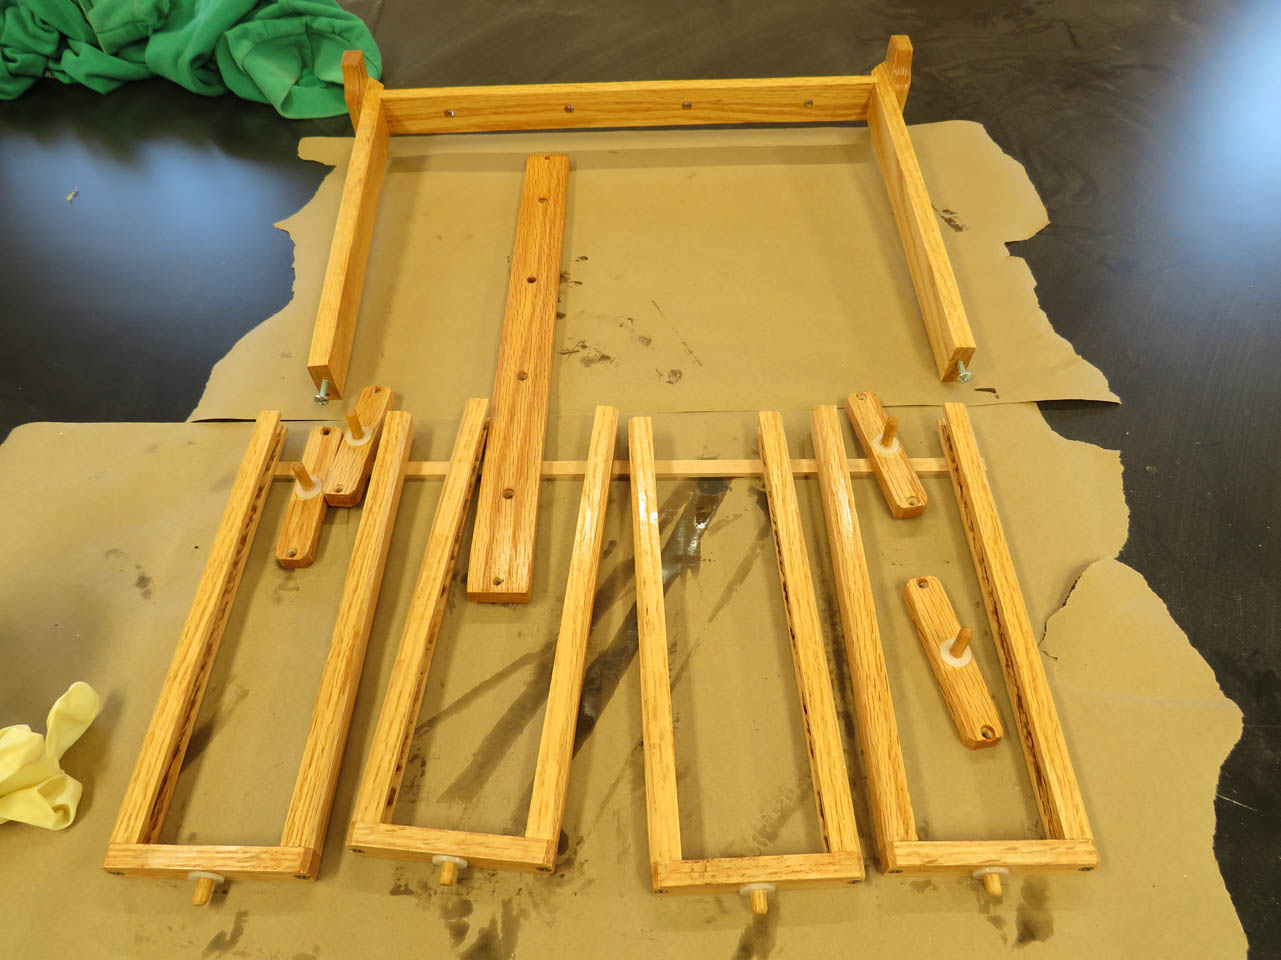
The display is complete. The individual frames can be spun around to see both sides of the coins.

Total work time was about 8 hours. Definitely an interesting build but I think you would have to mass produce these to bring the price down if you wanted to sell them.
