
Library book cart for Holy Spirit church
I have another request from Holy Spirit church. They would like a rolling library cart to hold and display books. I made drawings for two possible options and they chose the first one with two angled shelves.
I have some nice, wide oak boards to work with for this project so I won’t have to glue up any panels.
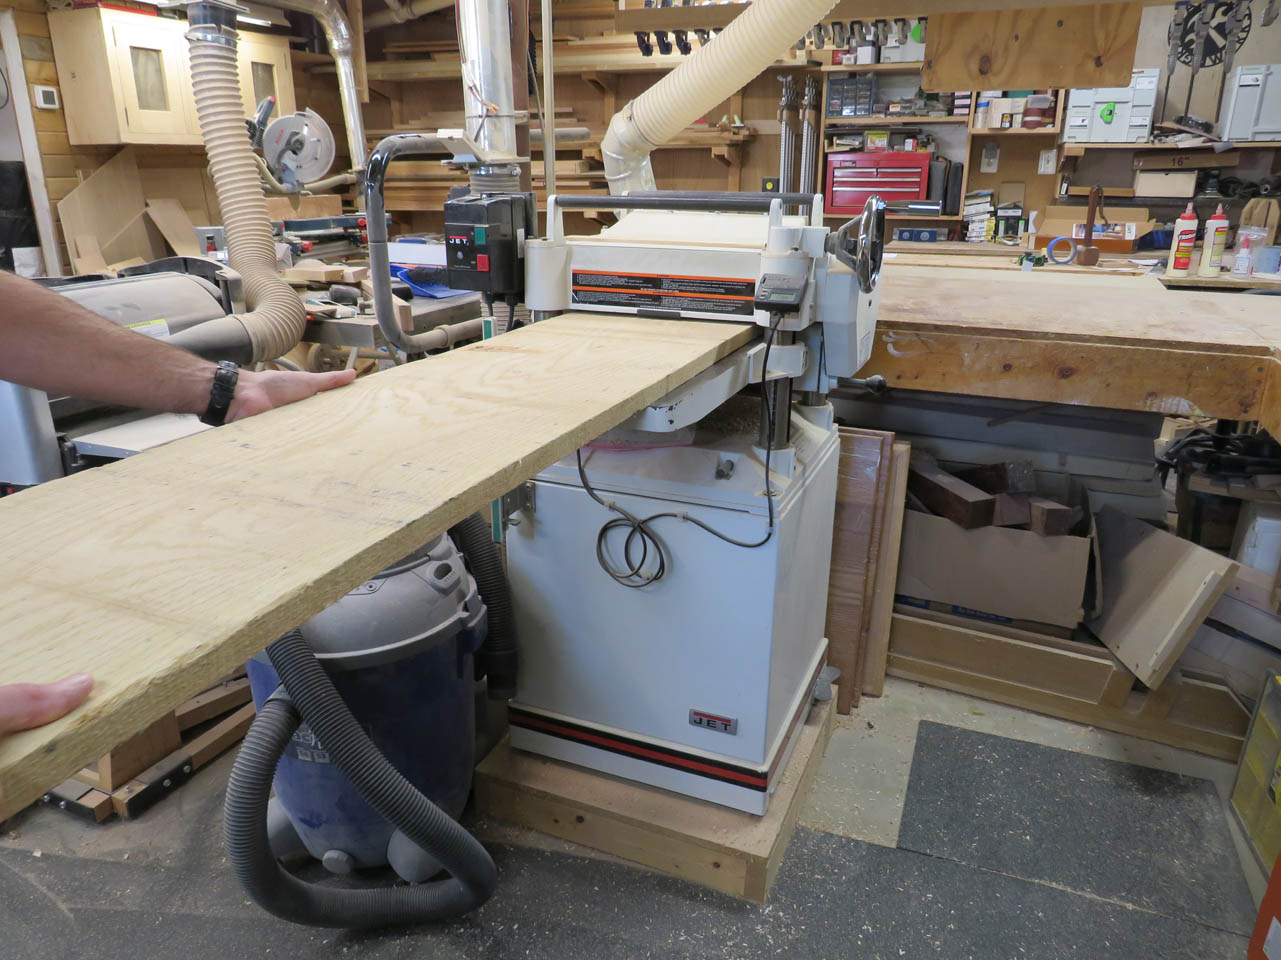
I start by planing my rough-sawn boards down to 3/4″ thick, then cut them to rough length.

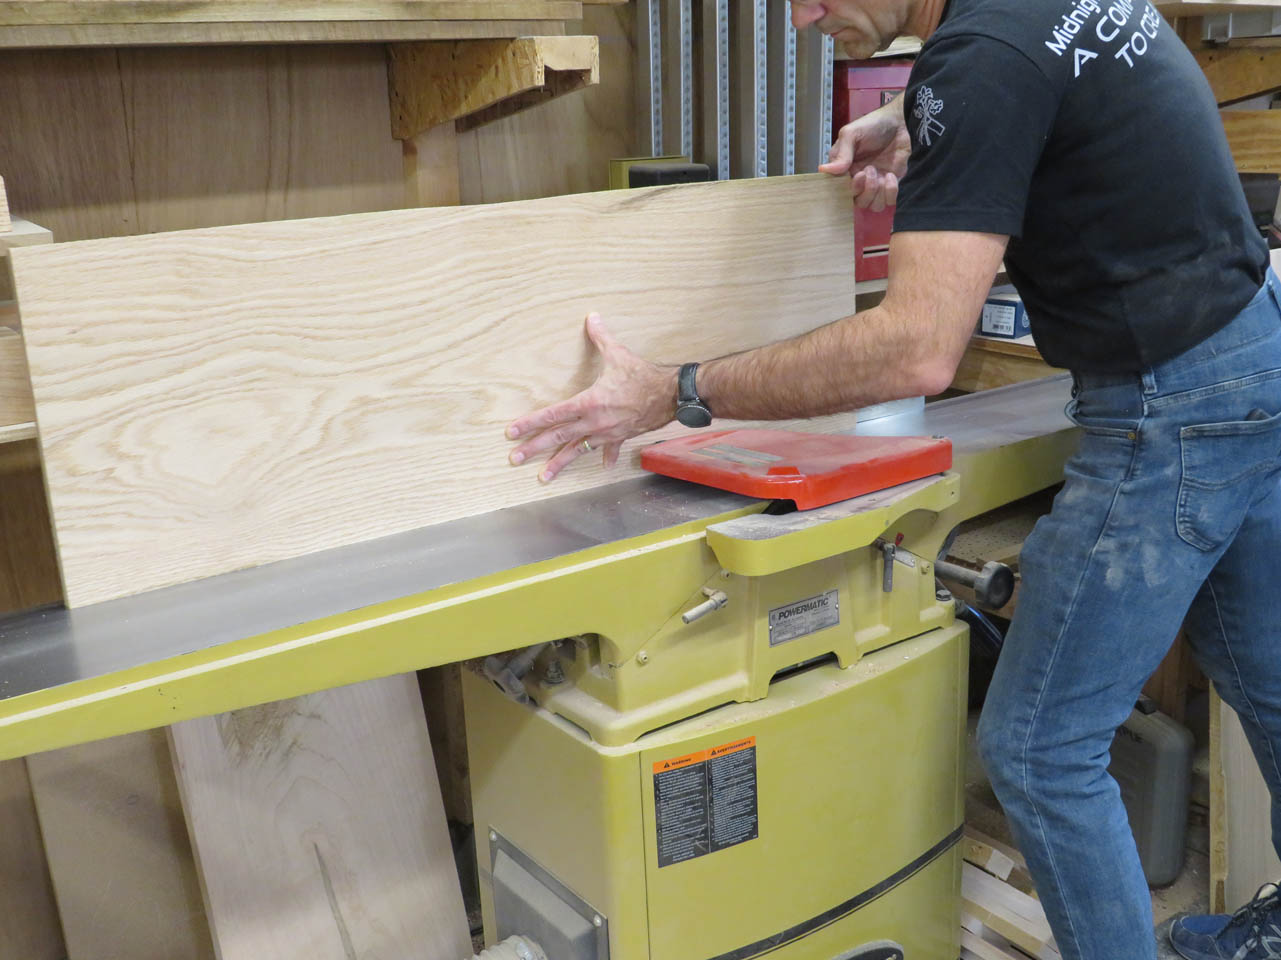
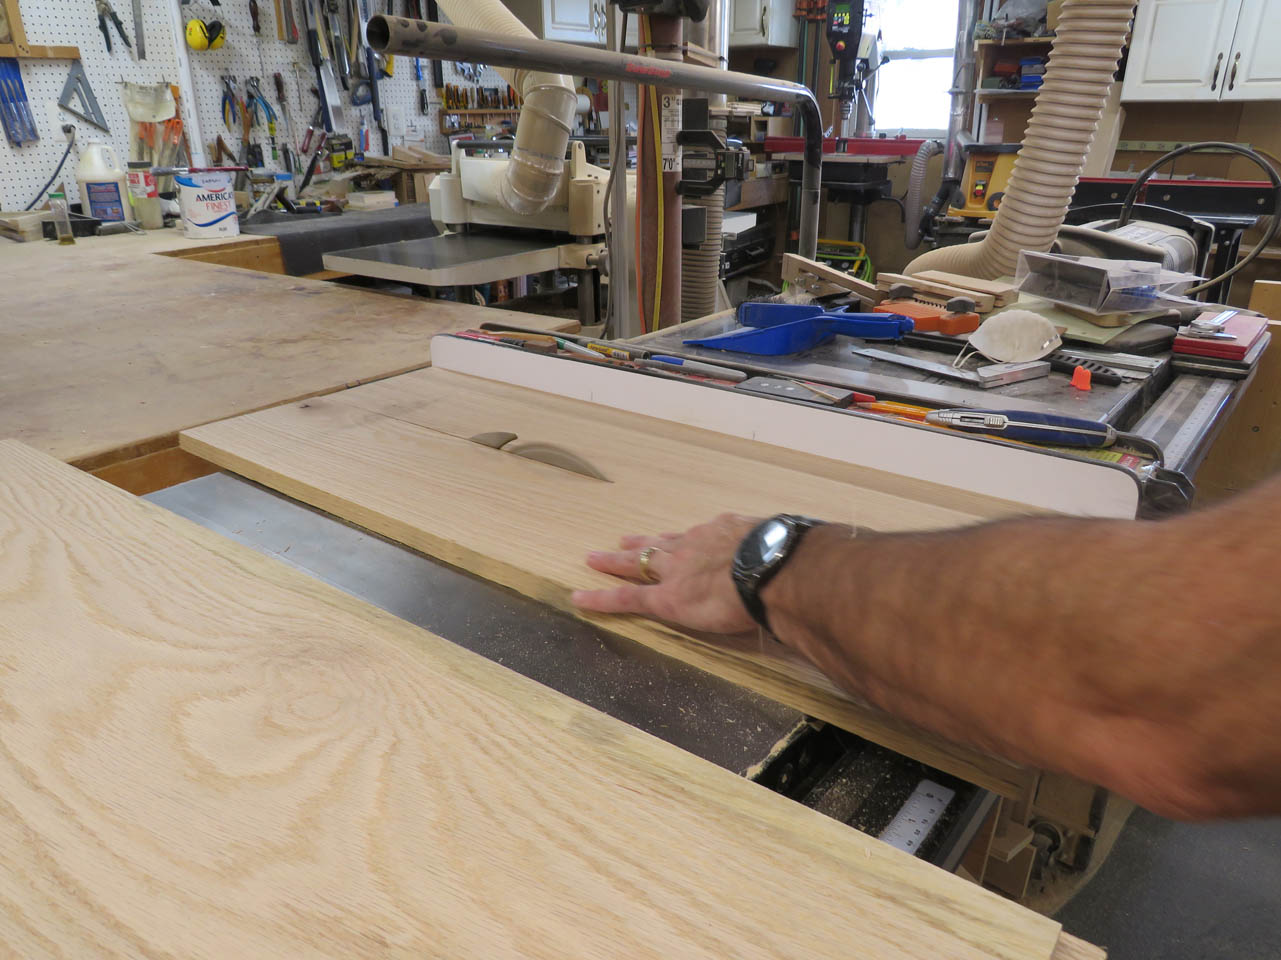
After jointing one side, I can cut the opposite side parallel on the table saw, making the boards their final width.

For the angled shelves, I can stack all four of them together and cut them all the exact same length.

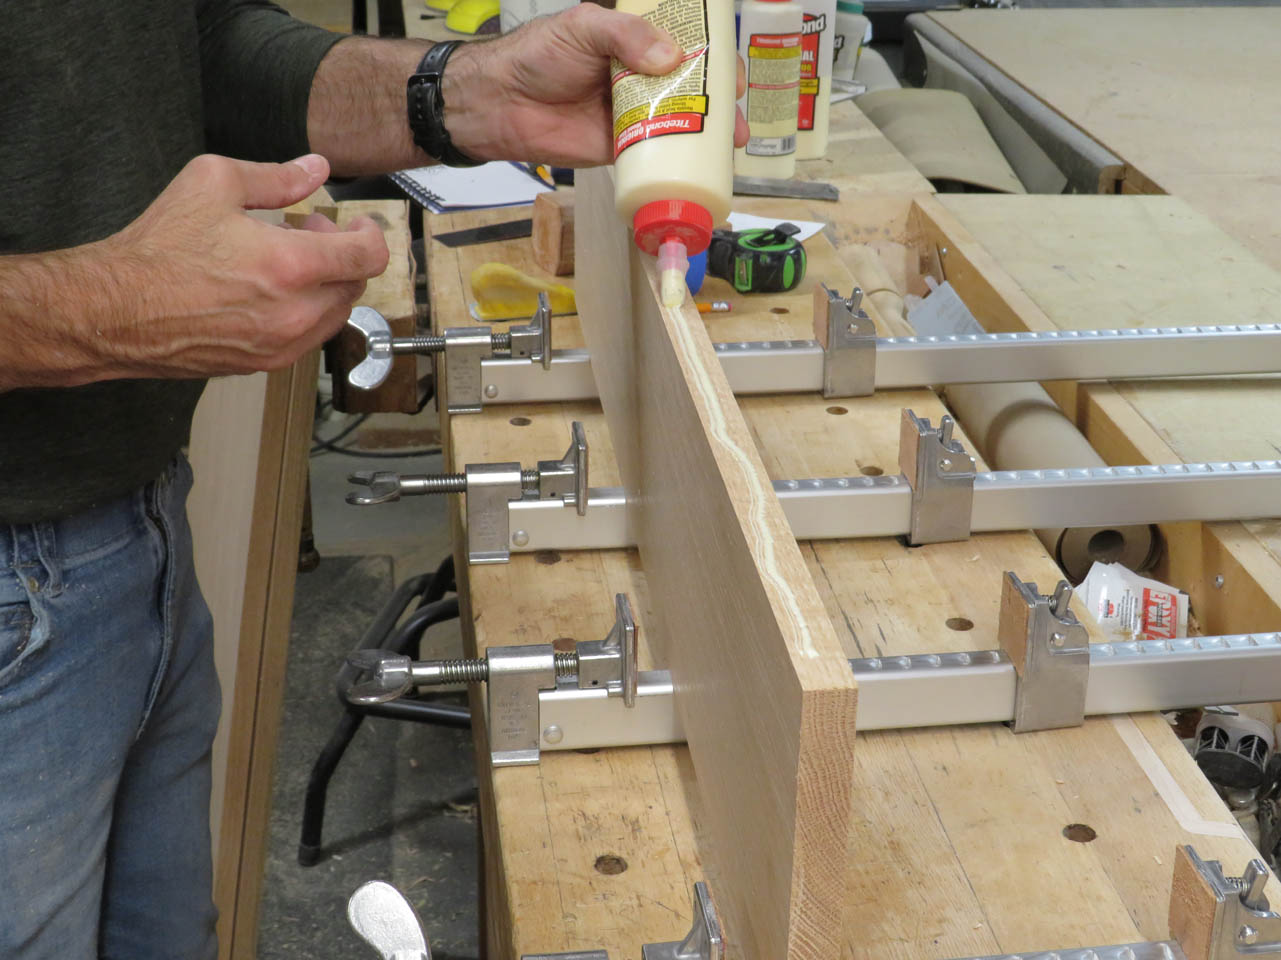
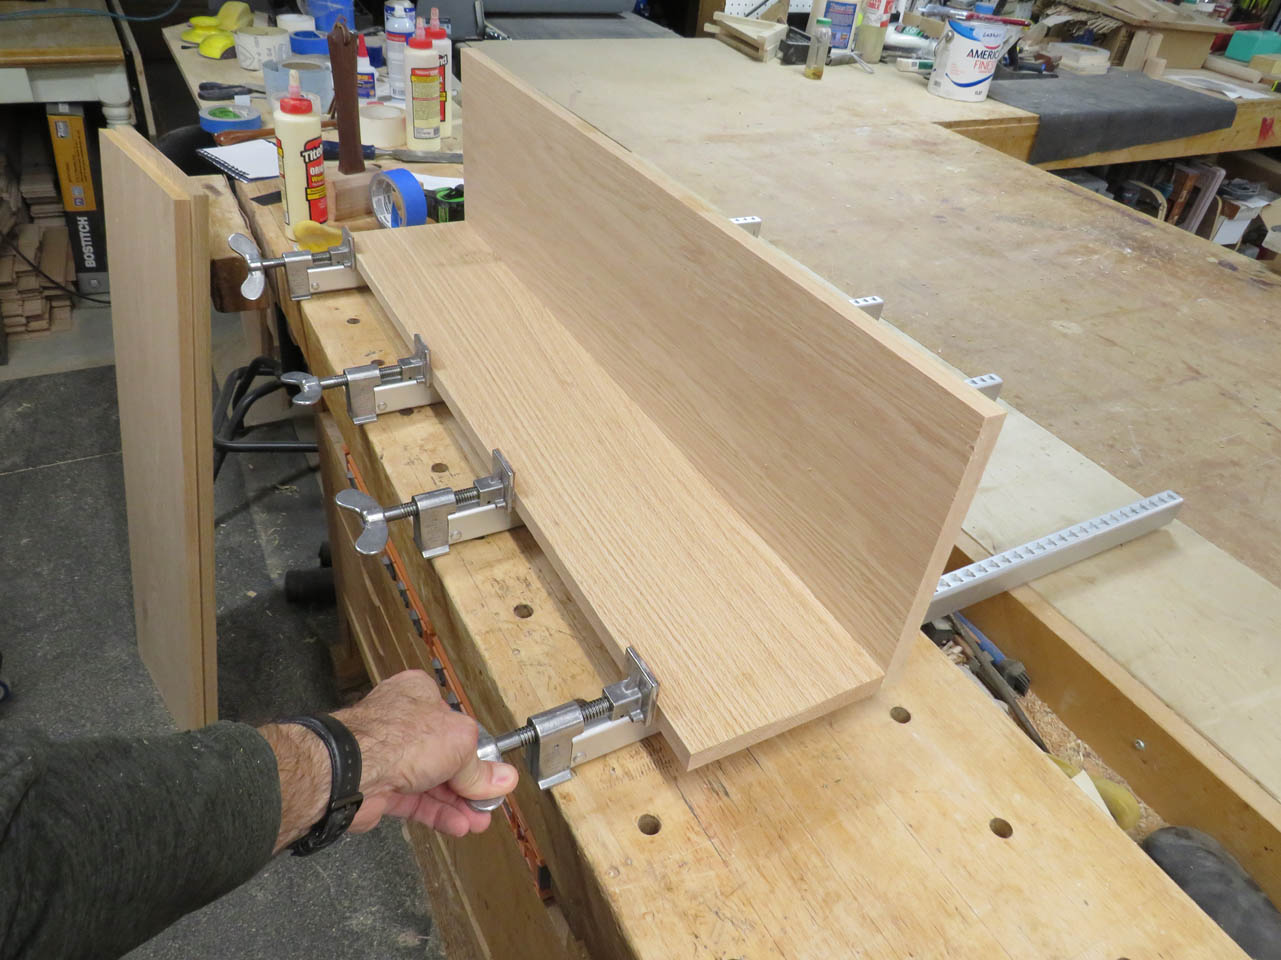
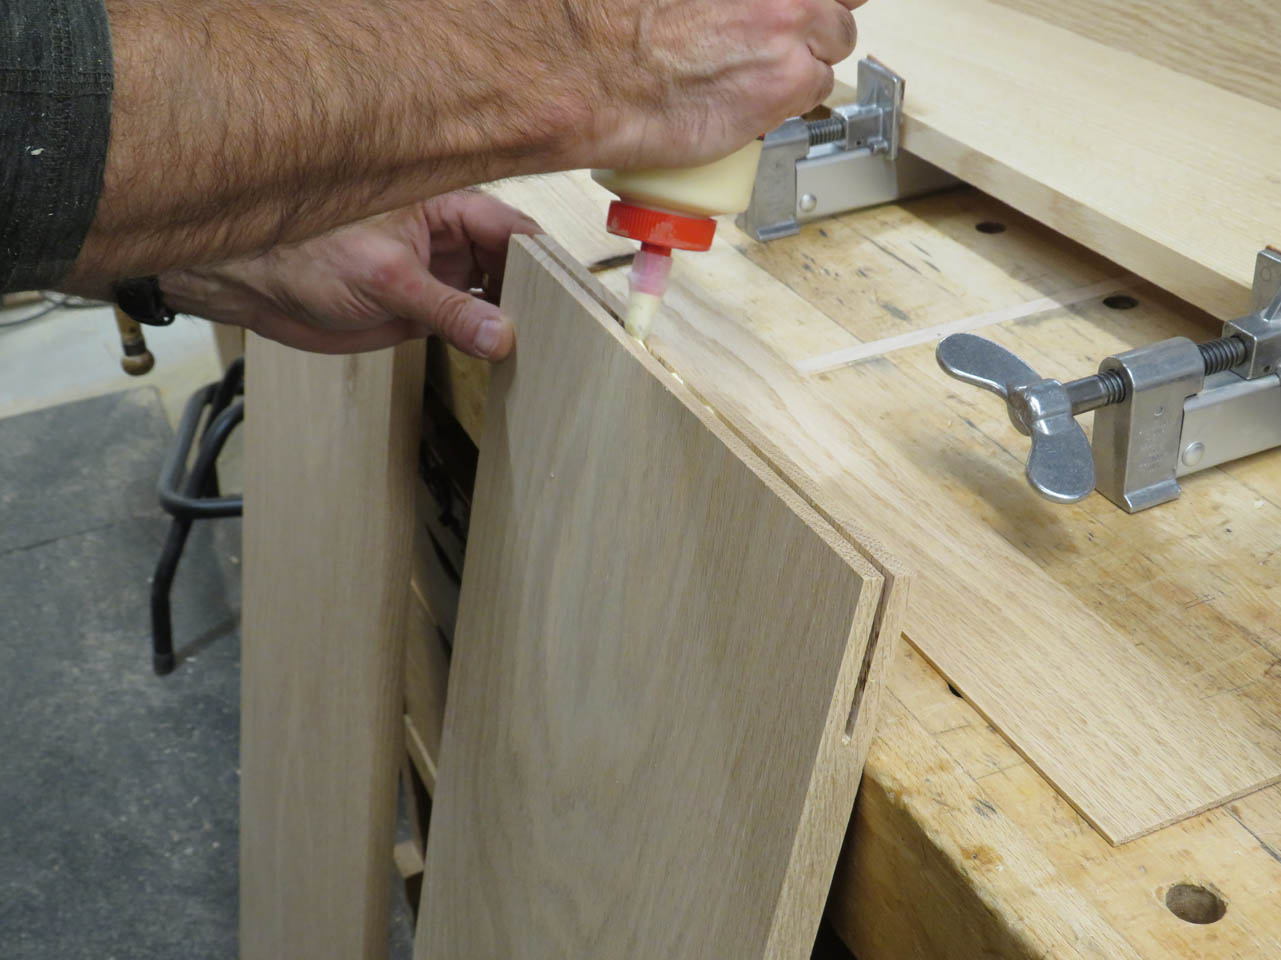
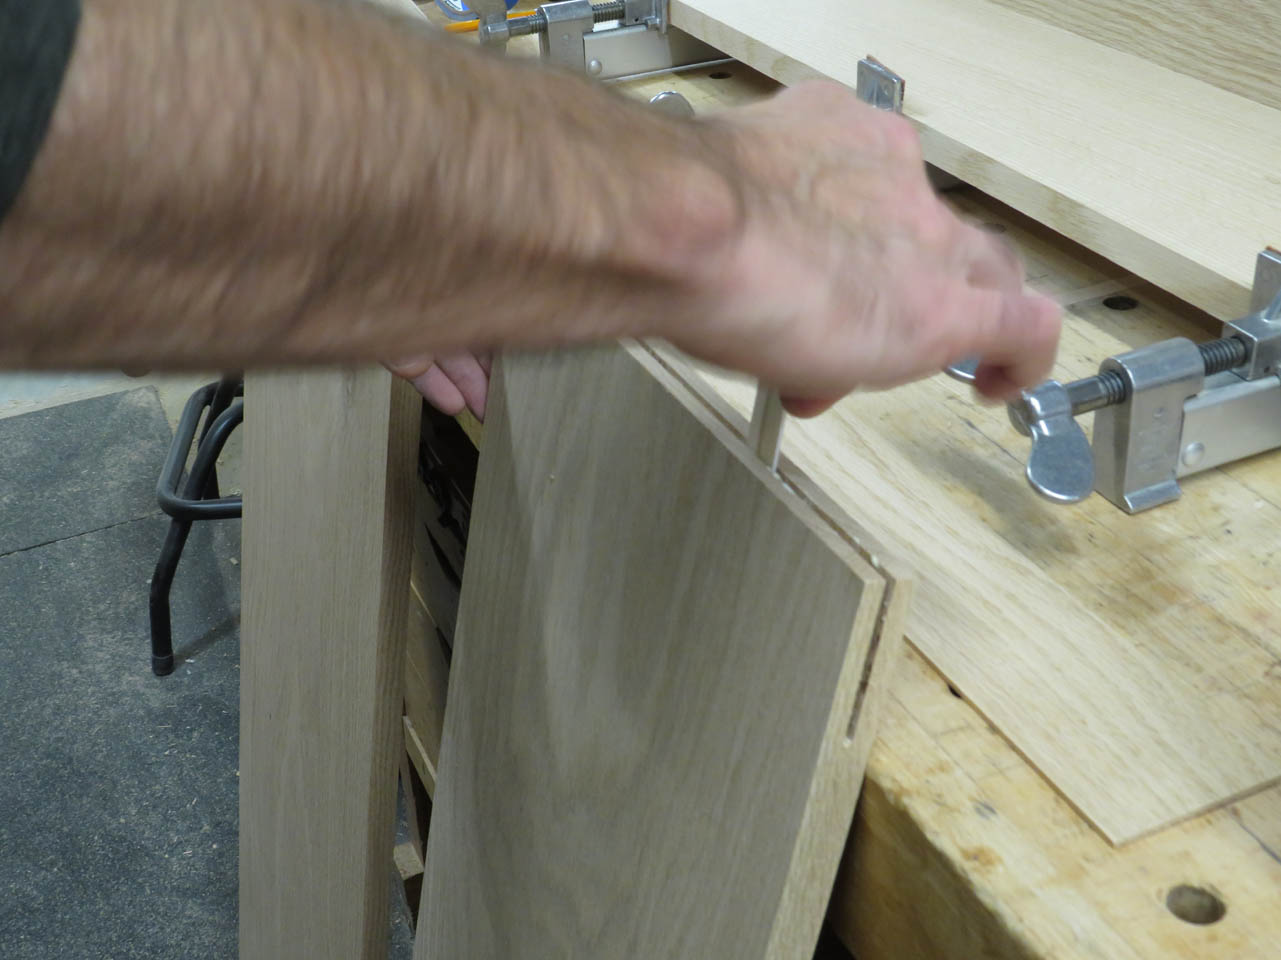
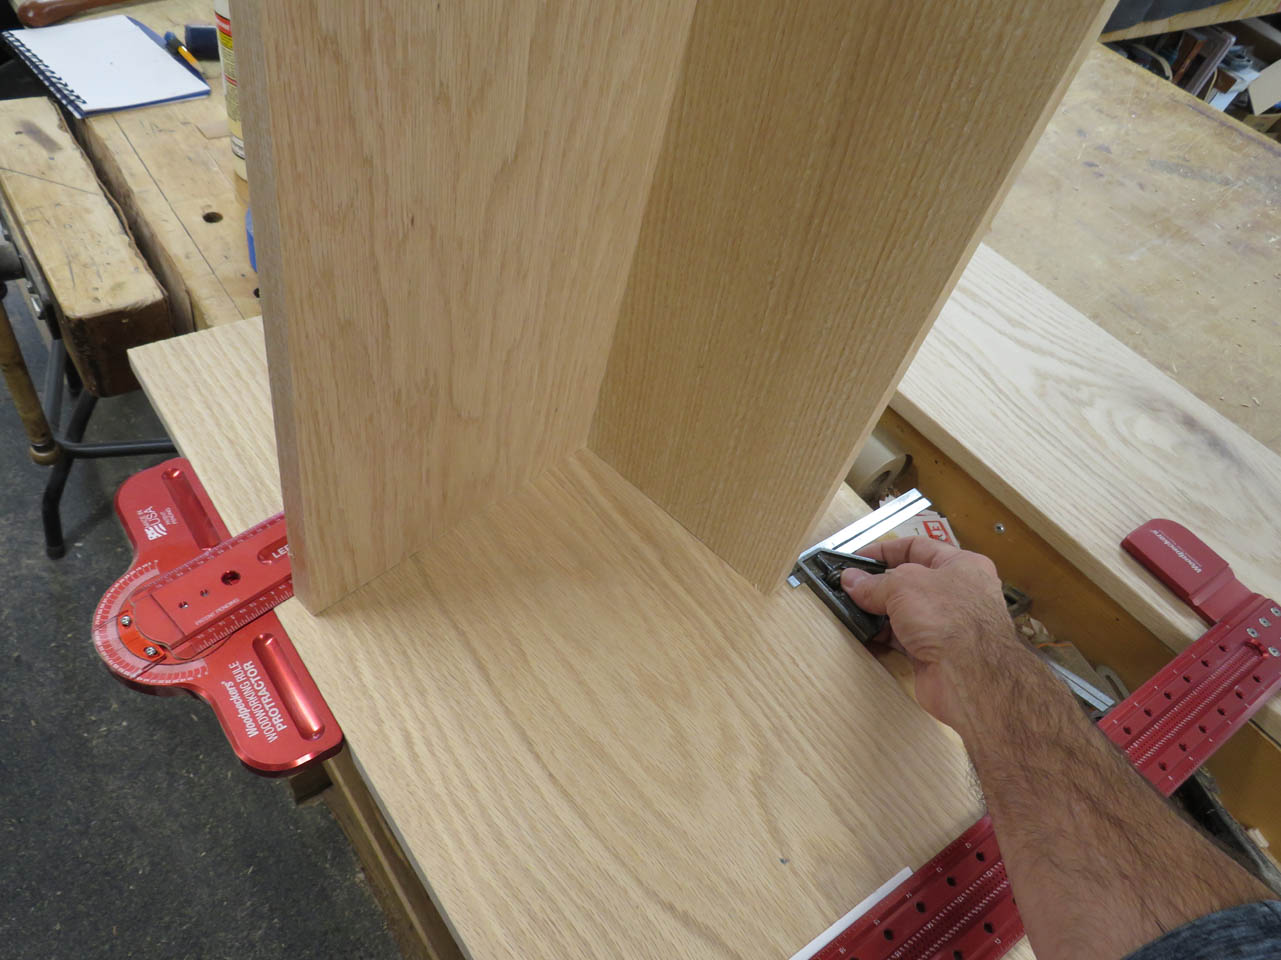
The narrower one needs to be glued and butted against the wider one.
Then clamped together at a 90° angle.
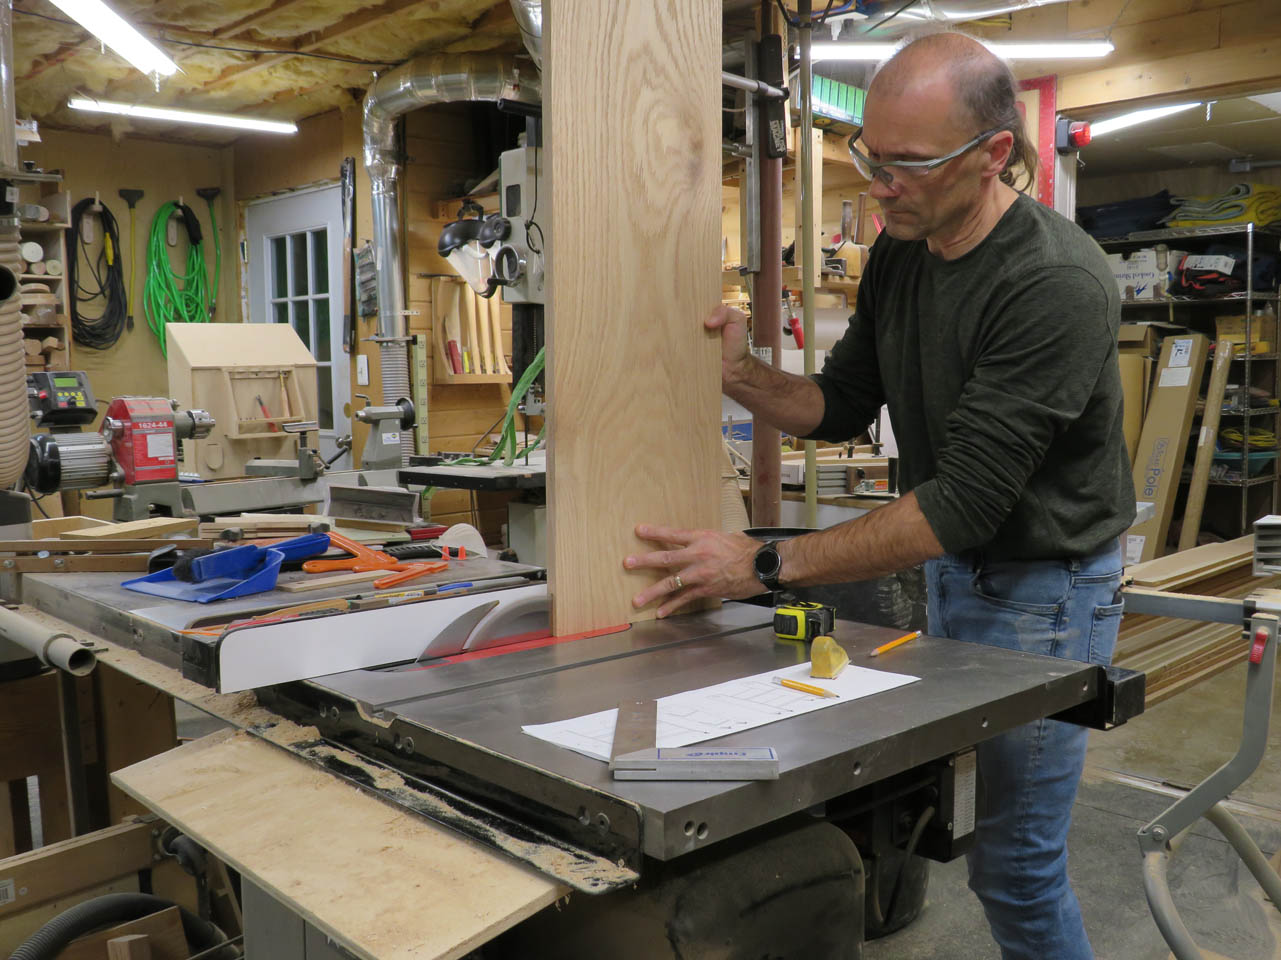
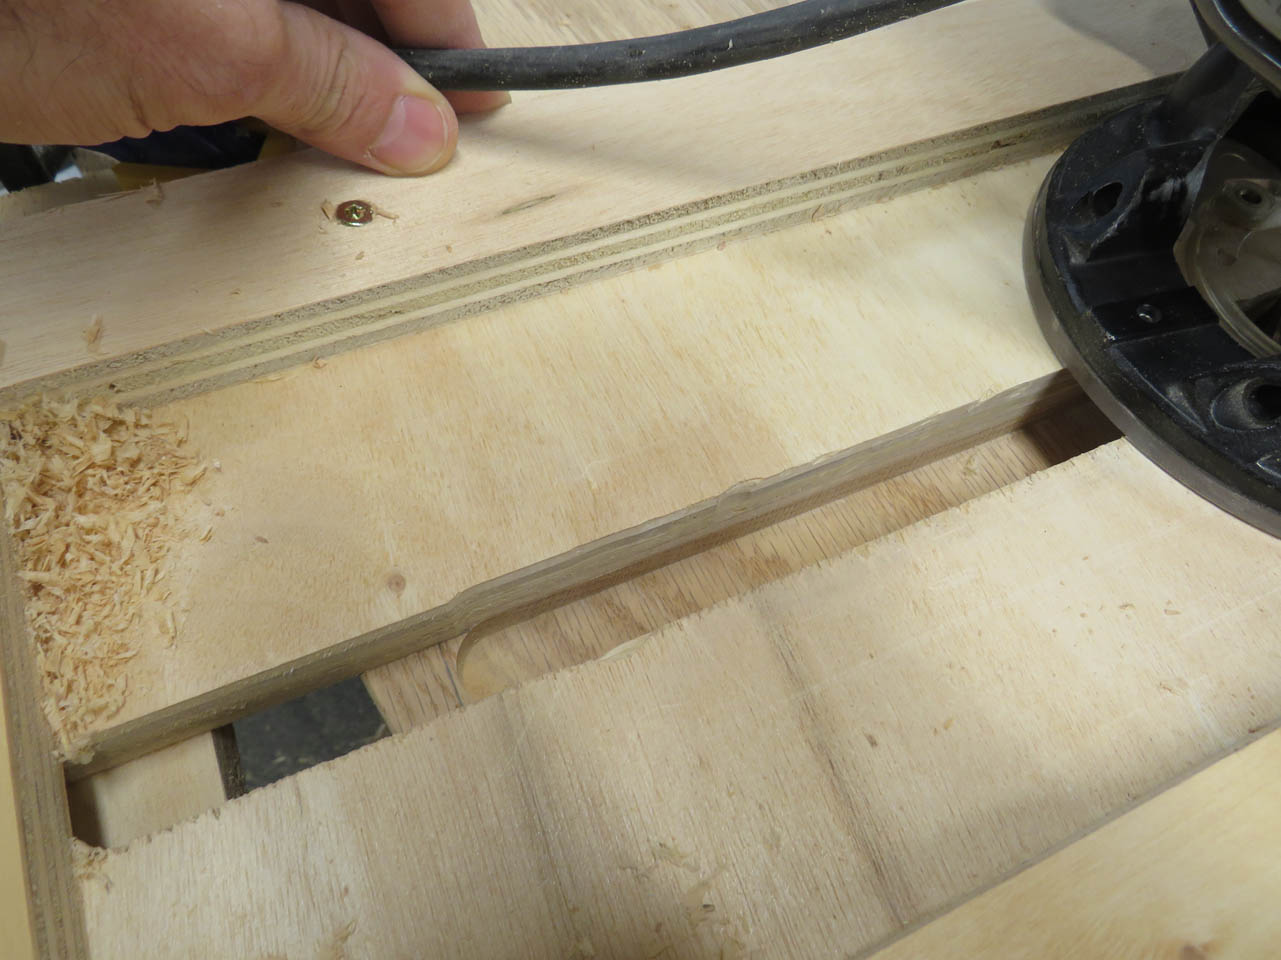
While those are drying, I pull my table saw out to get come clearance above for a tricky cut.
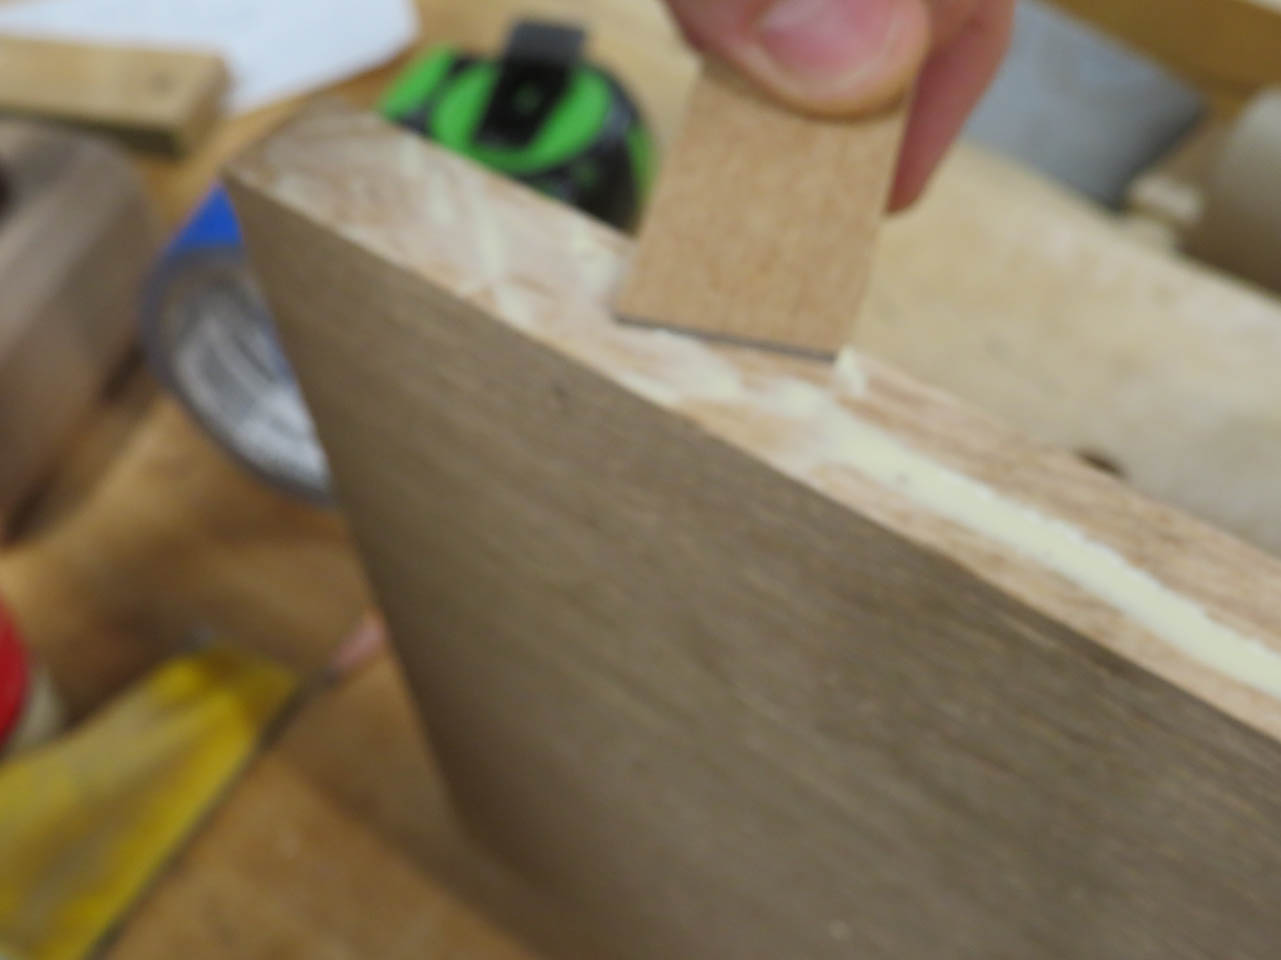
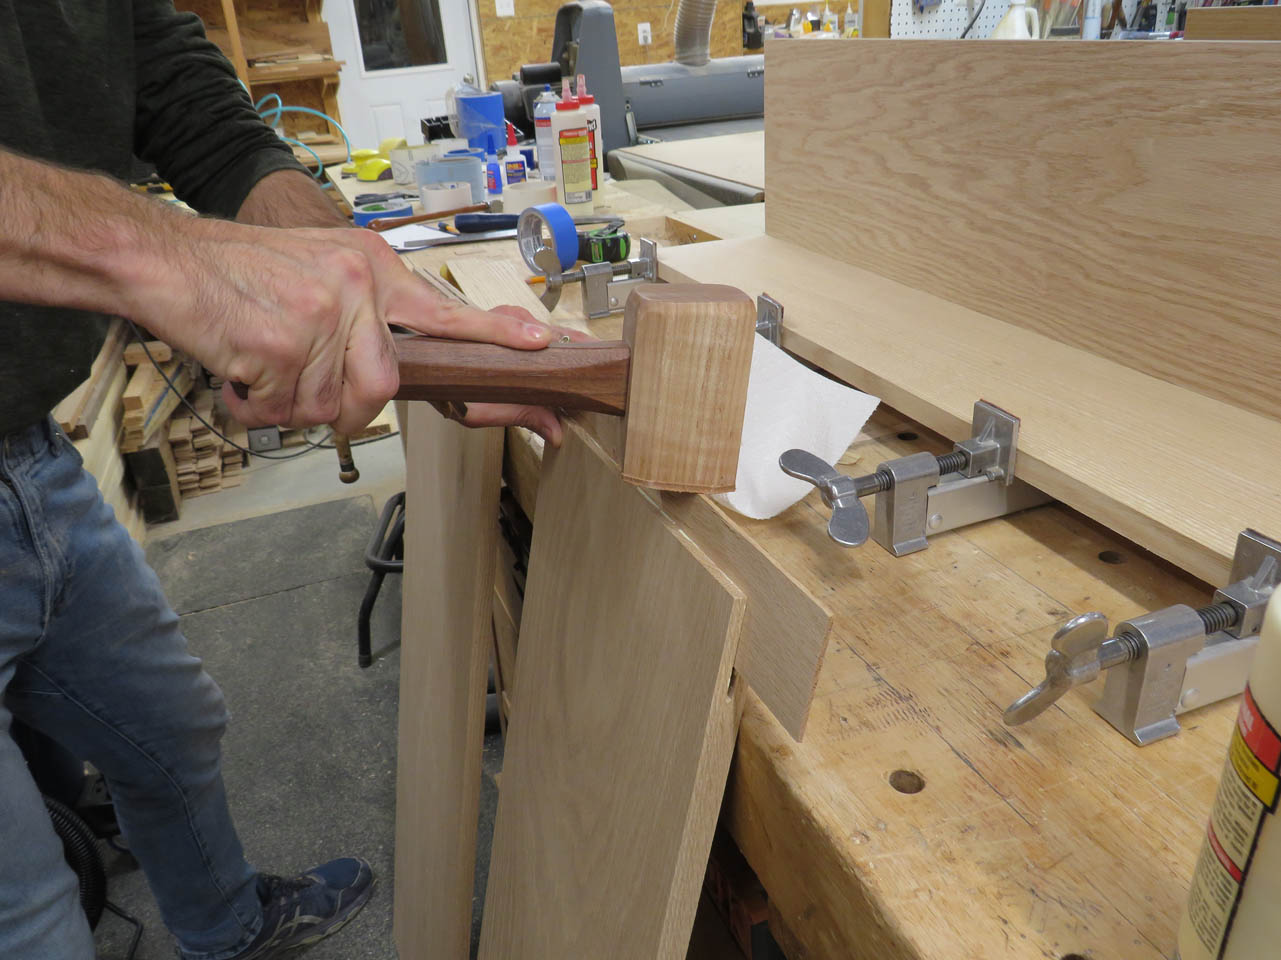
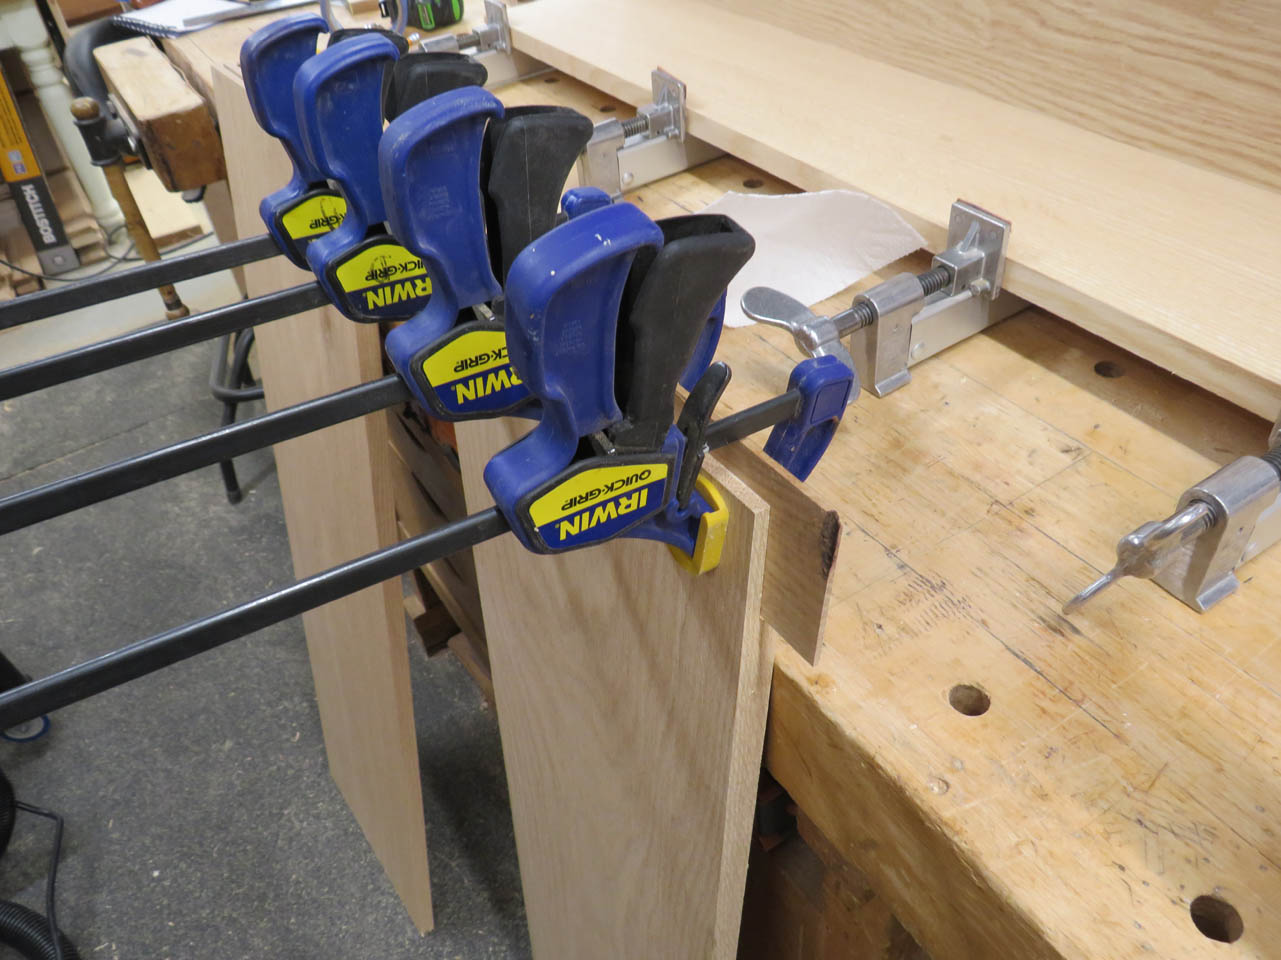
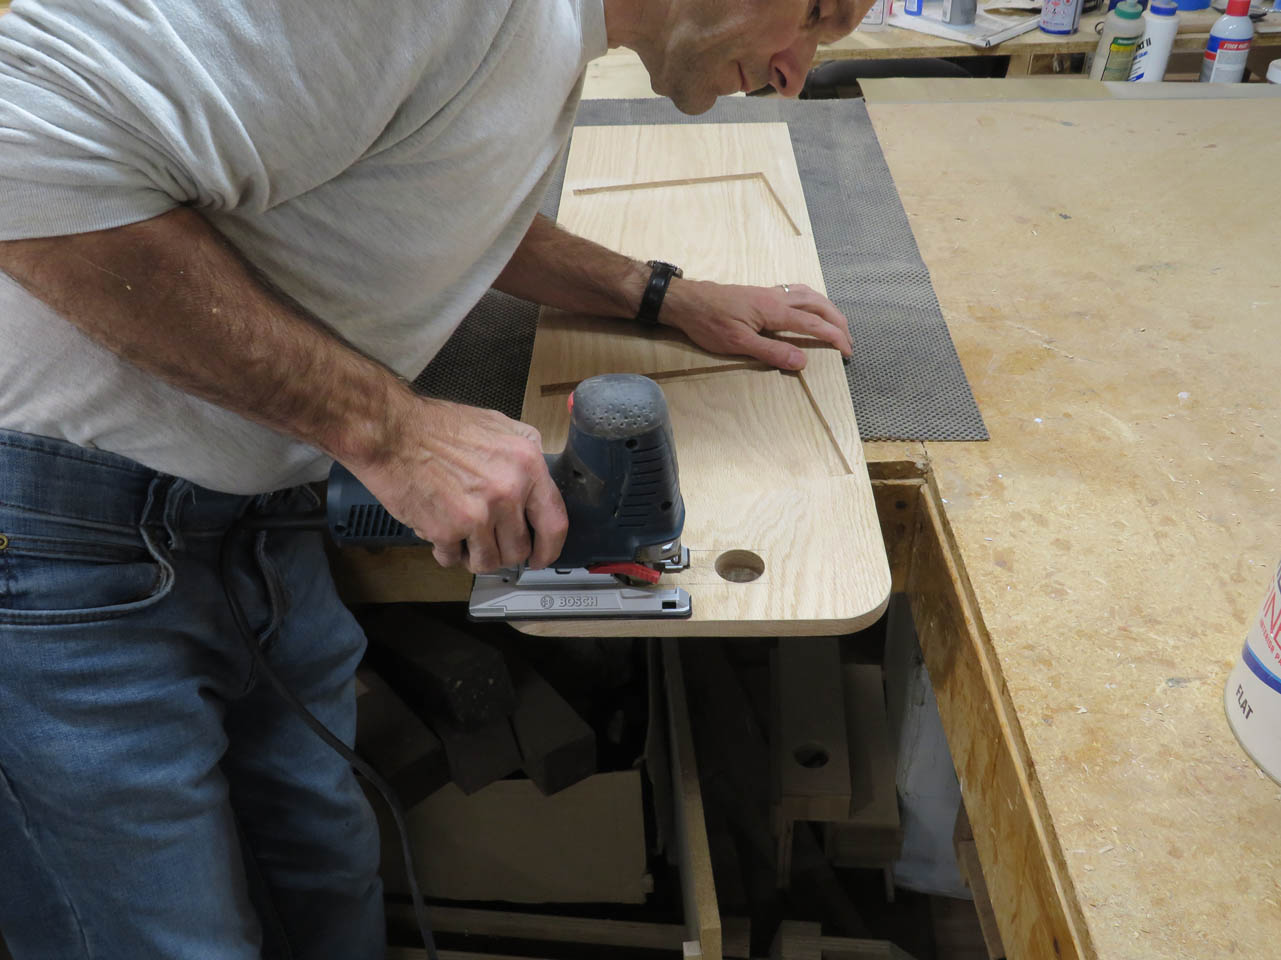
There will be a handle cut into the top of each side. This will leave a weak area at the top of the handle that could potentially crack over time. To combat this, I am cutting an 1/8″ wide slot about 2″ down. I cut a 1/8″ thick piece of oak that will have the grain flowing in the horizontal direction to press into the slot.

Once glued and clamped into place it will, in essence be creating a plywood type of layering, strengthening the entire area.

When dry, I can cut away the excess and mark the corner radiuses.


I can roughly cut the curves on the bandsaw, then sand them smooth on the big belt sander.

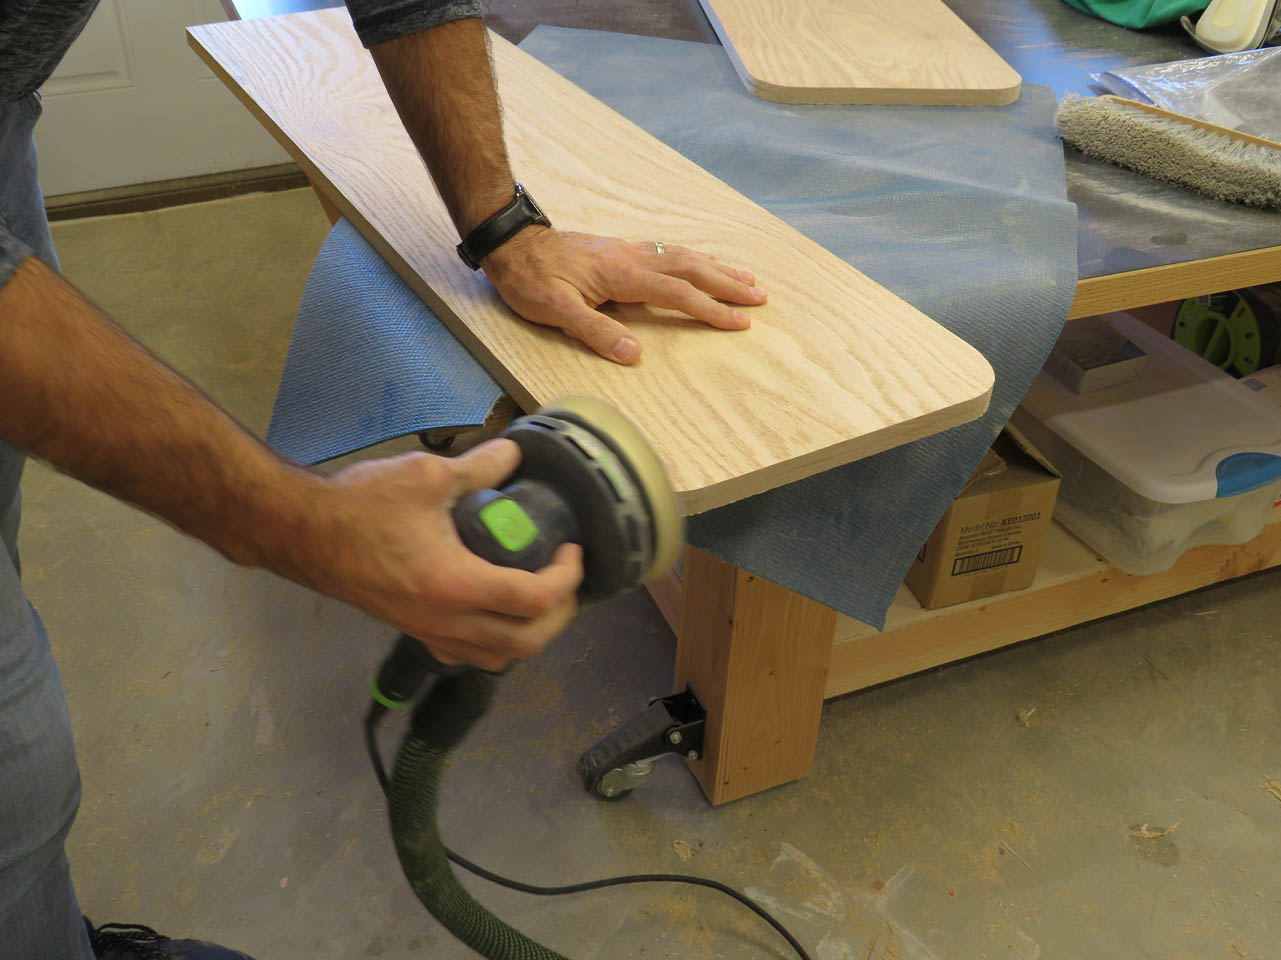
Giving them a final sanding with the orbital as well. There is a thin line visible but I think it will blend in more once it is stained.


Next, I lay out the shelf locations as precisely as possible.

Once the first board is laid out, I create the mirror opposite marks on the opposing side.

I also lay out the large handle openings in the reinforced areas.


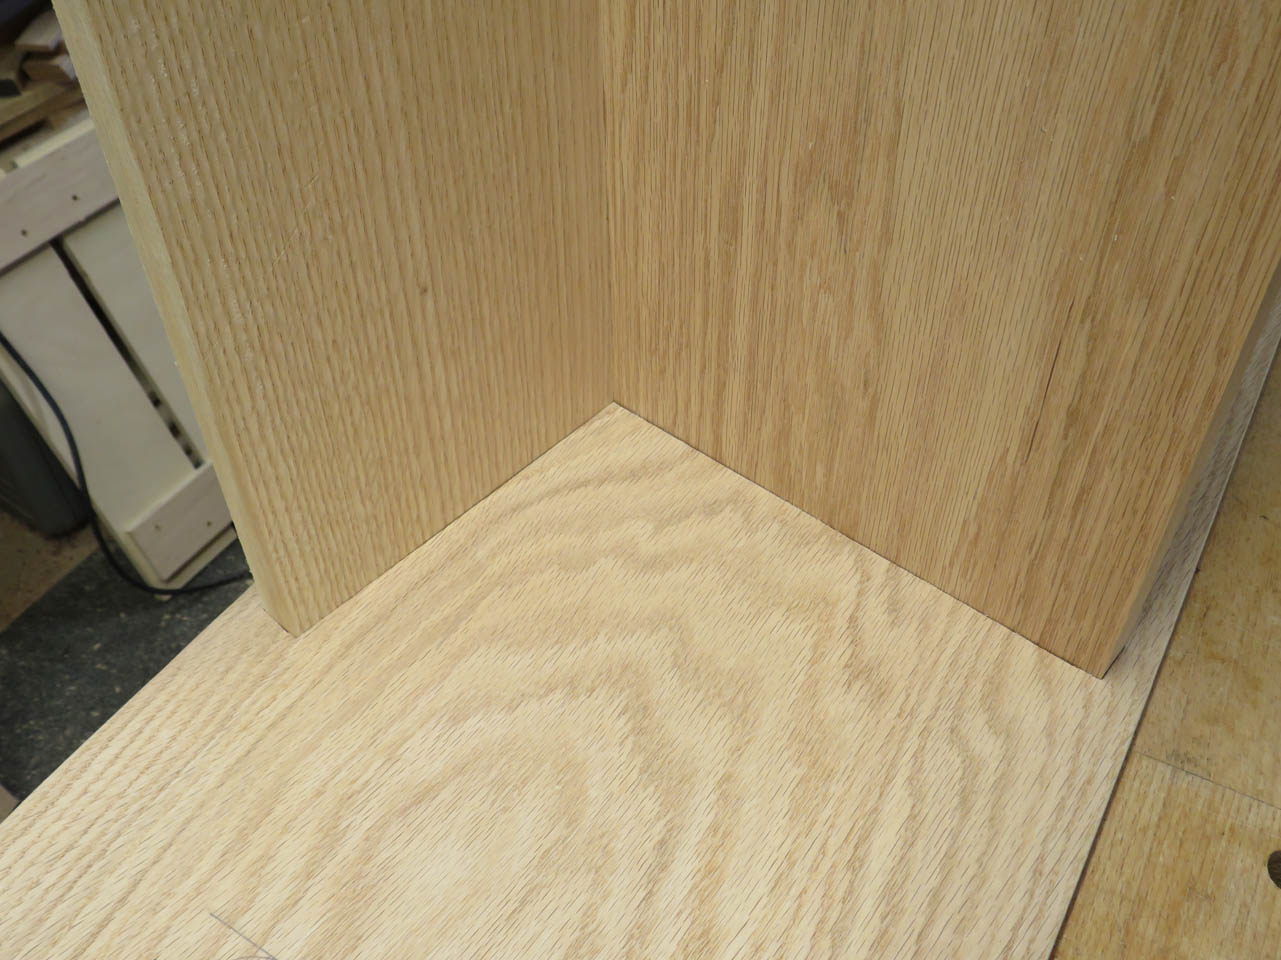
I want to cut some 1/4″ deep grooves for the 3/4″ thick shelves to sit in.
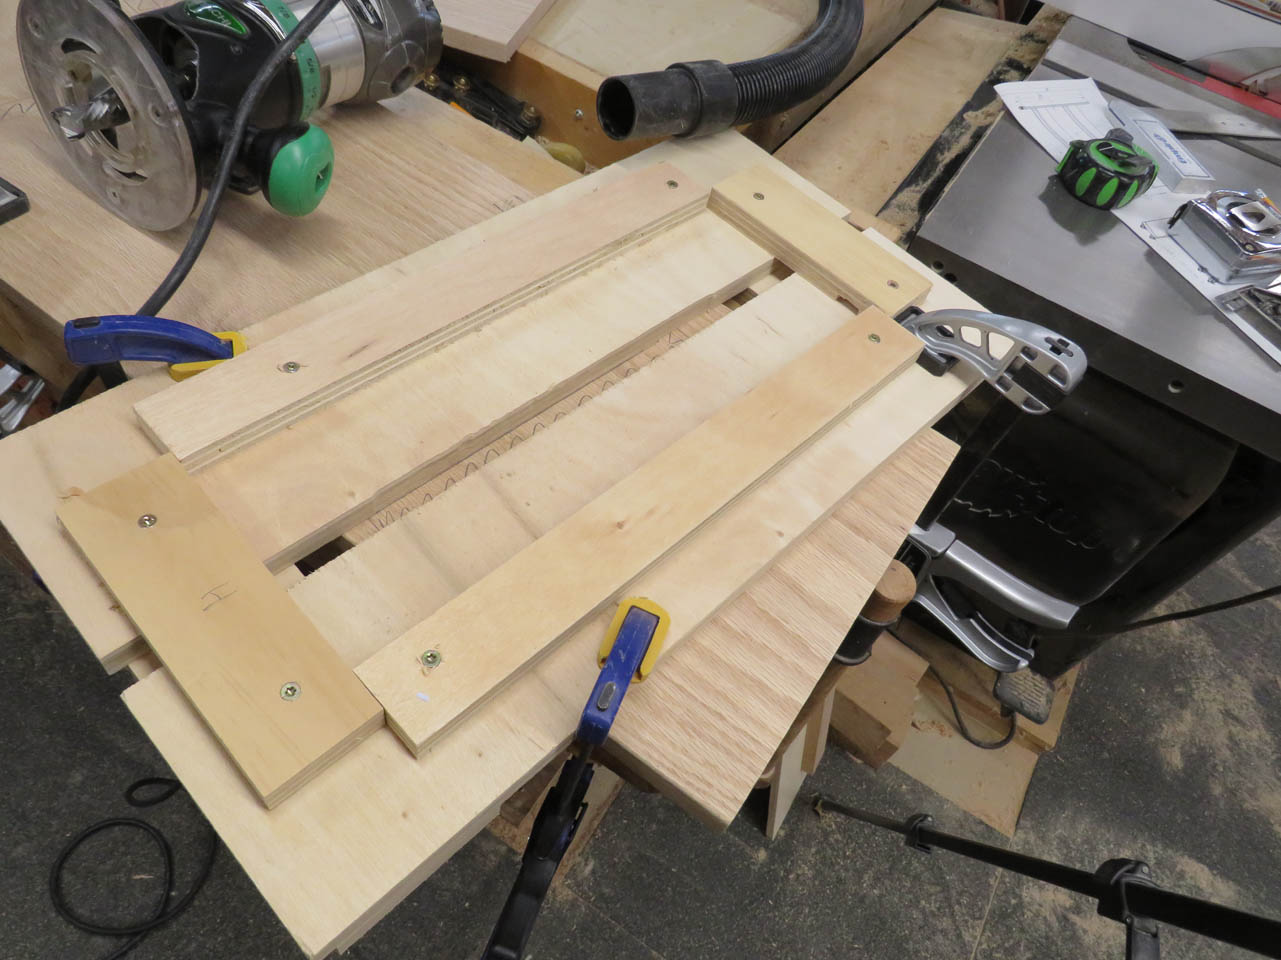
I set up a frame to guide my router with a 3/4″ wide spiral cutter bit.
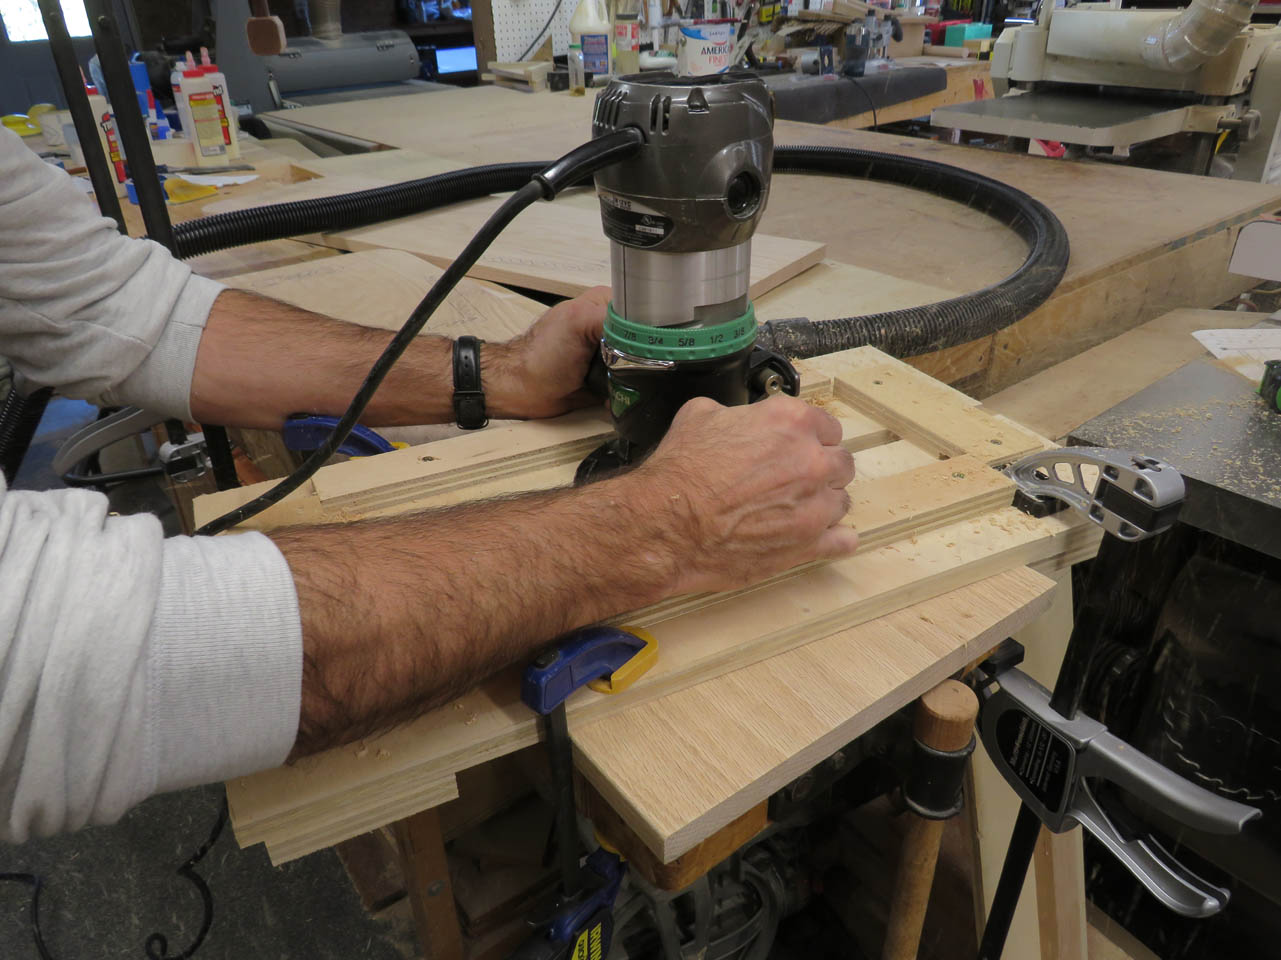
I am careful to stop before reaching my lines at the ends.
I repeat this angled cut on both boards for both the horizontal(ish) grooves.

Then I grab a longer jig to do the more vertical grooves.

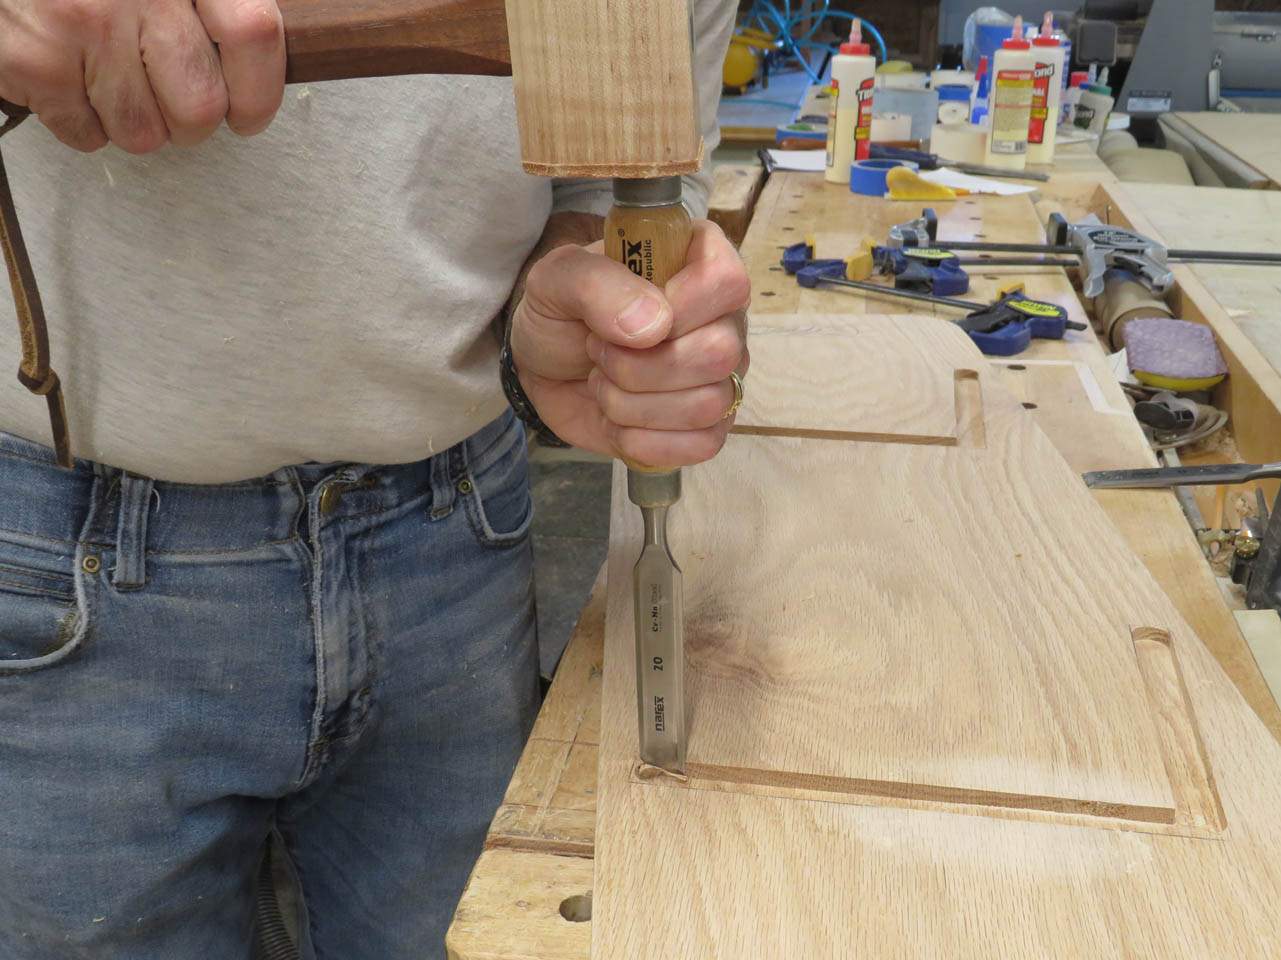
Once both are cut, I can square-off all the round ends with a chisel.
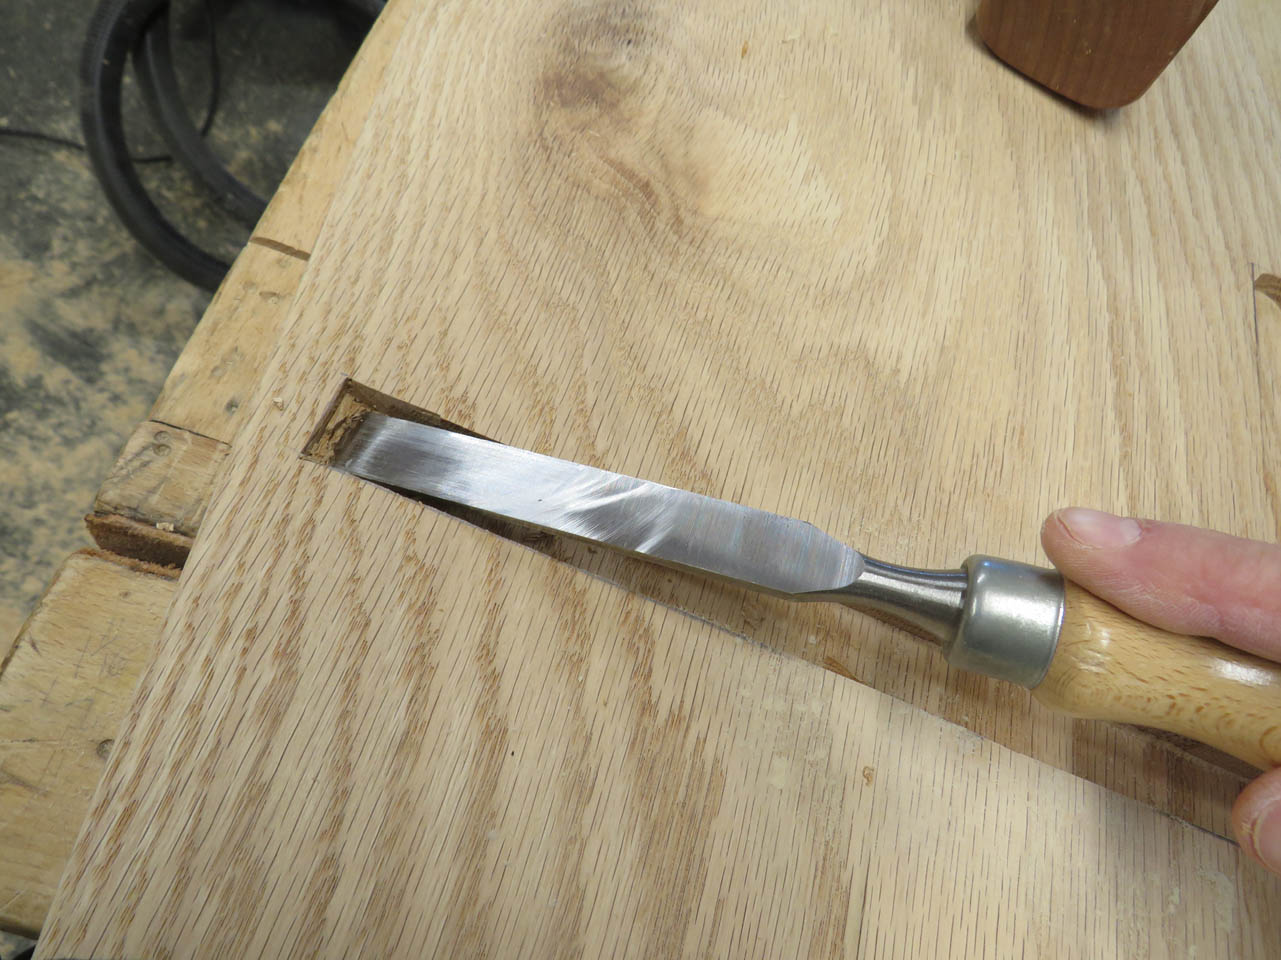


If I take my time, I can get a pretty nice press-fit.

Before gluing up the sides, I also want to cut out the handles. I drilled two 1-1/2″ diameter holes on either end of the handles, then cut away the waste in the center with a jigsaw.
You can see where the added stiffener cuts down to the center of the handle, strengthening the entire top of the handle area.


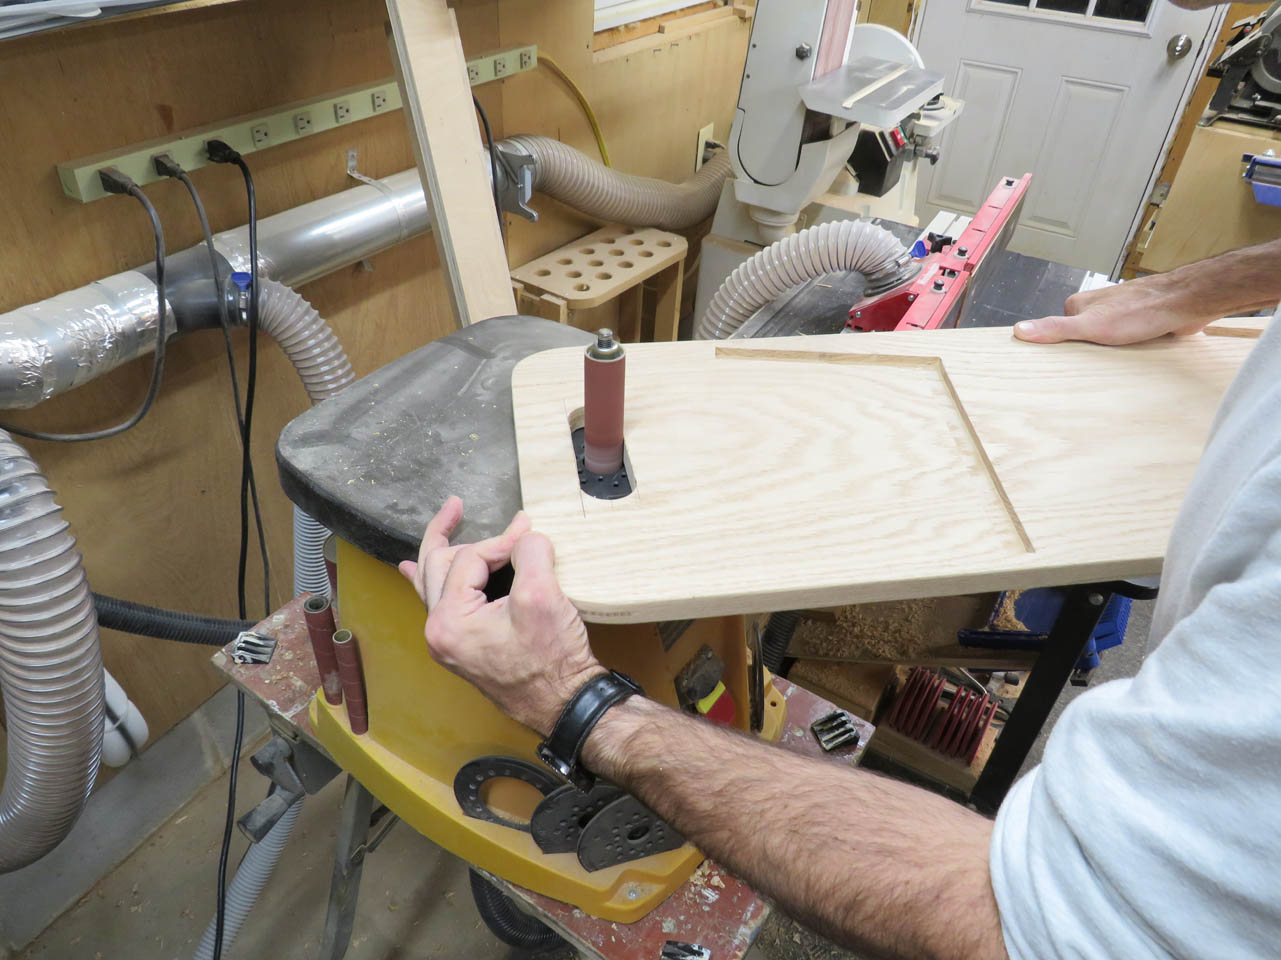
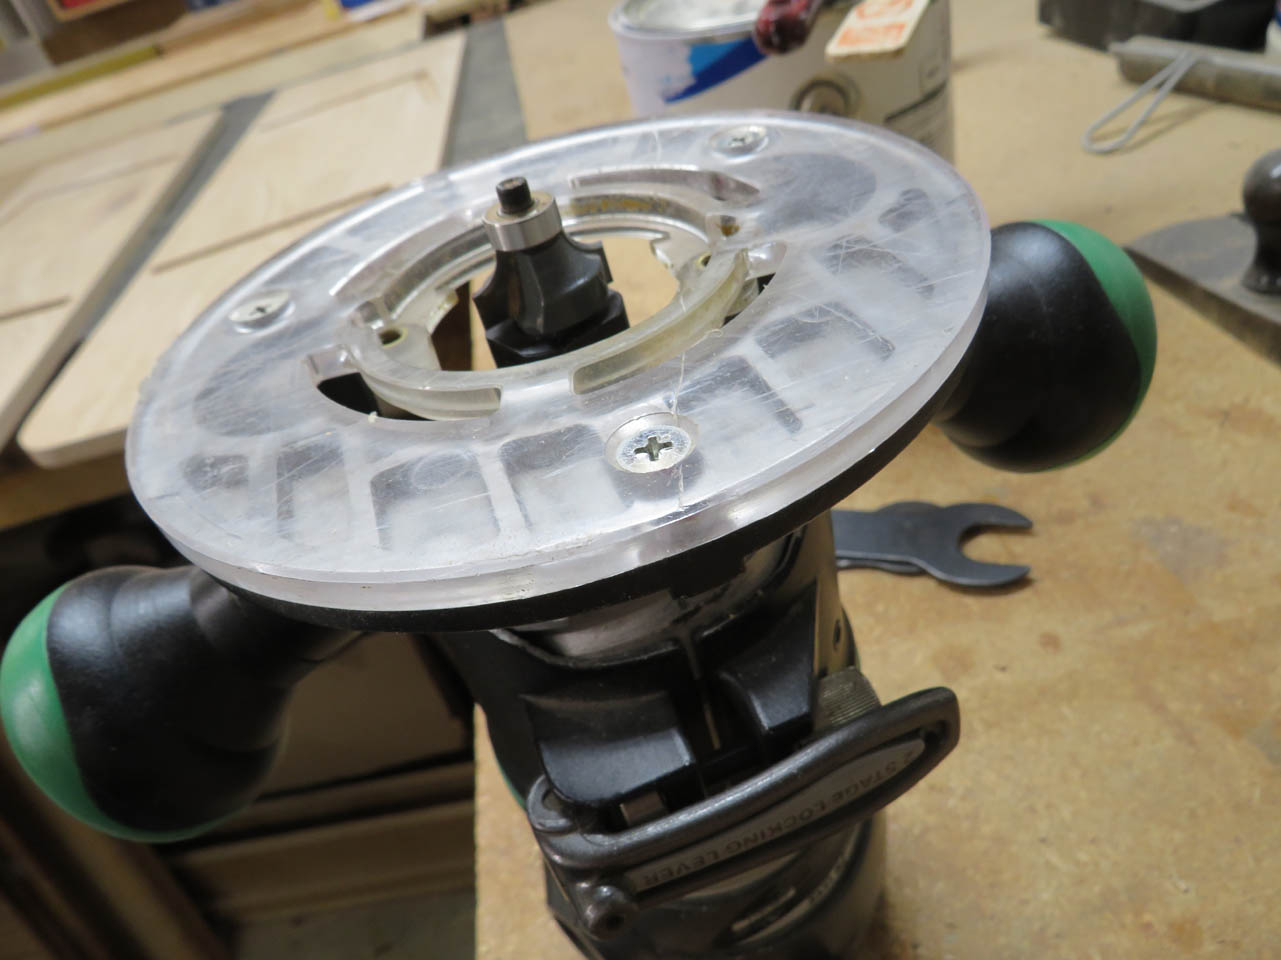
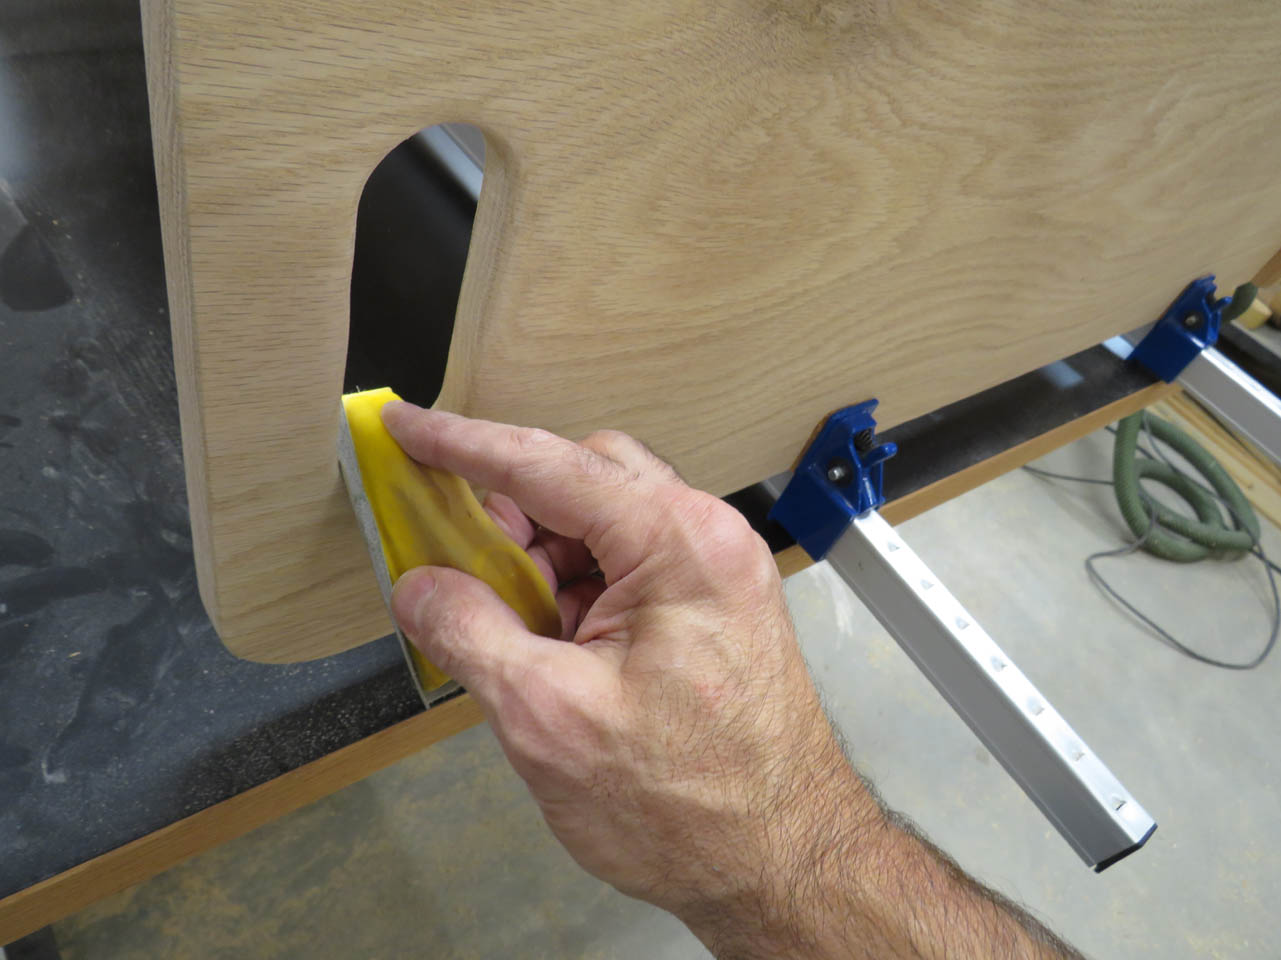
To clean up the opening, I use a 1″ diameter sanding spindle, then I use a 1/4″ round-over bit in the router to clean up the sharp, graspable edges.

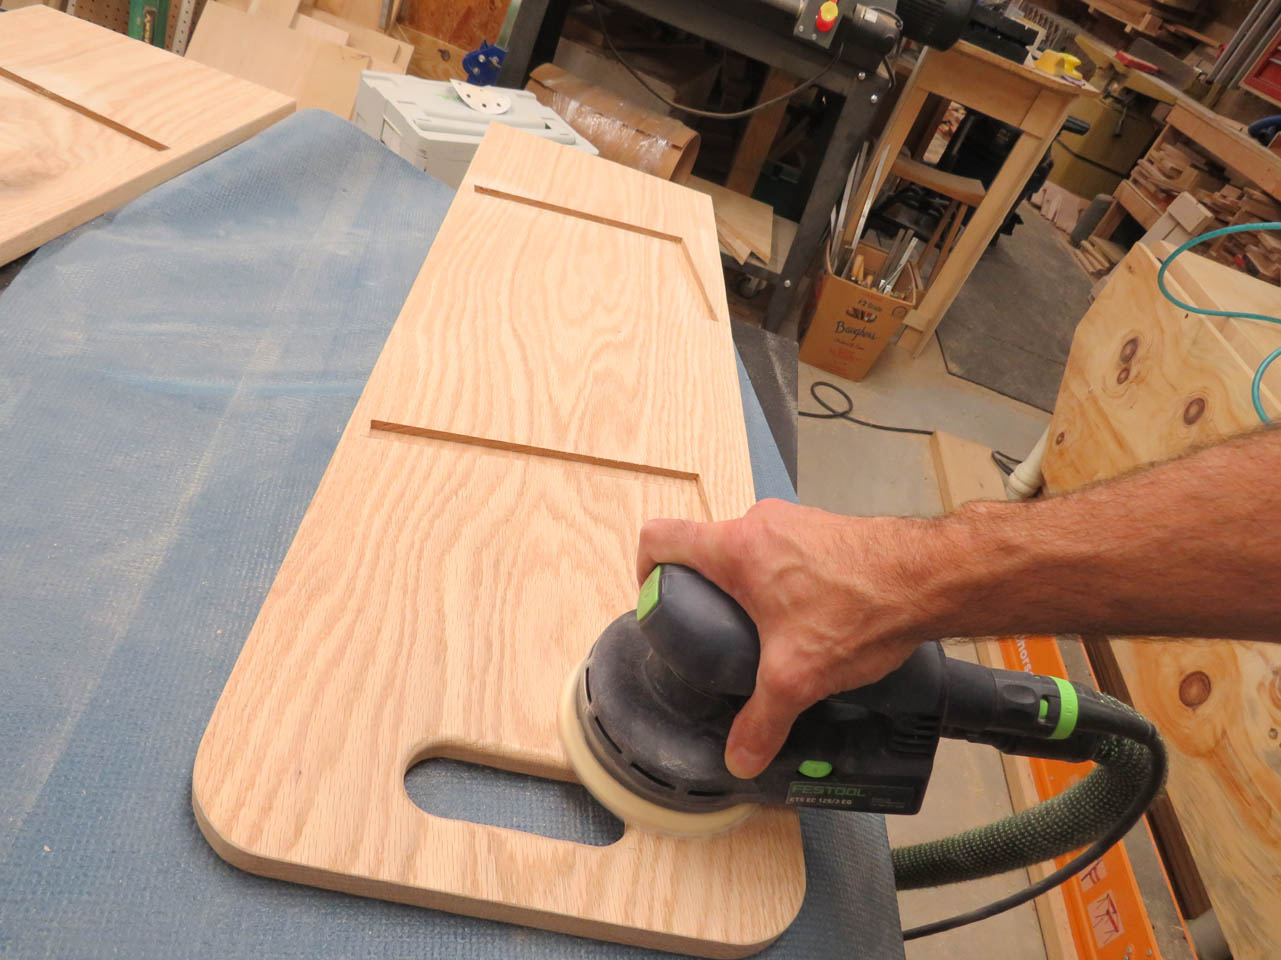
Once the handles are done, I can final sand everything.

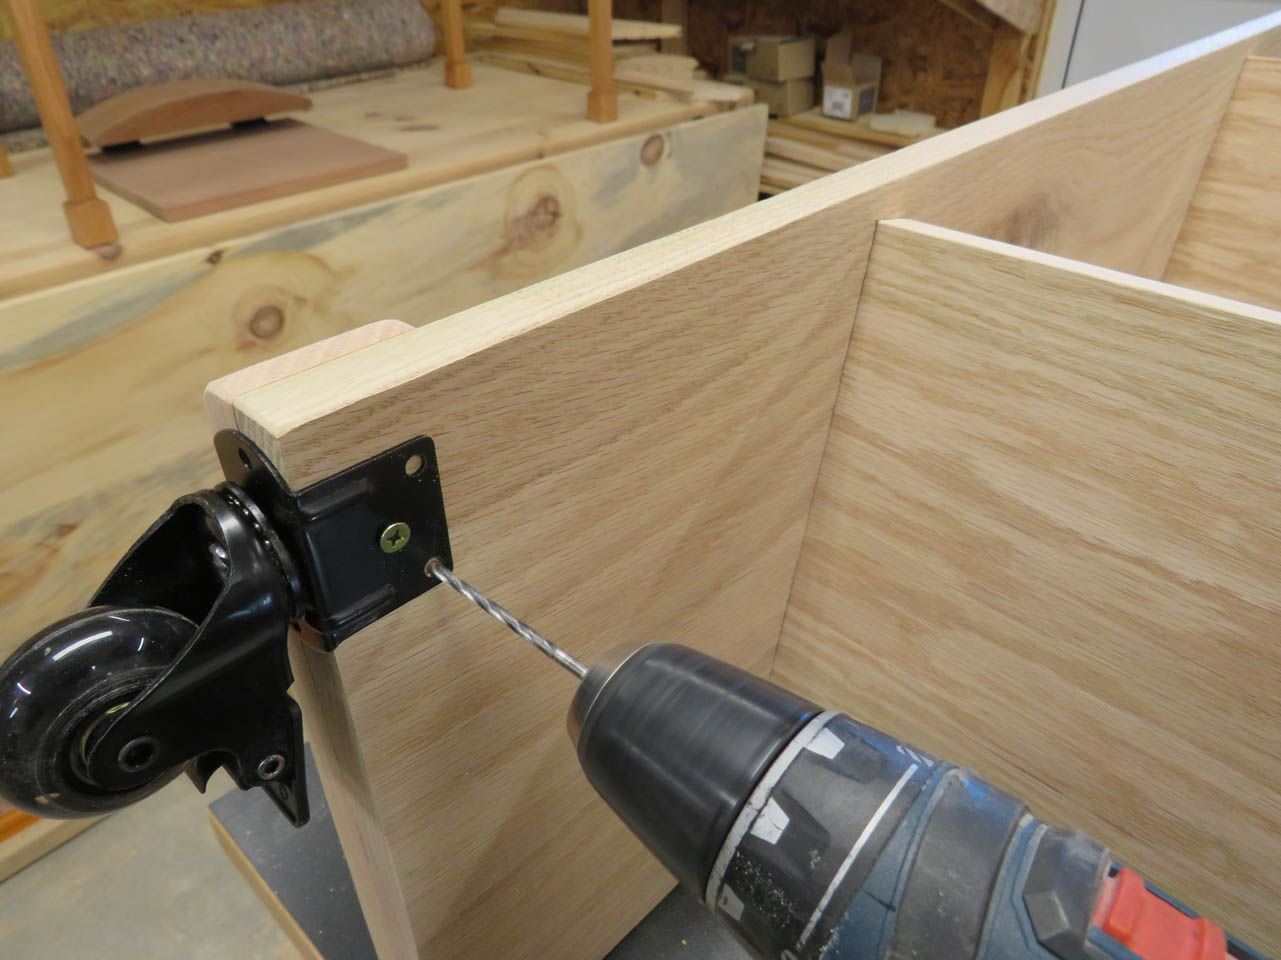
Before the final glue-up, I need to add some bumpers on either side to protect the sides of the rolling cart a bit and add a bit more material for mounting some casters.
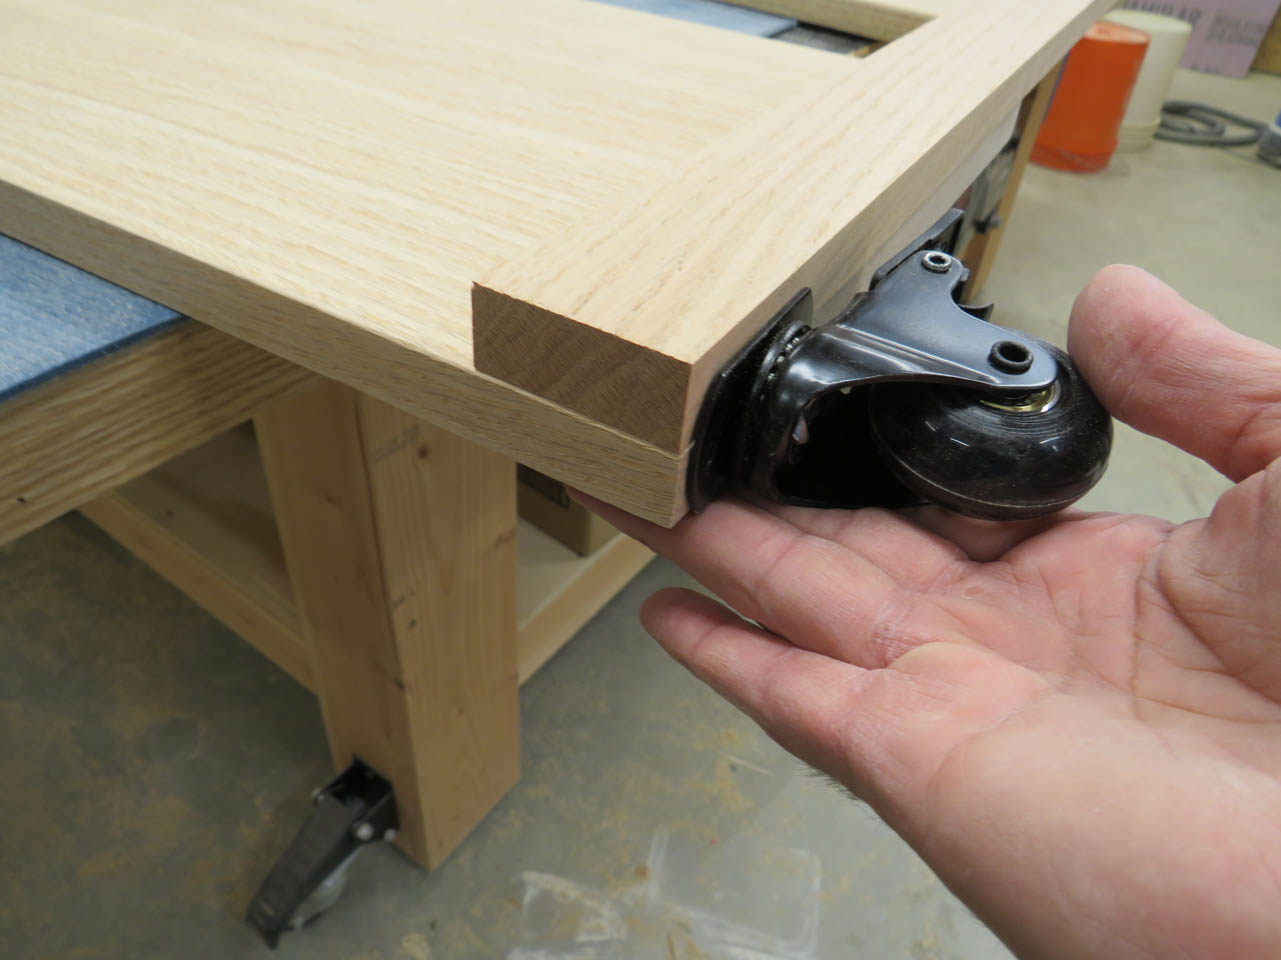
Looks like 2″ wide x 3/4″ thick will be sufficient so I cut a couple of pieces and round off the ends.


These get glued and clamped to the bottom, outside of the sides.


While they are drying, I can apply glue to the shelf grooves and clamp the shelves in place.
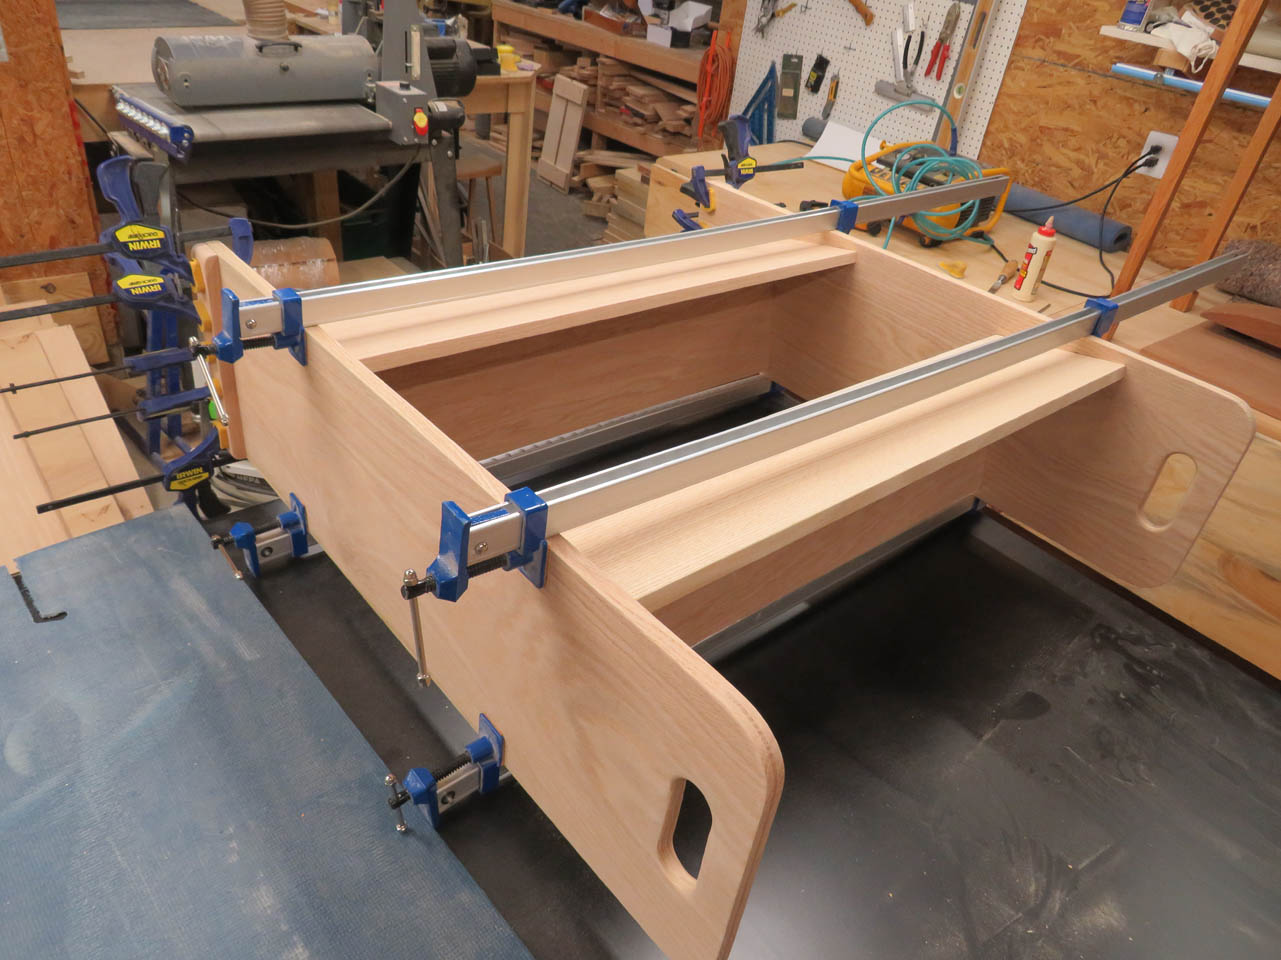
While I let that dry, I can come back and do a bit more detail sanding by hand.
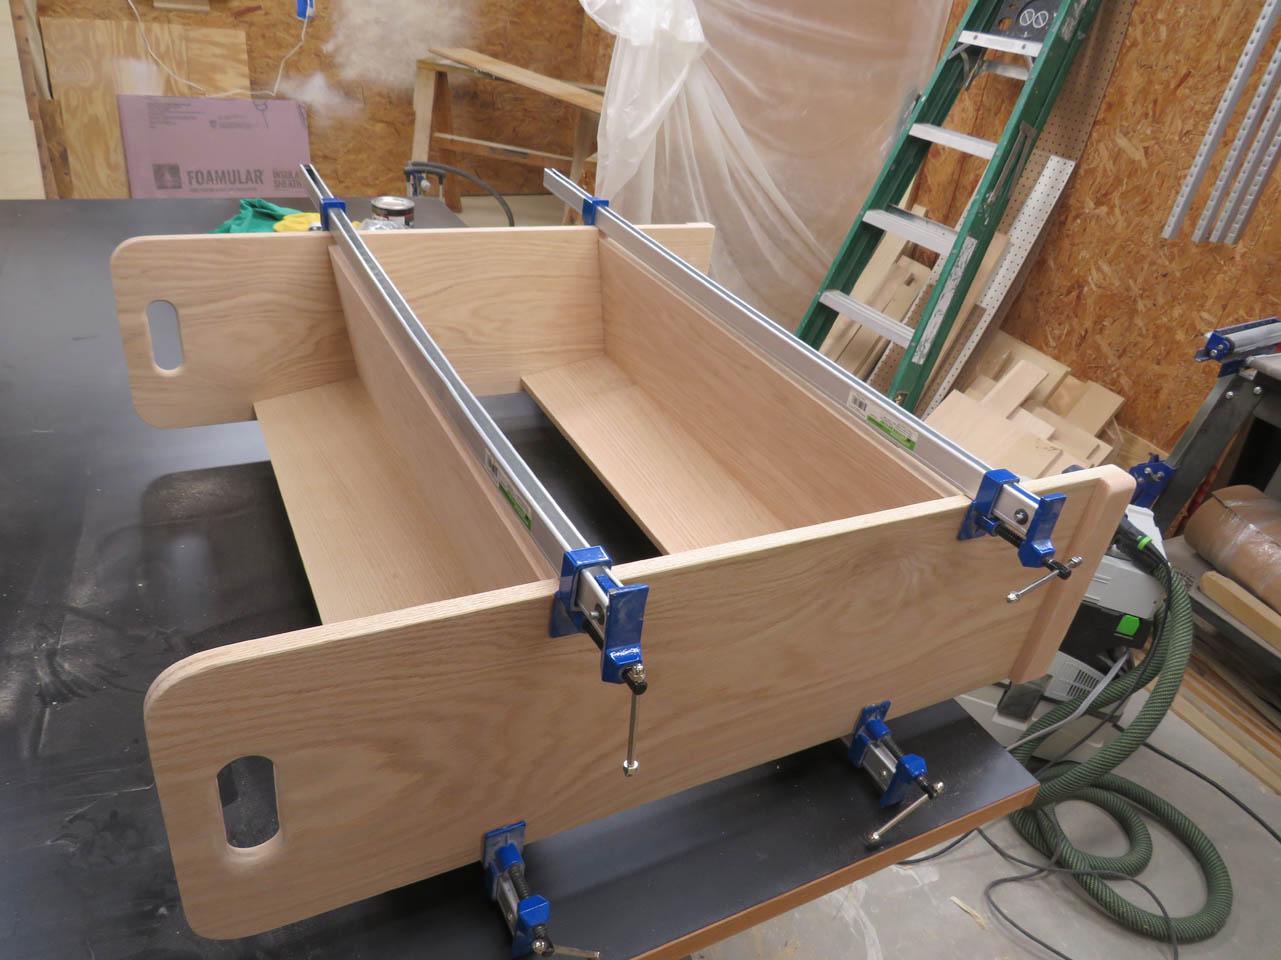
When the glue is dry, I can stand it up to make sure everything dried square. It did, but if it had not, I would have been able to plane the bottoms so that they could sit flat.

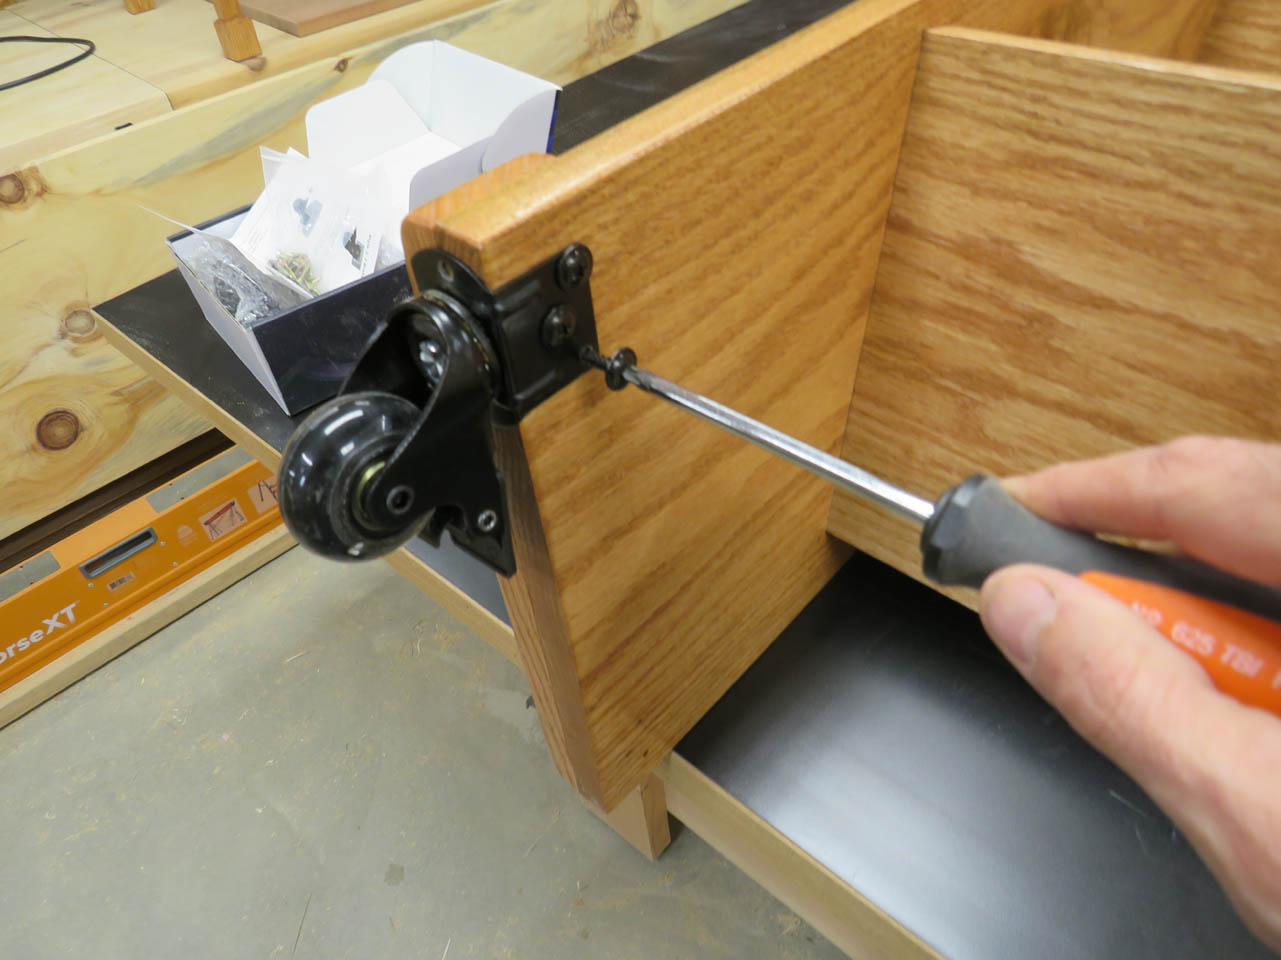
It needs to be dead flat before attaching the casters so there is no wobble. It was good though so I can place one screw in my caster and pilot drill all of the mounting holes for them before applying stain and finish.
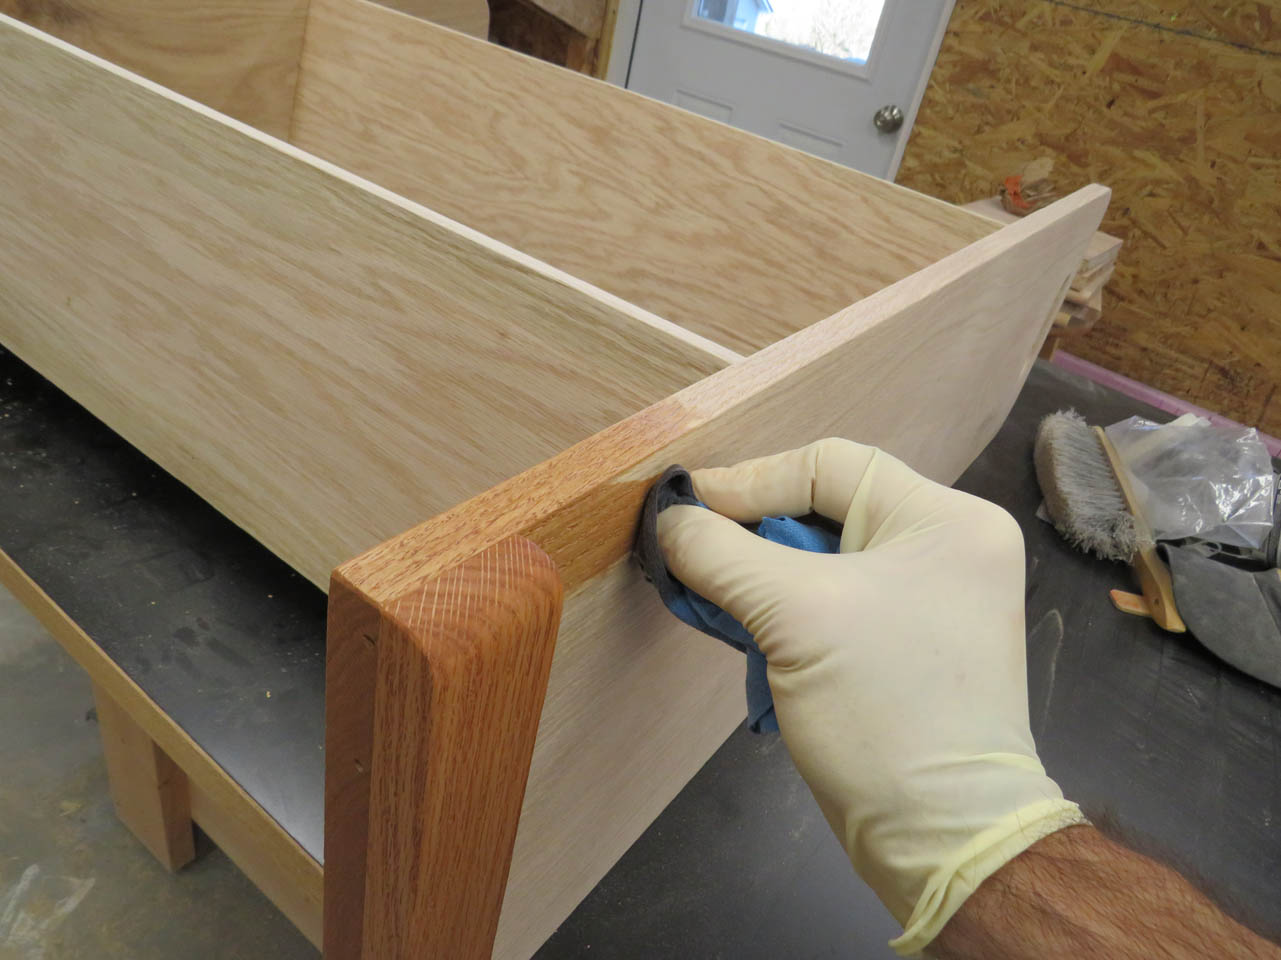
While the shelf is laying down, I take the opportunity to stain all the hard to reach lower areas.

Then I stand the shelf up on painter’s pyramids, on top of buckets to finish staining.

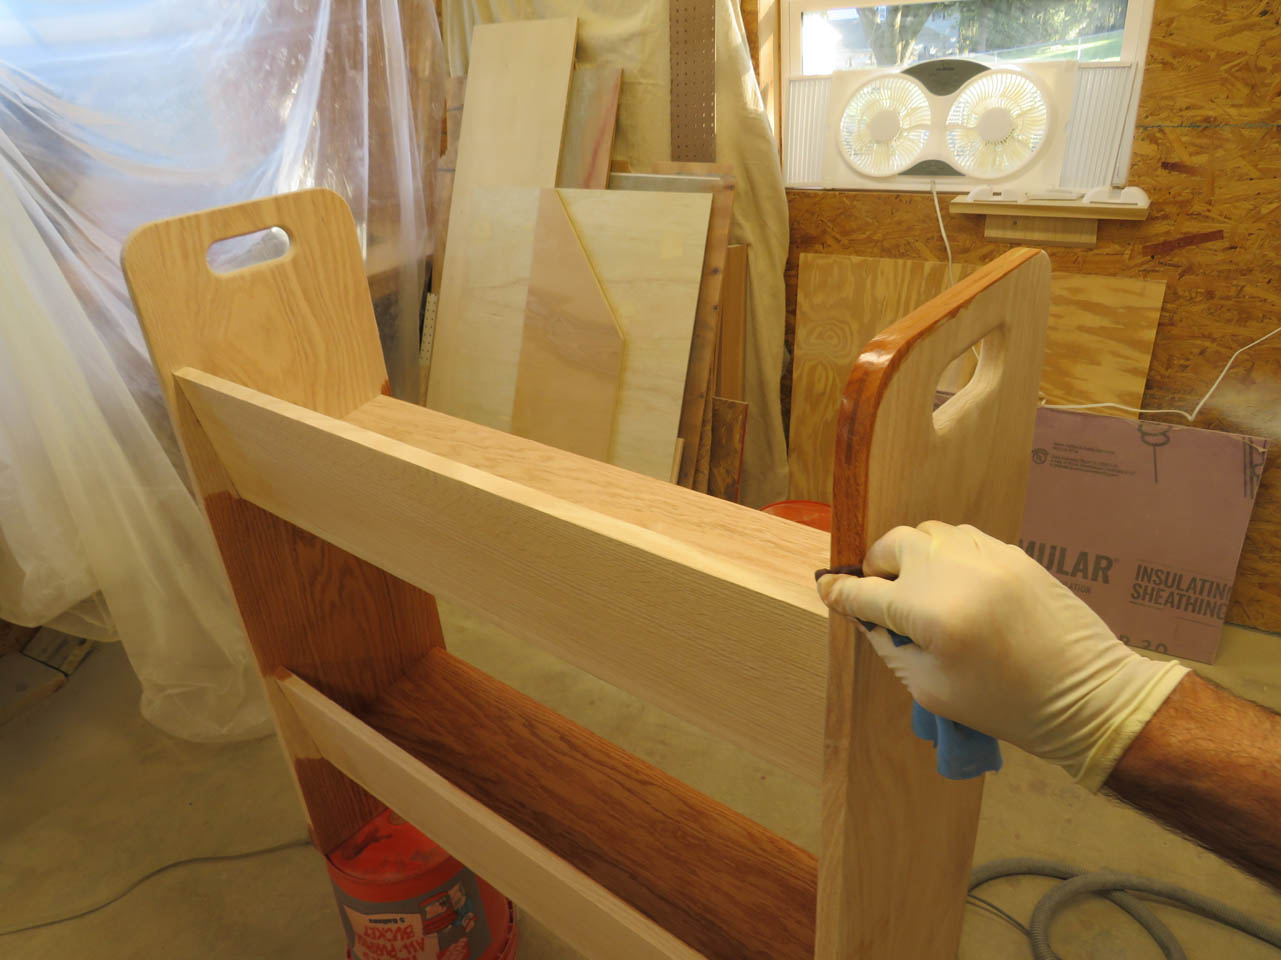
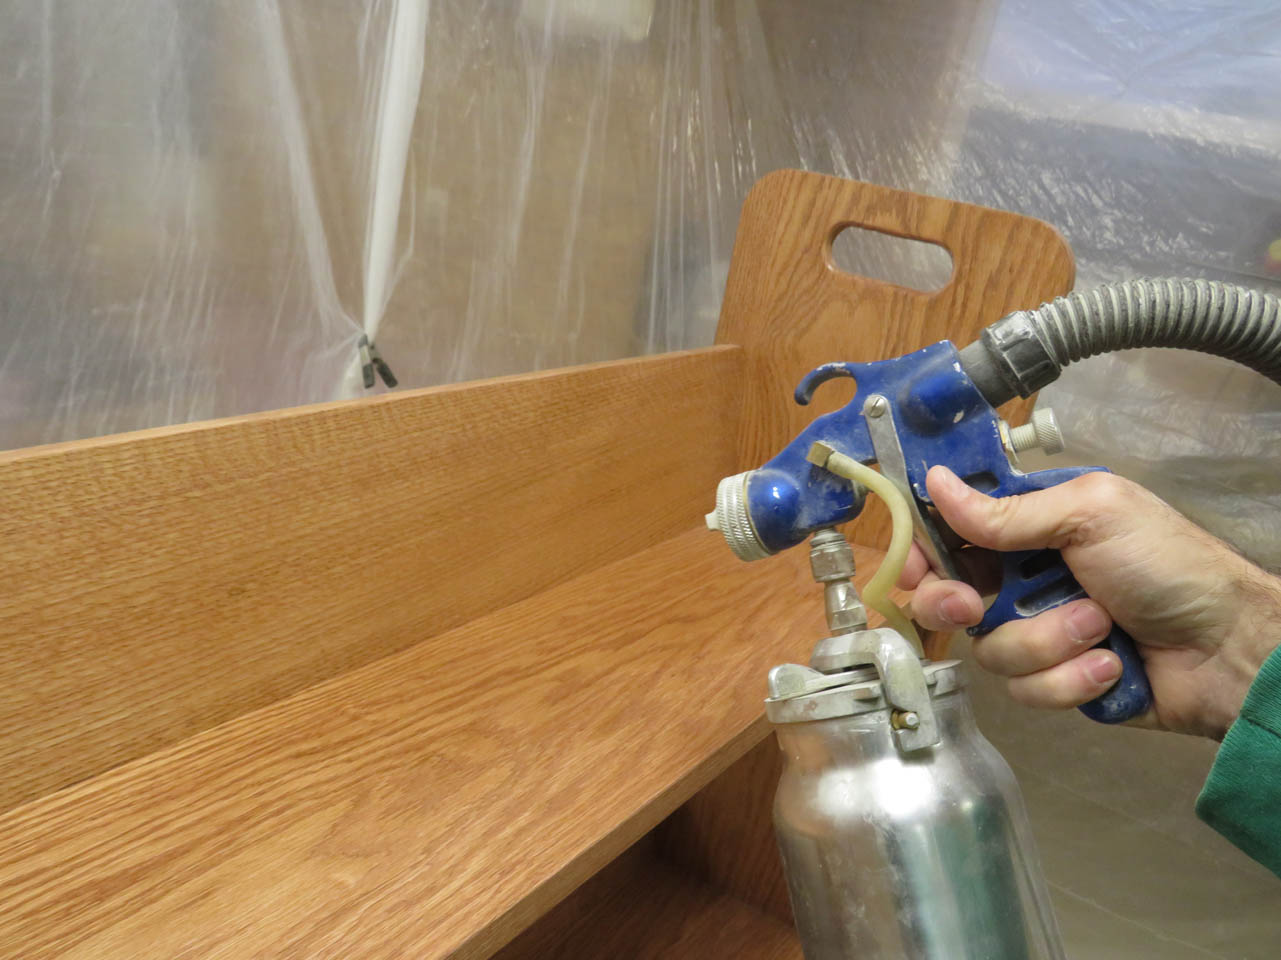
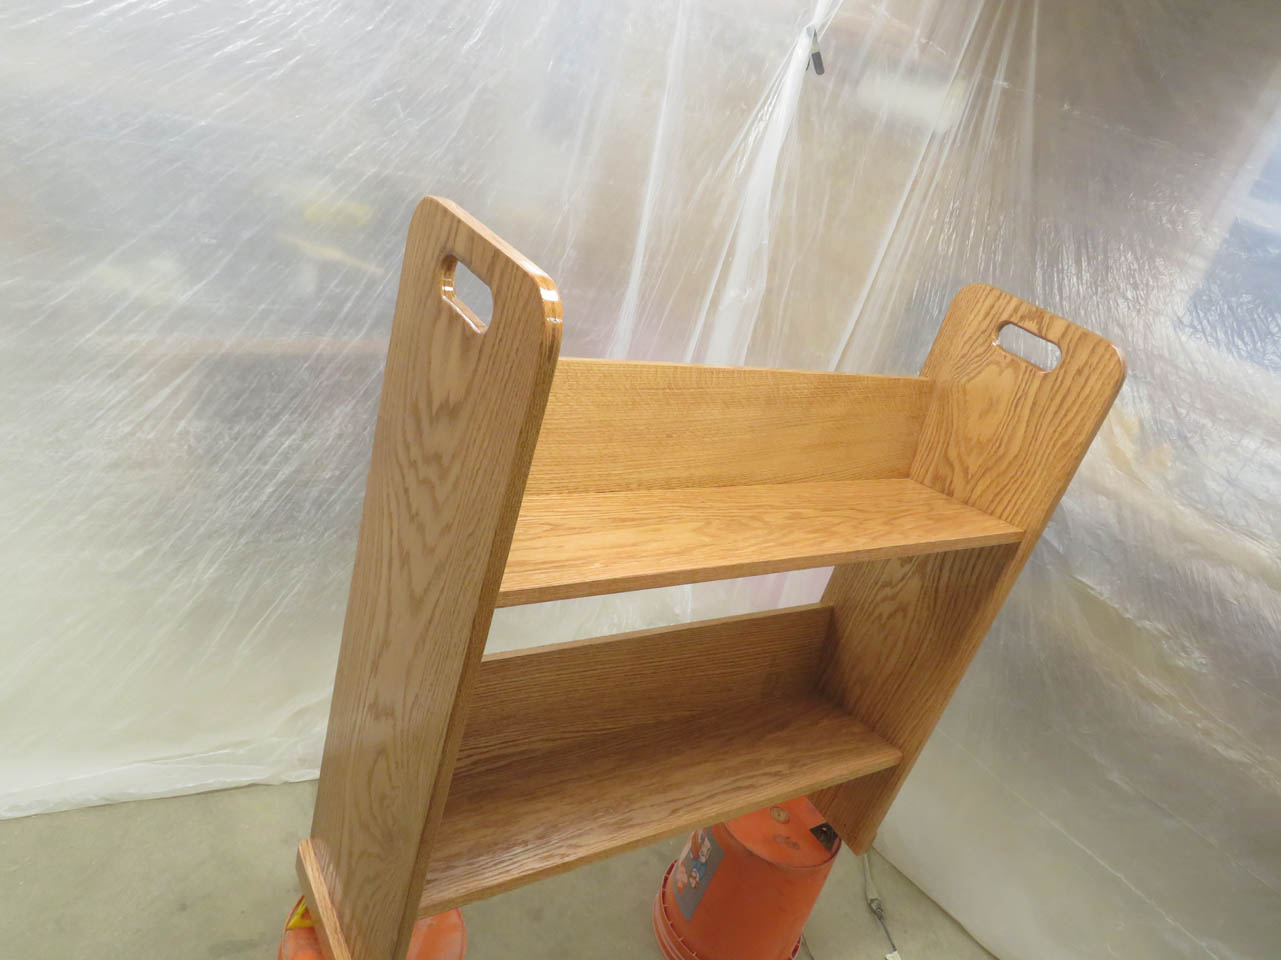
When the stain is dry, I can spray on the first coat of polyurethane.


The following day, I can sand down all of the surfaces with 400 grit paper and spray on the second coat.
Letting that dry another day before moving it, I can then lay it back down on the table and attach the casters with some black, washer head screws.


Wheels attached and sitting flat, everything seems to work well.
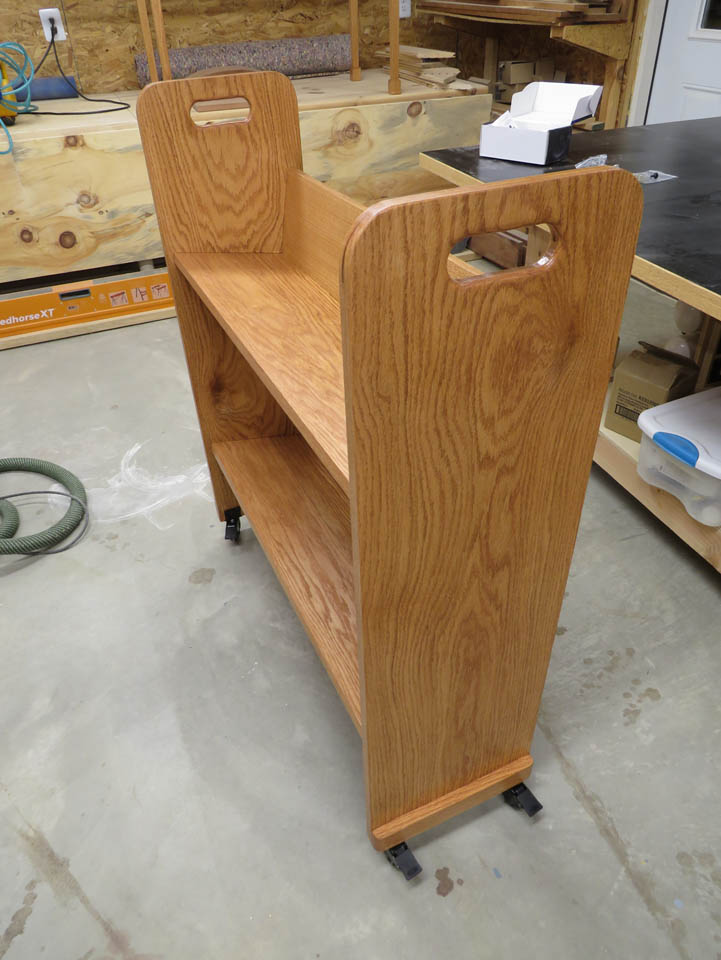

And the splines on top of the handle areas look good too.

