Picture frames for Holy Spirit Church
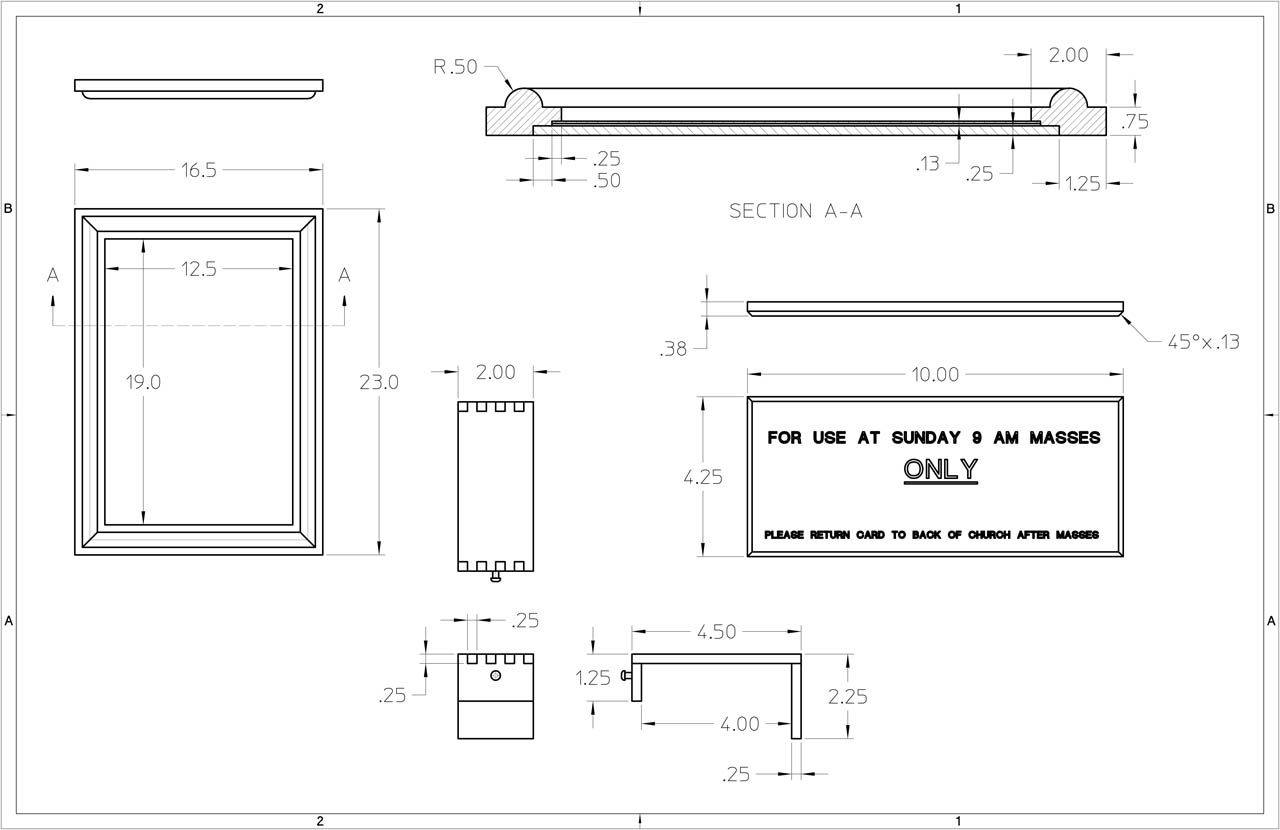
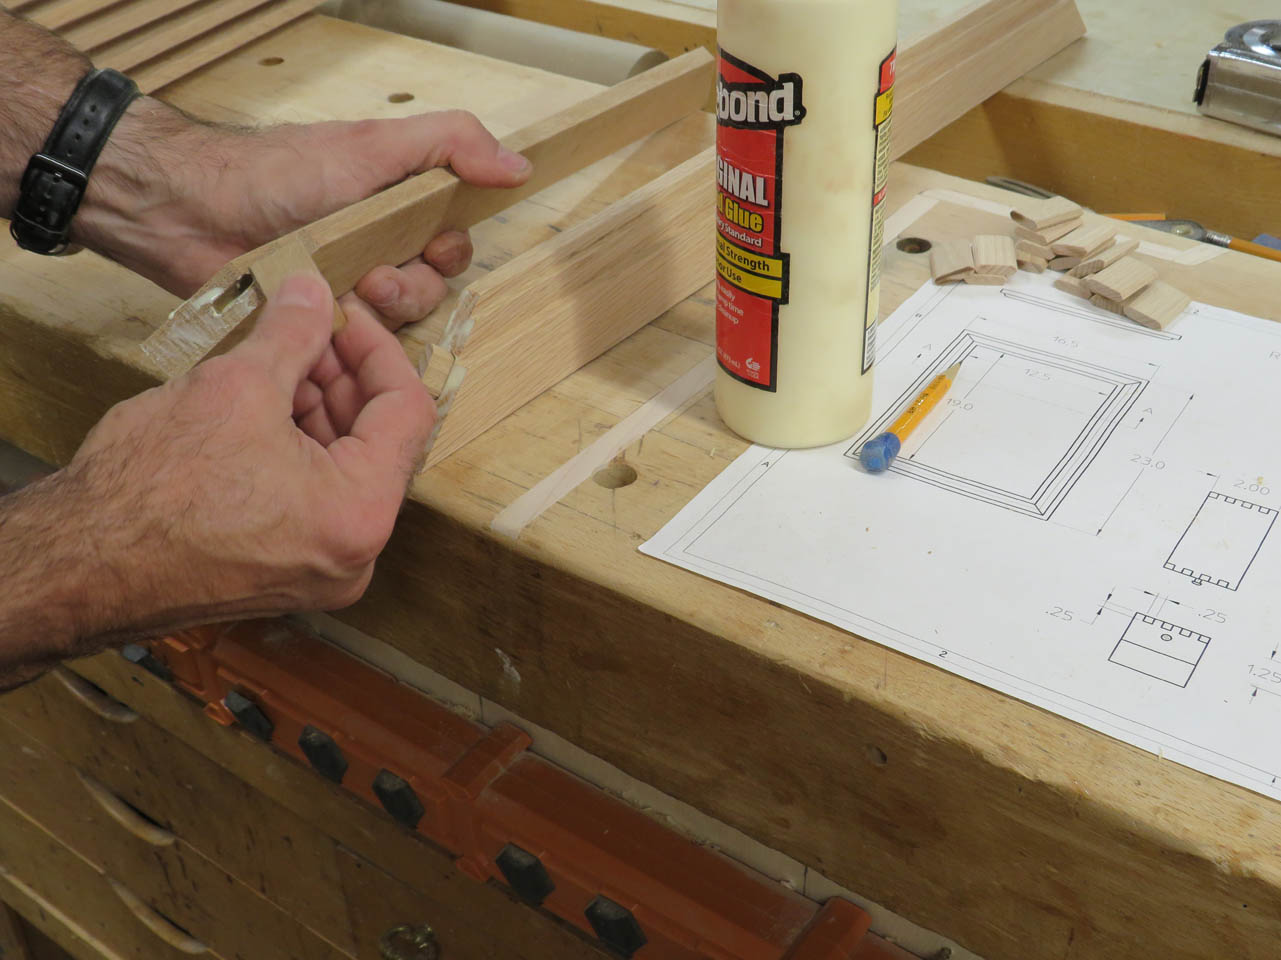
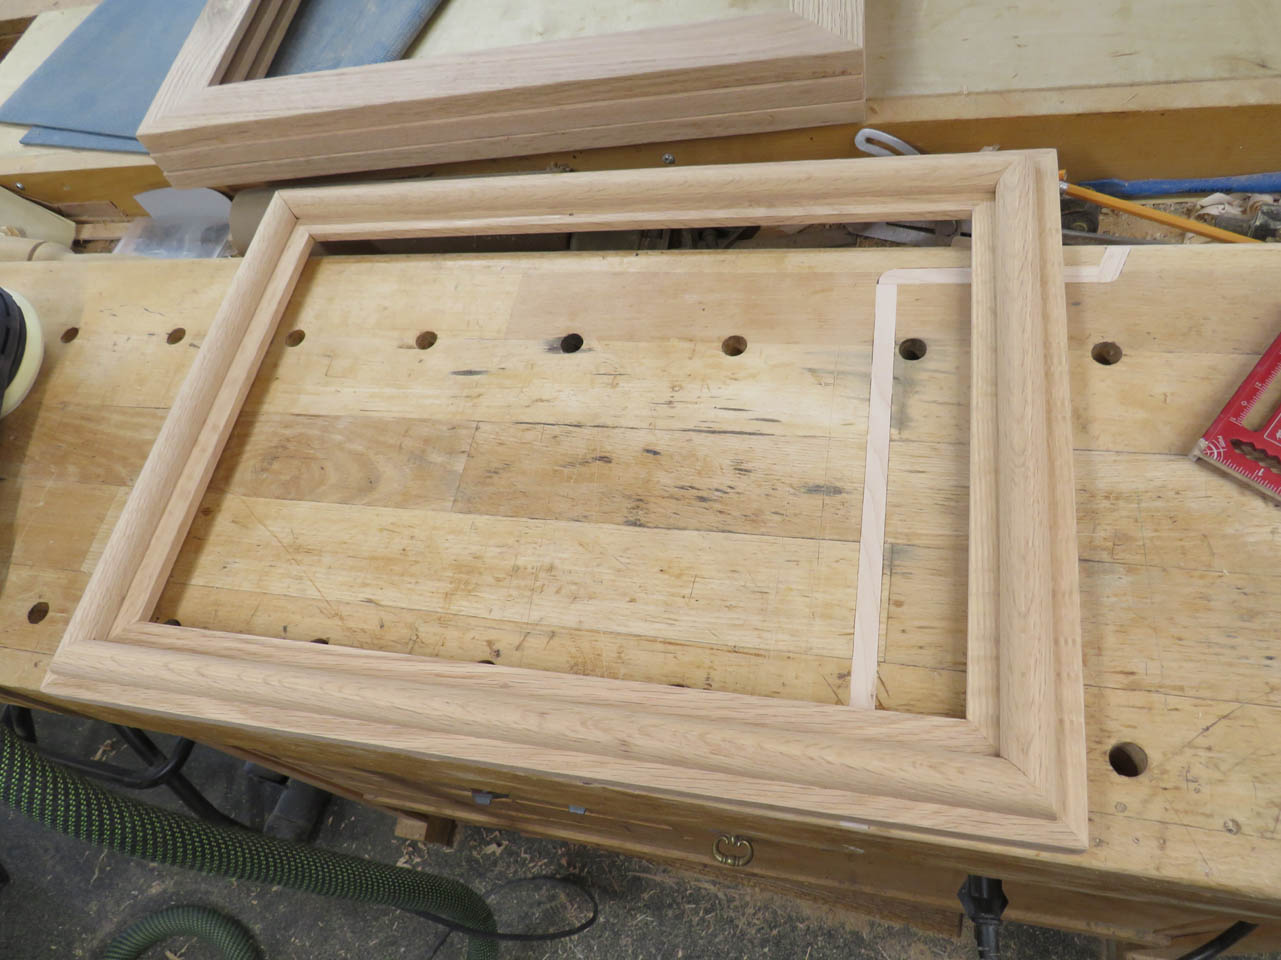
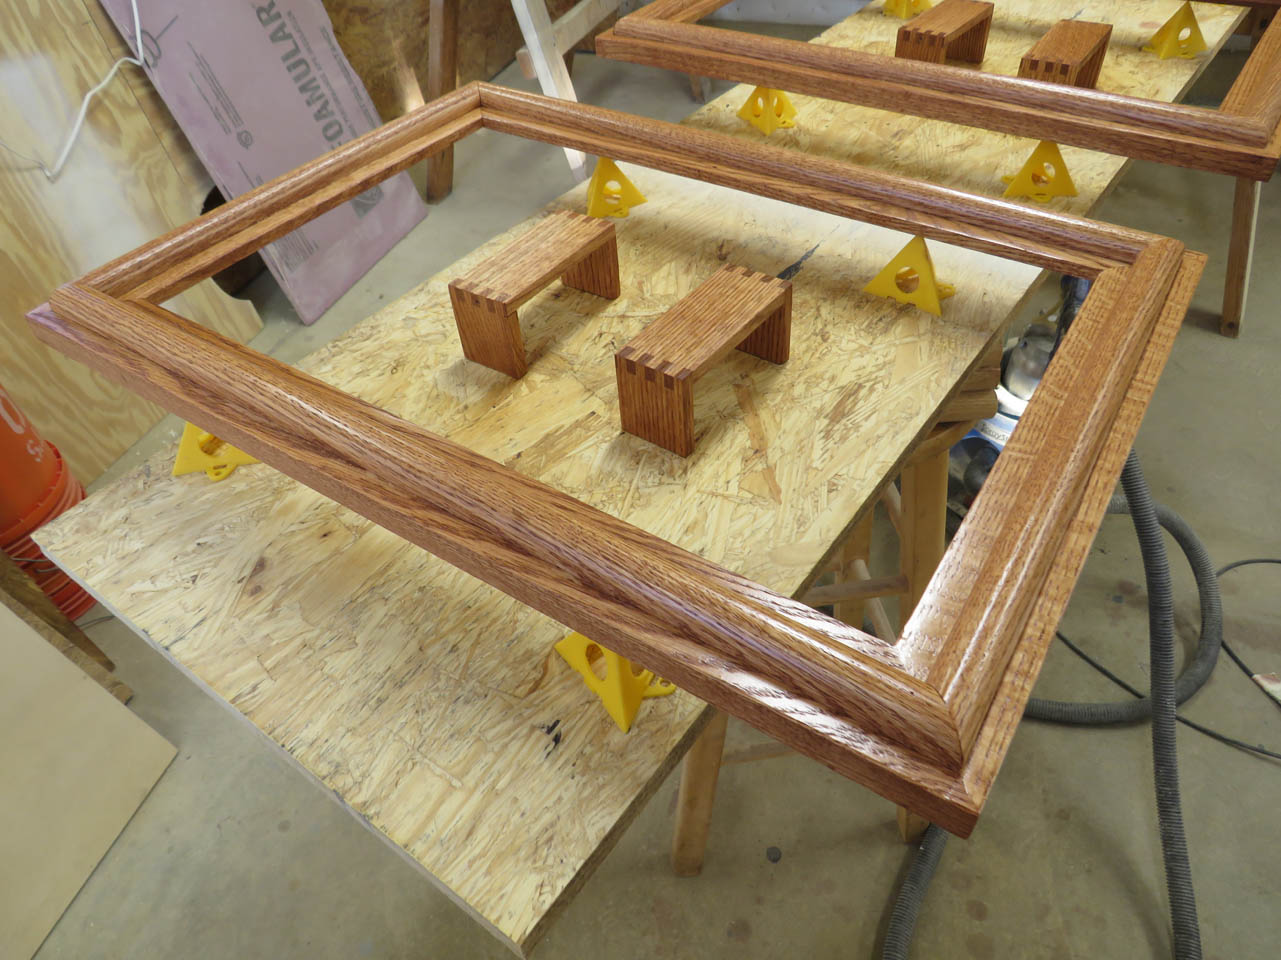
I needed to design some large picture frames that matched the tables that I just built for Holy Spirit church. The main feature that I chose to copy from the tables was the 1″ bullnose. The image below shows the size and profile of the frame. The first ting I did was get the glass cut so that I could make sure it would fit in the frames.
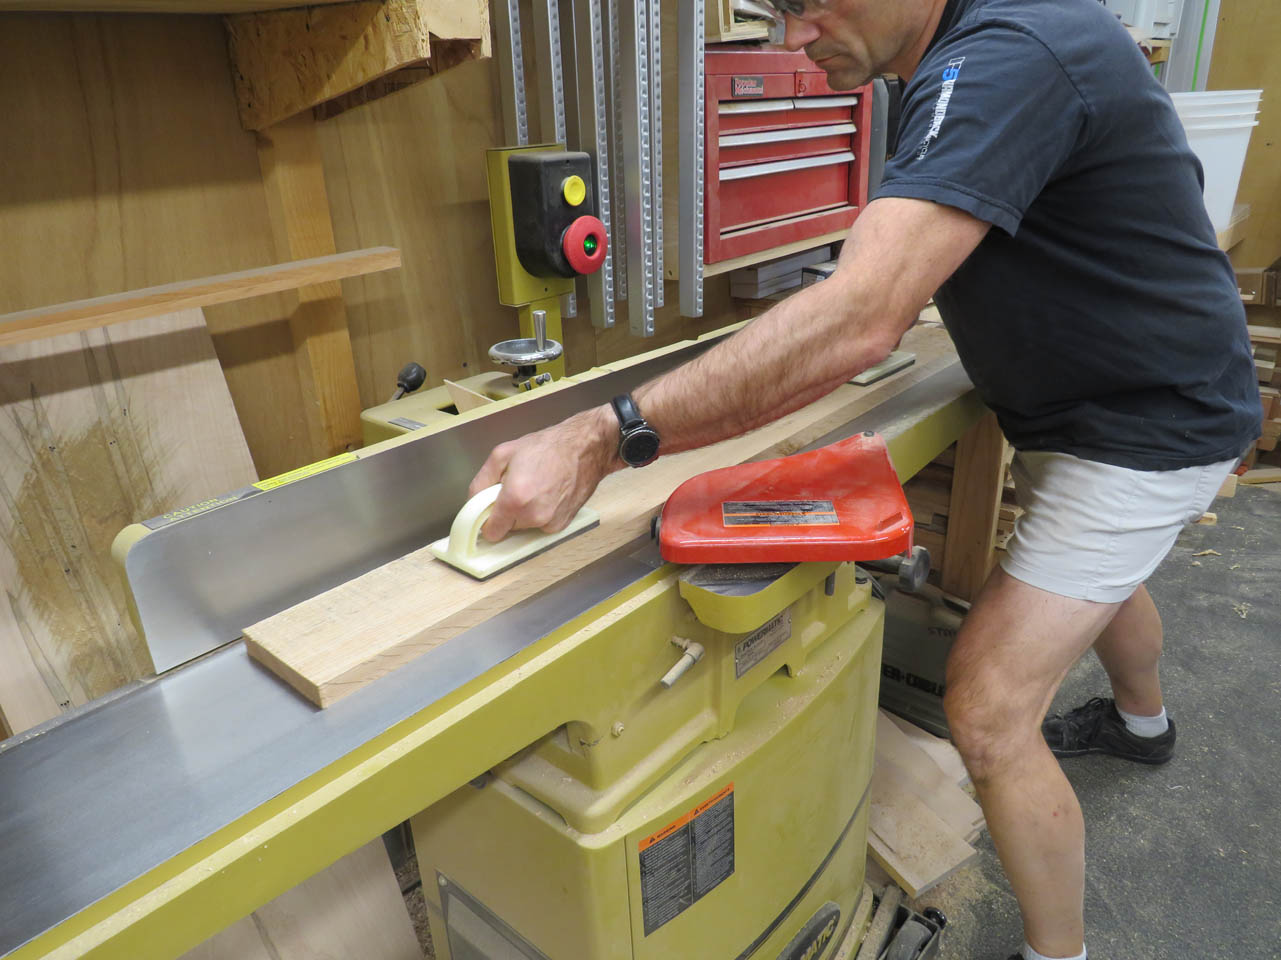
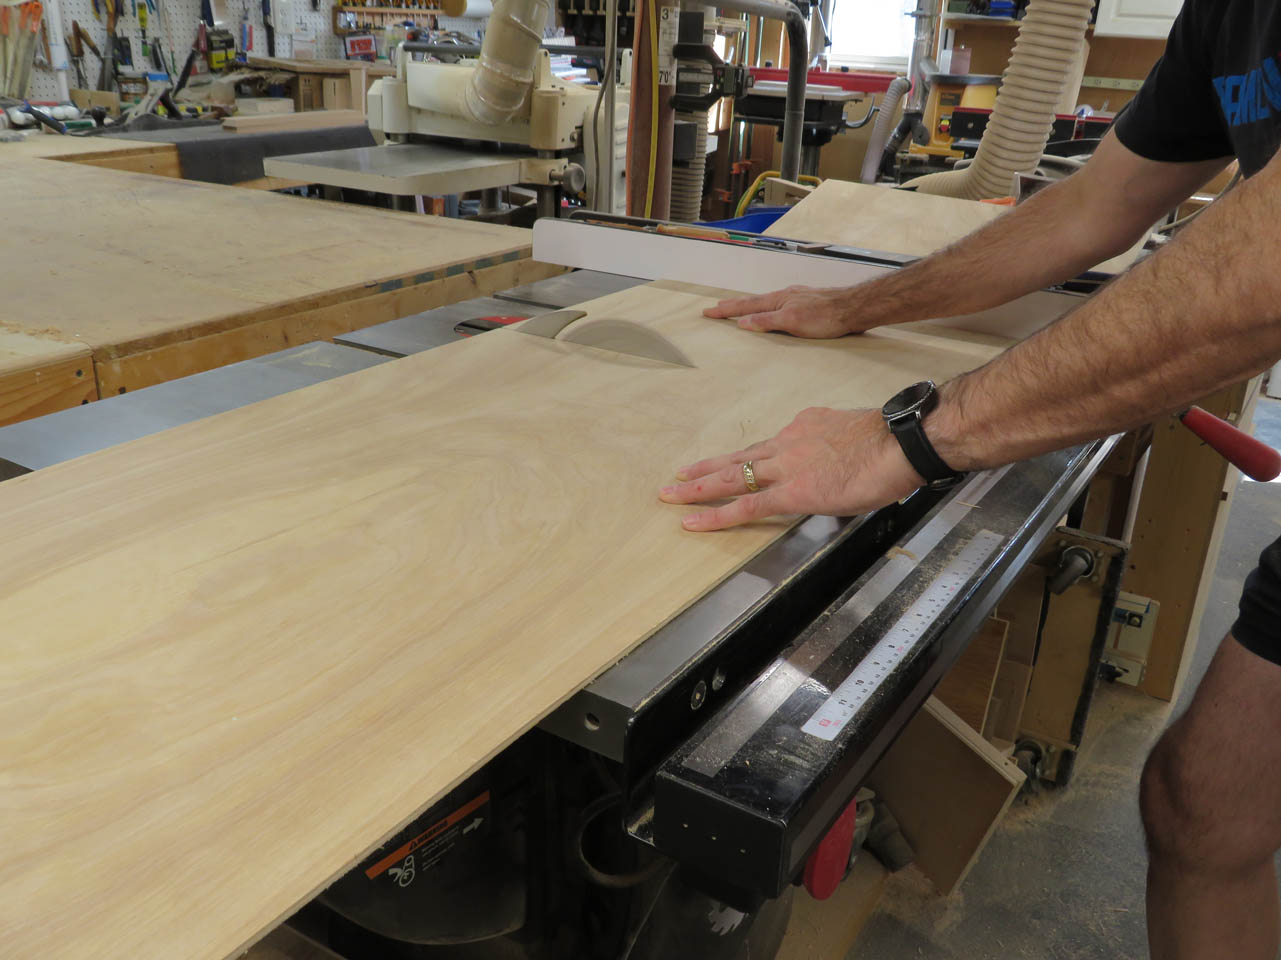
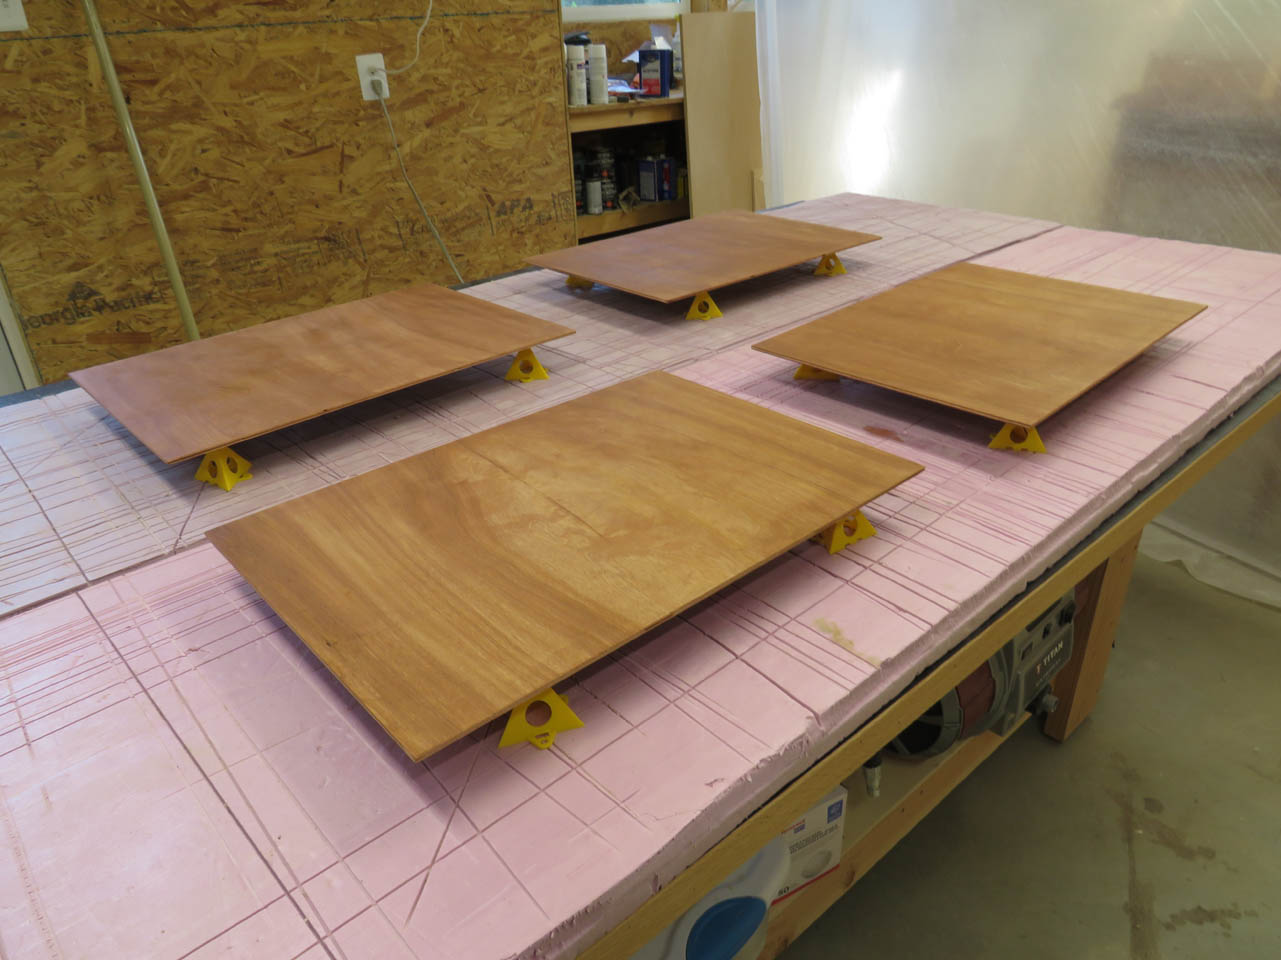
I have to start with the basic frame so I milled down some oak to the thickness required.
Next, I cut it into 2″ wide strips, then cut them to rough length.

I used double-sided tape to attach two pieces to each other, keeping the long sides perfectly flush.


When the miters are cut, the sides will be the exact same length.
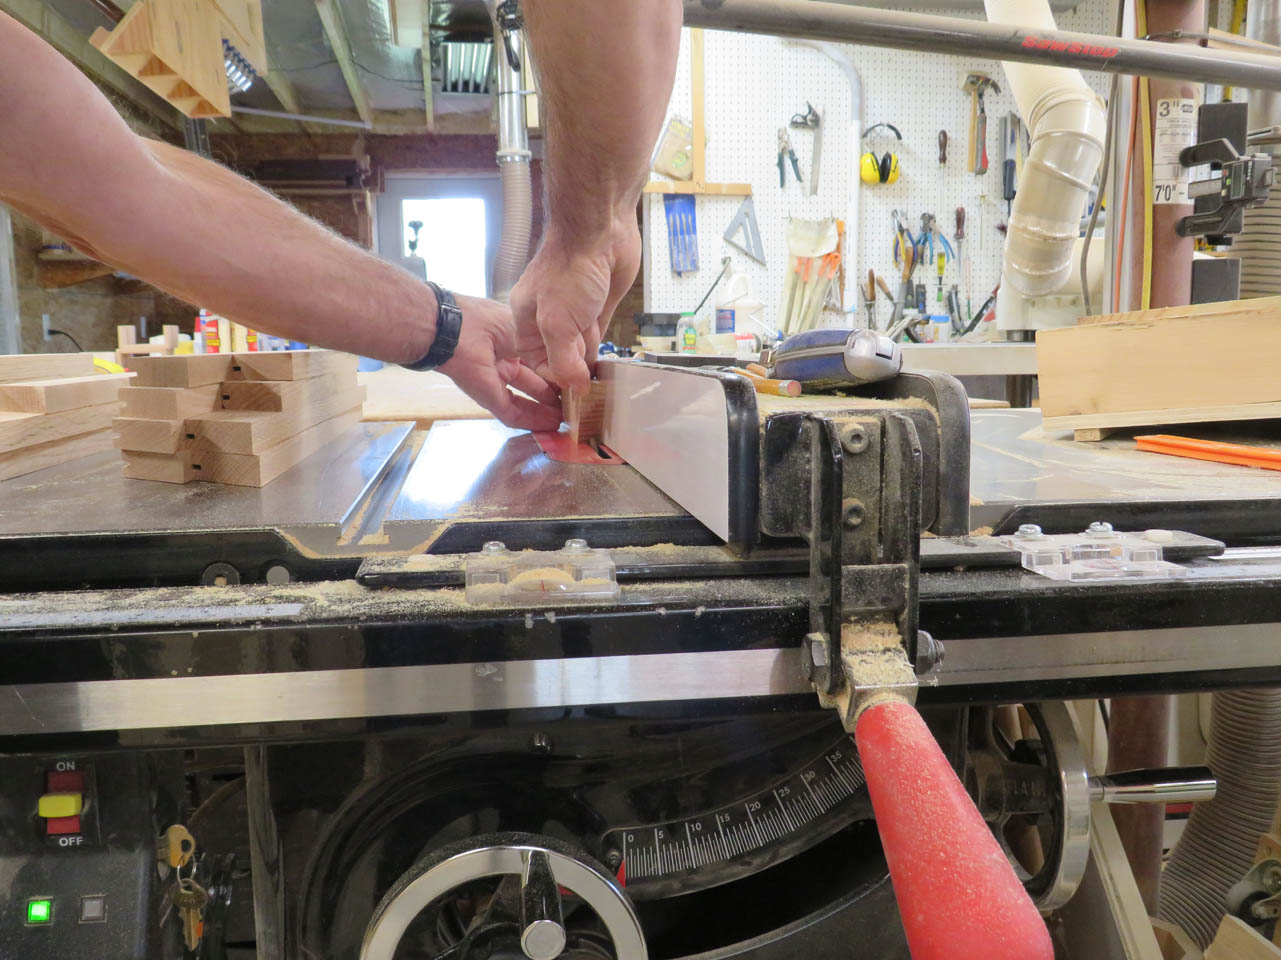
After the first miter was cut, I measure and mark the length, then flip the board and cut the opposite miter.

When all the boards are cut to length, I can mark the pairs then separate them and remove the tape.
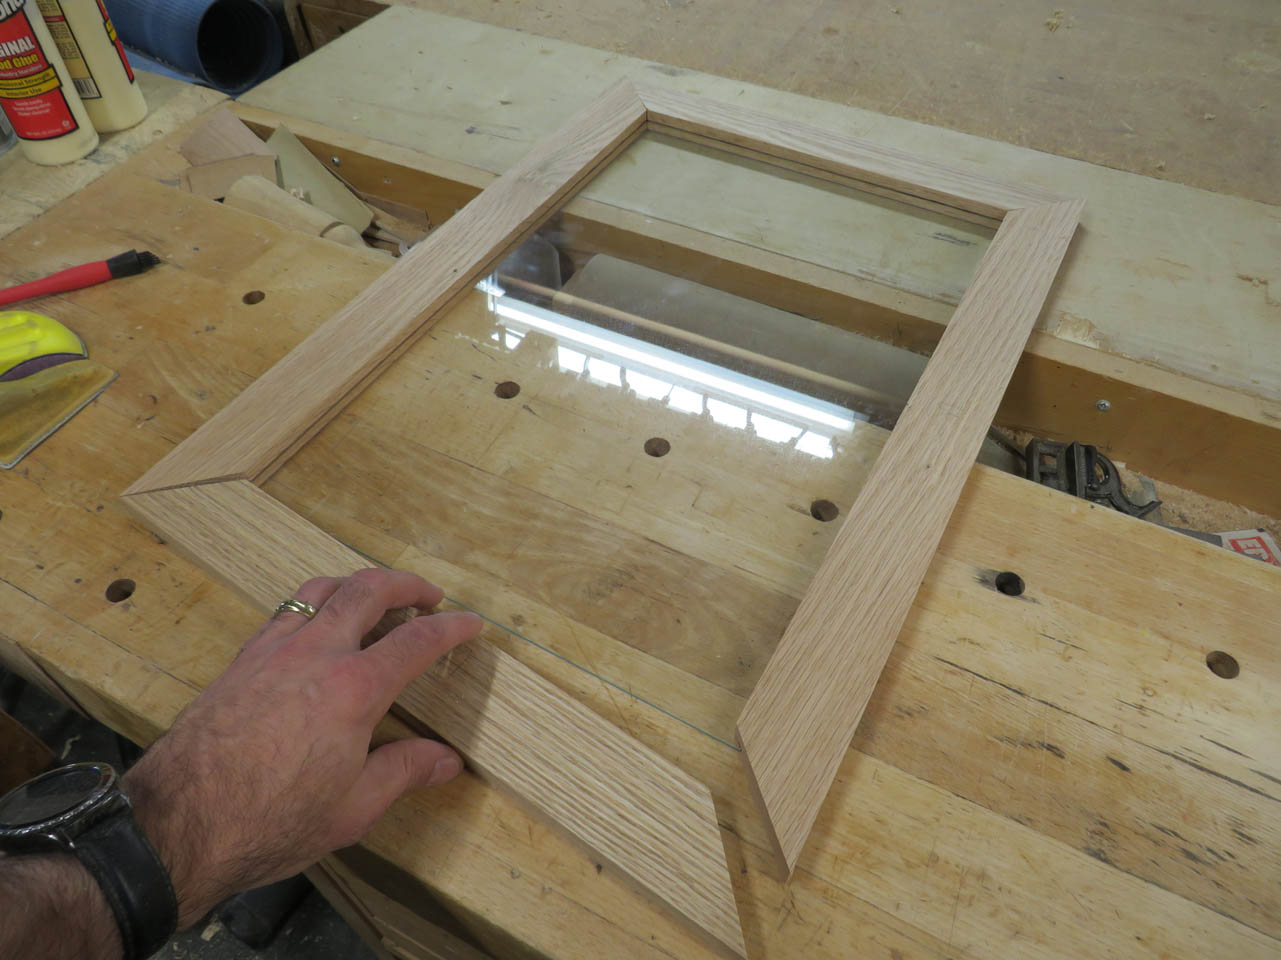
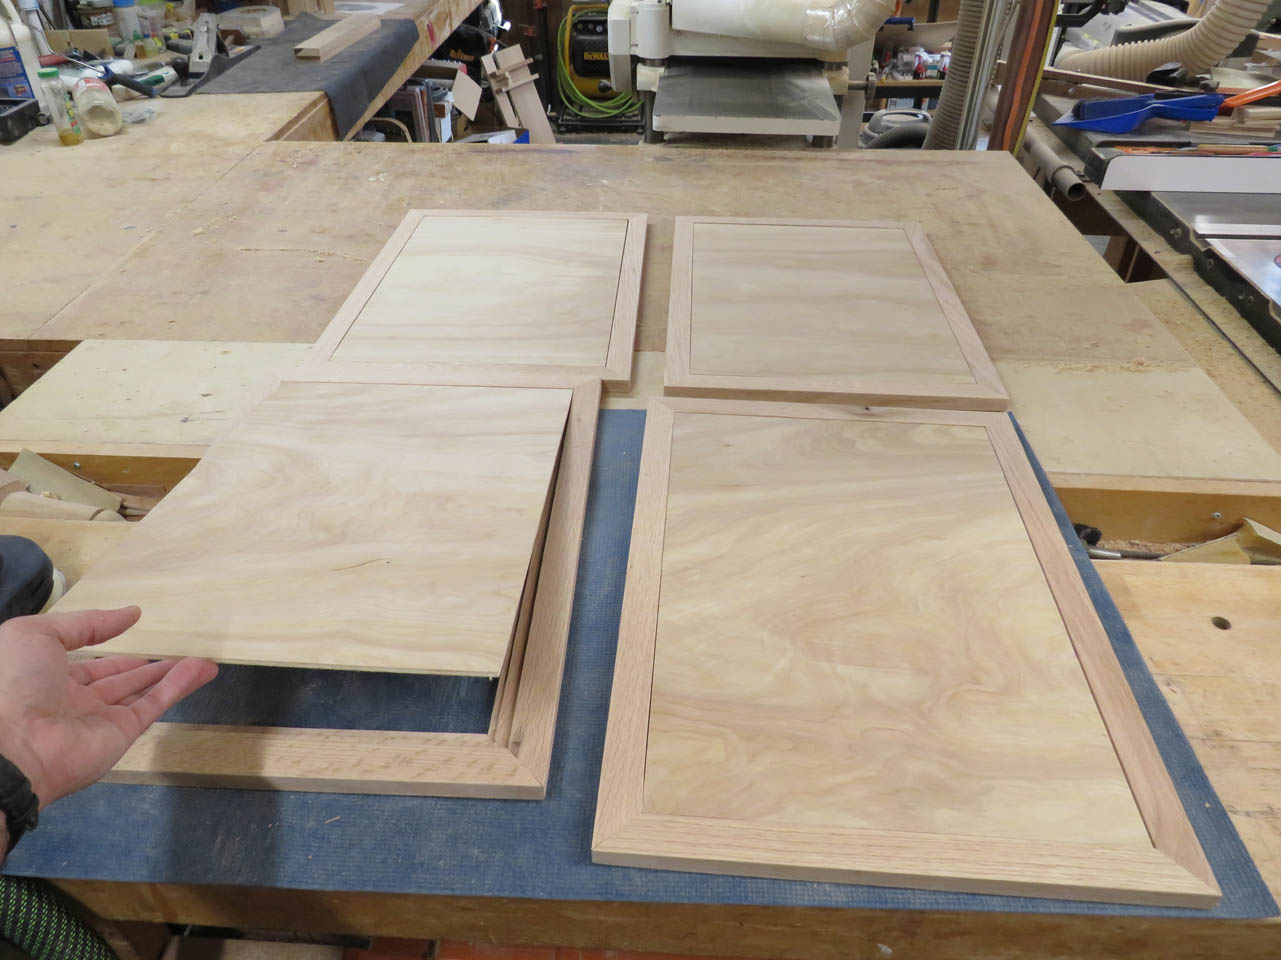
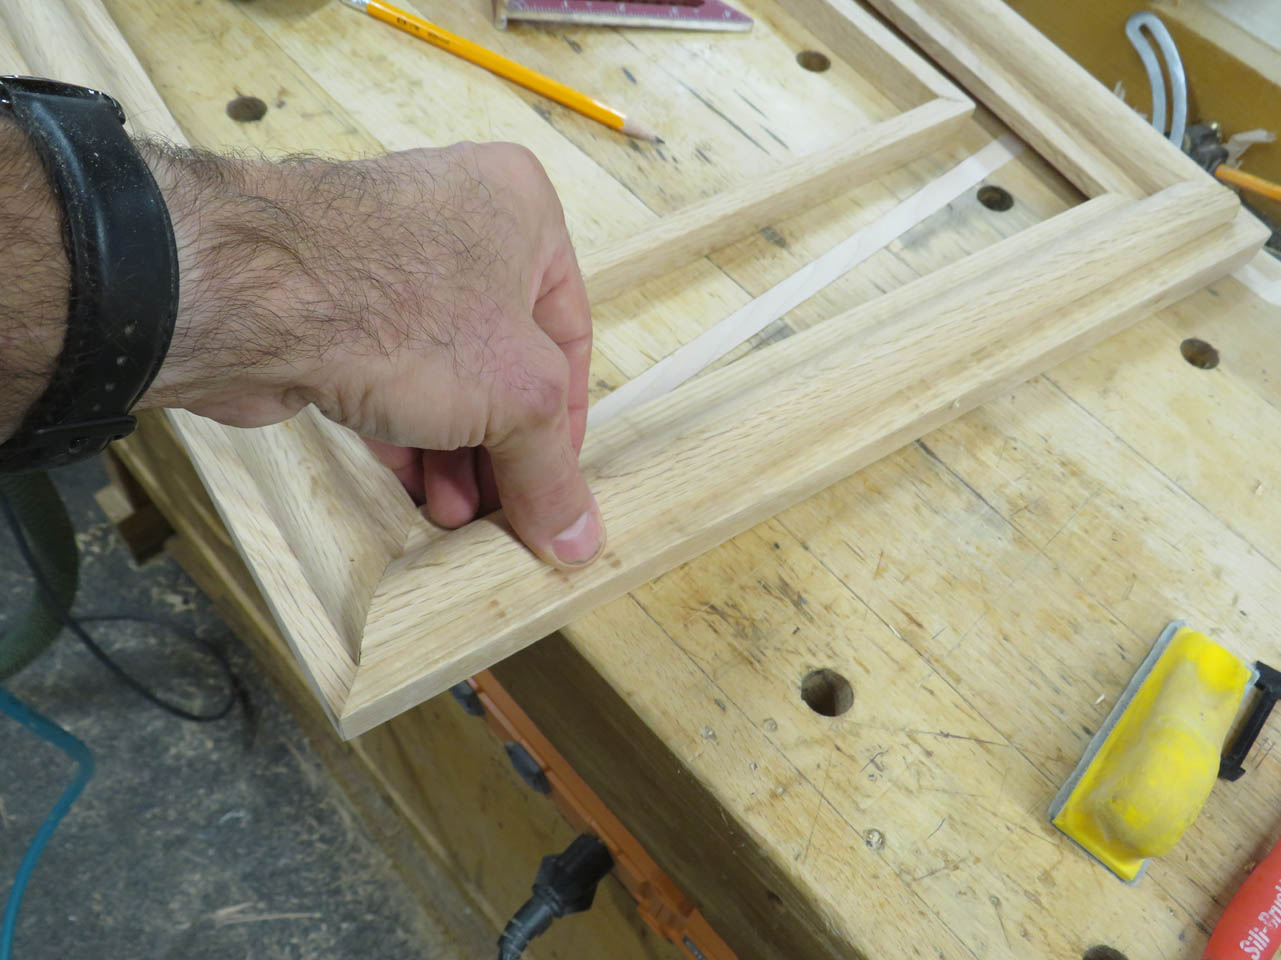
A quick dry-fit shows that I managed to get the 45° angle miters cut perfect.

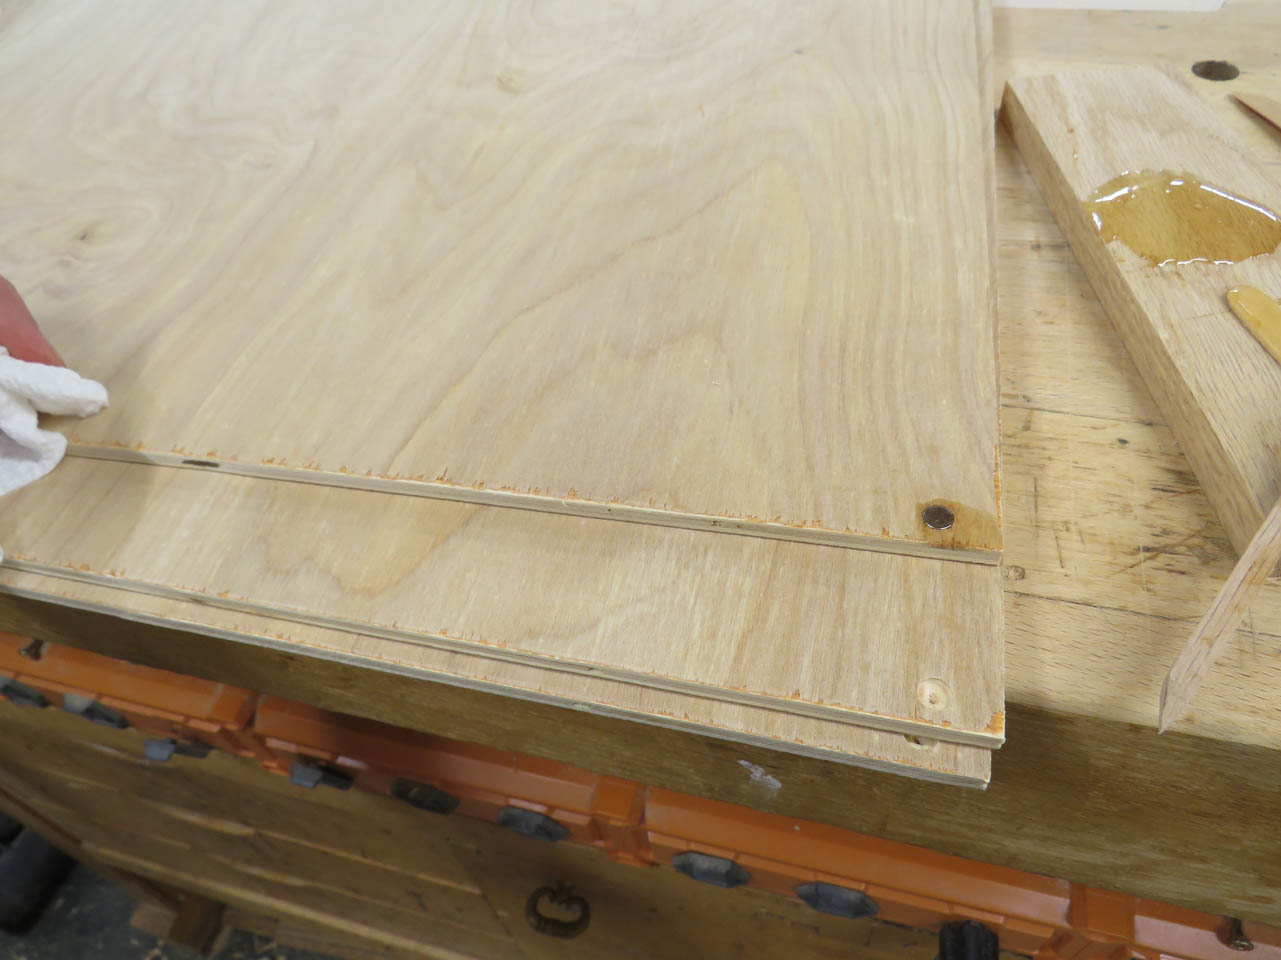
Next, I cut the slot for the glass and do a fit test.
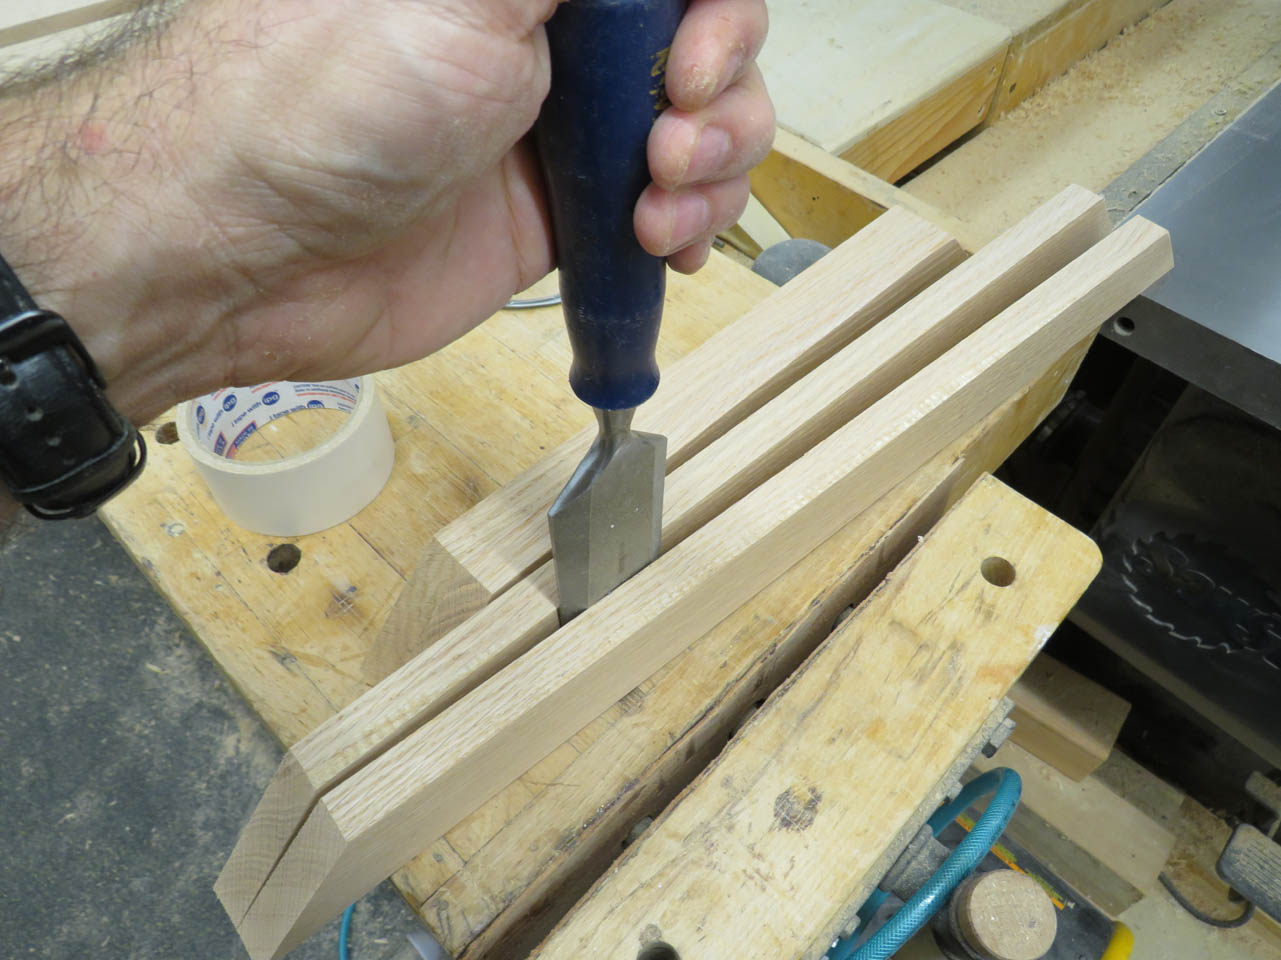
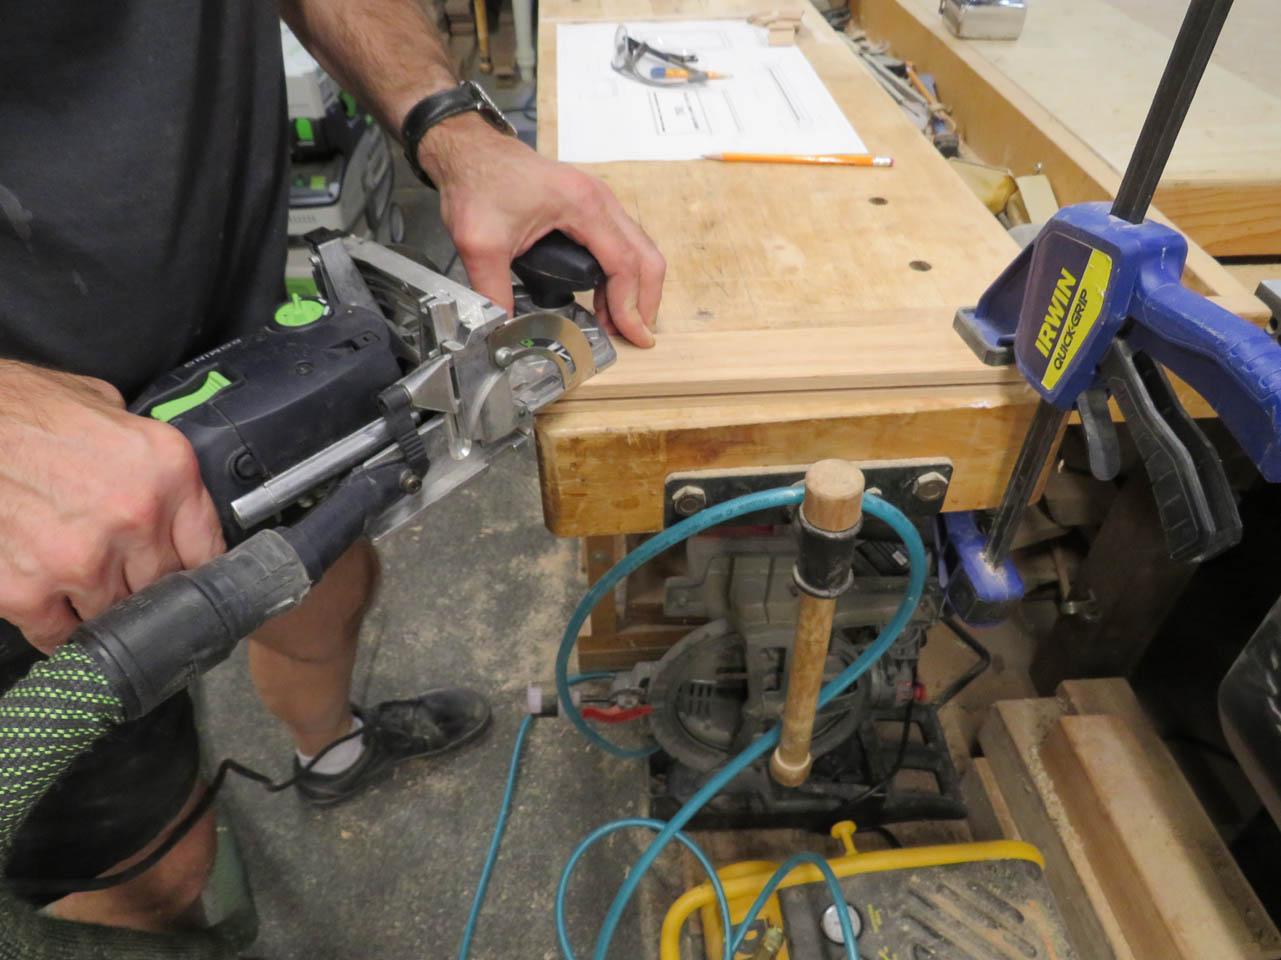
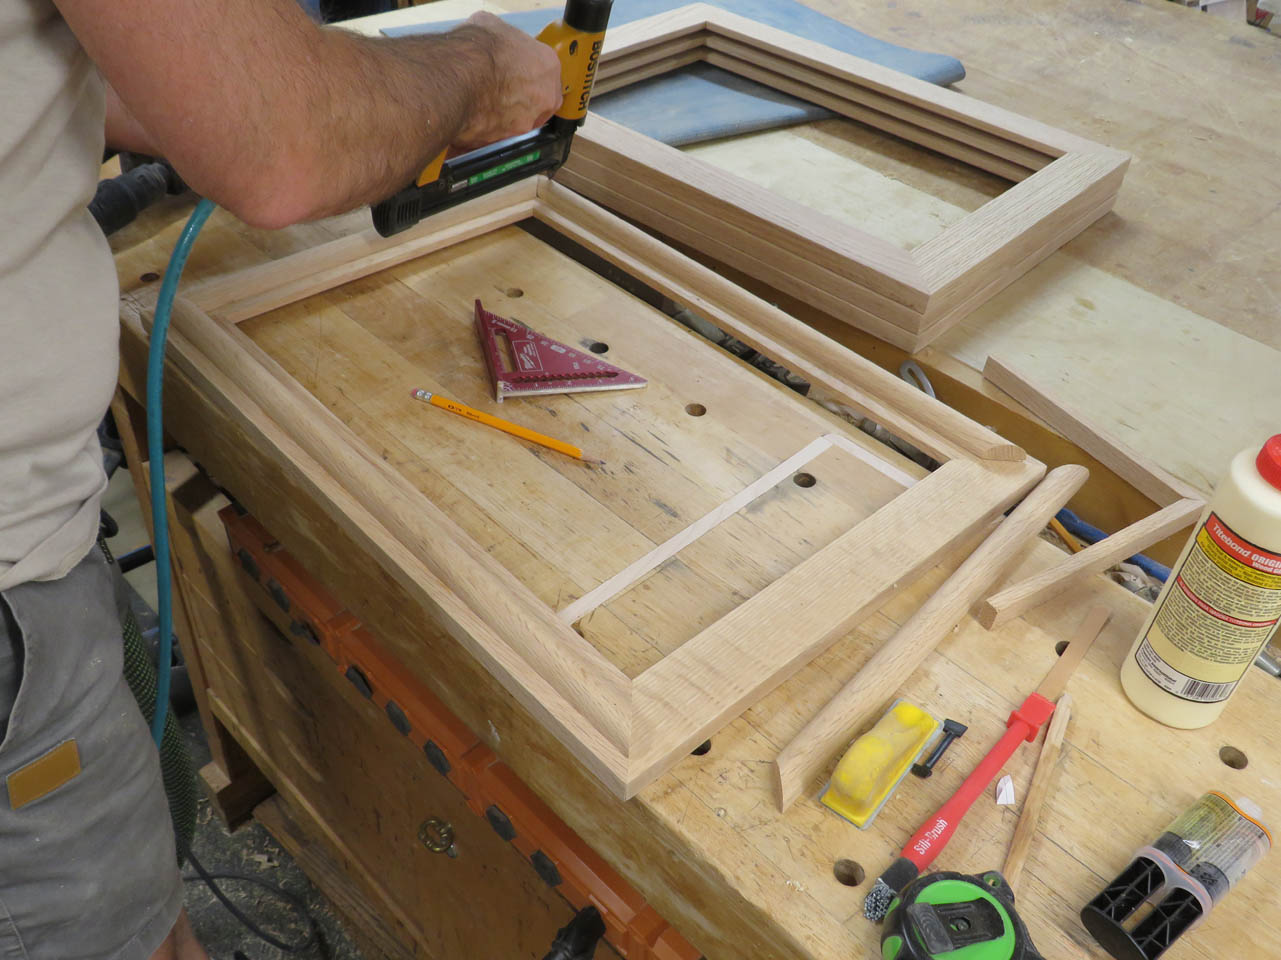
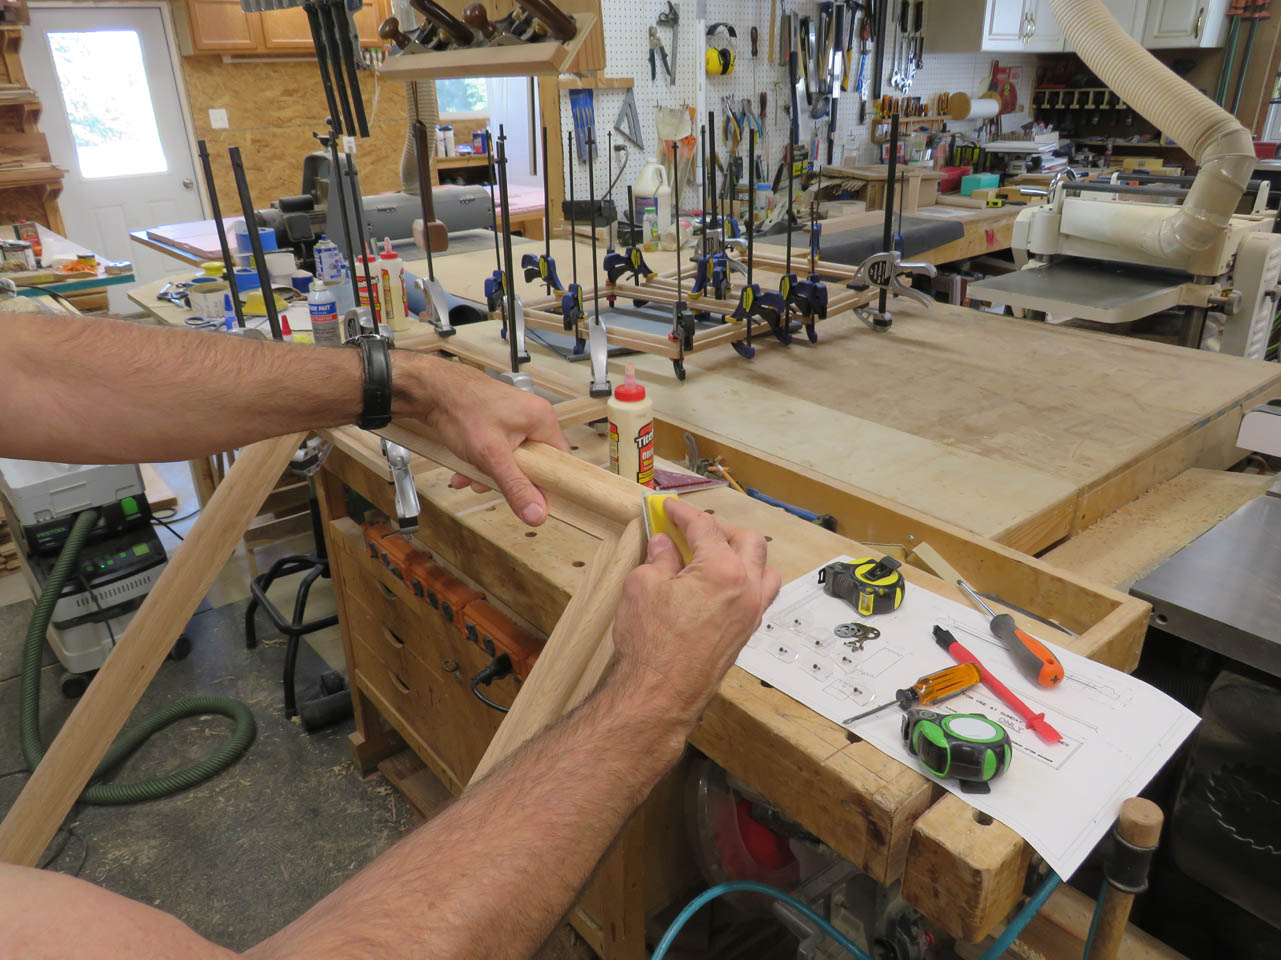
One of the problems with gluing up the miters of a picture frame is that an end-grain glue-up is not very strong and you often see metal hardware used to insure the corner holds together. Before I cut anymore of the profile, I am going to cut a mortise on the miters with my Domino jointer so that I can install loose tenons to create a strong glue joint.
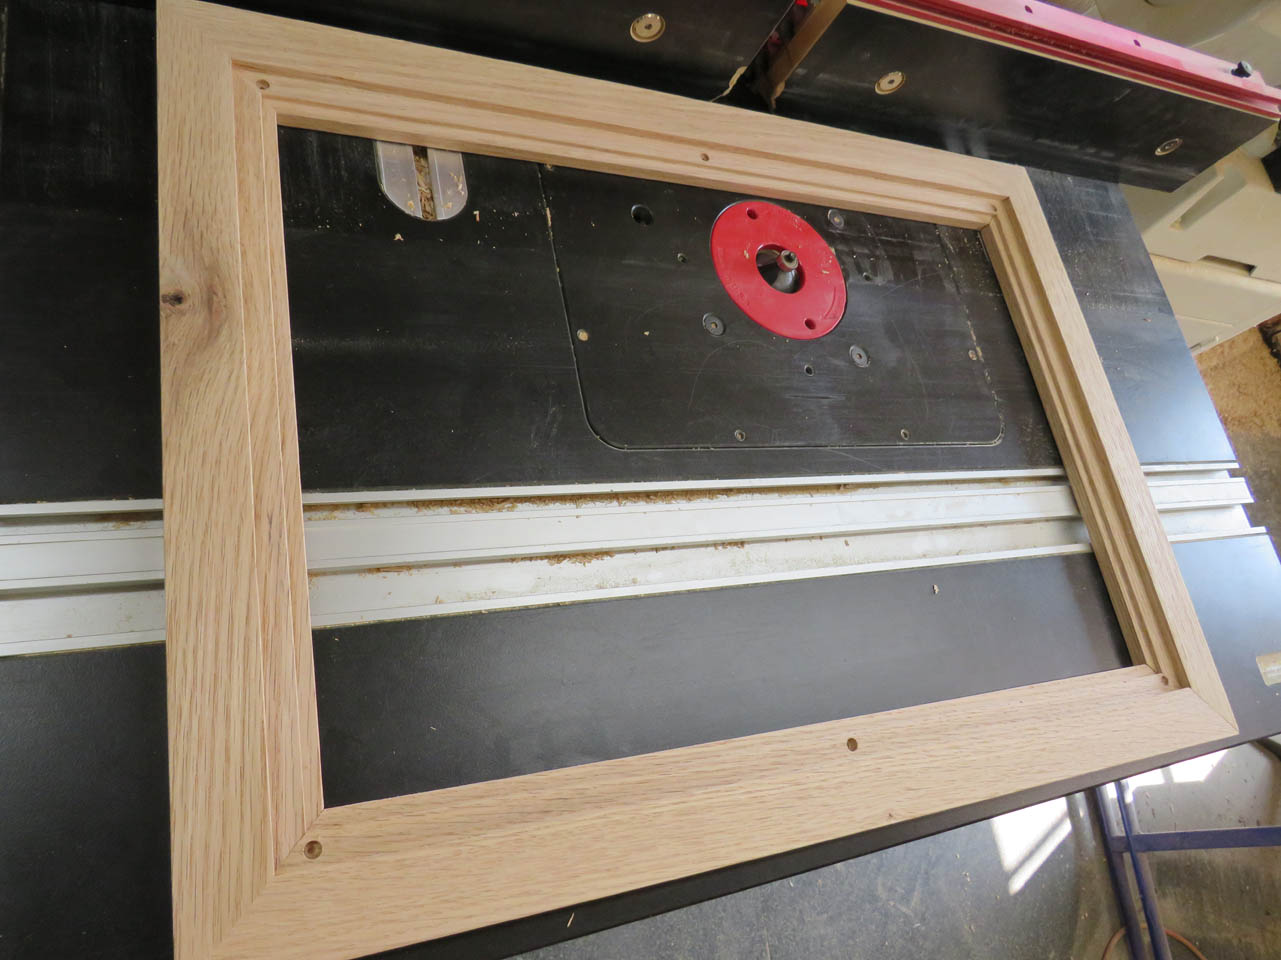
With all of the mortises cut, I can now undercut the back side of the frames for the rear panel.
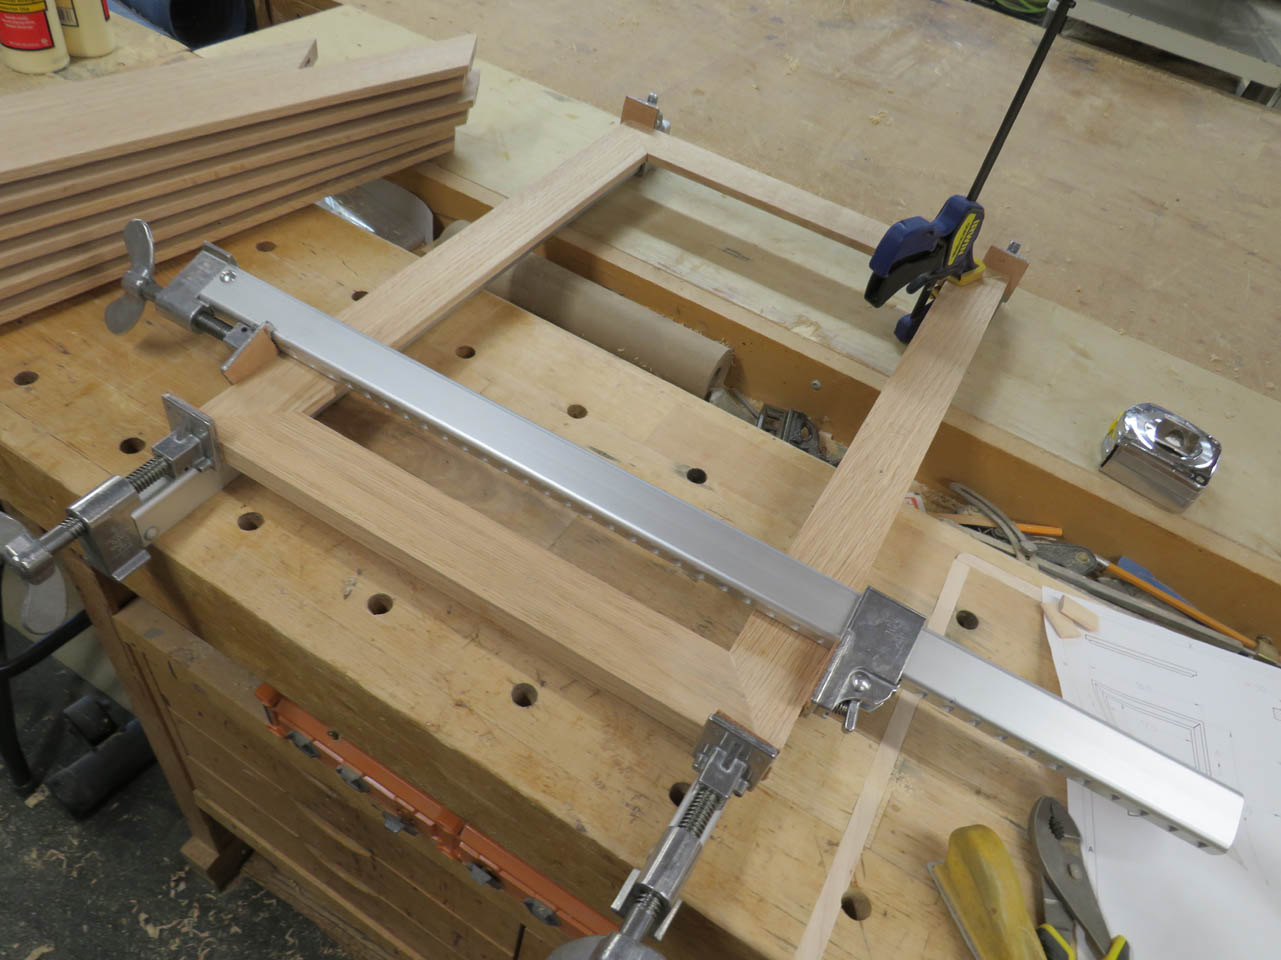
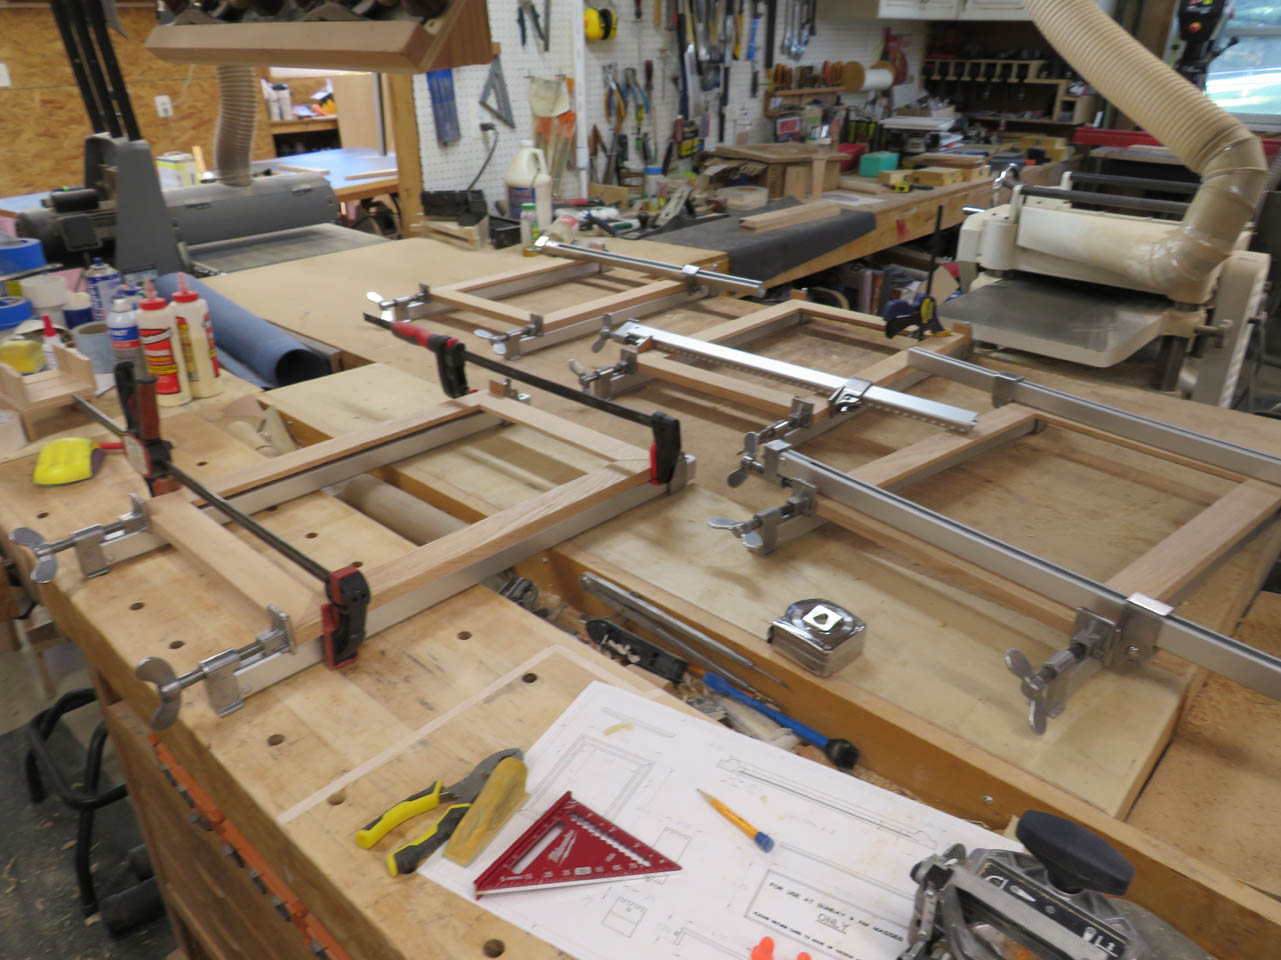
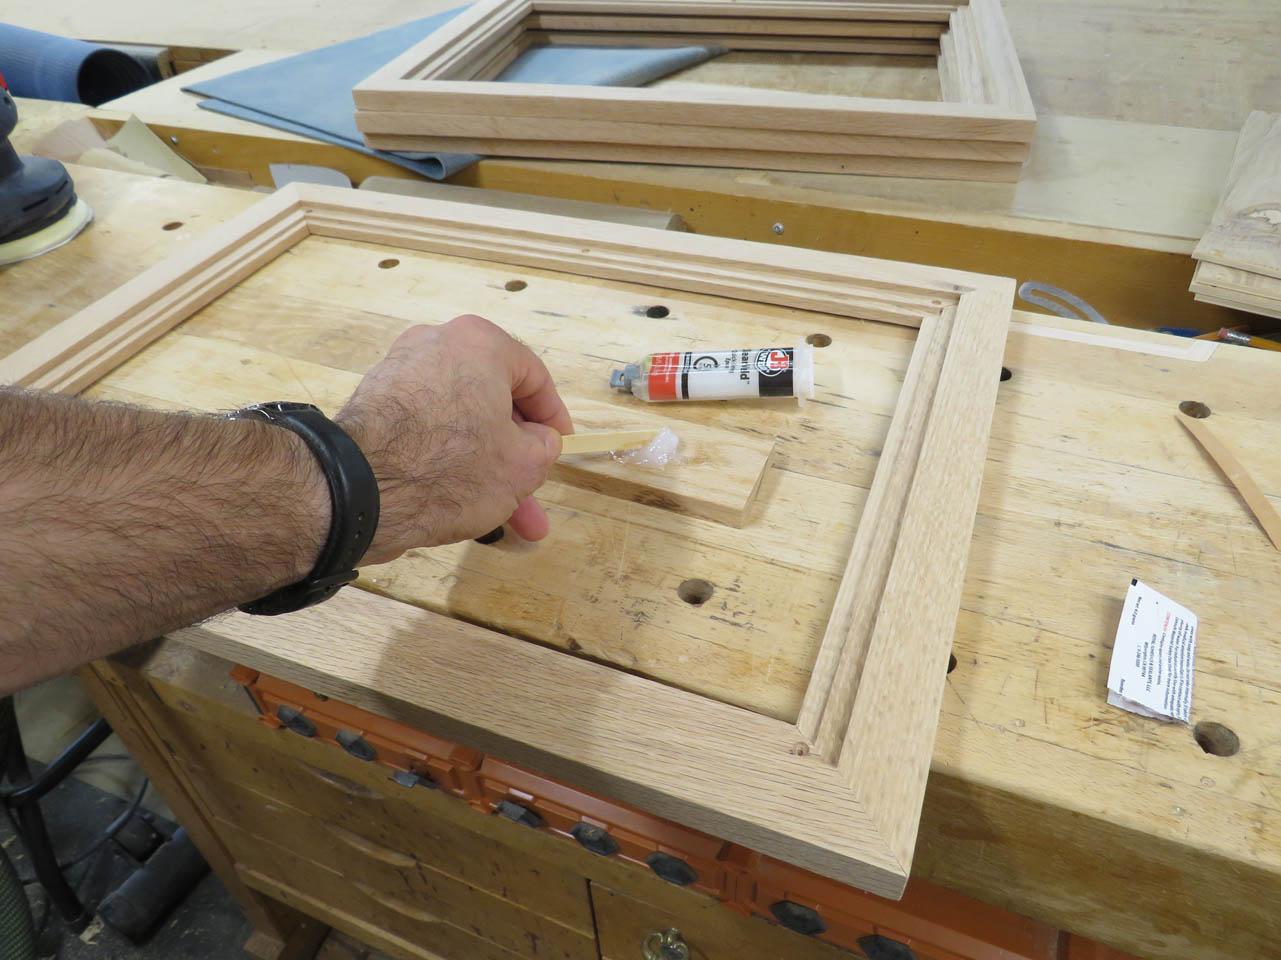
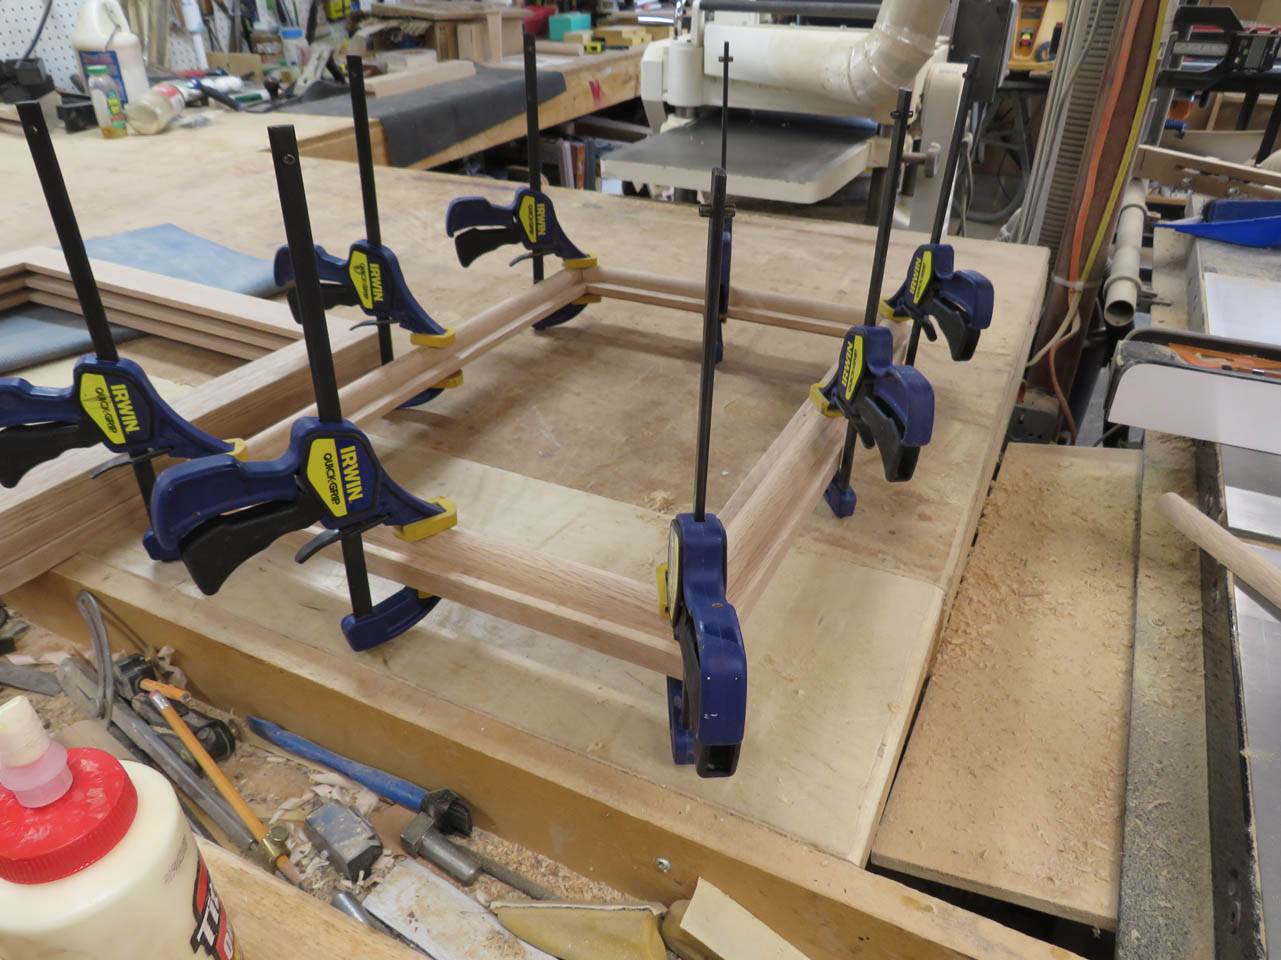
Now, I can start applying glue and inserting the tenons.
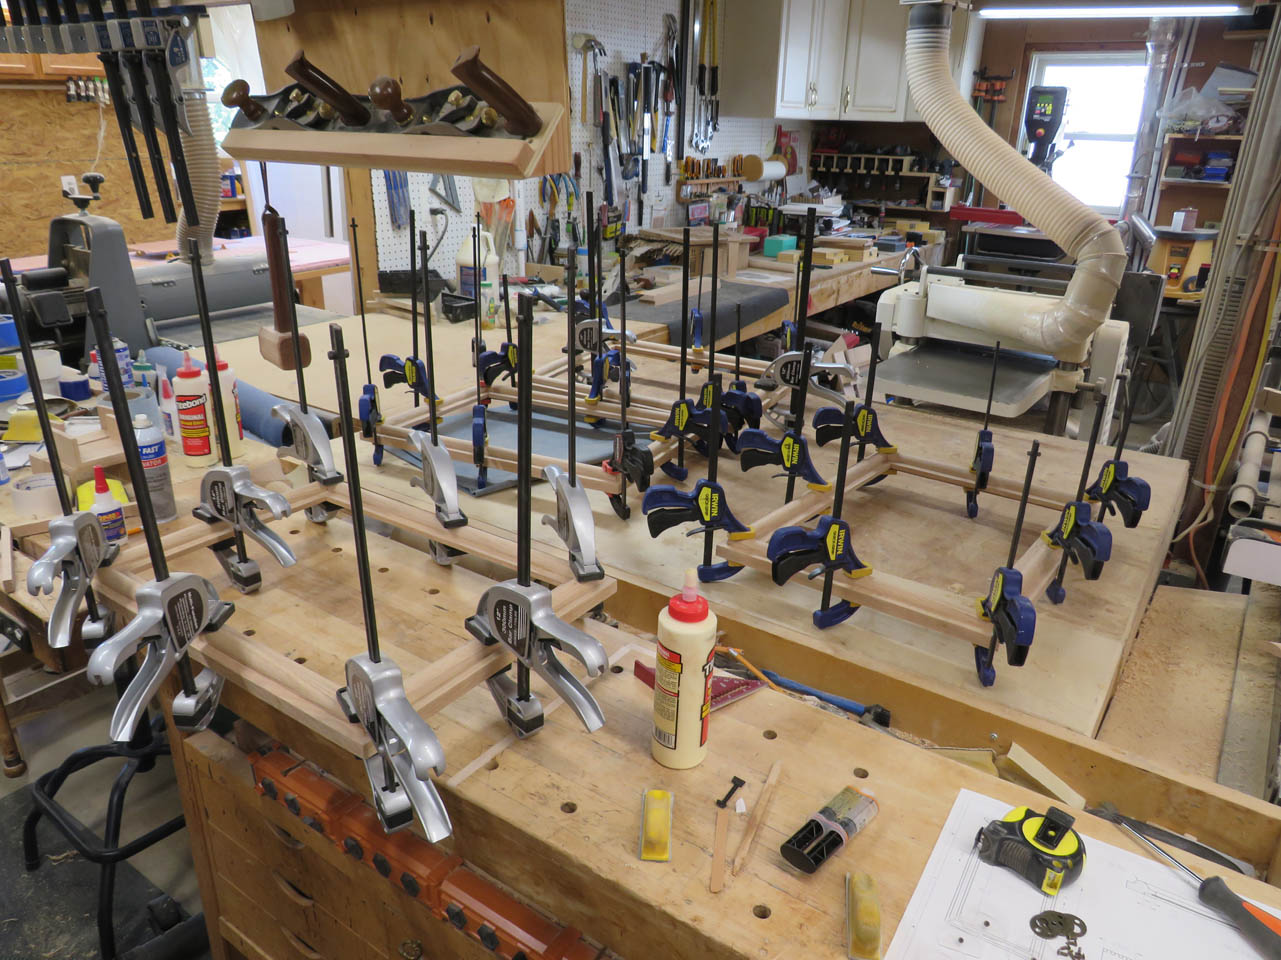
Then I can quickly clamp up the frames and let them dry.
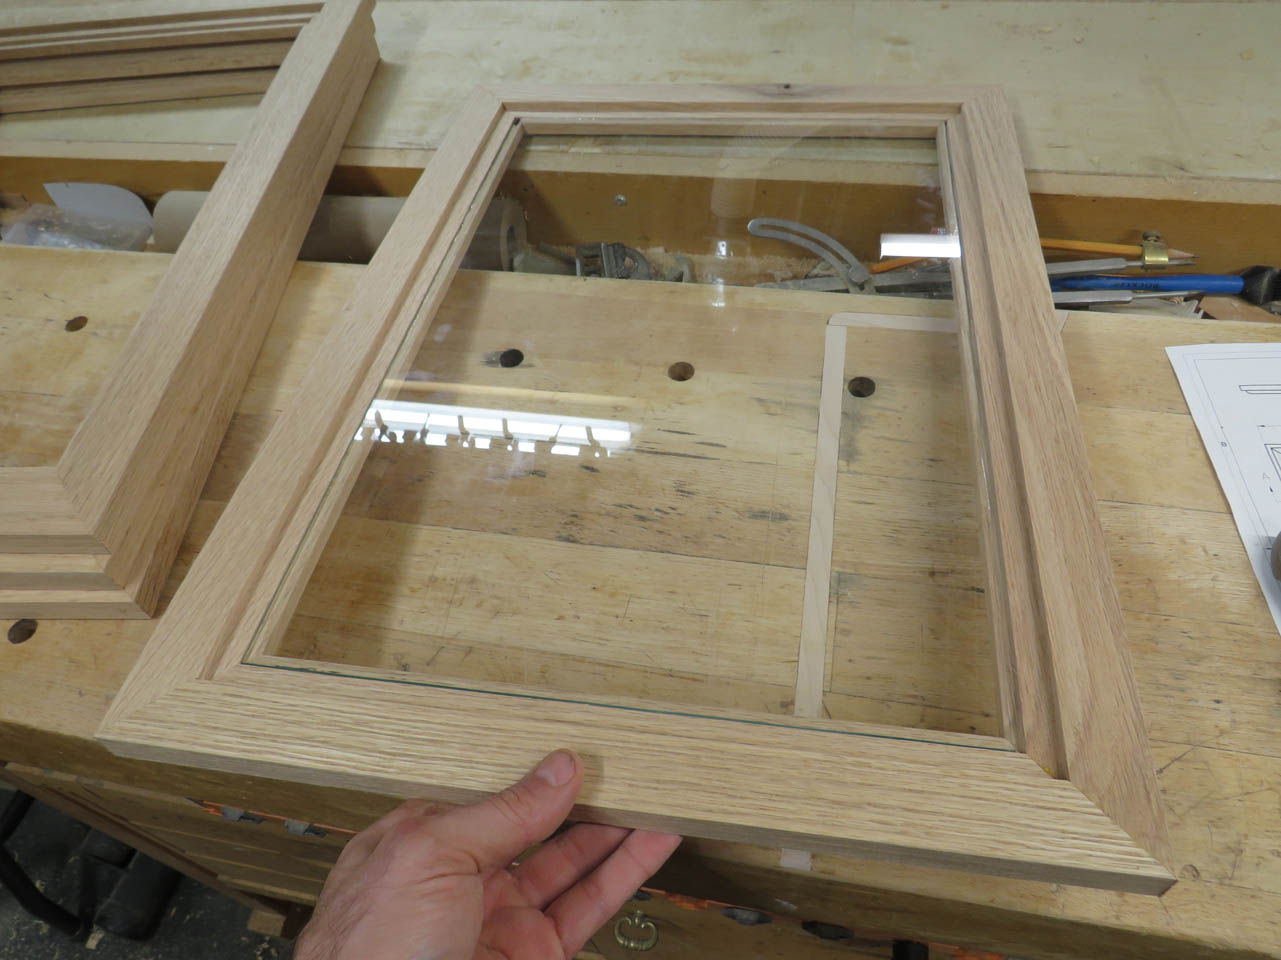
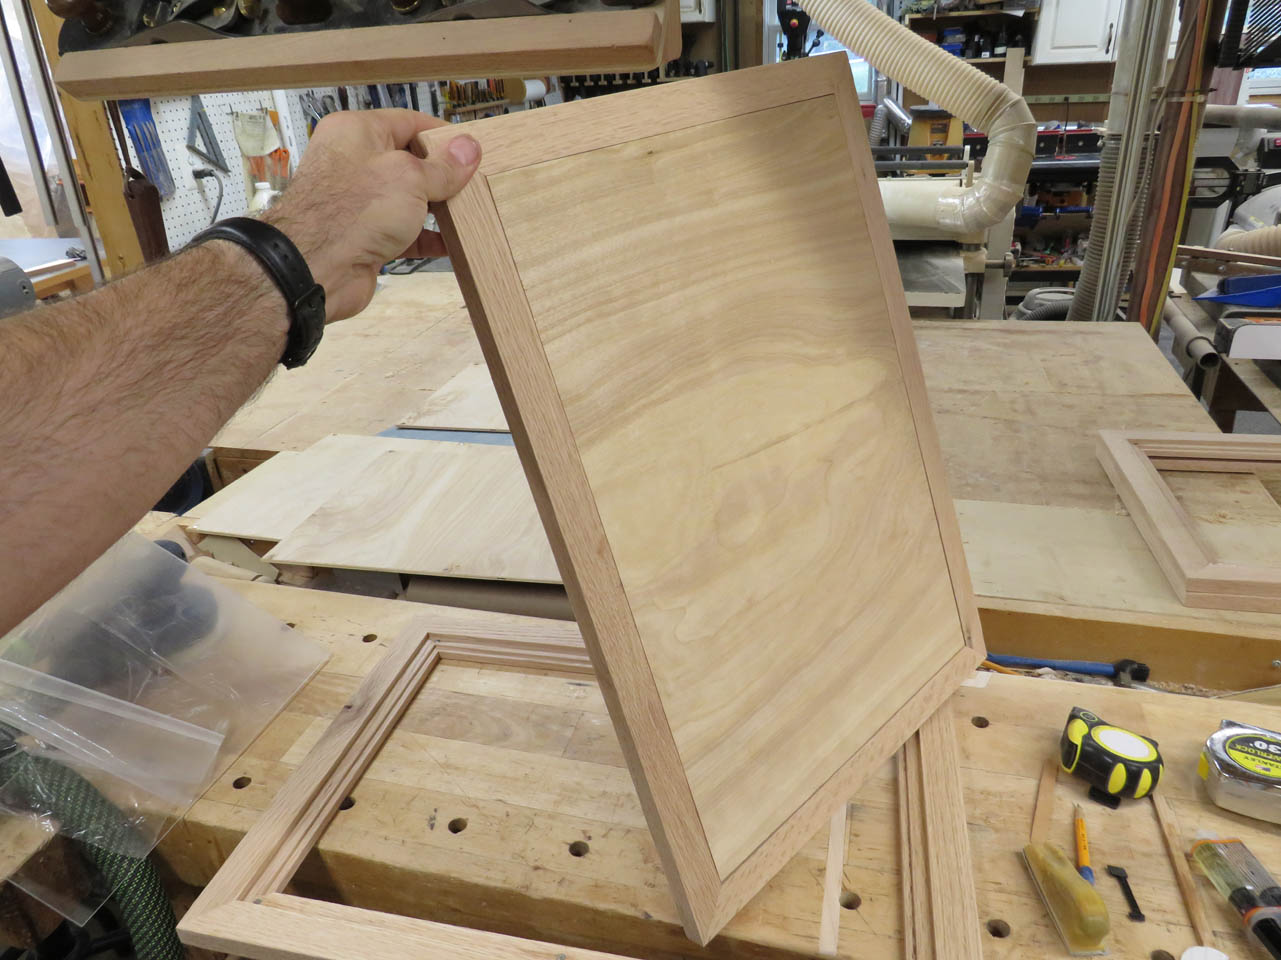
When they are dry, I pull the clamps and test fit the glass.
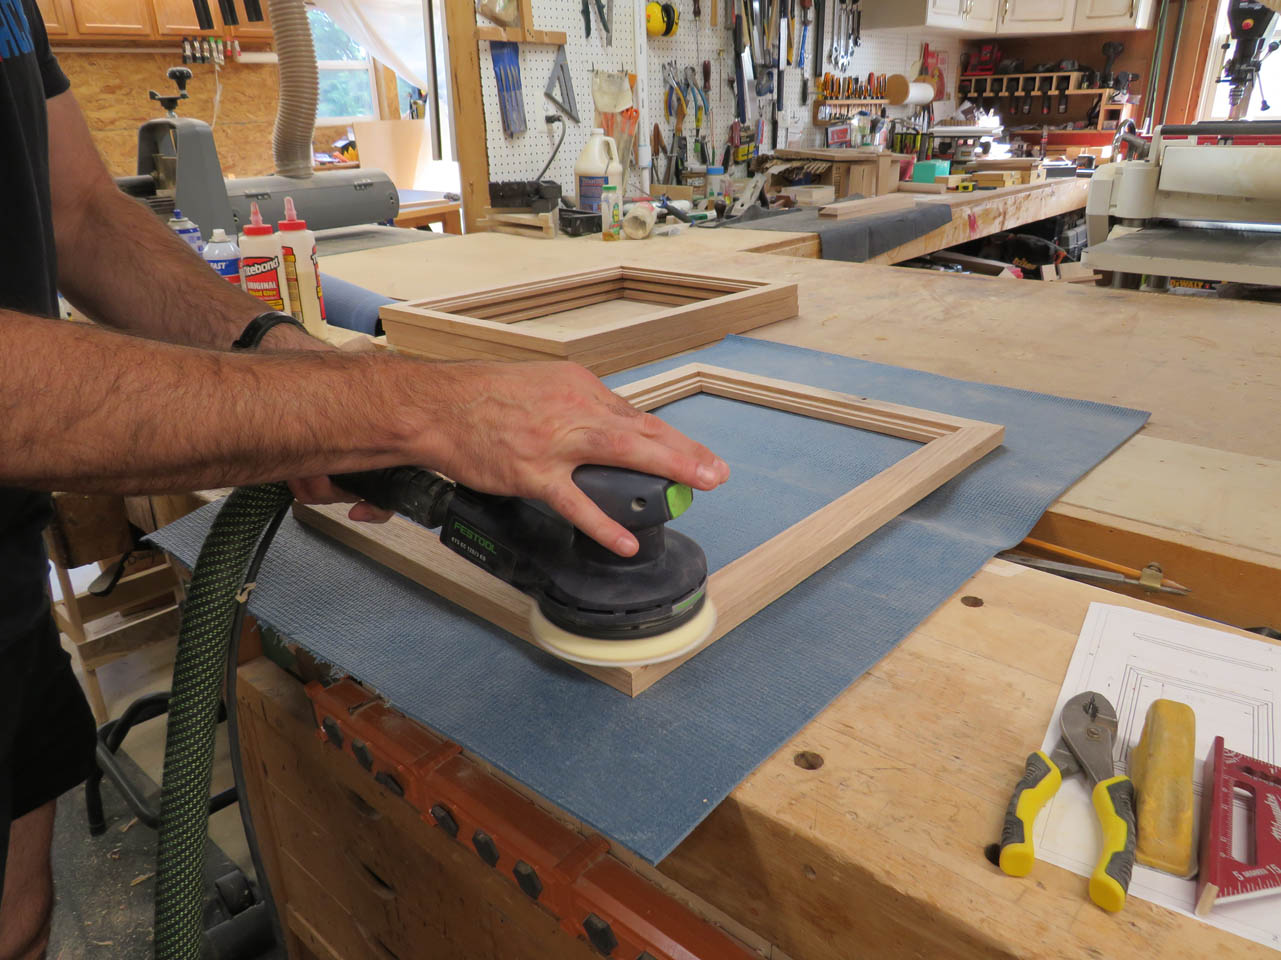
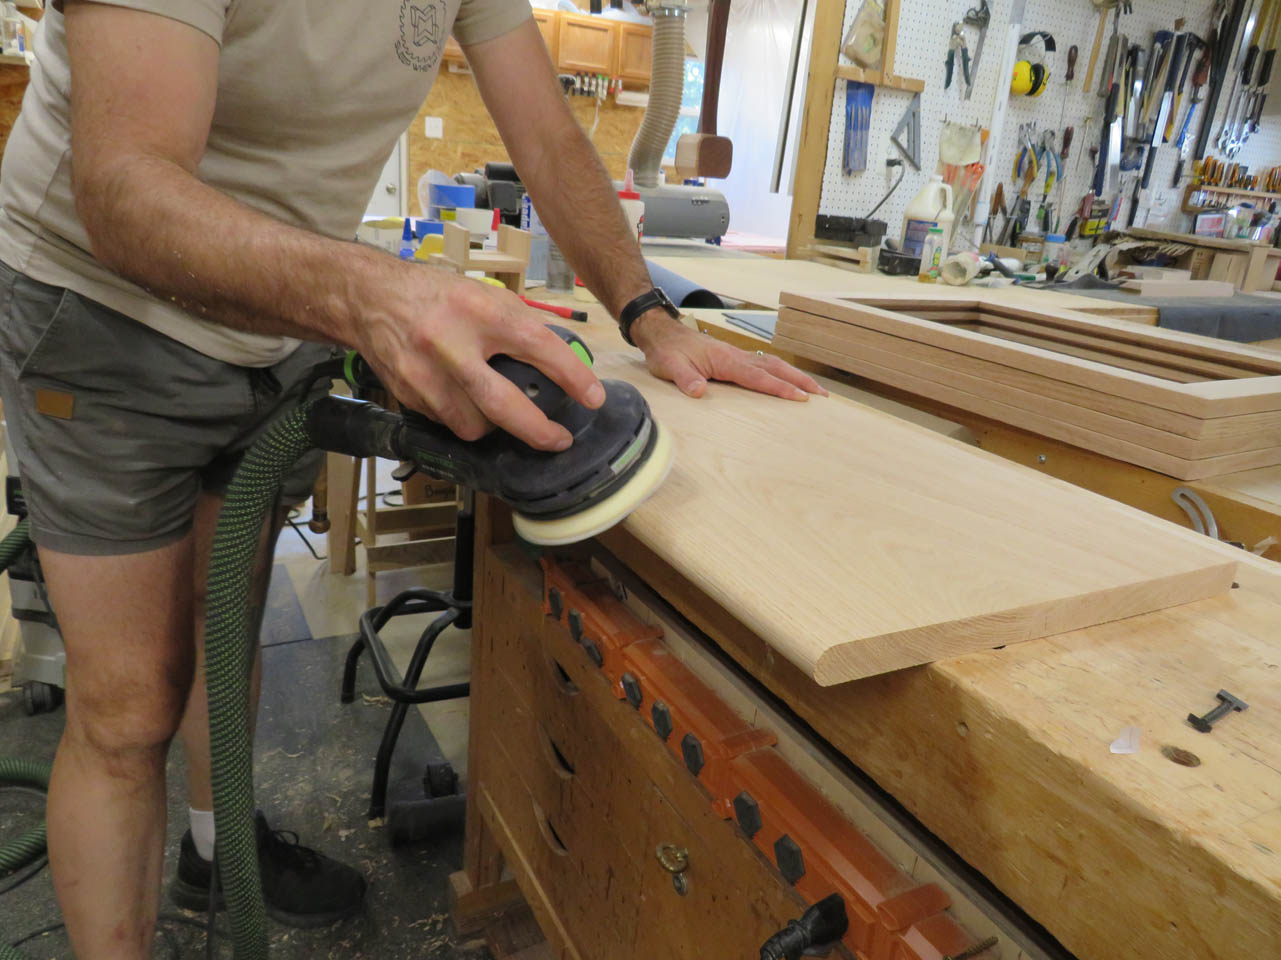
A little bit of cleanup is needed to remove some glue squeeze-out, then I can sand the frames.
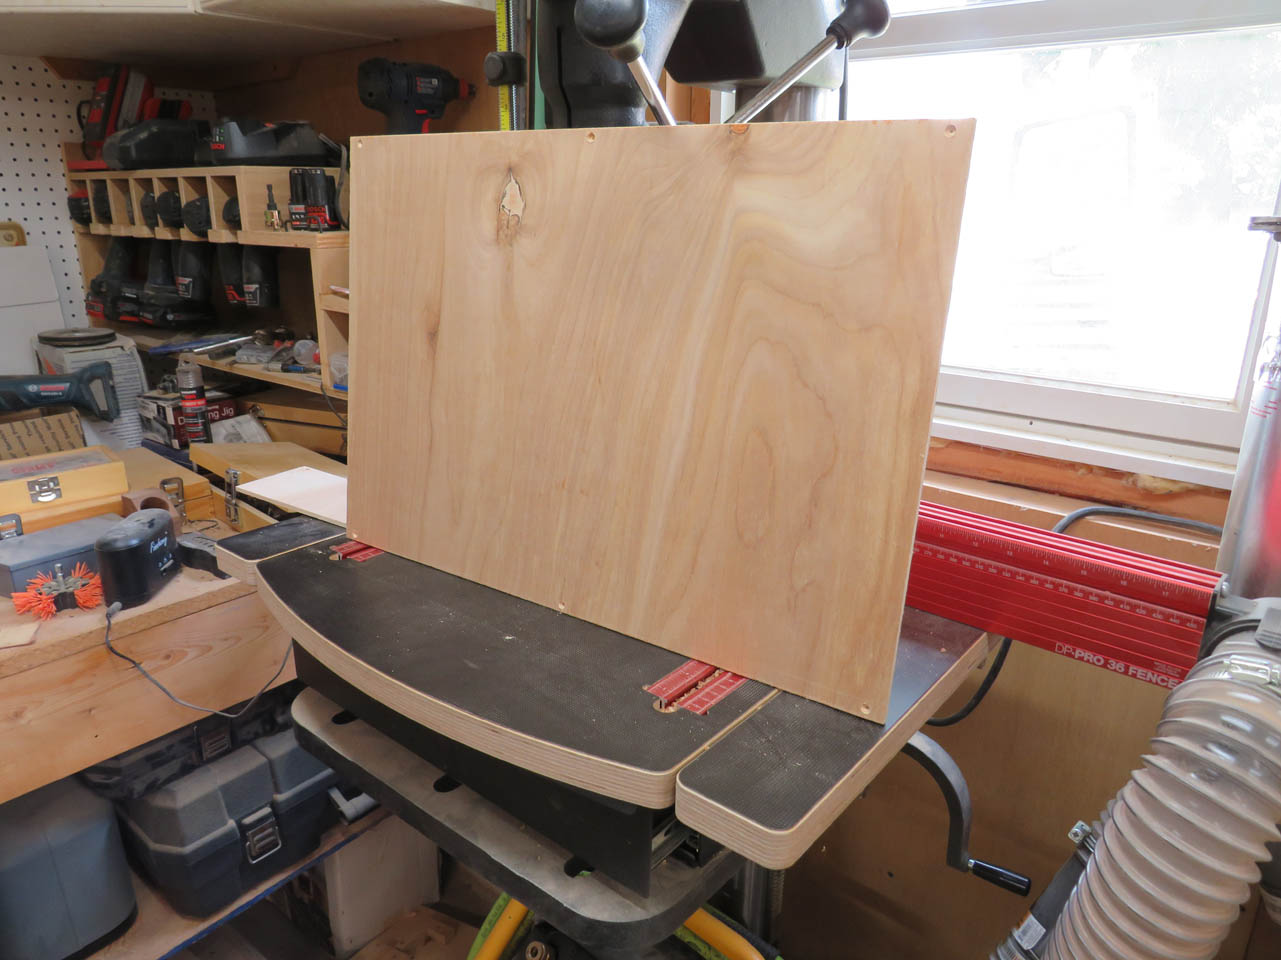
I have some 1/4″ plywood that I cut down to make the back board.

I want to try holding the back on with magnets. I have some 1/4″ magnets that I think will work well.

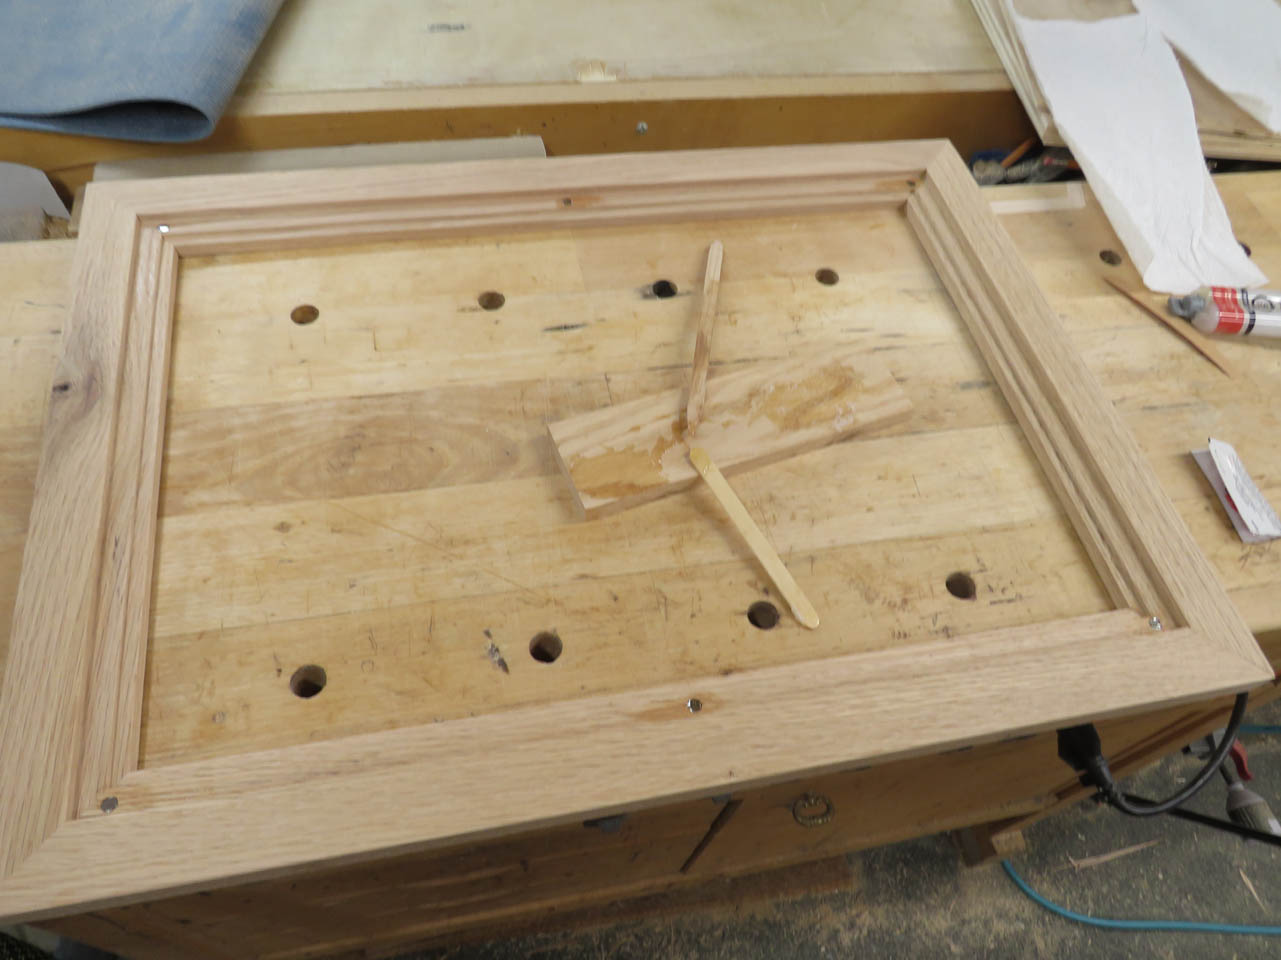
I laid out the hole pattern on a template and lined it up in a frame.
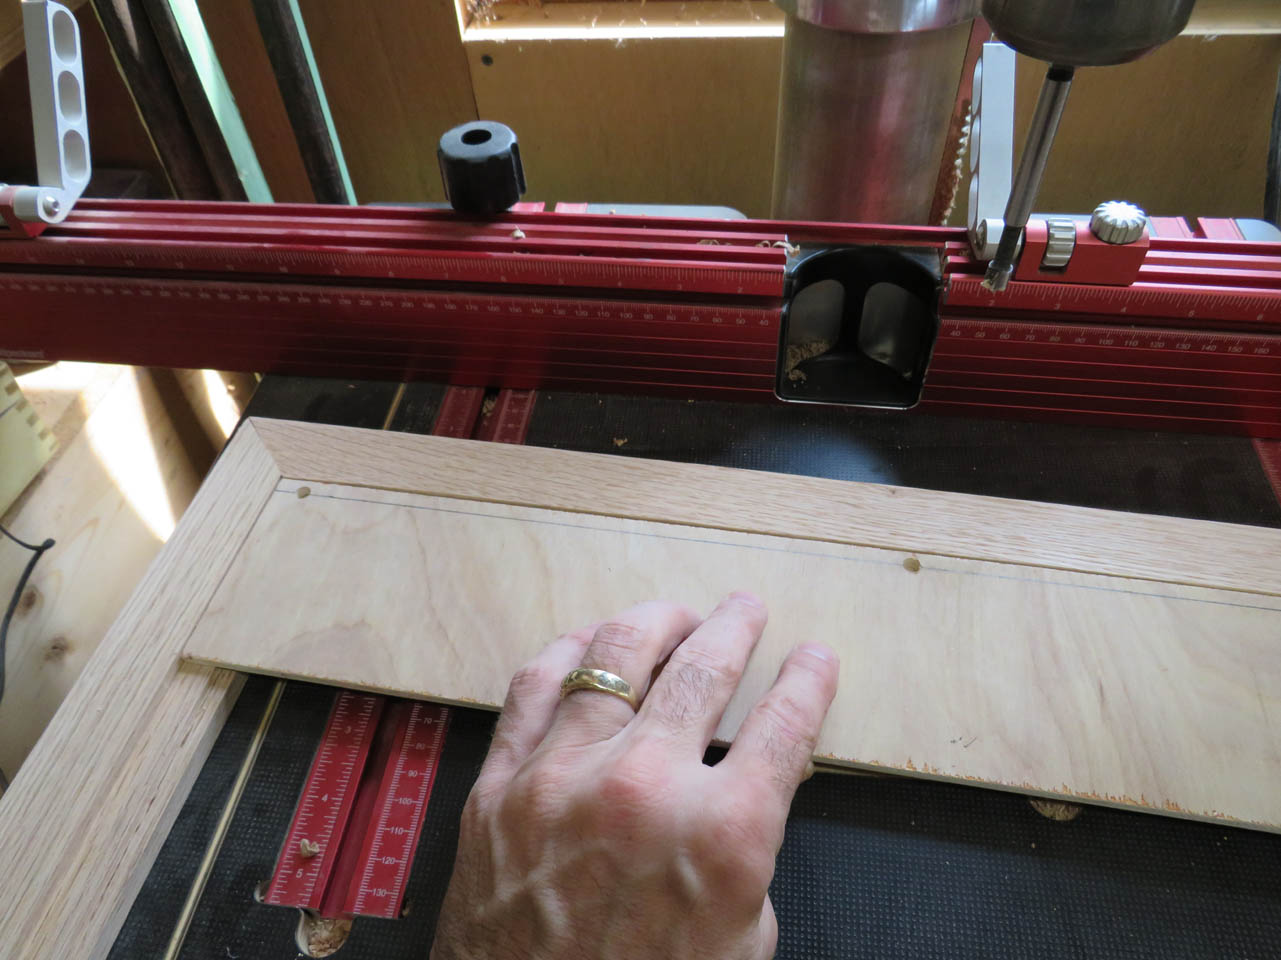
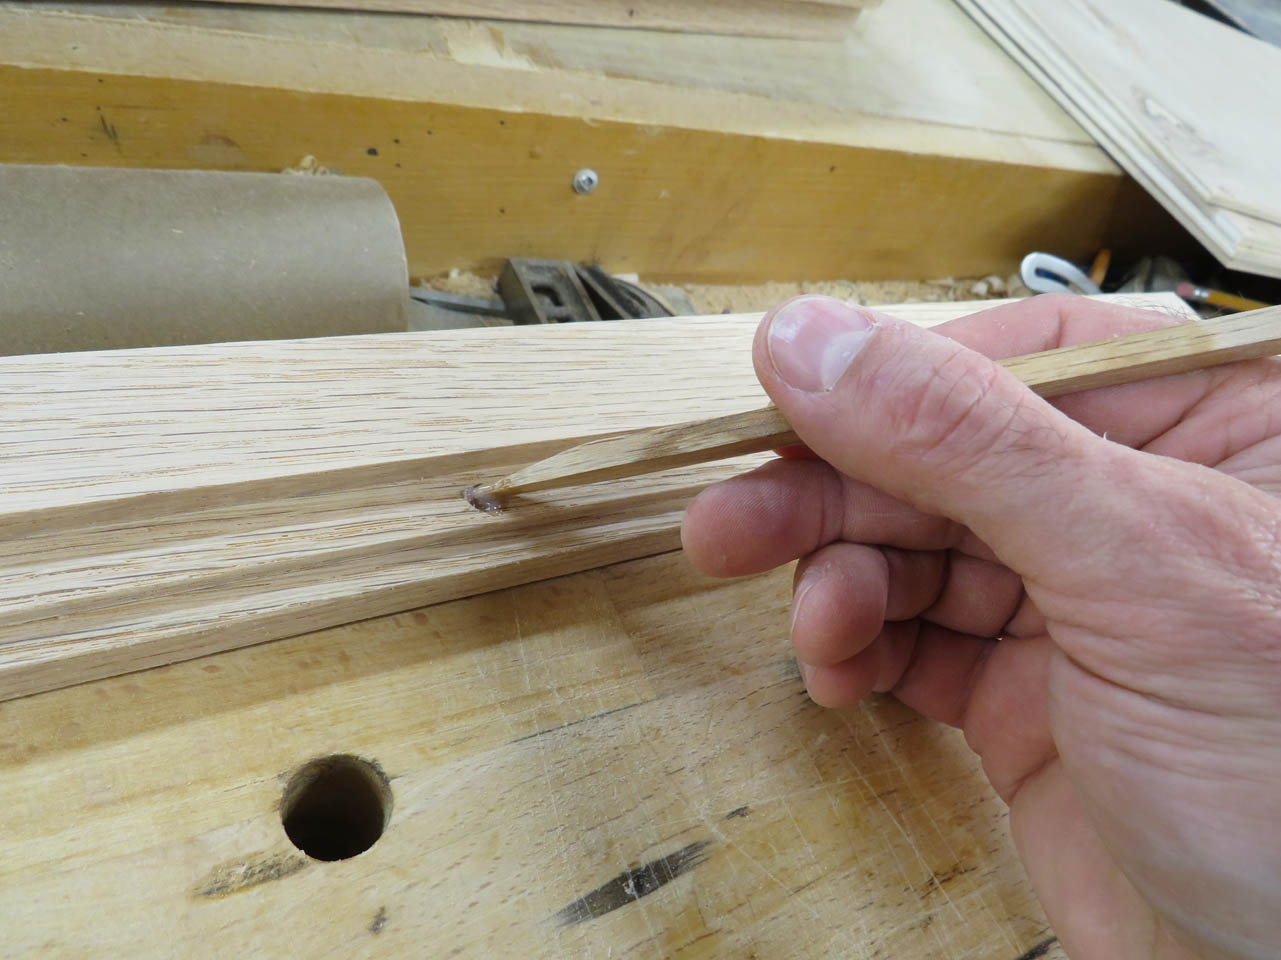
I set the depth stop on the drill press and drilled a shallow 1/4″ pocket to set the magnet into.

I used the same template to drill a shallow pocket into the back boards as well.

I am using 5-minute epoxy to hold the magnets in place.
I mix the two parts together, then place a little in the pocket.
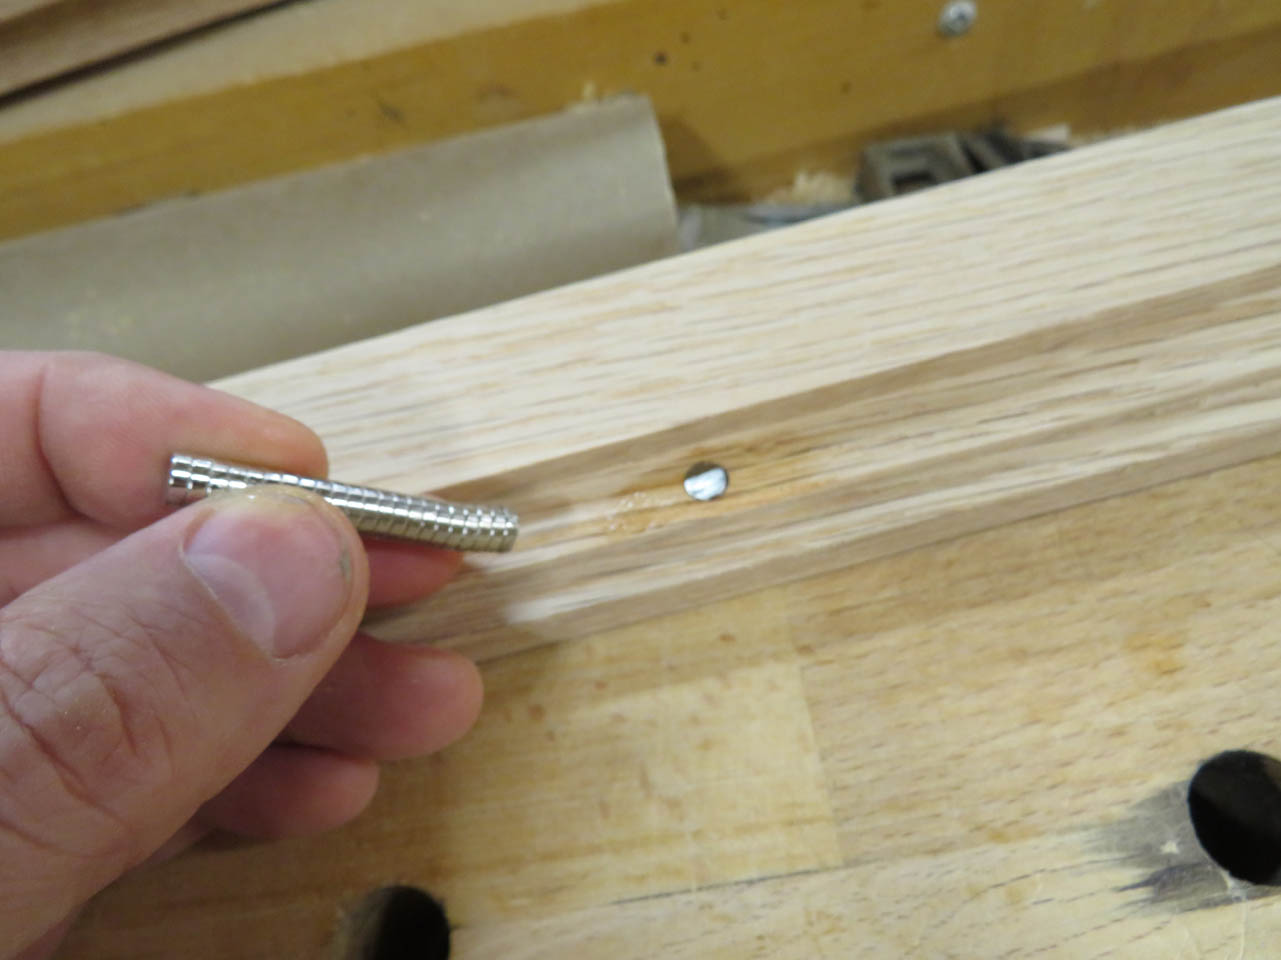
I press the magnets into place, one at a time, making sure to keep them all oriented in the same direction.
If I glue any of them in backwards, they will repel each other instead of attracting…
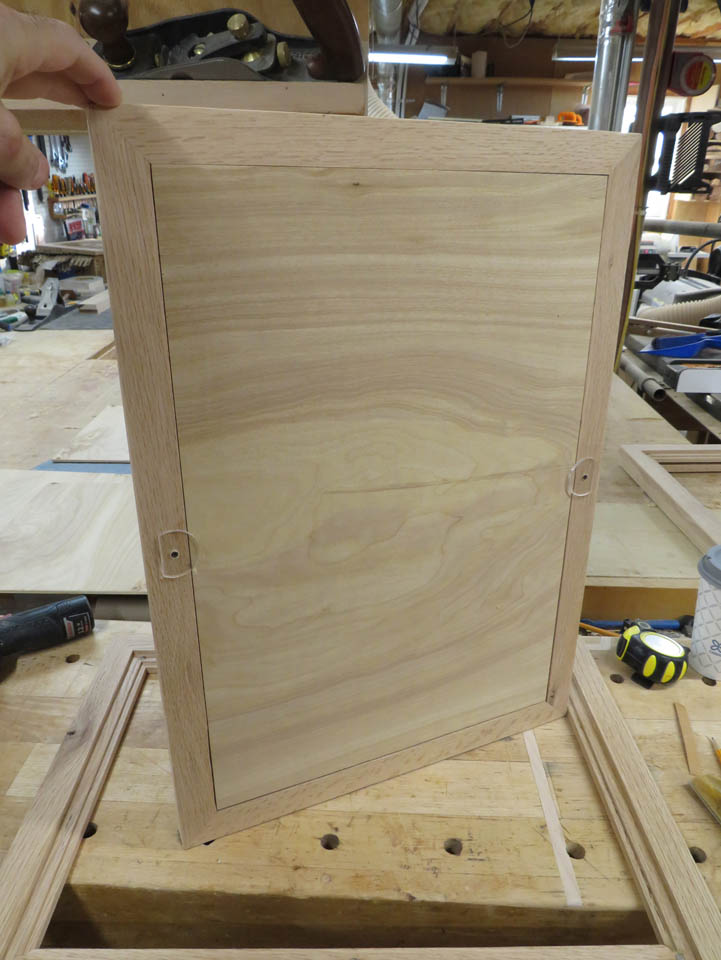
After they dry, I do a fit check. They work well but I want to add some extra support in case someone pushes too hard on the glass.
I would like to add a thin plate on either side of the back that can spin out of the way to remove the panel. I made a paper template of the size and shape I wanted.

Then I drew it up on the computer and took the file to my laser.
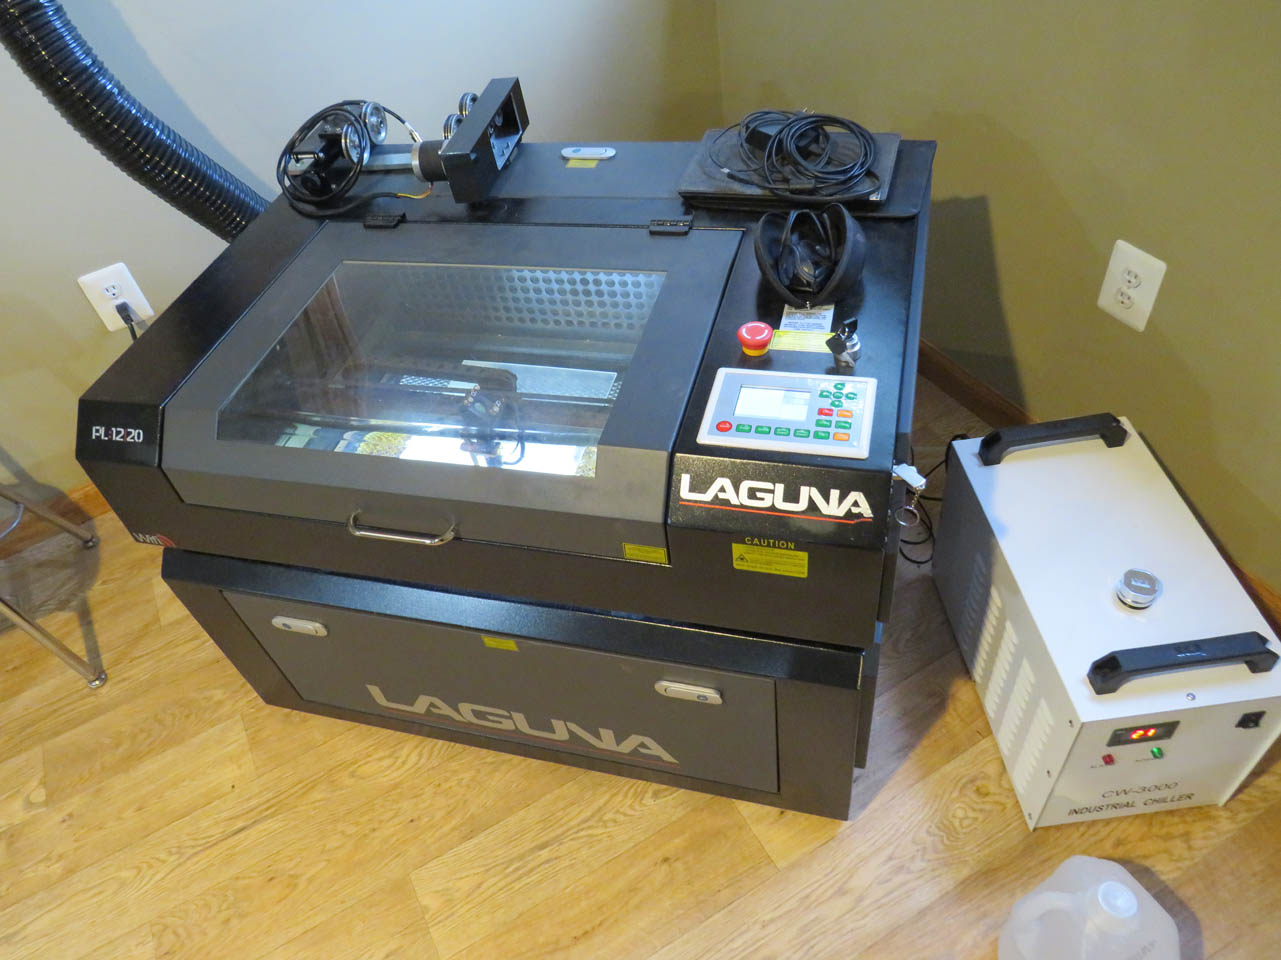
I have some thin, clear acrylic that should work perfectly for this.
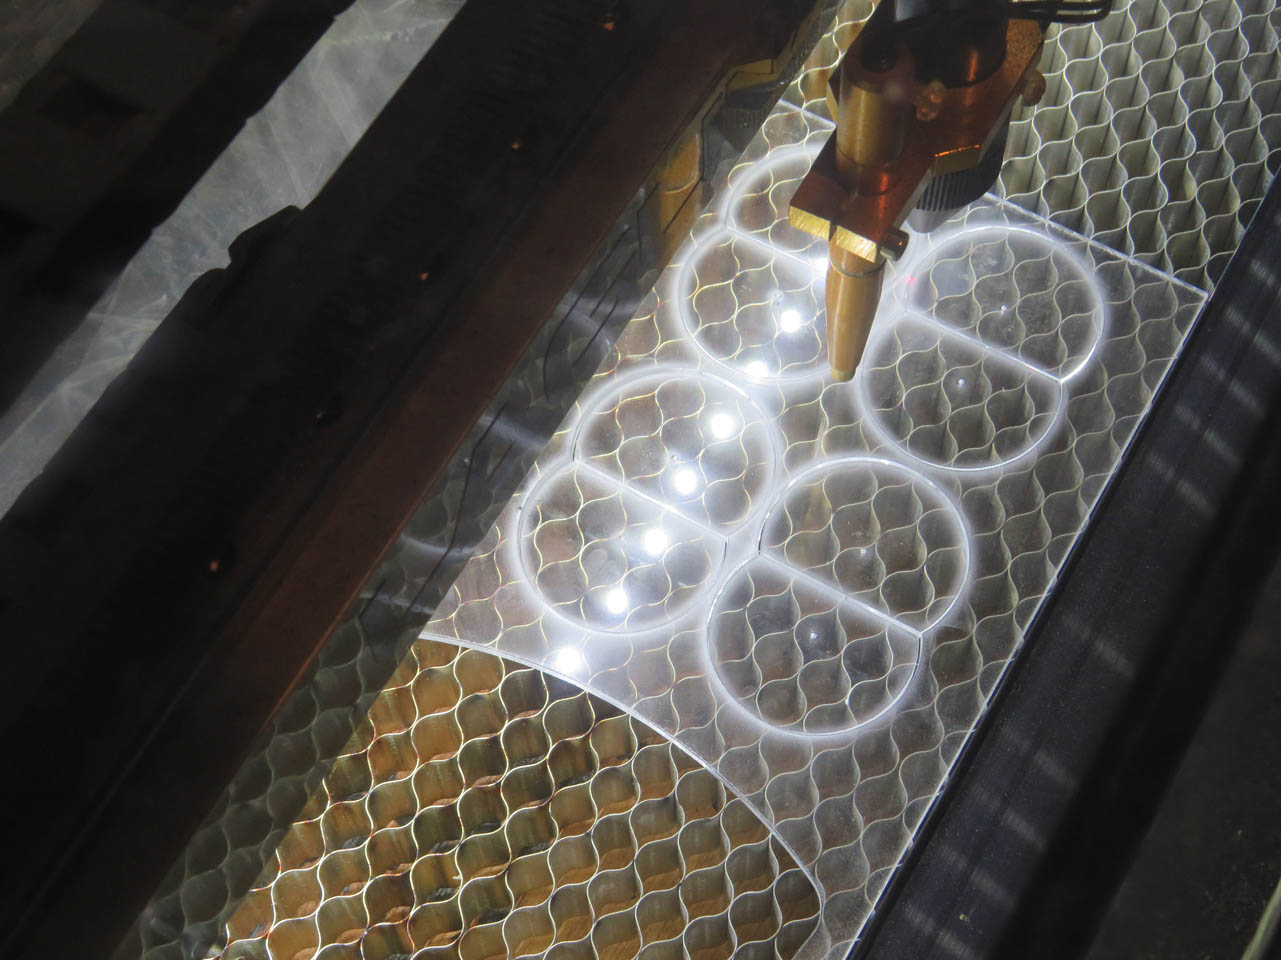
The laser does a fantastic job of cutting the acrylic.
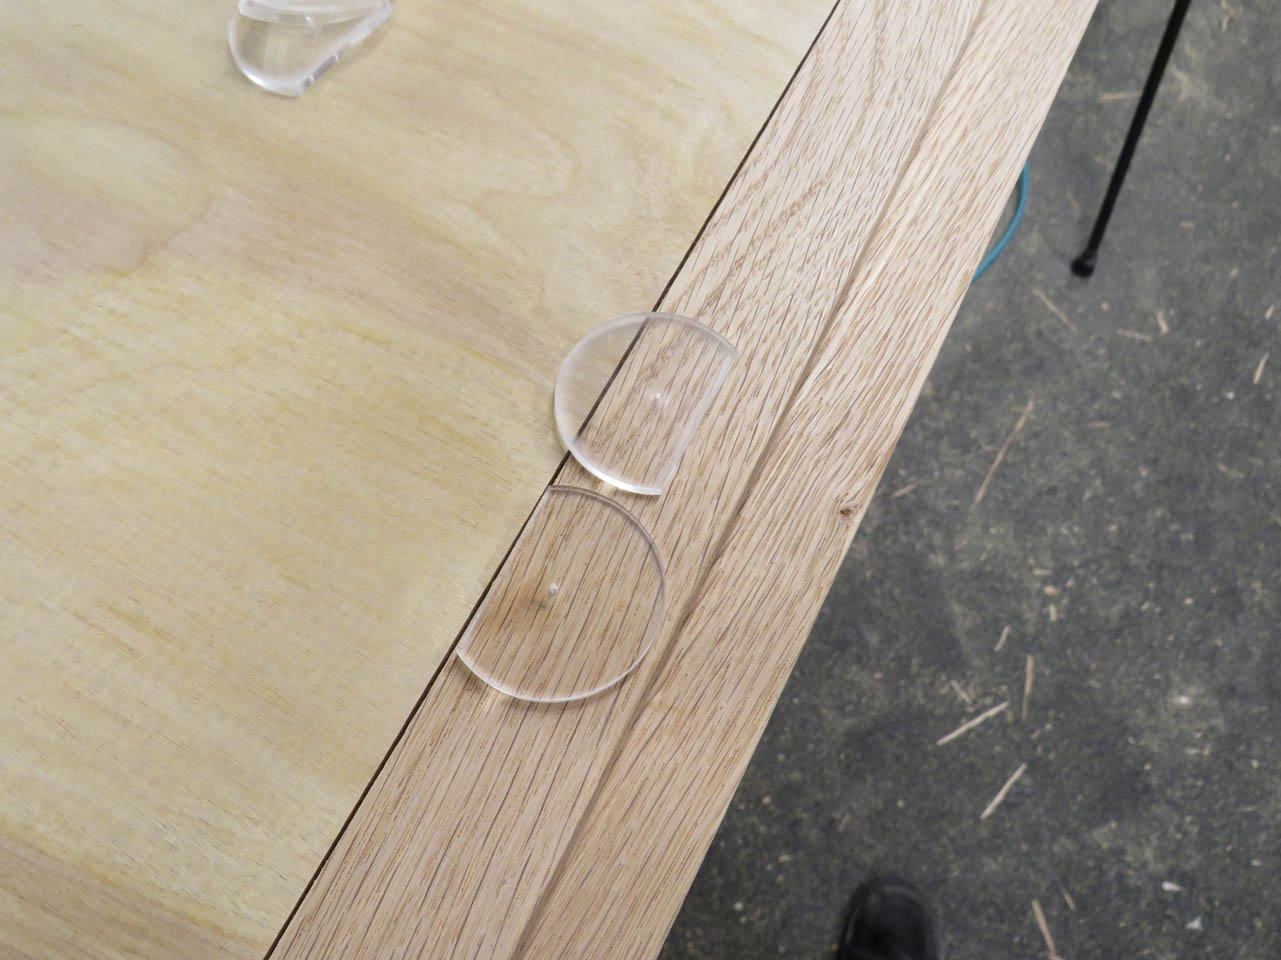
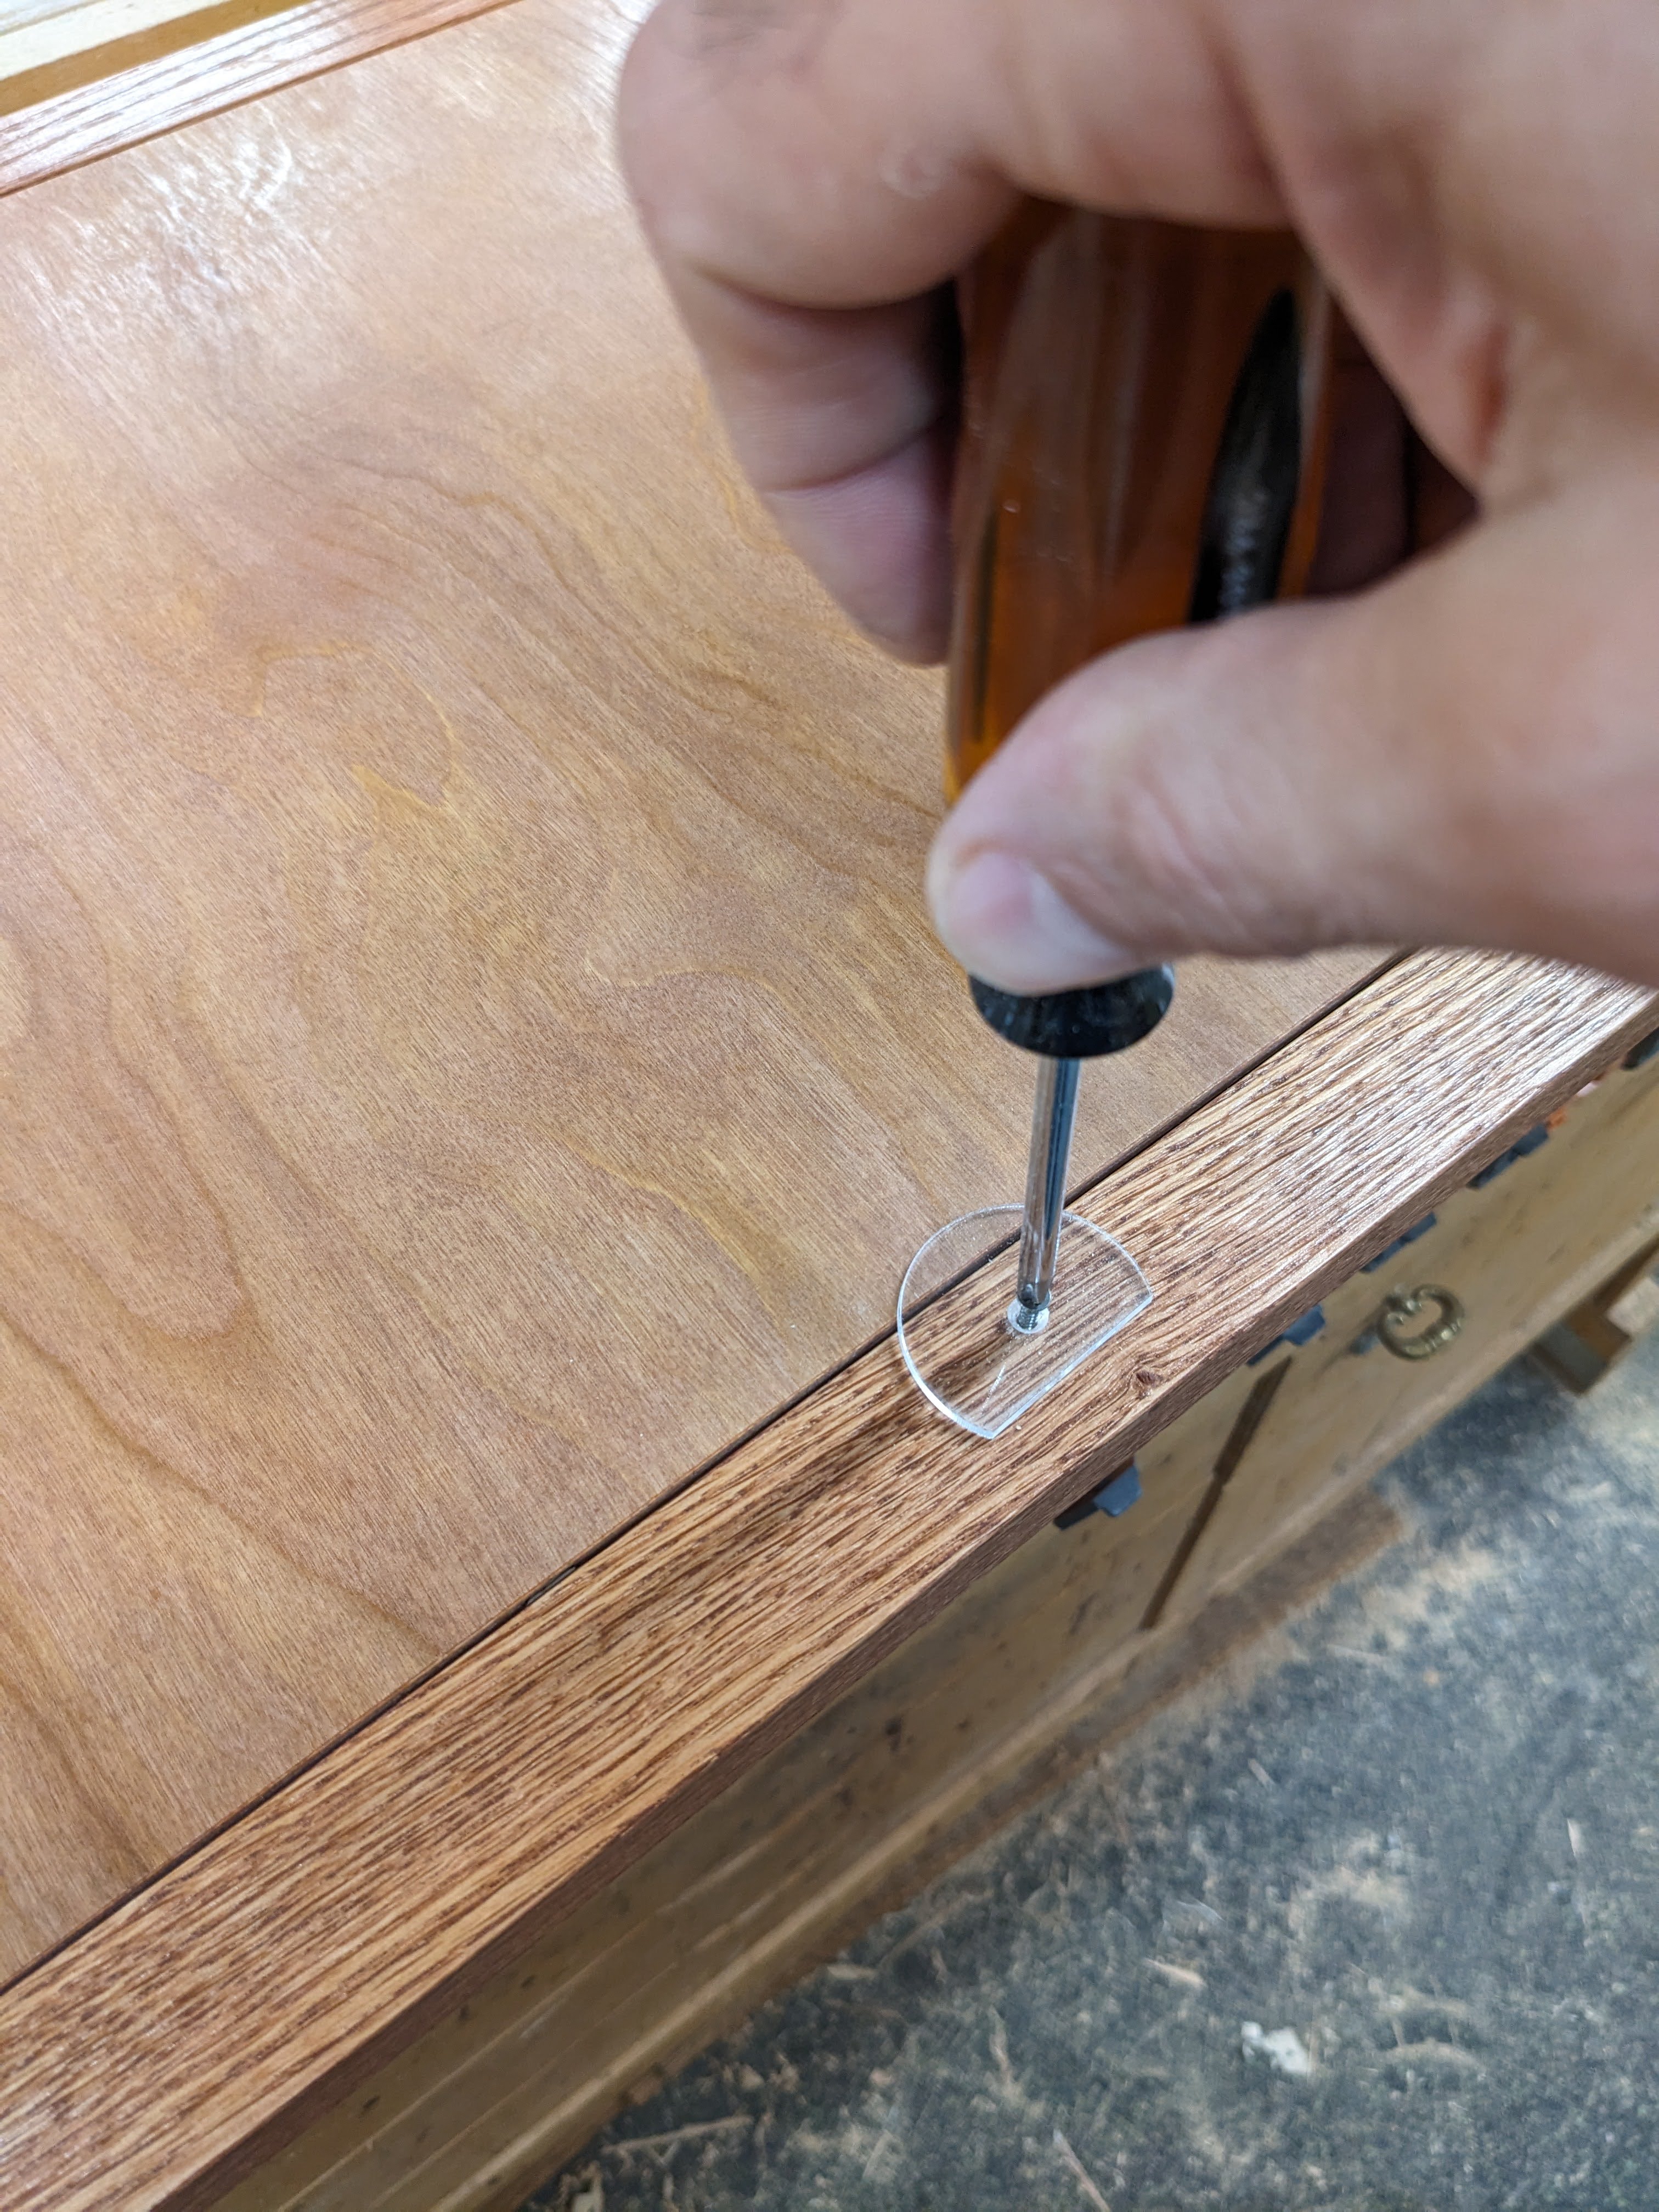
I only lasered a tiny pilot hole in the center so that I could drill and countersink the mounting hole once I selected the screws I wanted.
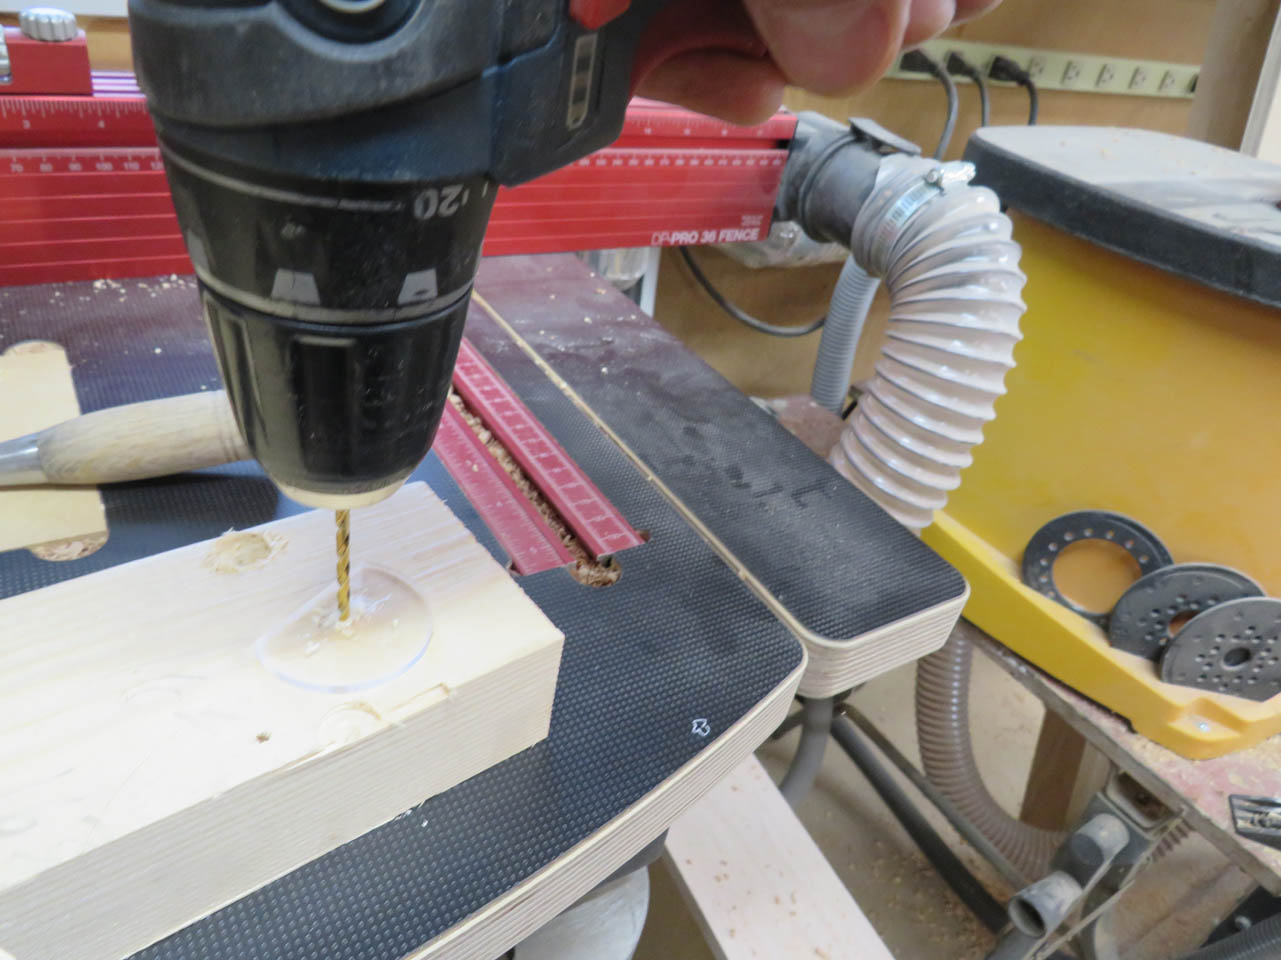
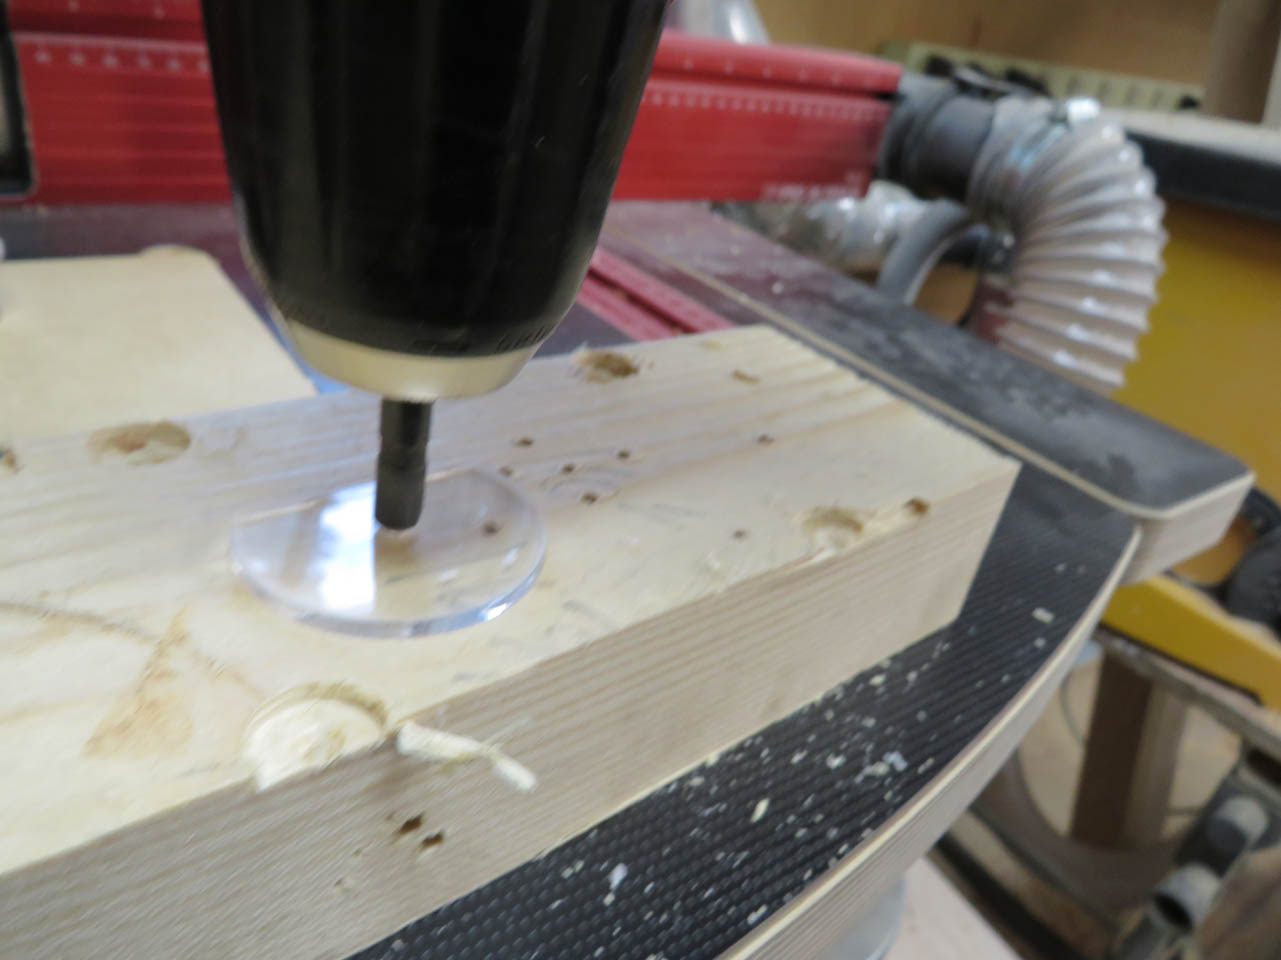
After drilling and countersinking, I drilled a small pilot hole in the frame.
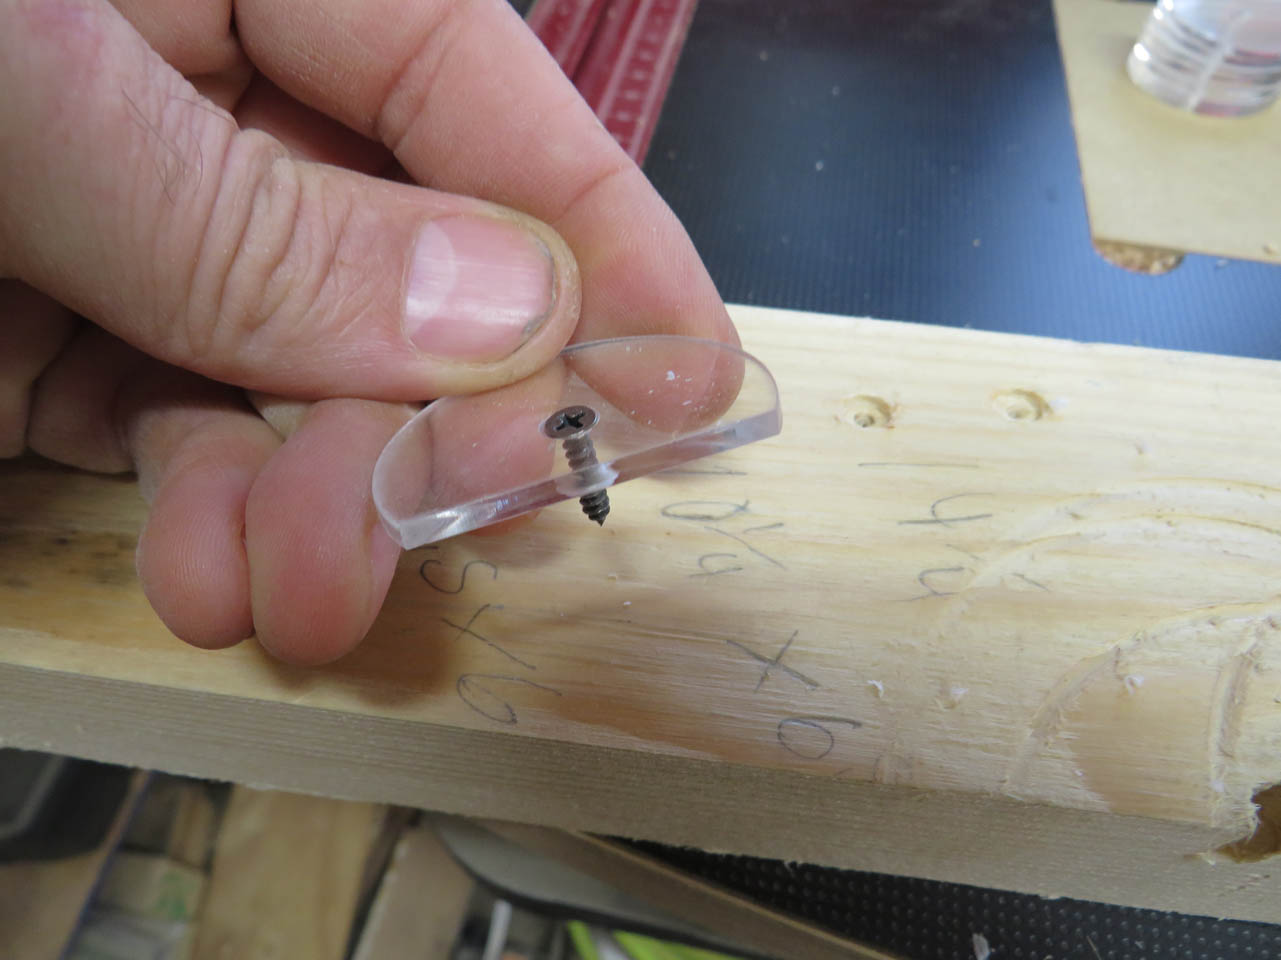
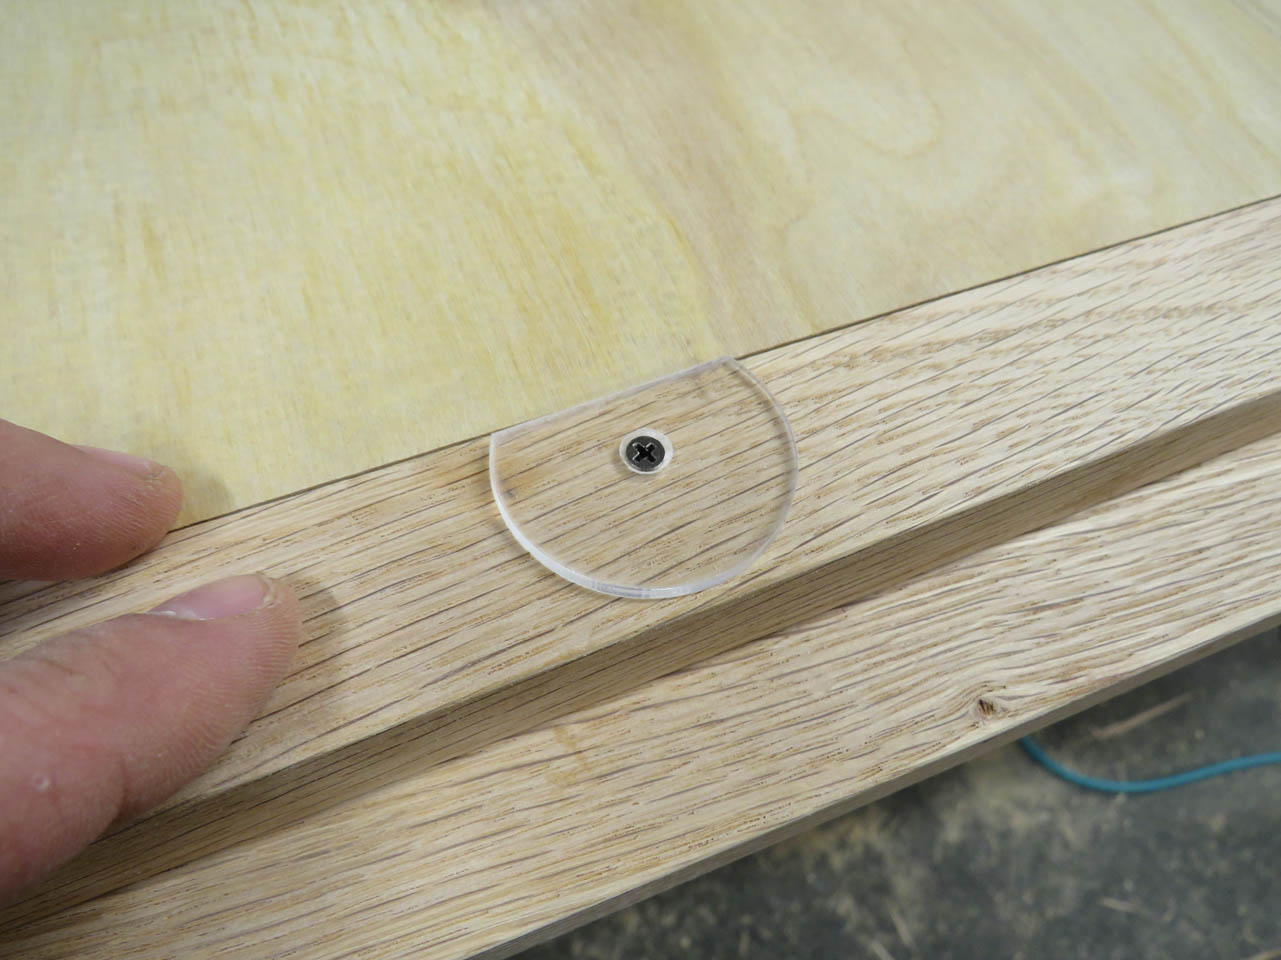
I screwed the clear plate down snug and gave it a test spin, perfect!
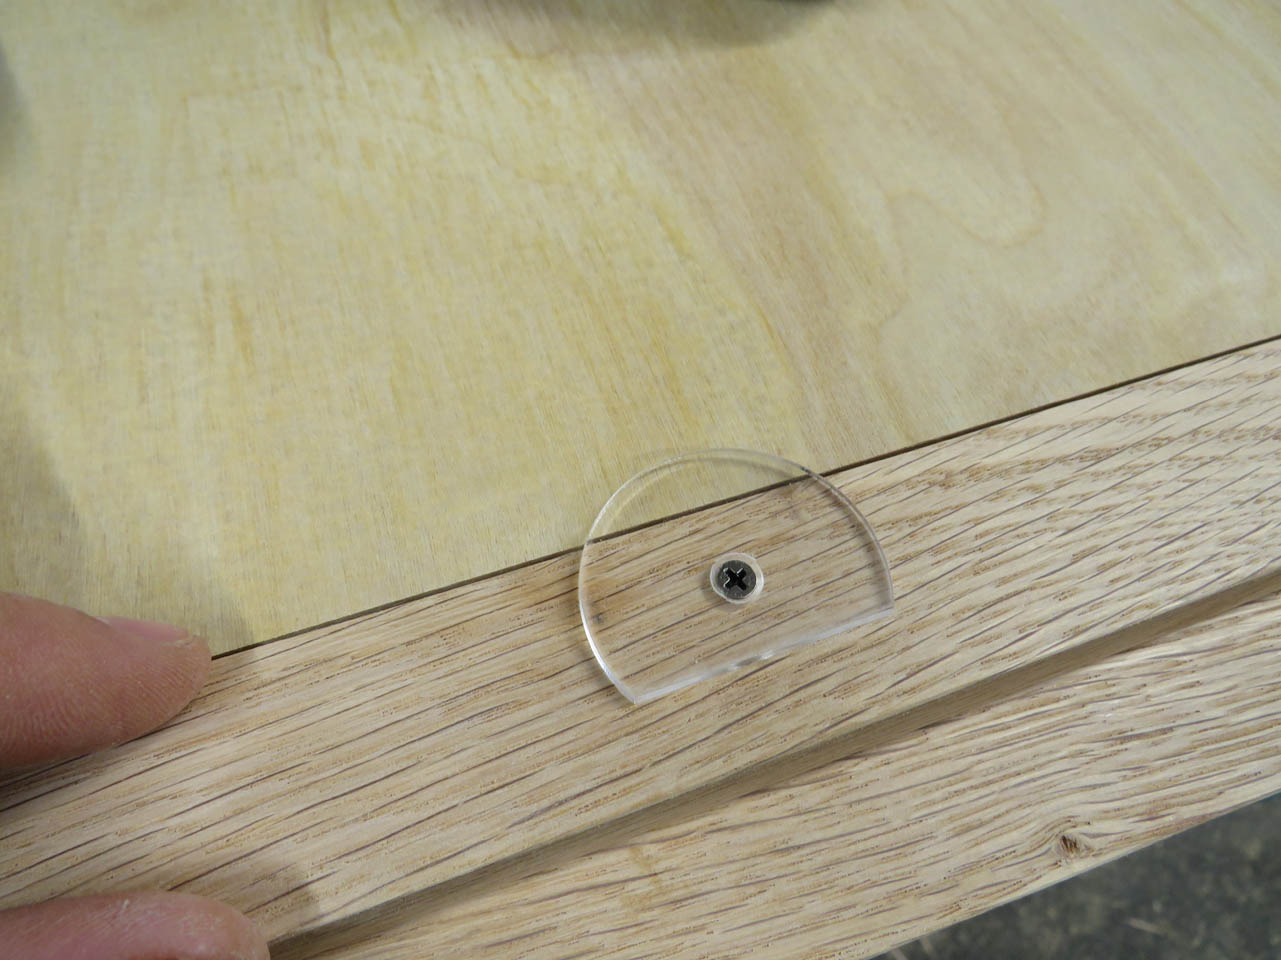
I now have a secondary retainer for the backer board.
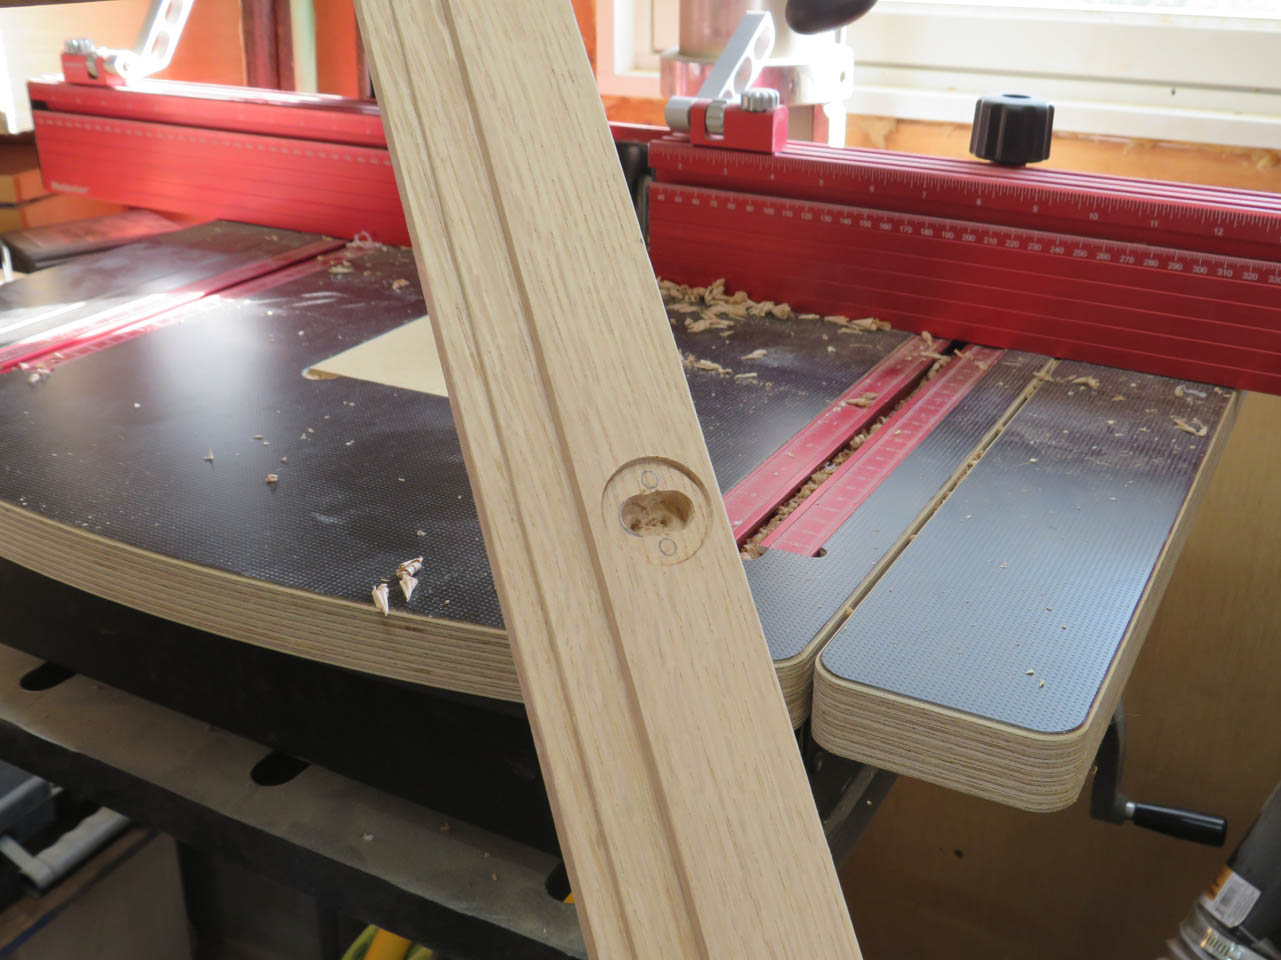
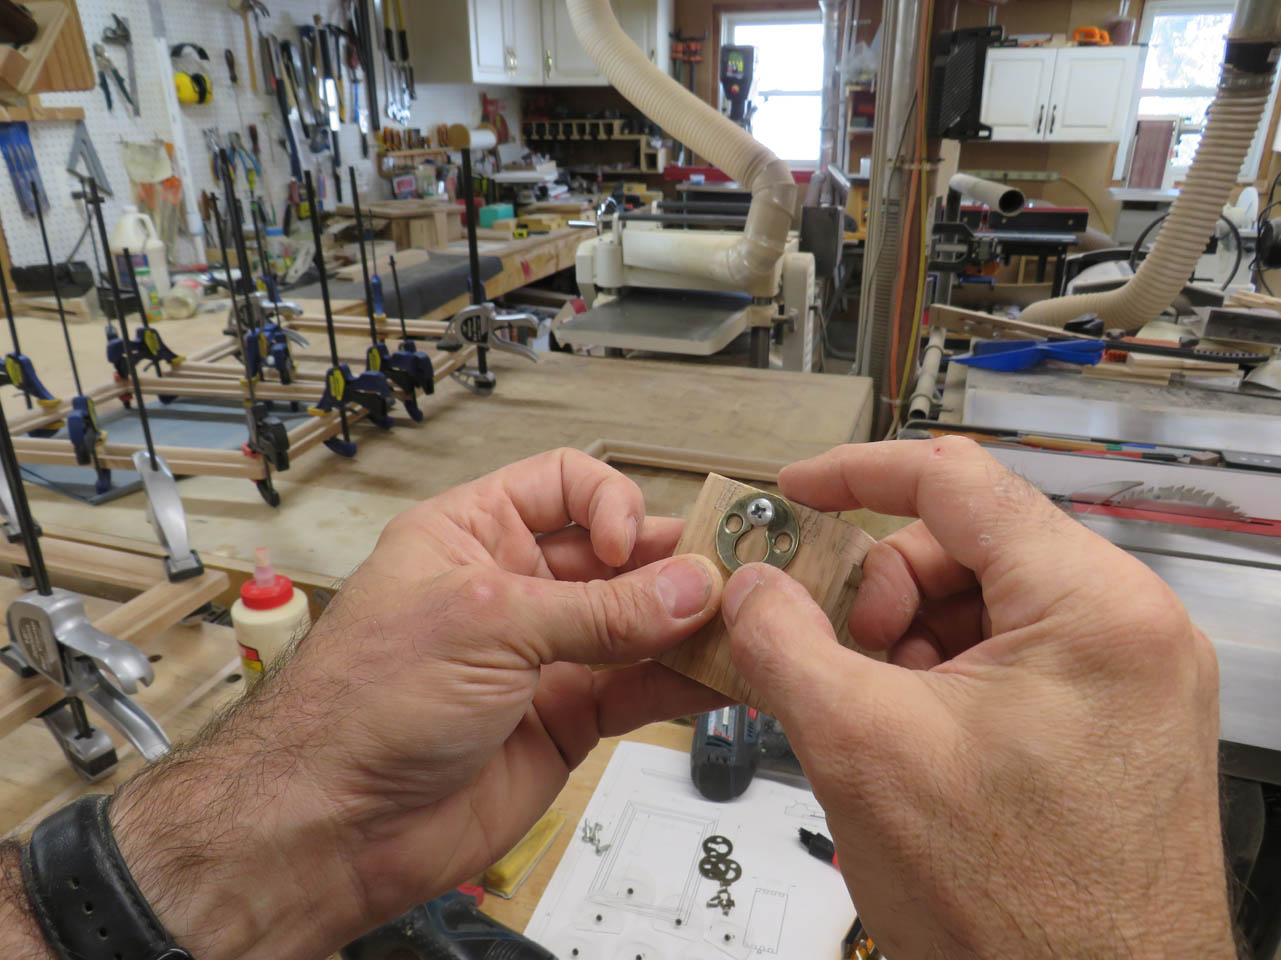
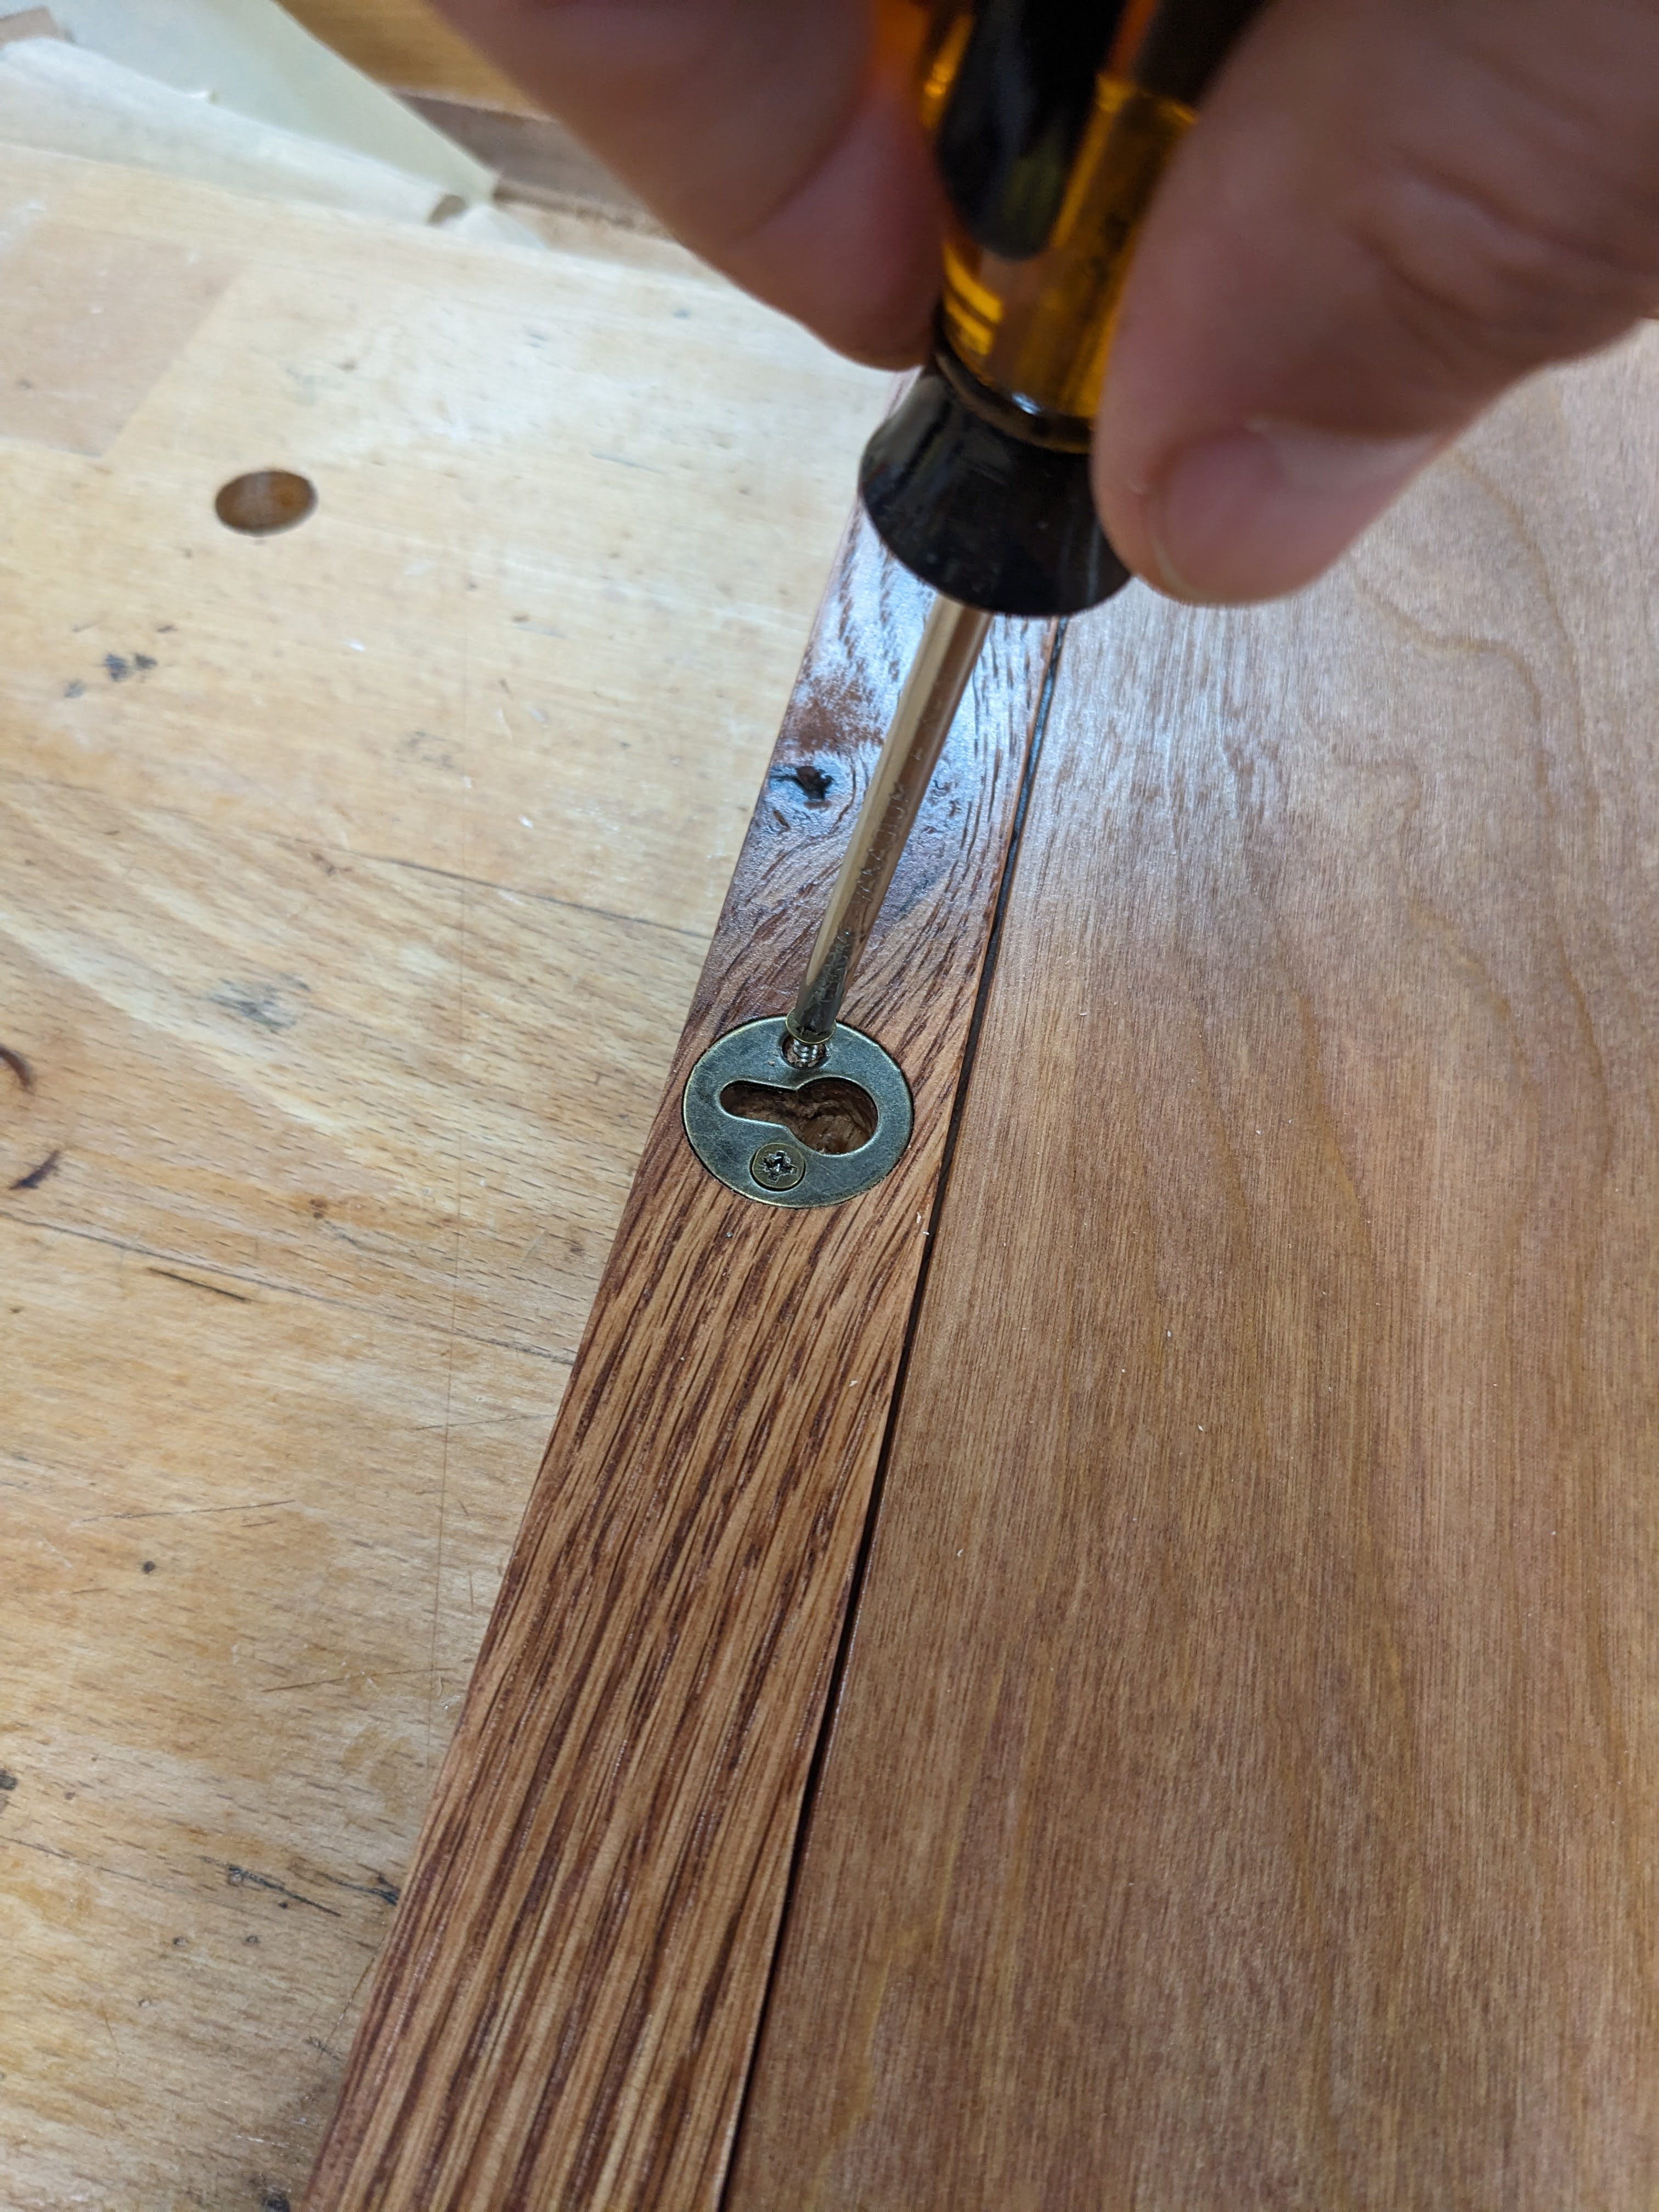
I also need to be able to hang these frames on a wall, or on the special hooks I made for the brick lattice wall at the church. I like to use these metal plates for hangers.
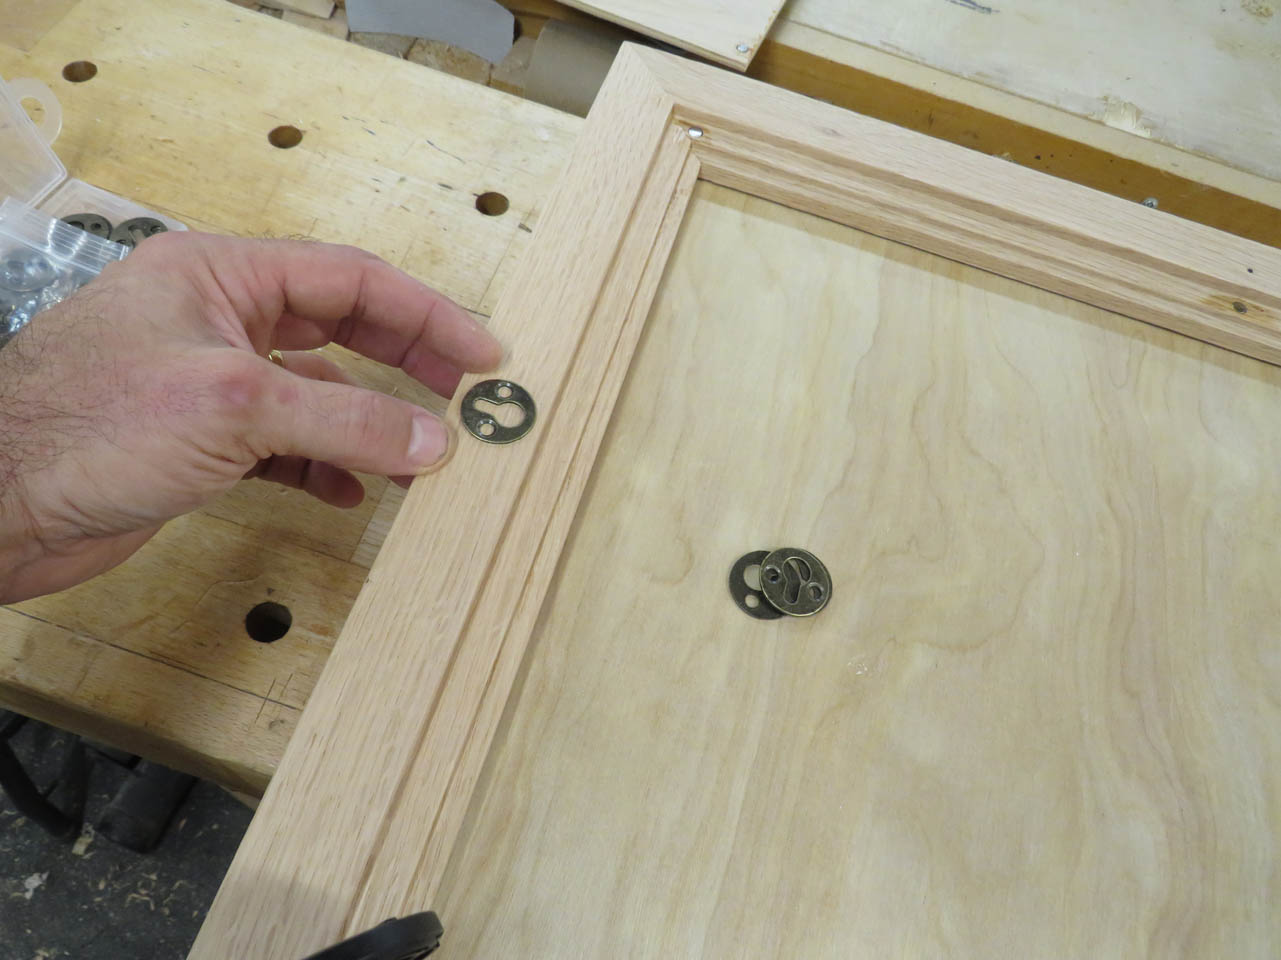
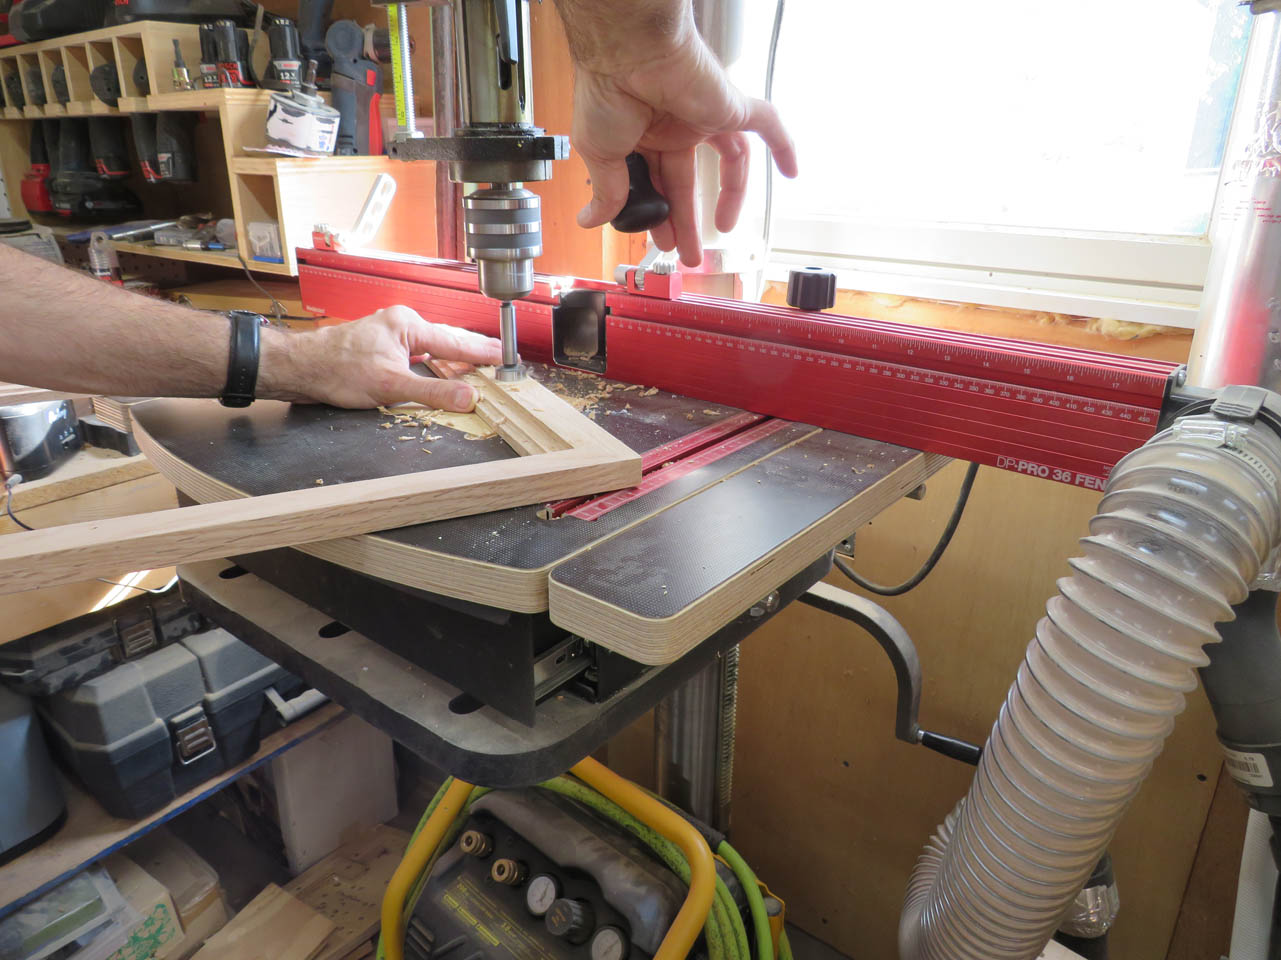
They first require a 1″ diameter recess that the plate can sit in.
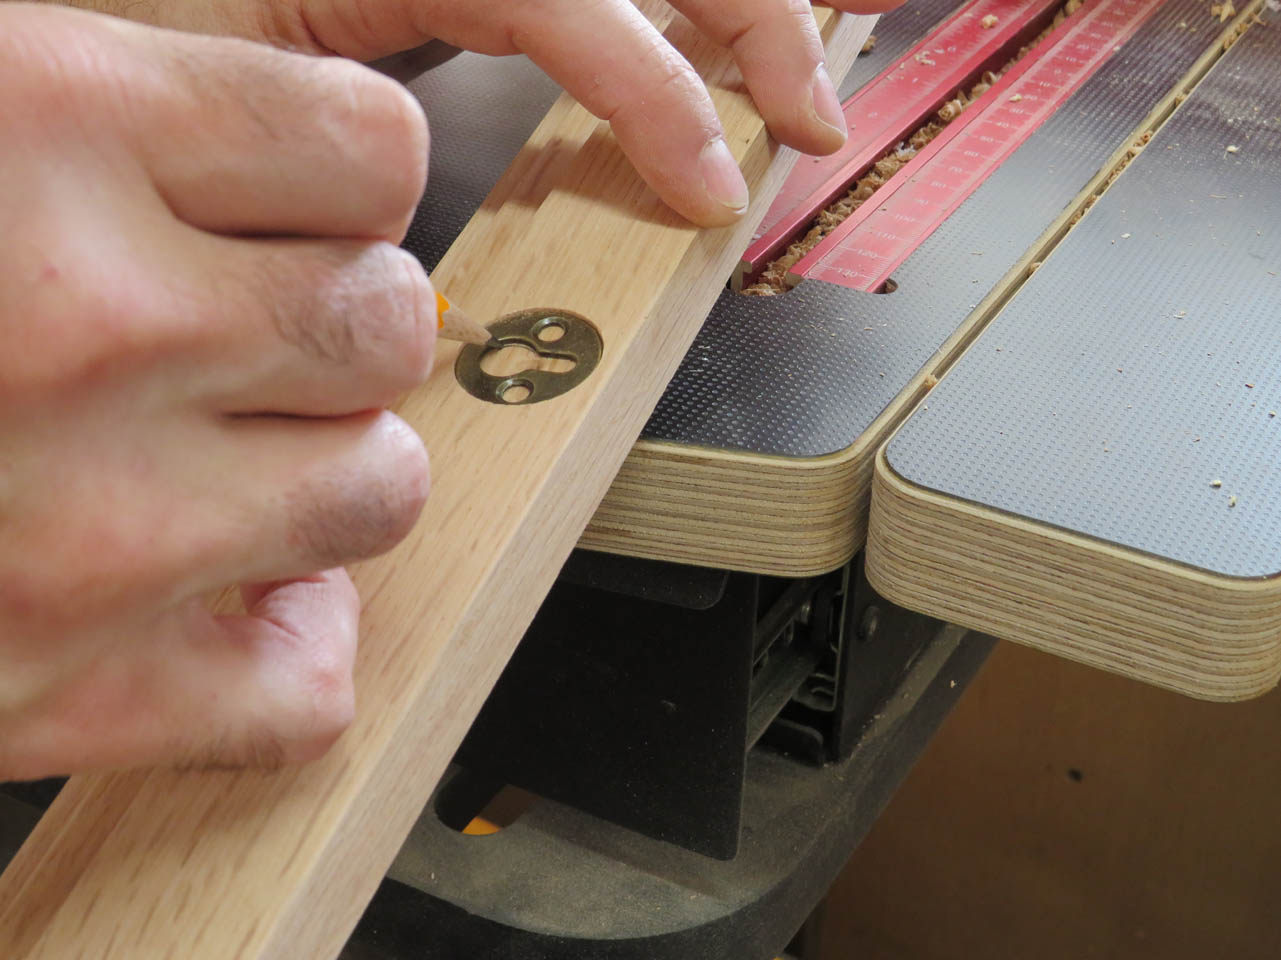
Then they need a couple of 3/8″ diameter recesses that you connect with the drill bit or a chisel.
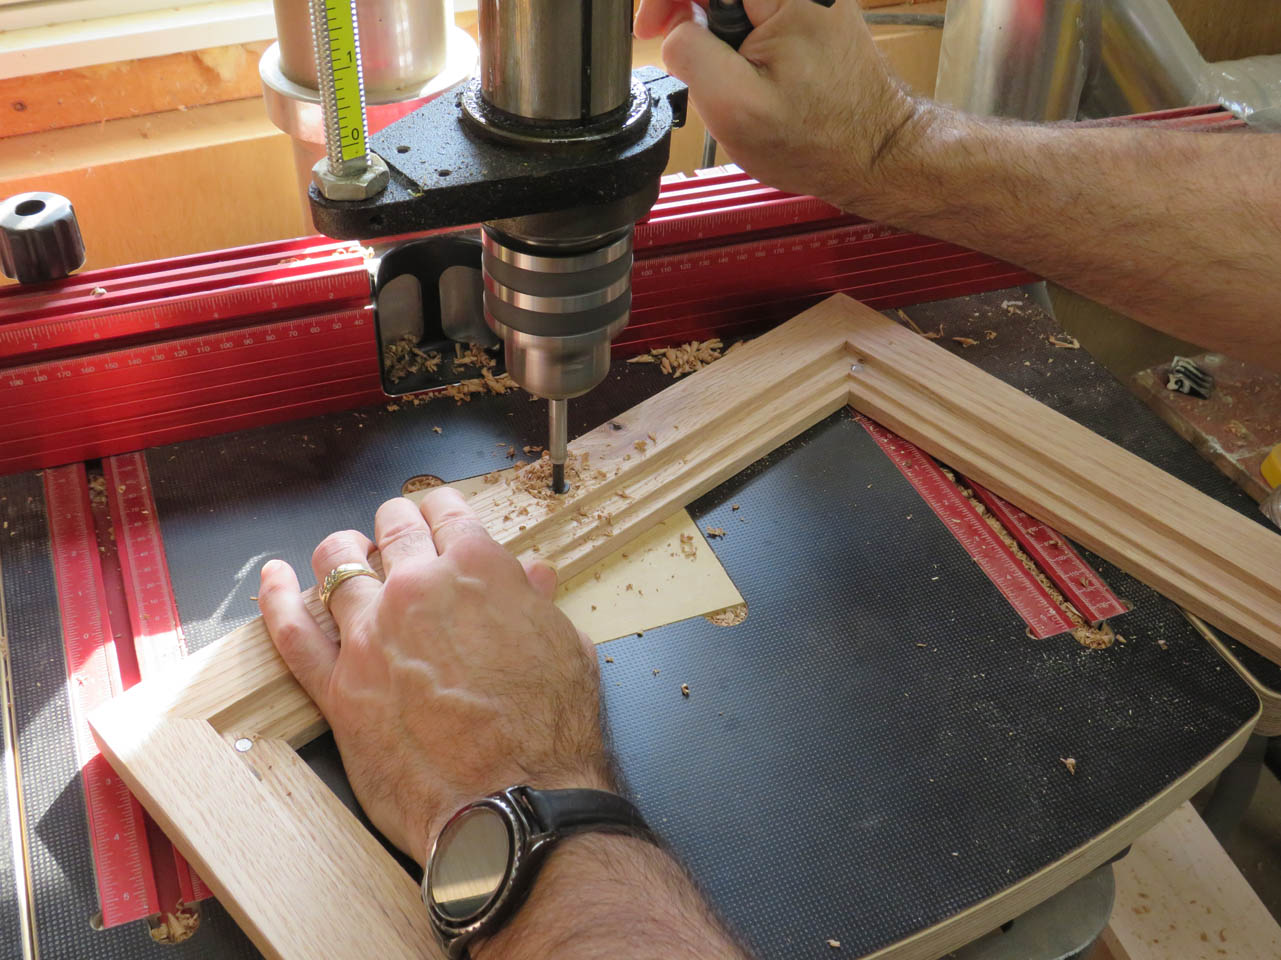
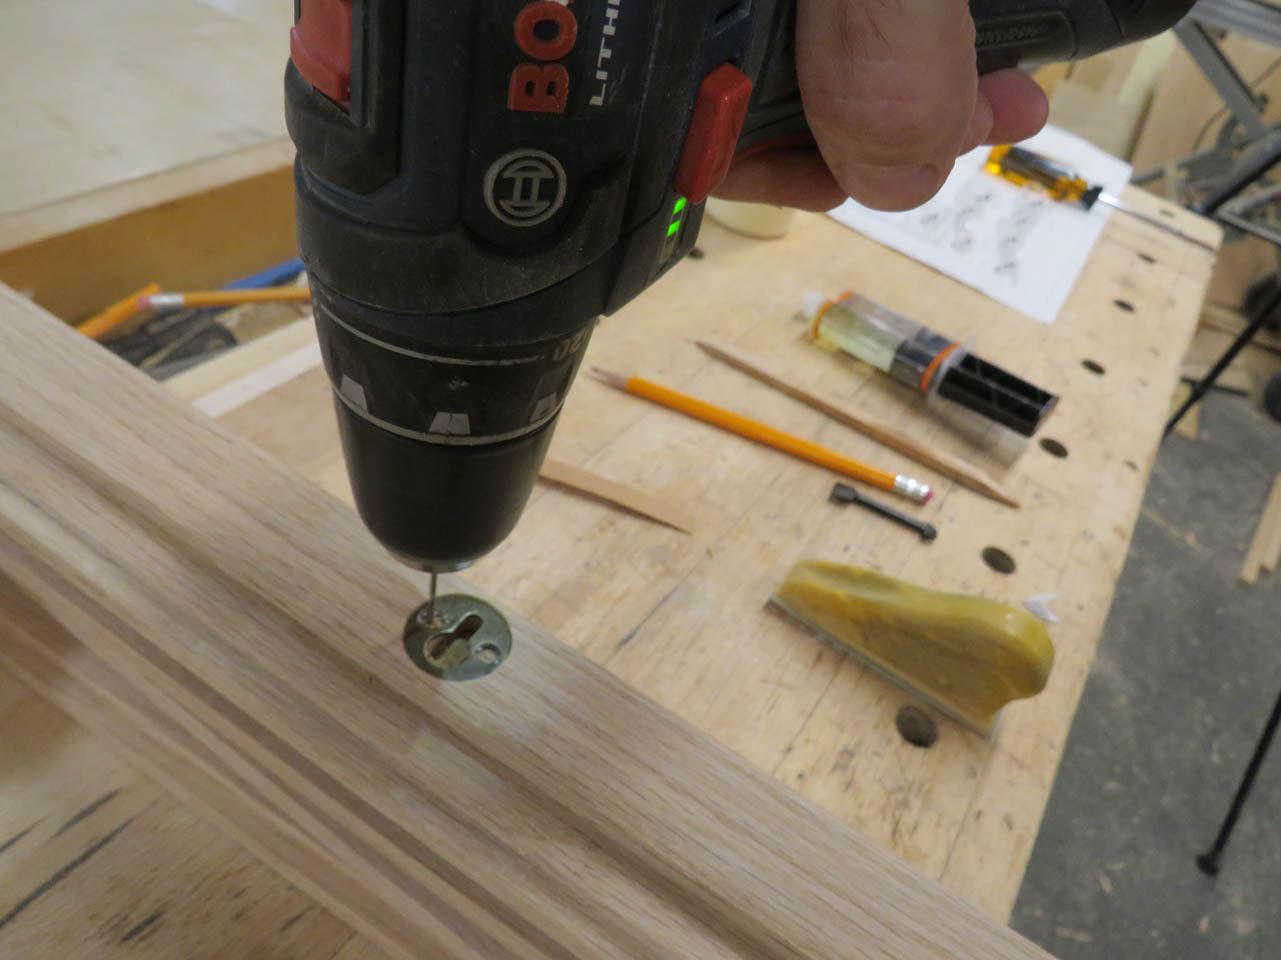
This makes a pocket that a screw head can slip into for mounting.
Then you only need a couple pilot holes for the tiny mounting screws.
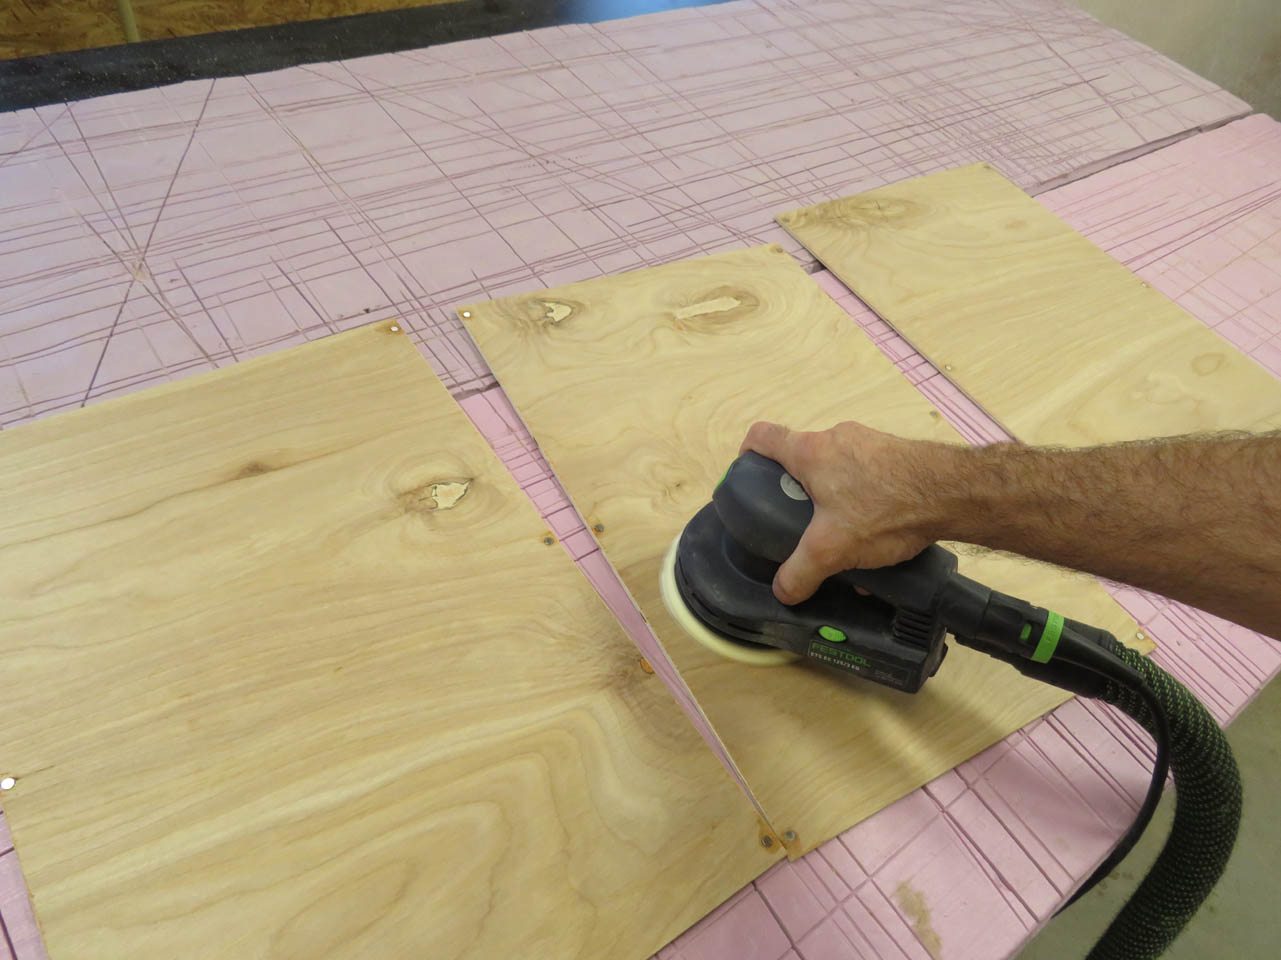
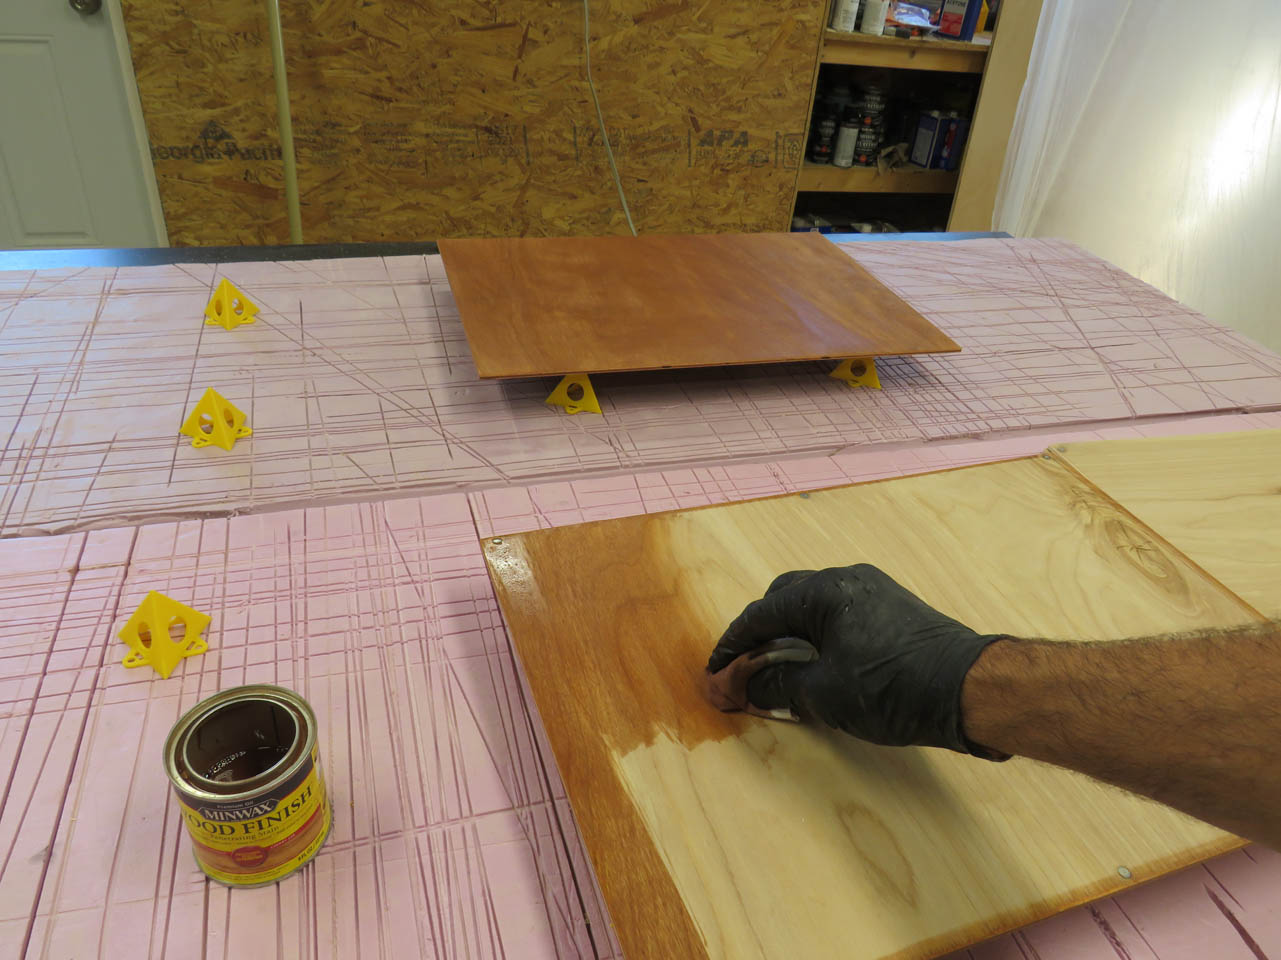
Before I finish up the frames, I start sanding and staining the back boards.
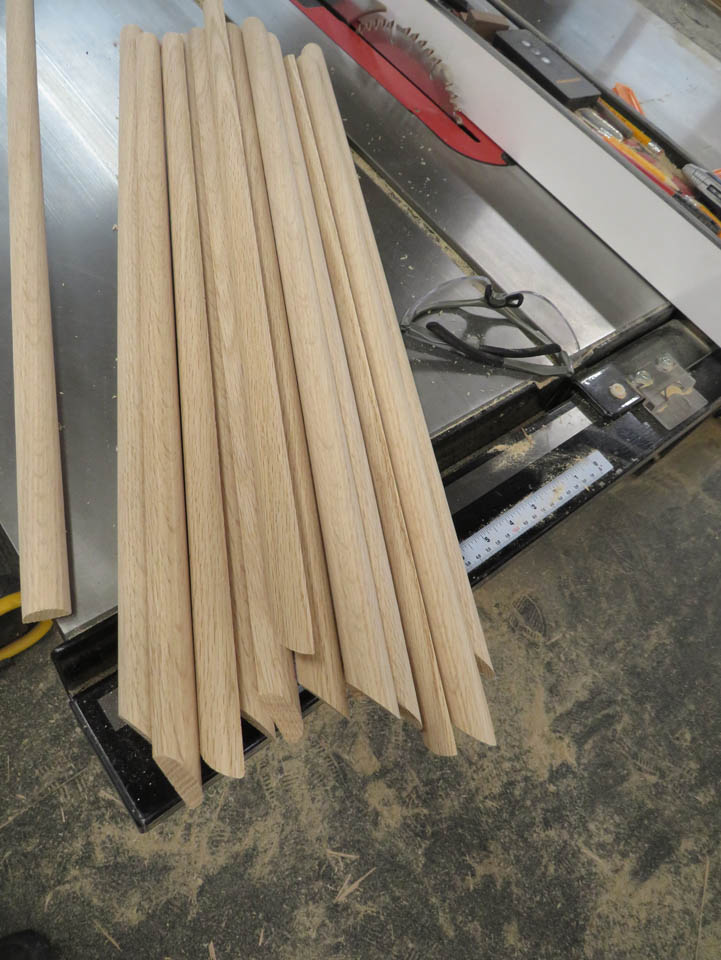
While they are drying, I can start working on the bullnose trim for the front of the frames.
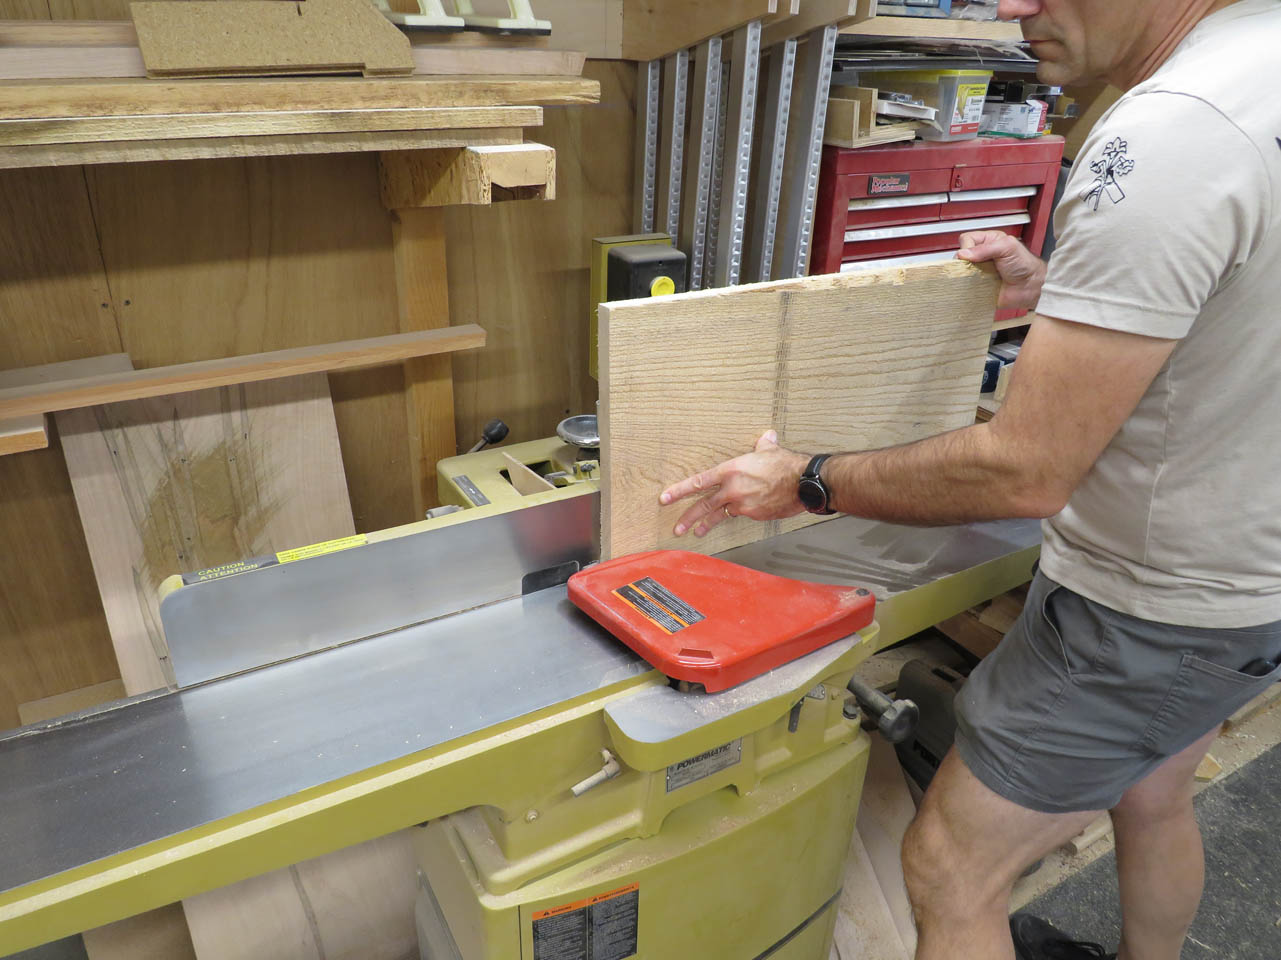
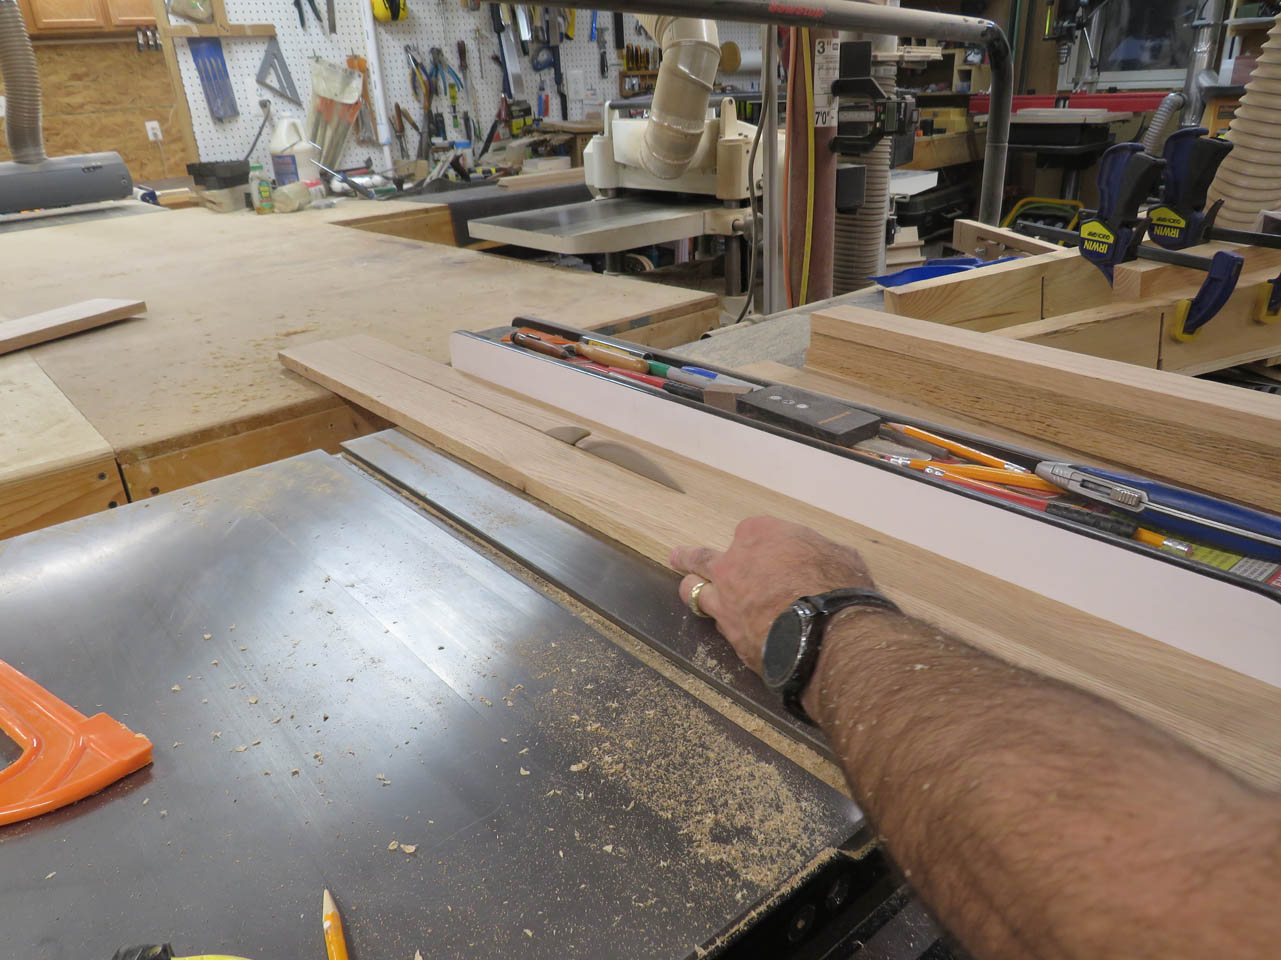
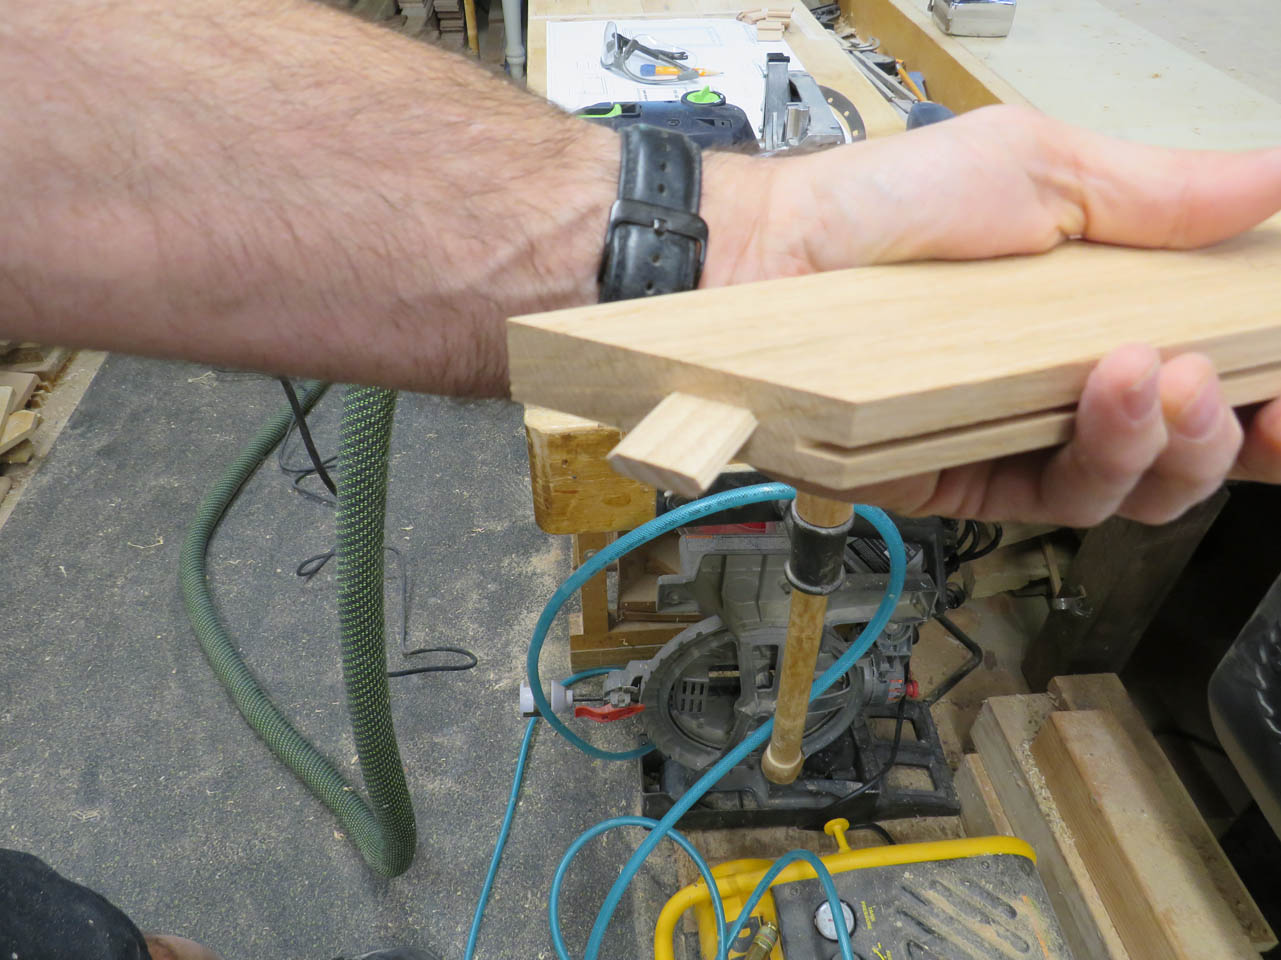
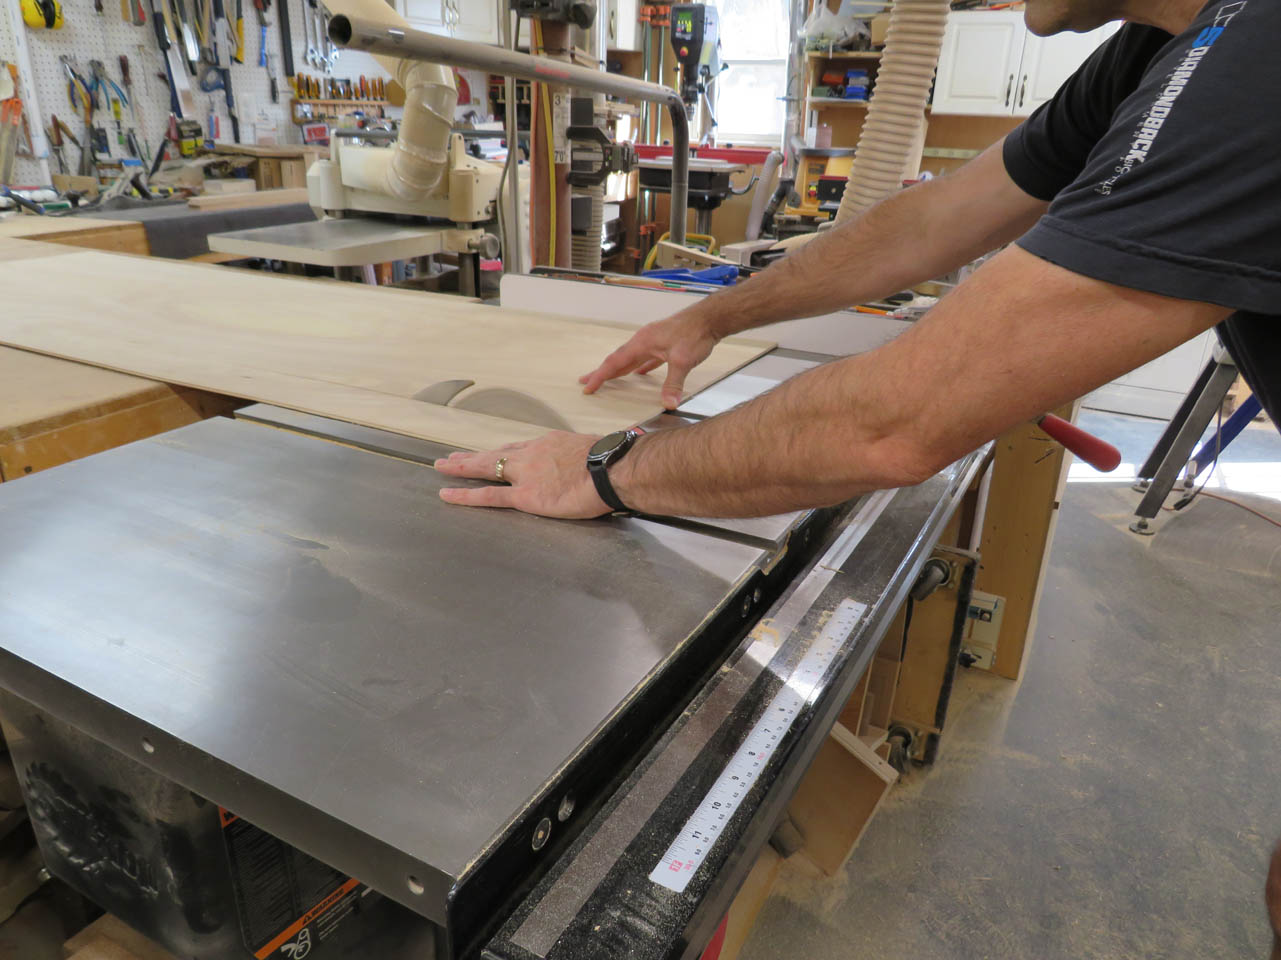
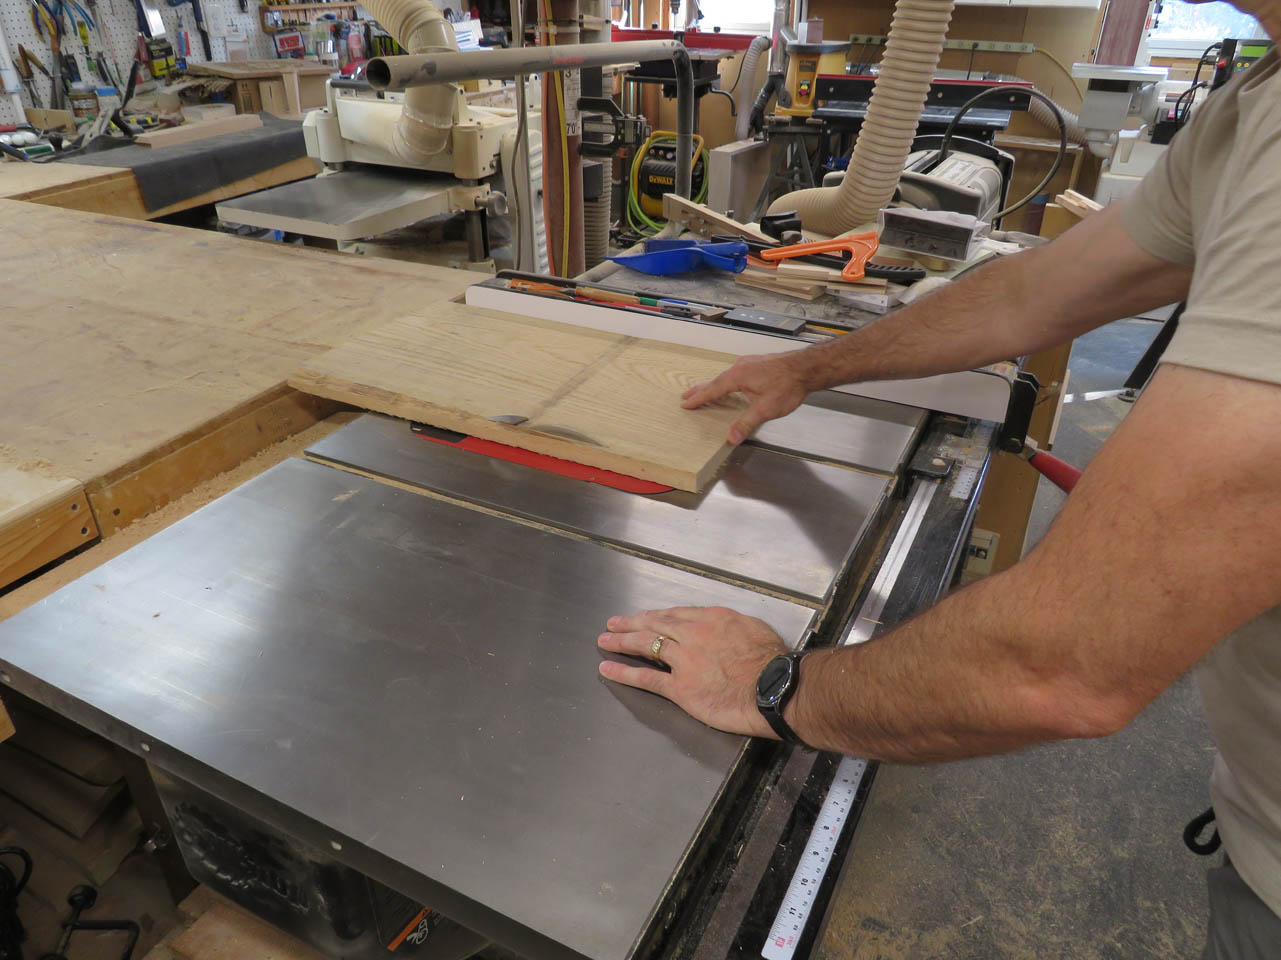
I cut a 24″ long piece of 5/4 oak, then jointed one side and cut a parallel edge on the other side.

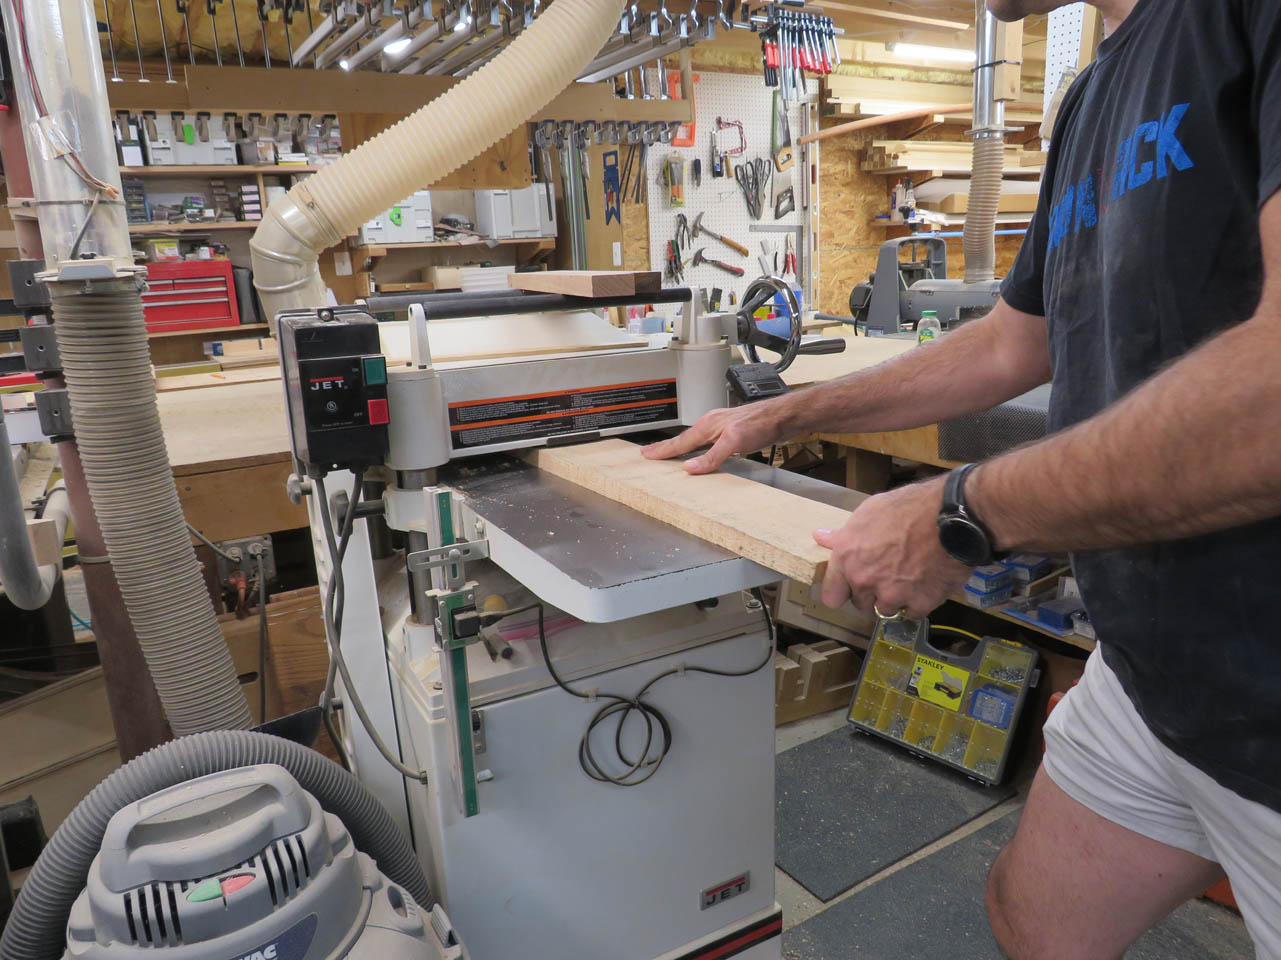
I planed both sides smooth and took the thickness down to 1″.
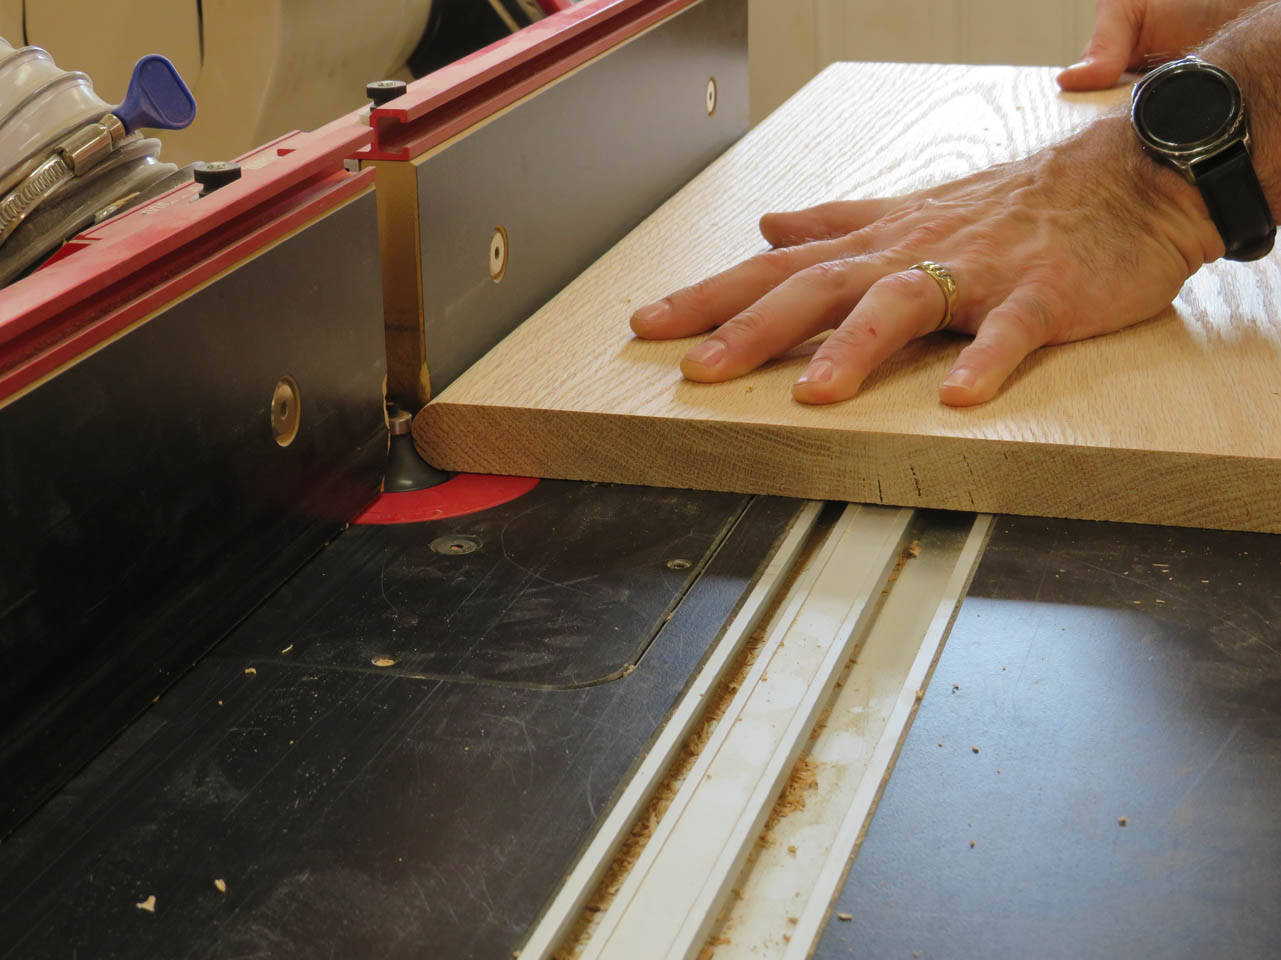
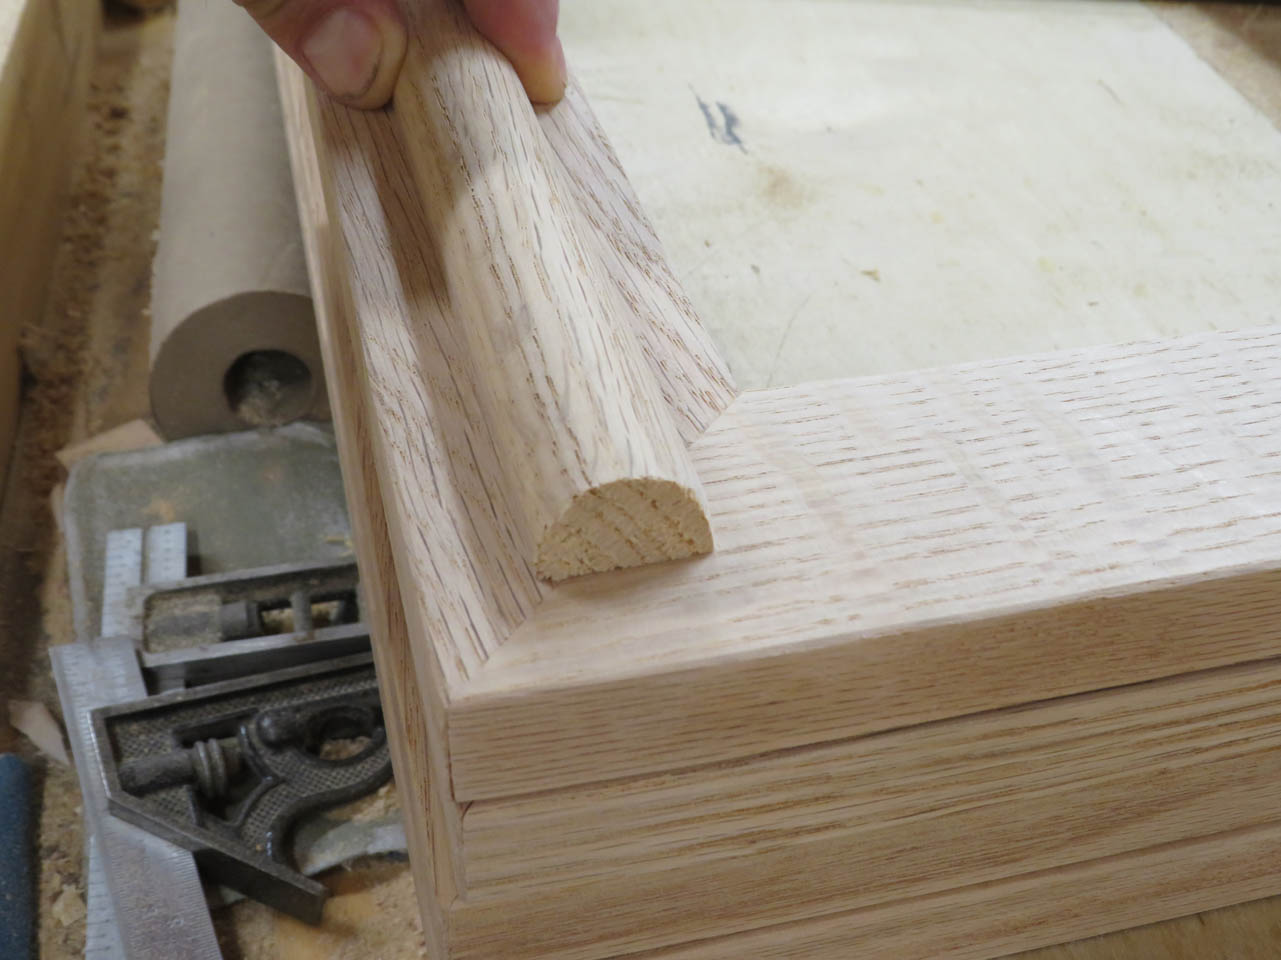
I made two passes on the router table, cutting both sides with a 1/2″ round-over bit.
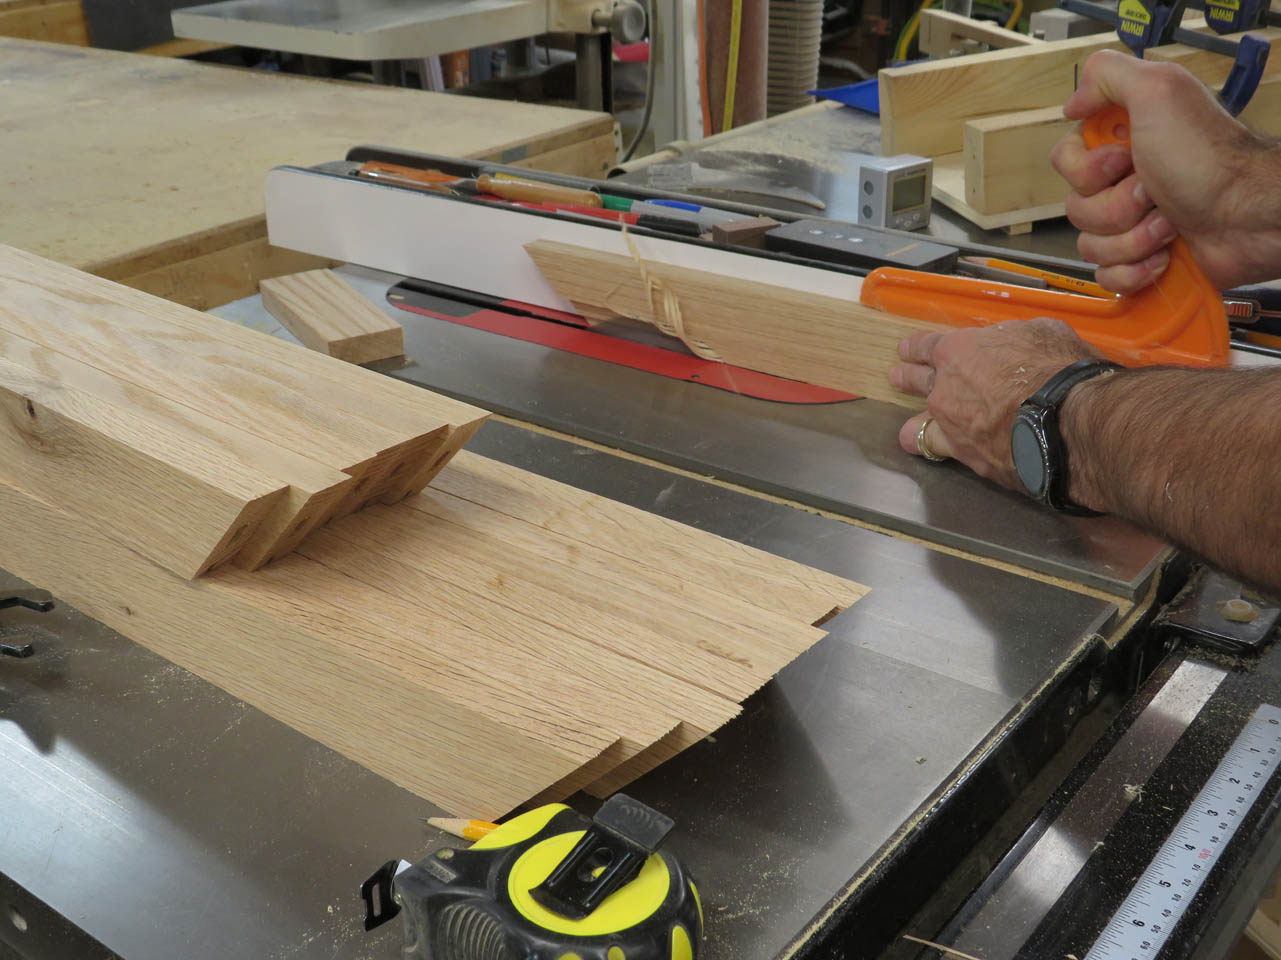
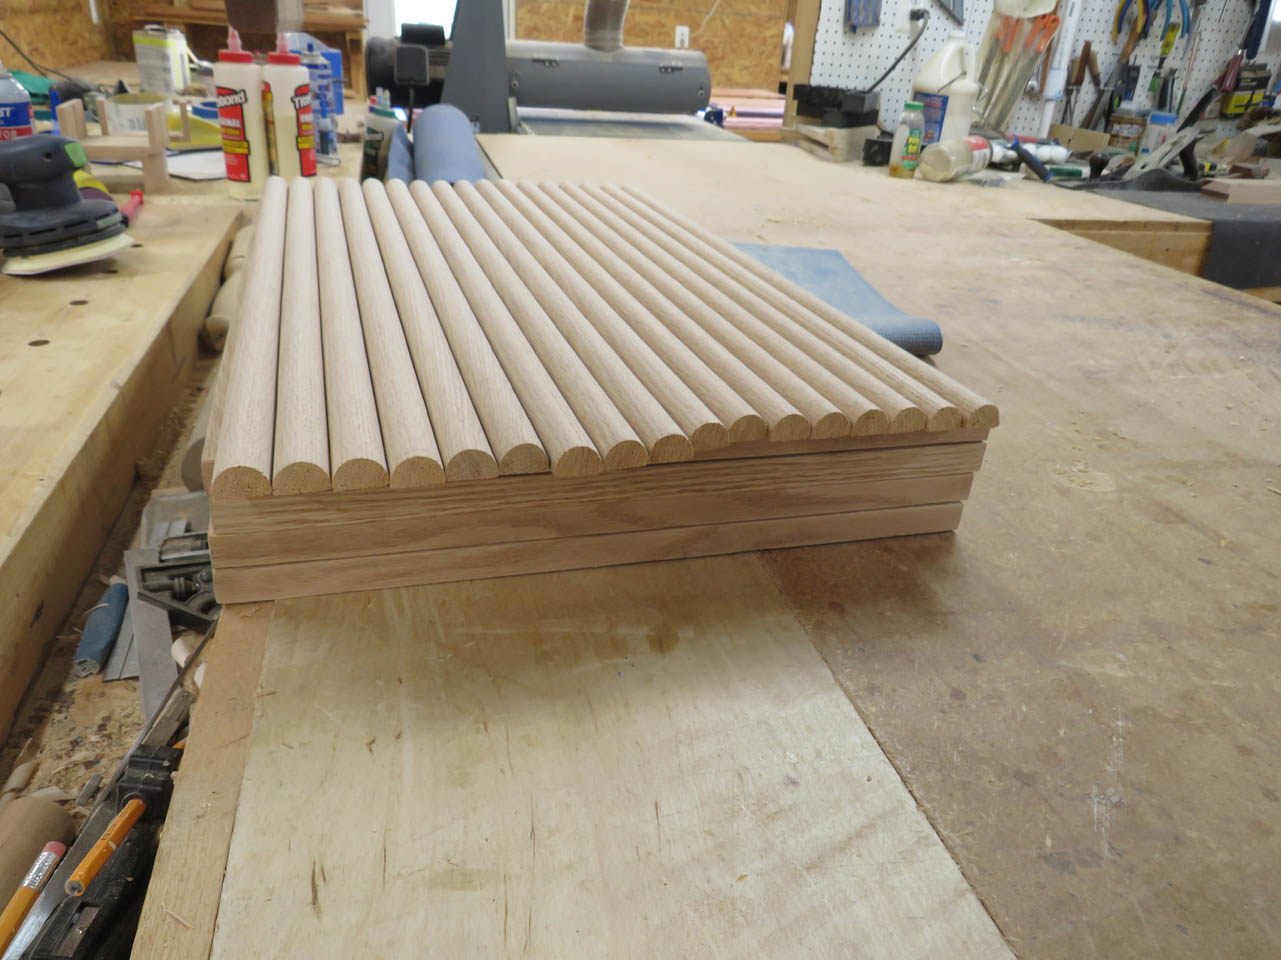
This gave me a 1″ bullnose. It is easier to hold and sand while the bullnose is on the edge of the board, then I can cut it off on the table saw, then repeat the process fifteen more times.

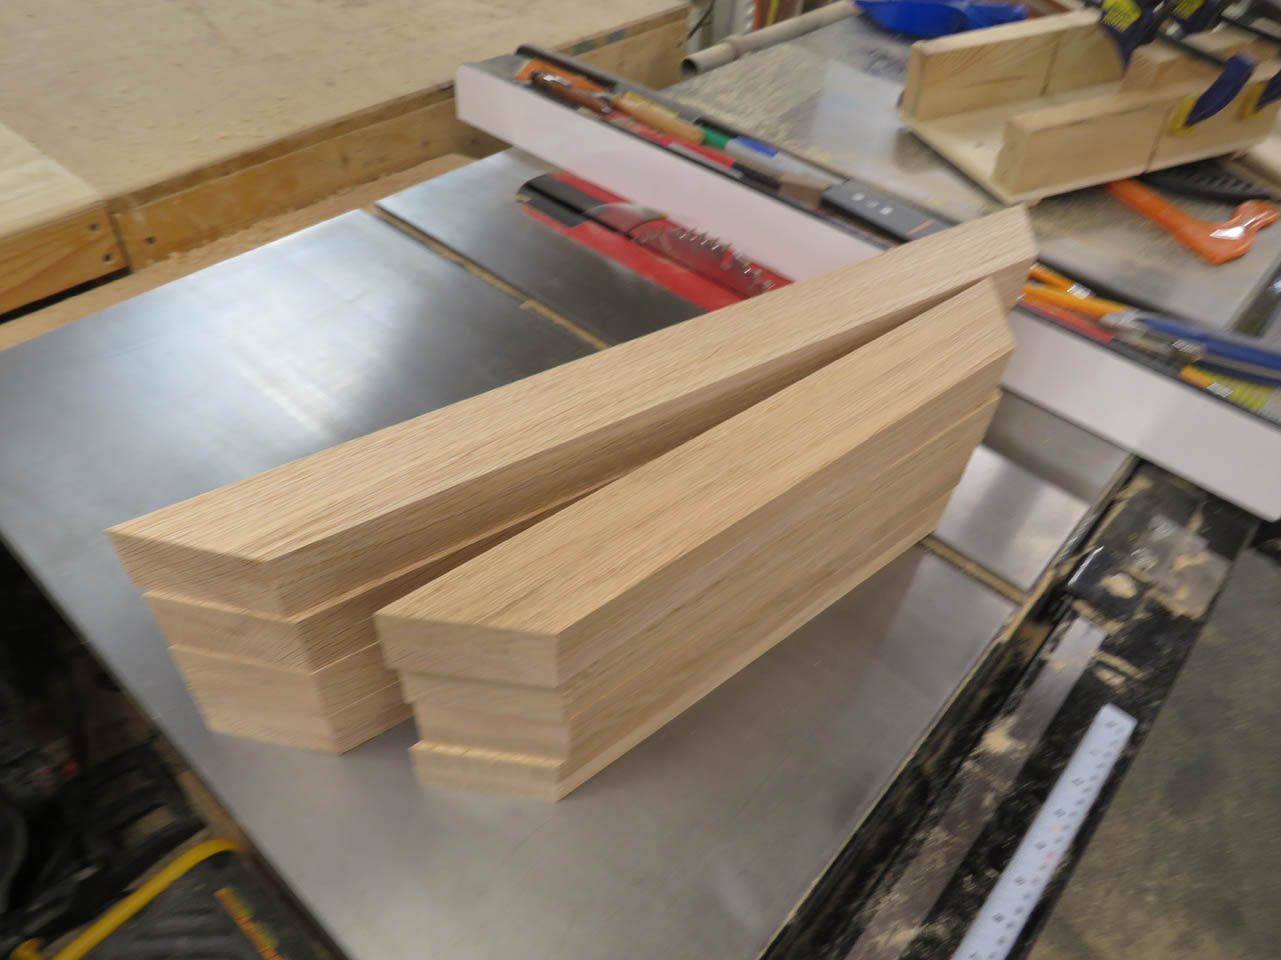
These pieces of trim will sit in the center of each side of the frame and be mitered together.
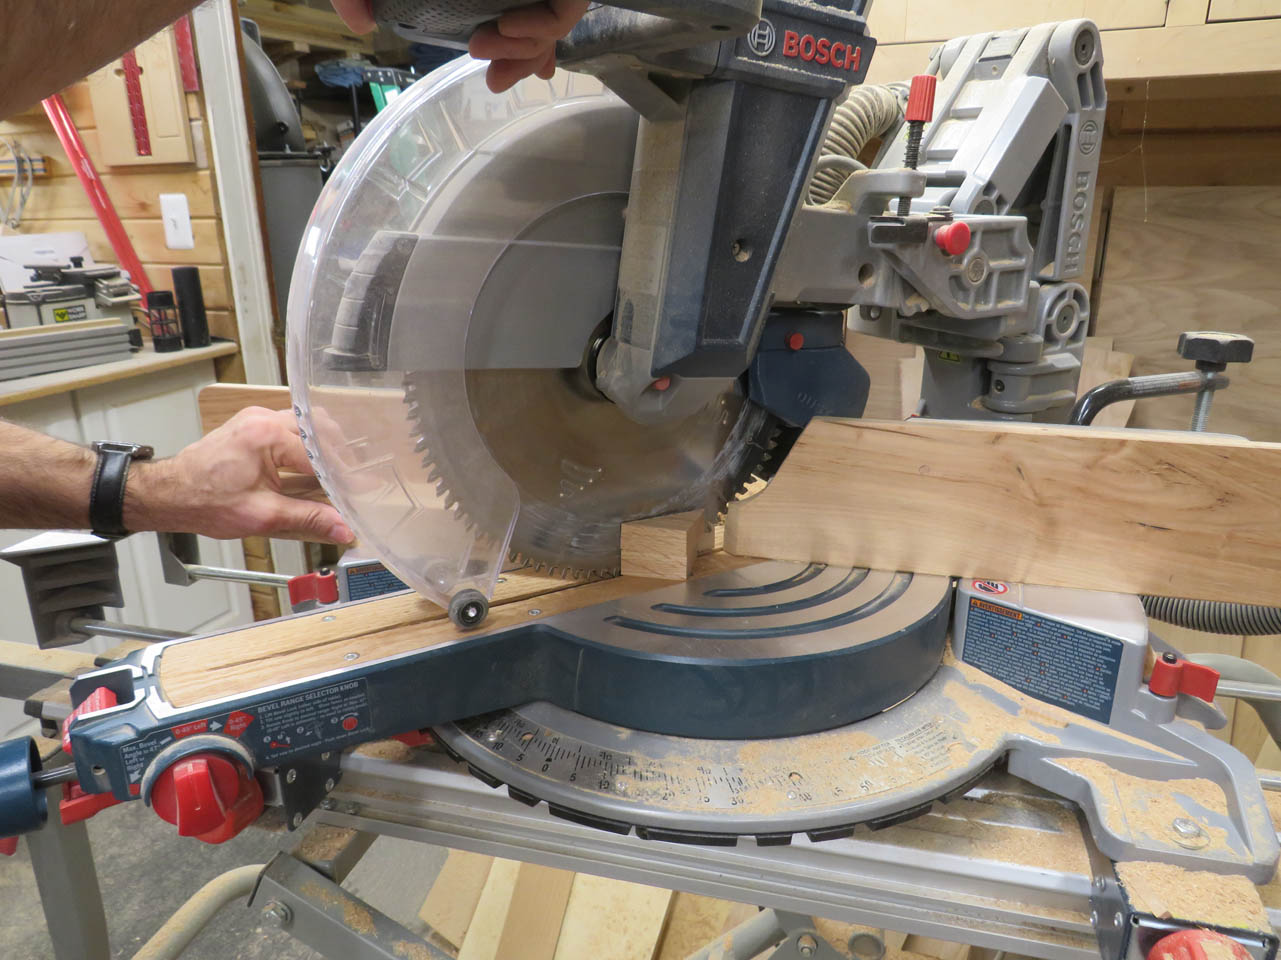
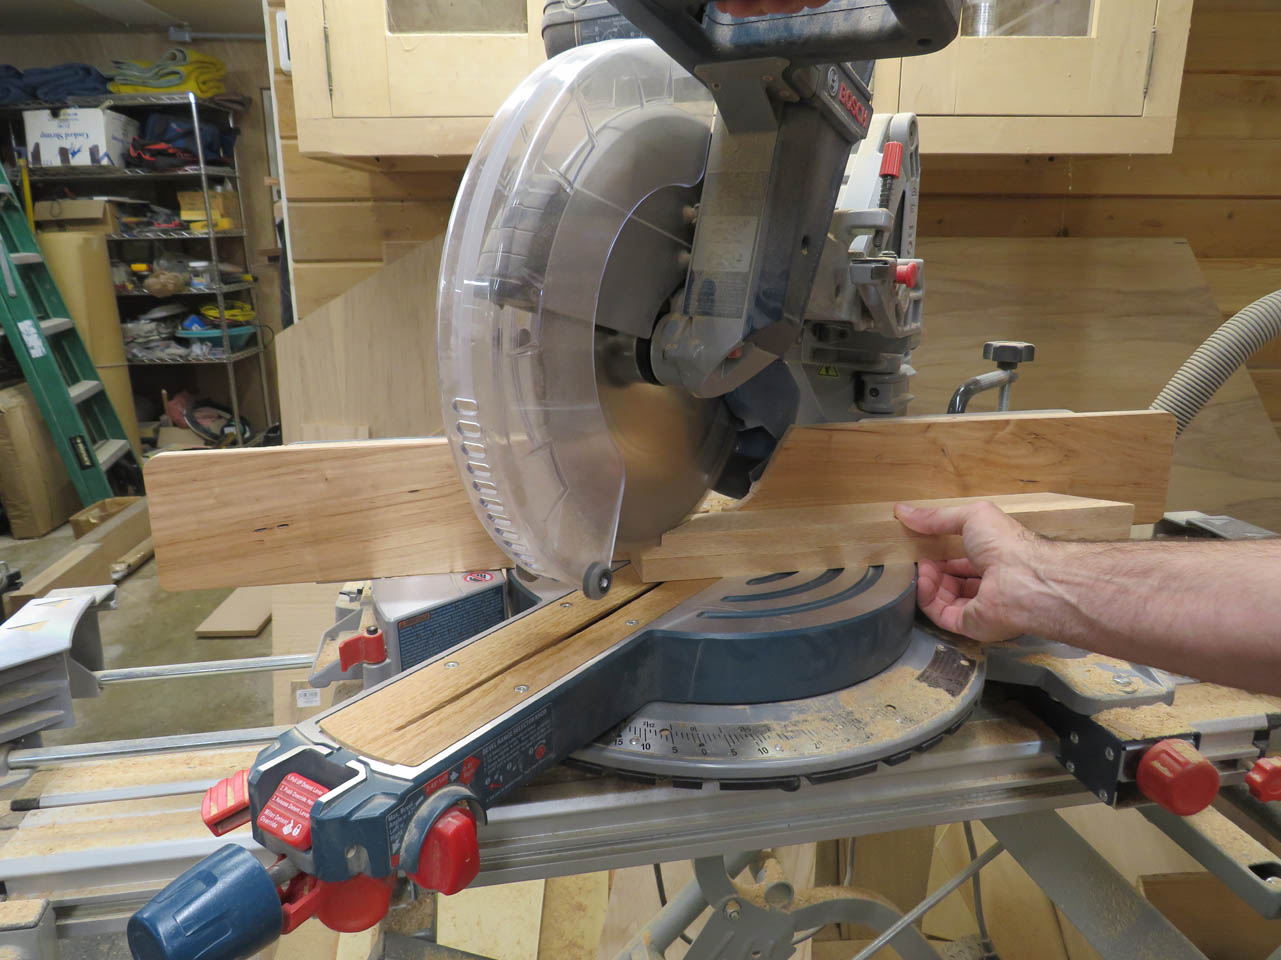
After all of the pieces are cut, I can cut the first miter on one end of each.

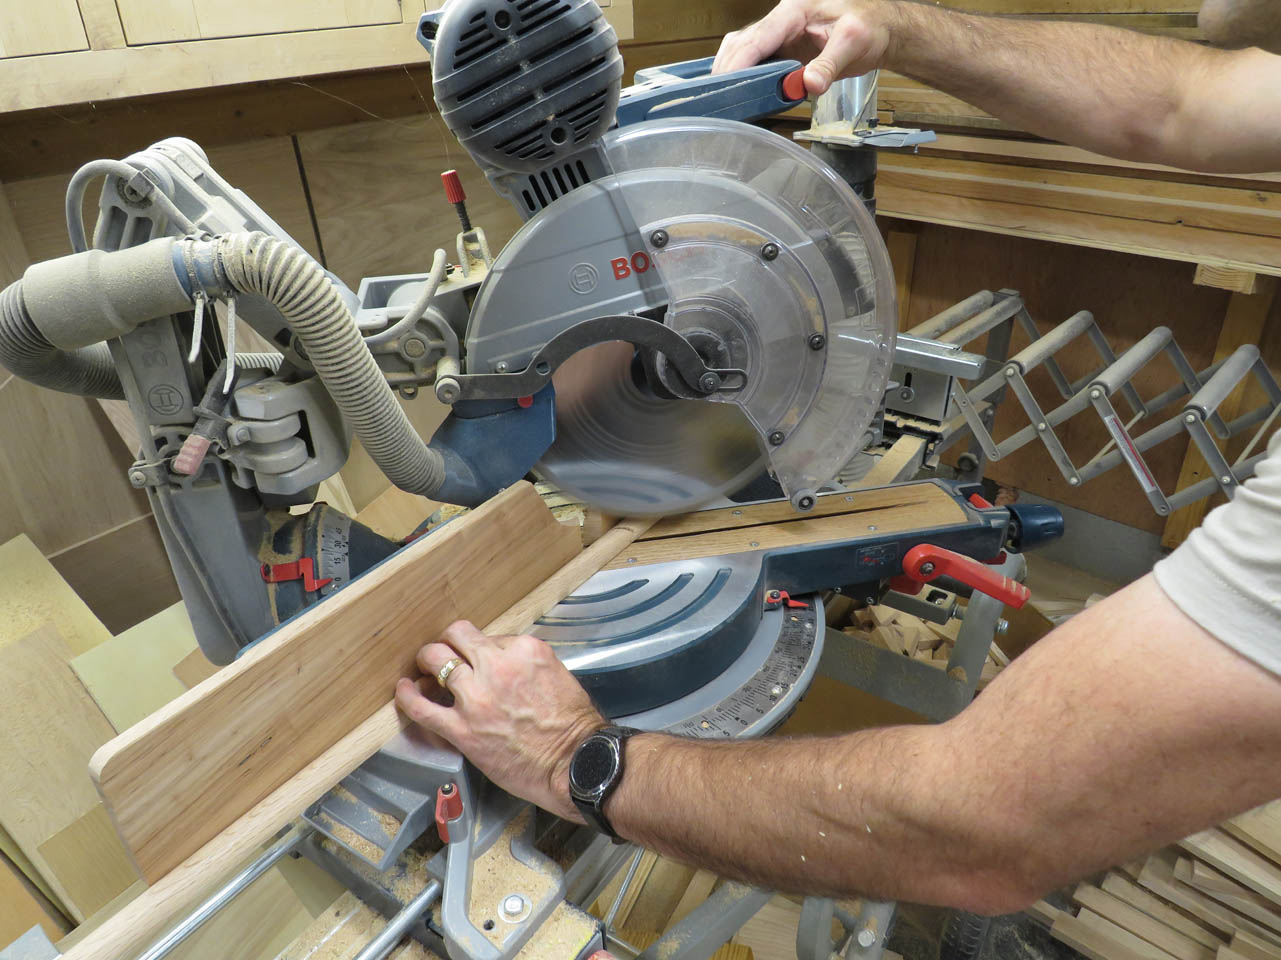
Then I measured and marked the length and cut the opposite end.
I did a quick dry-fit but I can’t really tell how well it will fit until I get it all glued down.
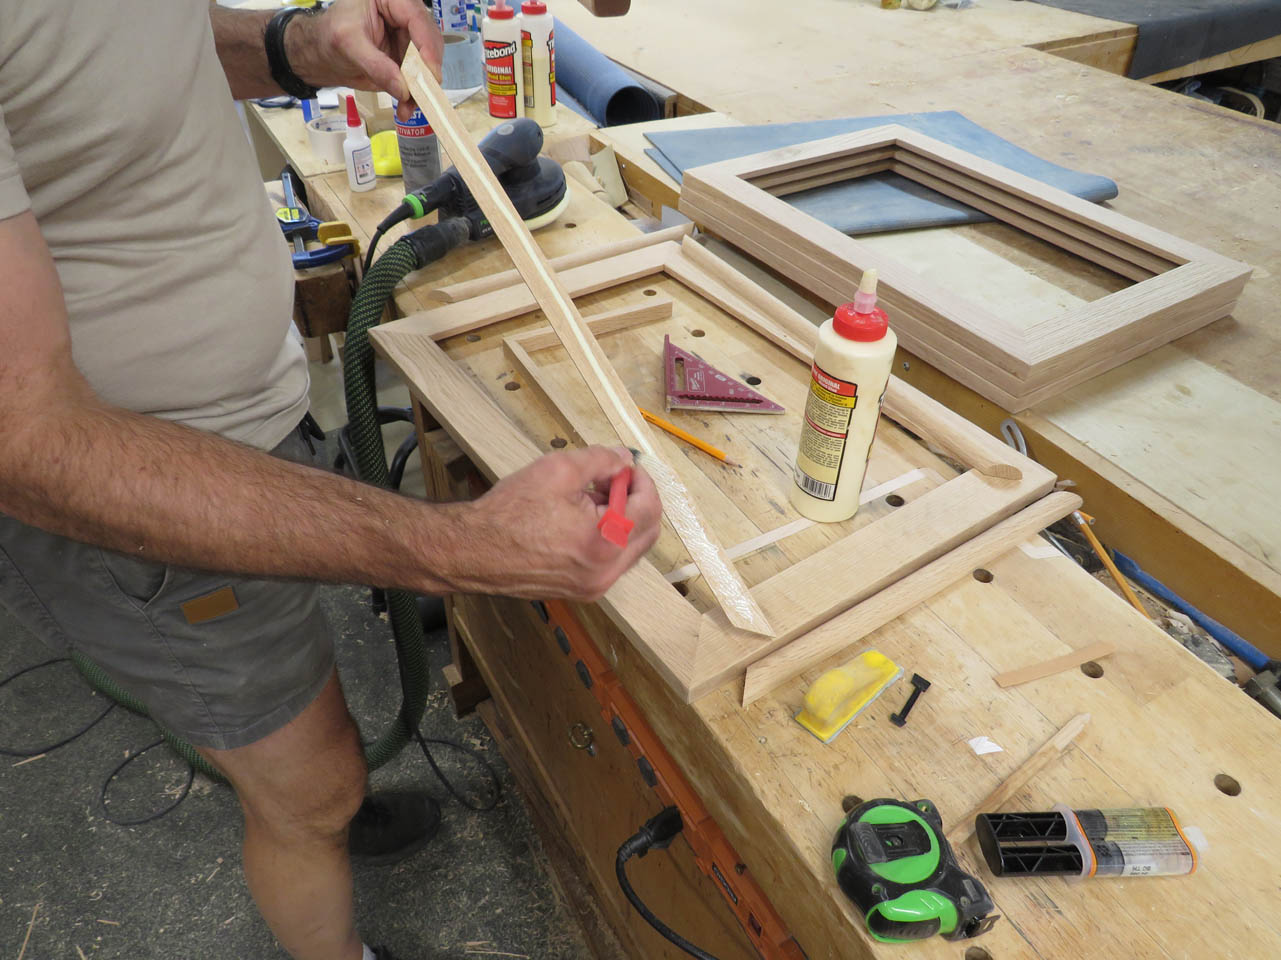
I created a corner bracket to set the proper distance from the edge, then applied glue to the first piece.
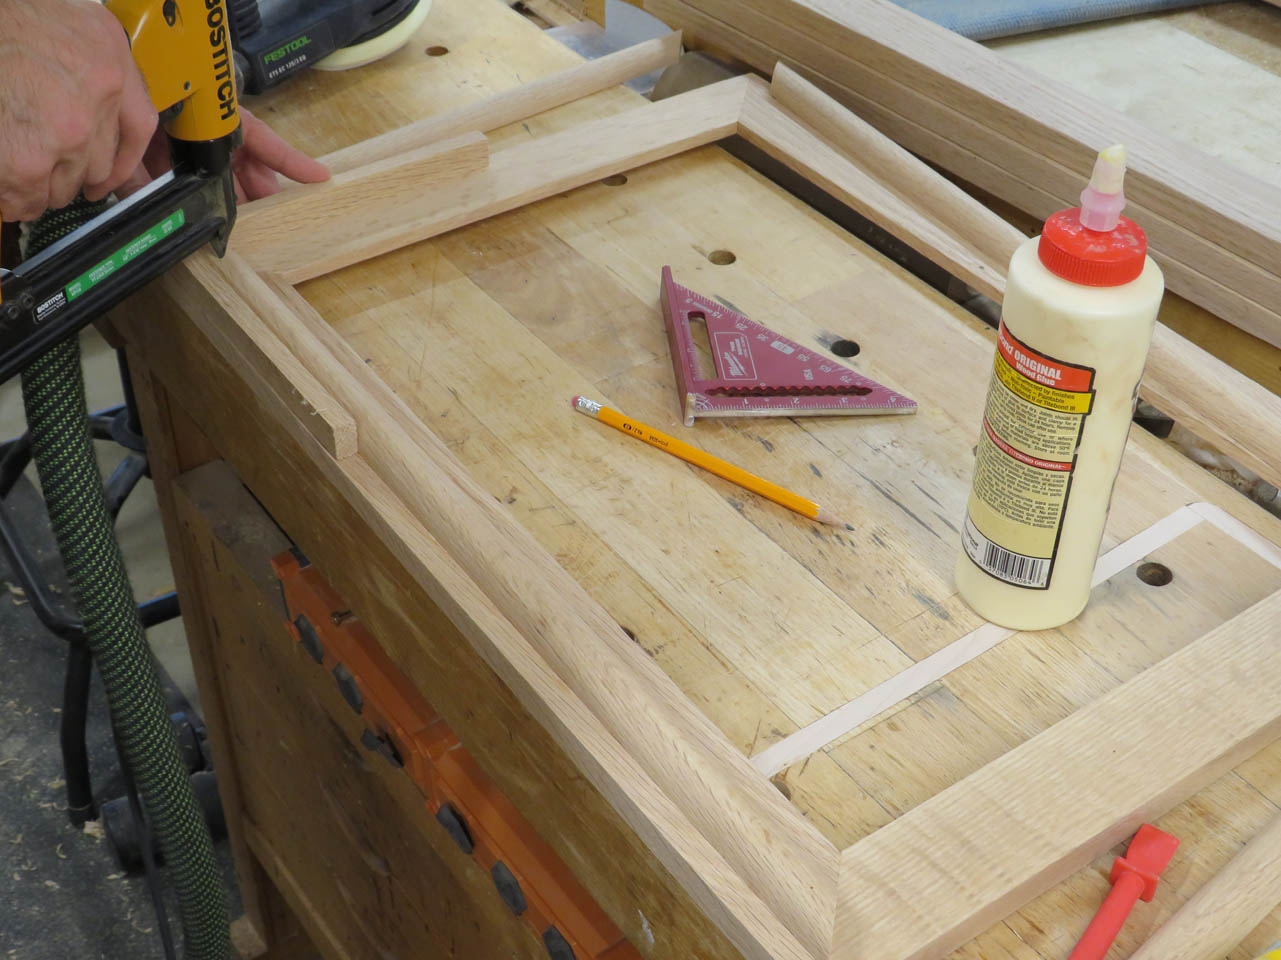
I put a thin 23 gauge pin nail into each end of the bullnose to hold it in place while I attached the rest.

After the first three are in place, I can set the last piece and make any additional cuts needed to get a perfect fit.
Once all four sides are pinned in place, I can clamp down the trim and let it dry.
When I pulled the clamps, I only needed to do a little hand sanding. Now they are ready for finish.
I also have to apply finish to my hangers, but I want to predrill for the mounting screw first.

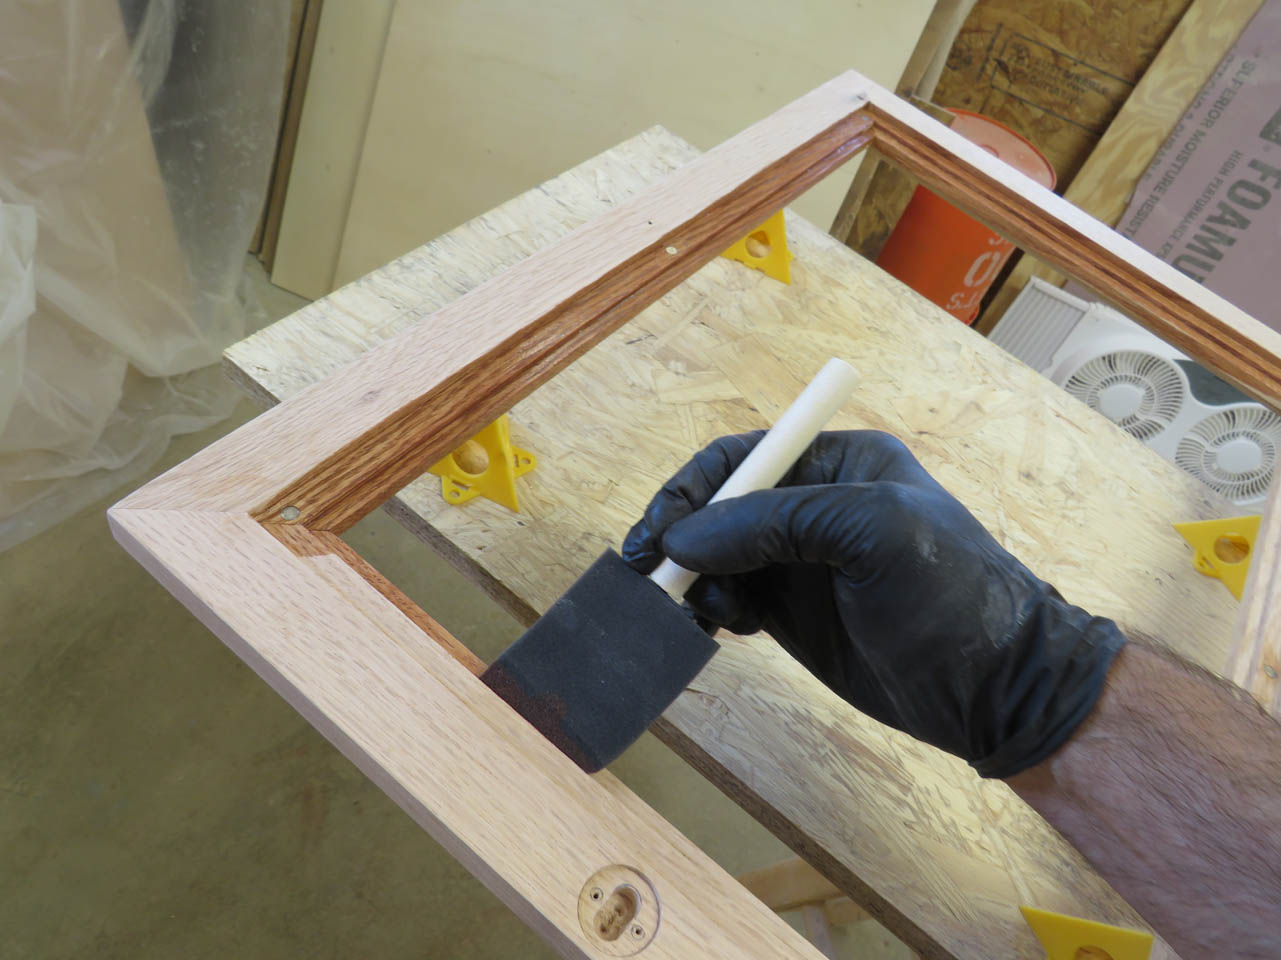
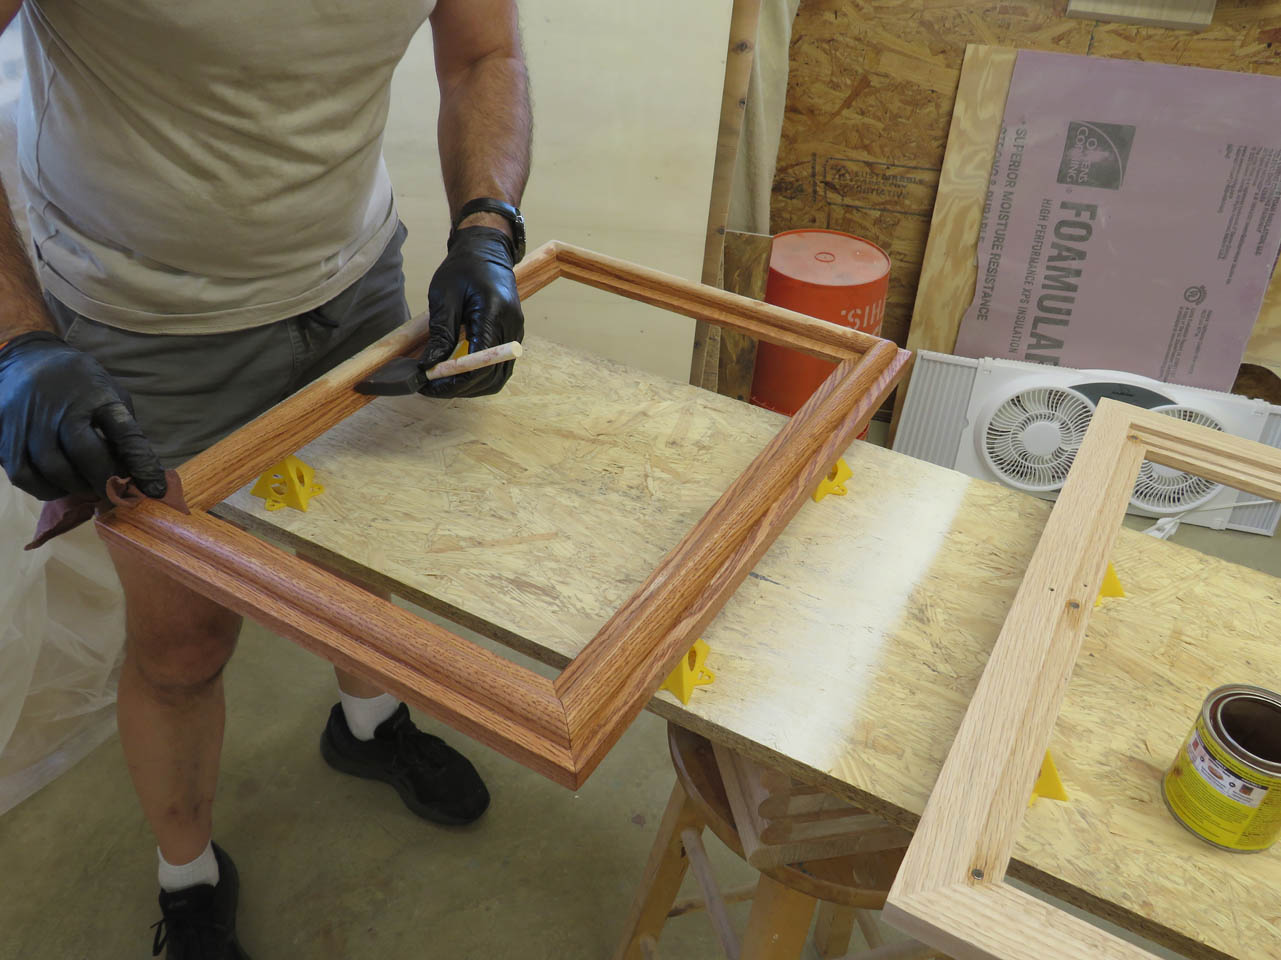
Now it is finally time to get these finished up. I use a foam brush to get stain into all the square corners, then rub all of the excess stain away with a cloth.
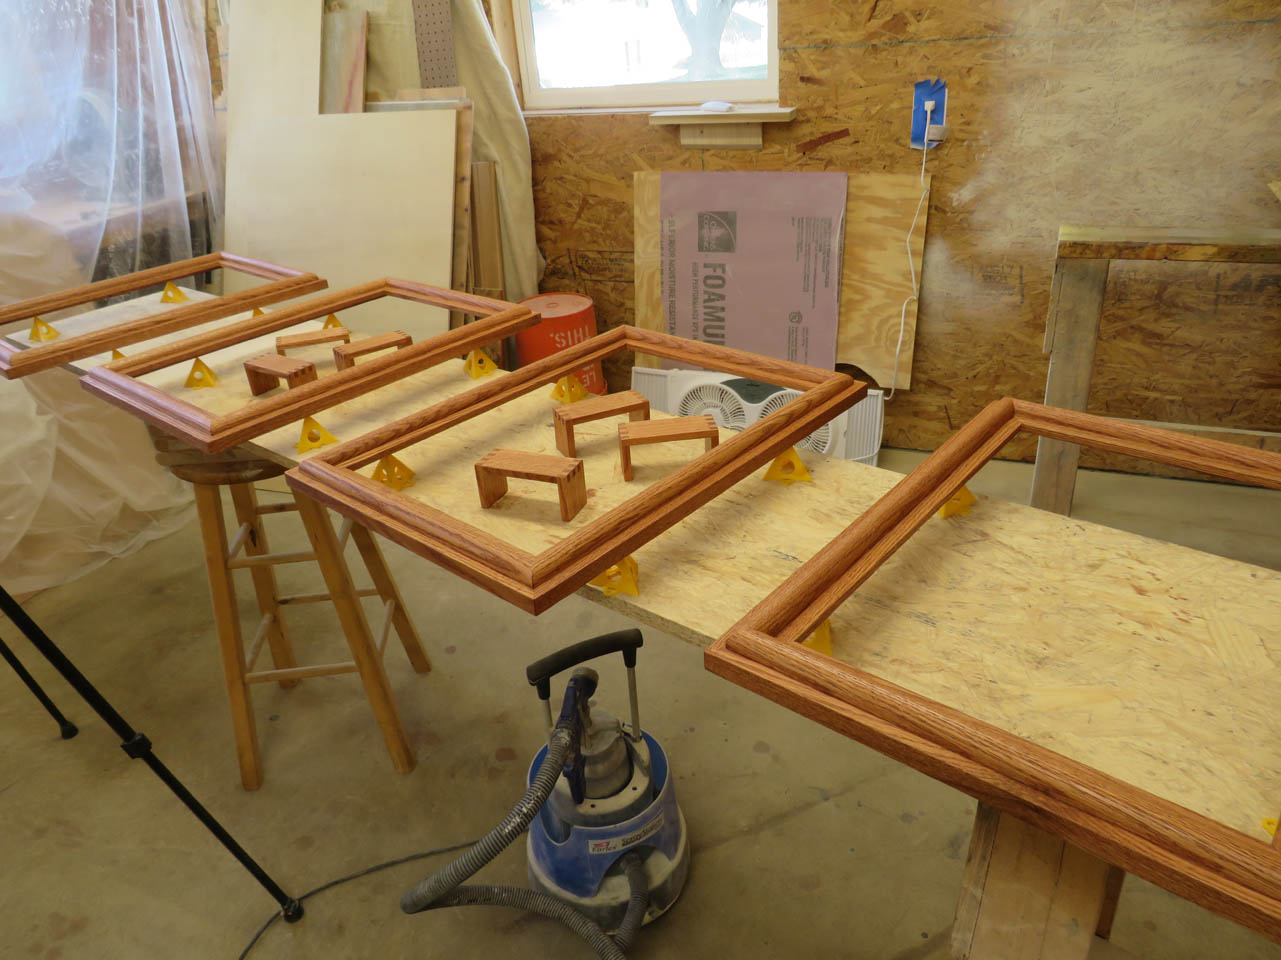
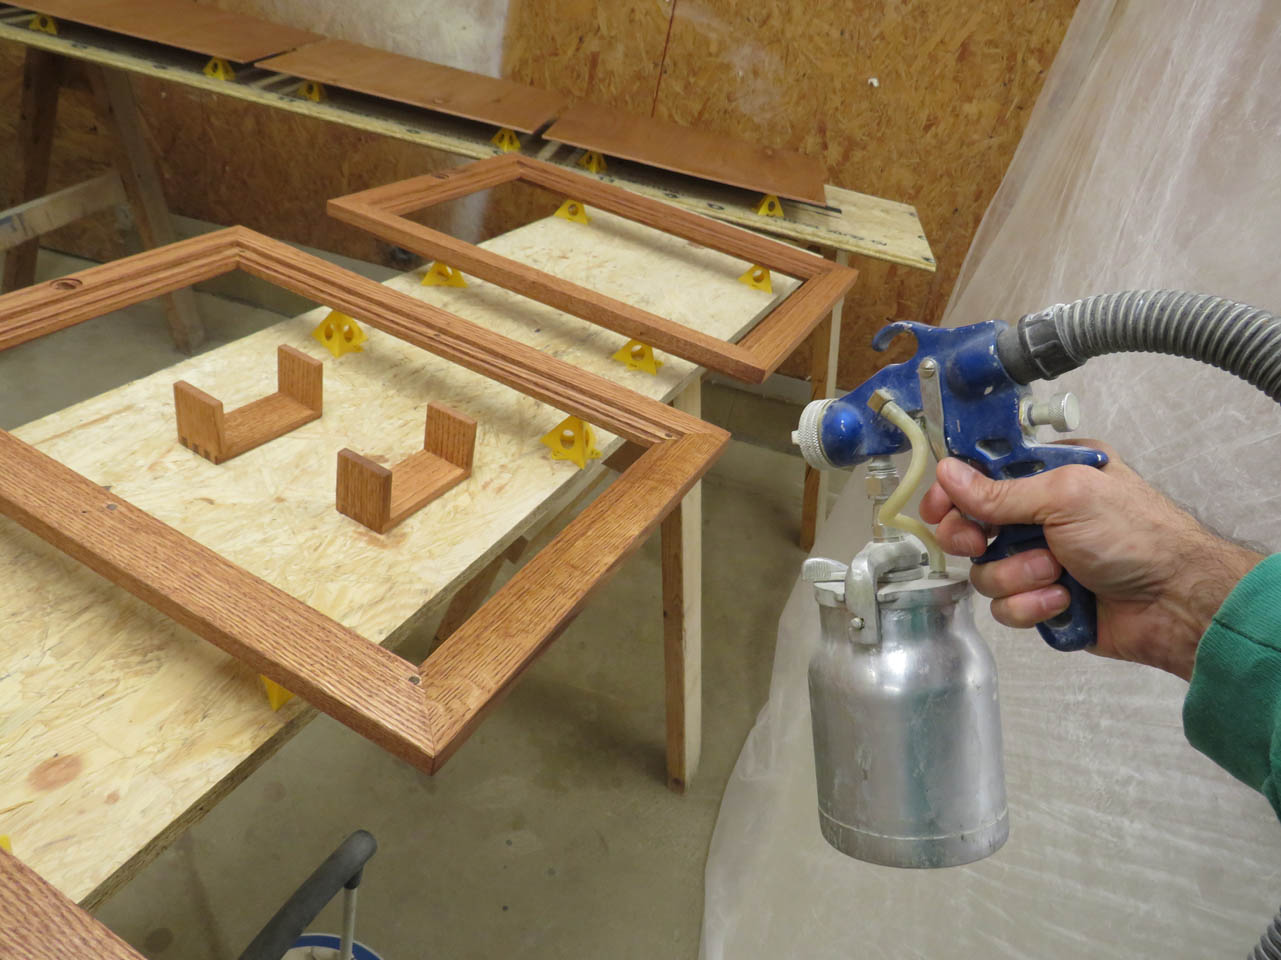
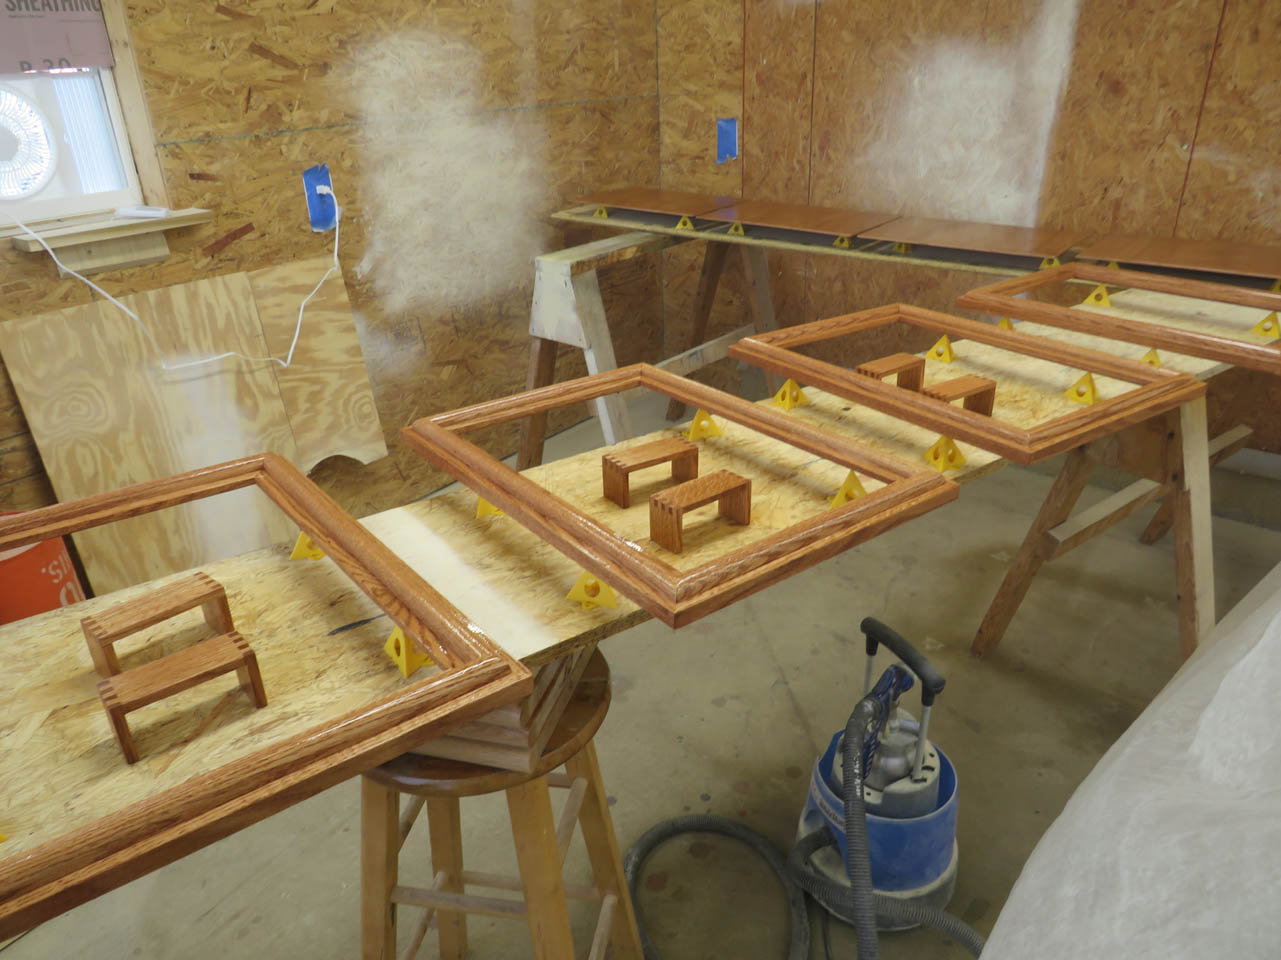
When they are dry, I spray on the first coat of polyurethane.
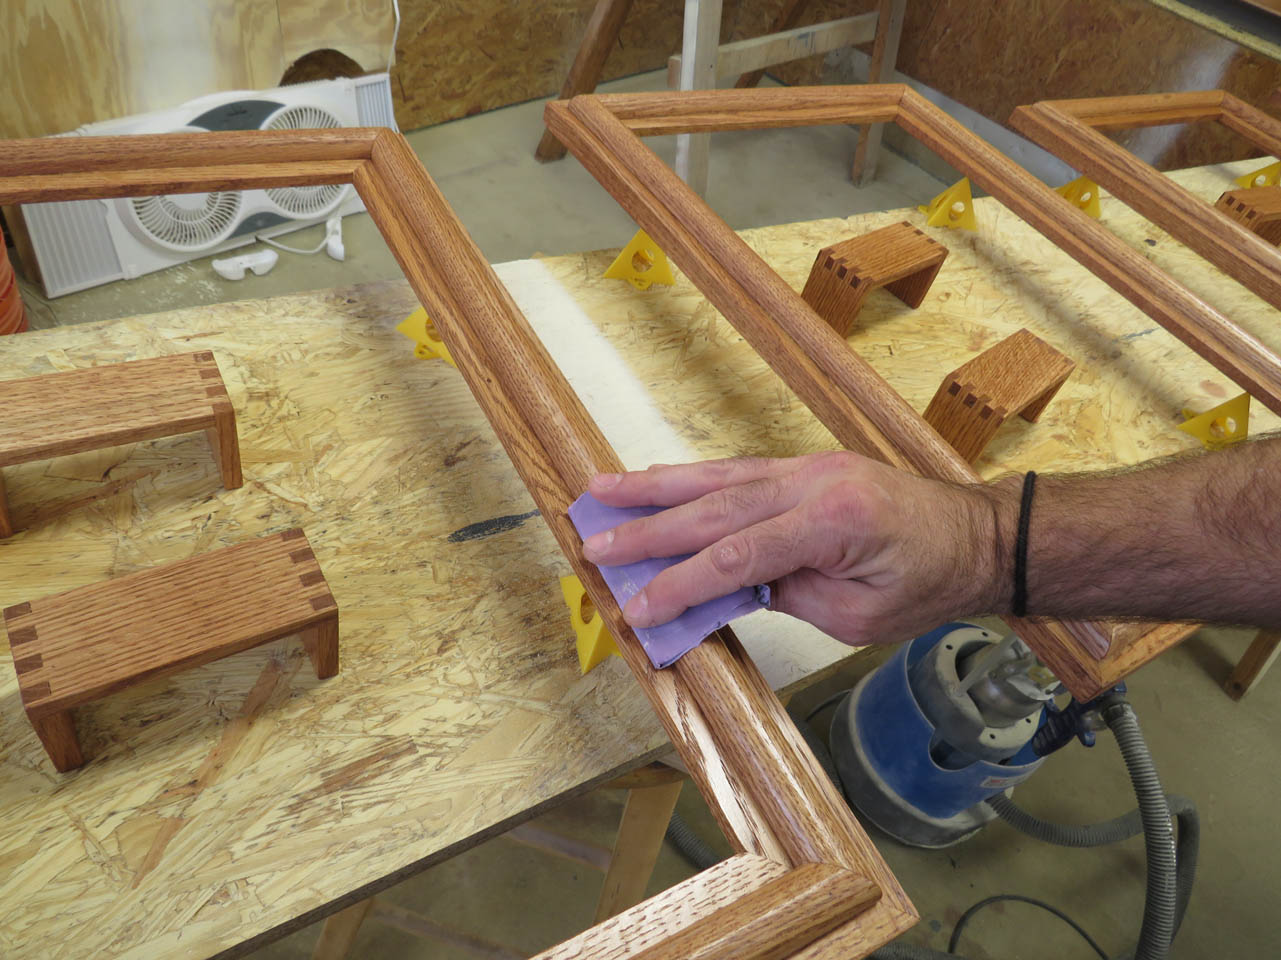
The next day, I can sand with 400 grit paper and apply the second coat.

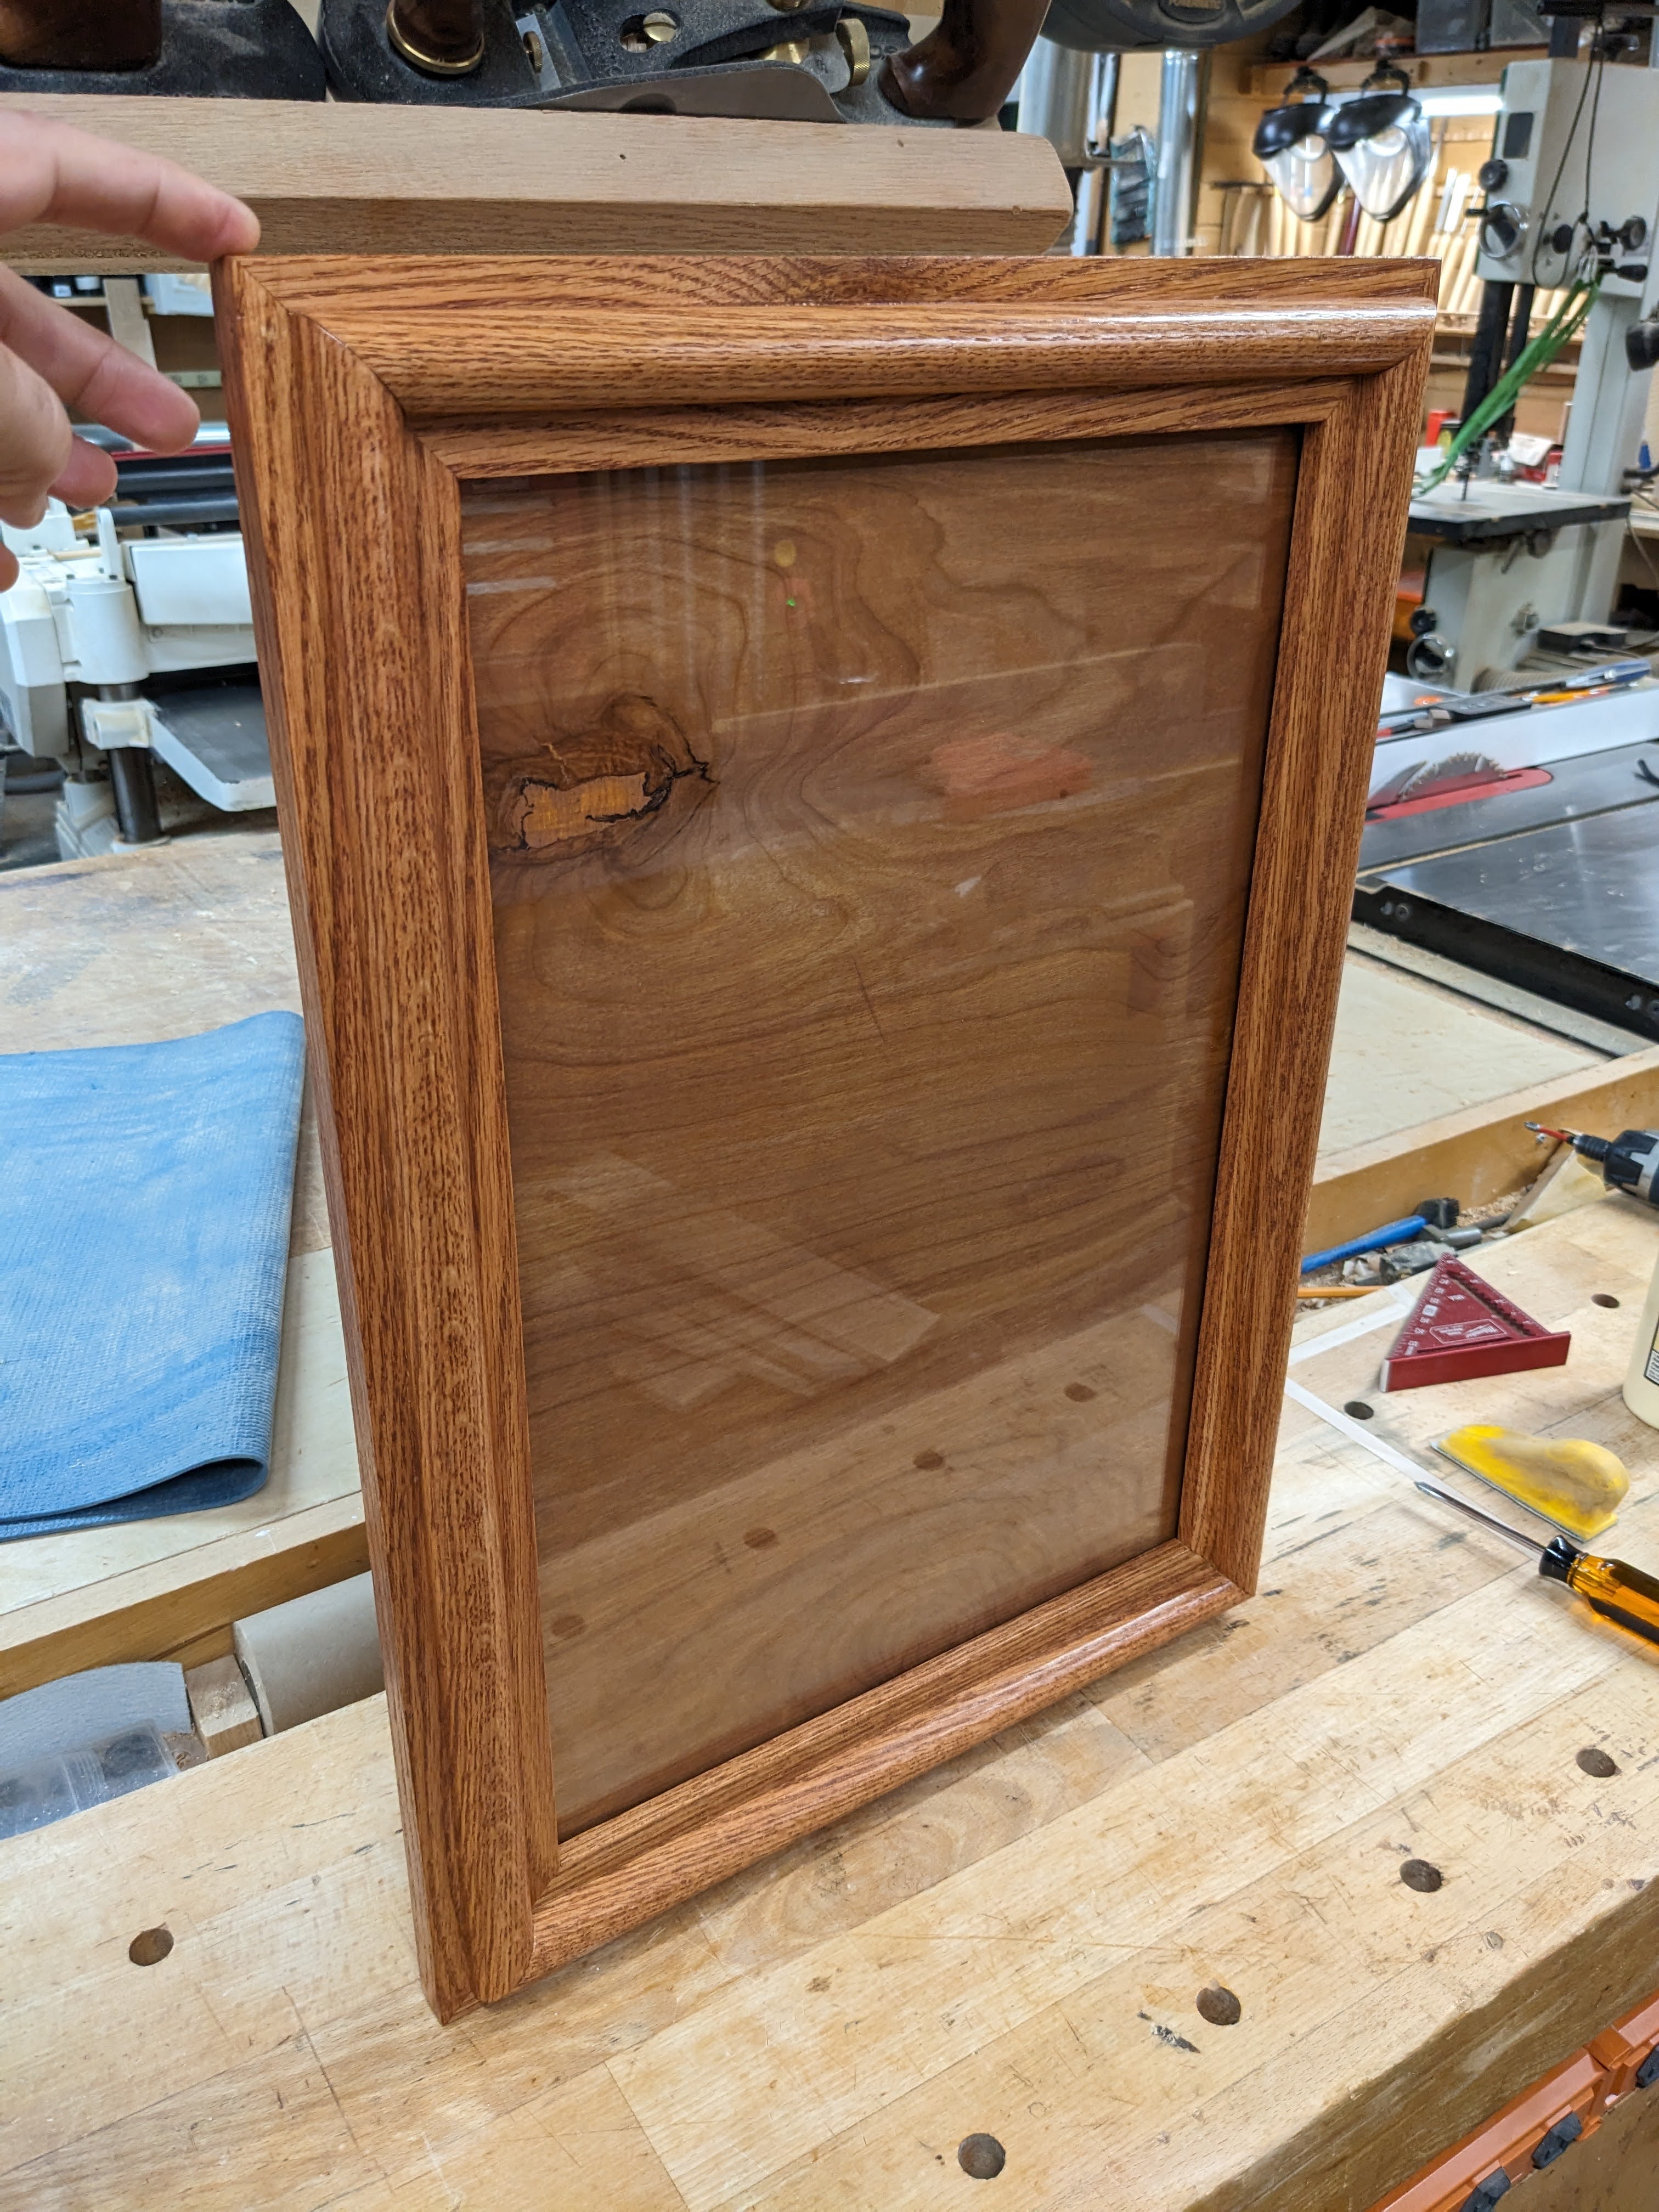
I let them sit overnight and in the morning they are all ready for assembly.
I installed the hardware as well as inserted the glass and backer board.
And, the frames are done. I hope this new design works really well. I deliver them tomorrow, so we will see.
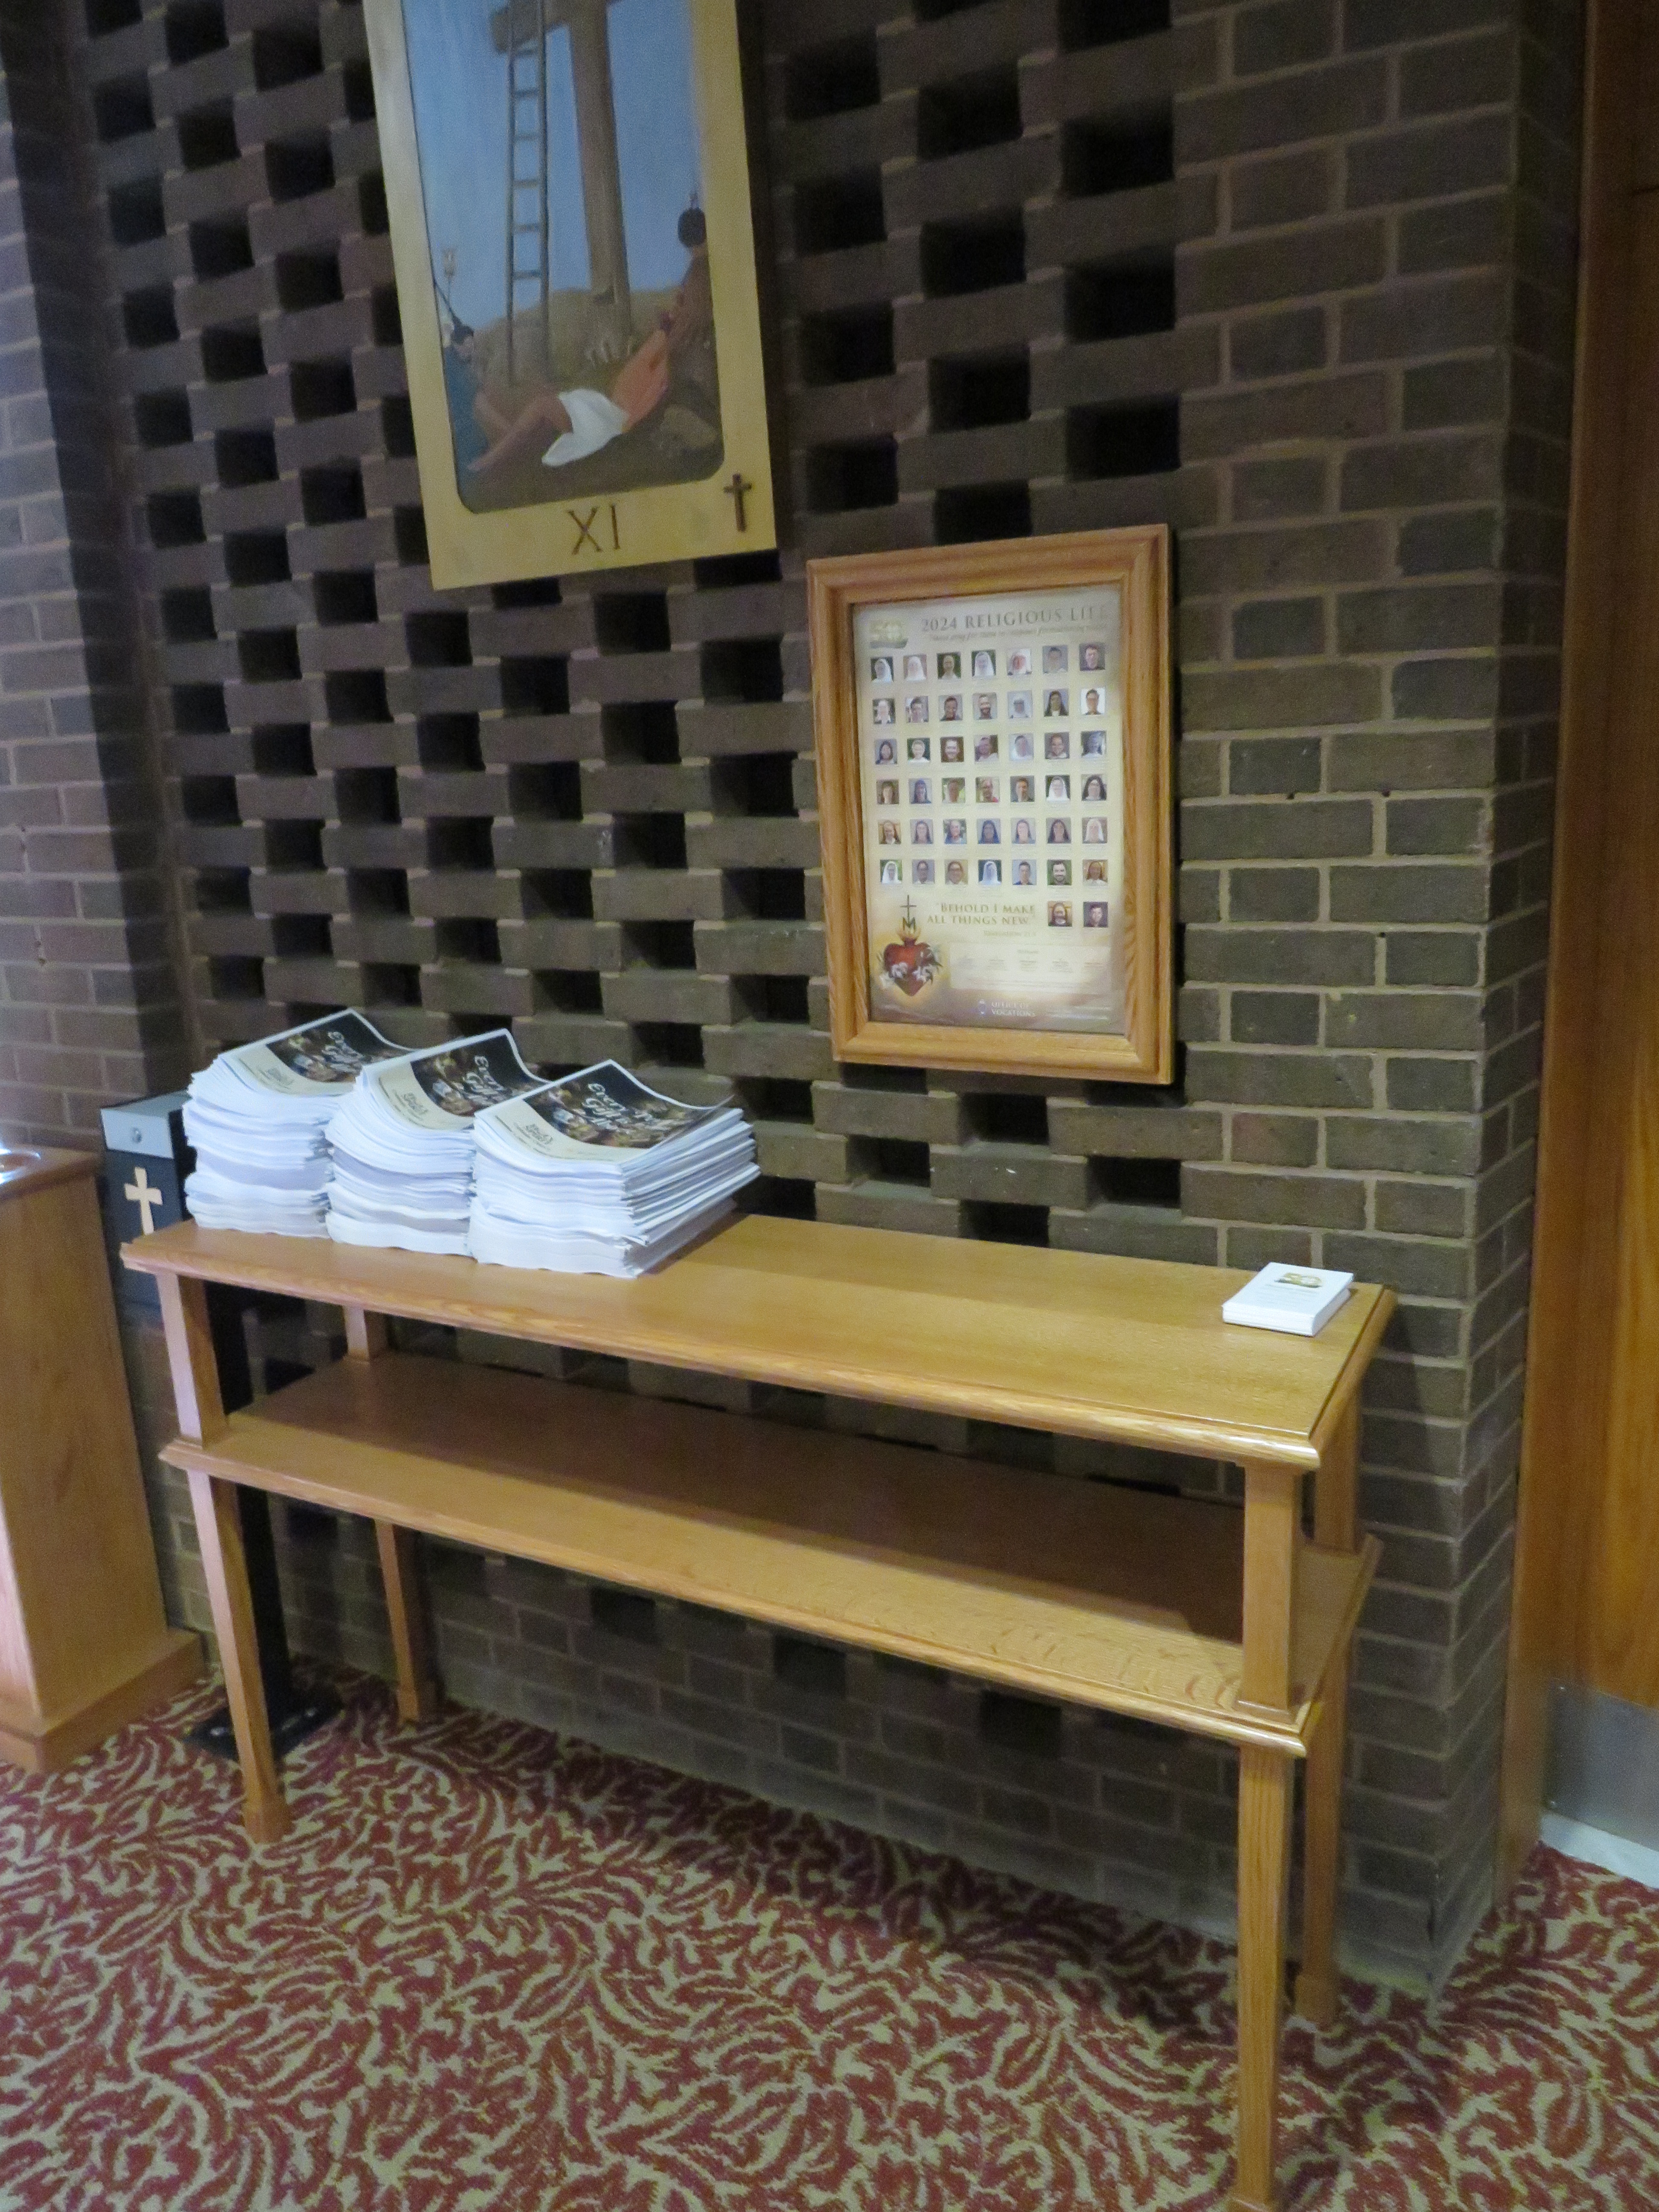
Here a couple of pictures of the frames and sign mounted above some of the tables I previously built.