Guestbook stands & lectern for Holy Spirit Church – part 2
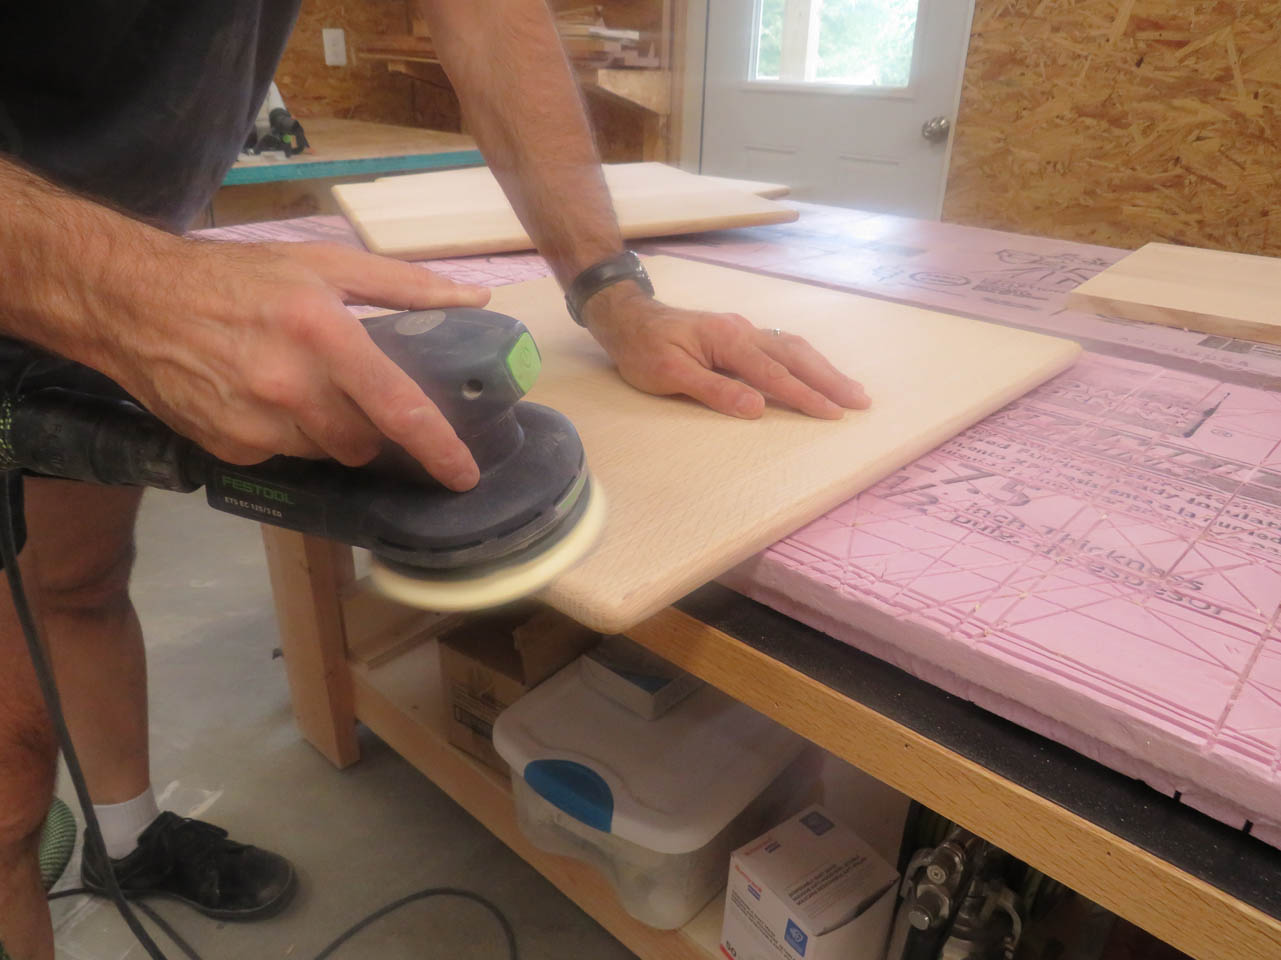
I sanded all of the joined edges of the guestbook stand tops so that all of the faces were flush and smooth.

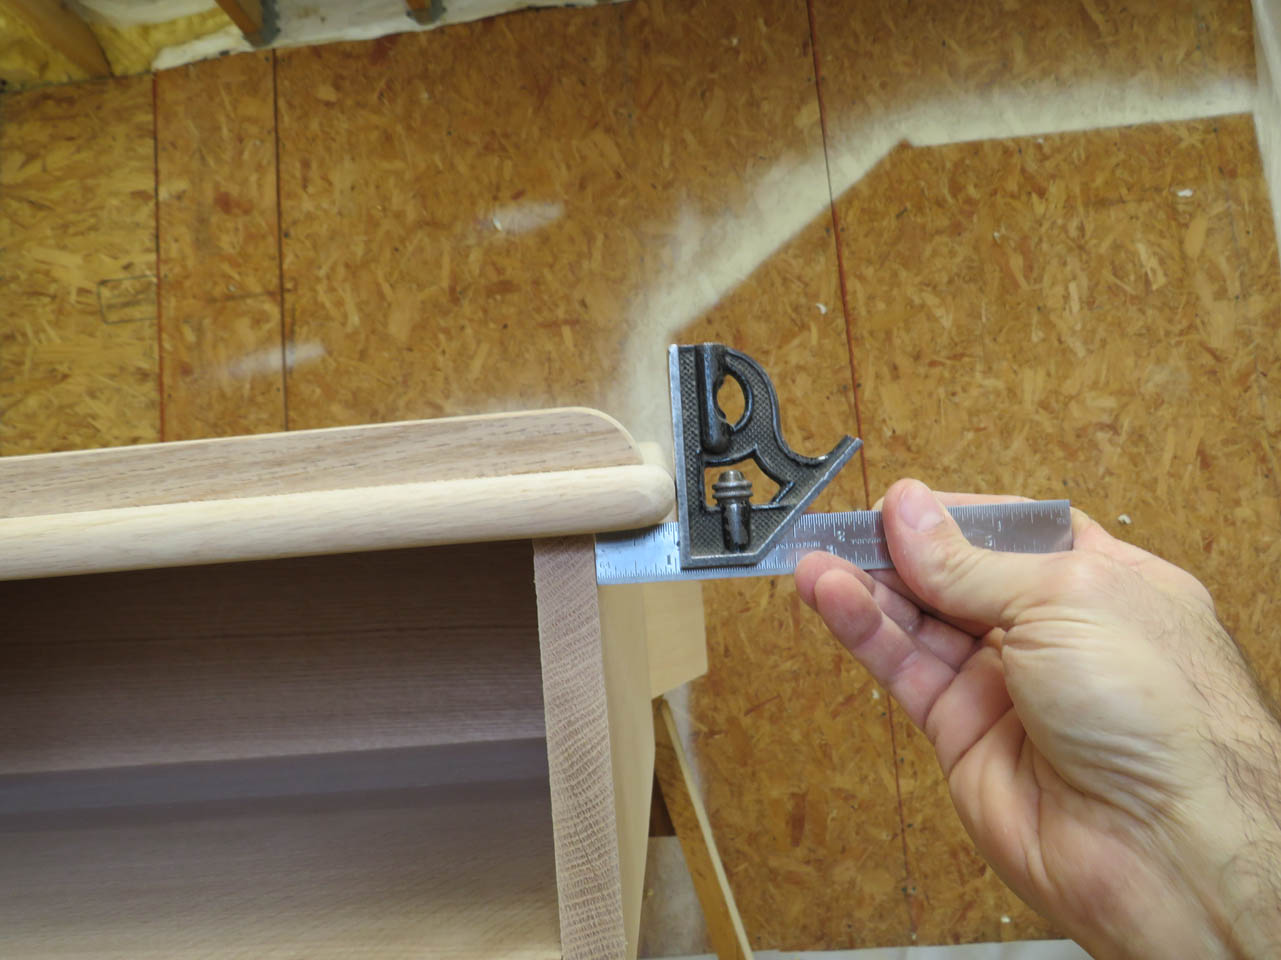
There were slight elevation differences between the front and the sides so I planed the tops of the sides to match the front.

Making sure that the 10° angle was maintained so that I can glue the top down to all three sides after they have been prefinished.
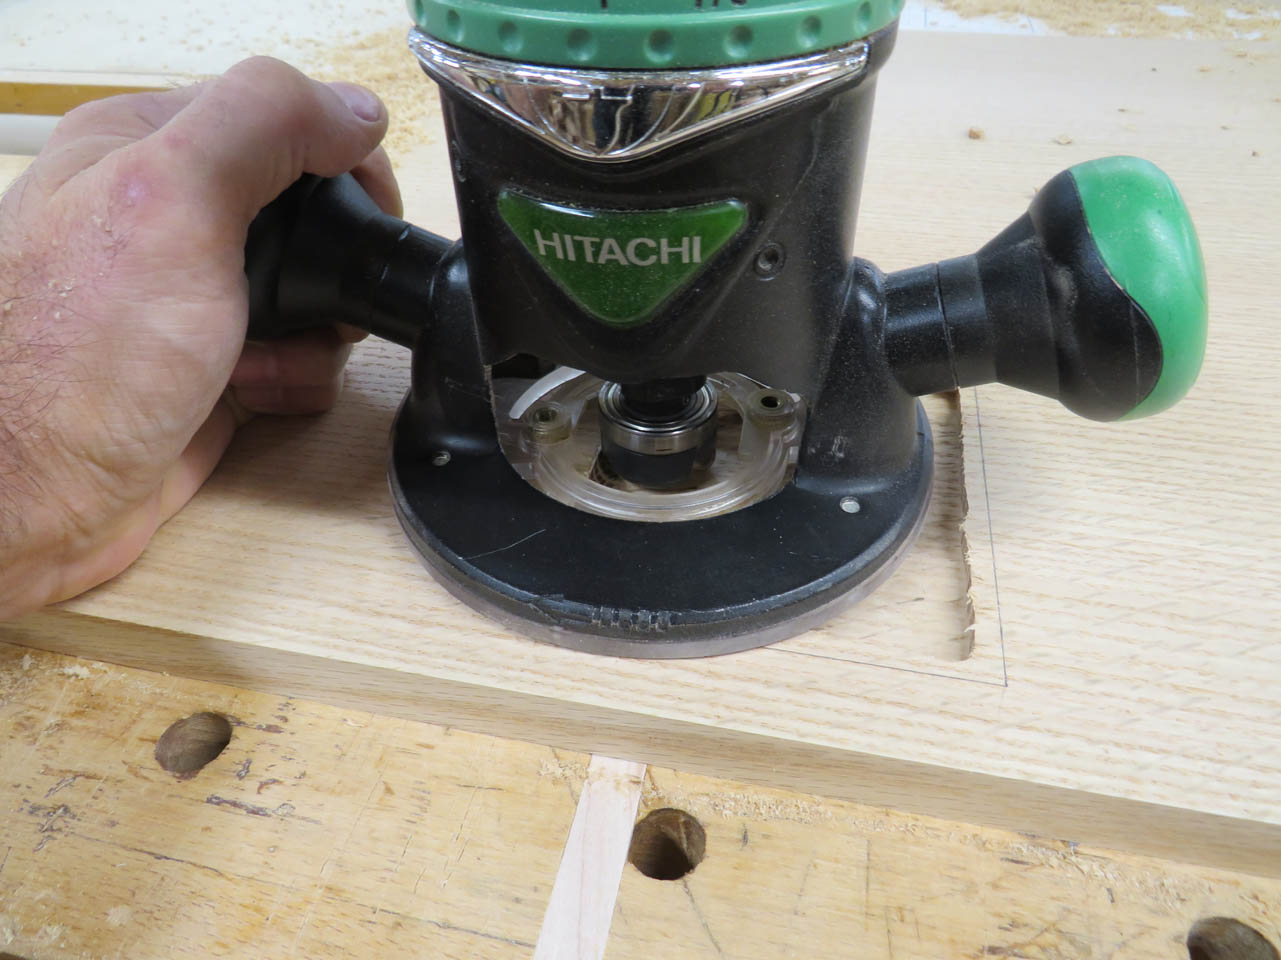
The top of the lectern will require a shallow recess to hold the wireless microphone. Since the top will be at an angle this pocket will prevent it from slipping down.


I am using a spiral bit in my router to cut away the majority of the waste.

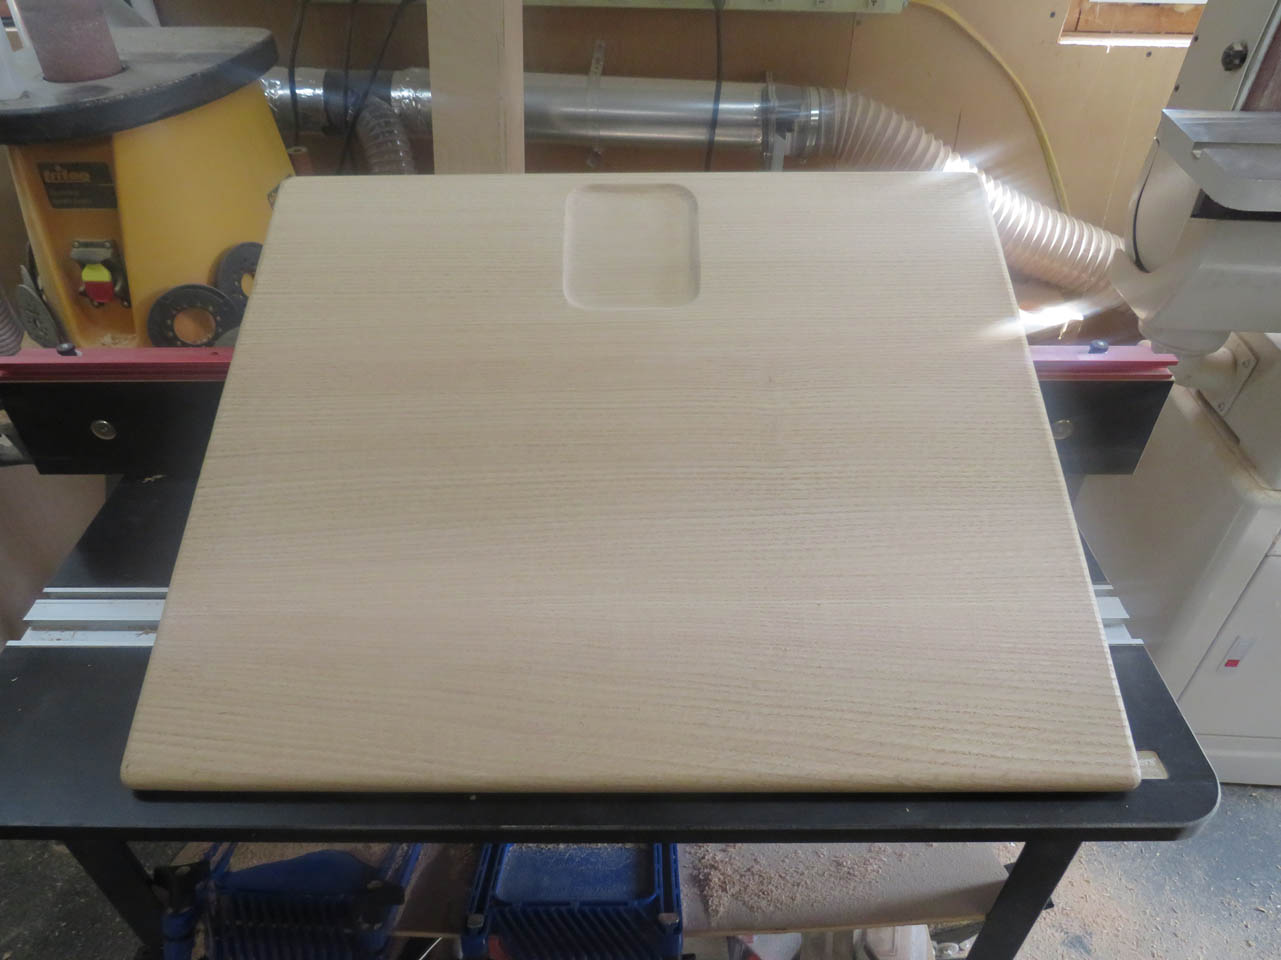
This leaves me a rough recess slightly less than 1/4″ deep.
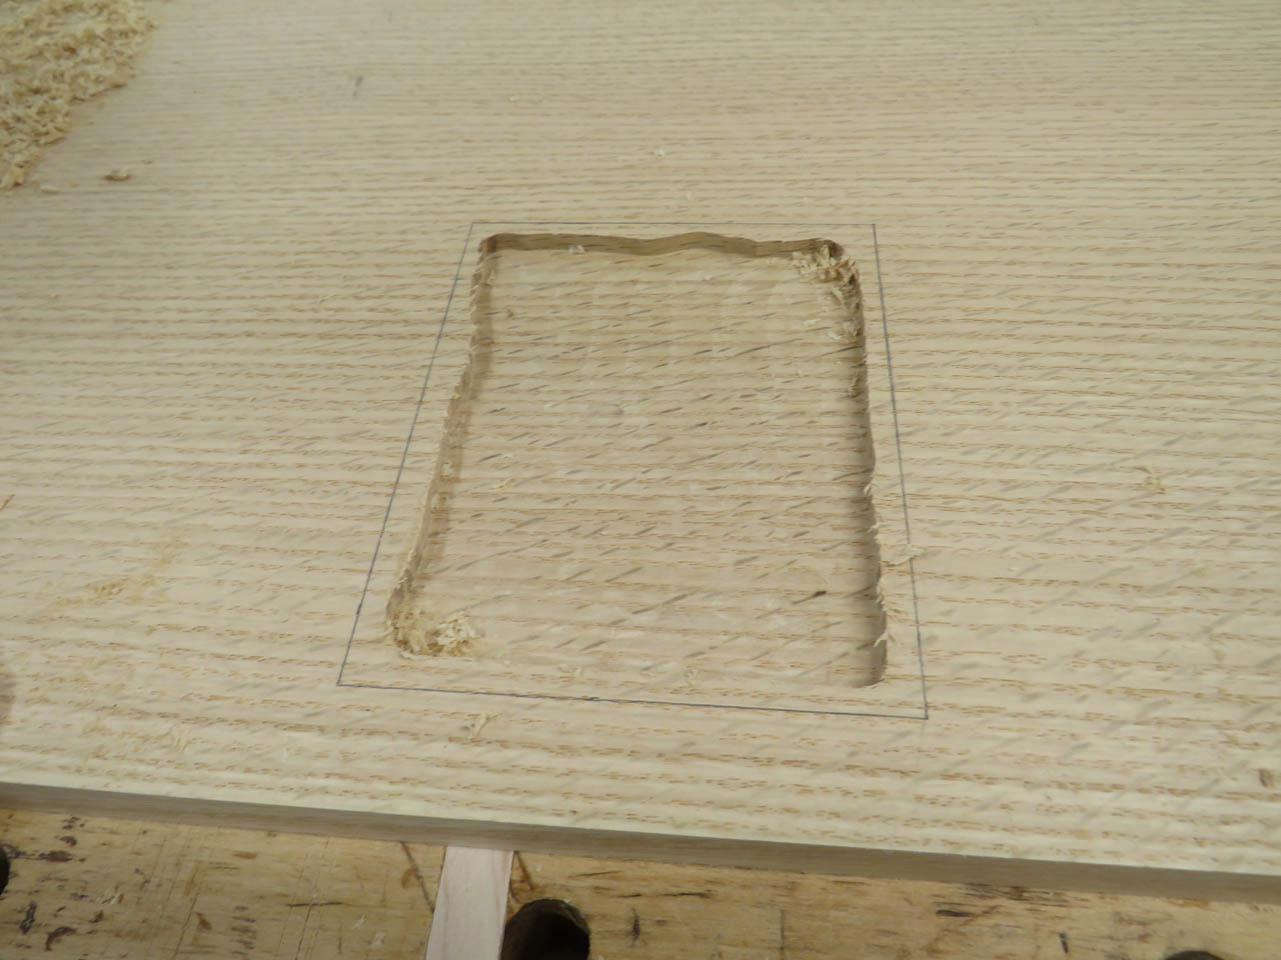
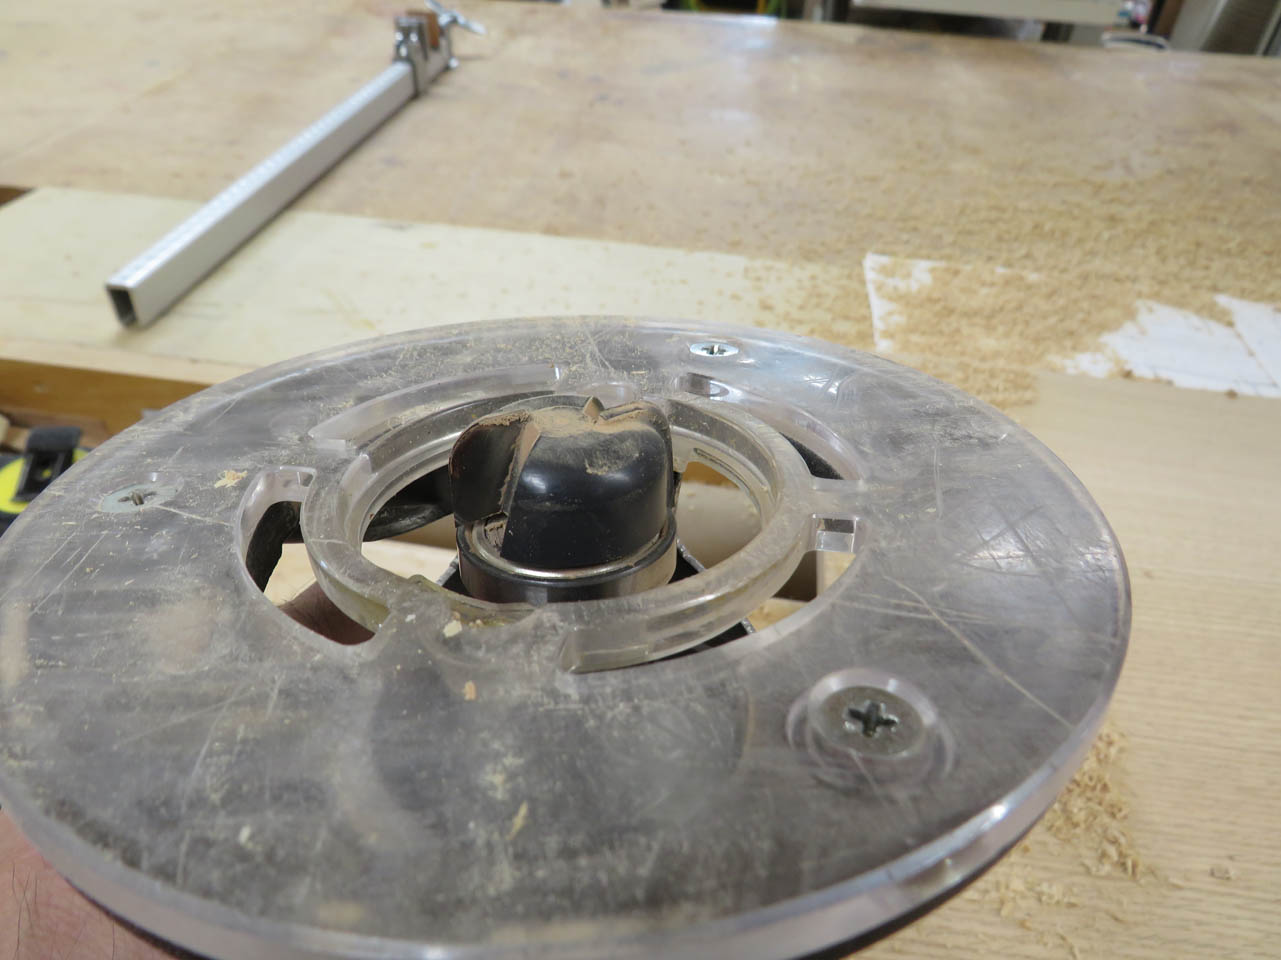
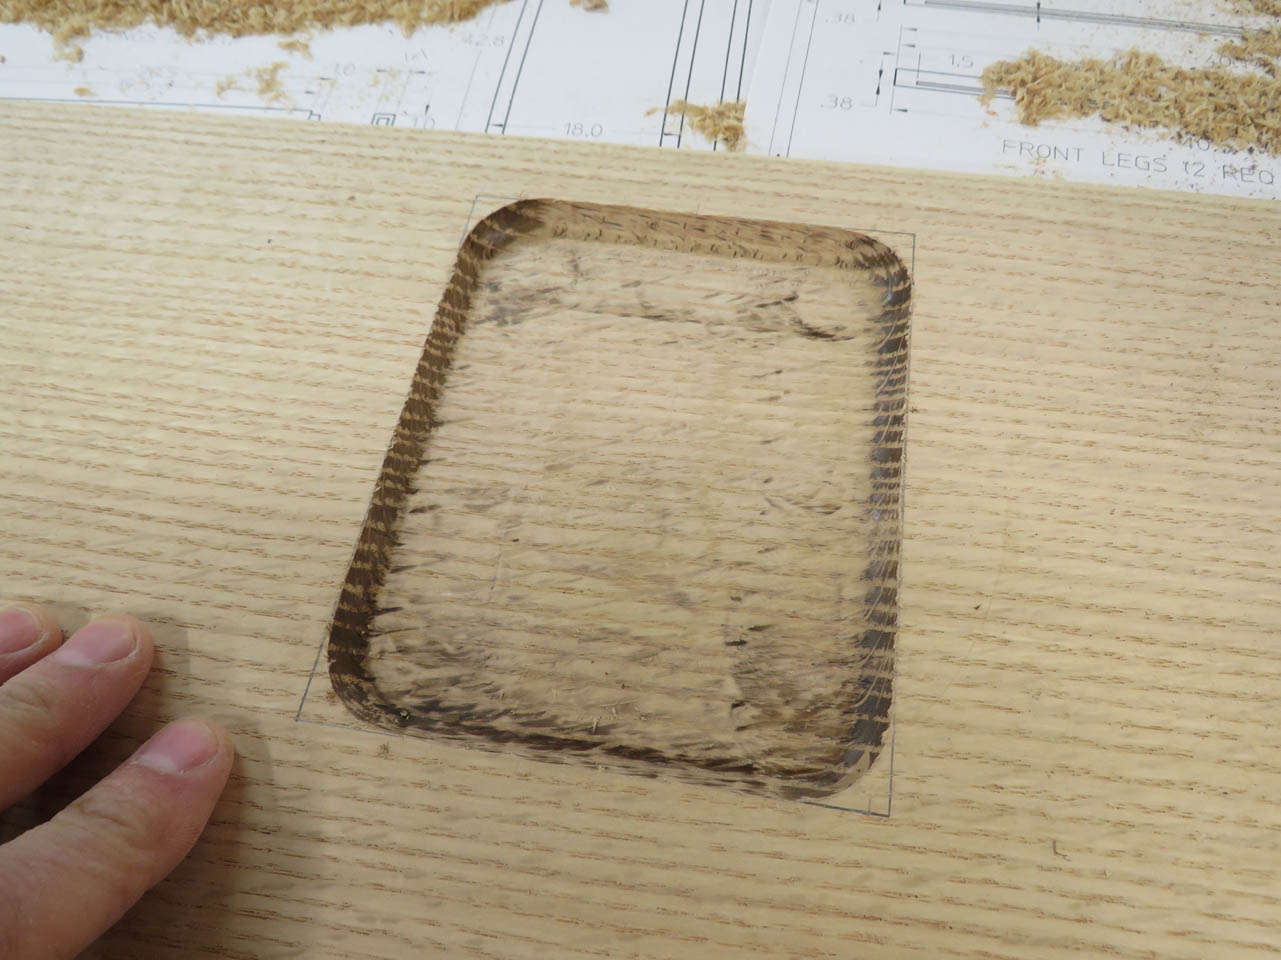
I used a tray cutting bit to bring the cut to it’s full 1/4″ depth and round the sides.
I took my time and freehanded the cut. It does a nice job but left a lot of burn marks to be sanded,
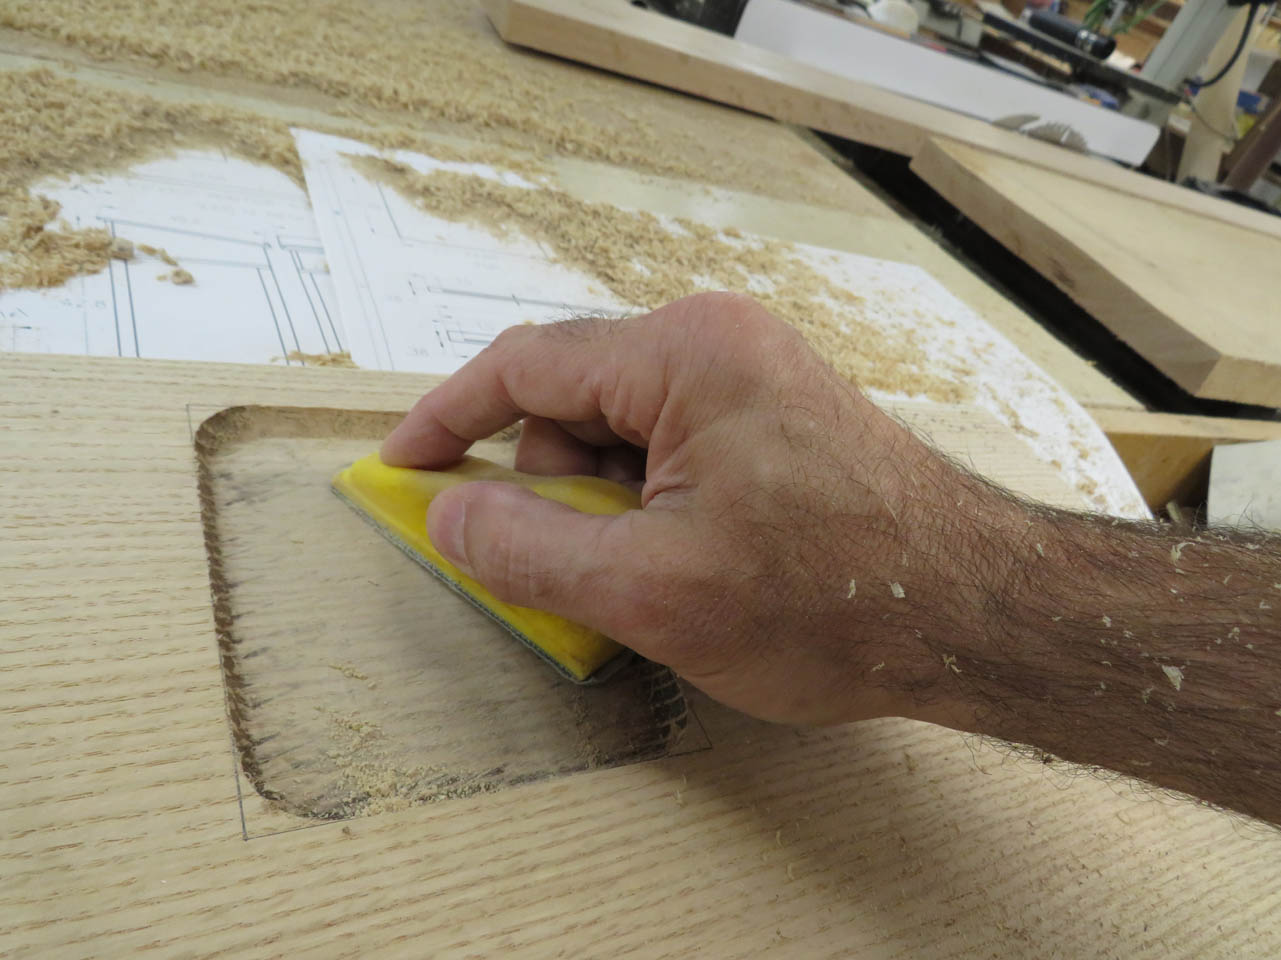
I tried sanding by hand, using a couple different methods.

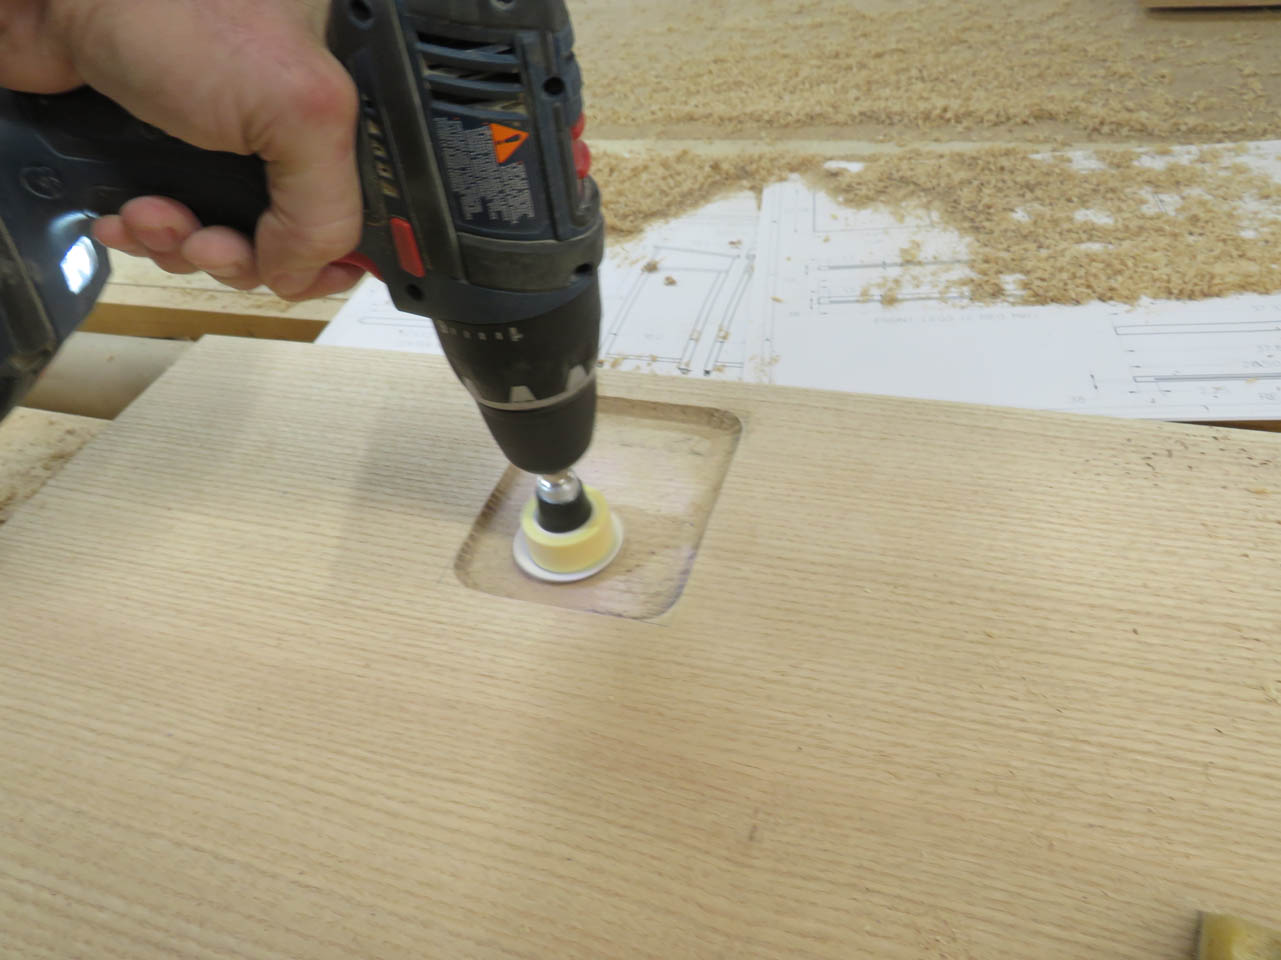
But eventually broke out the power tools…

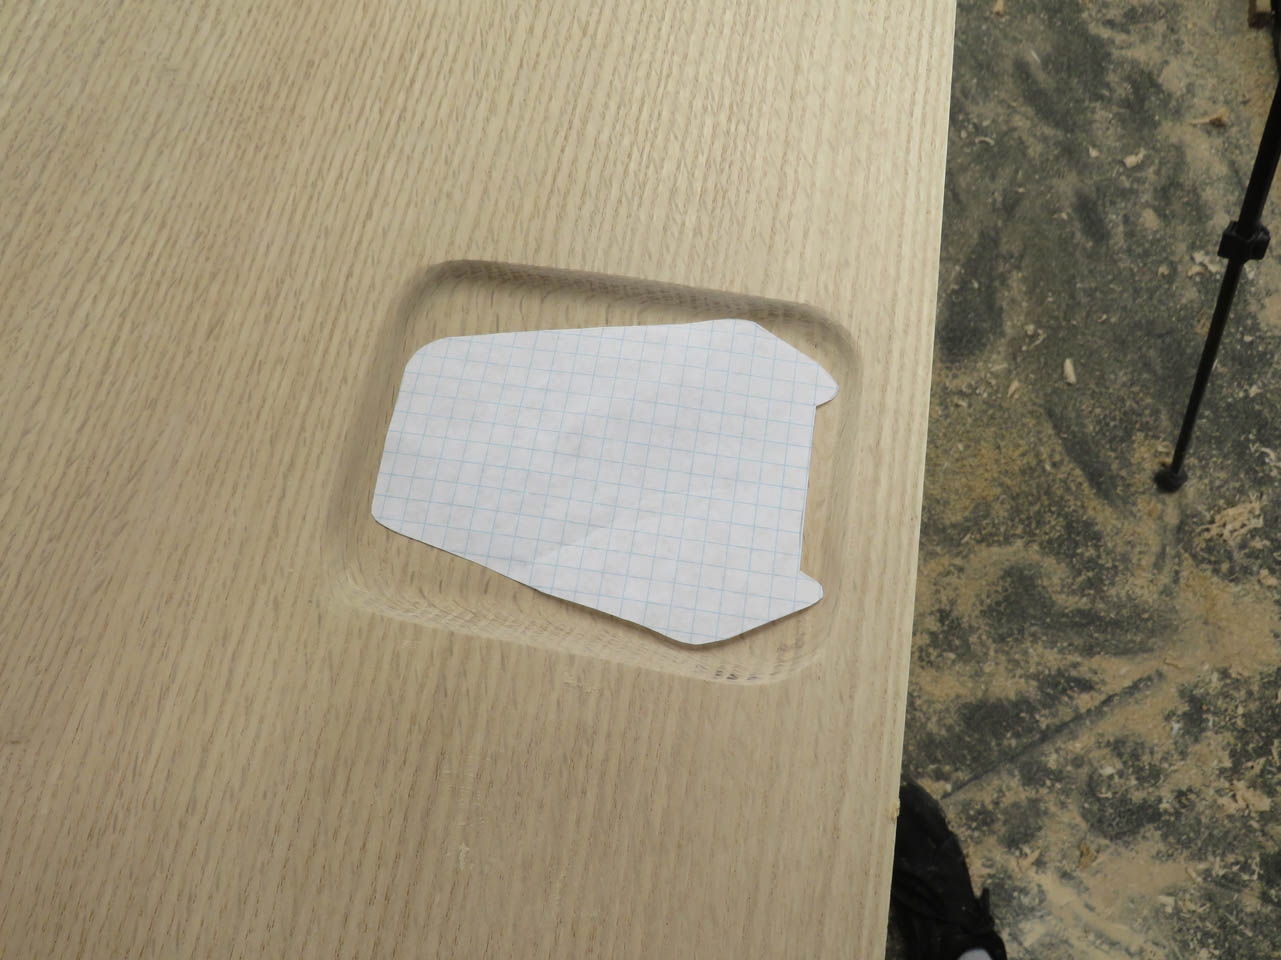
I cut a template of the wireless mic. base and did a test fit. It has about 1/8″ of wiggle room, so that will work just fine.
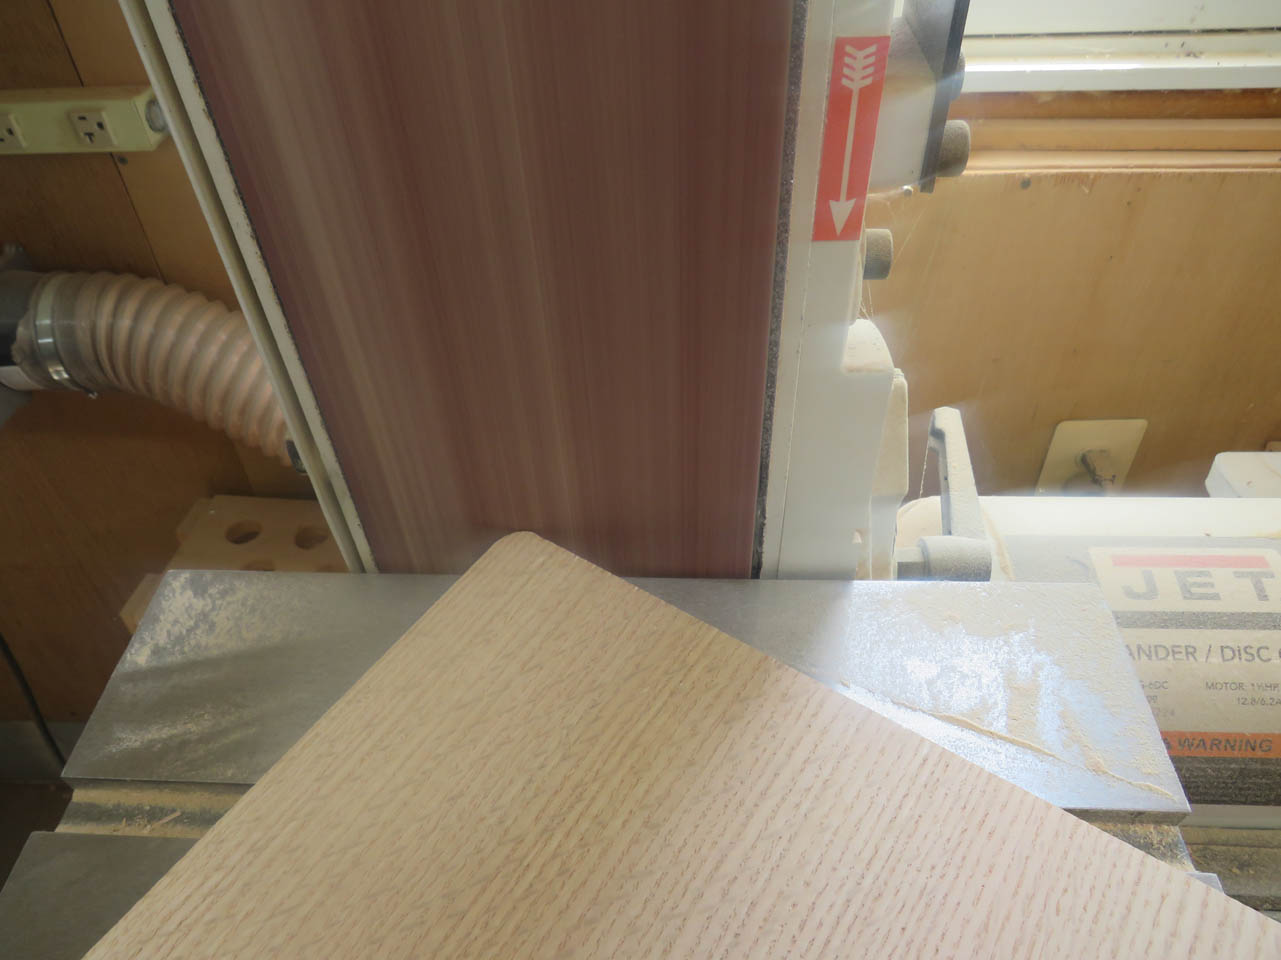
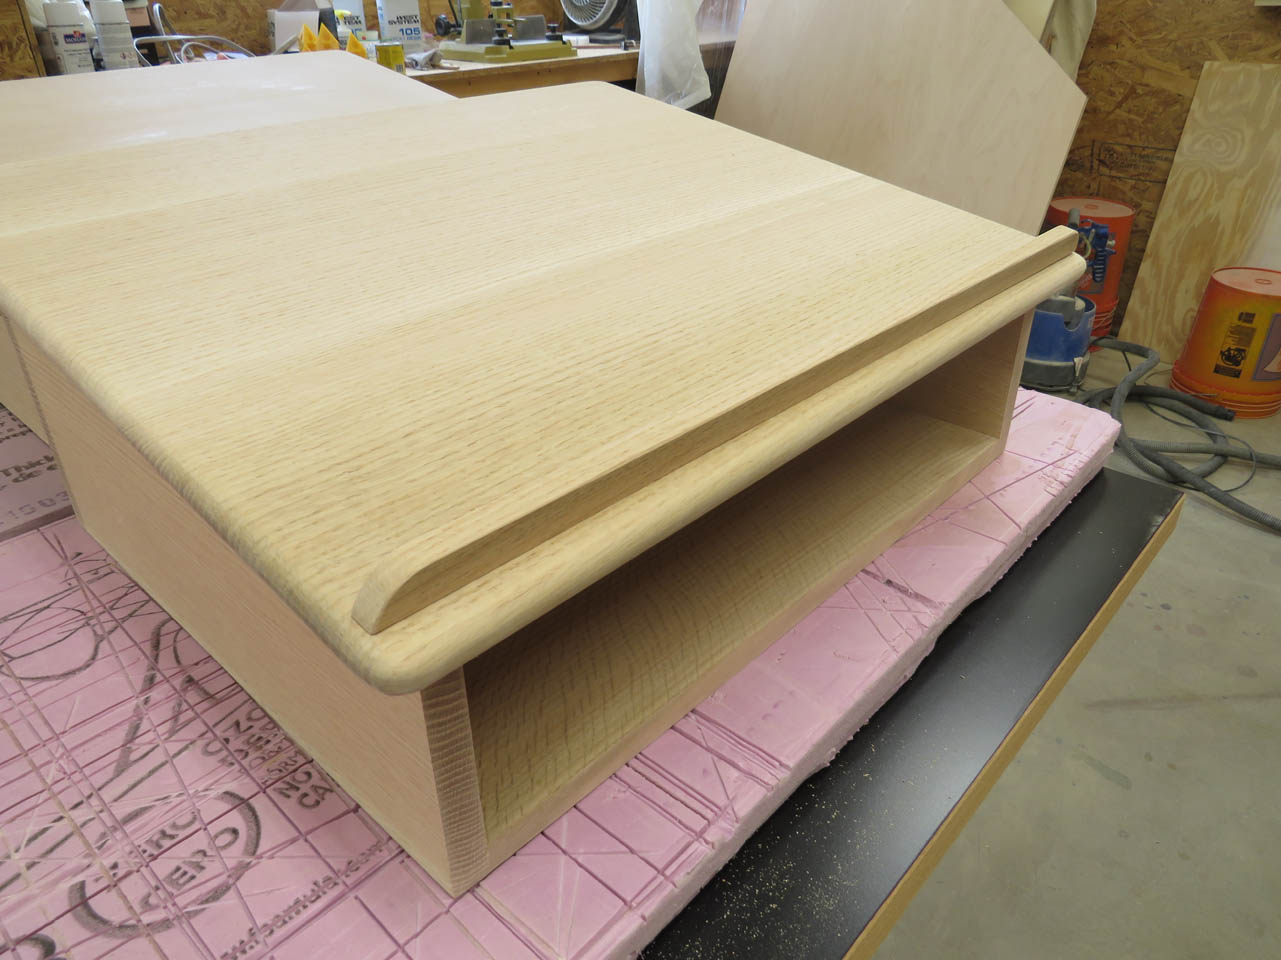
Now I can finish edging all three tops. I started by rounding the corners of each on the big belt sander.
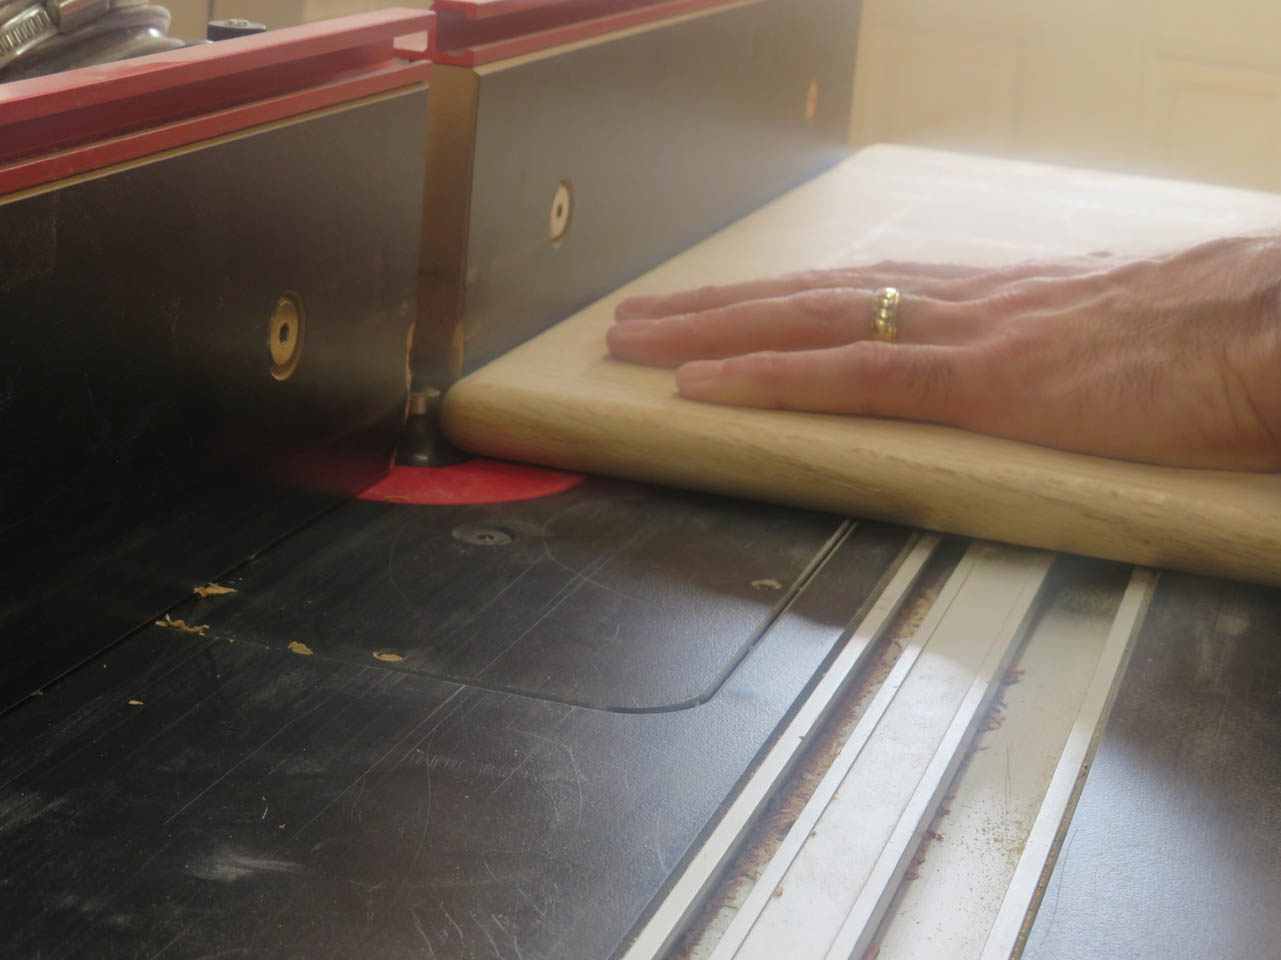
Then I used a 3/8″ round-over bit to edge the top and bottom of each side, creating a 3/4″ bullnose all the way around.
With a little finish sanding, the tops are nearly complete.


All that remains is the book ledge.
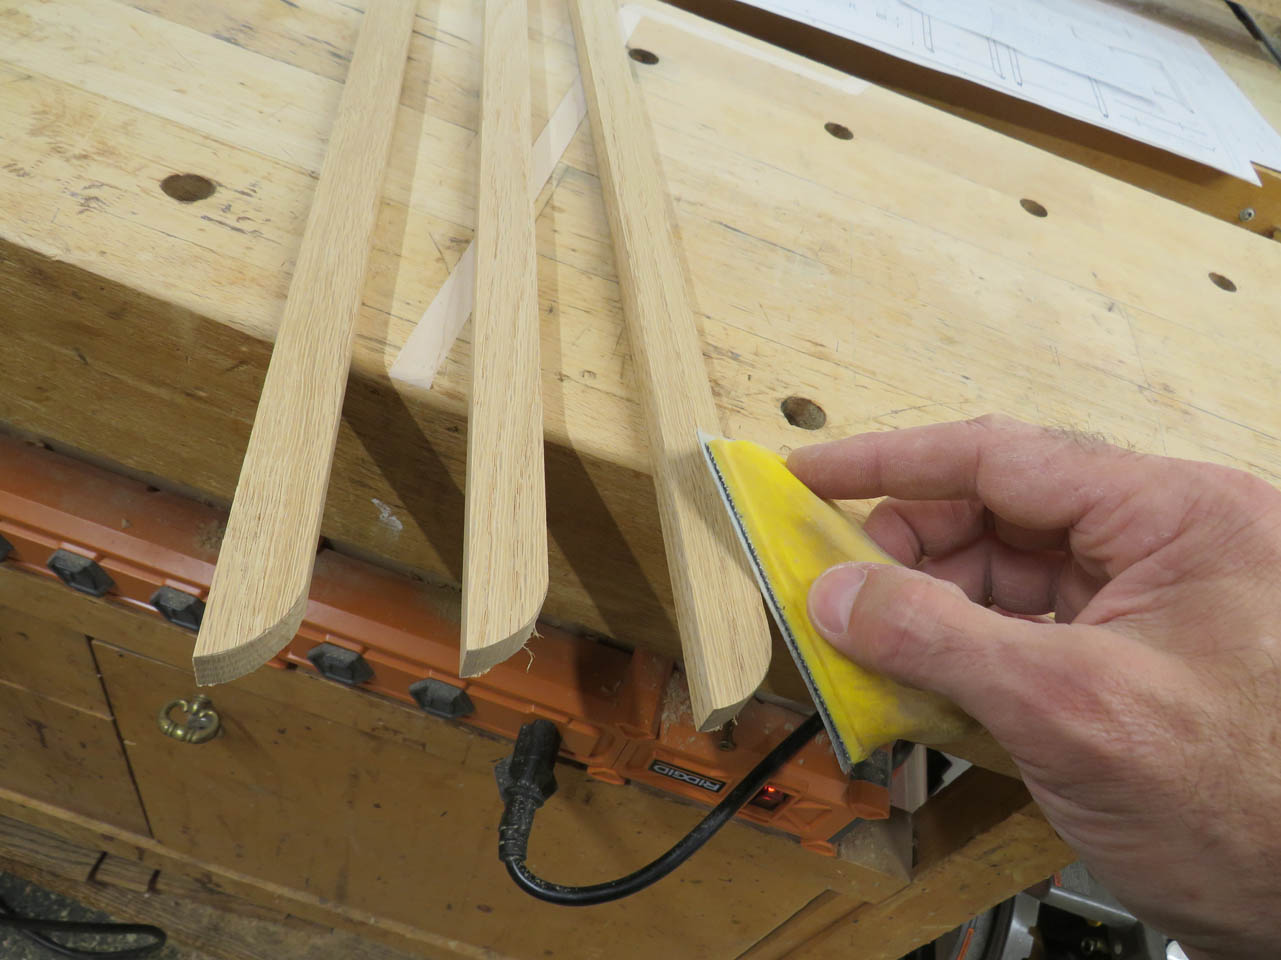
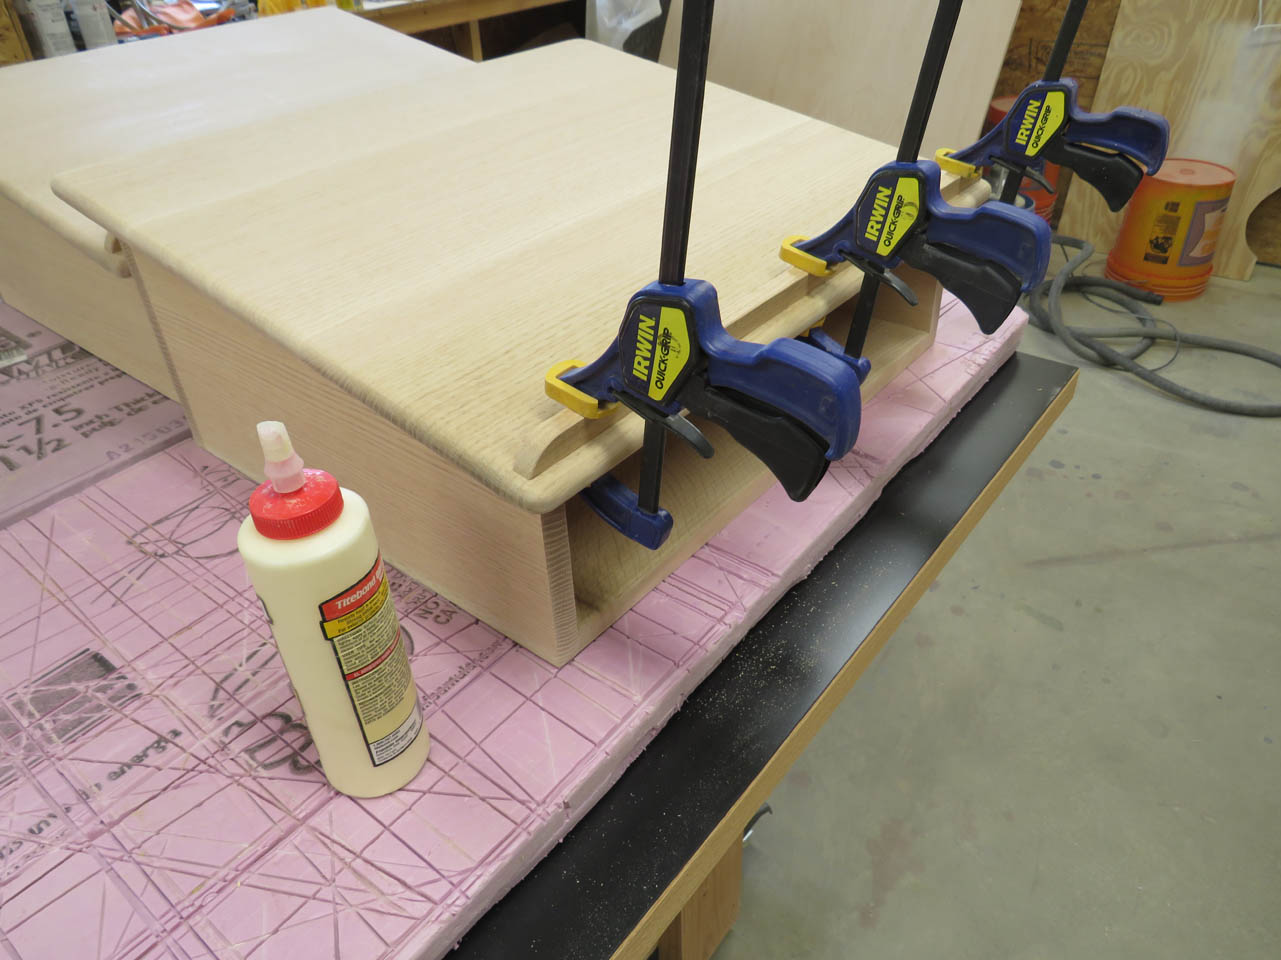
These were cut and sanded, then glued in place.

Now that the tops are done, I can start cutting and milling down all of the pieces to create the bases.


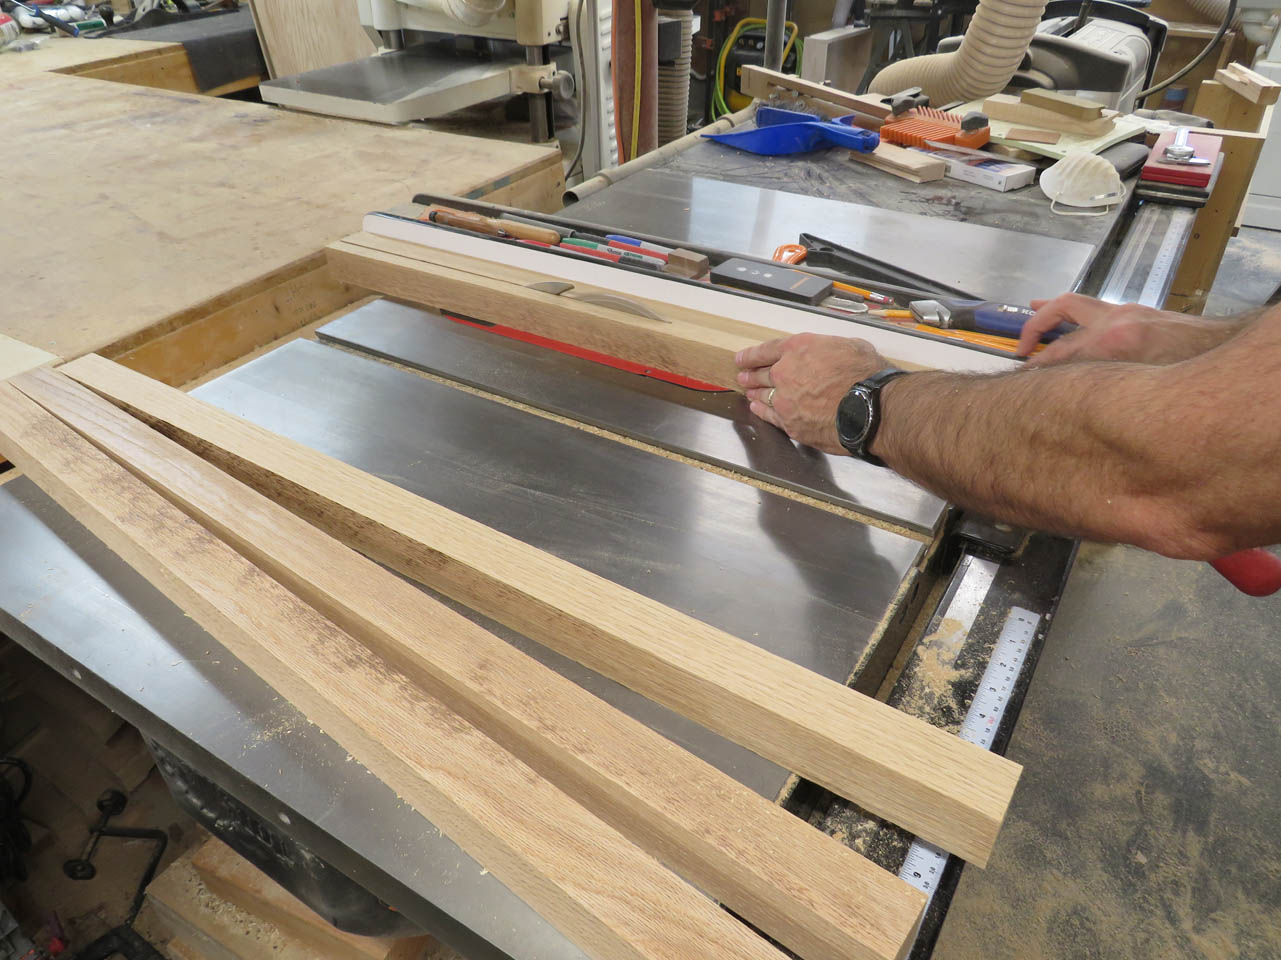
I cut blanks for all of the base pieces for both guestbook stands as well as the lectern.
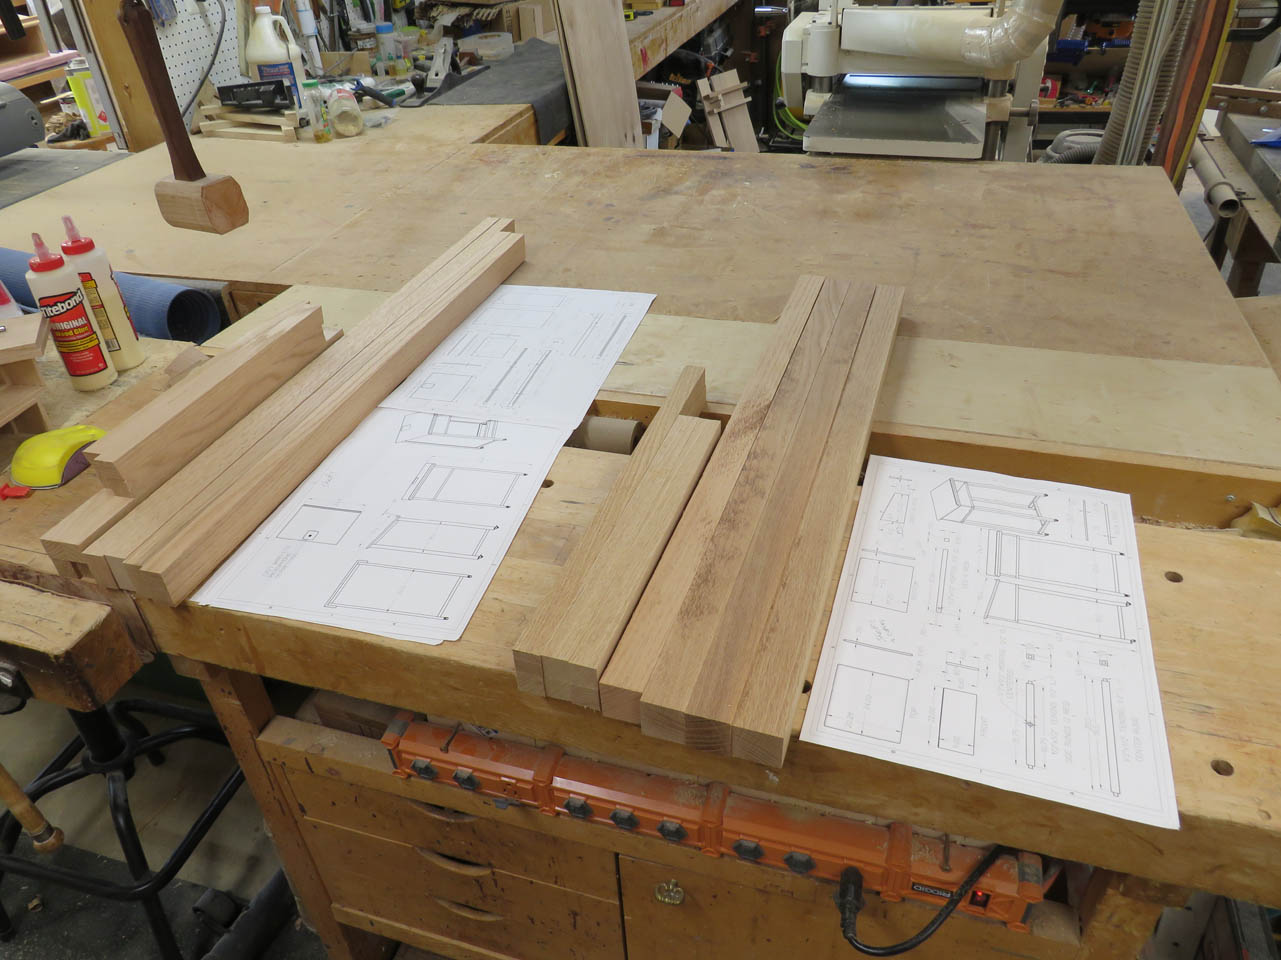
Next they will get cut to length and be cut for their particular joinery method.

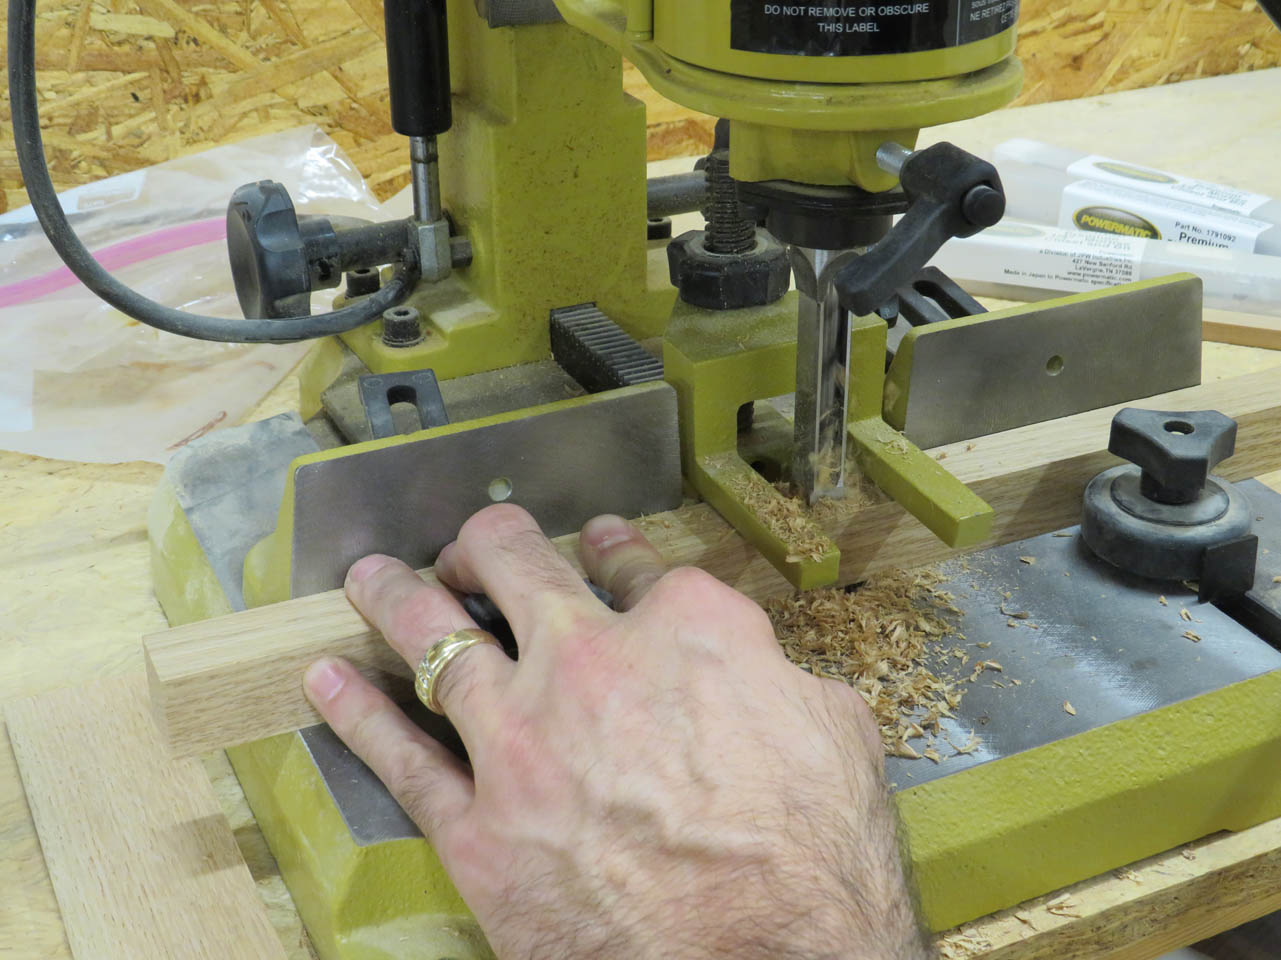
I will be using simple mortise and tenons on the guestbook stand. The mortises are cut with my mortiser.
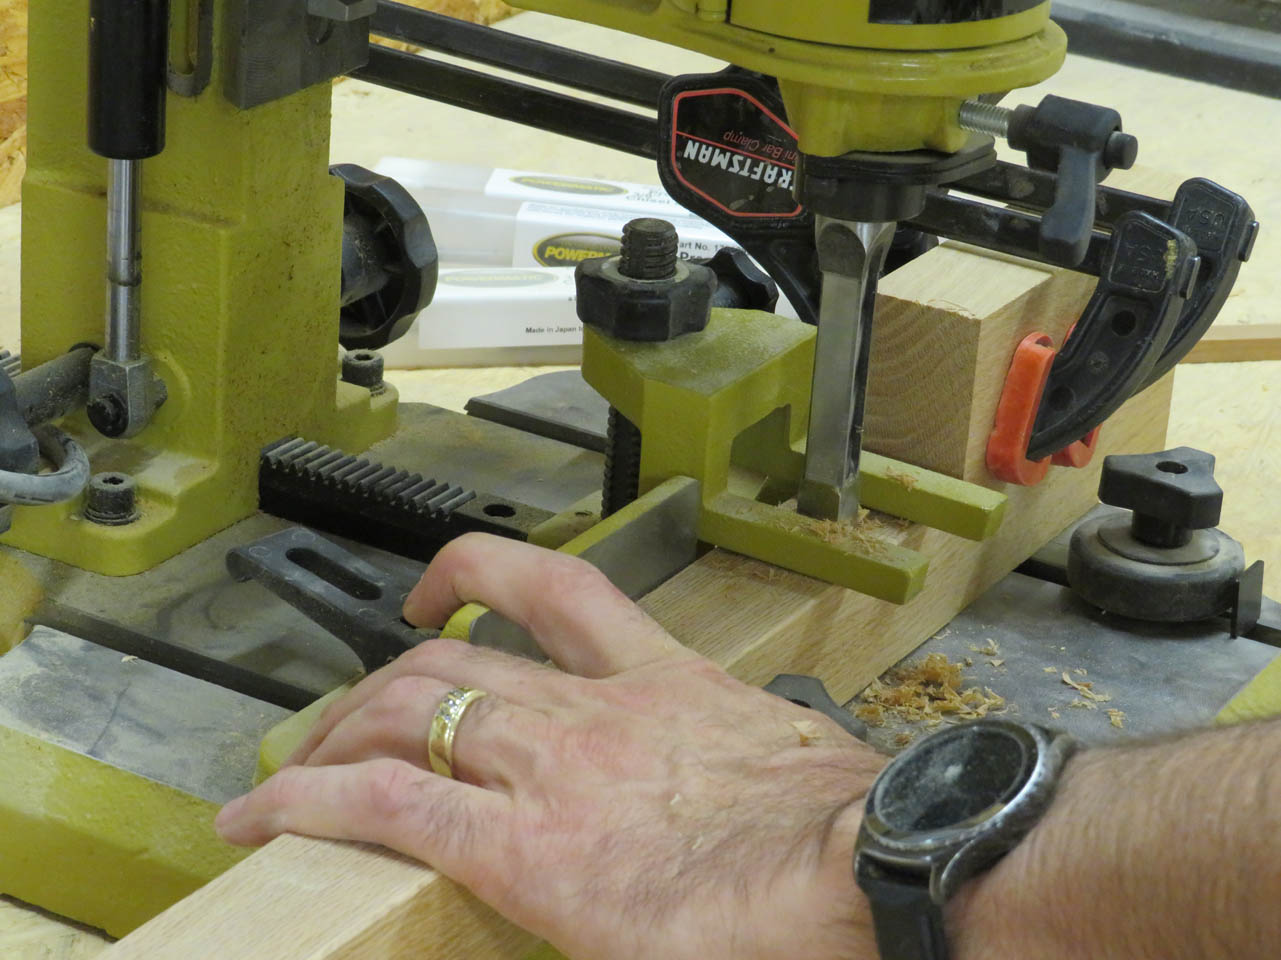
I loaded a 1/2″ mortising bit.

To create a basic 1/2″ x 1/2″ square hole.

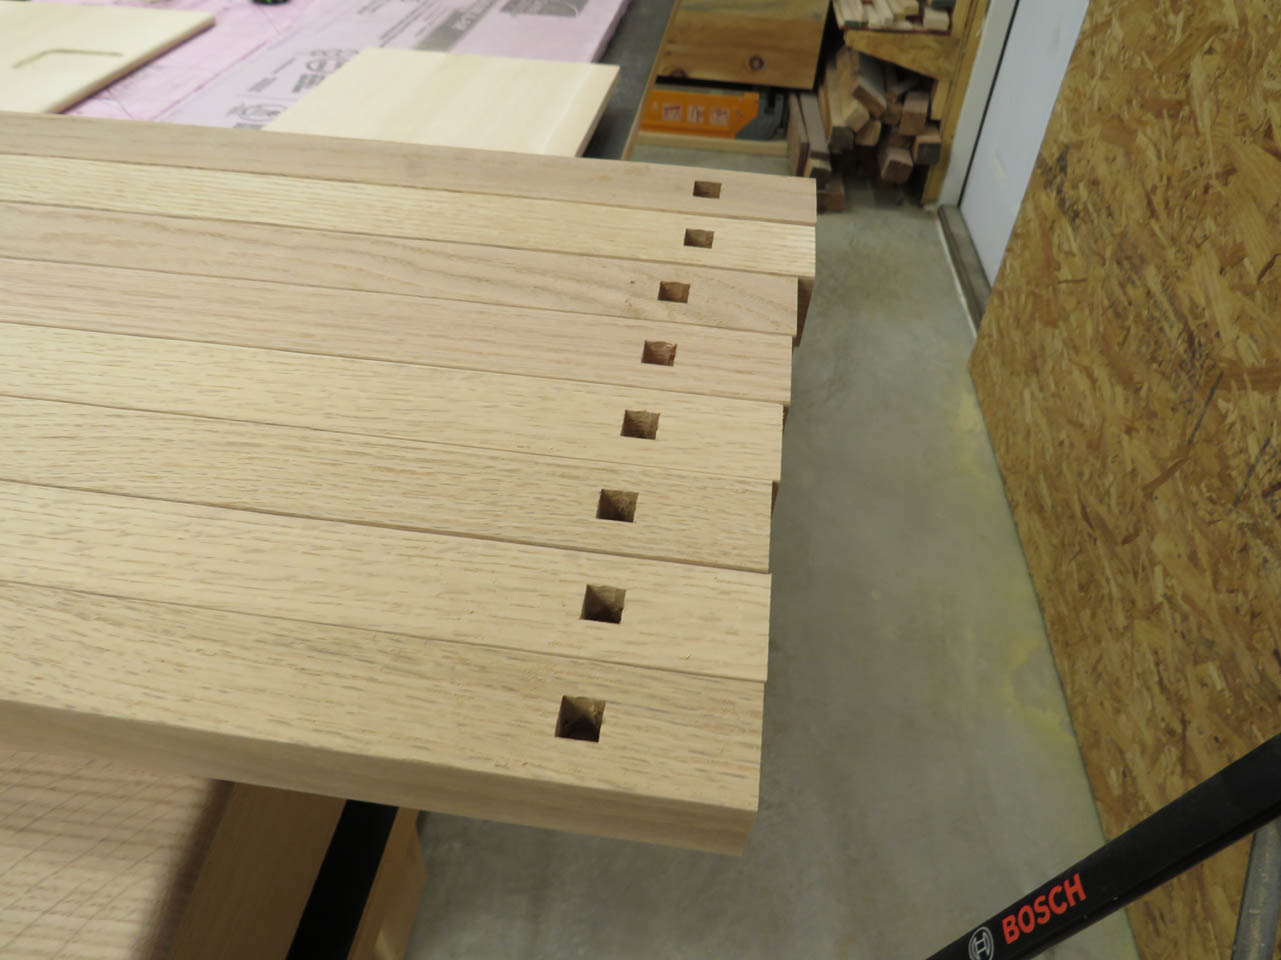
I placed one at the bottom of each leg, and one in the middle of each cross bar.

I used a small cross-cut sled to create a simple 1/2″ tenon on the end of each cross bar.
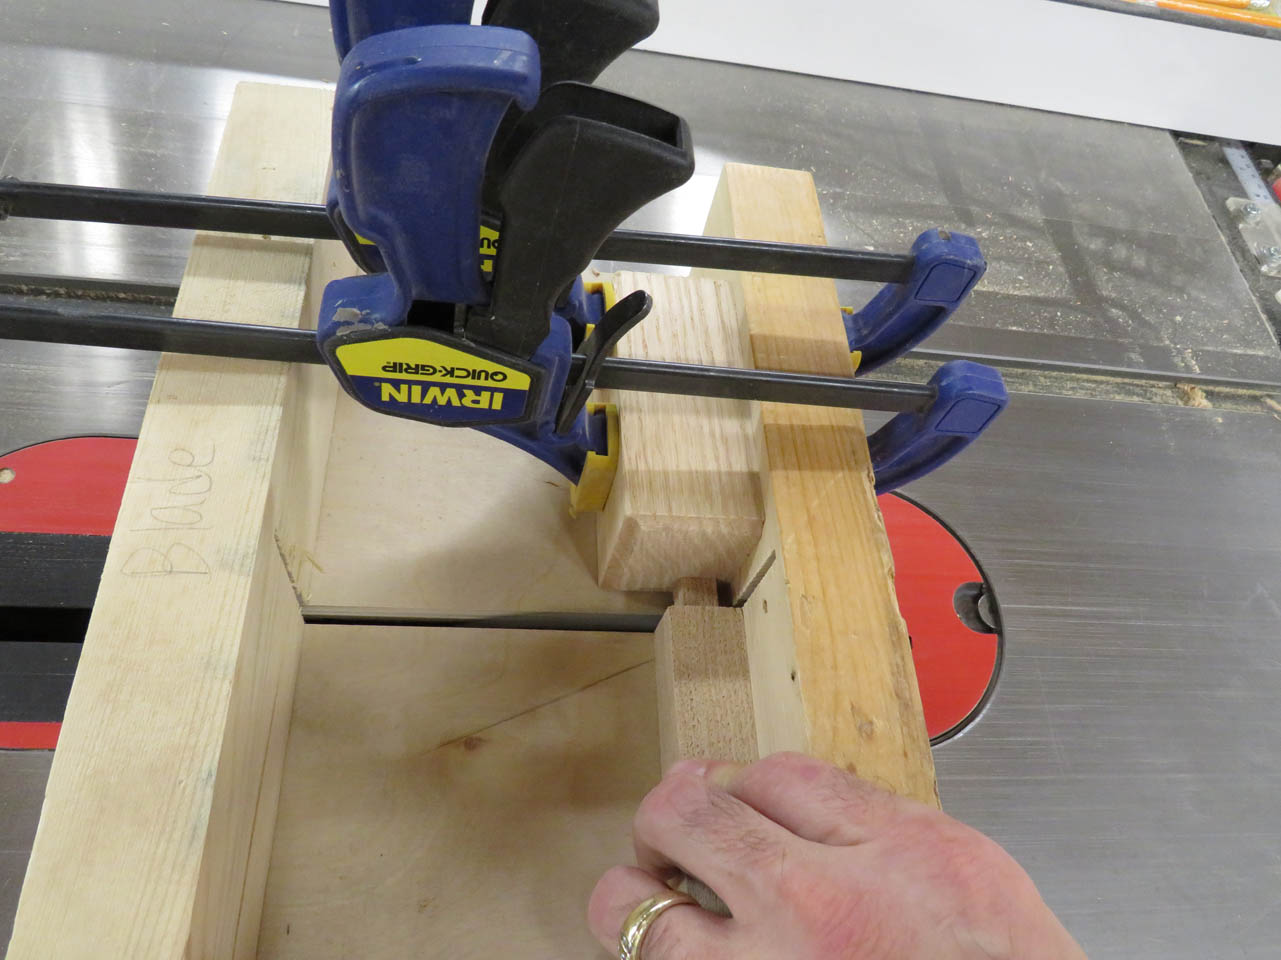
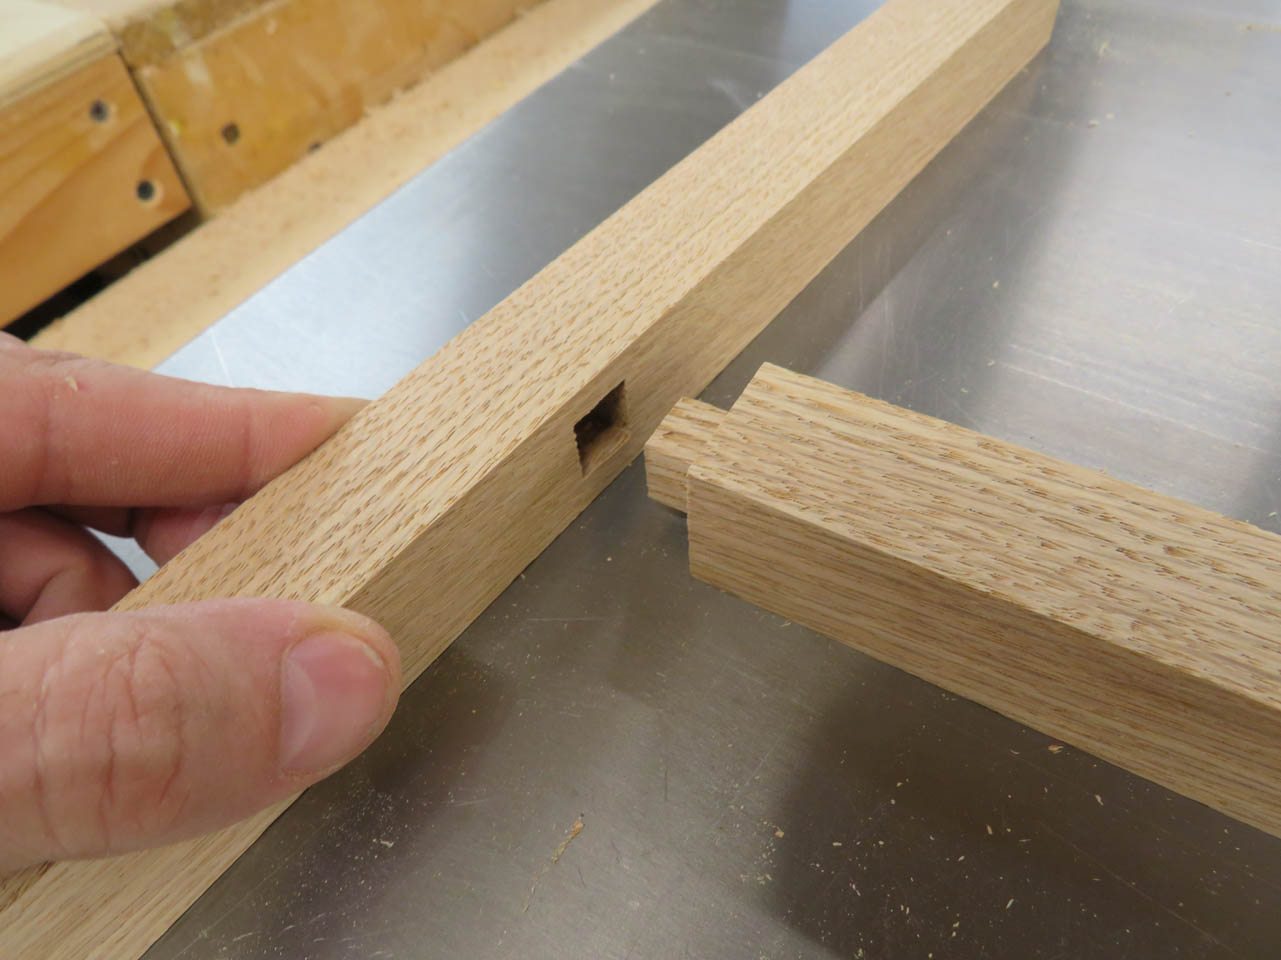
These will press tightly into the 1/2″ mortises.
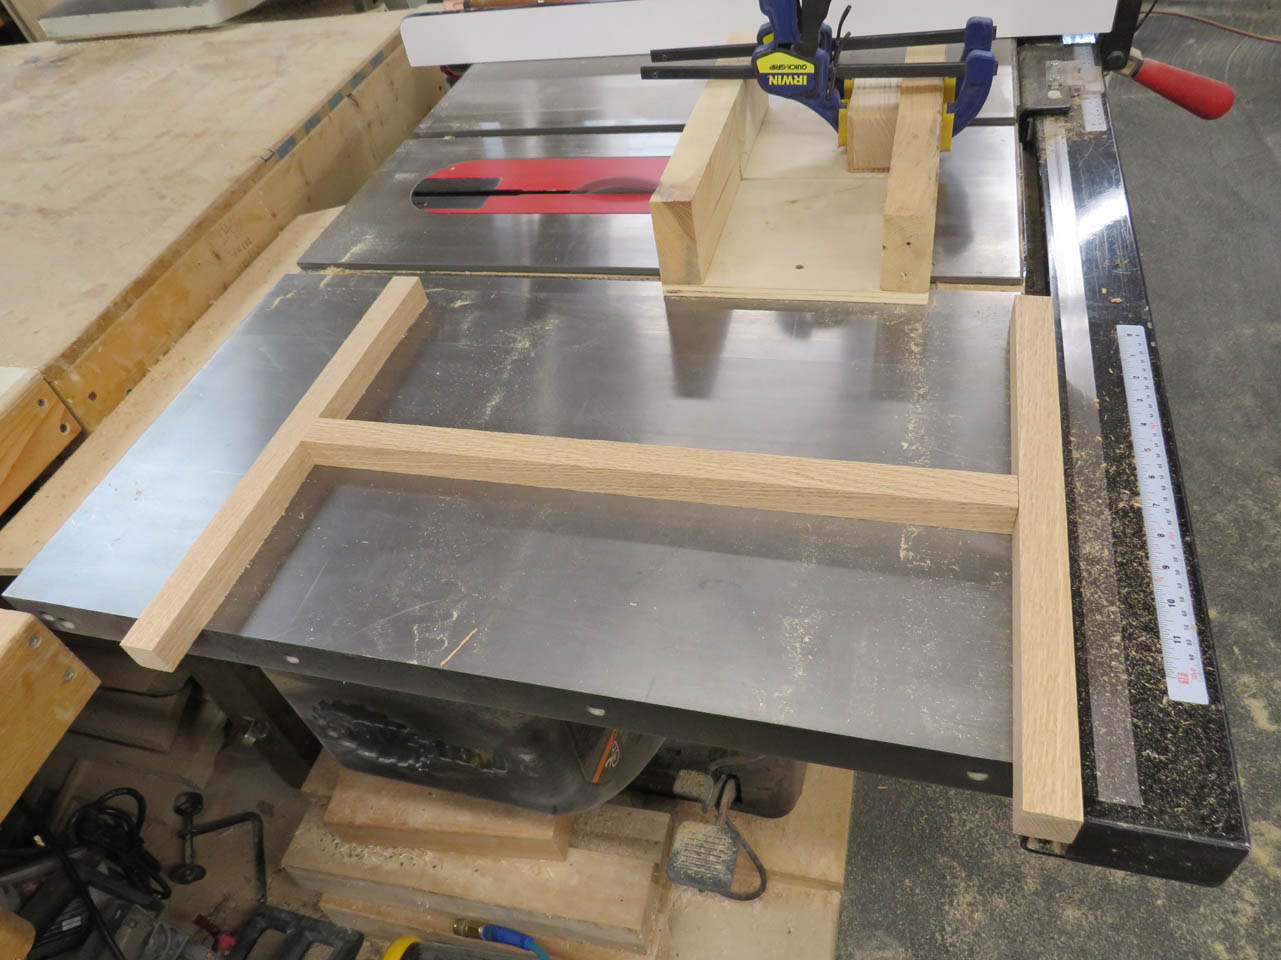
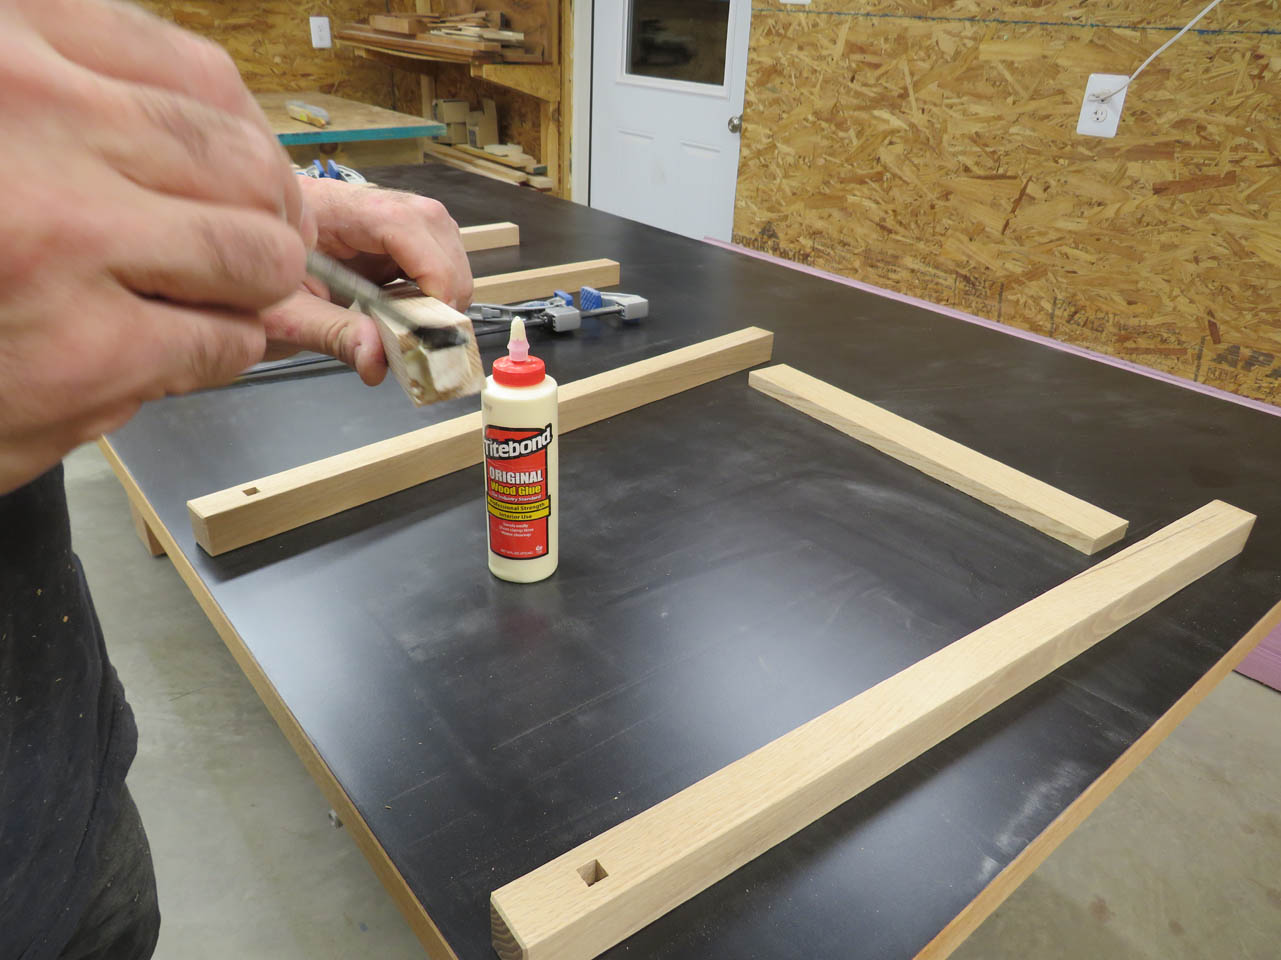
I apply glue to each of the tenons and start glueing up the side assemblies.
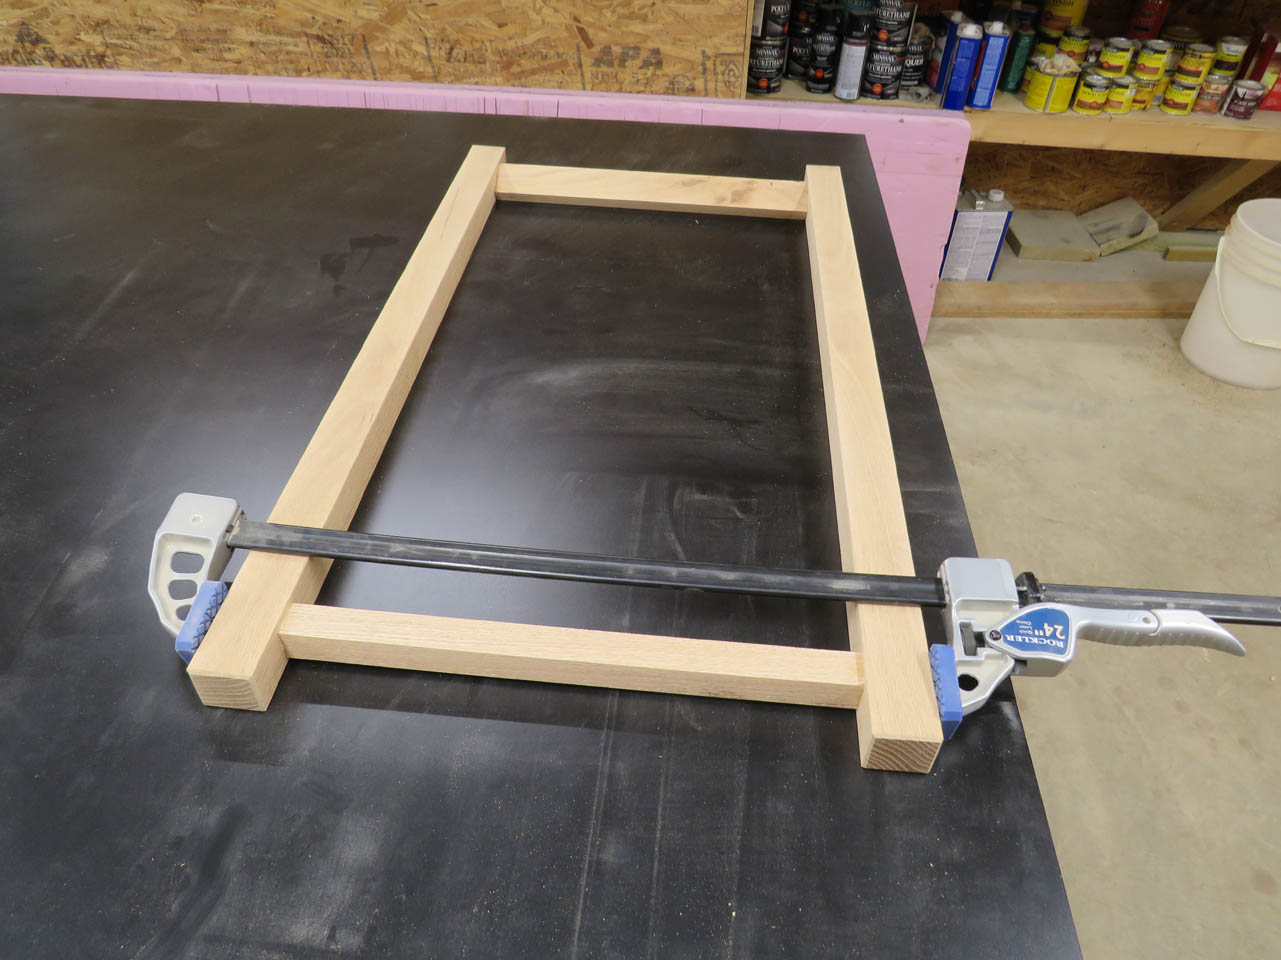
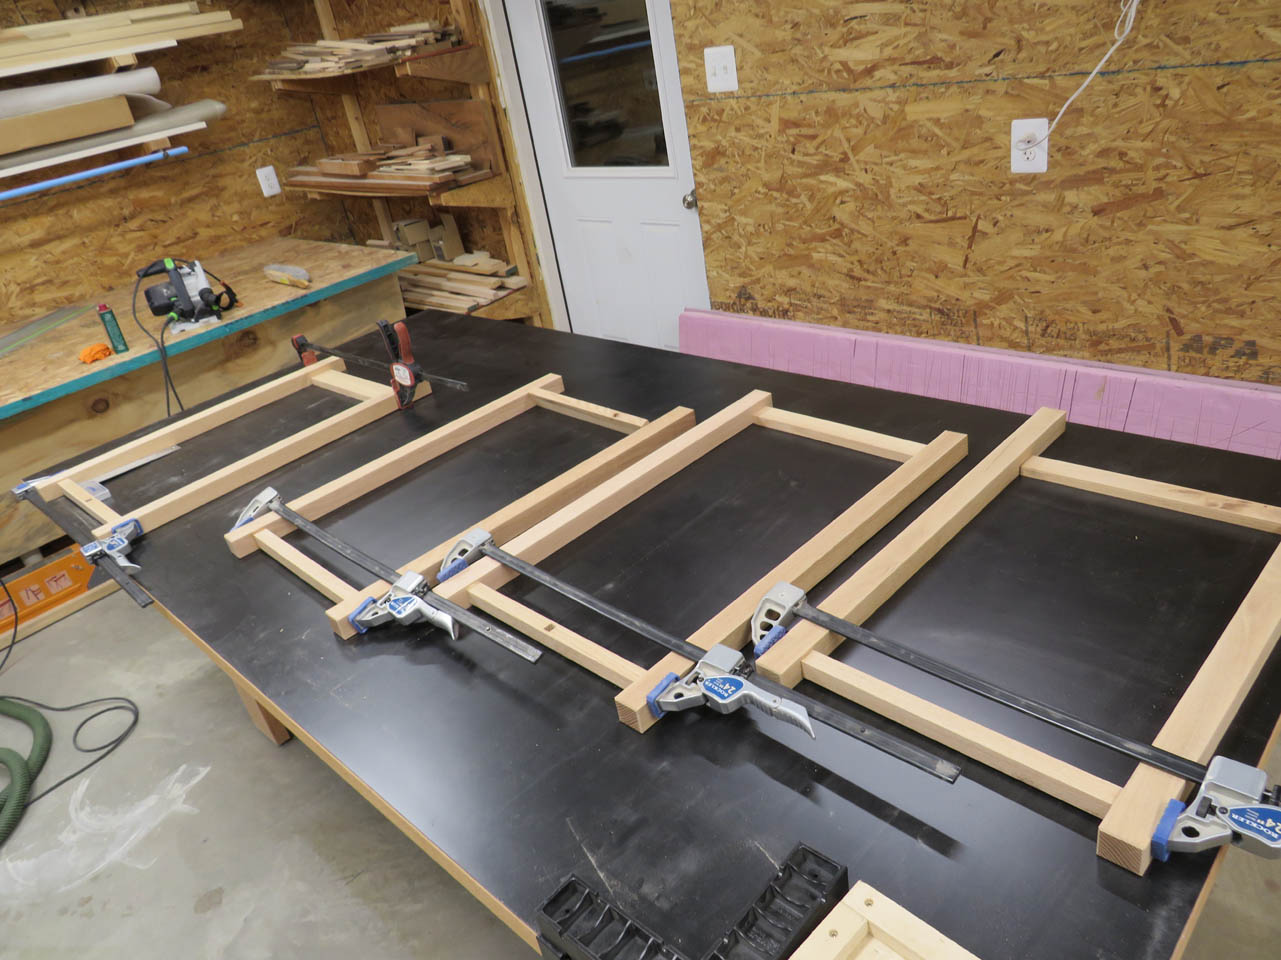
Once they are dry, I can glue and clamp the cross-bars.


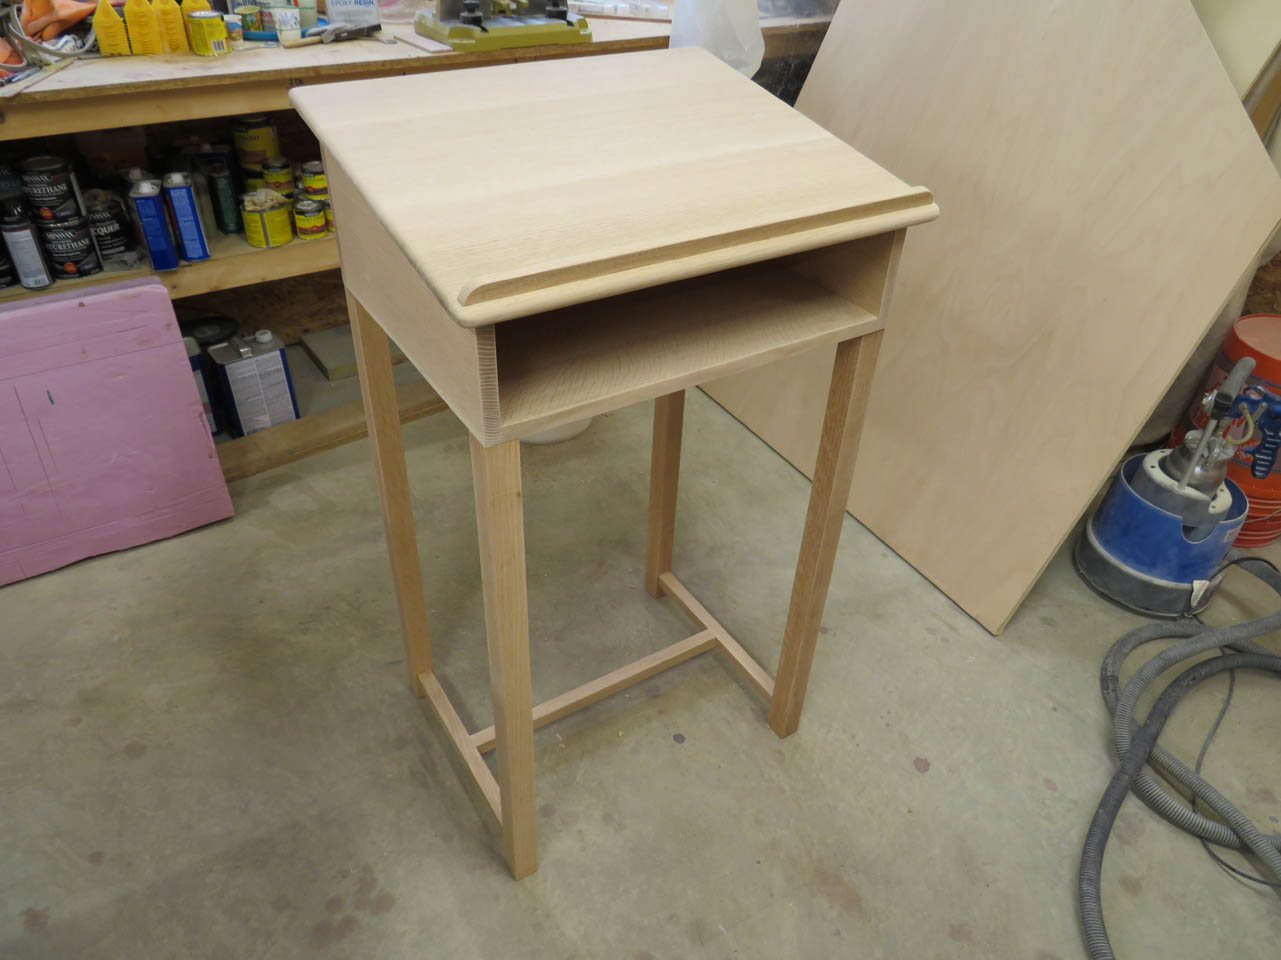
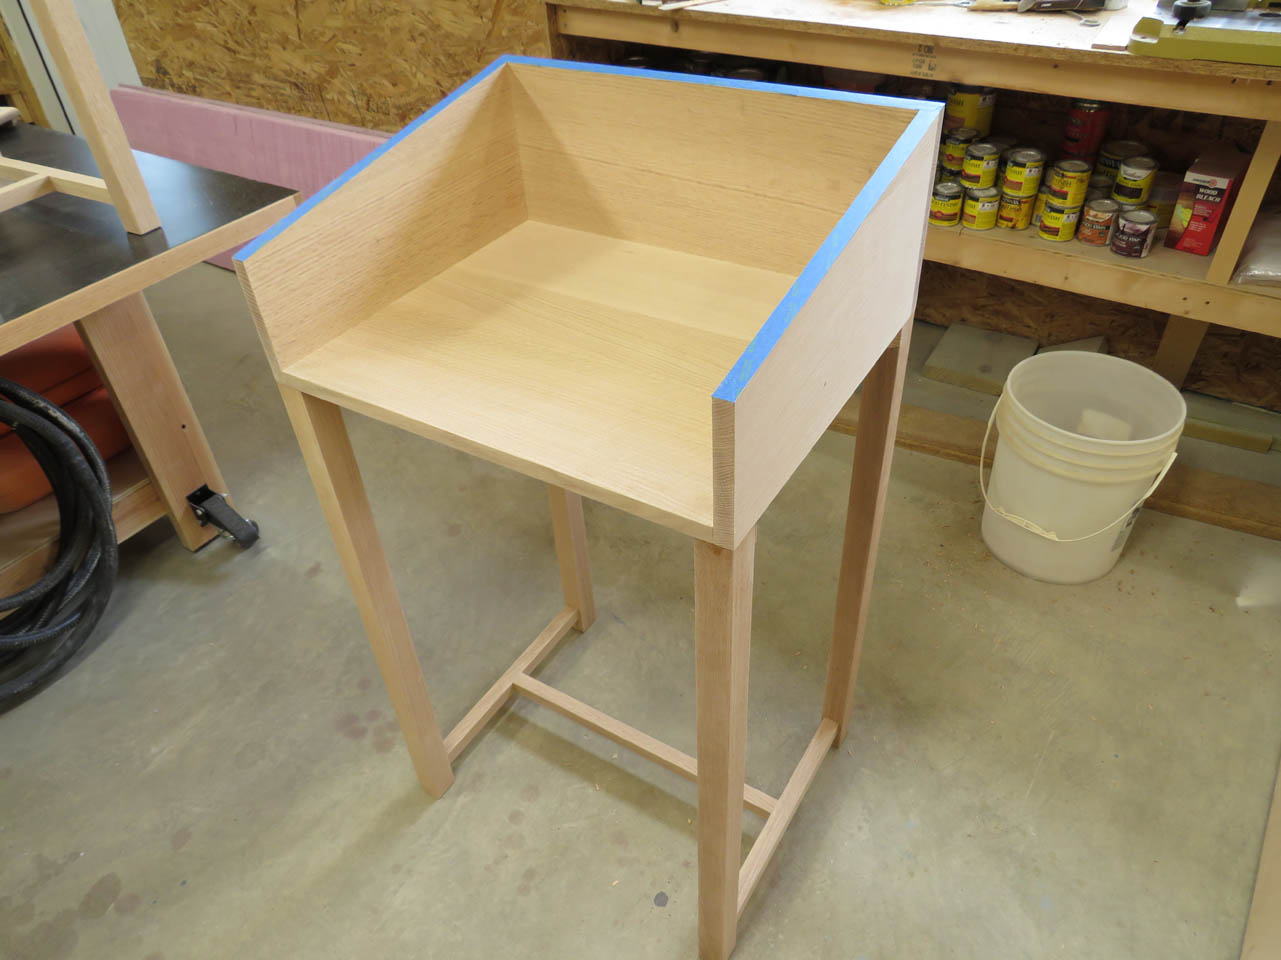
I set the top in place to see how the finished stand would look. I am happy with the look, but need a good way to attach the top section that will prevent it from being wobbly.
I test clamped some crossbars at the top and it helped make the stand significantly more rigid.

So, I added two of these brackets to the design .

They get glued to the tops of the legs and provide a good location to mount the top assemblies.

While those were drying, I moved back to the top assemblies. In order to properly apply finish inside of these, I will have to leave the tops off and pre-finish them before final assembly.
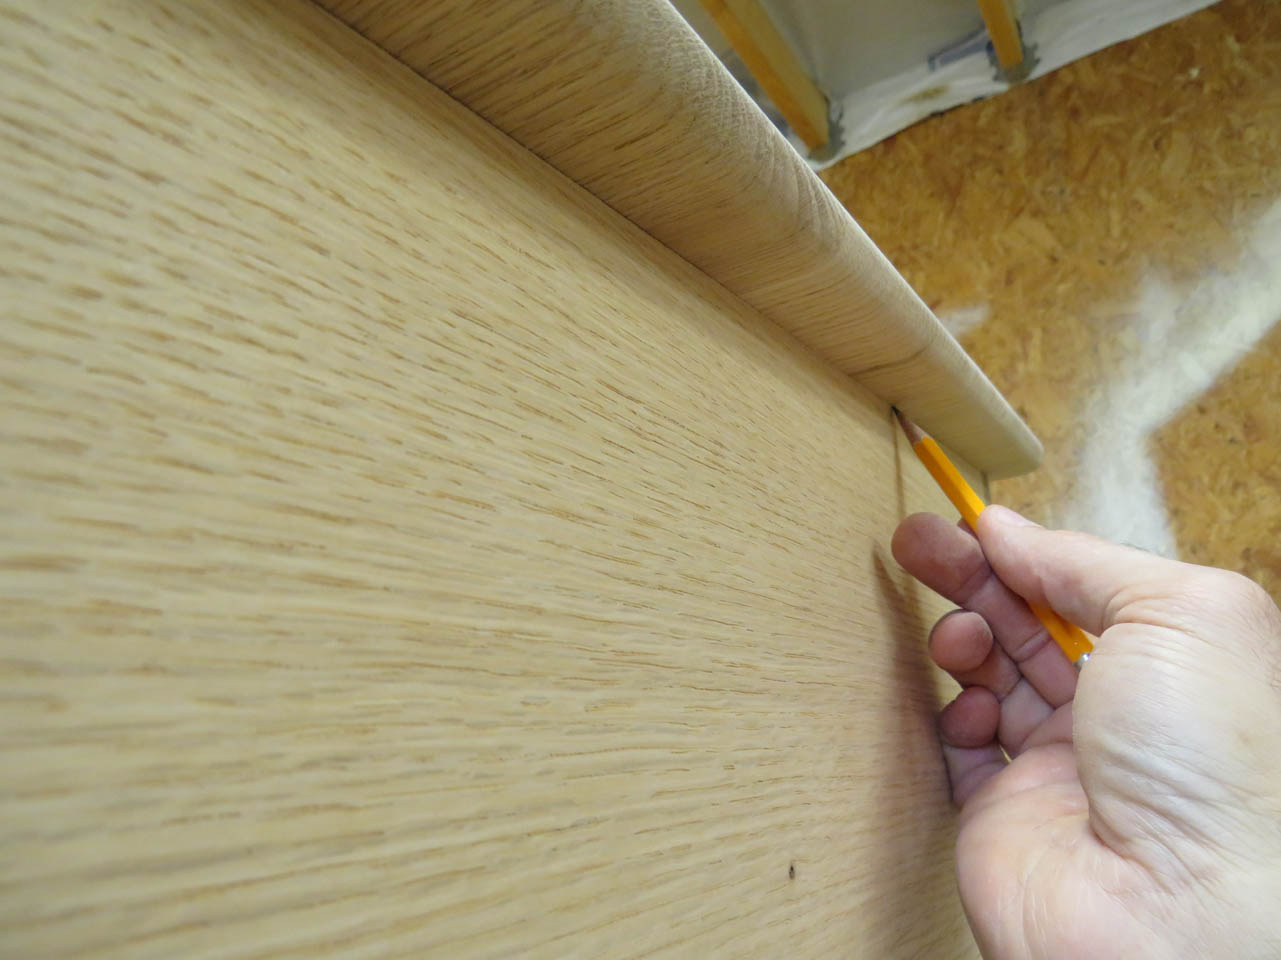
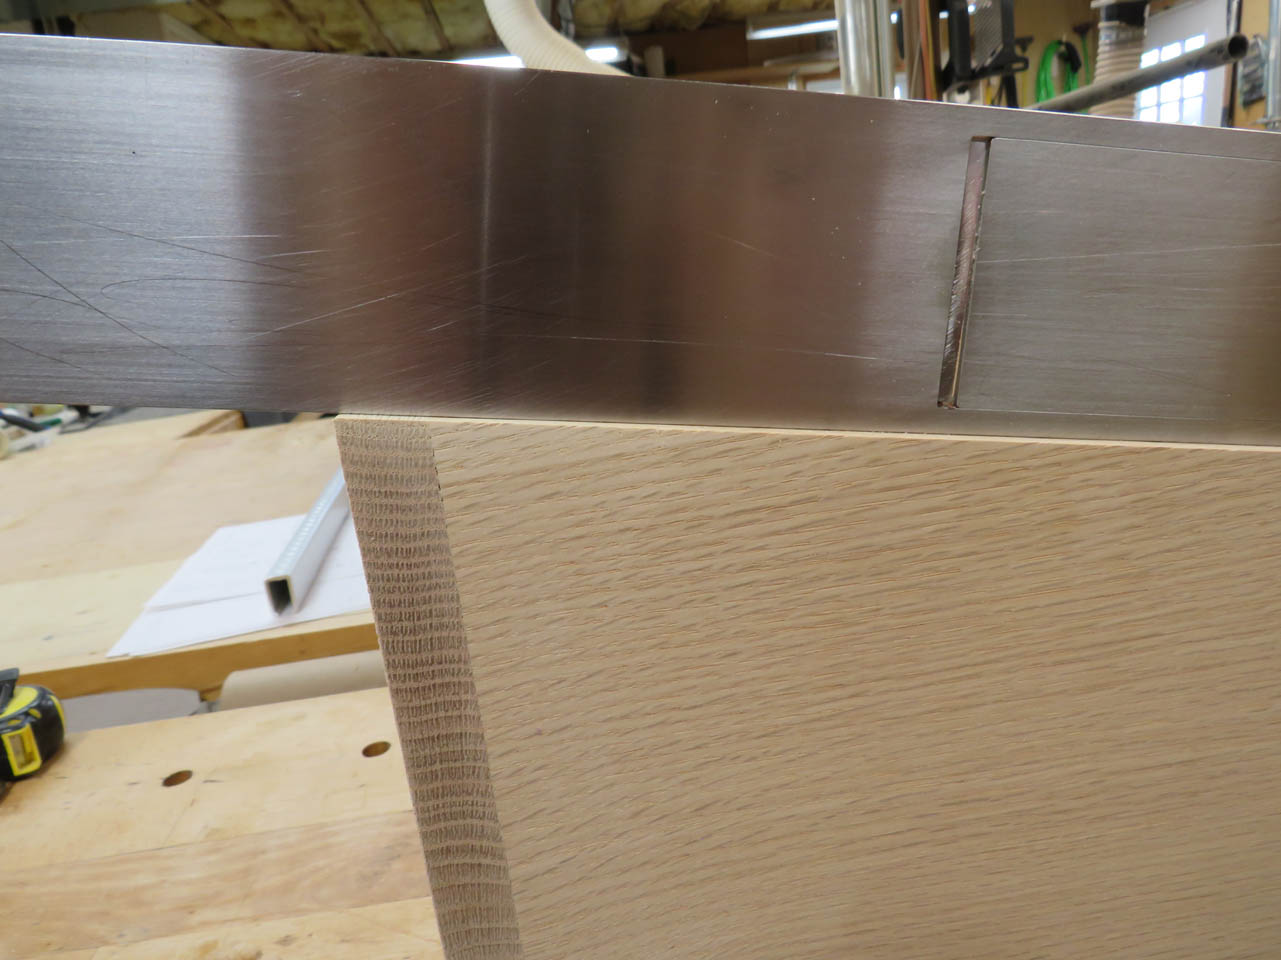
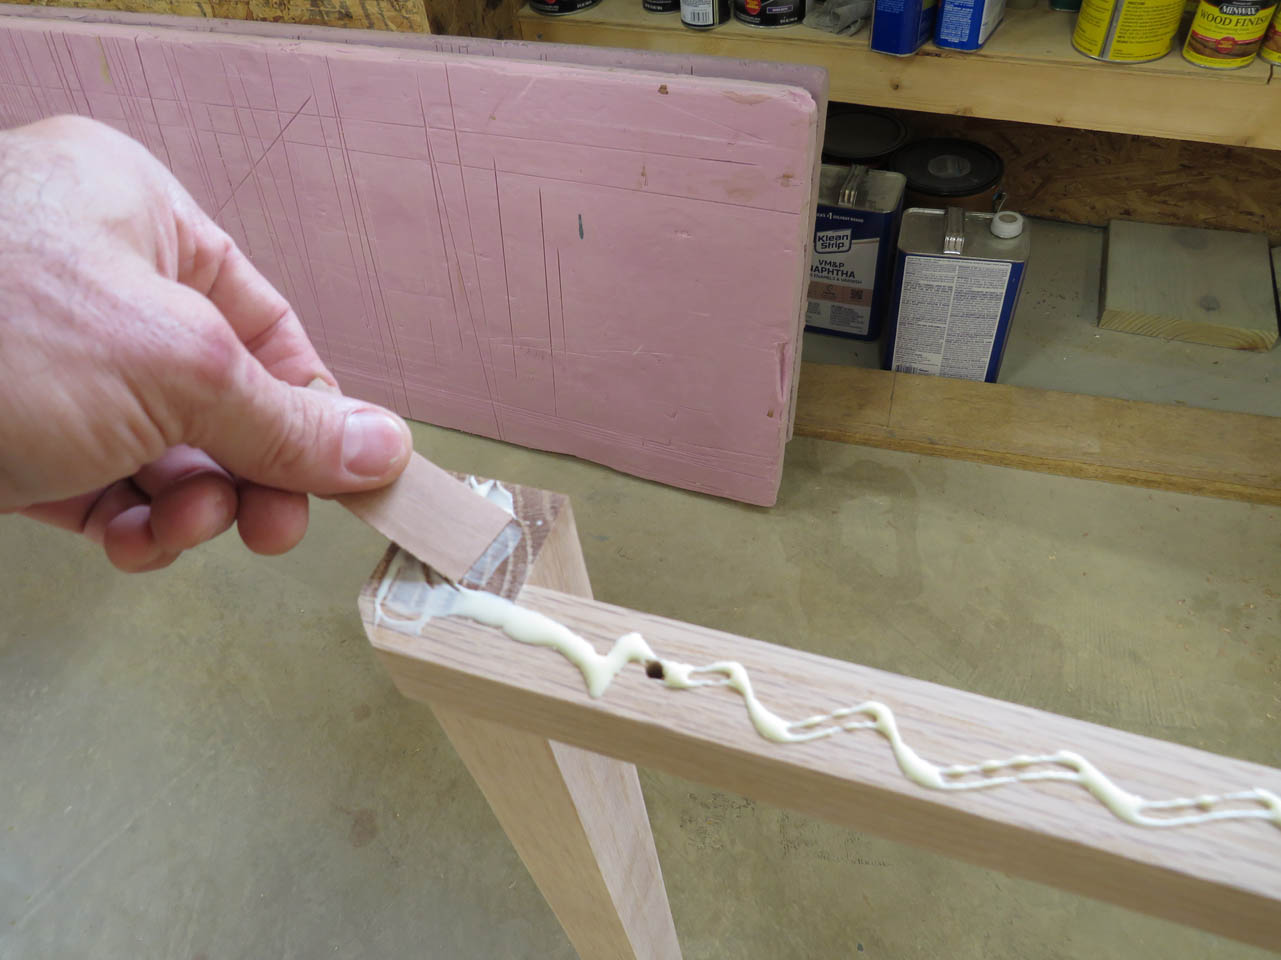
I centered the tops, then marked around the bottom sections with a pencil.
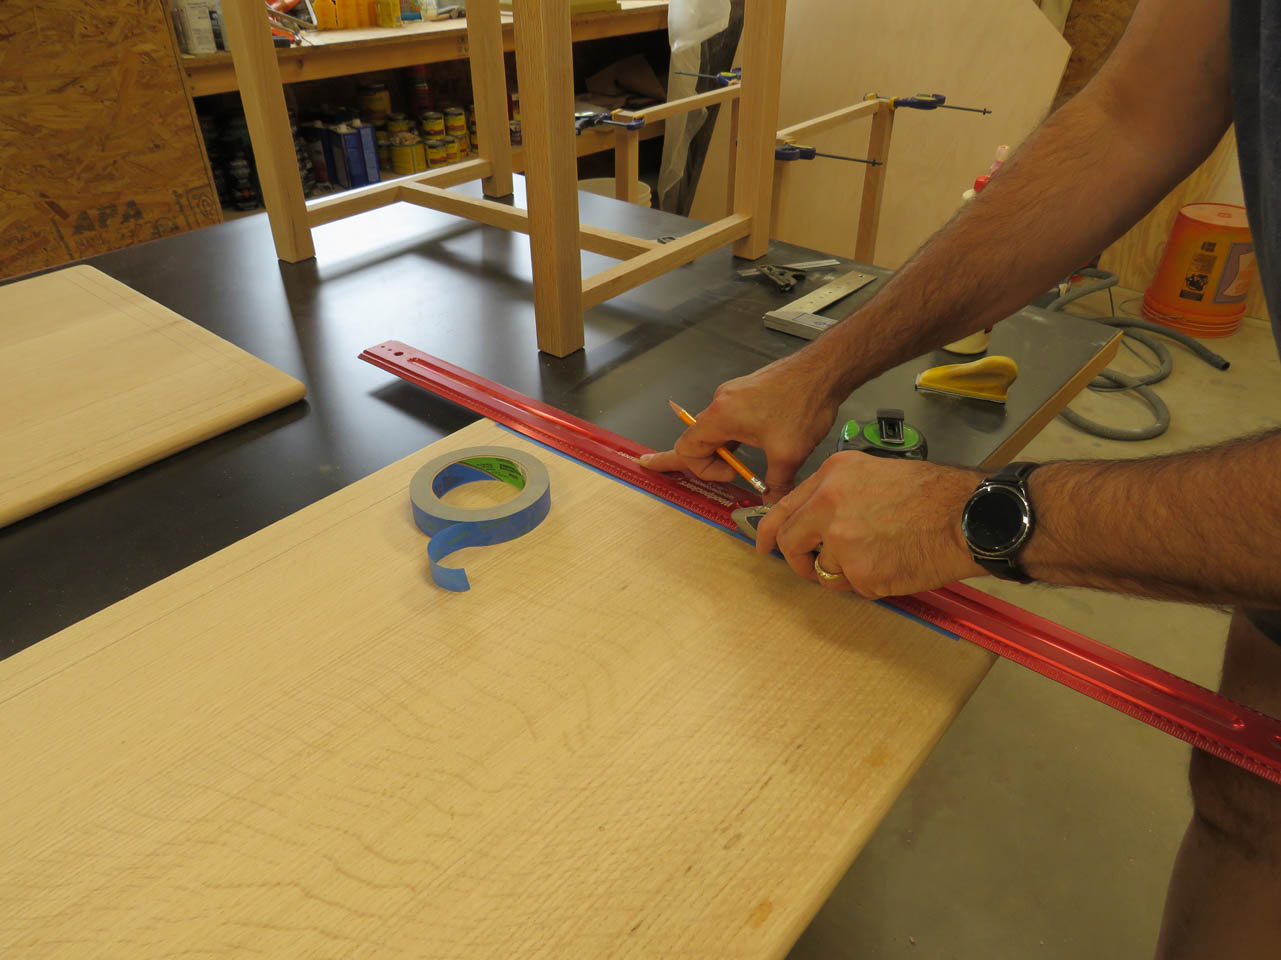
I can now mask off the marked areas with painter’s taps and cut away the excess.
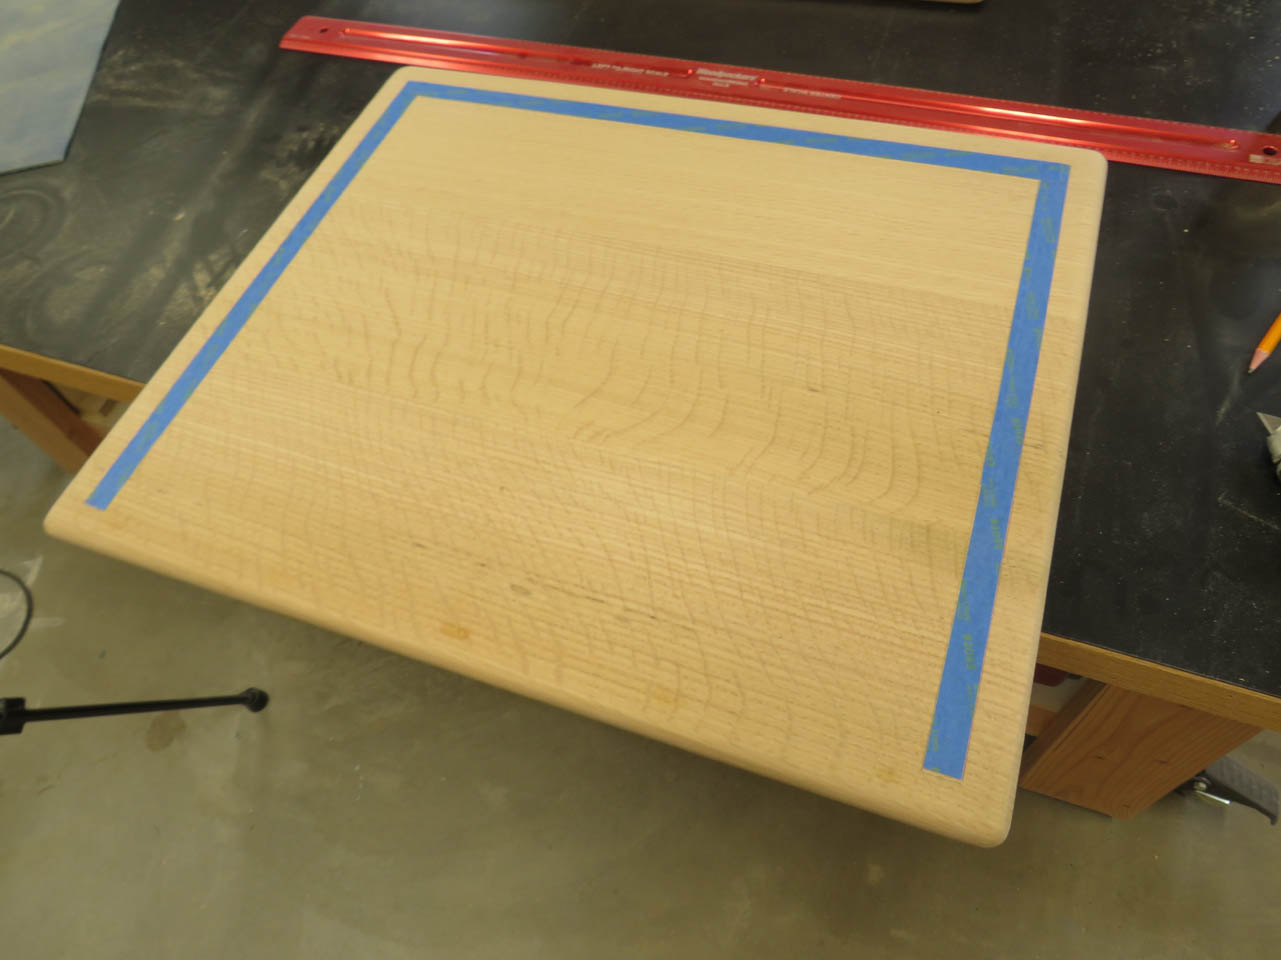
I can do the same with the tops of the lower sections. Now I can stain and finish them while leaving bare wood where the tops will be glued together.

My newly added braces are now dry so I can glue and screw on the top assemblies.

The entire structure is now fully tied together and very rigid.
I will be mounting casters to the bottoms of the legs so I am going to mark and pre-drill these now before applying finish.


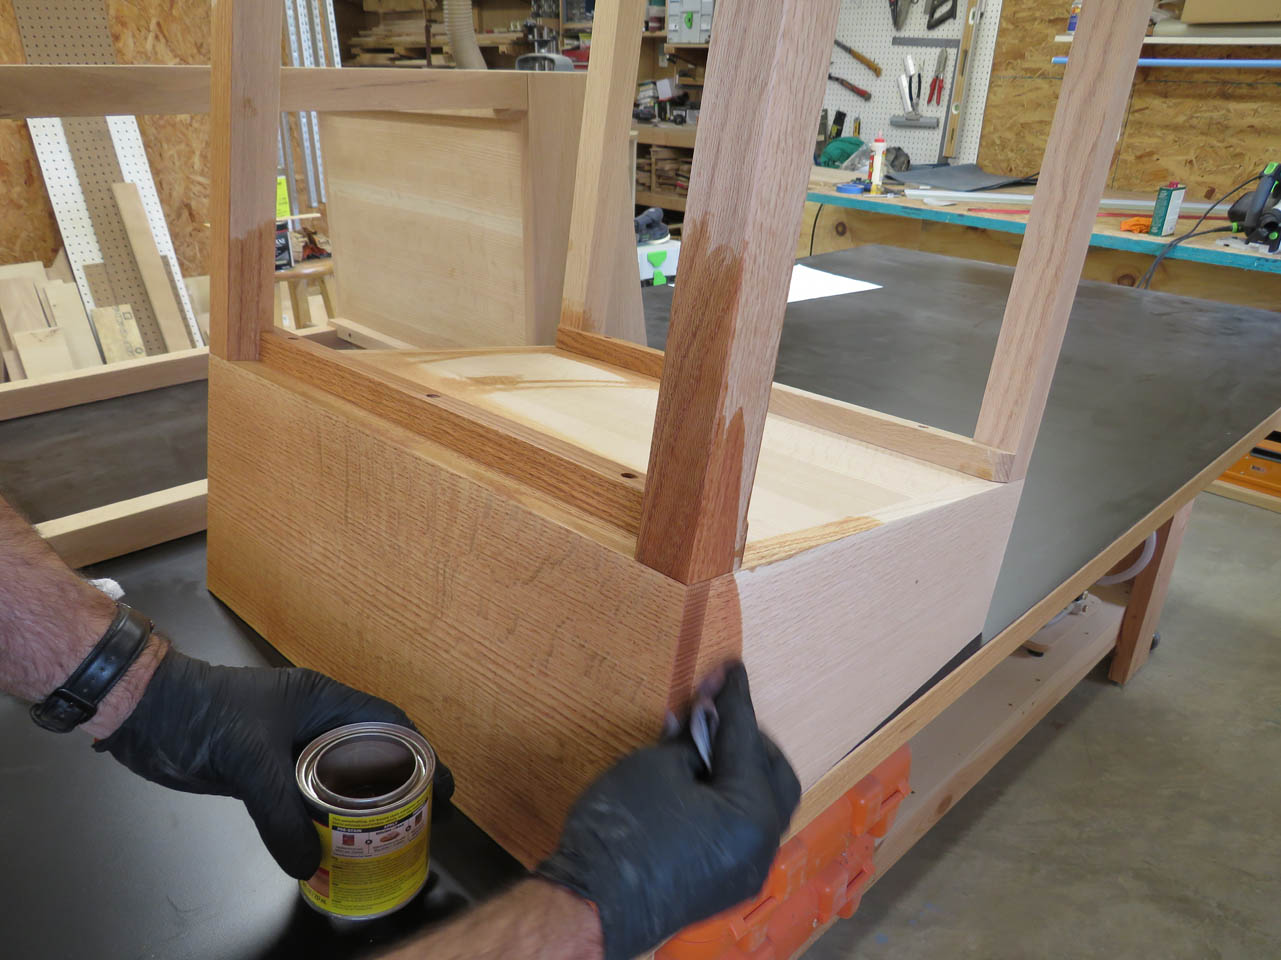
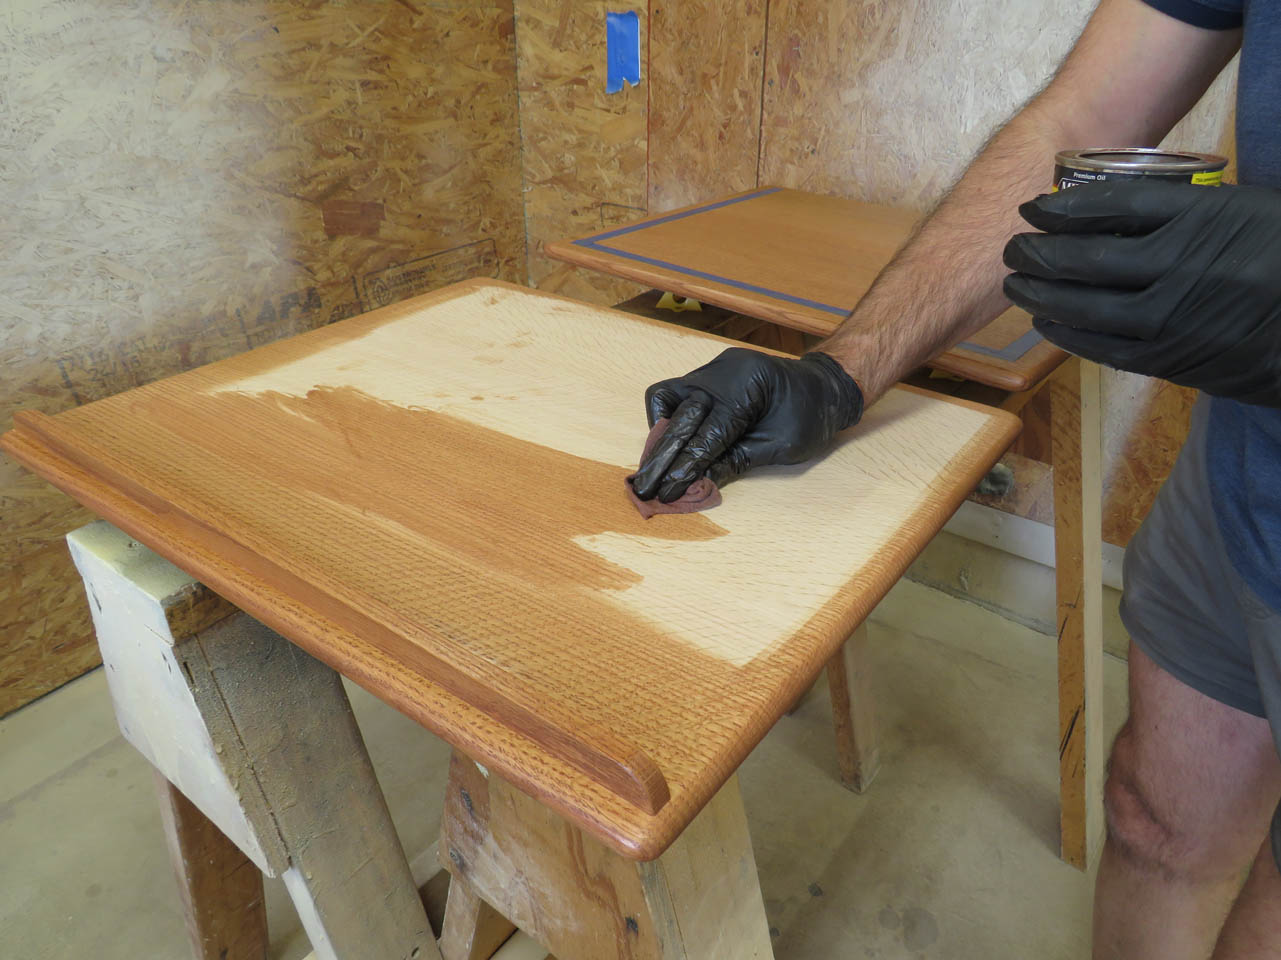
These are now complete and ready for finish. I am using an oil-based cherry finish to match the rest of the furniture at the church.
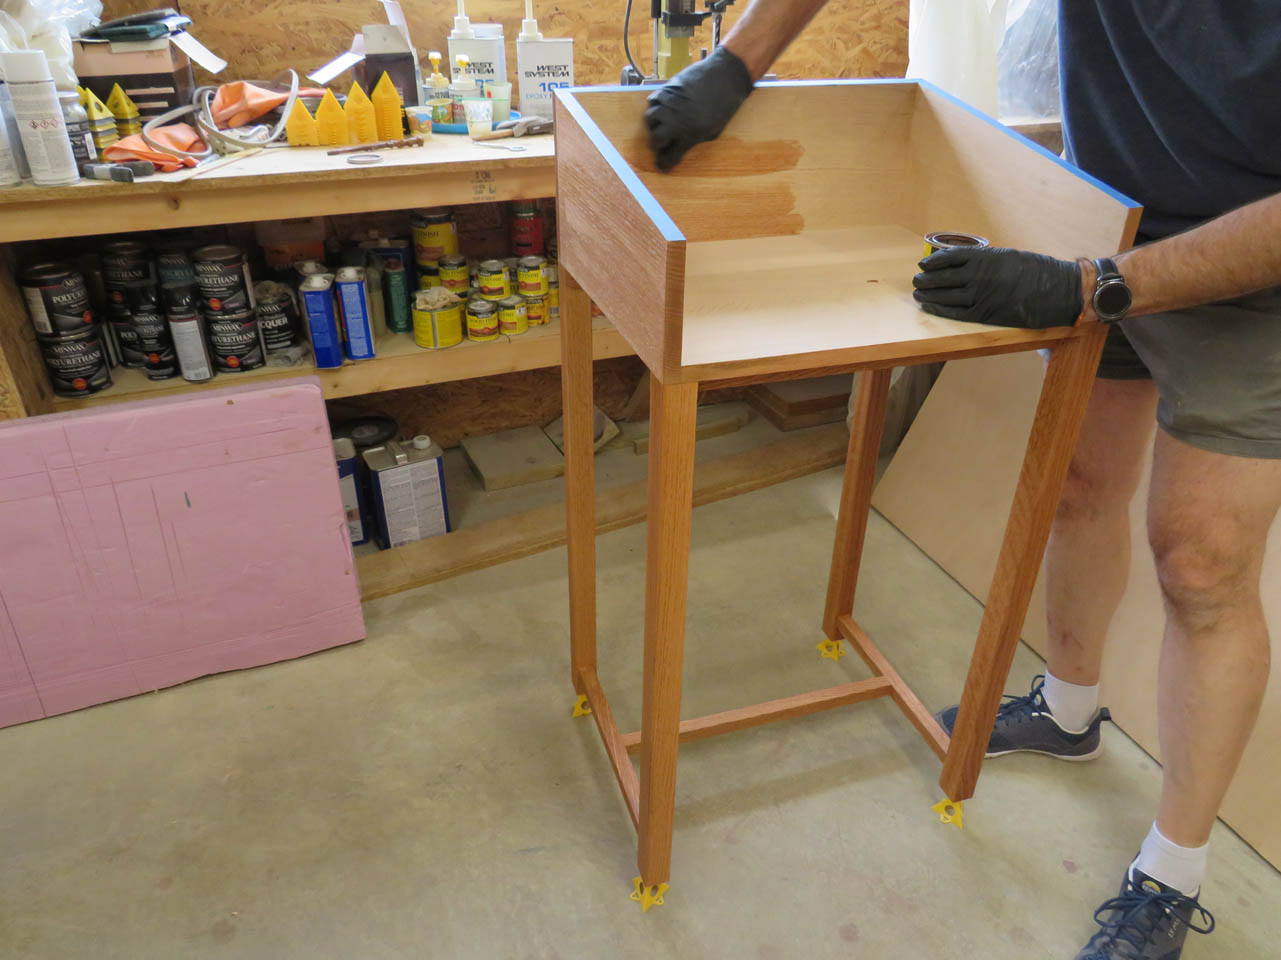
This gets applied with a lint-free cloth and any excess rubbed off.

The tops were stained as well. Tomorrow, I can apply the first coat of polyurethane.