
Guestbook stands & lectern for Holy Spirit Church – part 1
I have a couple more interesting projects for Holy Spirit Church. The first is two Guestbook stands and the second is a lightweight lectern. These all need to be moved regularly so they will have casters attached to the bottom. The lectern will be designed to be as lightweight as possible so that it can be carried if needed.
Guestbook stand plan: STAND 1.pdf
Portable lectern plan: STAND 2.pdf
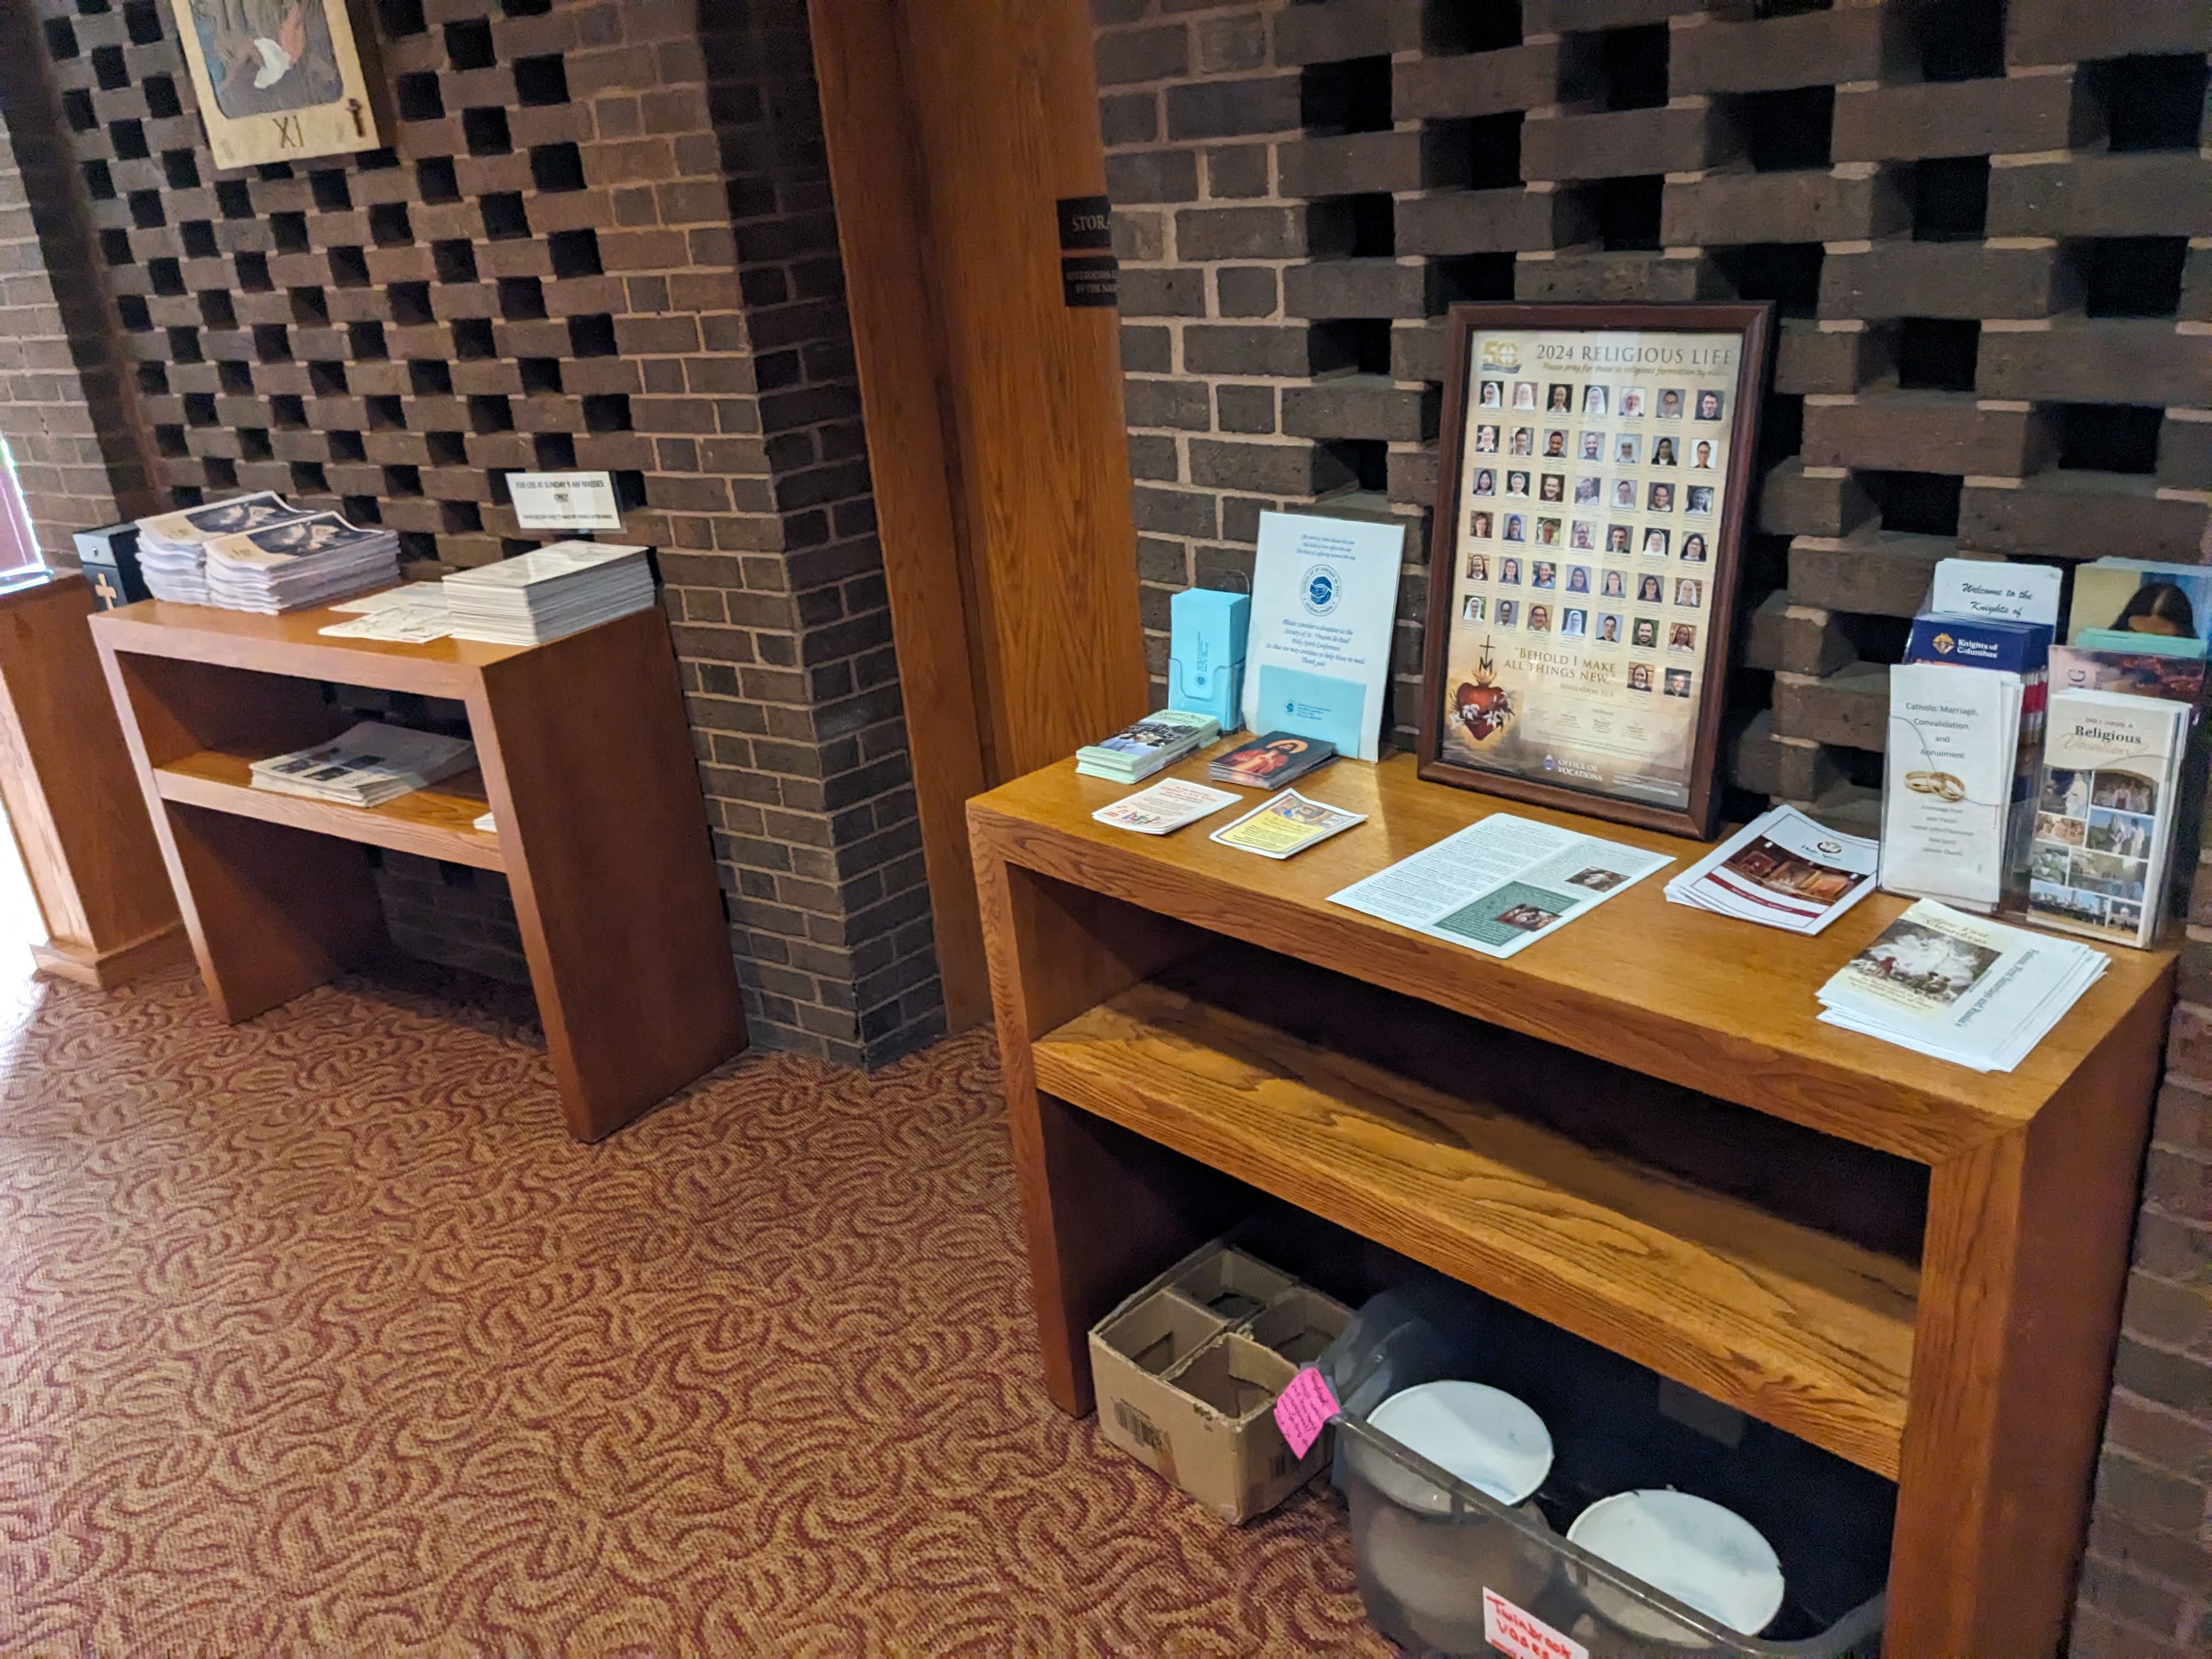
I also have to design some method of hanging signs and picture frames on this brick wall:
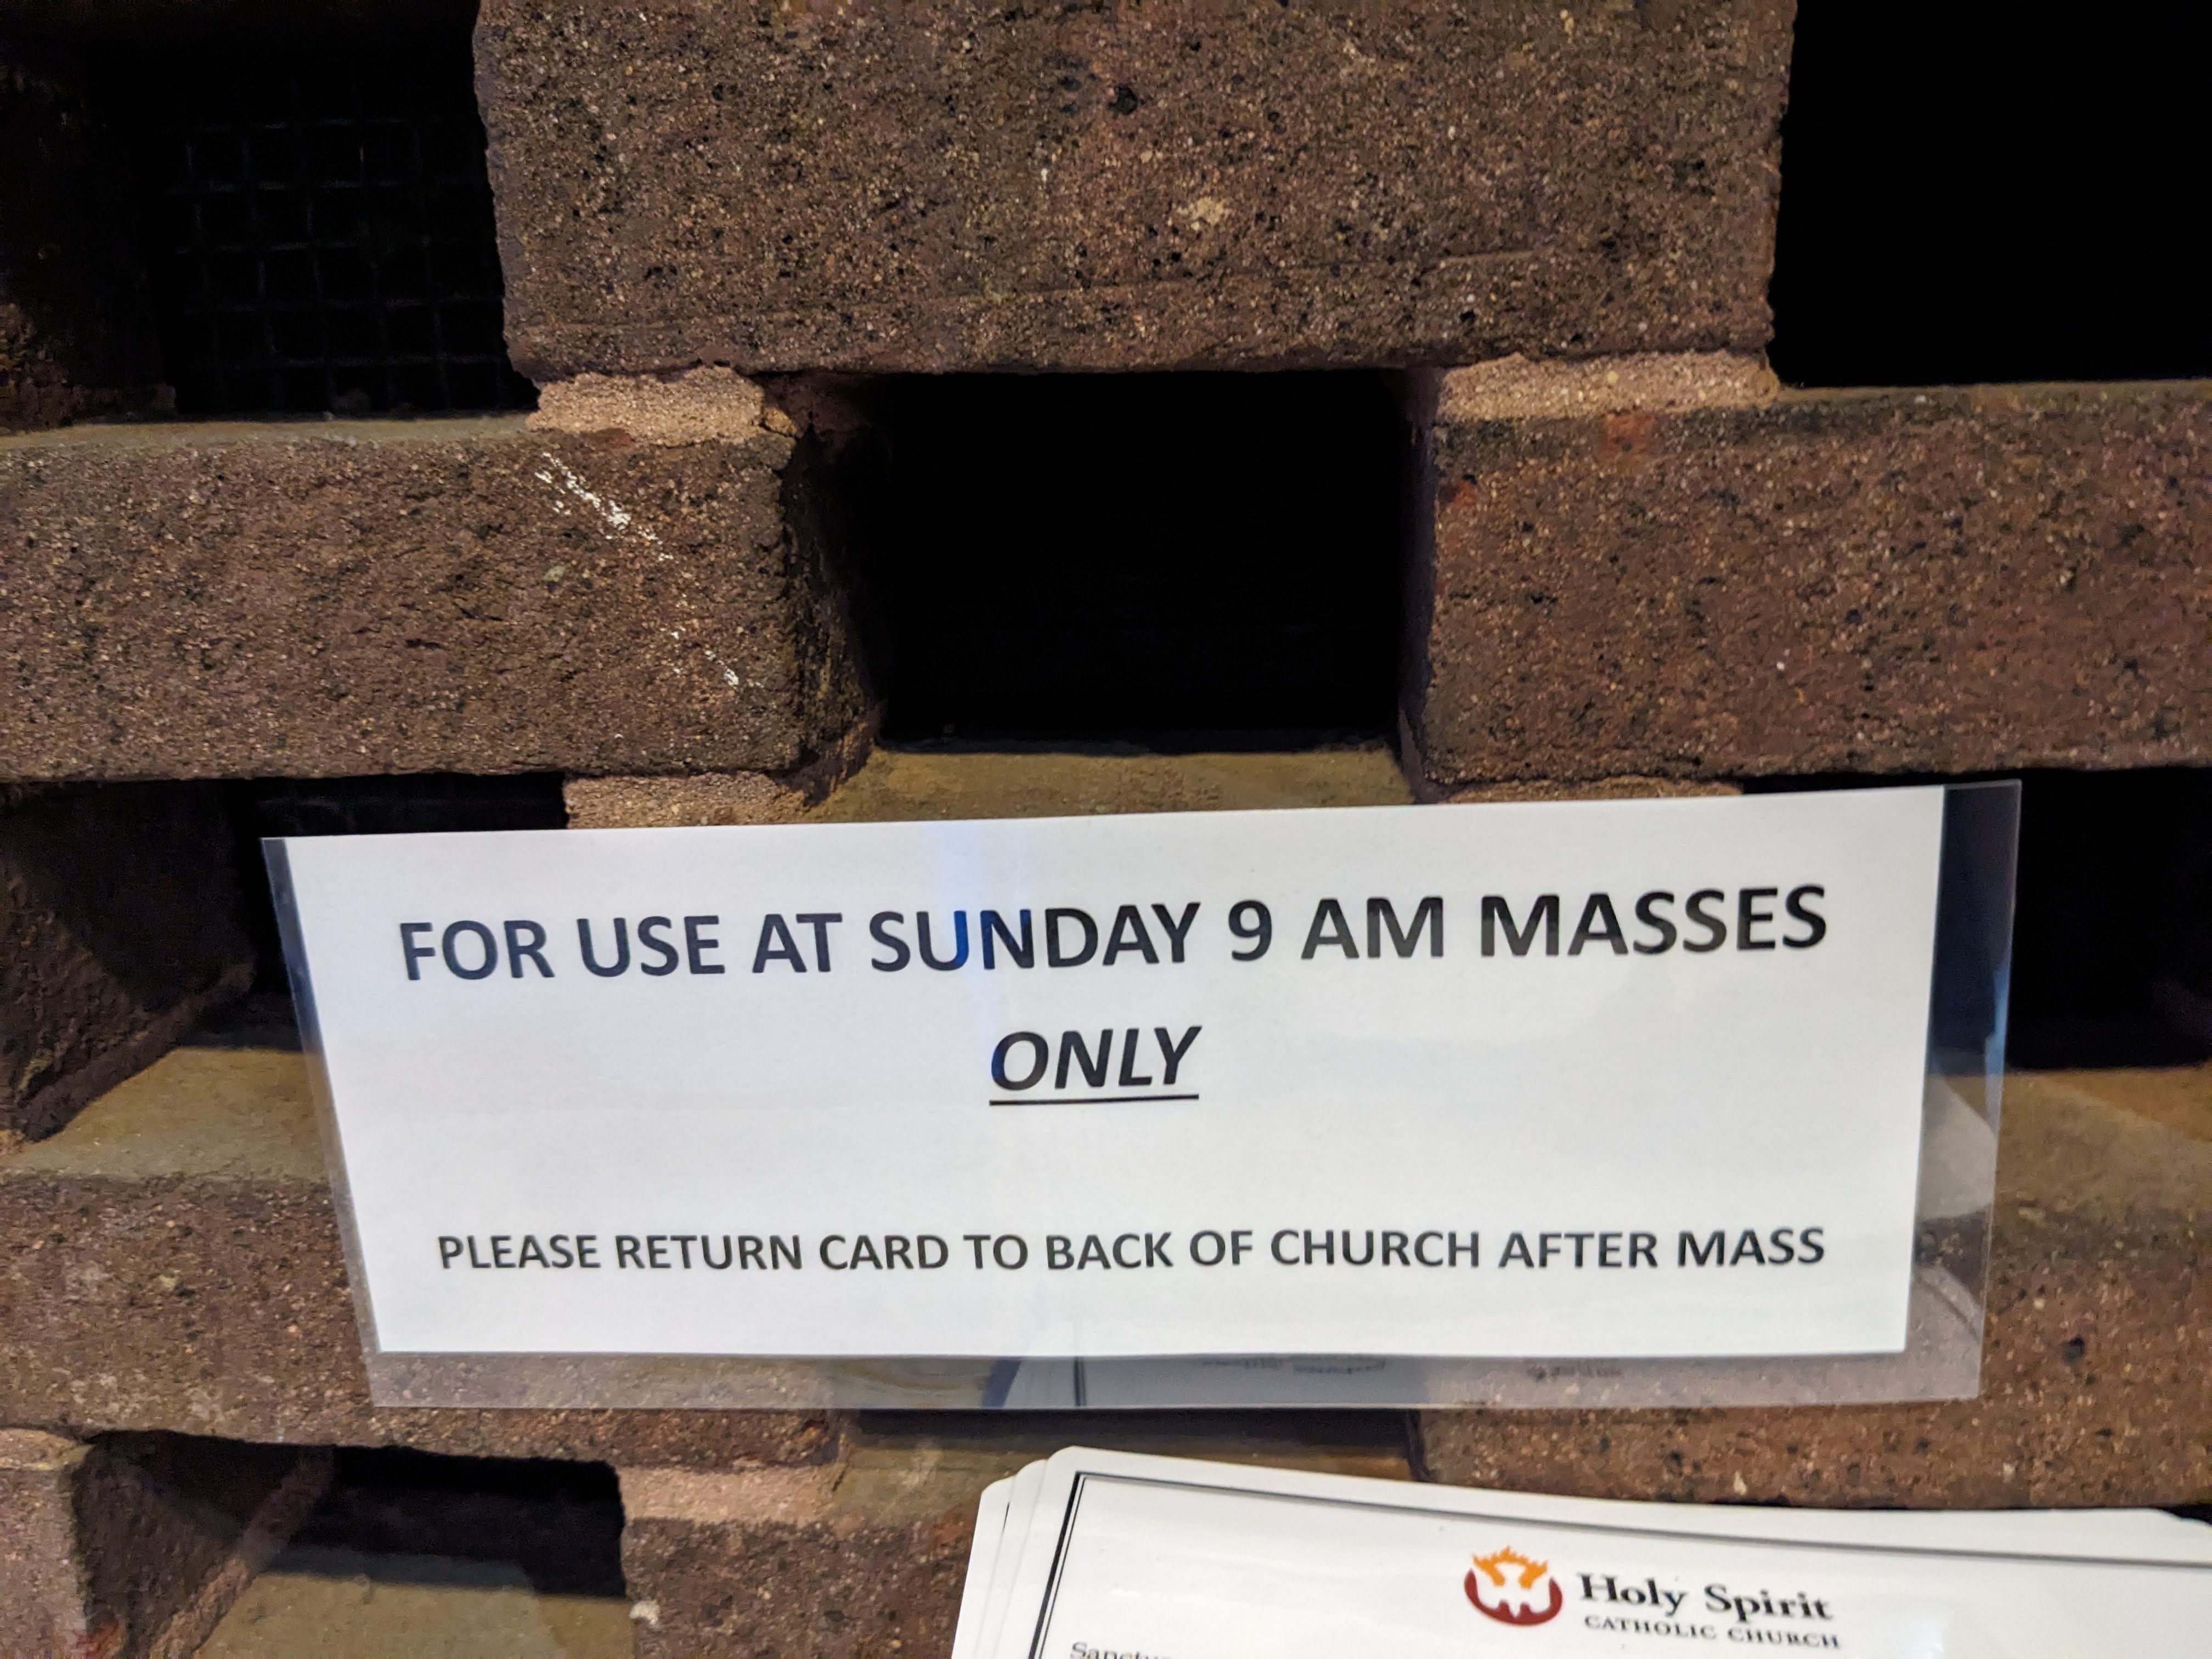
There is a small gap behind the wall, so I am going to make a U-shaped bracket that will hang over the brick.
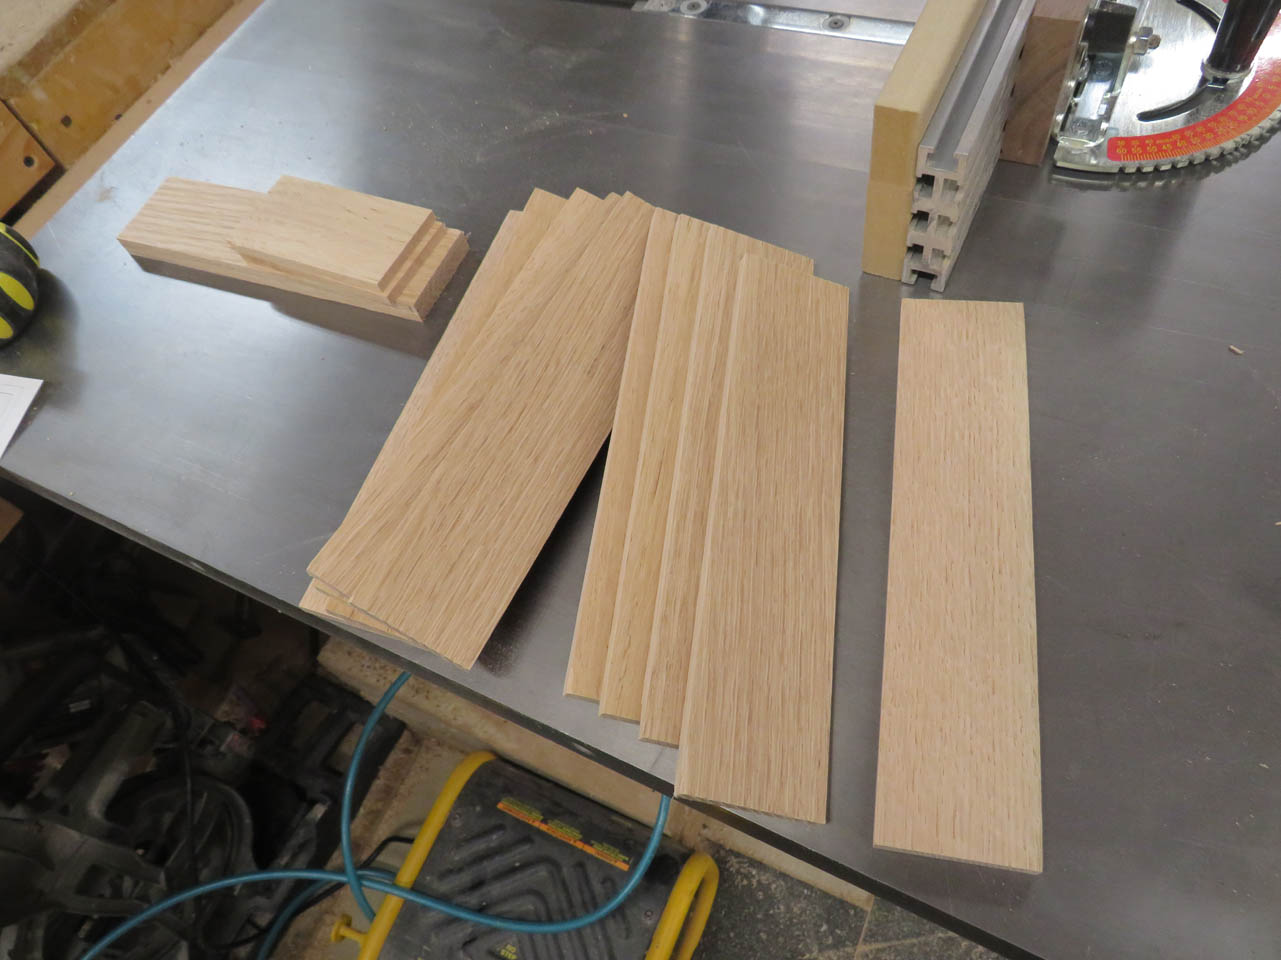
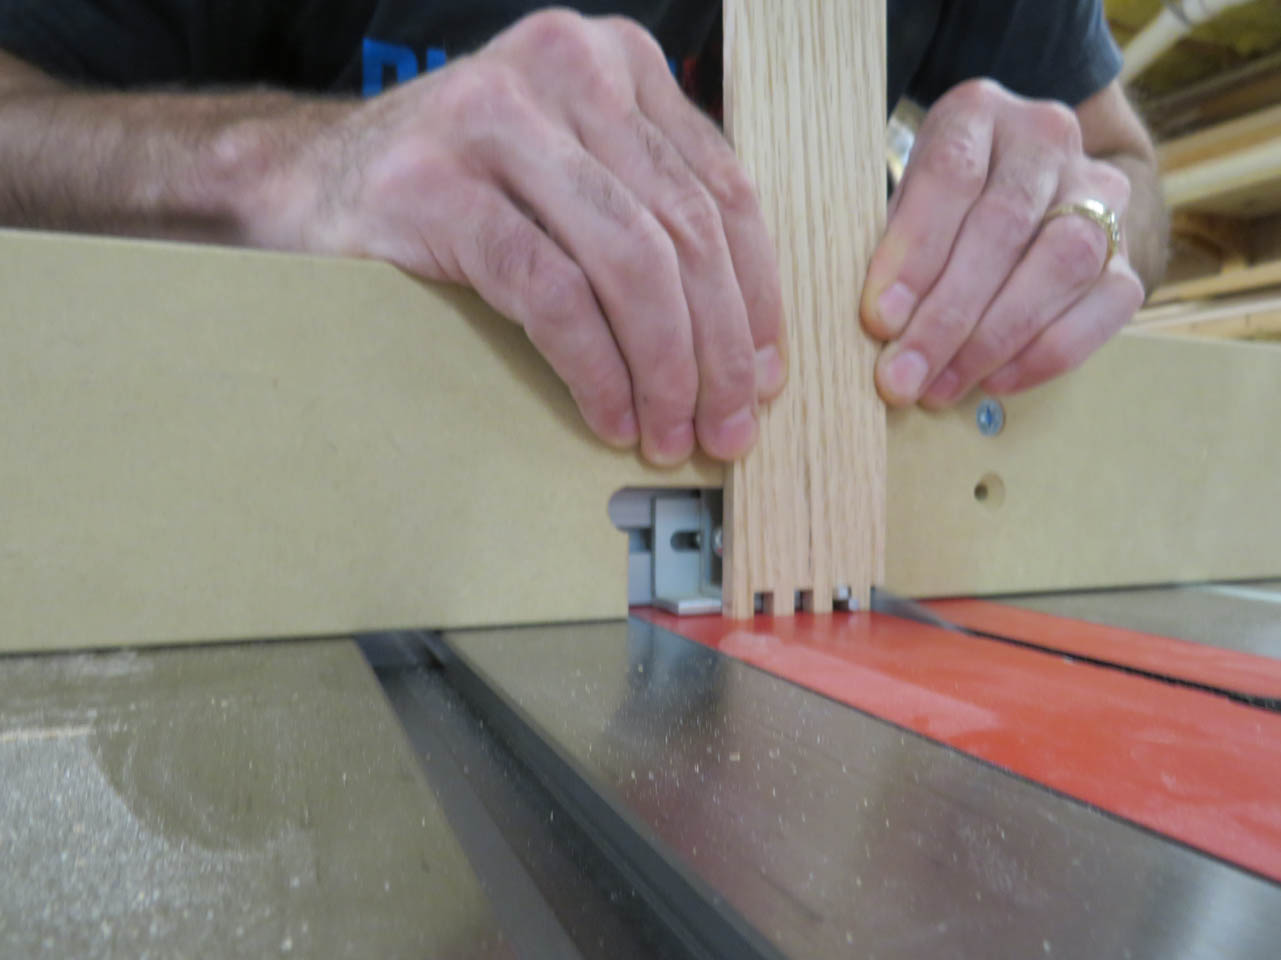
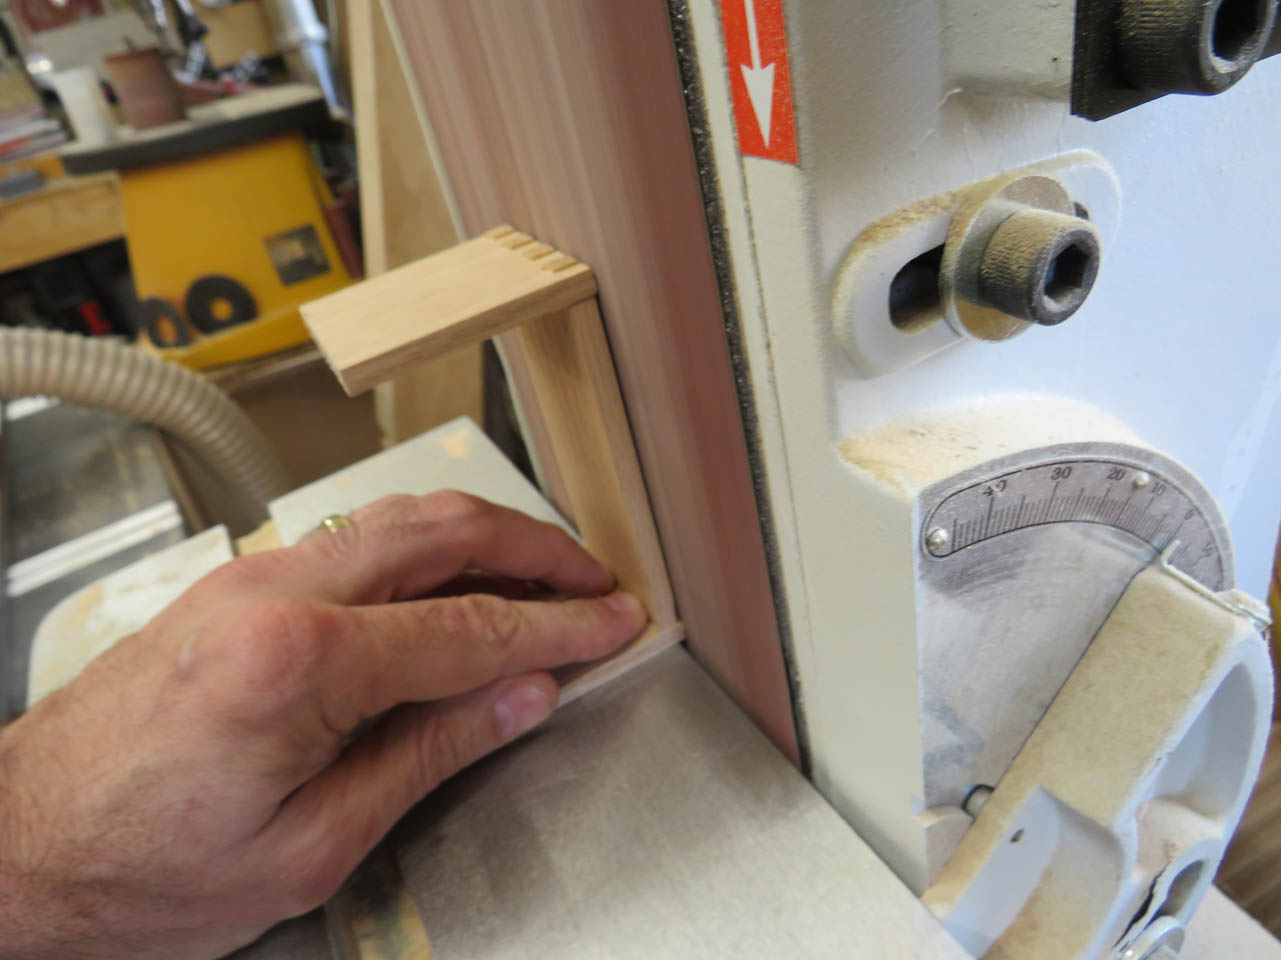
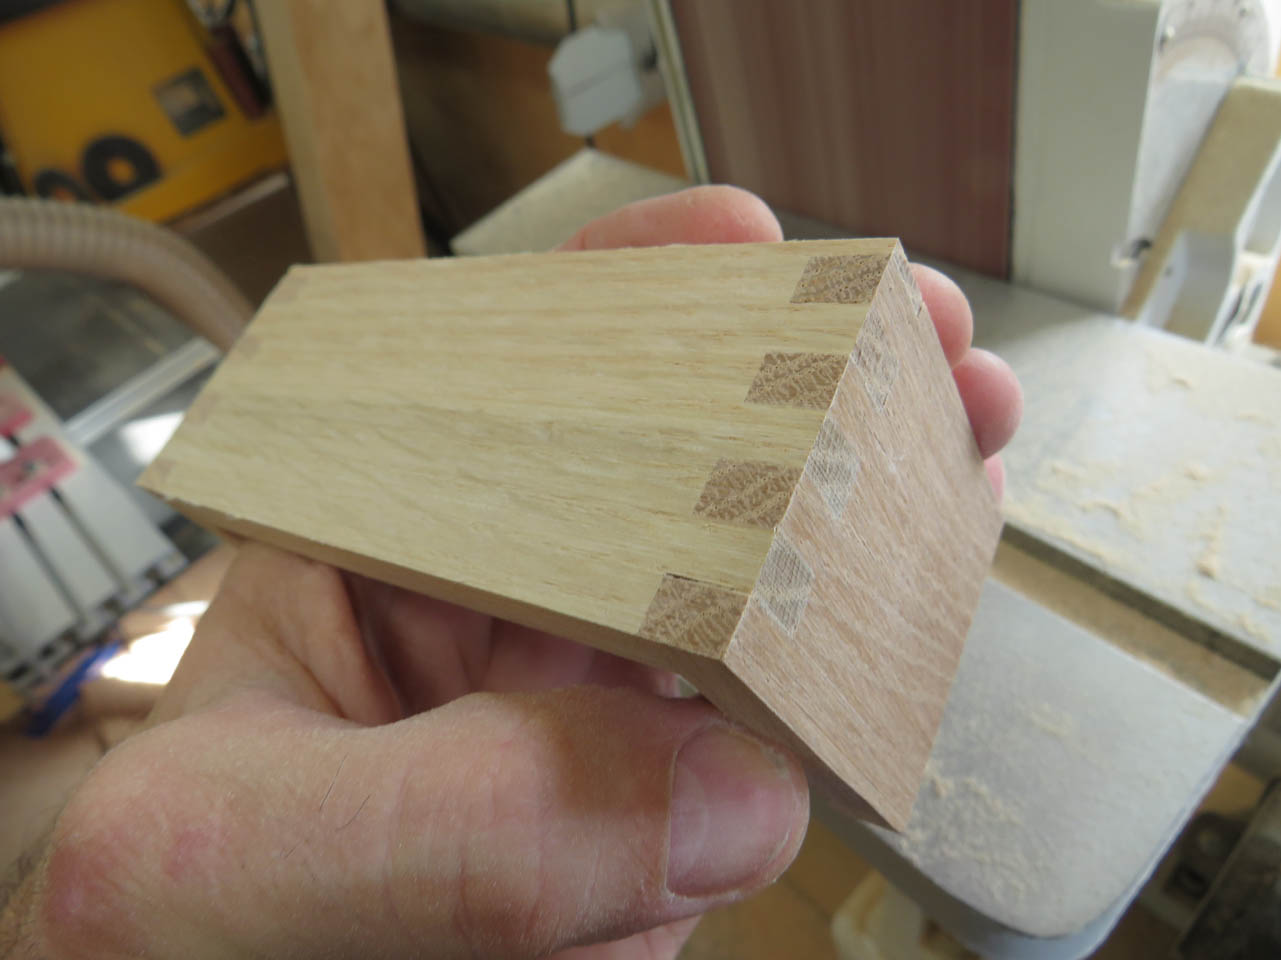
Before I start on the bookstands, I want to play with the bracket design. I cut some 1/4″ thick oak to experiment with.

Then I set up my box-joint jig on the table saw and started cutting the square teeth on one end of a board.
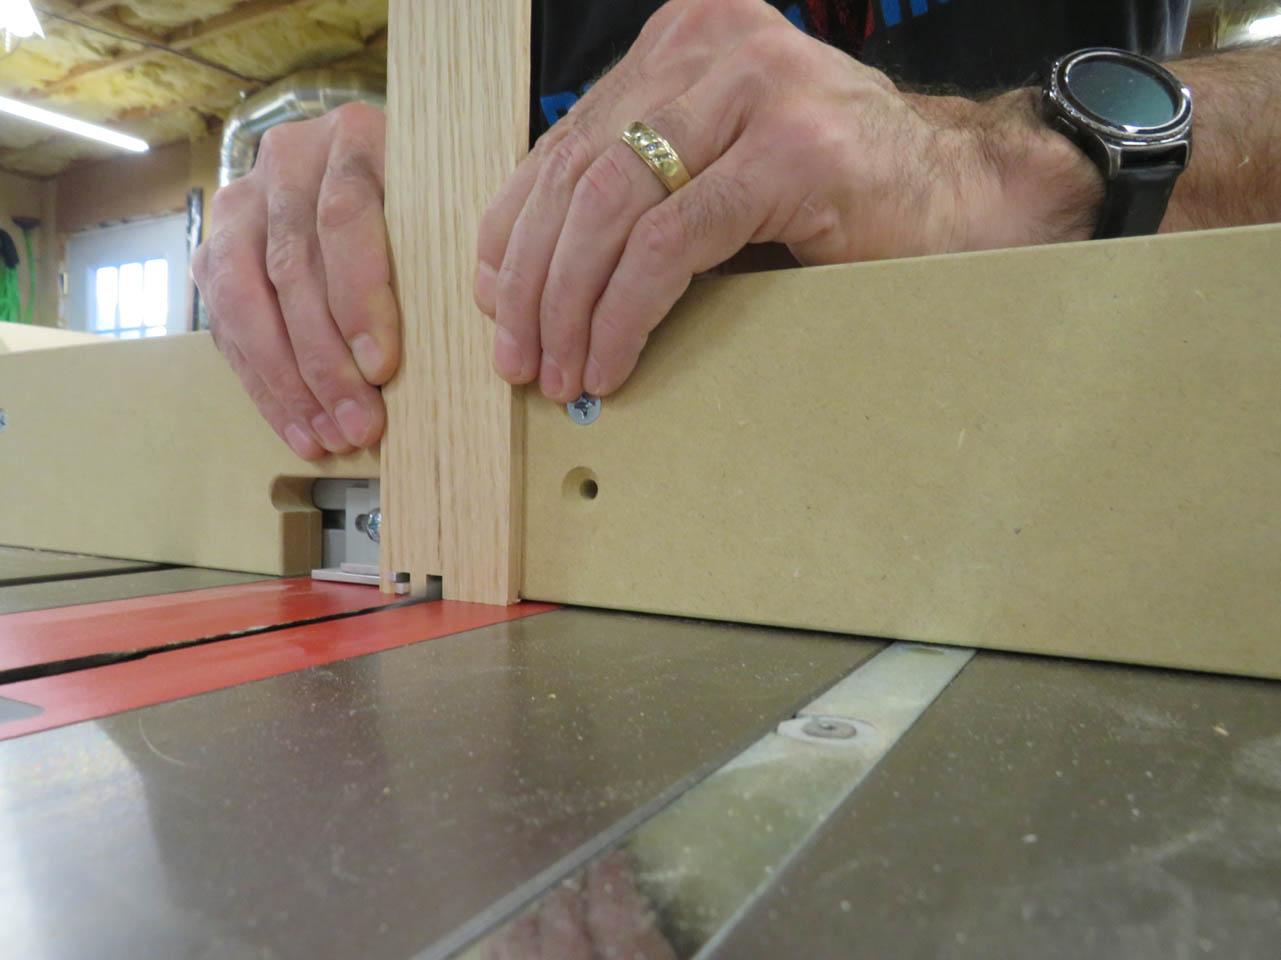
I am using a 1/4″ dado blade to cut each groove and the tongues between are also 1/4″ wide.
To cut the mating piece, I leave the previous piece in place and butt the new board against it to start the first cut of the new board.
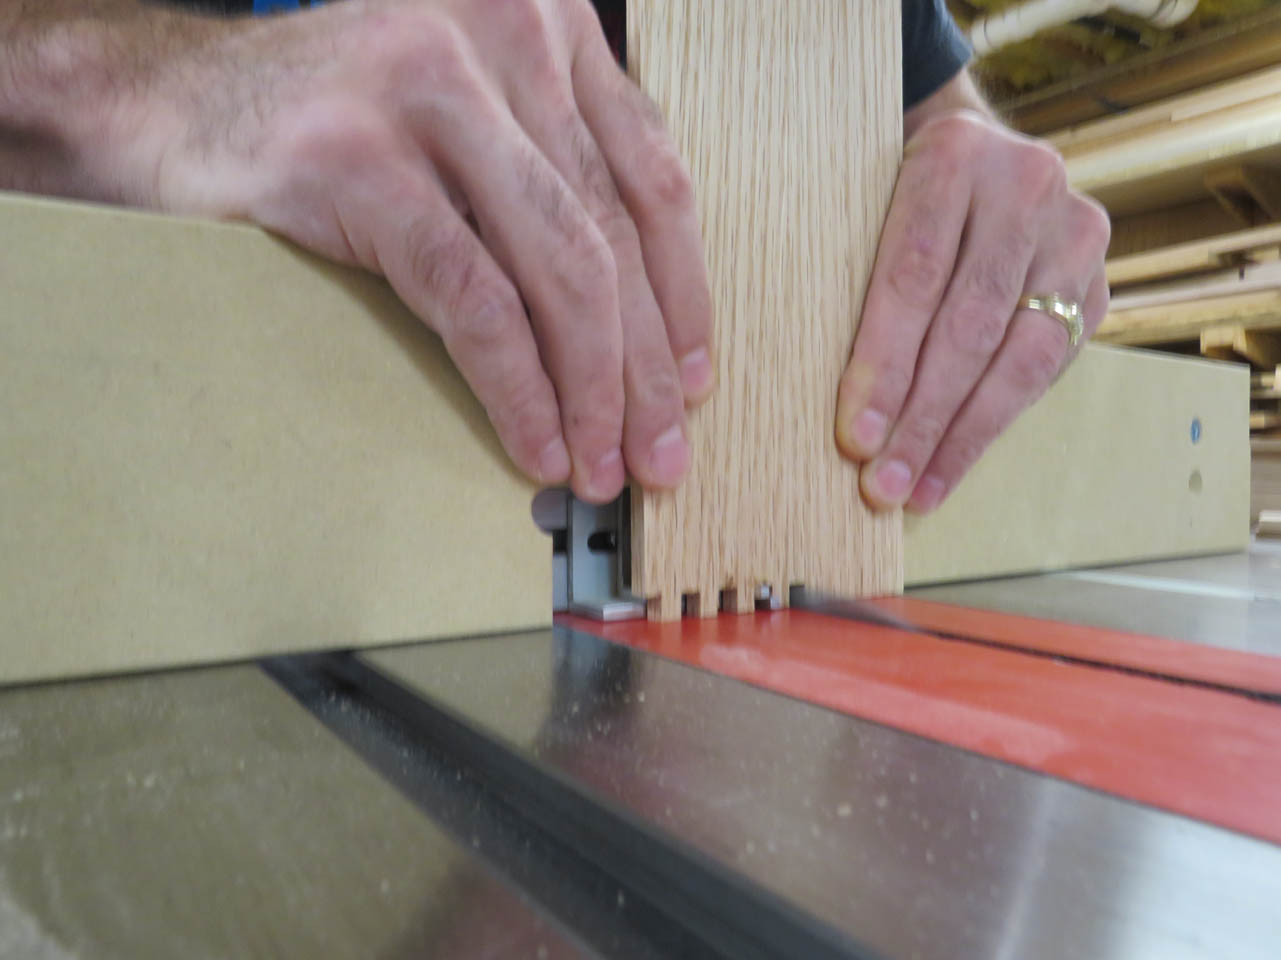
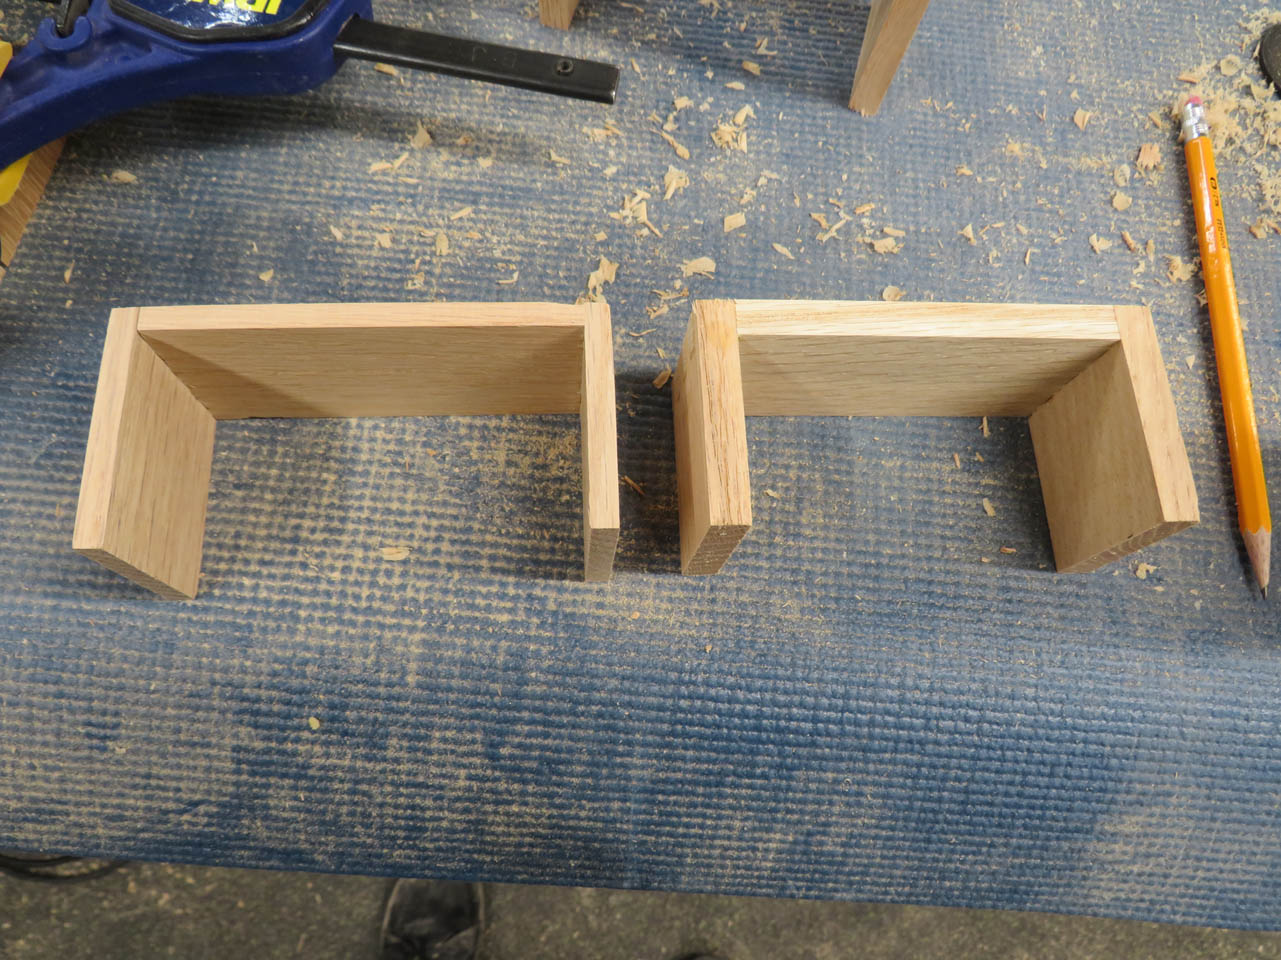
The final result is a tight mating box joint.
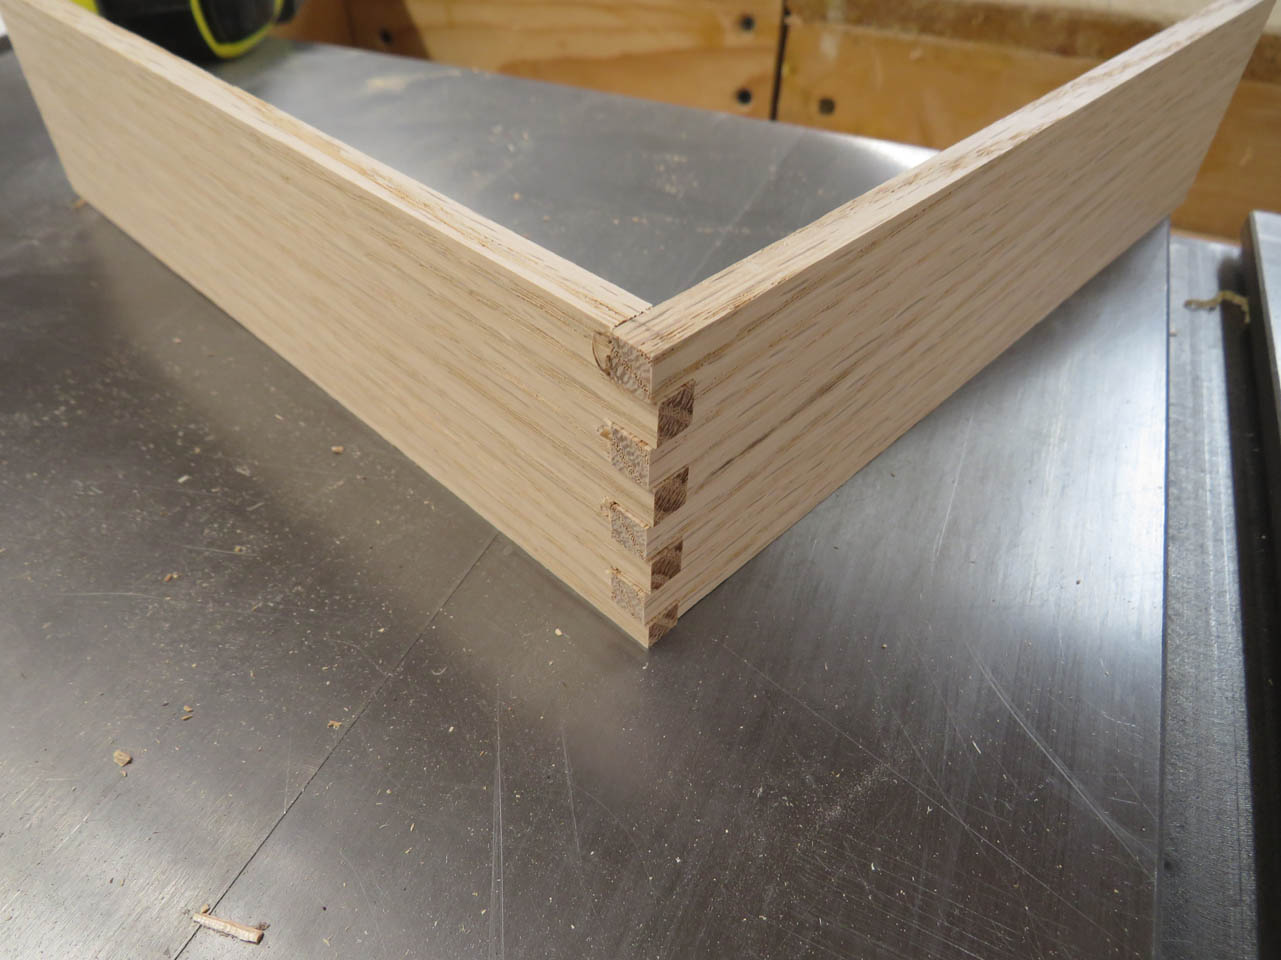
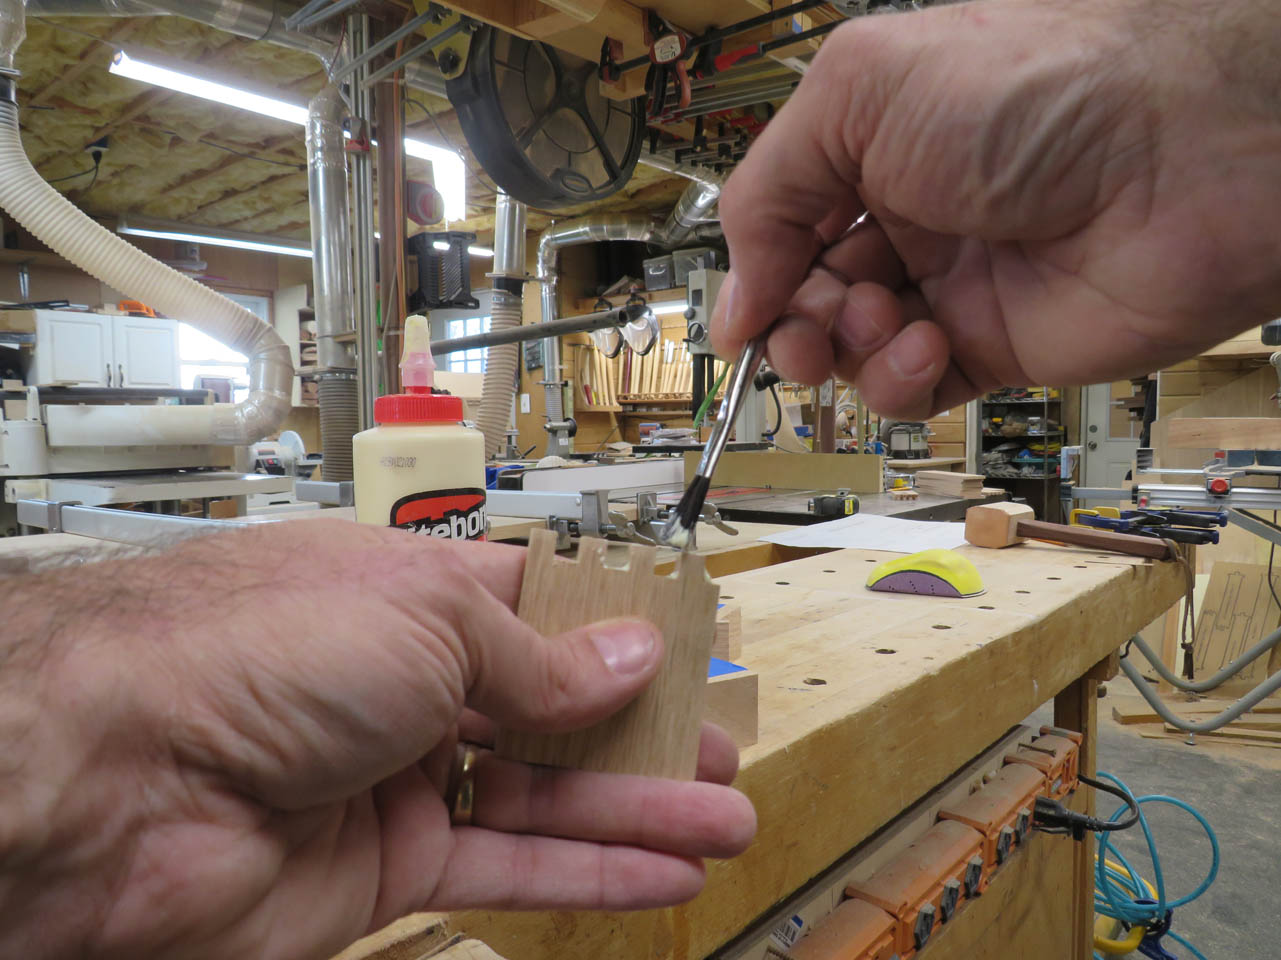
I brushed glue into the teeth and clamped all three sides together around a block, cut to the exact size of the inside of the bracket.


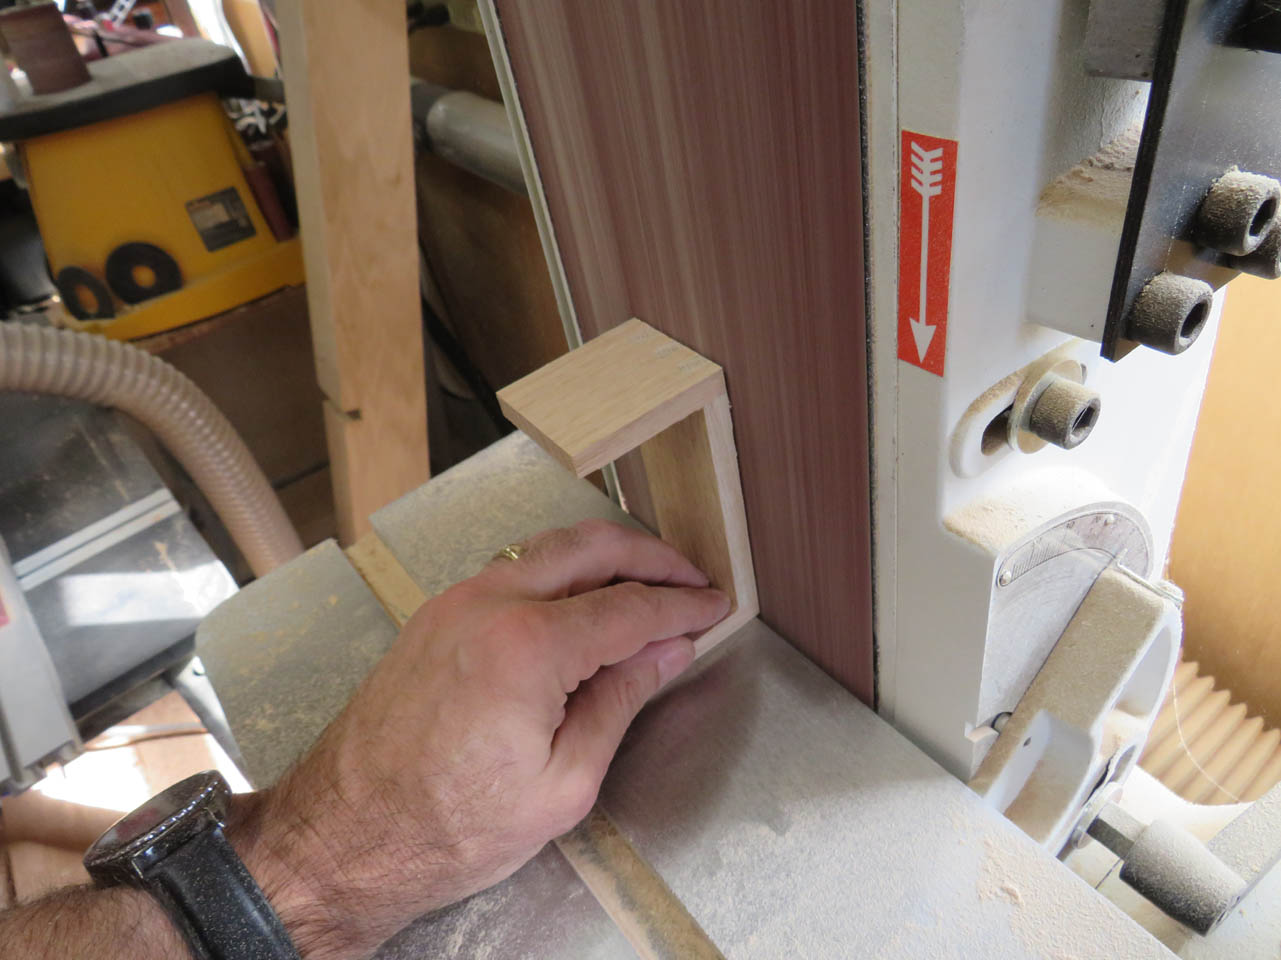
When dry, I used my belt sander to clean up the faces of the joints.
I made the two 1/4″ thick brackets to hold a small sign on the wall.

I need to make four more to hold some heavier picture frames on the wall as well so I am going to make them from thicker 3/8″ stock. The process is the same, I just need to set the saw blade to cut 3/8″ deep.

These were also glued and clamped to blocks.
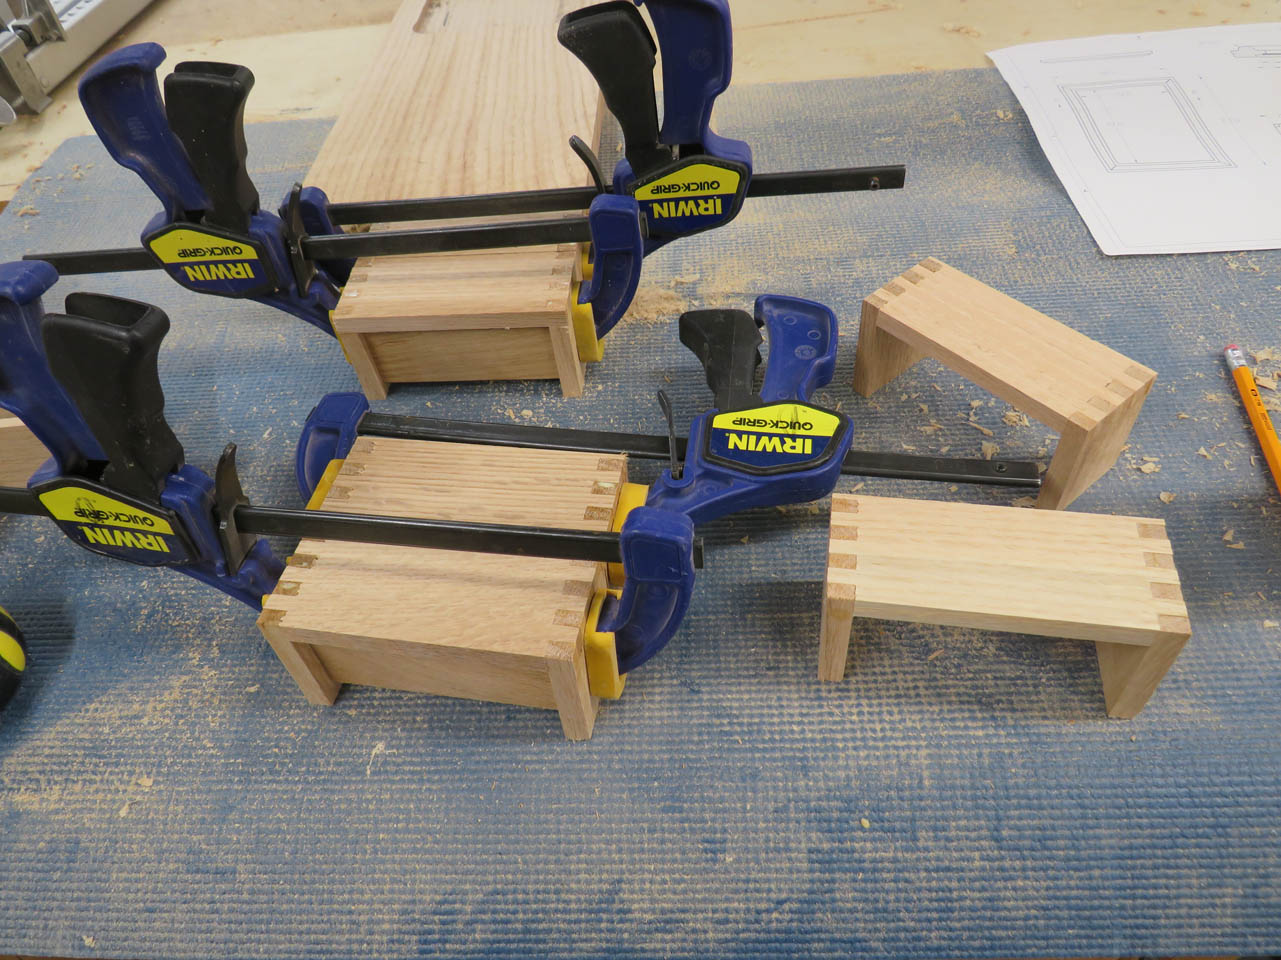

Four more brackets were made as well as two extra.
When they were also dry, they got sanded as well. I will get around to making the picture frames and signs after I get these bookstands under way…
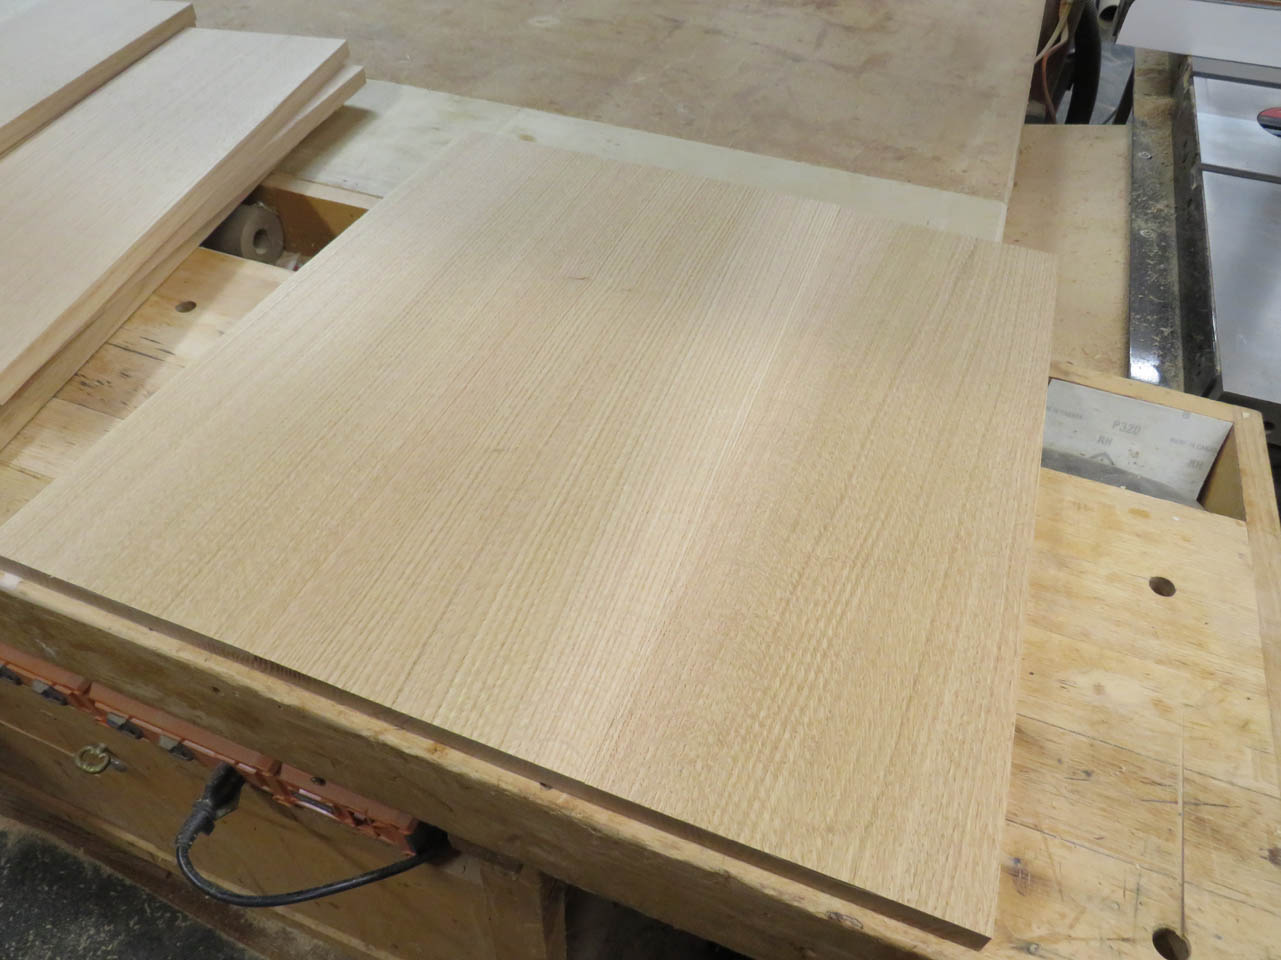
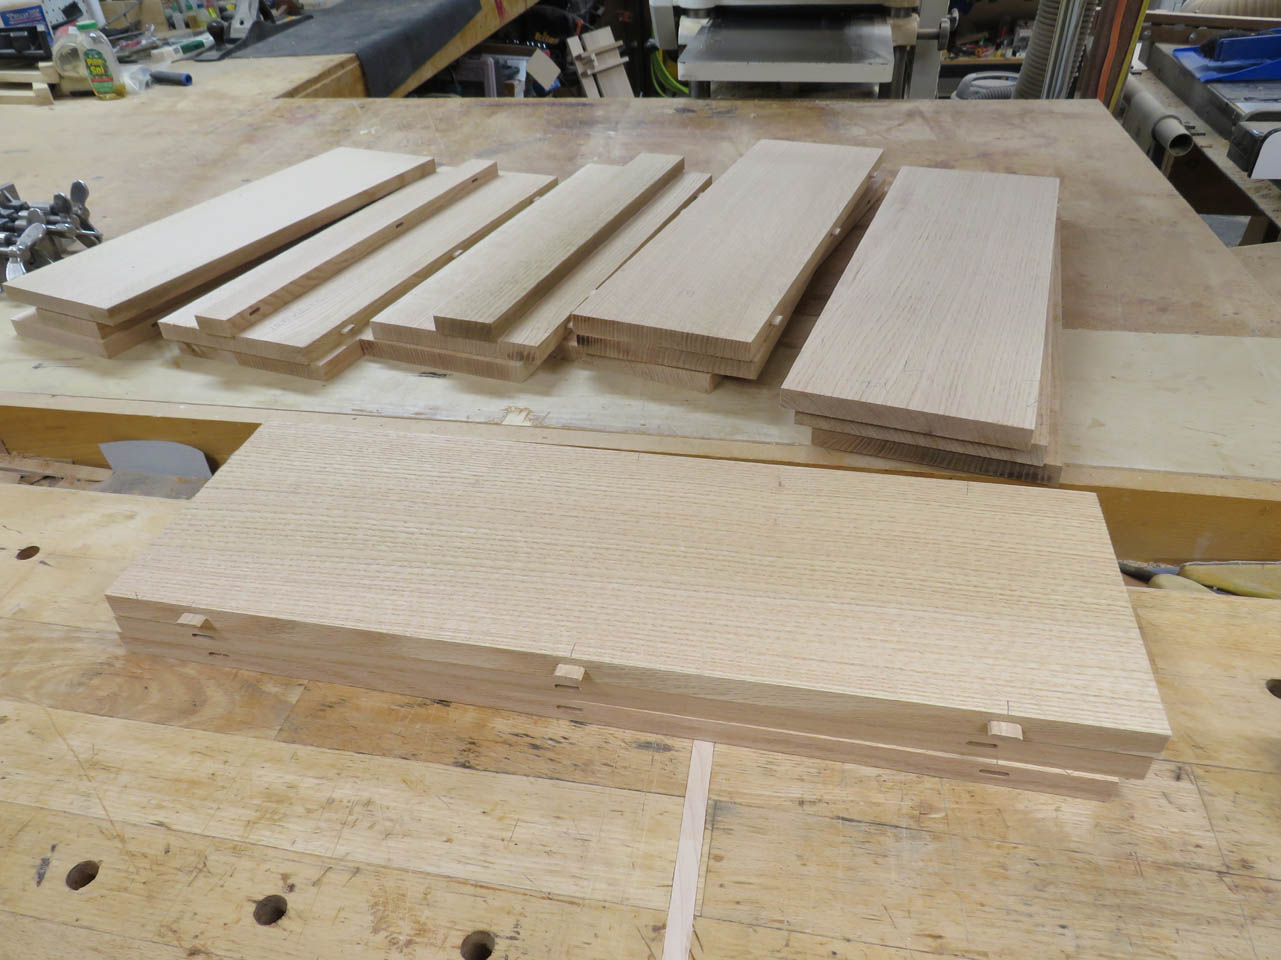
Getting started on them, I decide to glue up all of the panels for the tops and shelves of all three stands. Since they are fairly large flat panels, I am using quarter-sawn red oak to hopefully prevent a lot of movement when the wood wants to shrink and expand. Quarter-sawn is much more stable due to the vertical grain orientation.
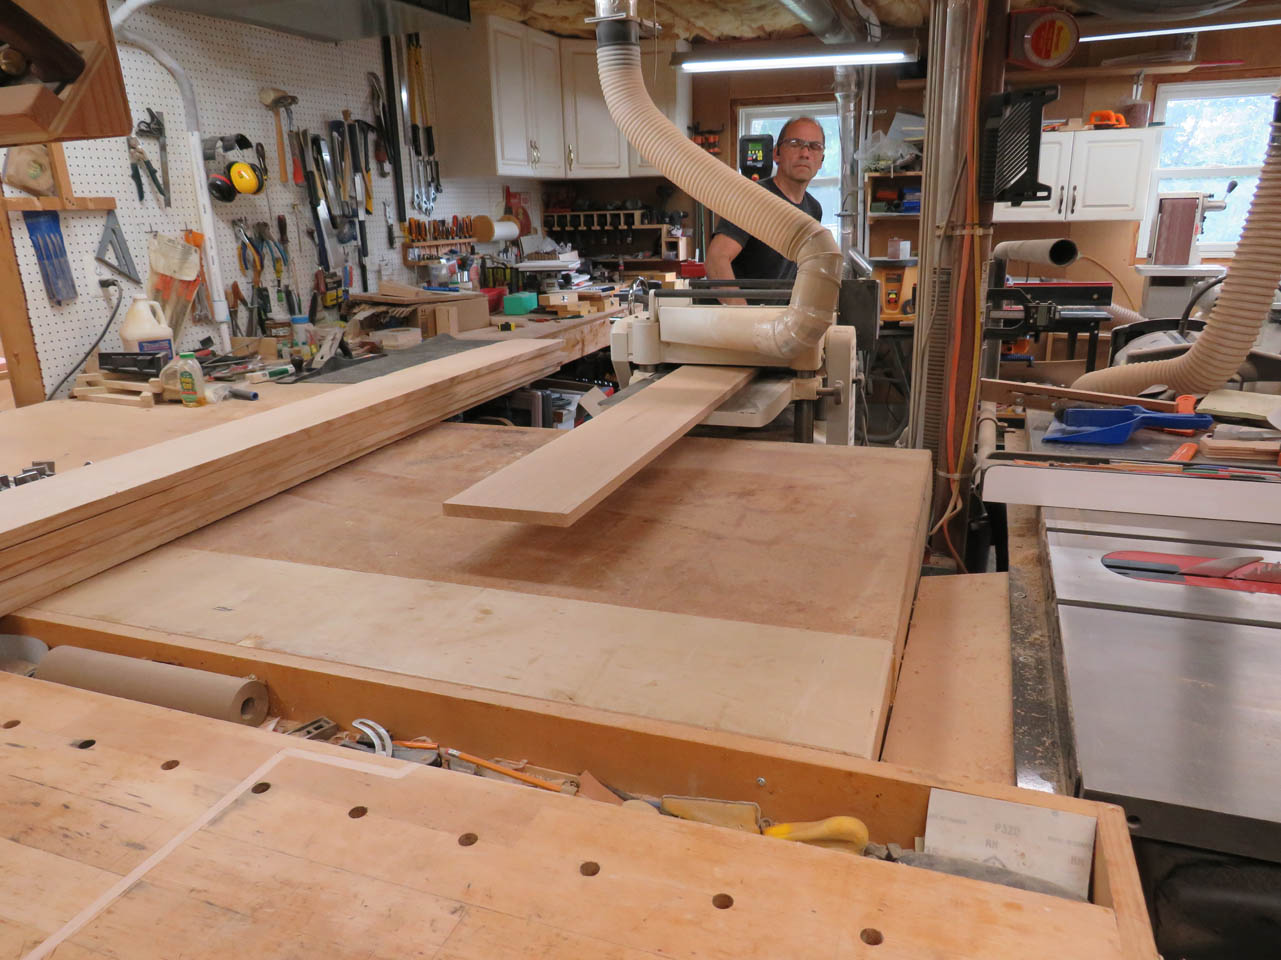
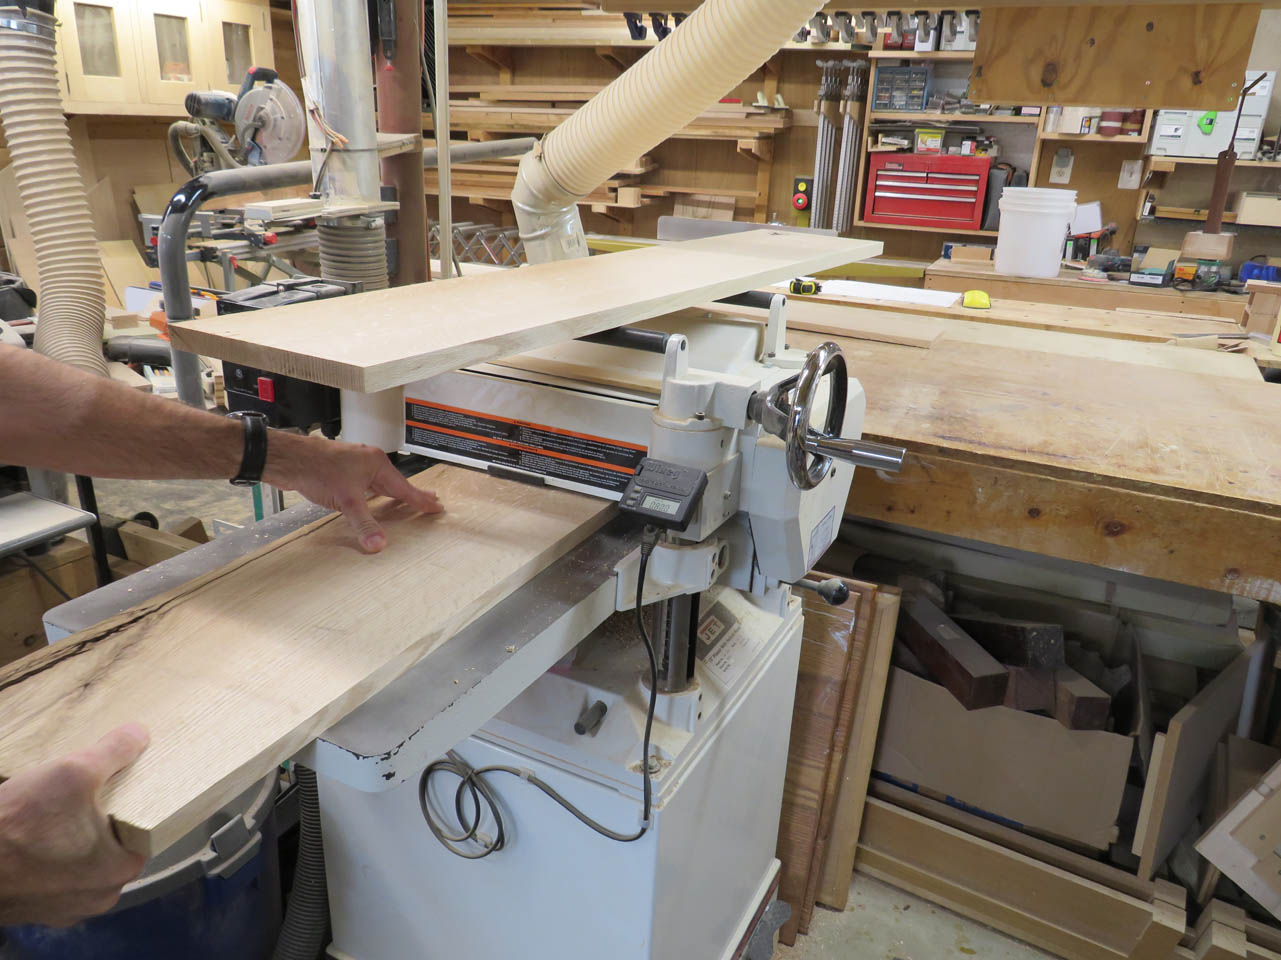
After I plane my boards all down to 3/4″ thick, I start rough-cutting them to length.
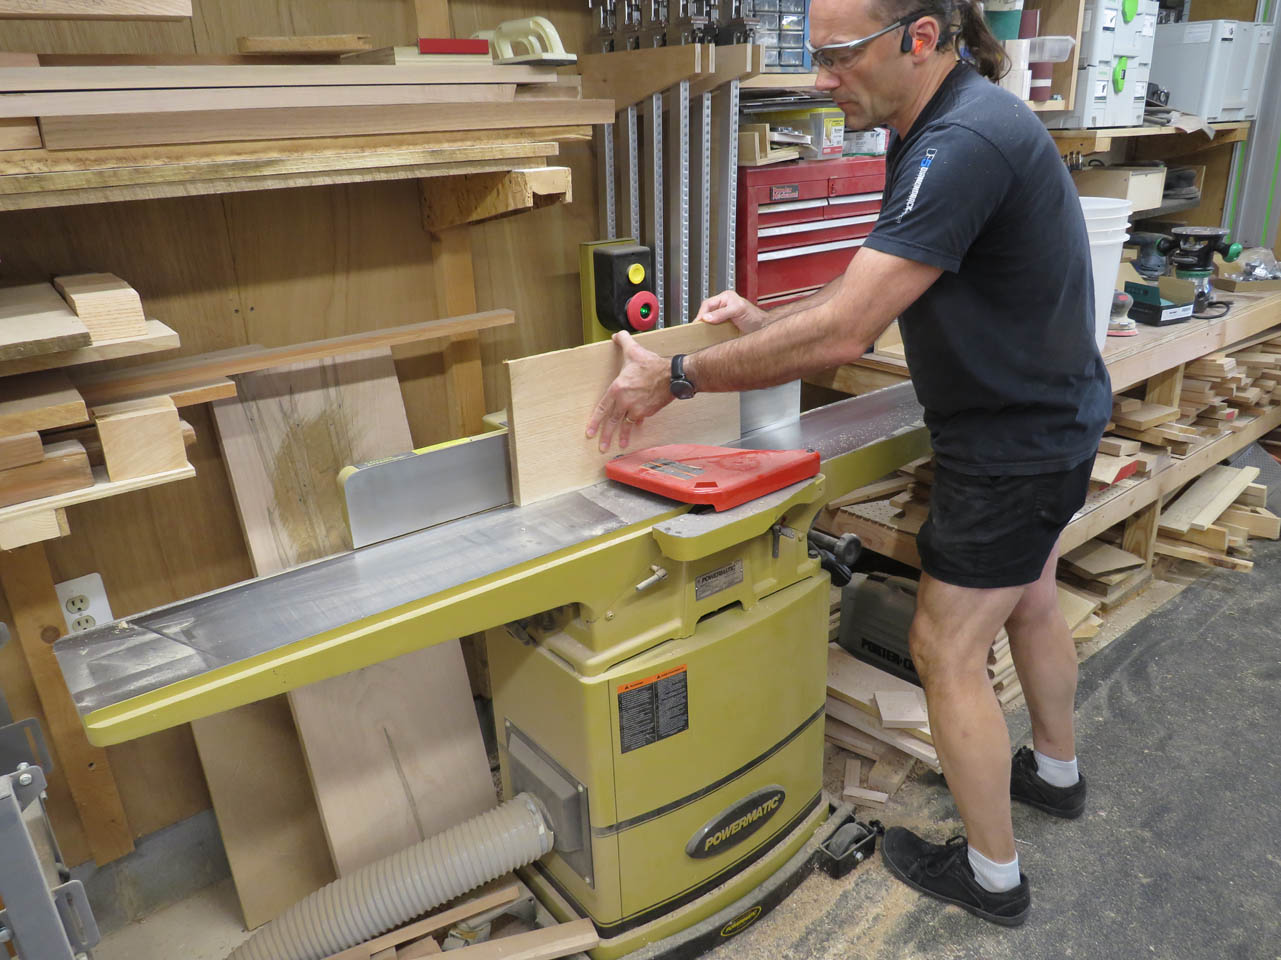
I joint the first edge of each on the jointer.

Then cut the opposite parallel on the table saw. I also joint this side as well so that I have good glue surfaces on each side.

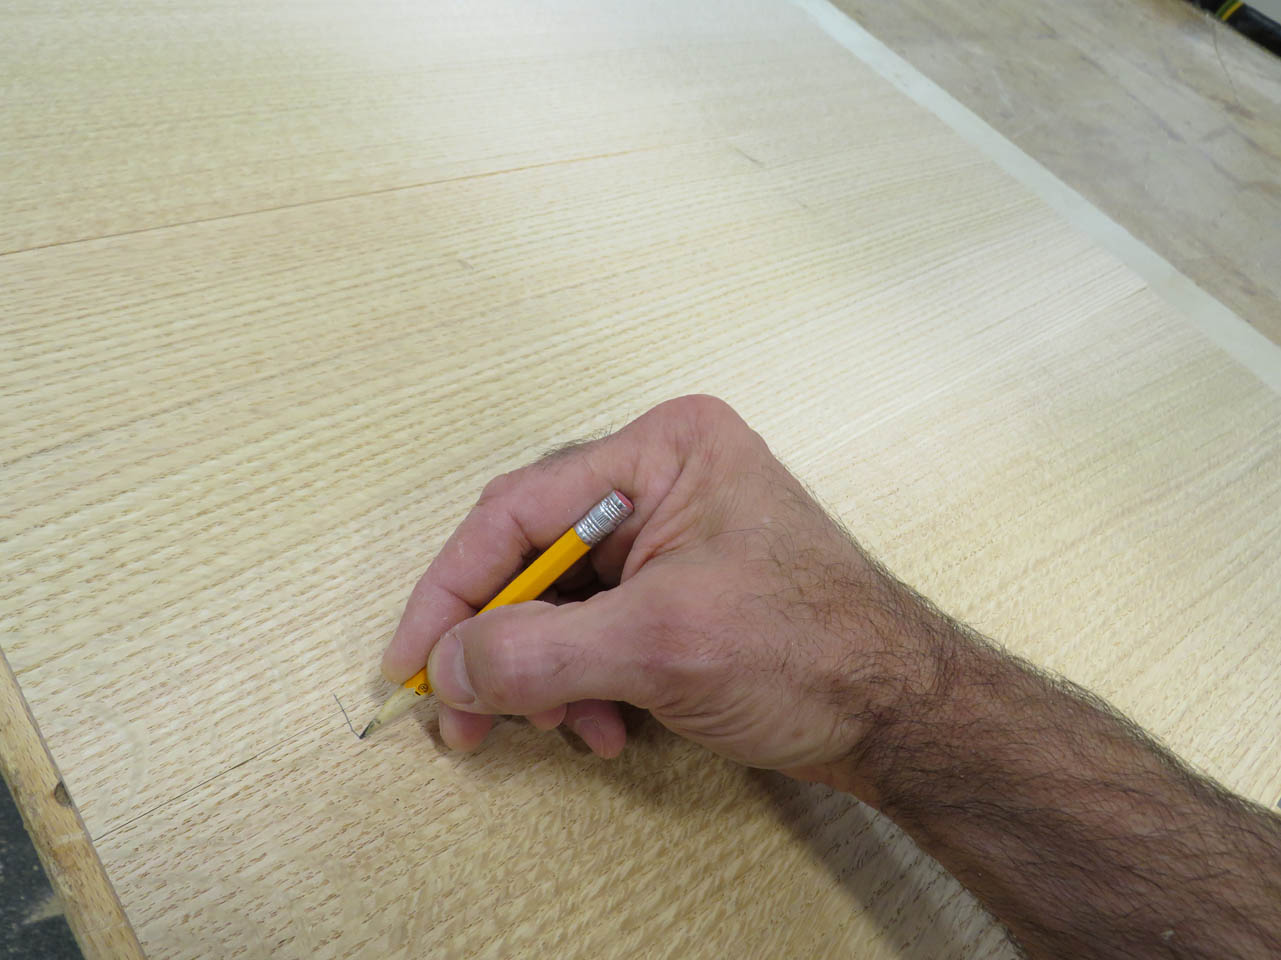
I cut enough pieces for each panel, then start laying them out for the best grain match.
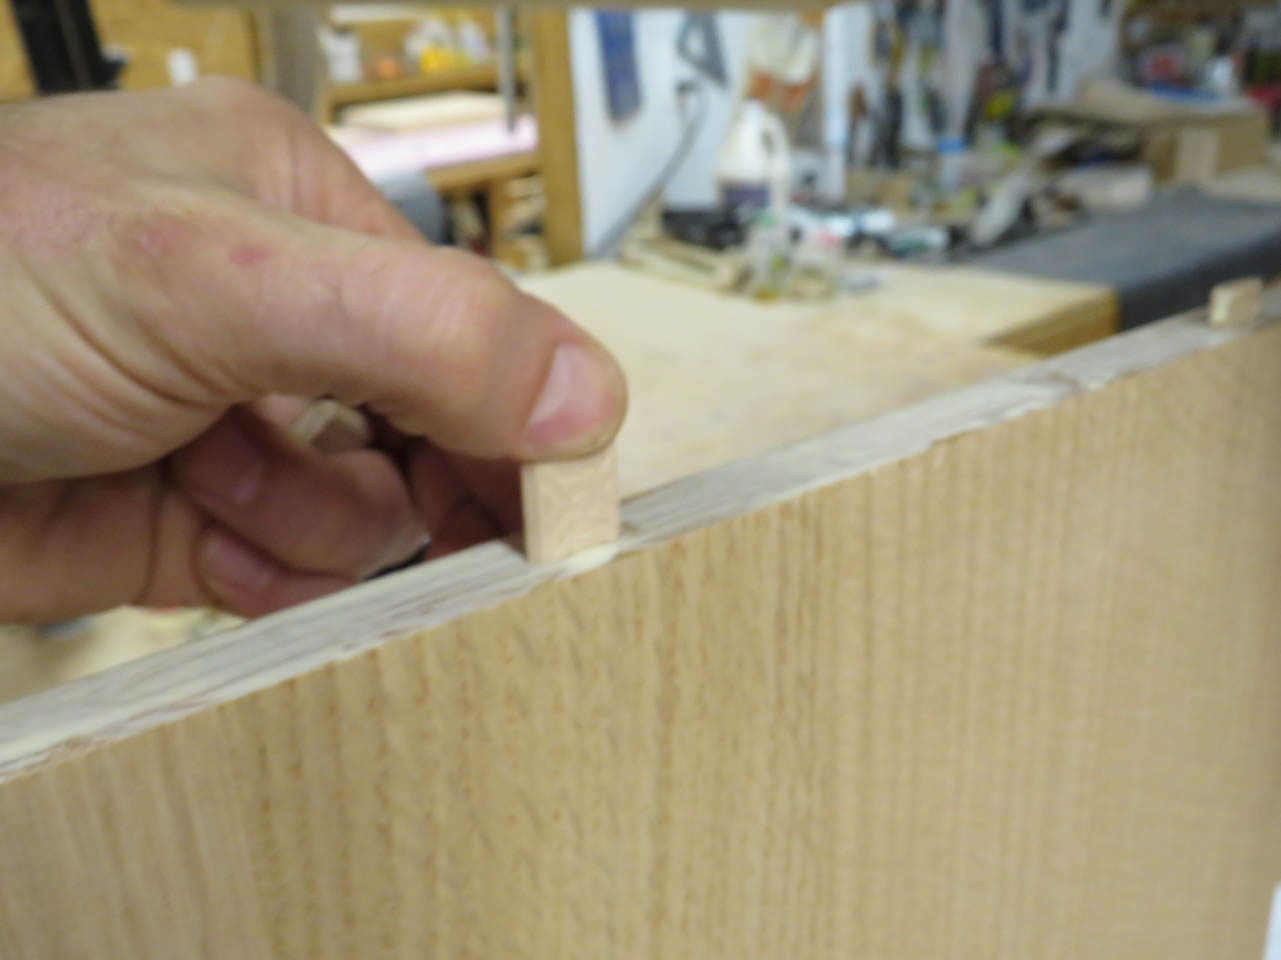
I will be using small floating tenons to align the faces for joining, so I mark their locations now while I have the boards laid out the way I want.

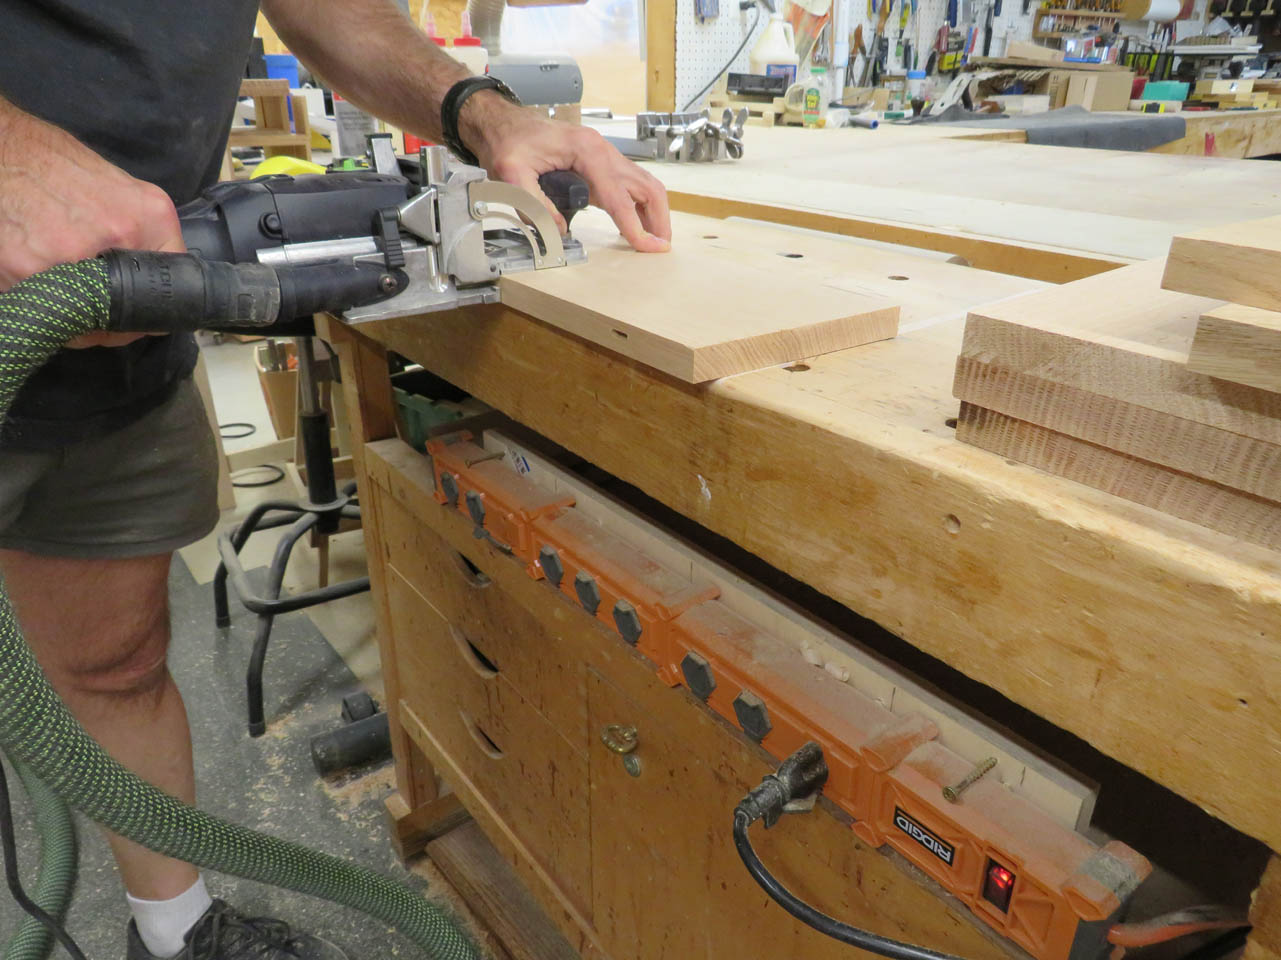
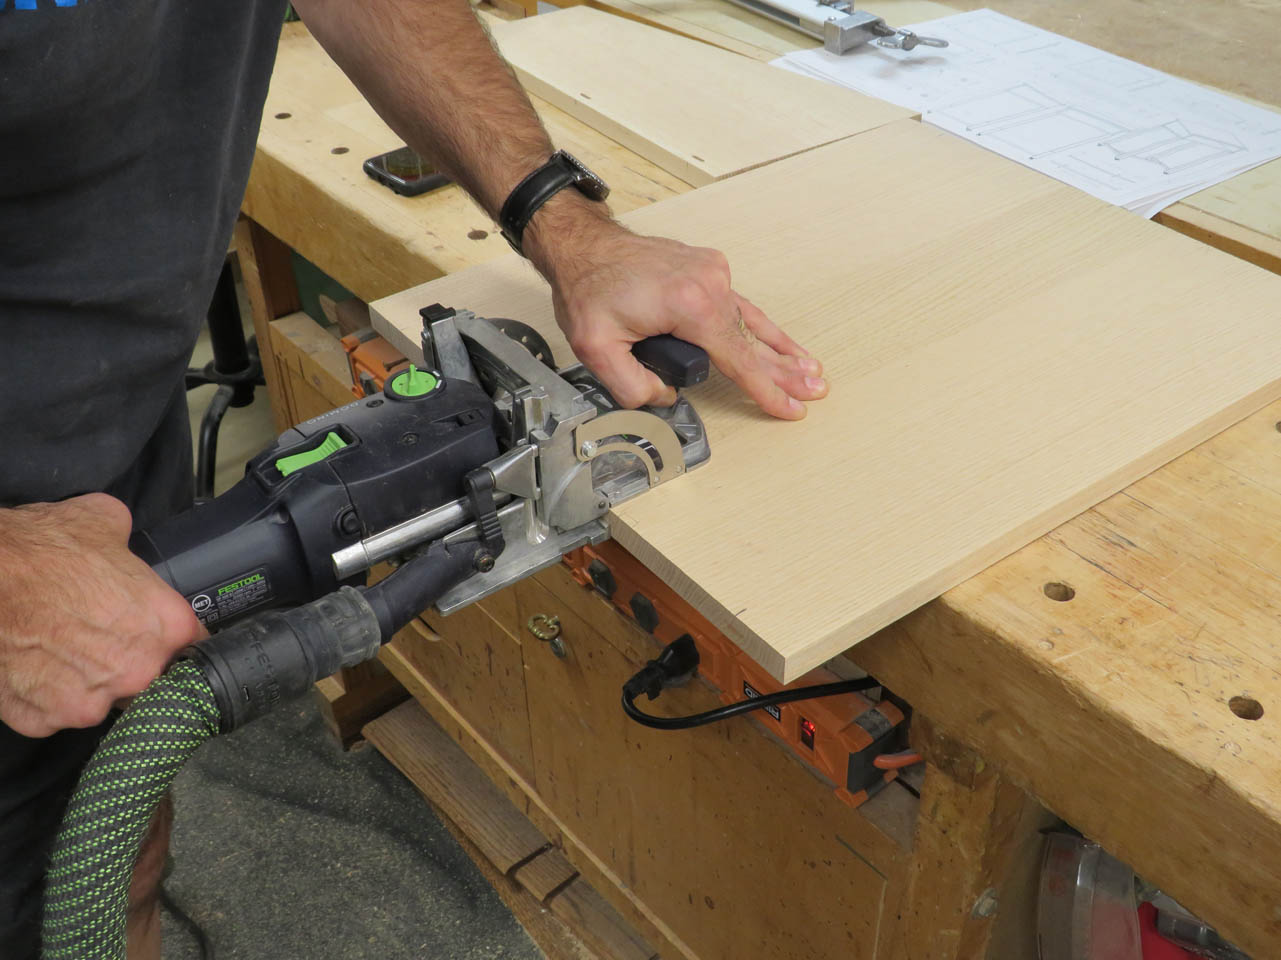
I sort all of my tops and shelves into separate piles and start cutting the mortises with my Domino jointer.
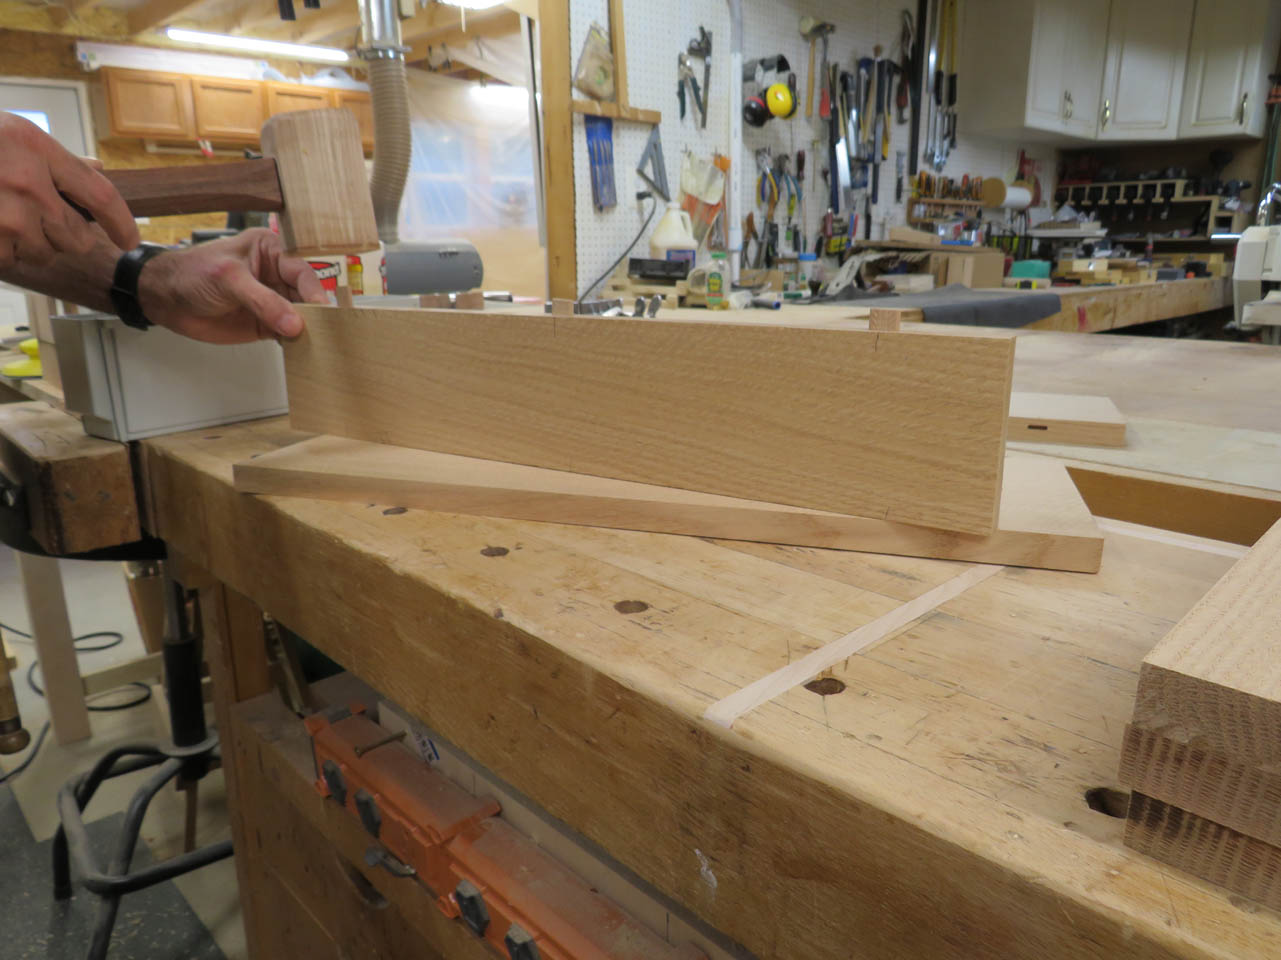
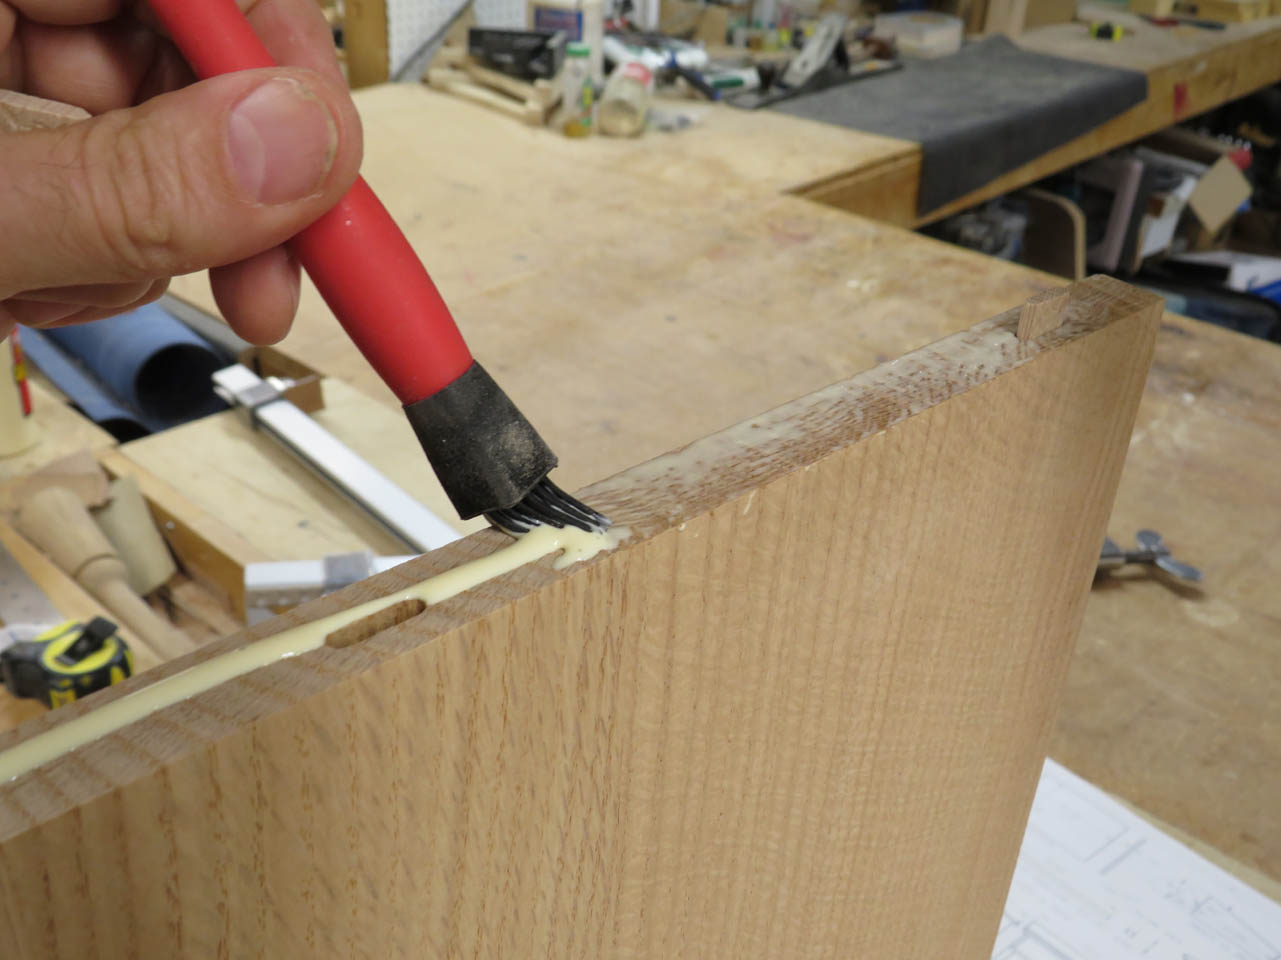
I install the floating tenons into the center board, then start applying glue to the opposing boards of each panel.
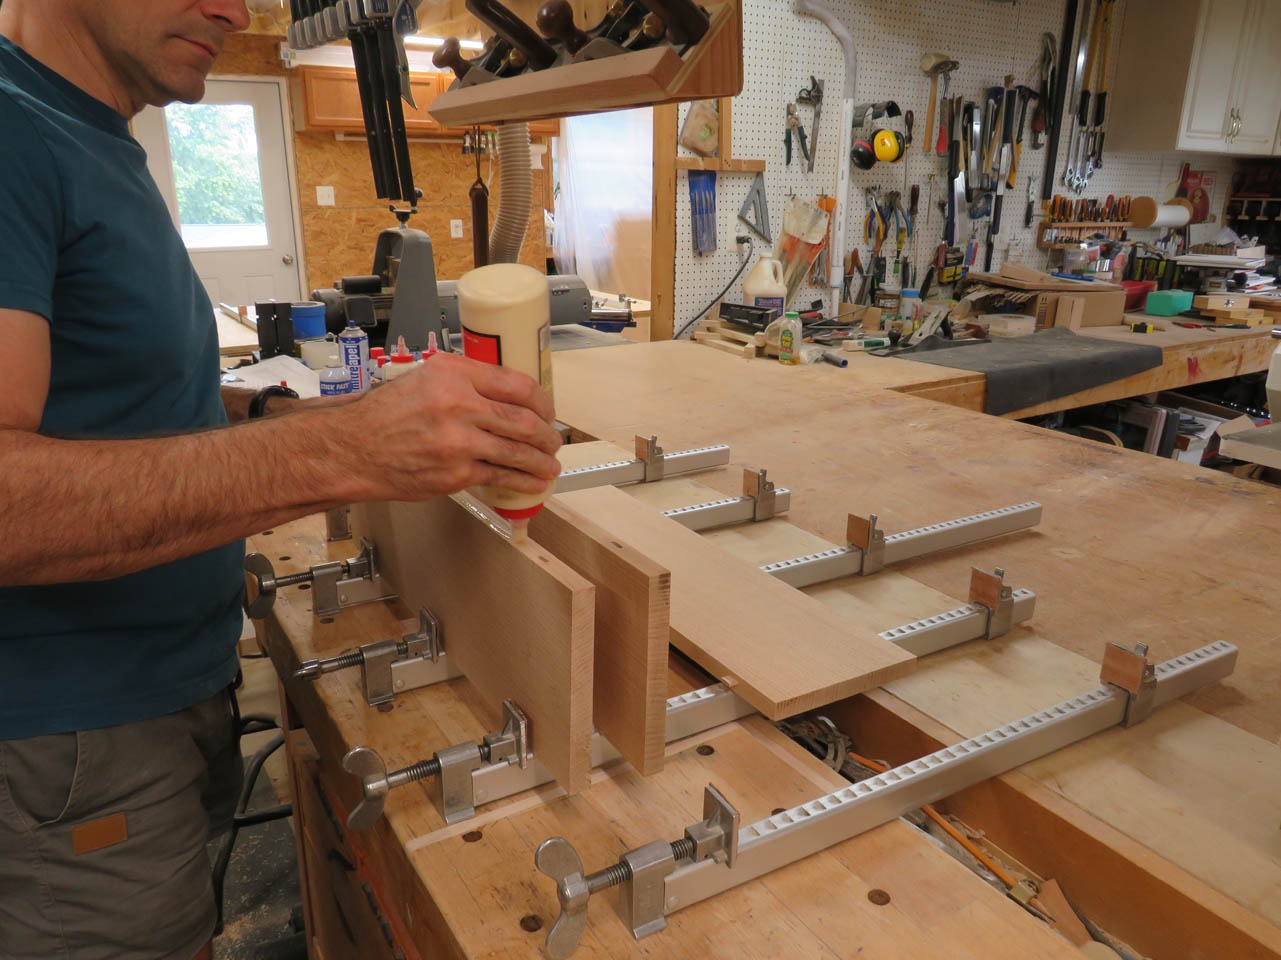
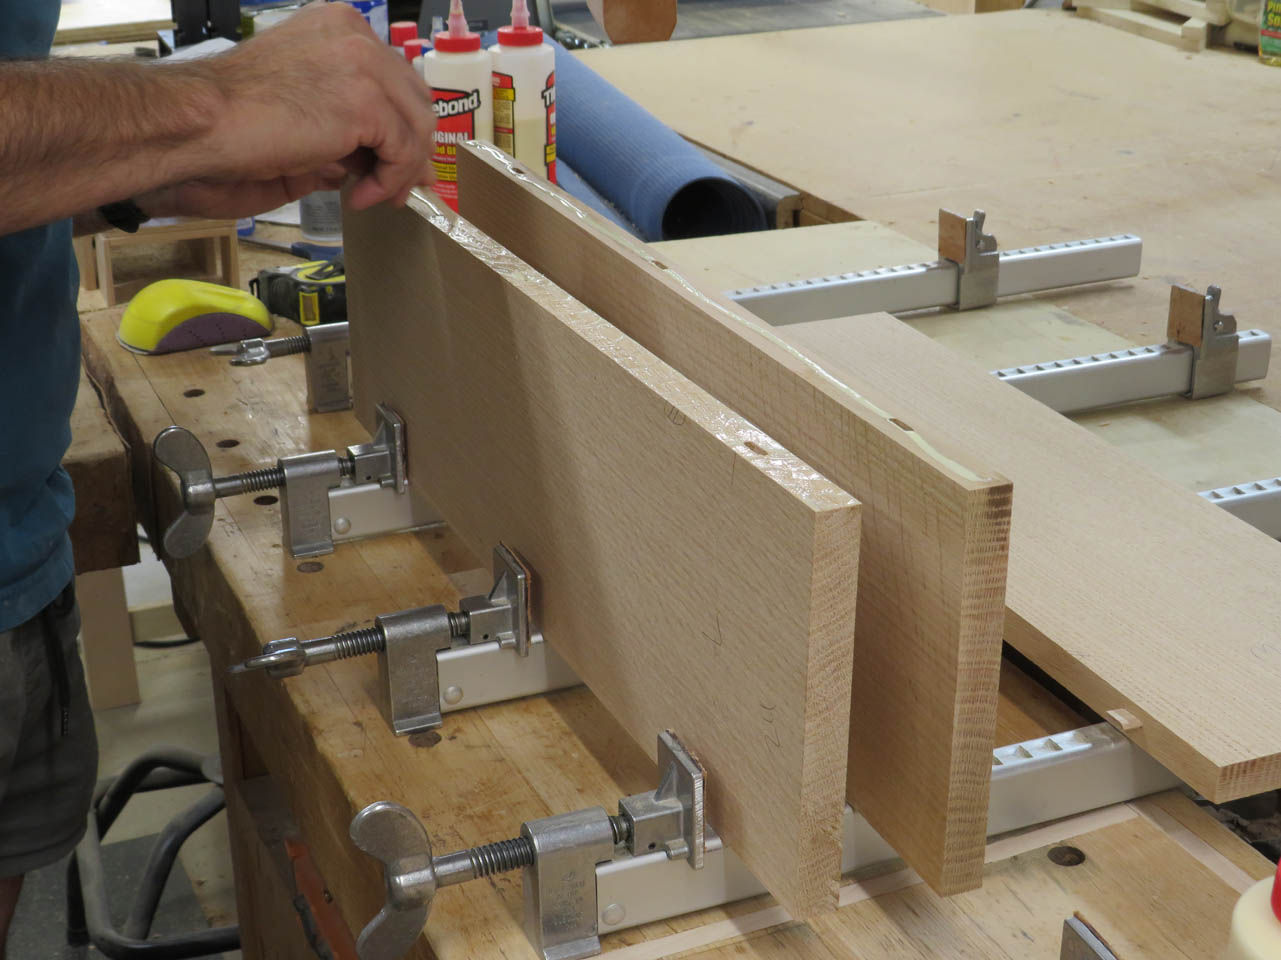
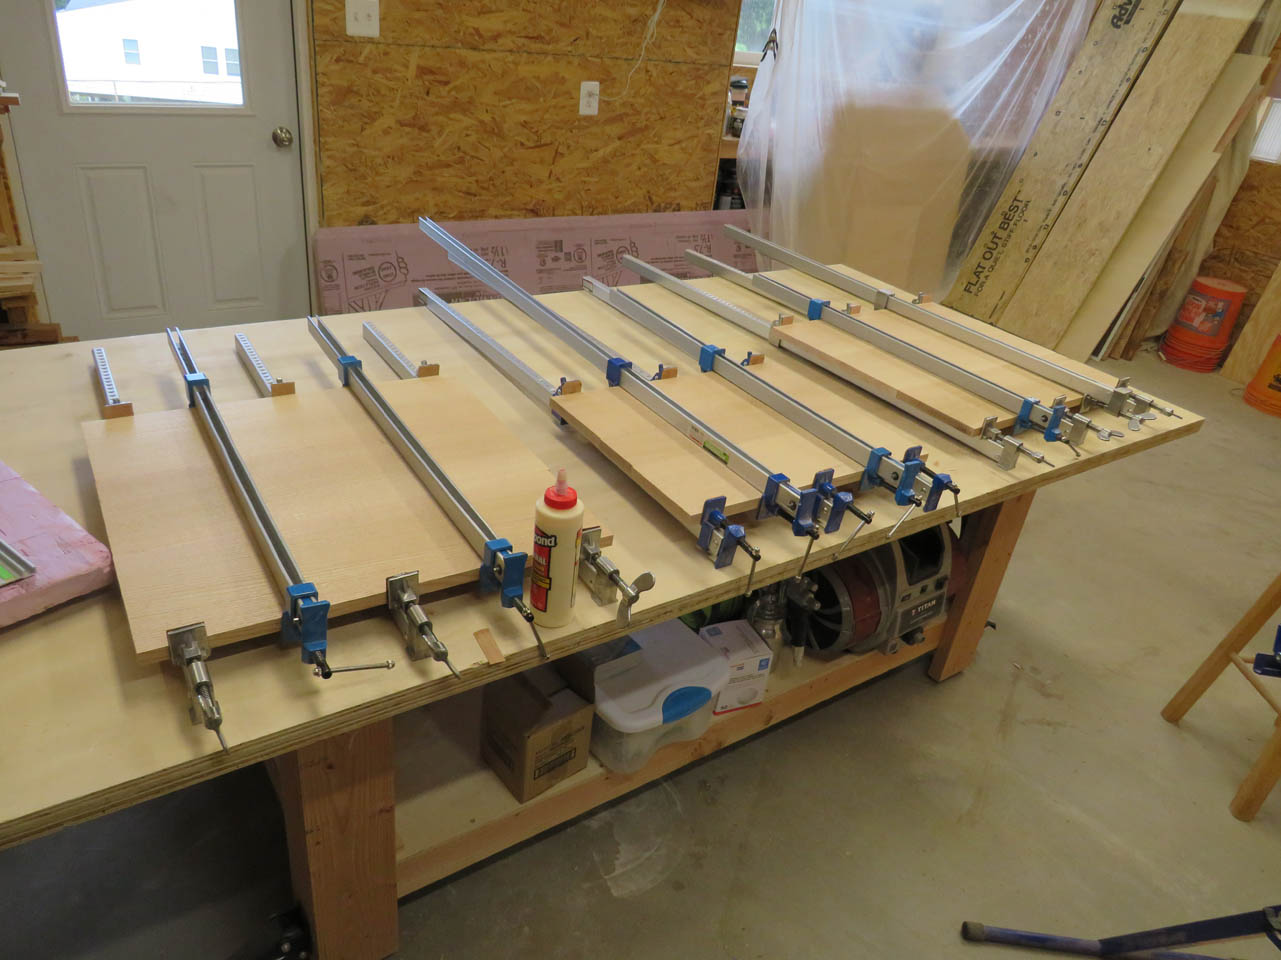
After spreading glue evenly across each joint, I can press them all together.
I laid the glued-up panel on three bar clamps and gently tightened them. If you only clamp one side, you run the risk of bending the board up in the middle. To reduce the chance of that, I put two clamps on top to oppose the clamping force and keep the board flat.
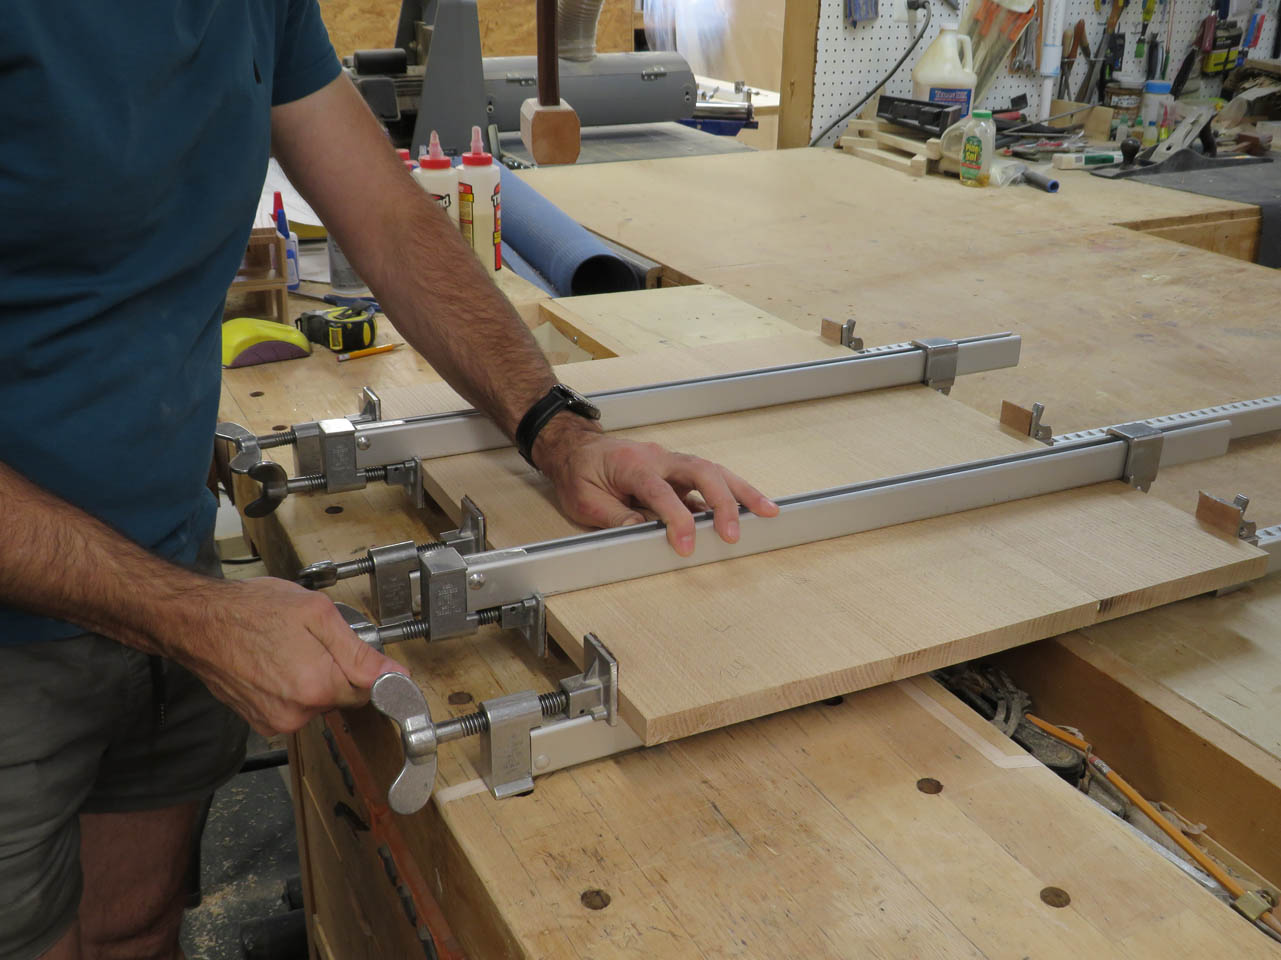
This, of course, uses all of my bar clamps so I have to wait to clamp up the last couple of panels, time to buy more clamps…
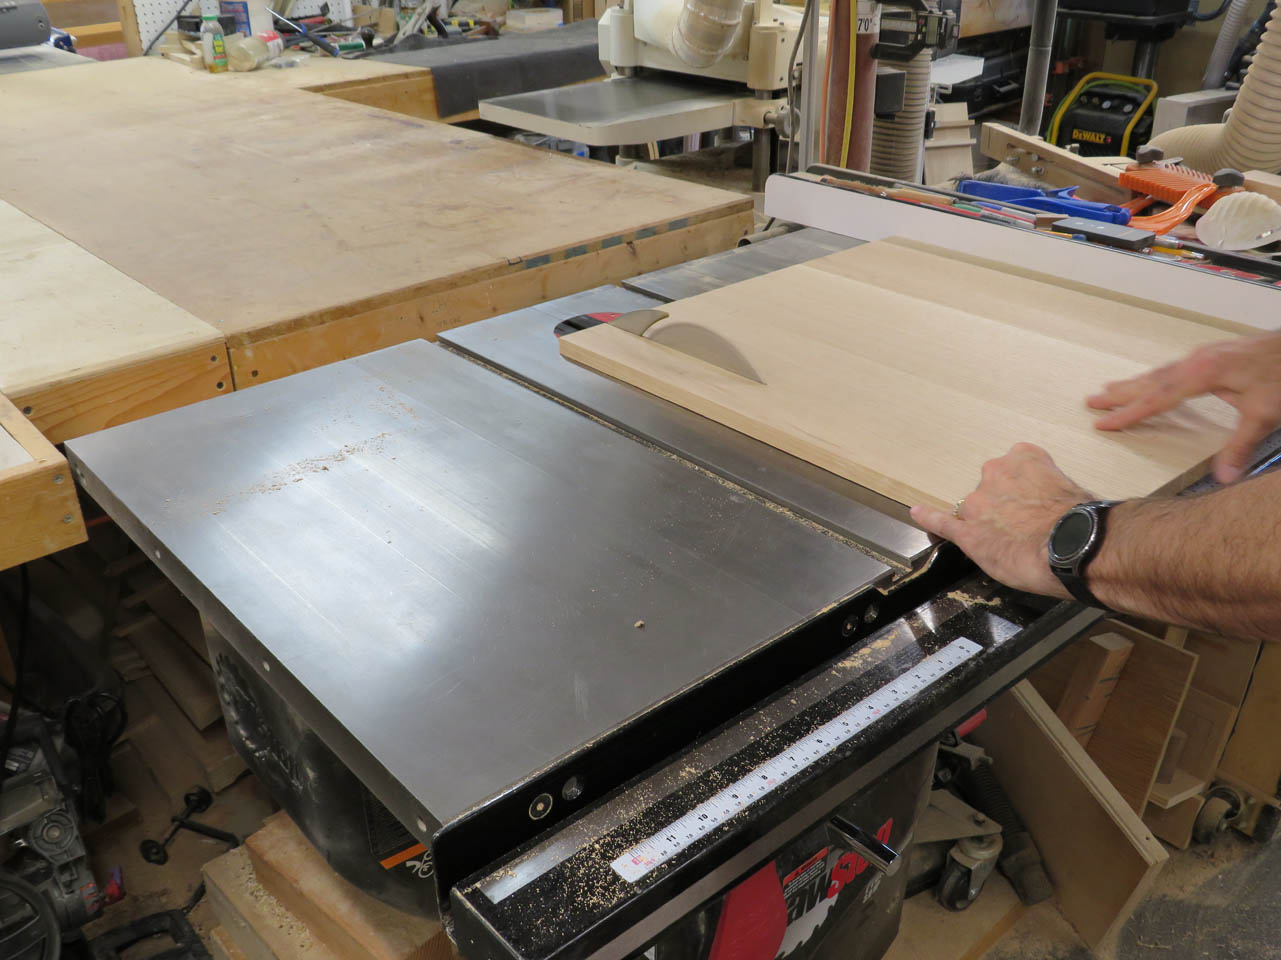
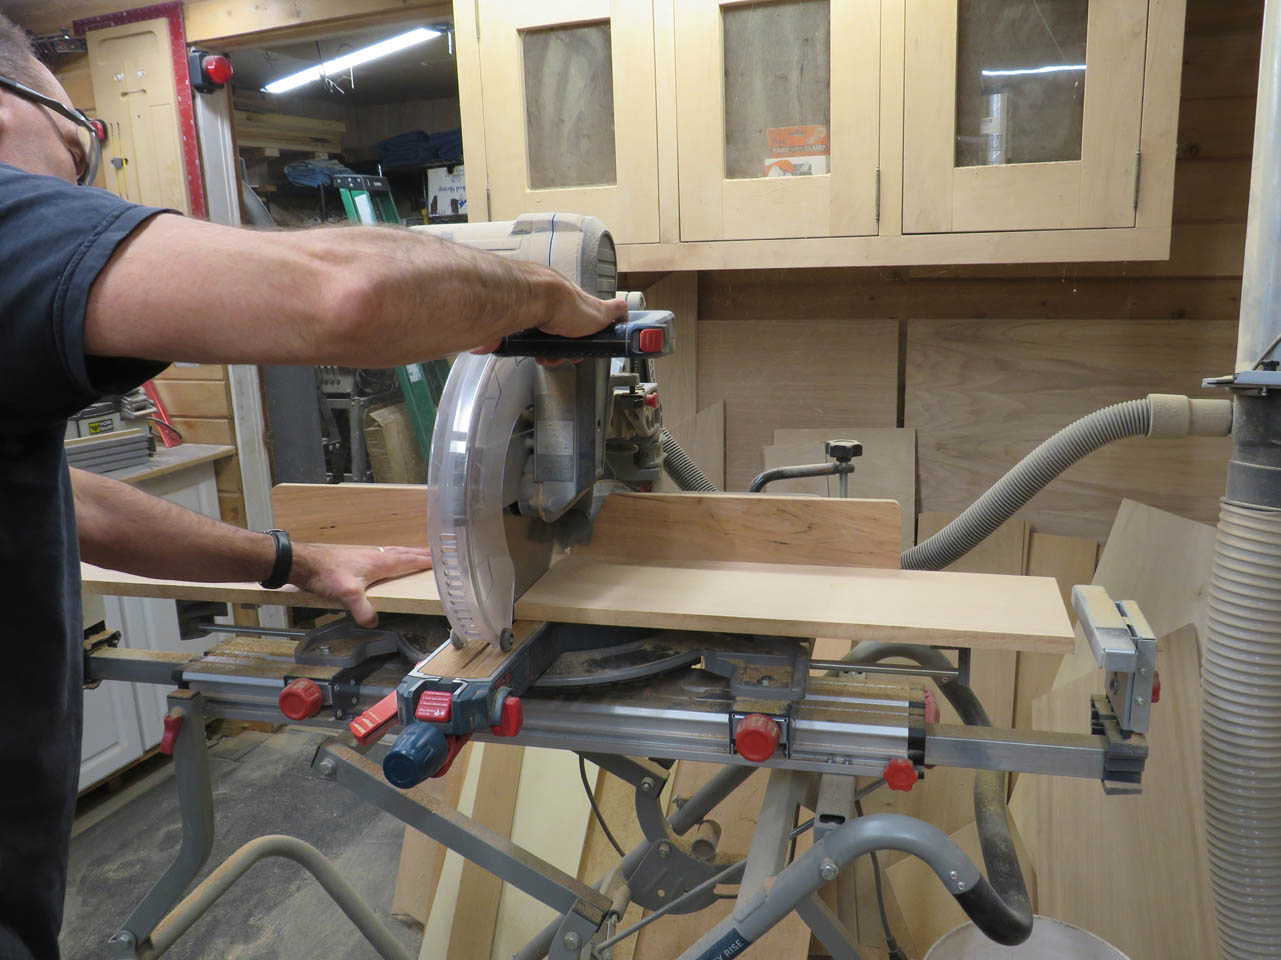
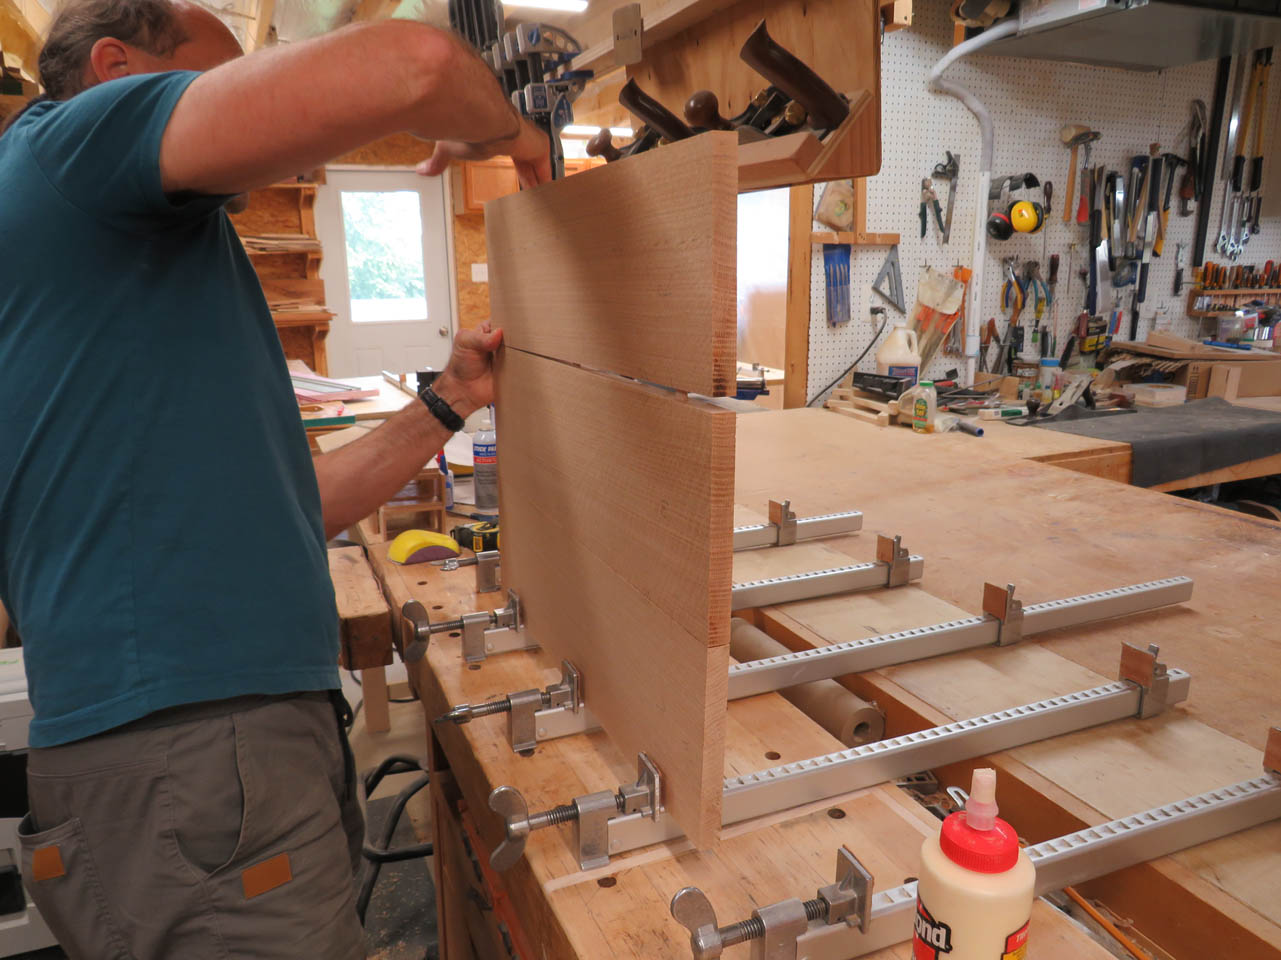
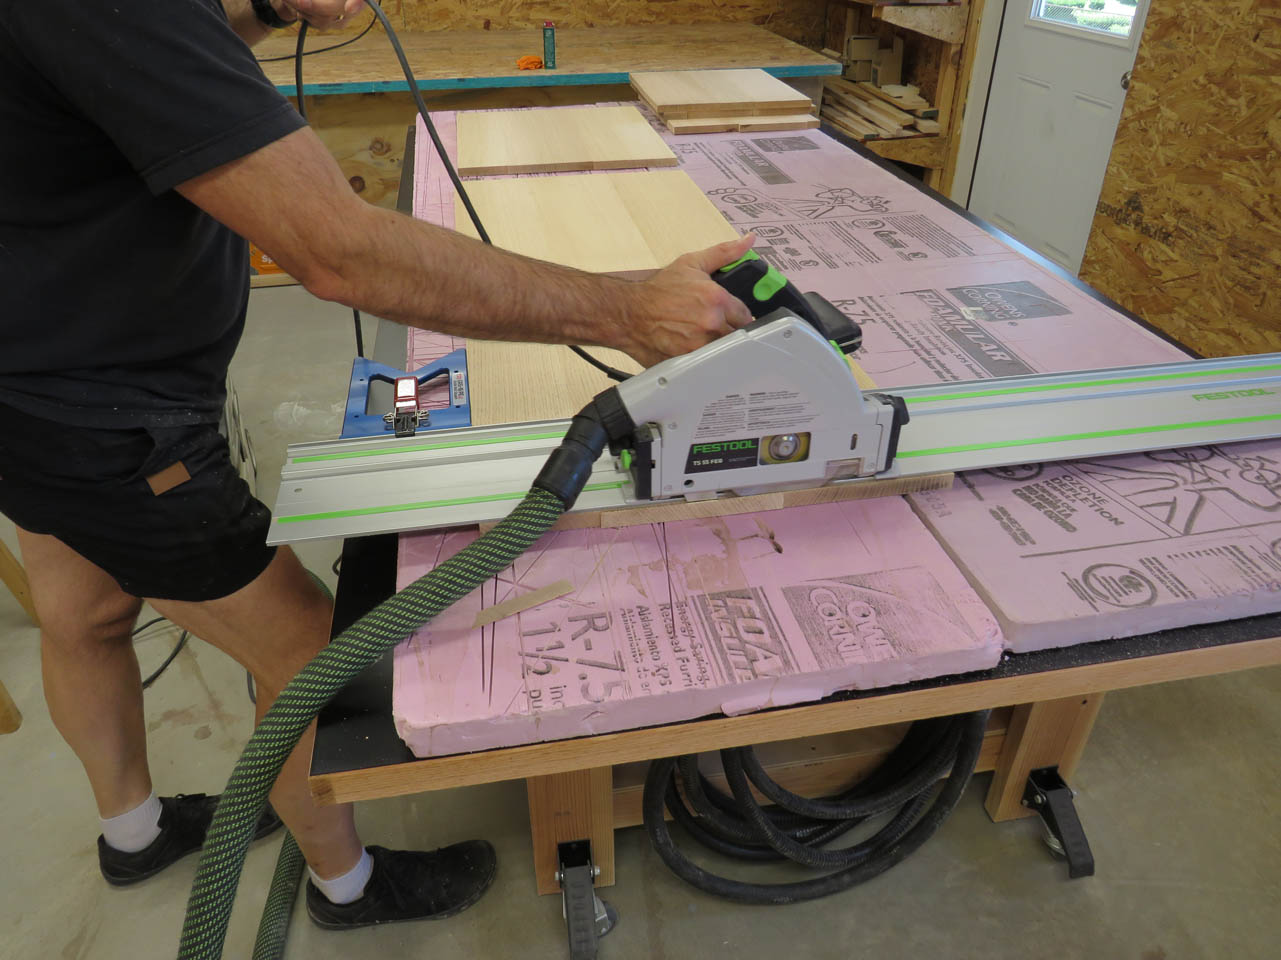
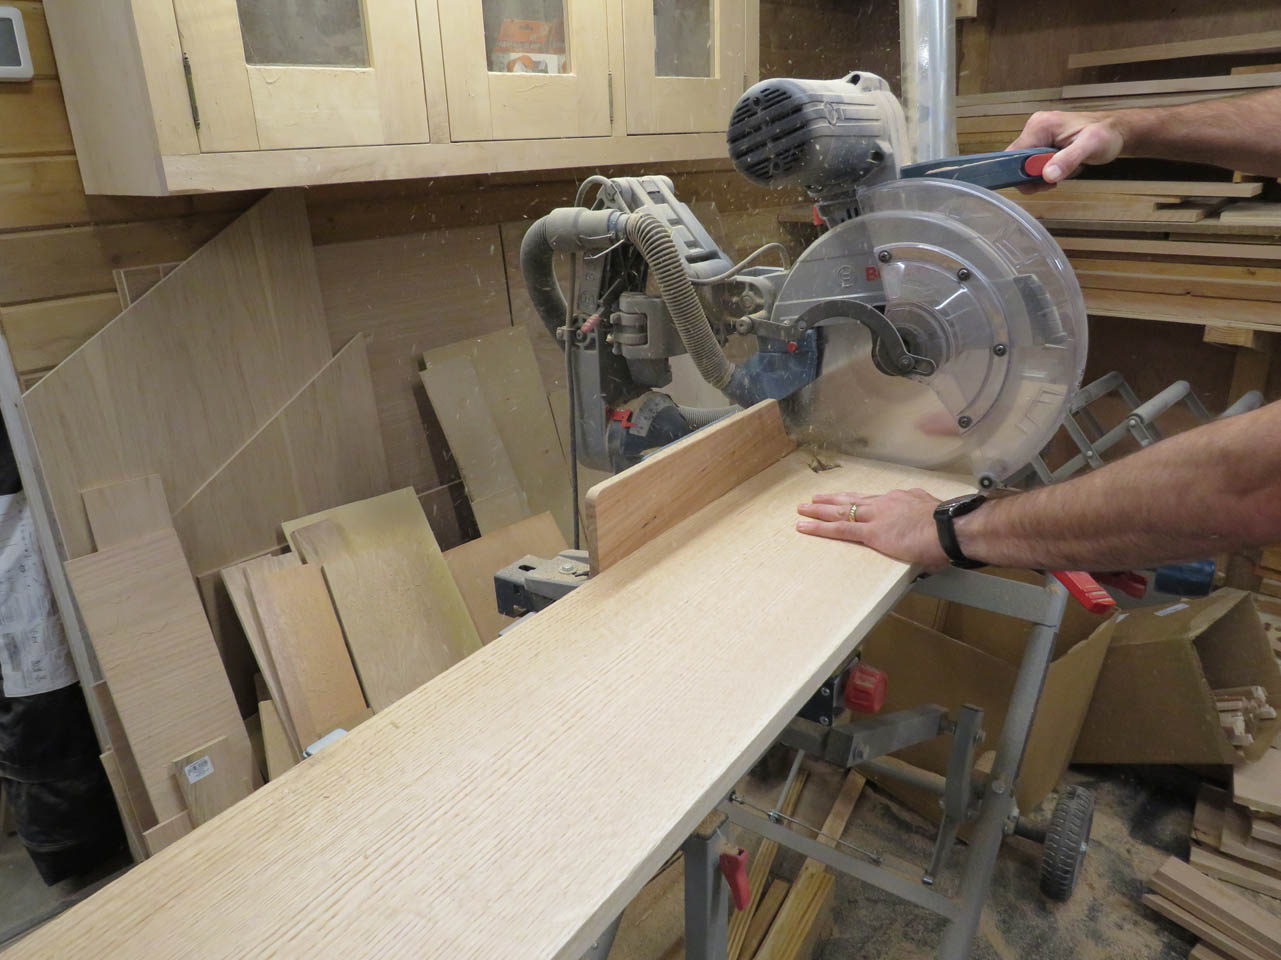
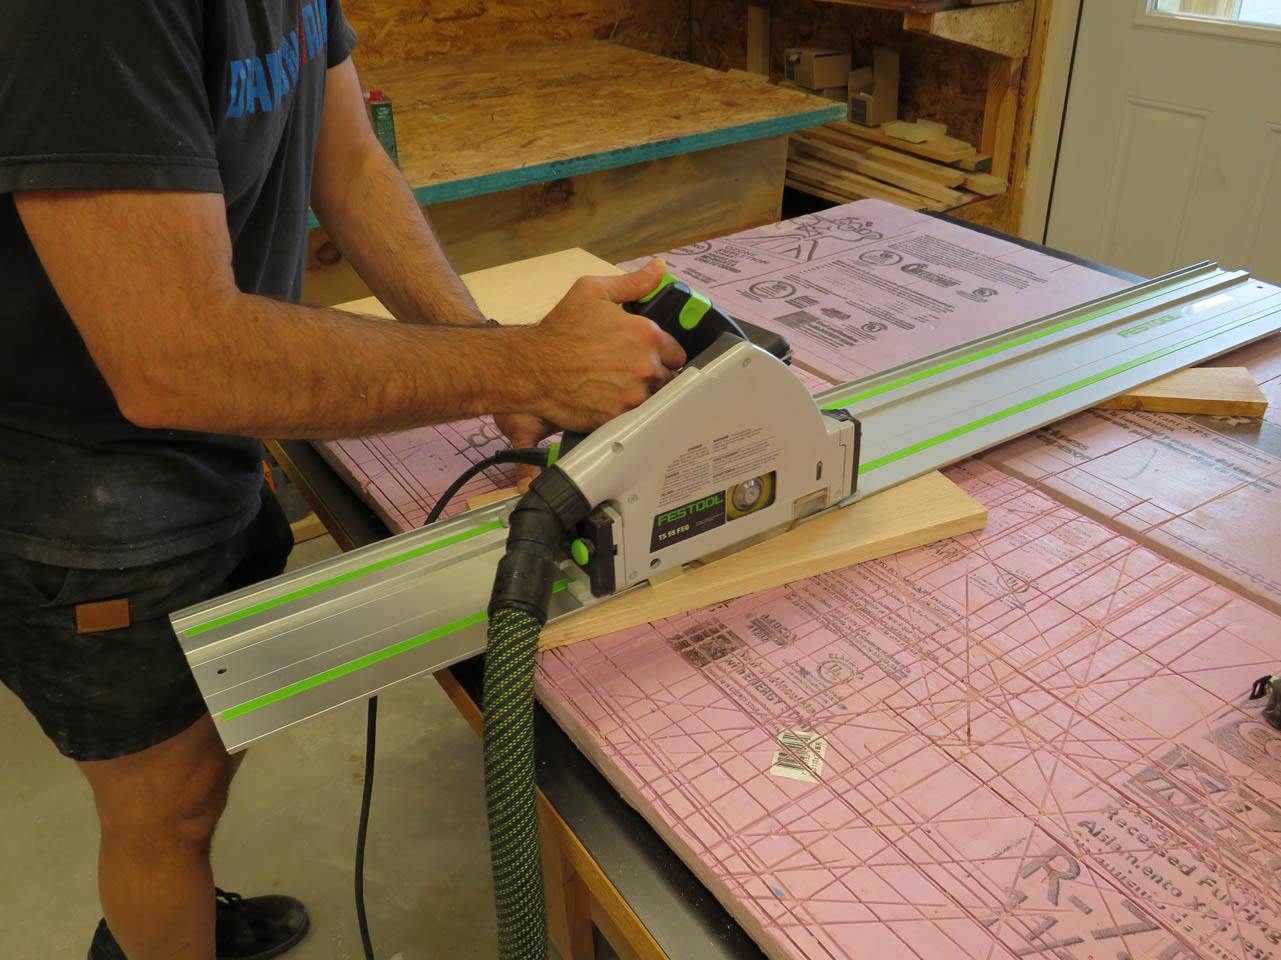
After the panels are all dry, I can cut them down to the correct width on the table saw, then square up the sides with my track saw and cut them to length.
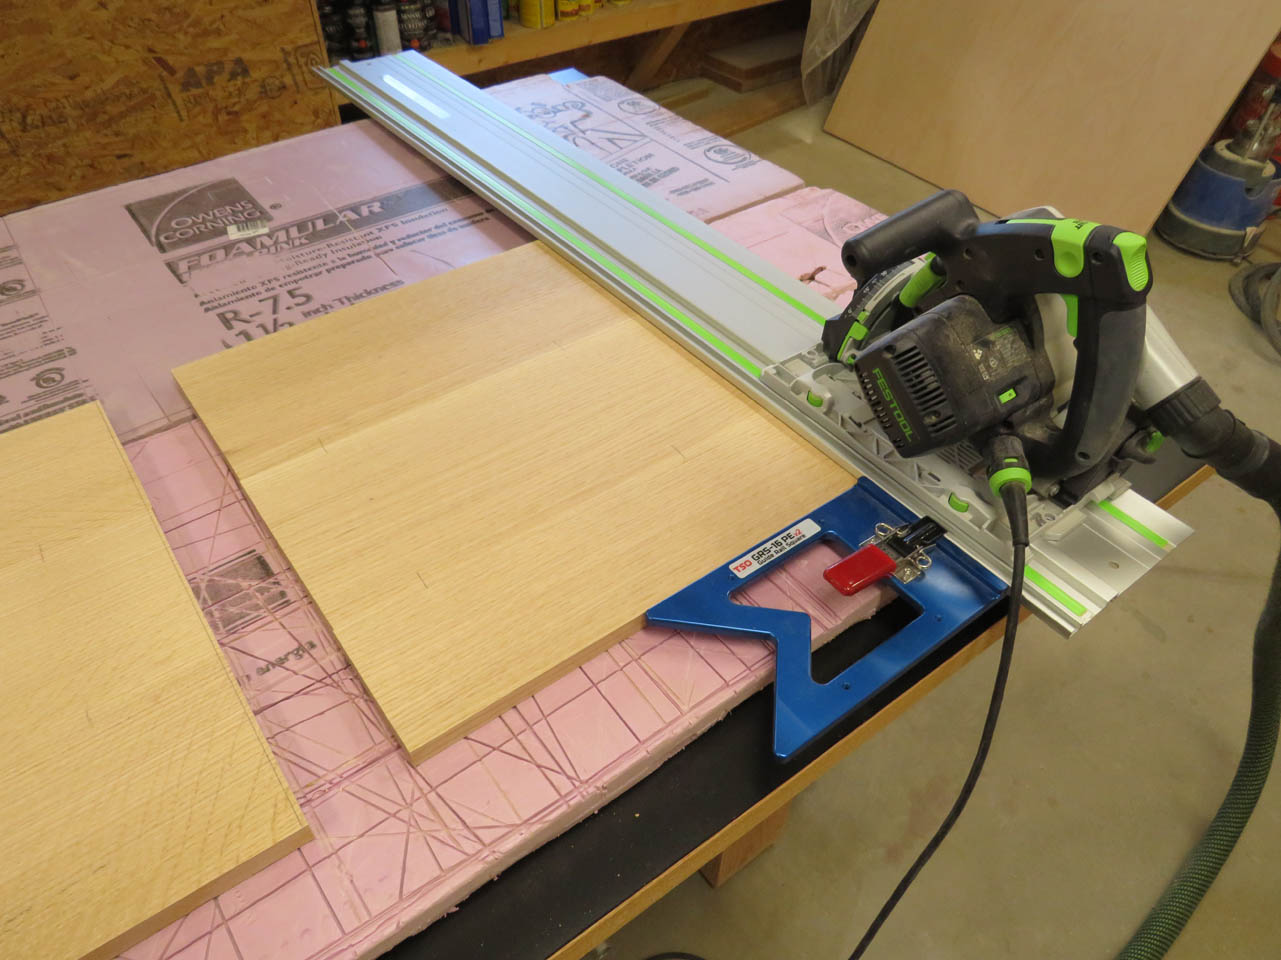
Once they are all cut, I can sand all of the glue joints smooth.

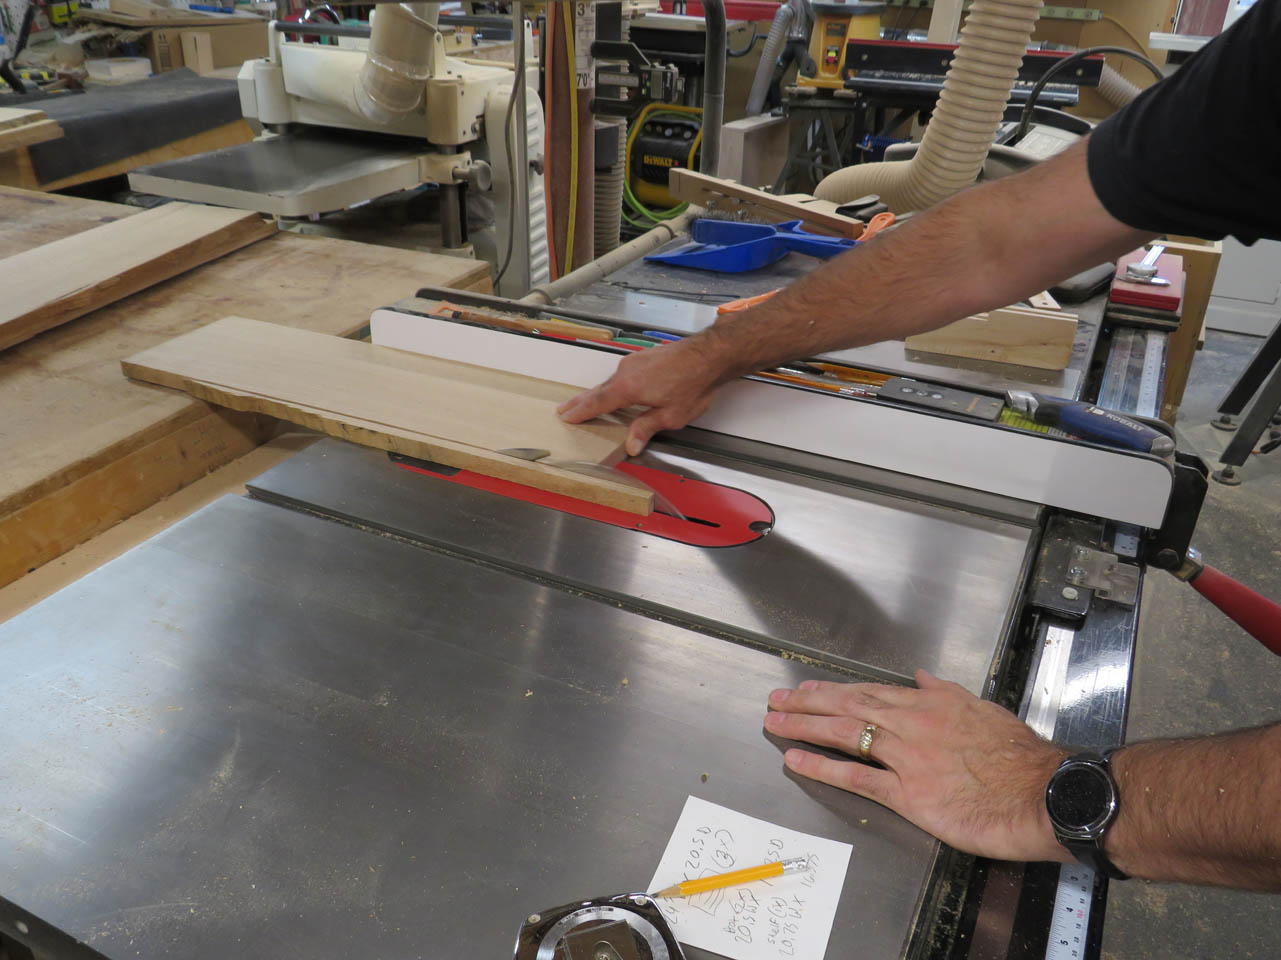
With the large panels done, I can now cut the rest of the pieces for the top sections of the guestbook stands.
These require cutting, jointing and planing to size.
Then I can lay out the 10° angle along the top of the four sides and cut that easily with my track saw.
I used my table saw to cut the 10° angle on the top of front panel as well.
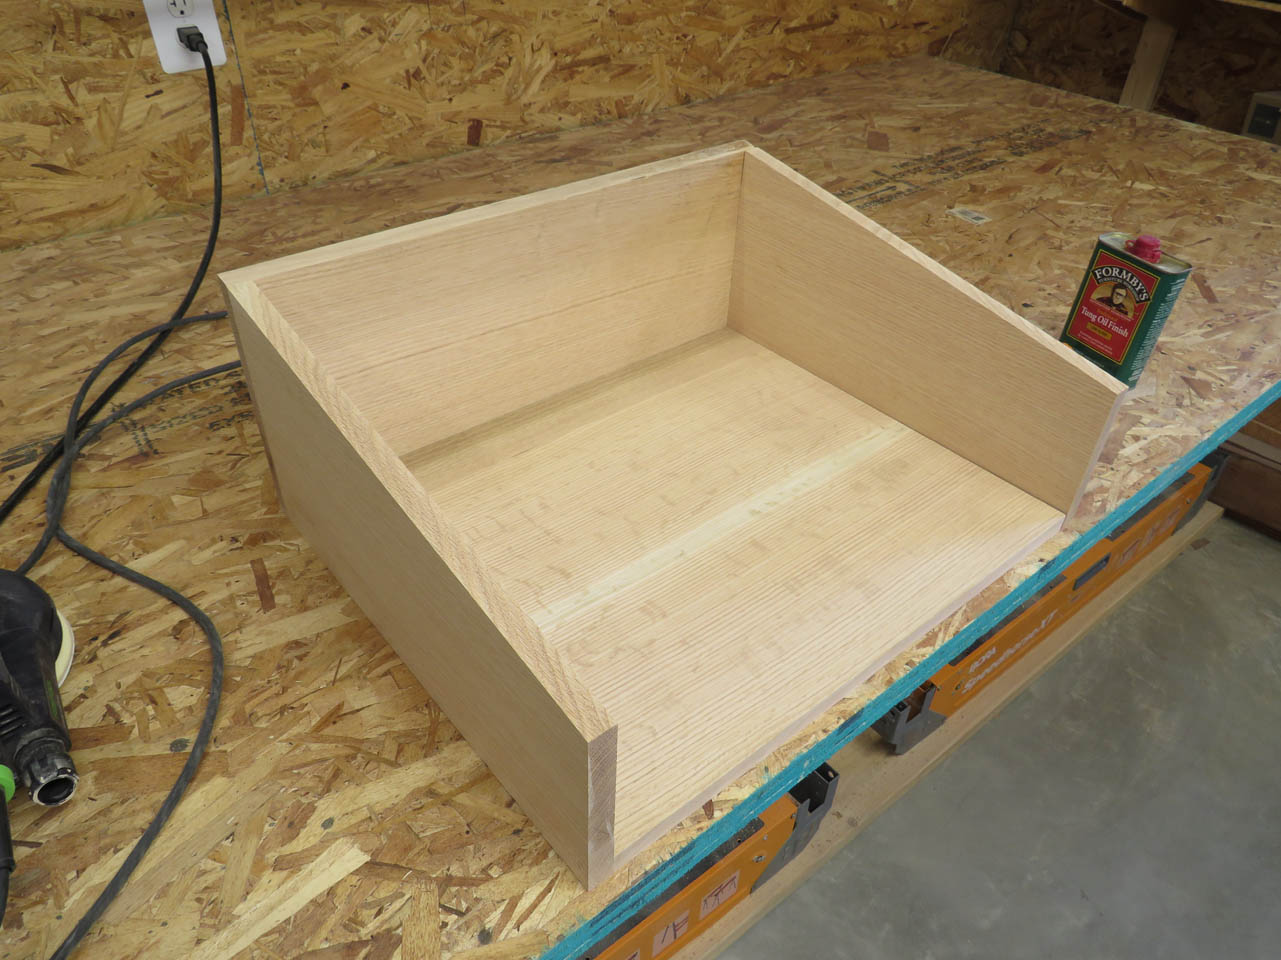
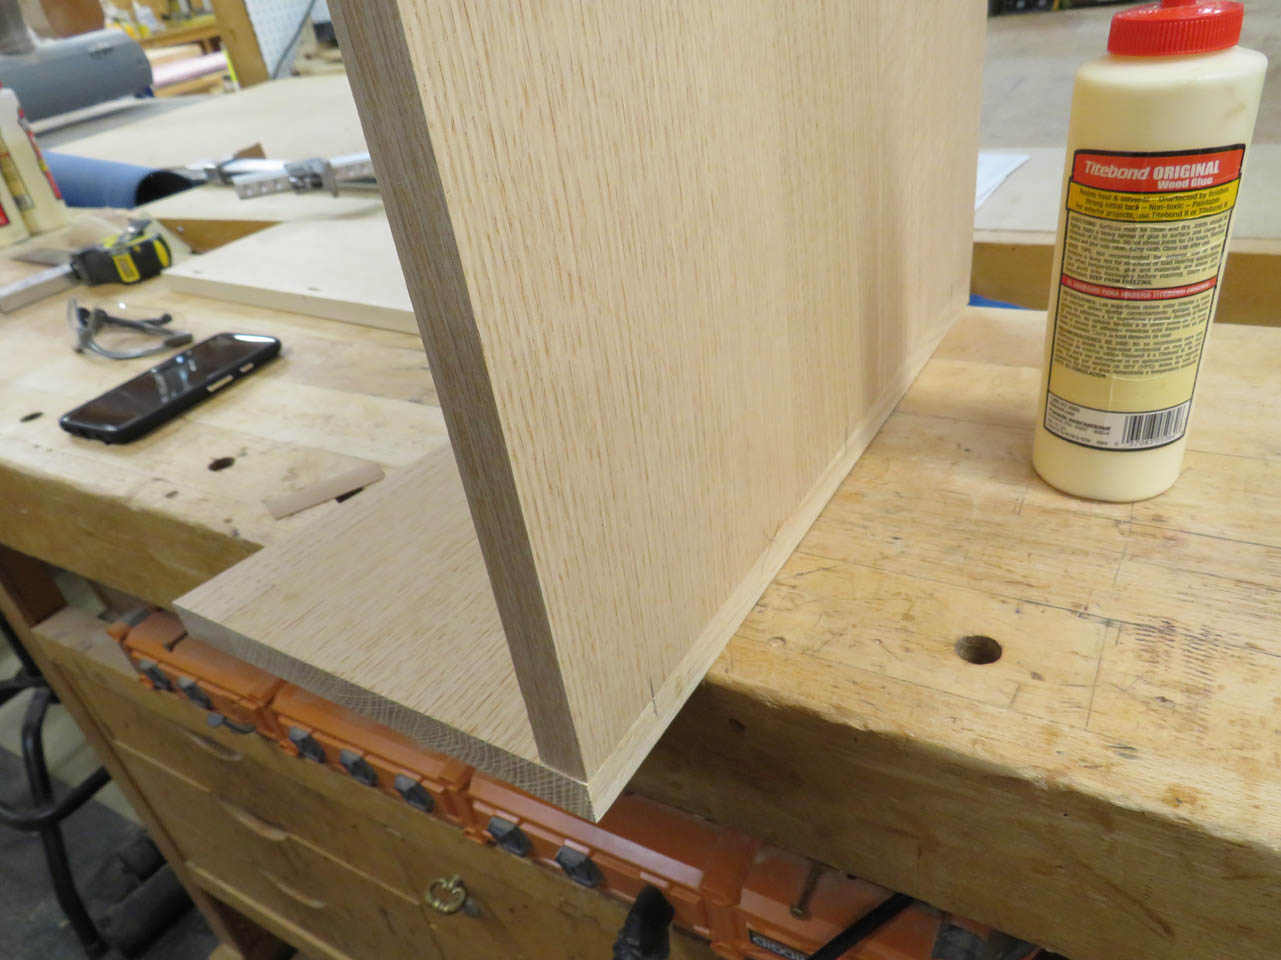
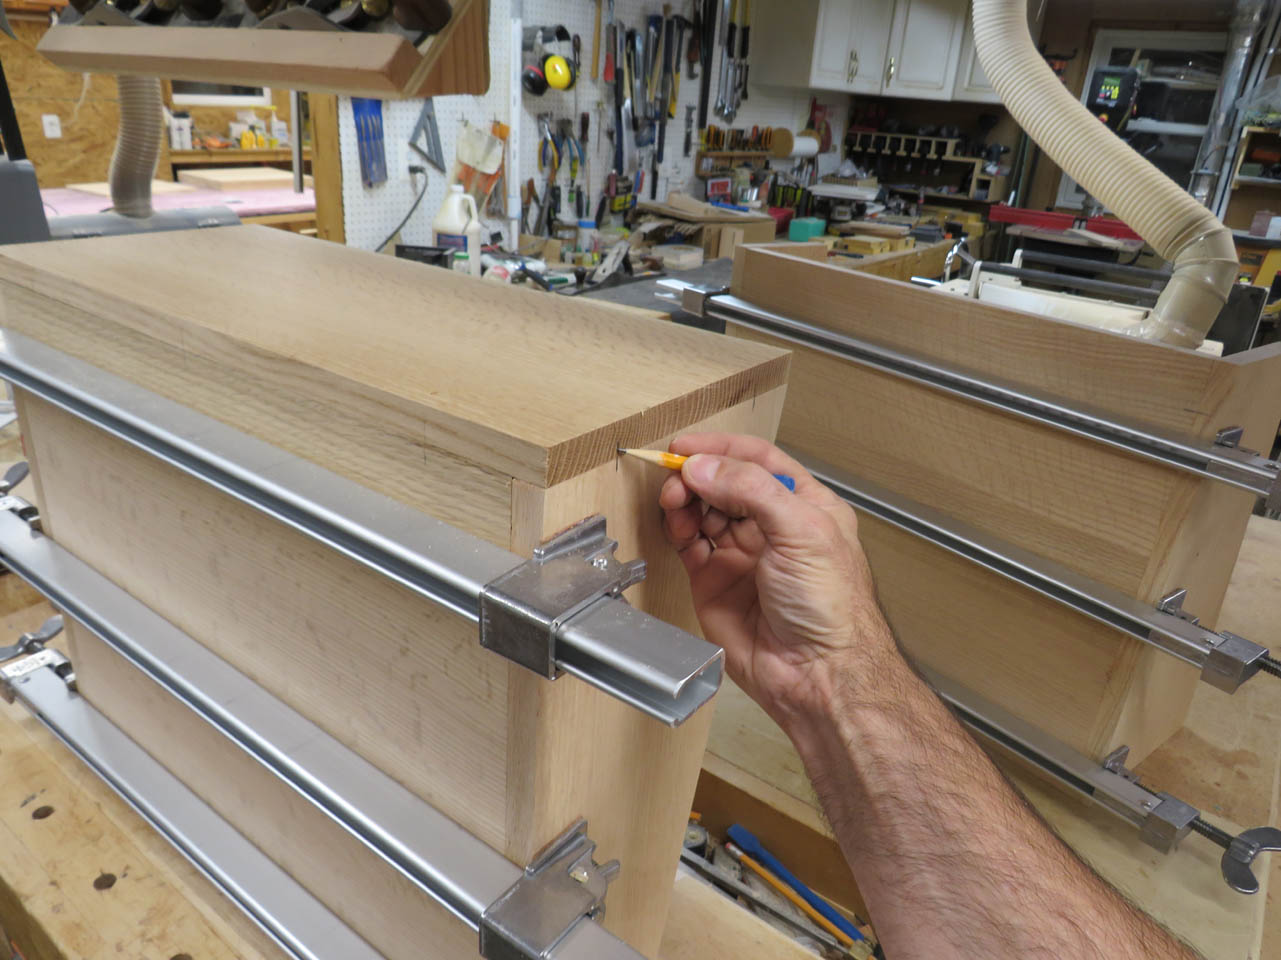
After a quick dry-fit, I clamp the sides to the bottom and mark the locations of the floating tenons. Since I am going to be attaching end grain to face grain with just glue, I want to add some mortise and tenon joinery here as well to strengthen the joints.
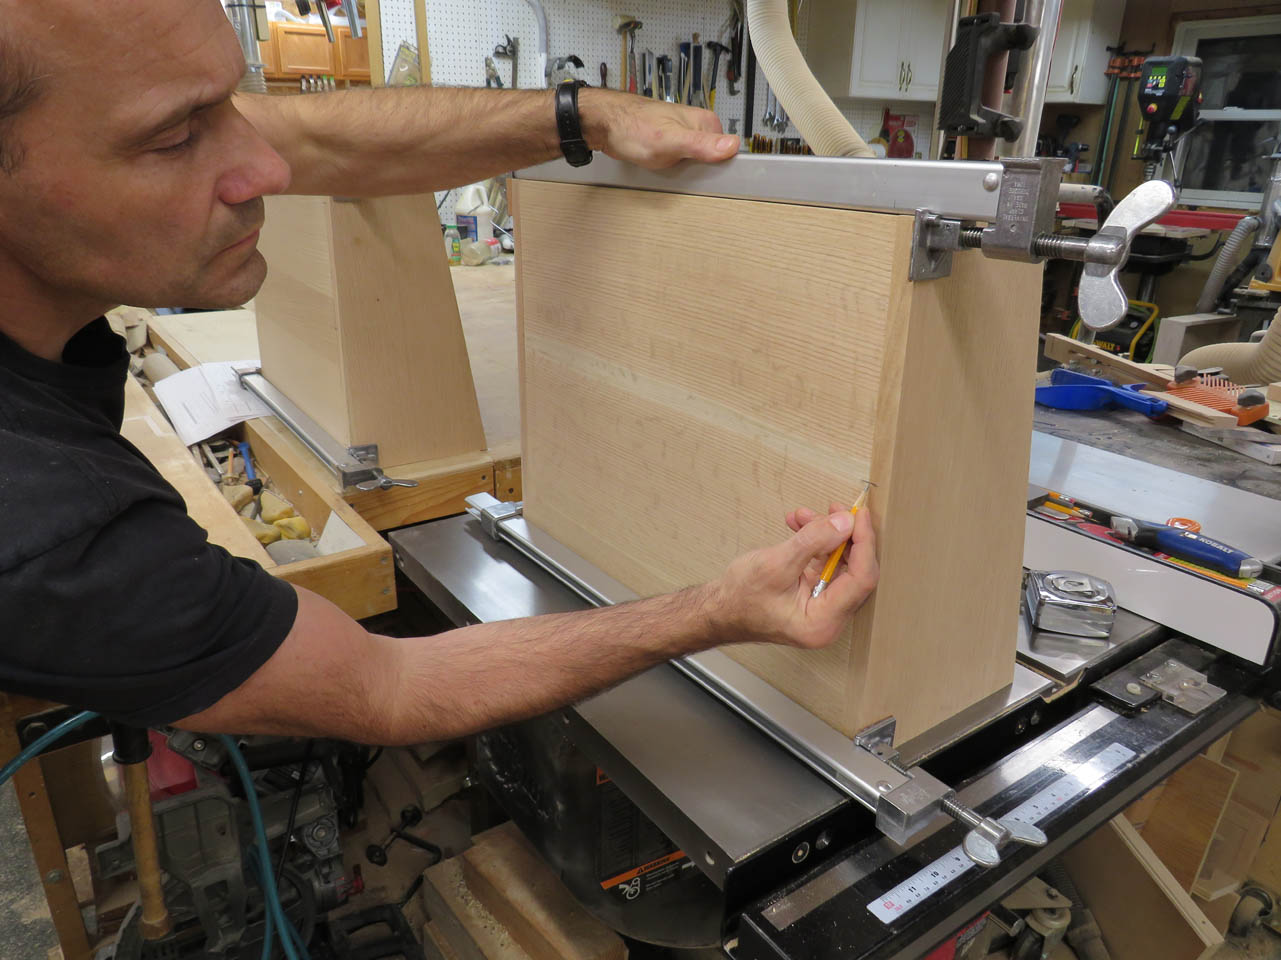
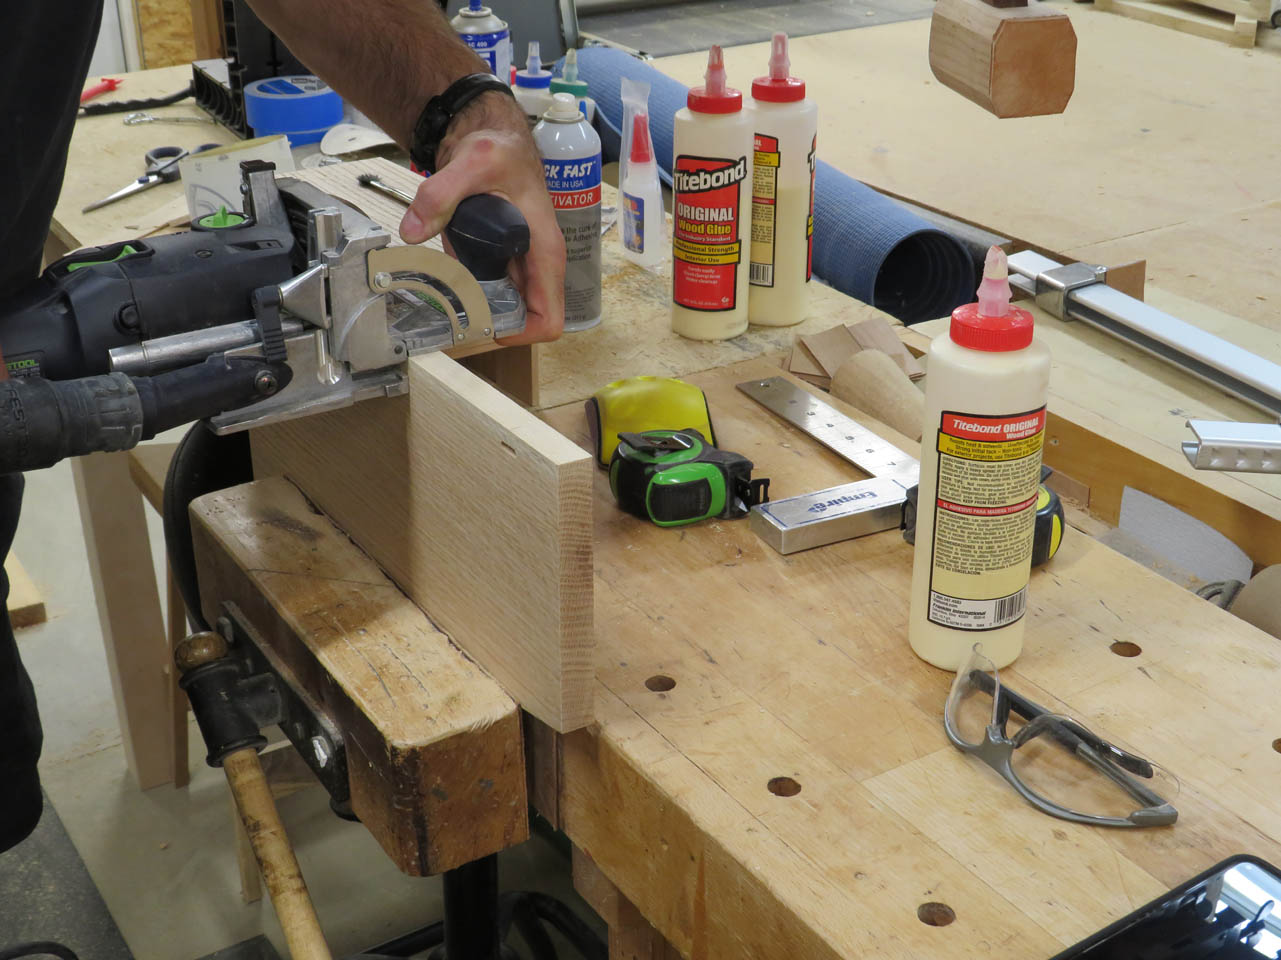
I use the Domino jointer to create the mortises again.
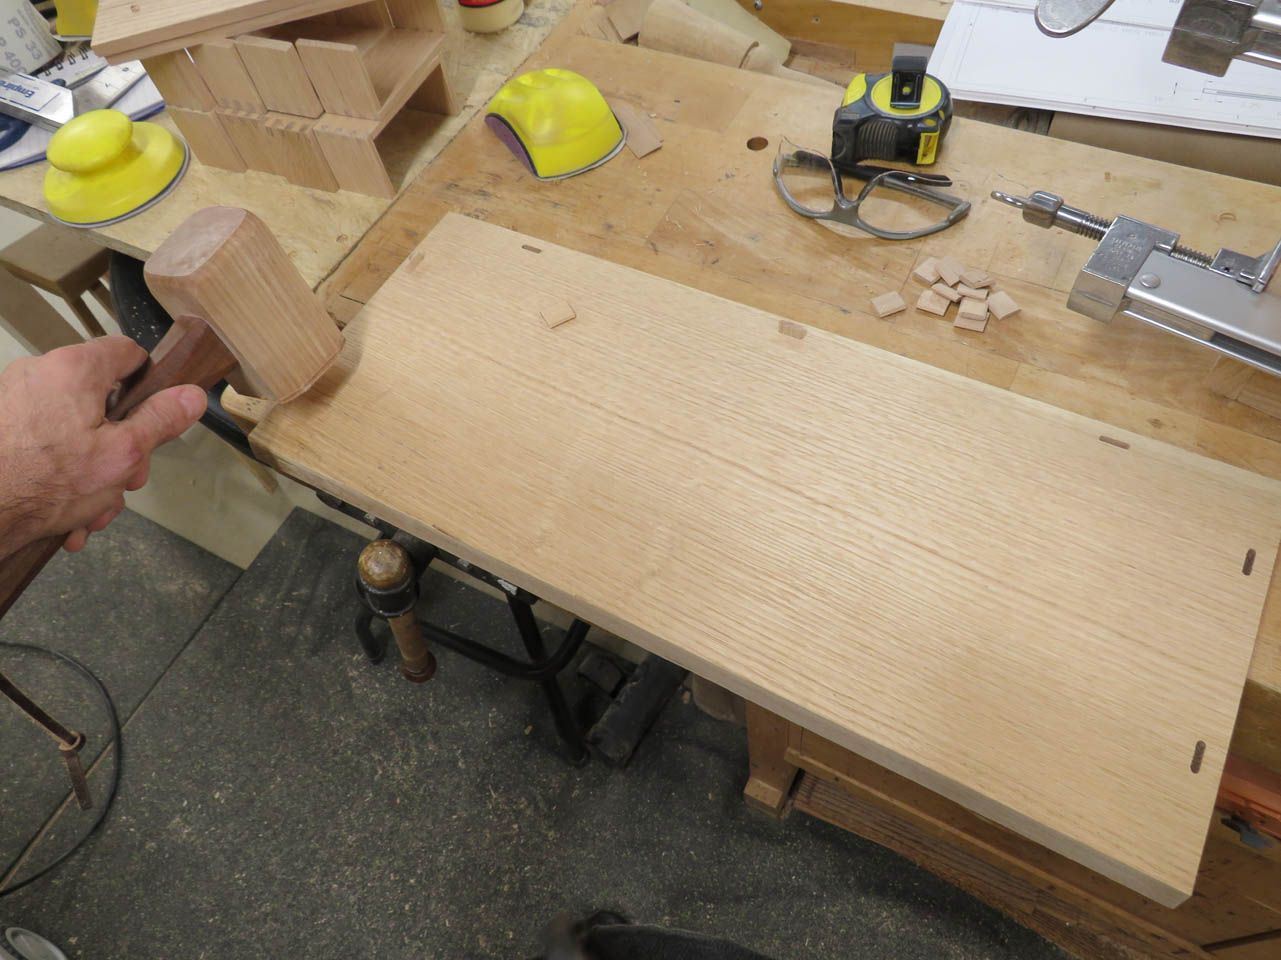
Then apply glue and the tenons.
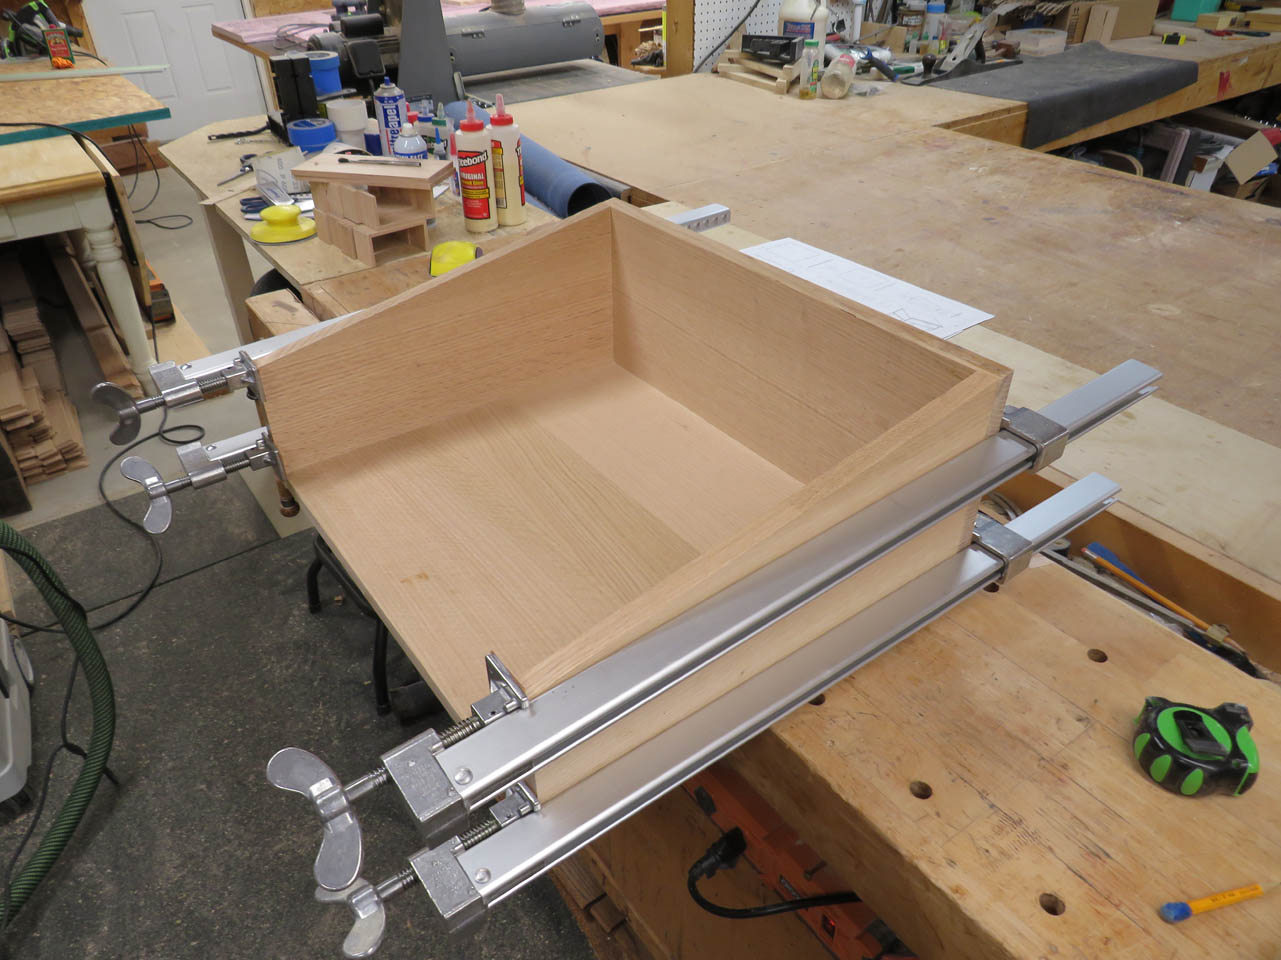
After pressing them together, I clamp the sides to the bottom to hold them tightly in place while the glue dries, making sure that the sides stay square to the bottom while they dry.

This process is repeated for the front panel as well.
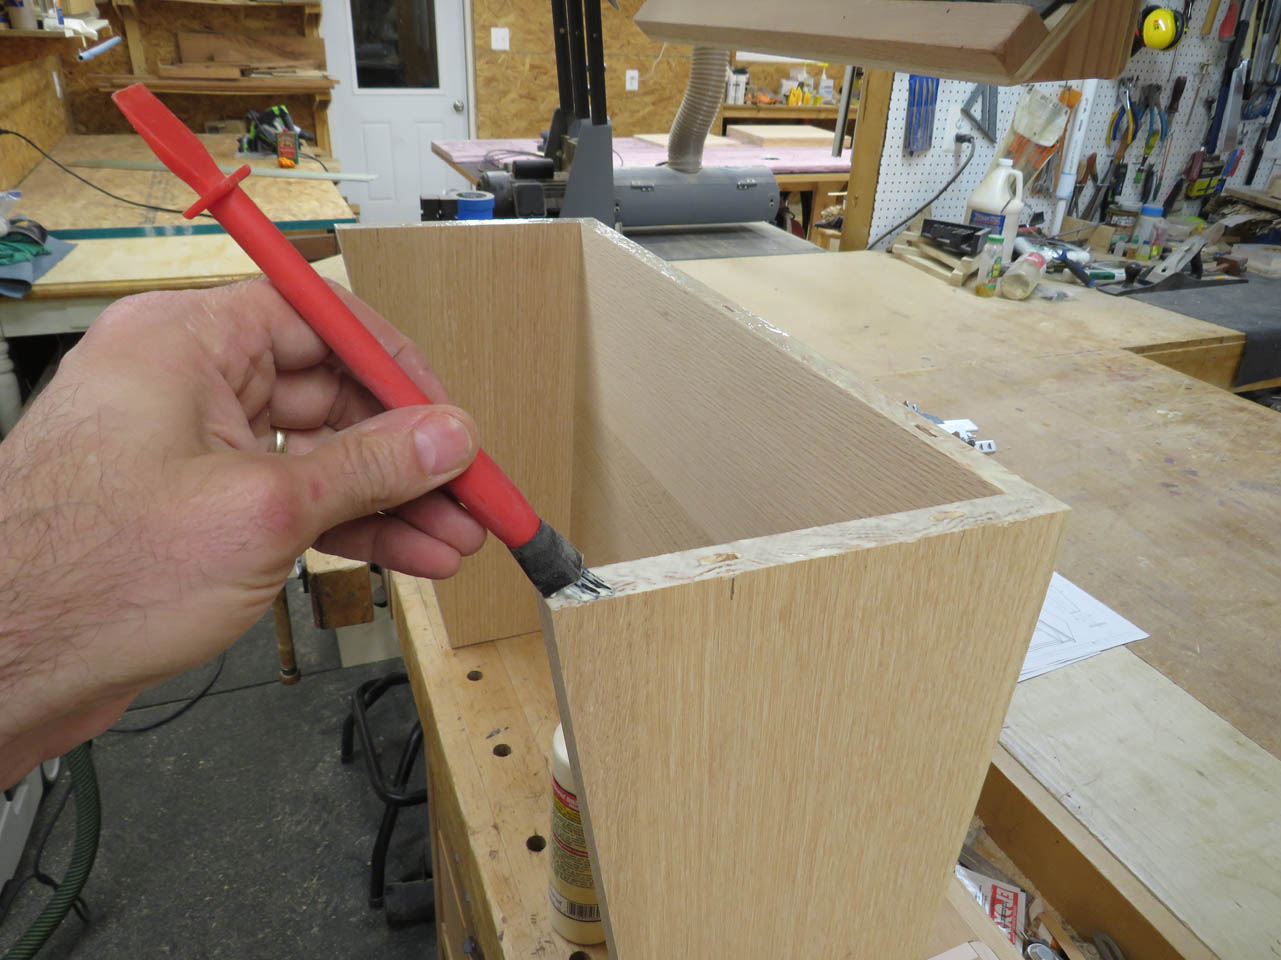
I was worried that I would have to fight the panels to line up, but everything dried square so there was minimum problems with assembly. I clamped the front panels in place and left them to dry.
Next up, legs…
