
Dining room cabinets part 4
Finishing is one of my least favorite parts of woodworking. Especially with cabinets. I really should have masked off everything and pre-finished before gluing up the cabinets. It would have taken longer but it would make a nicer product in the end. I am just always so eager to be finished…
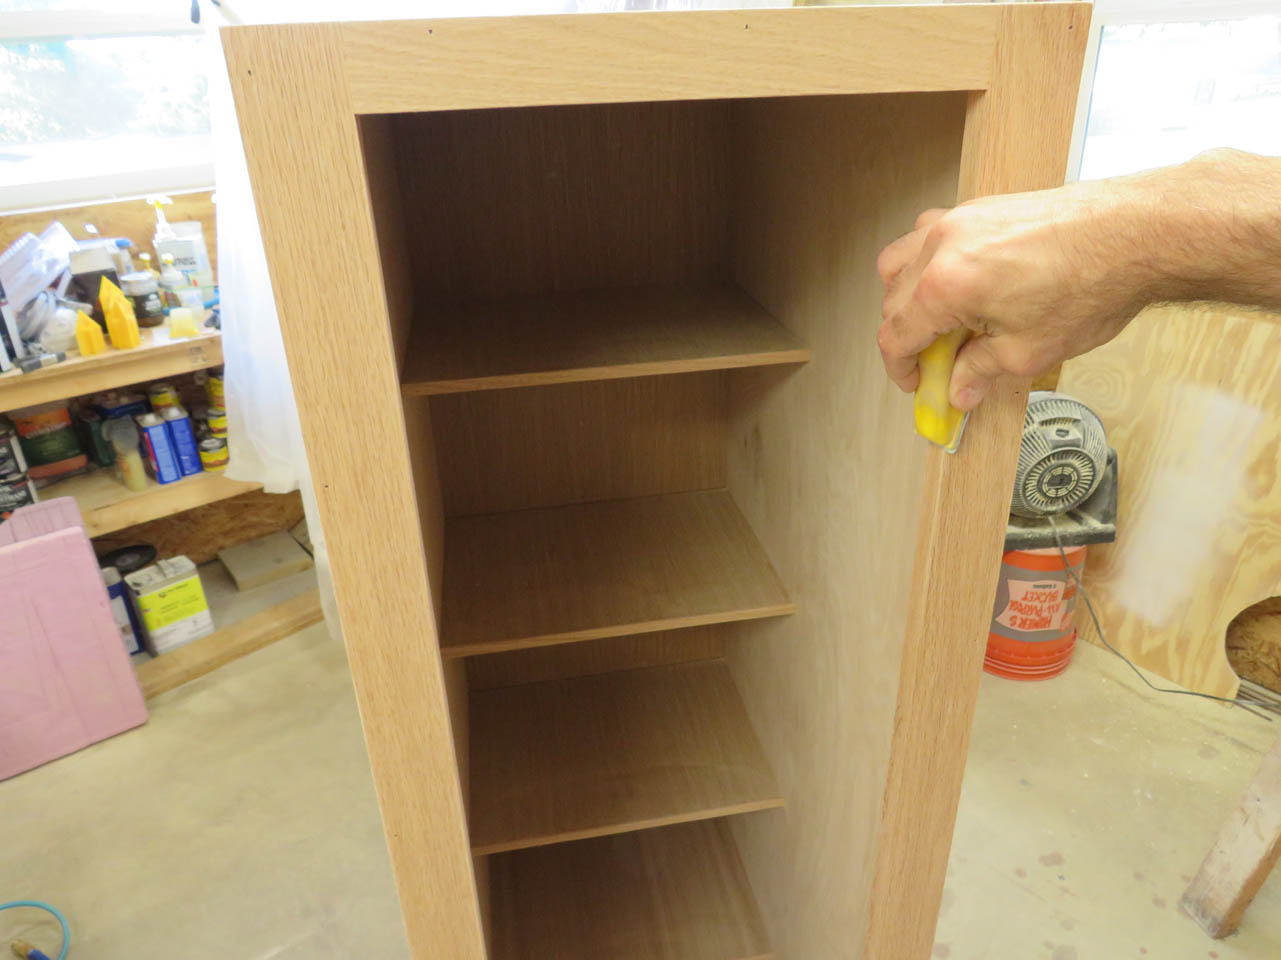
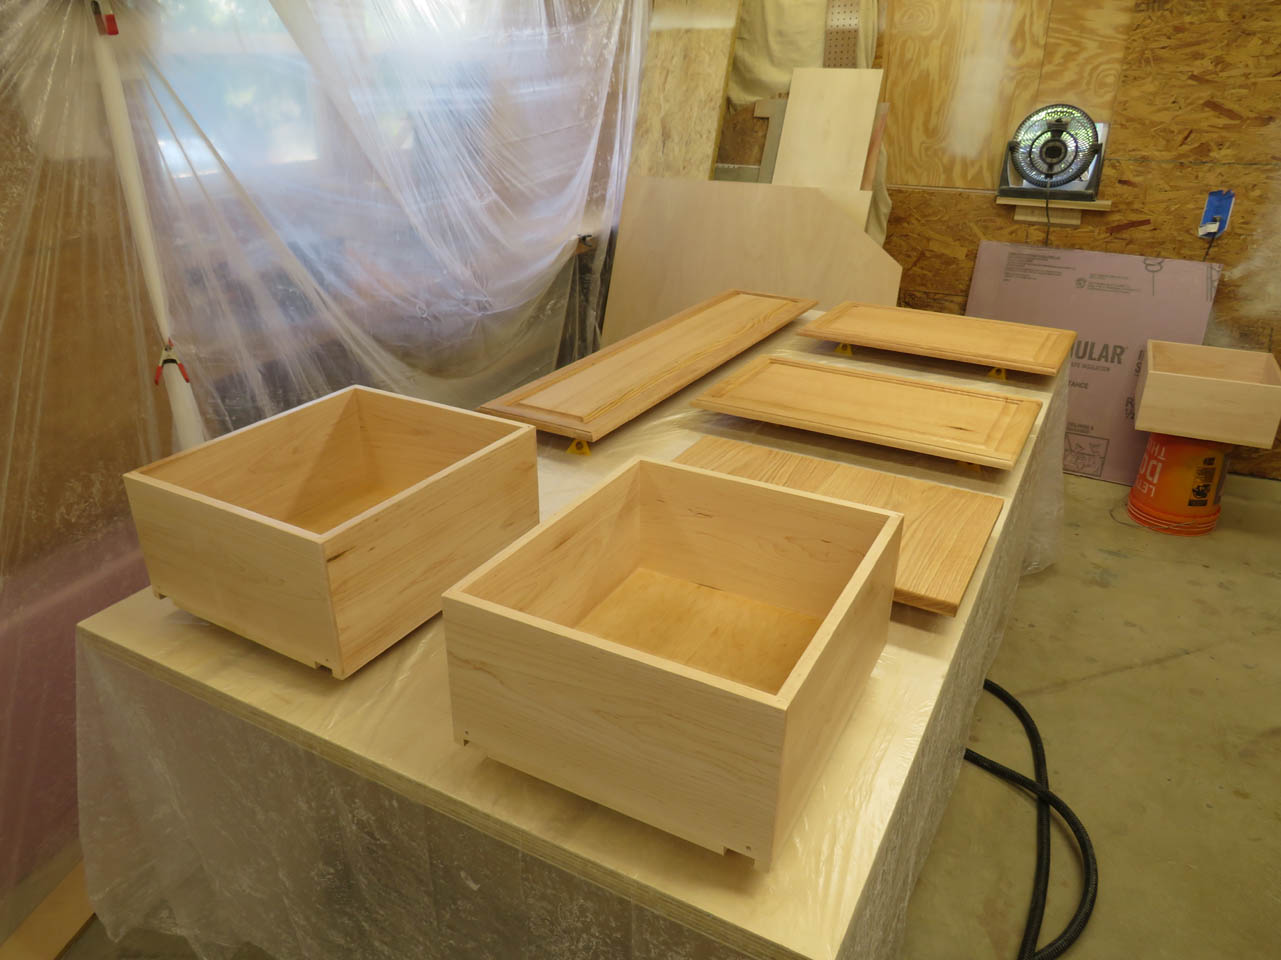
Prepping for finish typically involves making sure that all the surfaces are sanded smooth and all of the sharp corners are softened with hand-sanding. This prevents you from cutting yourself on sharp edges and the finish can sometimes crack at a sharp corner over time.
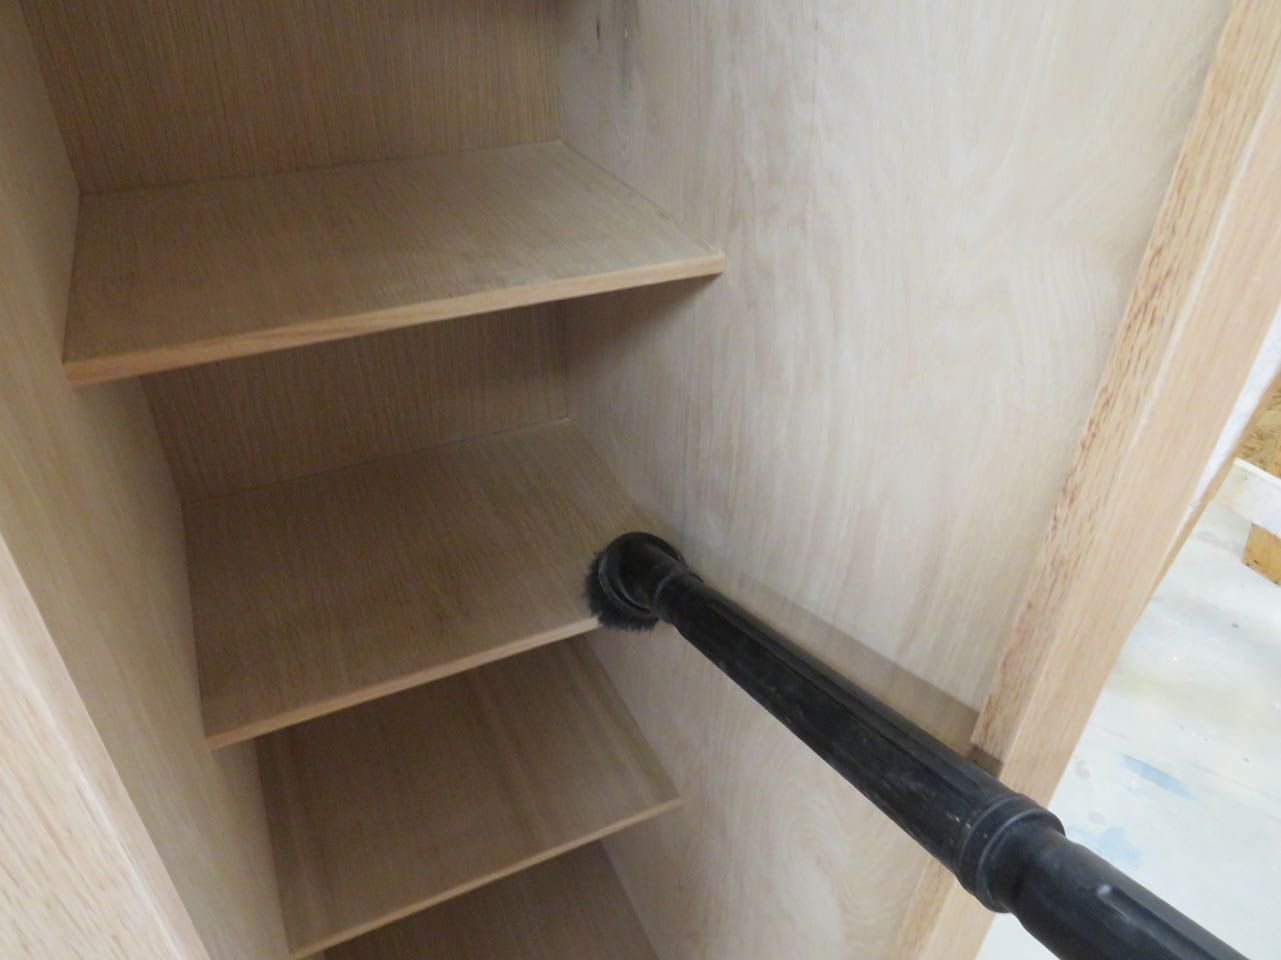
After sanding, all the surfaces need the dust removed. I use a vacuum with a brush on the end.

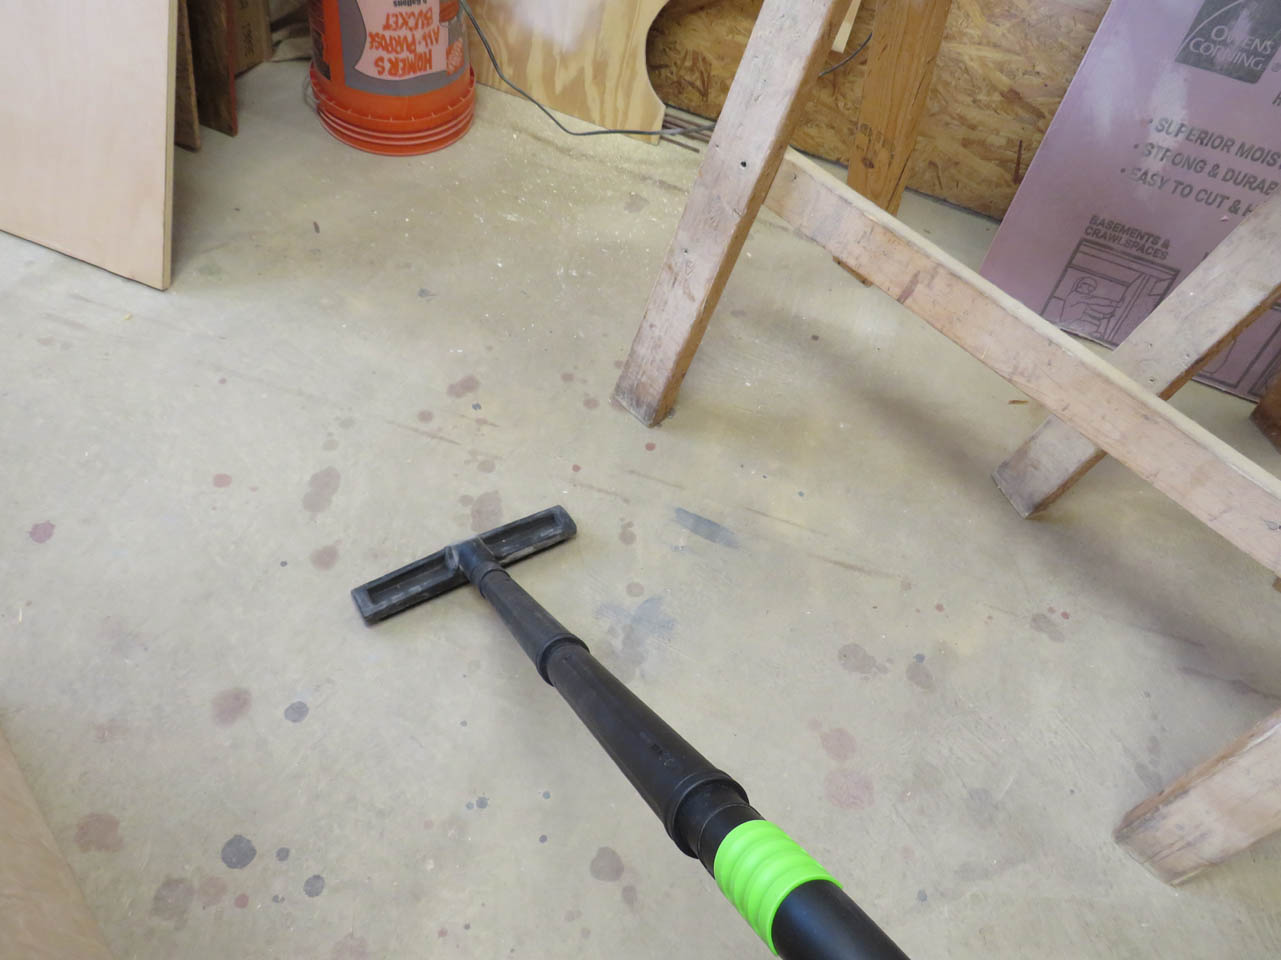
Next, I vacuum the floor and other surfaces in the spray booth. This prevents the dust from blowing around and settling onto wet finished surfaces.
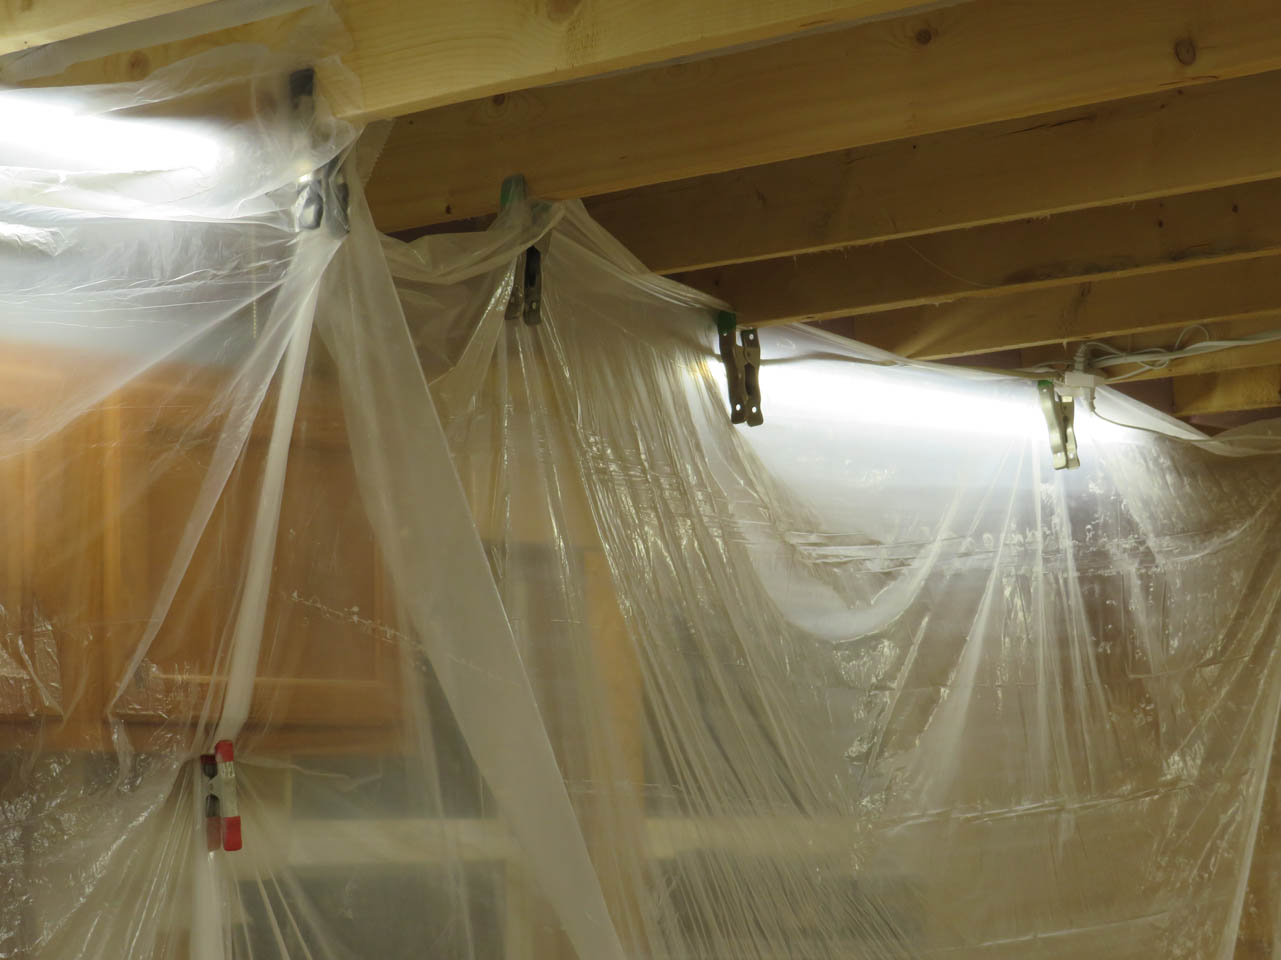
Then I adjust the size of my spray booth to accommodate the massive amount of parts I now have to spray.


The booth is plastic sheeting, clamped to the joists on the ceiling. There is also a fan in the window to help draw out the overspray.
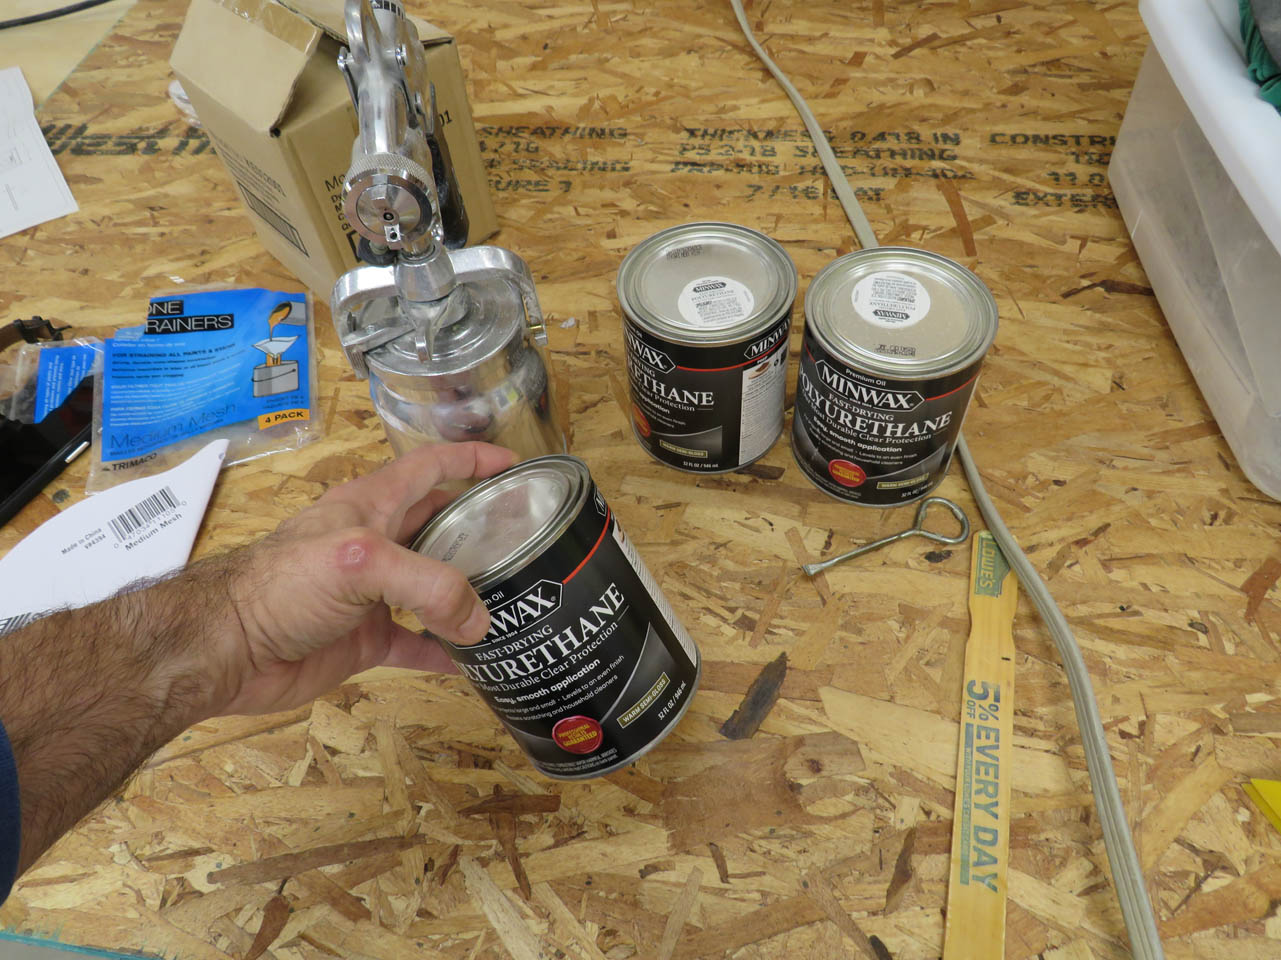
I am using an oil-based polyurethane, Minwax semi-gloss.
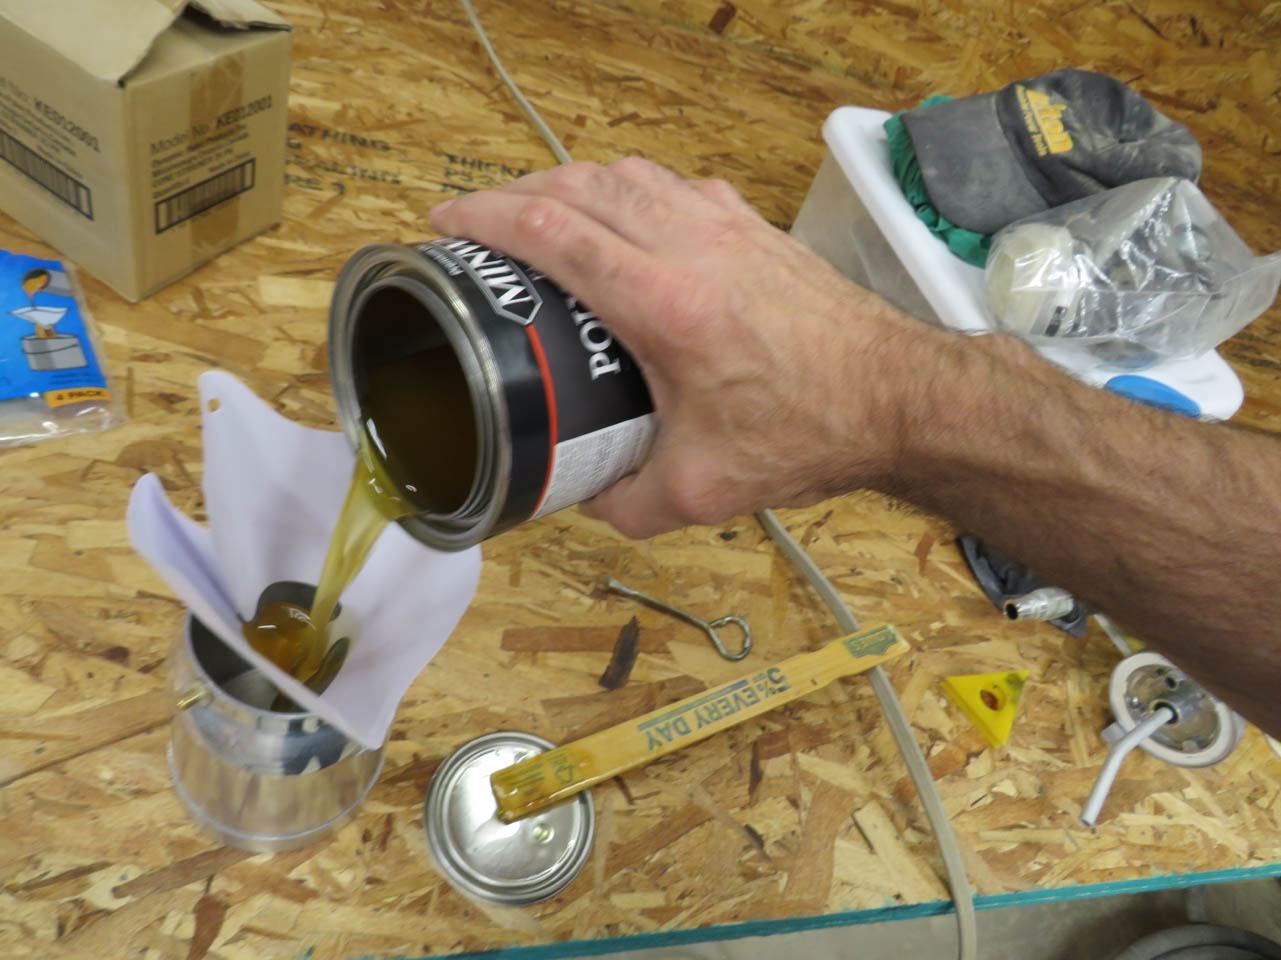
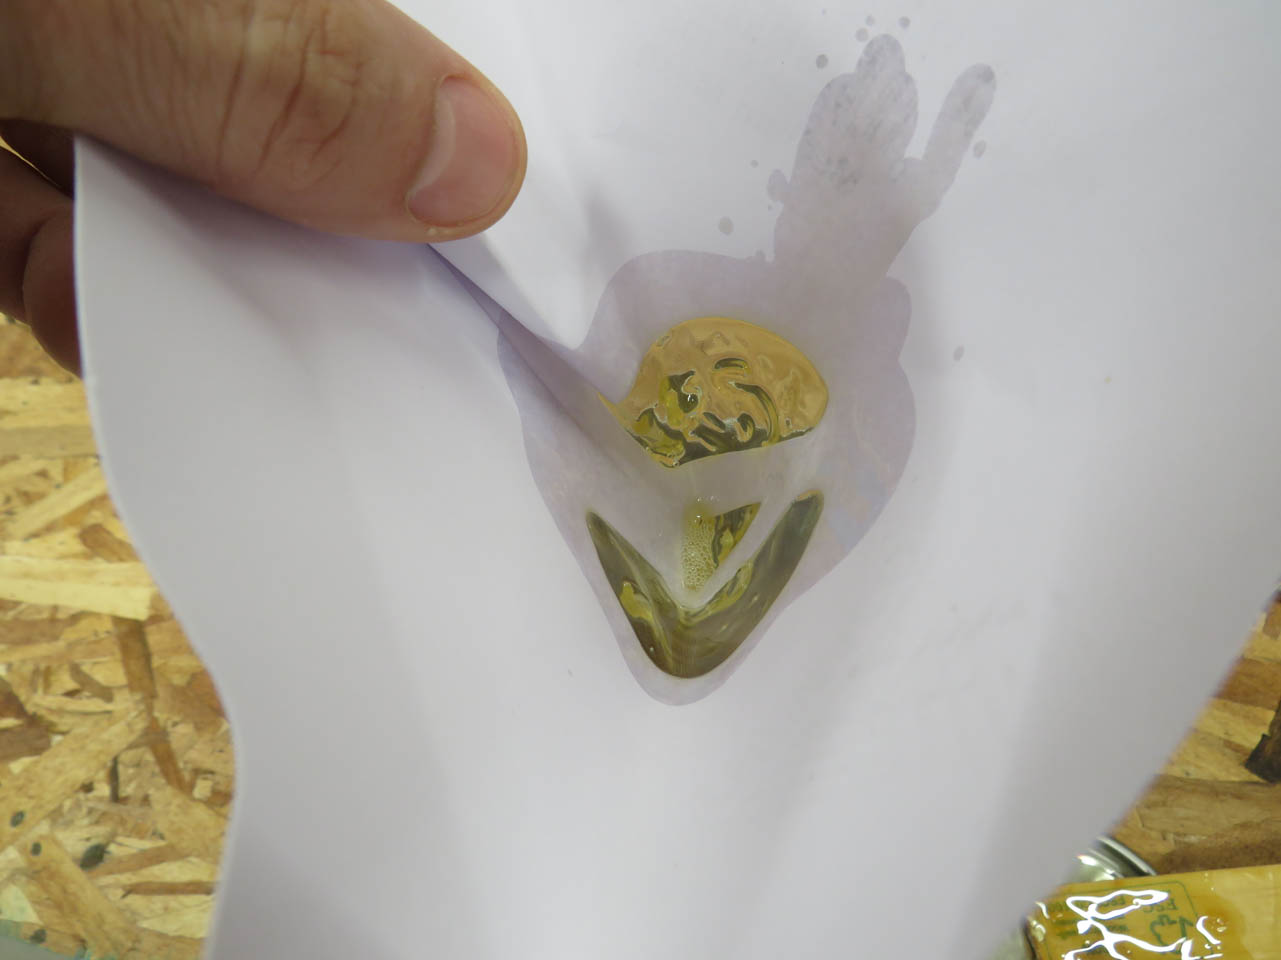
I have had to start filtering my finish. I have noticed that you sometimes get some really old finish from the store. Probably a lot of old stock got found and sold when we were having supply chain shortages after the lock-down. These clumps really clog up my sprayer and can take an hour or two to clean out if unnoticed.

I am going to try my Titan sprayer. It is supposed to be nicer than my Earlex but I find that it has so many adjustments that I can not keep the correct settings for a good spray. I wind up wasting a lot just trying to get the correct settings.

It worked well for the most part and I even found it had a setting or two that let me spray from further away which helped on the deep cabinets.
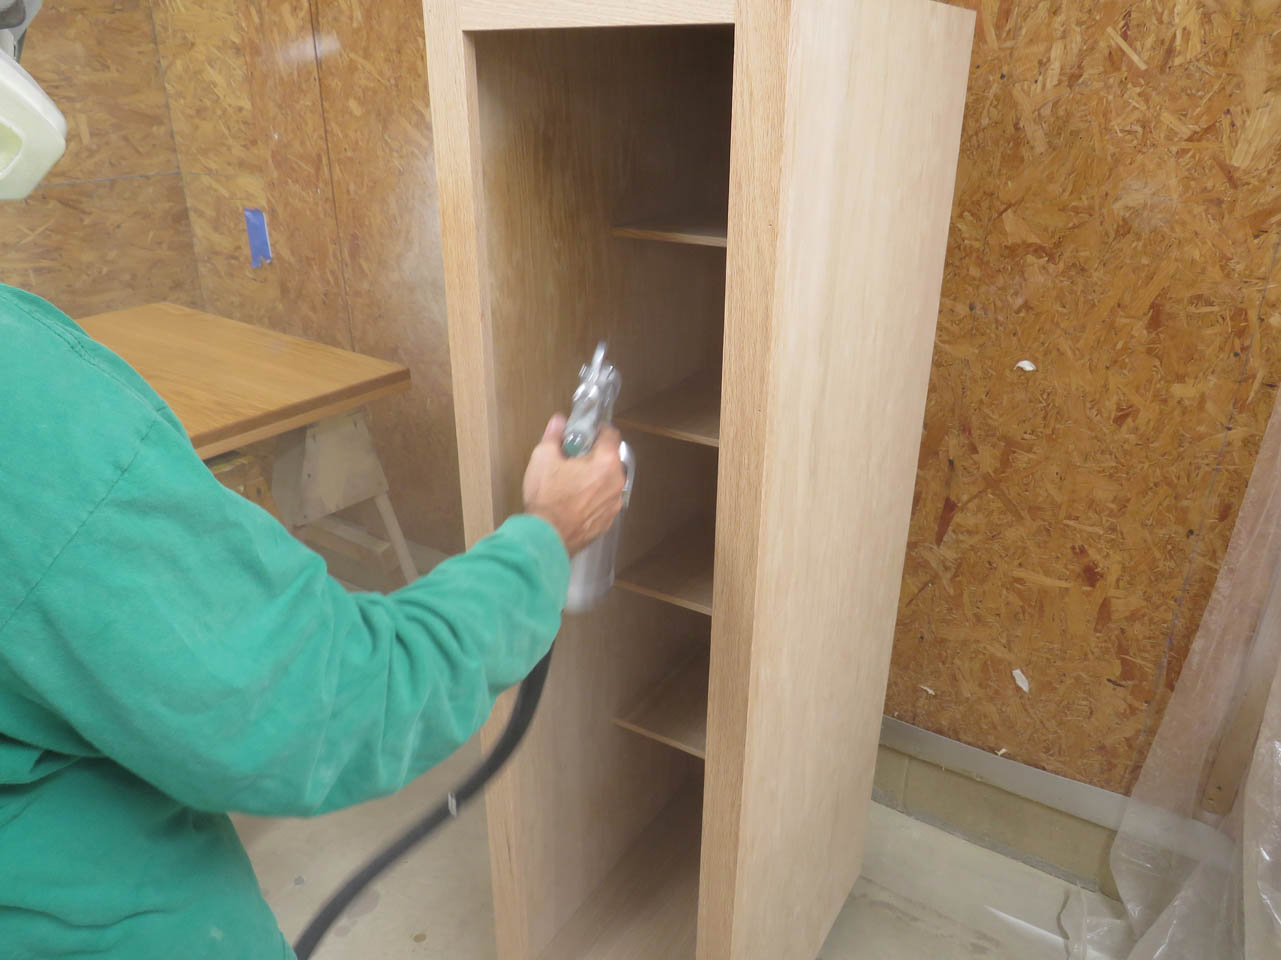

Still seemed to have a lot of over-spray in the air though.

I let the first coat cure overnight then checked it out.

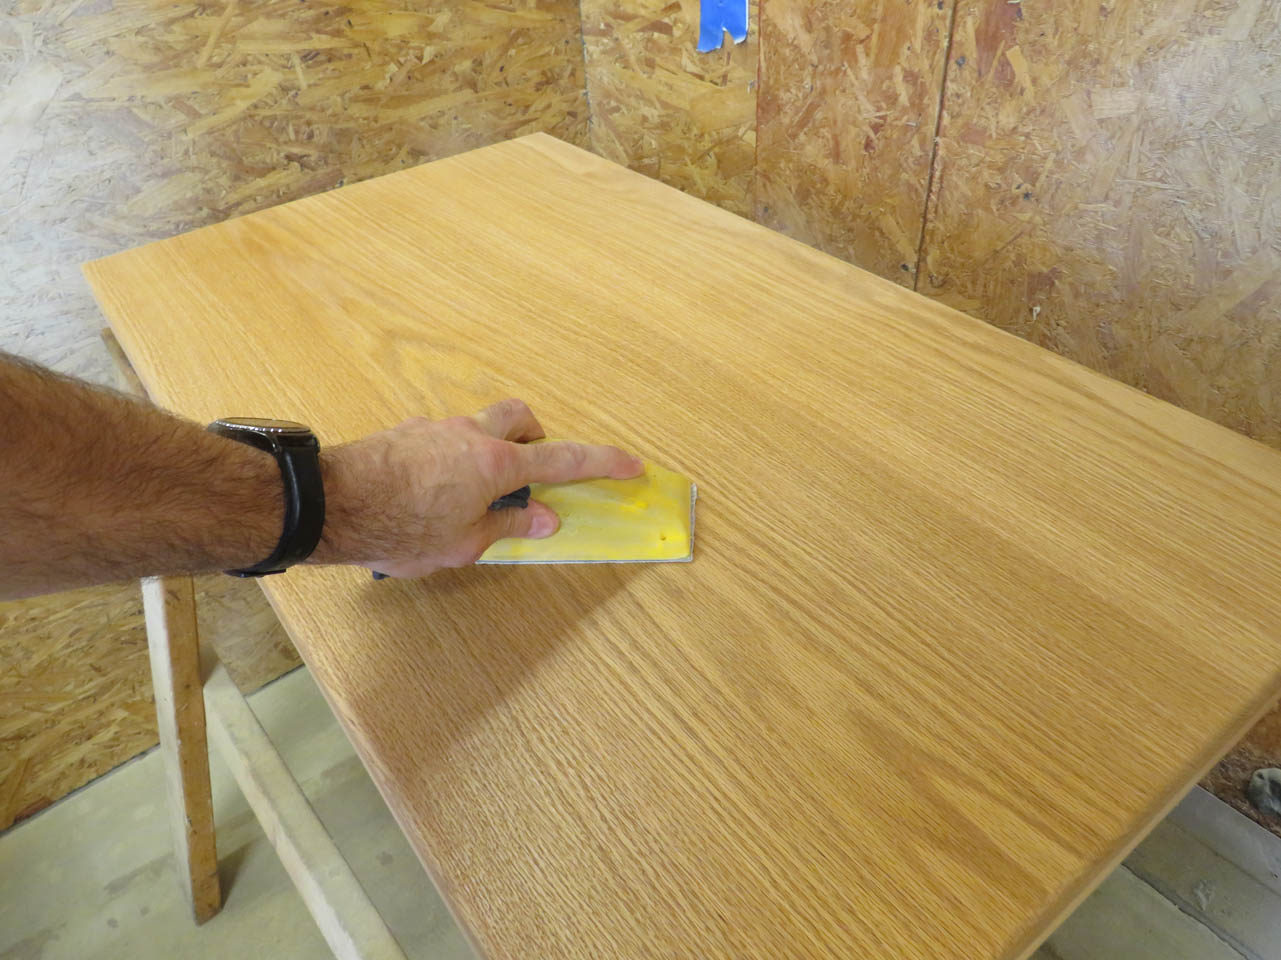
It all looked pretty good so I sanded all the surfaces down with 400 grit paper and started the second coat. This time I used my Earlex.
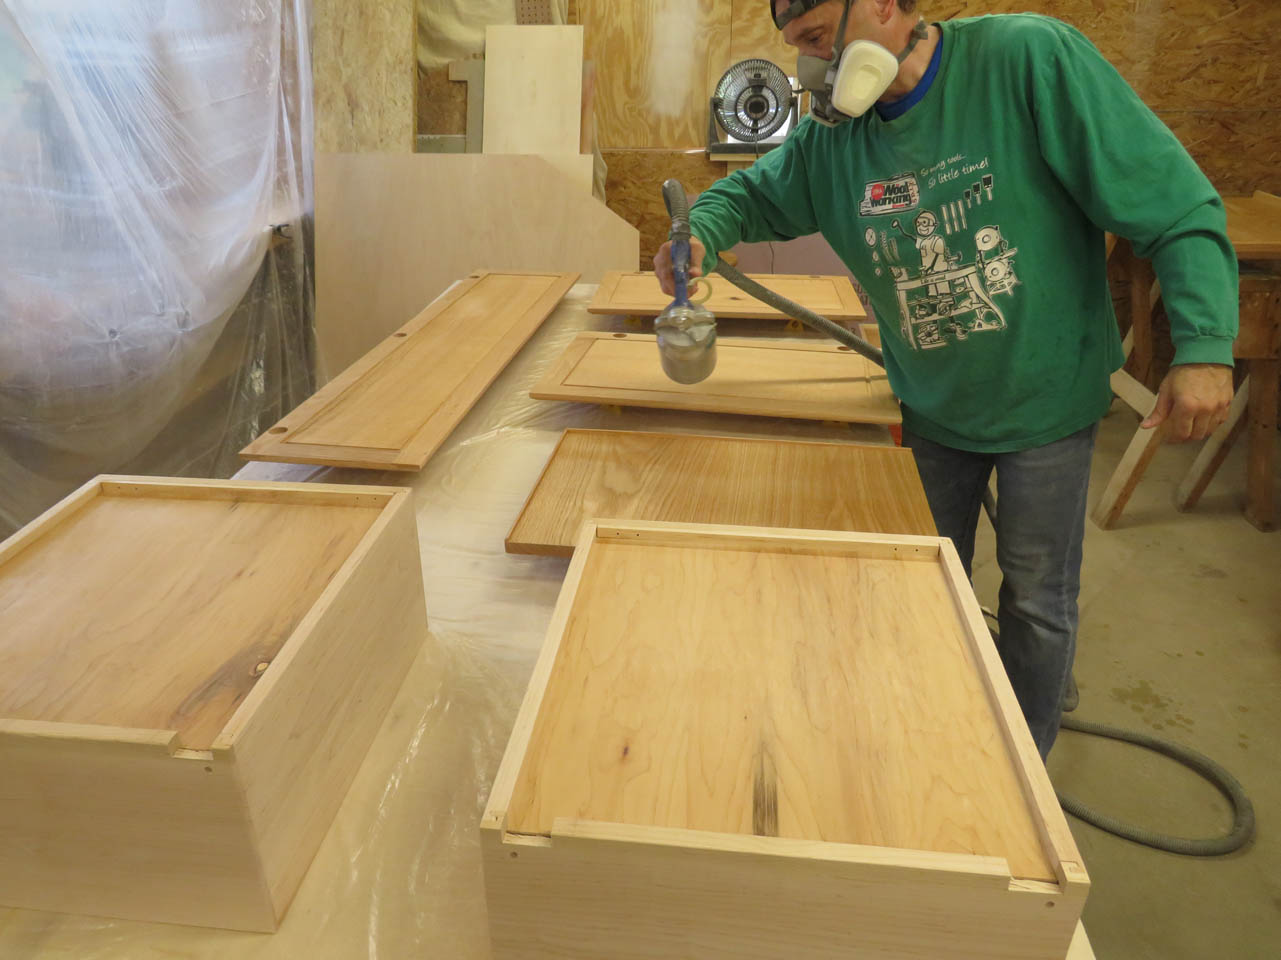
The Earlex is definitely easier to use because it mainly has only one adjustment, but I like the Titan’s long hose that lets me leave the compressor outside the spray booth. The Earlex sucks up a lot of overspray that has to be cleaned off.


After things dried, It was time to install the hardware.

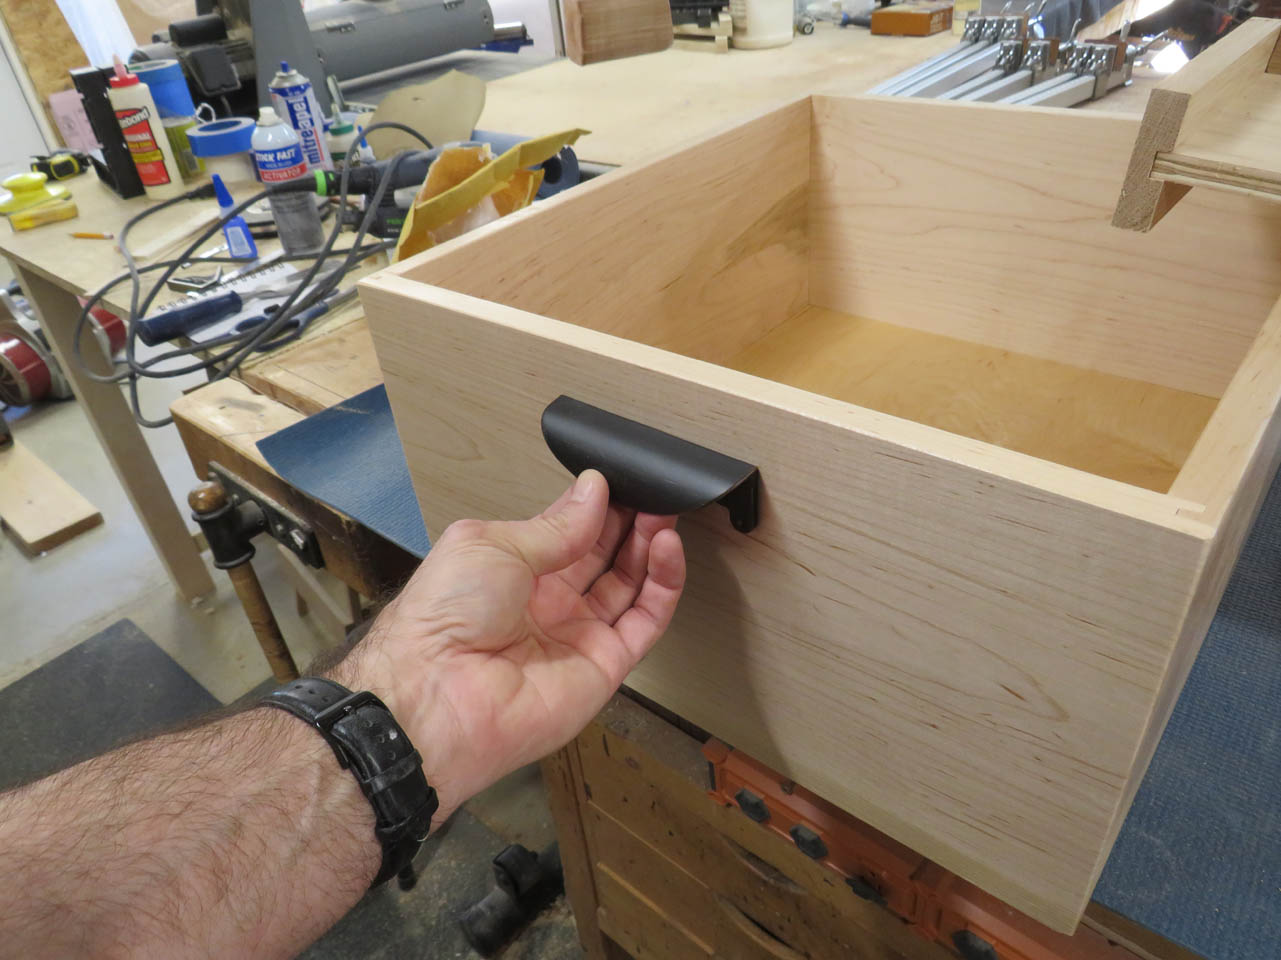
To install the drawer pulls, I have a jig that attaches to the top and side of a drawer. I marked and drilled holes through the jig to match the drawer pulls.
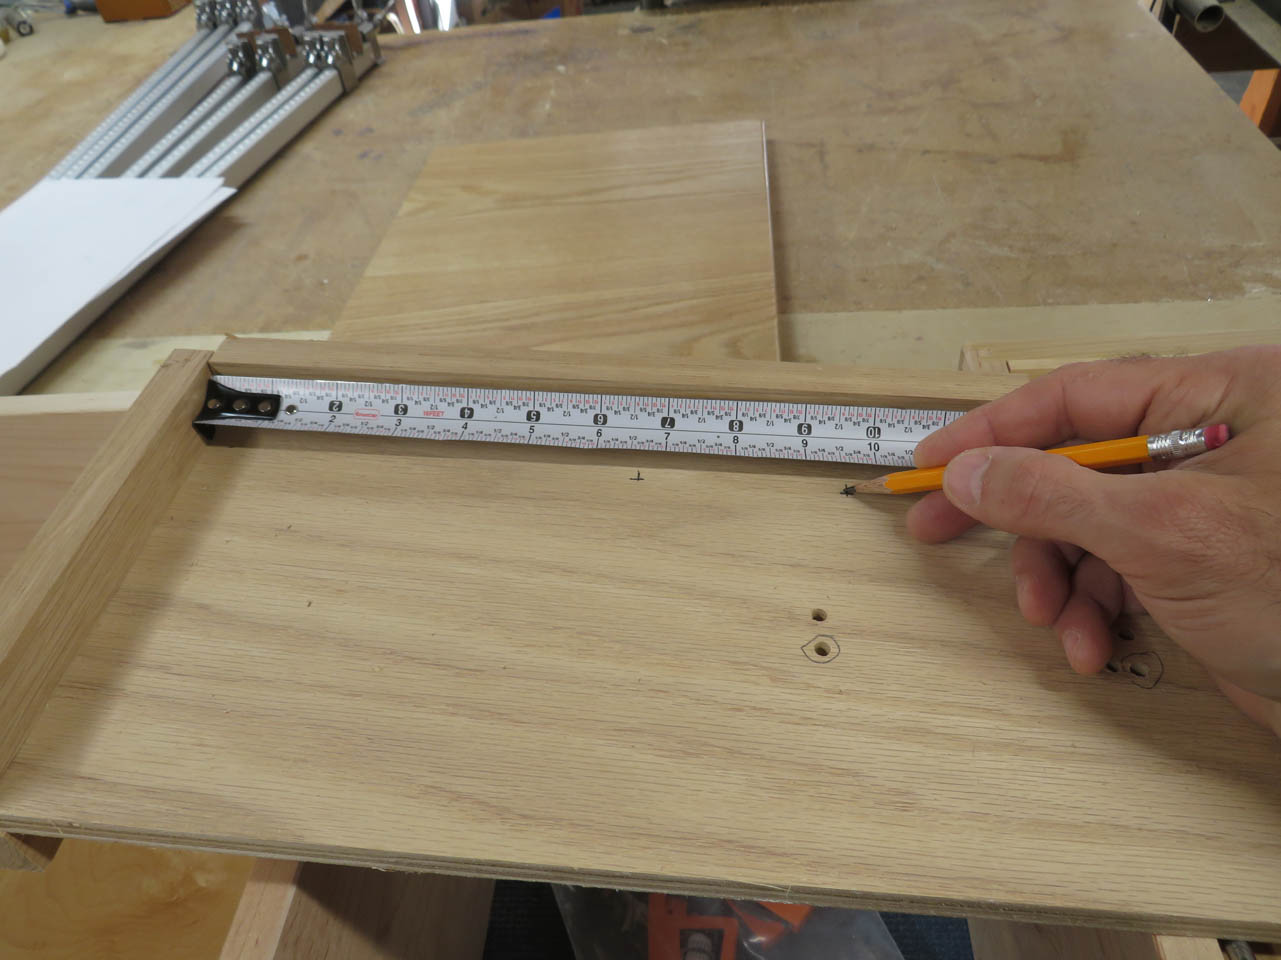
I test-fit the pulls on the jig and they worked fine.

I can then hold the jig to the front of my drawer and drill the holes through the pilot holes in the jig.

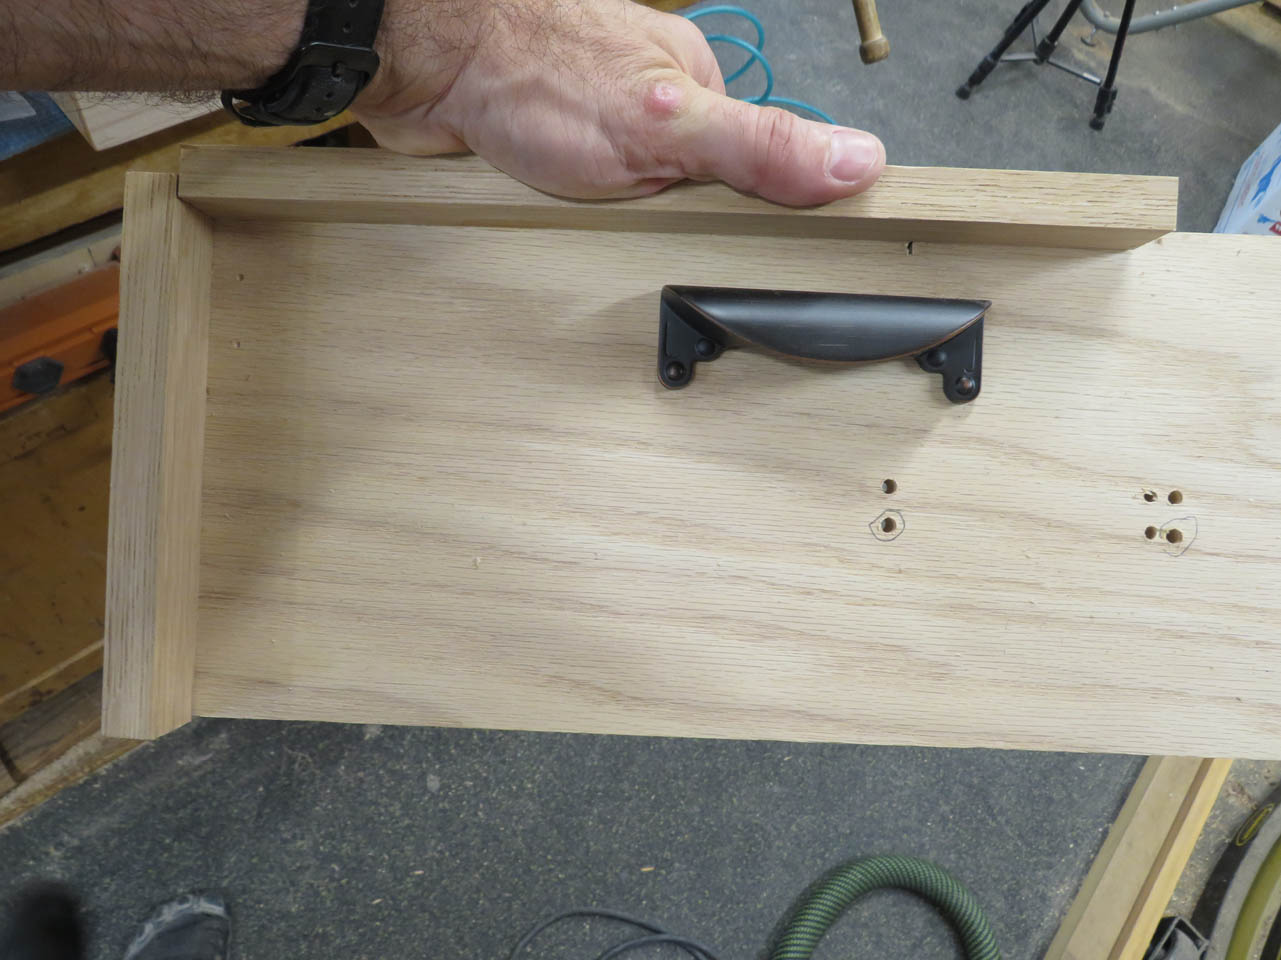
I installed the screws by hand so that I don’t strip the head or even raise any sharp edges.


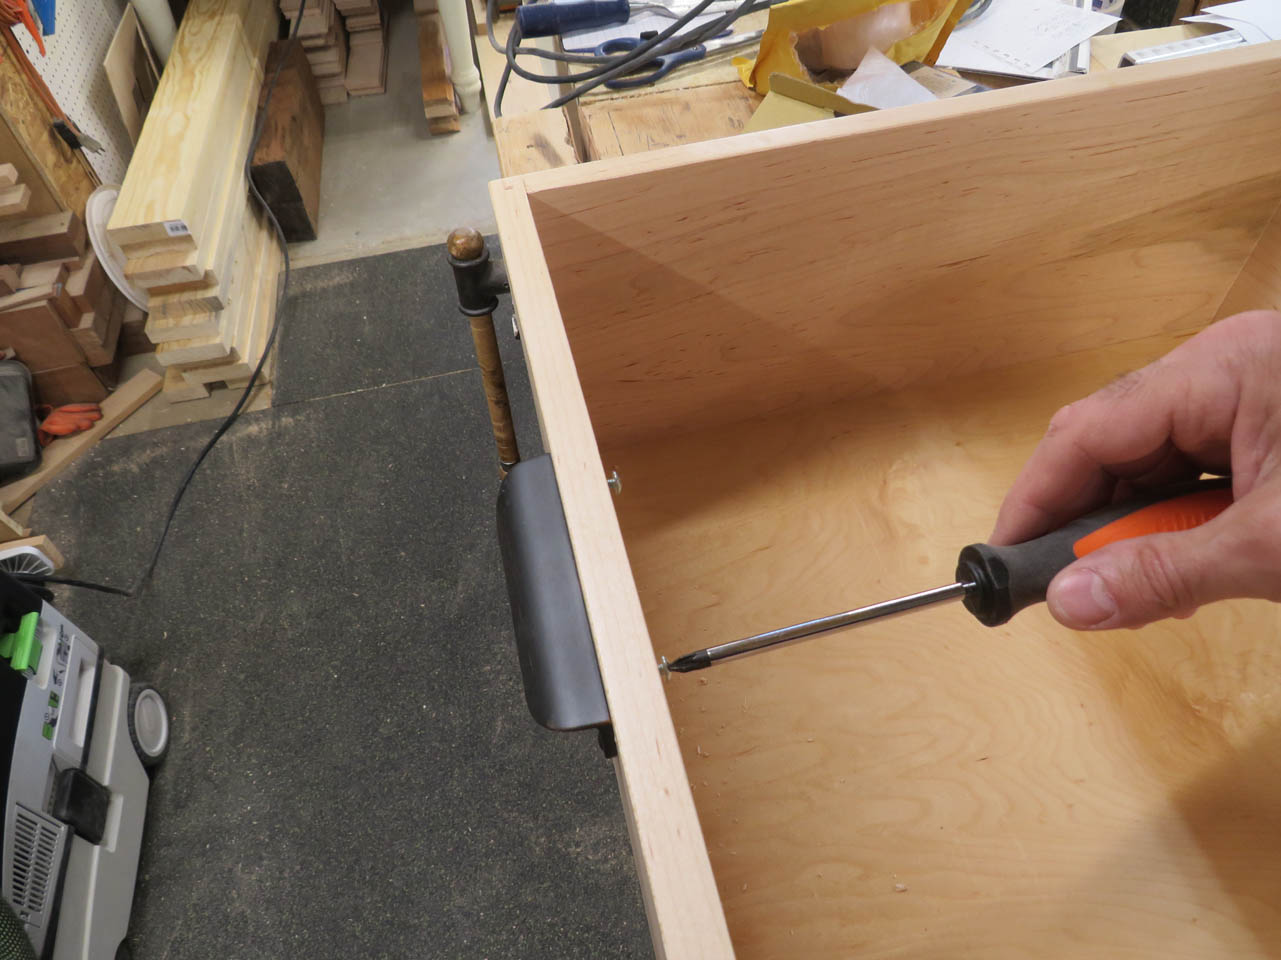
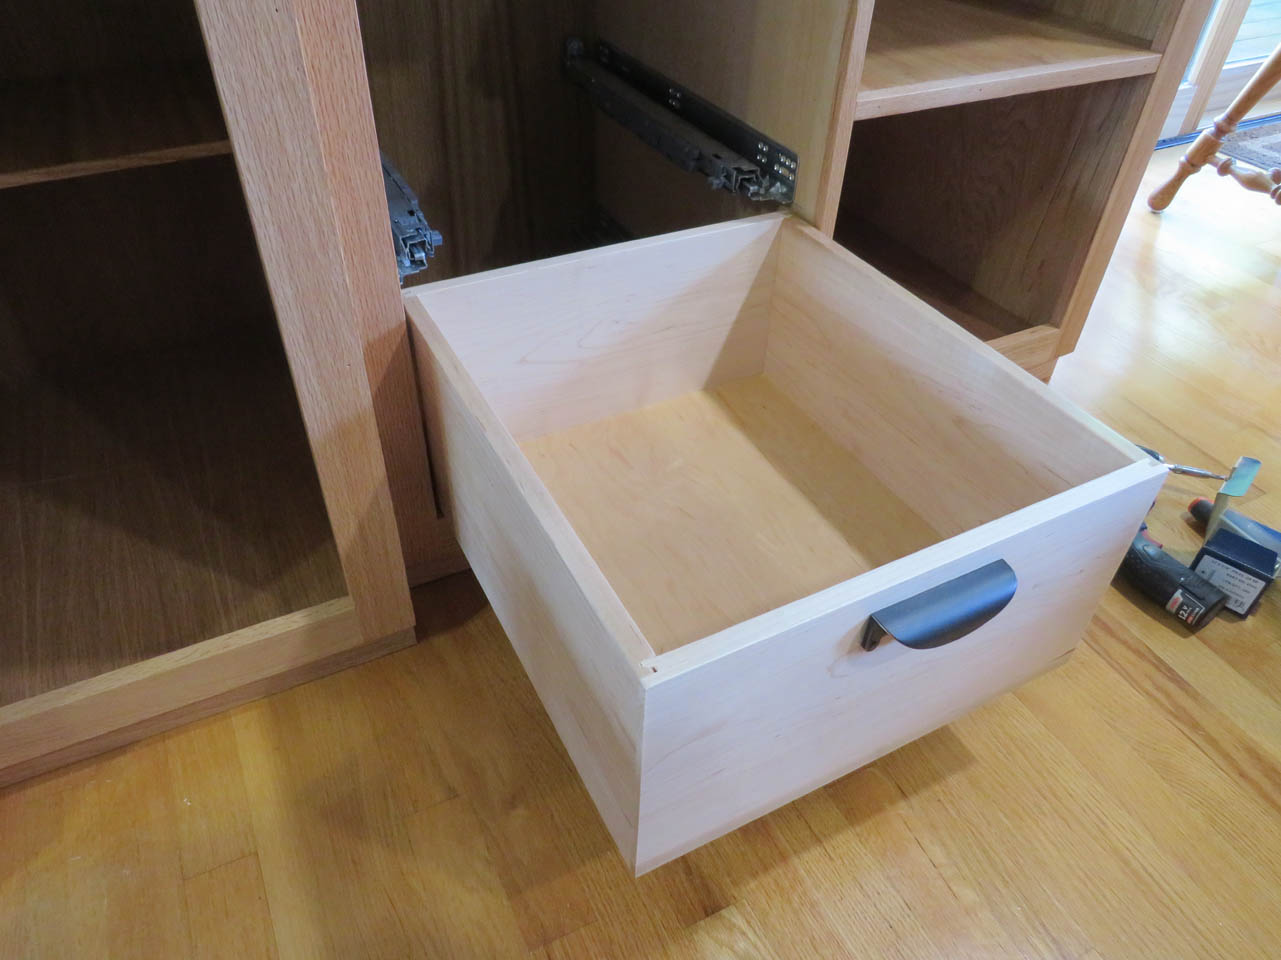
When the drawers were done, I set up my spacer blocks and installed my undermount slides.
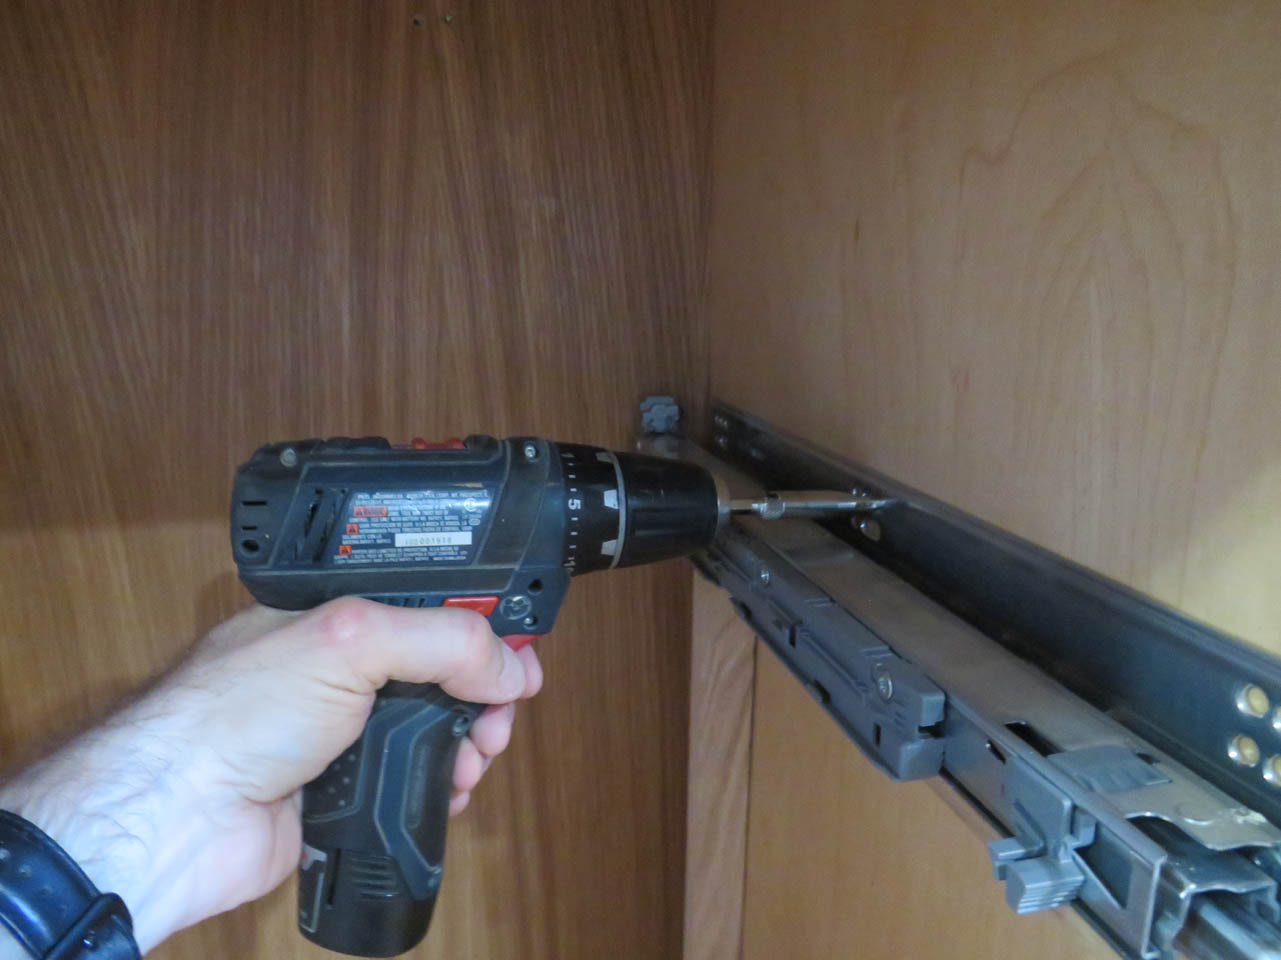
I pre-drilled three holes on each slide and screwed them on by hand.


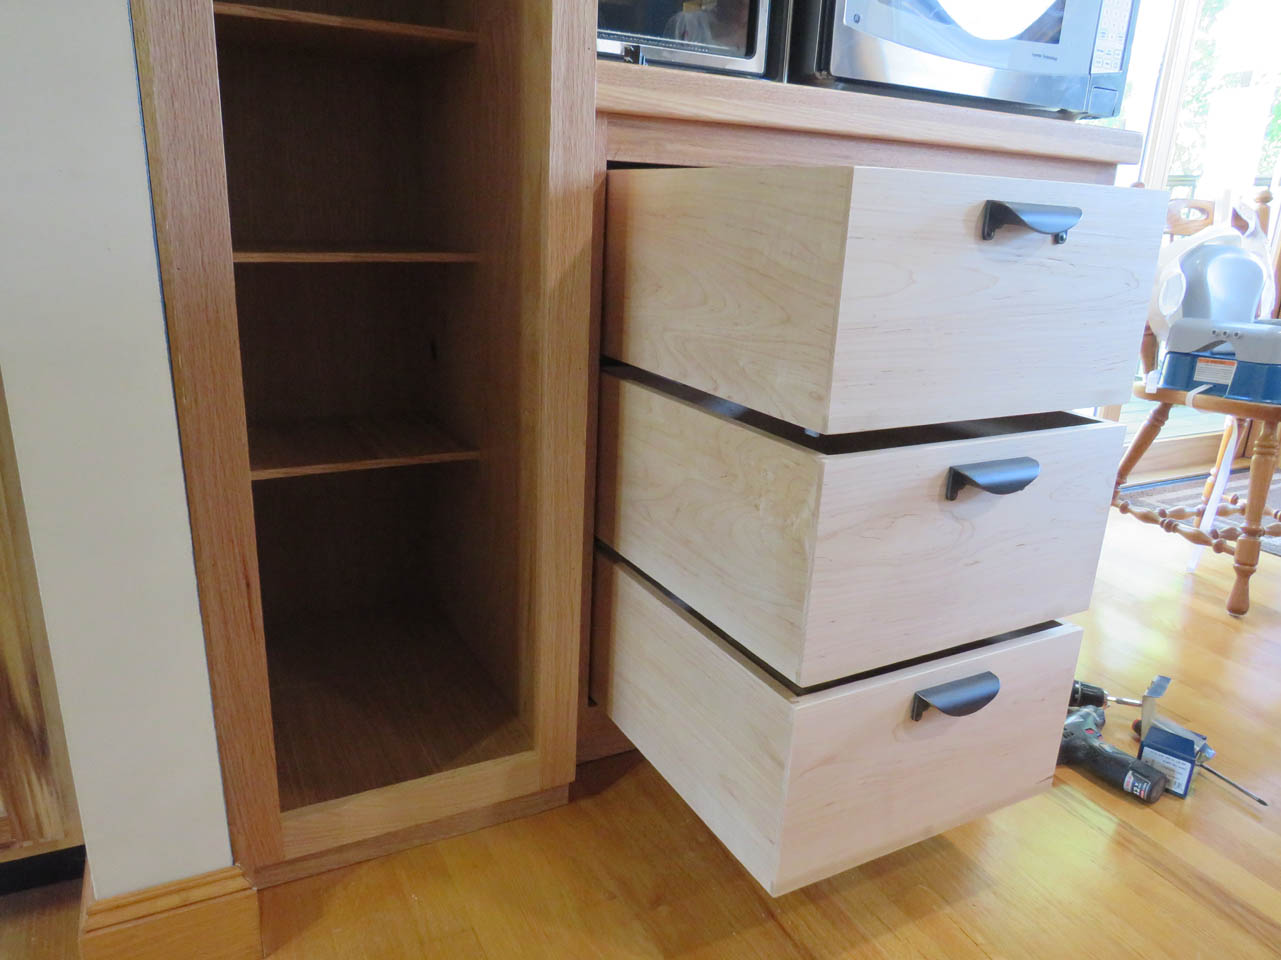
Once the slides were in, the drawers just click into place.
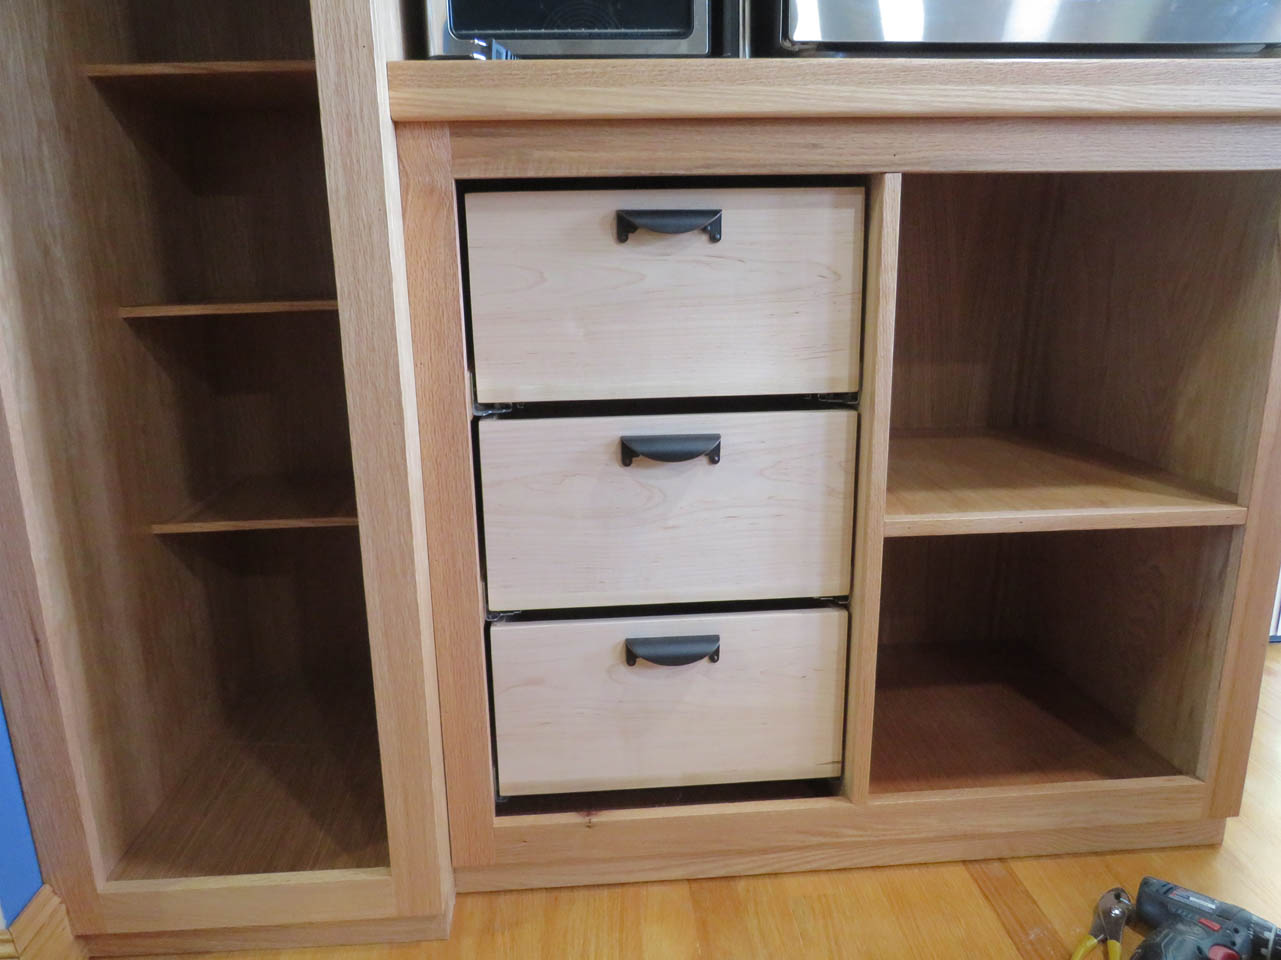
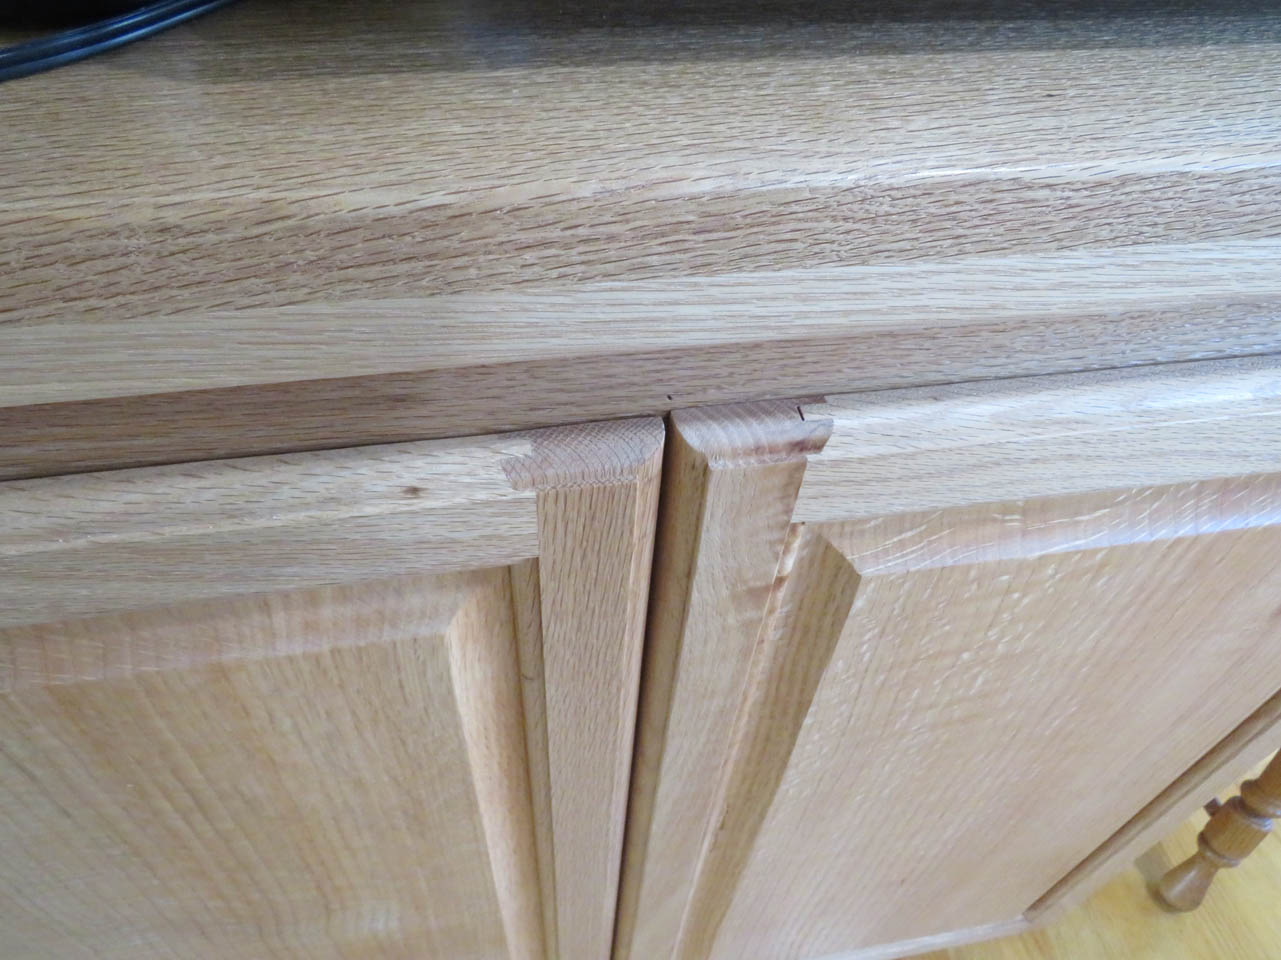
They look good and work perfectly. The drawers were recessed so that the drawer pulls do not hit the front doors.
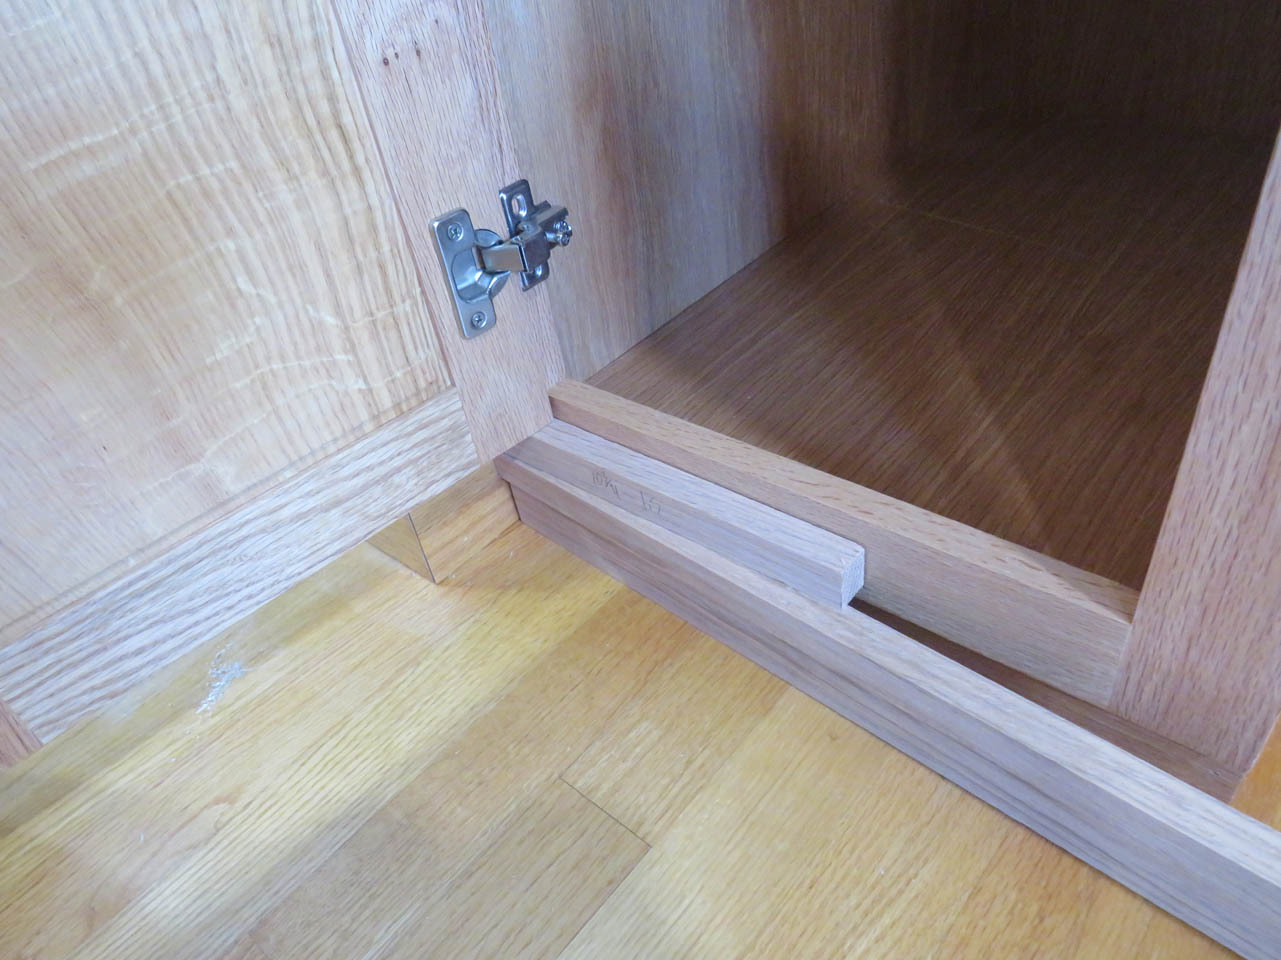
To install the cabinet doors, I set up some spacer blocks to rest the door at the correct height, then drilled and screwed the doors on.
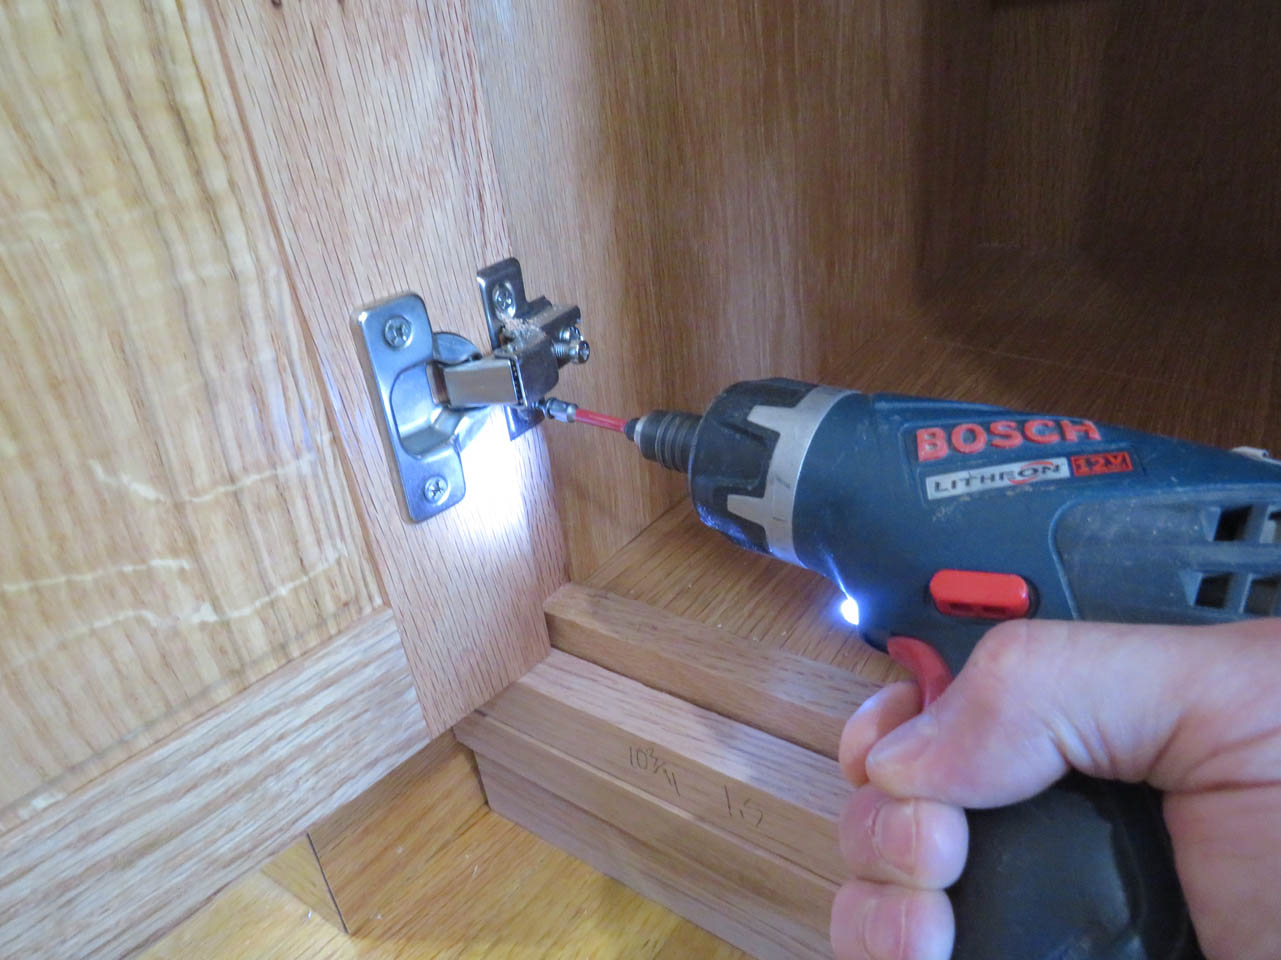

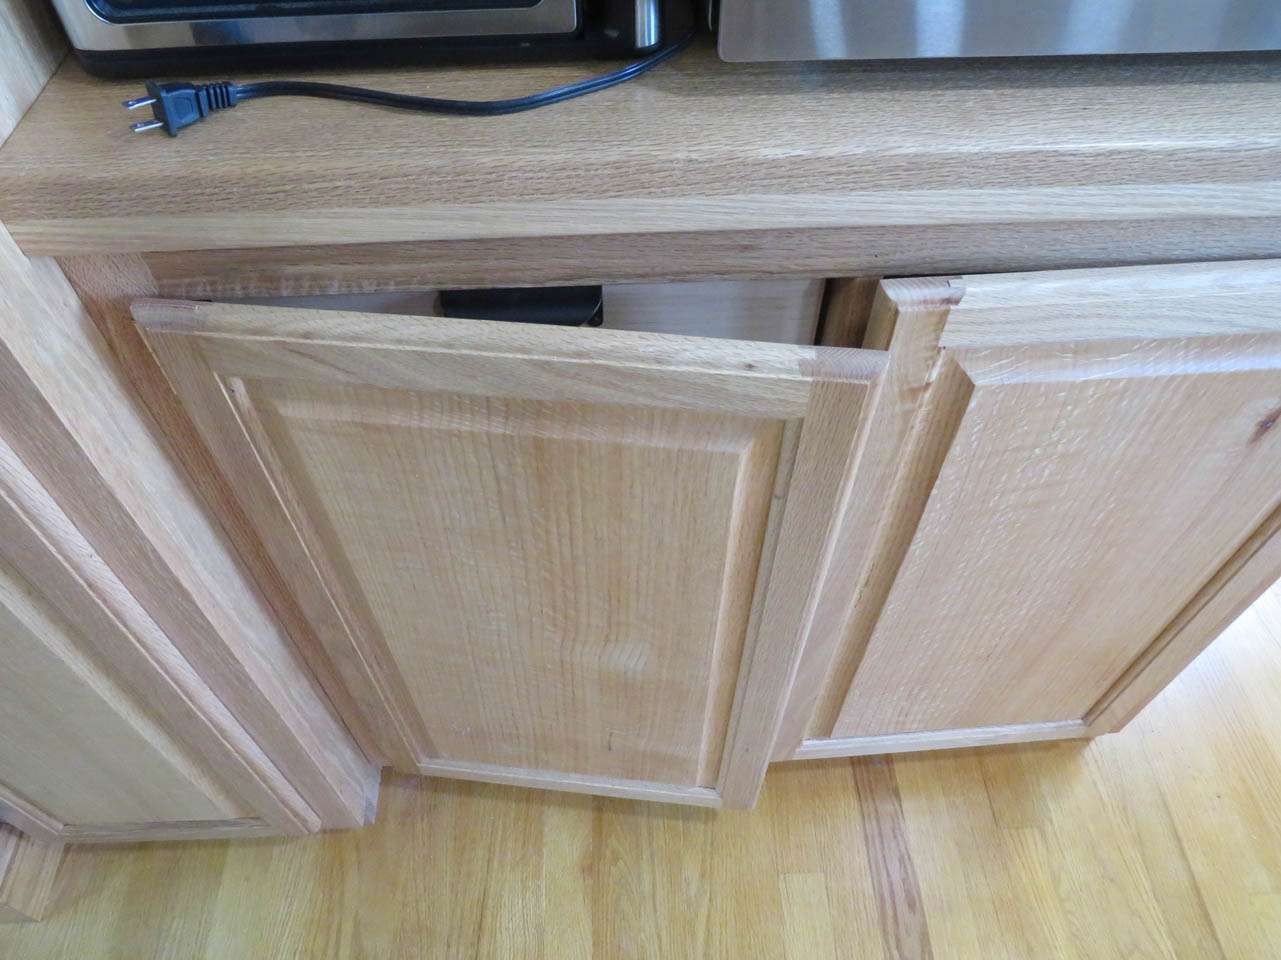
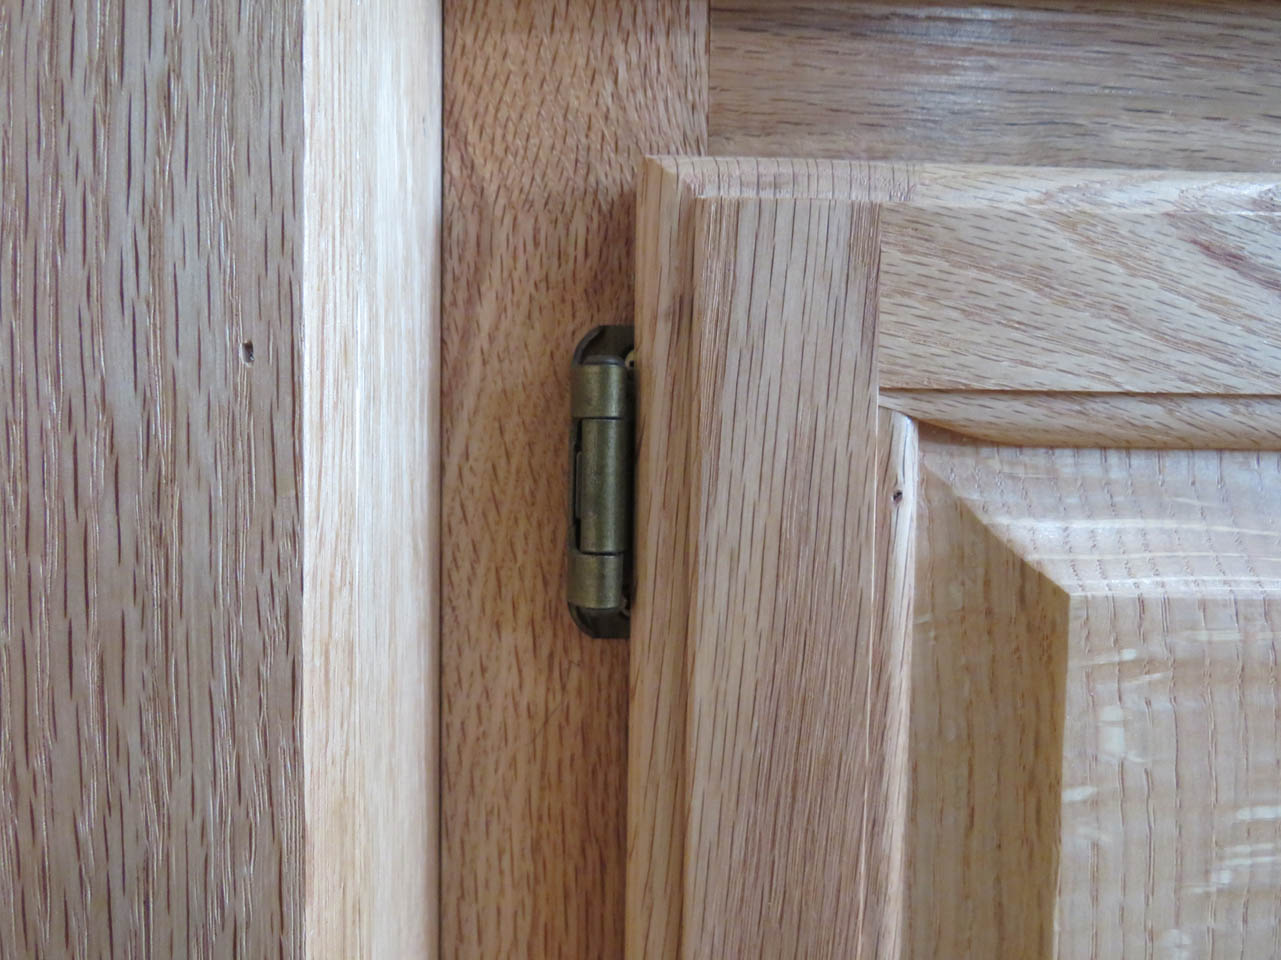
The first door went on great but the next, not so well. Belatedly I noticed that the hinges would be in the way of the drawers. Two of the drawers won’t be able to open.
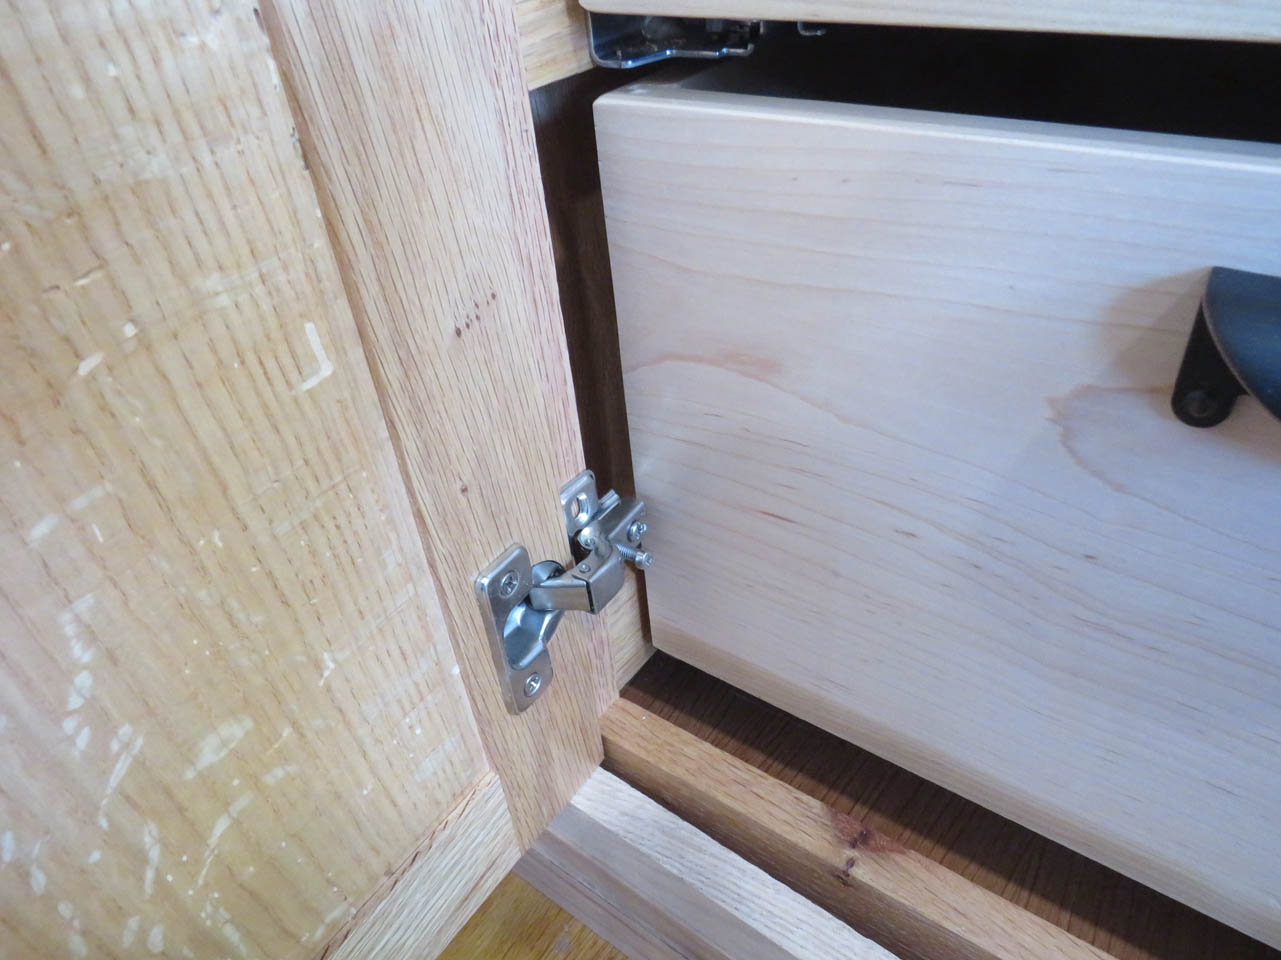
This is really frustrating. I spent a lot of time trying to maximize the drawers and completely forgot the hinges stuck out into the opening. Luckily all of the holes are on the inside. I found some regular flat hinges in the shop and gave them a try instead.

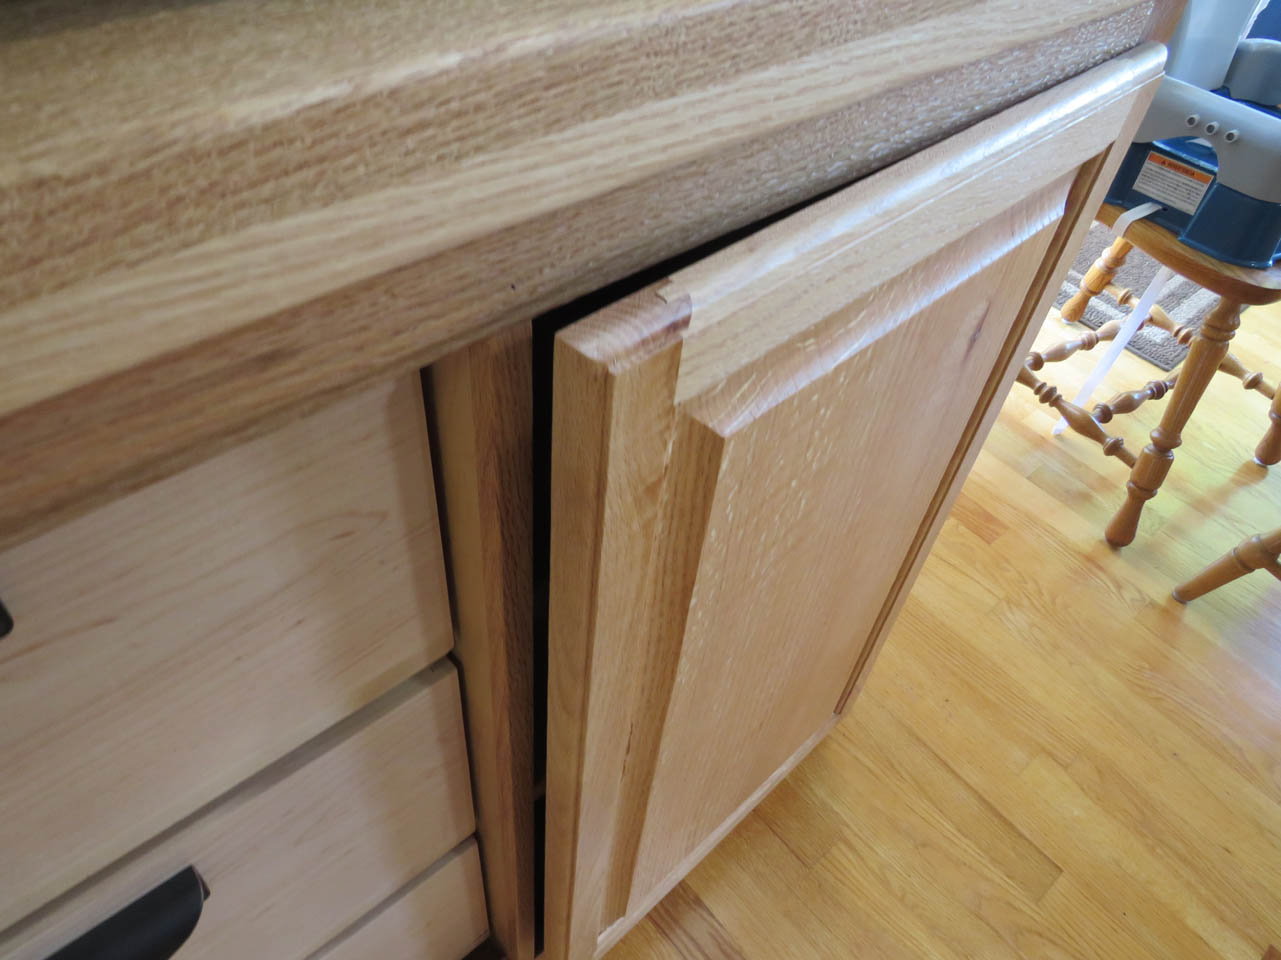
They fit and din not look too bad.
But for some reason, they would not shut all the way…
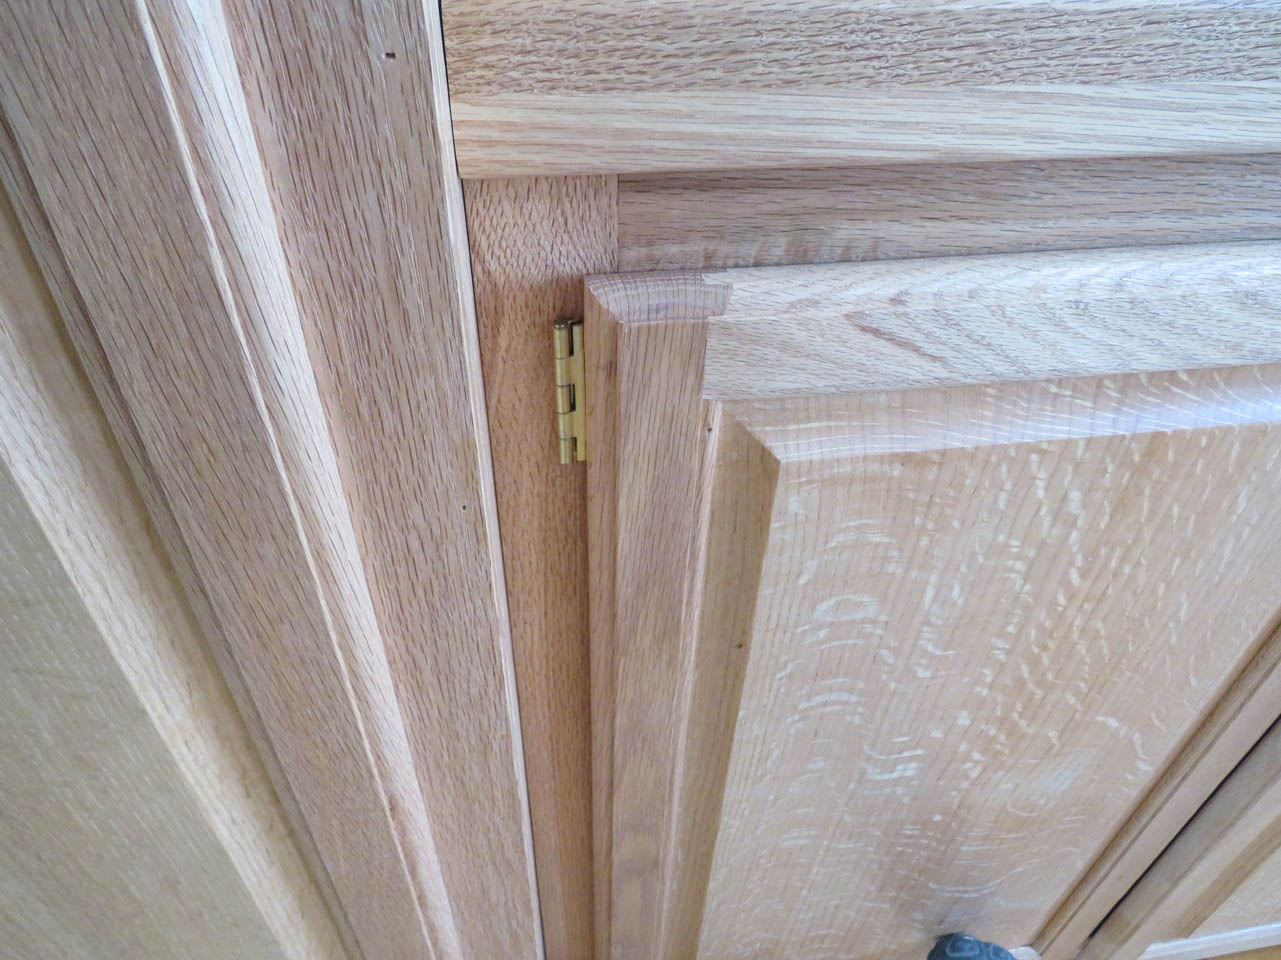
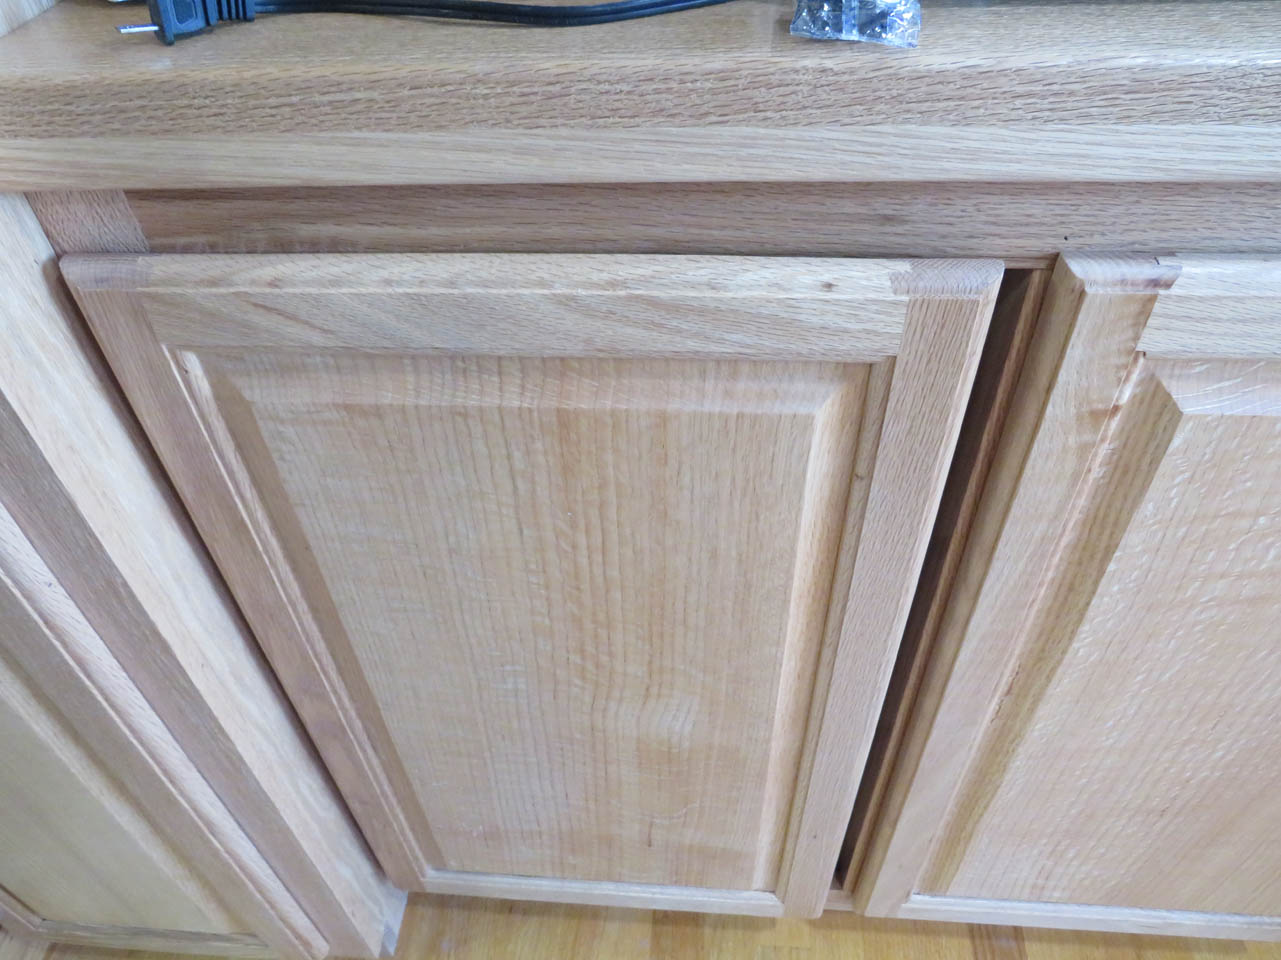
I installed the European style hinges on the last door.

And that one would not close all the way either.
Looks nice when you hold it closed, but pops open the moment you let go.

I looked around my shop for all of the different types of hinges that I have had left-over from many projects over the years. I found some Blum soft-close hinges that work similar to the hinges I had except they pull themselves closed by the soft-close mechanism.

That worked great.

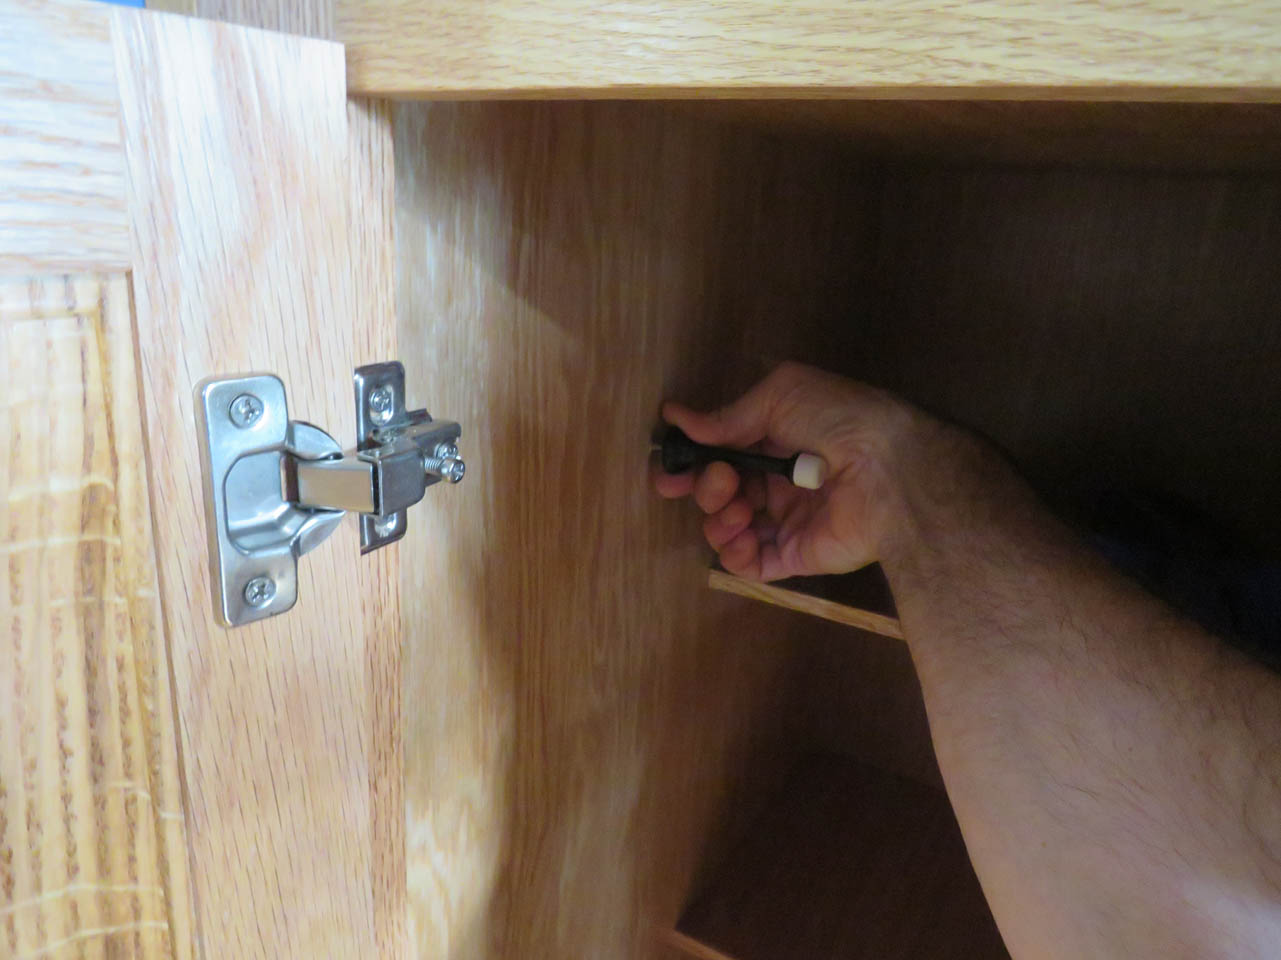
I had some Blum, face-mount hinges that were also soft-close. I thought I found the answer because it reused the 35mm holes for the hinges.

Then I remembered that they moved the entire door about 3/4″ to the left to mount that way…
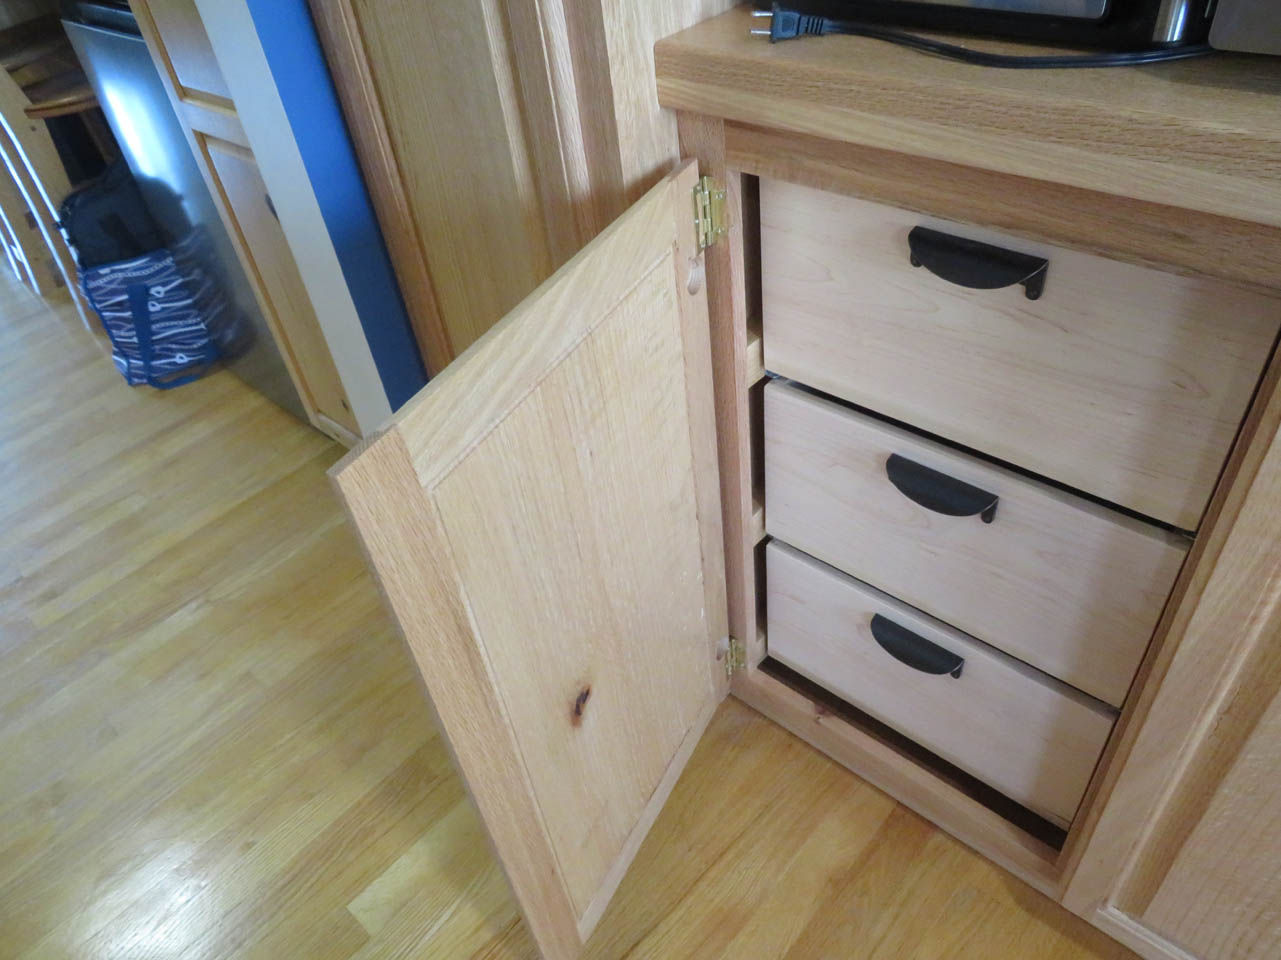
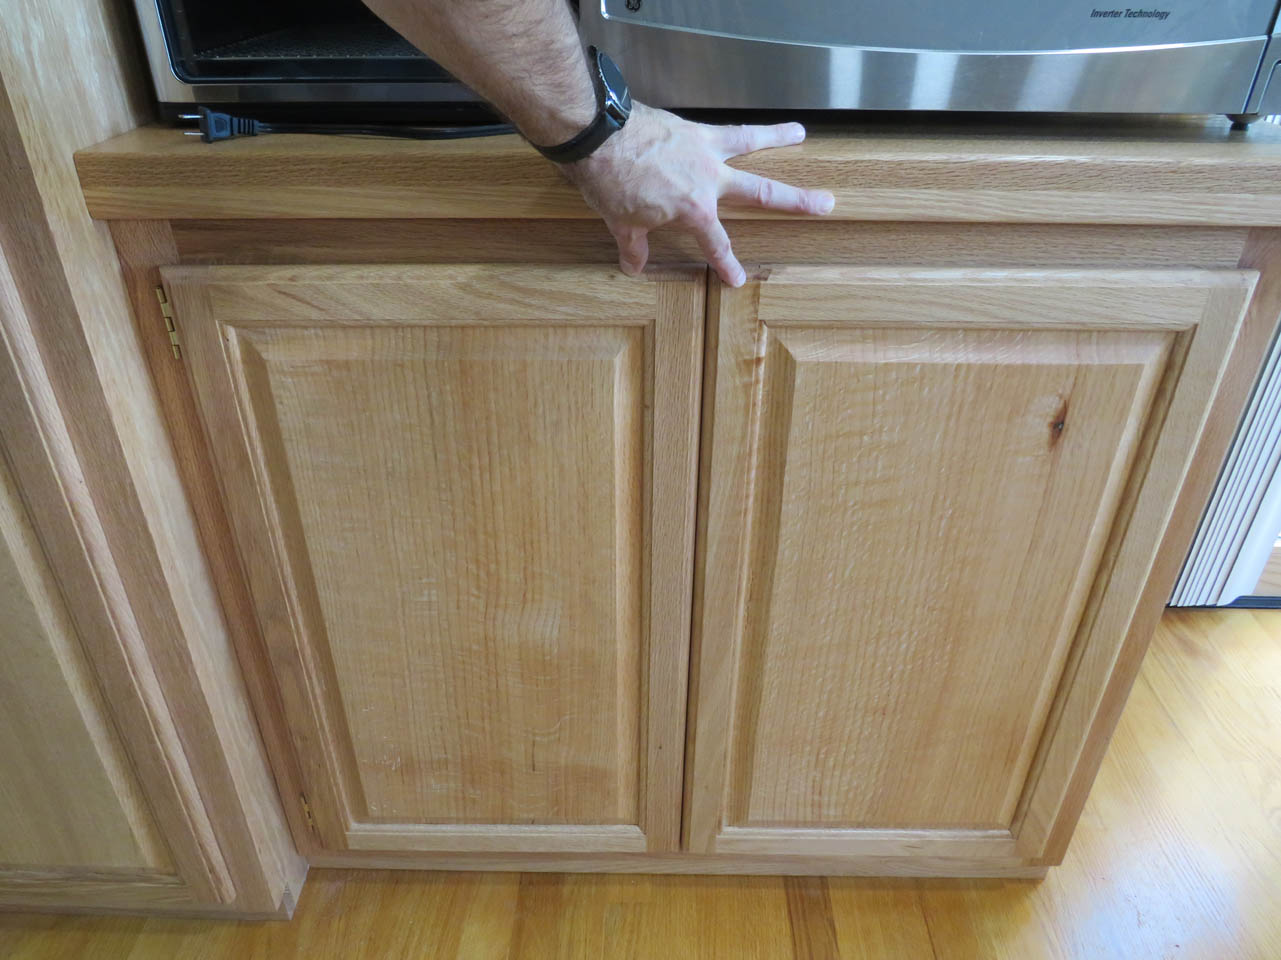
I finally resorted to a couple of cabinet door hinges that someone gave my years ago, they have a spring-close mechanism. My poor doors are starting to look like swiss cheese.

These worked surprisingly well. The only problem is that I have two hinges visible and that does not match any other cabinet door in the room, but I can live with that. They are mostly in shadow anyway.
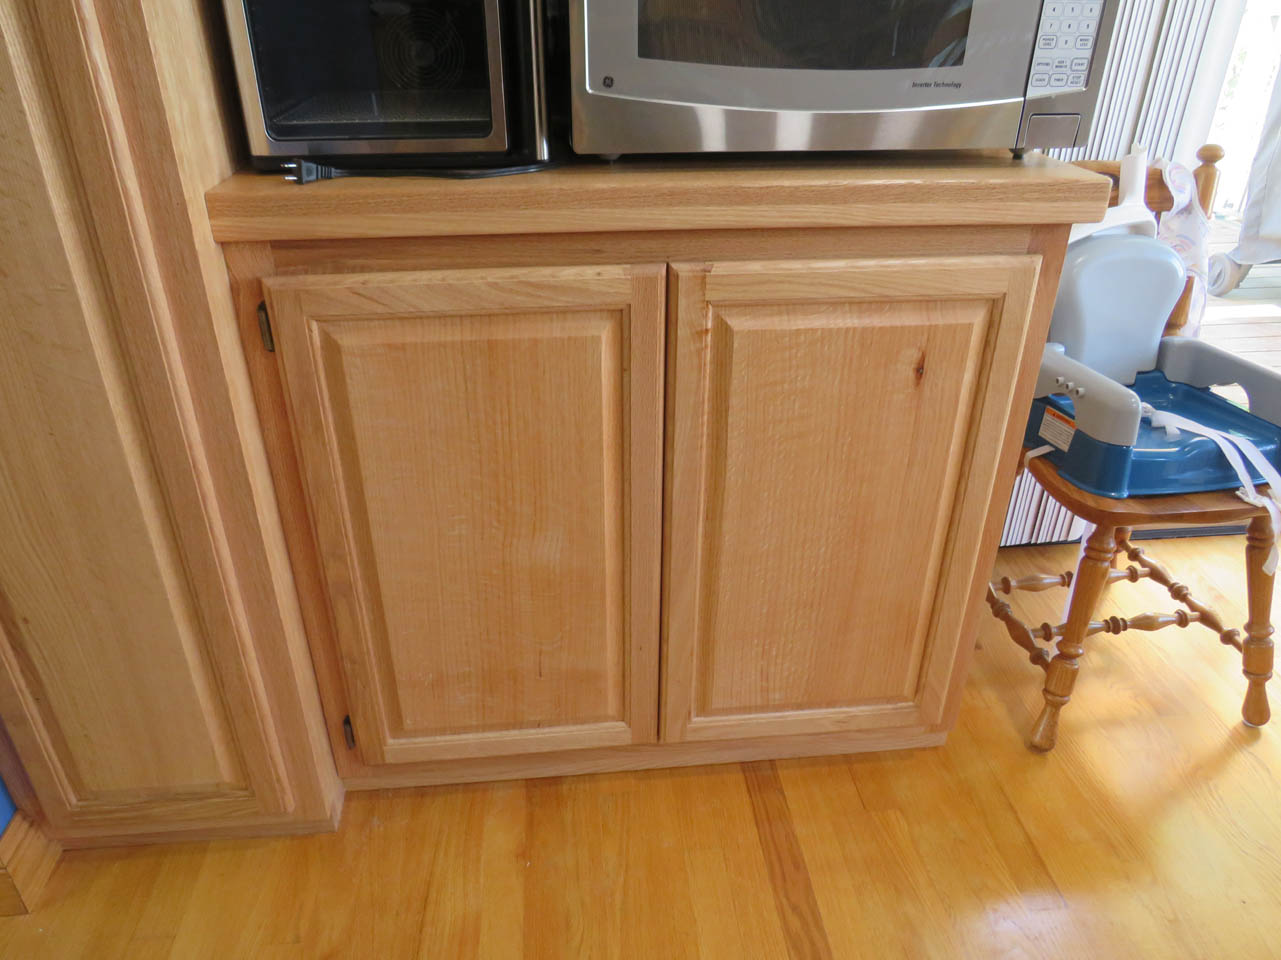
The doors close all the way and are aligned perfectly.
Now, back to the taller cabinet. It was sized to hold the broom and the Swiffer mops. The mops have a large loop at the top for hanging and the wet mop is heavy because it holds a bottle of fluid. I decided to try these screw-in bronze door stops to see if they could hold the weight.
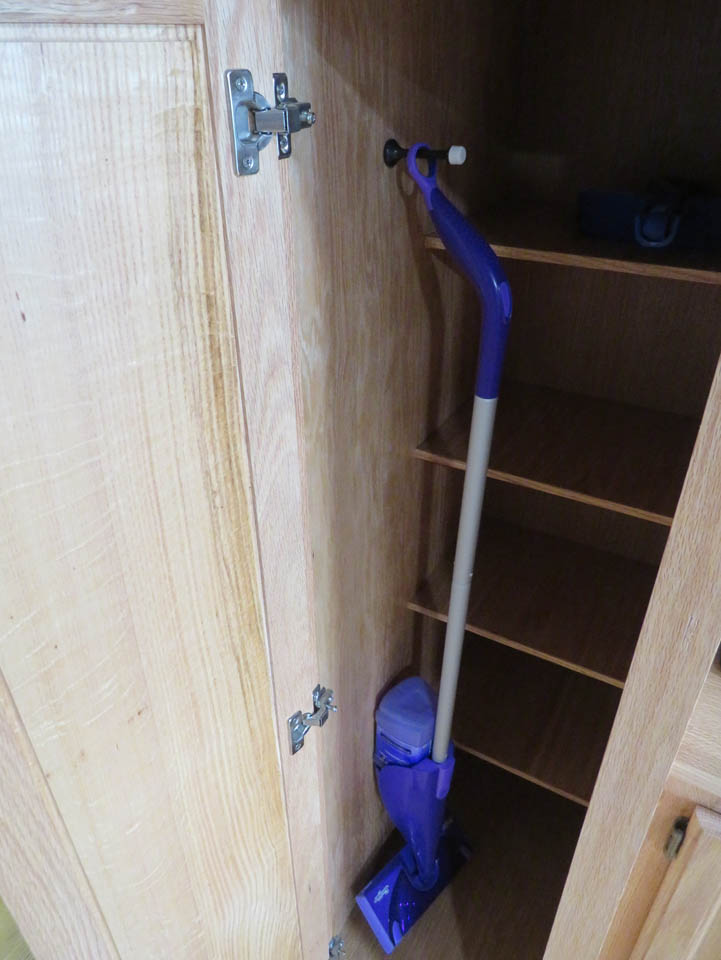
They worked pretty well. I drilled a hole in the broom handle and tied a loop of string to it, to hang on the right side. The shelves in the back can hold the dust pan, and additional supplies for the mops.

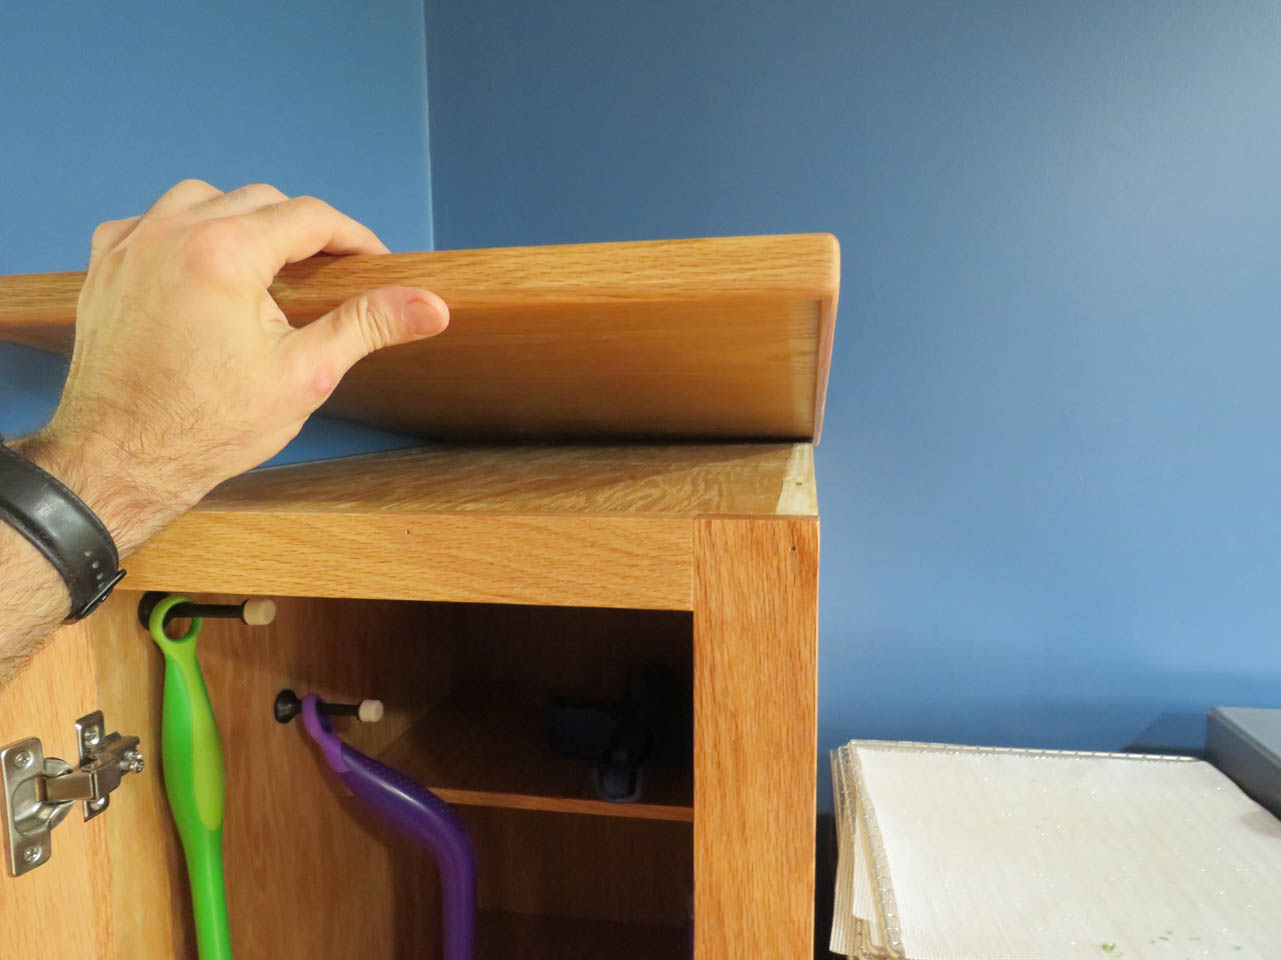
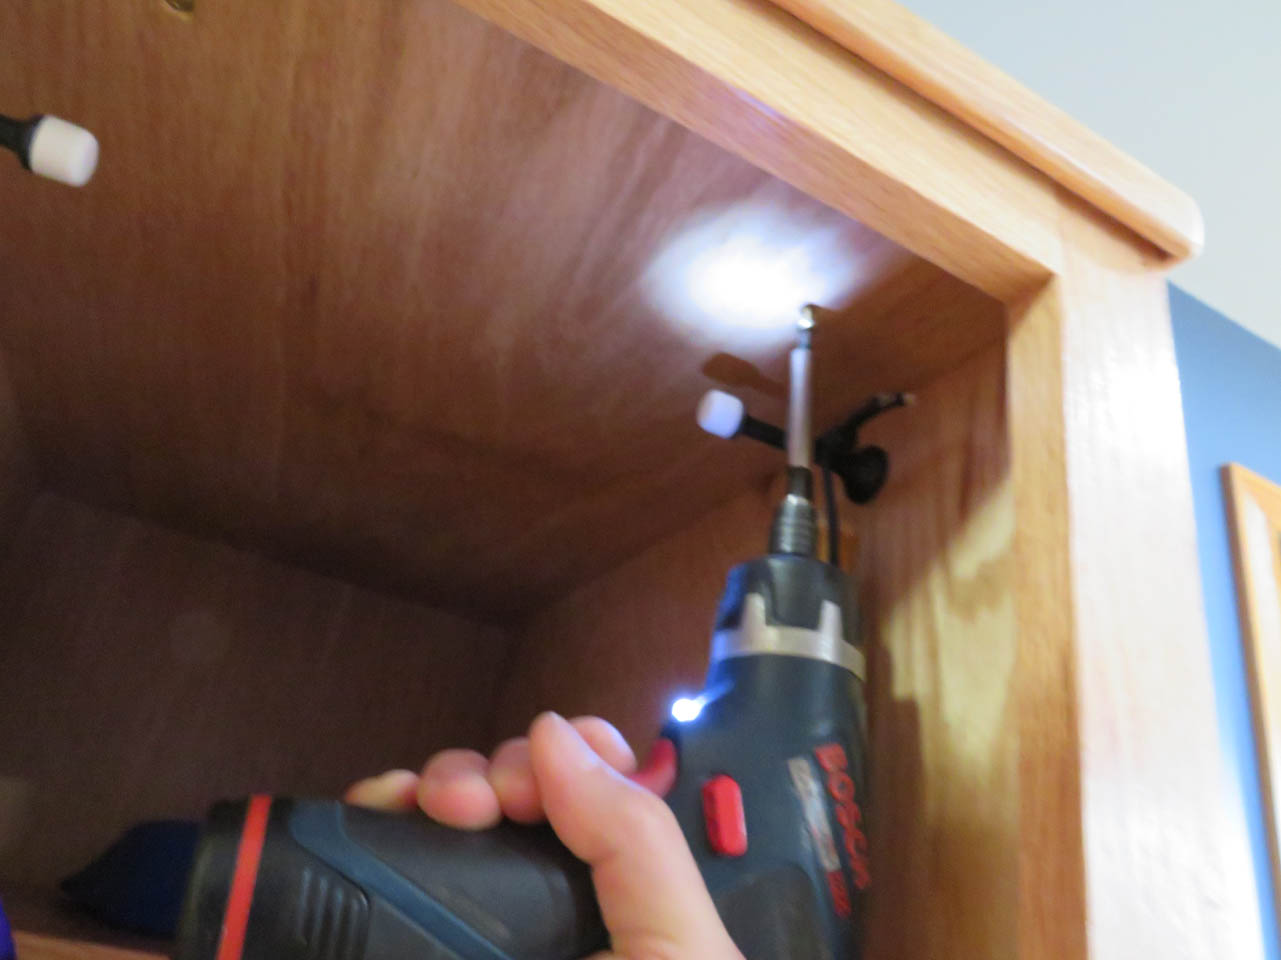
The final piece is the top for the tall cabinet. This was held in place the same as the countertop on the shorter cabinet. I used some 1-1/4″ washer-head screws at each corner from below.
My wife was already filling up the drawers as I was finishing up.
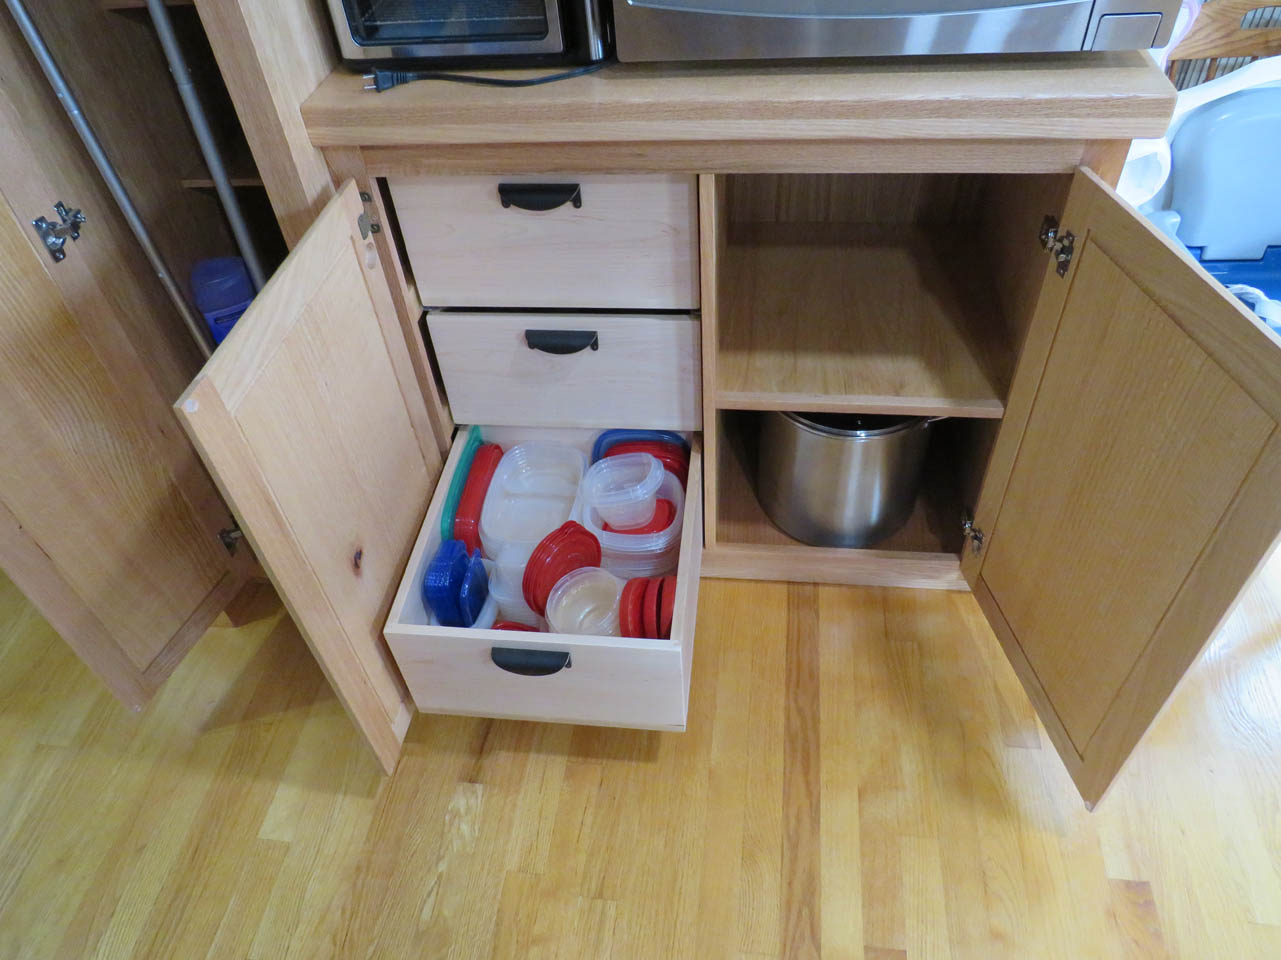
I am not sure if the dehydrator will stay next to the microwave, but it can be stored inside the cabinet when not in use.

Now we just have to wait and see if the grandkids try to get inside. They may require a bit of baby-proofing yet.
