
Dining room cabinets part 3
The doors only need a bit of sanding to clean up any glue squeeze-out at the corners.
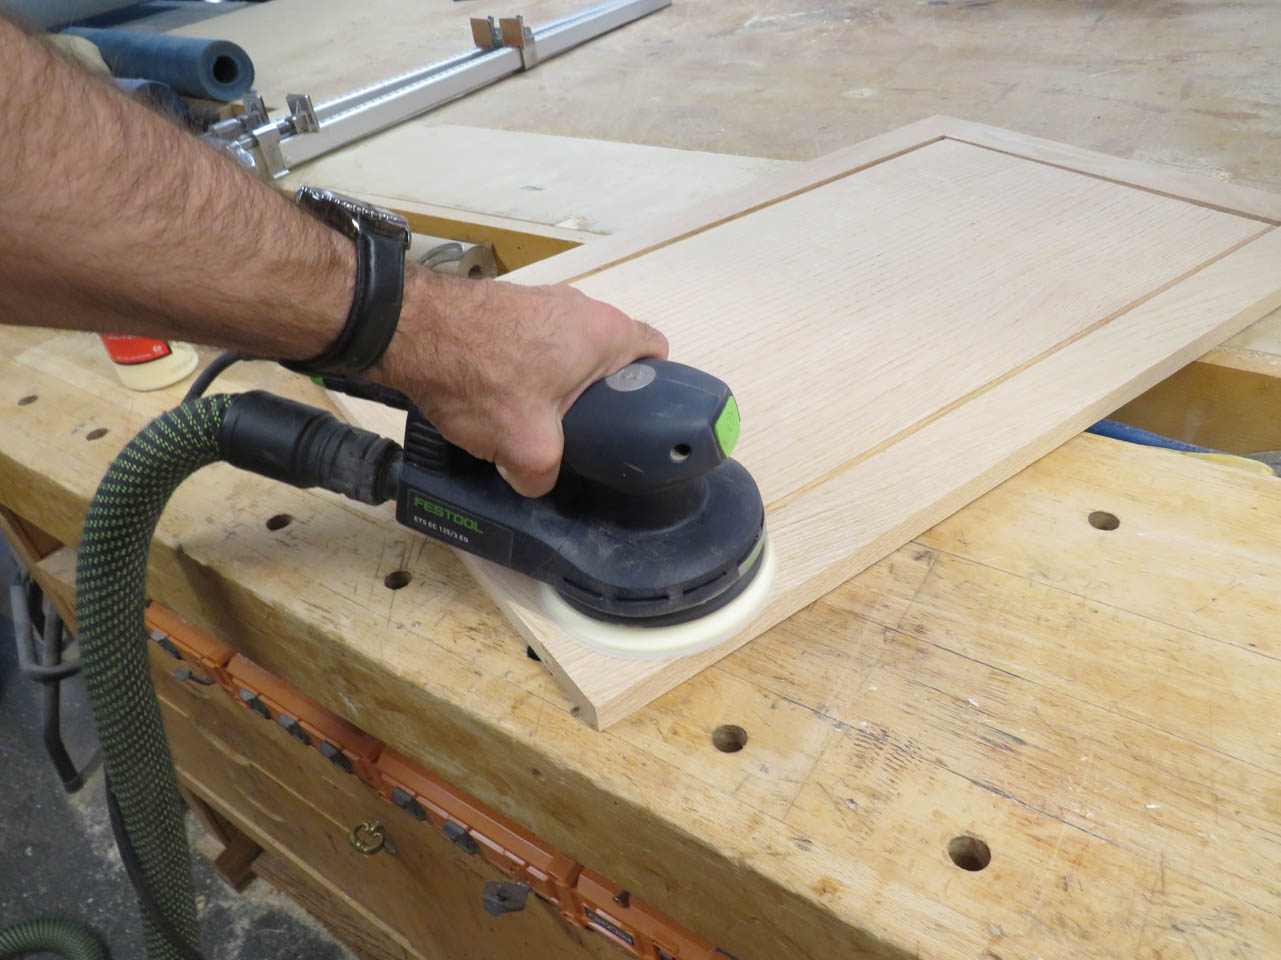
After sanding both sides, I turned my attention to installing the hinge hardware. The hardware really doesn’t need to be installed before finishing, but the holes should be drilled now.

I am using European style hinges and they all pretty much get installed the same way, mainly relying on a 35mm diameter pocket to be drilled into the door panel at each hinge location. I could translate the instructions that only occasionally come with the hinges, or I can just use this sample piece that I made up the last time I installed these hinges.
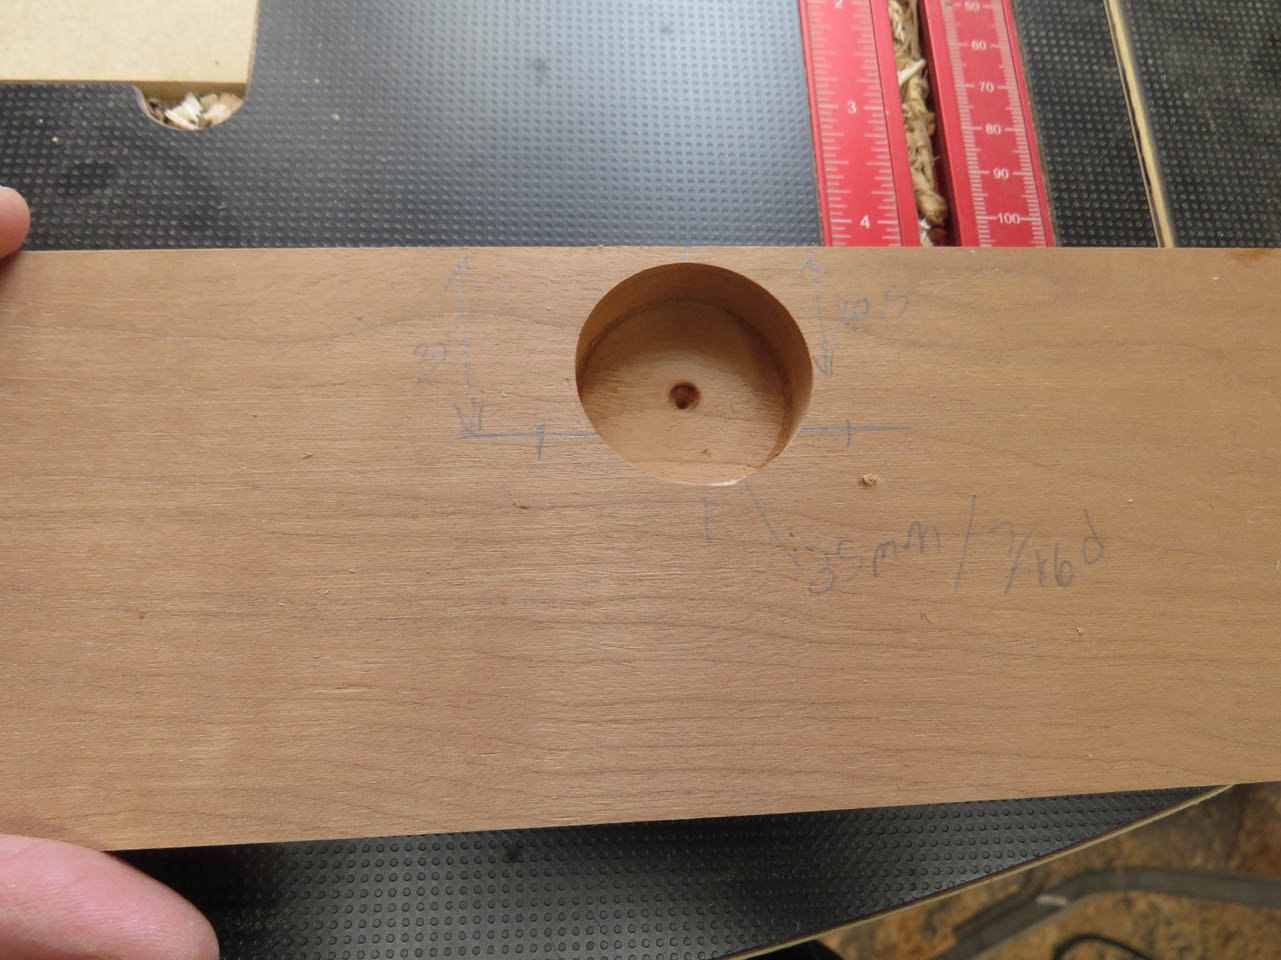
This allows me to align the 35mm forstner bit in the drill press to the fence. Then all I need to do is set the proper depth on the current door panels.
I also laid out the screw locations on the template so I can set my combination square to that depth for transferring to the door once drilled.

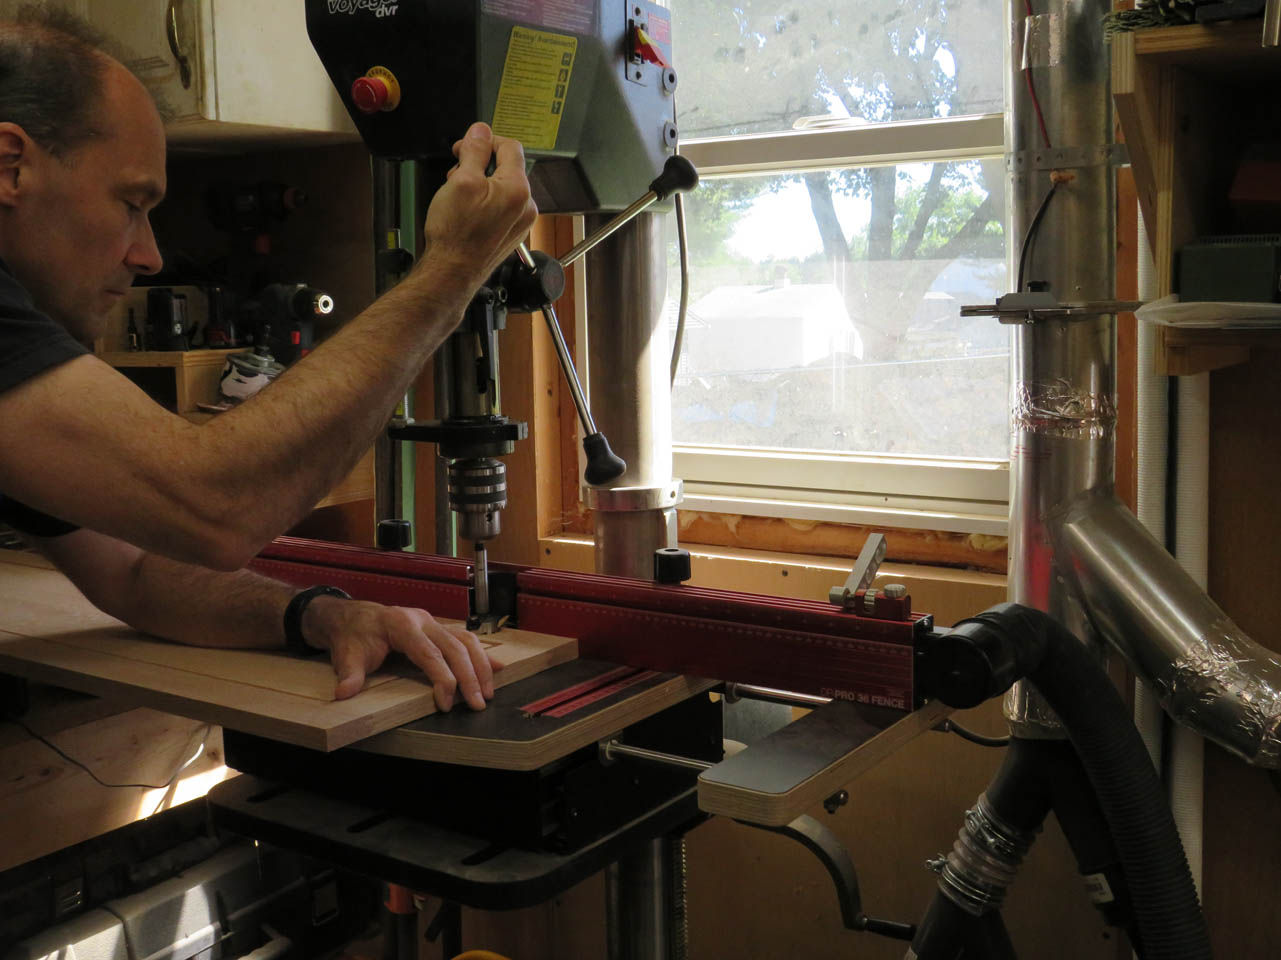
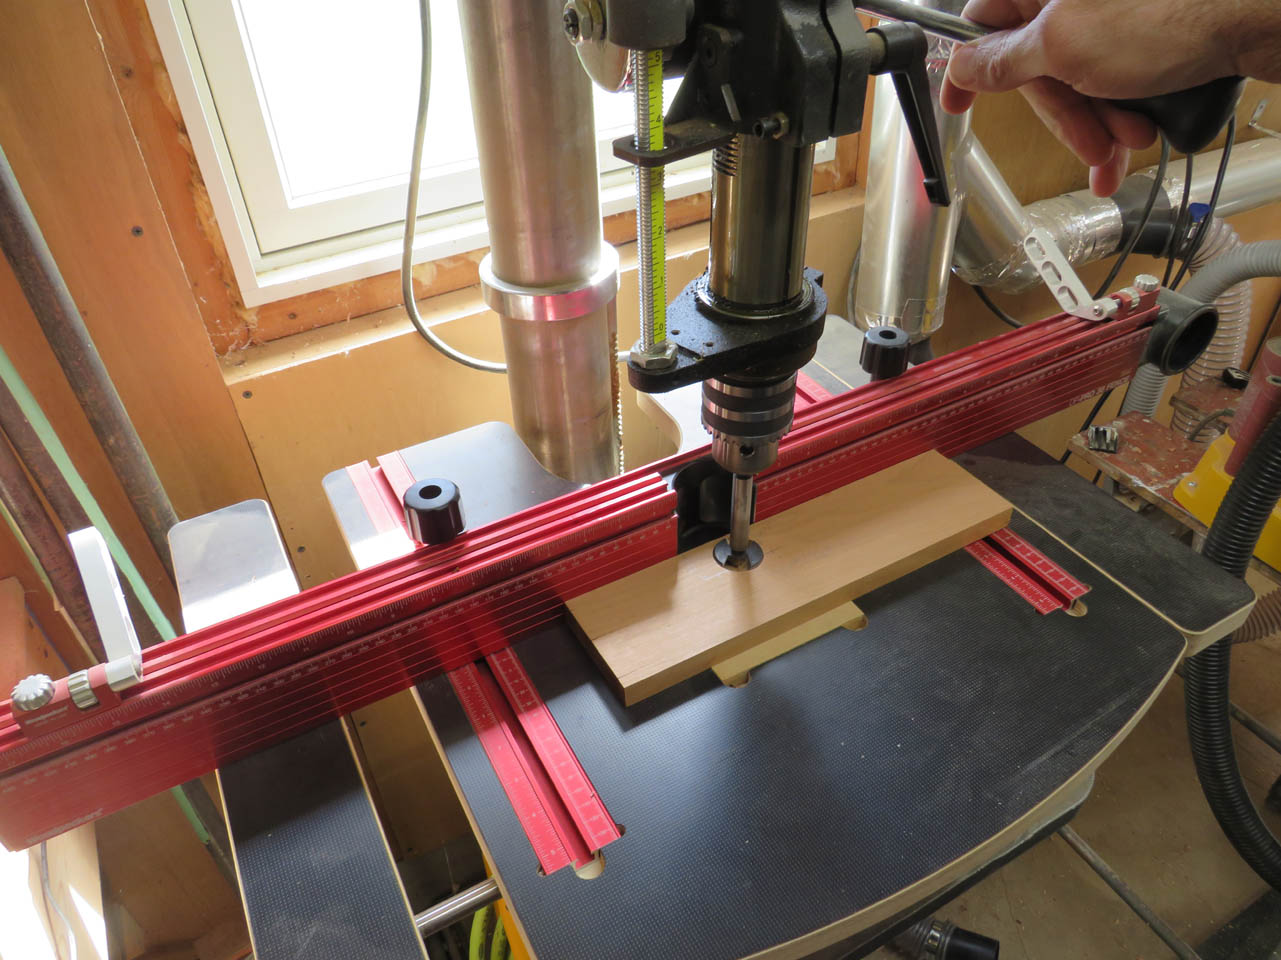
Once I mark the door where I need the hinges, I can drill the large pockets.
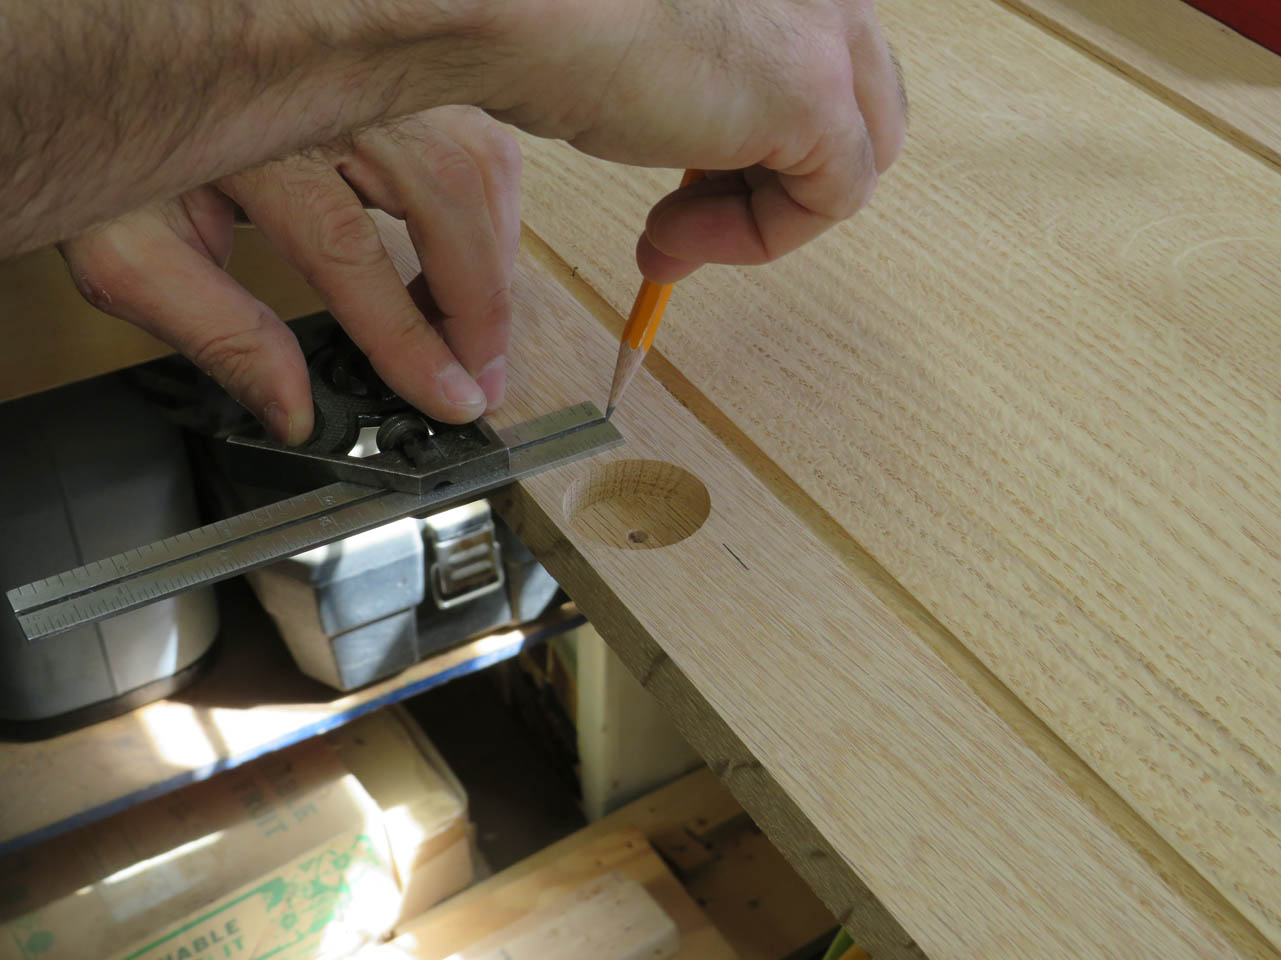
Next, I transfer the mounting hole locations for aligning my hinge in the correct direction, then I can use my awl to locate the center of the screw holes for drilling the pilot holes.


I pre-drill a small hole at each of those points, then I can easily screw in the mounting screws to hold the hinge in place.

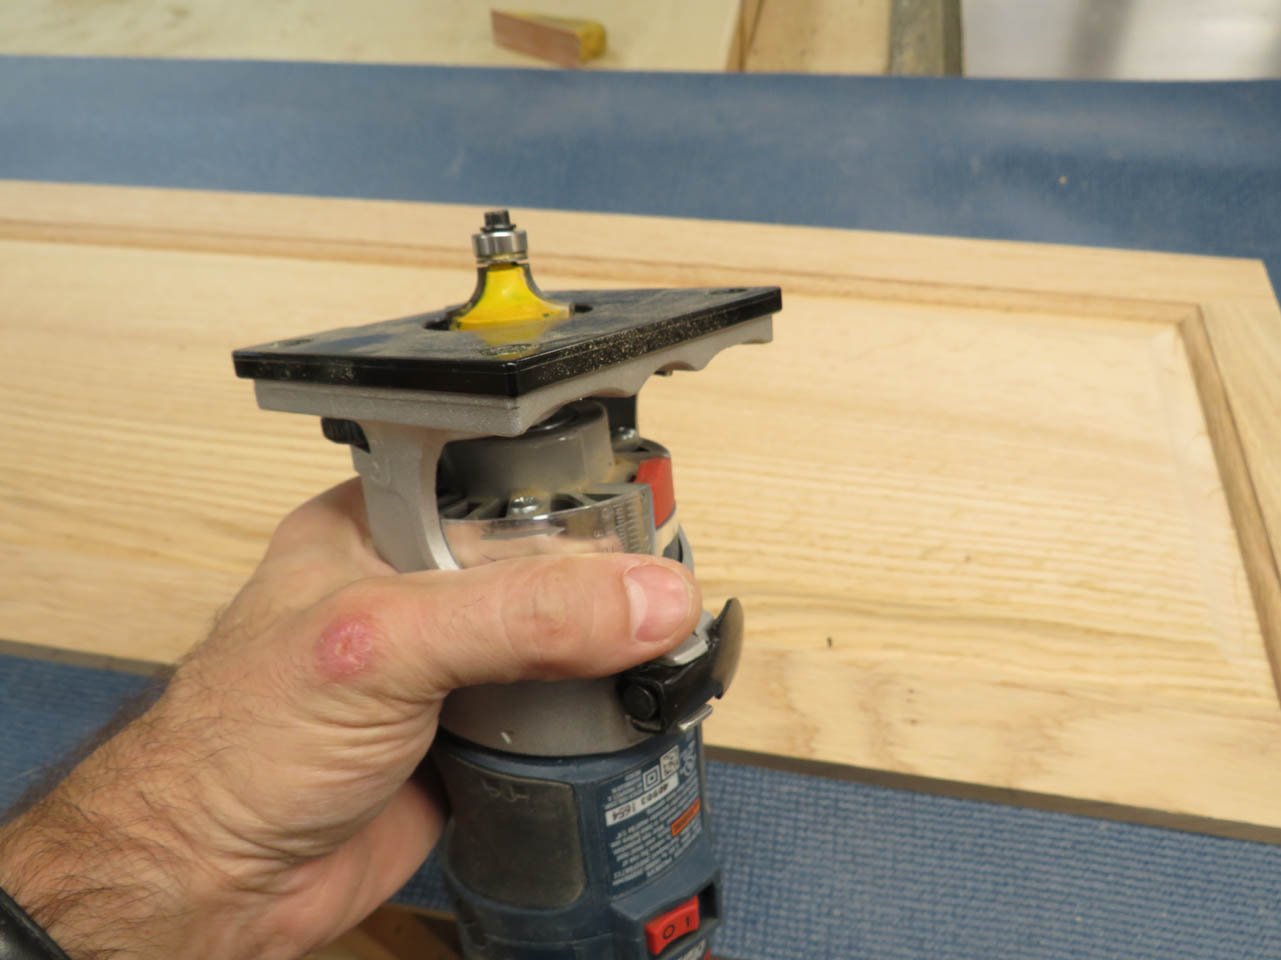
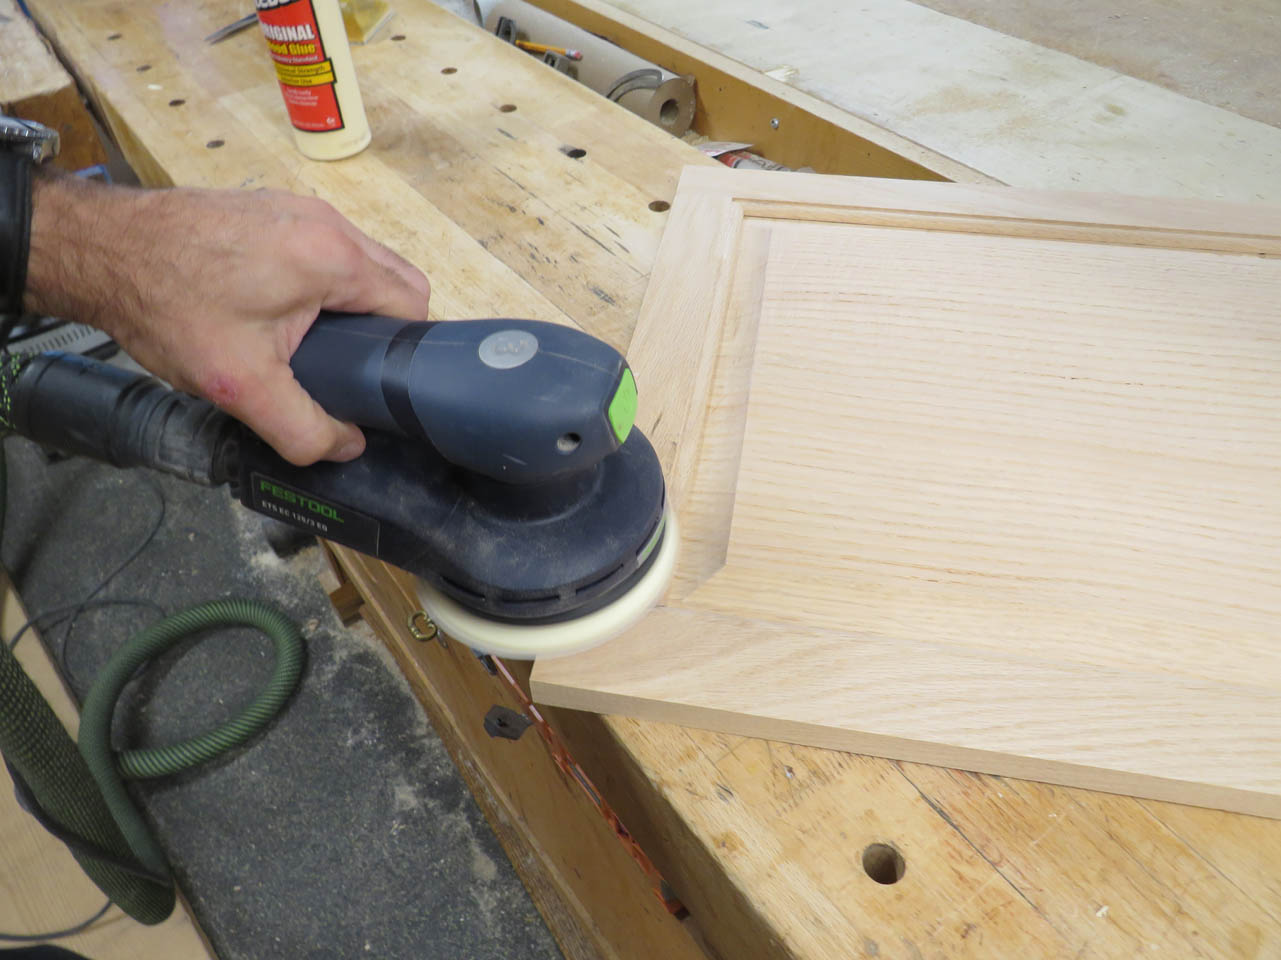
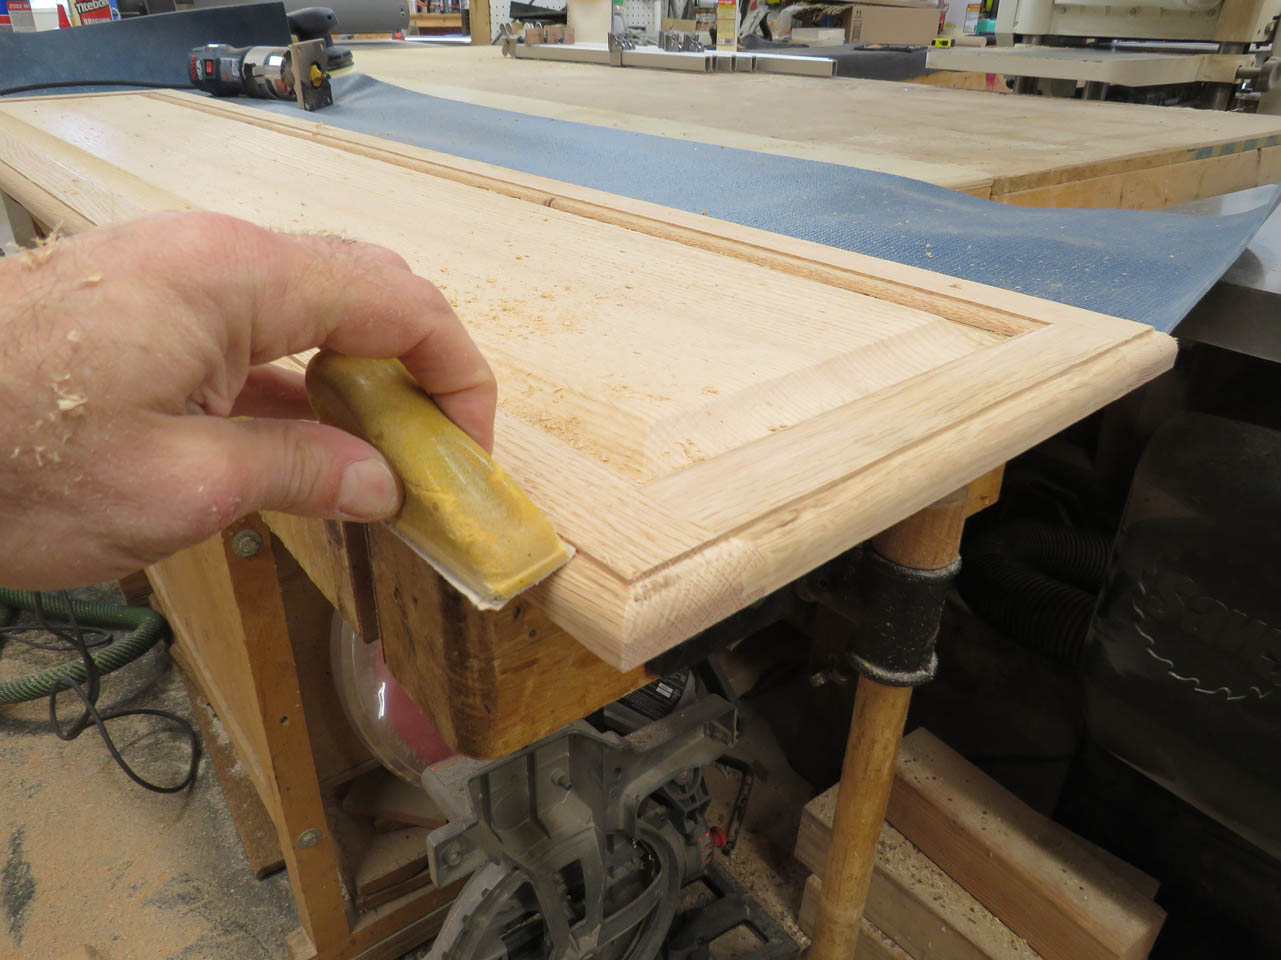
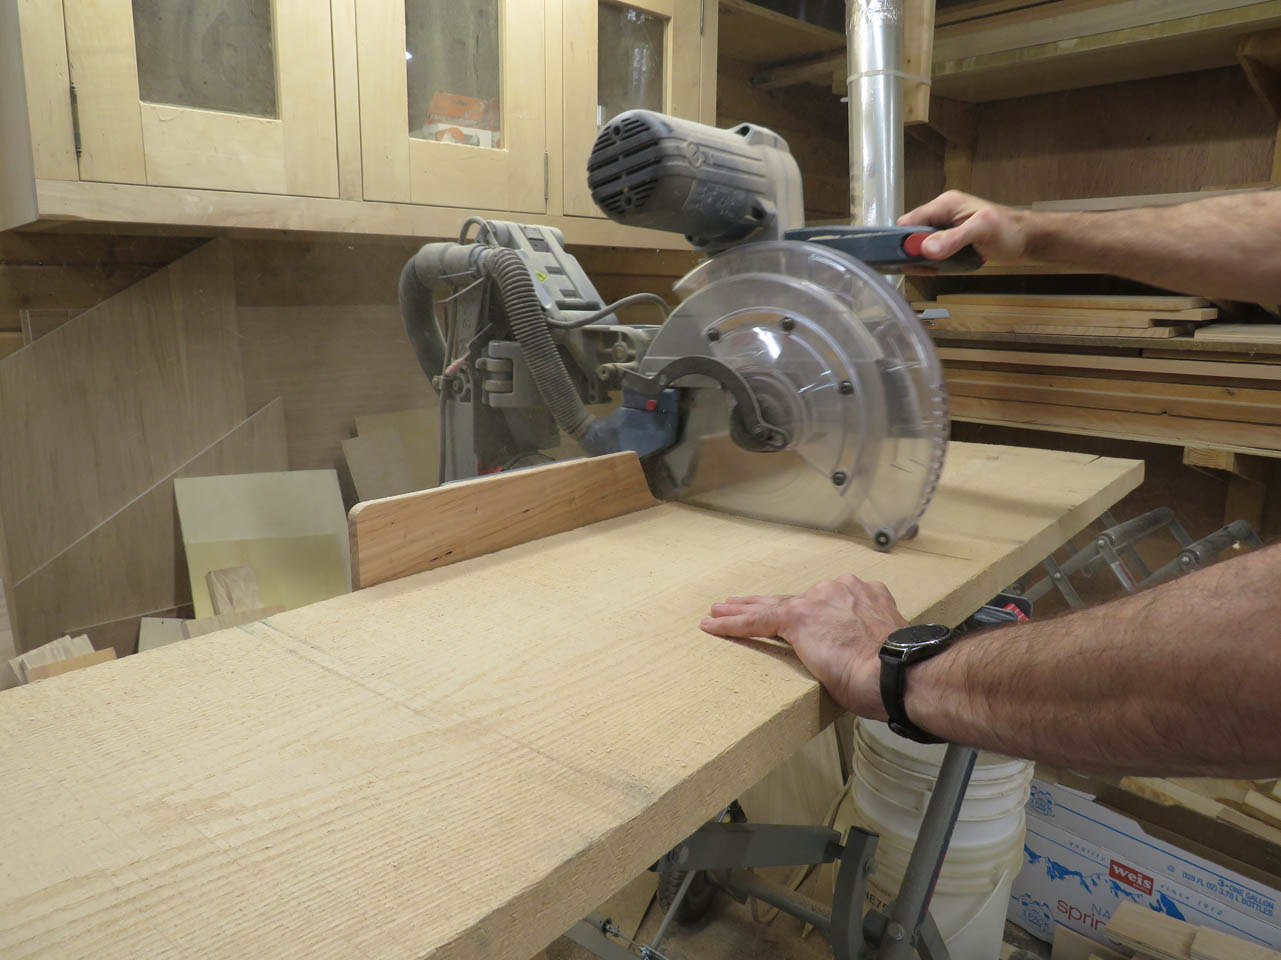
Once all those are drilled out, I remove all the hinges until after finish gets applied. The final step for the doors is to add a radius to the outer edge. This is not required, I just want to match the rest of the cabinets in my dining room.
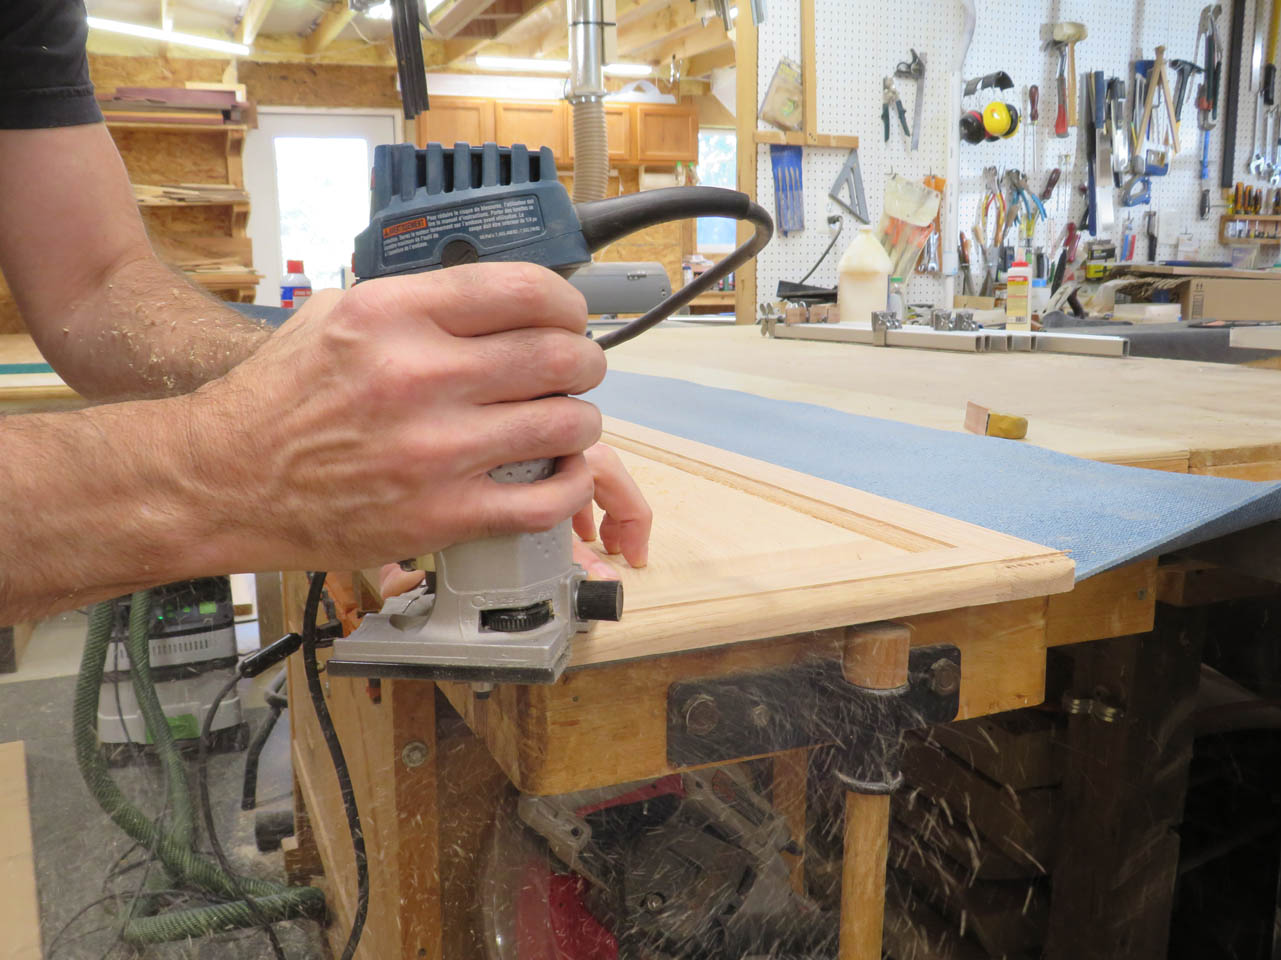
After the round-over is applied with the router, I hand sand all the edges and set the doors aside for finishing.
The next step is to start cutting down some maple for the drawers. I could use more oak, but I had just enough soft maple to make the drawers and I decided I liked the contrast between the white of the maple and the look of the finished oak.

I want deep drawers so I had to glue a bit more maple to some of my boards.
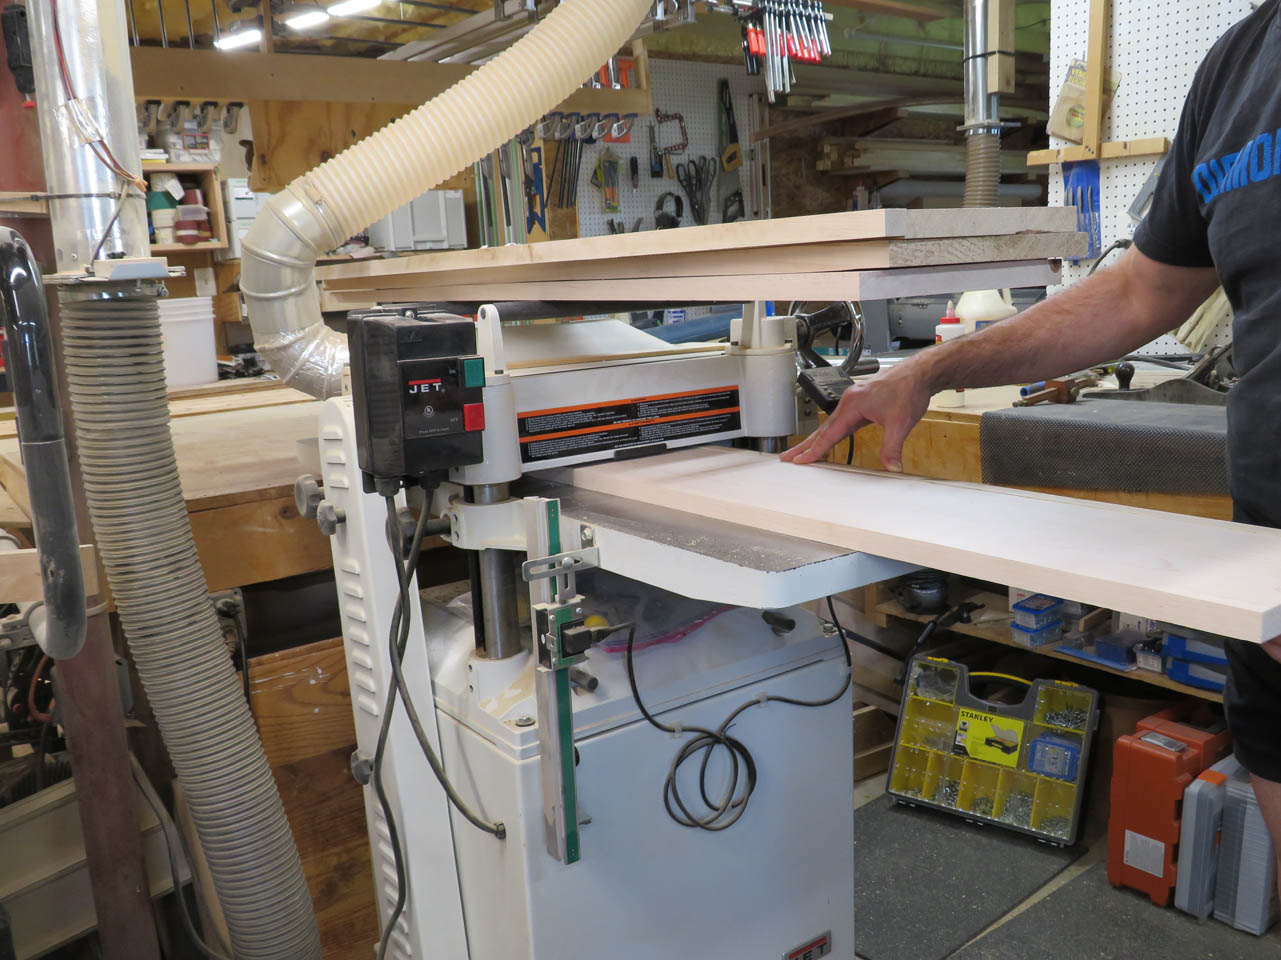
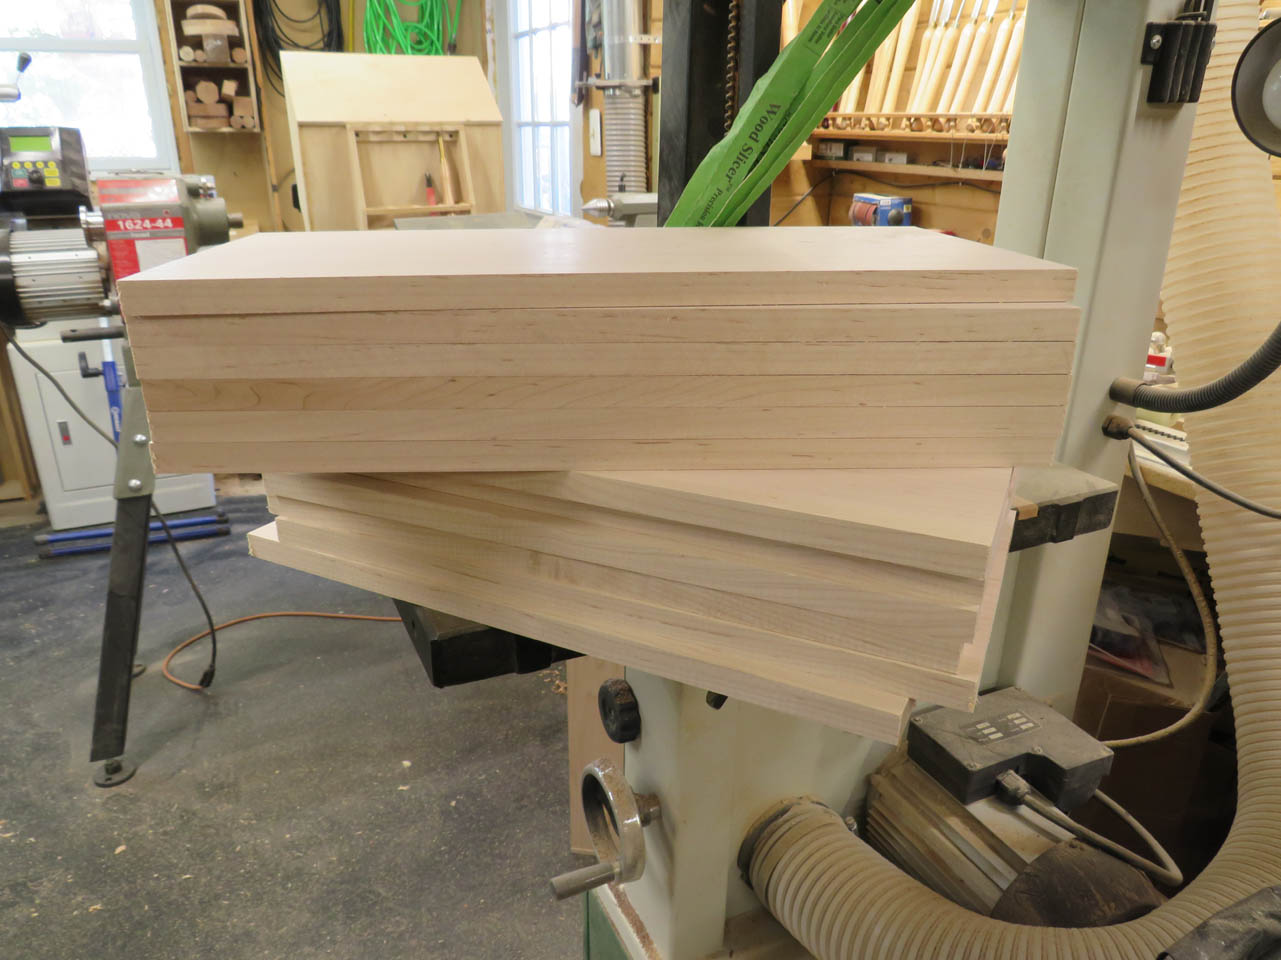
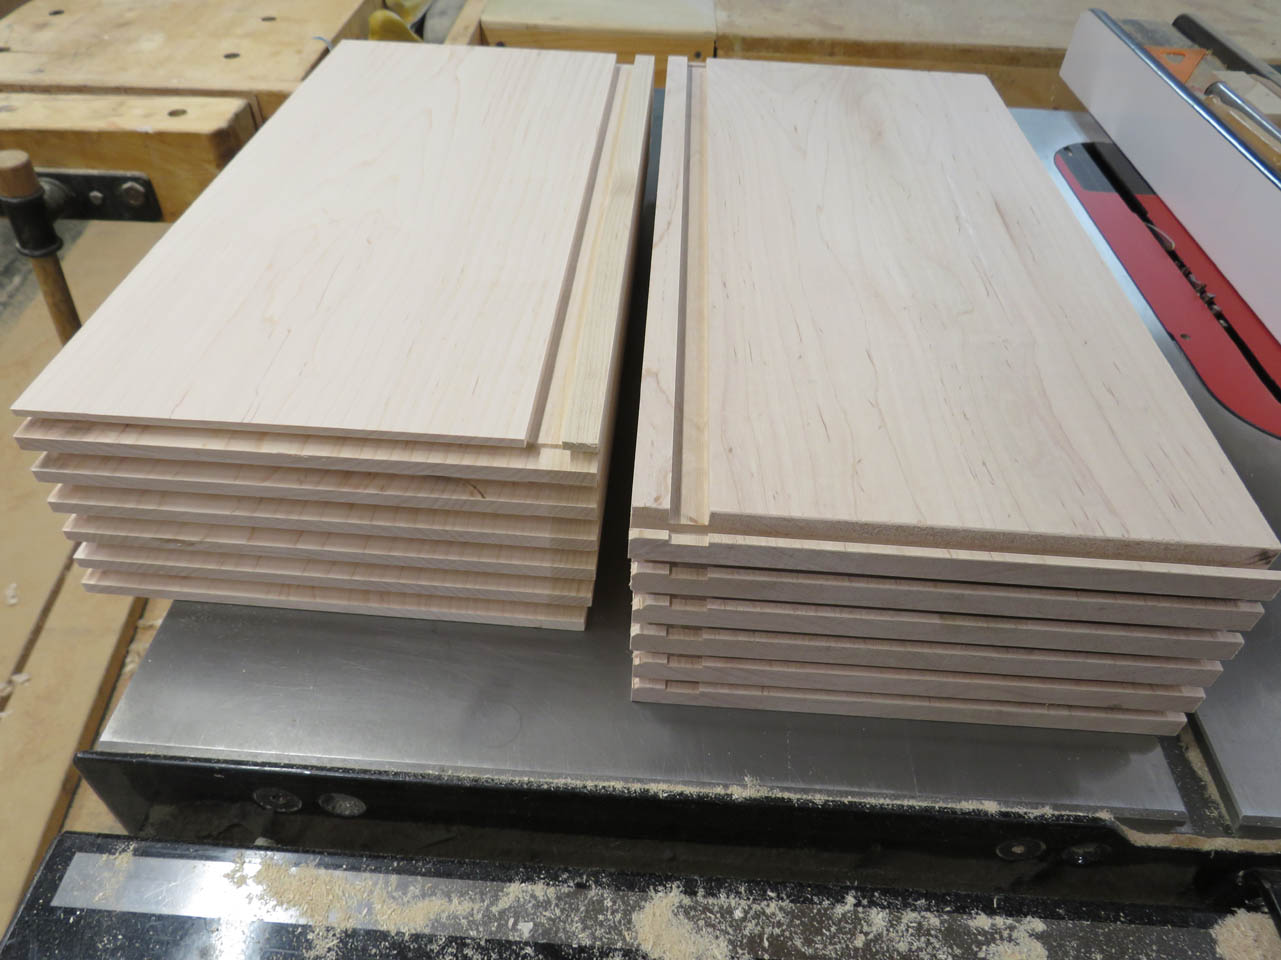
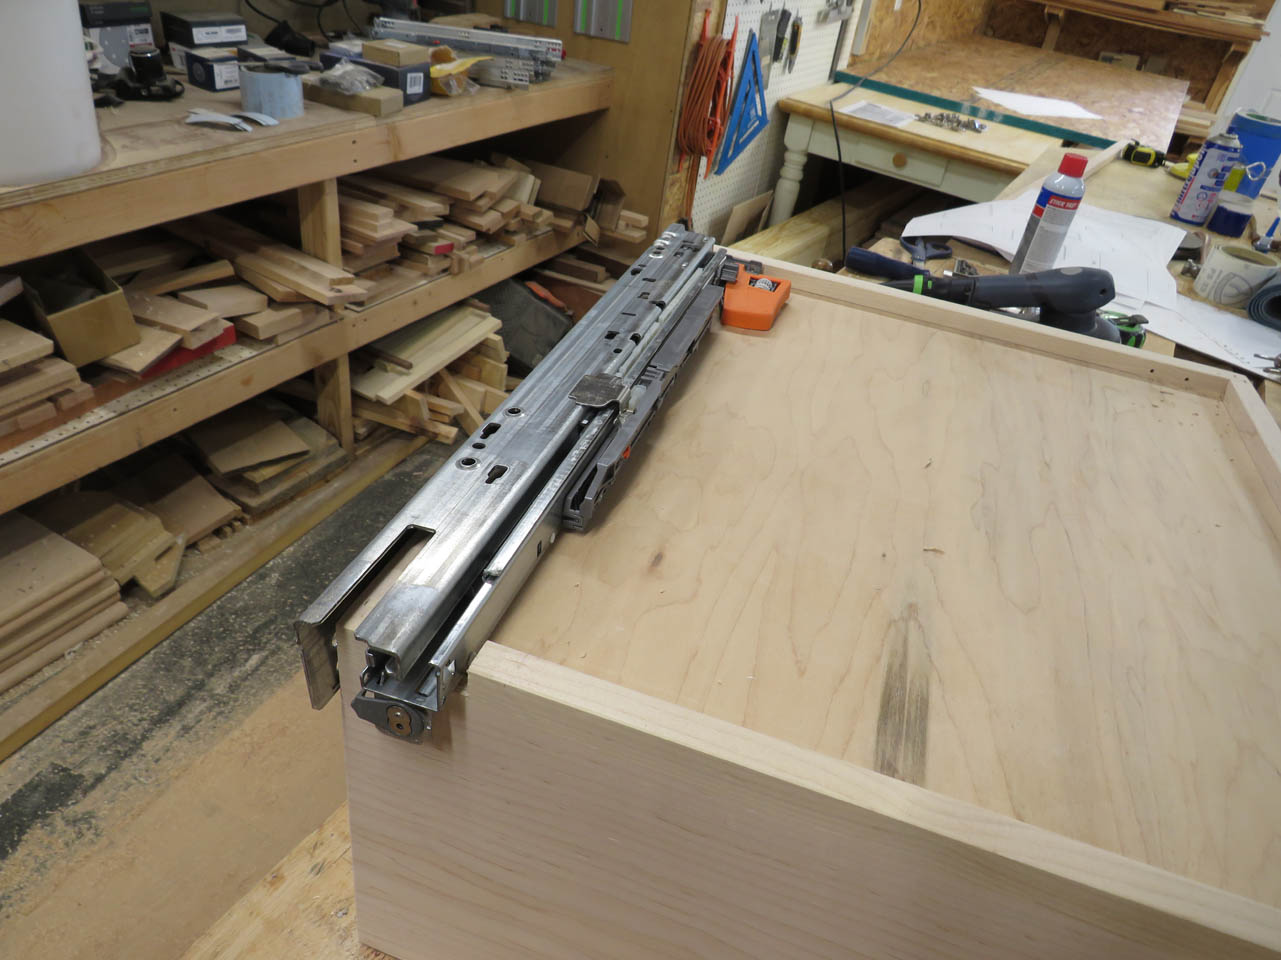
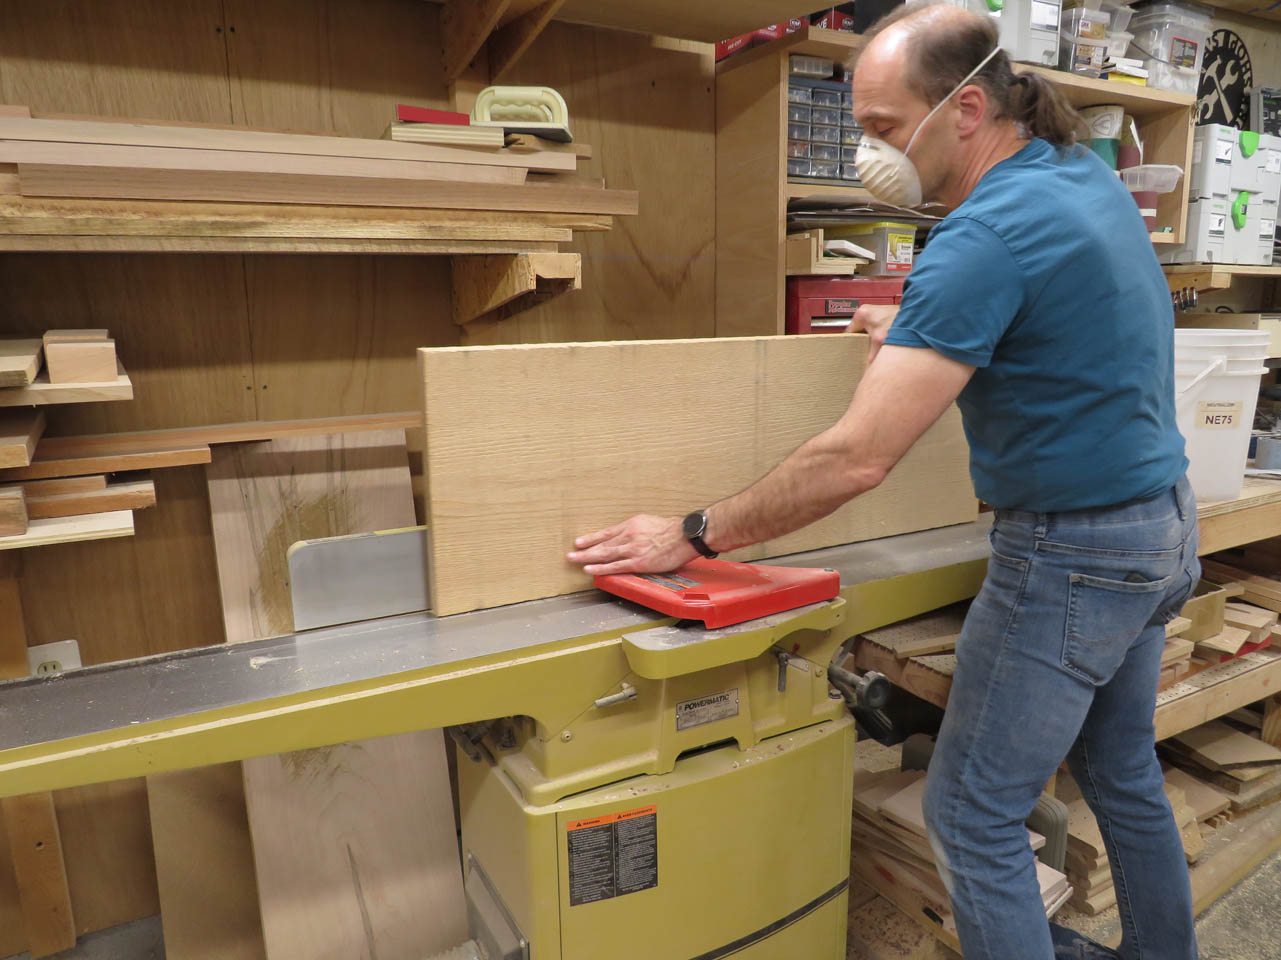
After they dried, I planed all of my maple down to 5/8″ thick. This is the maximum width that my undermount drawer slides will accommodate.
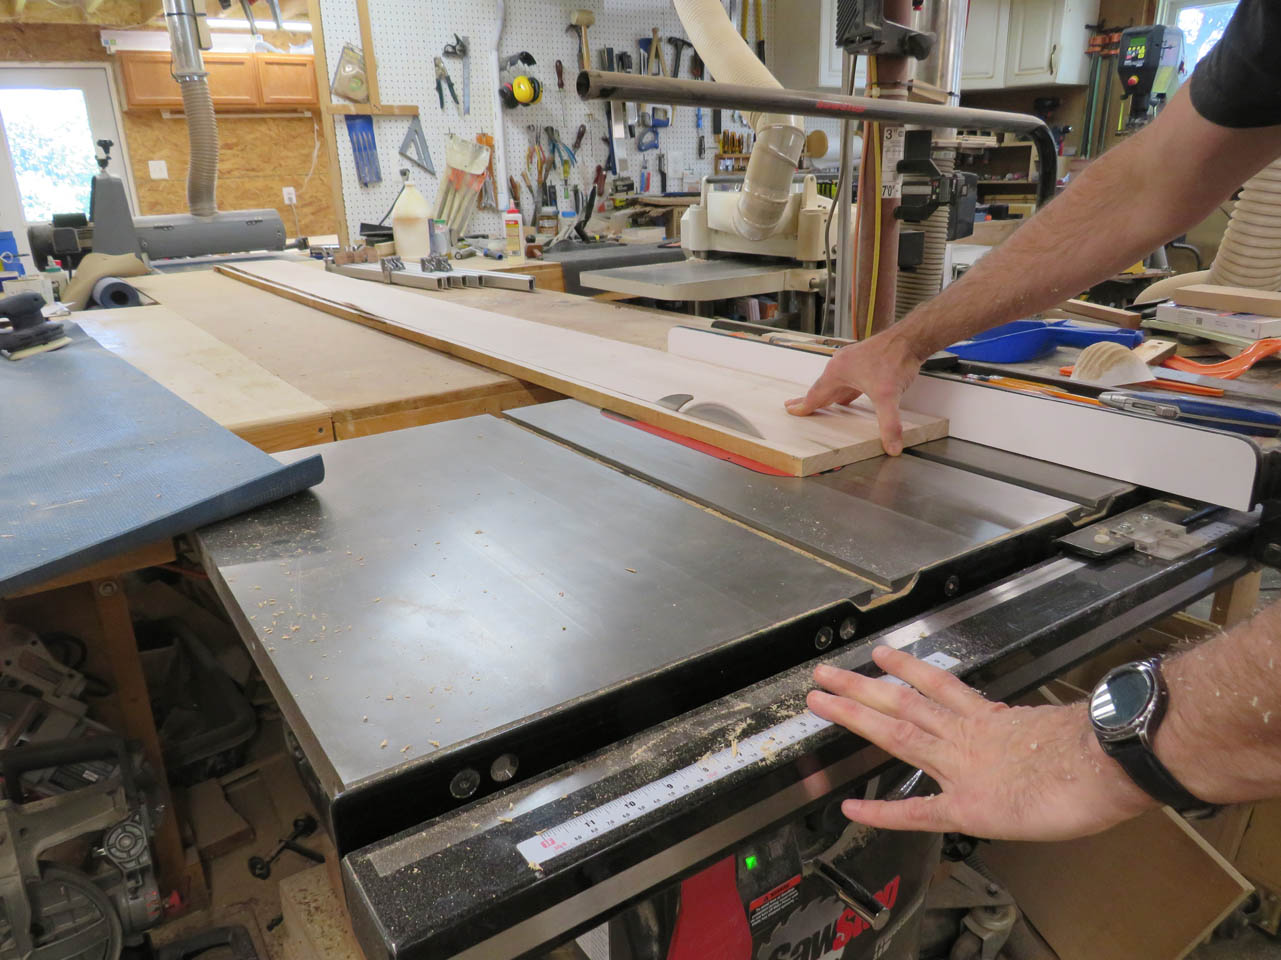
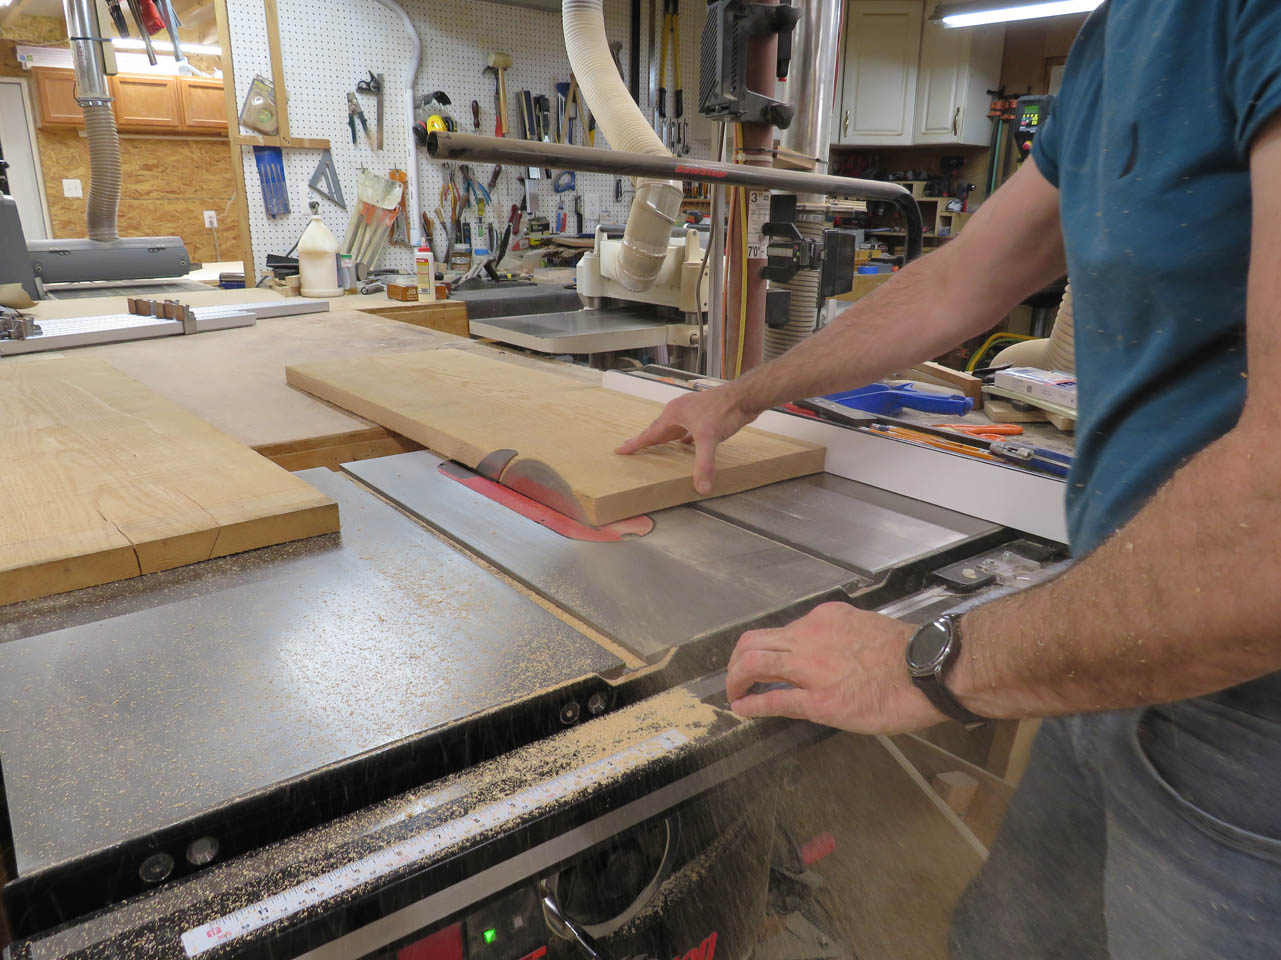
To cut each of the drawers sides and fronts to the exact same length, I used my cross-cut sled on the table saw and set the fence to the desired length.
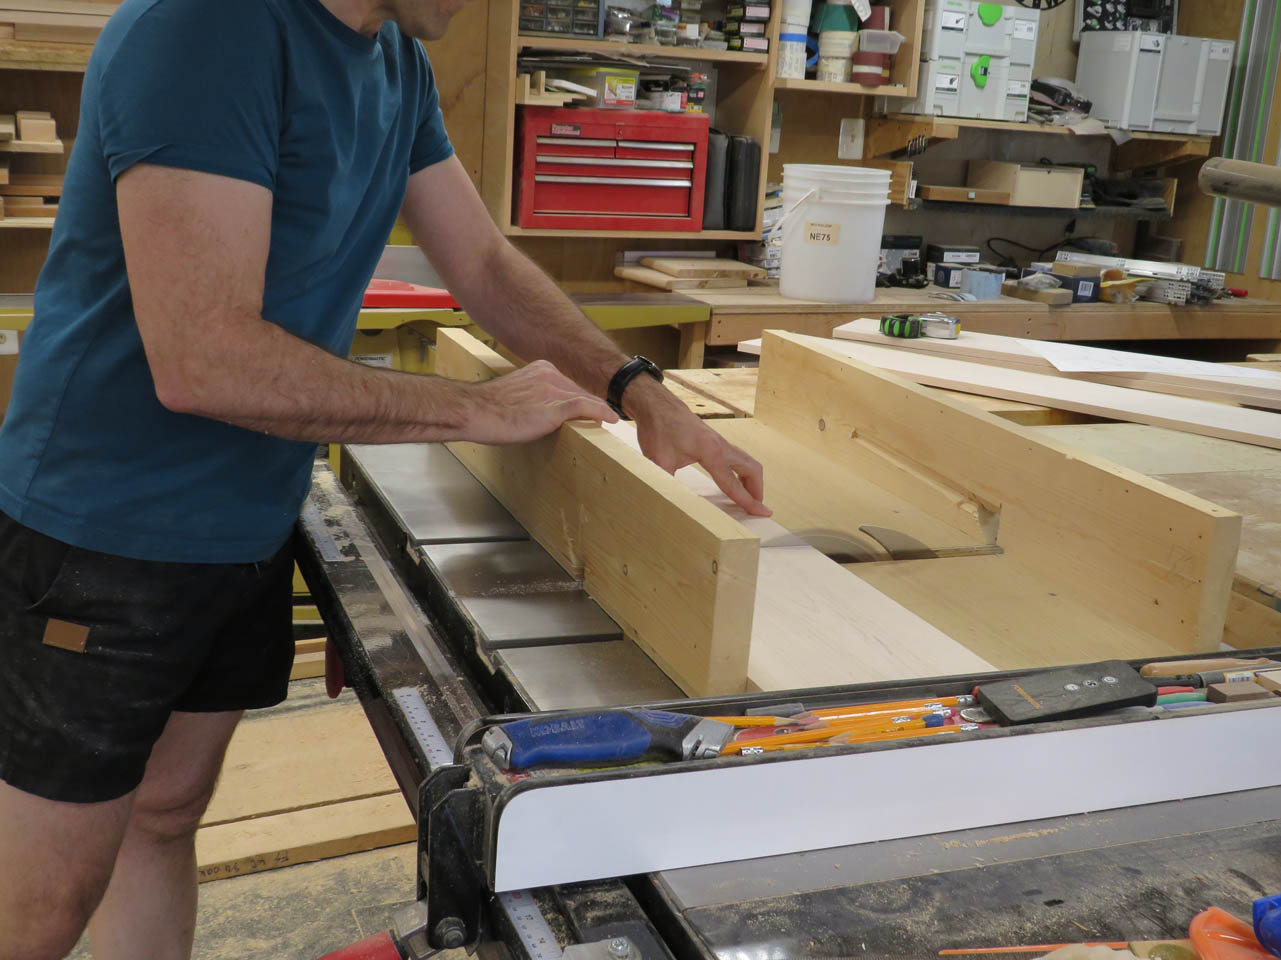
Being careful to avoid binding my board against the fence, I cut all of the side pieces, then the fronts & backs as well.

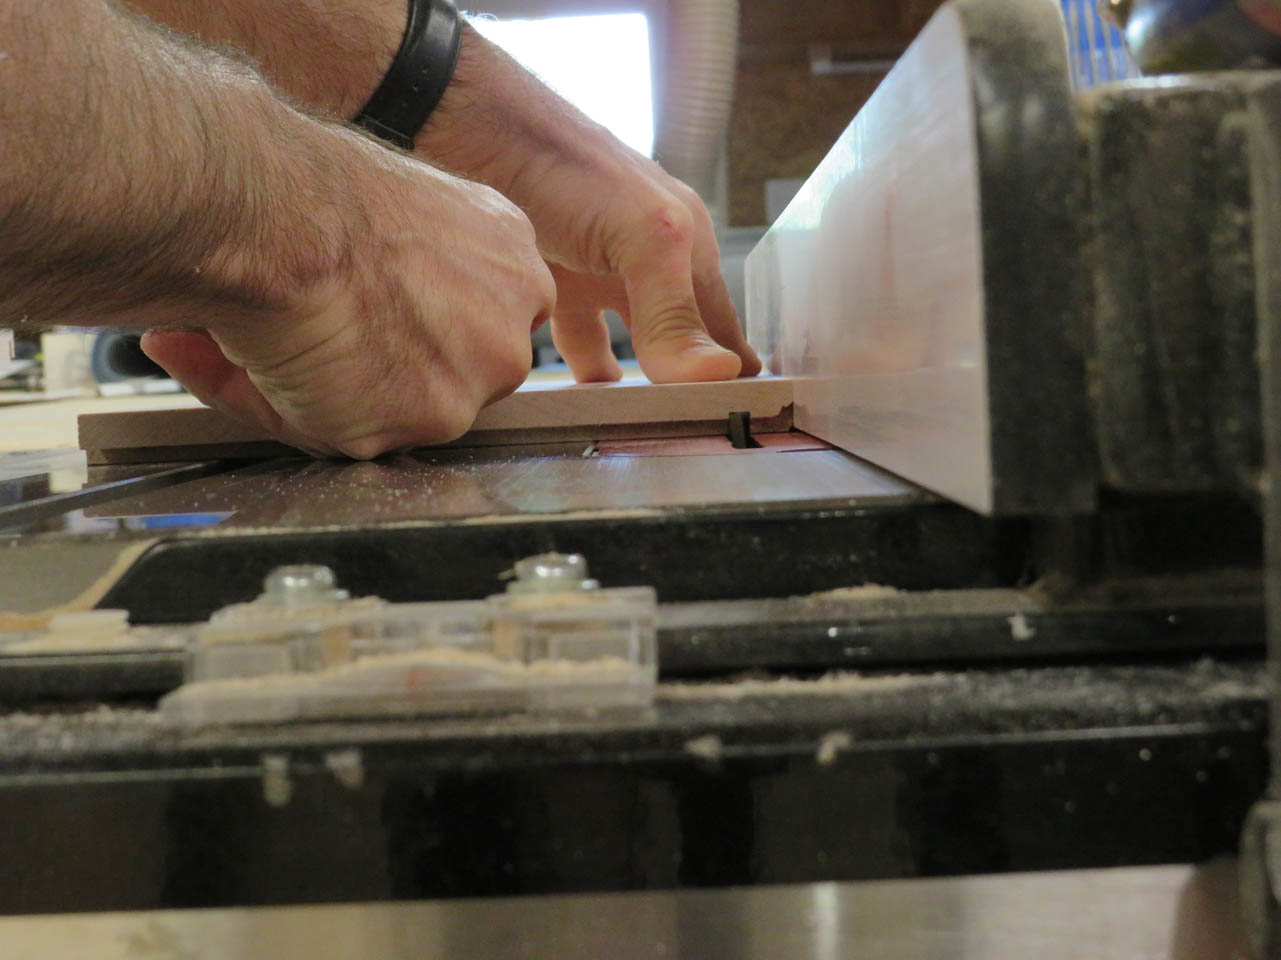
To connect these with a strong glue joint, I am using a drawer lip bit on my router table.

I have a sample of the joint already cut into 5/8″ thick pieces that I can use for setup.

Then I can run my drawer parts through the router, using a square push block to keep the piece square and prevent tear-out.

A quick dry-fit of the first drawer shows that my setup was good so I cut the other two drawers as well.
After hand sanding the glue joint, I made a few passes on the table saw to cut a groove for the drawer bottom to rest in.
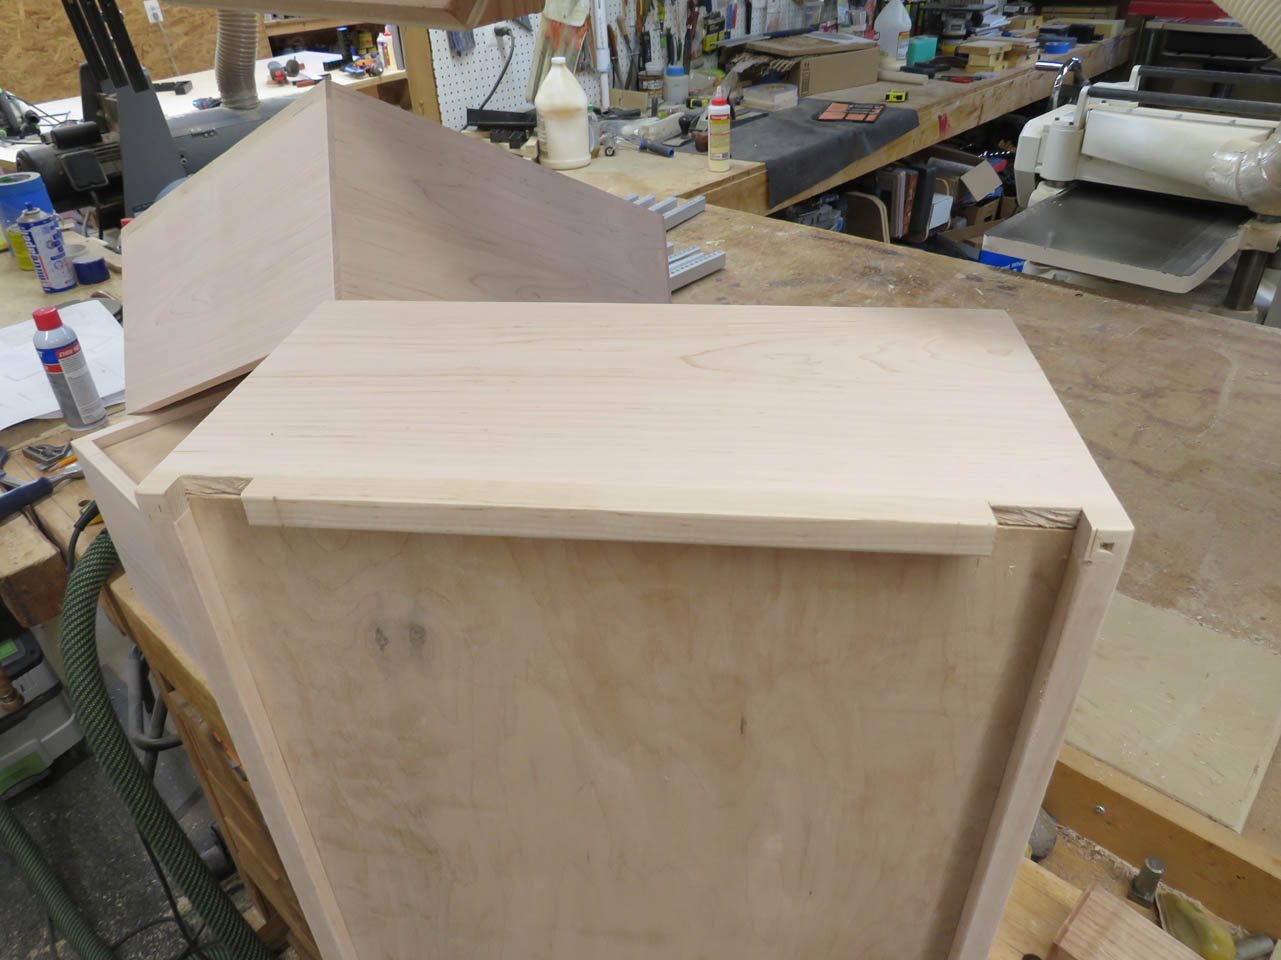
With the sides all prepped, I grabbed an off-cut piece of 1/2″ maple plywood to cut out the drawer bottoms.

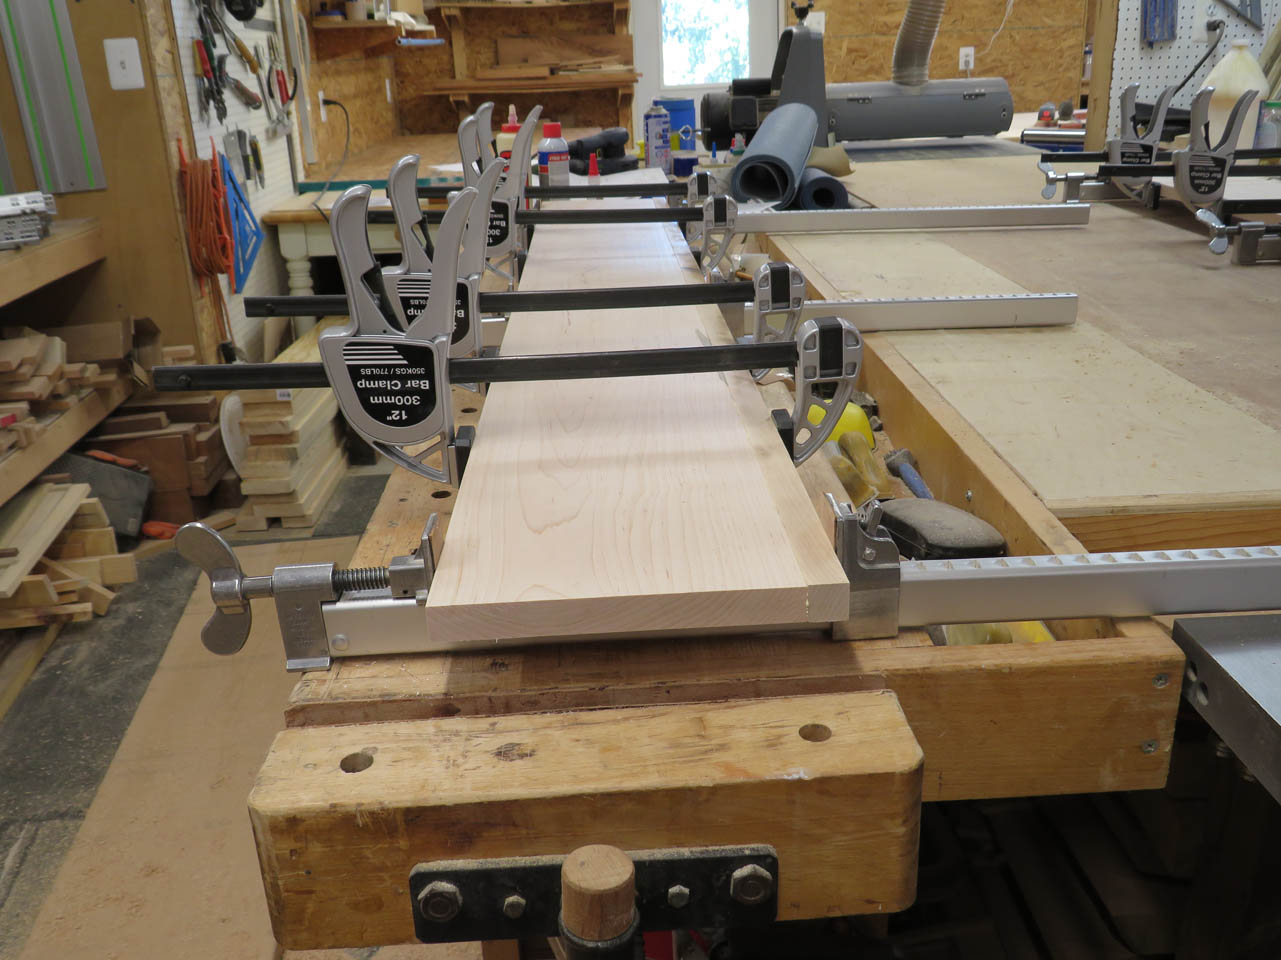
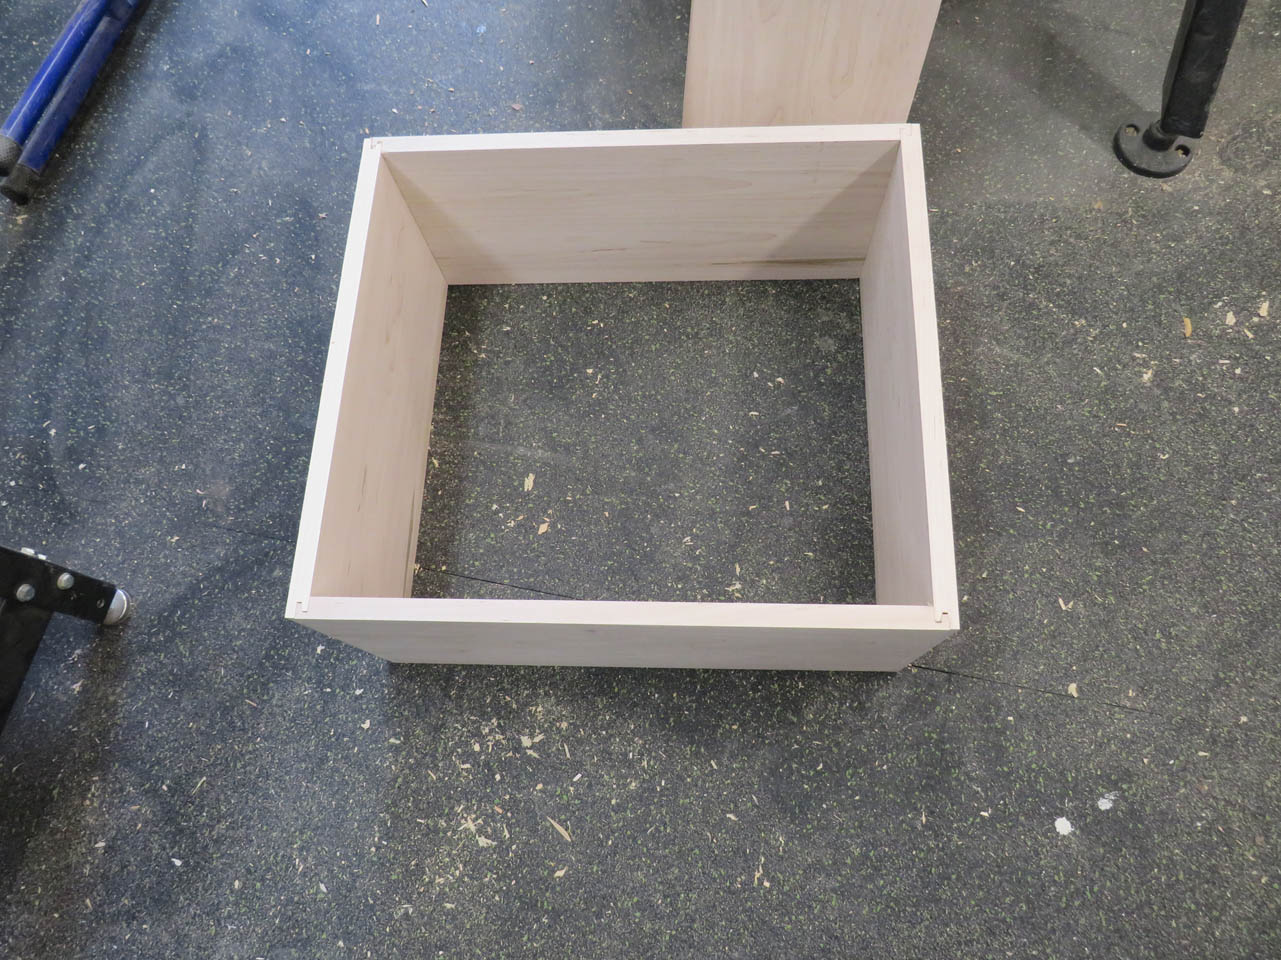
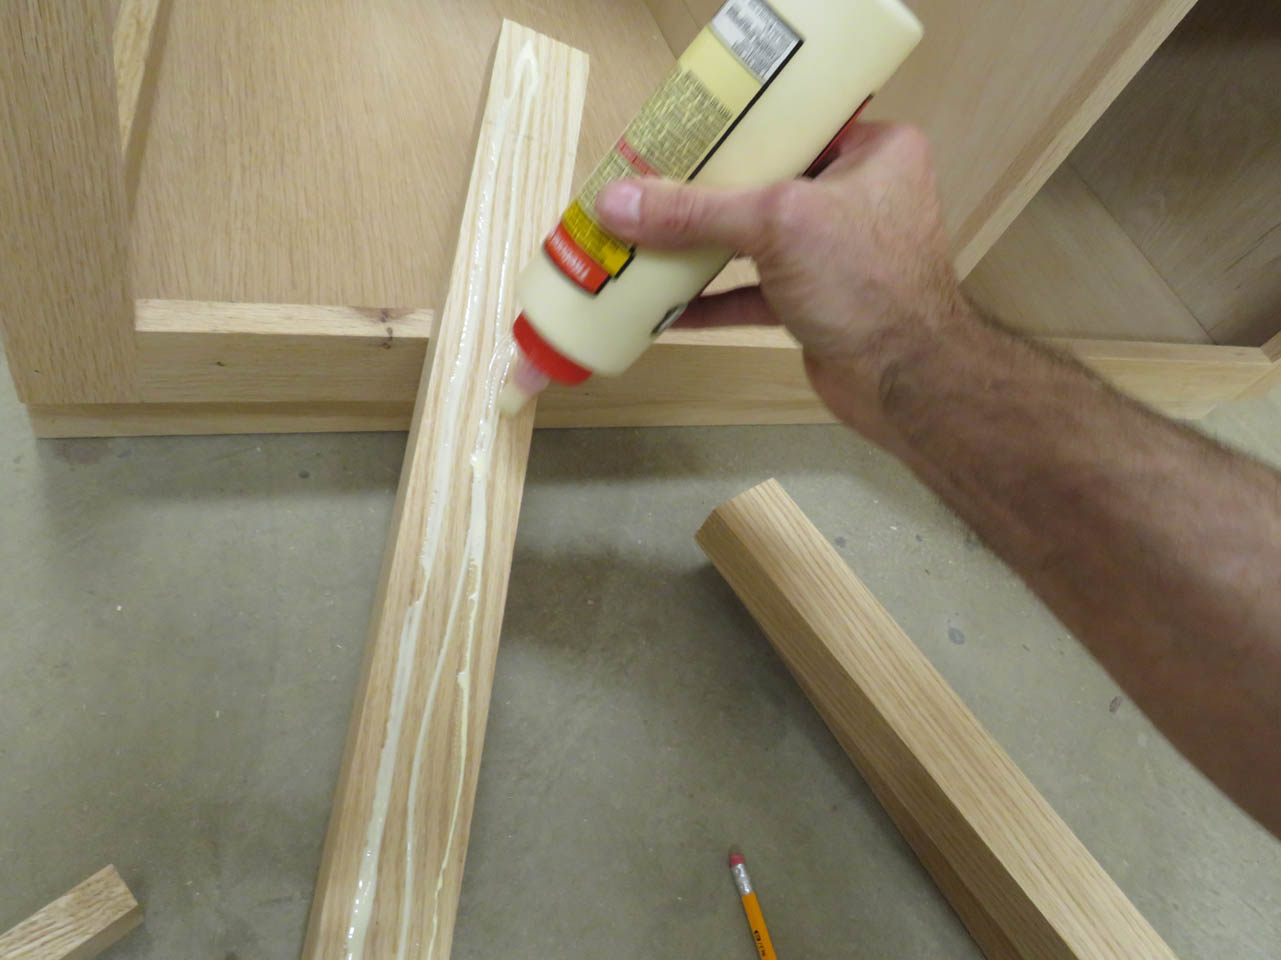
Glue gets brushed onto all of the glue joints, then I can start to assemble the boxes. Three sides get put together first, then the plywood bottom is slid into place before the last side gets attached.


Once assembled, I can clamp the ends on tightly to keep the joint pressed tight until it all dries.
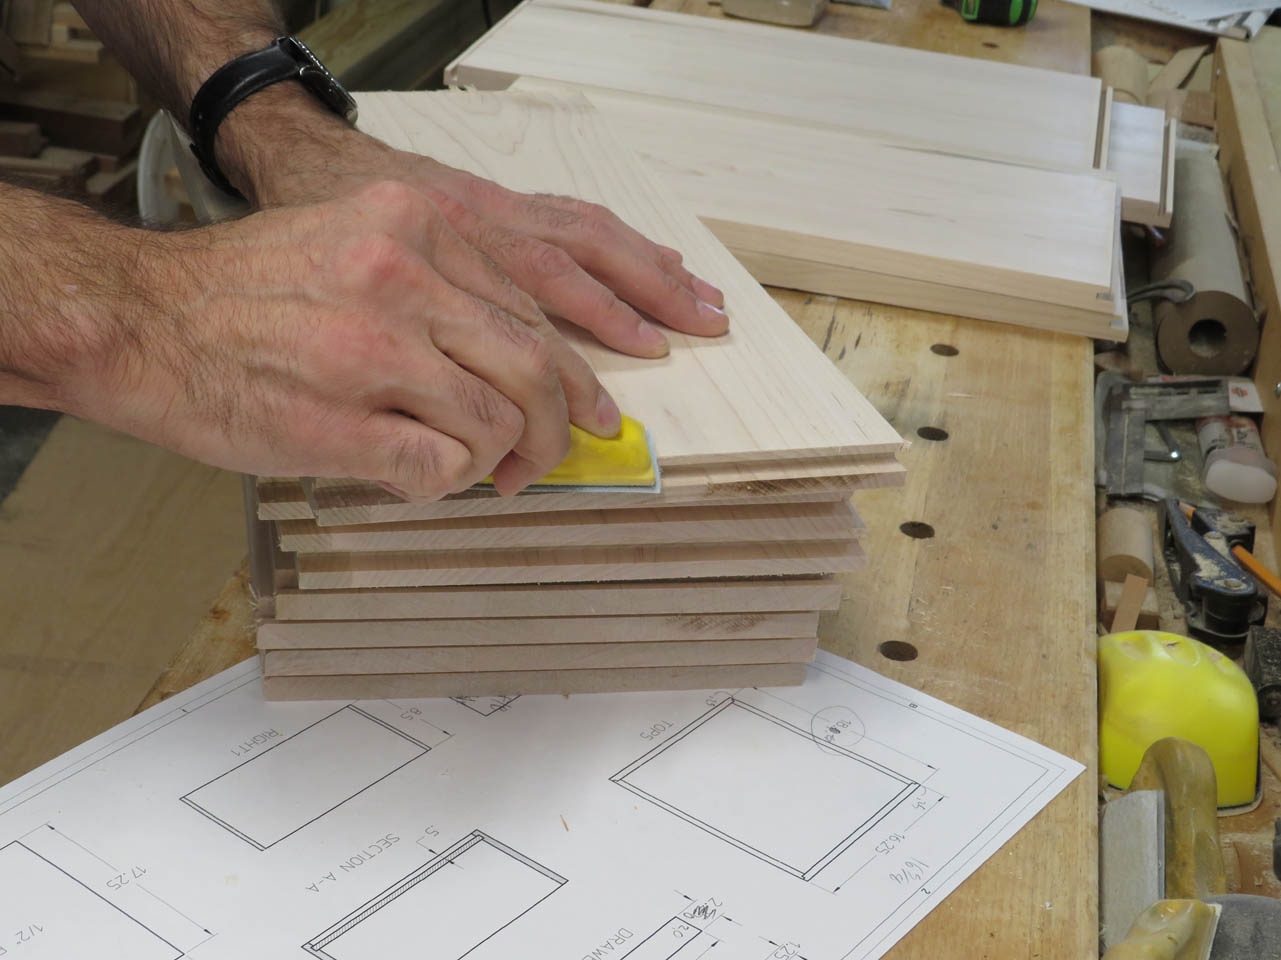
Then a little bit of sanding of all of the glued corners.


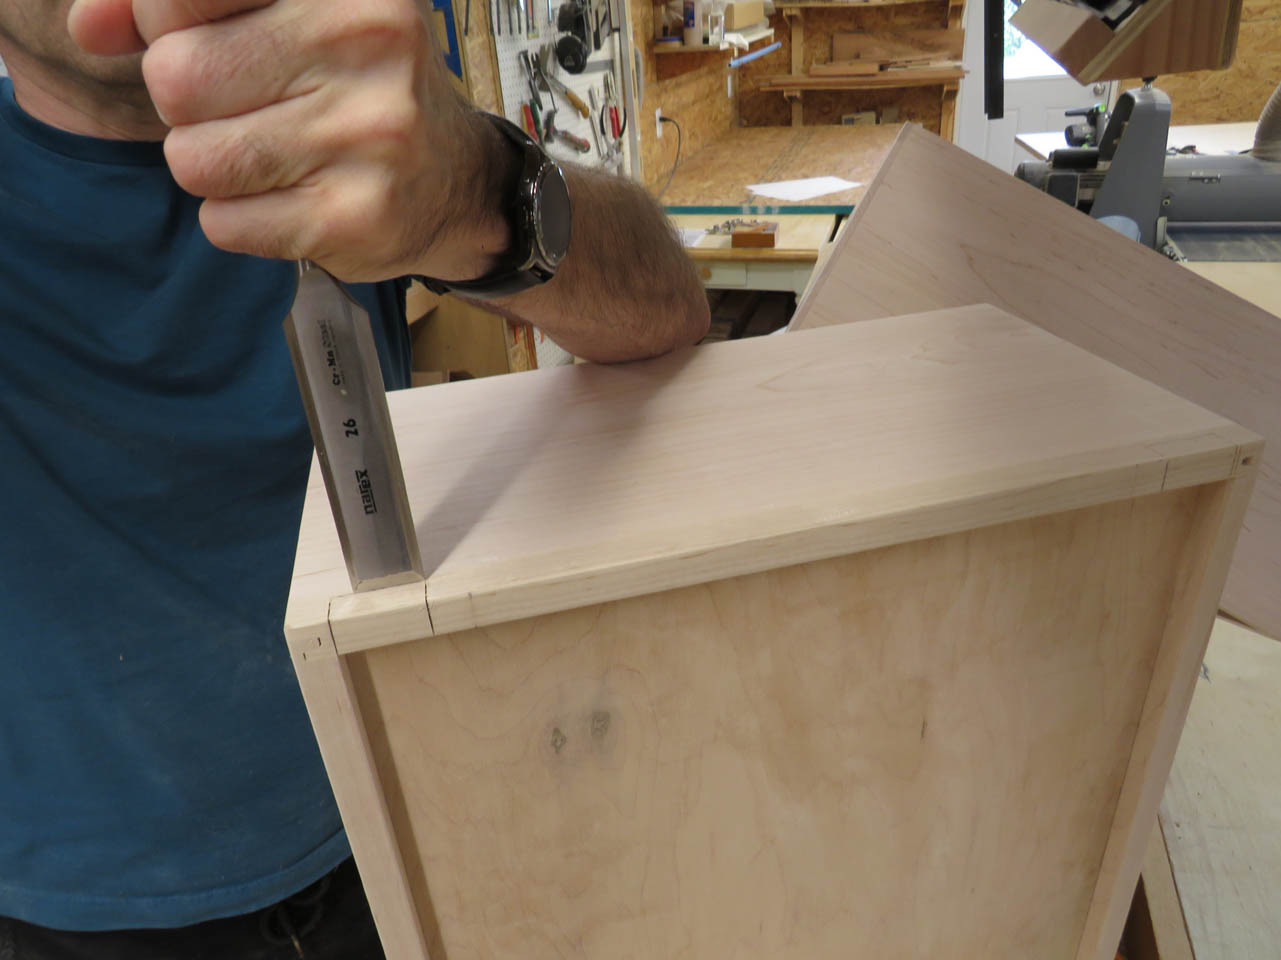
For the undermount hardware to get attached, a small notch gets cut into the bottom rear of each side of the drawer.

Since it is in an area that is never seen or touched, I quickly cut and chiseled out the corners.
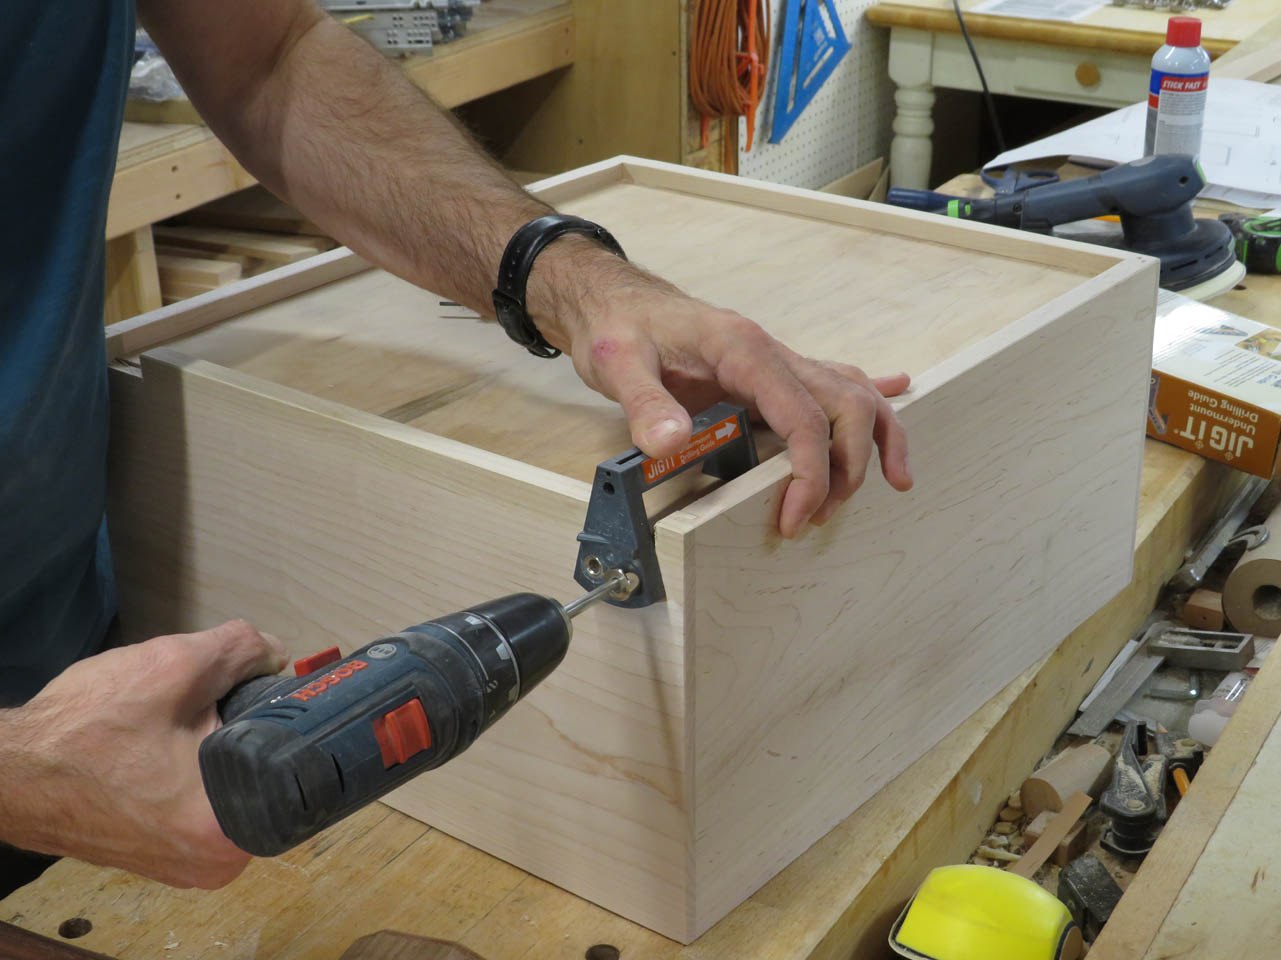
I use a jig to pre-drill the required mounting holes in the drawers.


Then I do a quick test fit of all of the hardware before setting the drawer boxes aside for finishing and moving on to the next thing.

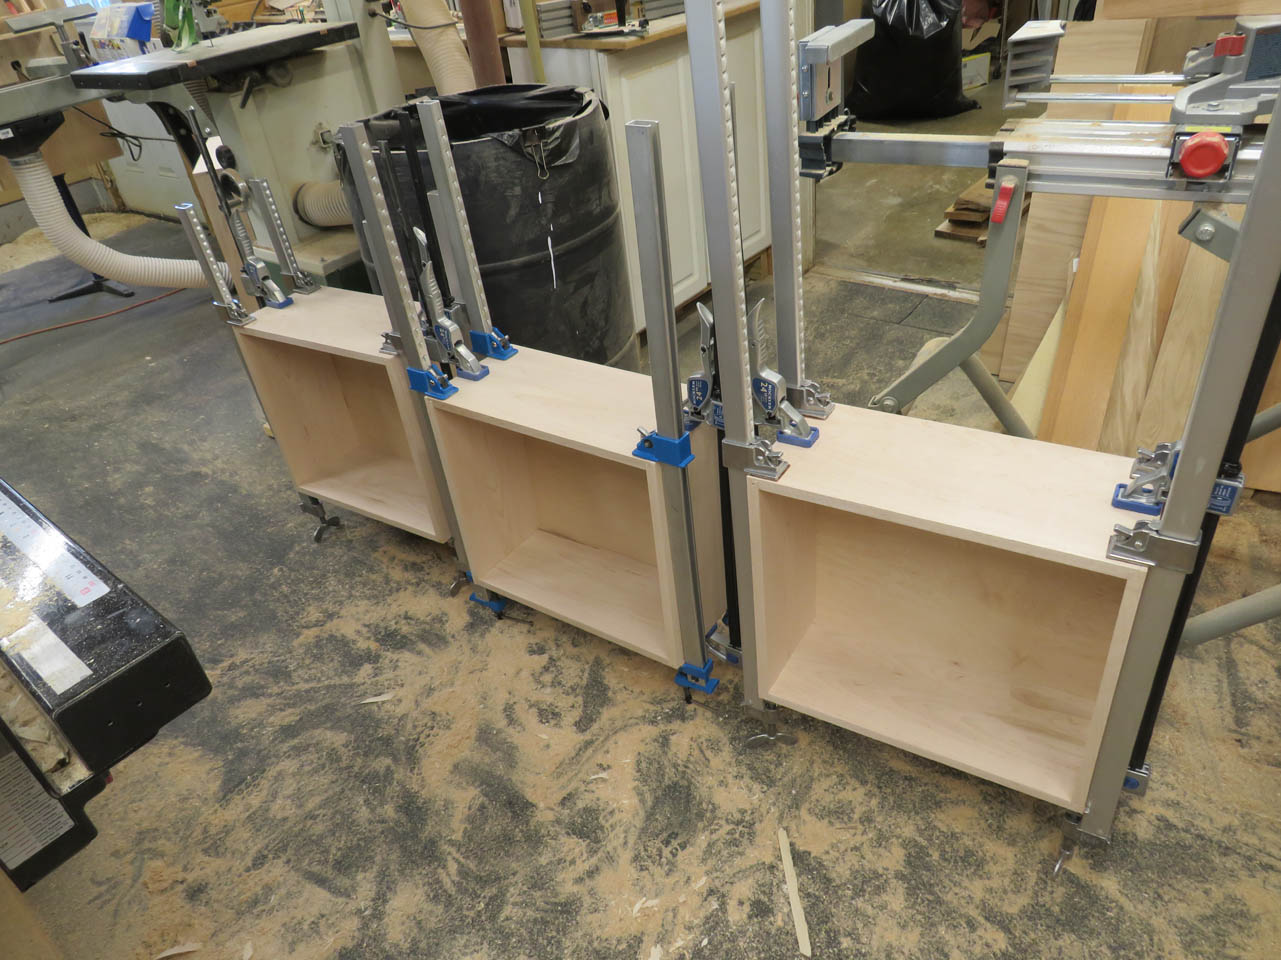
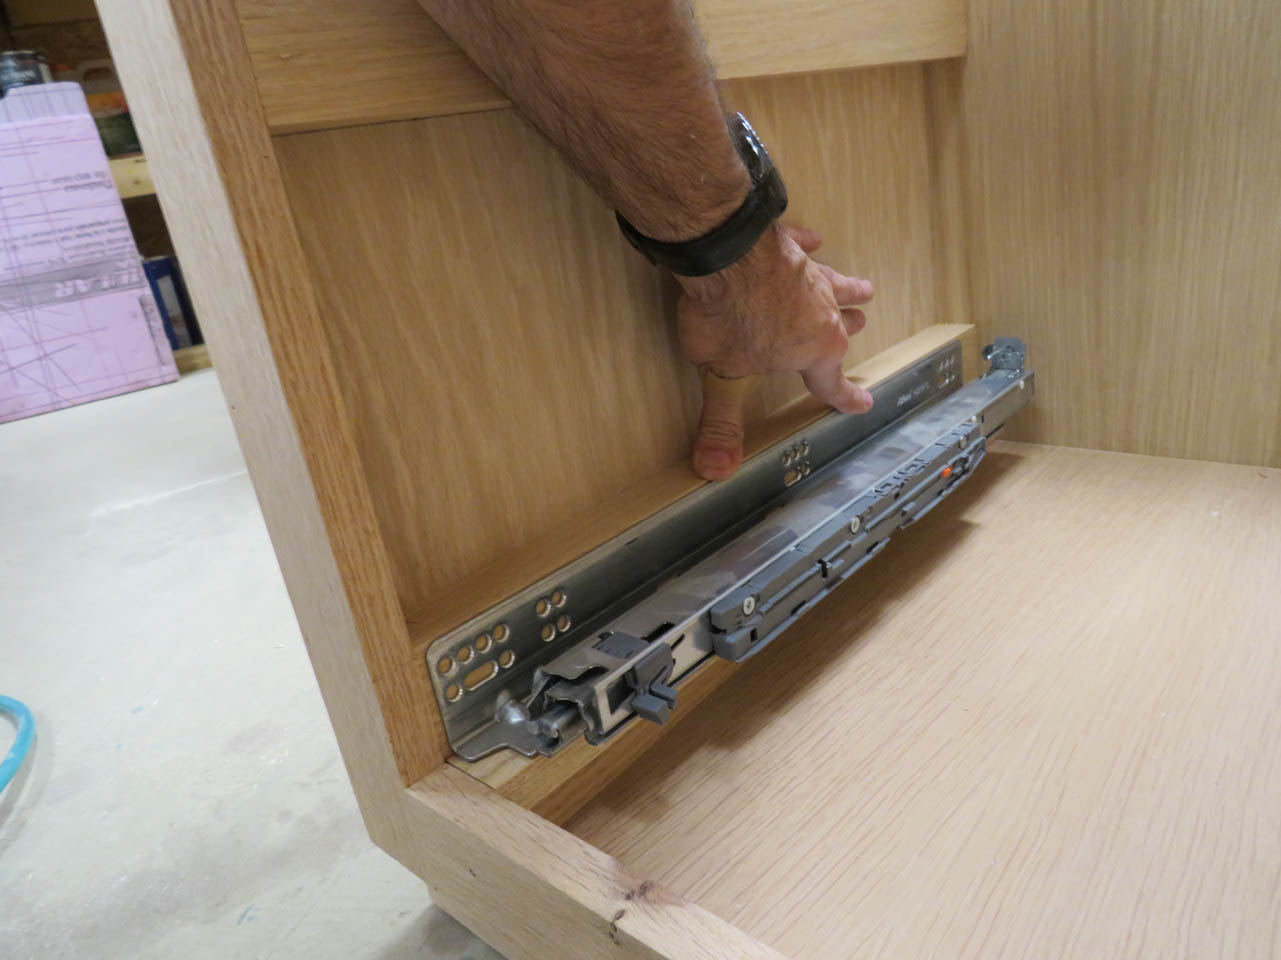
The cabinets will need blocking installed on the left side to mount the drawer slides to. the right side is a divider that does not have a face frame in front of it, so it only needs to have marks for the slide’s mounting locations. To set these locations, I cut blocks to mark the correct height on each side.

On the left, I cut some 1-1/4″x2″ blocks to be glued and nailed in place.

Once the blocking was installed, I marked the opposite side as well and test fit the location of the slides.

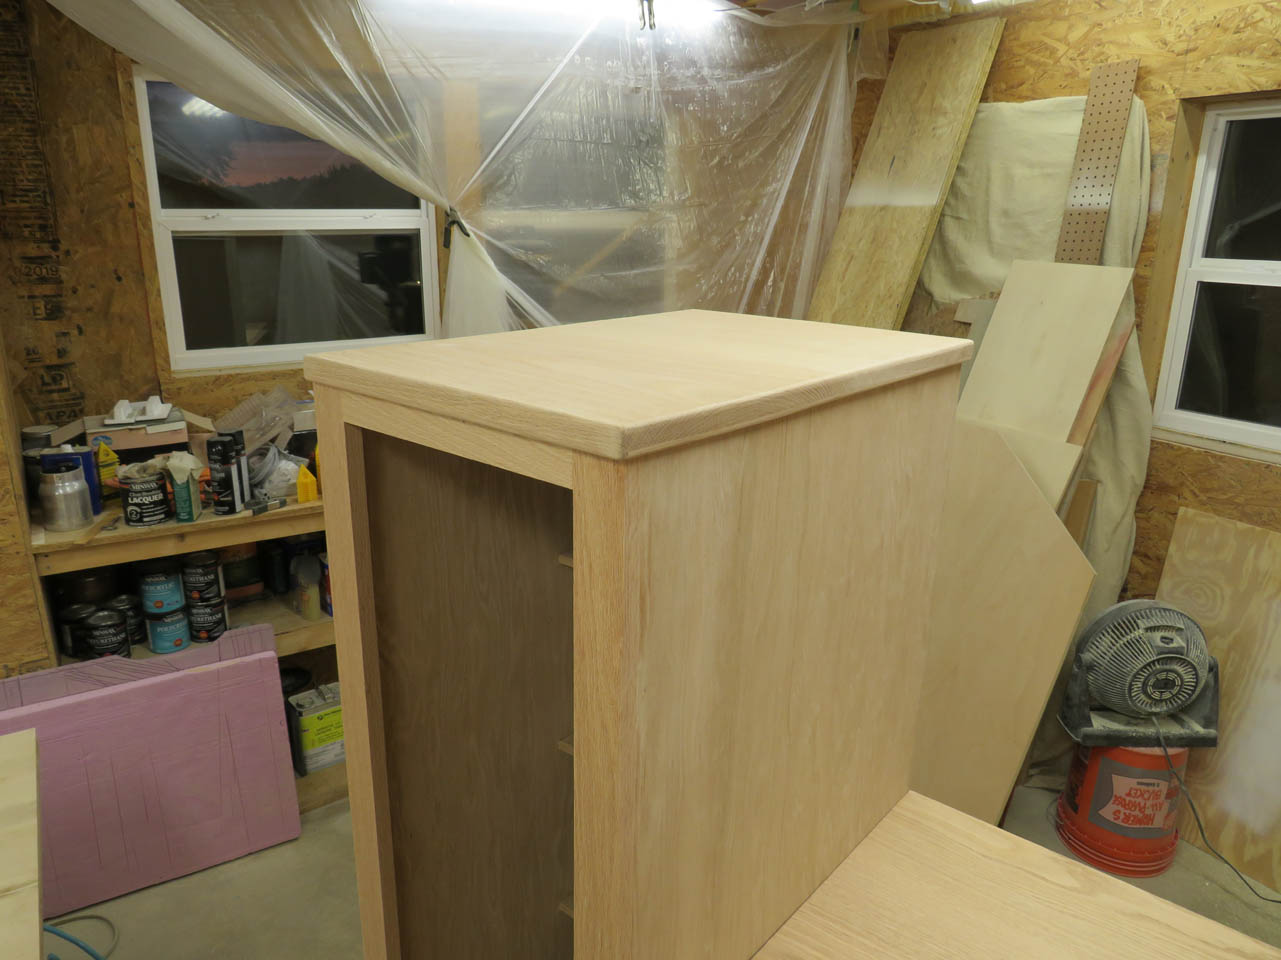
The final piece of this project will be the counter top and the cap on the tall cabinet.
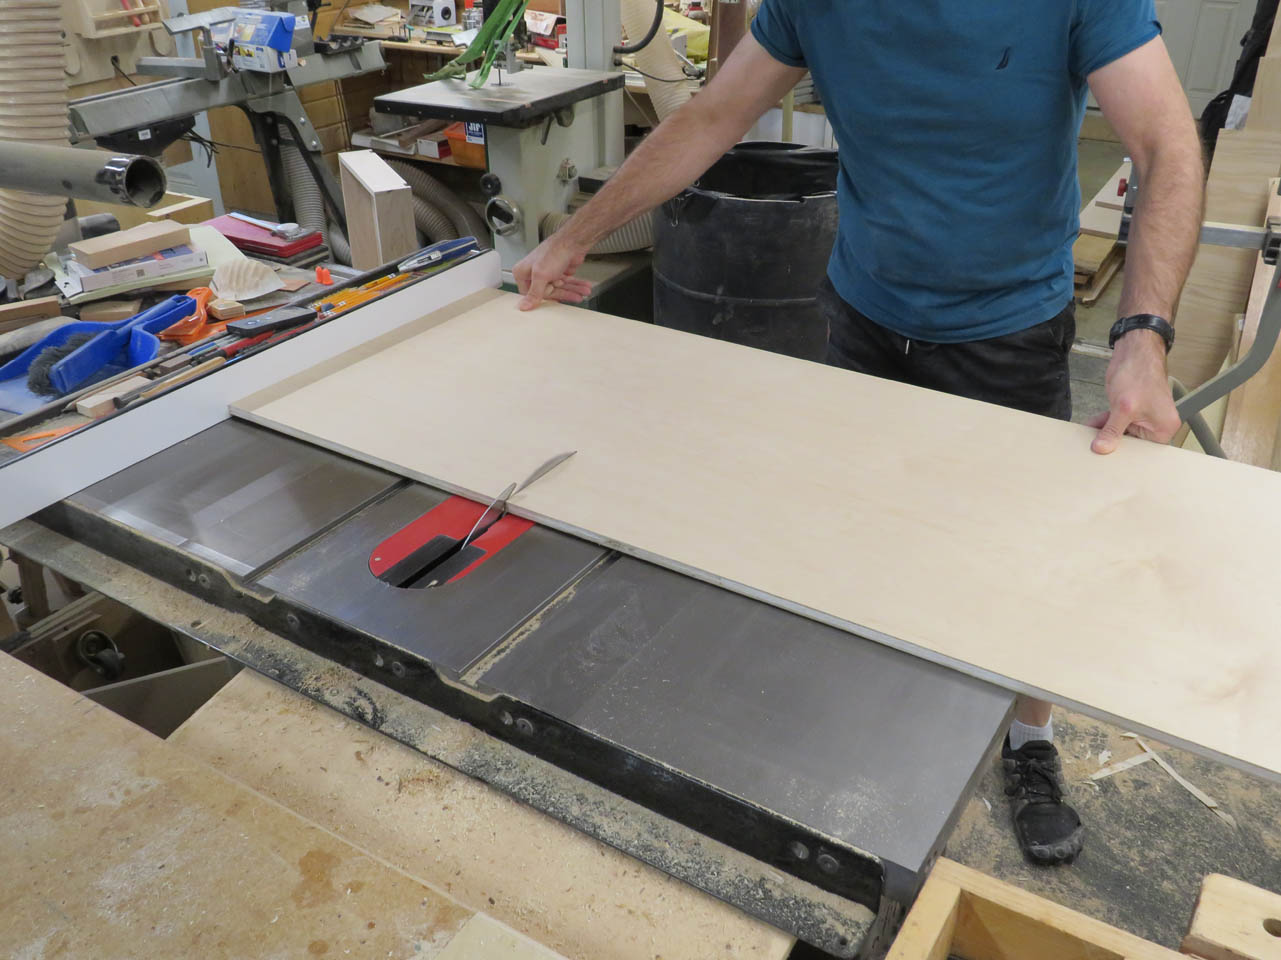
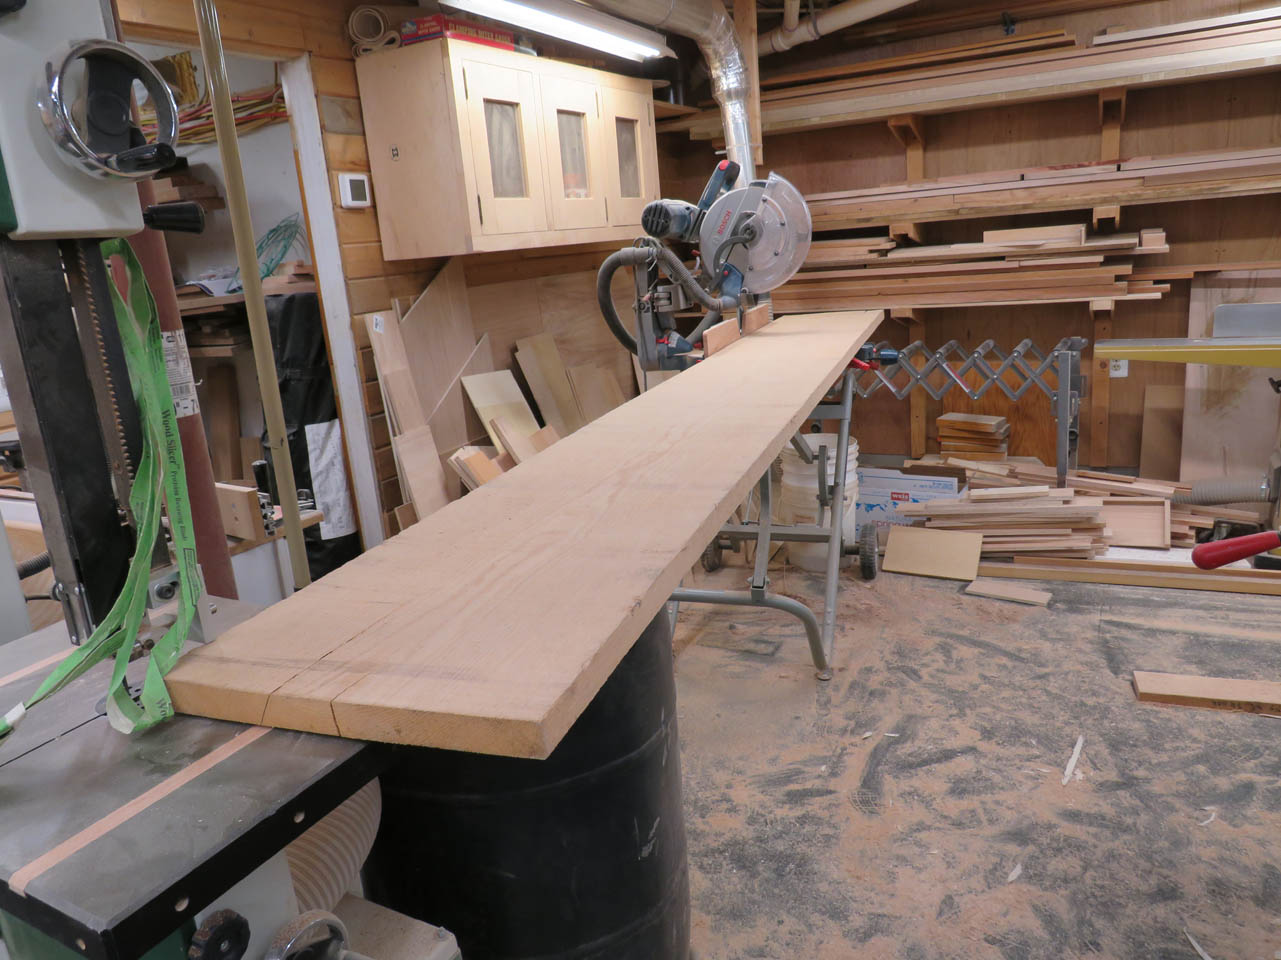
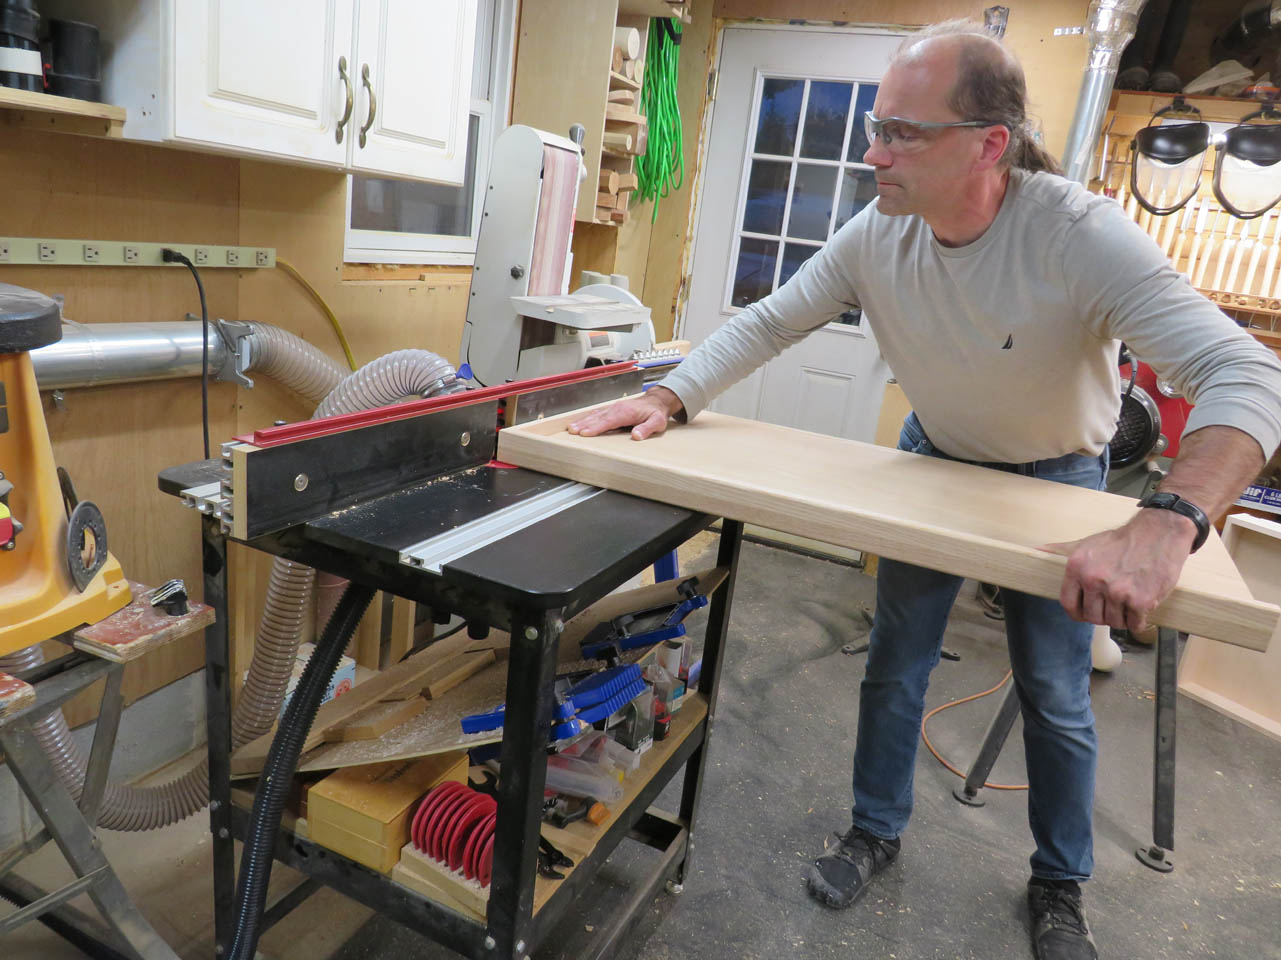
To match the other counter top, I cut down a piece of 5/4 oak that I needed to plane down to 1″ thick.
This board happens to be just wider than my planer so I jointed one side and cut the panel width down to 14-3/4″ wide to barely fit in the planer. I also cut down another piece to be joined to that one to get the proper width counter top.


After planing, I cut the boards about 1″ oversized to be cut down again after joining.


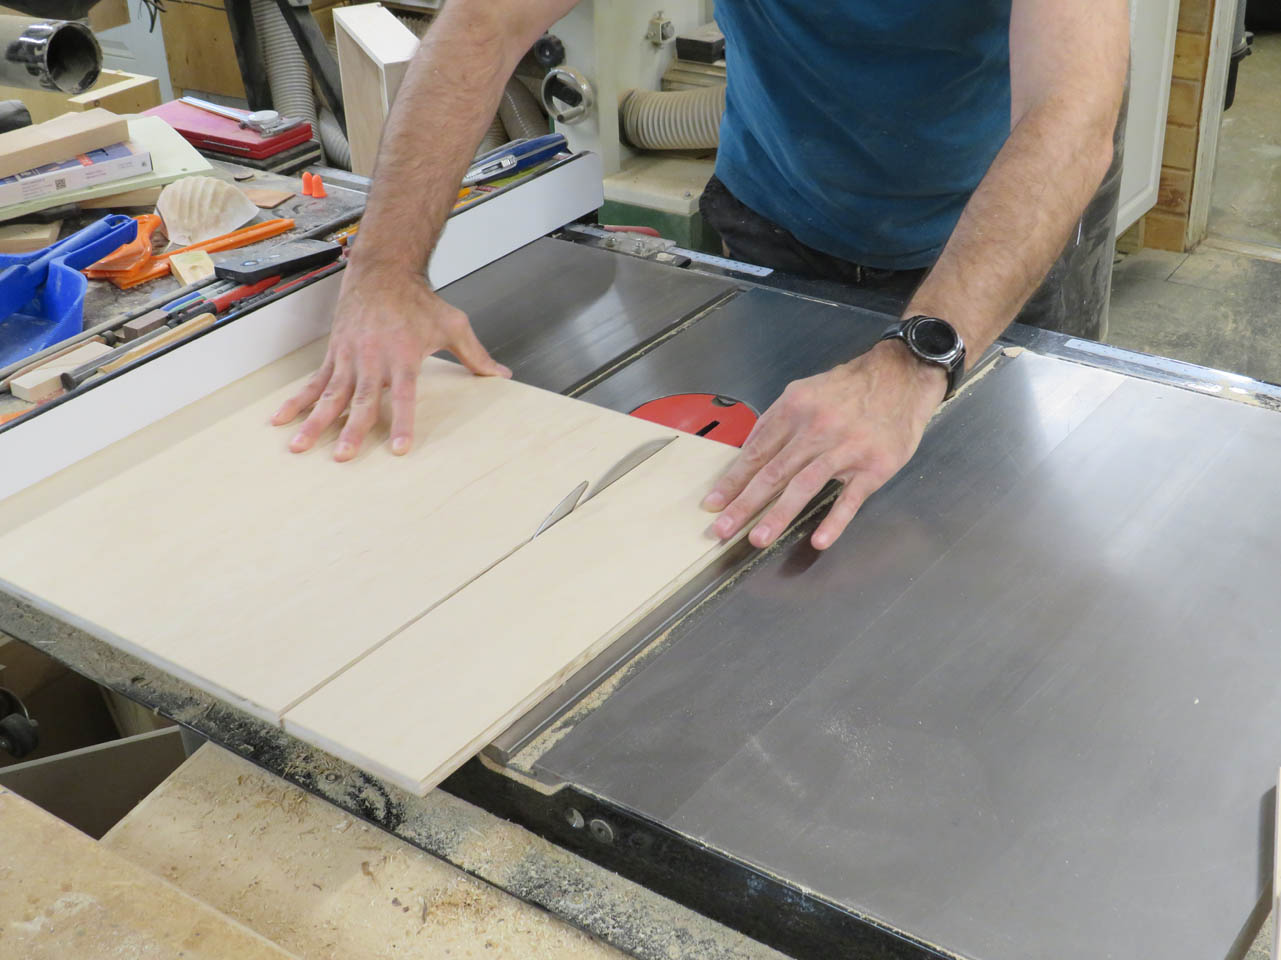
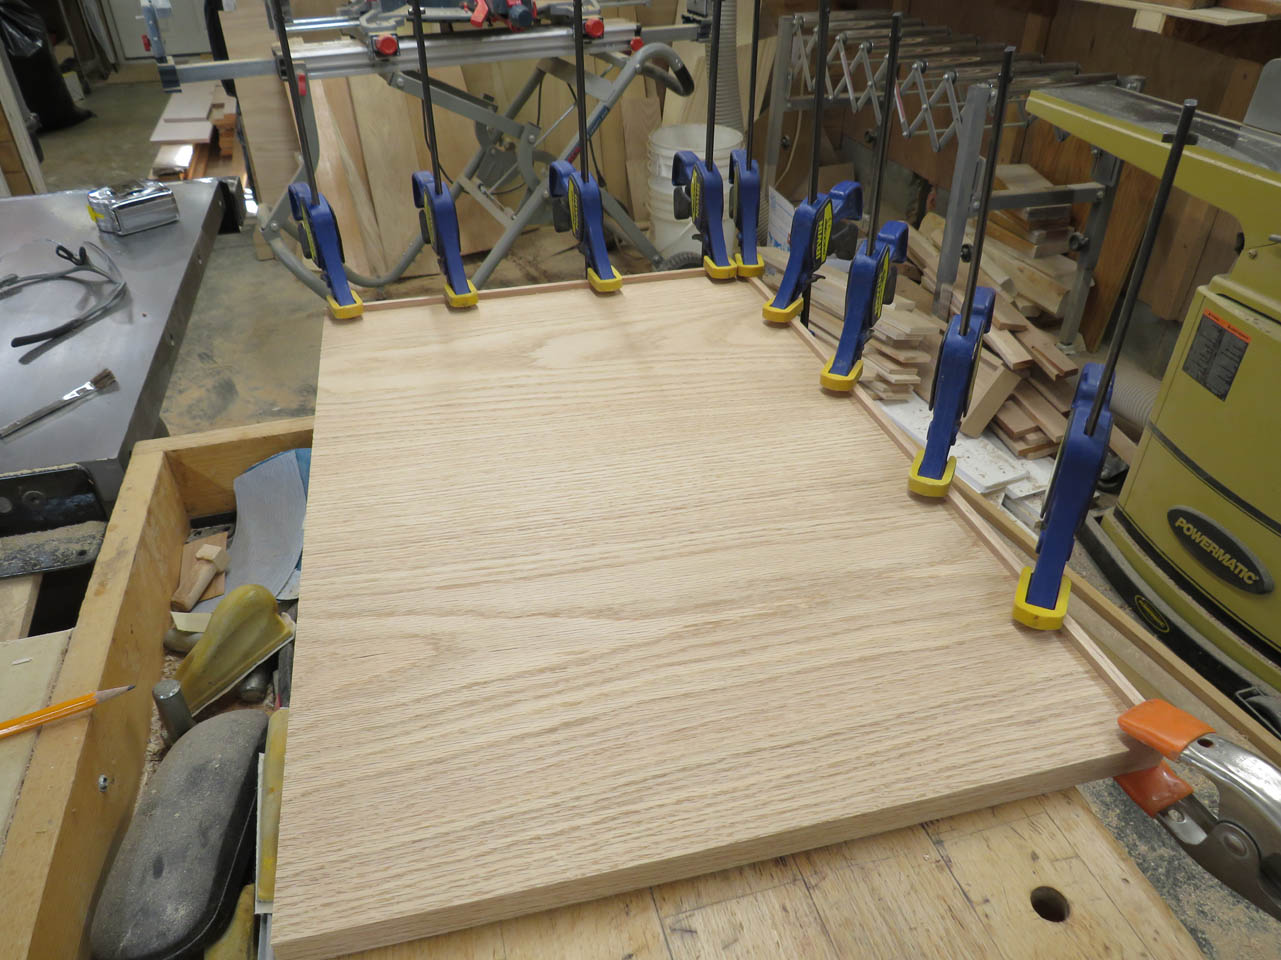
I also cut and glued up a piece of 3/4″ thick oak for the top of the taller cabinet. It doesn’t require a thick counter top since it is basically just a shelf.


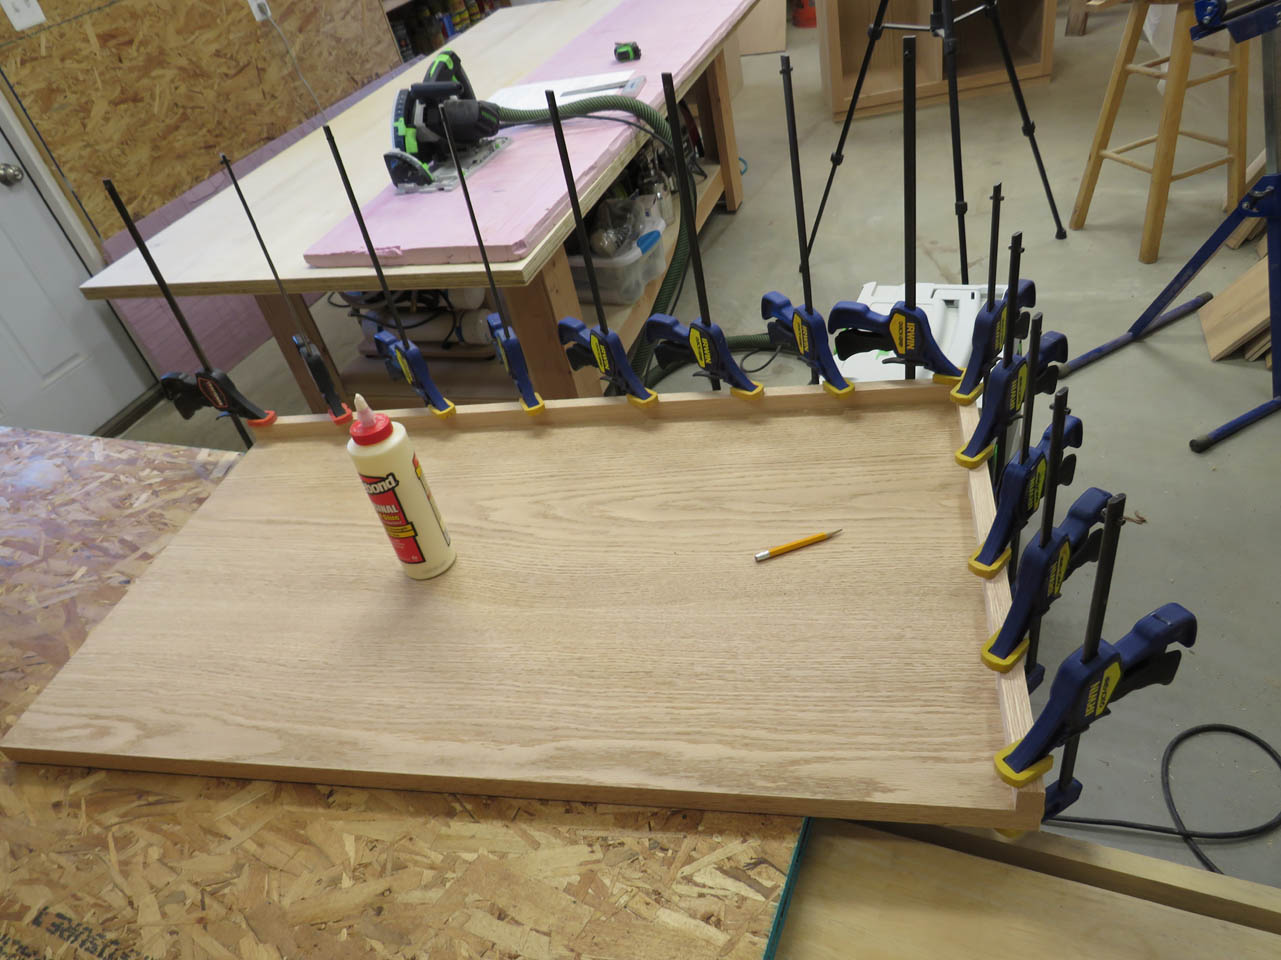
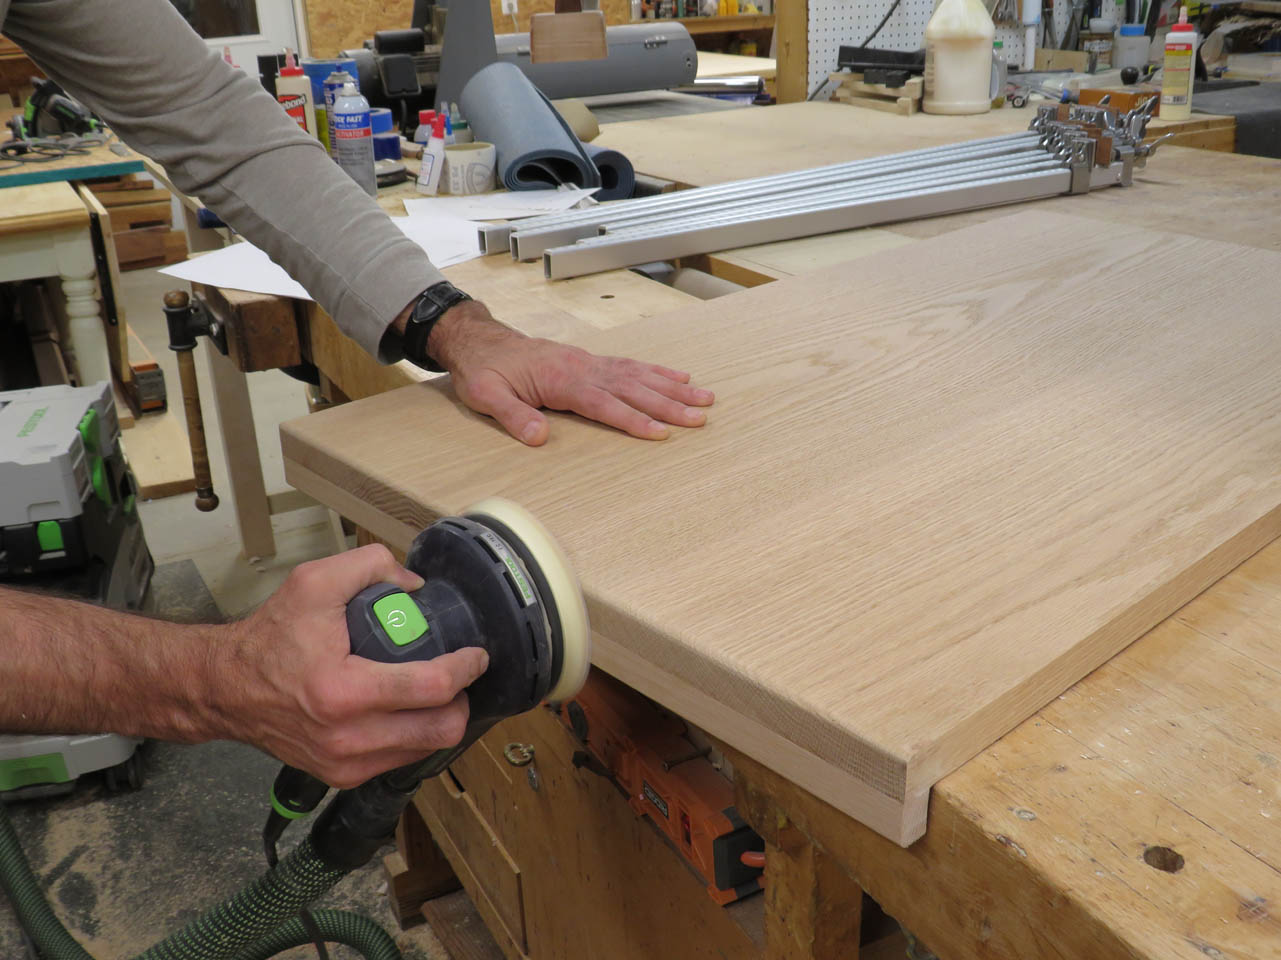
I glued up the larger counter top as well and left it all to dry over-night.
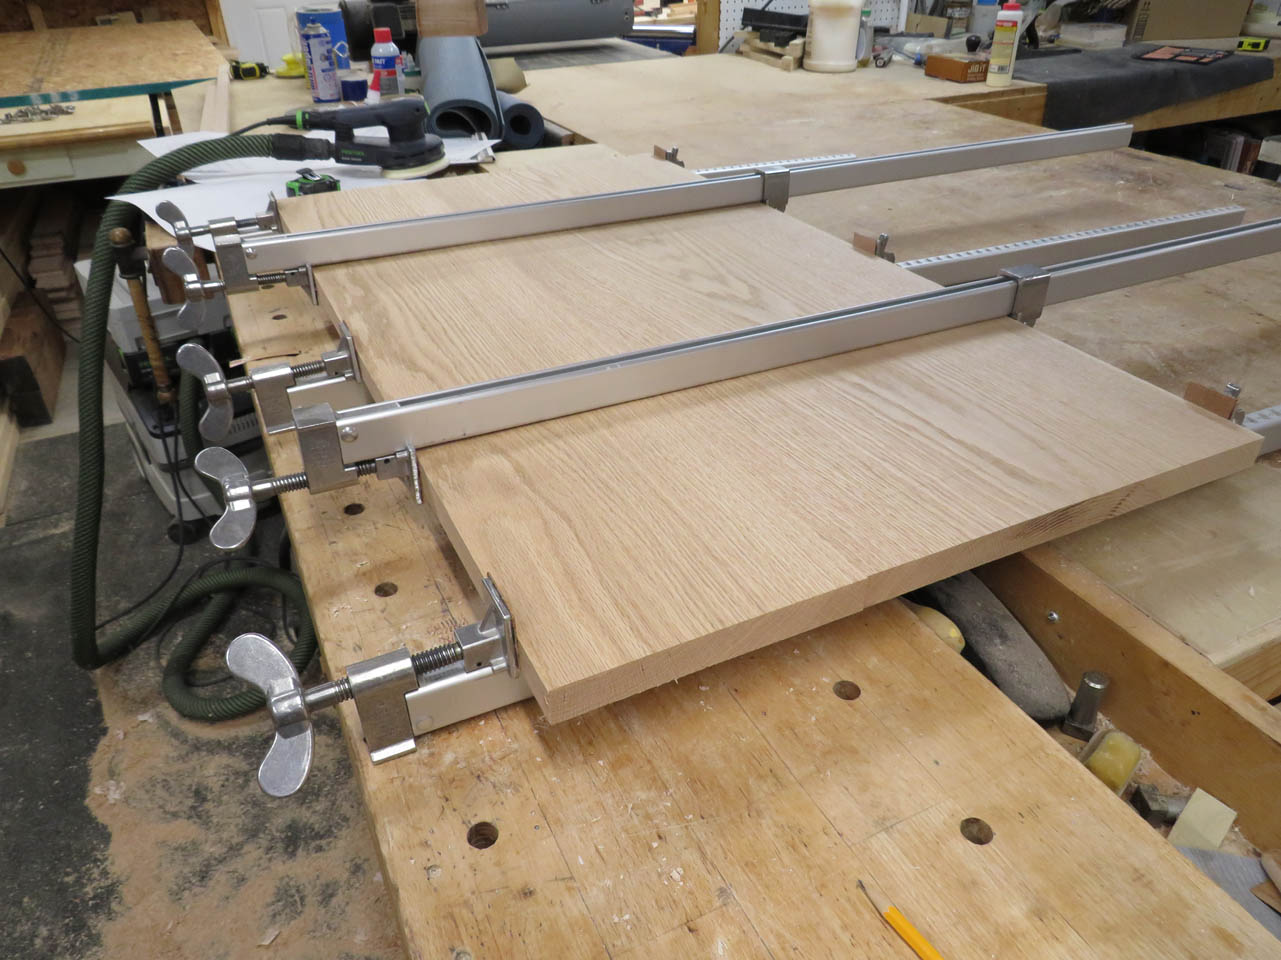

In the morning, I sanded the glue joints smooth and used my track saw to cut them square and down to the final size.

The only thing left is to glue on a small lip to the 3/4″ top to hide any gaps below the top.

This was a simple 1/4″x1/4″ strip that was glued and clamped in place.
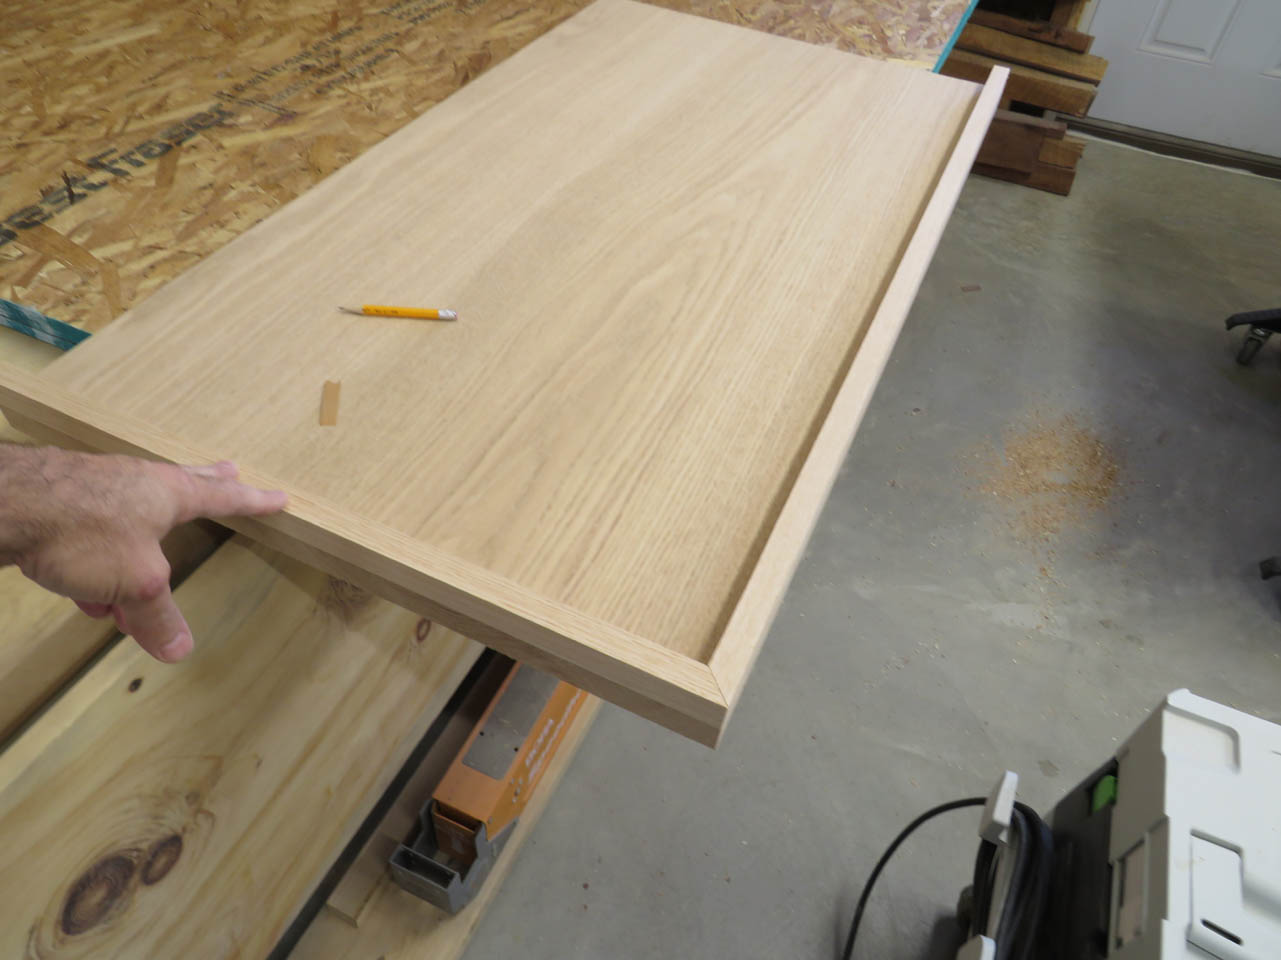
The counter top has a more substantial lip because I want the top to look 2″ thick.
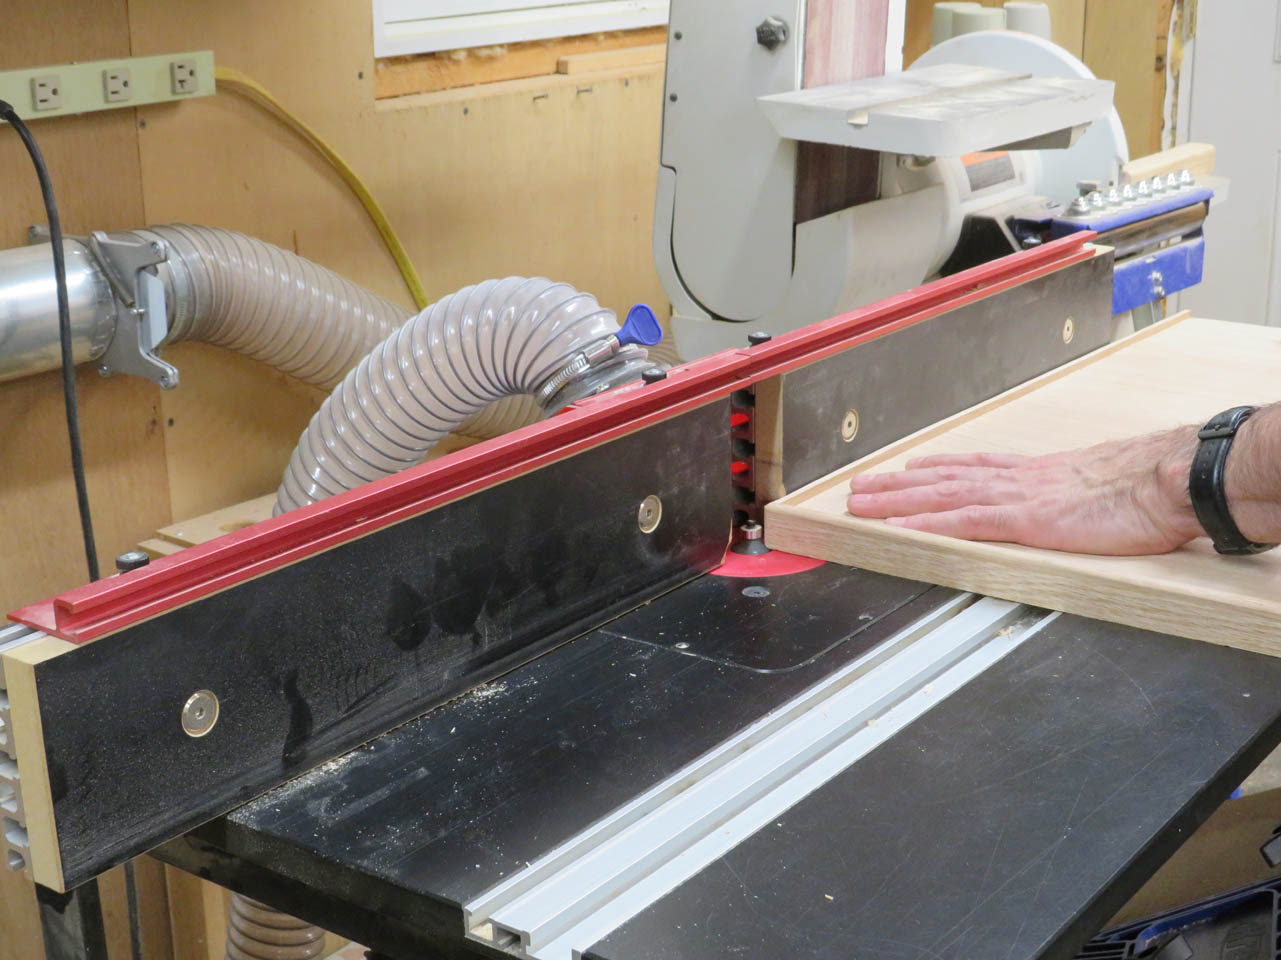
After the tops dried and the clamps were removed, I routed a 1/4″ radius along all the exposed sides.
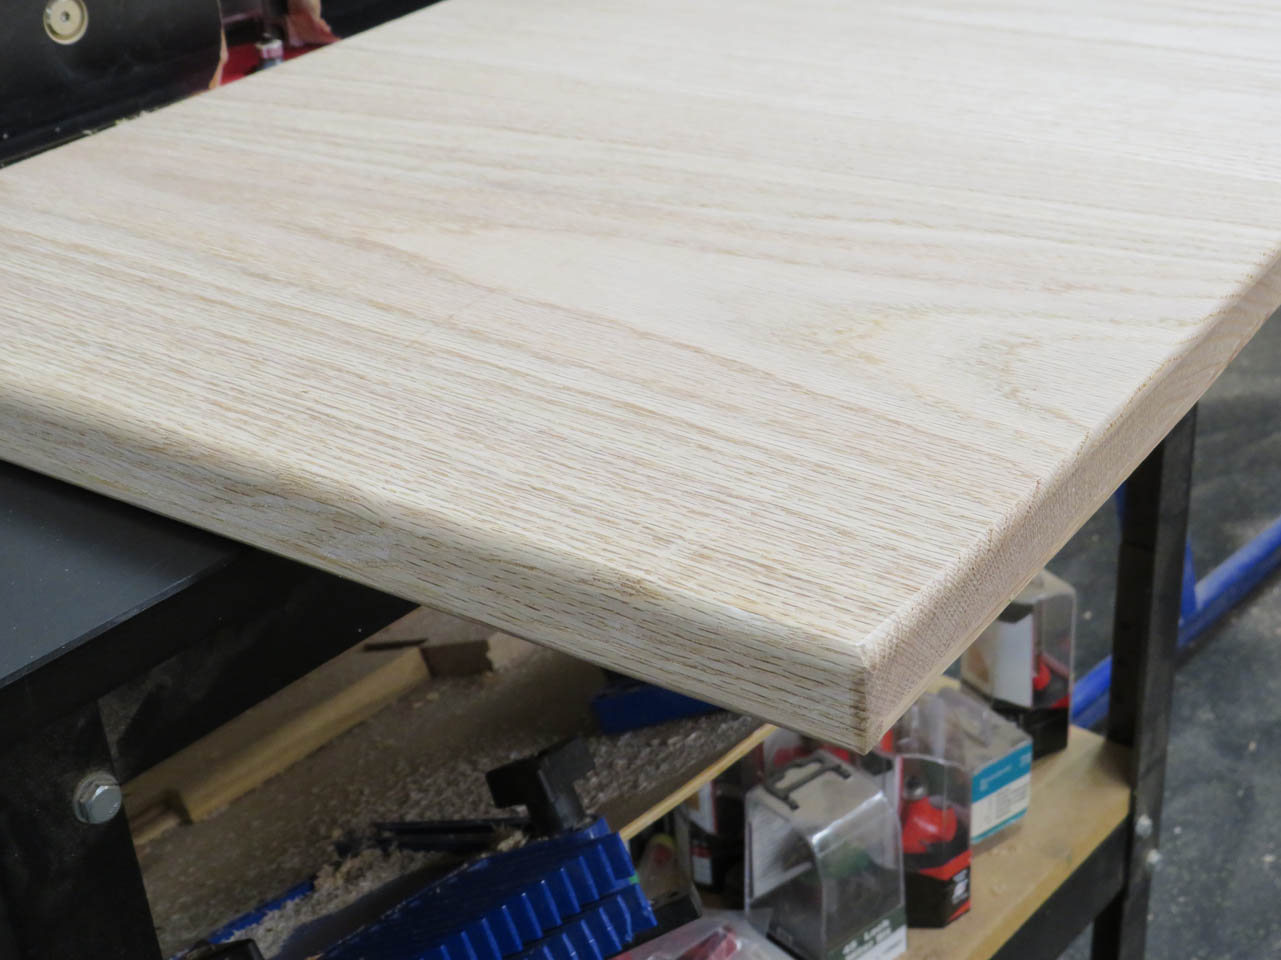
Then lots of sanding to smooth it all out.

The cap and counter were the last two pieces.
Next up is finishing!
