
Portable podium for Holy Spirit church – part 3
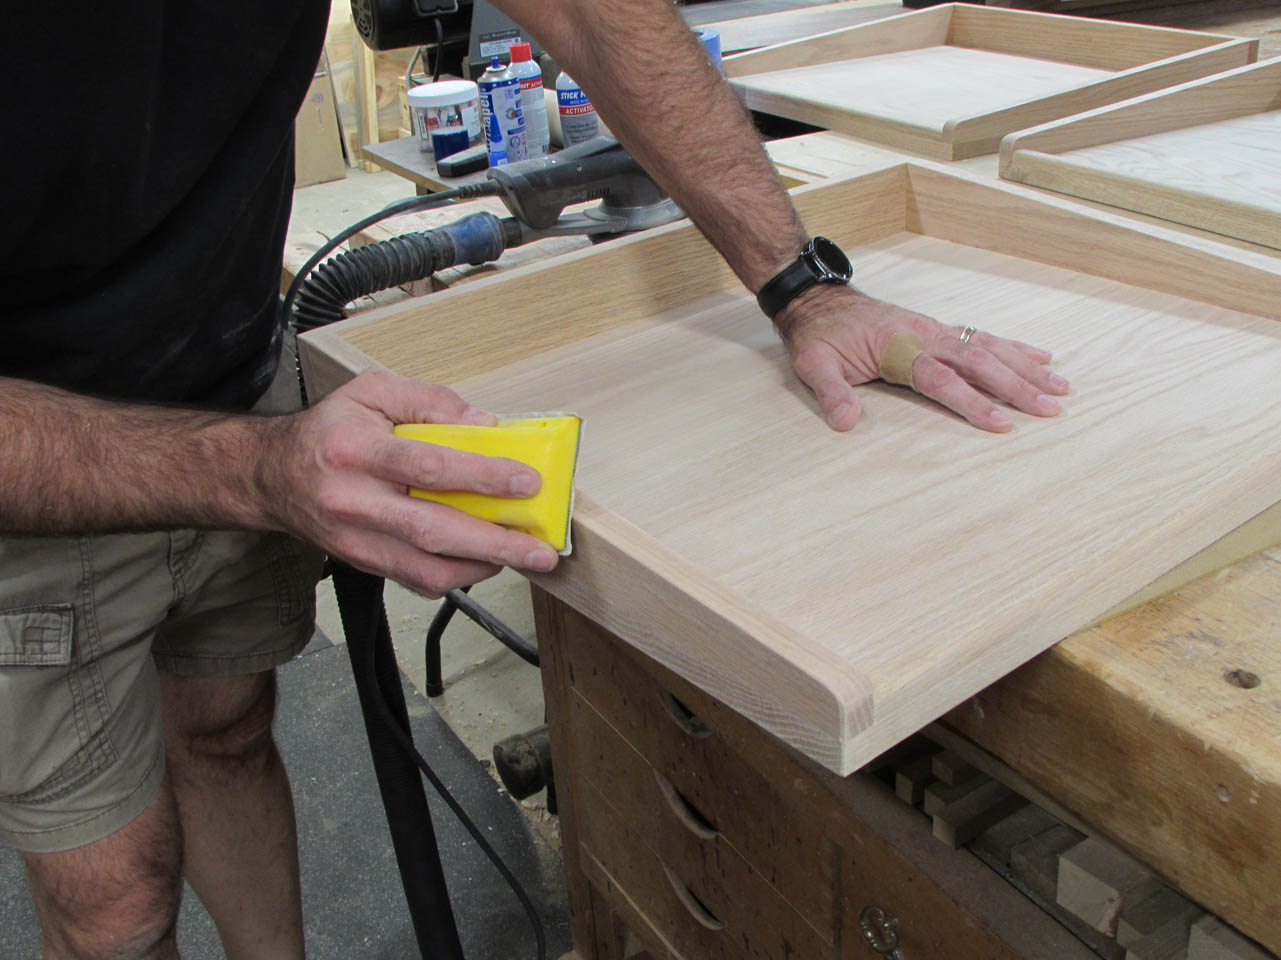
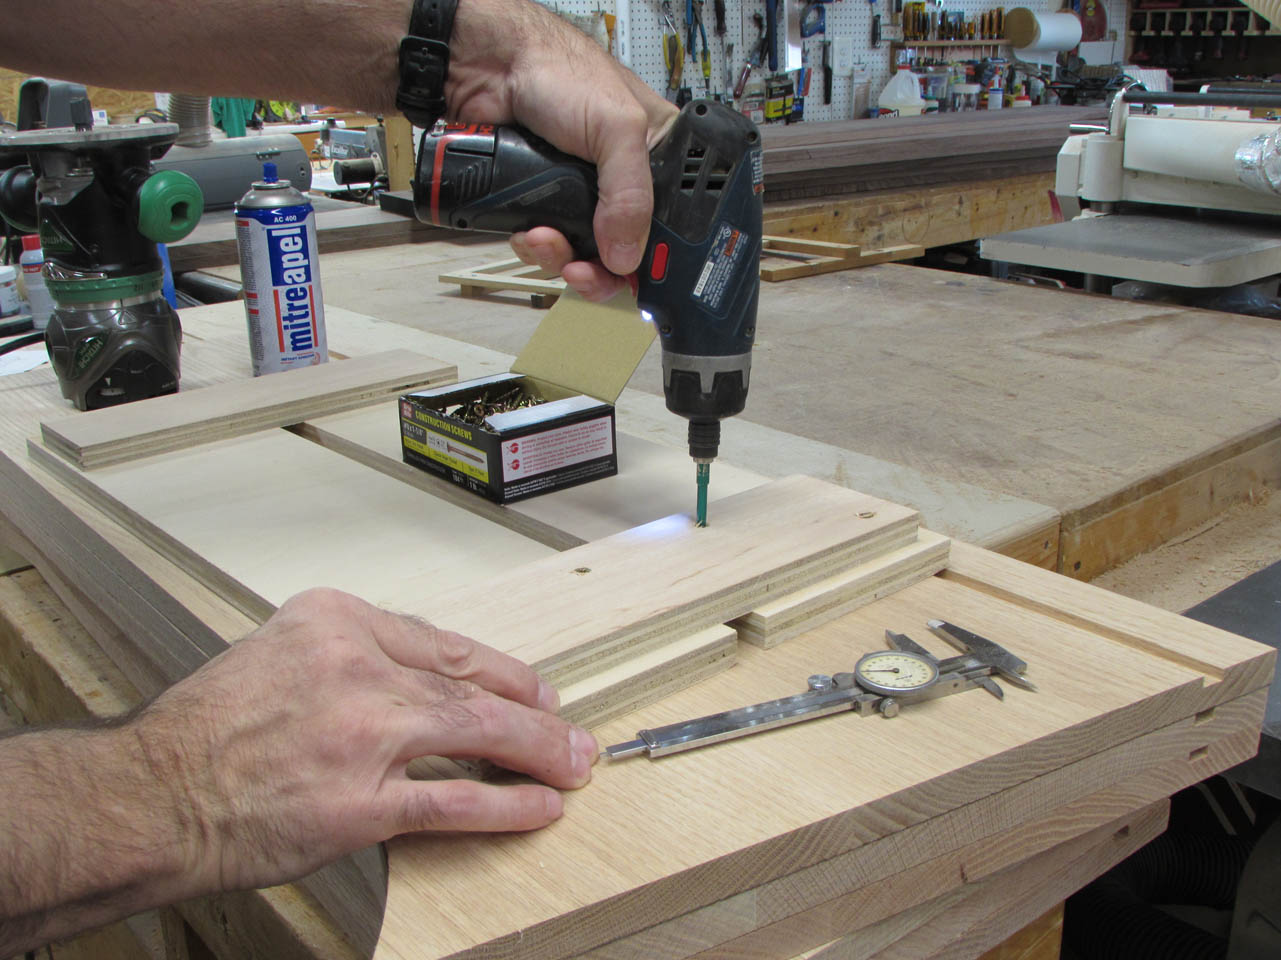
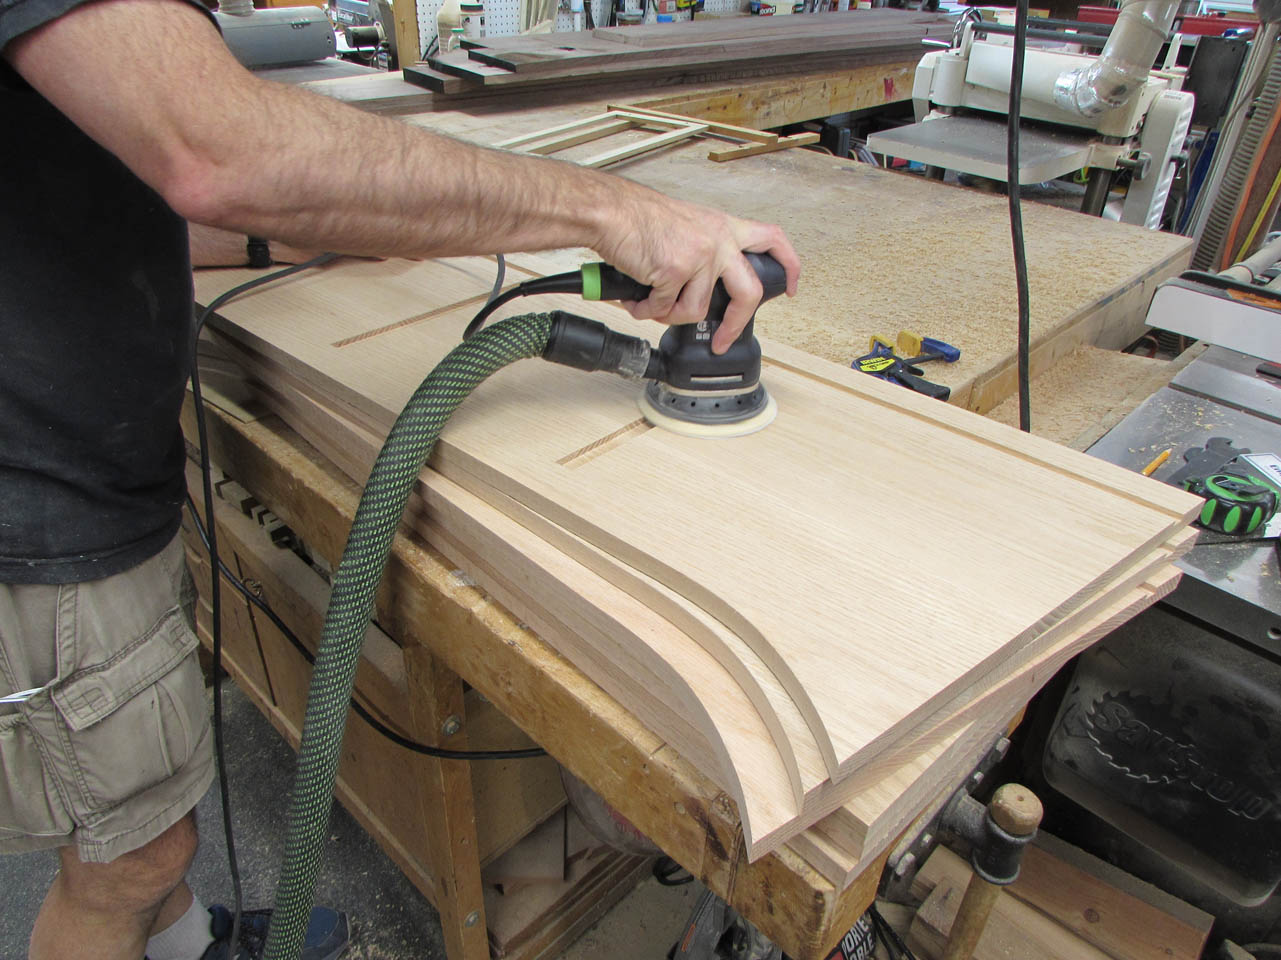
Got all day to work today so I got started with sanding the top assemblies.

Once all of the faces were smooth and flush, I used a hand sander to break all of the sharp edges.

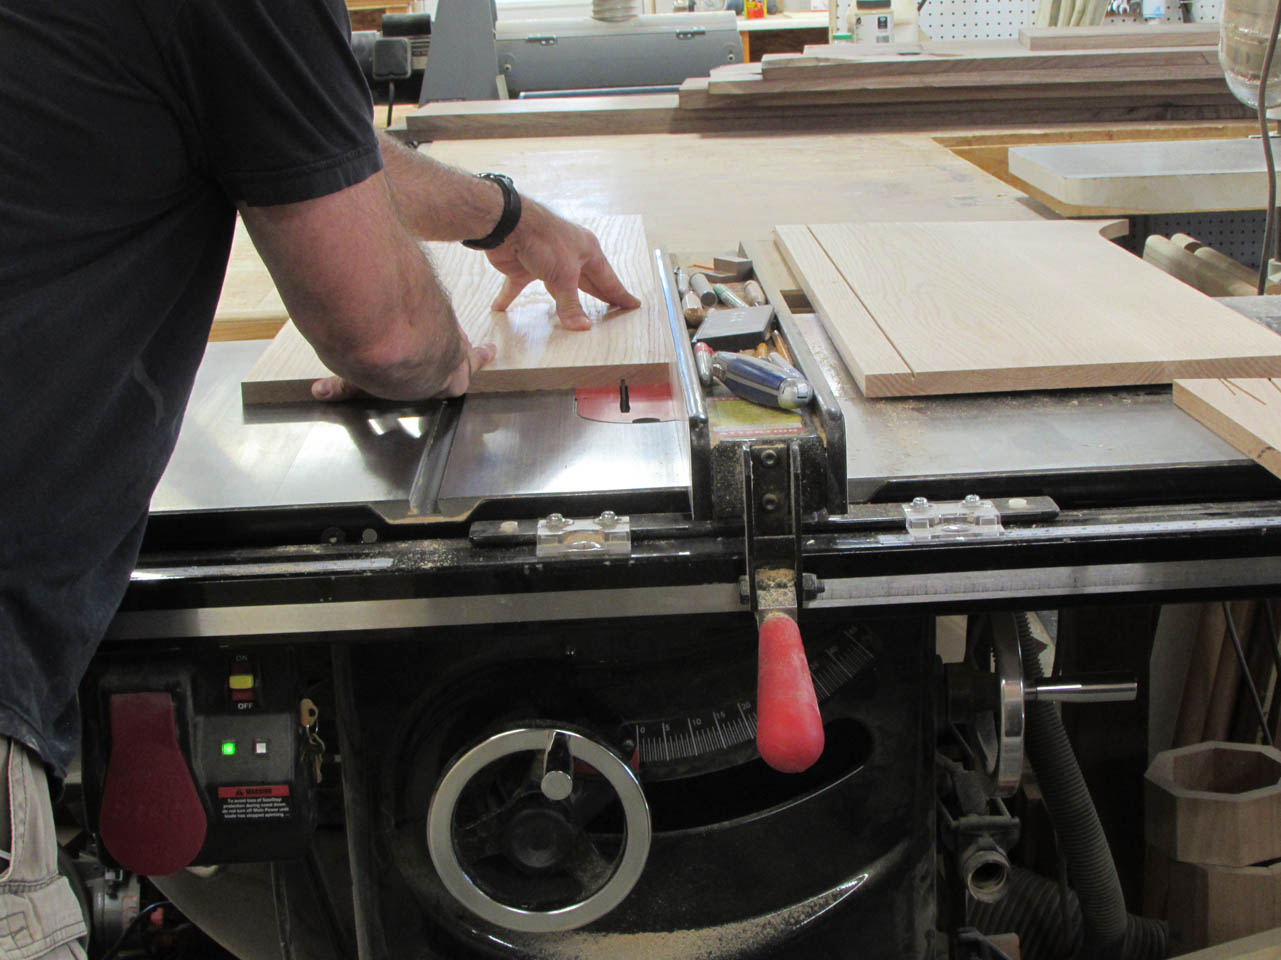
Now I can get started on the middle assemblies. All six of these need 1/4″ deep dados to hold the shelves as well as the front panel.
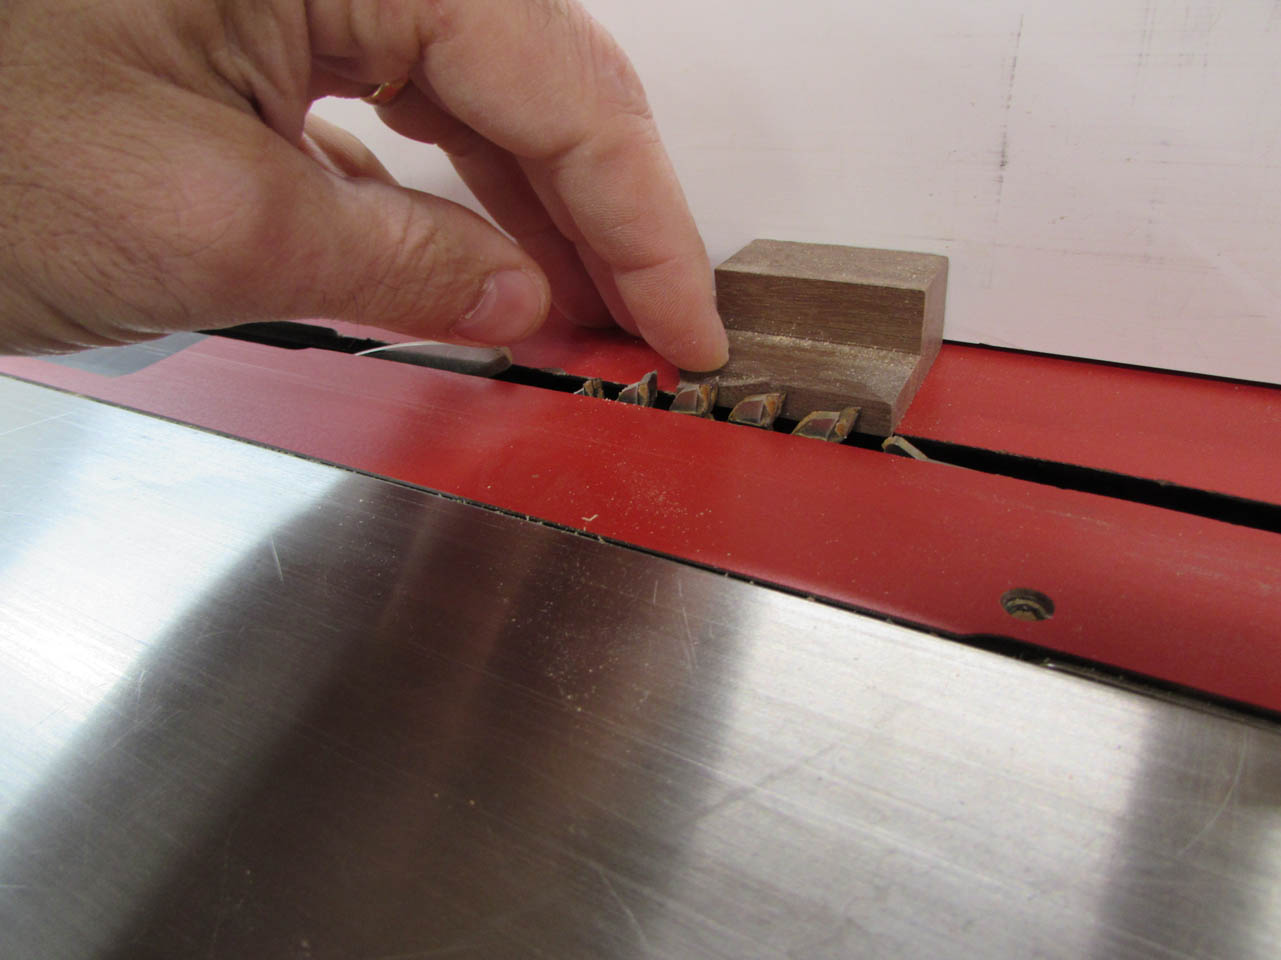
The front panel is the easy one. I need a 1/2″ wide groove, 1/4″ deep. To do this, I set the blade depth, on my table saw, to 1/4″. I used a setup block that was the right height and adjusted the blade to match. Then I set the fence to the correct location and made the first cut.
With each successive cut, I moved the fence over about 1/8″ until I had a groove exactly 1/2″ wide.

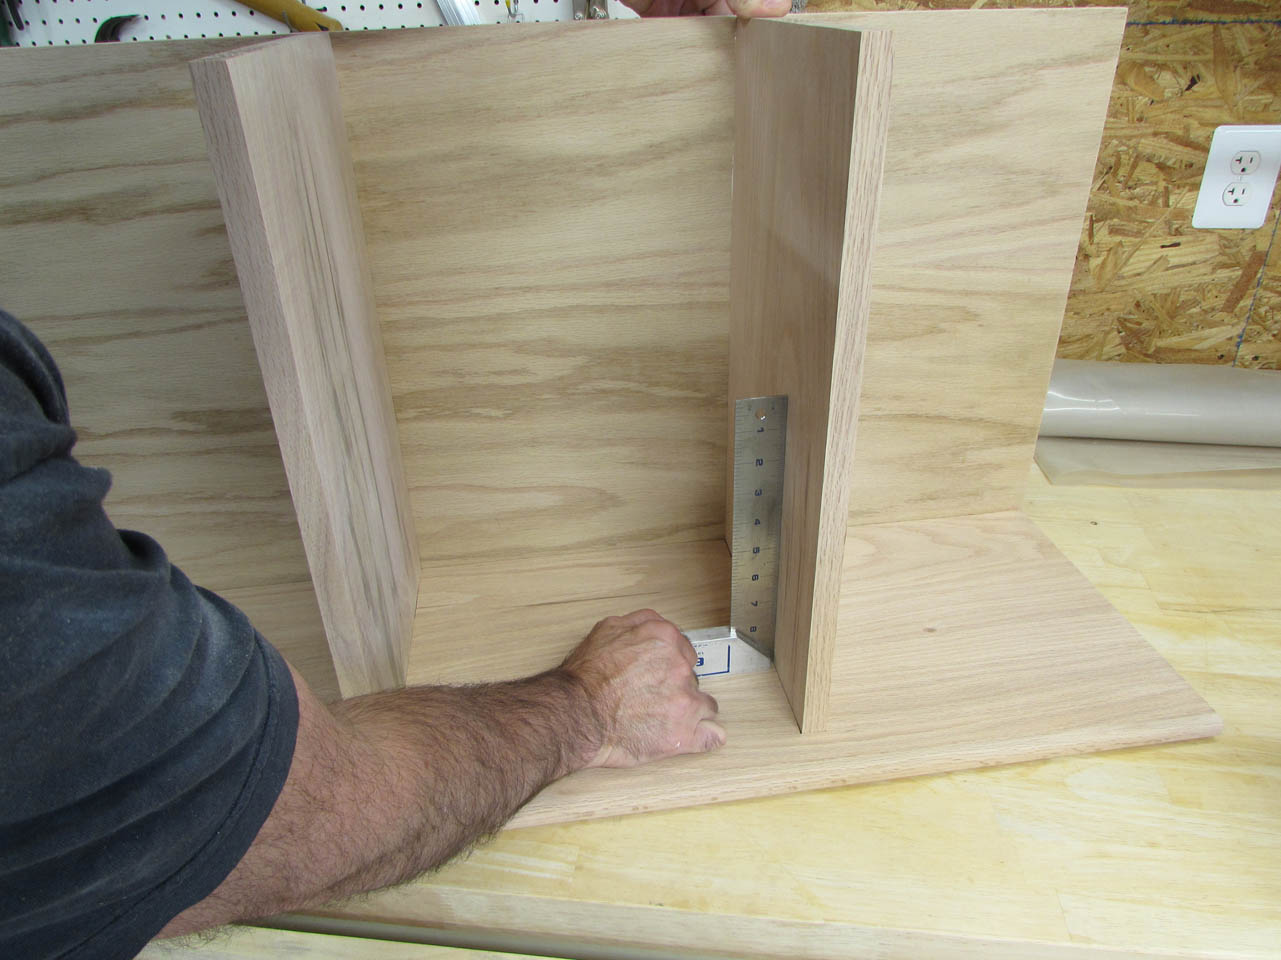
A test fit shows that the panel fits tight enough to stand up straight on its own, perfect.

Now for the harder part. I start by laying out the location of the dados for the shelves.

I decided to build a jig for my router, to make these cuts more uniform and straight.
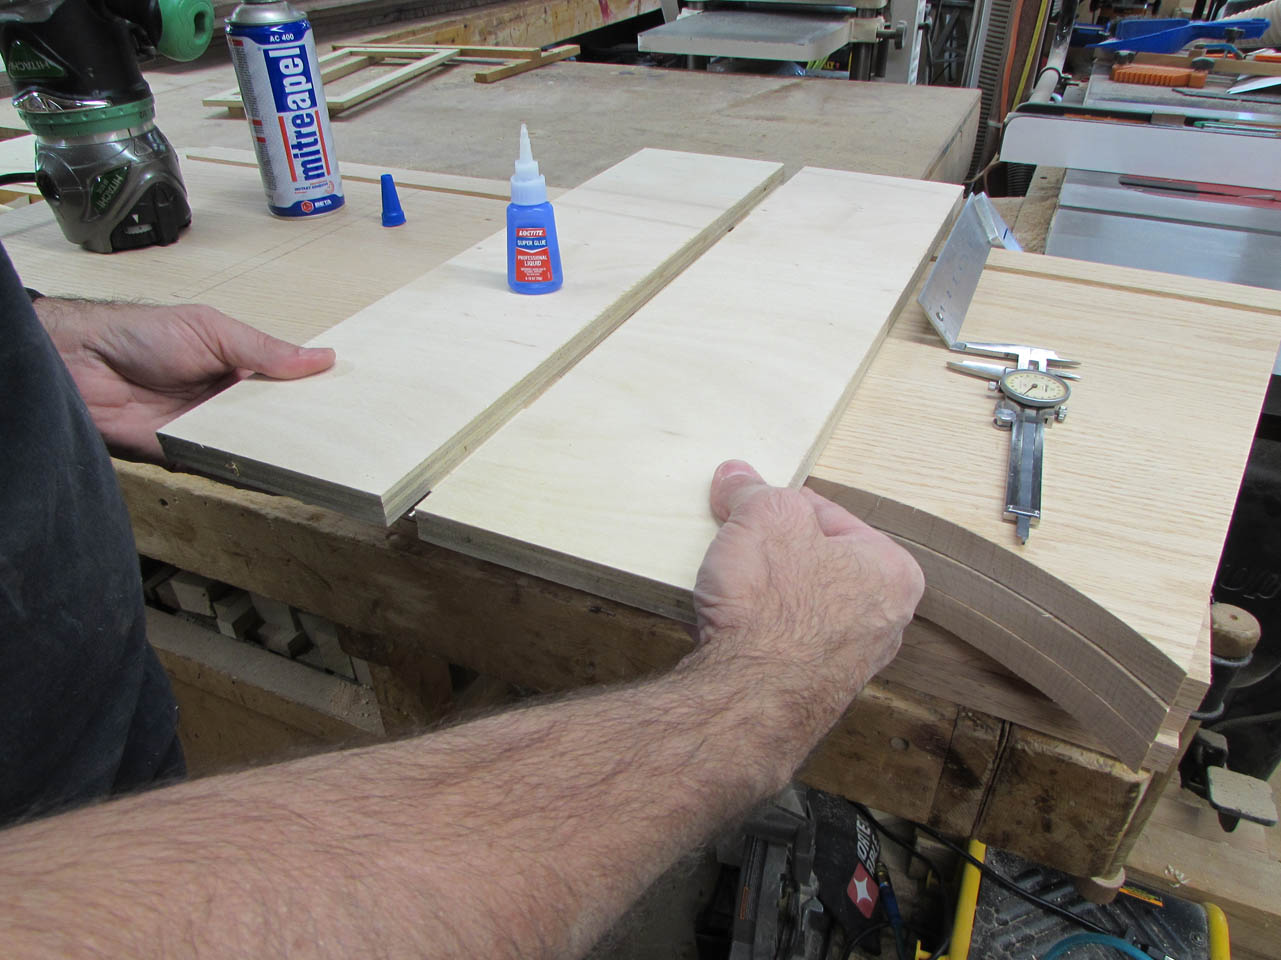
I lined up two pieces of 3/4″ plywood along the lines I drew, then applied CA glue to some cross-pieces that I held in place below until the glue dried. It only takes a minute for the glue to dry, then I flipped the board over and screwed the cross-pieces in place.
I added a stop at each und of the cut and a parallel rail along the side to run the router along. After the first board, I added a second rail on the opposite side to keep the router in line along the entire cut.
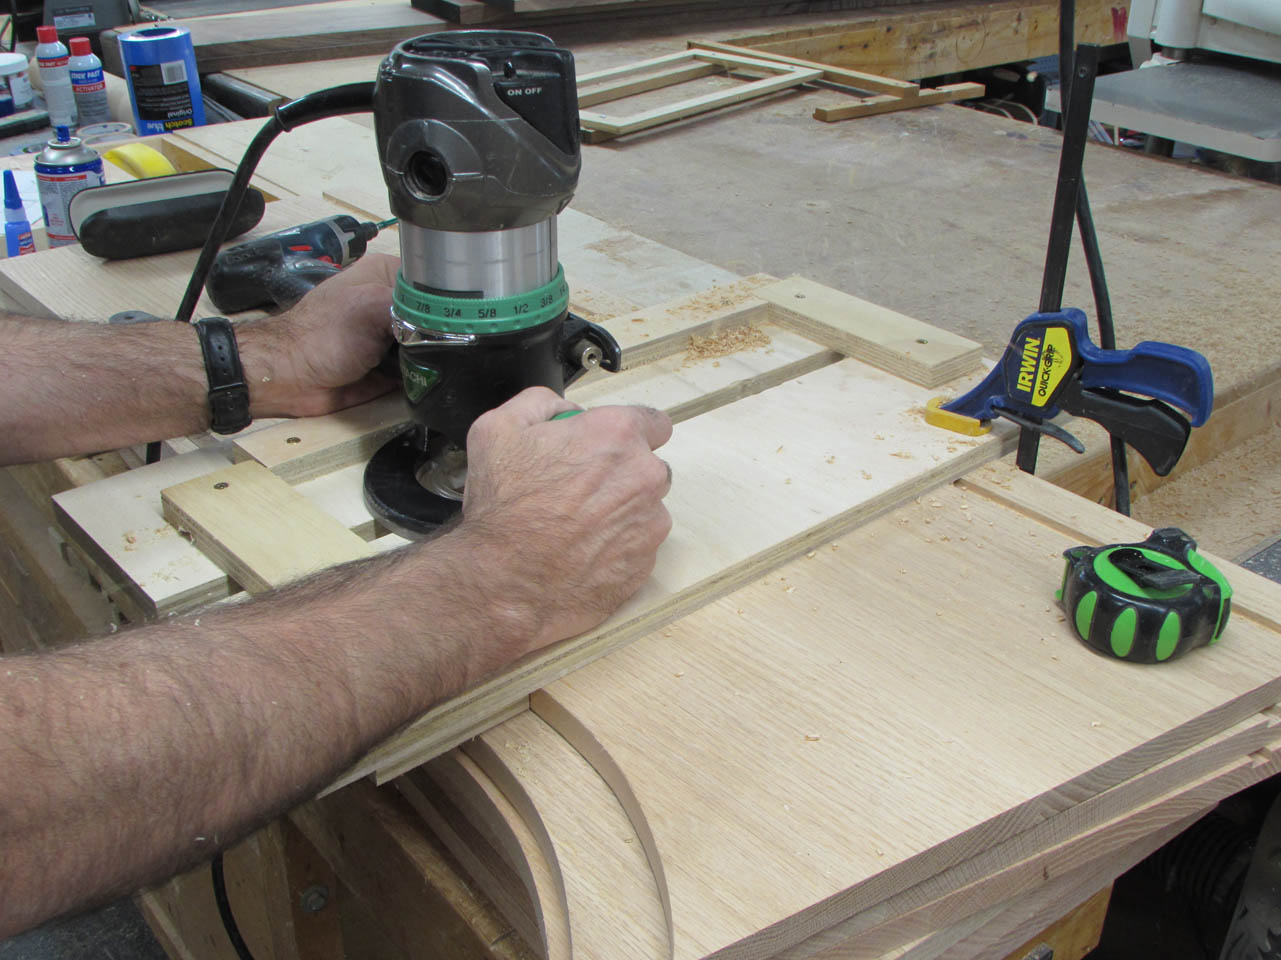
I used a 3/4″ bit and set it for 1/4″ deep, then made a single pass within the jig to create each groove.
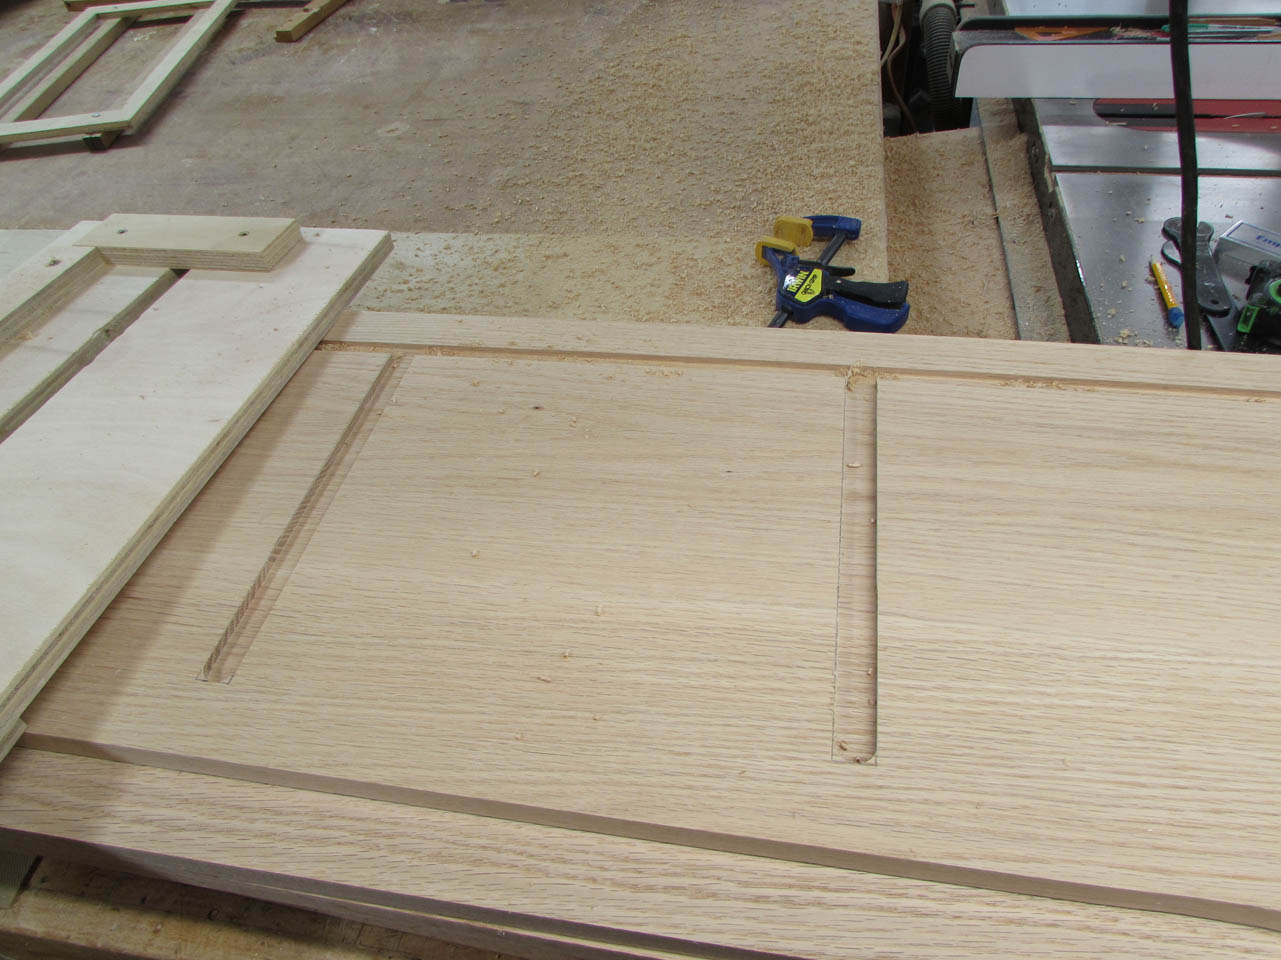

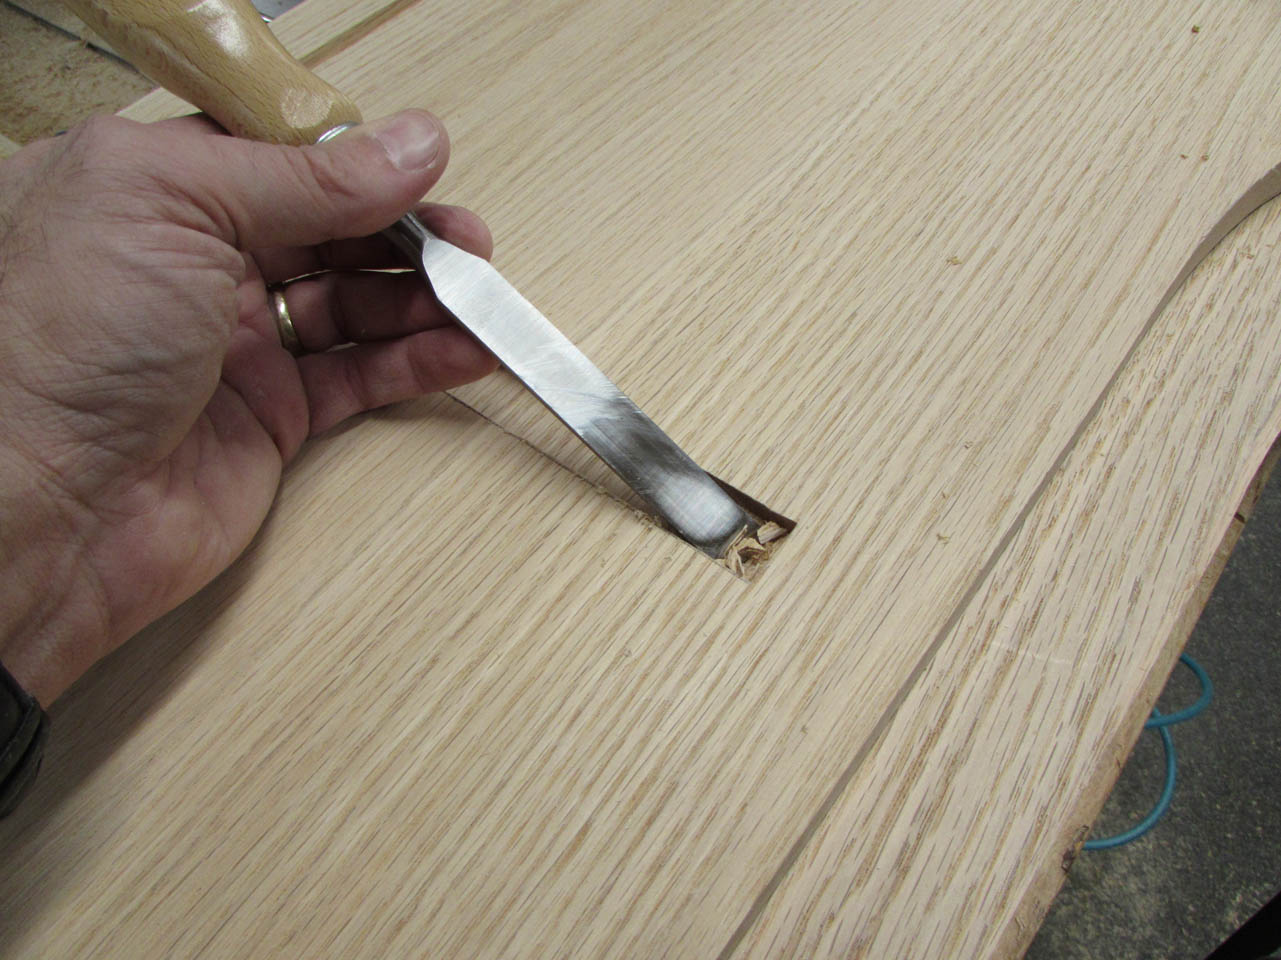
When all twelve slots were cut, I squared off the rounded end with a couple of chisels. The opposite end started within the 1/2″ dado so it did not need any chiseling.
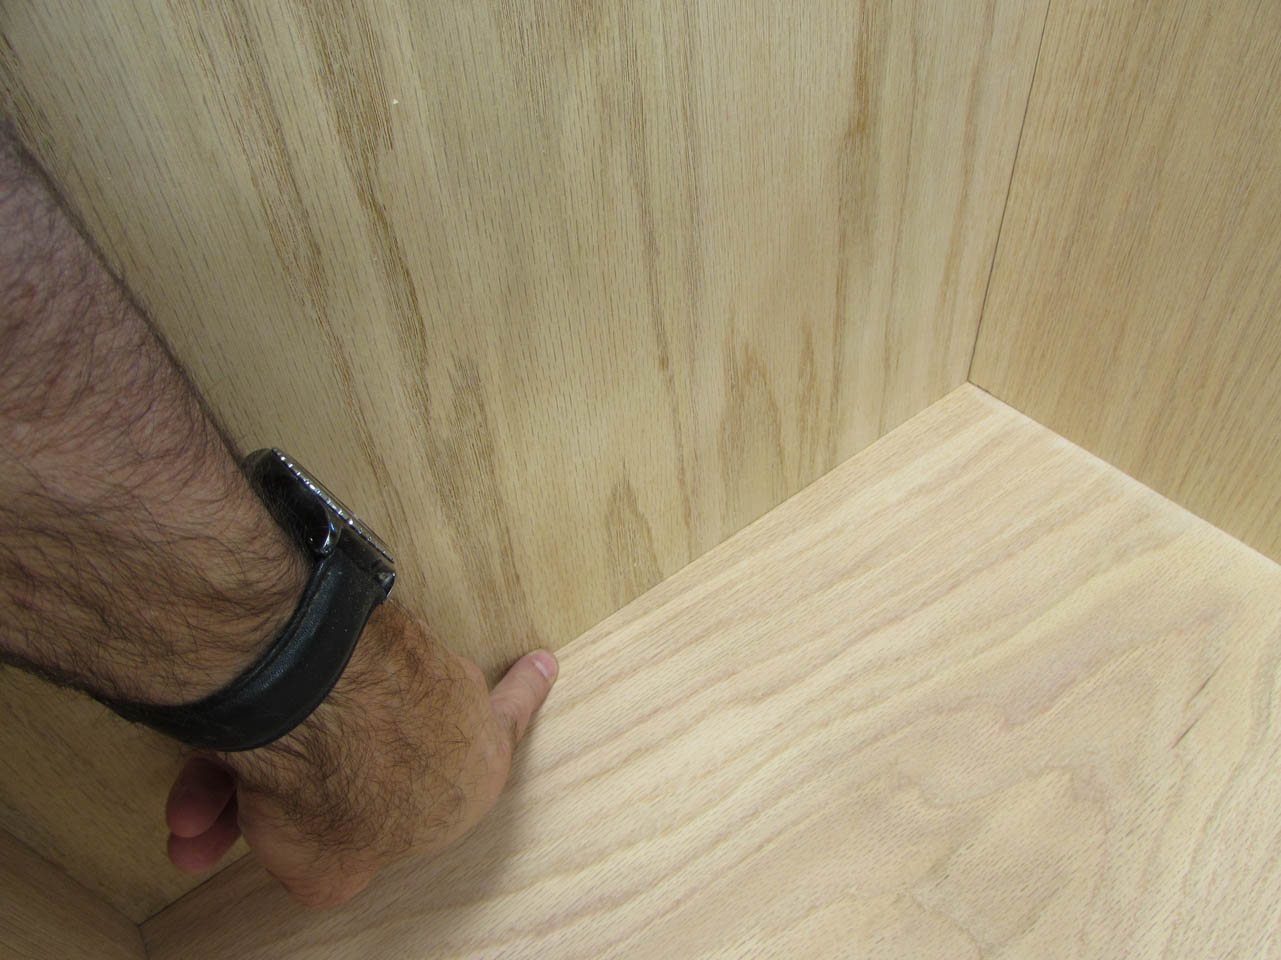
The test fit looks really good.

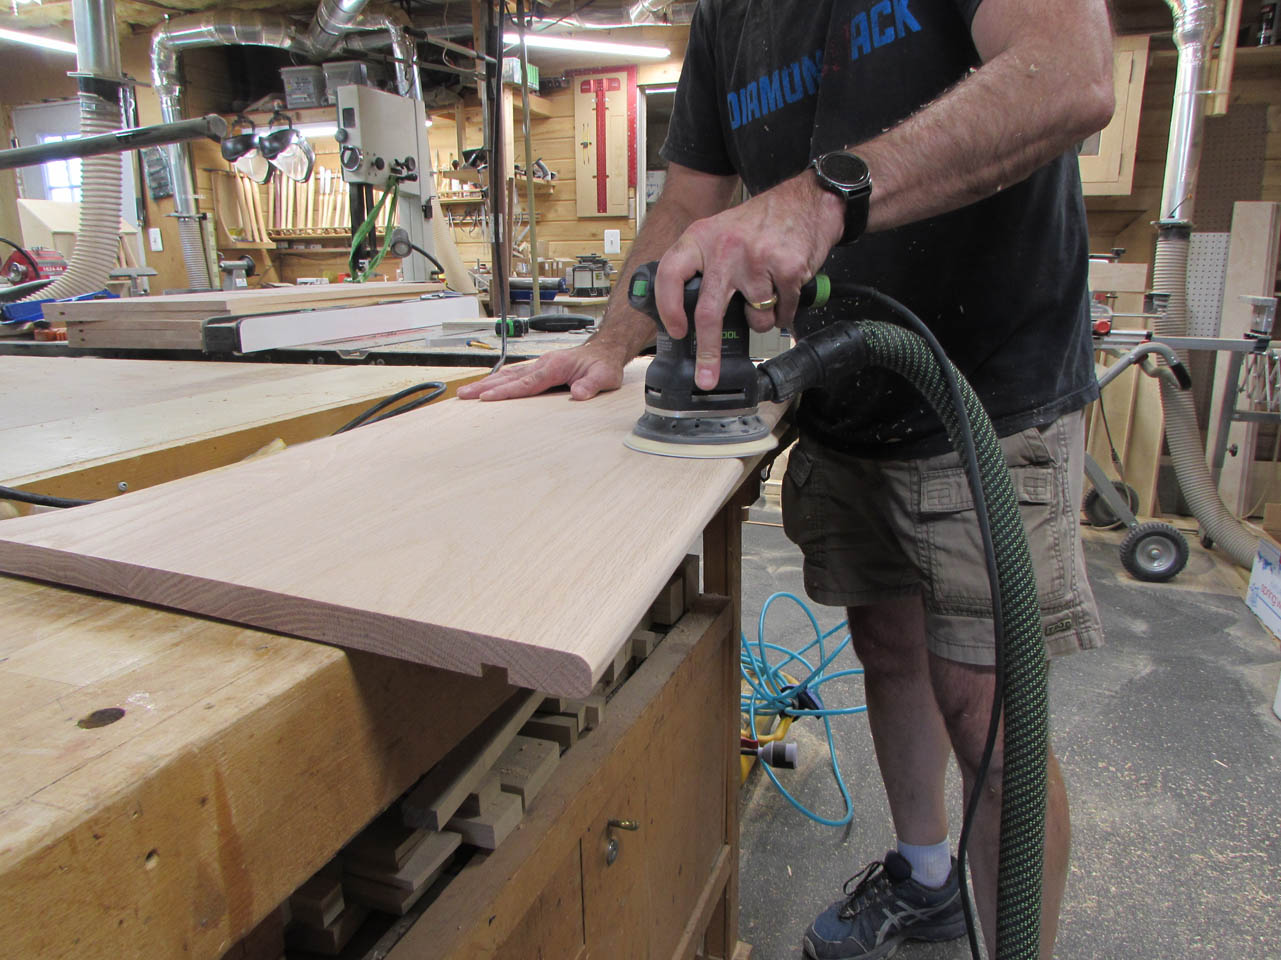
I got my orbital sander and re-sanded the entire side of the boards that I just cut. This cleaned up any pencil marks or bits of tear-out left by the router.
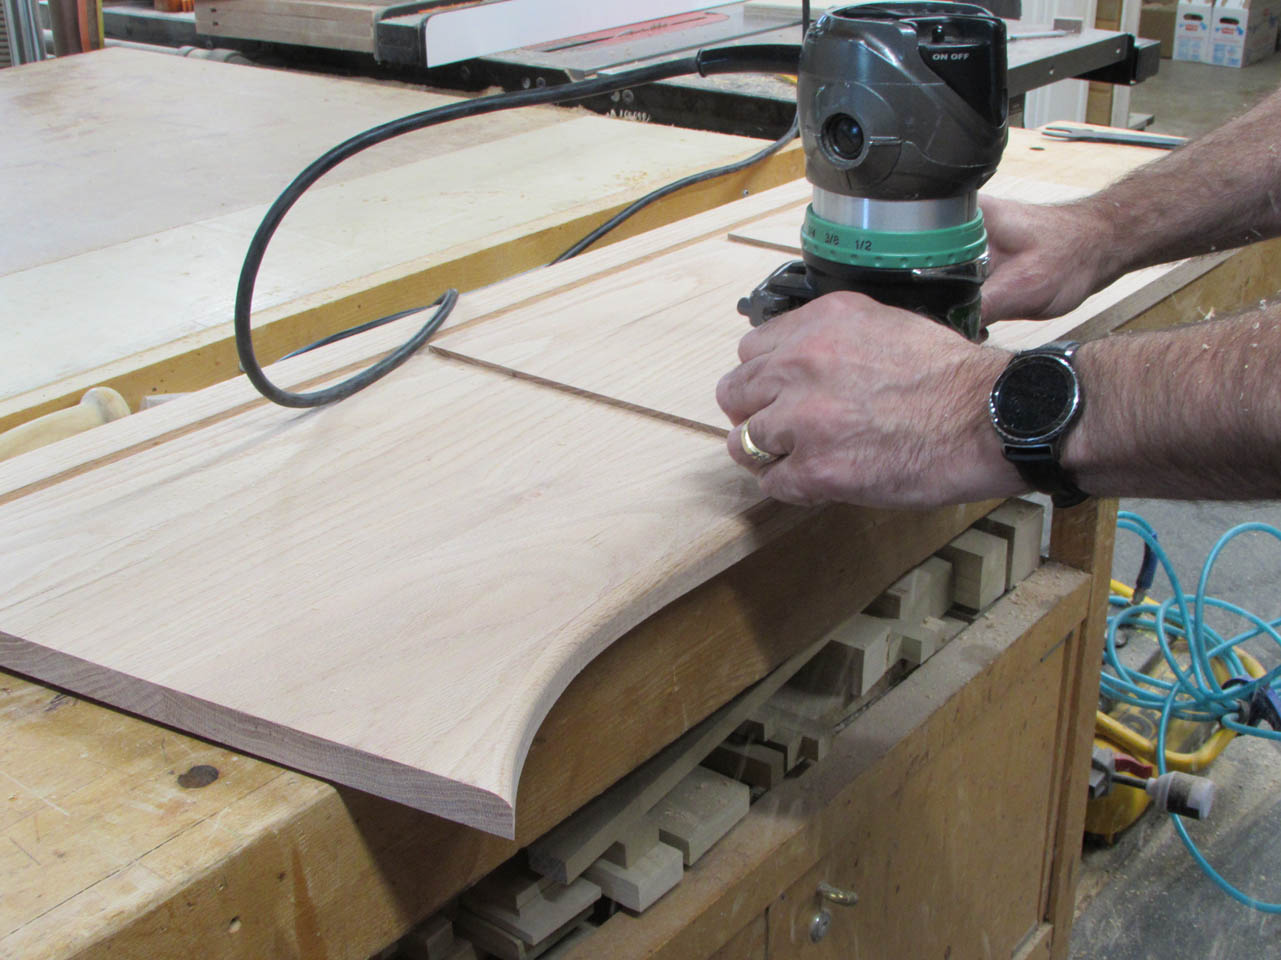
Next, I installed a 5/16″ round-over bit into my router and gave the front and back edges a radius on both sides. This should help people avoid banging into any sharp edges when they are using the podium.


I sanded the radiused edges, as well as the outside face, down to 120 grit. All surfaces are now ready for finiush once it is all assembled.


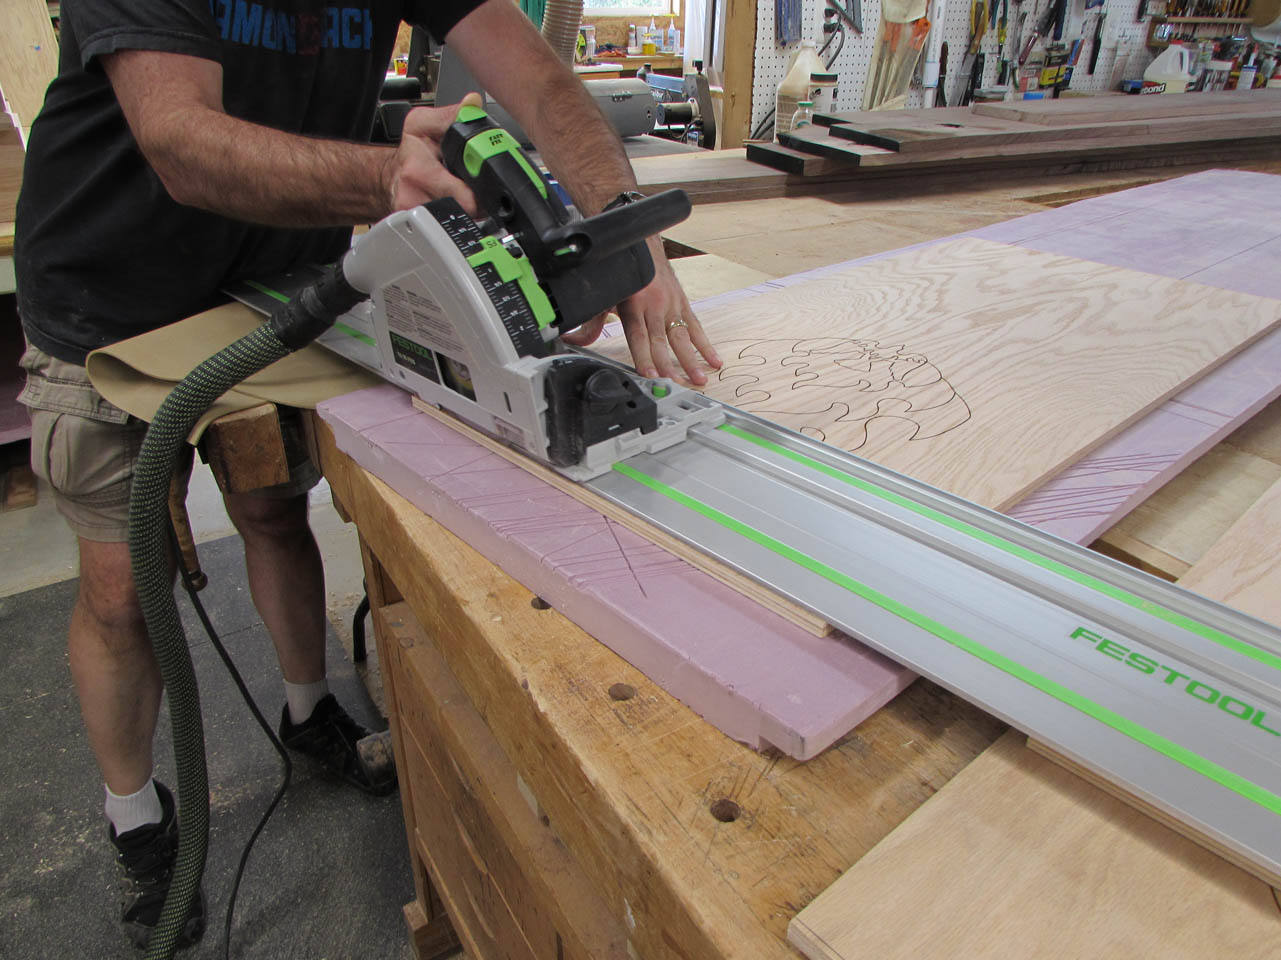
When I initially cut the plywood for the front, I intentionally left it a bit long so that I could trim it up after the sides were done.

To do this, I marked how much stuck out the top, then drew a square line across the top of the board.
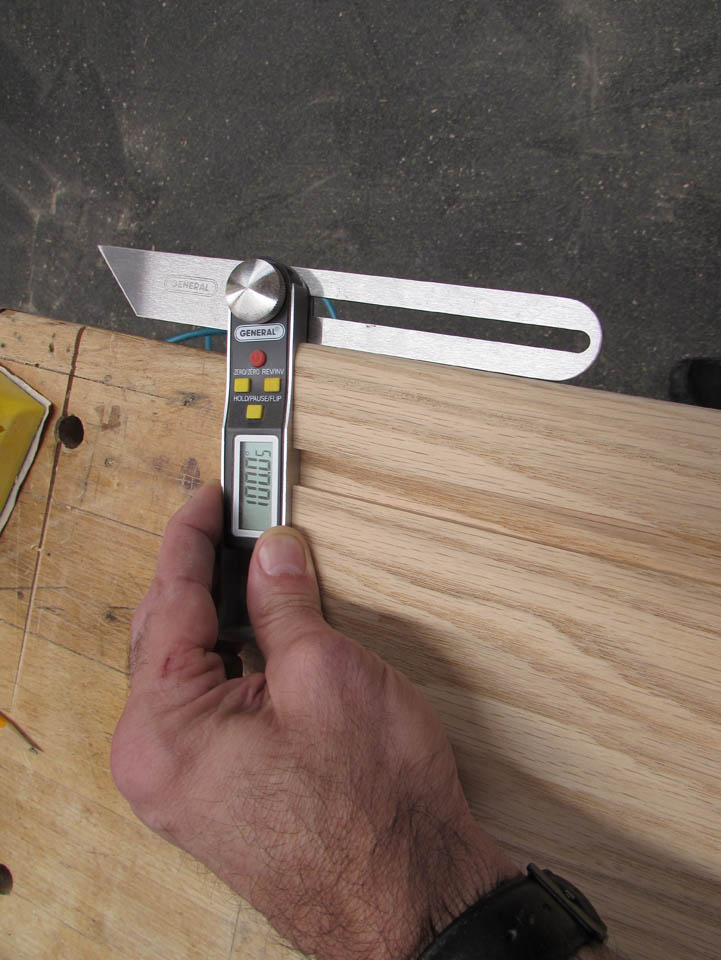
I used my digital bevel gauge to find the angle I would need to cut. Looks like 100°. My track saw is normally set at 90° so I adjust it 10° more.
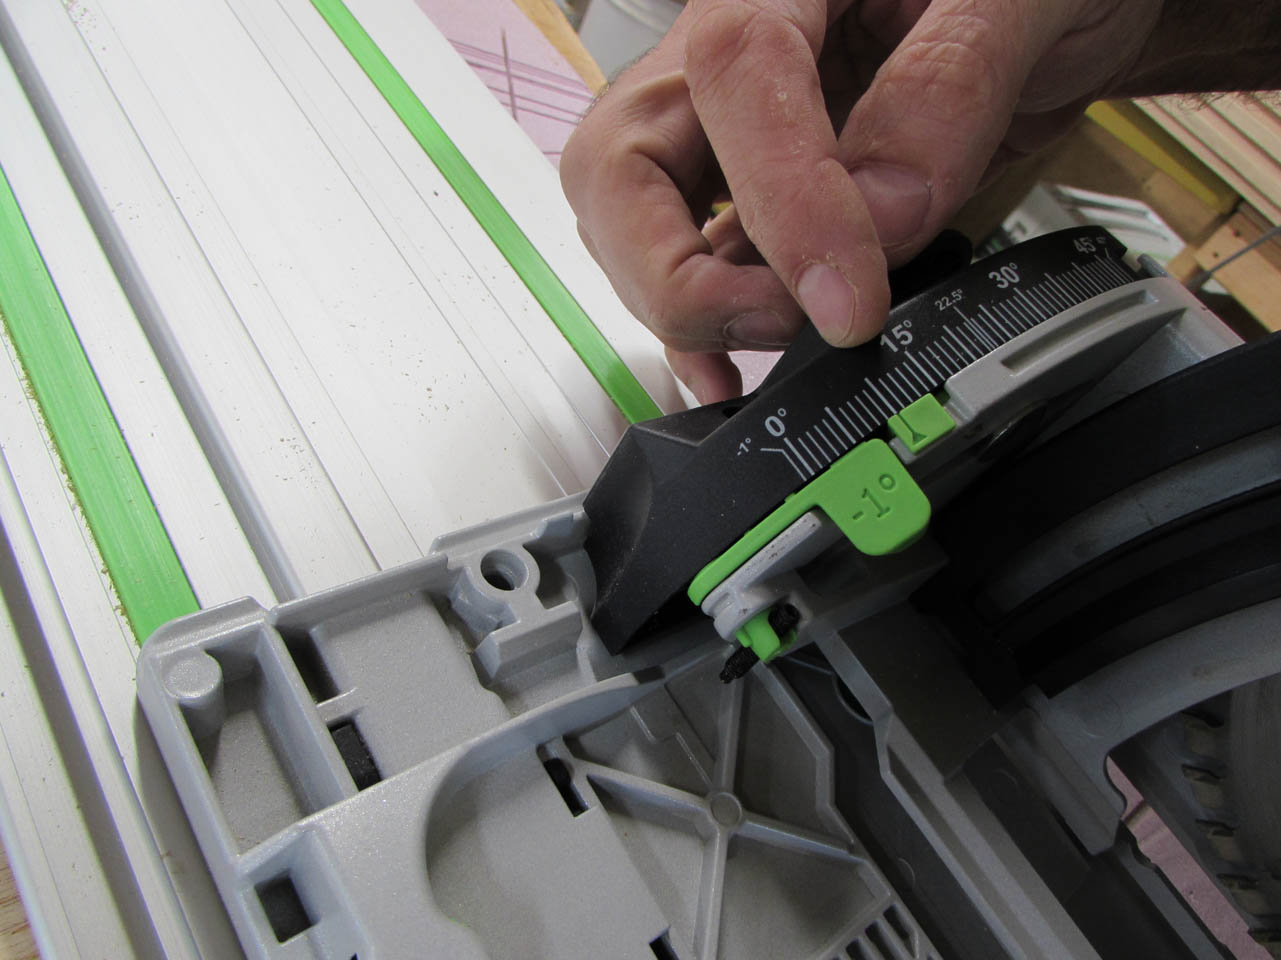
Then I set the track on my line and cut the end off at a 10° angle.
Perfect fit, flush at the top and the bottom.


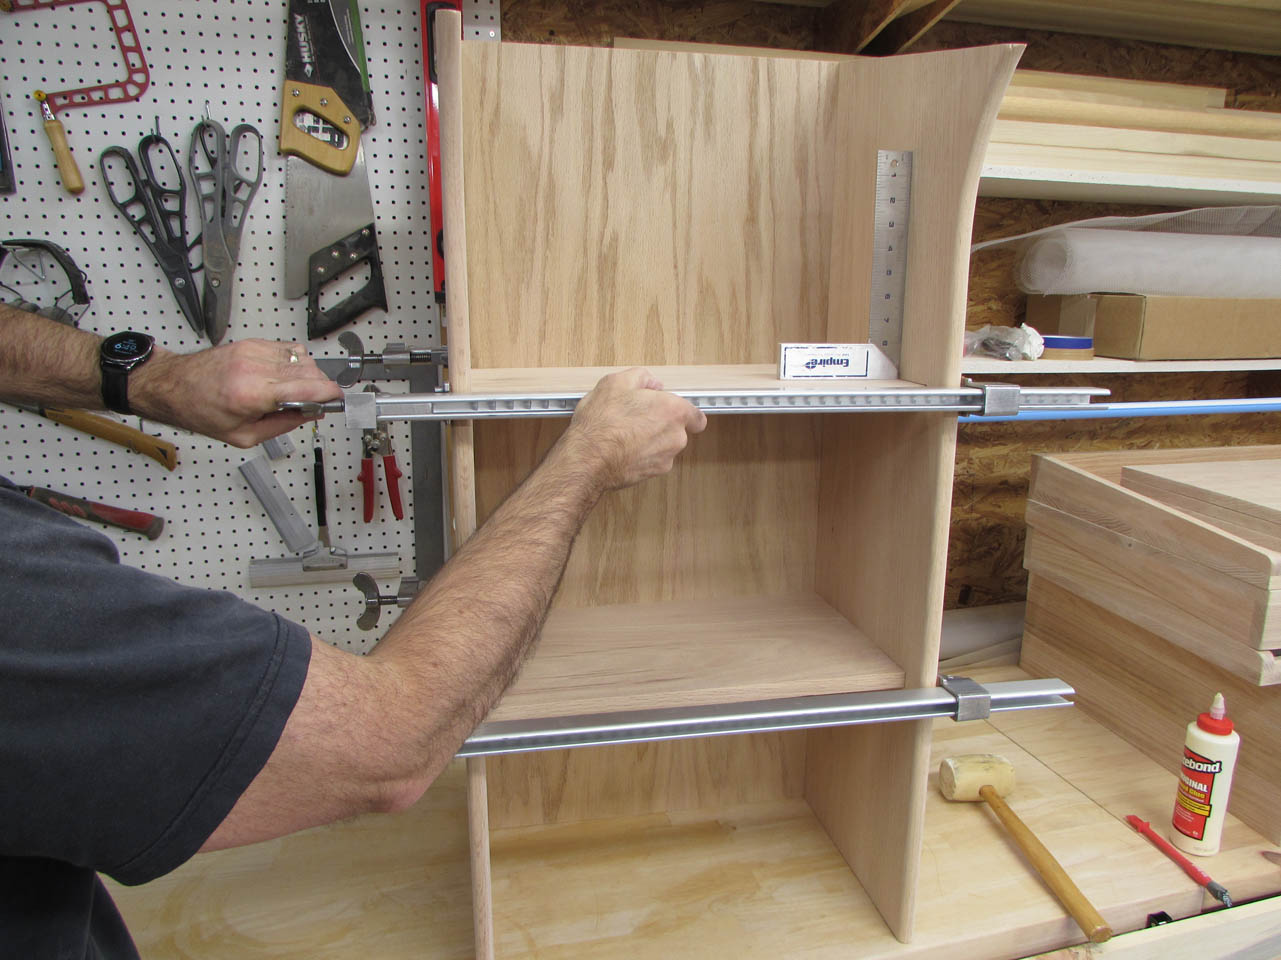
I have a limited time between applying glue to getting everything assembled before it starts to set up.

I start by applying glue to the dados for the shelves on one side, then insert the shelves trying to keep them at 90°.

Then I spread glue along the 1/2″ wide track and up the front of the shelves.


I ease the plywood in place, coming in at a slight angle to avoid getting glue on the wrong places if the shelves move.
Everything checks out ok so I added a bit of glue to the opposite edge of the shelves and plywood.

I also added a bit to the sides of the dados on the opposite side.

Then I carefully set the second side in place and rotated the entire assembly upright and made a few slight adjustments with a rubber mallet.

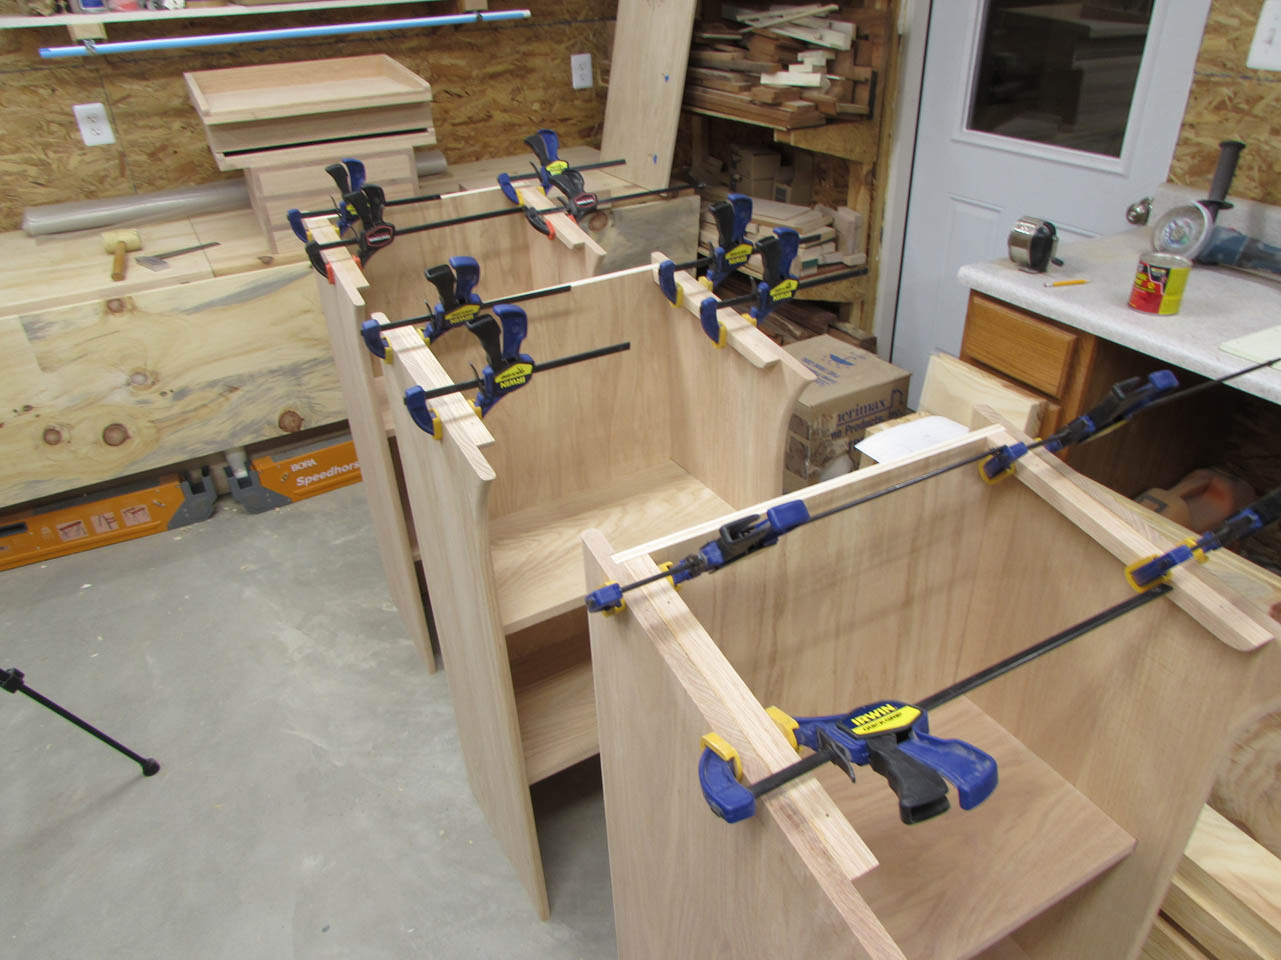
Once everything was straight and square, I started adding clamps.
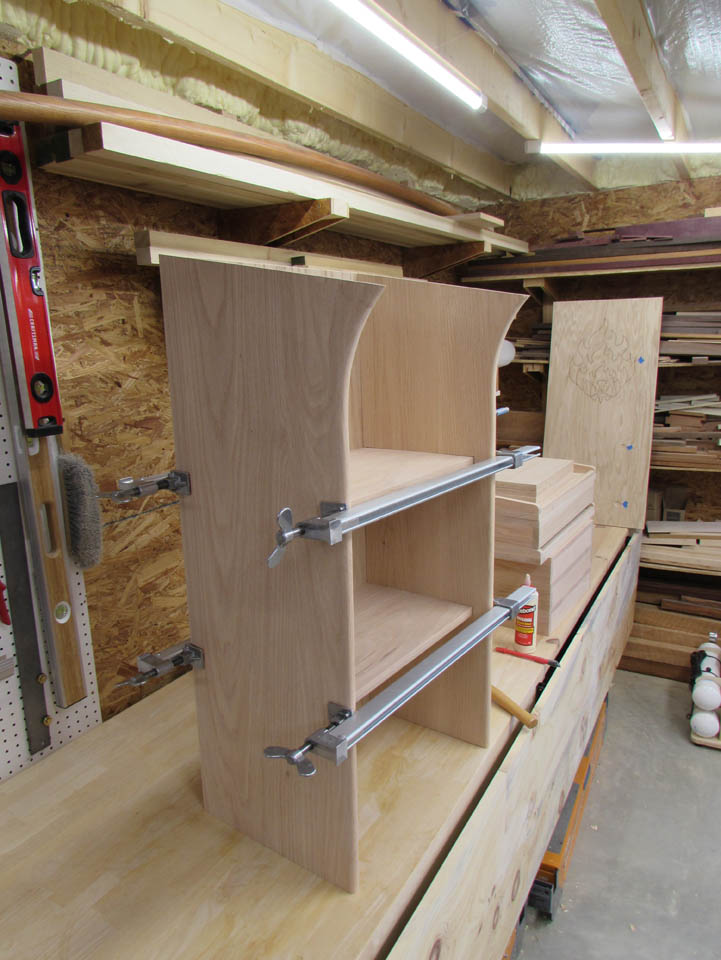
I put clamps along the front and back where the shelves were located.

To keep the plywood up against the shelves while the glue dried, I placed a block behind the front clamps.

They bend towards the block, as they are tightened, increasing pressure on the plywood against the shelves.
I added a clamp at the bottom as well as the top just to make sure everything stayed aligned.


While that was drying I made up some brackets that I will attach to the top.

These get glued to the inside of the podium and will give me a way to attach the top.
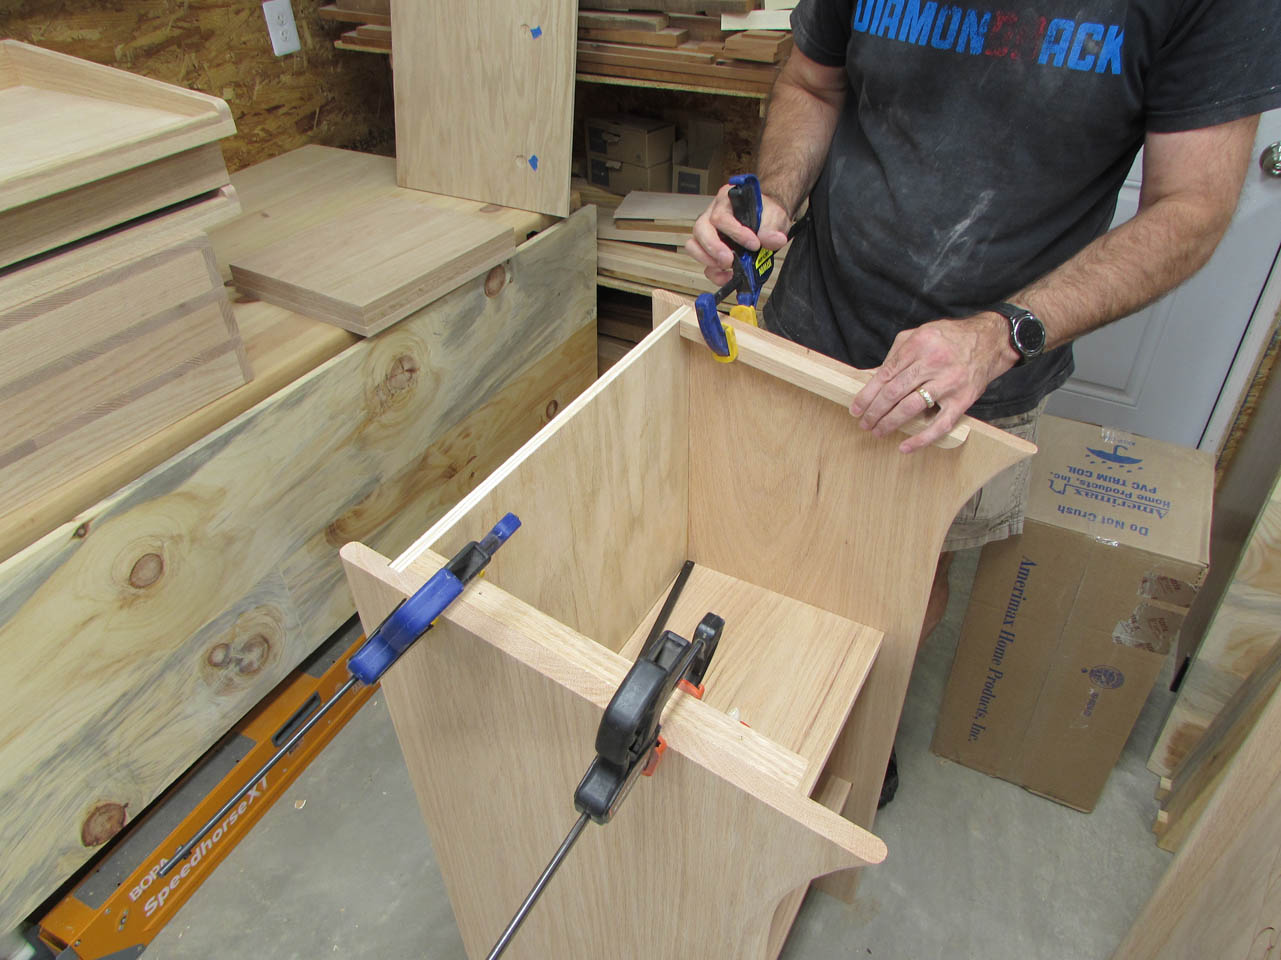
The top is larger than the mid-section and I won’t be able to clamp it on so these cleats will not only give me more glue surface but I can run screws through them to clamp the top down while it dries.
I will just leave the screws in place since they are inside and not very visible unless you are crawling below.

I think that is enough for today. Tomorrow, I will attach the base and maybe start staining some pieces.
