
Portable podium for Holy Spirit church – part 2
Before cutting down the larger panels, I decided to clean up my off-cuts and make the small pieces for the top and base. I cut all the 2-1/2″ wide pieces that will be used for the base skirt on the table saw. I will cut them to their exact length as I assemble the bases.
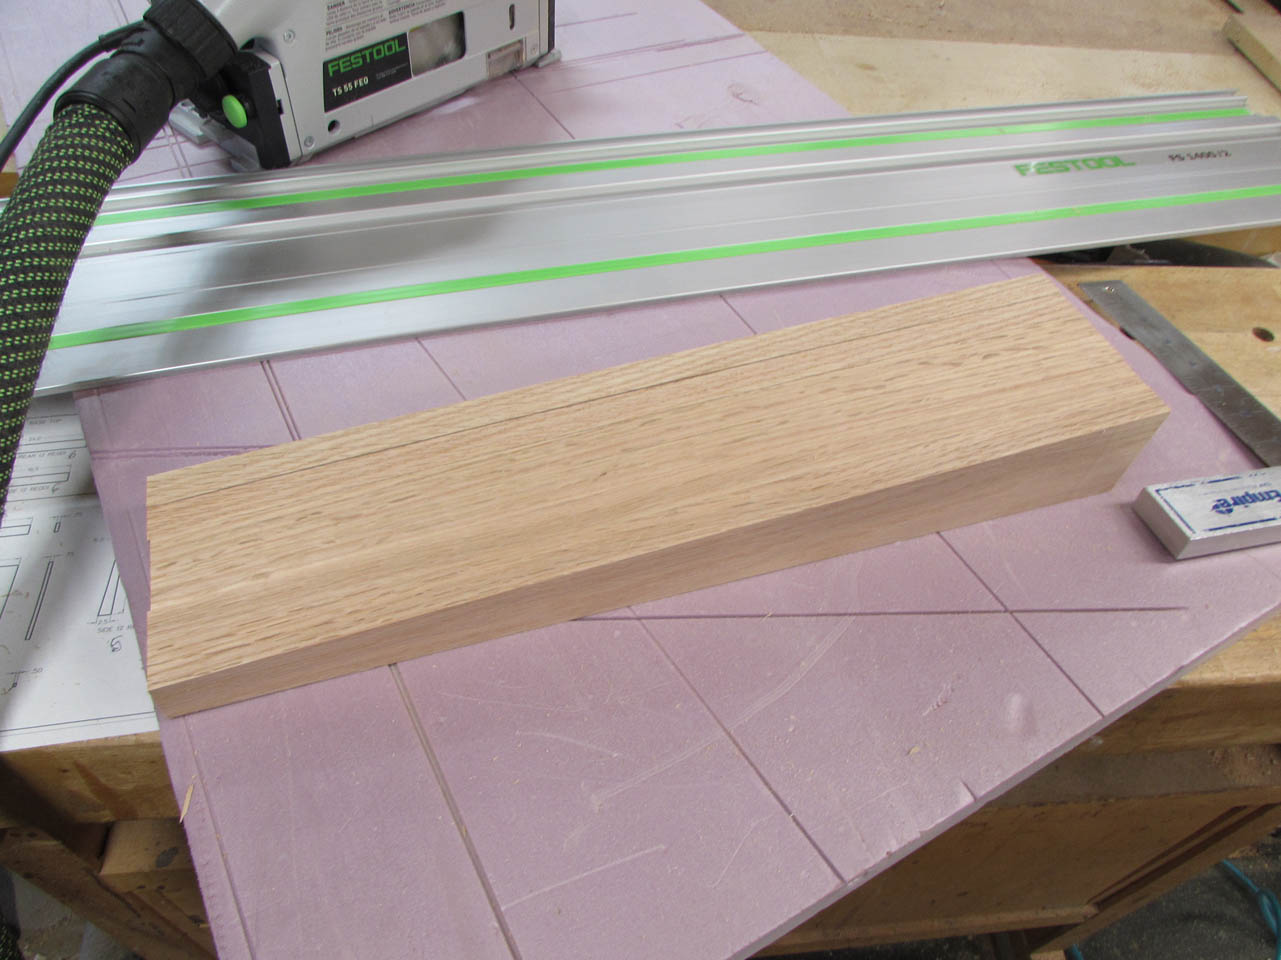
A couple of those strips will also be used across the back of the top along with some angled pieces for the sides. I used my track saw to cut the angle. Once the first one was cut, I could use it as a template for the other five.

I still need to radius the bottom end, but I will set them aside for now.
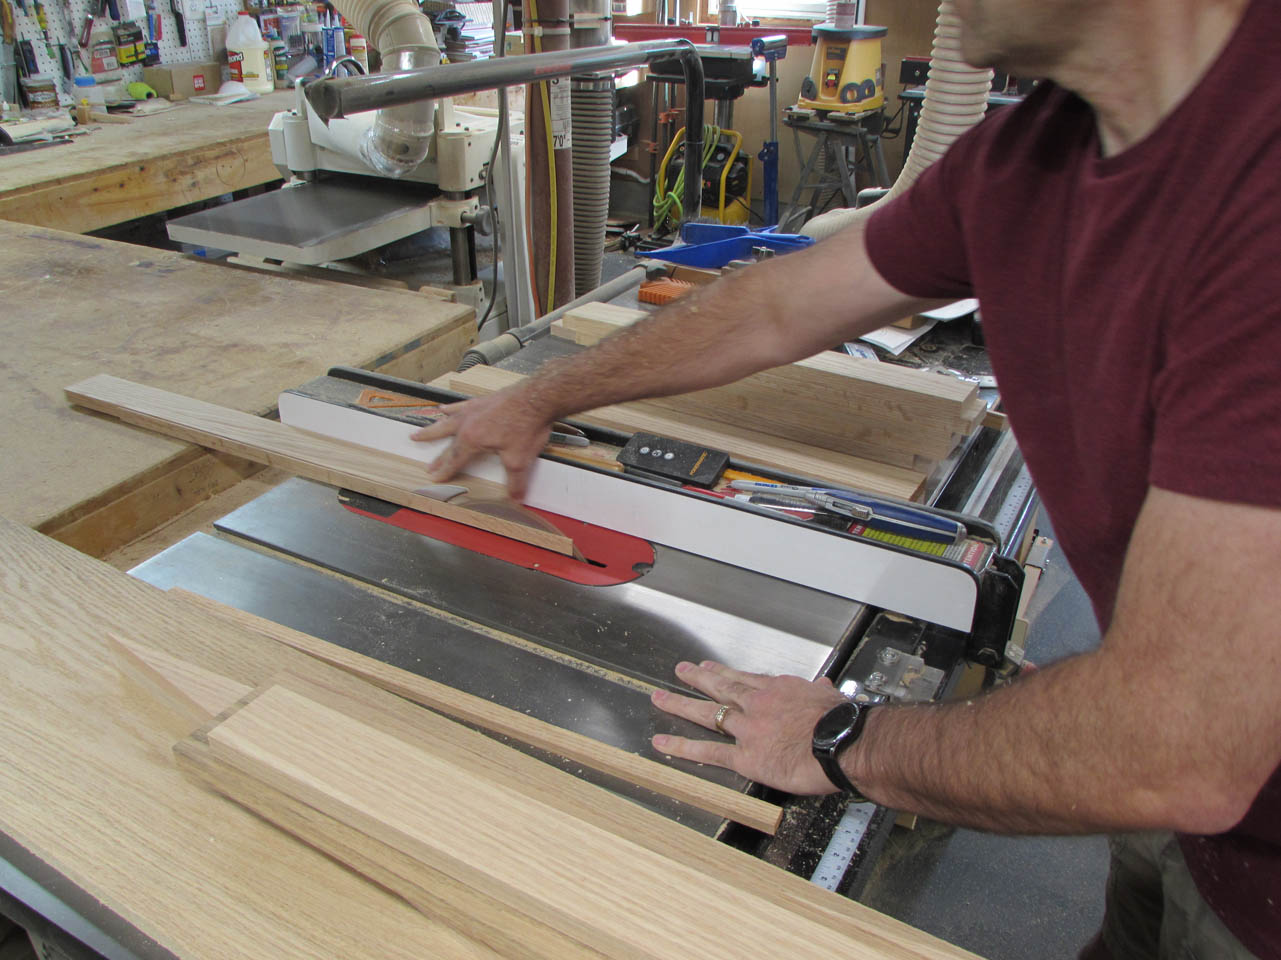
Since I have the track saw still out and set up, I am now going to cut down the larger panels that will make up the top, base, and the laptop shelf.
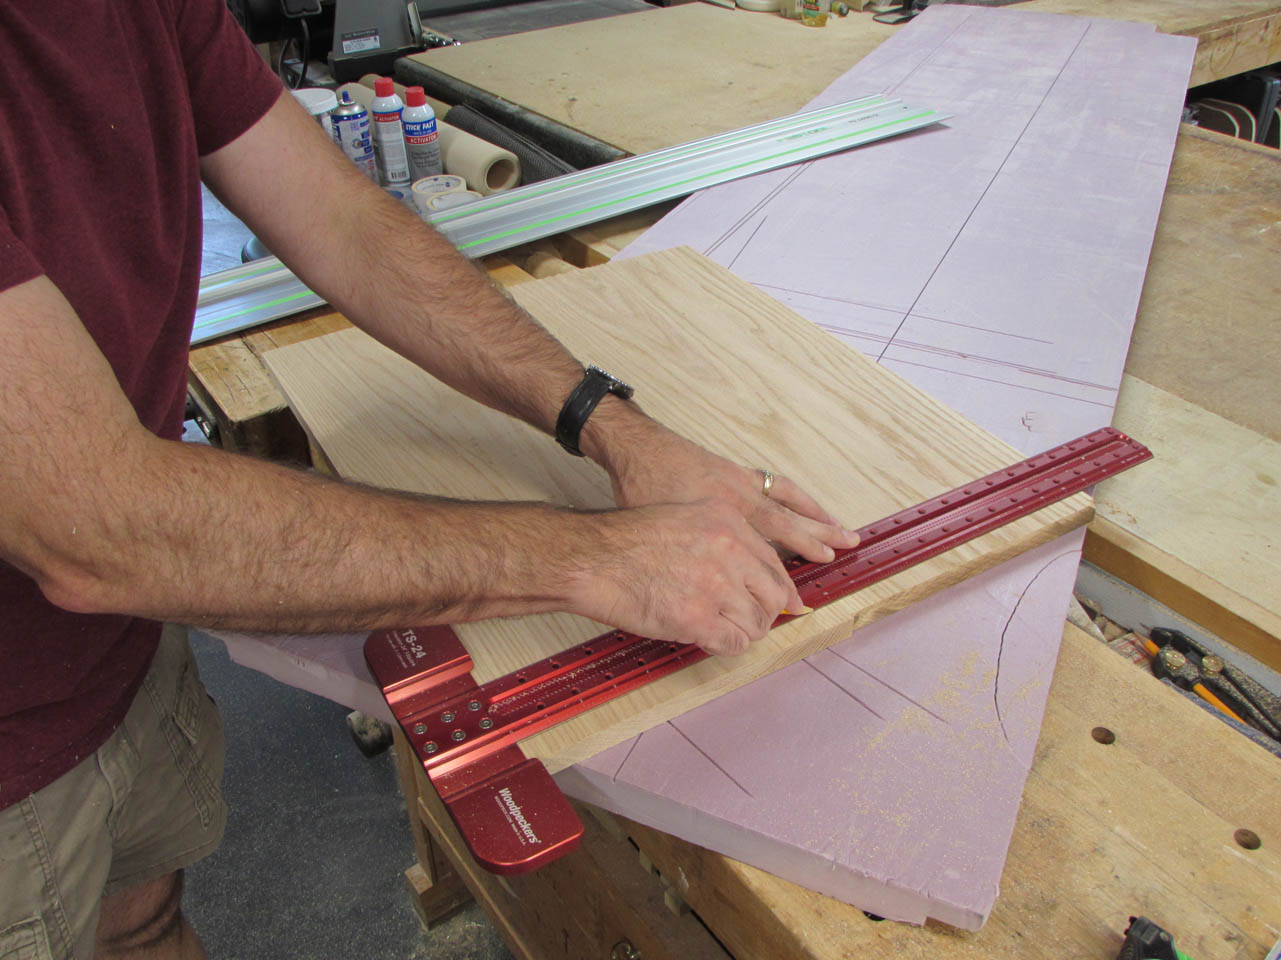
Since the panels are too big for my miter saw or my cross-cut sled, I use a tee-square and the track saw to mark and cut the edges.

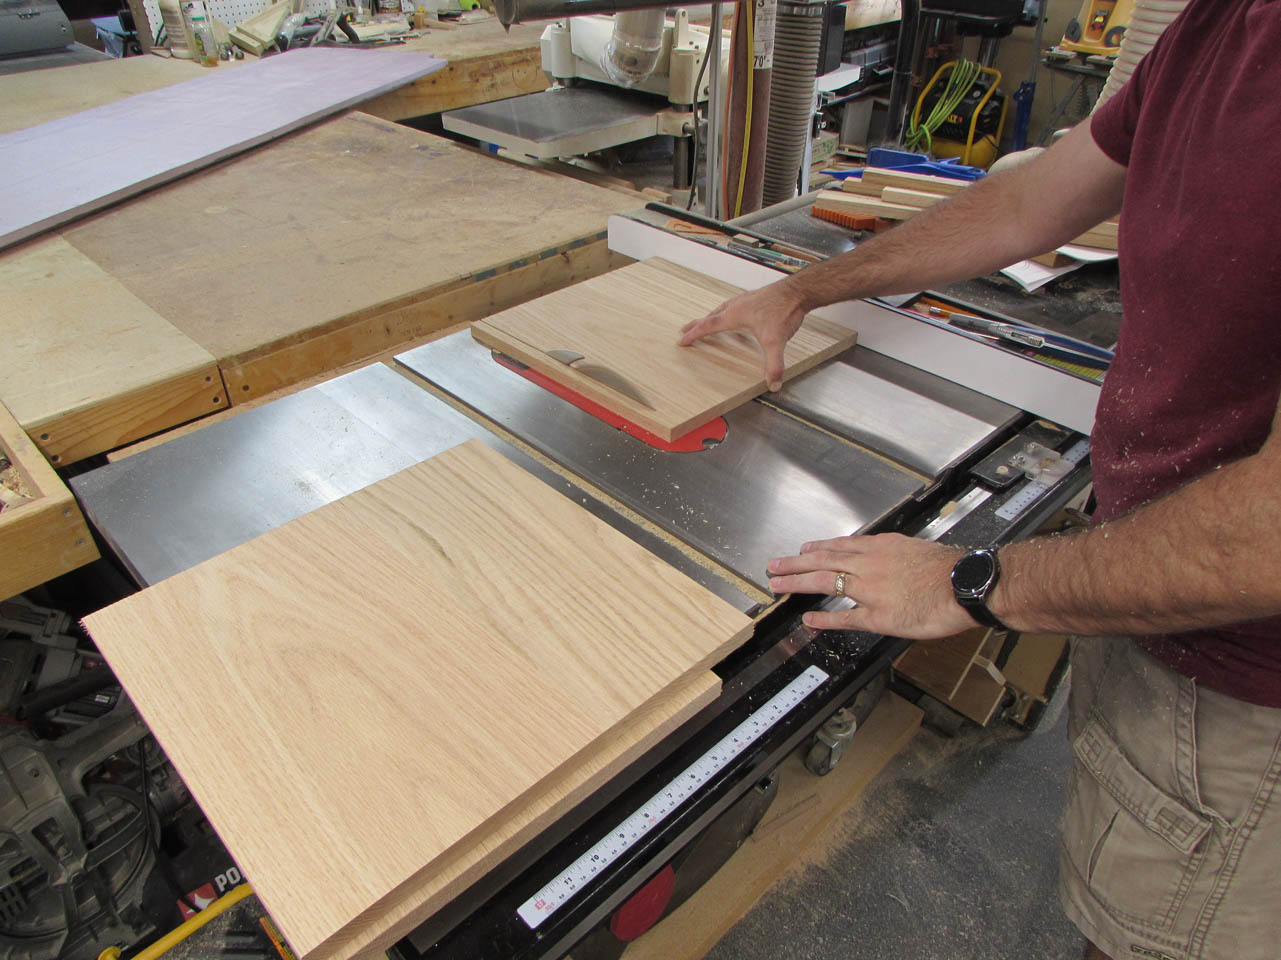
Once they are all squared up and cut to length, I can rip them to their final width on the table saw.
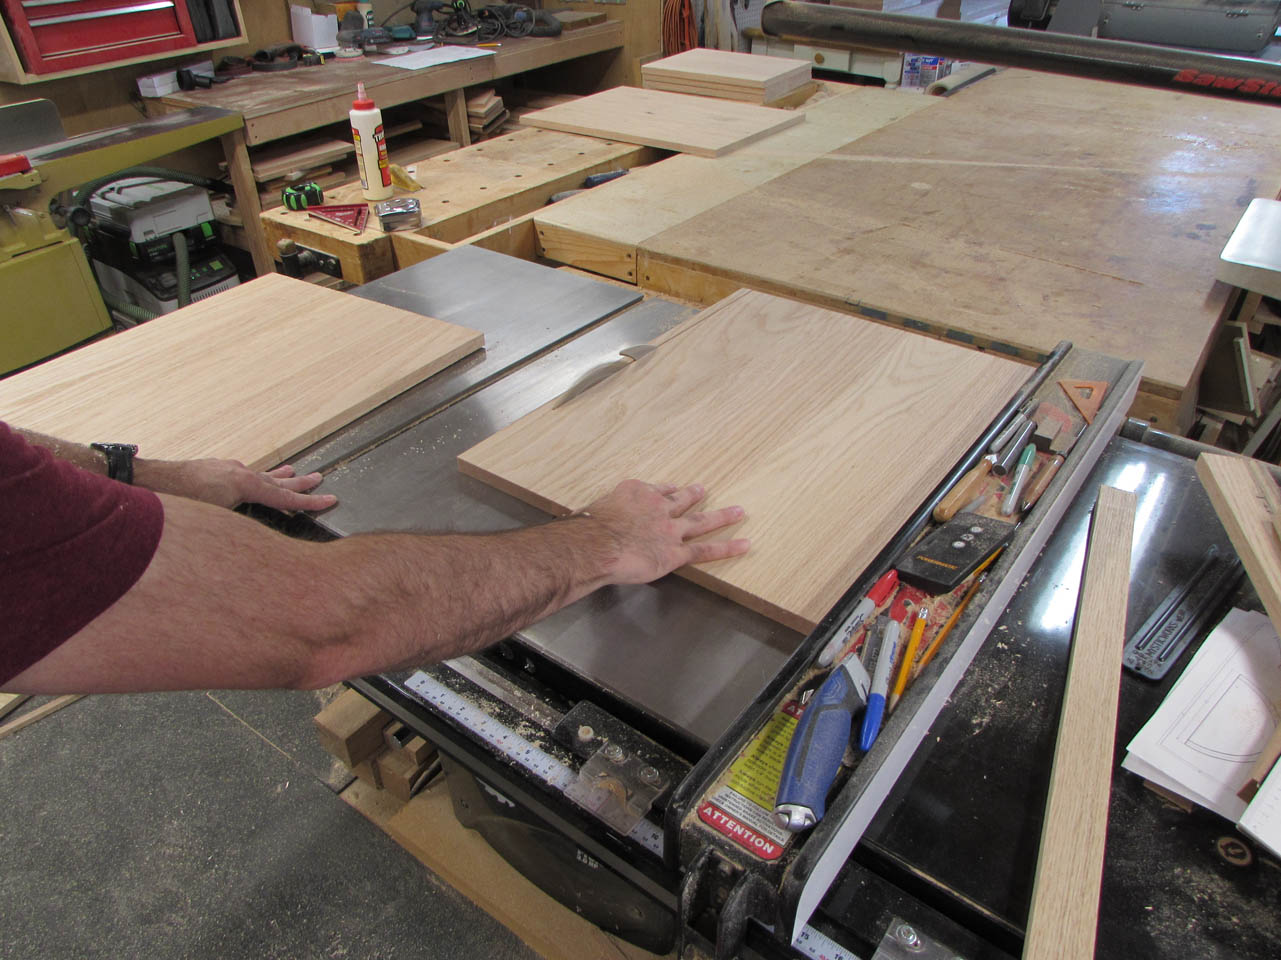

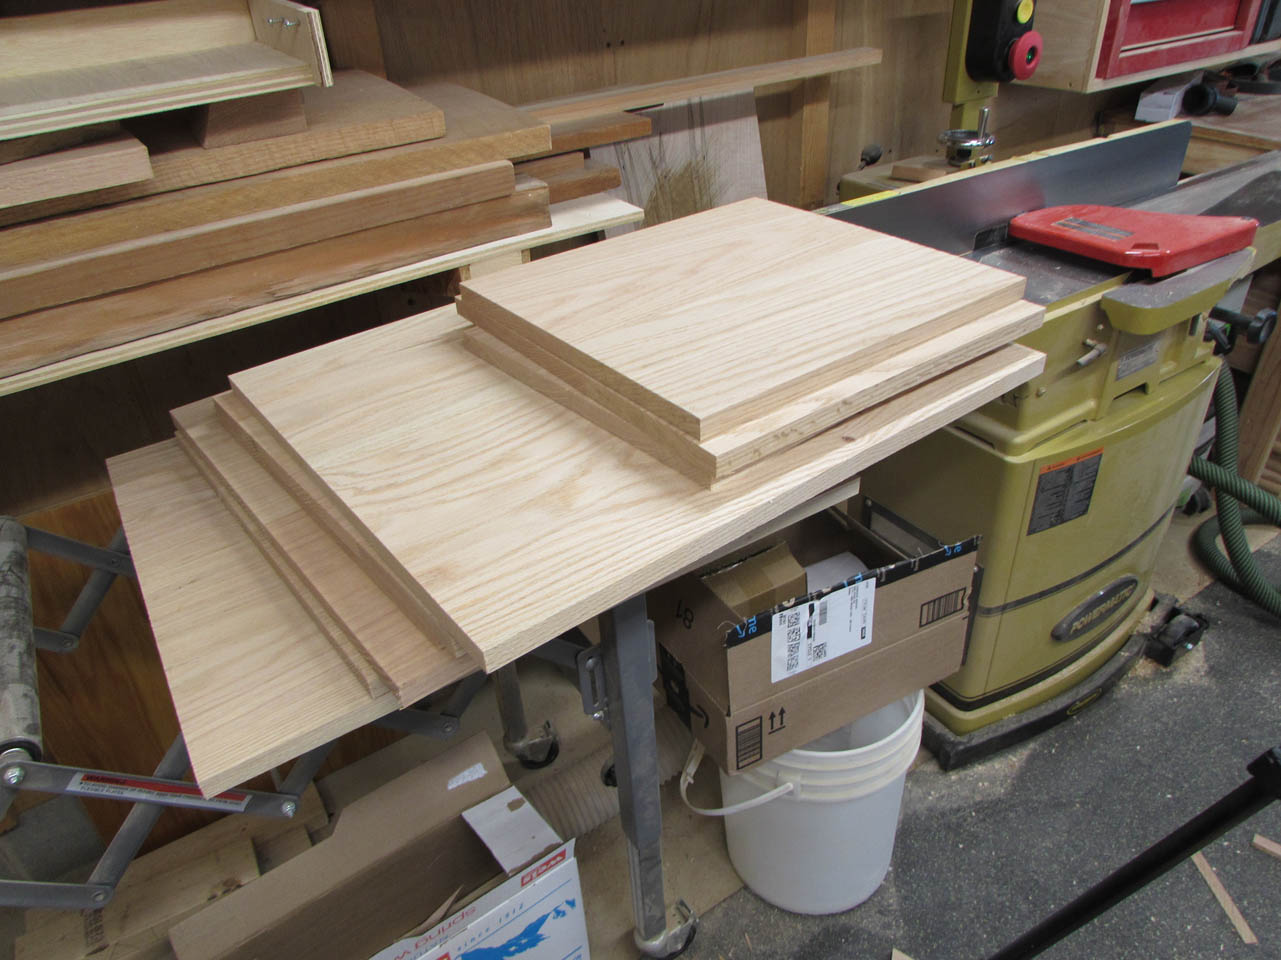
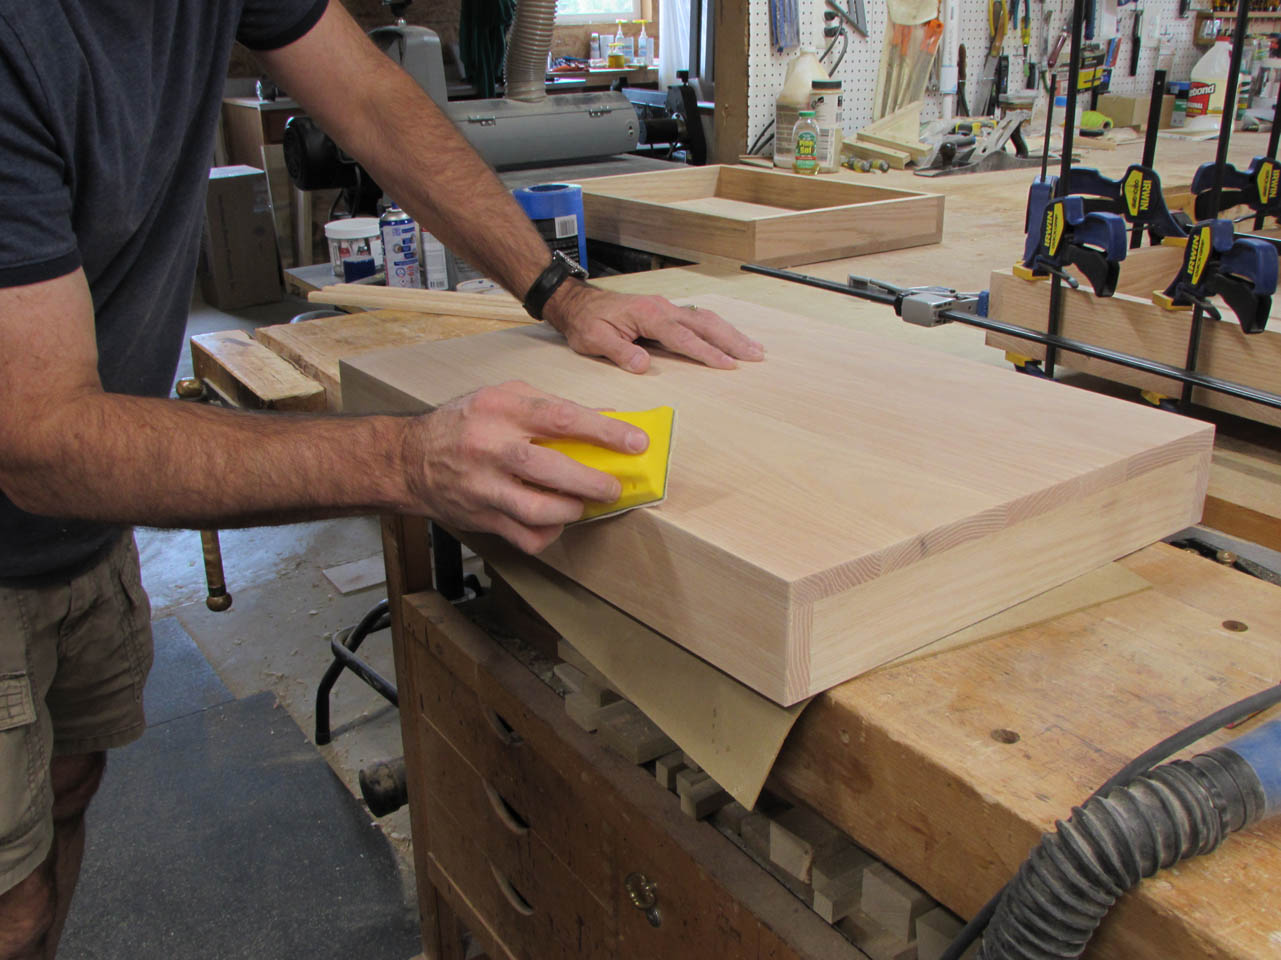
Before I start assembling the top and base, I need to sand all the glue joints flat and remove any dried glue. I also do the finish sanding of the larger faces. I can get all the edges after assembling the top and base.

Nearly all of my pieces are complete and sanded.
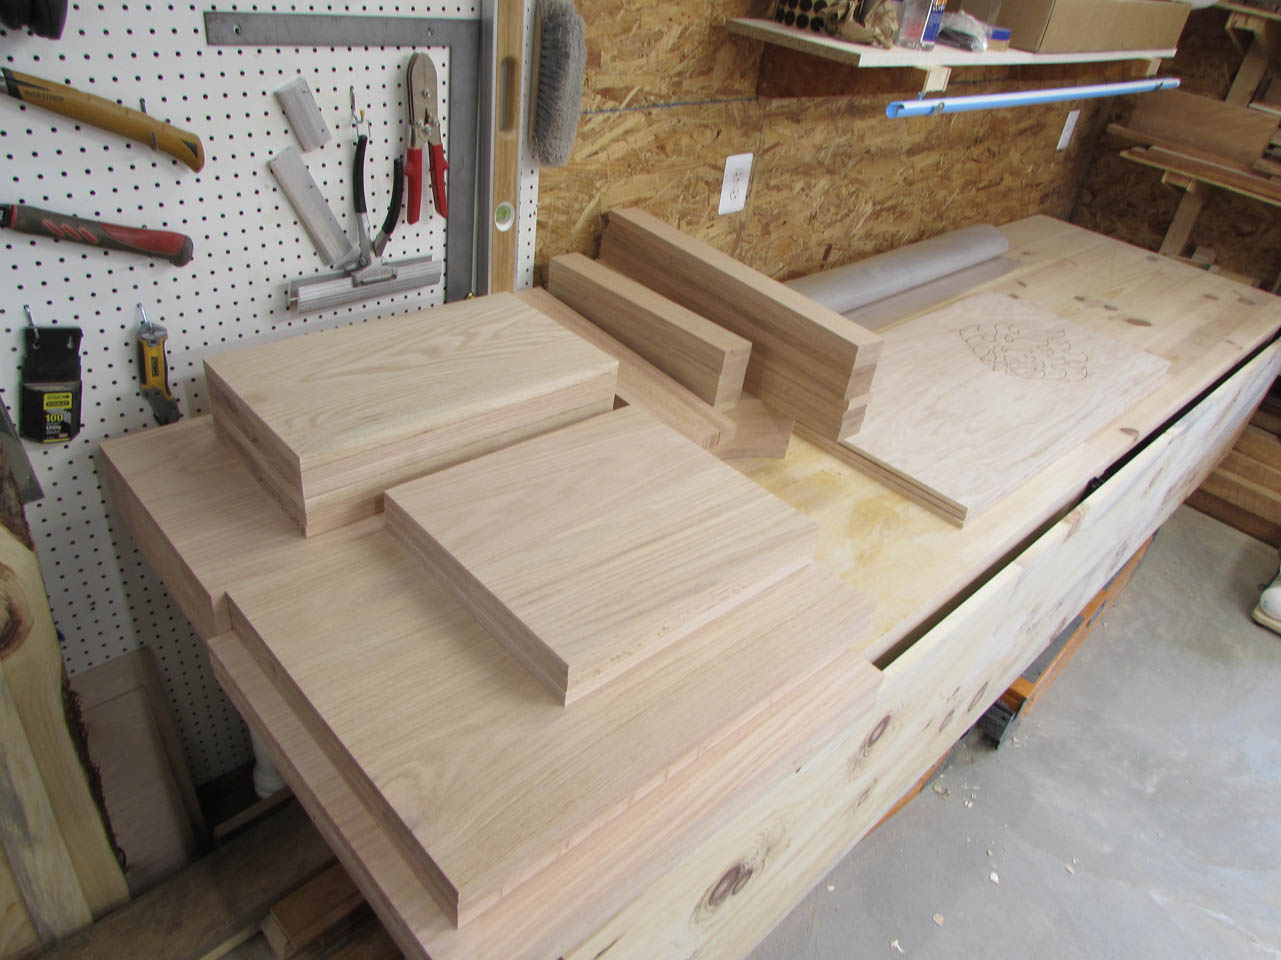
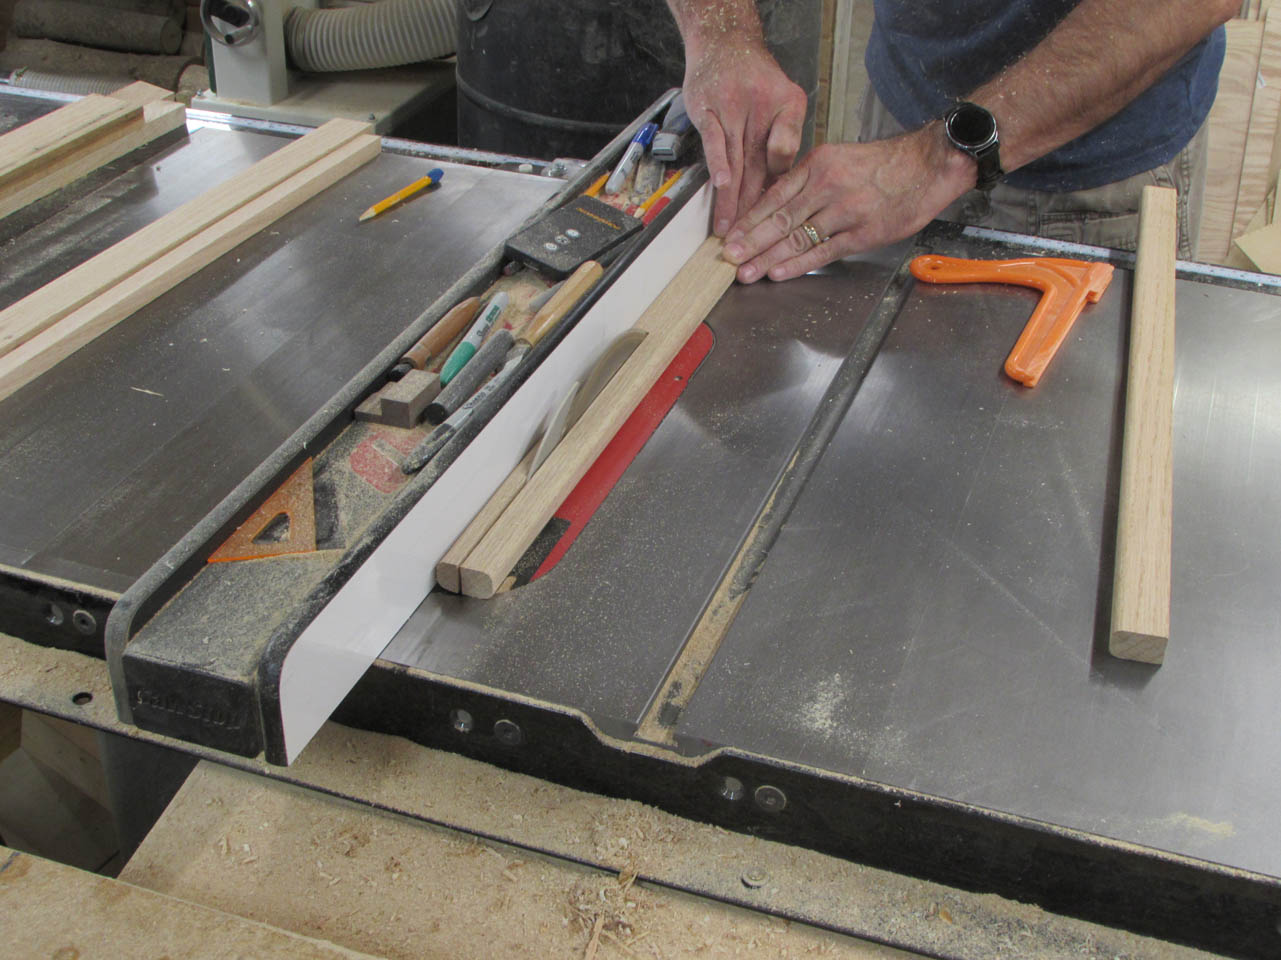
I have one piece left before I start assembling. The desk on top is angled so that it is easier to see what is on it, but to prevent your books from sliding off, I need a small lip. Since people will probably be resting their arms across this lip, it will need to be rounded and comfortable.
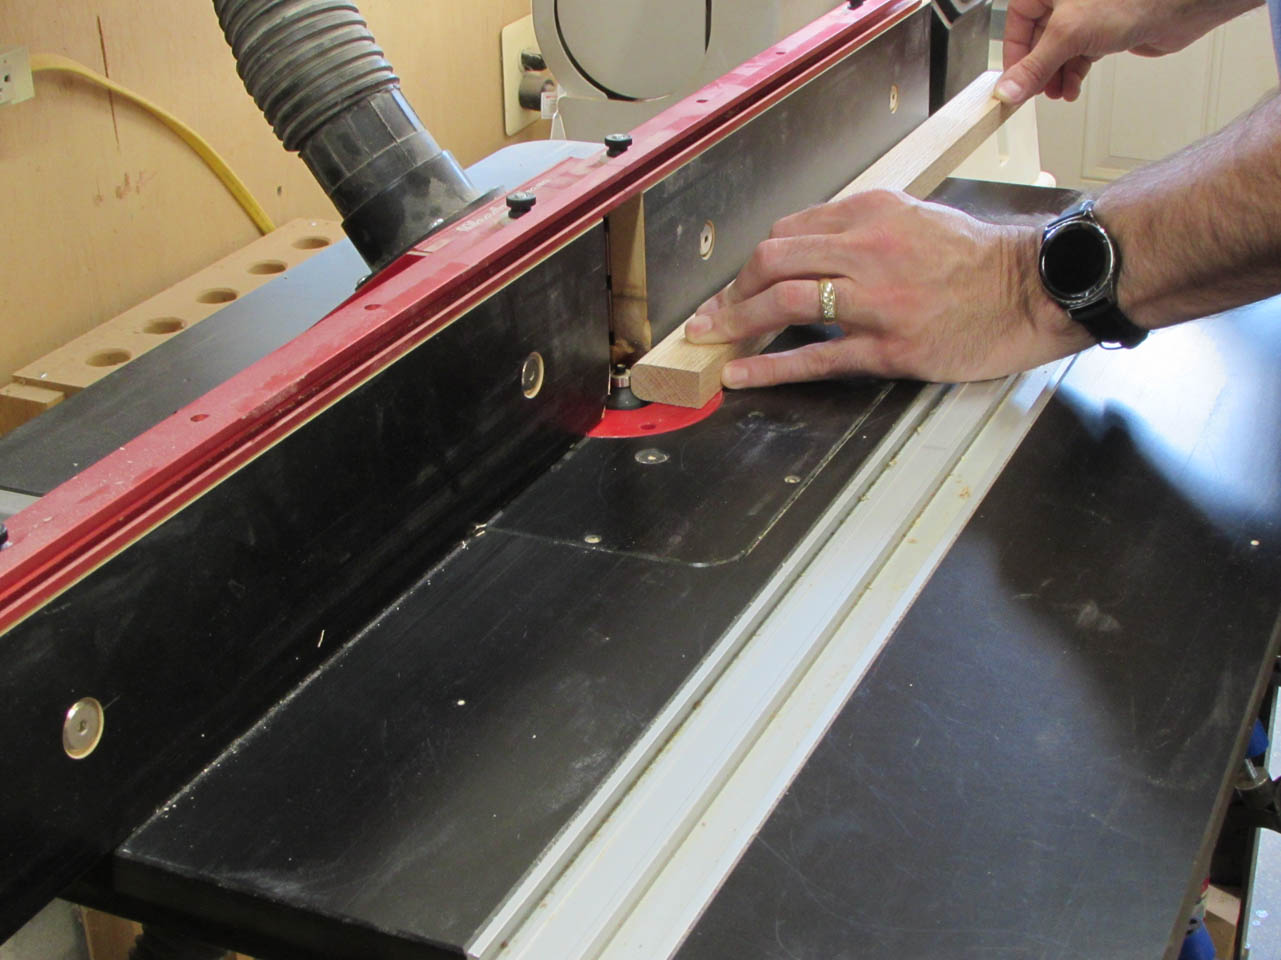
I grabbed a couple of 24″ long off-cuts and cut a 1/4″ radius onto each corner with my router table.

Next, I set the table saw fence to cut a 1/2″ wide strip, and cut off the rounded sides from the boards.
These strips will be cut to length later at final assembly.

While stacking all of my finished pieces, I happened to notice a defect on the surface of one of the plywood fronts that I laser engraved. It looked like a blister in the daylight coming through the back window.
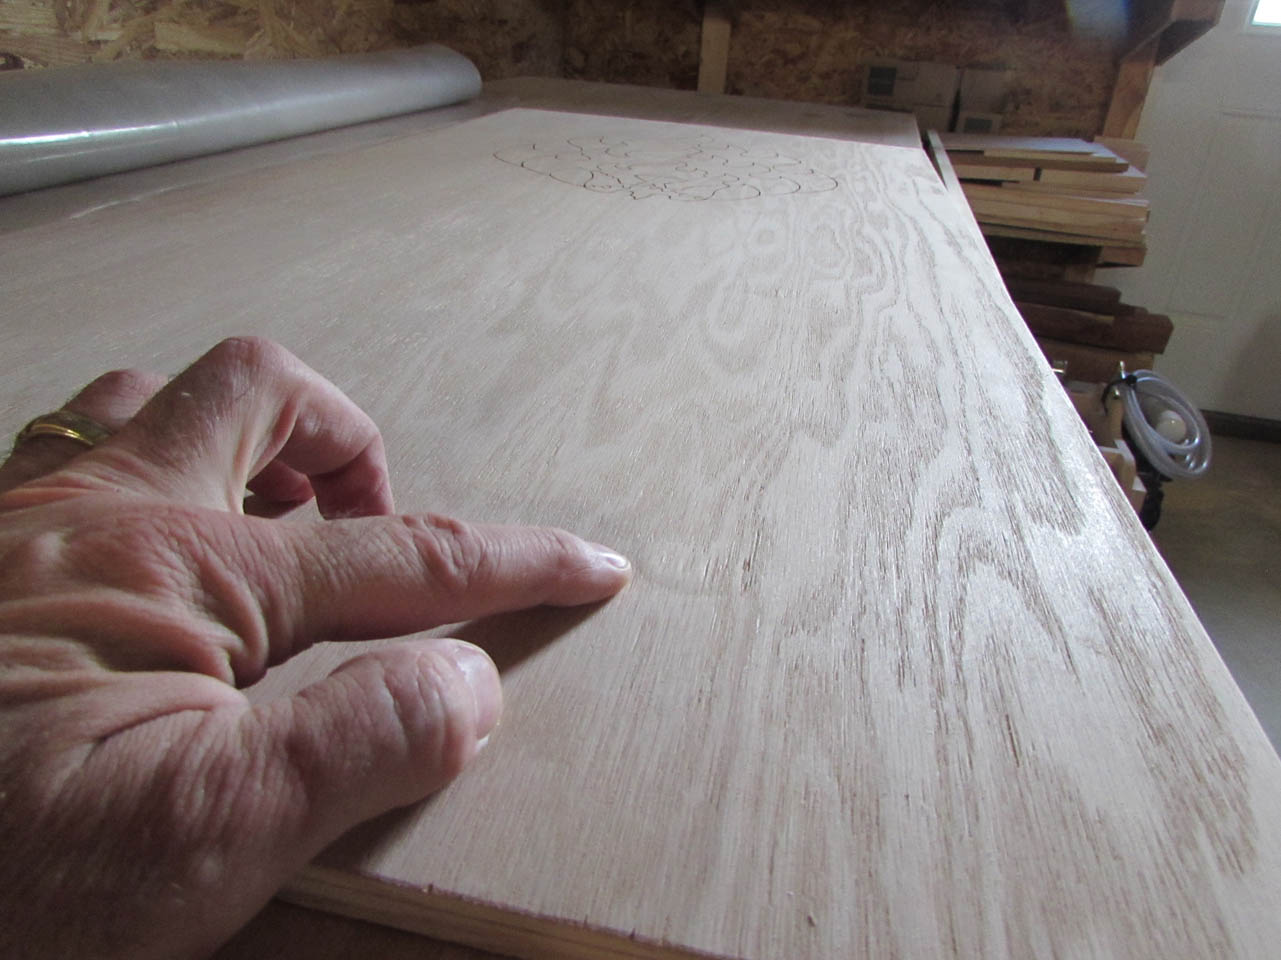
I flicked it and it sounded like paper. I knew that this indicated a void in the plywood, probably a knot hole in one of the veneer layers. I know I cannot use this board so I poked at the spot to find the extent on the hole.
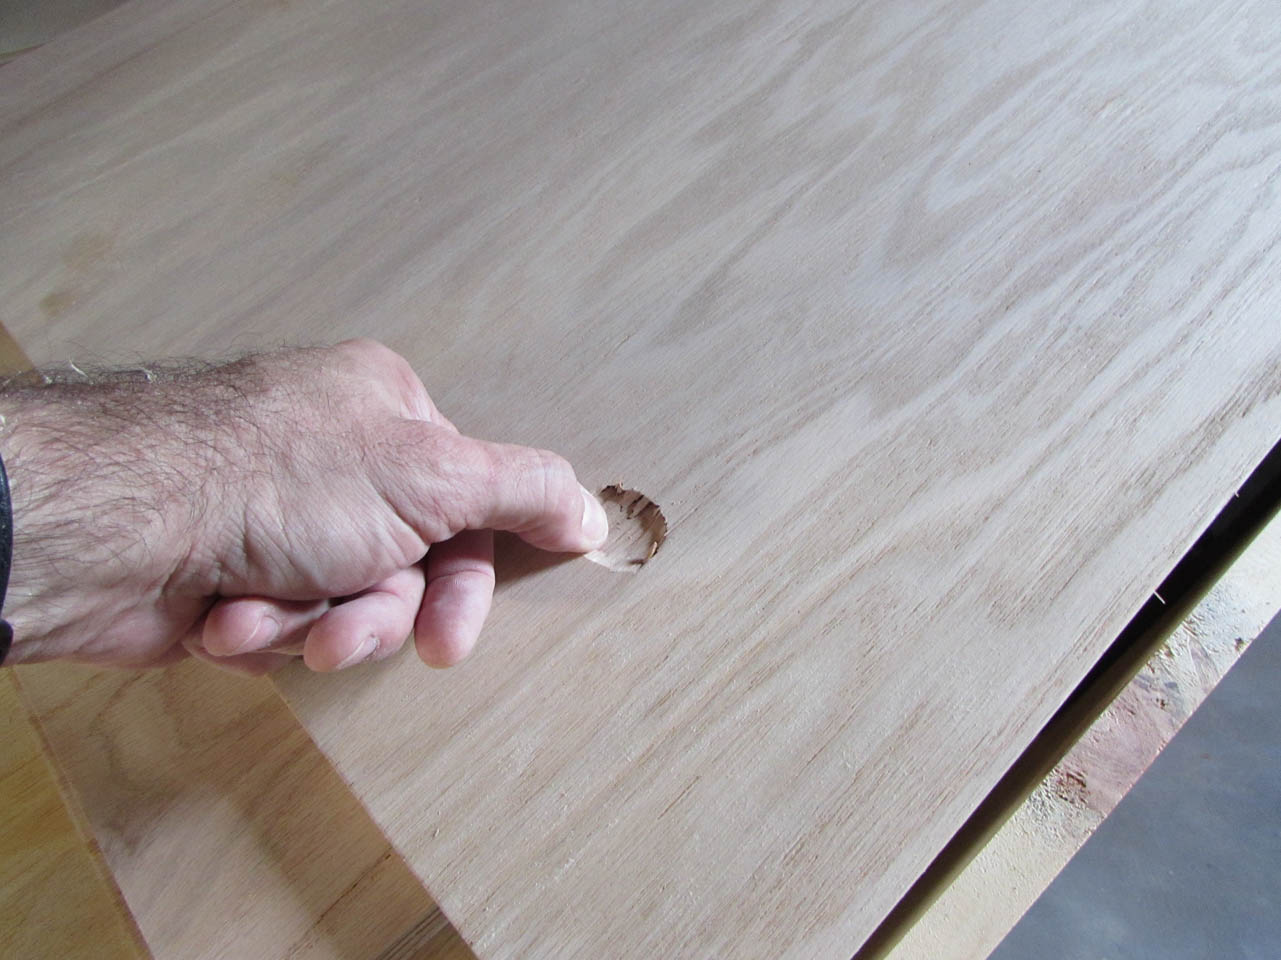
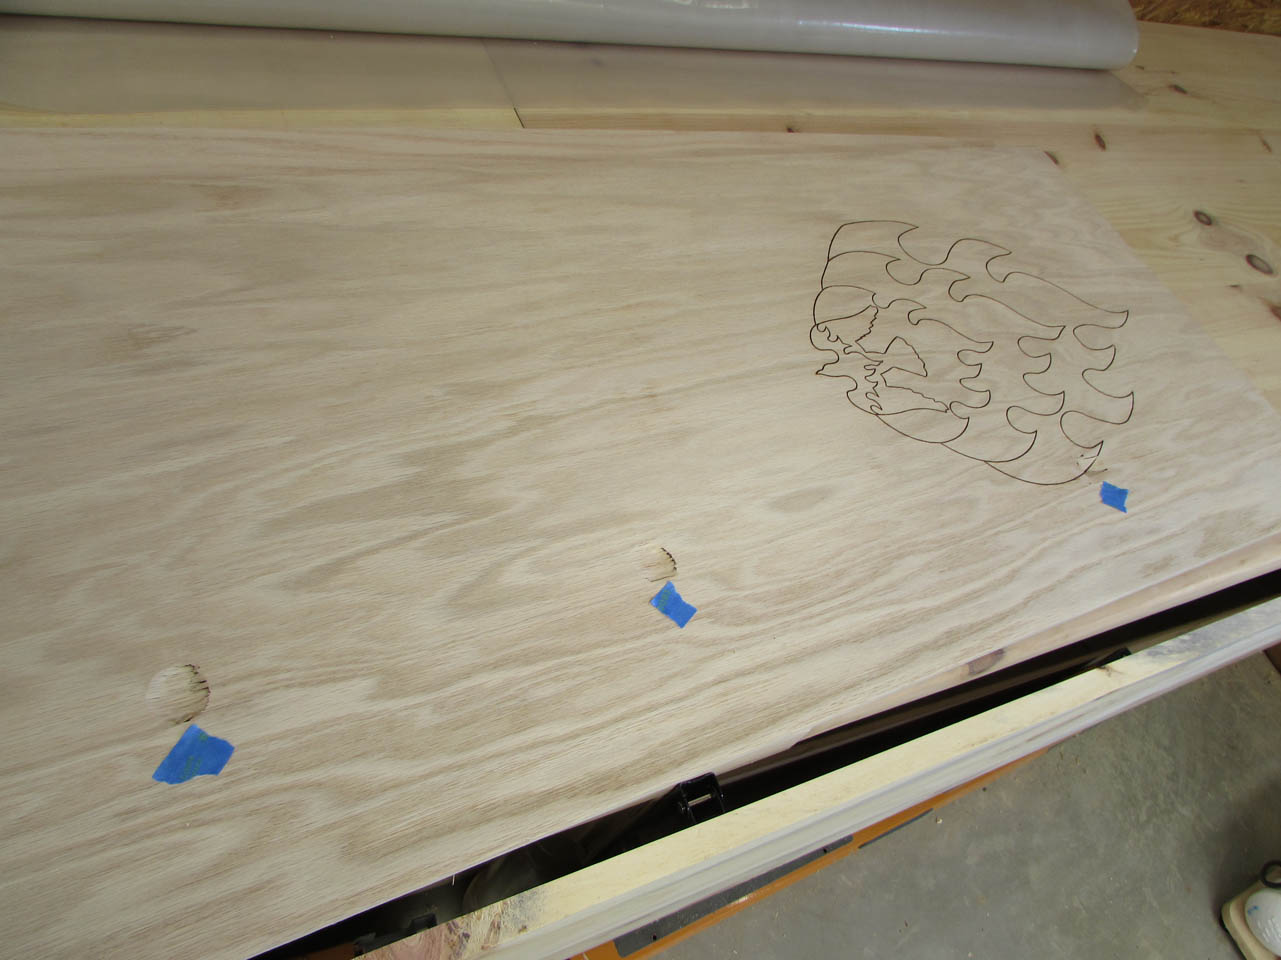
Upon further inspection, I found this problem on just one board, but in three places. This sheet has been added to my scrap pile and I ran out to buy another sheet to replace it.

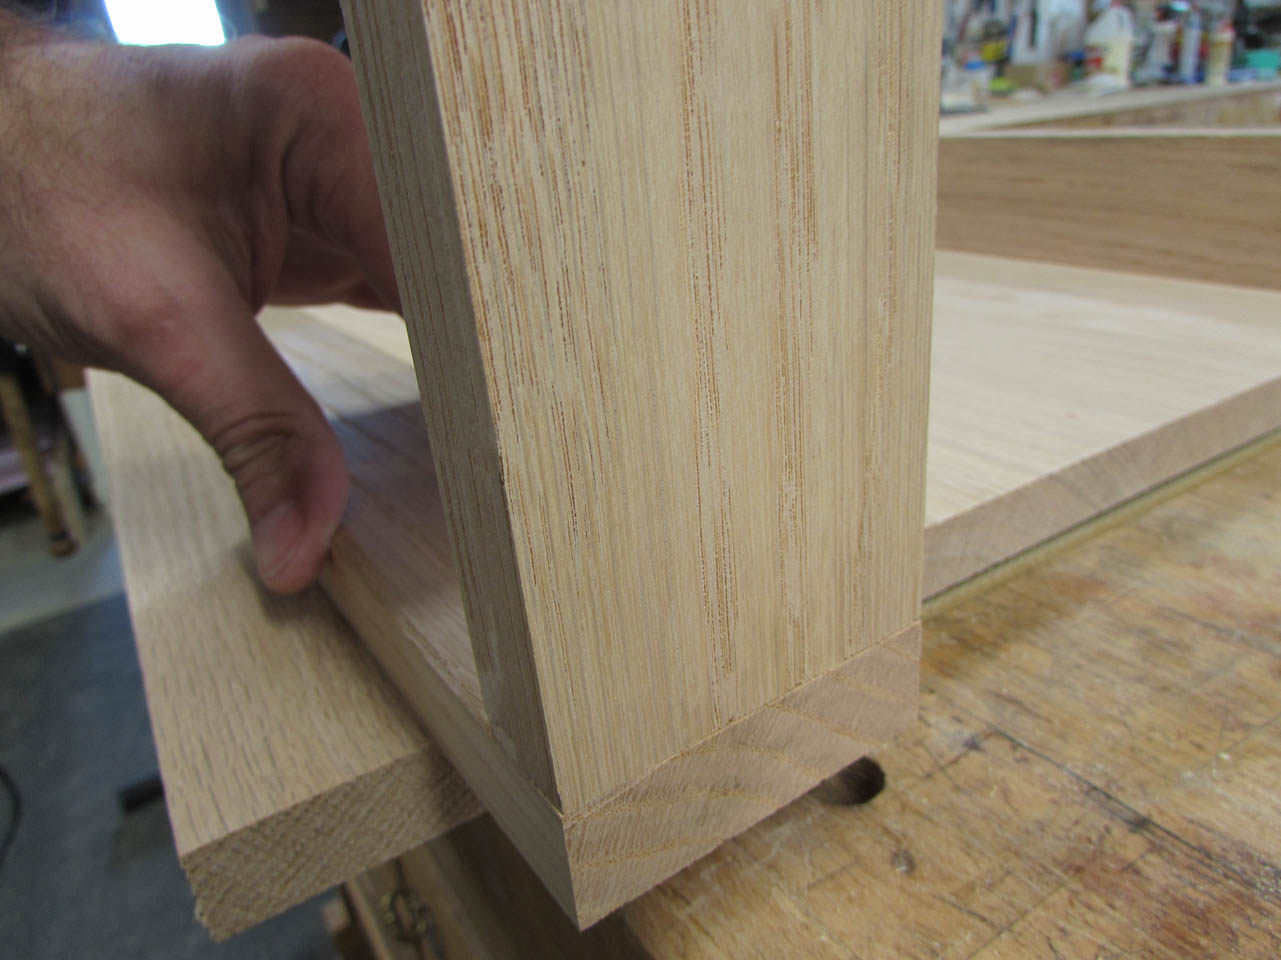
Now that I am done with the panels, I took the opportunity to round off my side pieces. I found a 1″ diameter cylinder, left-over from a lathe project, and used that to trace a 1/2″ radius onto the corner.

I took the pieces over to my 6″ wide belt sander and carefully sanded the sharp corner away until I had my radius.

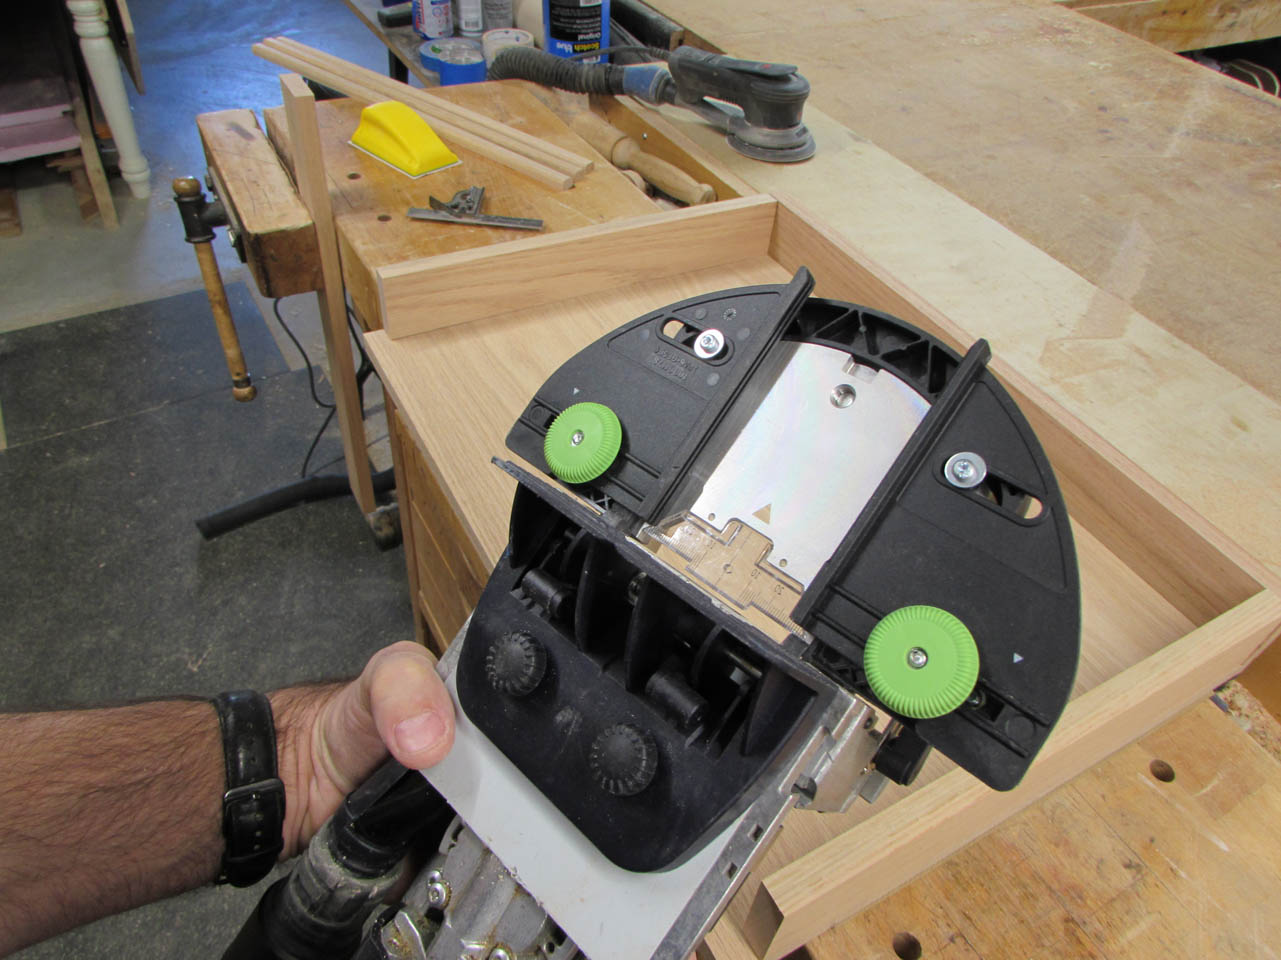
Now it is time to start creating sub-assemblies. I am starting with the bases. Face gluing the edges to the base will be perfectly strong enough, but the joint where the end of the boards come together will not make a strong joint. I want to strengthen it with a tenon so that there is a good strong glue bond.

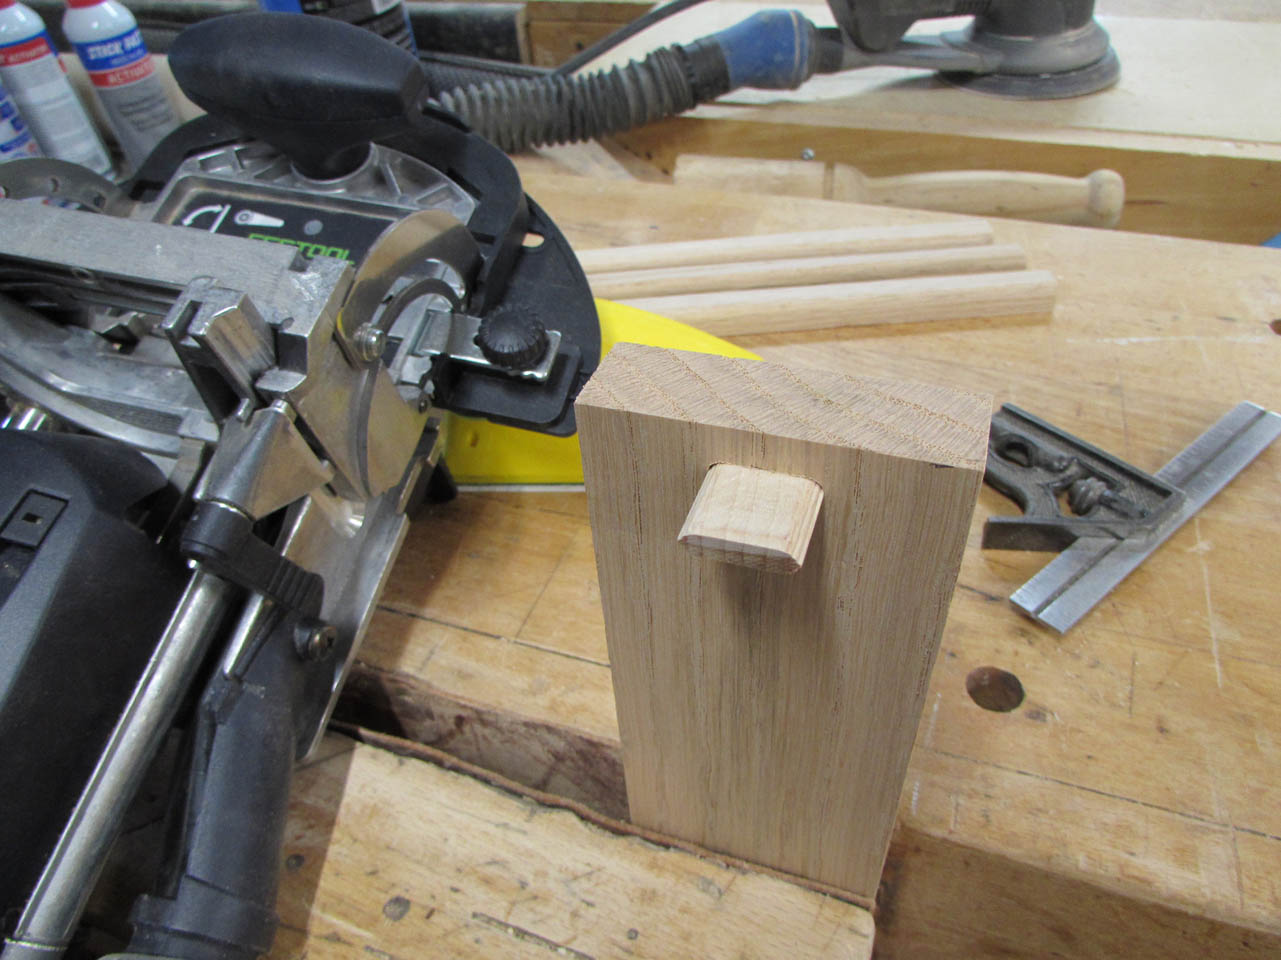
I am going to use my Domino jointer for this. I have a guide that I can set to the 2-1/2″ width and line up the cutter centered on the end of the short boards and the face of the longer boards to cut the mortise.


The tenon is a tight fit into the mortise and gives a good glue surface to create a tight joint.


I dry-fit the frame to make sure it will all work well.
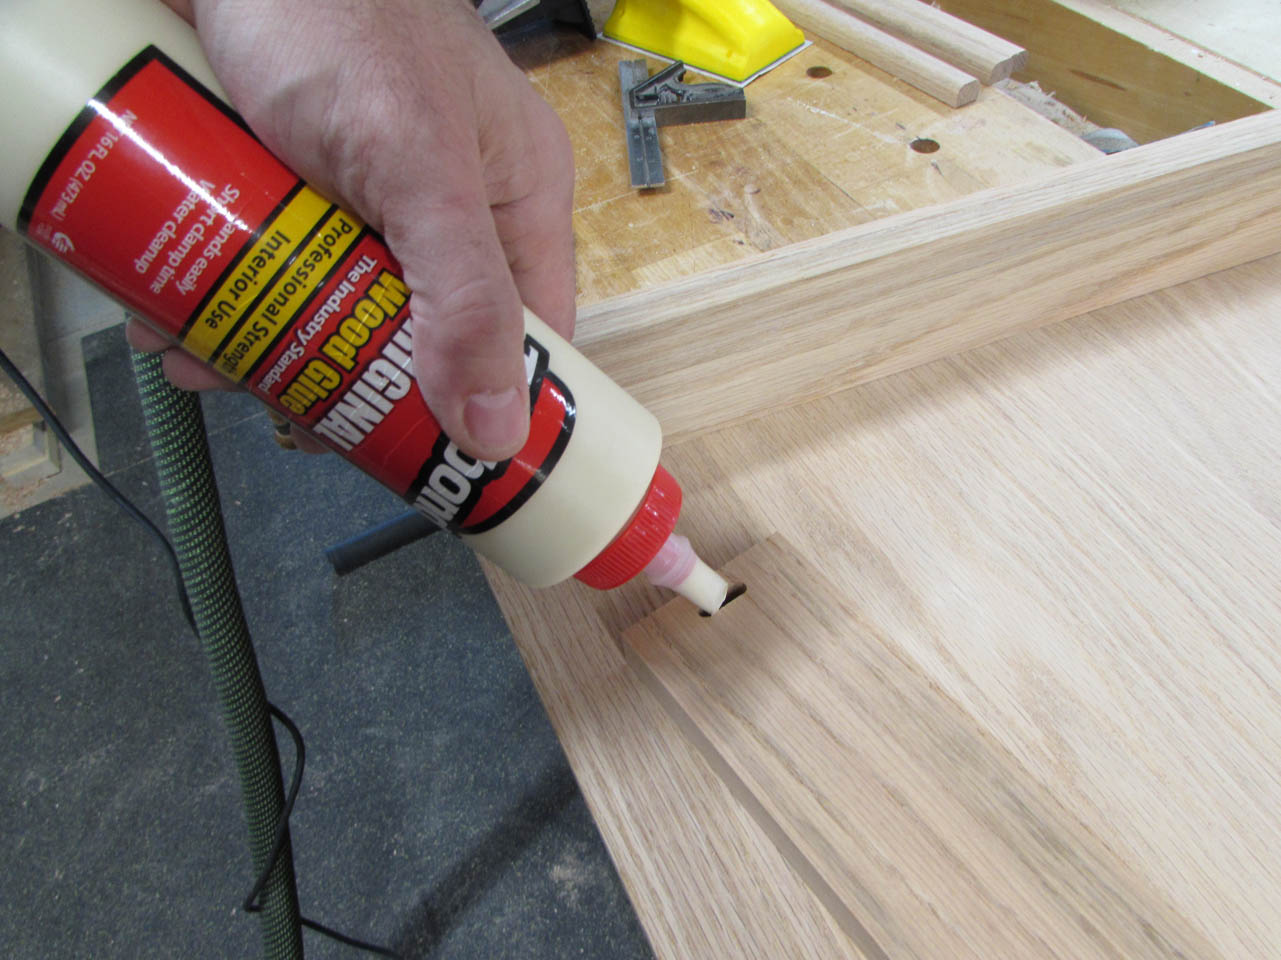
Then add glue to all the joints and mortises.
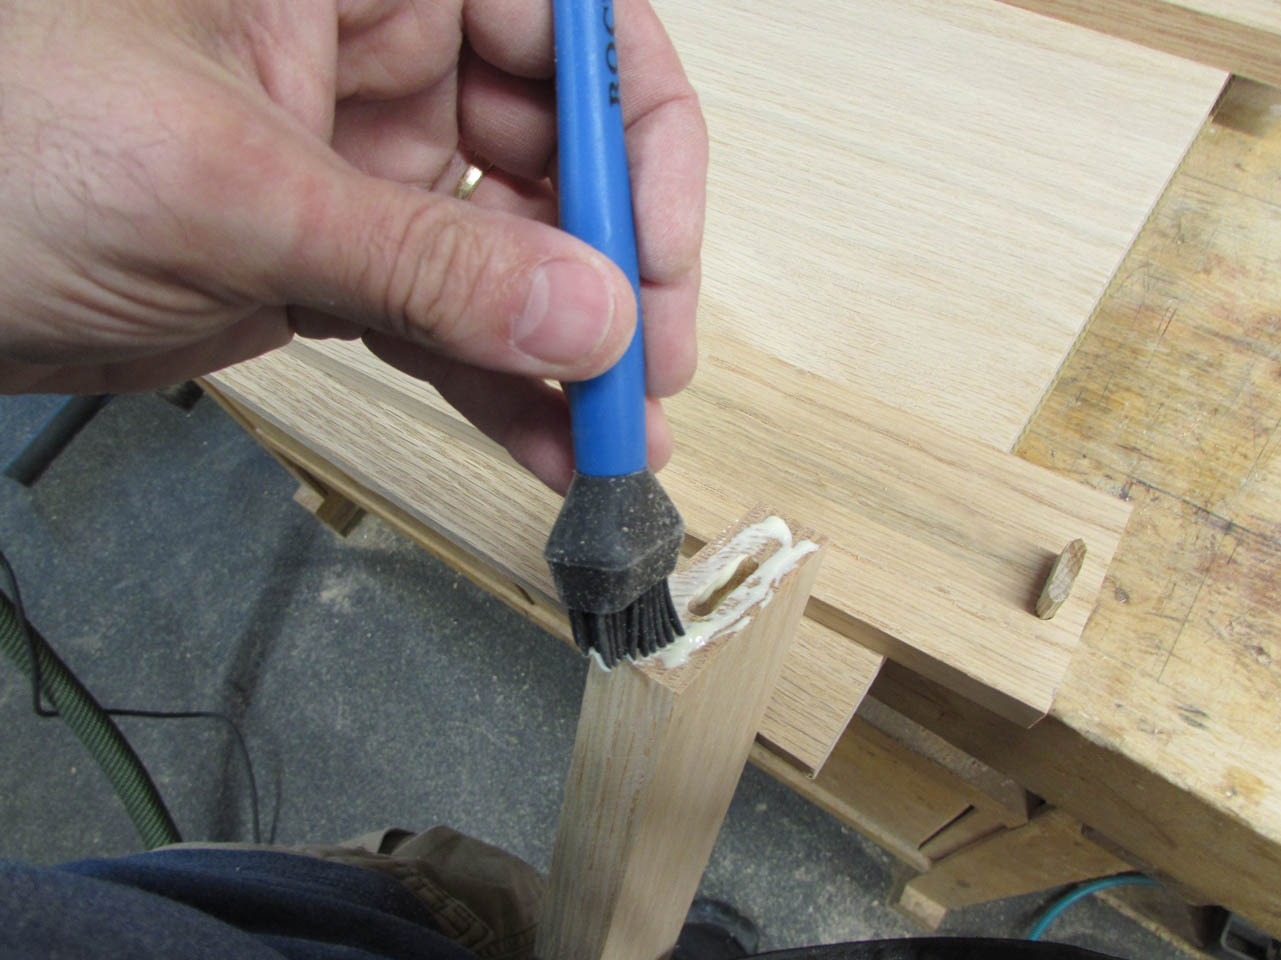

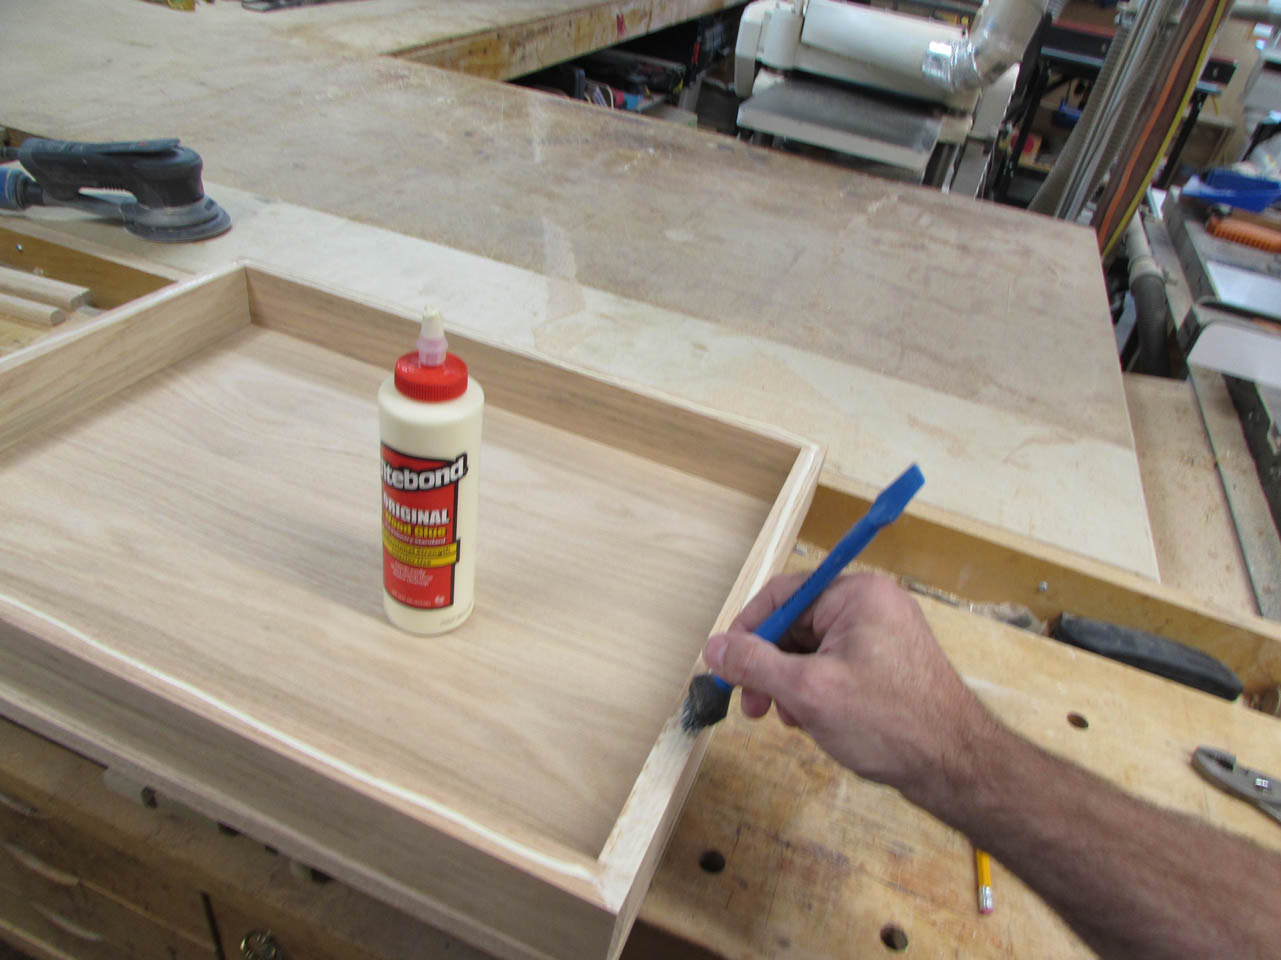
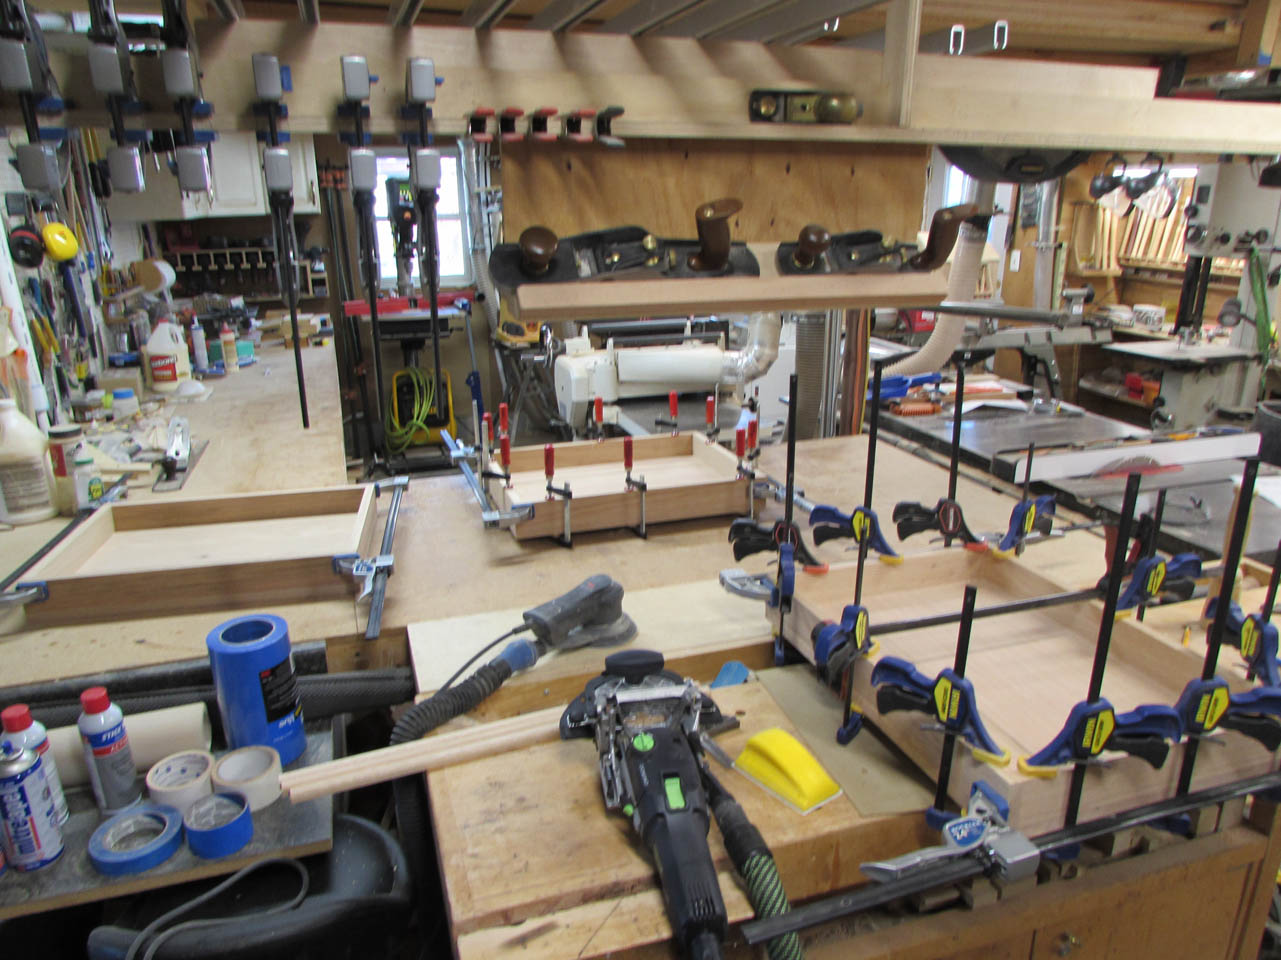
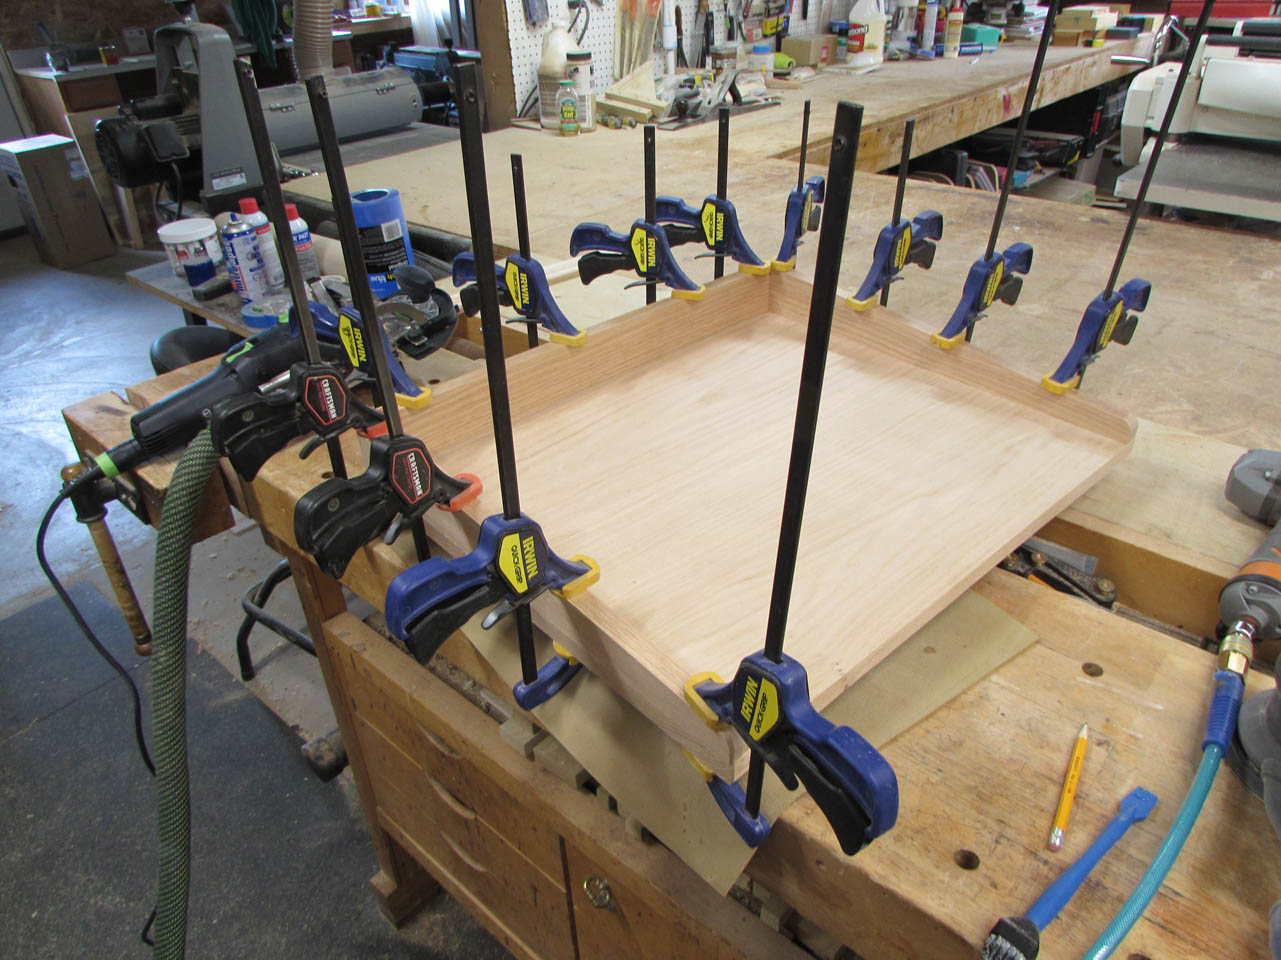
Once assembled, I spread a layer of glue along the top of the frame and clamp it to the base board.

While I was working on that, I was also running the laser, engraving the replacement front panel. While those bases were drying, I went ahead and sanded down the newly engraved panel.

After I pulled the clamps, I did a test fit of the casters I bought for the mobile bases. I left 1/4″ of clearance from the bottom of the base to the bottom of the casters. That should give enough clearance to move around without having much of a visible gap below.


The bases are dry enough to start sanding. I use my orbital to sand all the joined edges flush and hand sand all of the corners and edges so that they are not sharp.
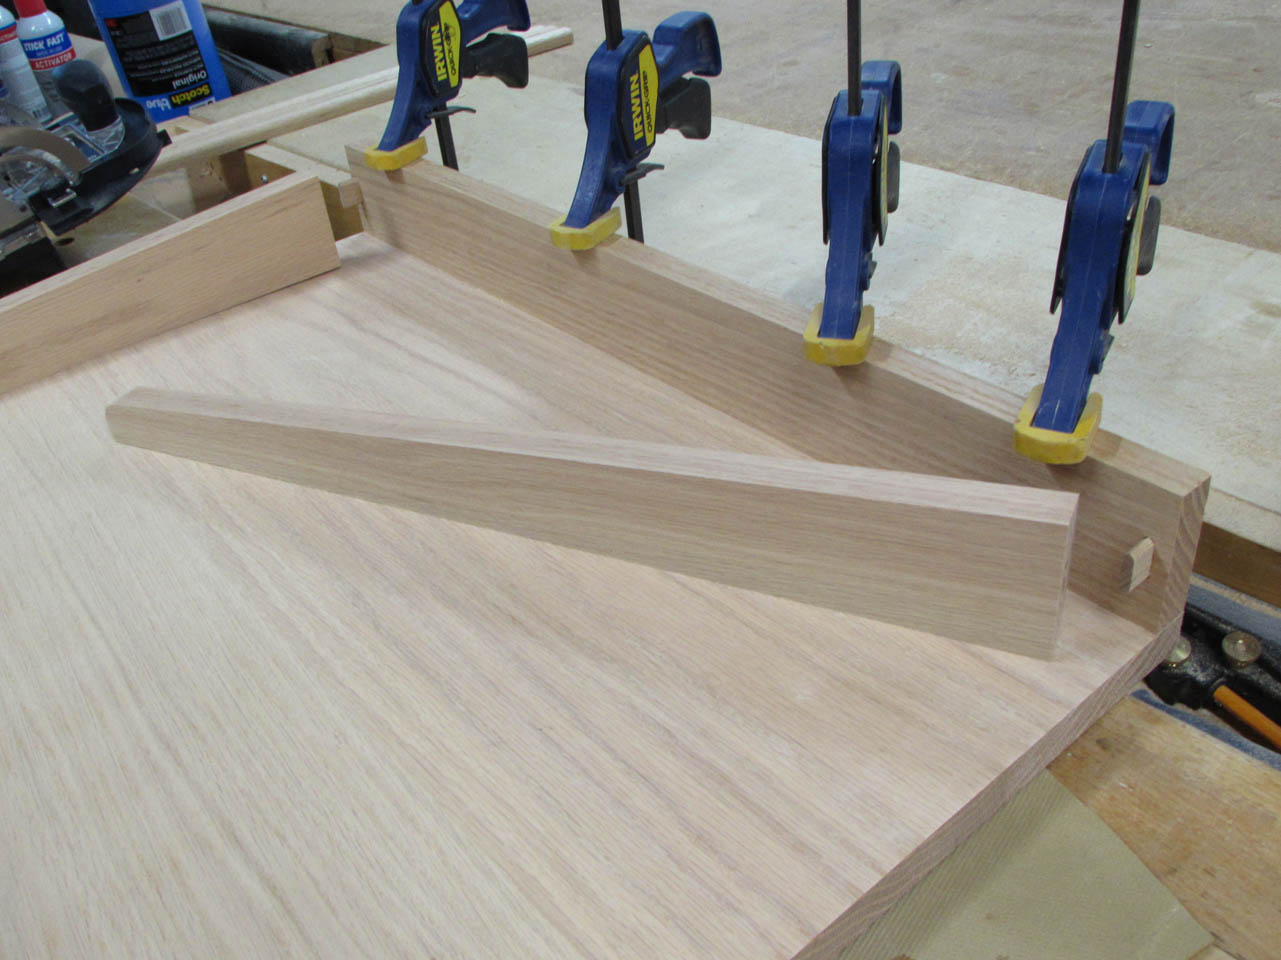
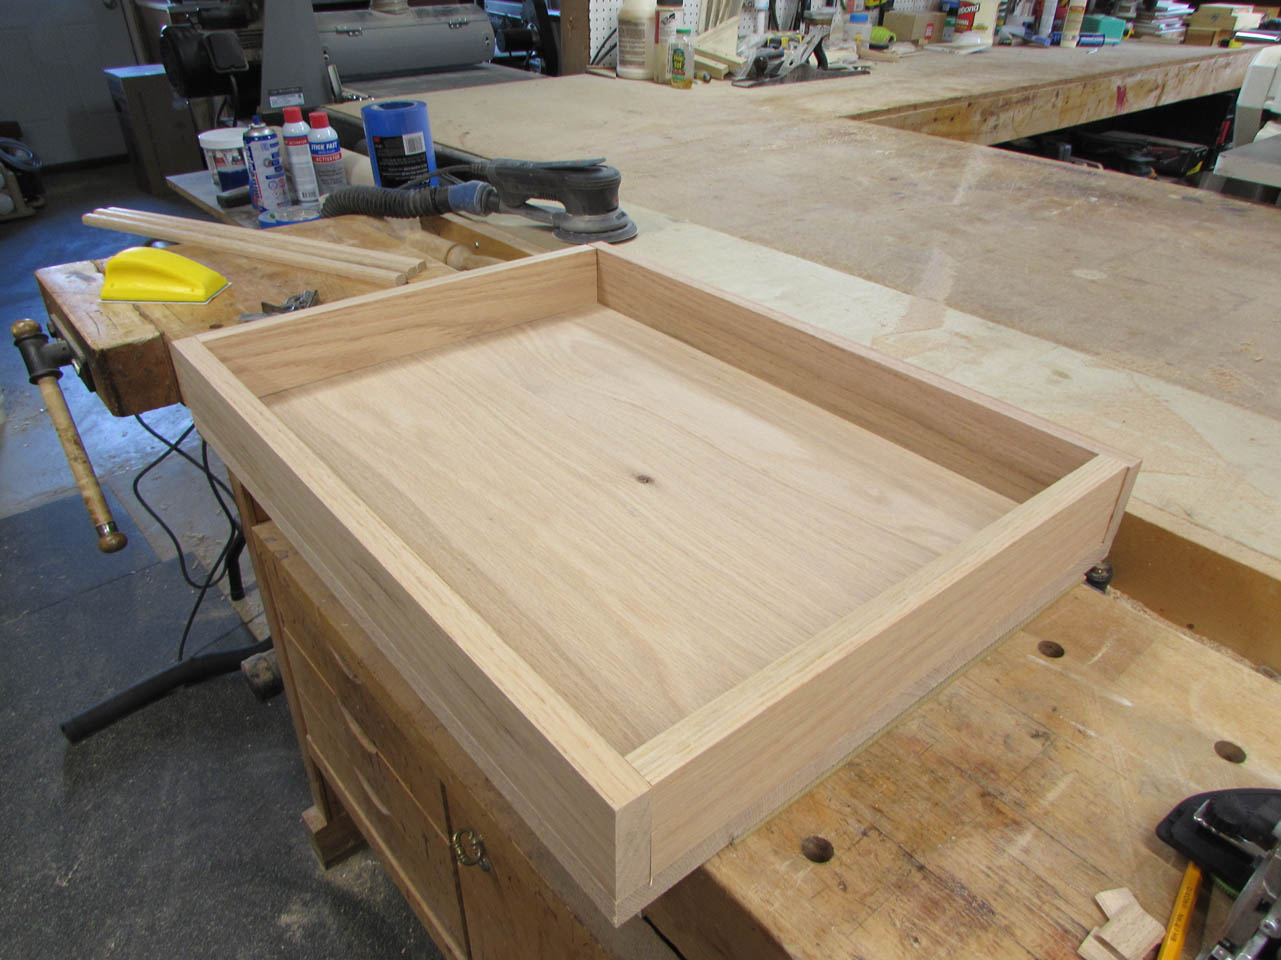
With the bases out of the way, I repeat the process with the top assembly.
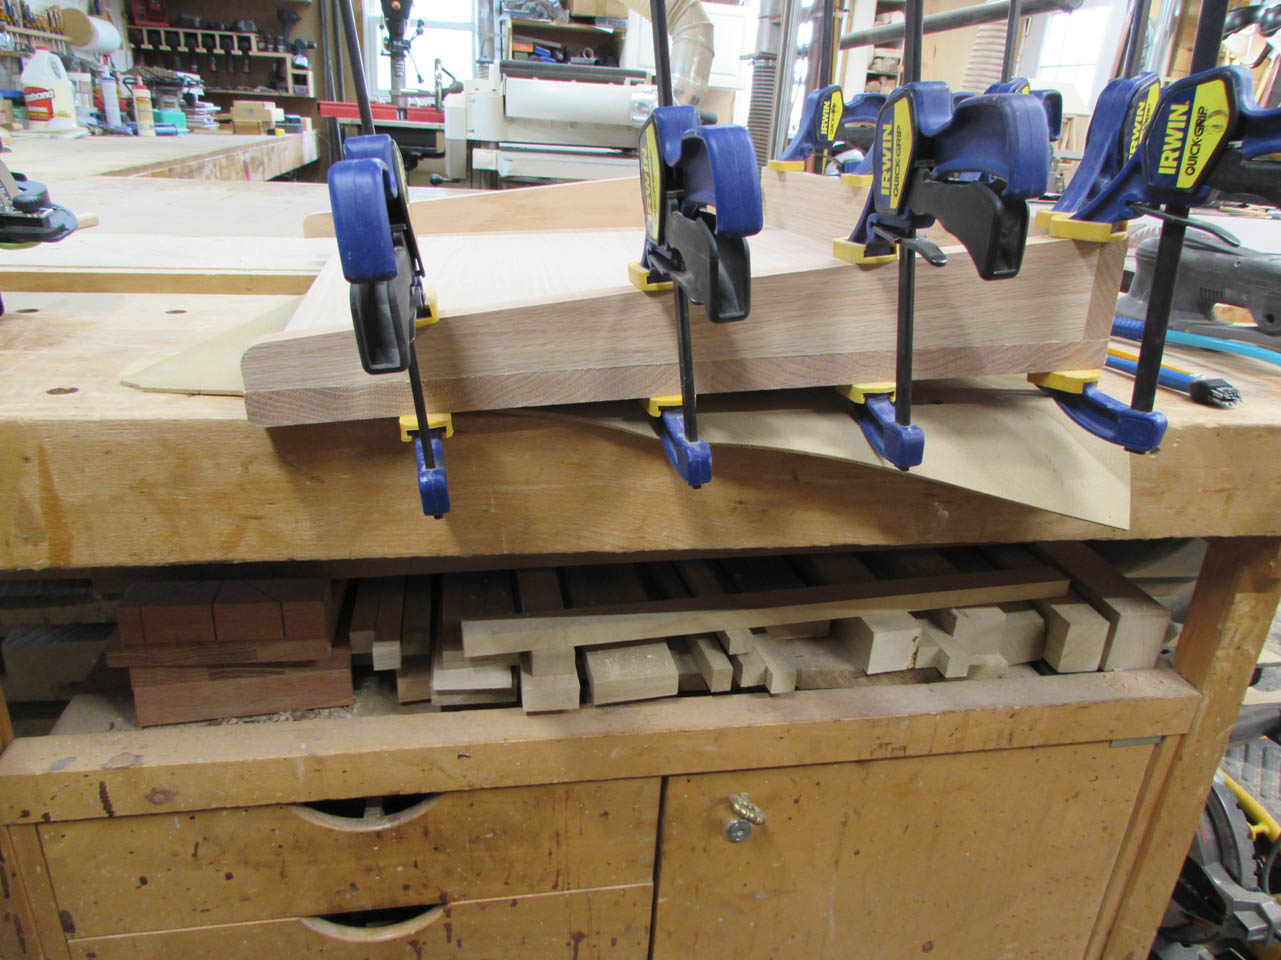
This is a little quicker since there are only three sides to worry about.

Once those were dry enough, I pulled the clamps and then added the rounded bottom lip that I made earlier.
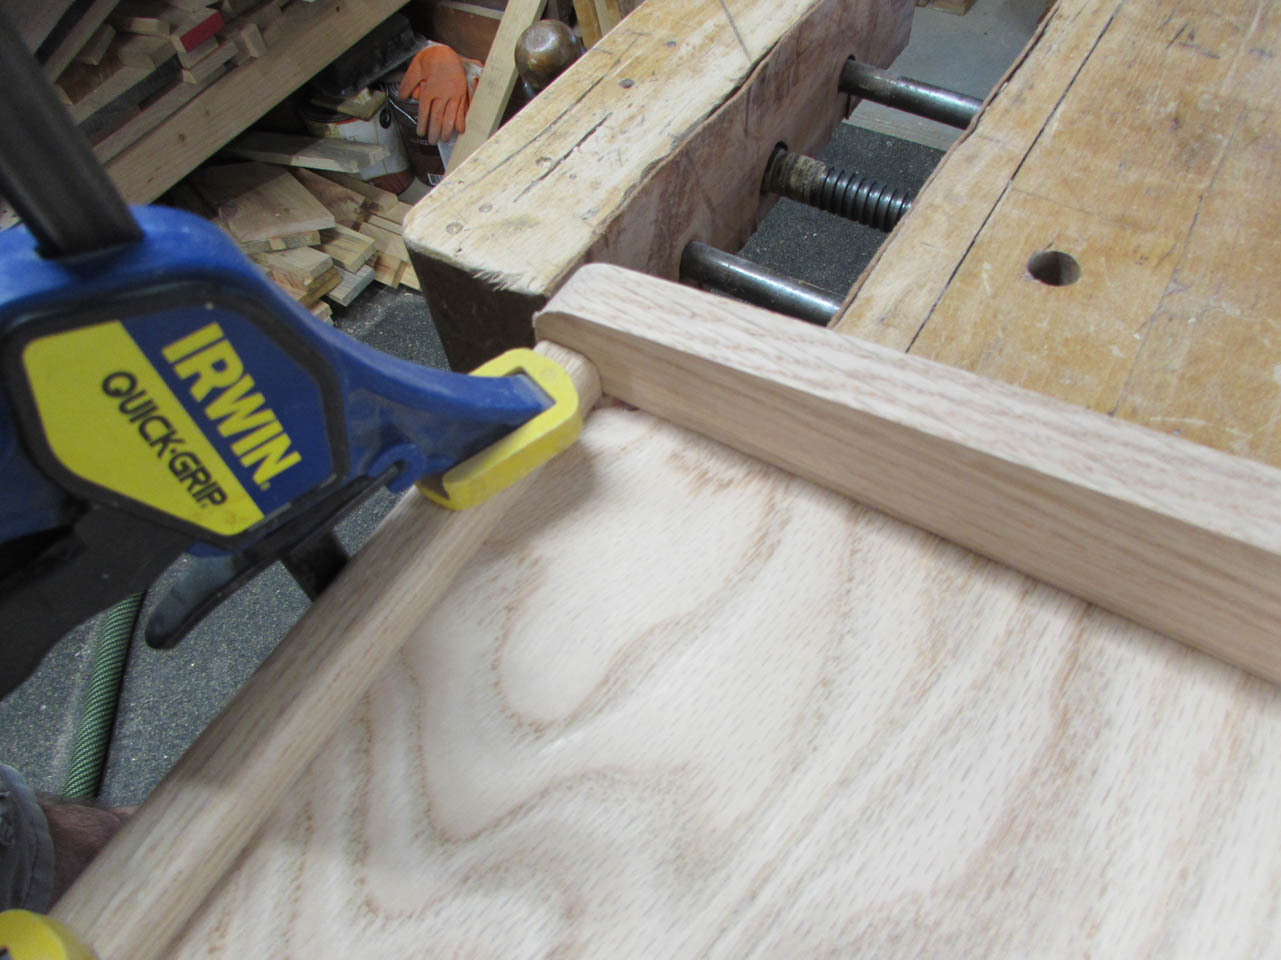
These were glued and clamped in place as well.
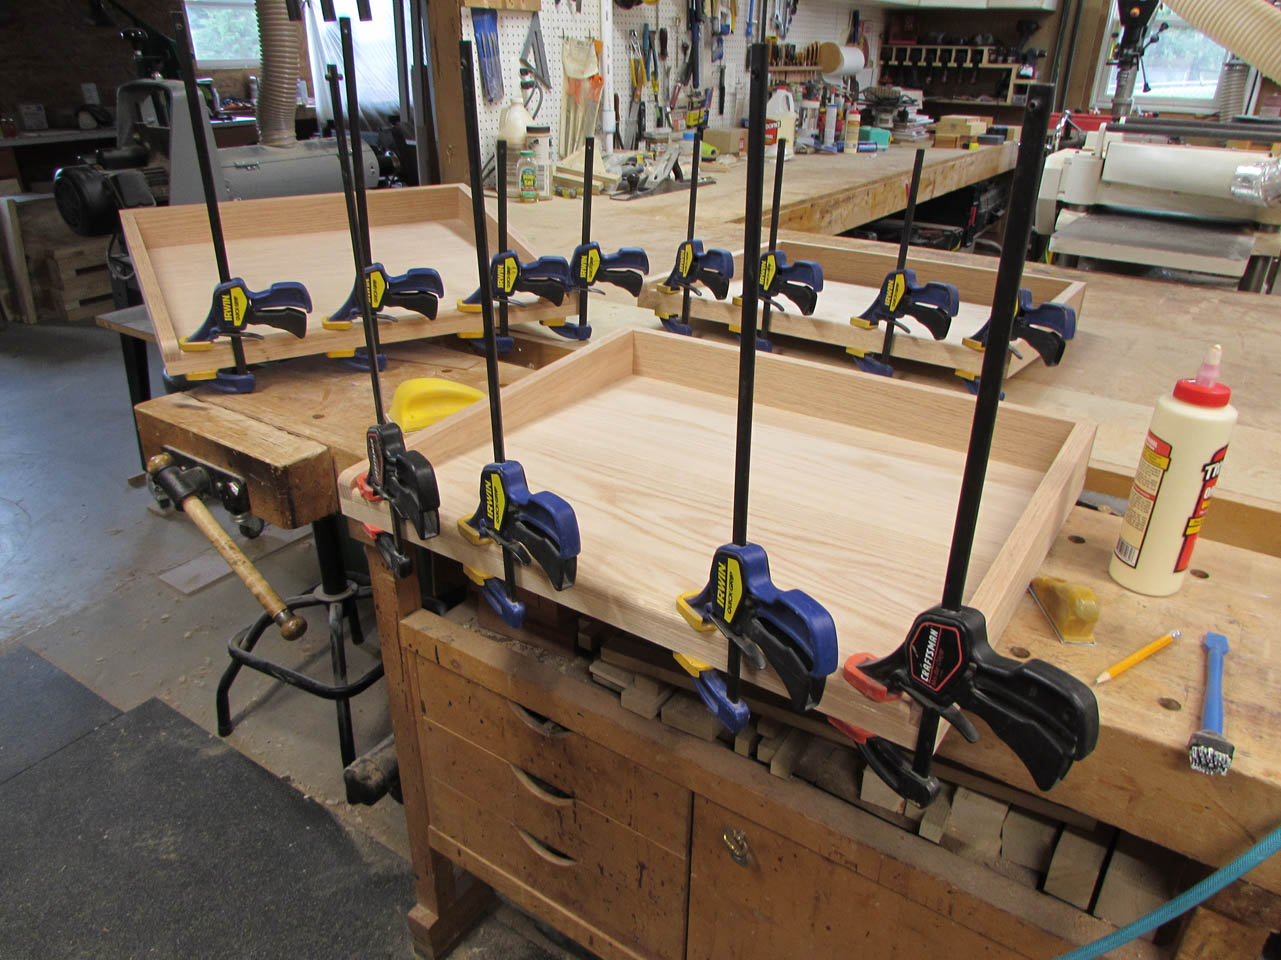
Top assemblies are done. I think that is all for today. Next step is to sand them down, then start working on the middle sections.

