
Portable podium for Holy Spirit church – part 1
I have another interesting project for Holy Spirit Church. This project is for their school. They want three portable podiums with internal shelving and a laptop shelf on the side. This is the design that I proposed: HSC podium.pdf.
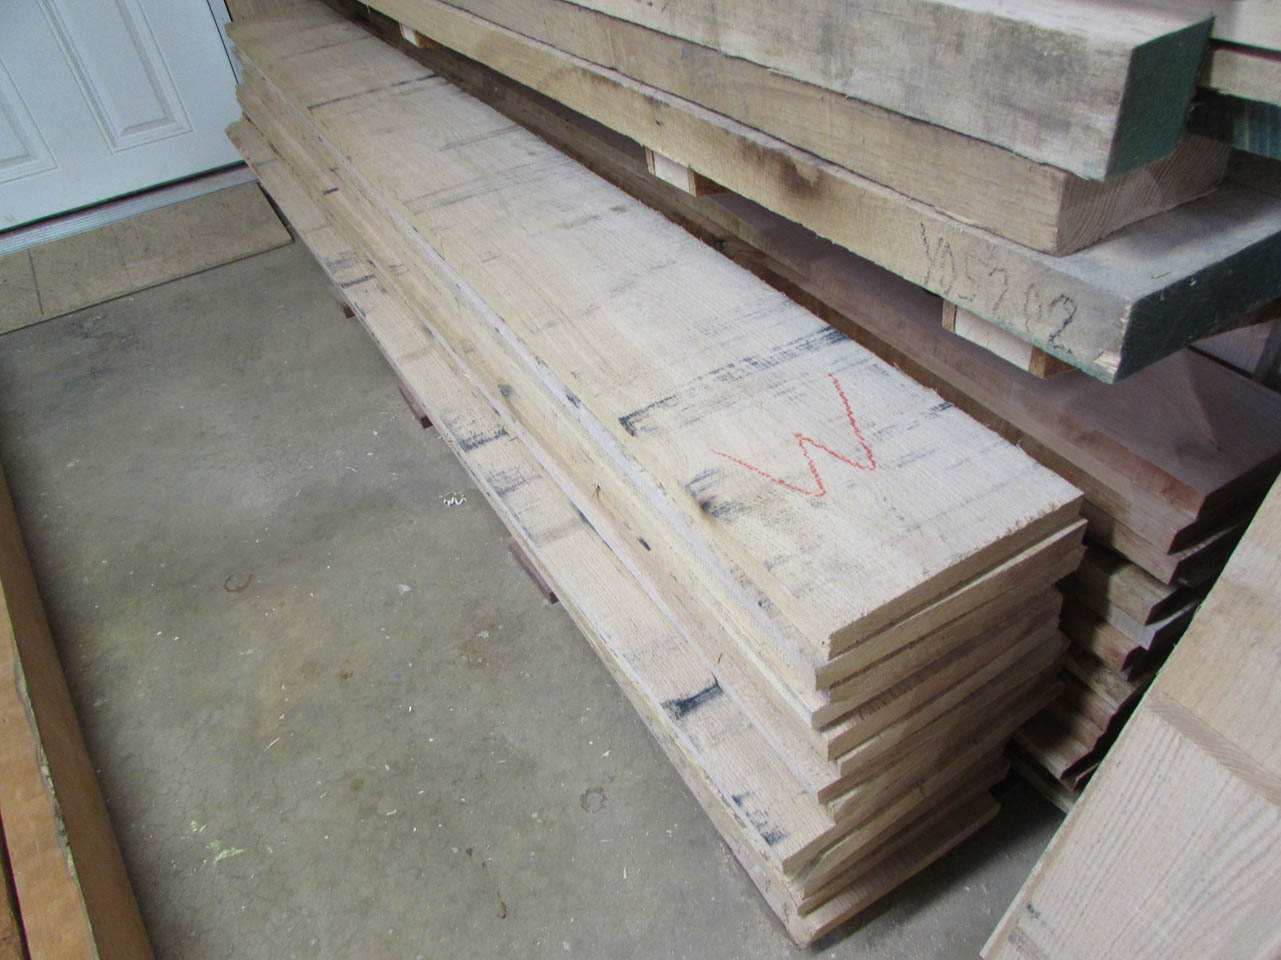
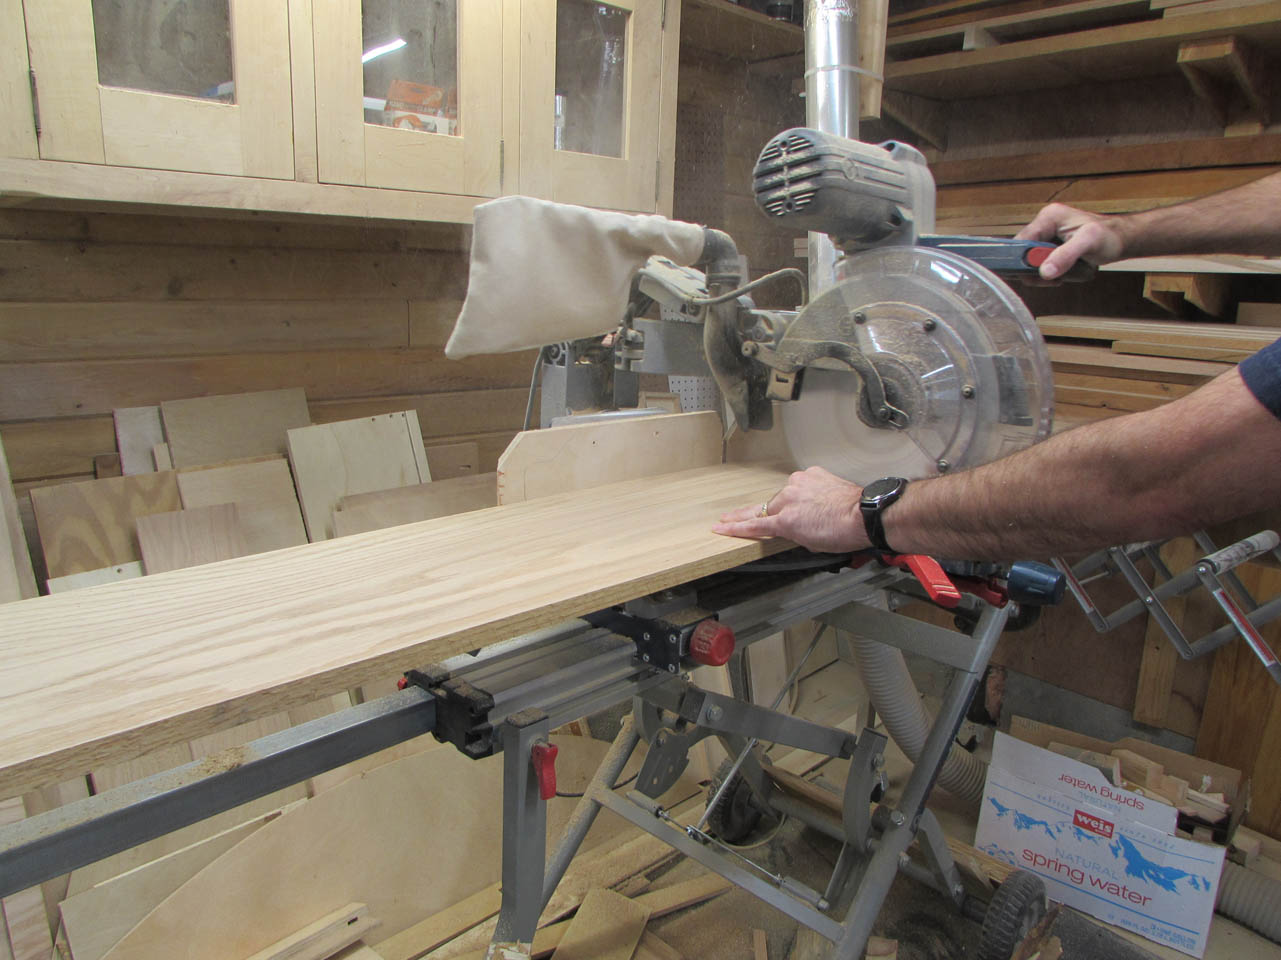
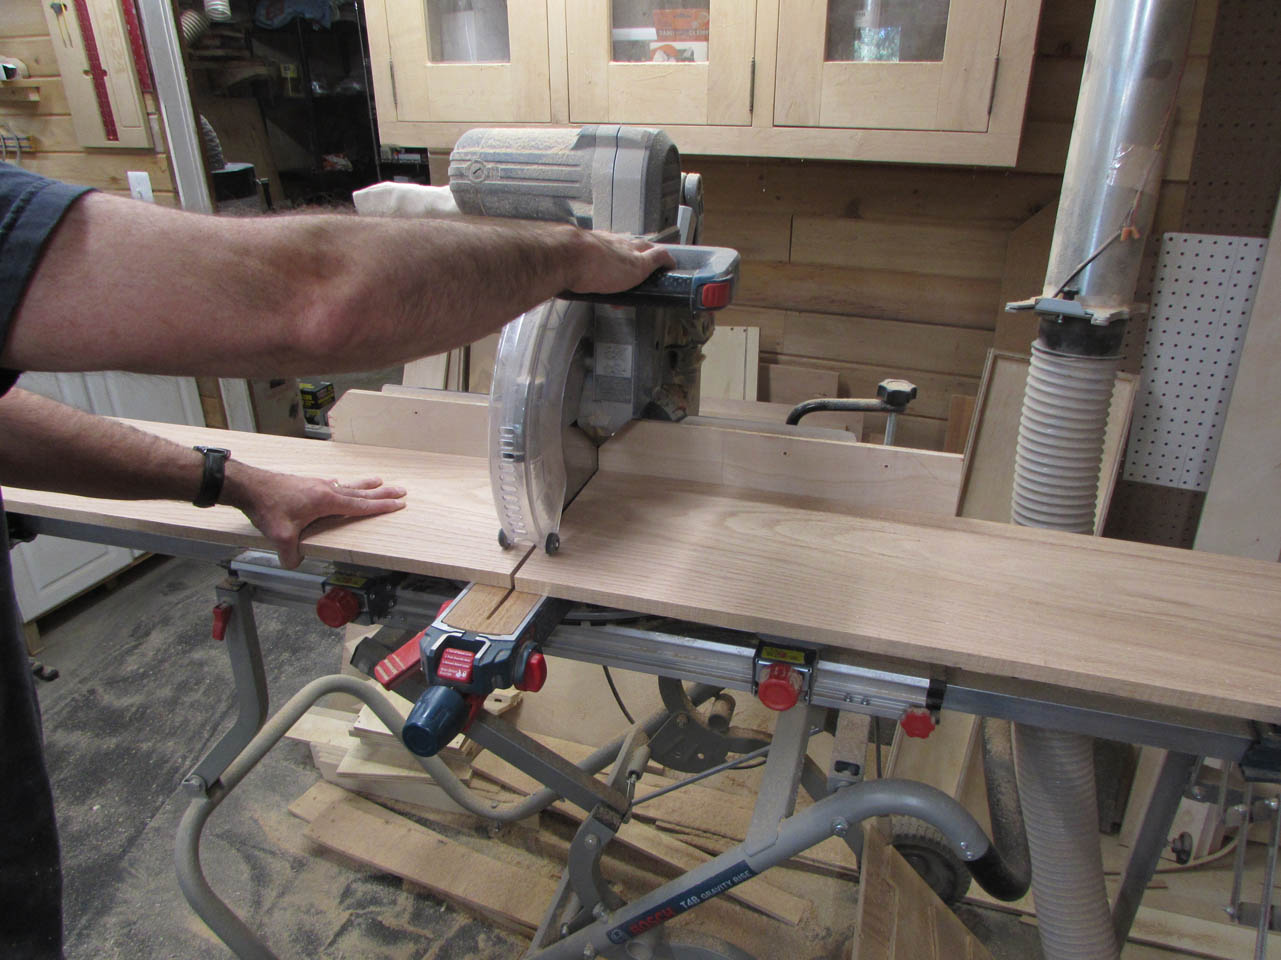
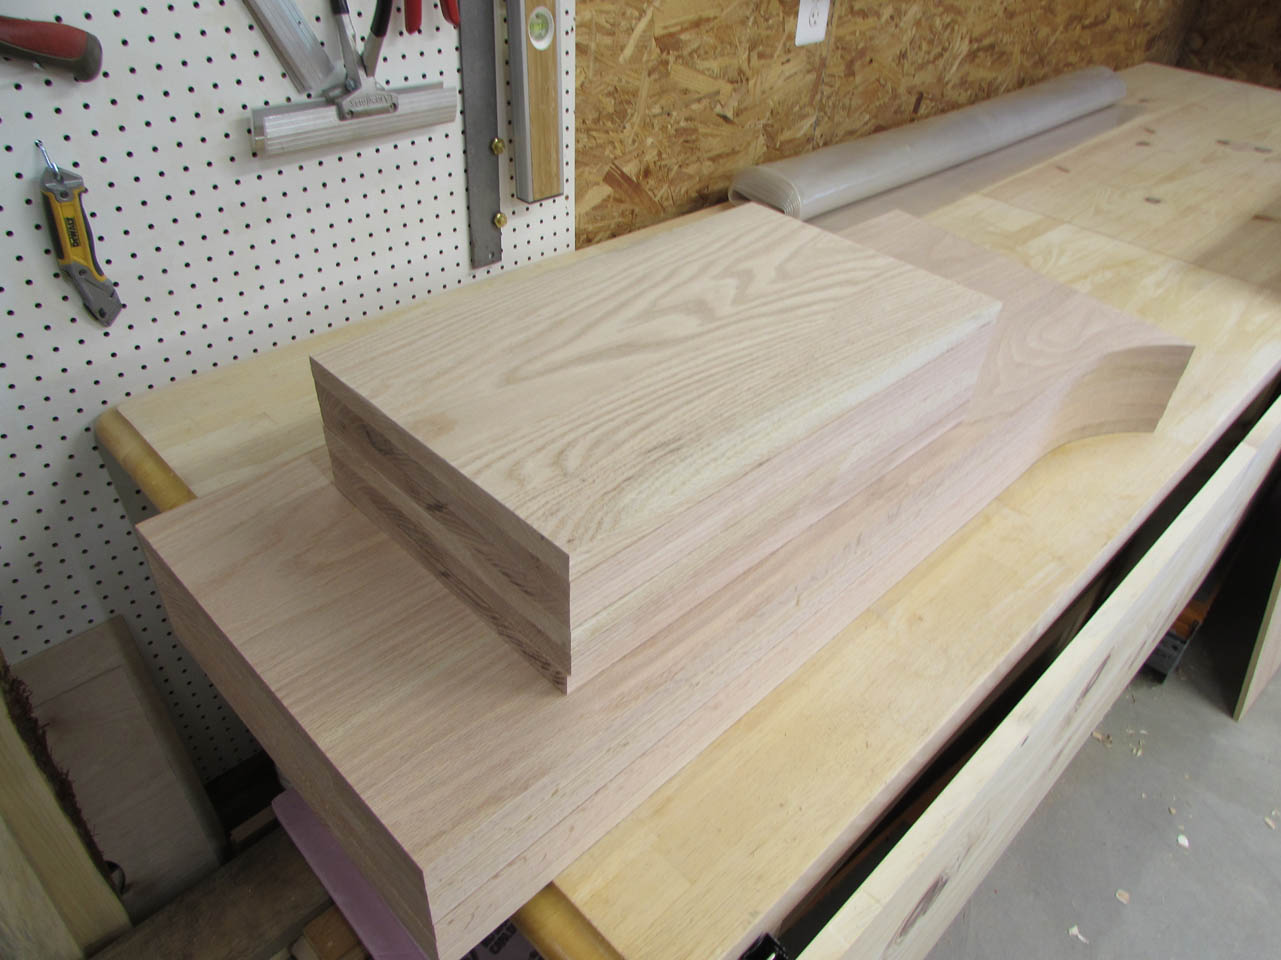
I picked up a load of 8′ long kiln dried 4/4 red oak, and got started milling it down to 3/4″ thick for this project. These boards are 10″ wide and larger.
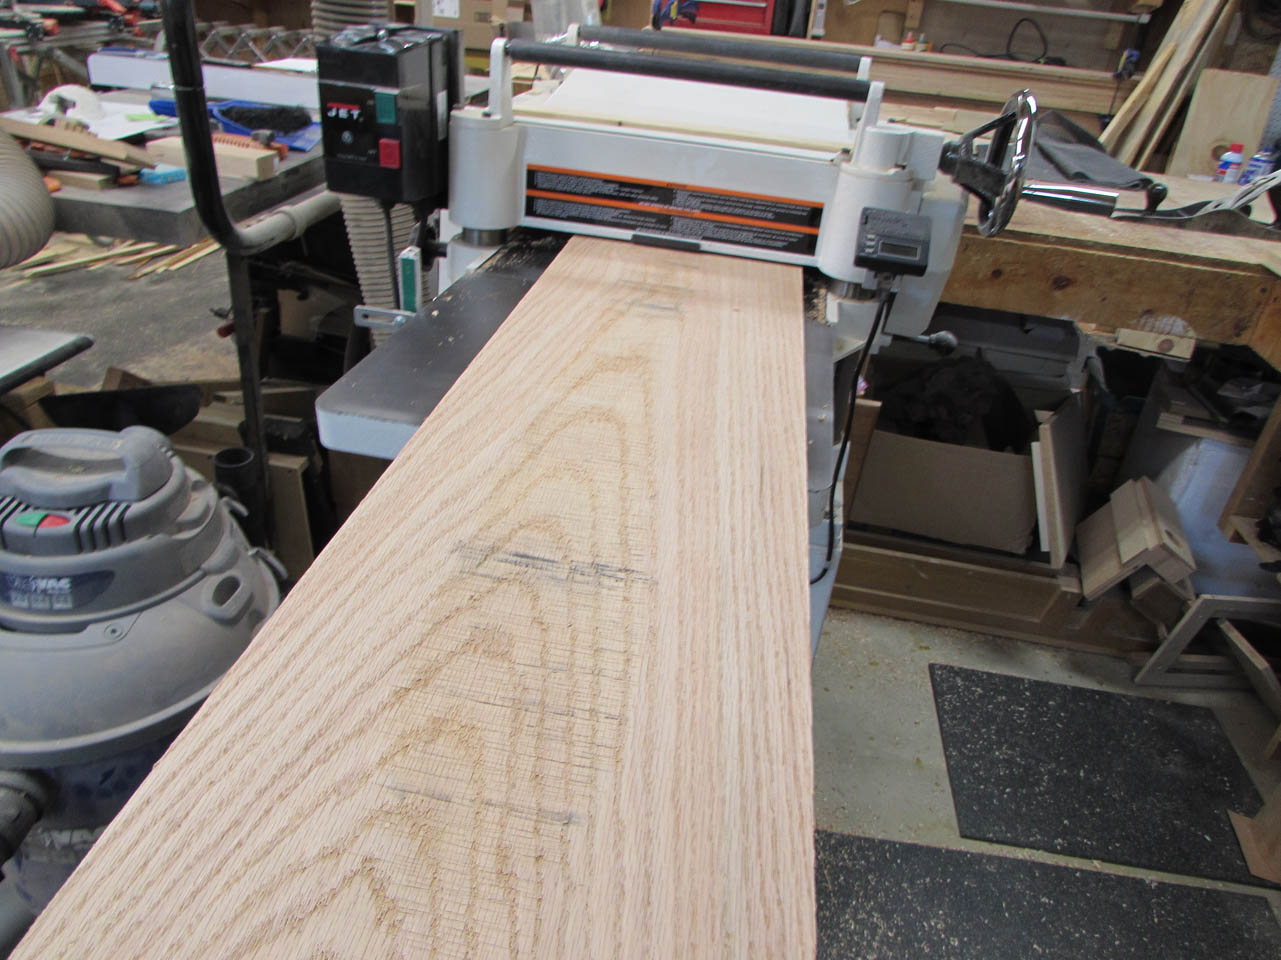
The boards are pretty flat already so I can just start running them through the planer to get them down to size. If they were twisted, I would have to cut them roughly to length and joint one face first.
I planed down nine boards to start with and clamped them flat until I was ready to start working with them.


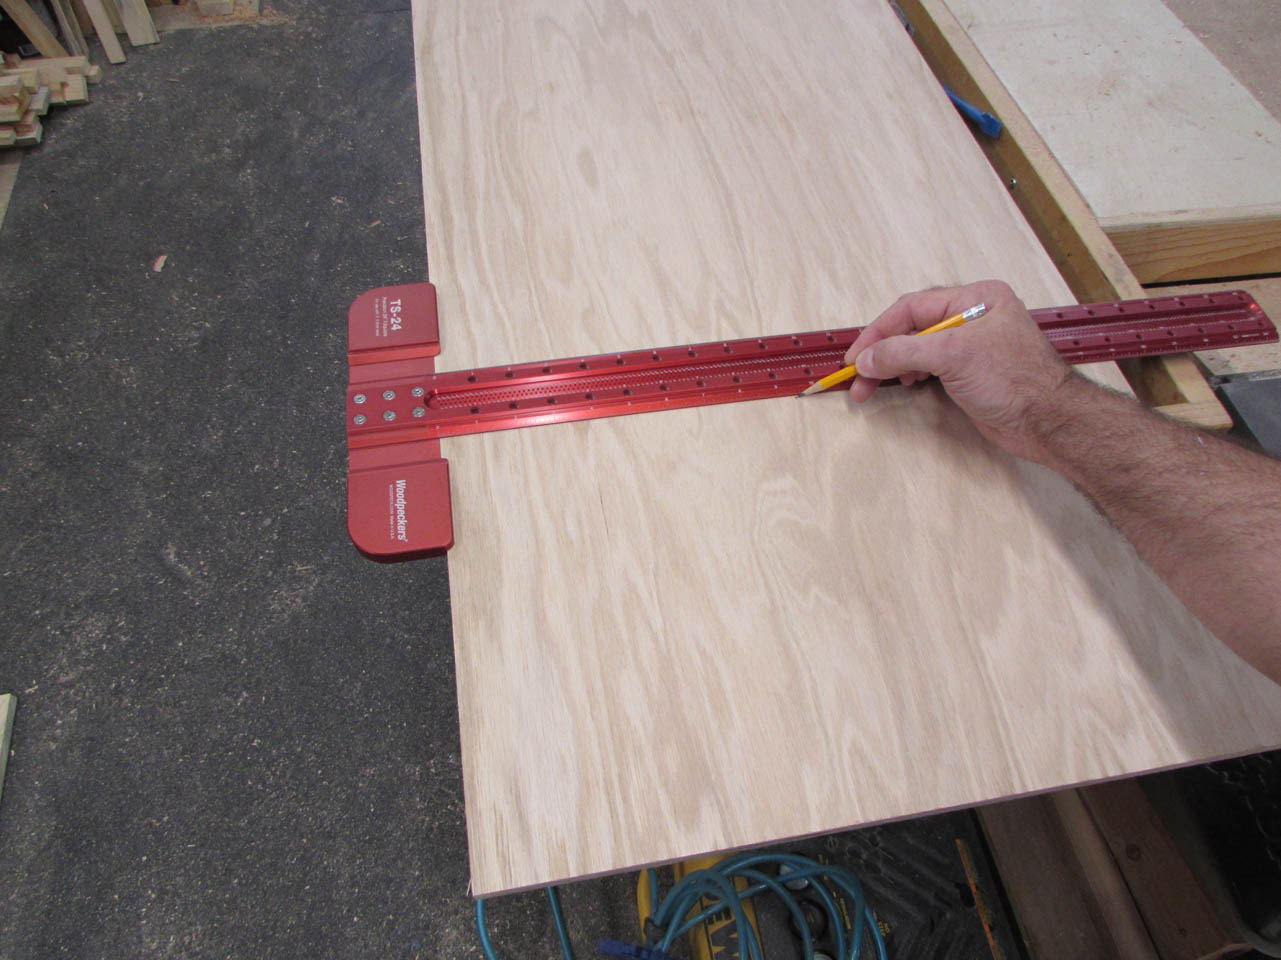
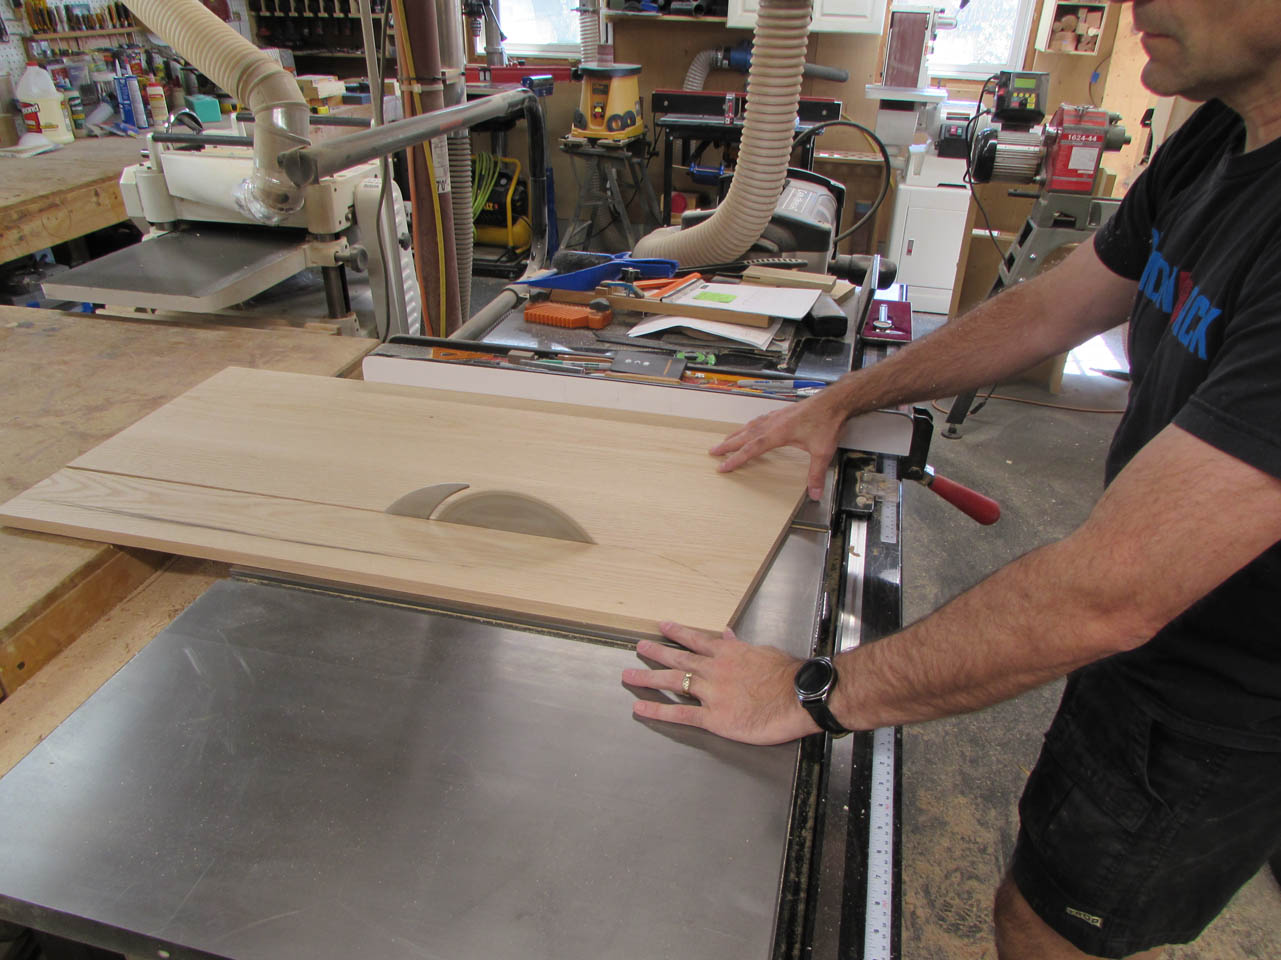
The front panel is over 18″ wide. I was a bit concerned about expansion and contraction of the panel and I don’t want it to warp or crack over time. I decided to keep it stable, this piece would have to be plywood. I picked up some 1/2″ thick red oak plywood and cut it down to size.

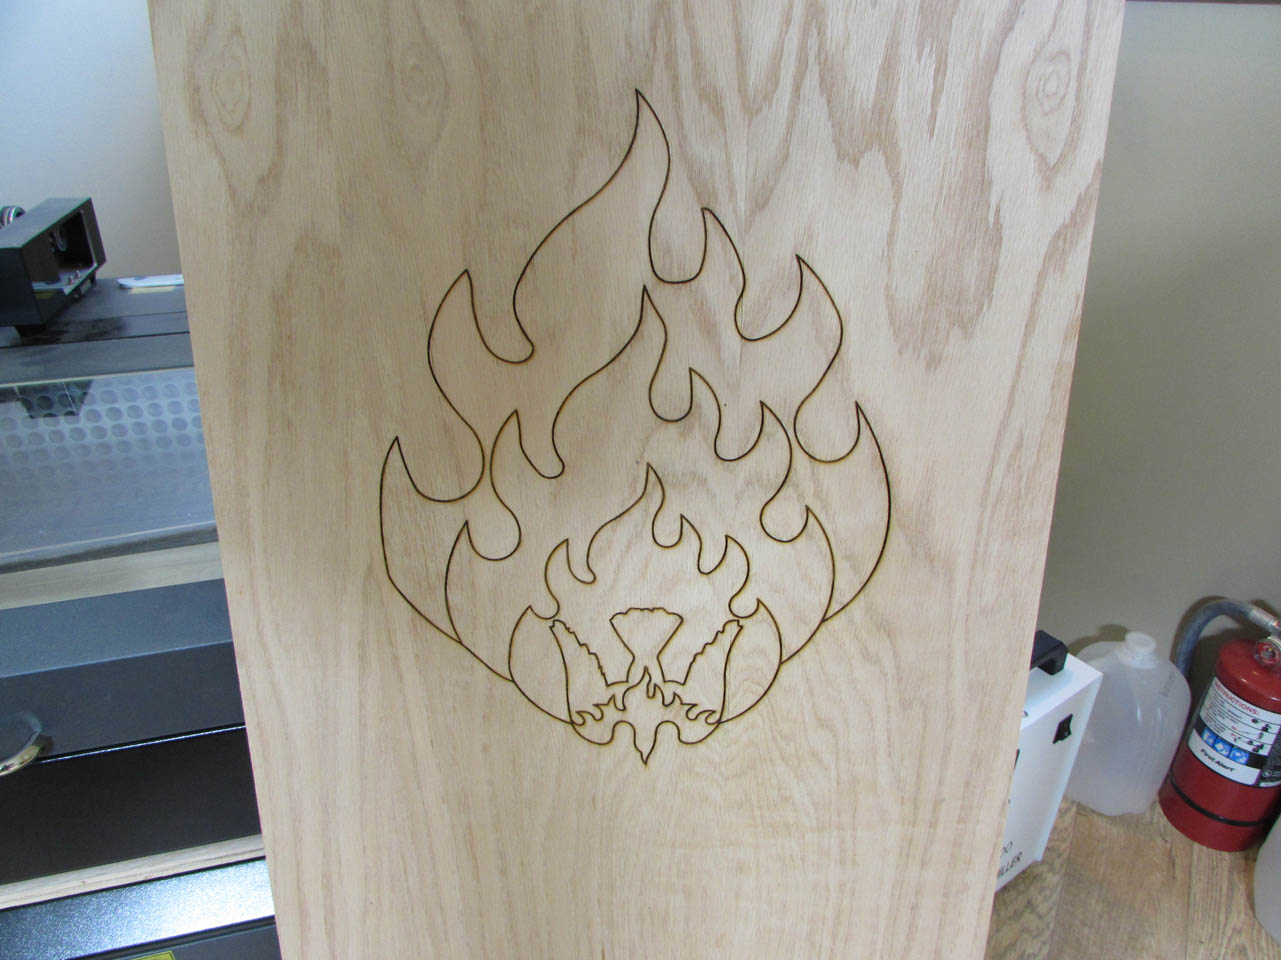
I will be laser engraving the school logo on the front of each of these panels so I laid out the center point of the engraving on each.
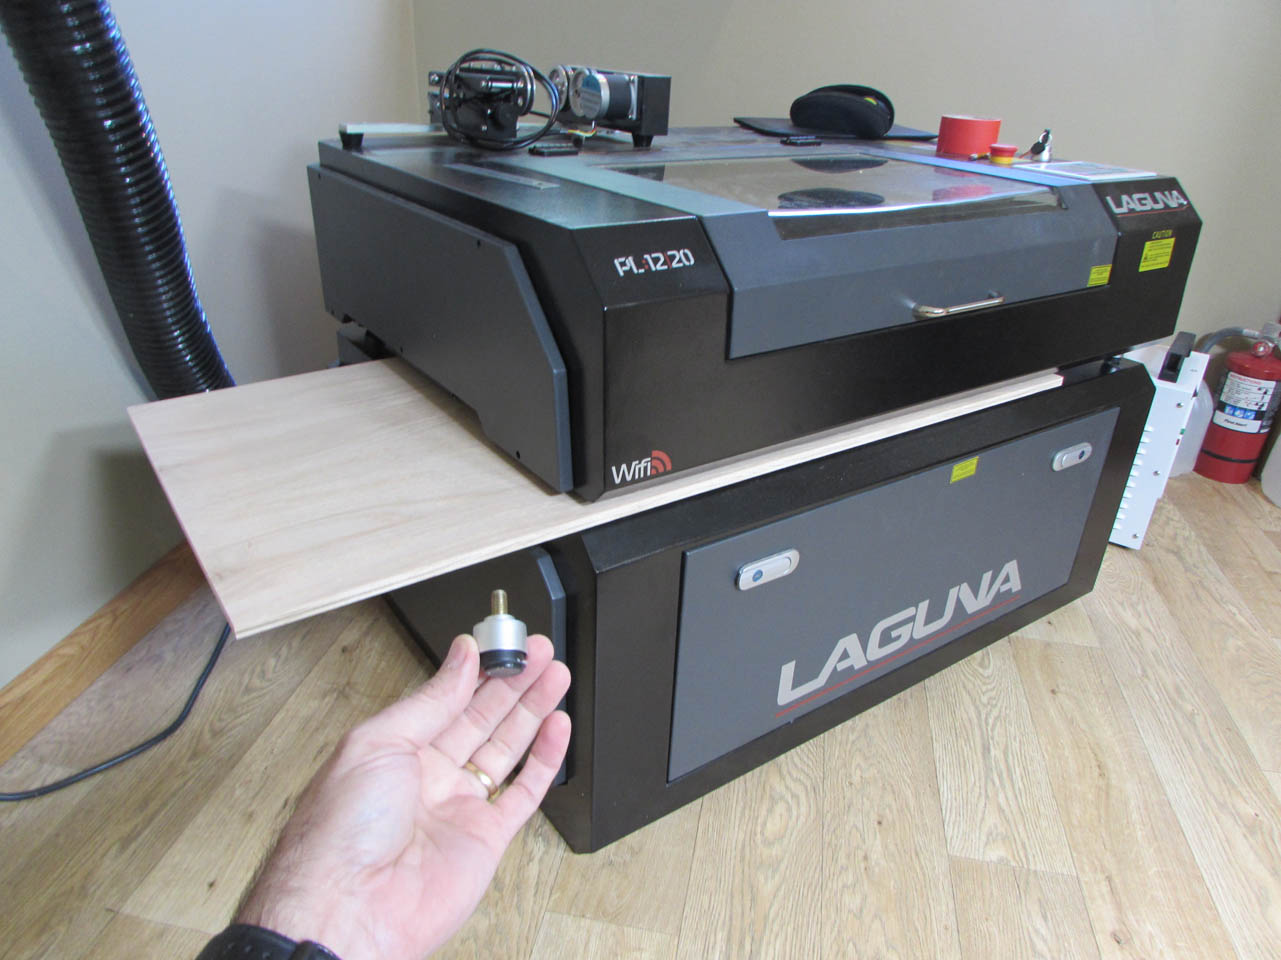
The engraving is sized to fit within the laser’s capacity, unfortunately, the board does not. I had to remove a front foot from the laser and slide the board in from the side. Since the top of the laser weighs over 200 lbs., this can be a bit of a challenge…
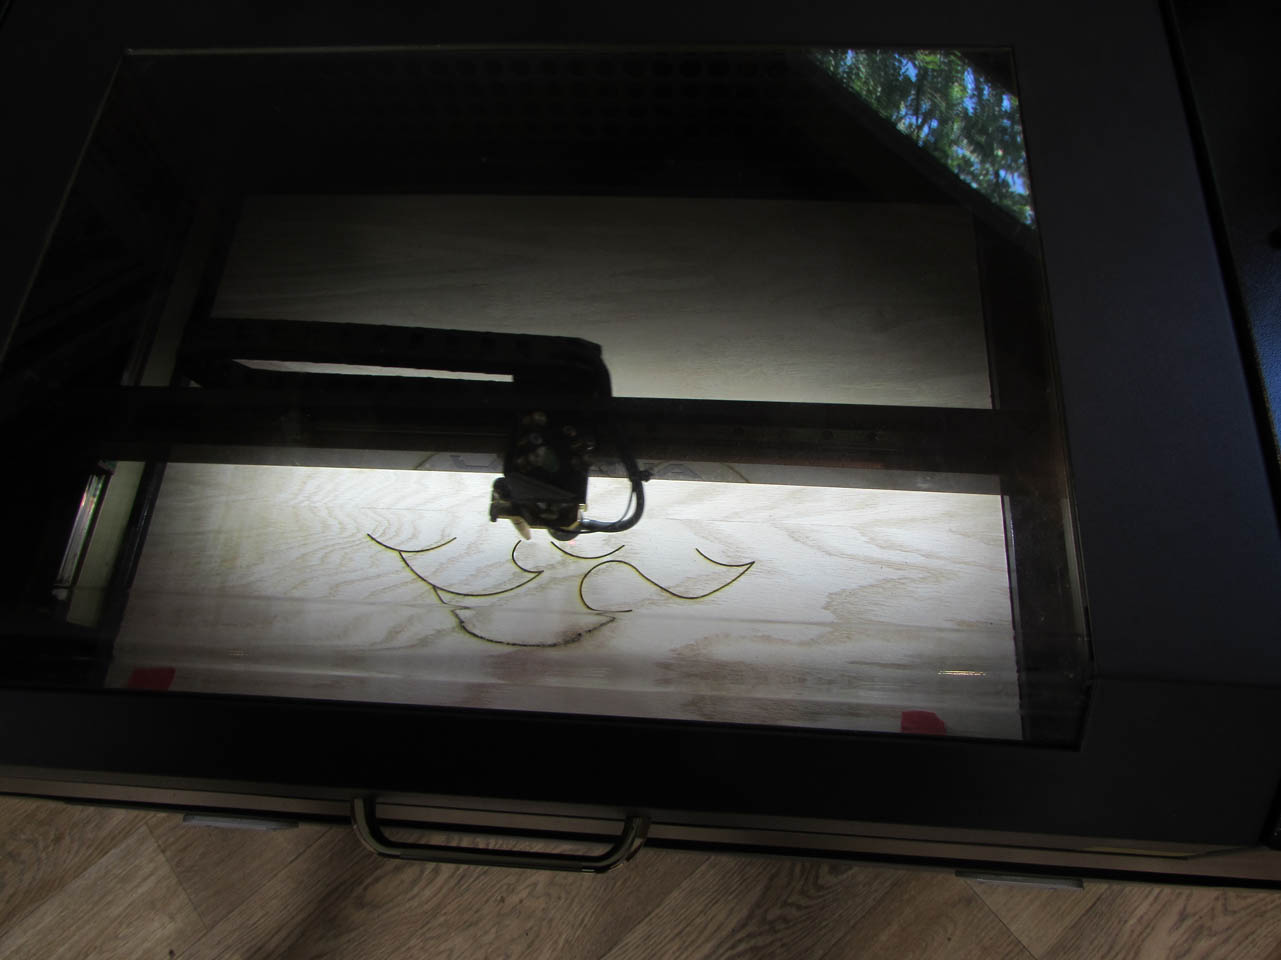
Once the board was set in place and the right speed and power settings were determined, I started engraving the first one.
I had to set the power to maximum and slow the laser down to burn deep enough to get through the veneer and first glue layer. This leaves me with a good, dark engraving. Each one took about 2-1/2 hours,
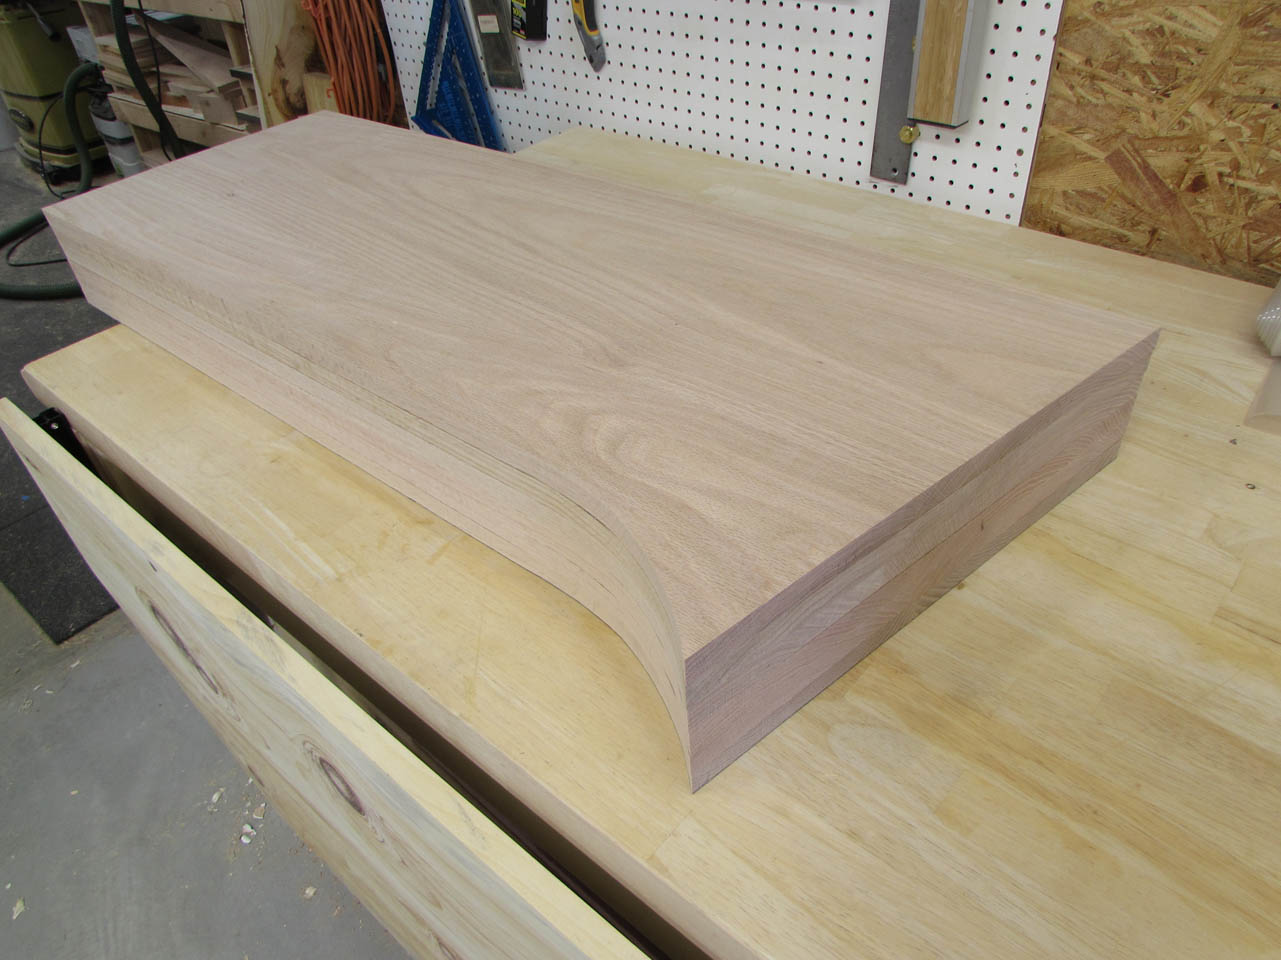
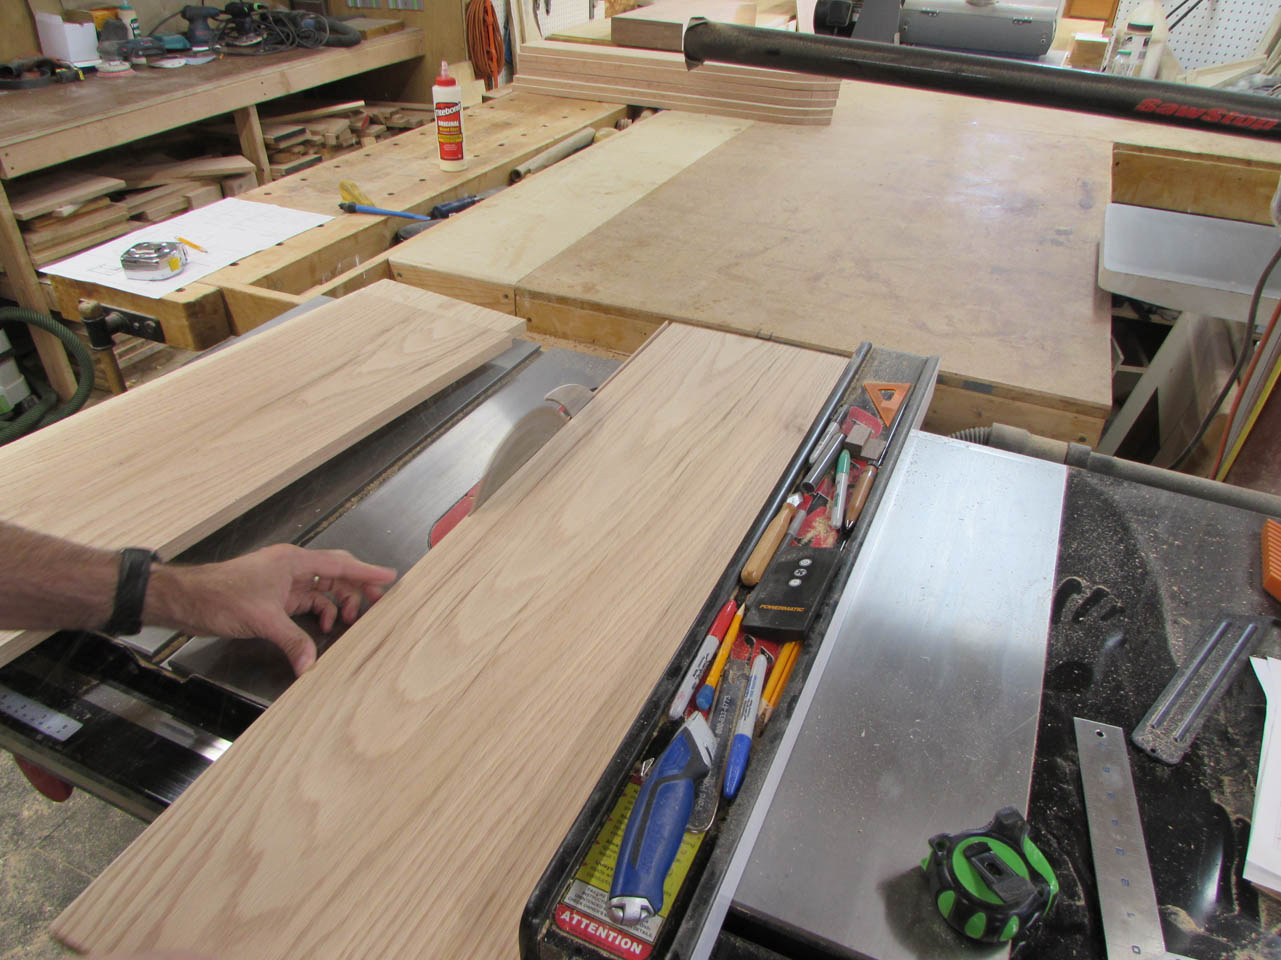
While those were engraving, I started working on the sides of the podiums. I need to join two boards to get a piece wide enough to cut out one side. To make the boards more manageable, I cut them roughly to size. So that the grain and color matched for each side, both pieces came from the same board. I paired them and marked them so that the grain ran in the same direction.
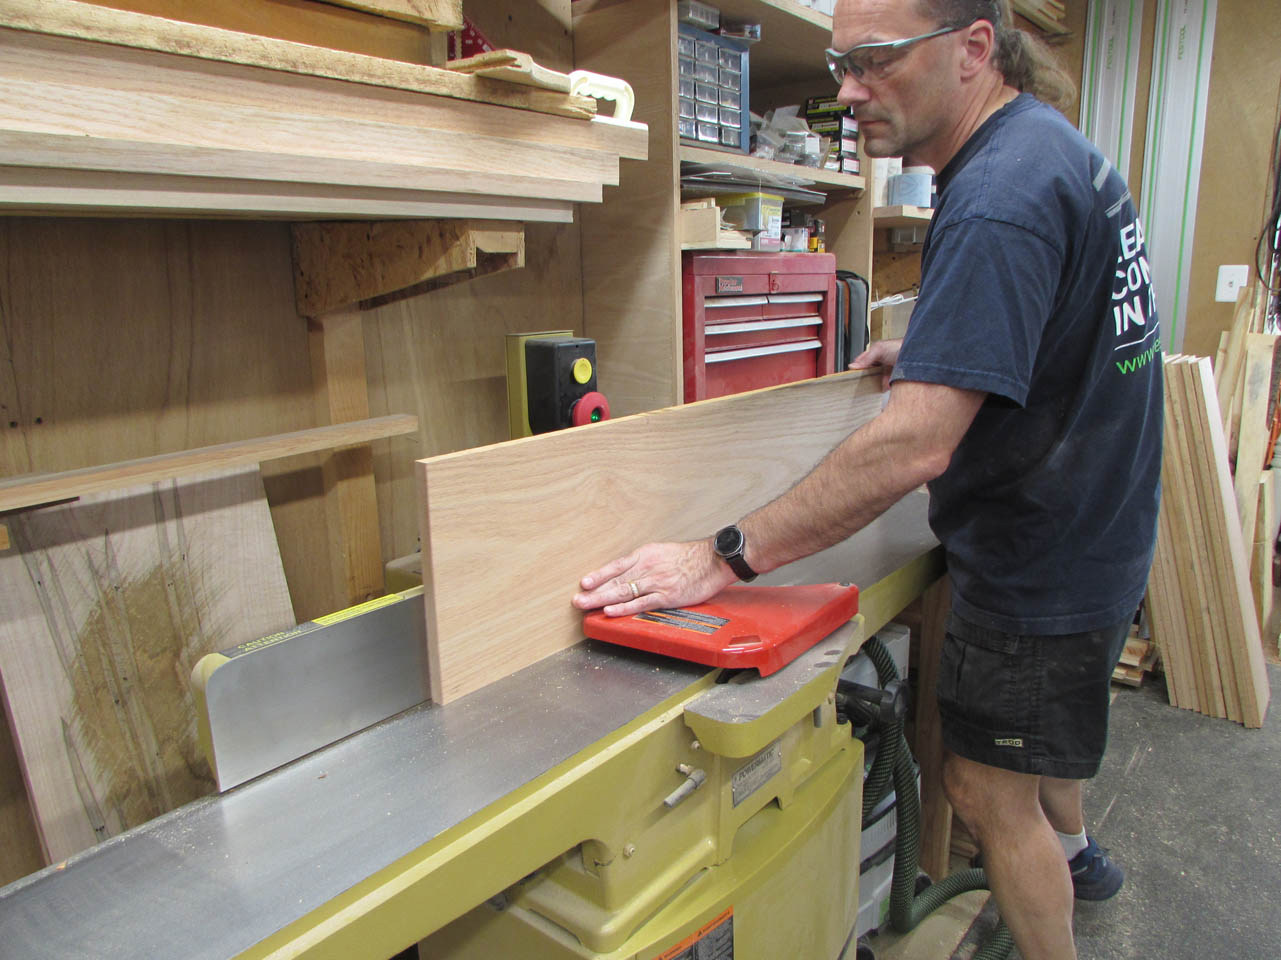
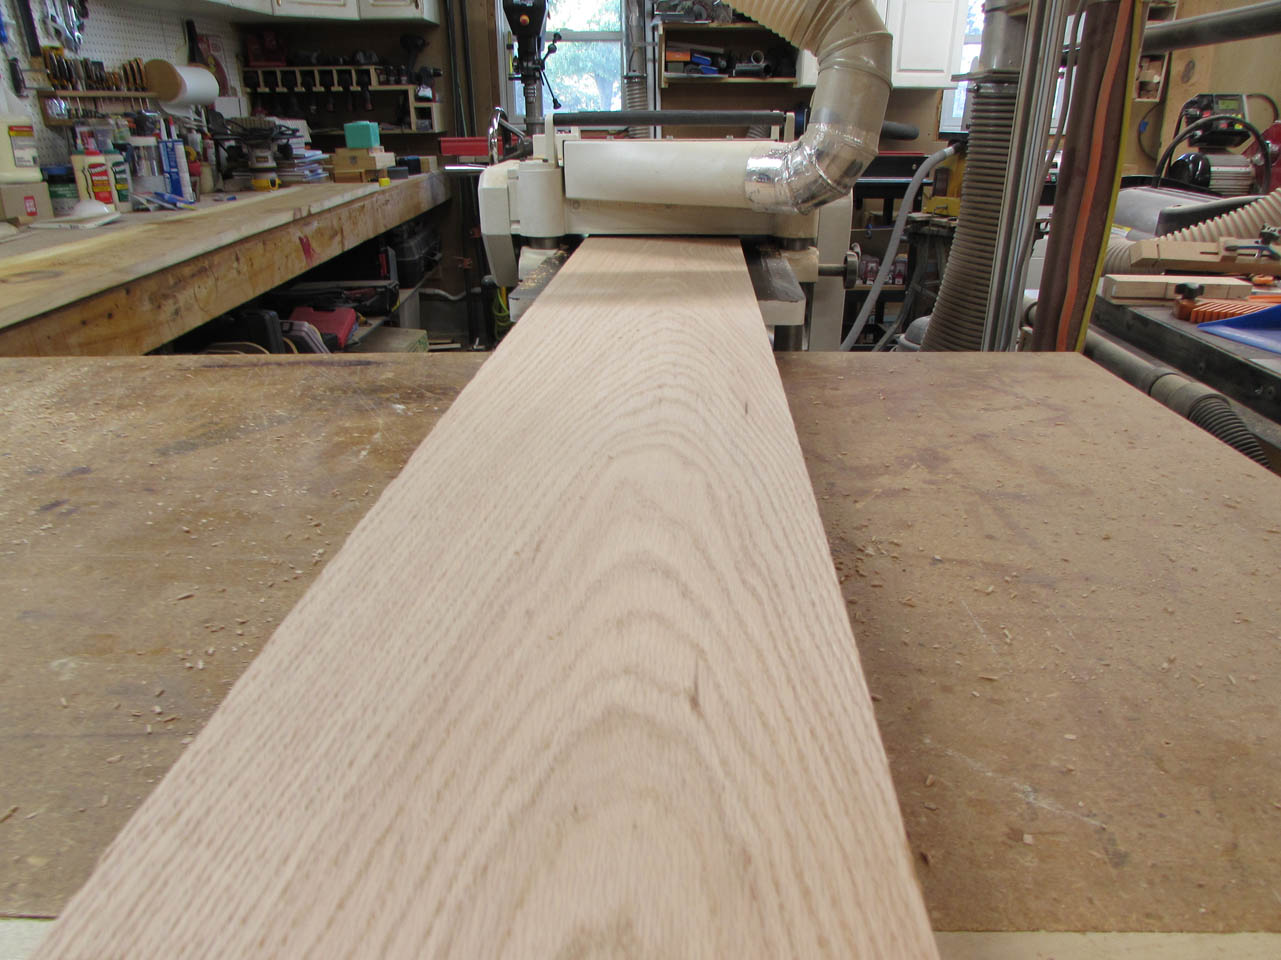
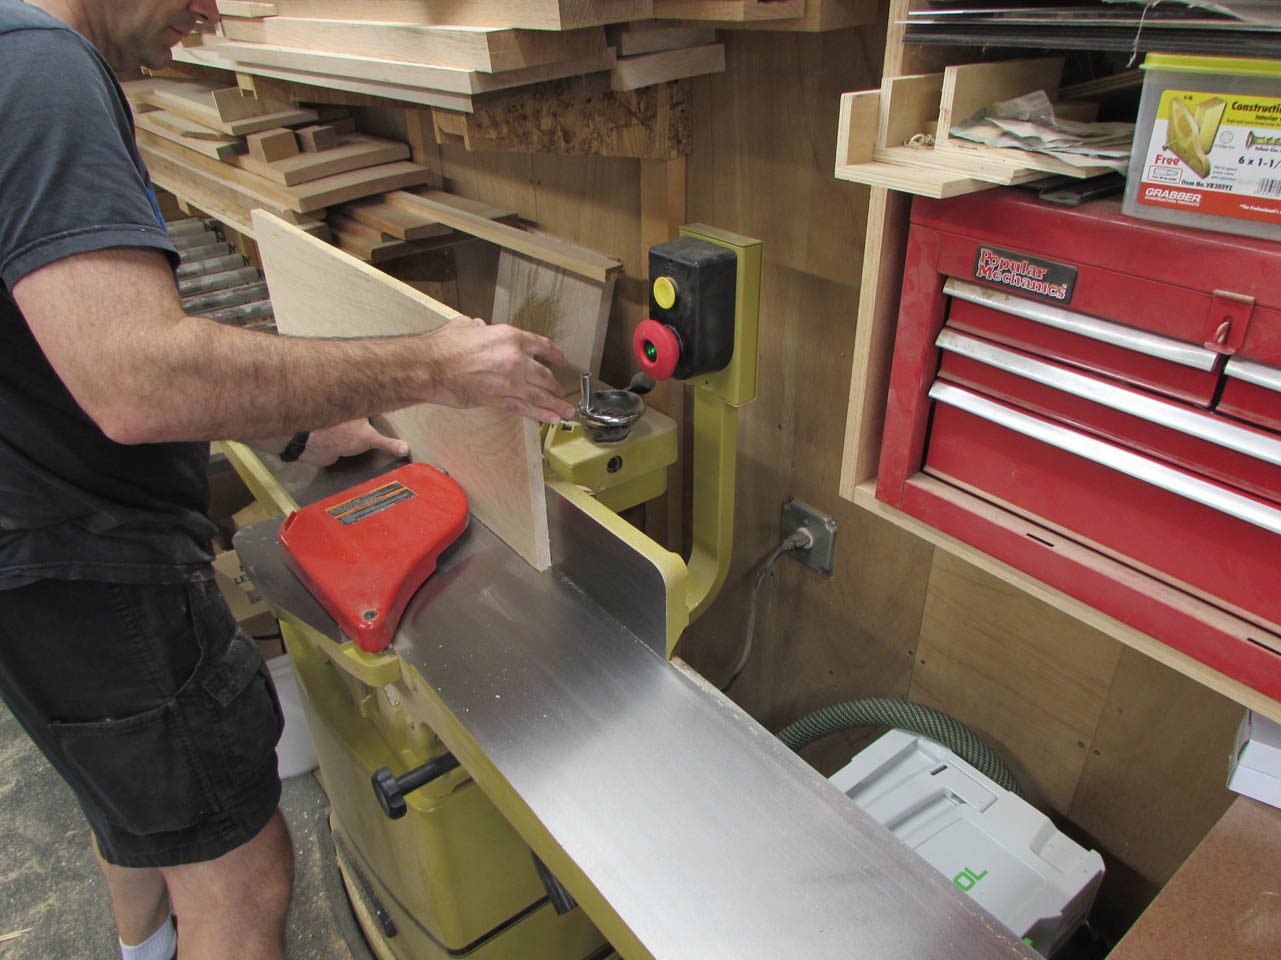
The edges are still rough from the saw mill so I ran one side along the jointer, then cut the opposite side parallel on the table saw. I ran the sawn edge along the jointer as well so that both edges were perfectly smooth for joining.

I used my planer sled to make sure both ends were cut 90° perpendicular to the sides.
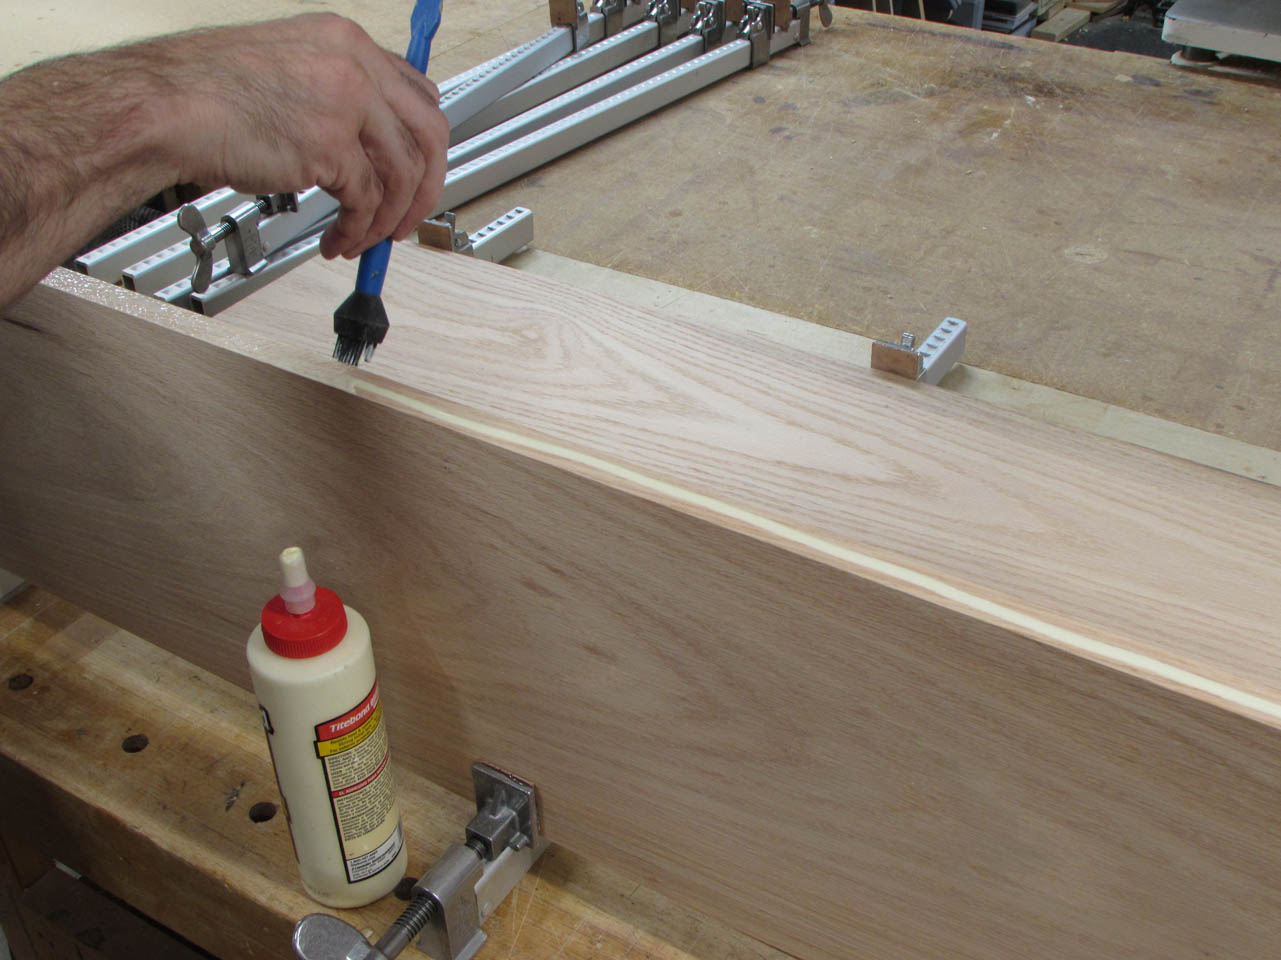
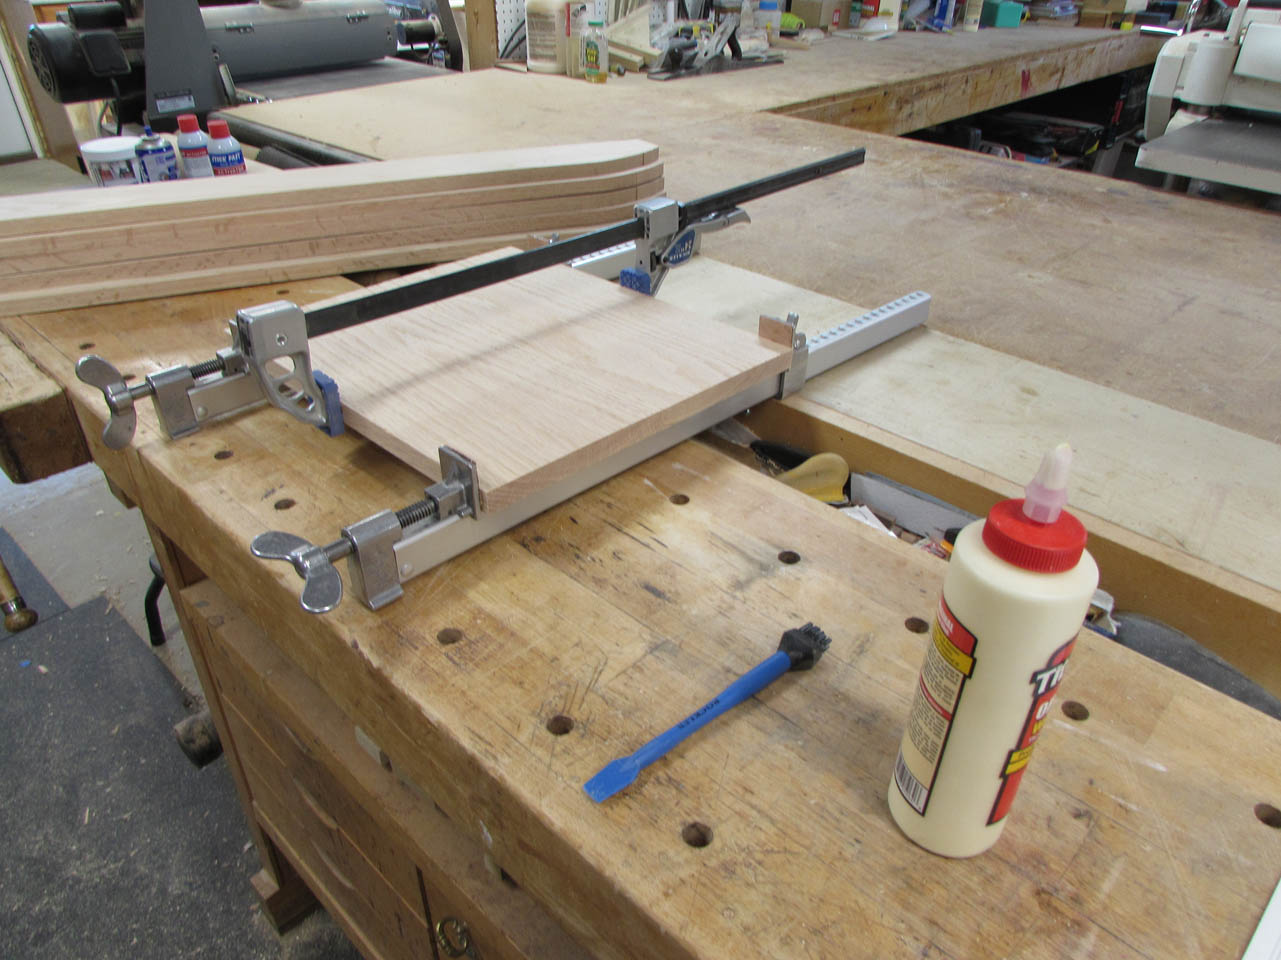
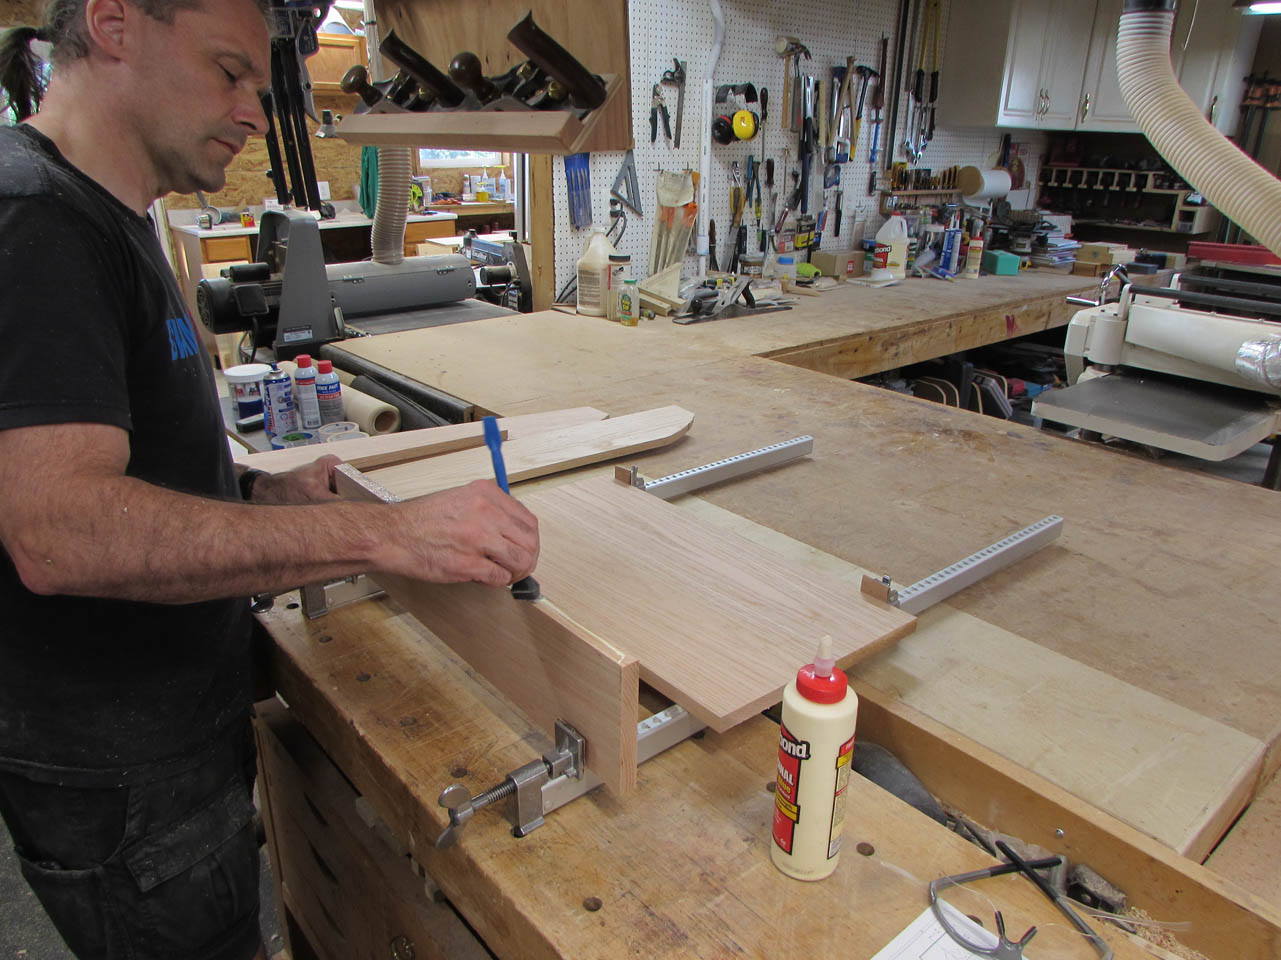
Then it was time to start gluing… I ran a thin bead of glue along the joint edge and used a silicone brush to spread it thin and evenly.
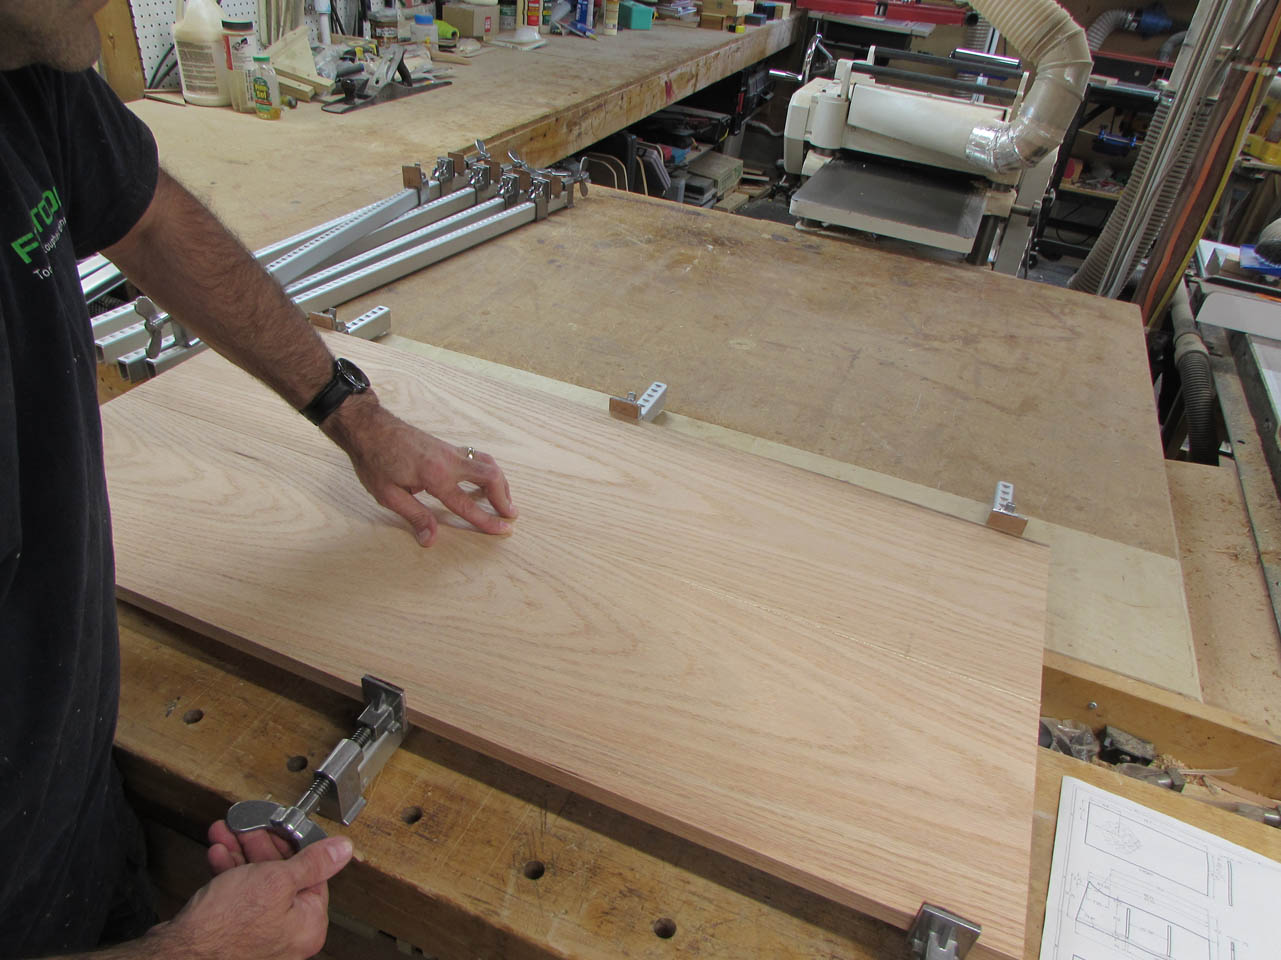
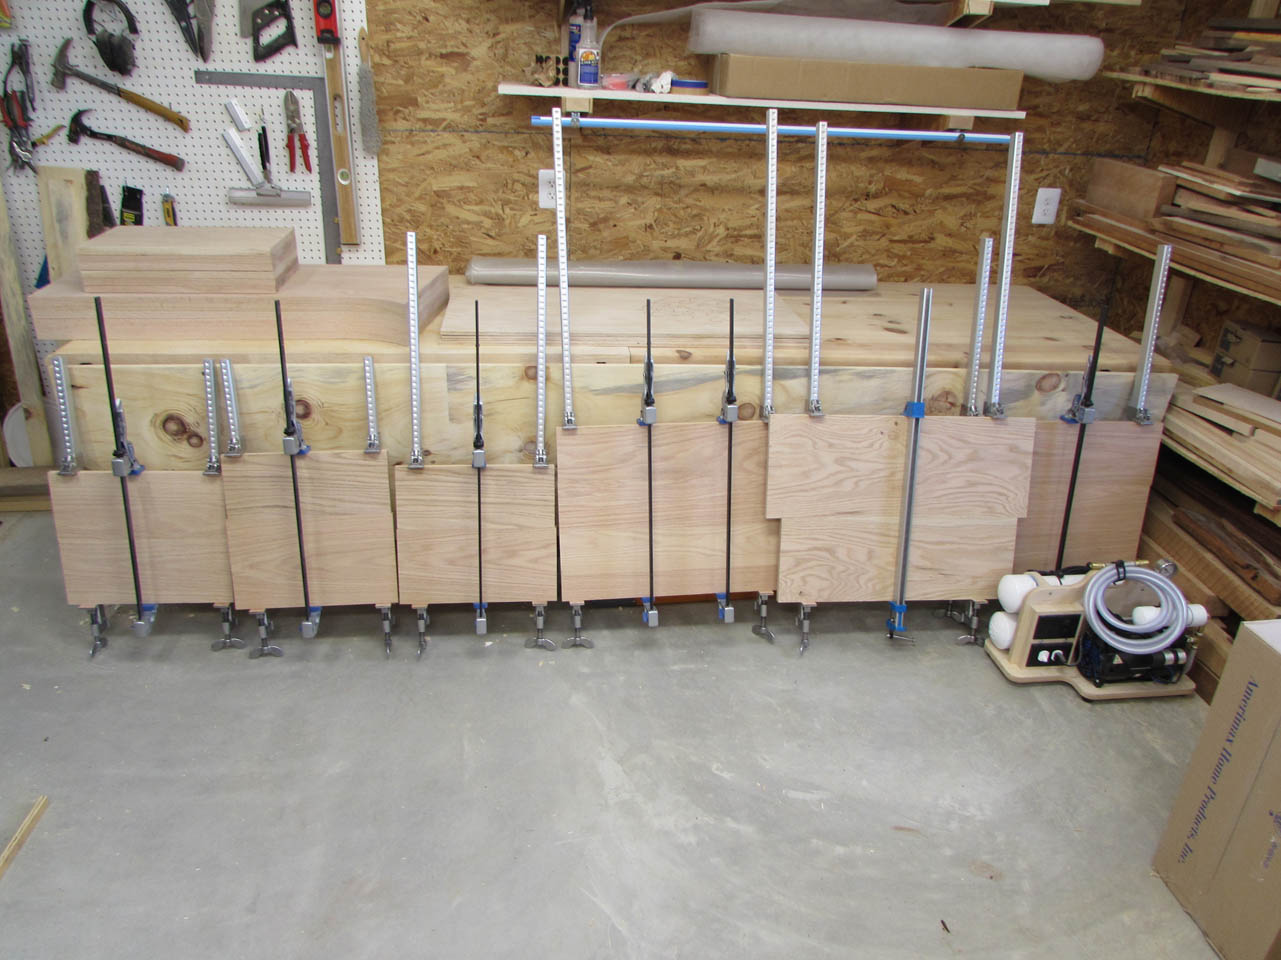
All of the sides were glued up and left to dry for about an hour before I pulled the clamps and left them to continue to cure.
I was careful to keep the faces as flush as possible. I still needed to sand the joint to make sure they were all smooth. I used 100 grit paper and sanded the entire surface. I will come back later at a higher grit before finishing.

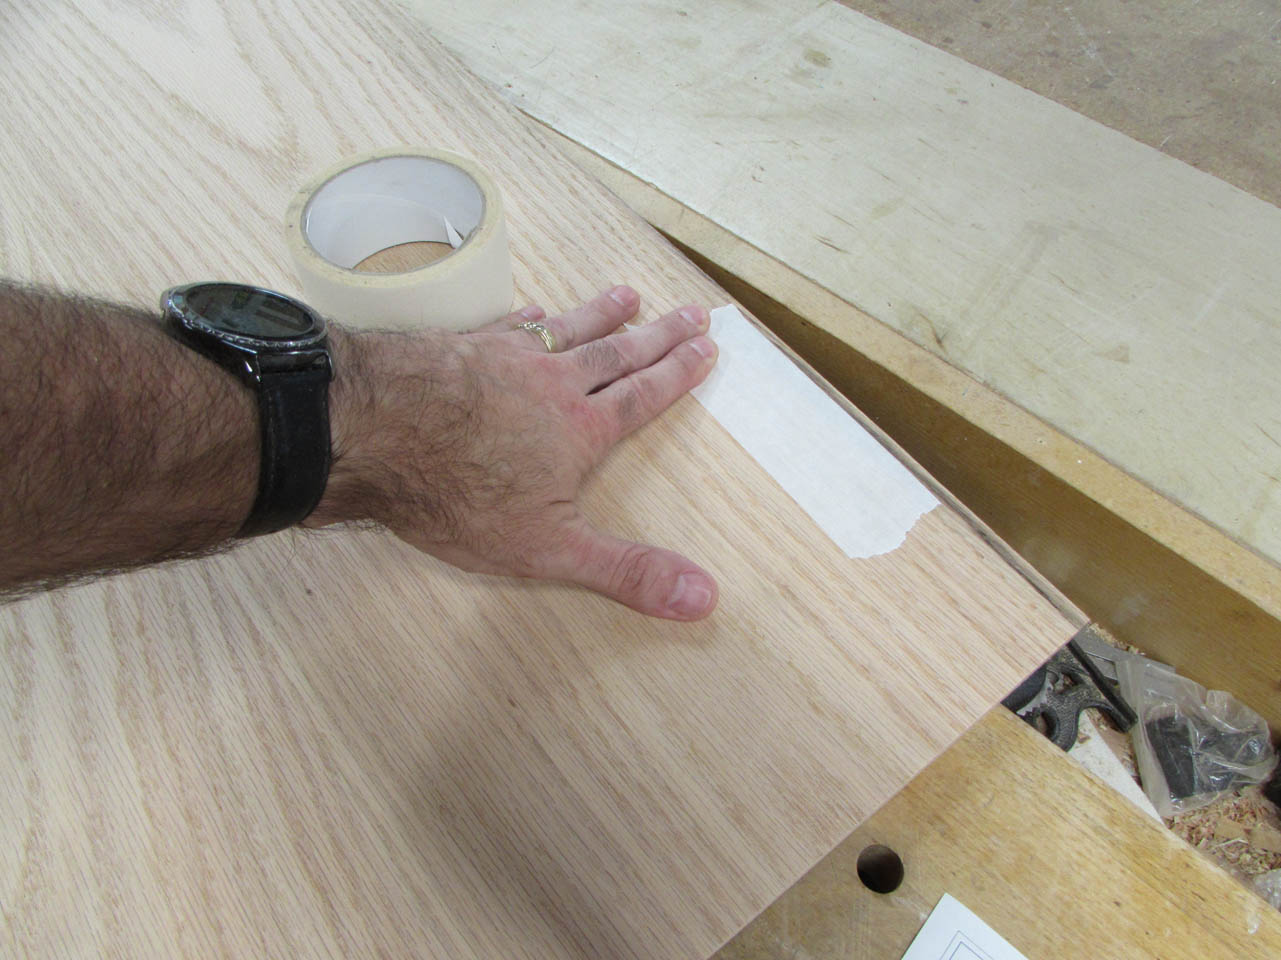
On each panel, I marked out the least desirable corner. This will be the area that gets cut off later.
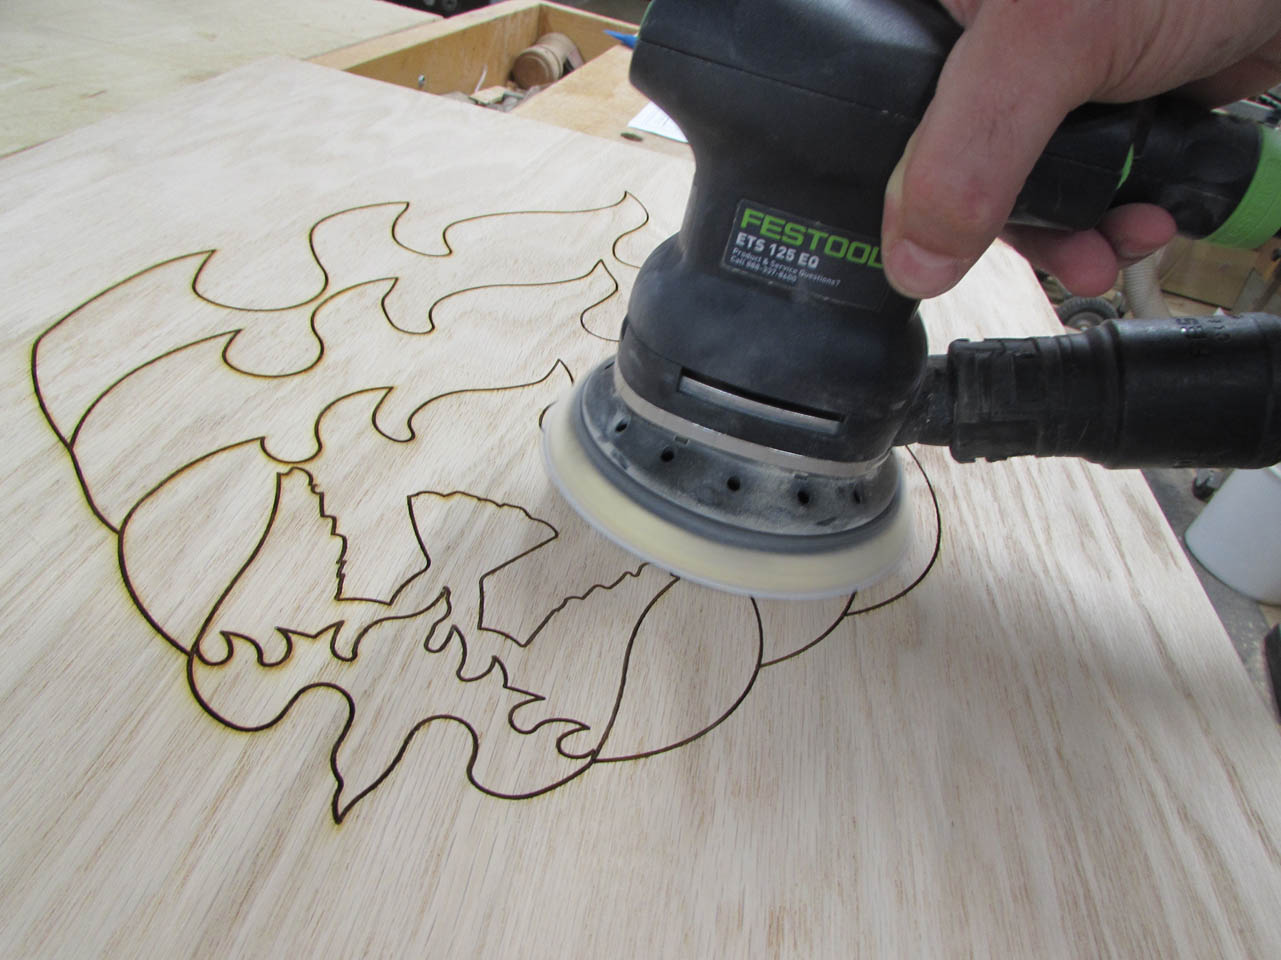
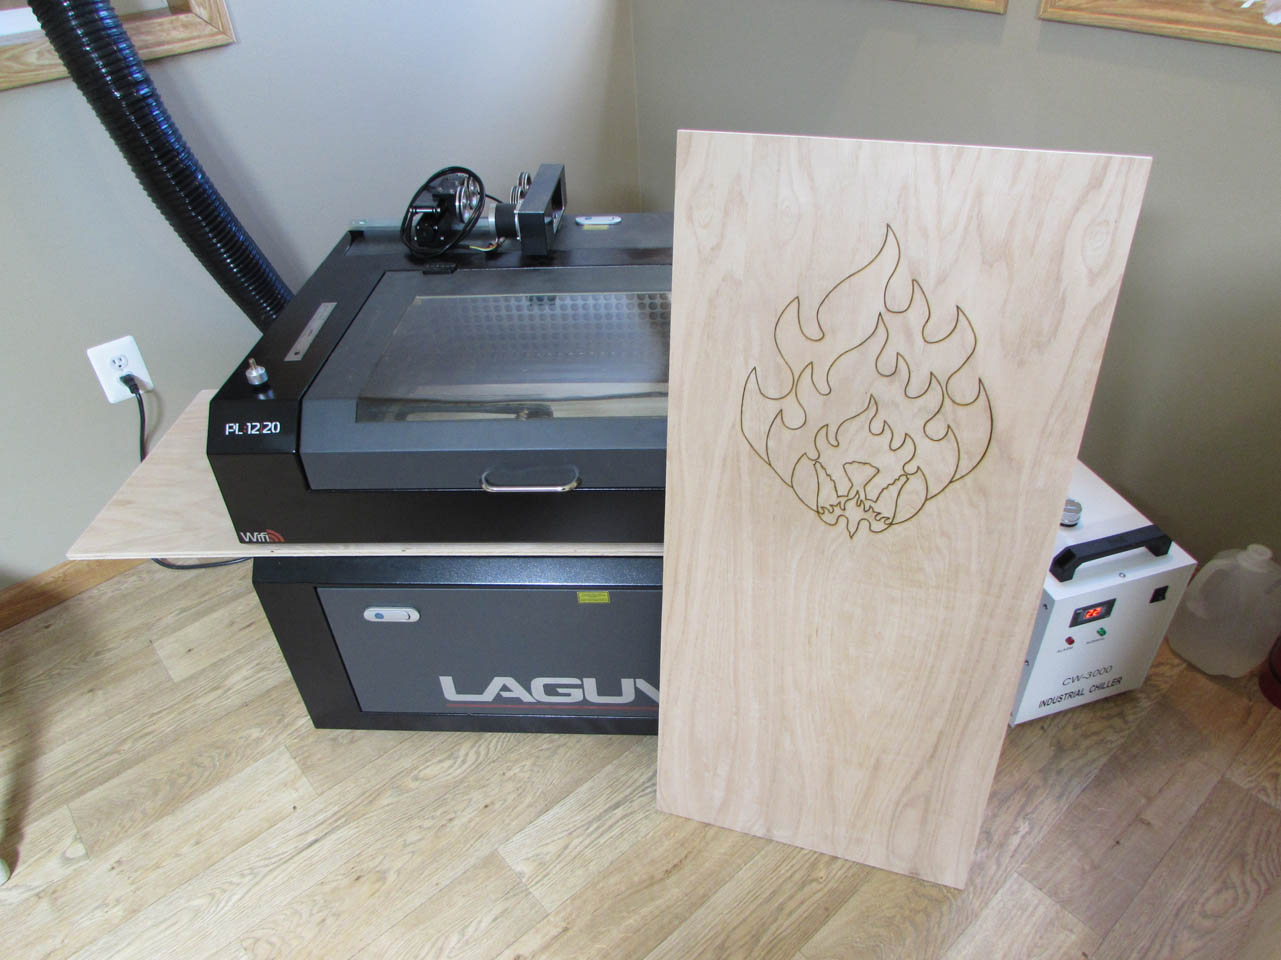
As the laser engravings are finished, I also sand their surfaces. This removes the slight smoke haze that accumulates around the engraved lines.
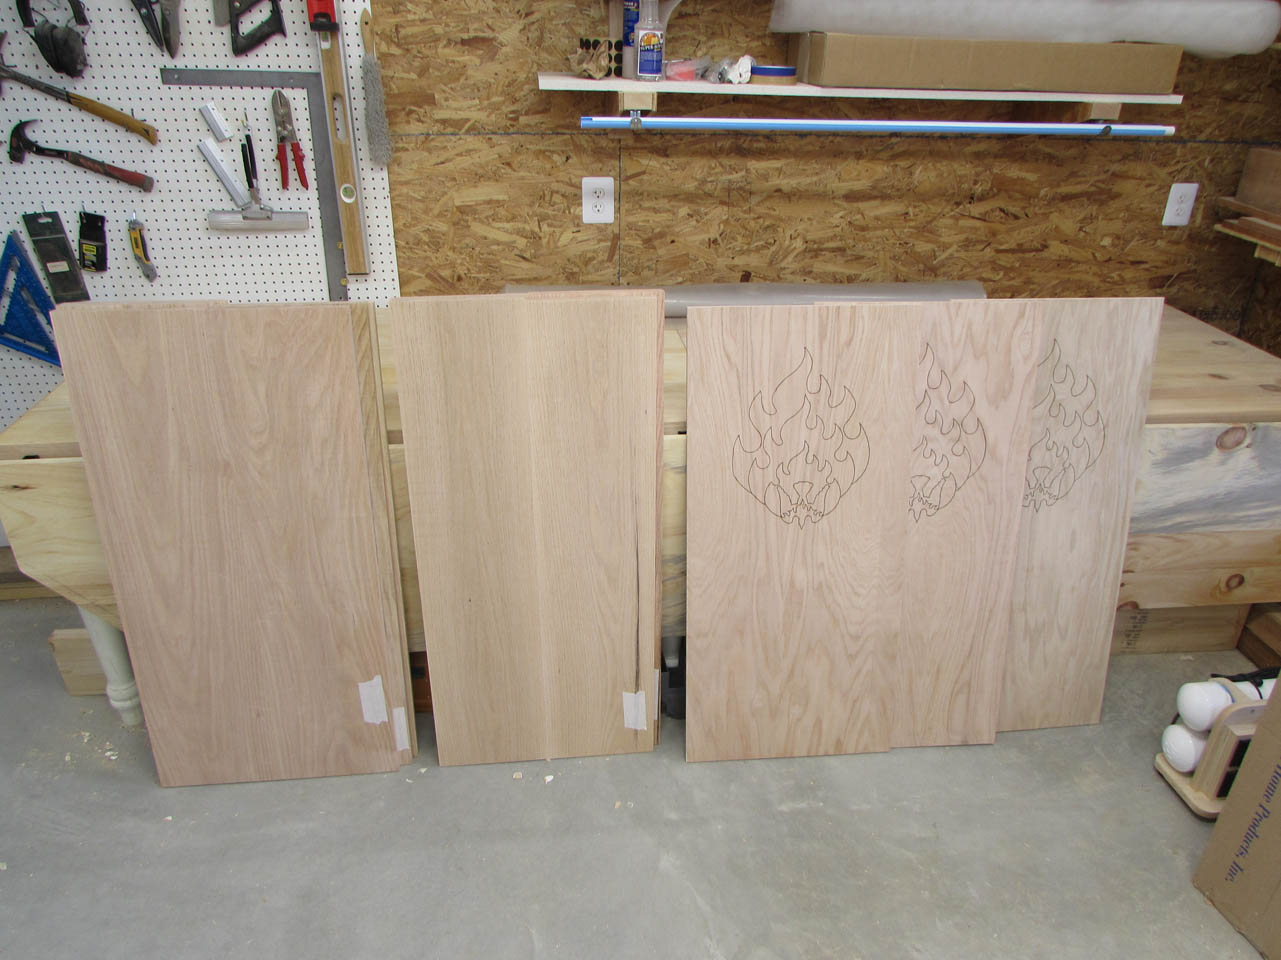
The panels are done after a long day.


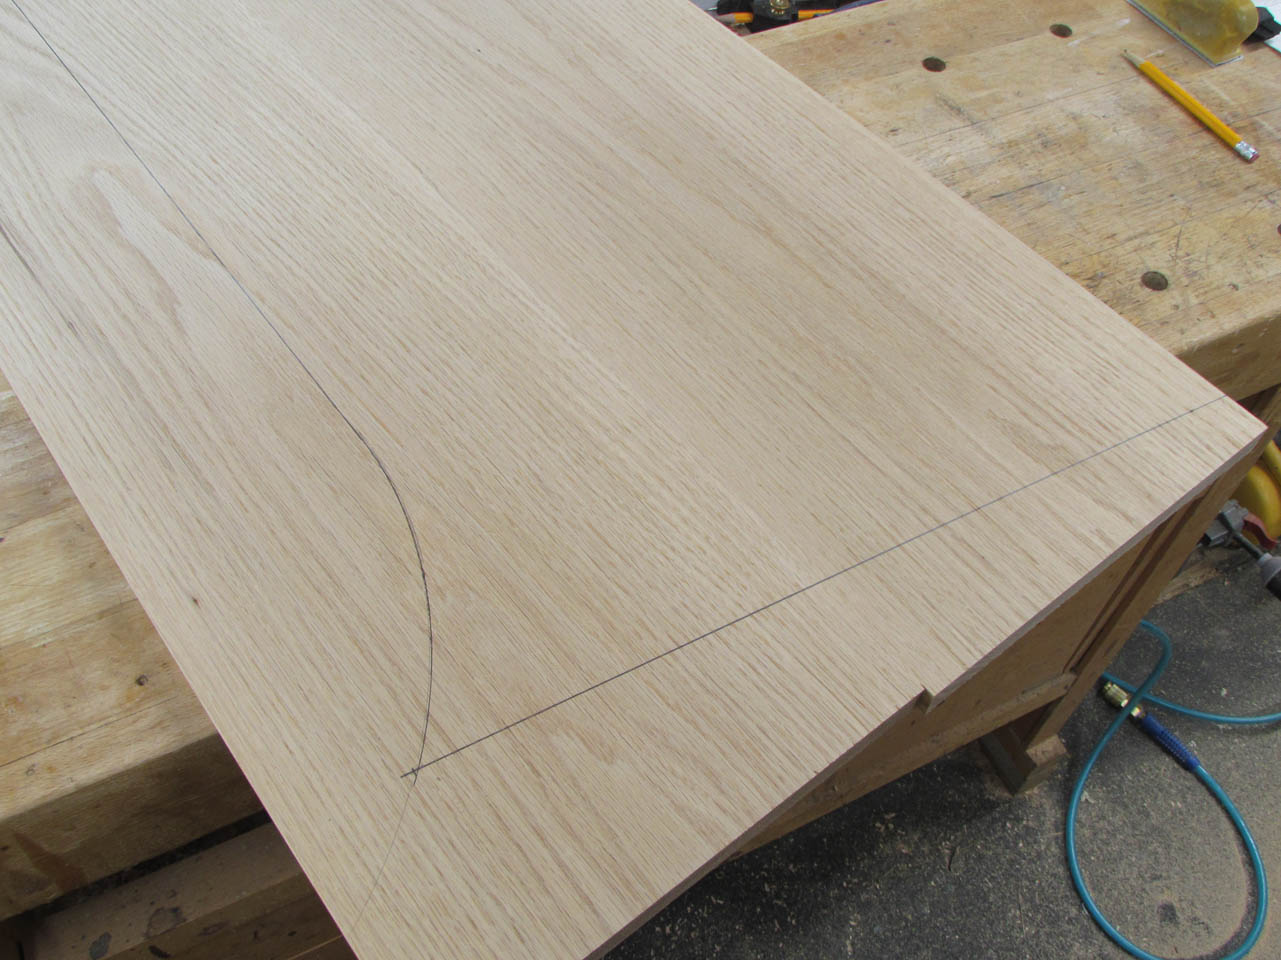
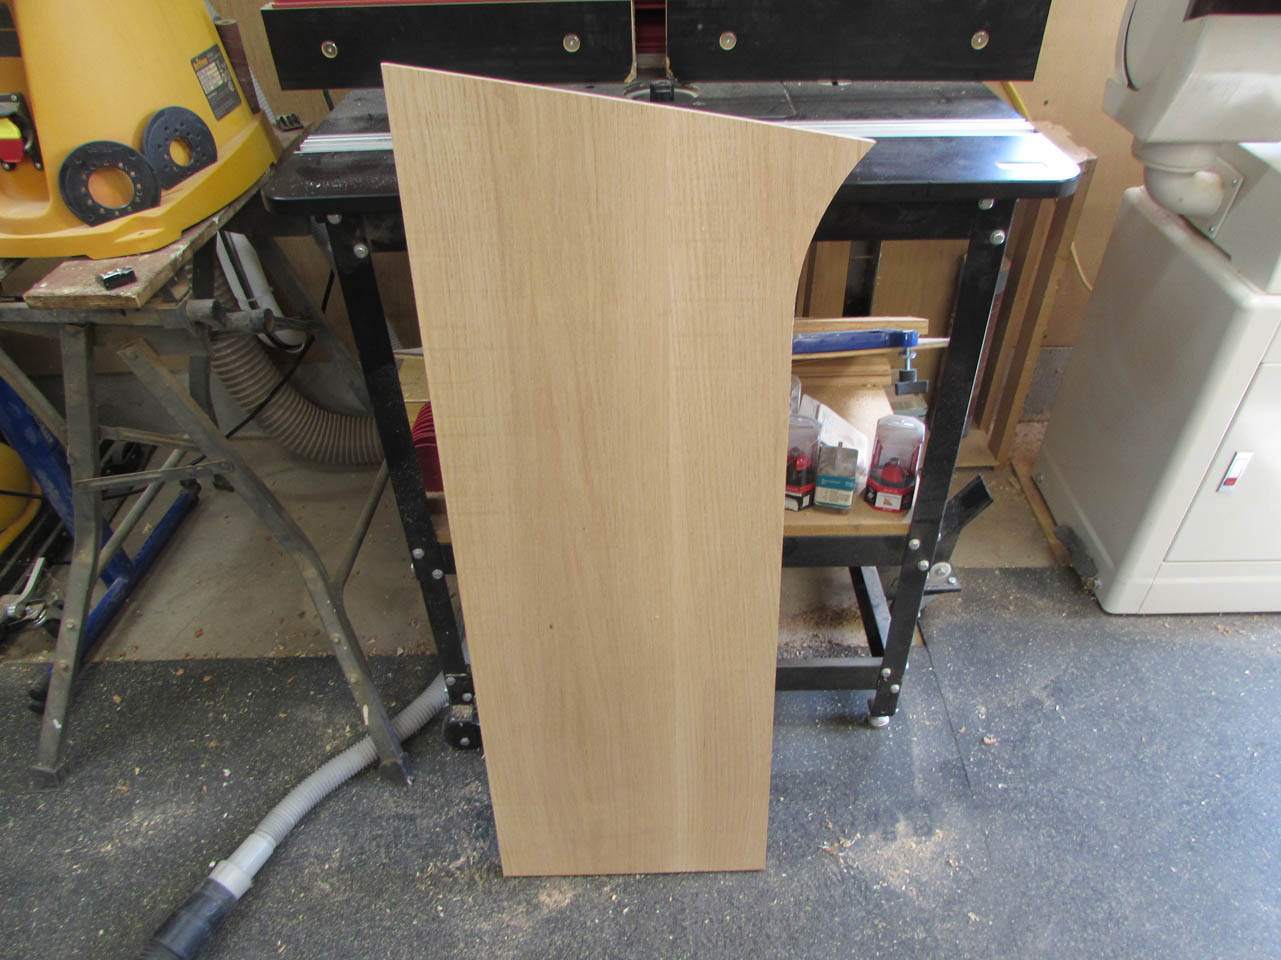
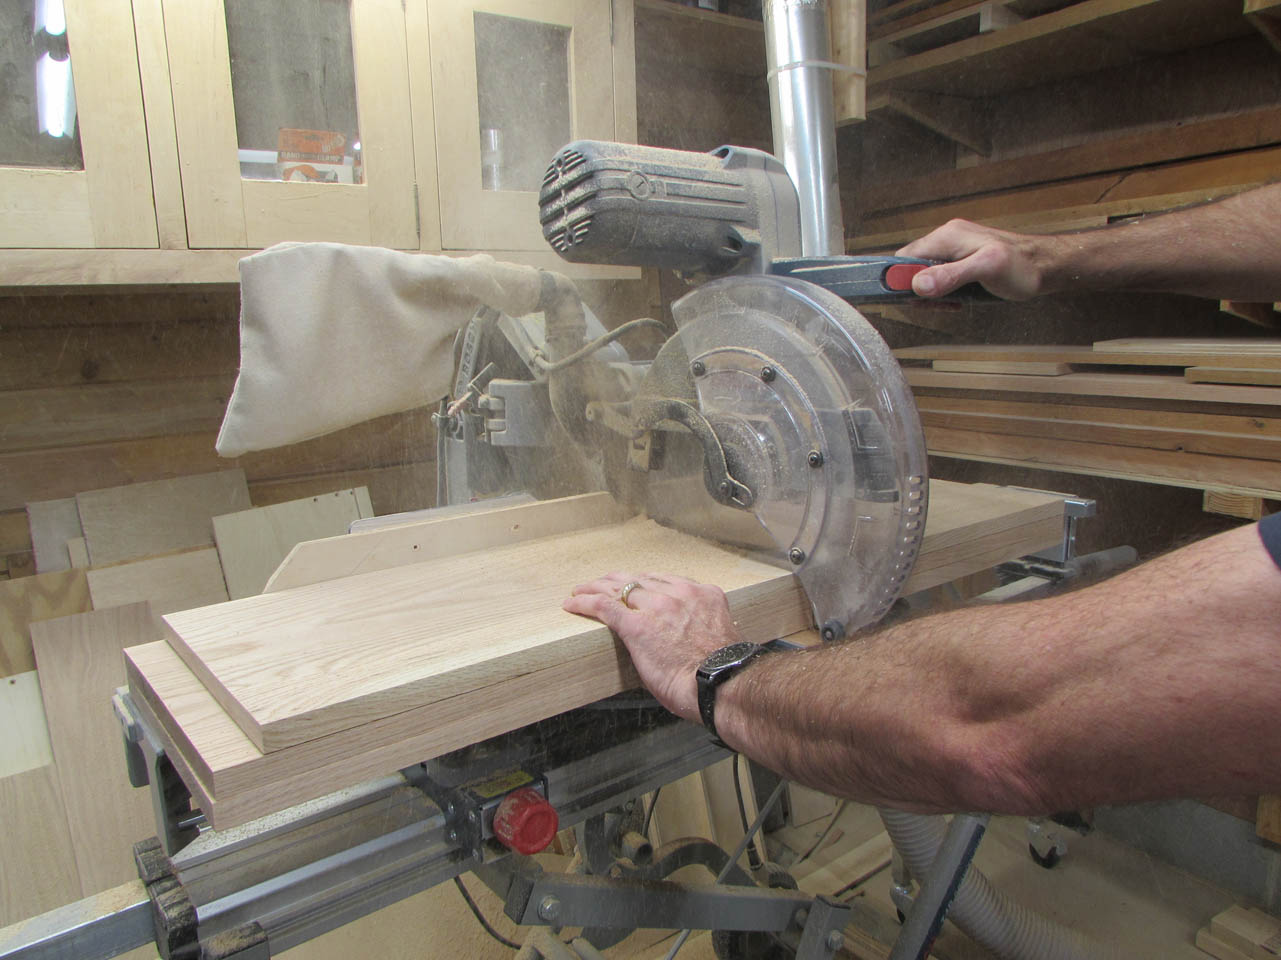
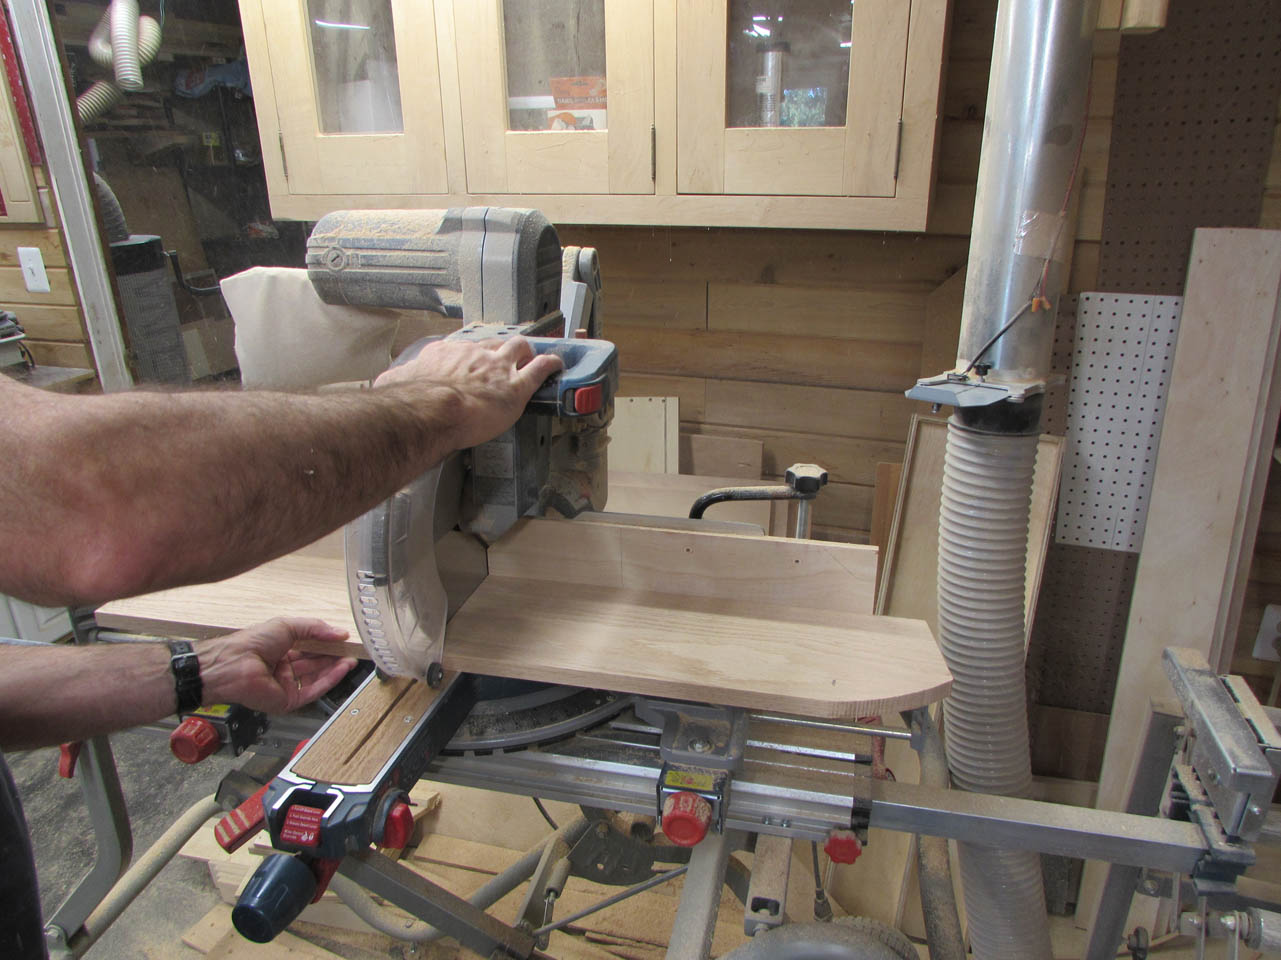
To get the sides to their final shape, I have to lay out the first one. Once cut out, it will become the pattern to lay out the other five. I can easily lay out the straight lines, but I have to get creative to lay out the curved section.
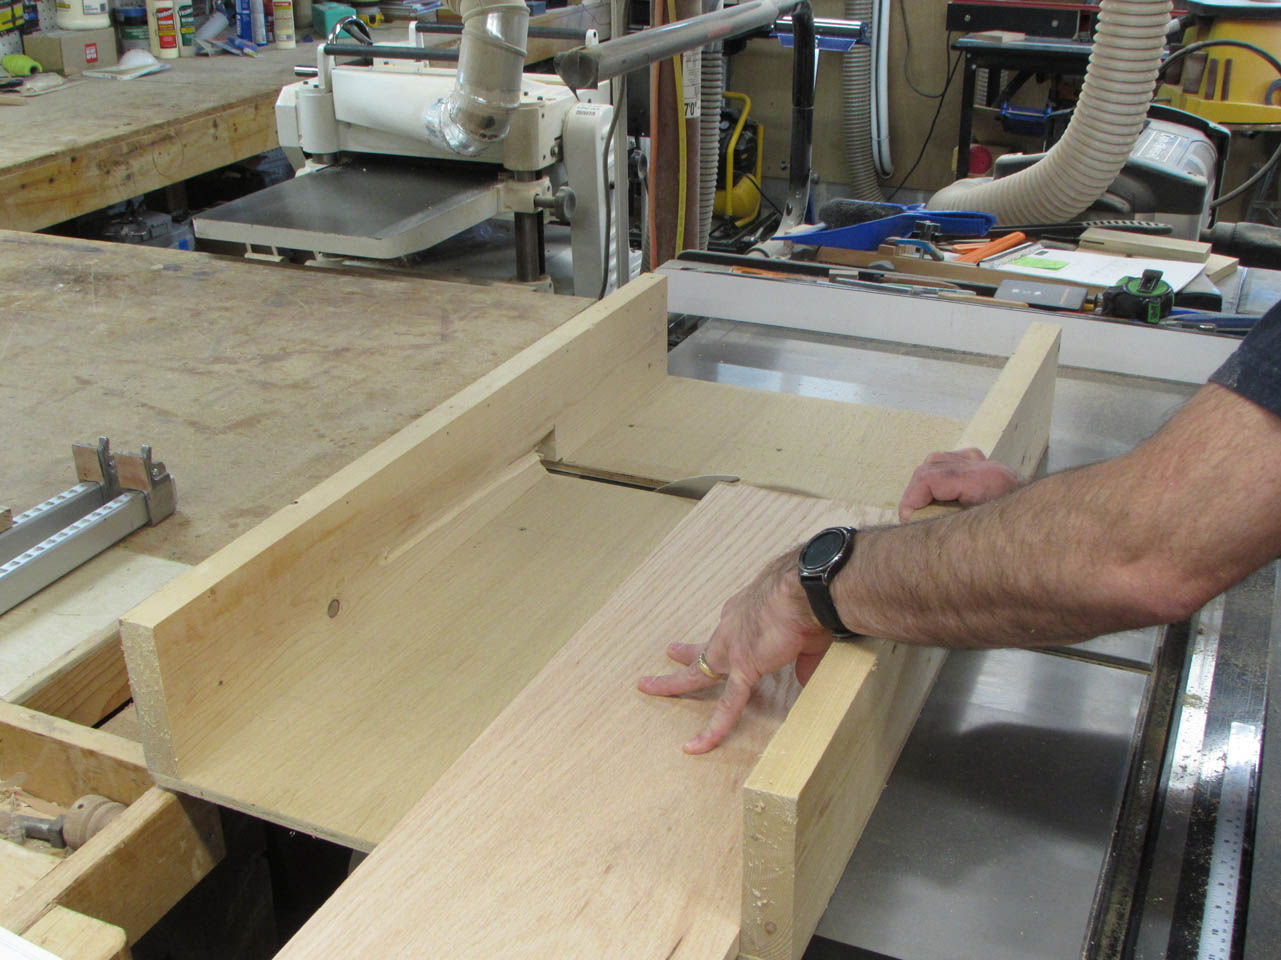
For the angled cut, along the top, I use my track saw.
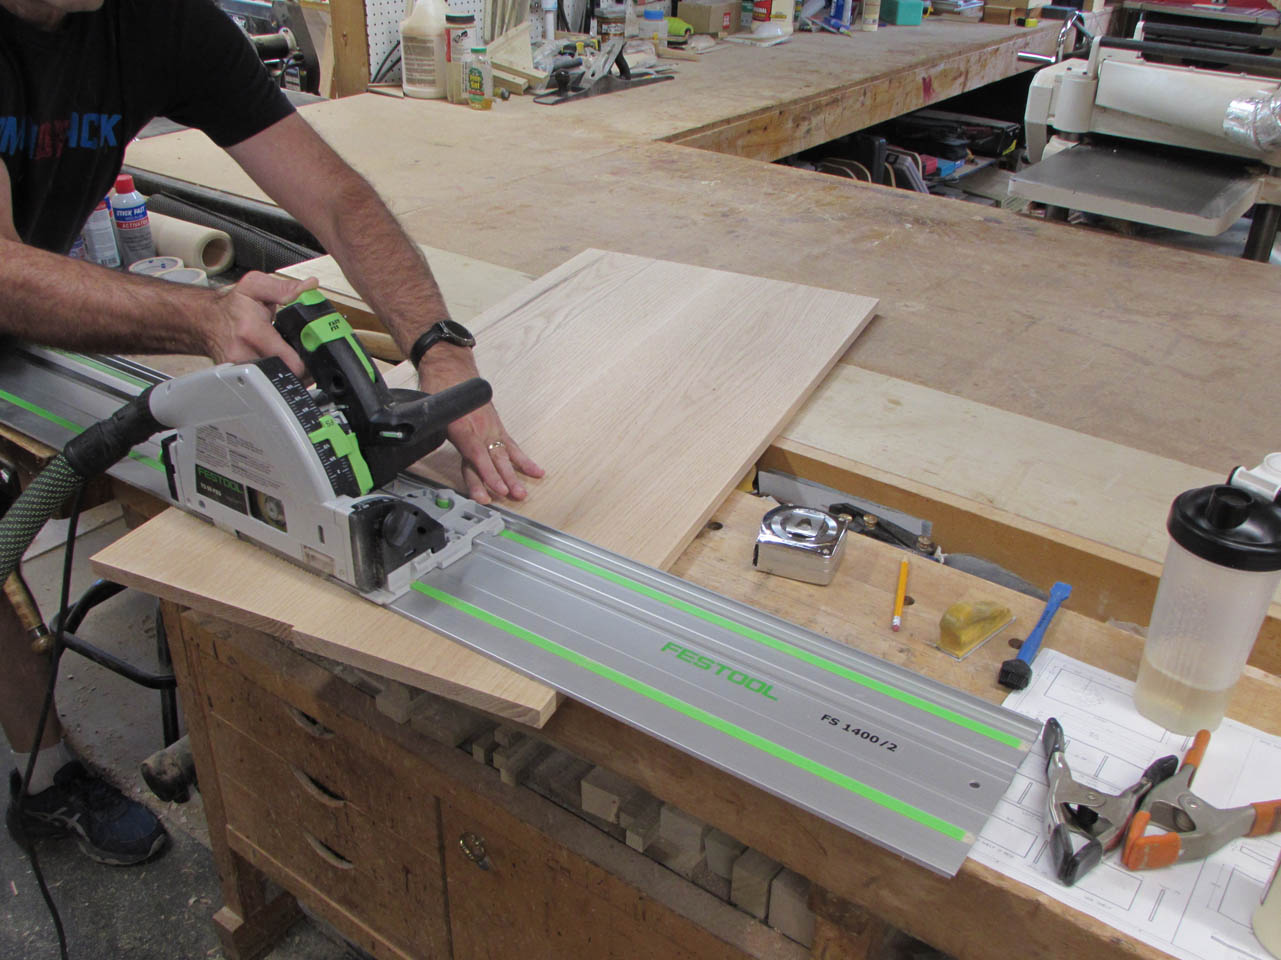

For the long straight line, I do a stopped cut on the table saw.
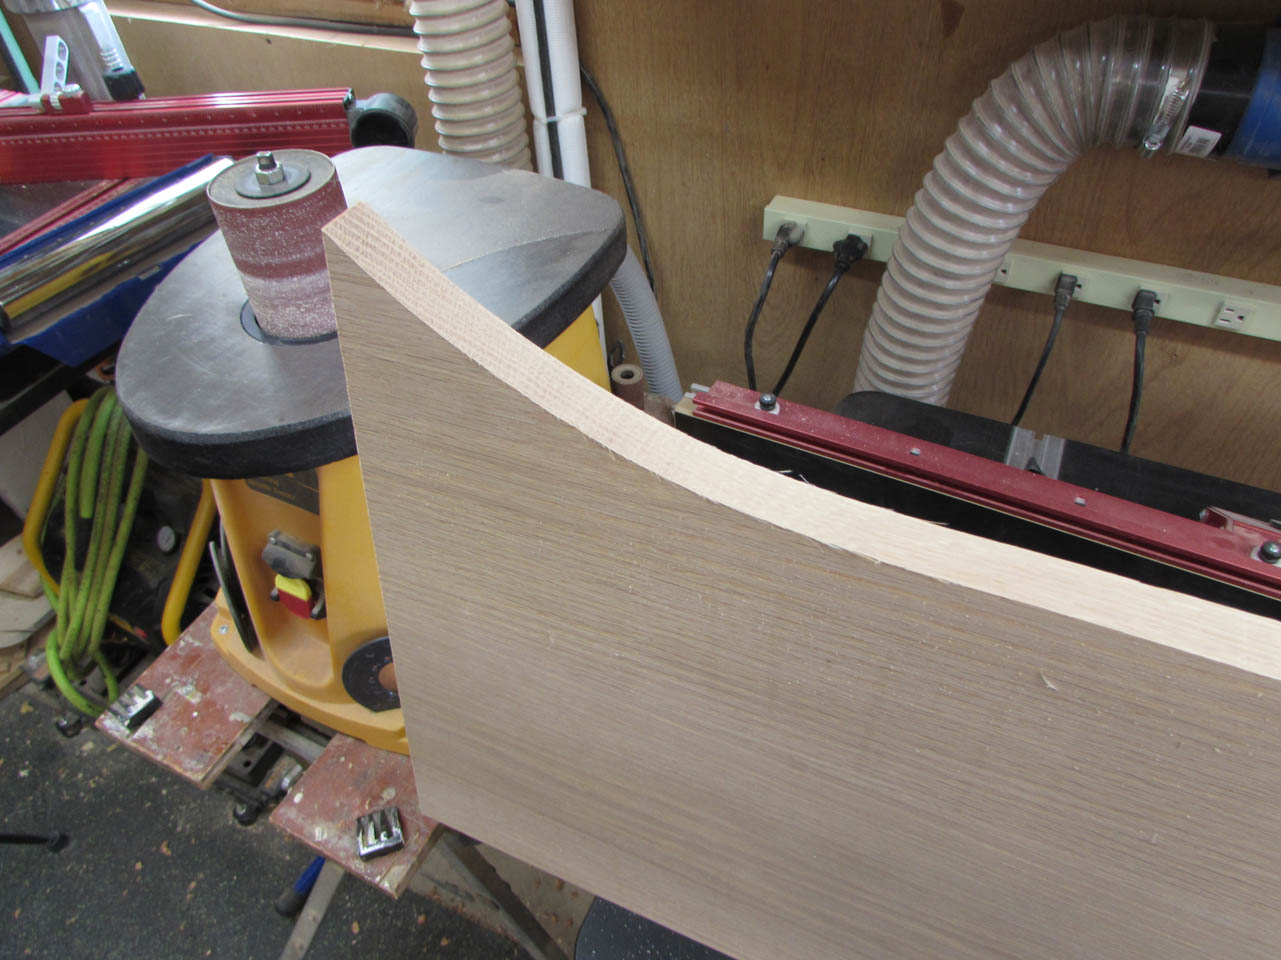
The curve, once again, is a bit tricky.
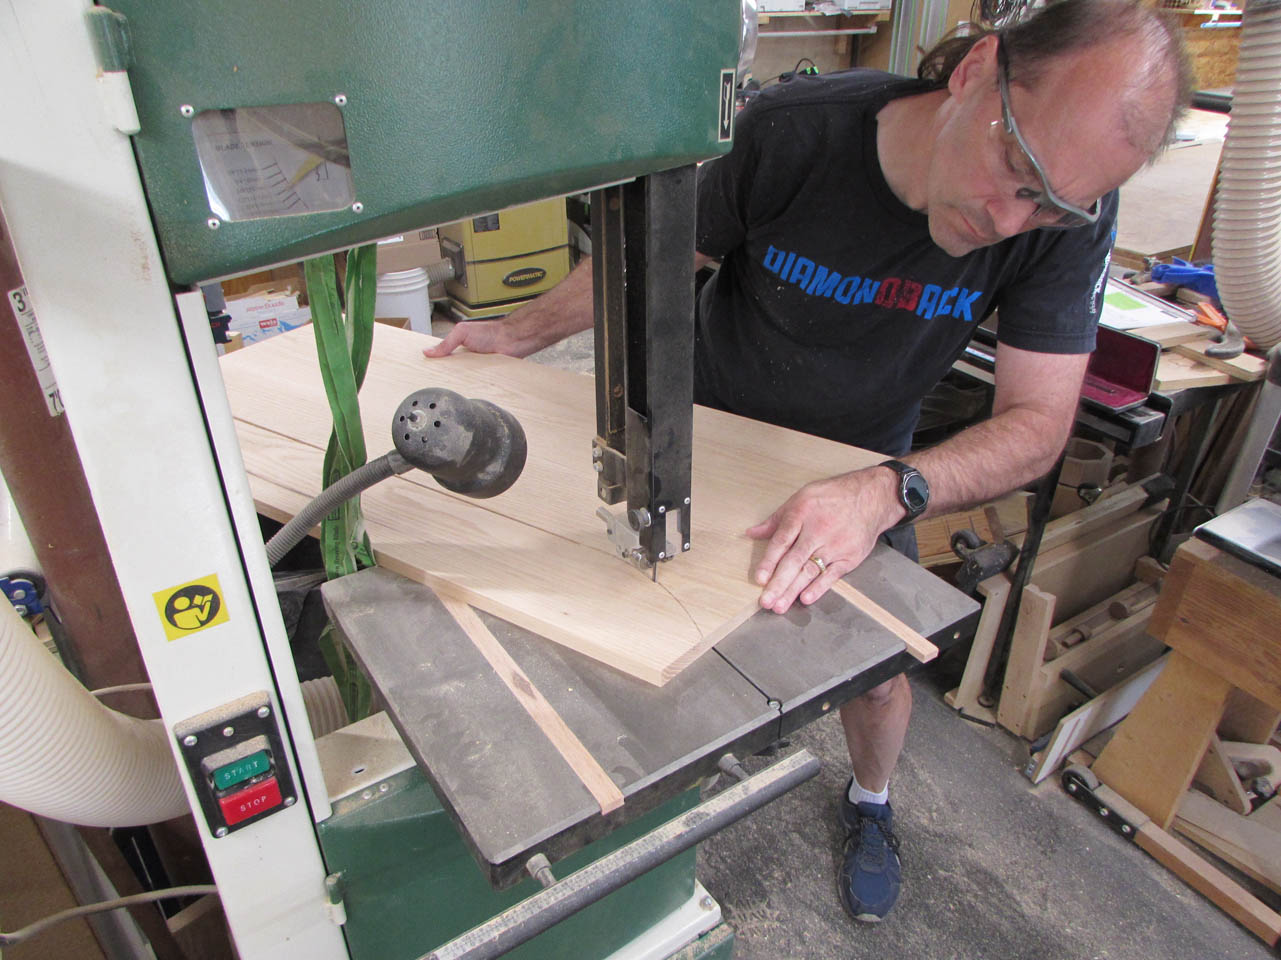
I have to cut half of the curve from one side, then turn the board and cut the other half from the opposite end. This could also be done with a jigsaw, but I find the bandsaw more reliable, even if it is a bit awkward.
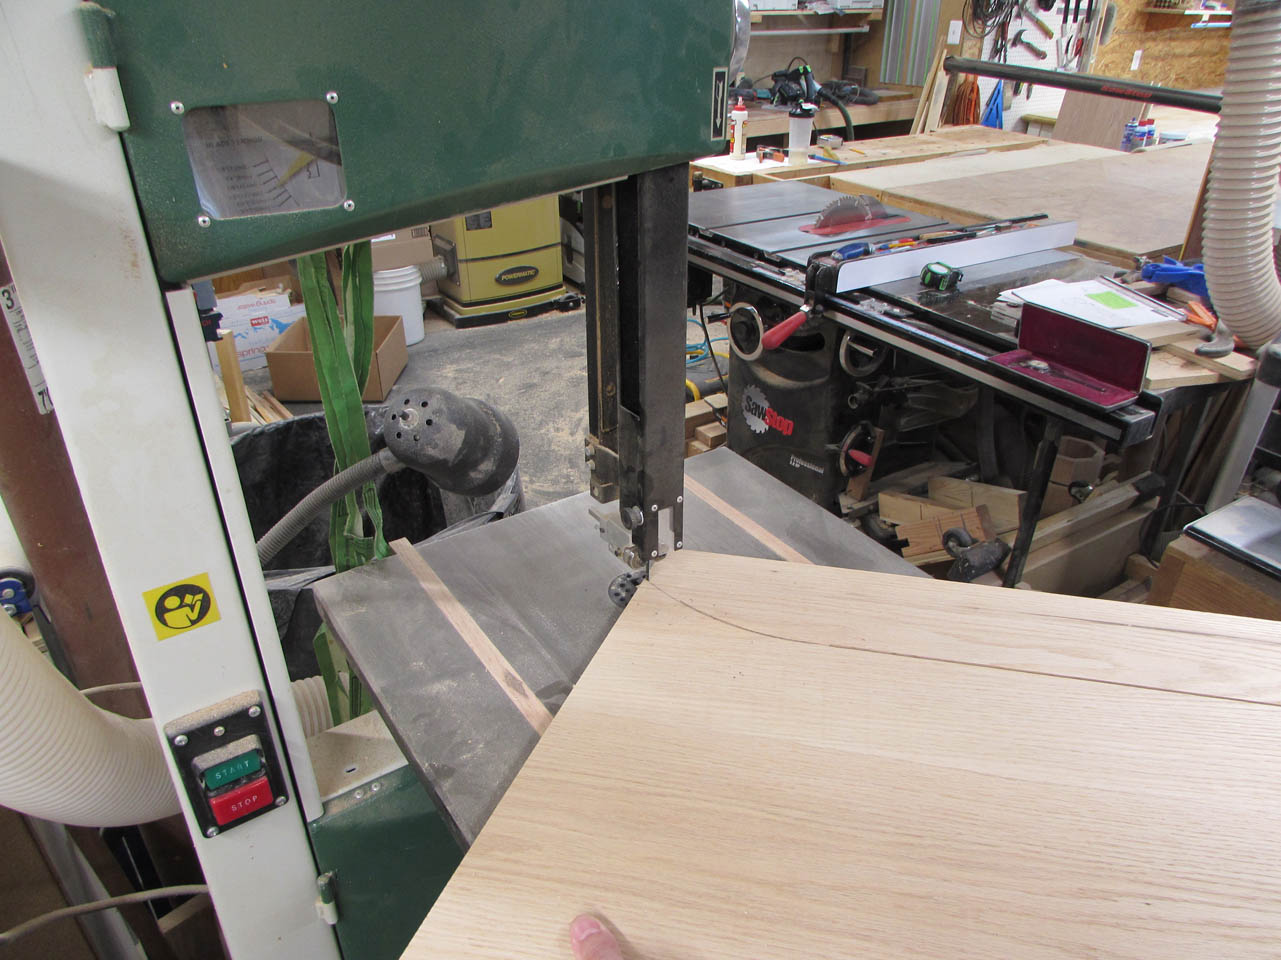
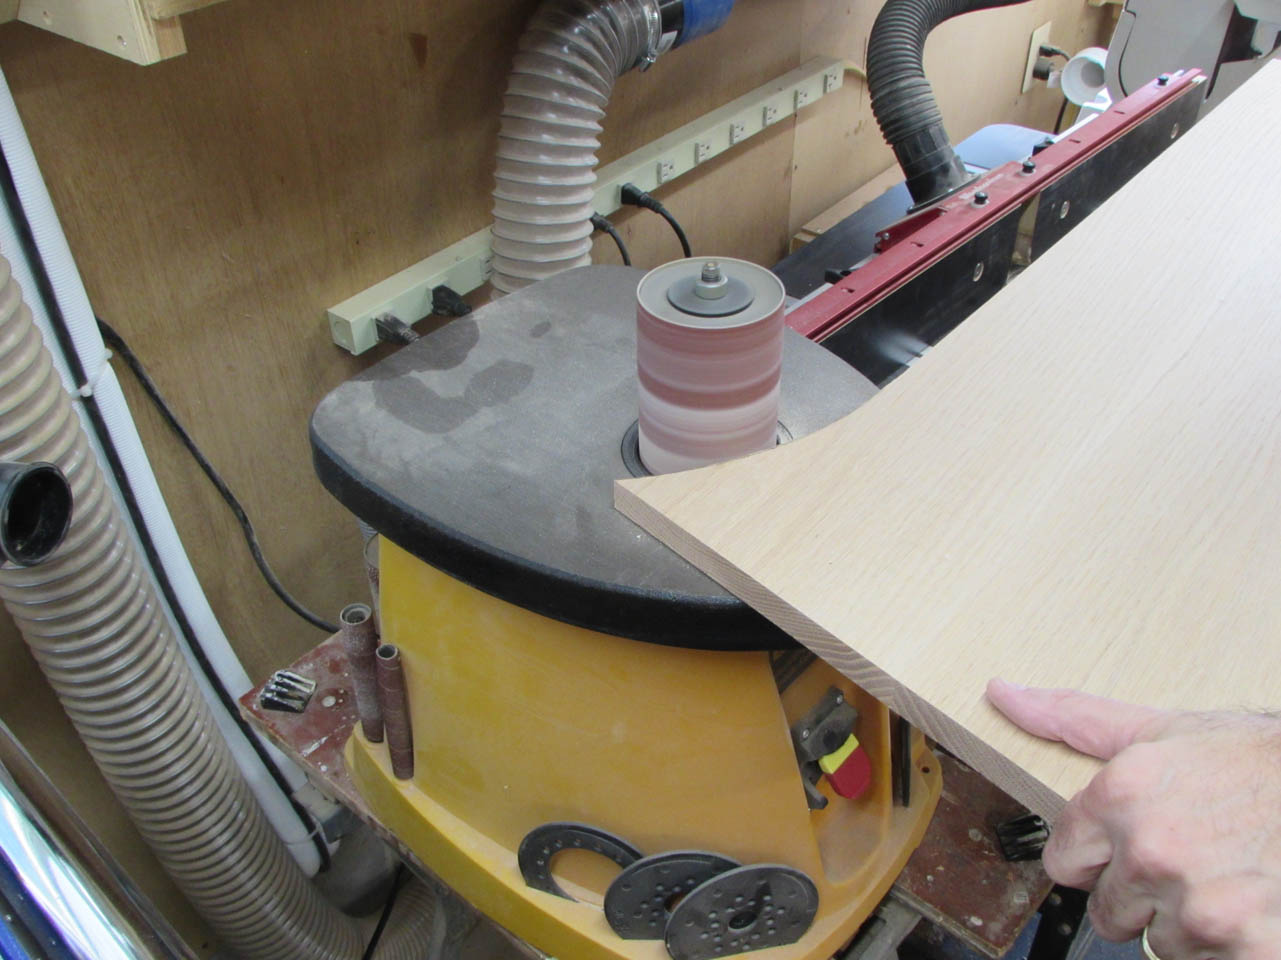
I just stay outside the line and clean it up with the spindle sander afterwards.
Not bad, one down, five to go.
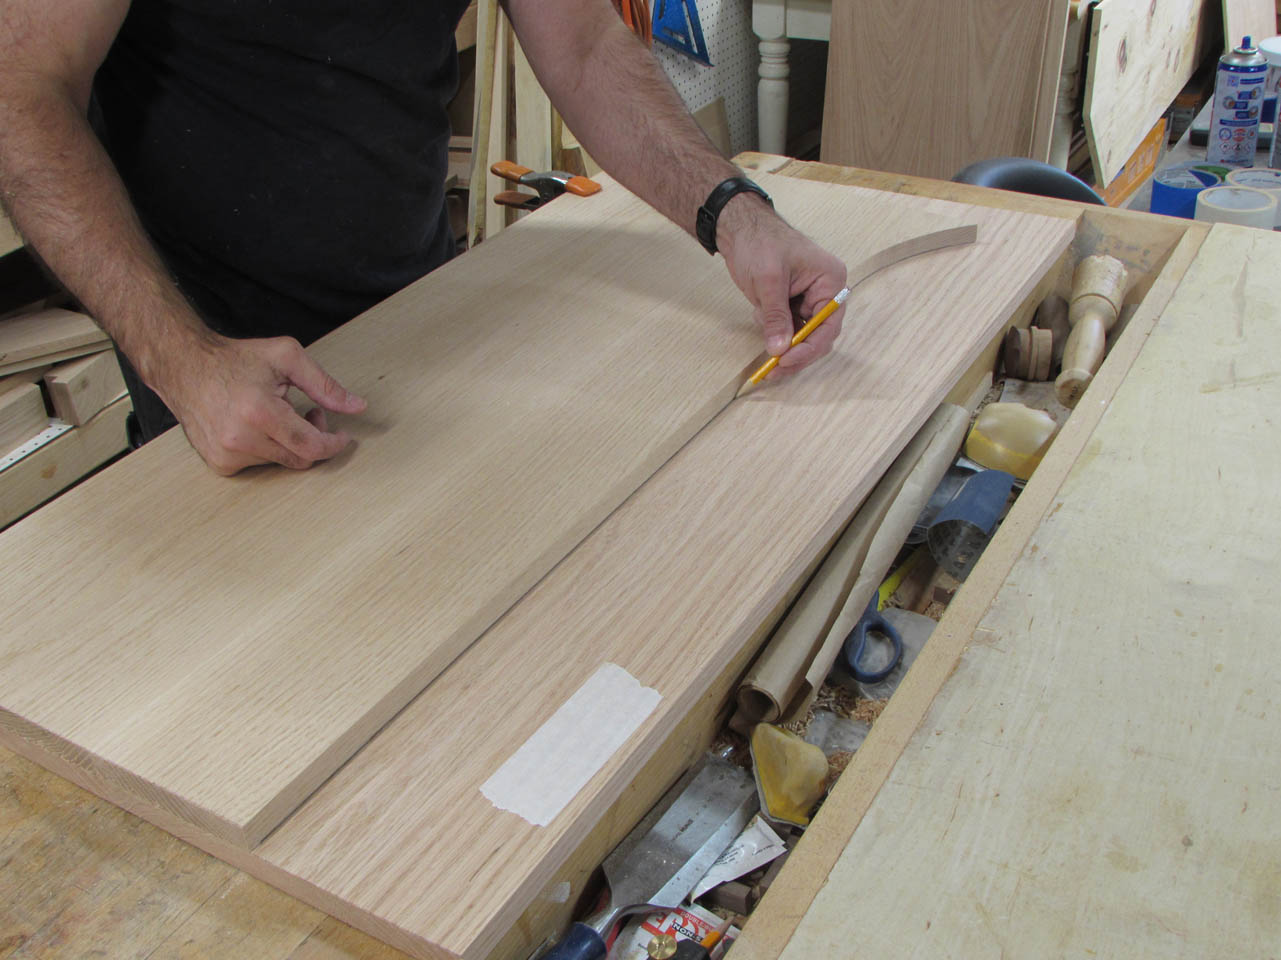
I hold the pattern side tight to the back and bottom of the next board and mark with a pencil. Note the marked corner that gets cut away.
The off-cut sections are re-cut and jointed to be used in construction of the remaining panels.

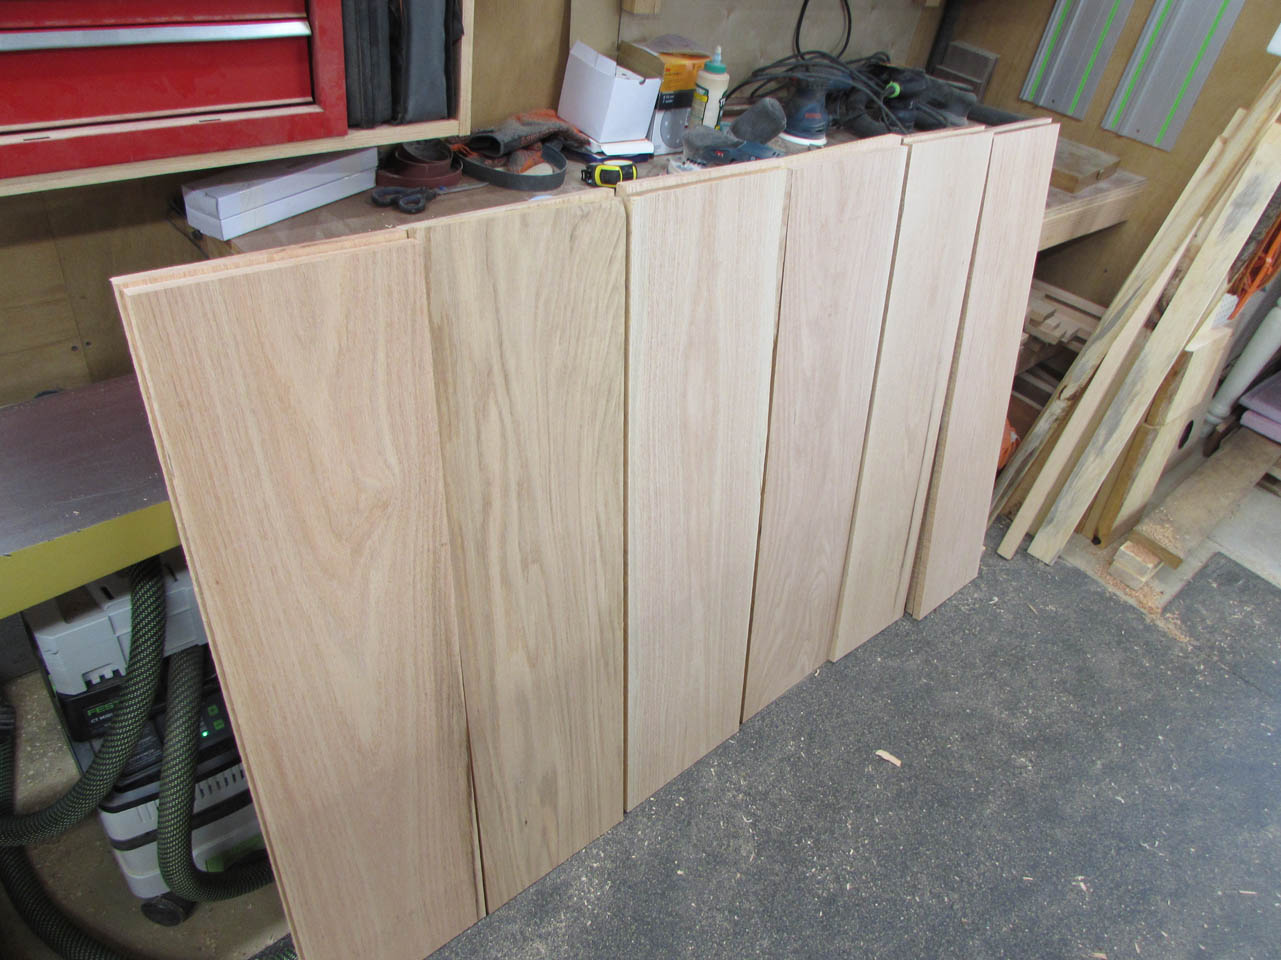
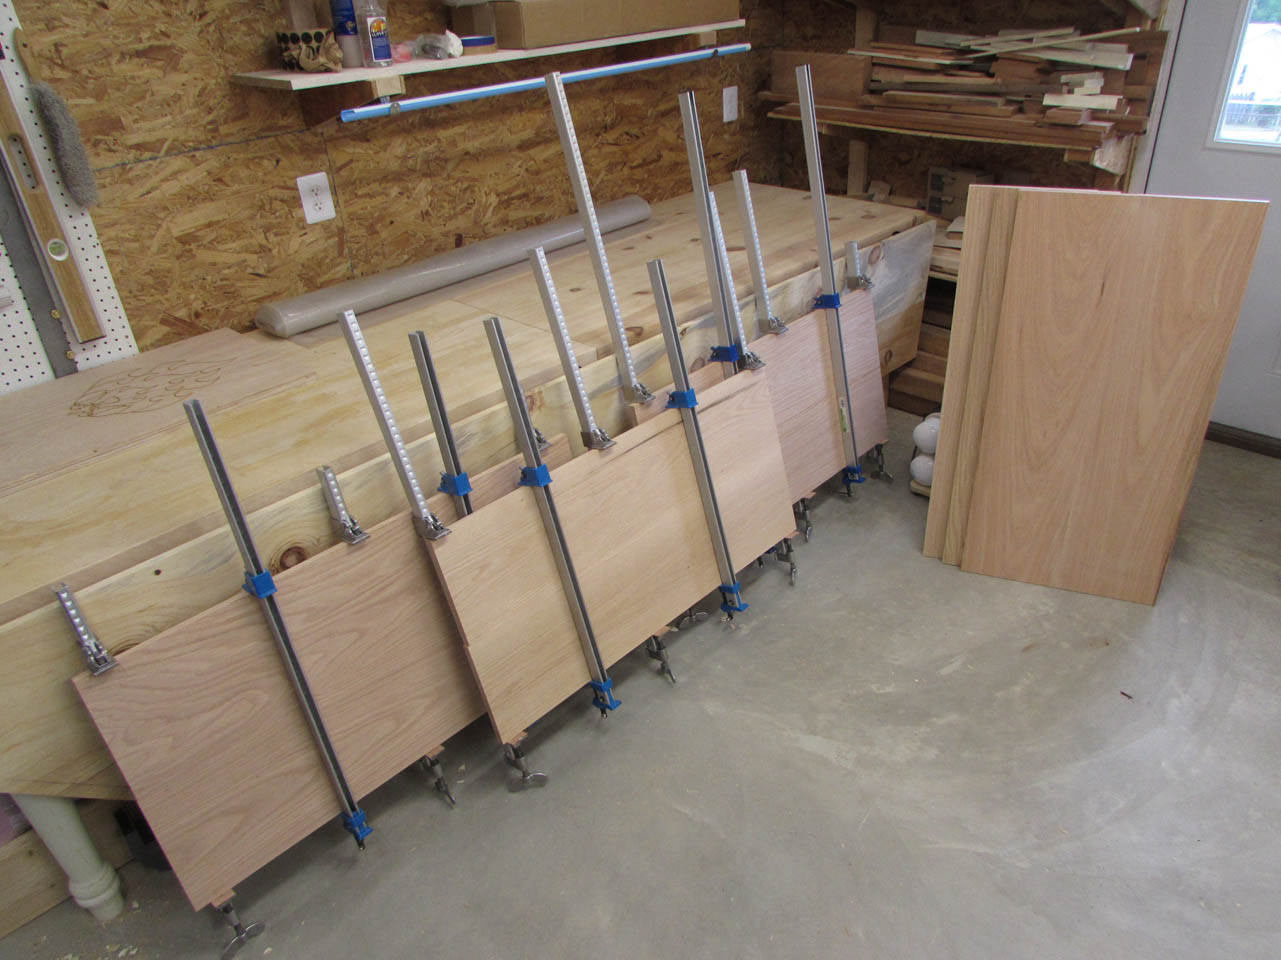
All six sides are cut out and stacked for use later.
I think my dust collector needs an upgrade. I never had this much mess when my shop was half this size…

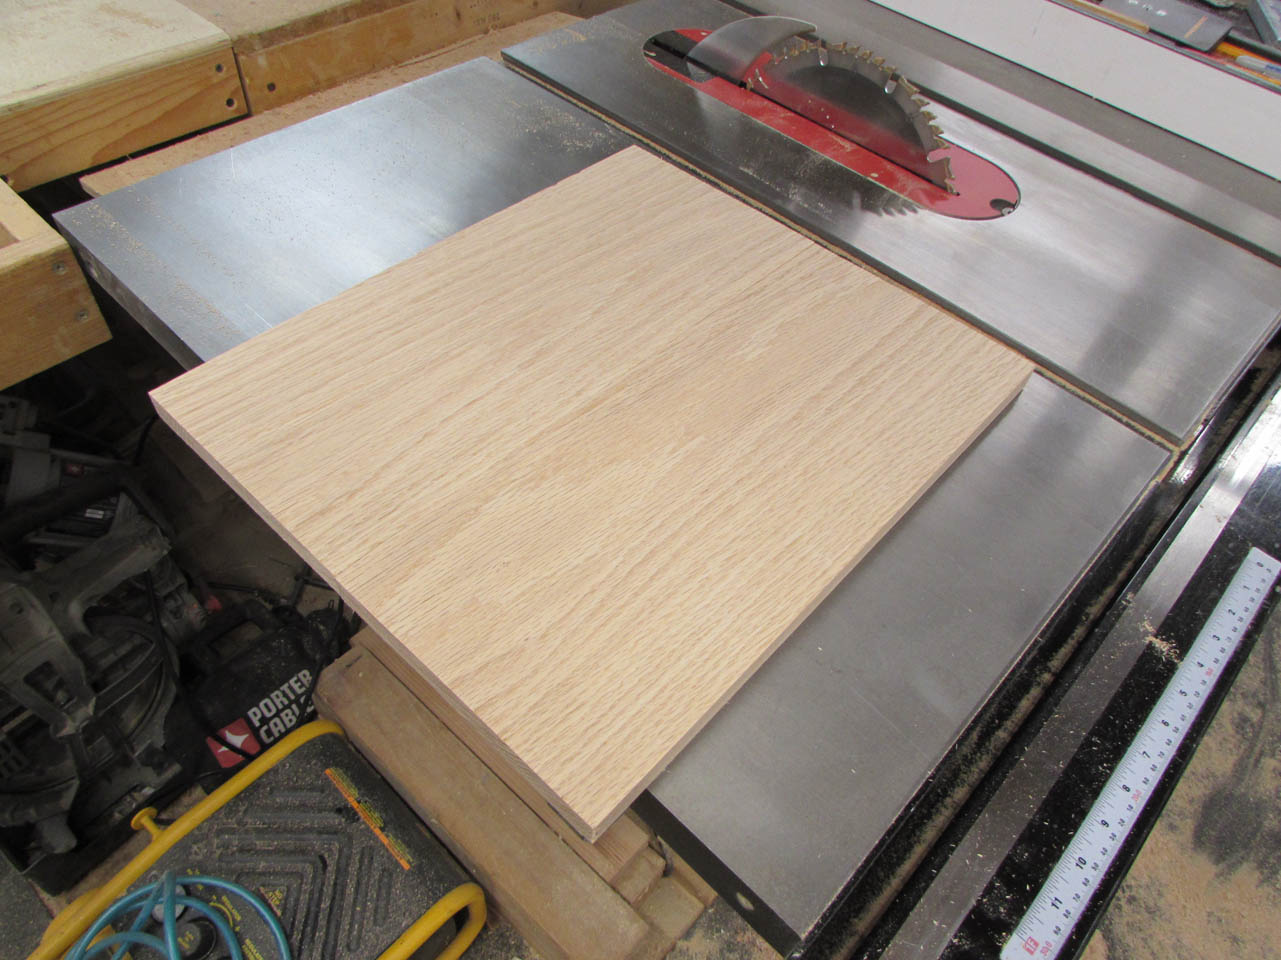
The internal shelves are 11″ wide so I grabbed an 11-1/2″ board and started breaking it into smaller pieces to be jointed.
Once jointed, they are cut to final width and length.
Internal shelves are done, time to work on larger panels next.
I use some of the off-cuts to glue up the laptop shelves. They are slightly oversized so they can be cut down later.
After the laptop shelves, I start gluing up the larger panels for the base and the top.
These were left to dry overnight.
This is the end of day two. It has been a very productive weekend but there is still a lot to do.
