
Pai Sho game
I have several big projects lining up in my que, but a friend asked if I could make a Pai Sho game for him, so I decided to squeeze it in last week.
Pai Sho is a formerly-fictional strategy board game portrayed in the TV show Avatar: The Last Airbender.
I had seen some episodes of the show with my kids, but had not paid that close attention to it. Luckily a lot of other people have and some of them saved me a lot of time by creating files that can be downloaded and converted into a format that will work with my laser. Several options and variations can be found online, I used the files I found on Skudpaisho.com.
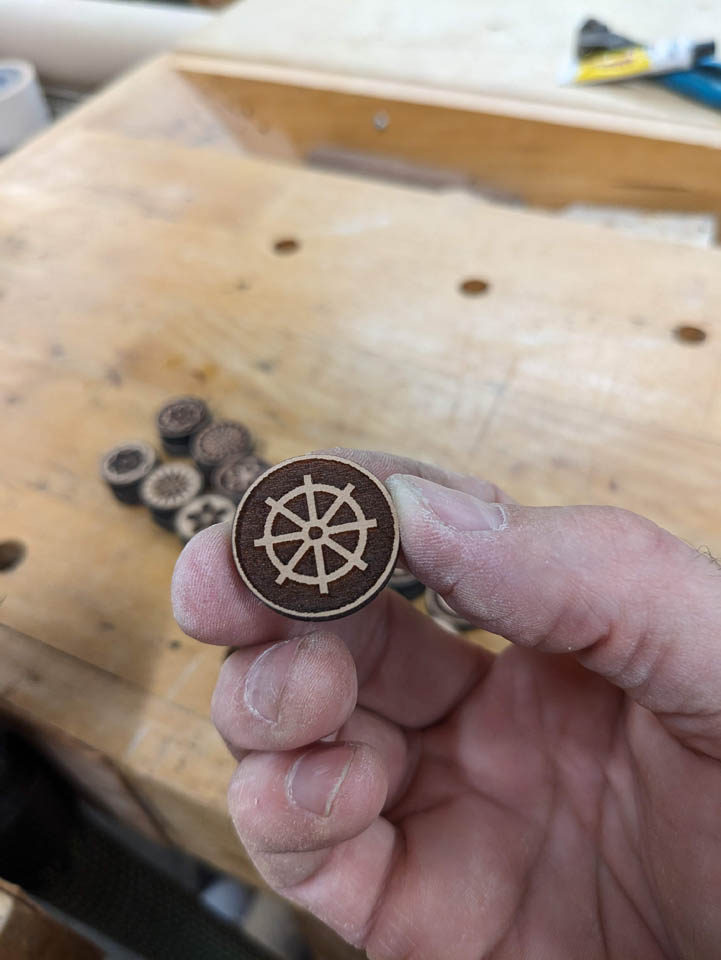
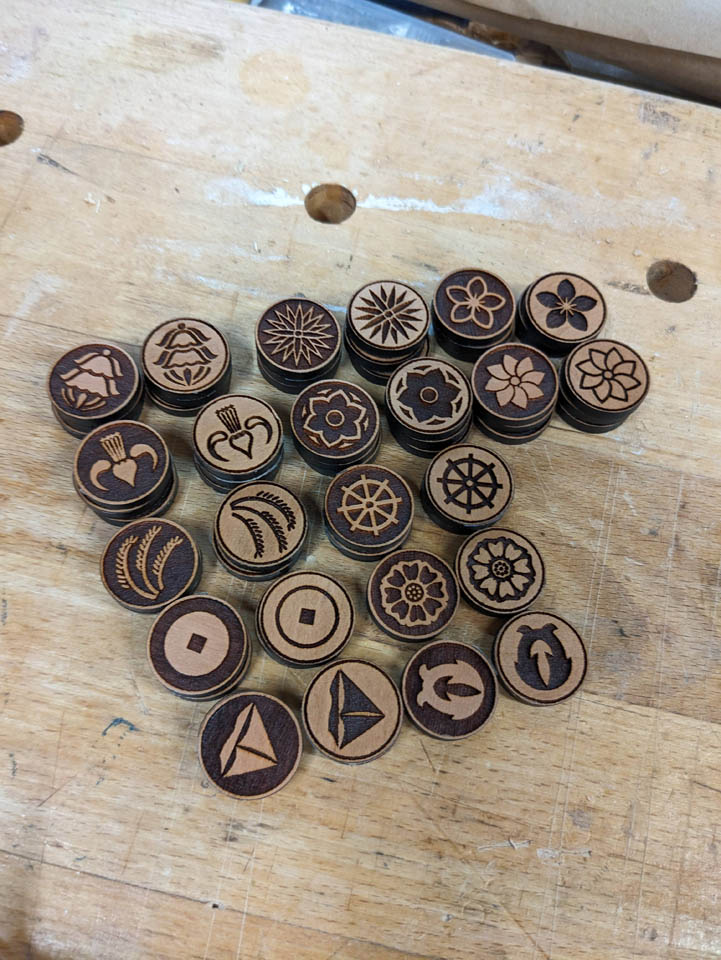
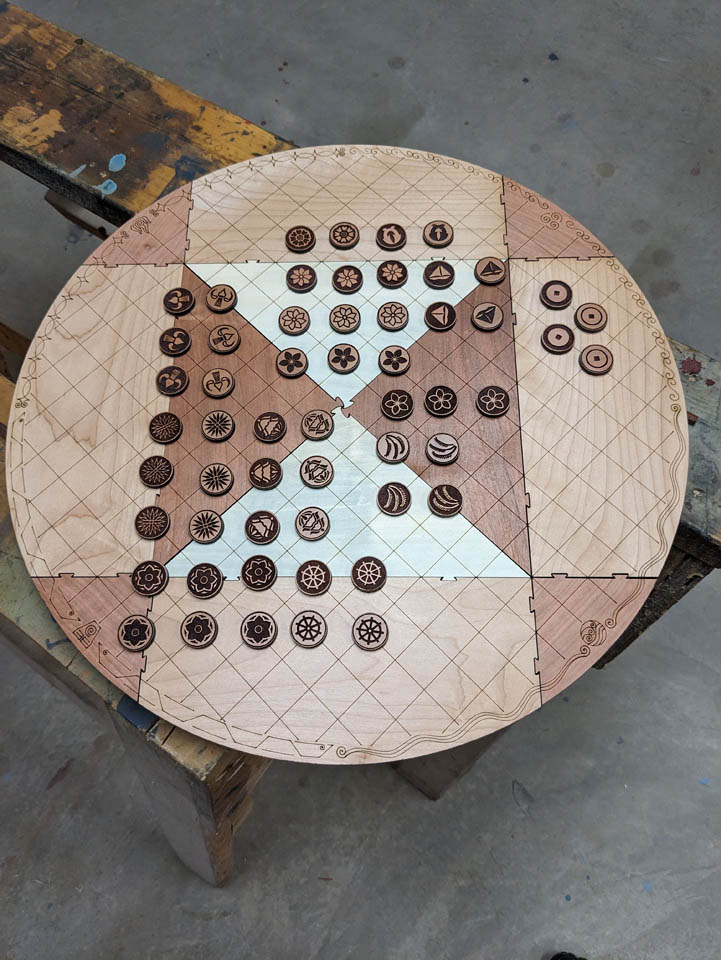
The files I downloaded gave me black and white negatives of the game pieces. I could engrave them onto a single type of wood, or I could also pick one type and put it on two different types of wood. I opted to use both black and white on cherry.

I was happy with the outcome of my test engrave so I went ahead and cut out all 56 game pieces from a piece of 3/16″ thick cherry.
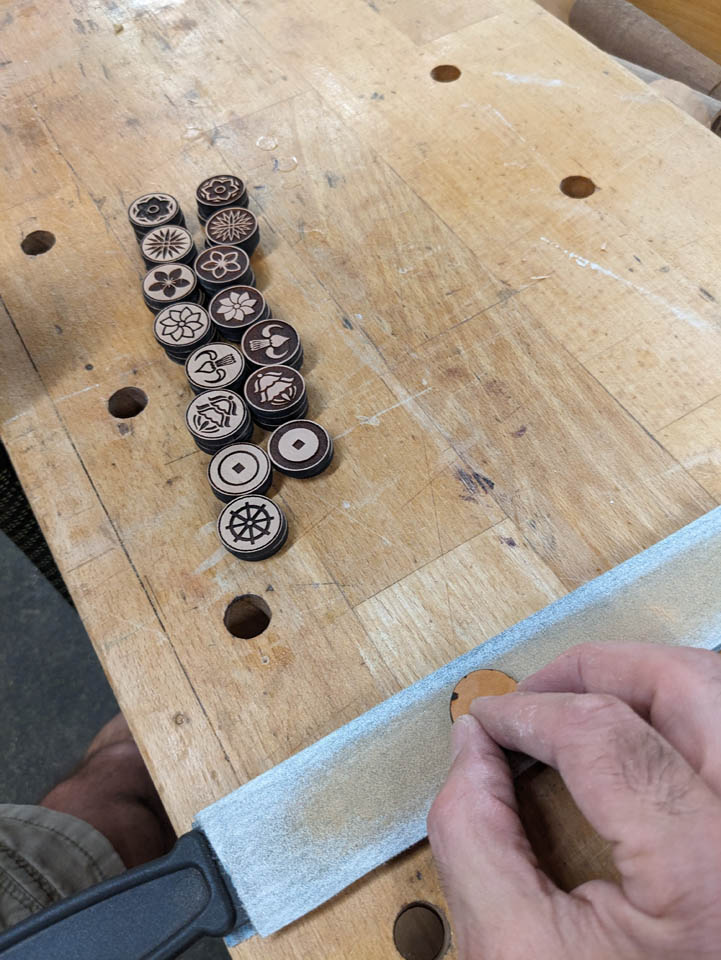

One problem with laser engraving is the smoke haze that builds up on the pieces. It is also sticky from the laser heating up the resins in the wood.

To clean this off, I spent a lot of time sanding each one individually on a strip of 120 grit sandpaper.
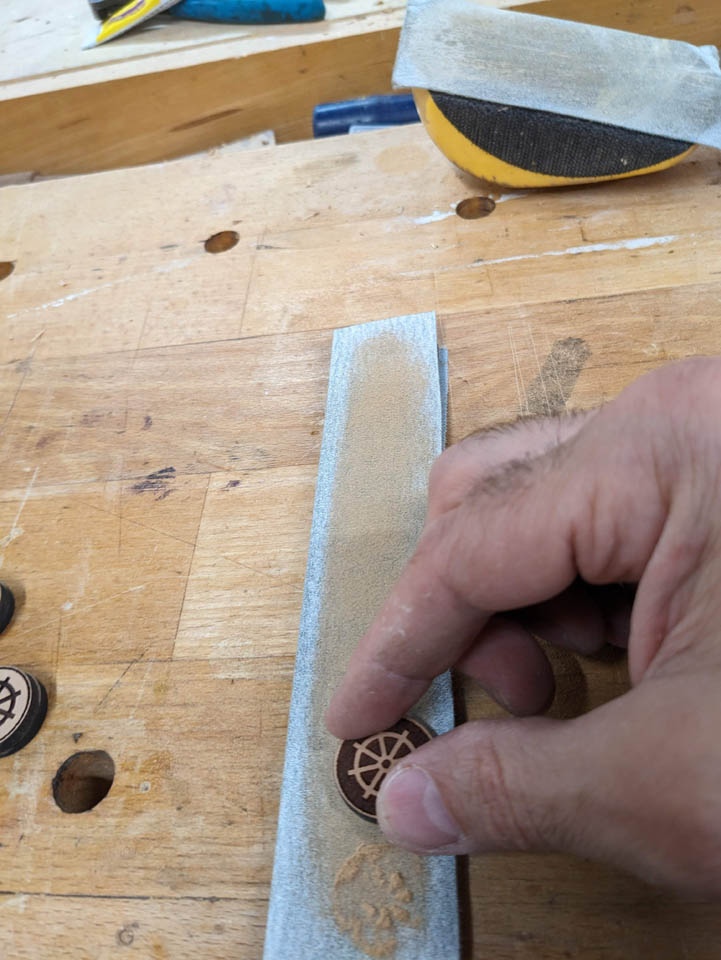
A long while later, they were sanded, along with a couple of finger tips…
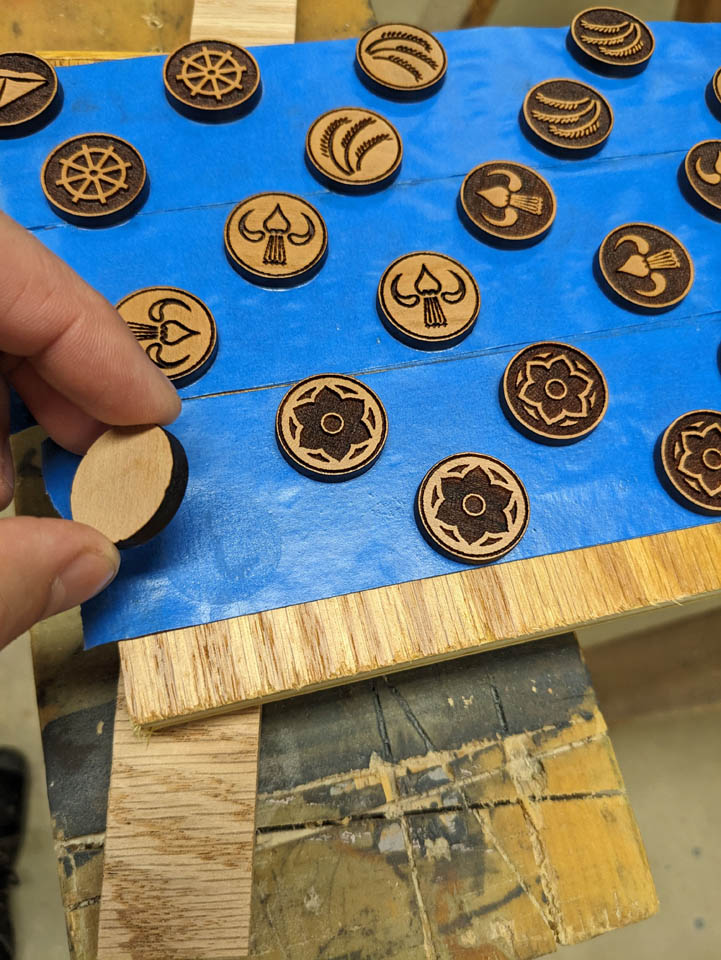
I decided to use a water-based polyurethane for finish, but my sprayer would just blow these lightweight pieces across the room.
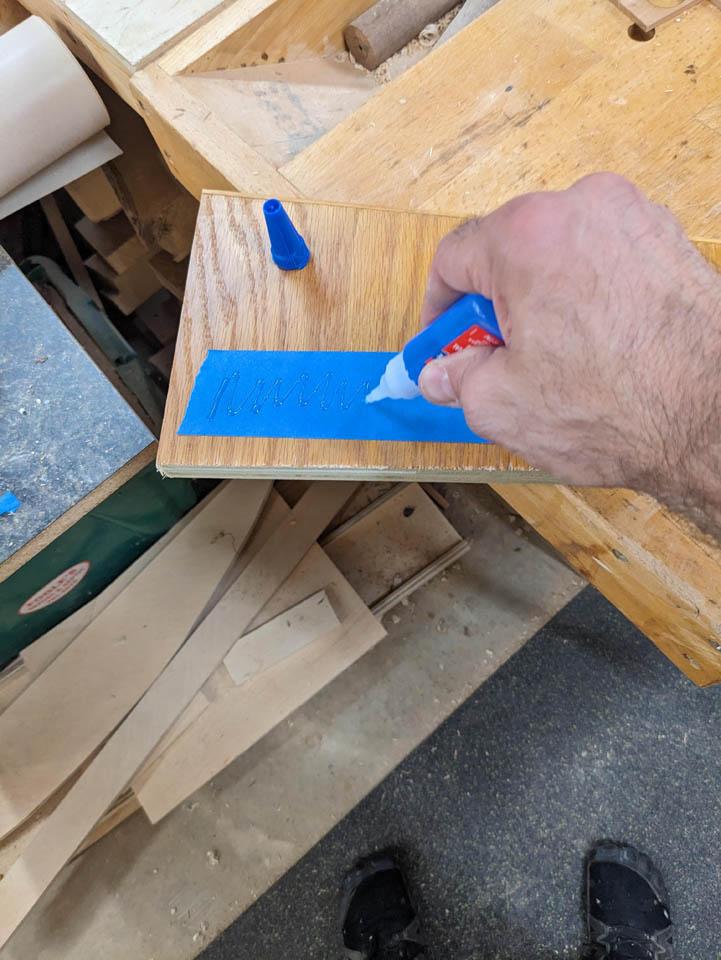
I attached several strips of painter’s tape to a scrap of wood, then applied CA glue to the top and applied another strip with the sticky side up.

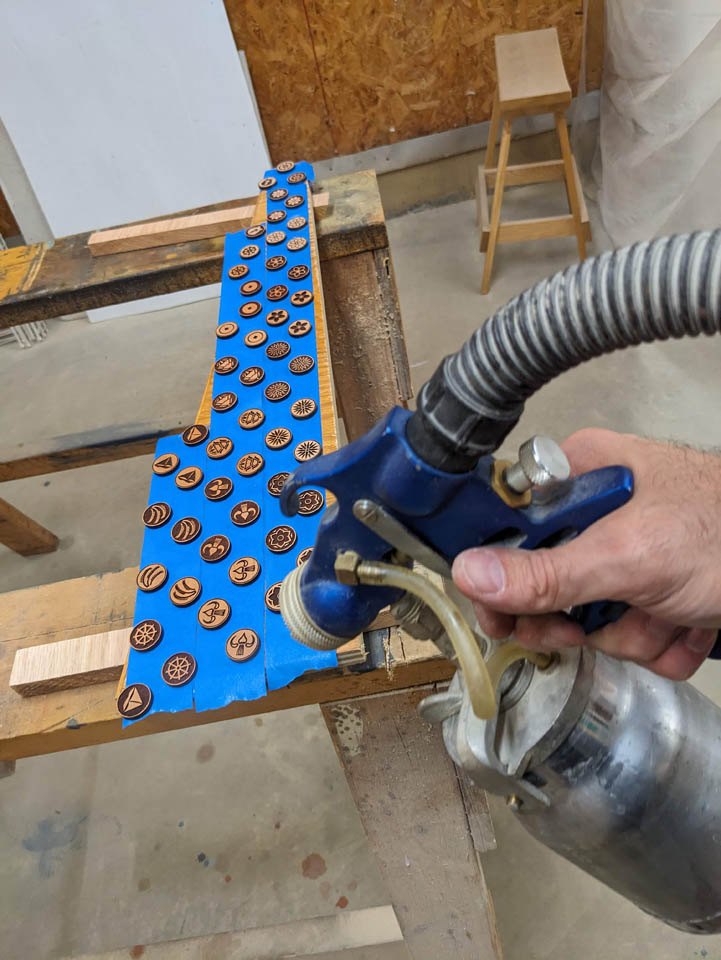
Now I can attach all of the pieces and give them a quick spray.
An hour or so later, I came back and sanded all the surfaces with 400 grit paper to smooth them out.

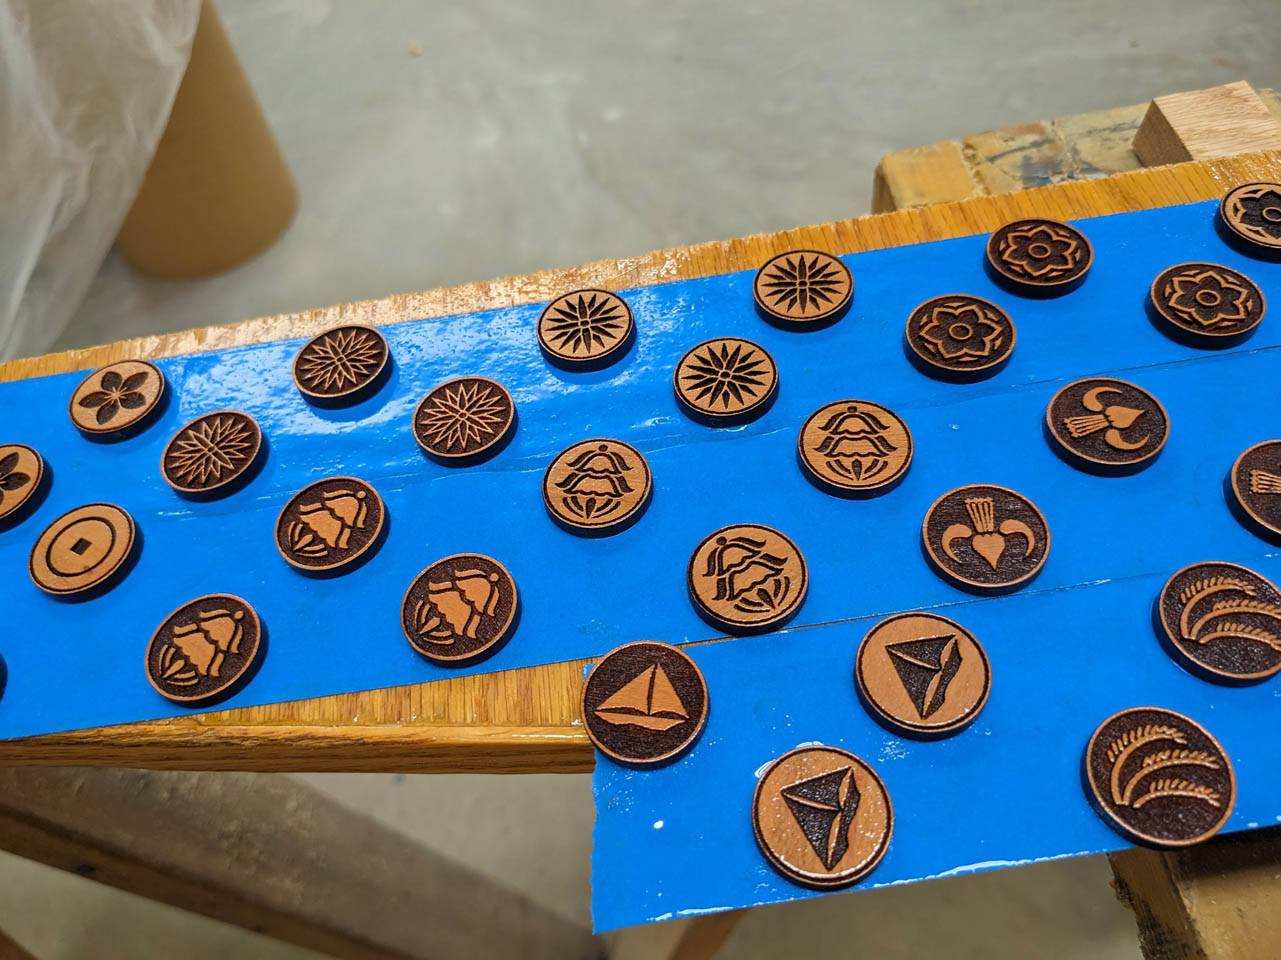
Then sprayed on a second coat.

When they were dry, I carefully peeled each one off and flipped it over and stuck it back onto the sticky spot.

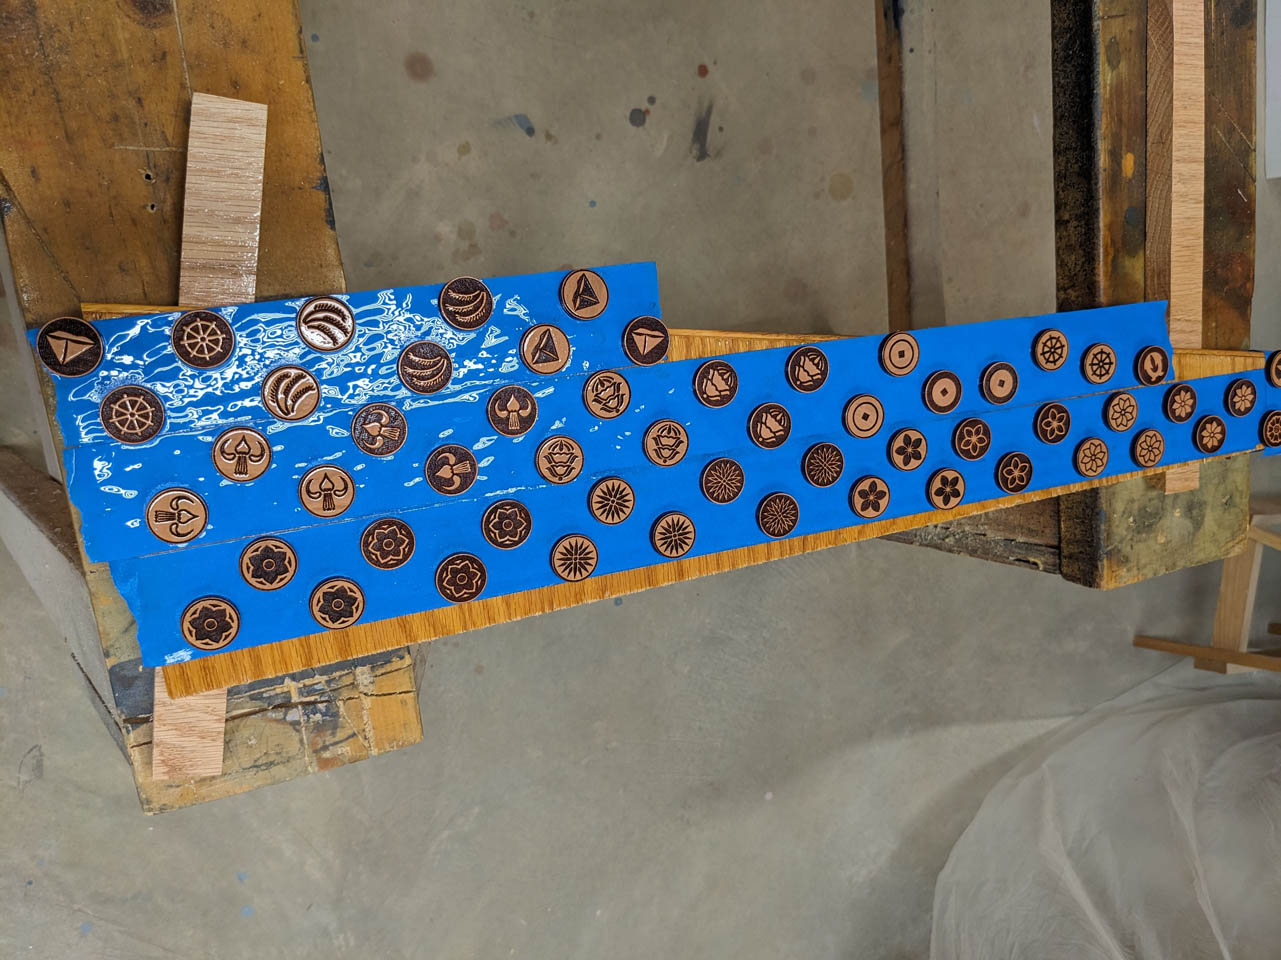
Two more coats of spray layer the pieces were done.
I can now just peel off the homemade double-sided tape and put the wood back in my scrap pile.


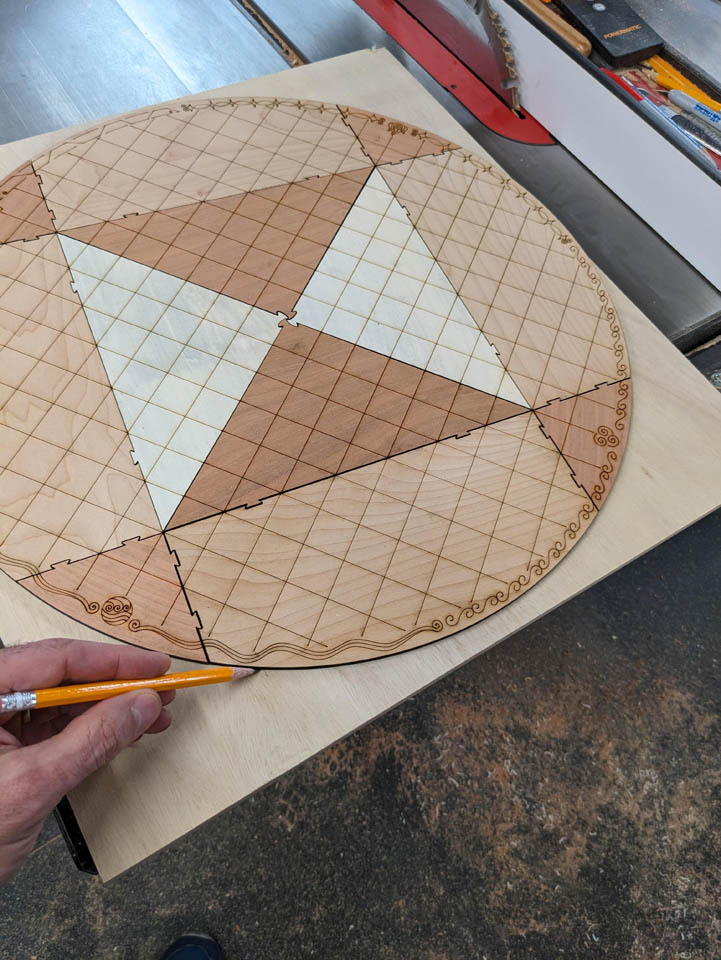
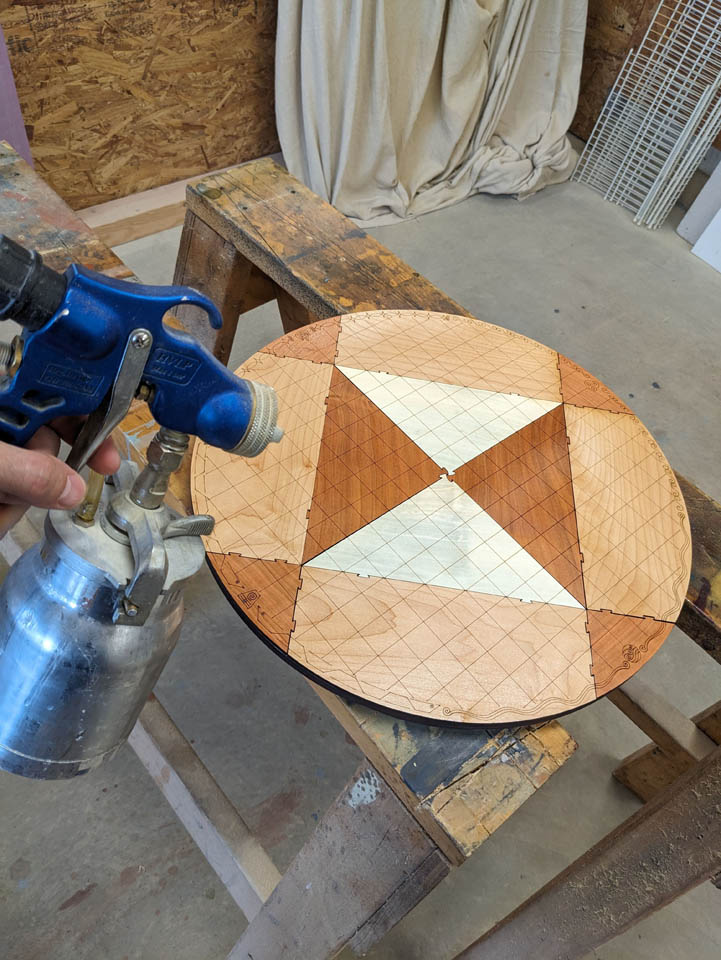
For the game board, I cut three different types of wood, down to 3/16″ thick, then loaded each one into the laser to cut and engrave out the individual sections of the board. To get a complimentary contrast, I used cherry (red), maple (tan), and holly (white).


The pieces were created with tiny little connectors that held them together like puzzle pieces. I didn’t like them at first and thought about removing them and just butting the pieces together. But the more I looked at it, the more I liked it, especially the center of the board. When I decided to use the elemental border, the connectors just seemed to add to the flow.

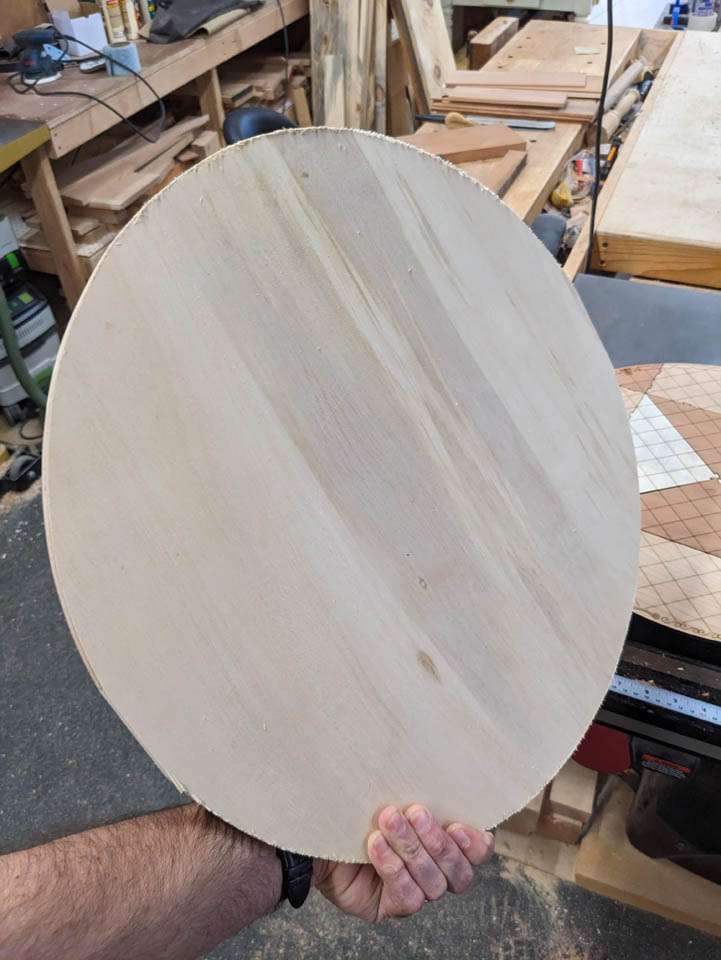
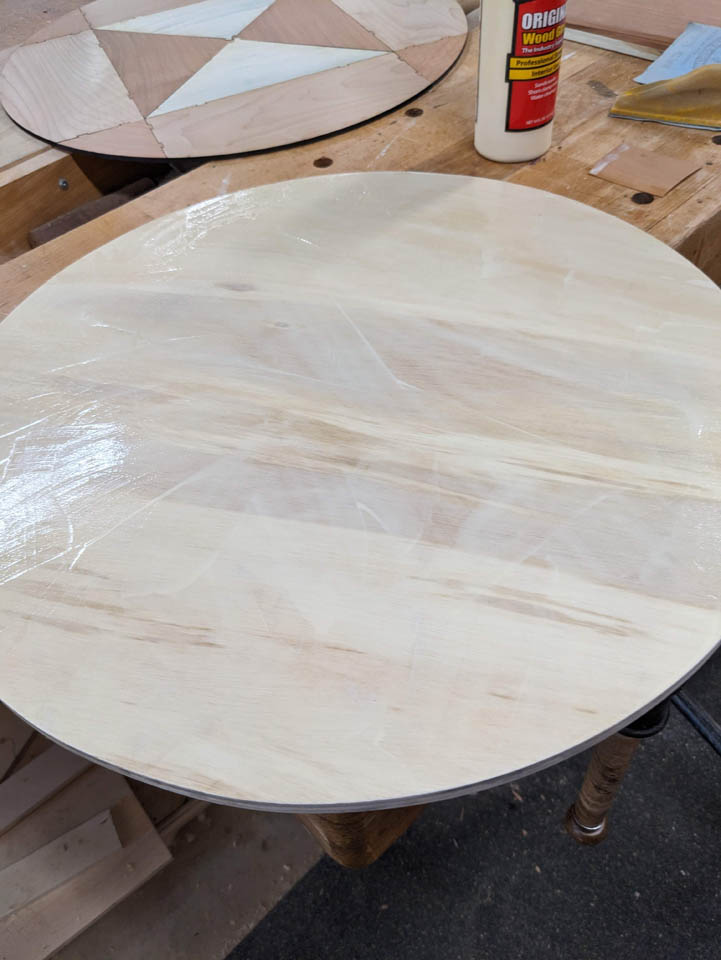
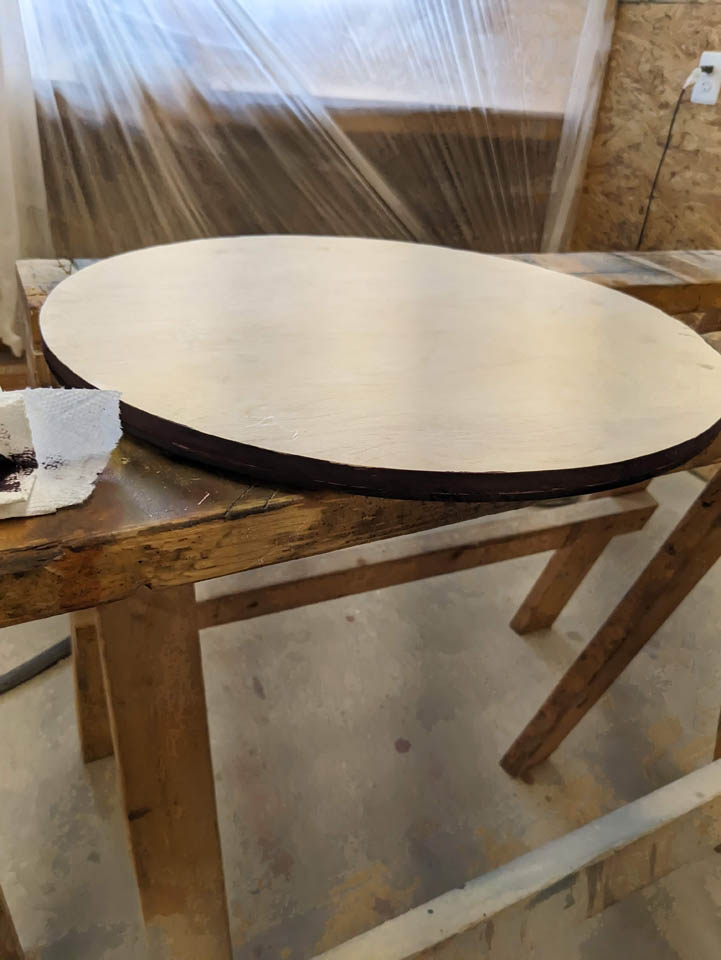
Once assembled, I needed to create a backer board to attach the top to. I decided plywood would be more stable than solid wood so I traced the circle on a piece of 1/2″ thick sanded ply.
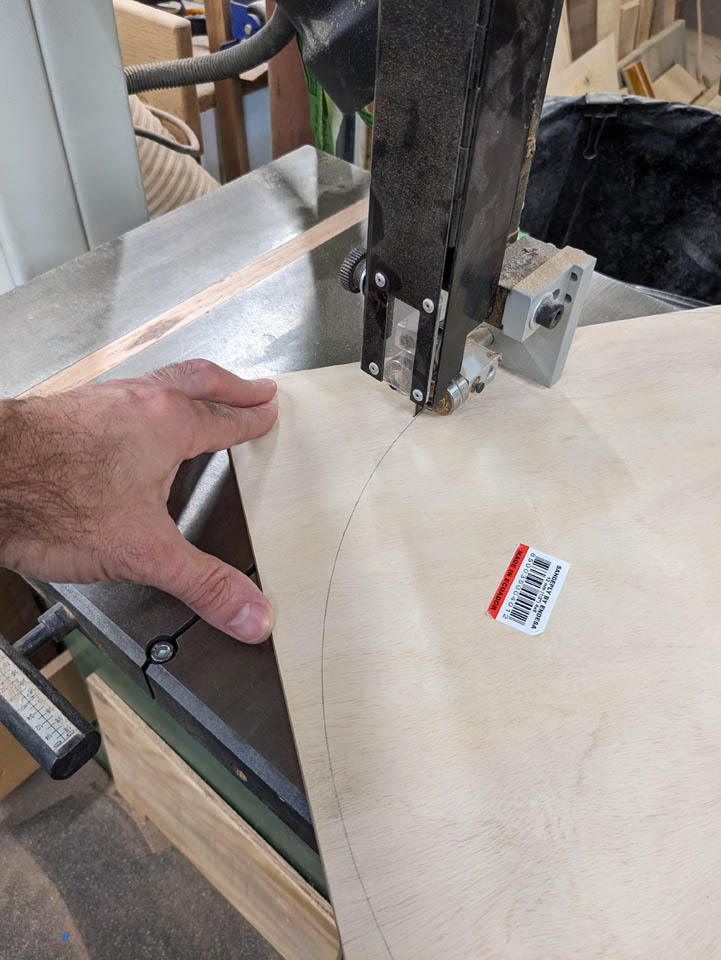
I cut the circle out on the bandsaw.
Then sanded the edges down to my mark on my belt sander.
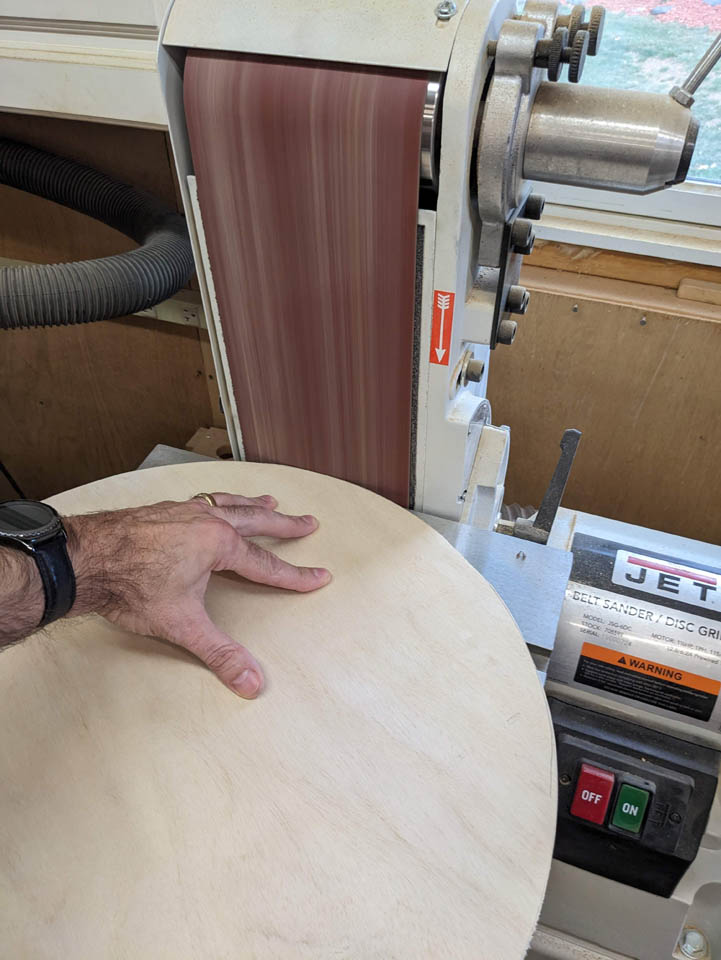
I used my orbital to finish sanding the edges and the surface.

I allowed the top to overhang about 1/32″ all the way around to make it easier to pick up the board off of a table.

To keep the top aligned and stable, I taped every seam with painter’s tape.
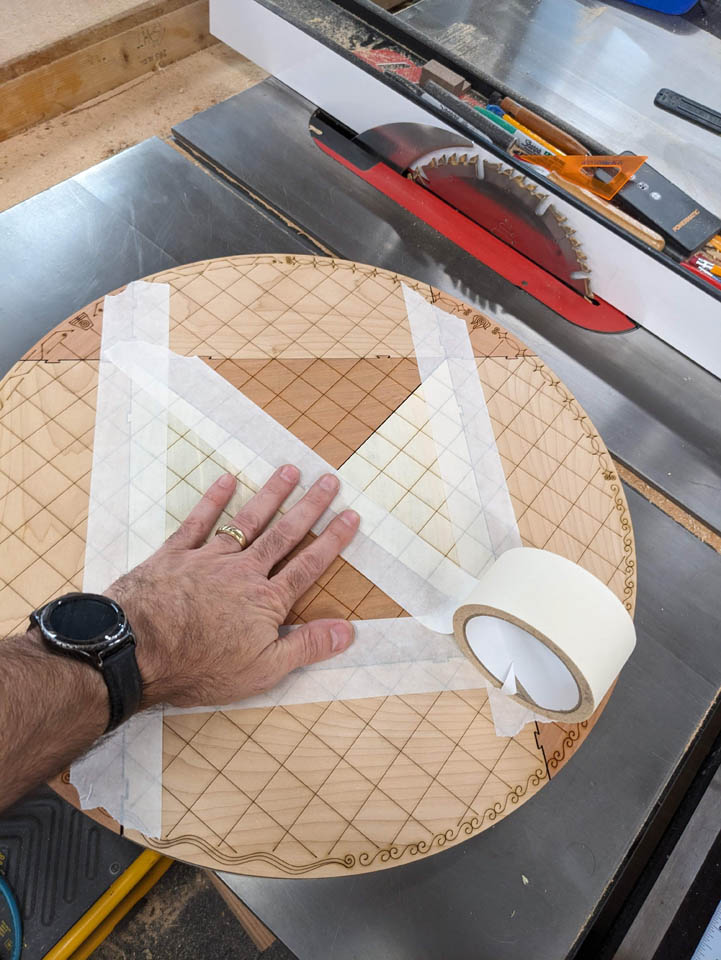
Then I sanded the back side with 80 grit paper to make it grippy for gluing.


I applied some PVA glue, then spread it thinly and evenly across the plywood.
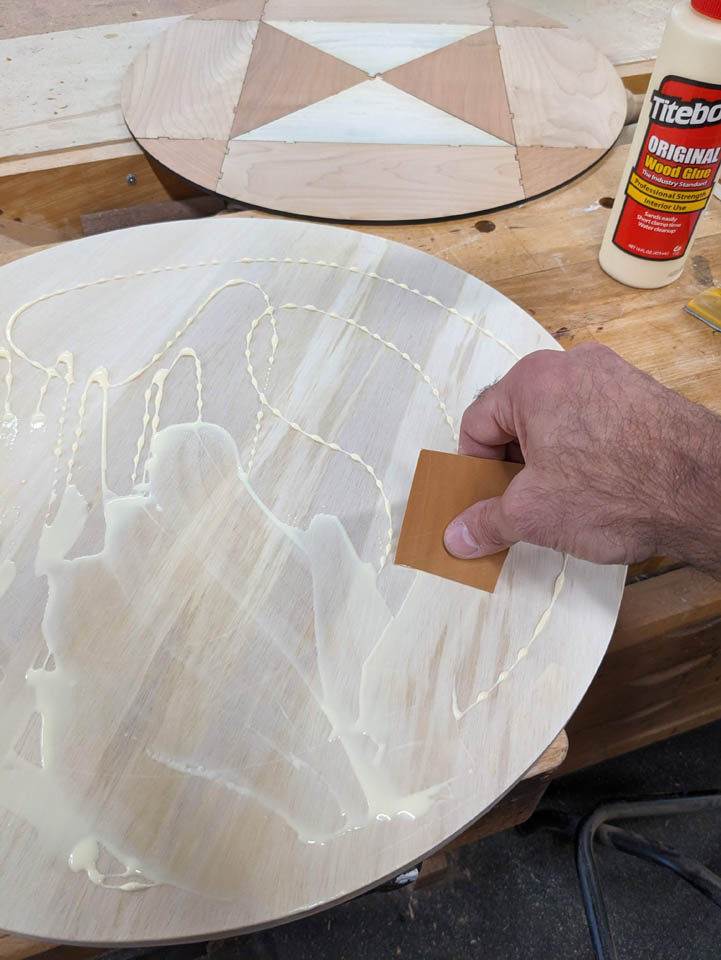
Quickly before the glue started setting up, I attached the game board.


I placed it all into my vacuum bag and sucked it down, creating even clamping pressure across the entire surface.

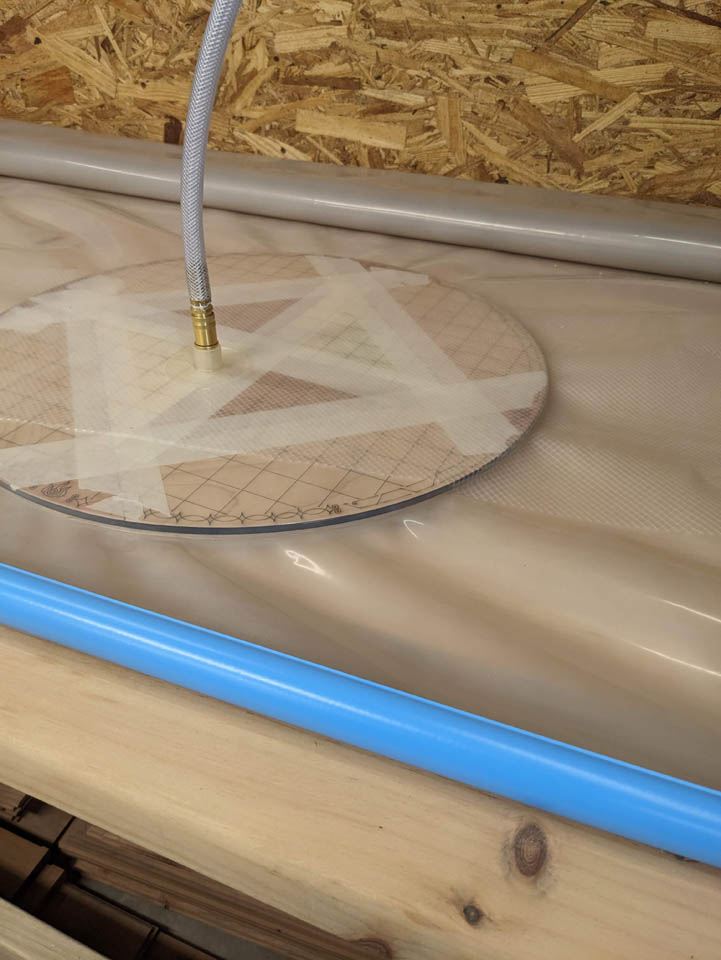
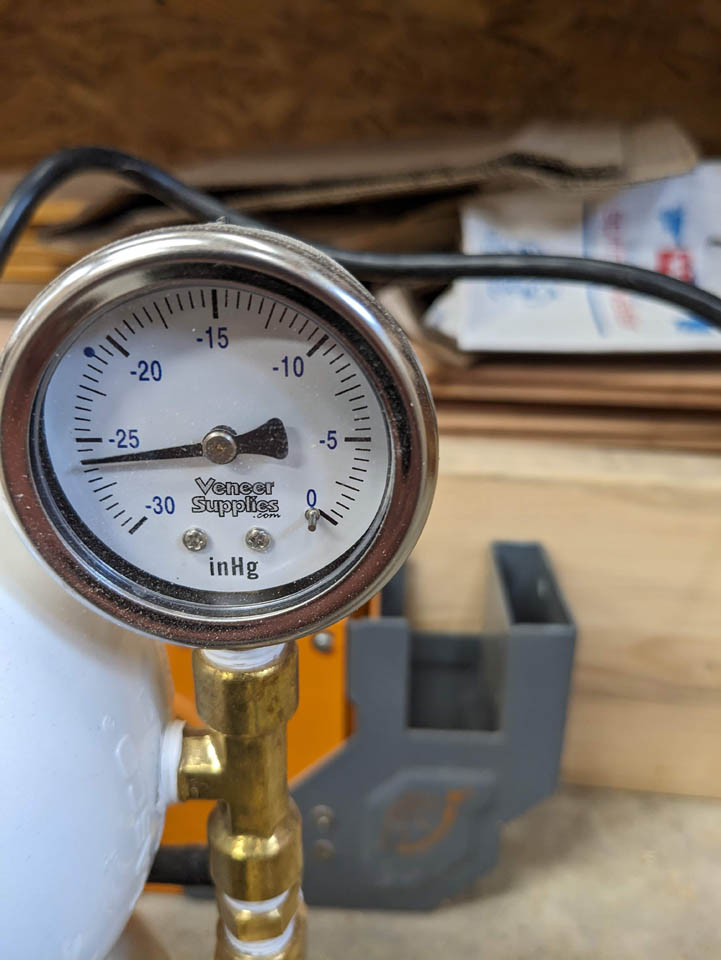
I sucked it down as far as my compressor would take it and left it to set up for a couple of hours under vacuum.
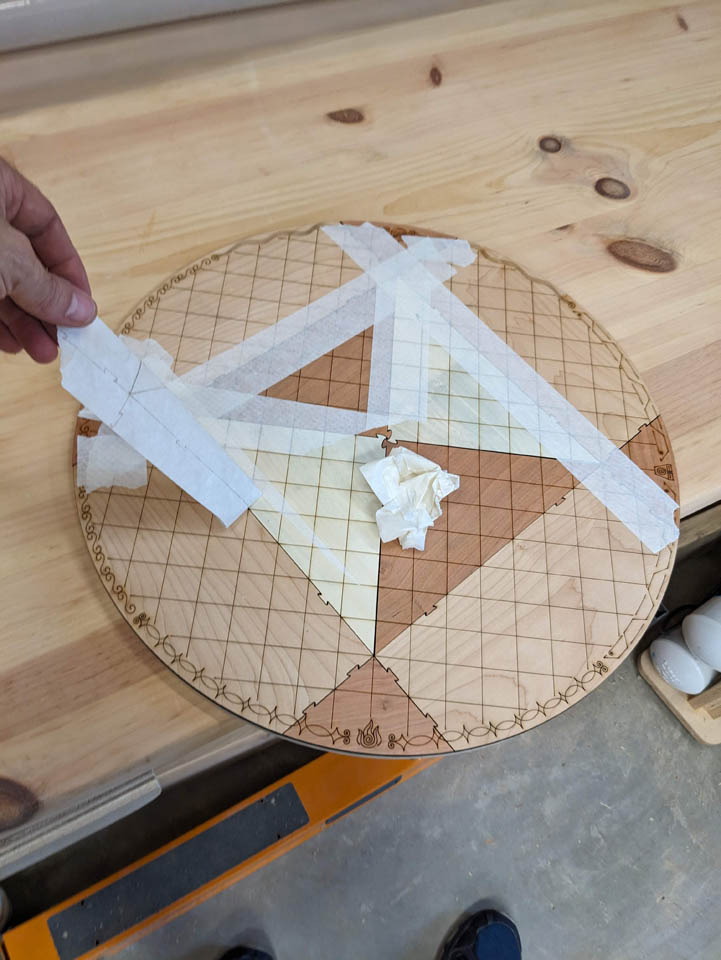
When I took it from the bag, everything was flat and dry. I peeled off the tape and gave the surface a final finish sanding.


Just so it blended in better, I gave the edge of the plywood a coat of dark stain.
The board was finished with the same water-based poly as the pieces.

Sanded with 400 grit paper between coats.

The finished game board looks really good.
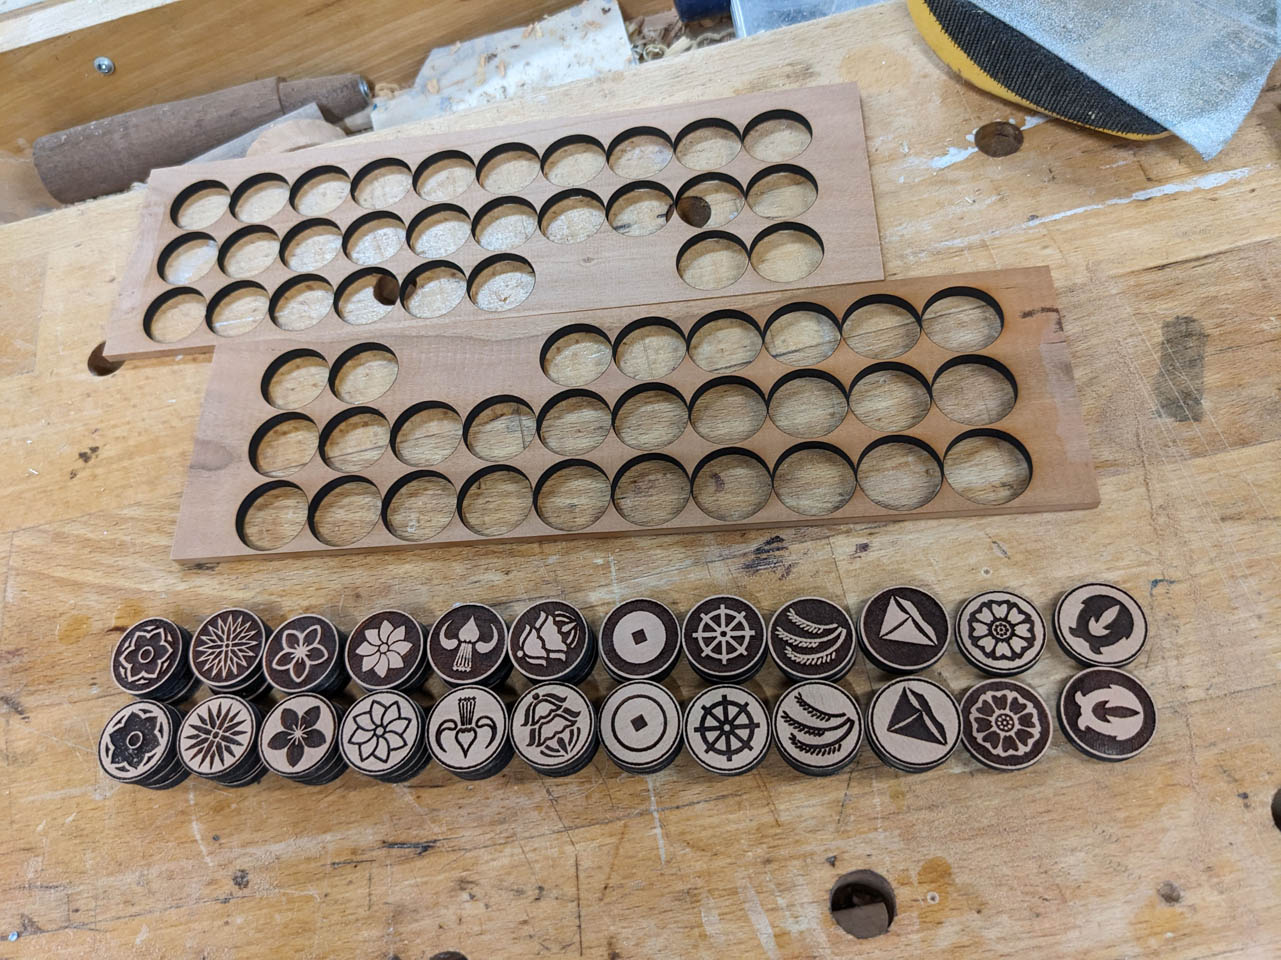
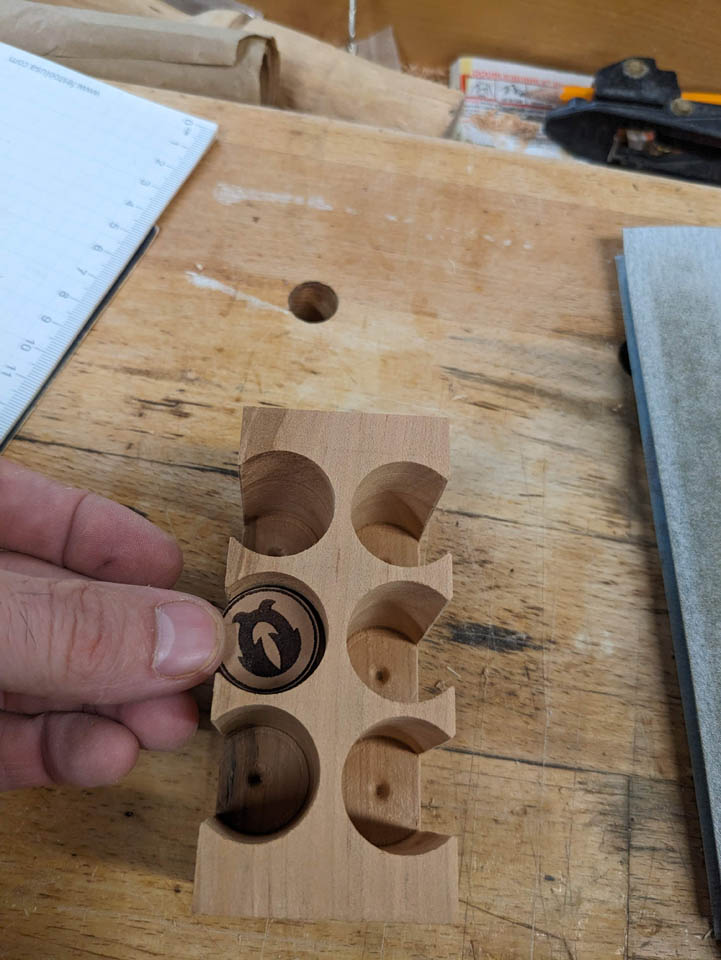
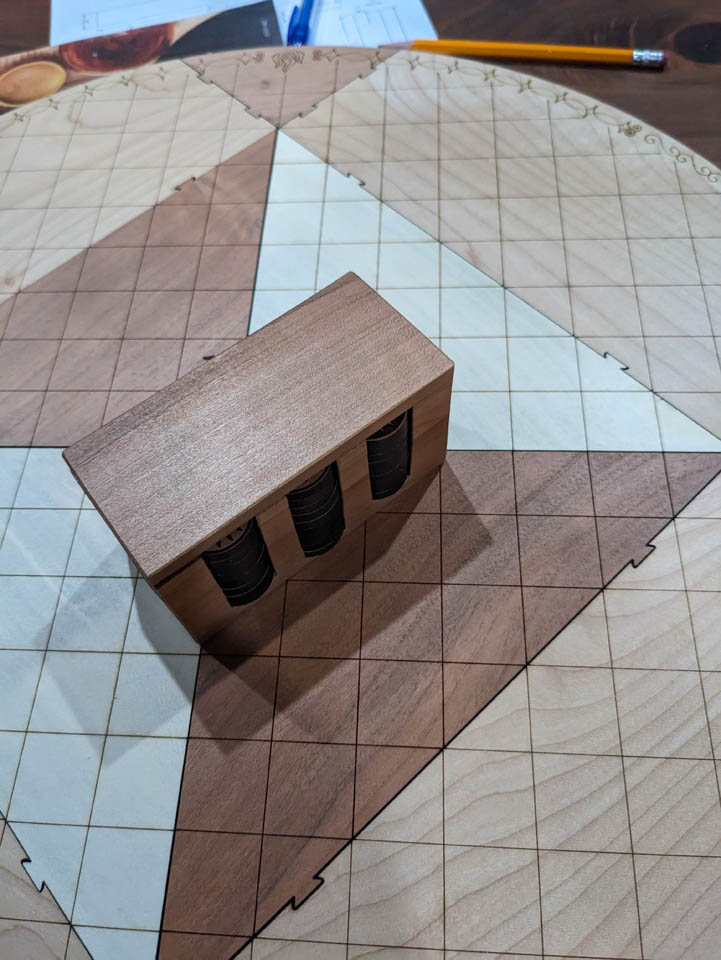
The loose pieces in a zip-loc bag were bugging me so I decided to use a scrap block of cherry to make a holder.
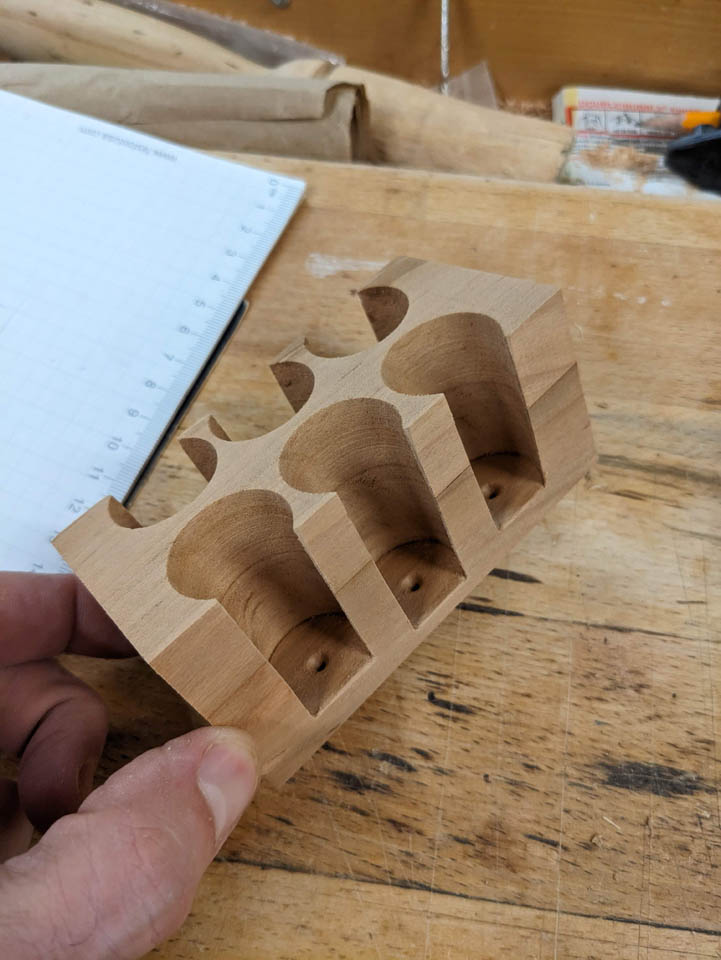
I cut the top 1/4″ off and set it aside, then laid out the centers of each hole. I drilled six 1″ diameter holes to a depth that would accommodate the pieces. The center two are about 1/8″ deeper since they did not divide up evenly.

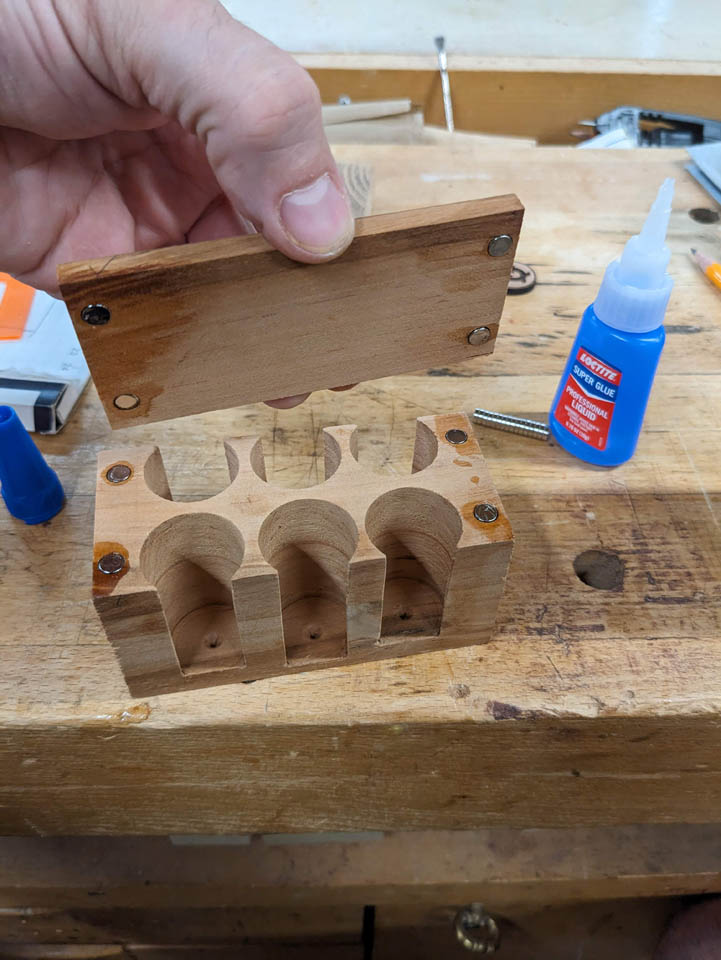
Then I drilled 1/4″ holes around the top of the box and the lid that I cut off earlier.

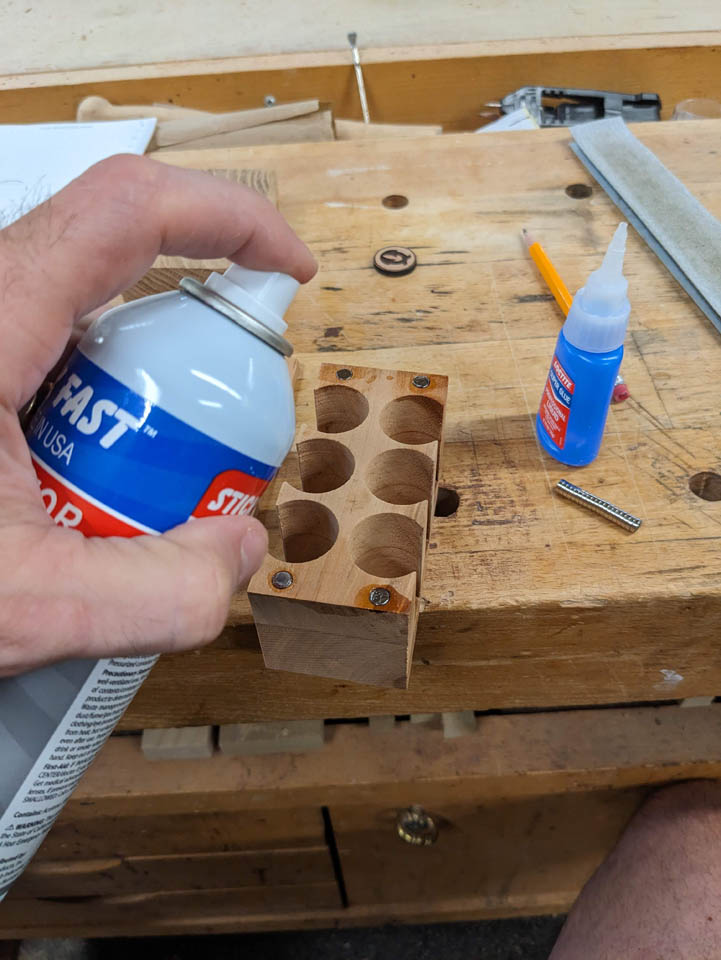
I used CA glue to attach a magnet in each corner.

I sprayed the CA glue with activator to cure the glue instantly.

I was very careful to make sure I had every magnet oriented correctly so that the lid would attach and not repel. I have made that mistake before…

After a test-fit and a little sanding, it was back to the spray booth.

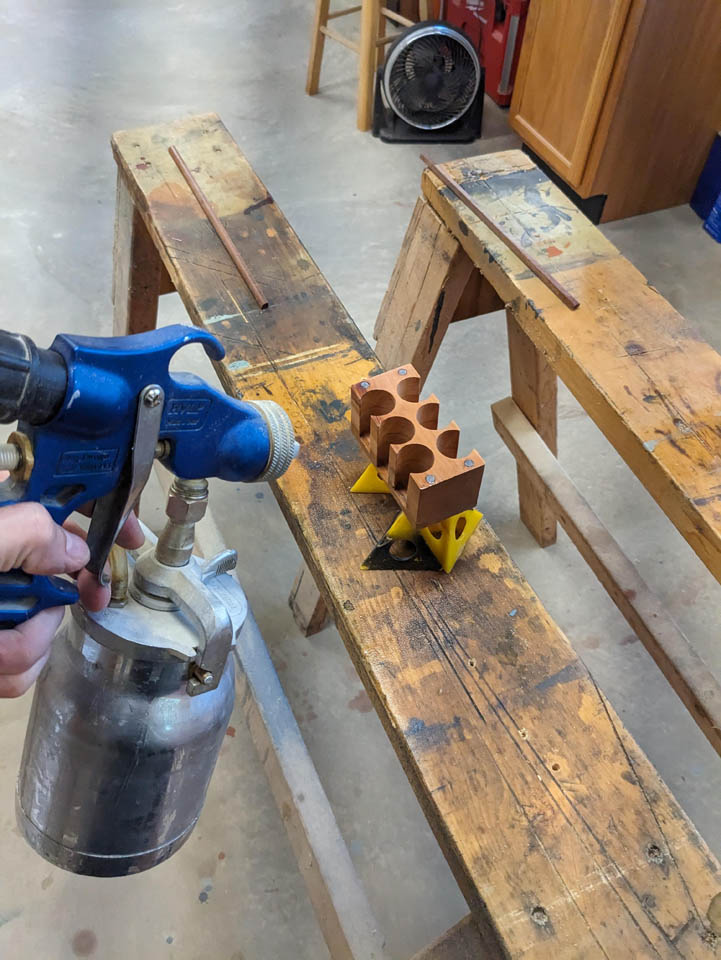

Two more coats of finish and I was done.

This will make it a little easier to keep the pieces organized.
A nice little weekend project. I really like the way it looks on my walnut desk. I may have to make another one for my office. Of course, then I would have to learn how to play…

