
Raphael’s desks – part 3
For the next part of these desks, we are working on wire management. Raphael designed a basket that will mount below the desk, along the back. There will be openings all around to allow the wires through but it will be below the desk and out of sight.

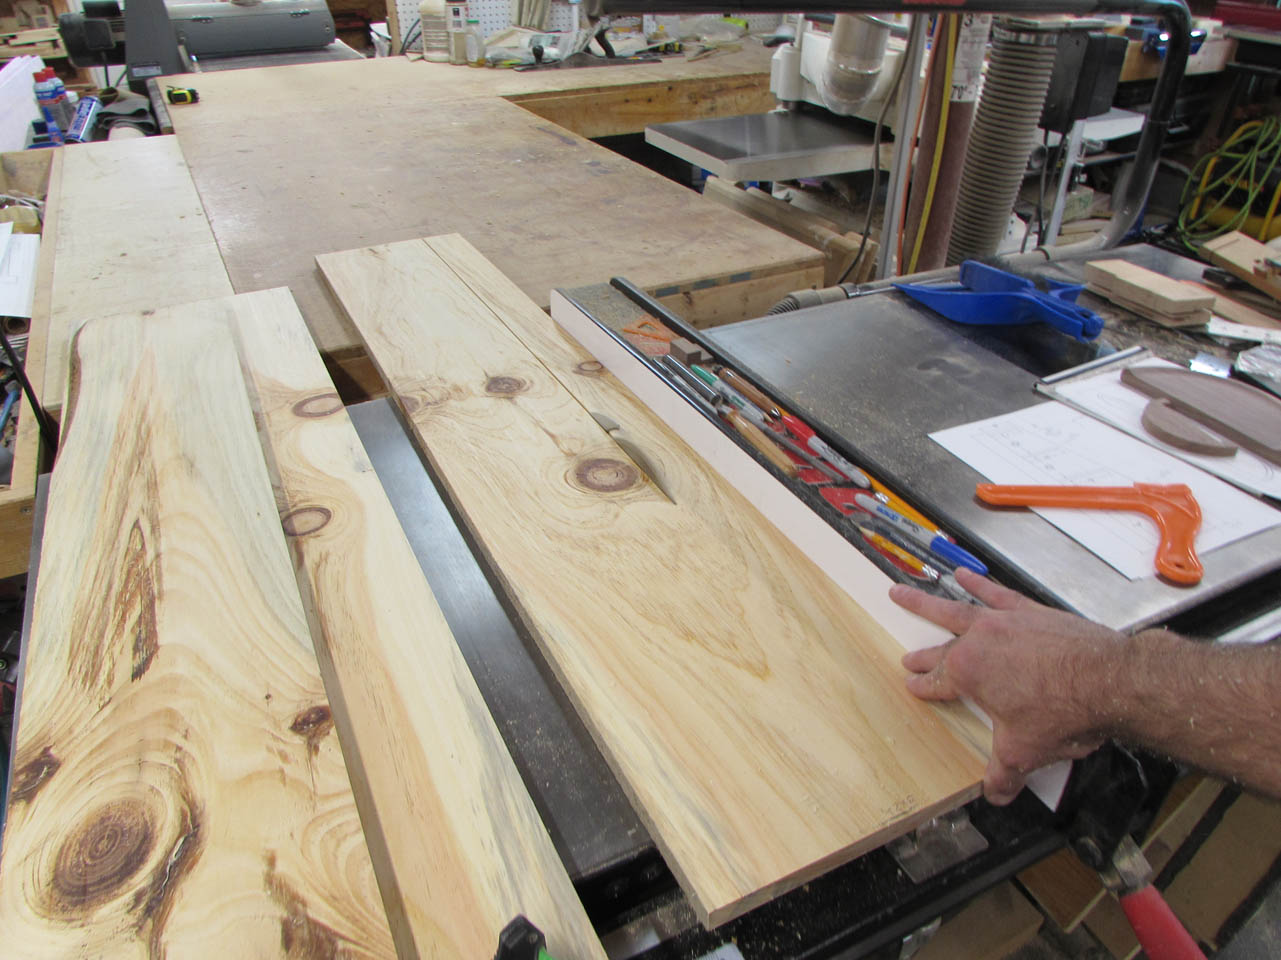
To start, I planed down a couple of boards to be 3/4″ thick, then Raphael rough-cut them down to a more manageable size.


Raphael jointed one straight edge and I started cutting the boards into the final widths we needed to construct the side walls of the baskets.

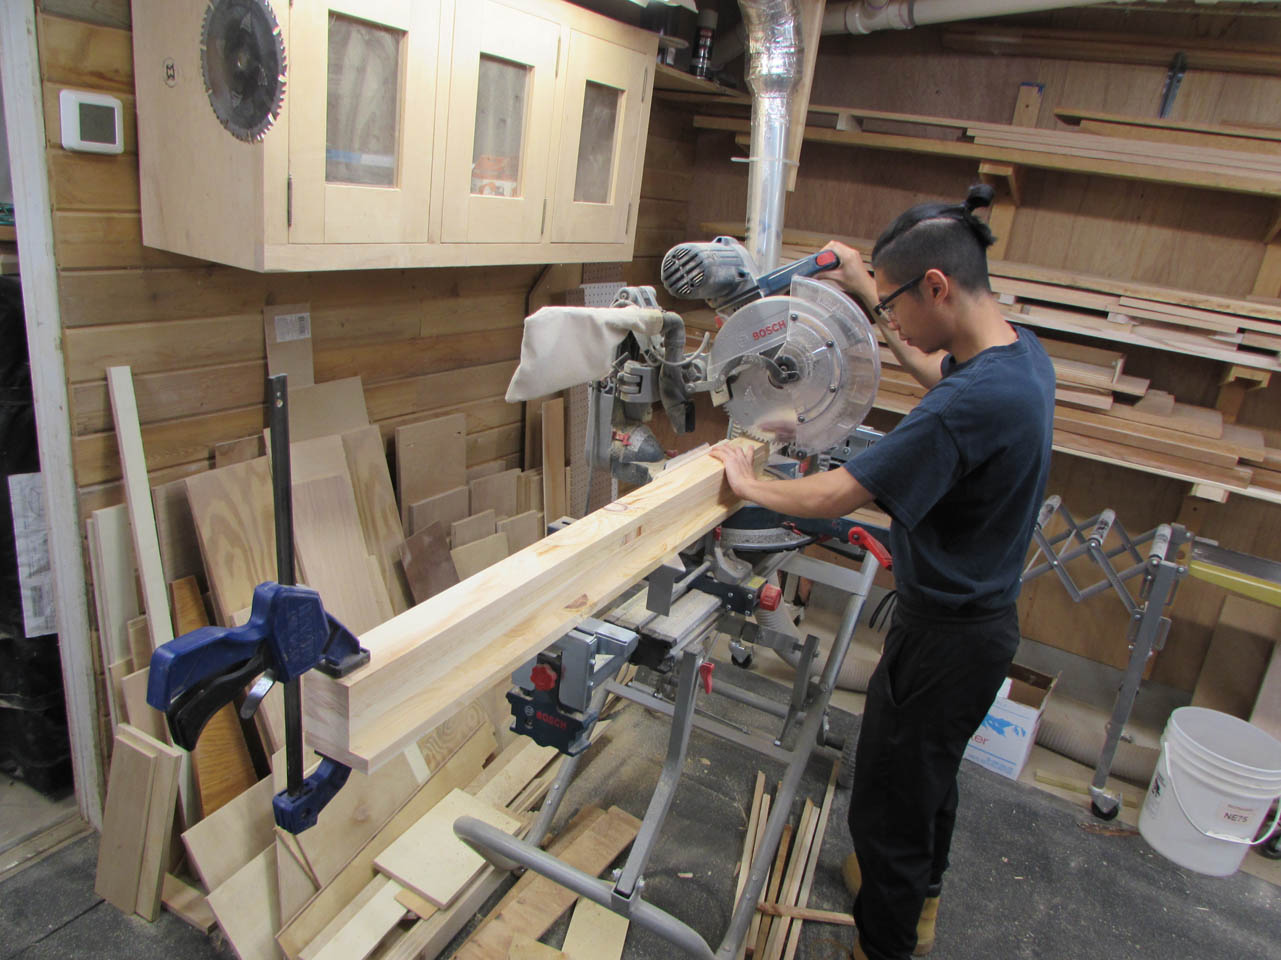
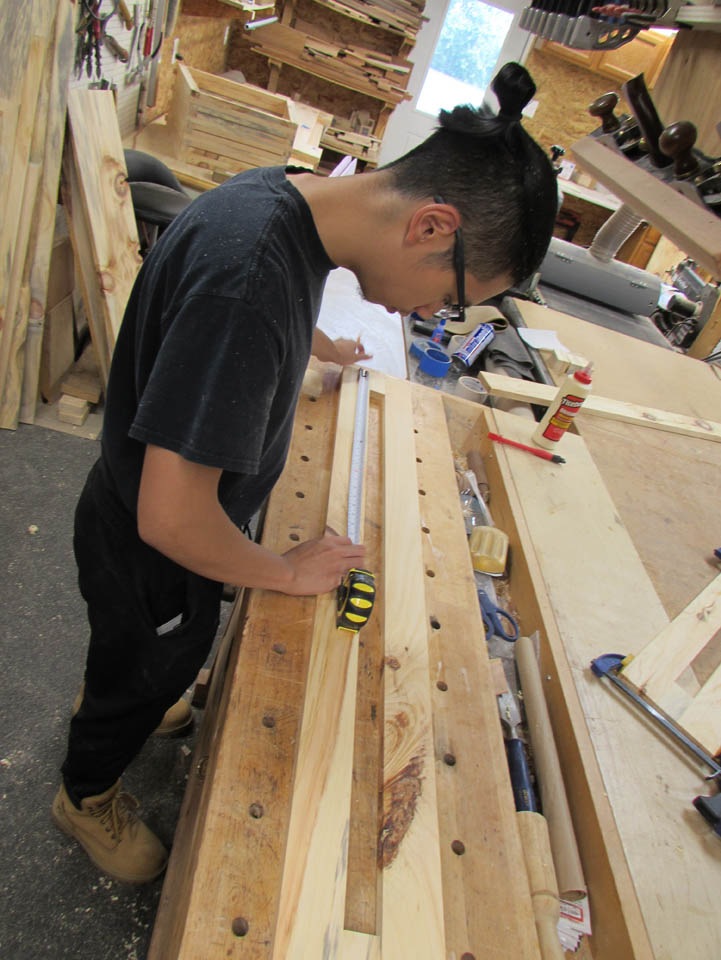
To insure that each piece was equally the same length, we clamped all the long boards, for each assembly, and cut them all to length at the same time.
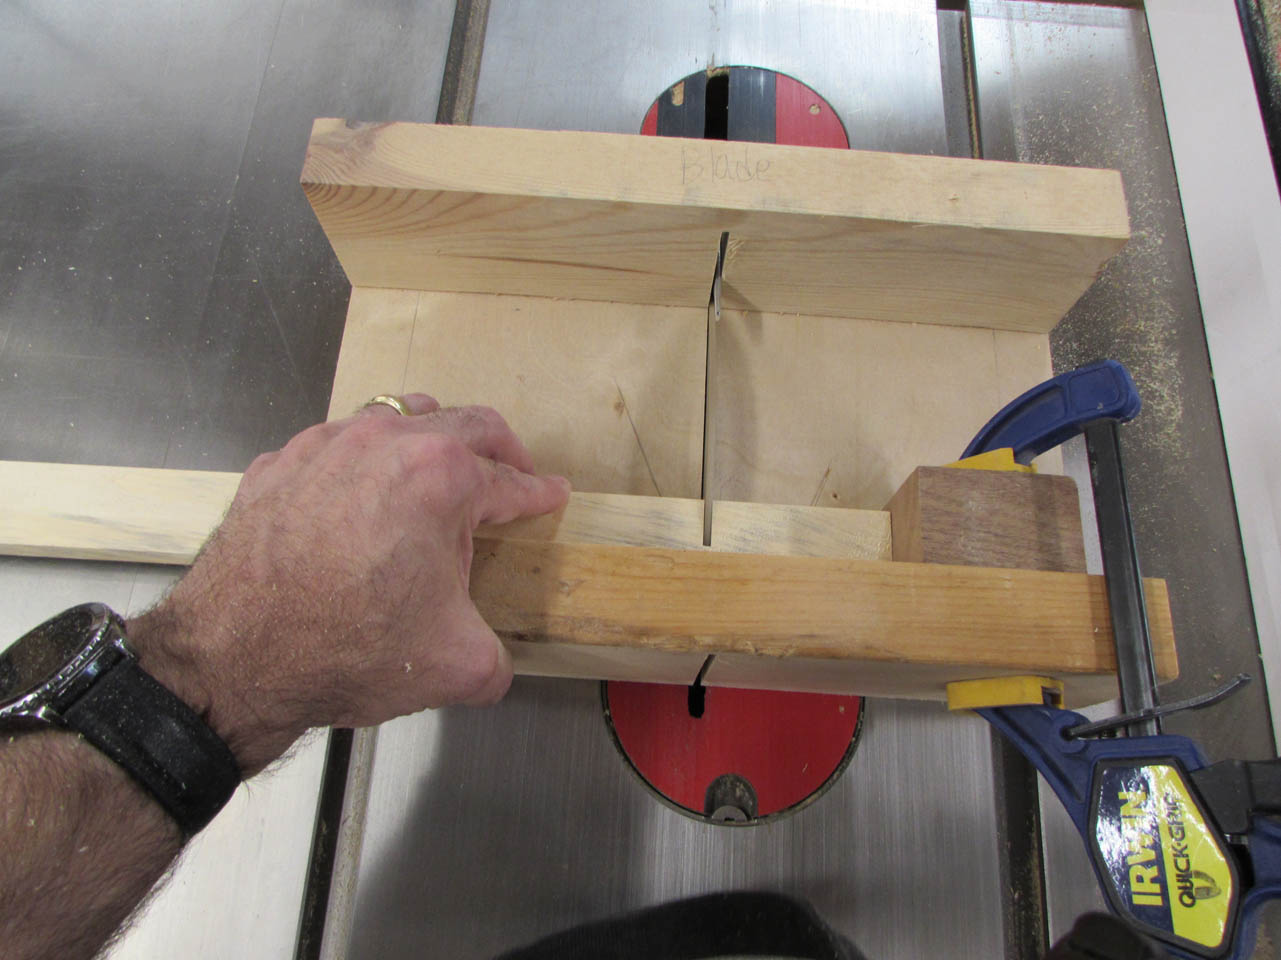
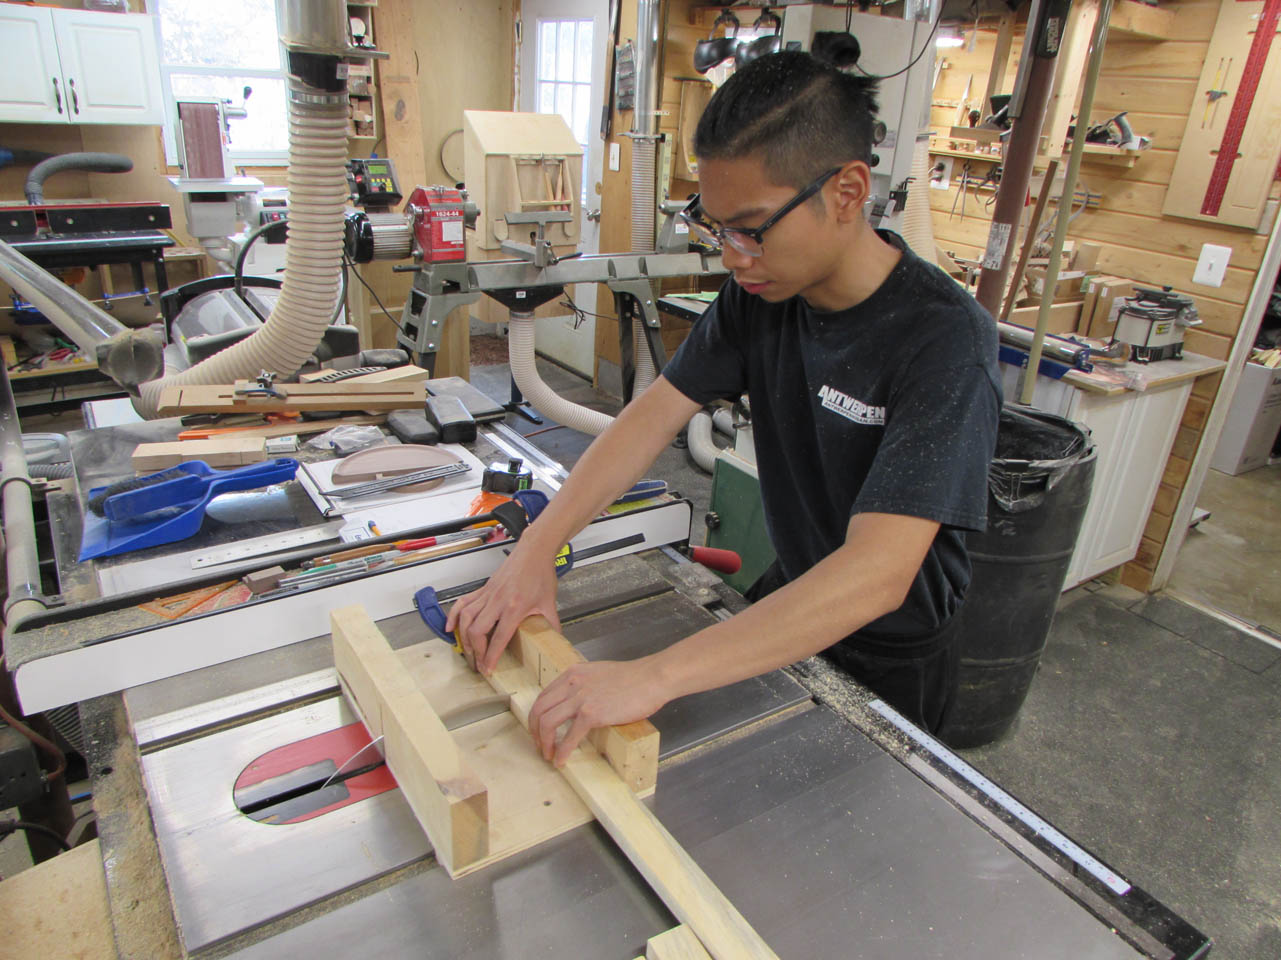
We need several shorter pieces to create the center gap in the baskets so I set up a stop block on my small cross-cut sled and Raphael cut all eight pieces from the same strip.

When all of the pieces were cut, it was time to lay them out for assembly.
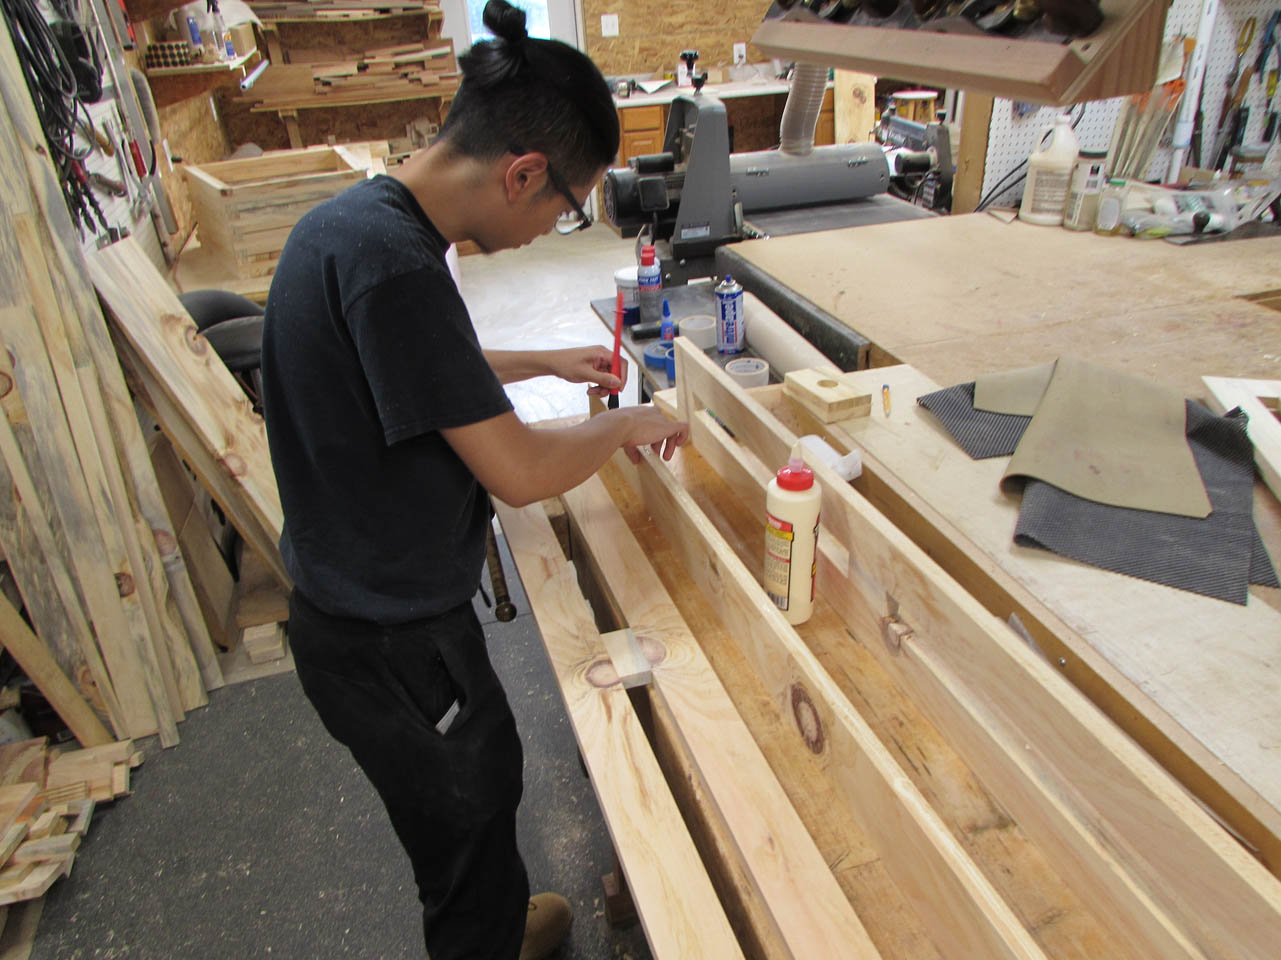
For the long sides, we applied glue to both sides of the small blocks.

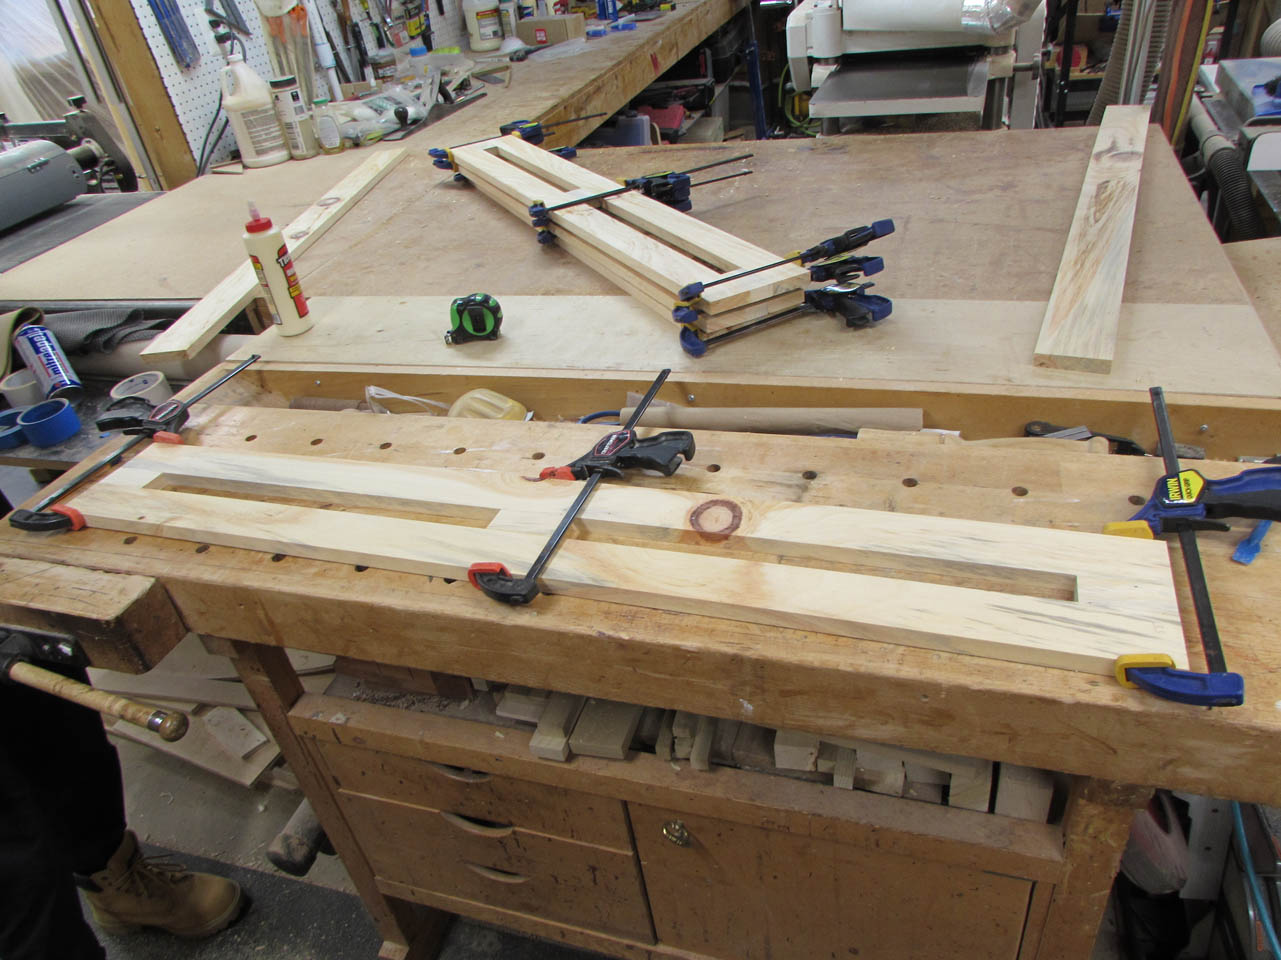
Then we placed one in the center and one on each end, then clamped them in place.

When all four sides were clamped up, we set them aside to dry.
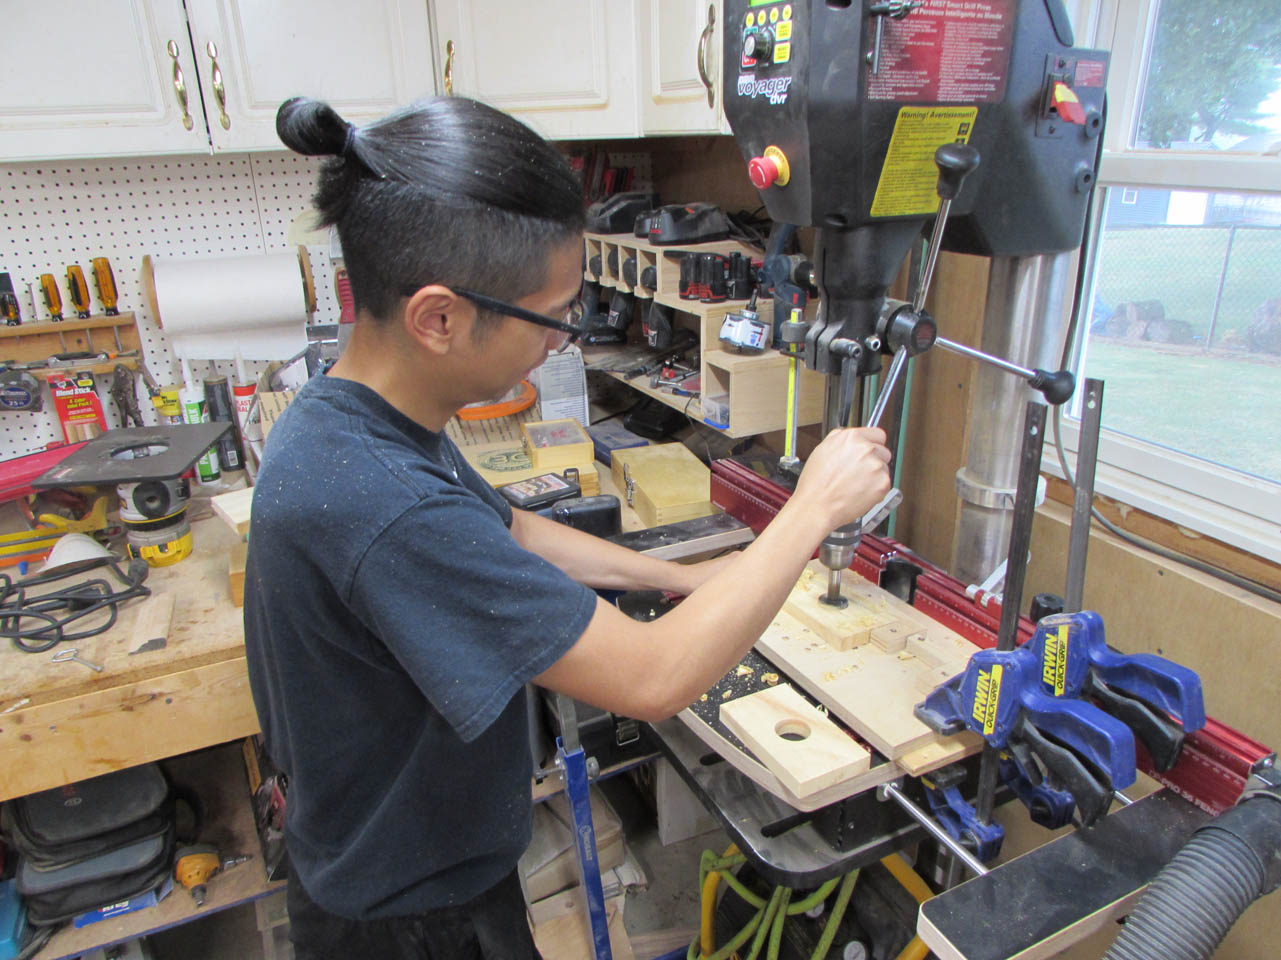
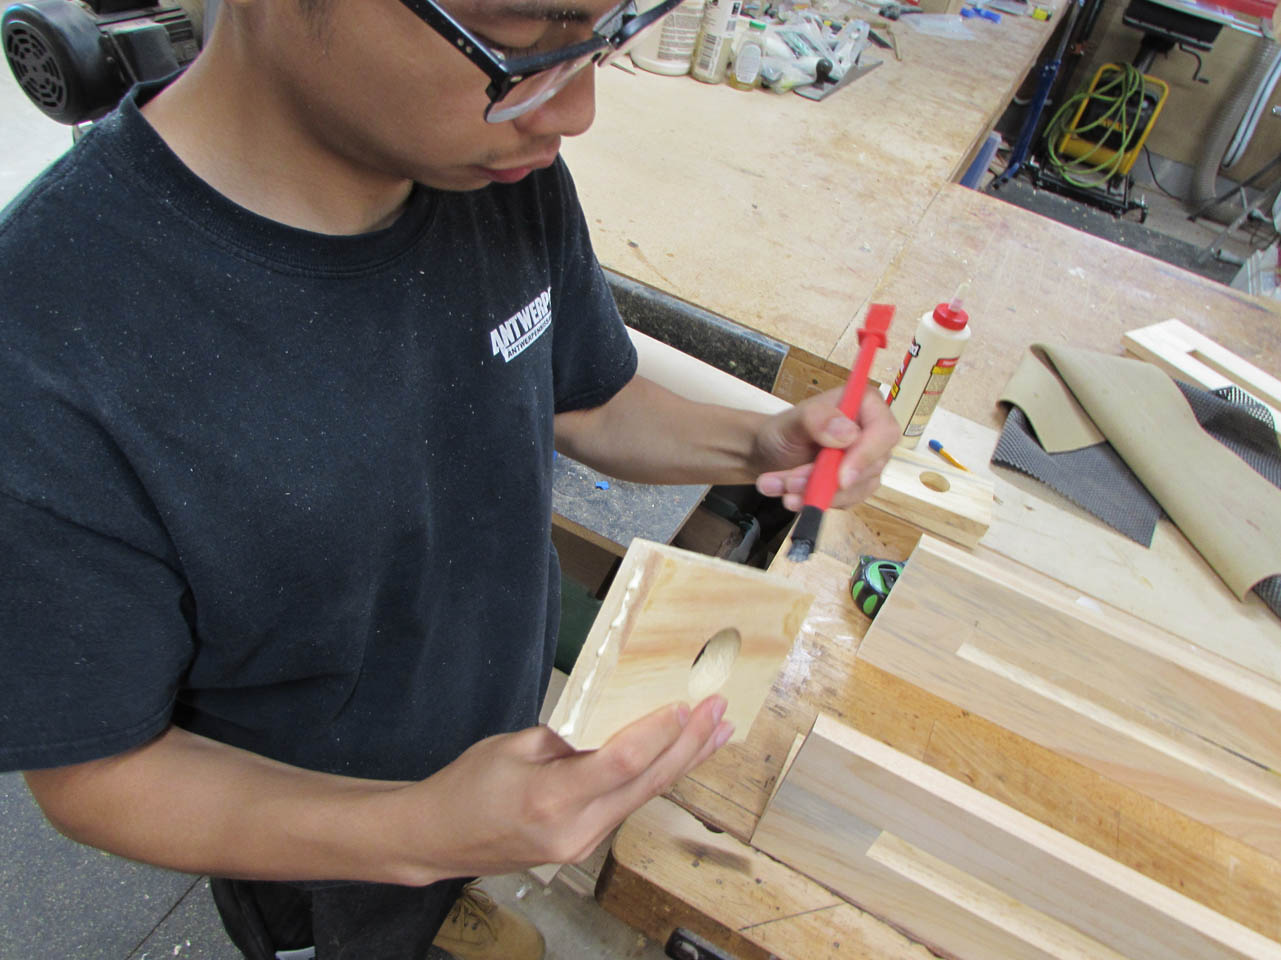
The end pieces needed holes in them for wire access as well, so we drilled a 1-3/4″ hole into the center of each of them with a Forstner bit.

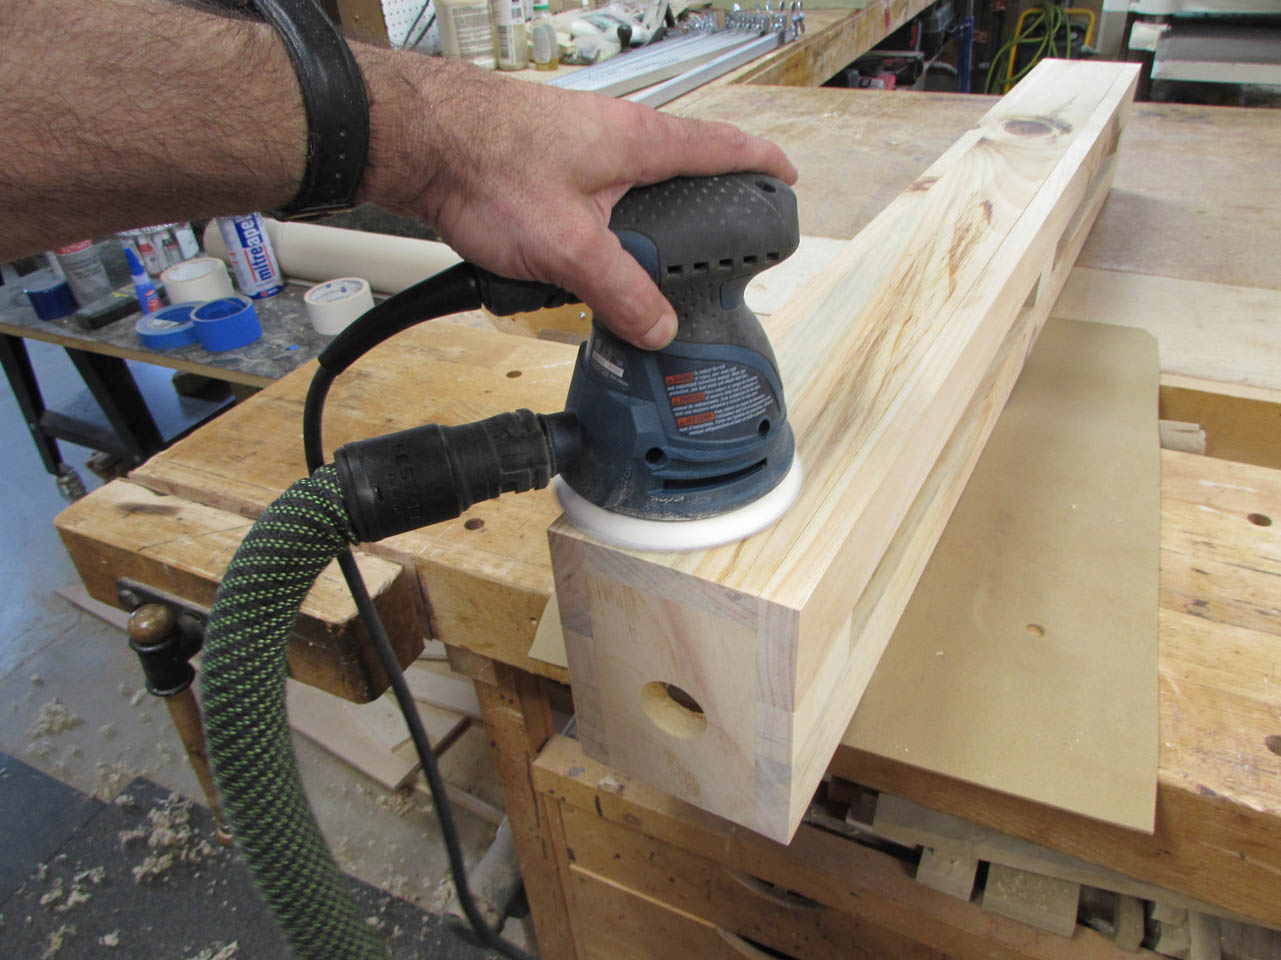
When the long sides were dry, we pulled the clamps and Raphael sanded both faces of each panel to make sure all of the glue joints were smooth and flat.
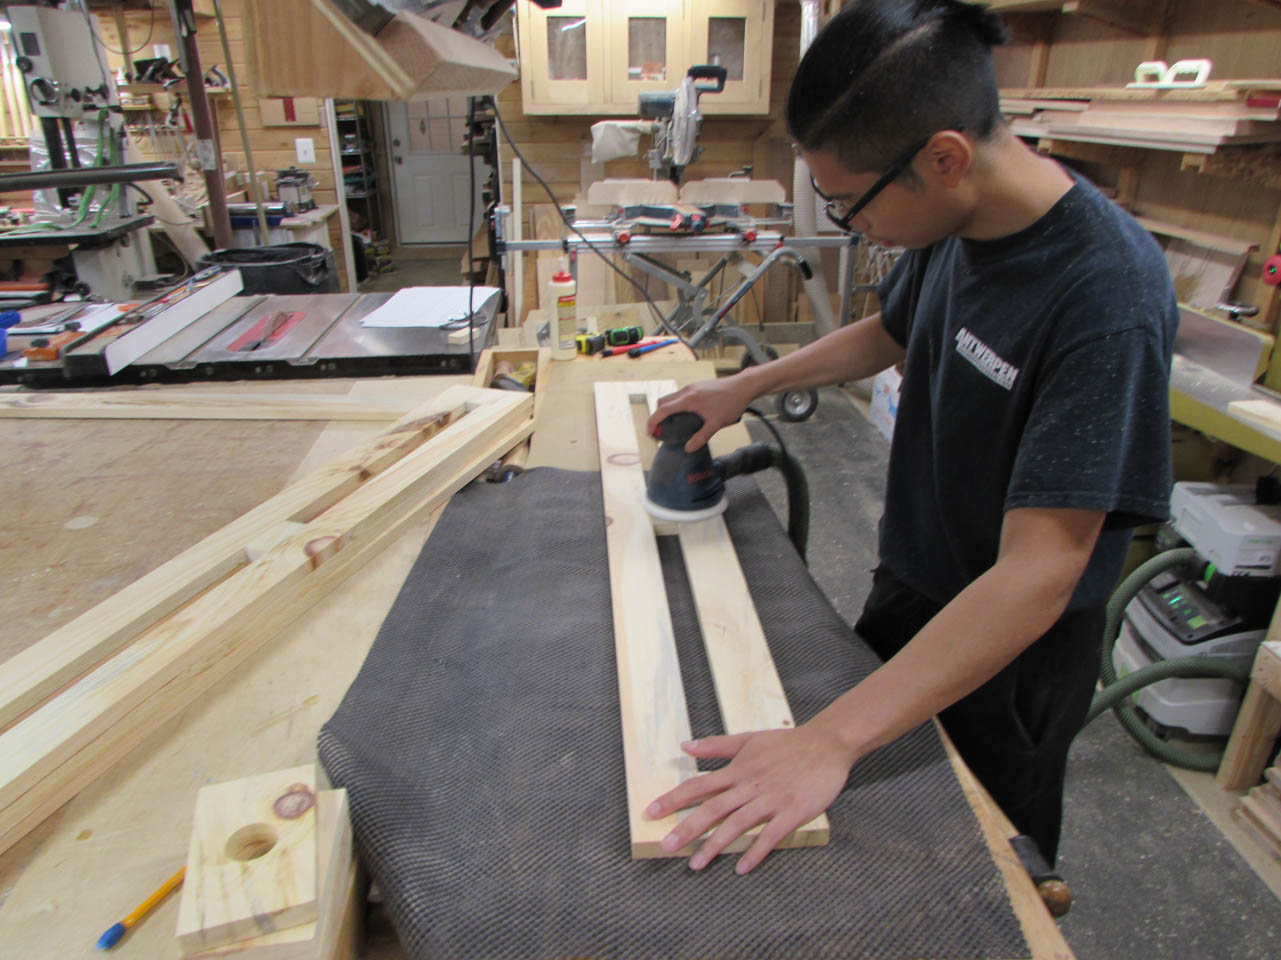
The grain matched up really well on some of the pieces.

To assemble the side to the bottom, we applied glue along one edge of the bottom, then lined up one side and attached it with a few brad nails.
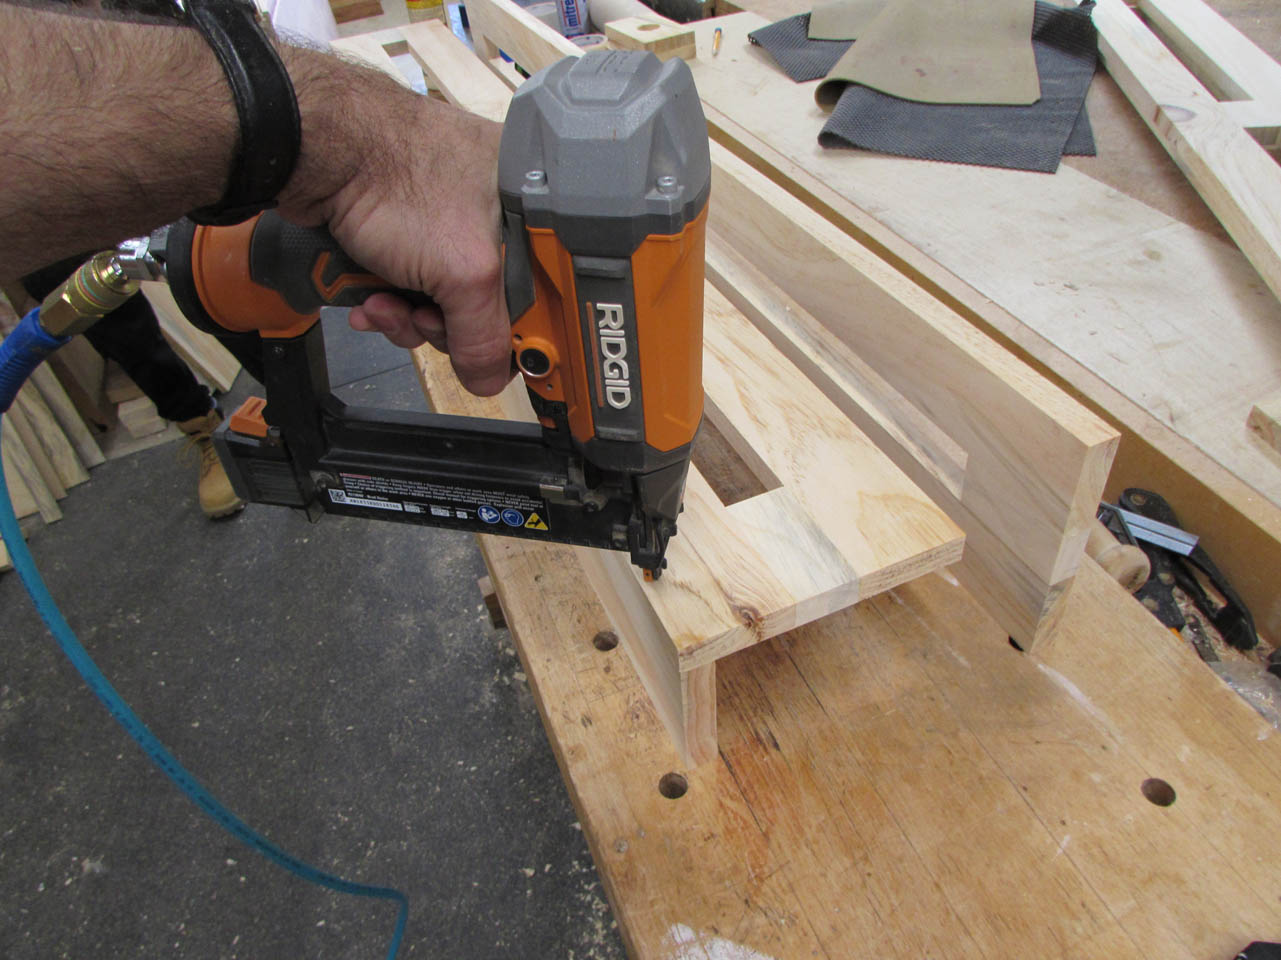
The ends were attached next in a similar fashion.


Then the final side was attached. We only used a few brad nails to prevent slipping, then added some clamps to hold everything together while the glue dried.
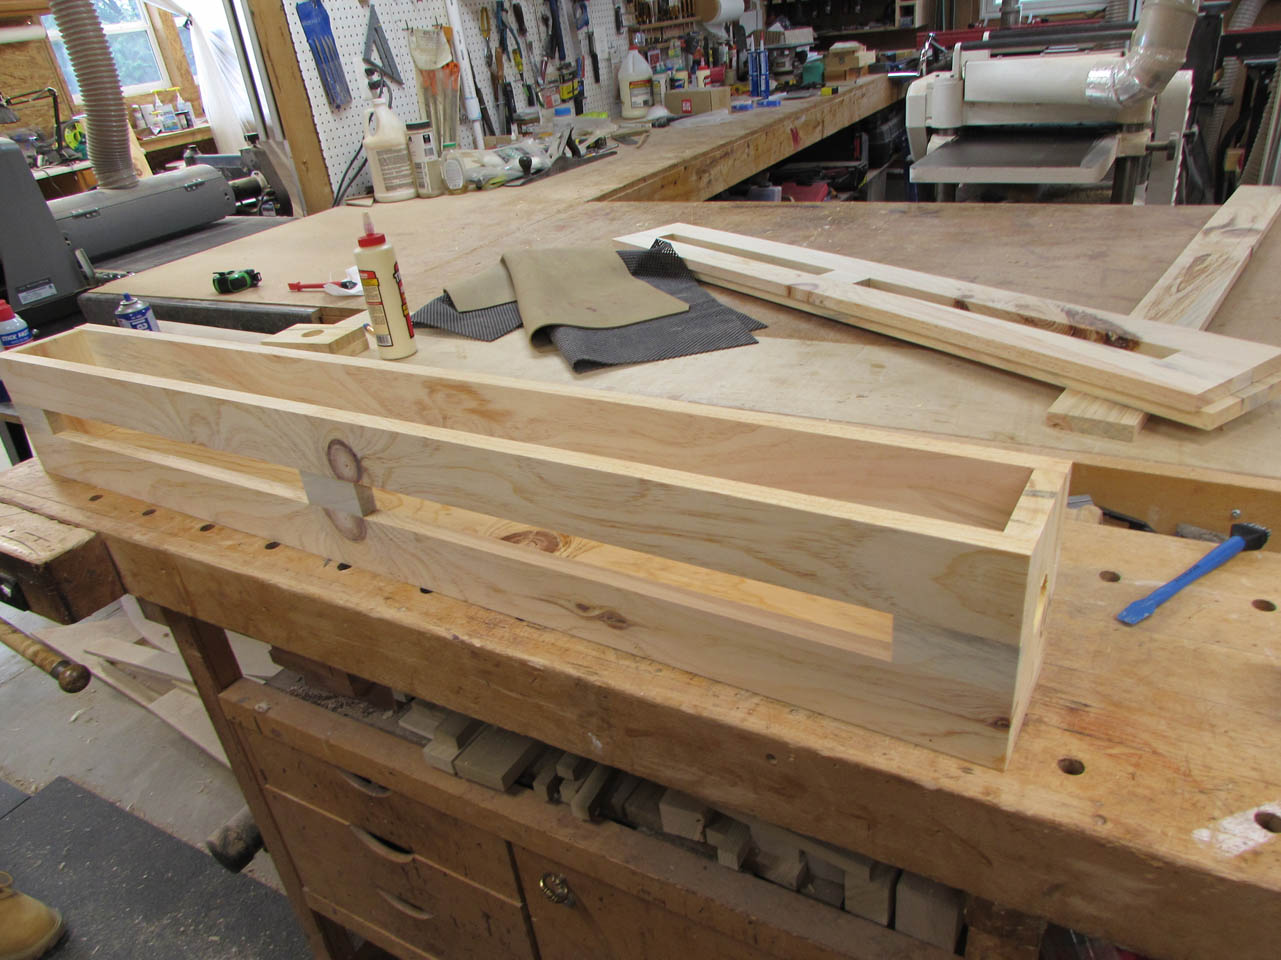
Those are basically done now so we can set them aside and clean up a few other details.

To avoid sharp corners on the legs, Raphael used a block plane to create a small bevel along each of the outside edges. This should be a little easier on his knees if he bangs into them…


Now for an interesting challenge. Raphael wants a 20° bevel on the underside of the ends of the desk.

The only two options I could think of is spend a lot of time with a hand plane or create a jig for the track saw.
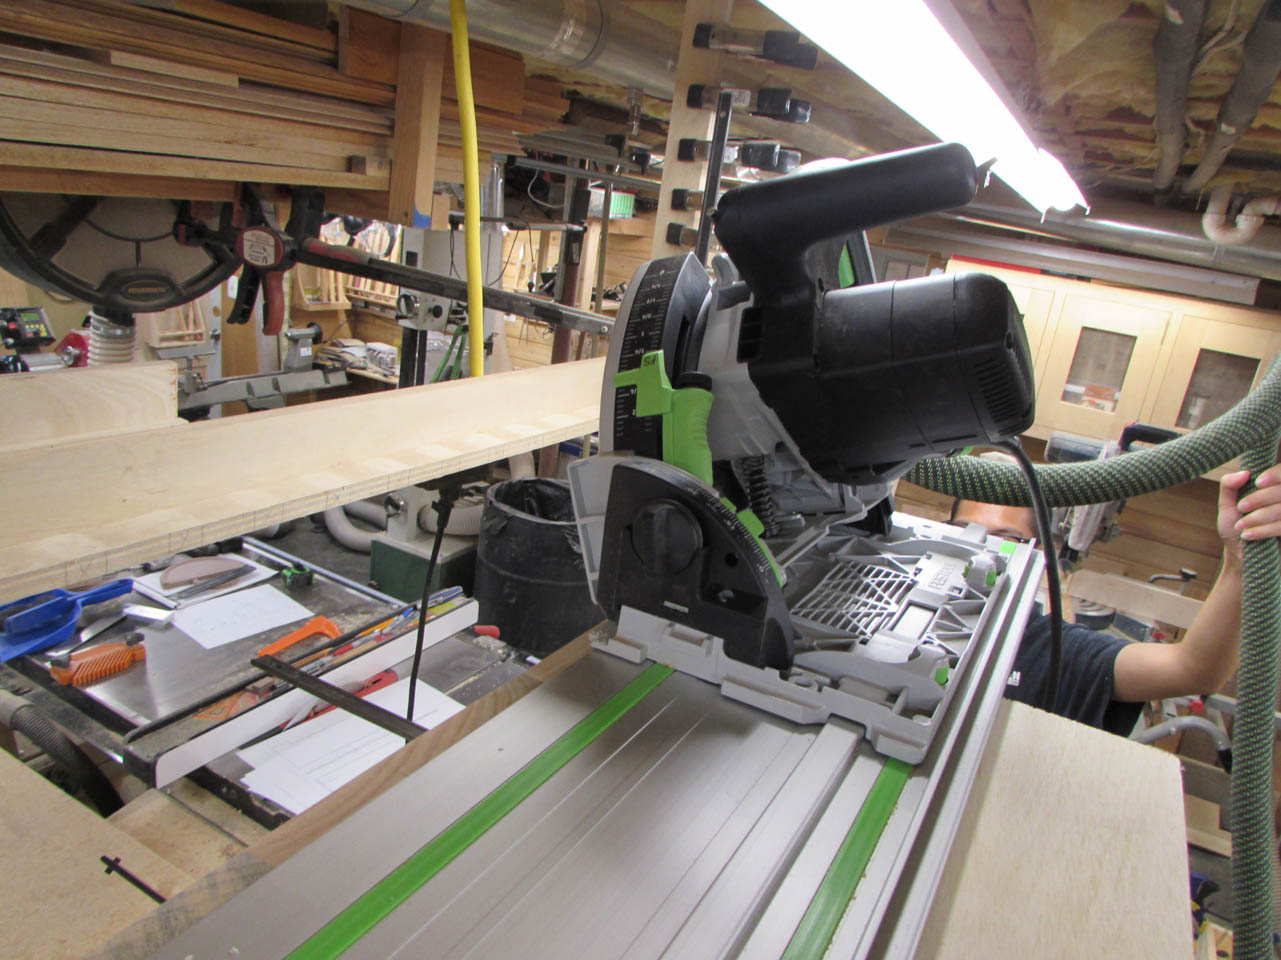
I clamped the desktop to the side of my workbench and them clamped my right angle frame to the top end of the desk, flush with the edge. We marked a line along the top edge and placed the track up against it. I stood on one of my saw horses to get up high enough and ran the saw along the edge, set at 20°.

It did surprisingly well, creating a glass-smooth cut, exactly where we wanted it to go.

Then it was time for more sanding…

I flipped the desktop upside down and set the wire basket in place, just for a test fit.
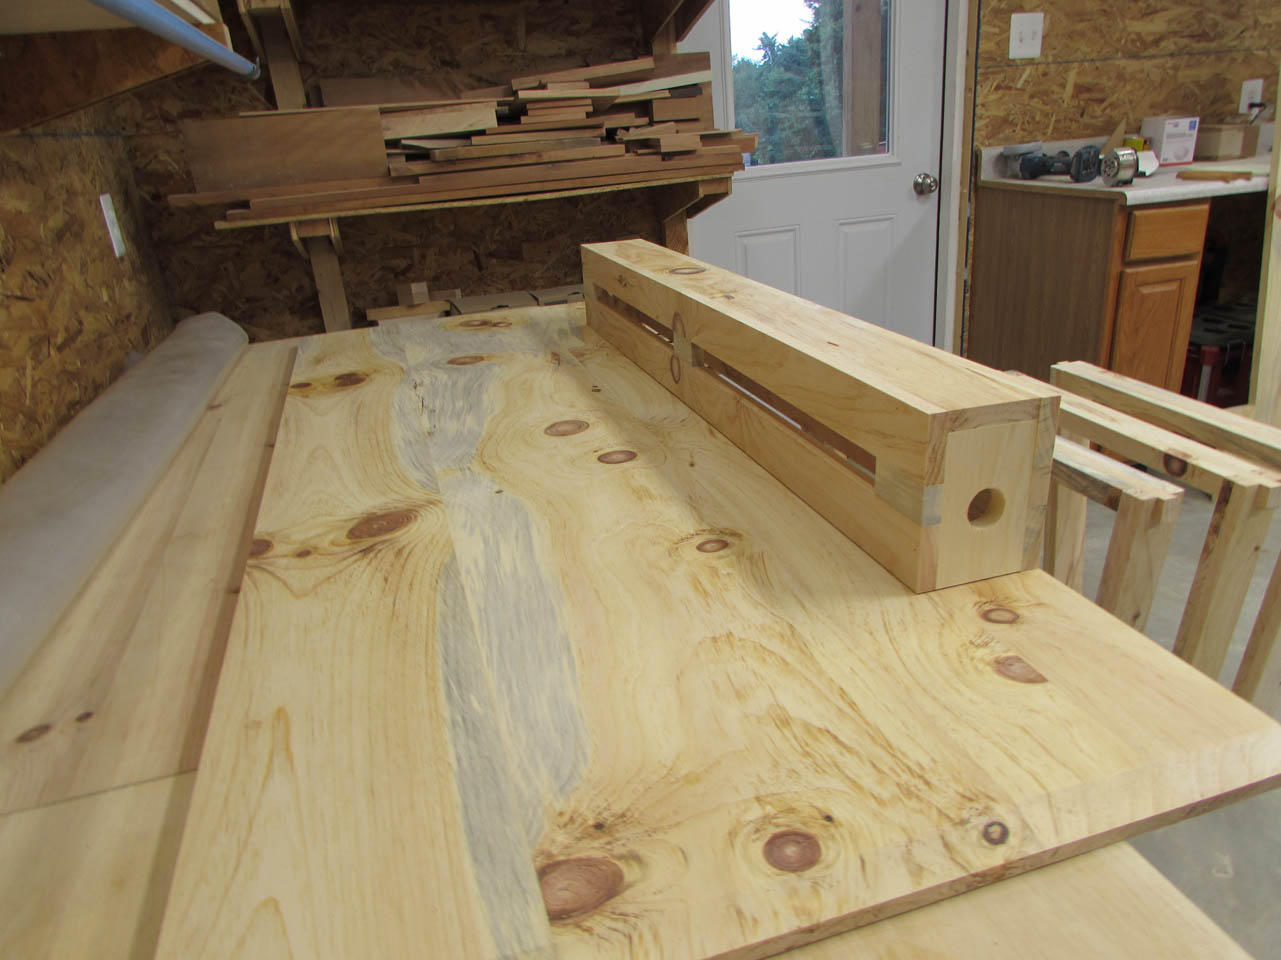
Raphael is purchasing mounting hardware for the legs and basket, as well as hinges for the access panels to the basket so we should be able to put this thing together soon. Only pieces left to make are the access panel doors, and the front edge of the desk. Maybe next post we will be able to assemble.
