
Raphael’s desks – part 2
This week we are focusing on Raphael’s legs. Desk legs anyway… We prototyped the first one last time so now we need to start laying out the stock we have to create all the parts to make four identical legs.
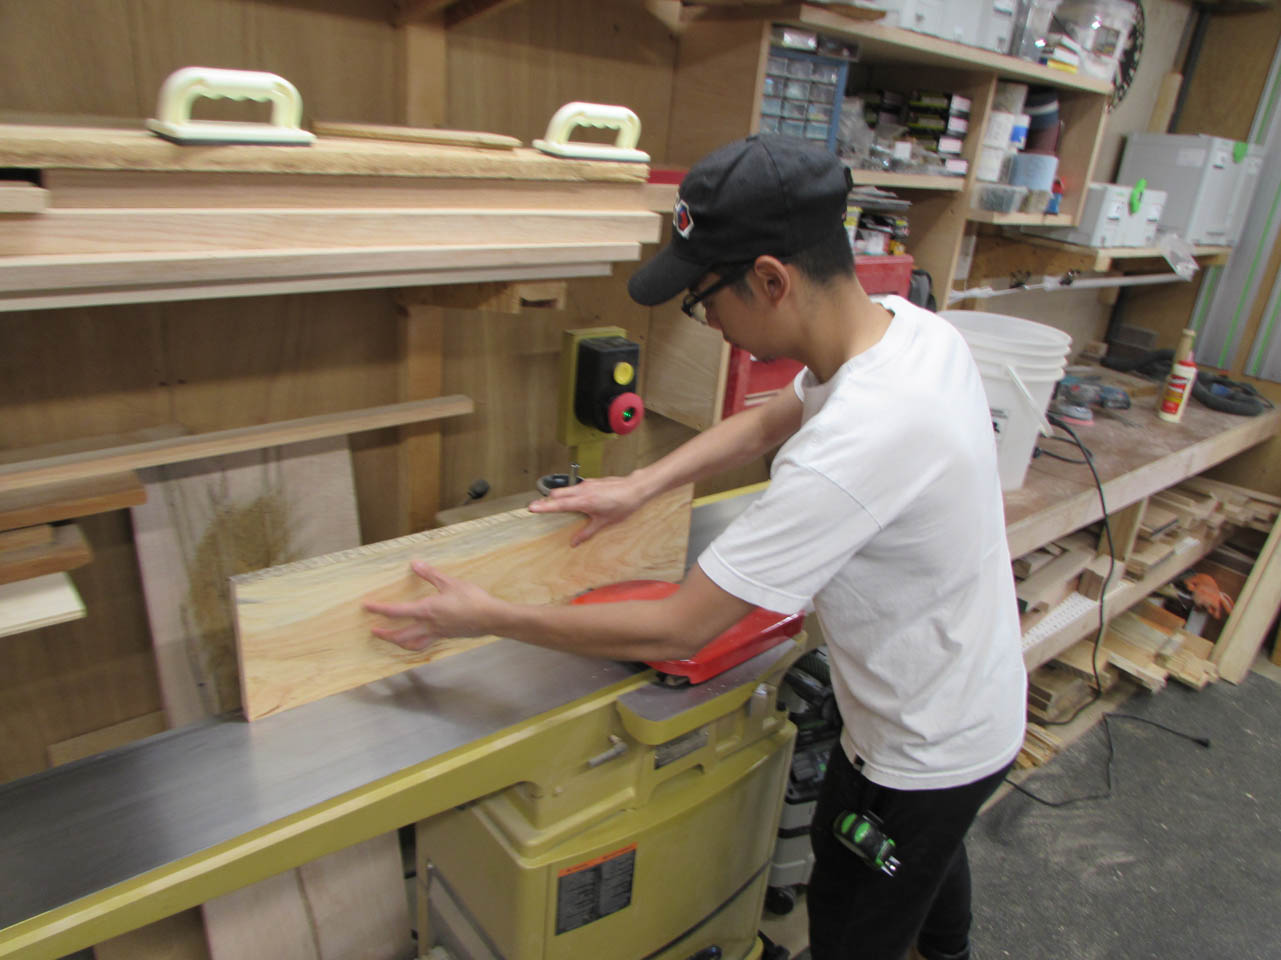
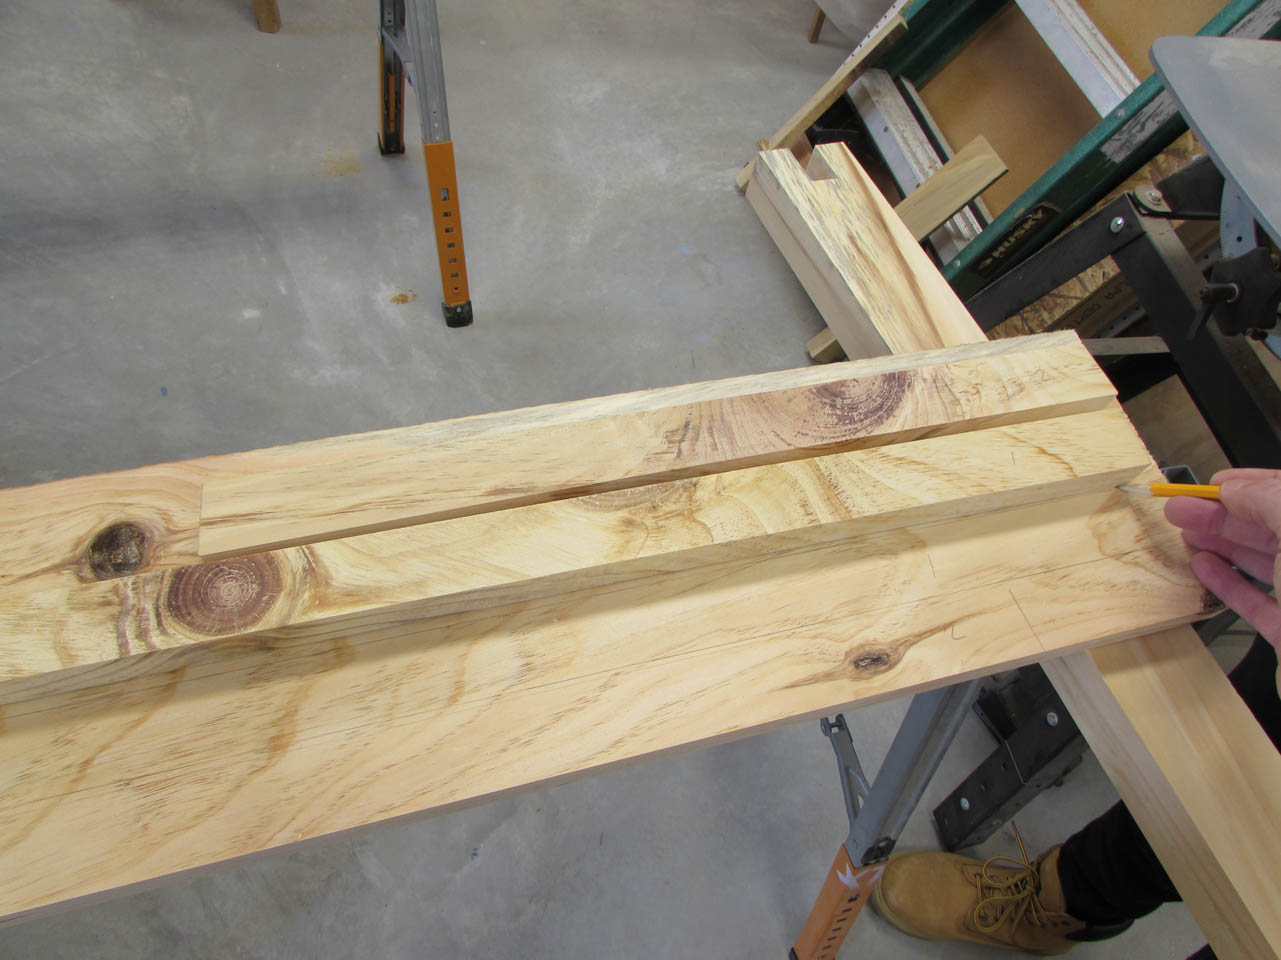
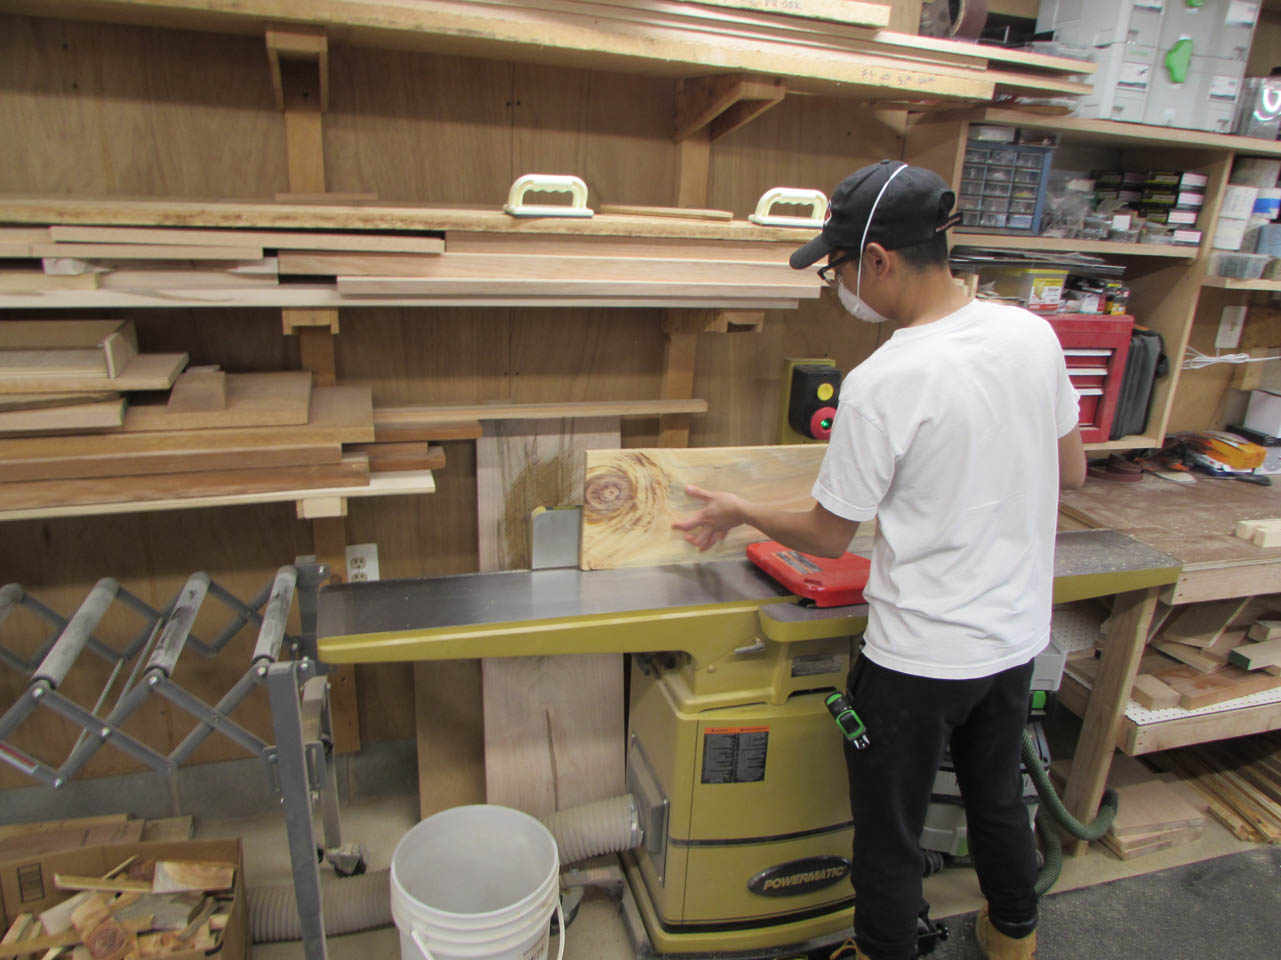
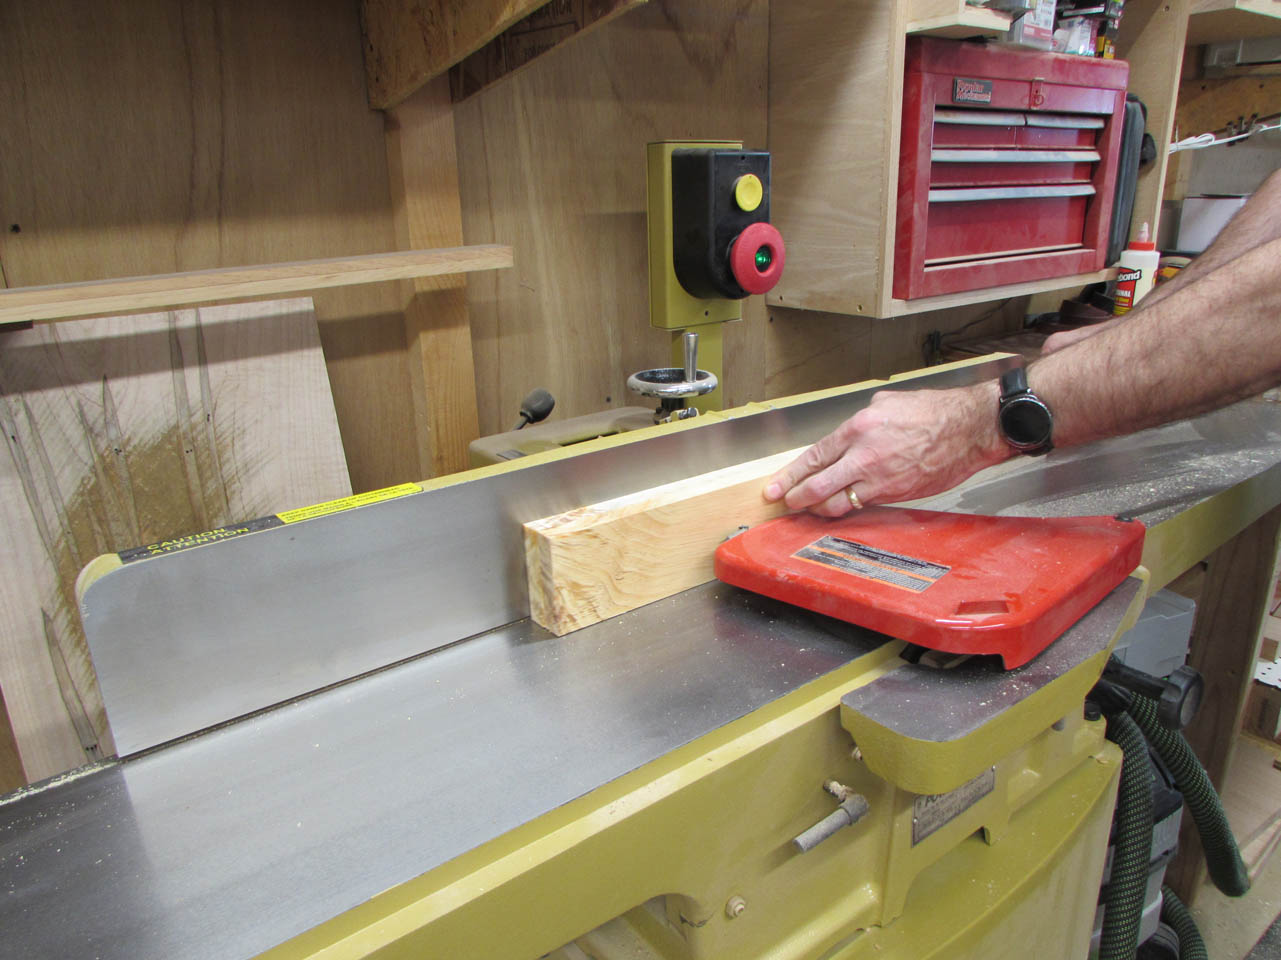
Starting with the left-over pieces that we already have planed down, Raphael joints one edge so we have a straight line to lay out from. Roughly tracing out the prototype parts gives us an idea what we need to cut out.
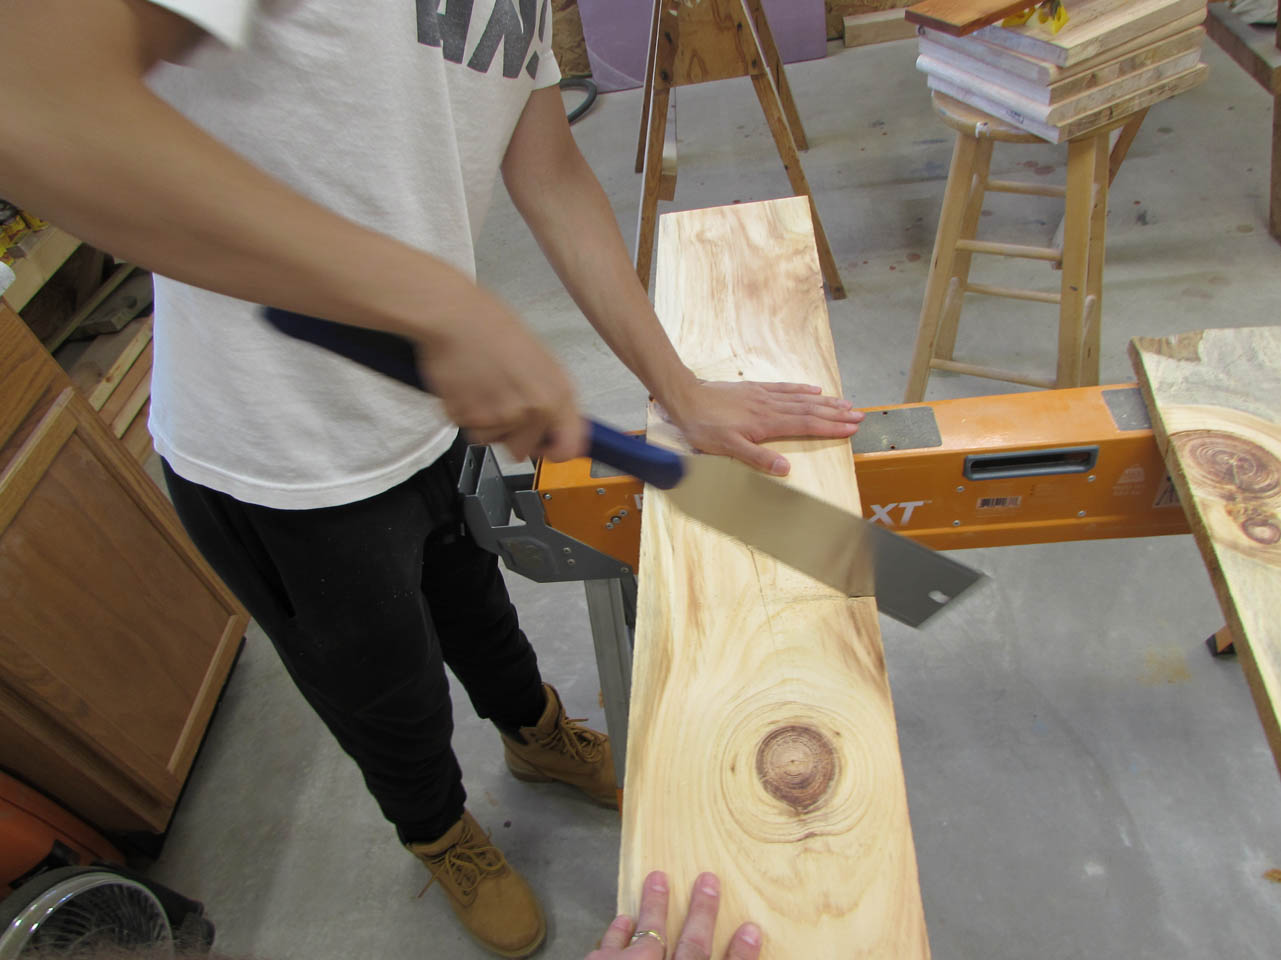
This board was broken part way through so Raphael used a hand saw to separate the broken end.
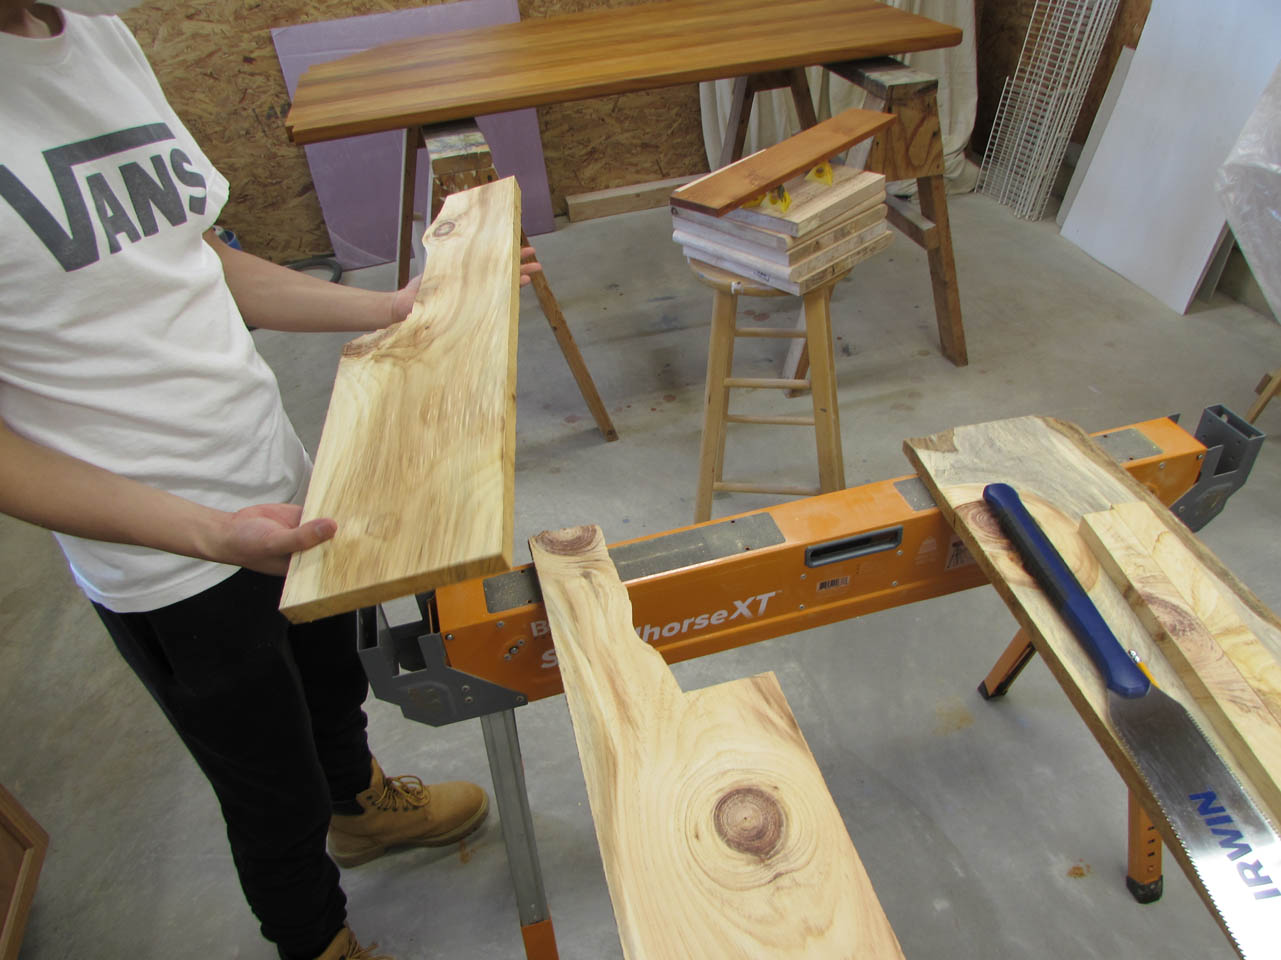
We can get a few short pieces from that section.

The rest of that board was cut down and jointed straight.

I started cutting some of the horizontal pieces to width while Raphael planed down some more boards to 3/4″ thick to create the vertical parts.


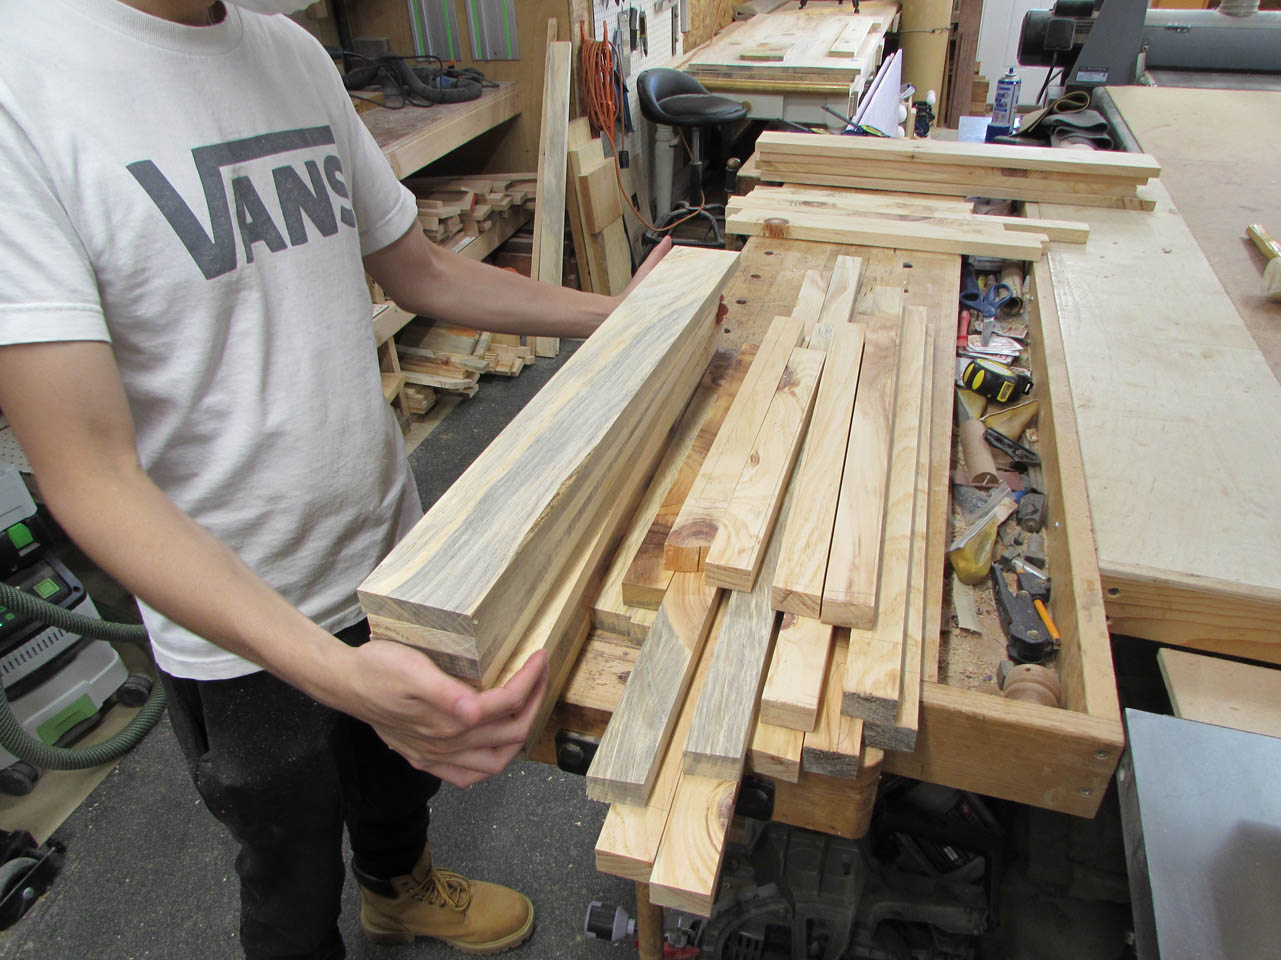
These were also cut to rough length, then jointed straight on one side.
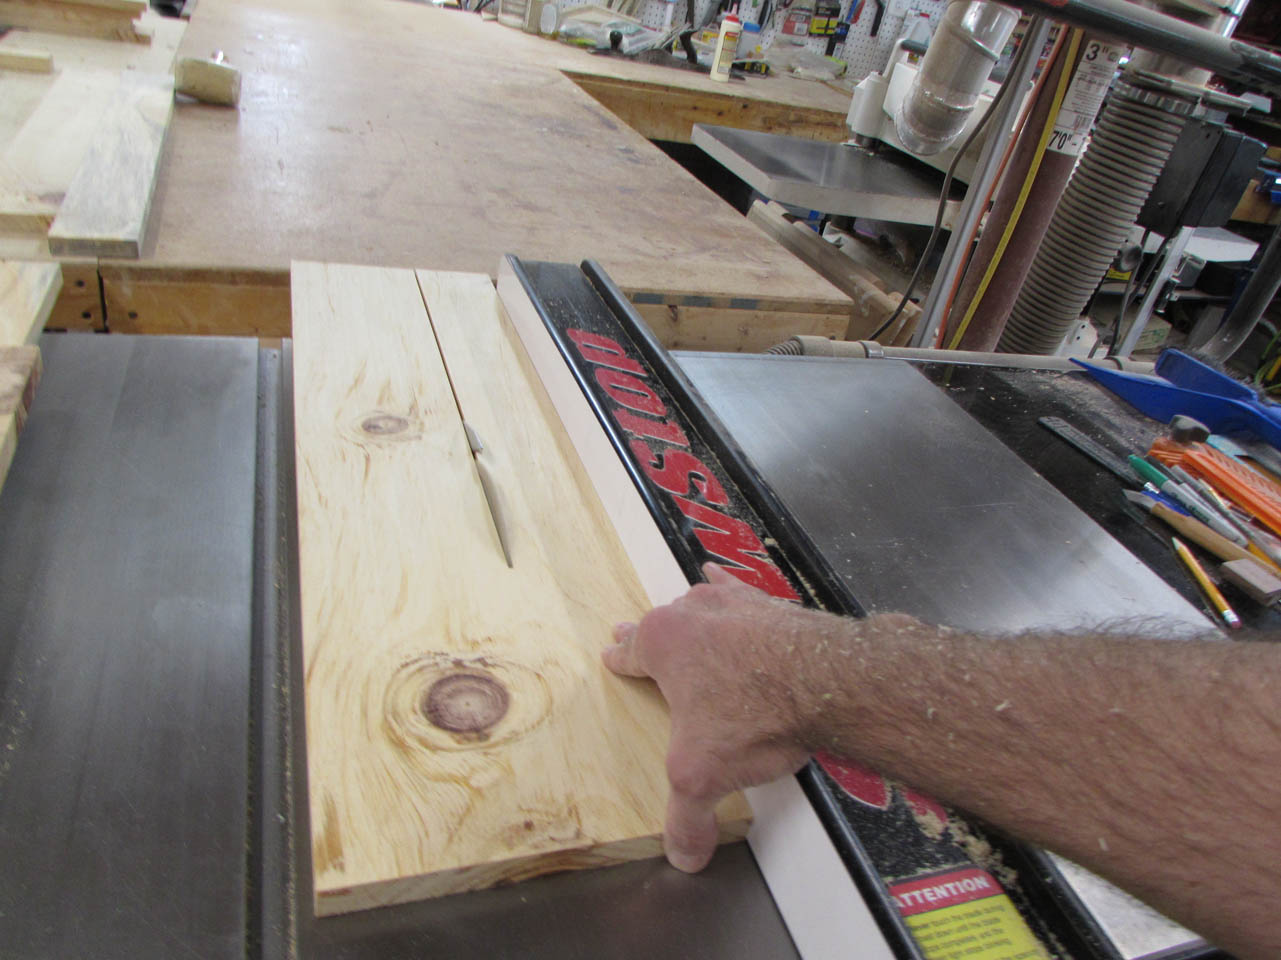
With all of our pieces cut, jointed, and roughed to length, we could finish cutting all the parts to width.
The verticals are 3″ wide and 1-1/2″ thick. This means that we have to glue two pieces of 3/4″ thick boards together.

All eight verticals were glued and clamped.


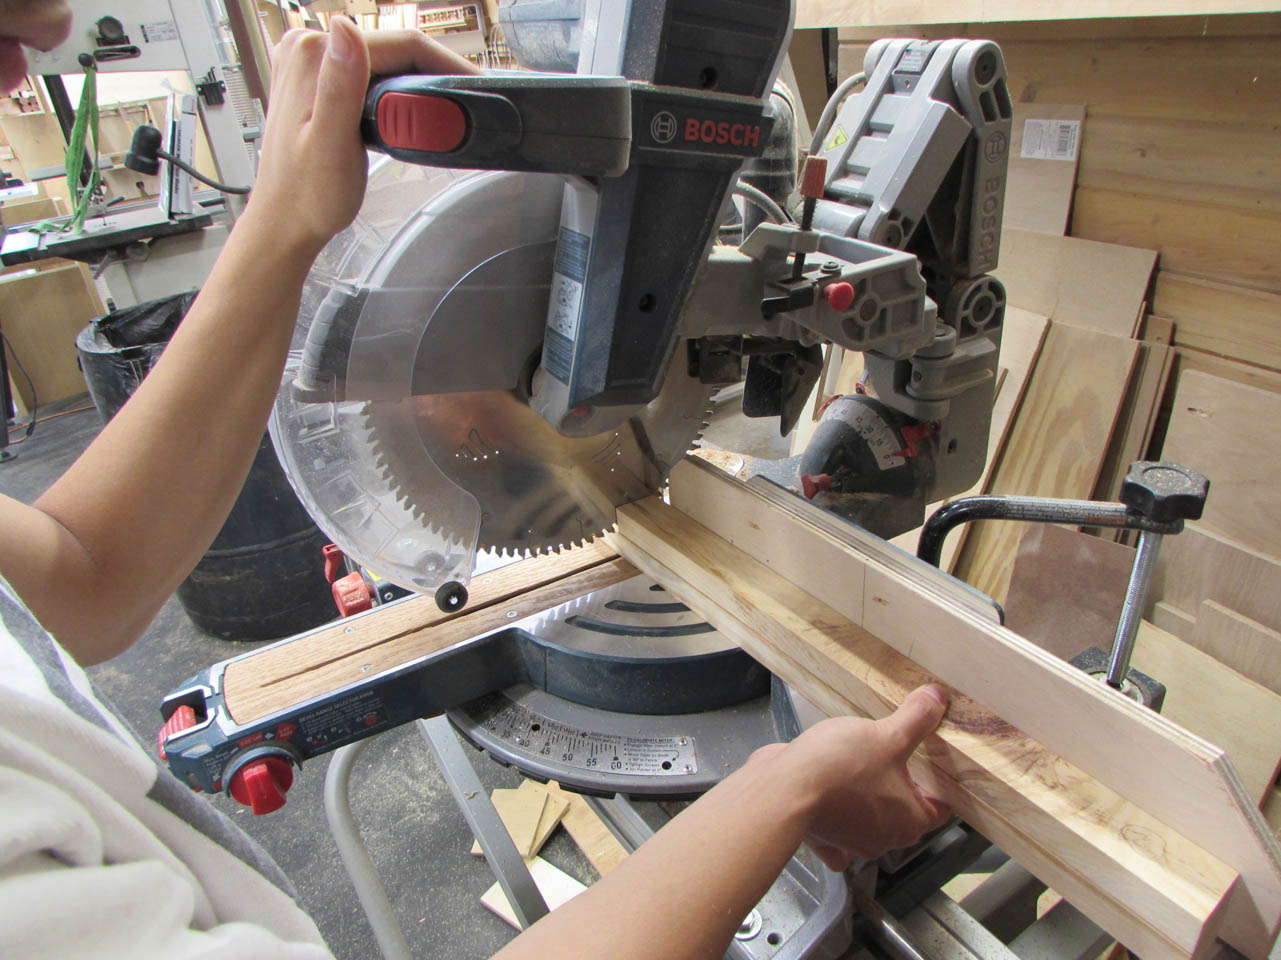
While these were drying Raphael started cutting the center top pieces.
All four were the same length so he clamped them all together so that they could all be cut exactly the same all at one time.
When we pulled the clamps off the verticals, we noticed that some had shifted slightly while drying.

One pass on the jointer cleaned up that problem.
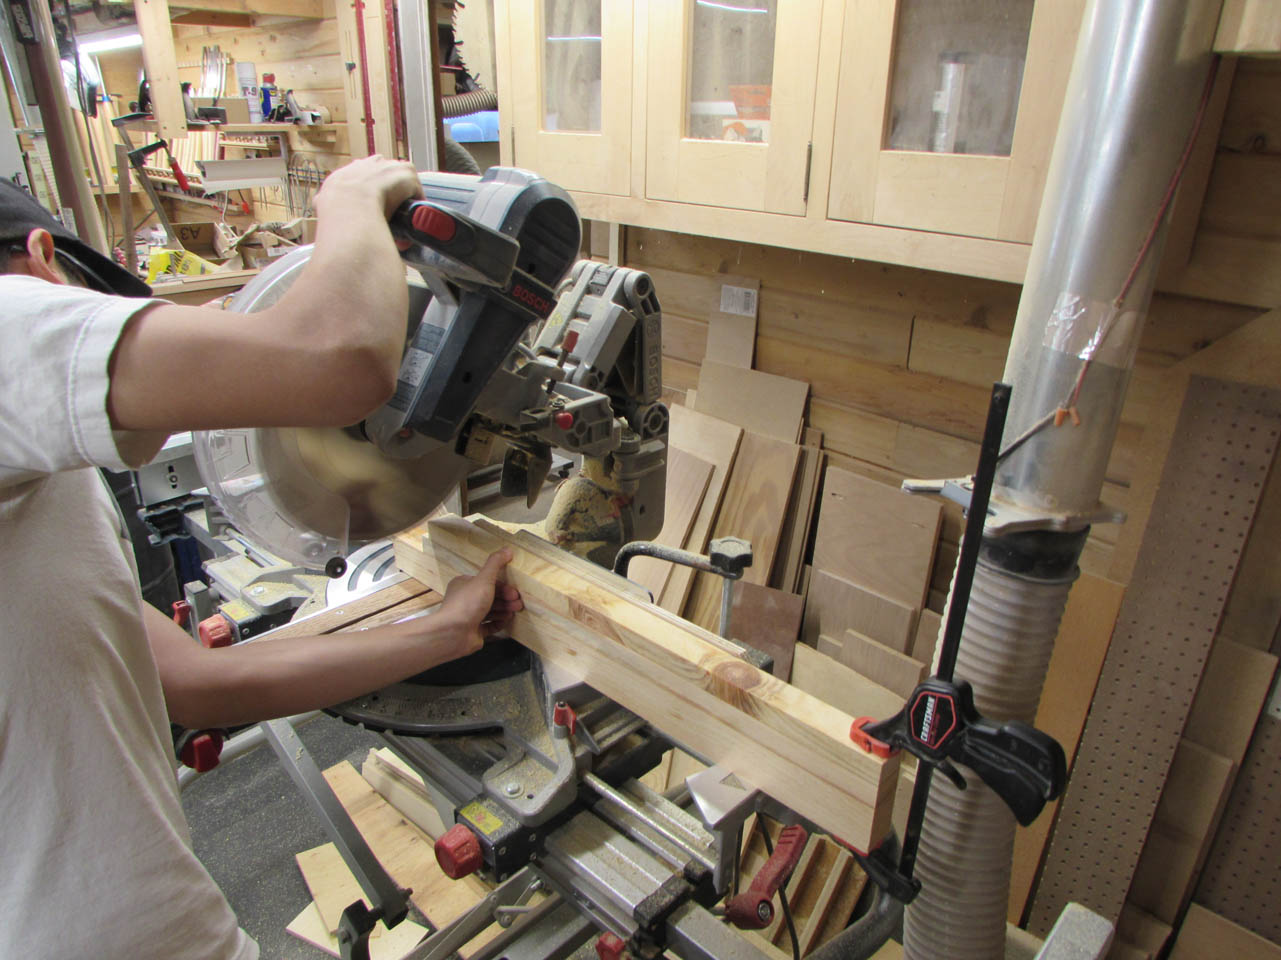
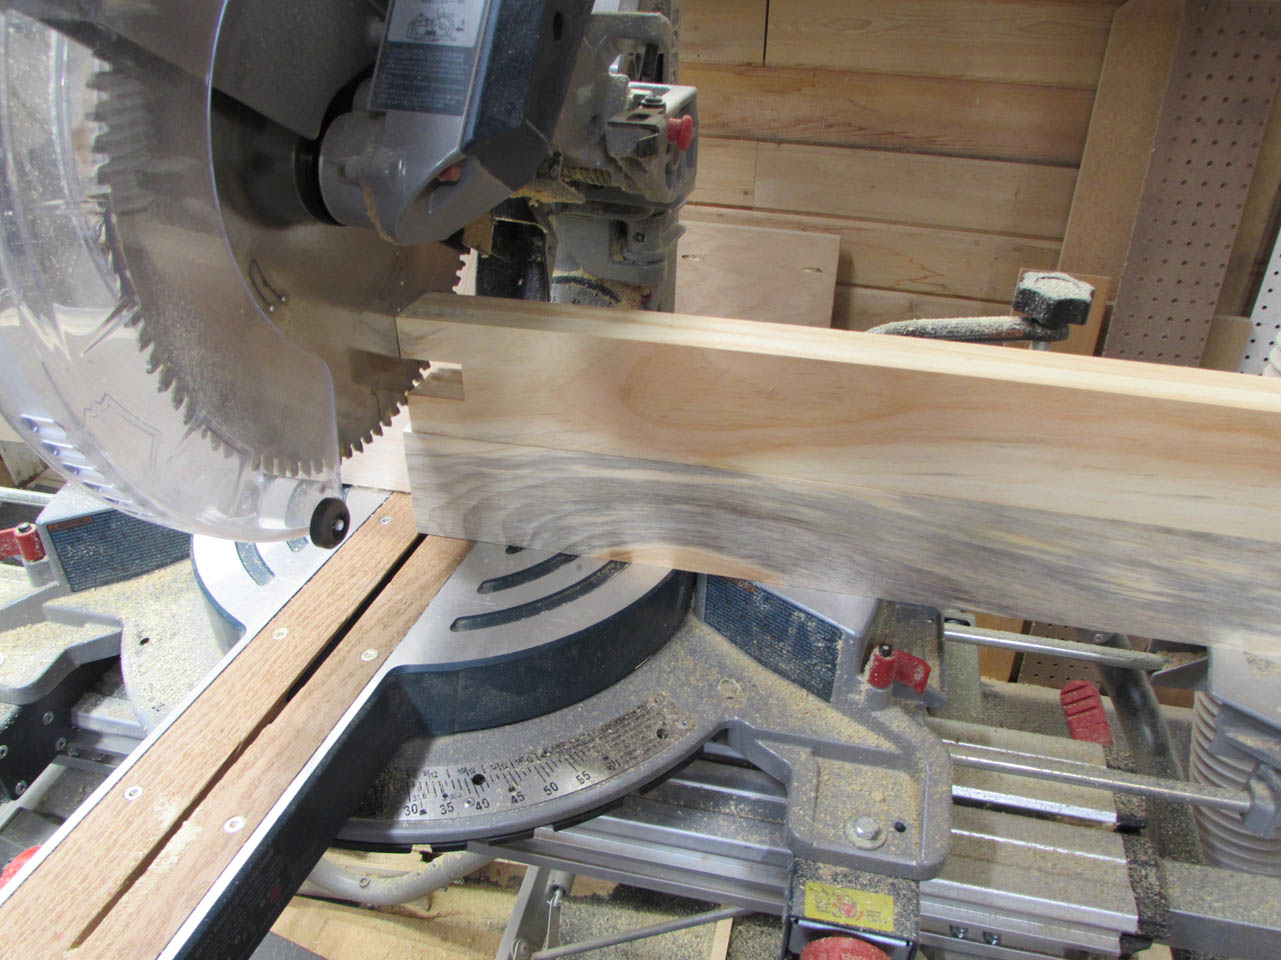
Lining up the prototype leg on top of the new legs, allowed Raphael to cut the remaining legs to the exact same length.

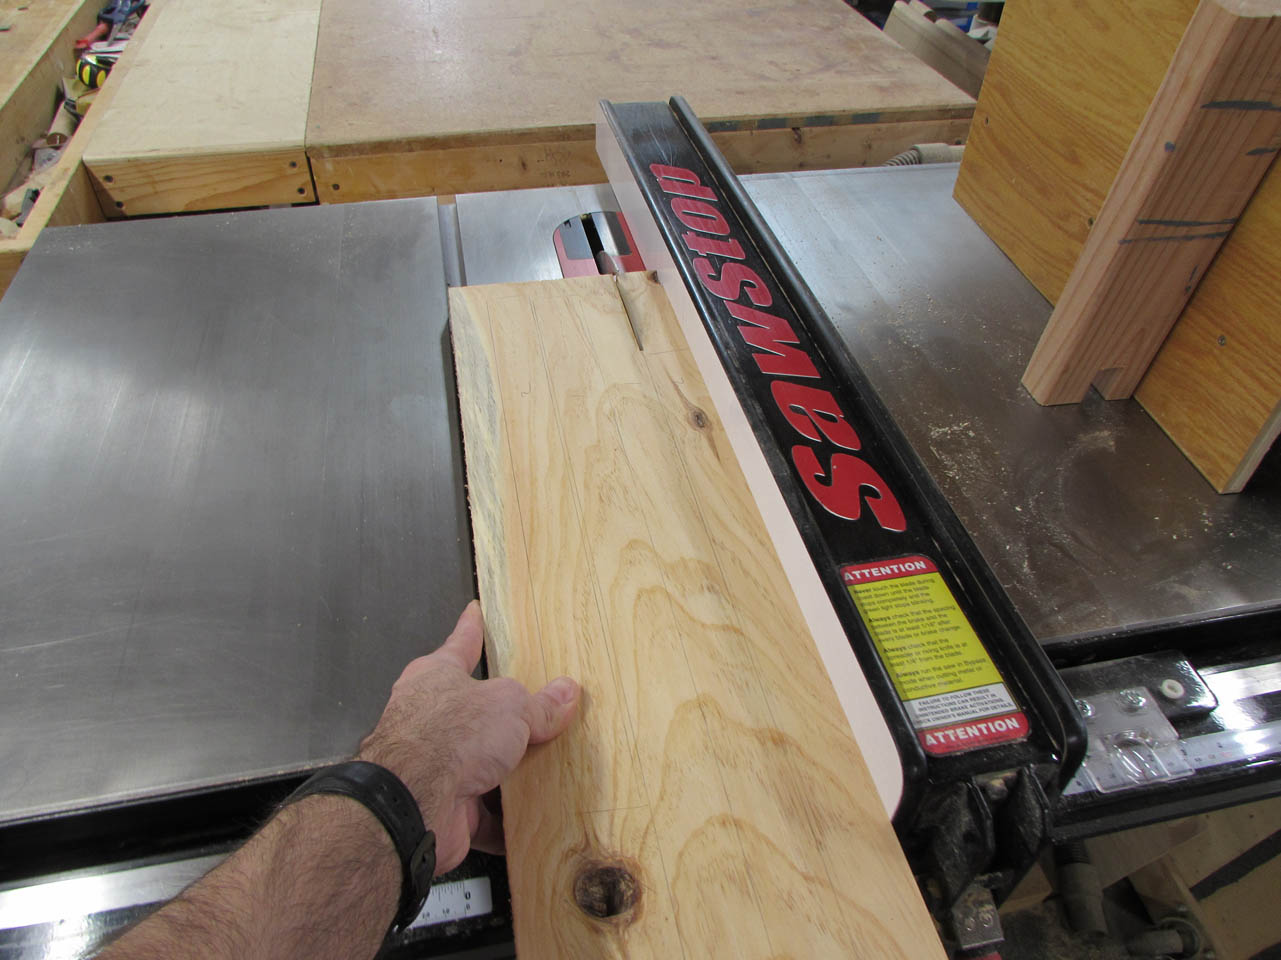
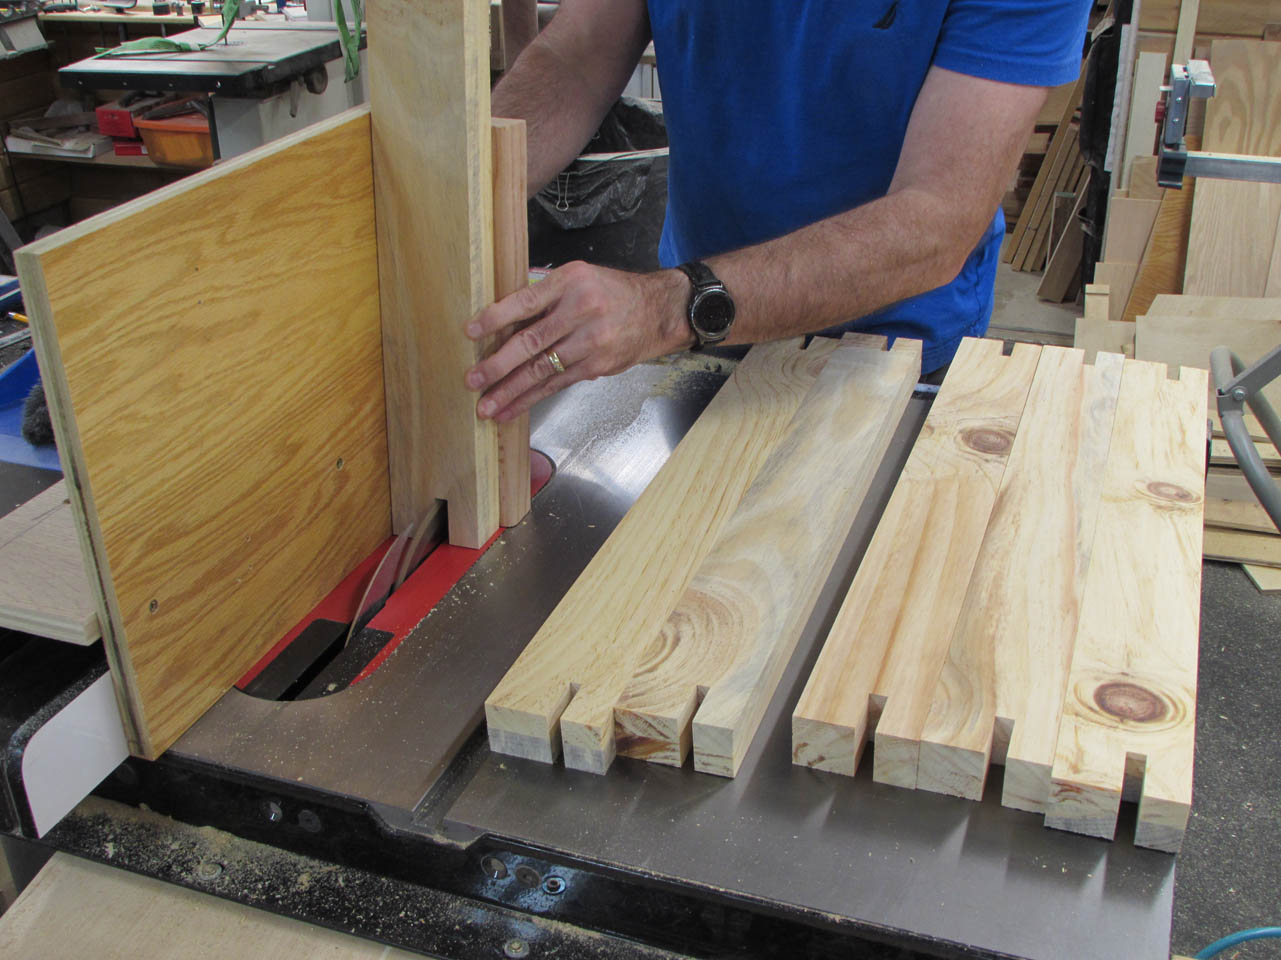
With the remaining legs cut to size, I set the jig back up on the table saw fence and cut the top and bottom notches into the legs,

I used a piece of scrap OSB and some blocks to create a clamping jig for the leg assemblies.
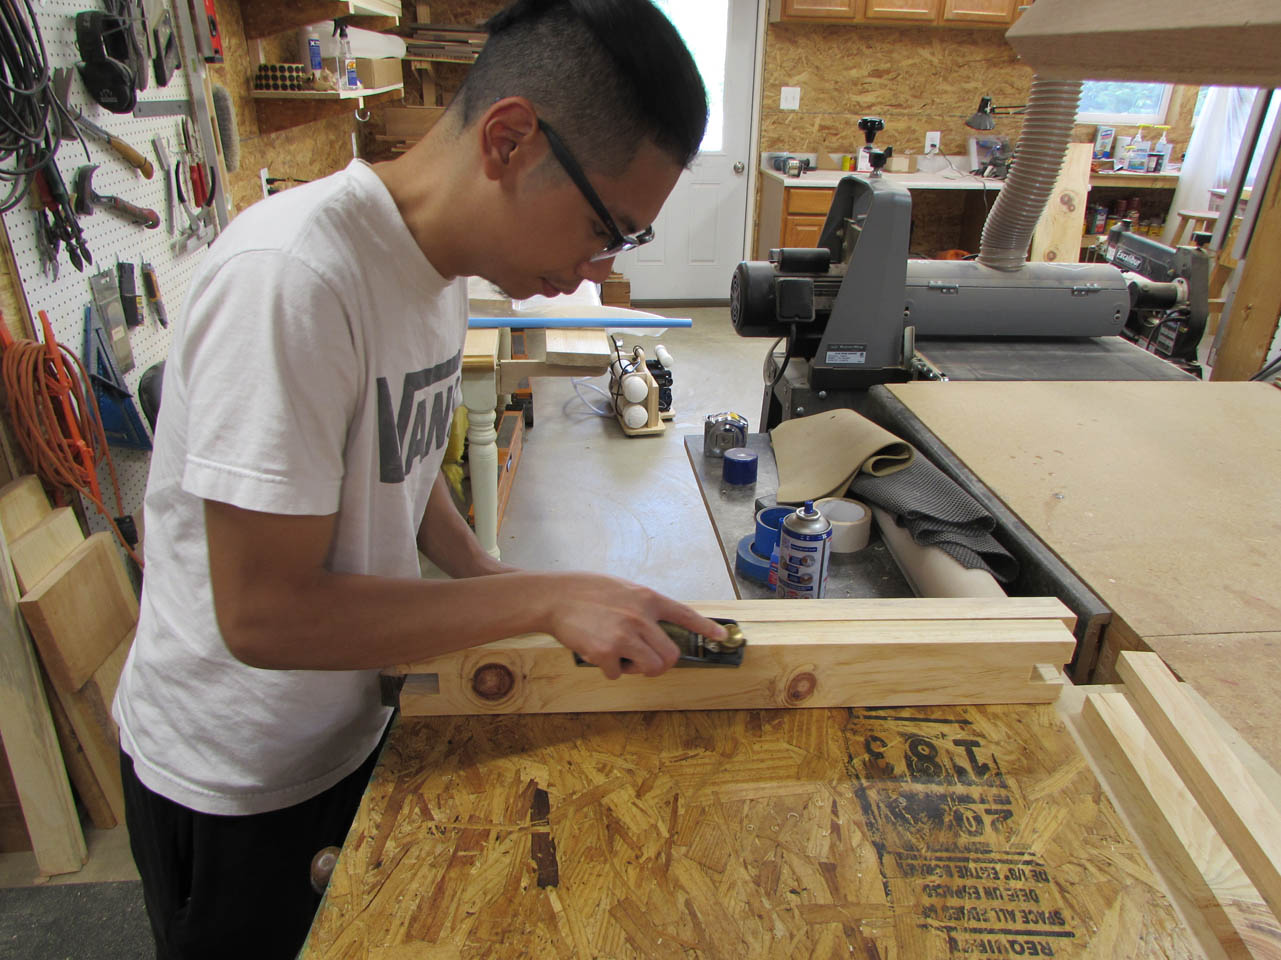
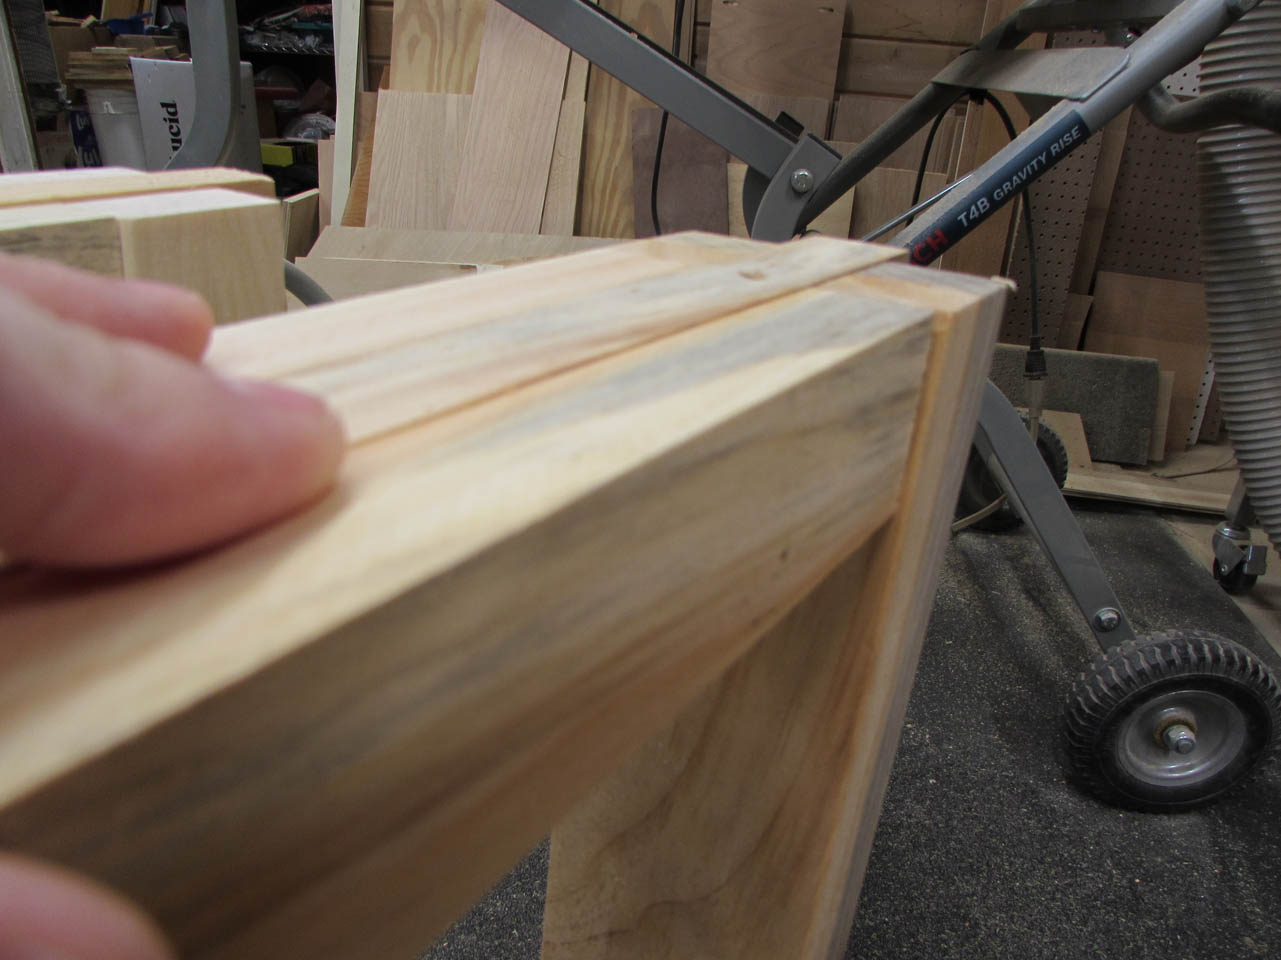
Before gluing up the legs, Raphael used the block plane to create a small bevel on the inside of the vertical sections. This is just to remove the sharp edges so you don’t cut yourself if you rub up against it. We will put a larger bevel on the outside later.

Now that we have the jig for assembly, we can also cut the bottom horizontal pieces. Matching to the prototype, Raphael cuts all four of them to length as well.

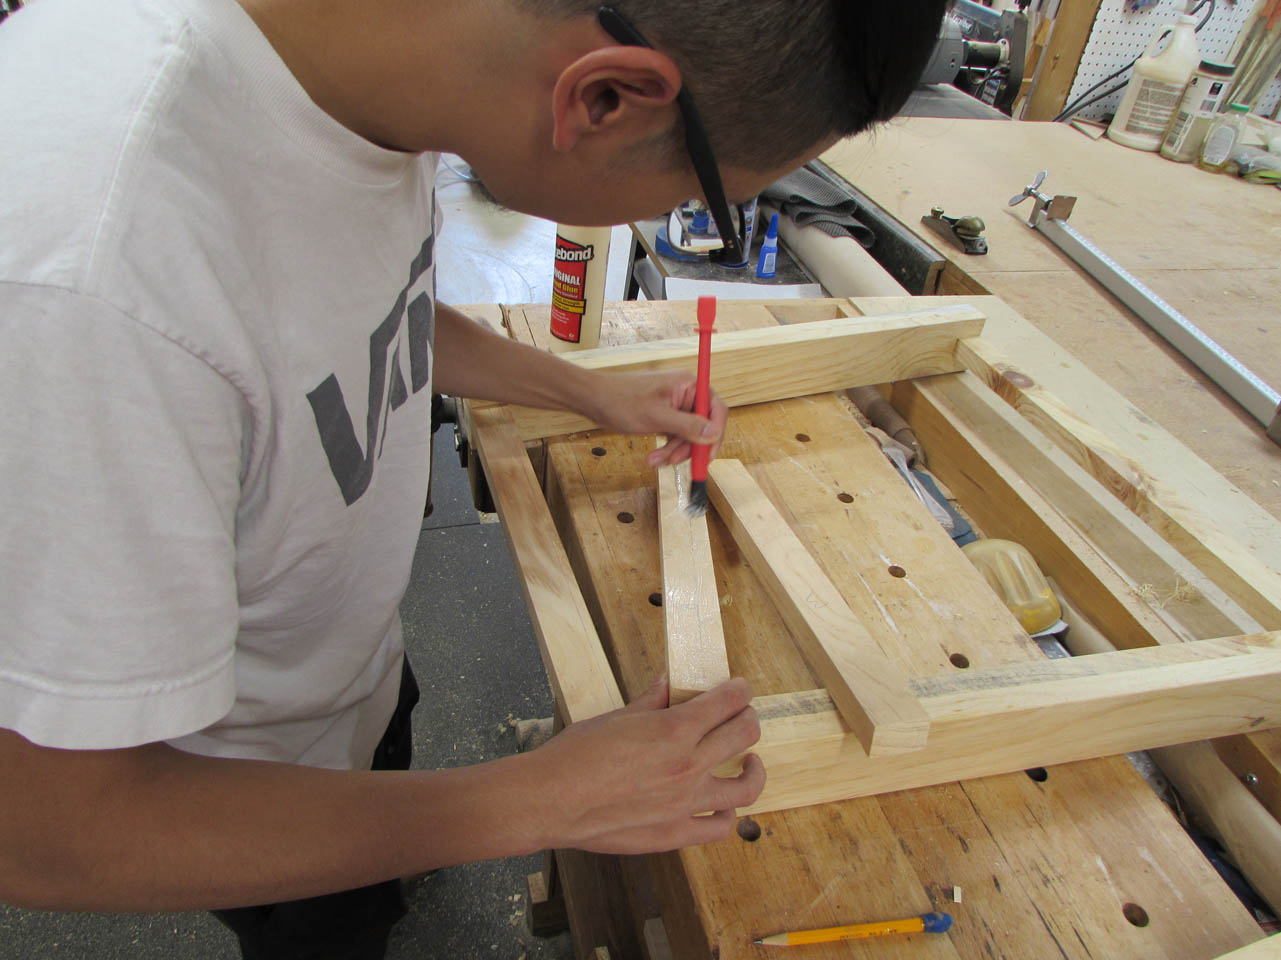
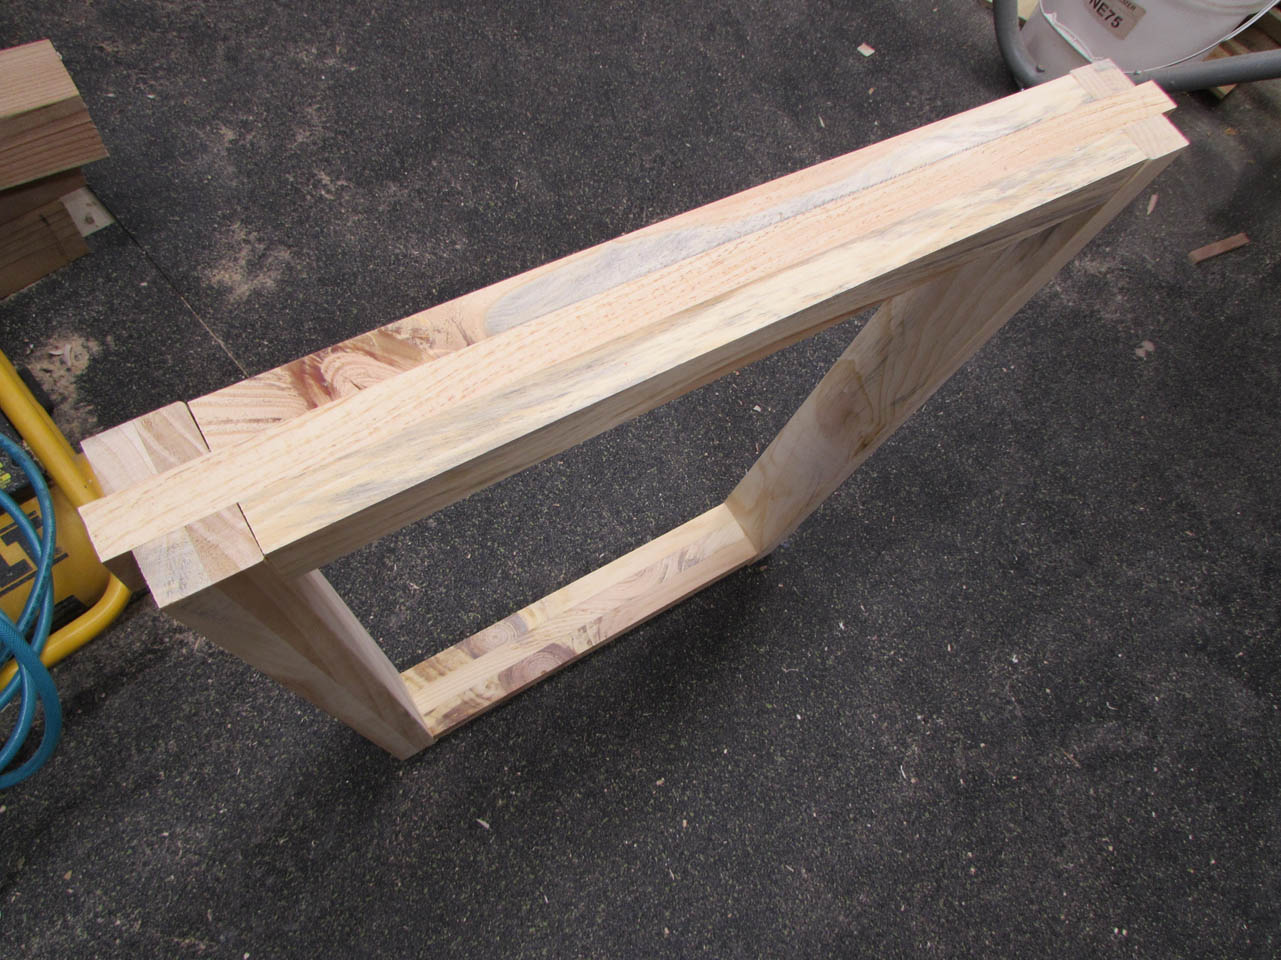
Now it is time to glue up the corners. Raphael spreads a thin layer of glue inside each notch, then we press the center horizontals into place and clamp them to the jig.


While that is drying, Raphael can cut the additional horizontal pieces to size. The top and bottom are made up of three pieces glued together so when the clamps are pulled from the frame, the additional laminations can be glued on.
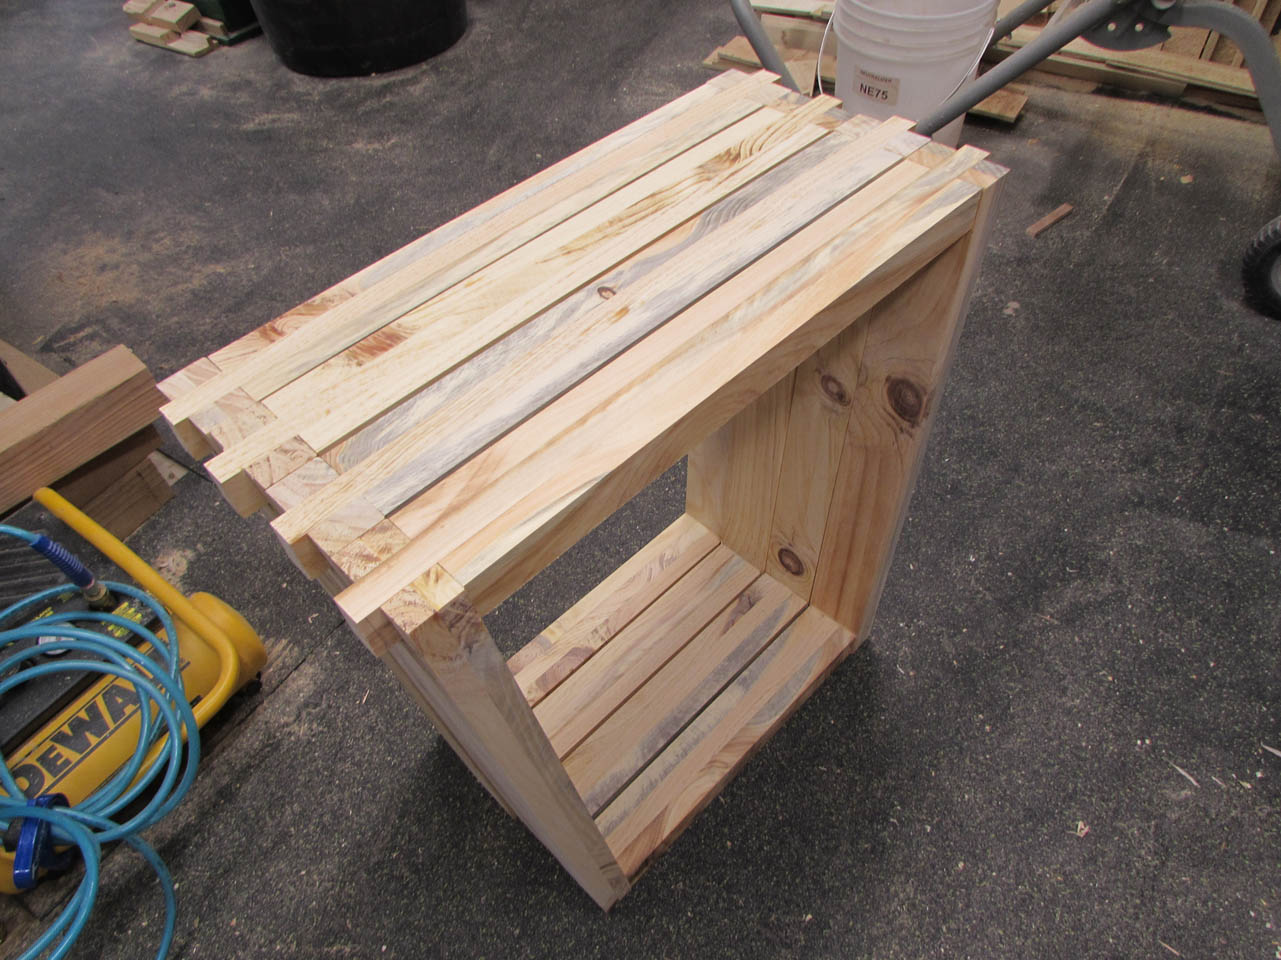
These horizontal, outer parts were originally cut long until the frames were glued up, then Raphael snuck up on the perfect fit by cutting them down about 1/32″ at a time until they fit just right.

It went fairly slowly because we were working on them one at a time but we got them all assembled successfully.
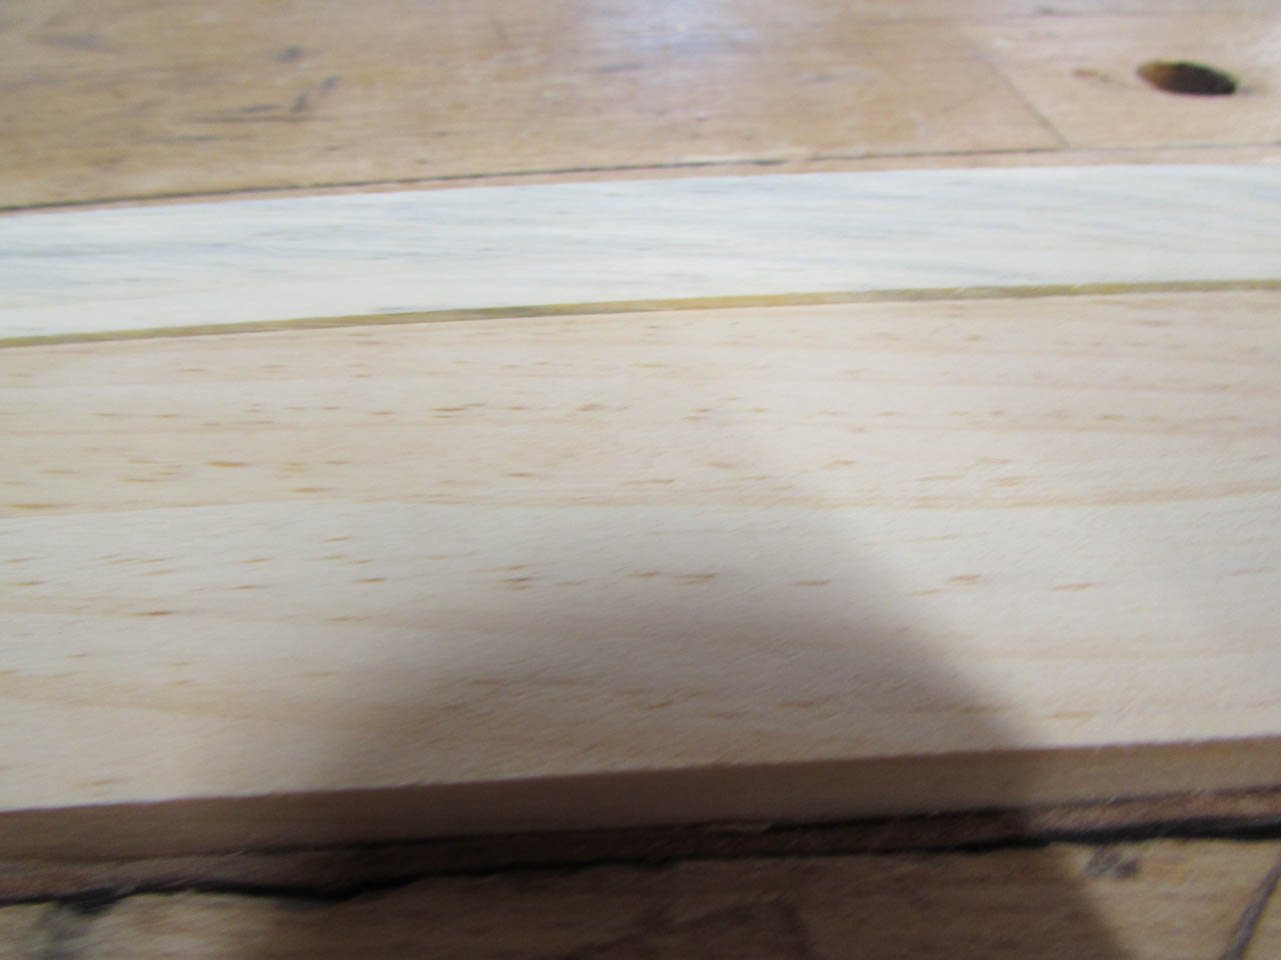
Some of the clamp-ups were not perfect. As you can see below, the boards did shift slightly under the clamping pressure.

The outside was easily cleaned up with a quick pass along the jointer.

Any tear-out was also easily cleaned up with a sander.
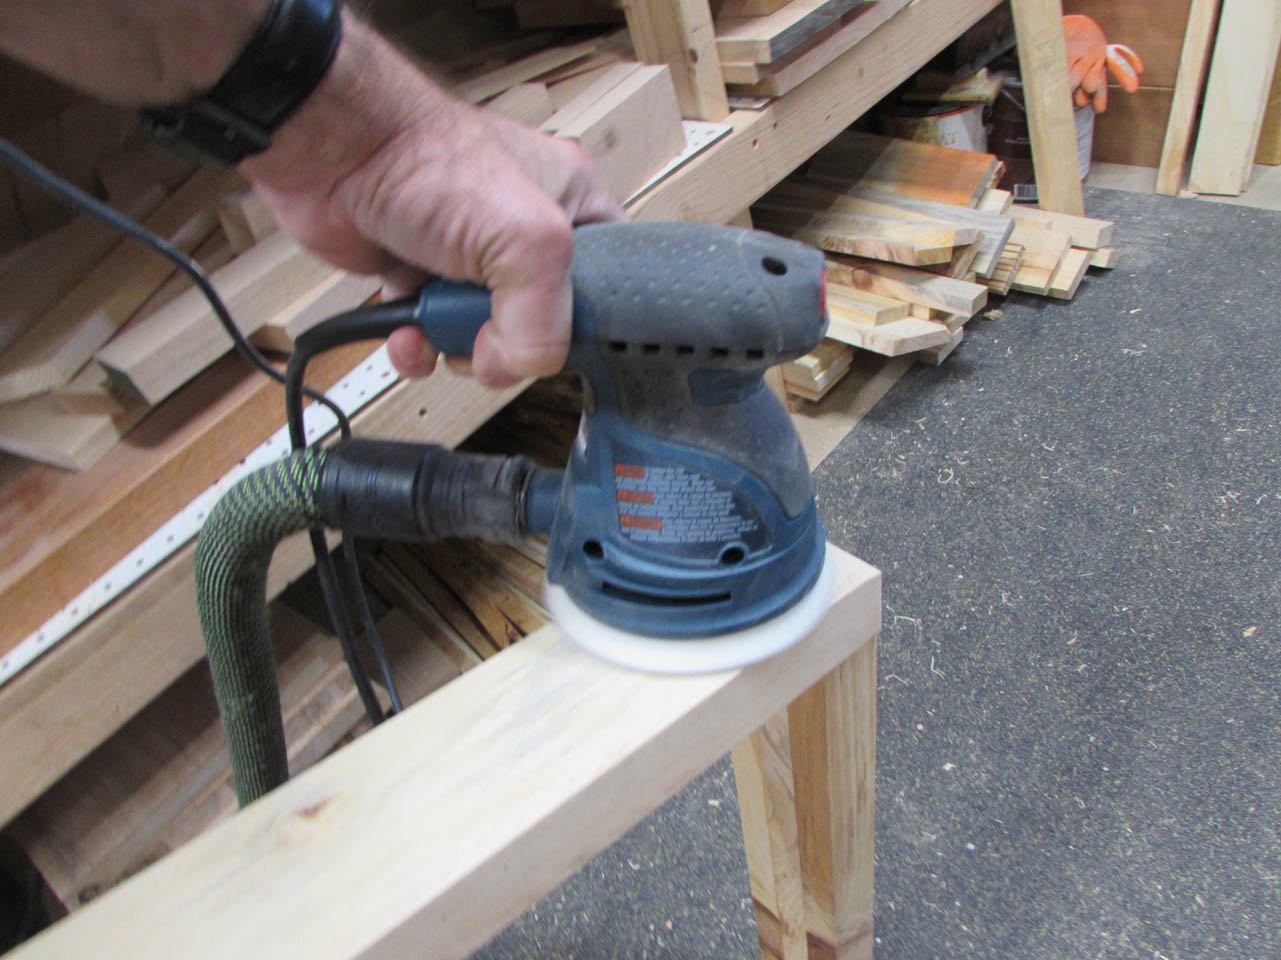
The inside area was a different story. Because of the vertical leg sections, the best way to flatten these surfaces was with the sander. Since this is air-dried pine, it gunks up the sander very easily. I used 40 grit paper for the areas that had to be taken down about 1/16″.
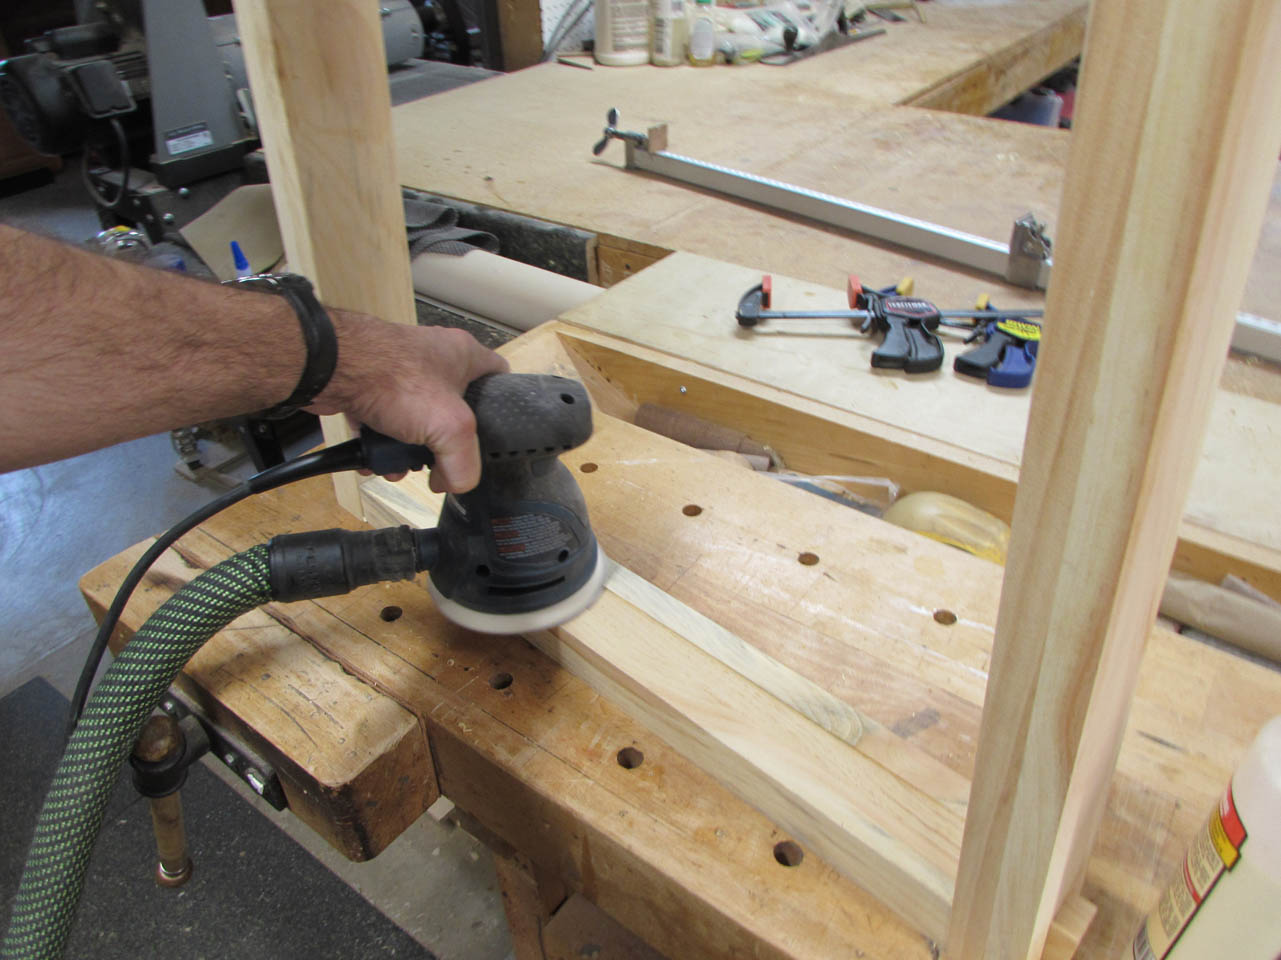
After taking it down most of the way, I rotated thru the grits down to 60, 80, then 120 to get a smooth, flat finish.


I then proceeded to sand the rest of the legs down with 120 grit paper as well.
I went through a lot of sandpaper with all those resins in the wood. Glad I bought the cheap pack of sand paper for the pine. It would wear out quickly on hardwoods, but it works perfectly on the pine.

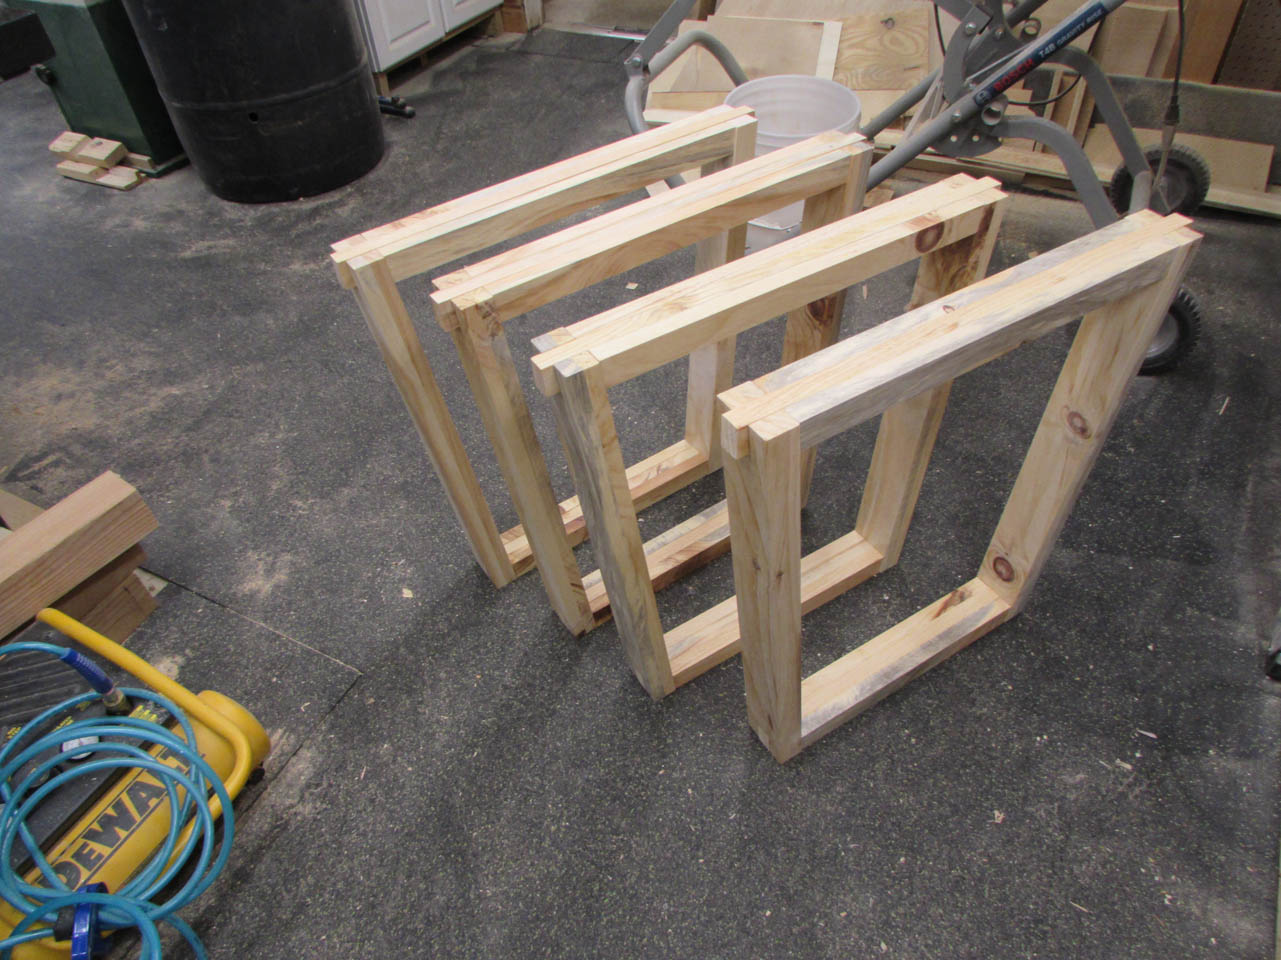
All four legs are glued up and sanded down awaiting Raphael’s next visit. We have a lot more details to work on before these desks are done,
I went ahead and threw six more boards in the vacuum bag so we have stock to plane down for the wire/power strip basket in the back. Remember since the wood is air-dried, sometimes there can be bugs living in the wood. Putting them under vacuum for 24 hours seems to take care of that problem…

